Leaderboard
-
conedodger
Free Member9Points12,513Posts -
Richie G
Free Member3Points254Posts -
emccallum
 Subscriber
 2Points428Posts
 -
inline6
Subscriber2Points1,282Posts


Popular Content
Showing content with the highest reputation on 08/19/2024 in all areas
-
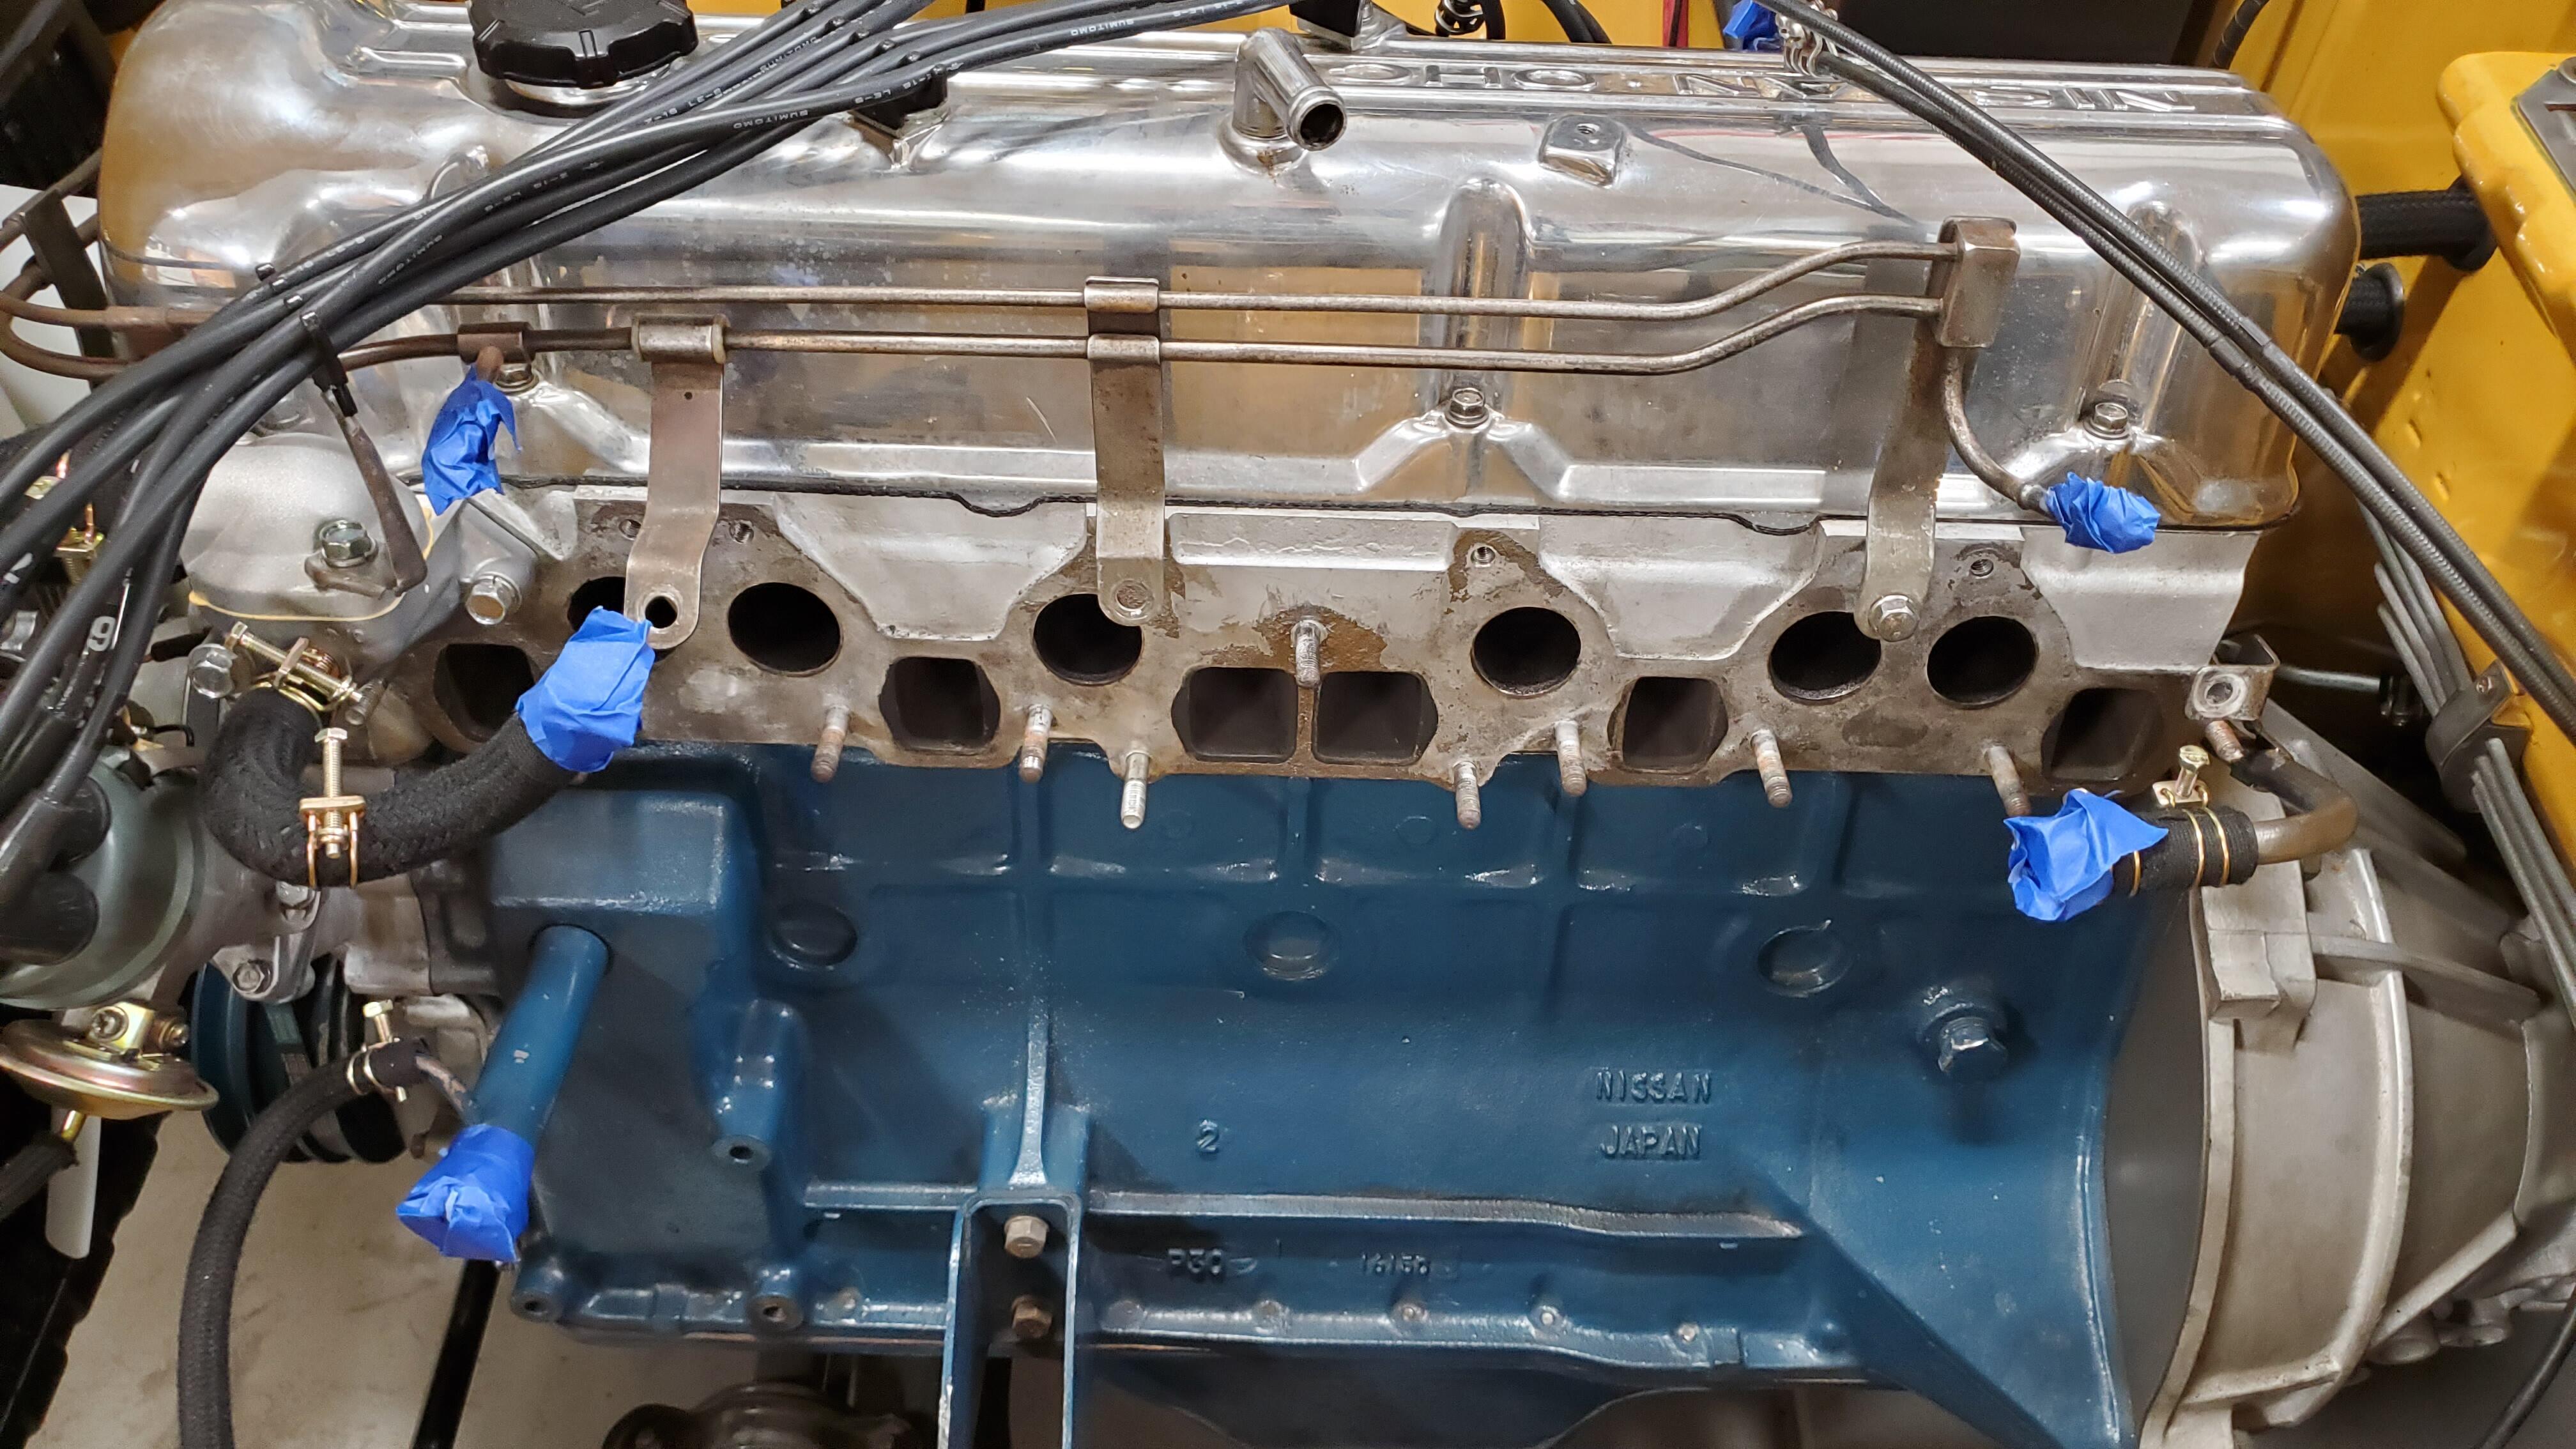
3 pointsYes had those and just got done with everything. Wasn't as bad as i expected. Drained the coolant and luckily enough no spills from the back tube or the thermostat to deal with. Then i disconnected the choke, gas lines and pulled the entire intake and set of carbs off all at once. The old gasket surprisingly for only 2500 miles came apart in quite a few pieces making a mess and what i noticed is some of the paint the PO had used on the block started flaking. I saw some particles sitting on the intake ports so hopefully nothing went in there. I did my best to gently clean those out. One thing that I'm not sure if its "normal" or an oh boy is looking inside these ports they sure are dirty. the exhaust ports look like the inside of a chimney and the intake look like they have a bit of sludge on them. As a reminder, this all started when i replaced the plugs and found them dry sooted to heck. That led me to believe things were not right and now I'm seeing the inside of these ports kind of confirms at a minimum i need to start over on balancing and tuning these carbs. I've never done that before so may need some help if things dont go well 🙂 before i did all this the engine ran really well from what it felt like ion the garage. idle was real clean at 800rpm, car came to temp nicely, pulling the throttle seemed like it was very responsive, but seeing those plugs like that just really spooked me. someone said maybe its just the additive you put in to keep the gas fresh, they tend to do that but this is way more than a light coat. Here's where I'm at and it will probably sit like this for a week or so until things arrive and i have a chance to get them ready. the manifold will certainly need some work to get it to look decent plus i need the gasket, the booster hose, and the balance tube to show up. I'm trying to convince myself to not go nuts becasue its very tempting to grab that rail and maybe get it polished and coated while i wait. but again this isn't concourse this isn't concourse lol. we'll see.
 3 points
 -
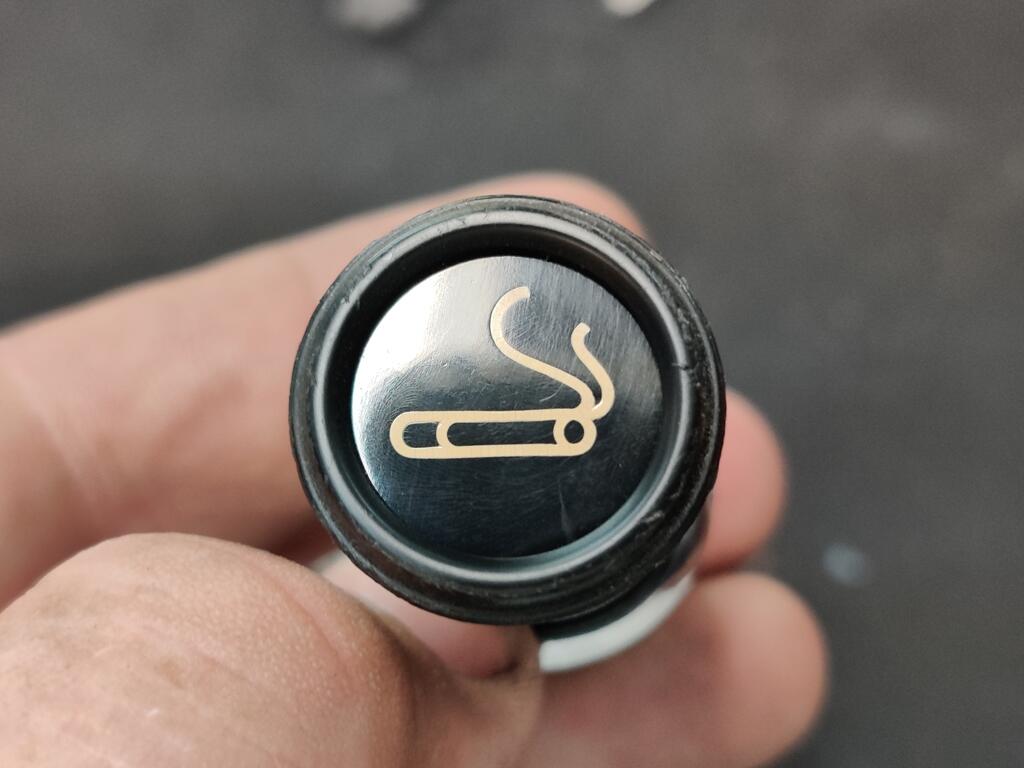
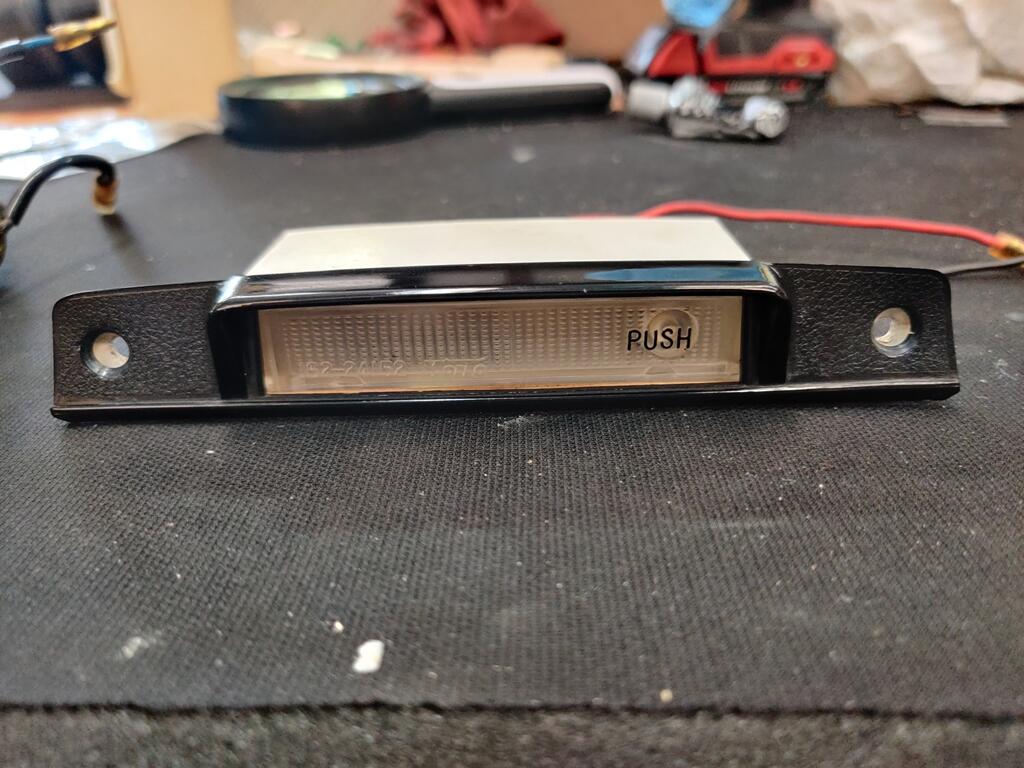
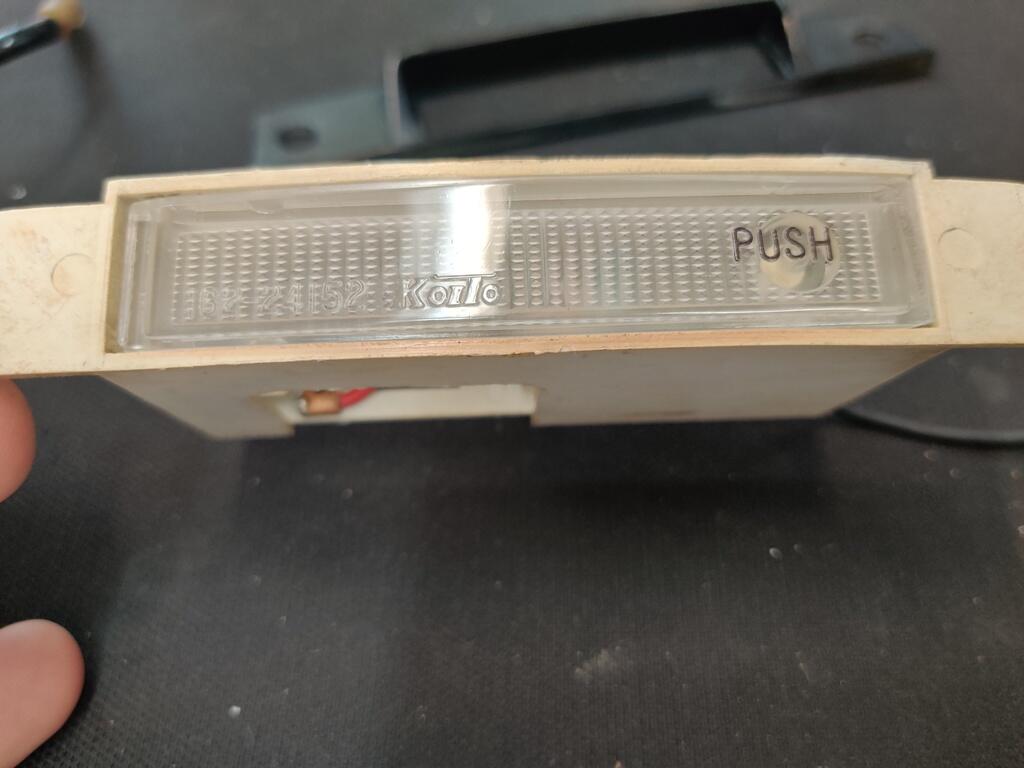
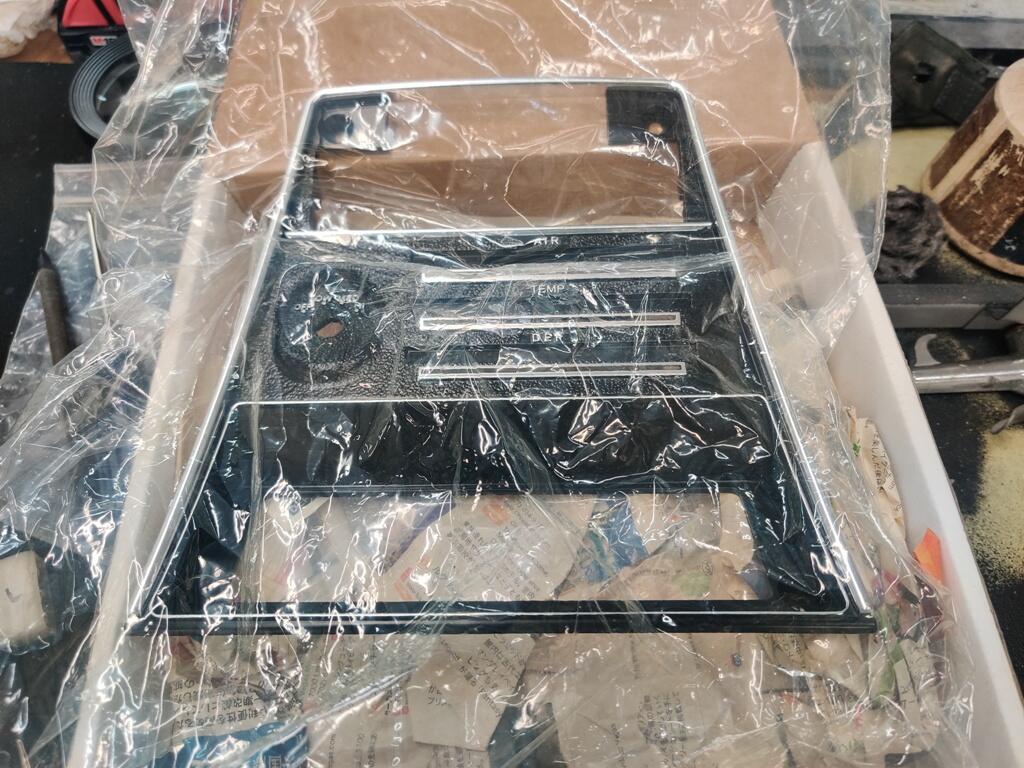
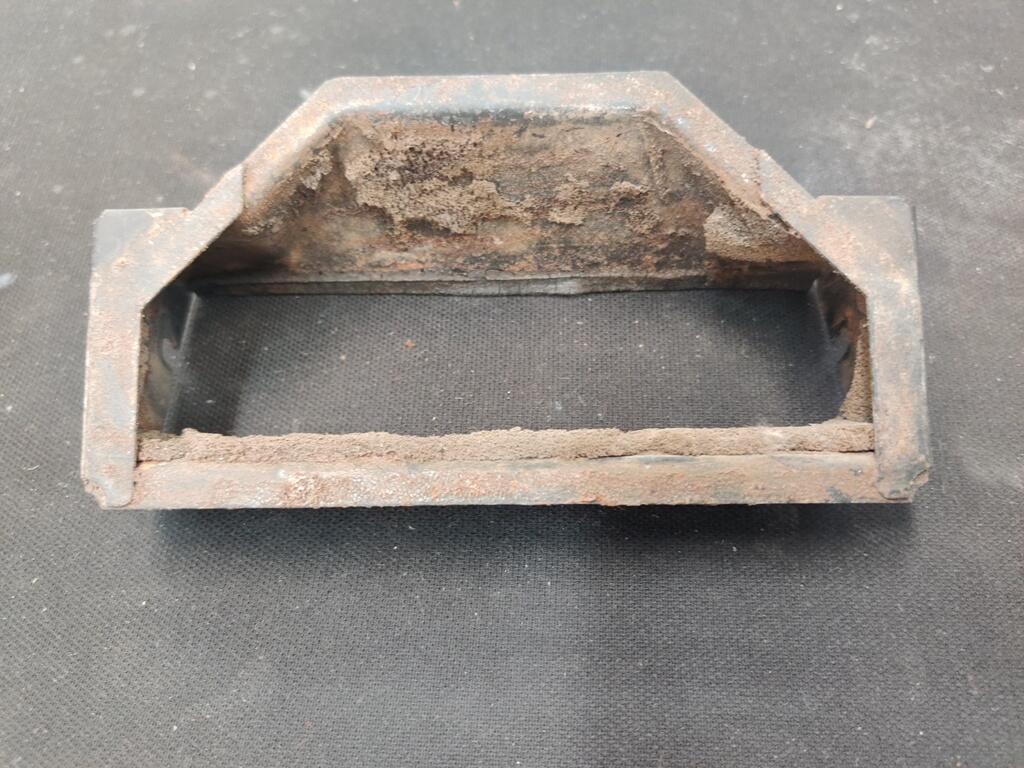
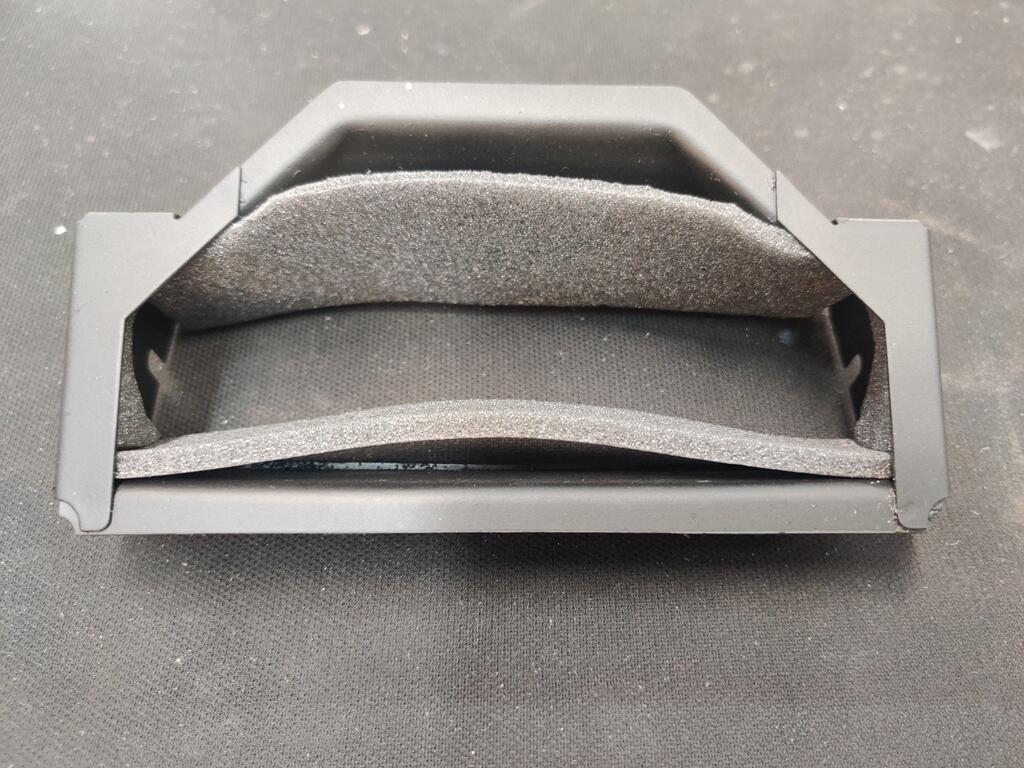
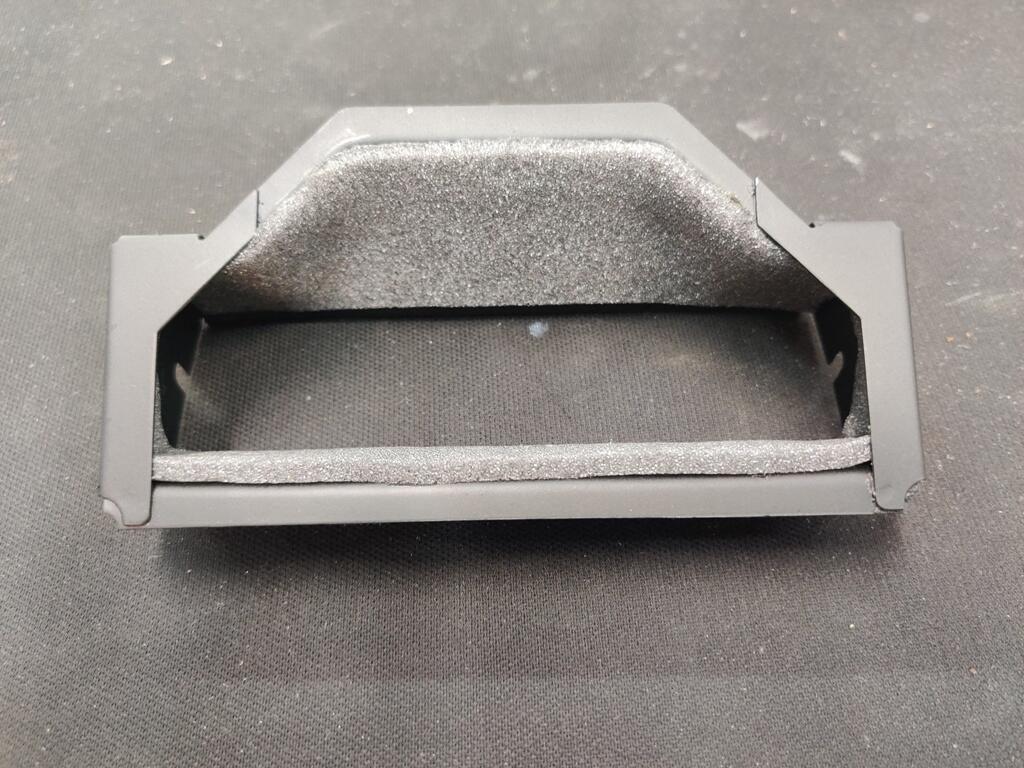
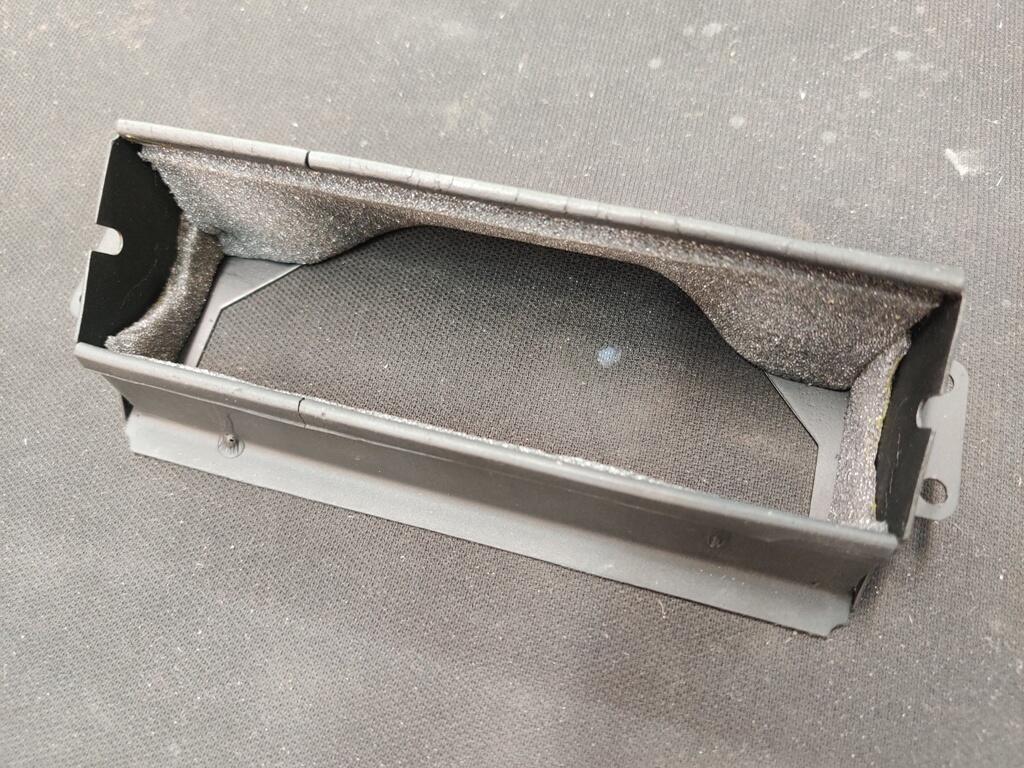
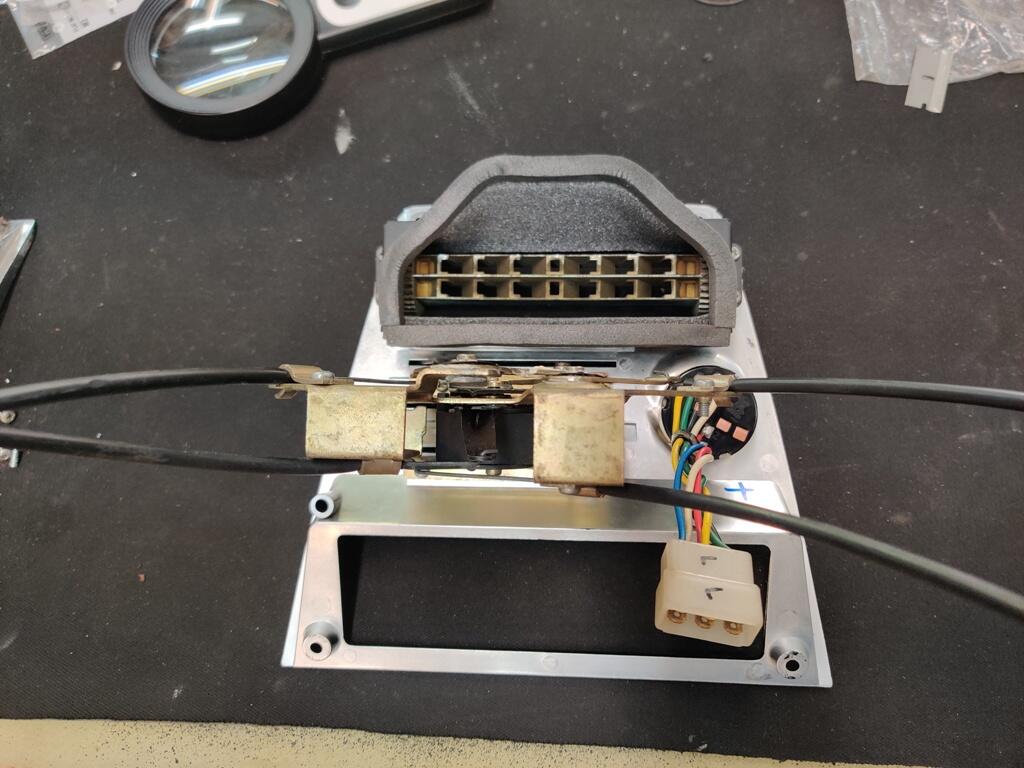
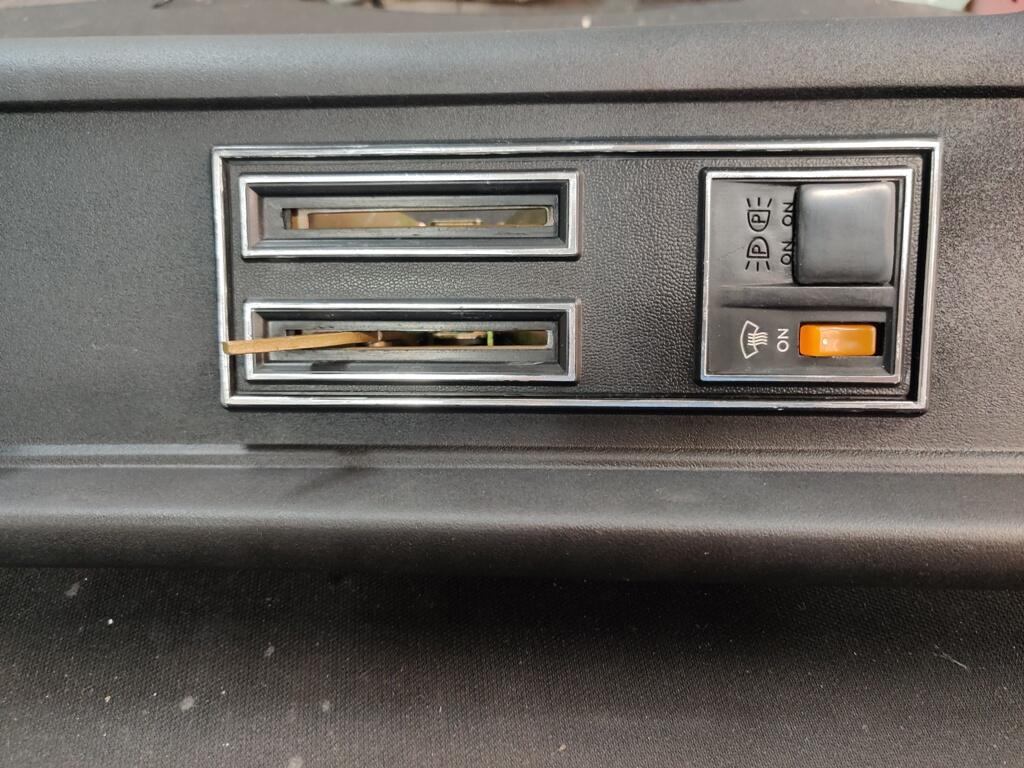
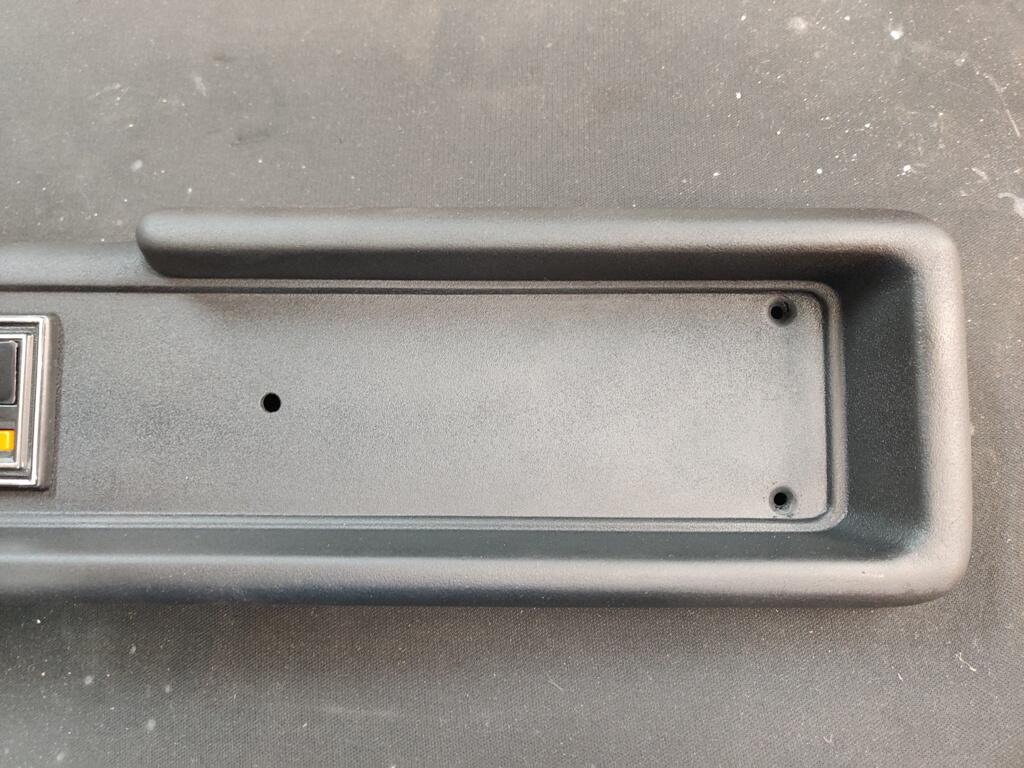
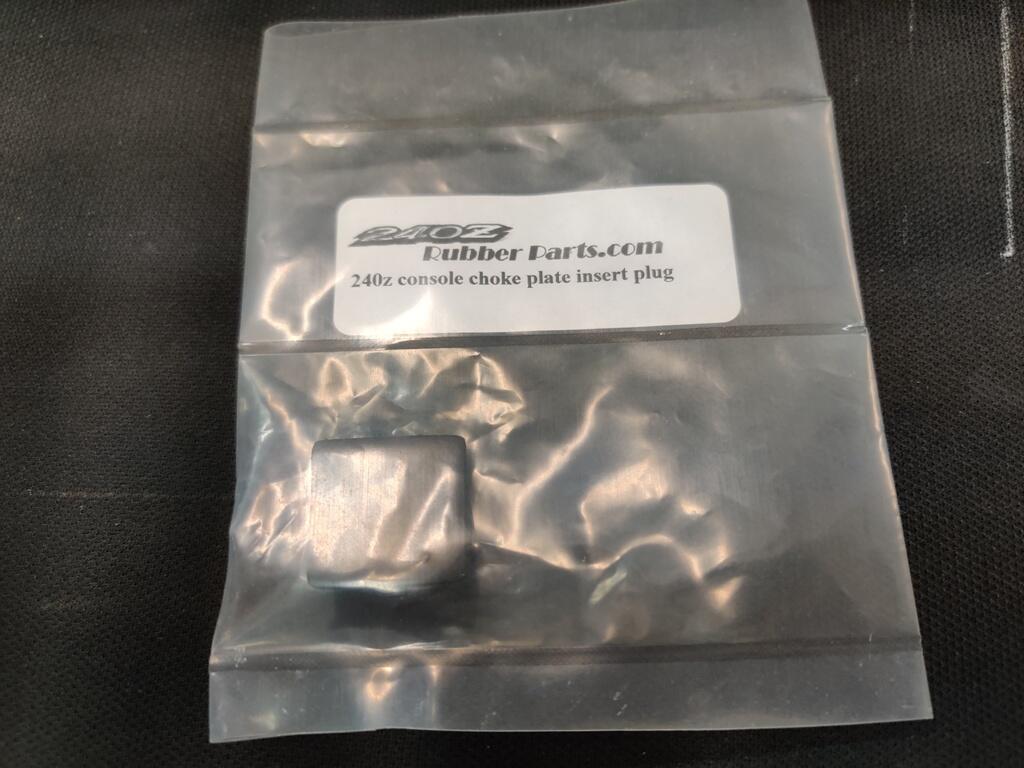
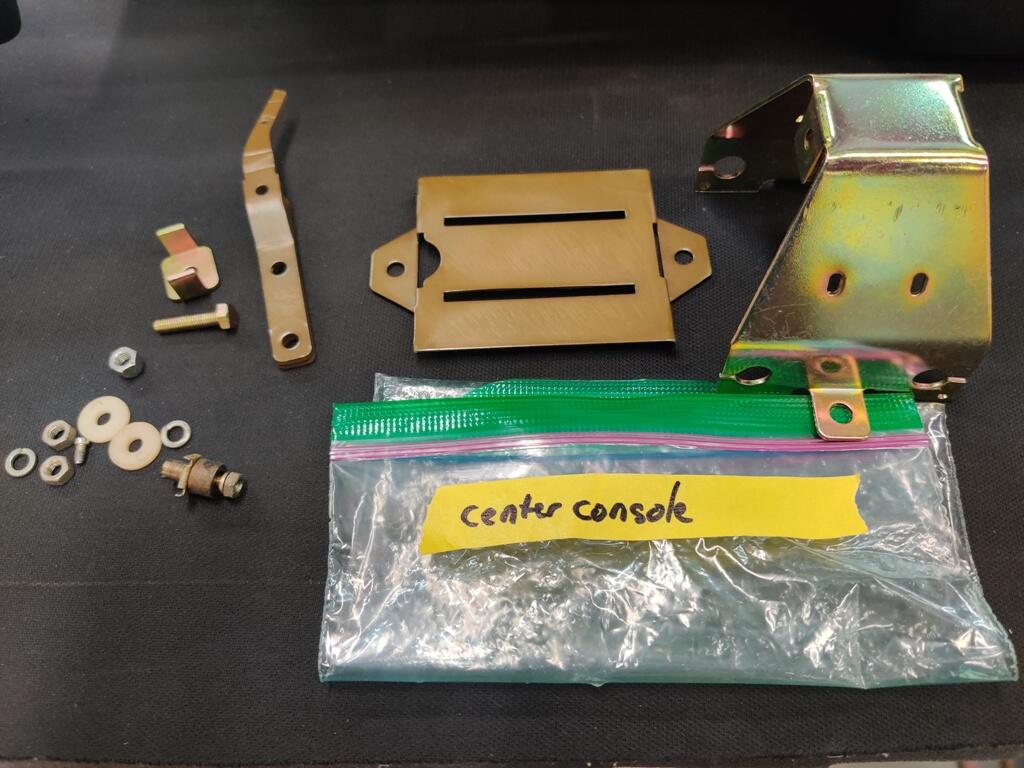
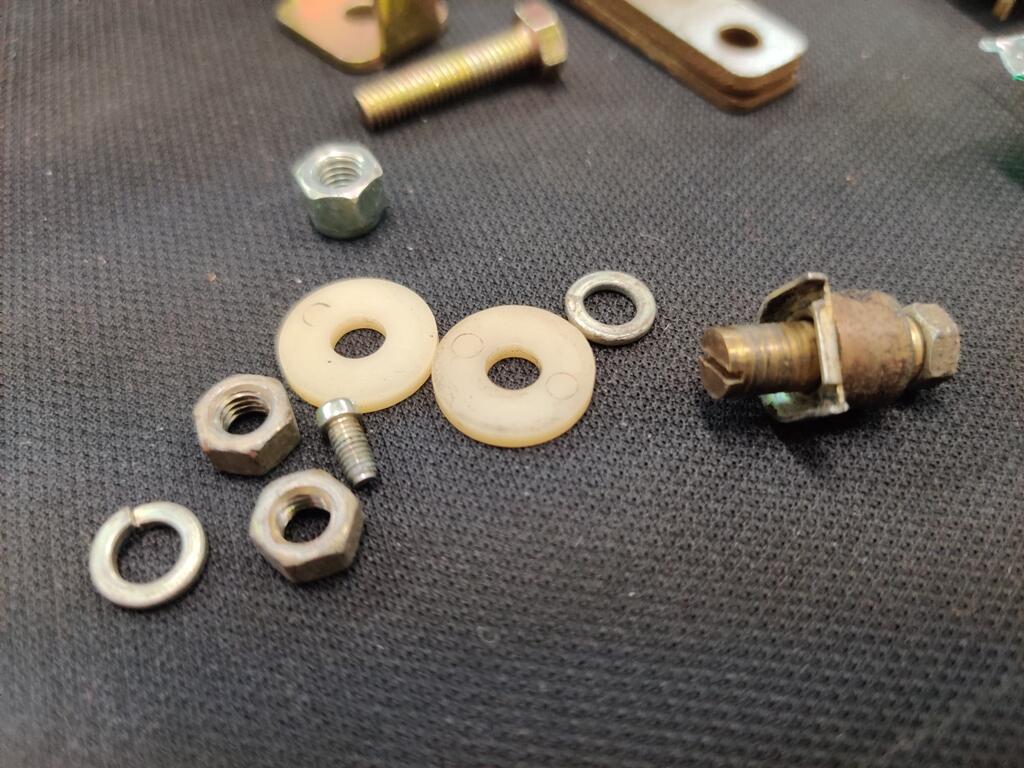
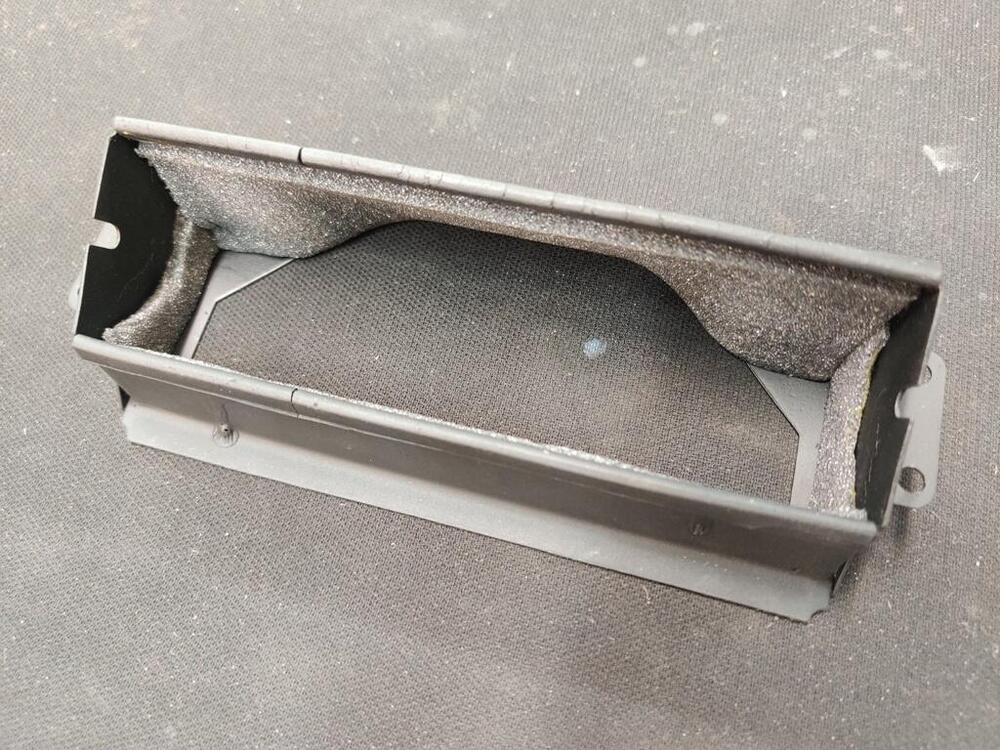
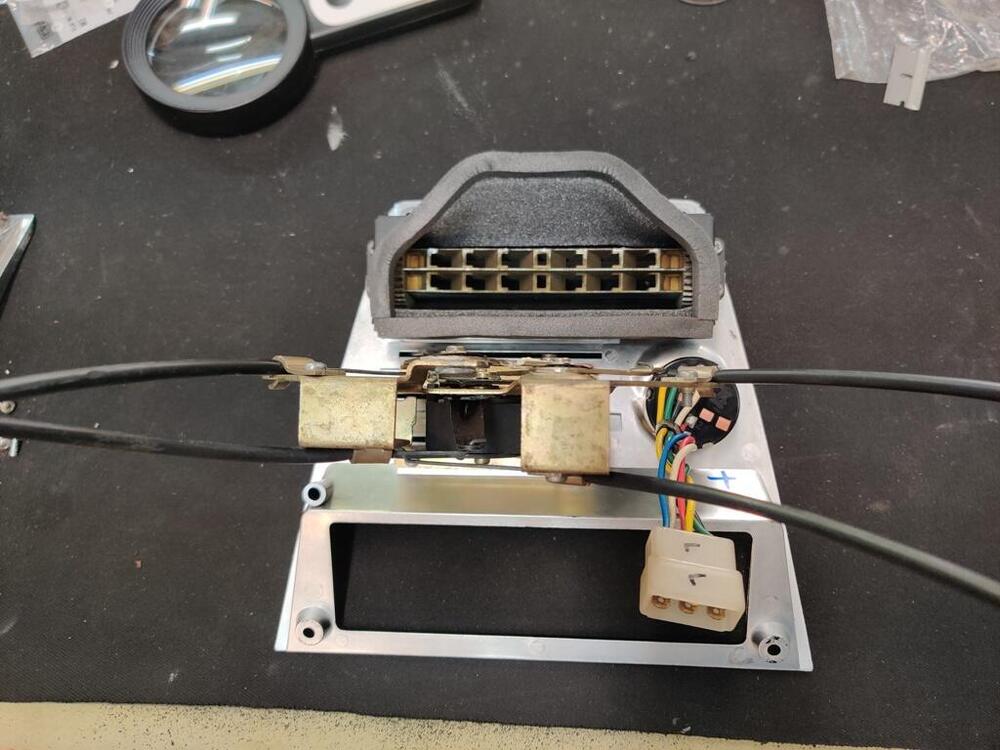
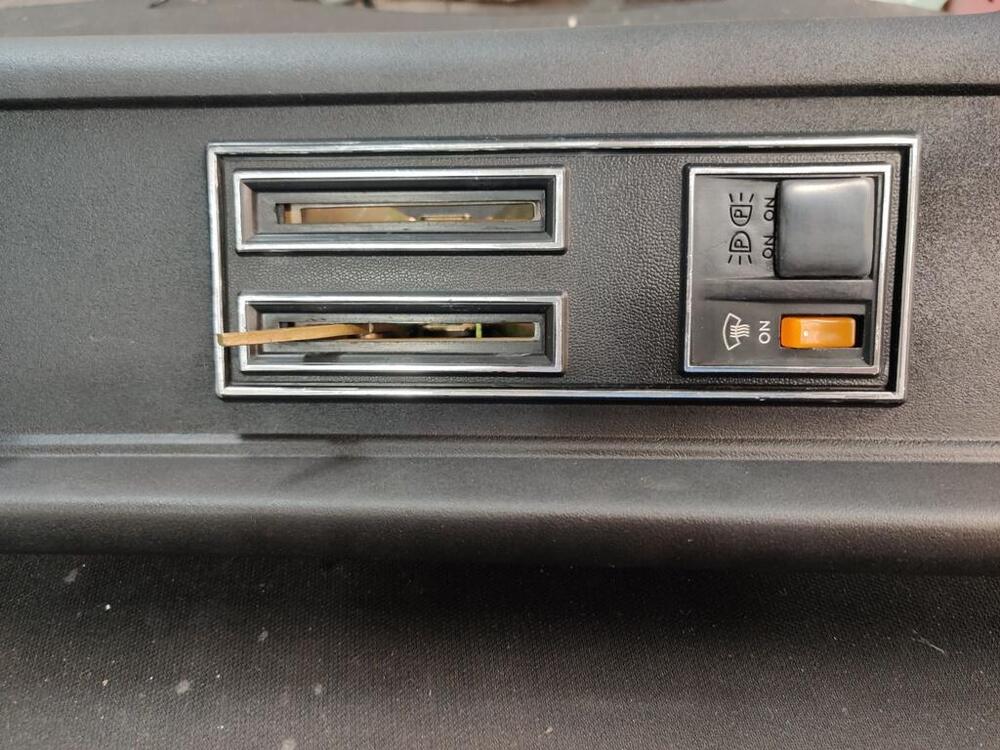
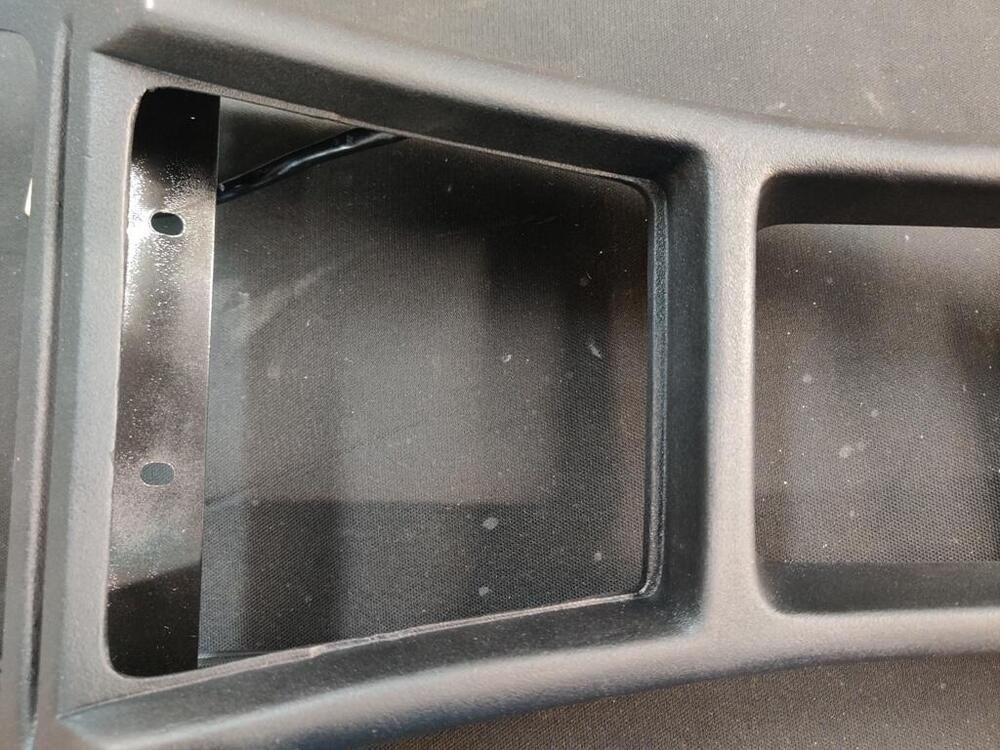
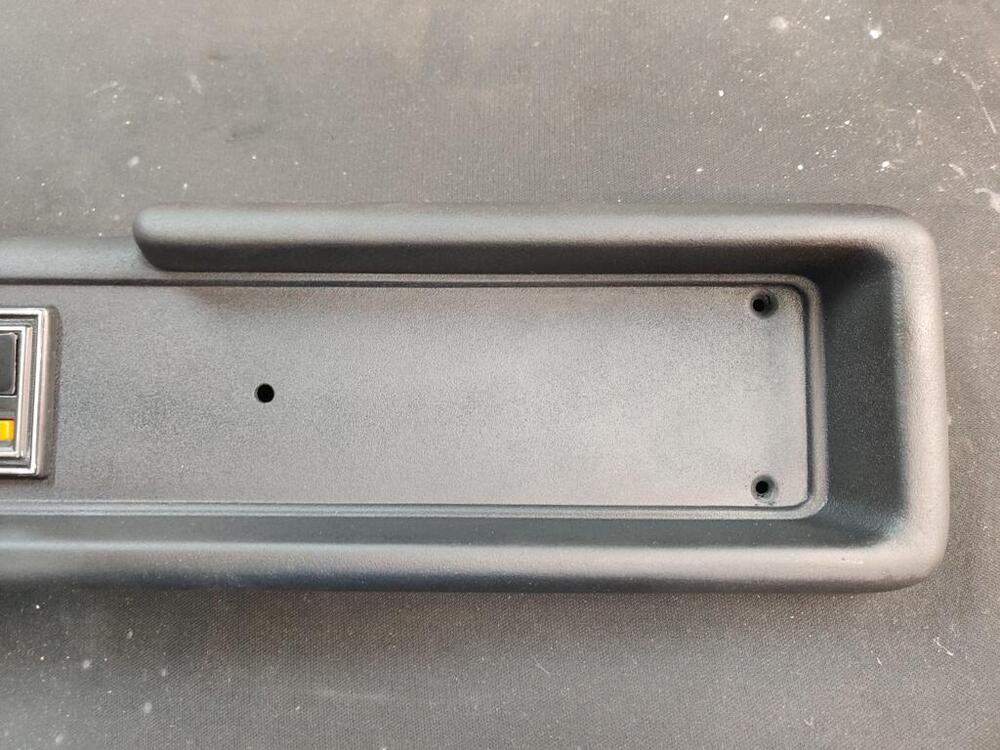
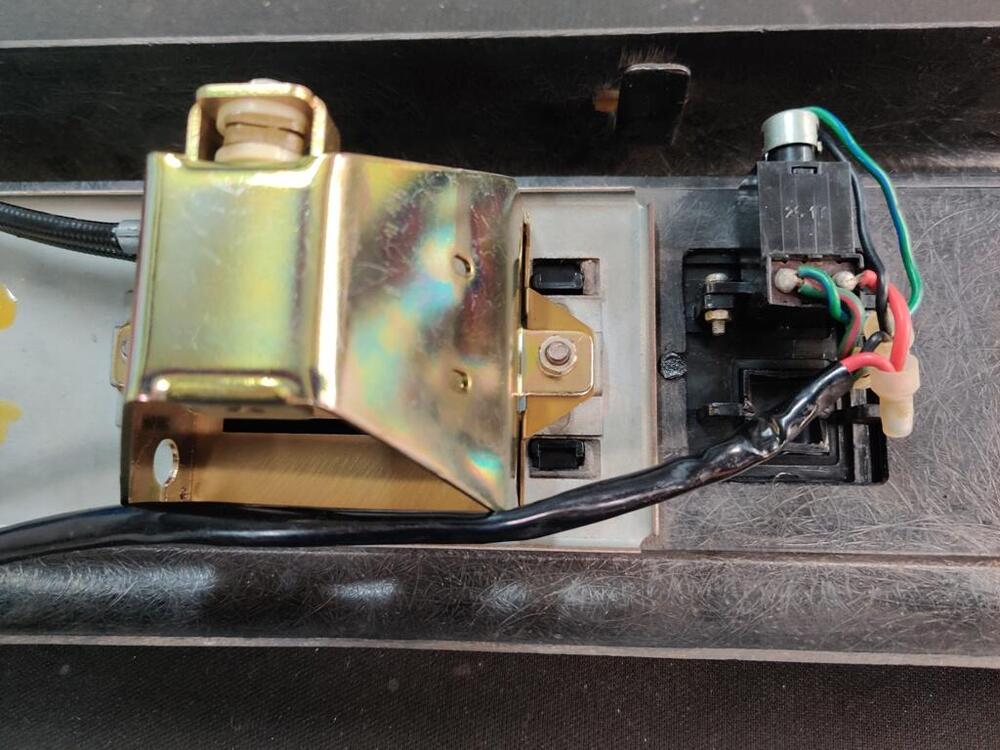
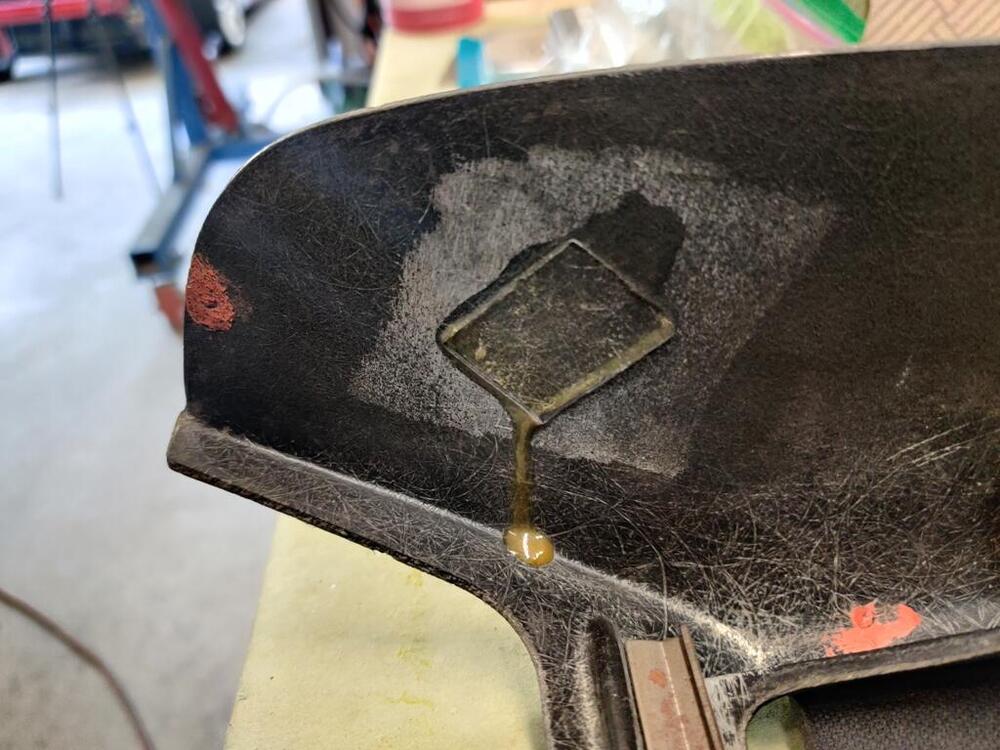
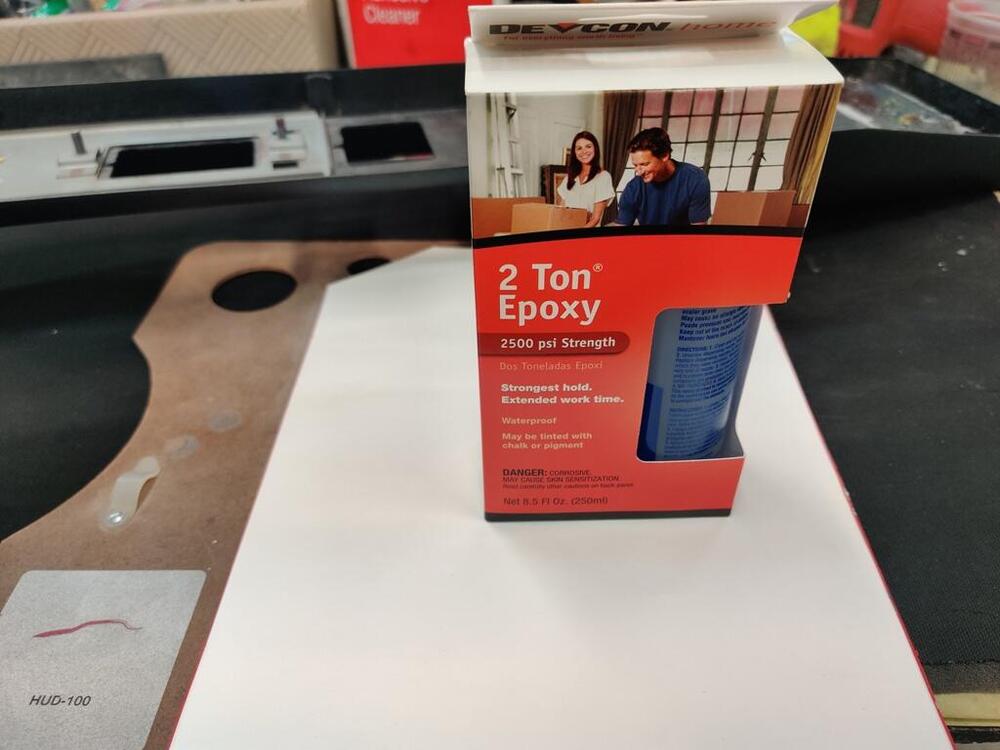
I didn't have much time this weekend to work on the car. Main accomplishment this weekend was getting a suitable shift boot installed. I didn't take pictures, but basically I used a stock 240SX rubber shift boot and a metal ring to seal up the hole on the top of the transmission tunnel. The 240sx transmission fits nicely in the car, and places the shifter in the stock location (unlike the 280ZX transmission). To seal the tunnel opening, which I left stock (uncut), all I had to do was bend the metal sealing ring at the edges. The diameter of the boot and the associated ring is wider than the top surface of the tunnel. So, by bending the metal ring on the sides, it folds those downwards. It took a while to get it shaped properly. To install it, I drilled holes in the top of the tunnel sheet metal and installed rivnuts. This is one of the very few (and insignificant)sheet metal modifications on the whole car. However, removing the 240sx transmission and installing the stock boot, etc. can easily be done. In addition to finishing the center console, I am in including some pictures from earlier work restoring the map light and cigarette lighter. Interestingly, the little picture of the cigarette is not painted on. If you remove the little disk from the lighter, you will see it is two pieces of plastic, one white and one black. The cigarette with smoke rising off of it is actually part of the white backing piece. So, you can sand and polish the disk without worry of "erasing" the cigarette. I also polished the map light lens. The map light as disassembled, electrical parts polished, and then reassembled. I took apart the center dash controller, cleaned and lubricated everything, then reassembled it. For all of the cables, I removed the metal wire from the plastic sleeves and straightened any kinks, polished the wire, and reassembled them. Center panel is an aftermarket reproduction part. I found that I had to file the opening for the fan switch a bit (off of center) from its original location to get the fan switch to align with the off, low, med, and high settings. Stripped old foam and paint off of this piece, cut new foam and glued that in place. There is a metal strip that gets glued to the center console on the front inside surfaces. The old glue was still present and helped me "locate" the strip in the correct location after I glass bead blasted and painted it. The glue I used was a 2 part epoxy (which incidentally has a similar appearance to the glued used originally). For the starter cables, I replicated what I did for the center panel cables. I removed the hard wires from the cable housings, carefully straightening any kinks, and then used metal polish to clean the wires. For the cable housings, I sprayed WD40 inside of them and then blew them clear with compressed air. I then rubbed lithium grease on the hard wires and reinserted them in the cable housings. The console fit nicely when I finally installed it today. I didn't get any pictures showing the installation of the reproduction shift boot, but that fit well. It looks stock, which is nice. The center console was one of the big projects left to do and it feels good to have that done.


 2 points
 -
I wouldnt be surprised if the fan clutch is bad. When its hot take a rooled up newspaper and touch the fan blades. If it stops easily, its toast. Get a new one. I just bought a made in Japan one for $64 from Zcar depot. My car was fine in the spring, and recently I took it out in the hot weather and noticed it heating up when going slow. Clutch wasnt doing anything.2 points
-
This is a really nice example, very well restored from the looks of it. Anxious to see how soft the market seems to be right now.2 points
-
I wonder if it's similar to this dental sandblasting unit?... https://www.vaniman.com/product/sandstorm-mobile-io-80141/ US$540 - ships from manufacturer in California
 1 point
 -
That distributor looks like a good option " 3.0 ohm coil required with ballast resistor delete"1 point
-
Mine has a white plastic fan and shroud. Fan clutch was replaced in 2015. I only use this car on sundays for close drives.1 point
-
1 pointOh, and forgot to say.... It looks like a graceful crash landing recovery so far. Glad to see that!!1 point
-
1 pointAnswers to some of your questions that I haven't seen answered already: 2) Yes, it's that easy. (And I'd be interested in the relatively new hoses if you're looking for them to find a new home. Send me PM if you want.) 3) Those things are supposed to hold the throttle open a tiny amount when you are decelerating hard. You probably won't notice if they are working or not. 5) In theory, nothing you are doing should have any impact on the carbs or the tuning. 6) Probably, and probably.1 point
-
1 pointCan't wait to see it with the euro balance tube. Did you get the semi polished one that ZTherapy sells or did you find a real one?1 point
-
1 pointAs Ken says, those ball joints pop off and push back on pretty easily. I think they may be nylon. Yes, that lever to open the throttle a little in deceleration does as you say "just flap in the breeze".1 point