Leaderboard
-
inline6
 Subscriber
 6Points1,282Posts
 -
conedodger
Free Member6Points12,513Posts -
Richie G
Free Member4Points254Posts -
Patcon
Subscriber3Points11,142Posts


Popular Content
Showing content with the highest reputation on 08/11/2024 in all areas
-
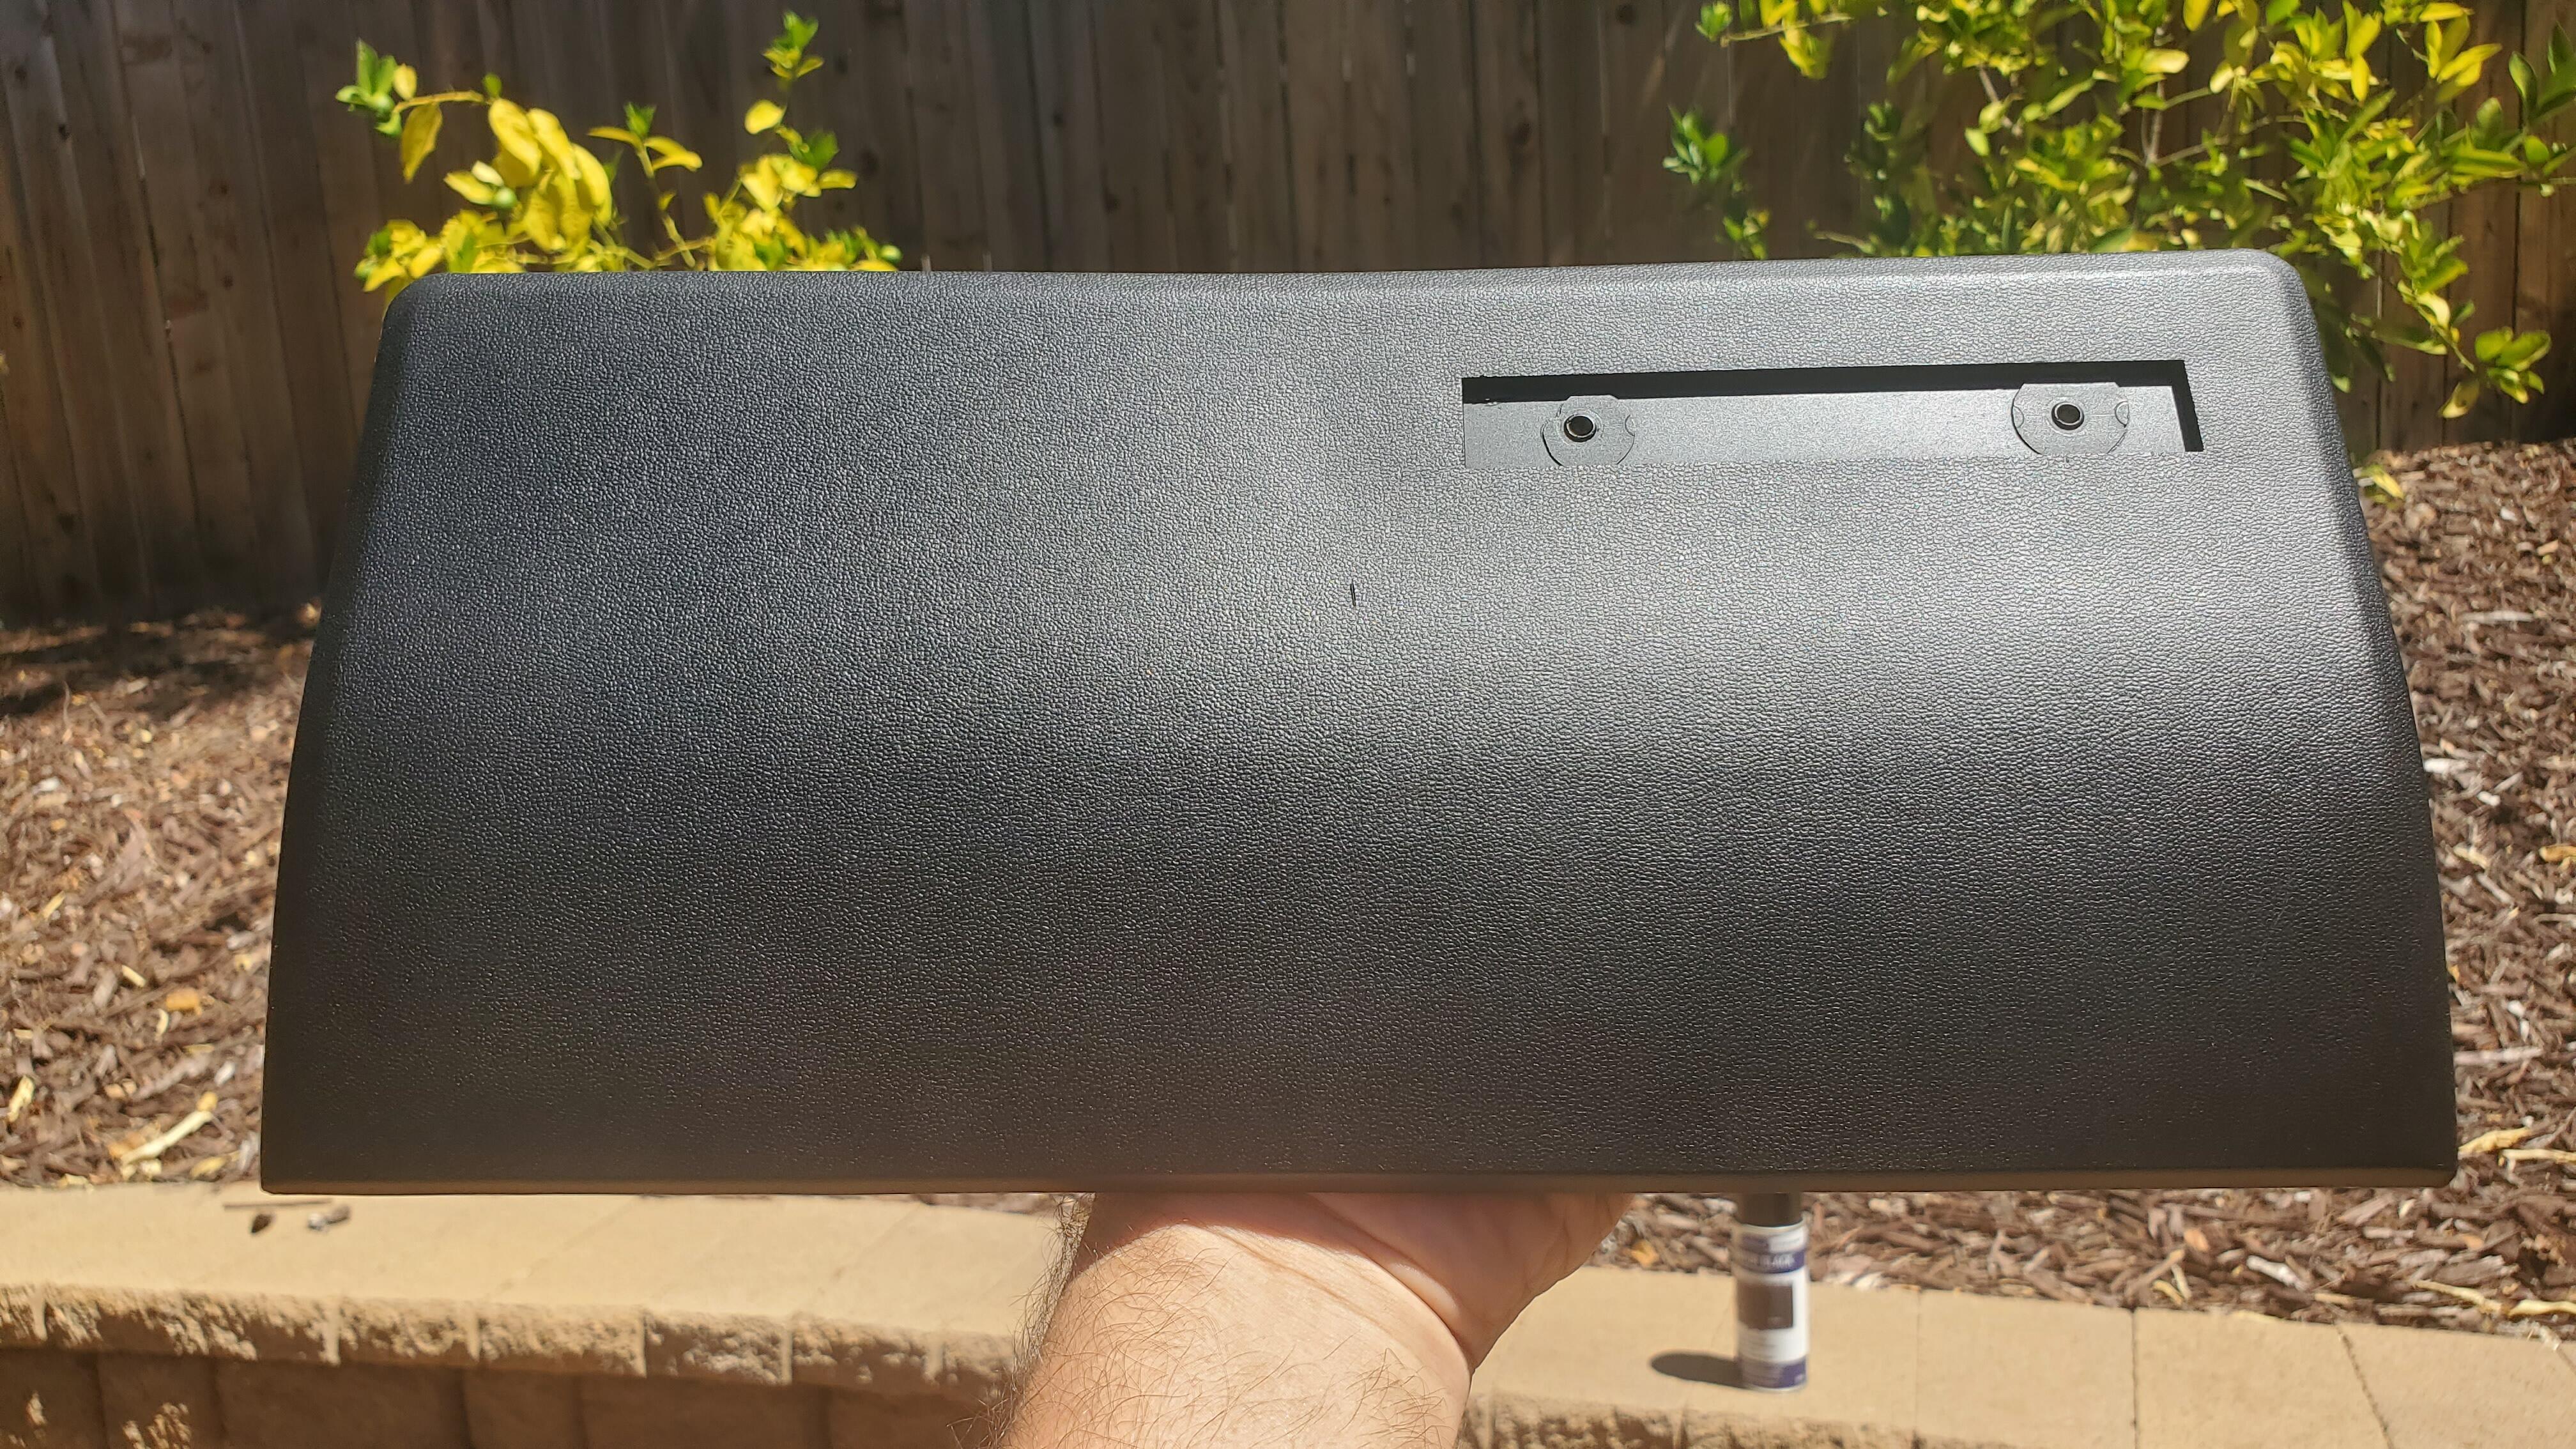
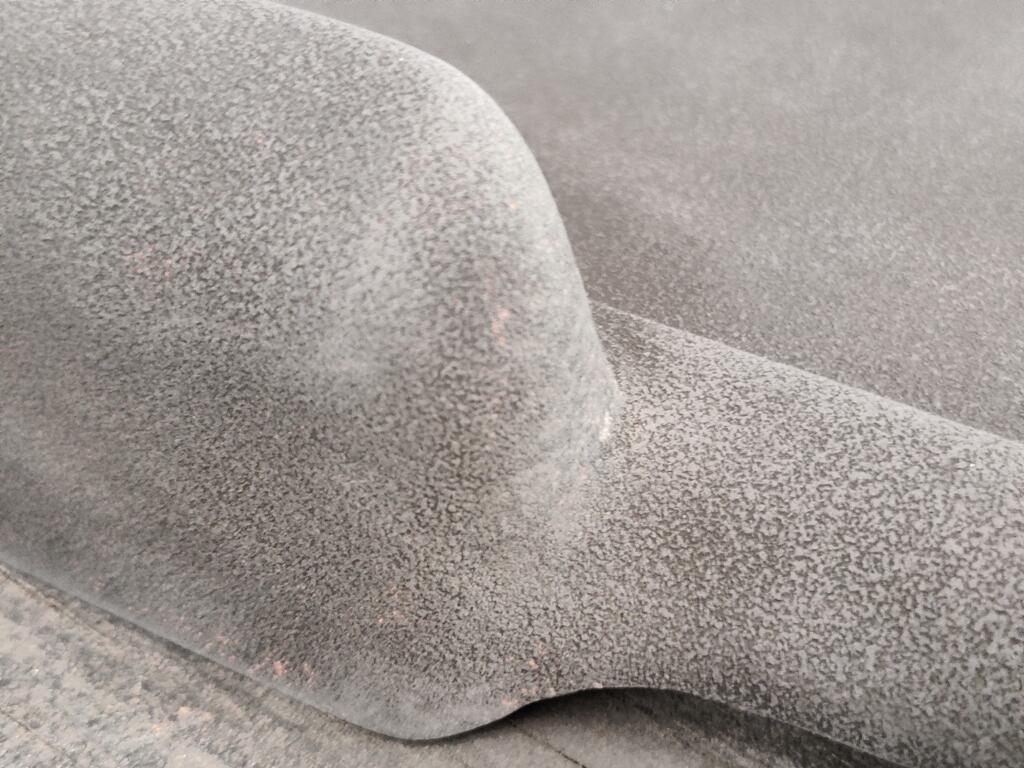
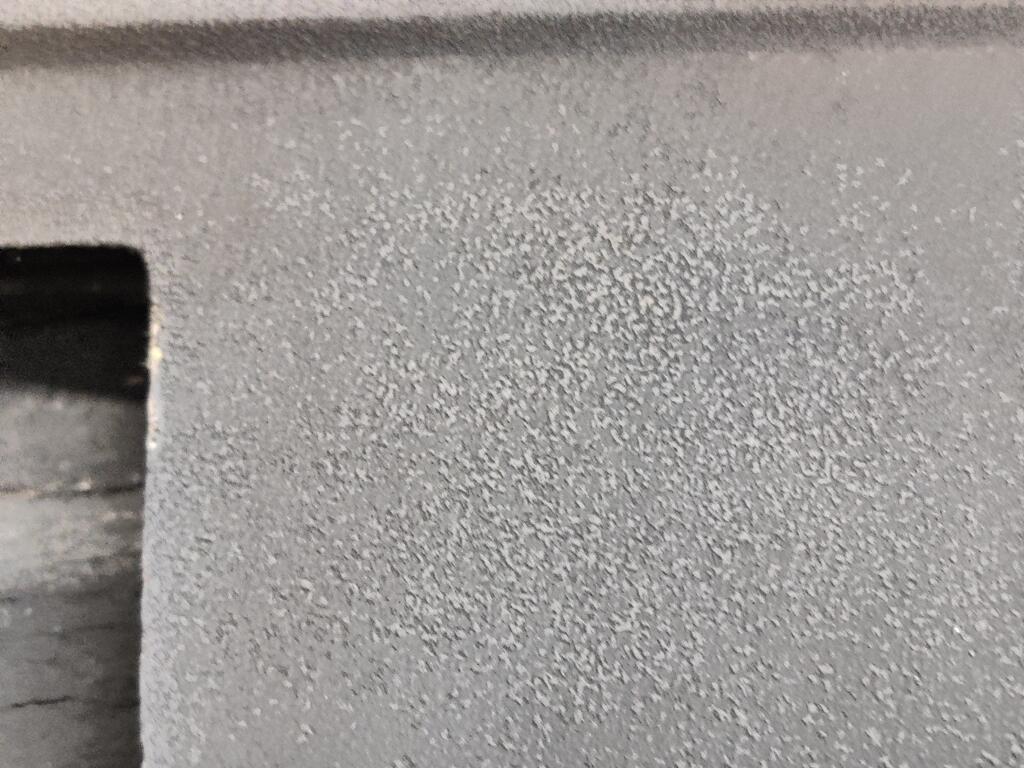
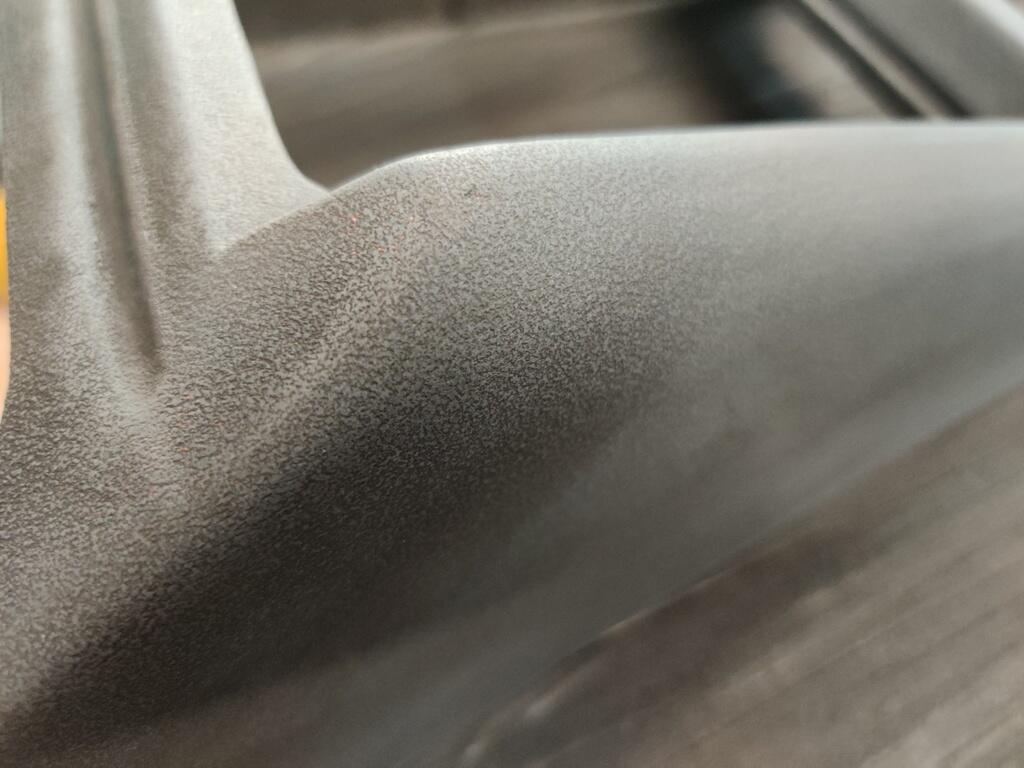
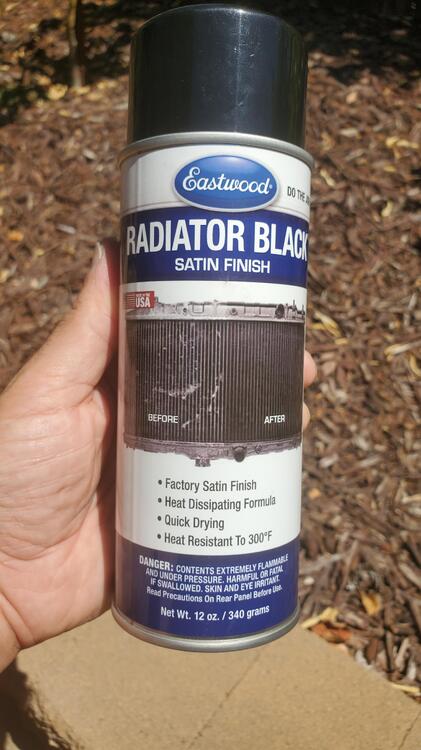
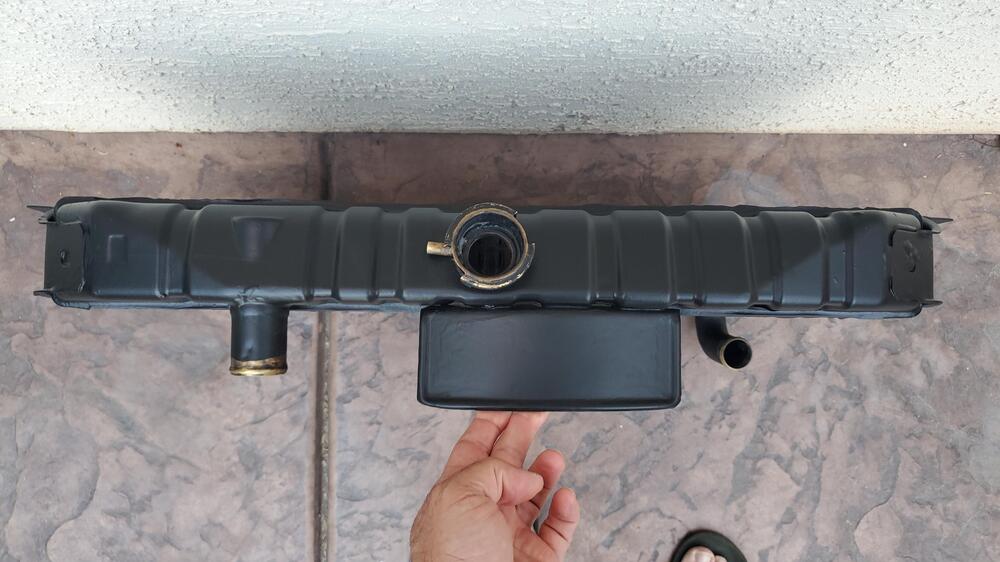
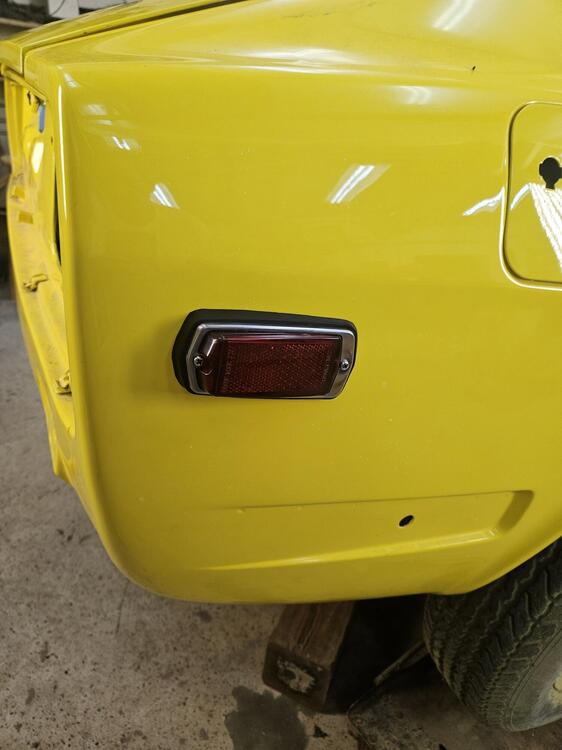
4 pointsI'm working on the glove box lid, had to repair the hinge, repaint the hardware, etc. So like a dope I left some cleaner on the lid too long and it discolored it 😞 I knew better but got distracted with something, lost track of time, and came back to a faded grey for the color of the outside lid. At this point I was open to trying to paint it and since I have a bunch of the SEM stuff for the panels I'll be doing next month I figured I'd give it a try. Then I had another idea. I recently restored the radiator and used this to paint it when done. It came out beautiful BTW I had also used it for the inner door sil kickplates and those came out great too So I figured lets give it a try on the lid. Well, it came out nearly perfect match to the dash lol. This rad paint sprays on so thin since its made for radiator fins and dries so fast it was really easy and i didn't need to go through all the SEM prep and sandless and all that. Pictures don't do it justice but here goes When I'm ready to do all the panels I'll give this a try to see how it holds up and report back. Maybe an easier alternative for some.
 4 points
 -
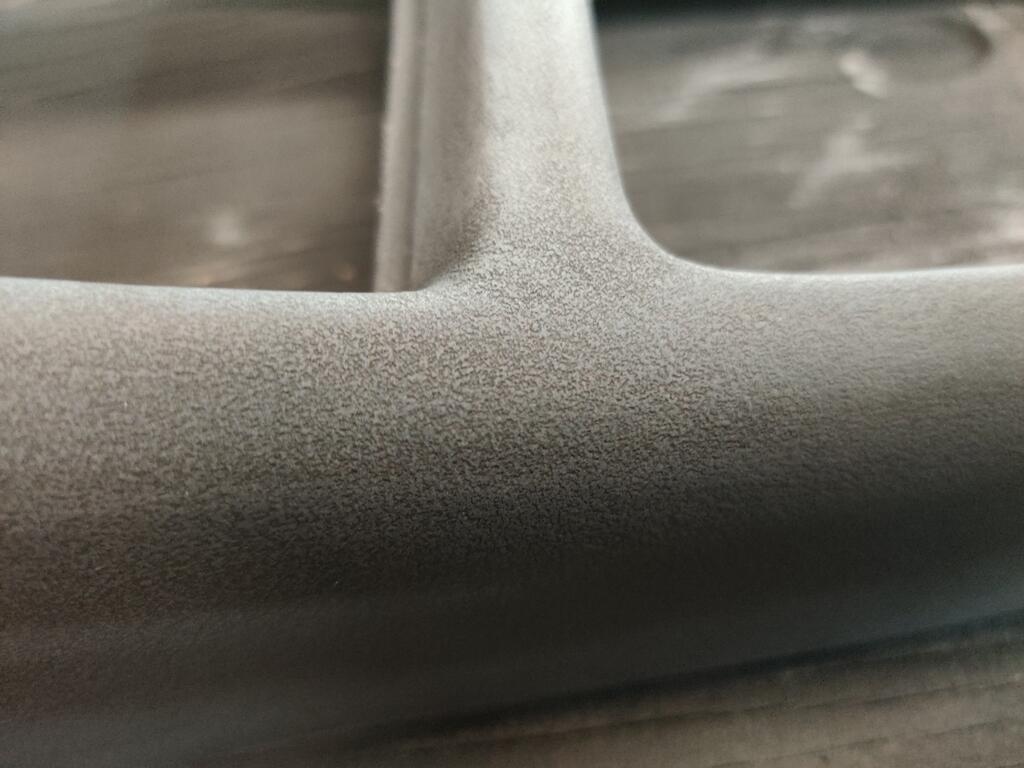
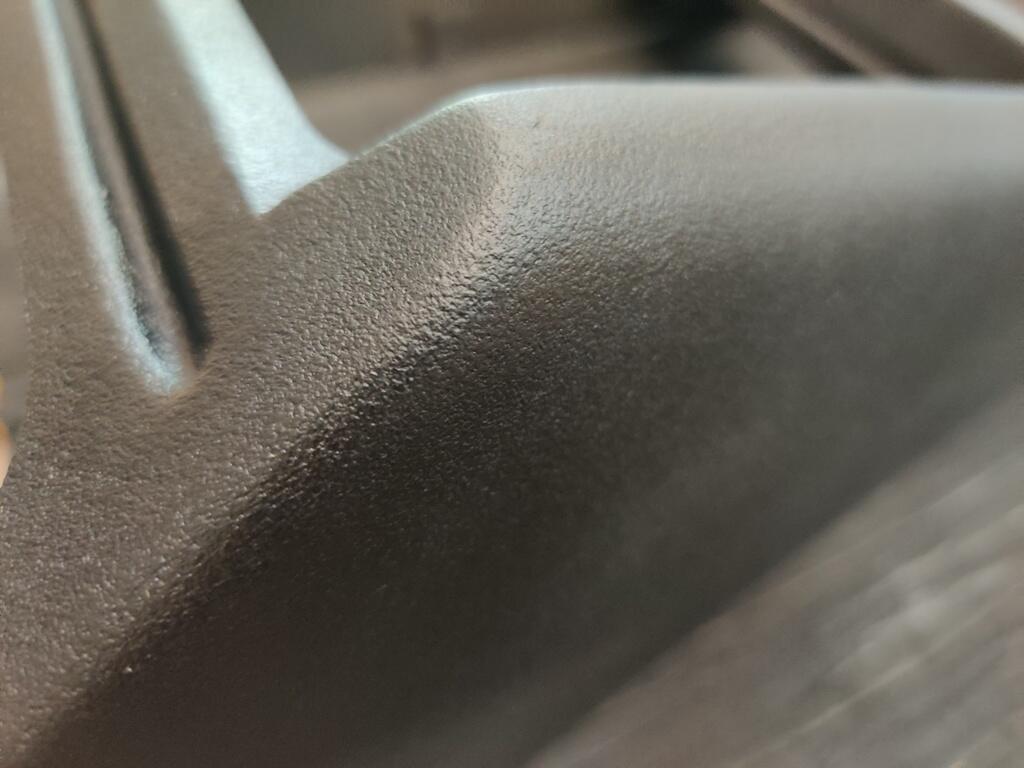
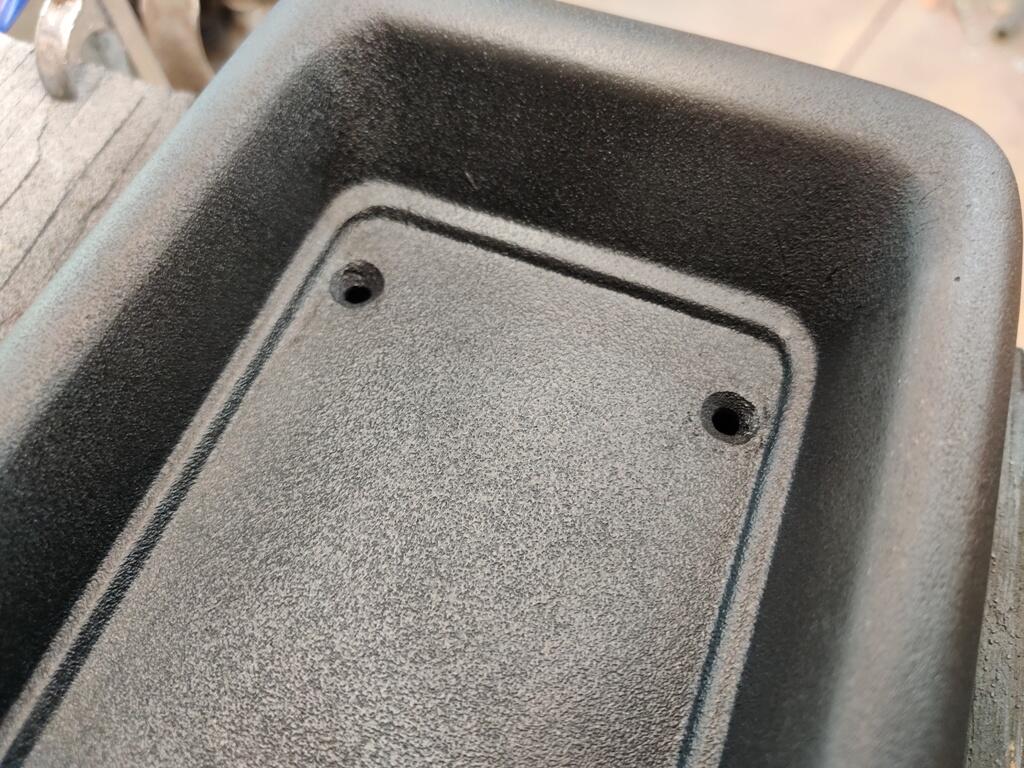
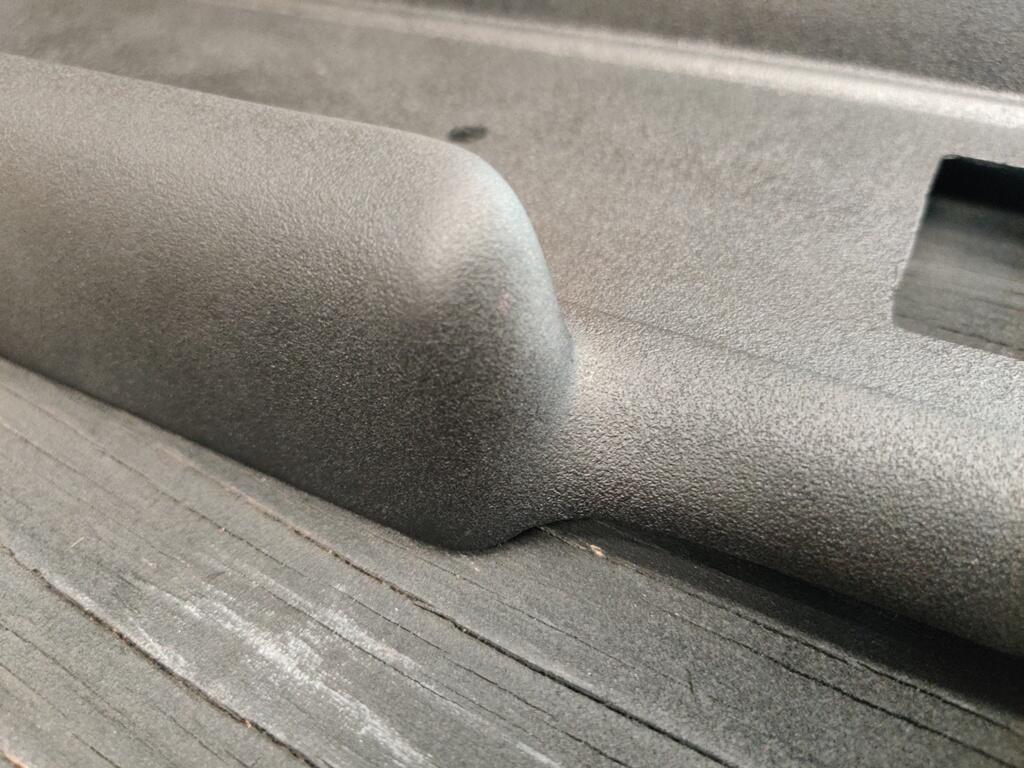
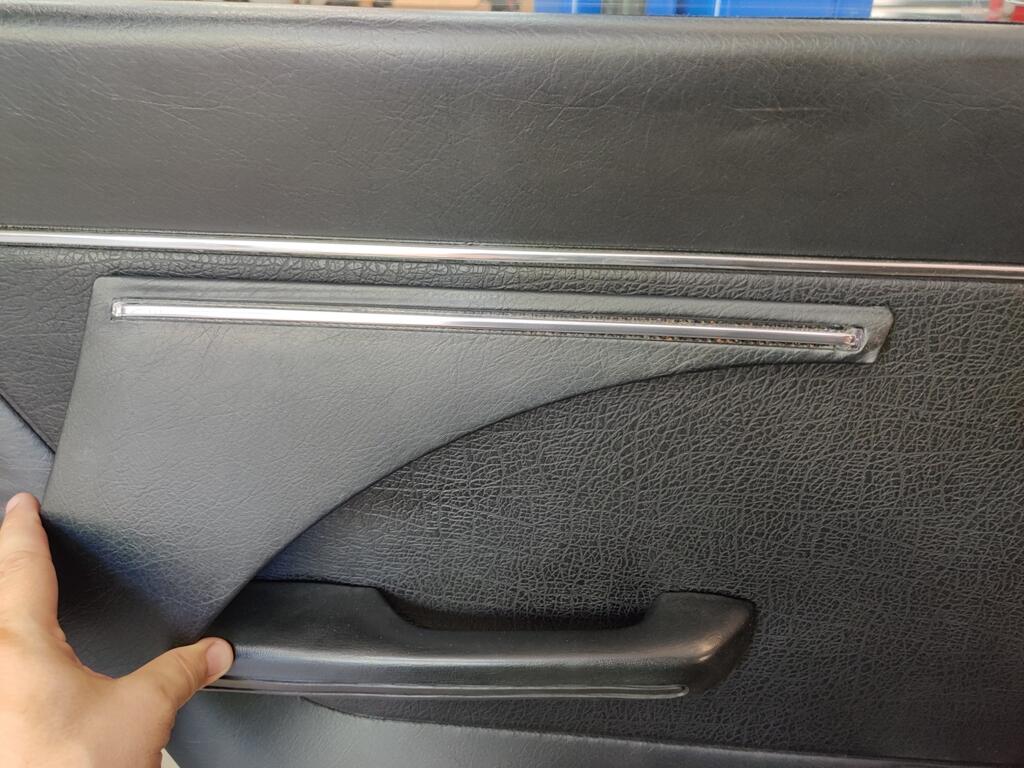
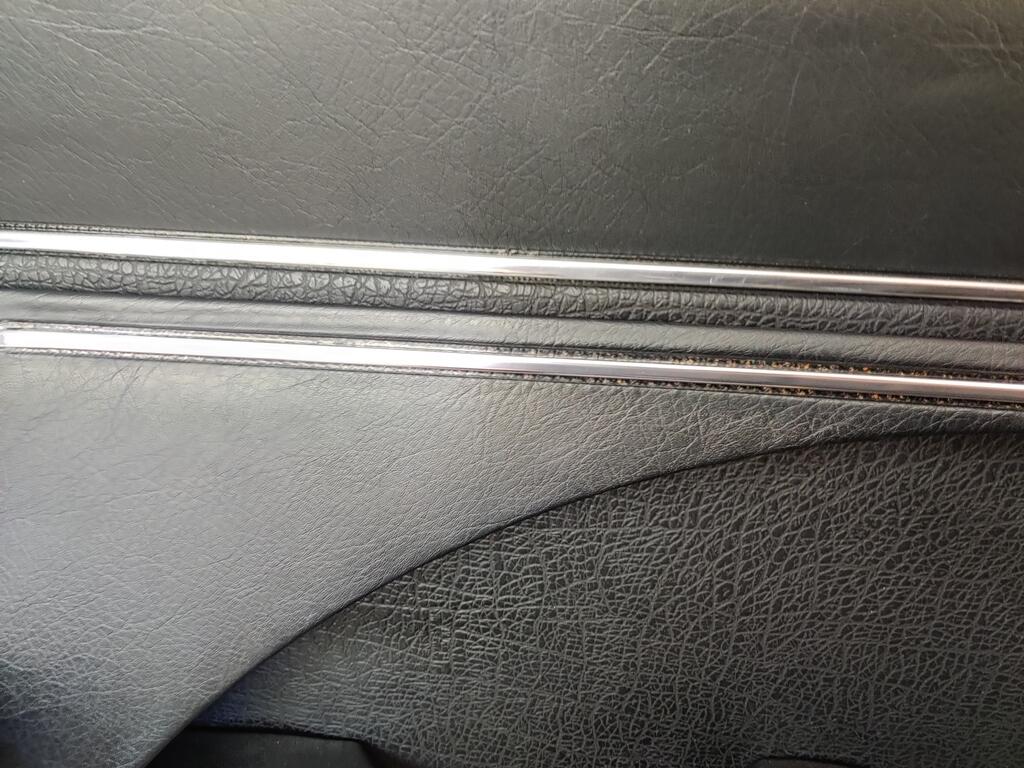
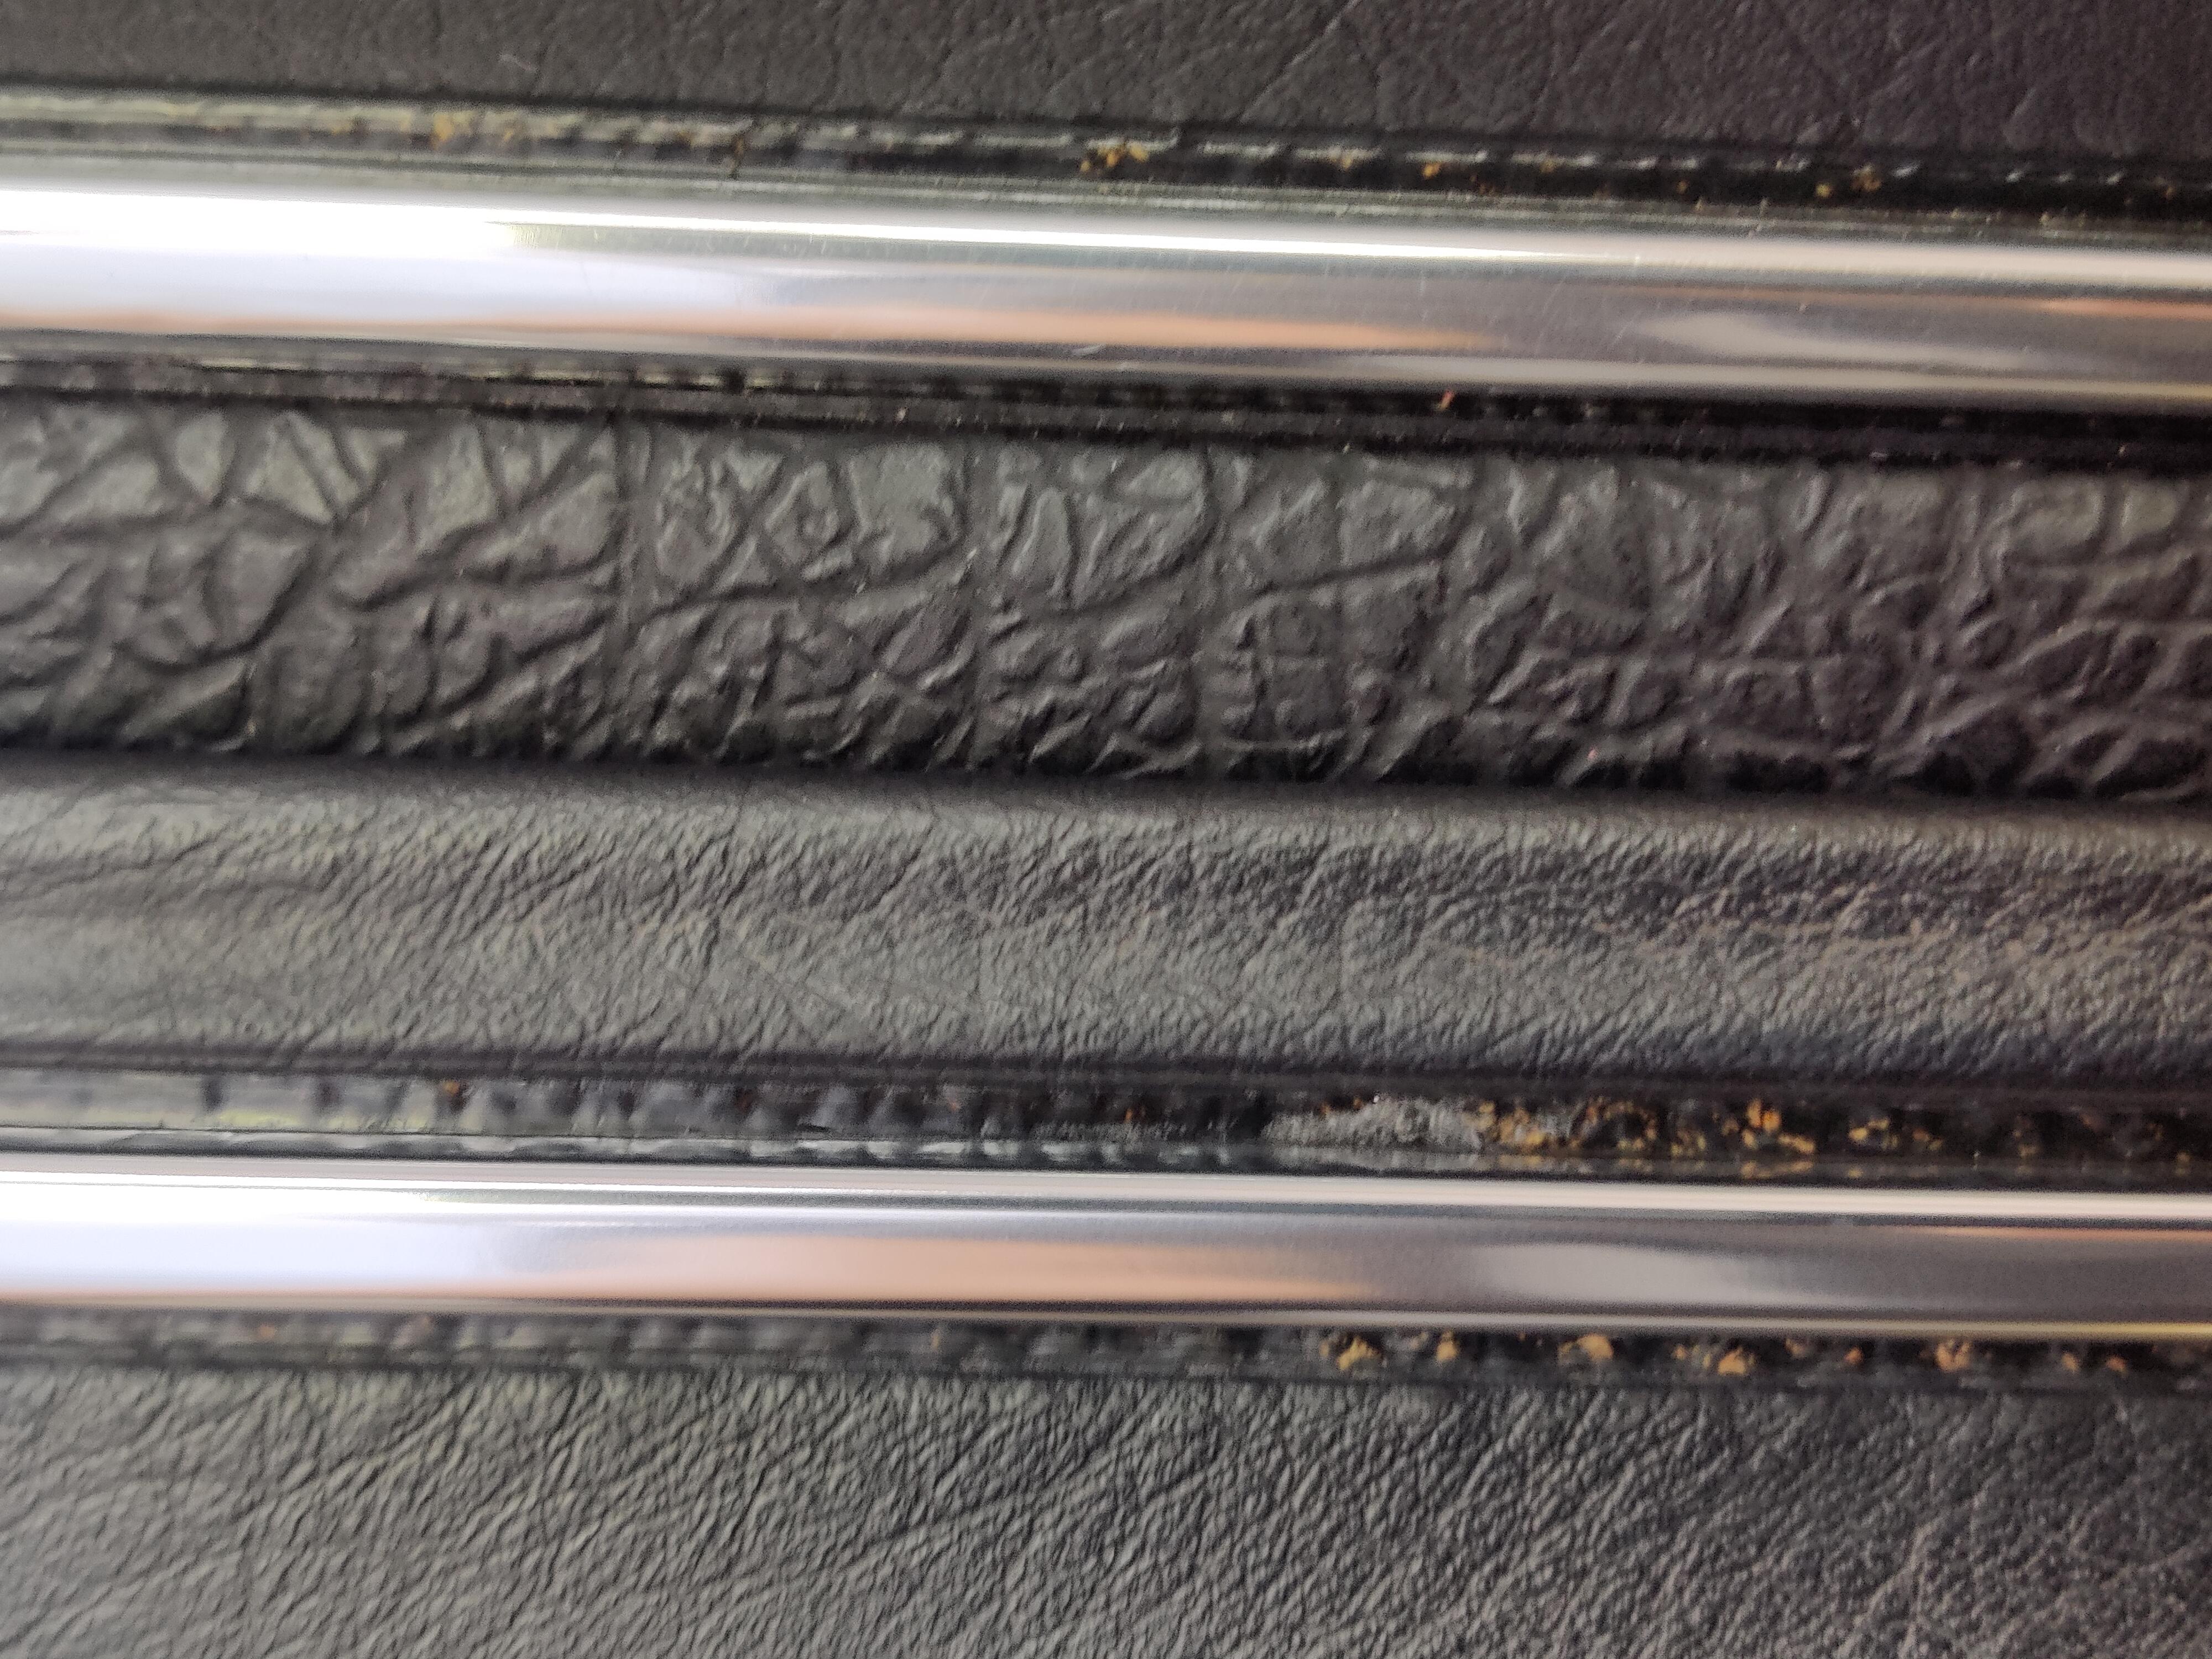
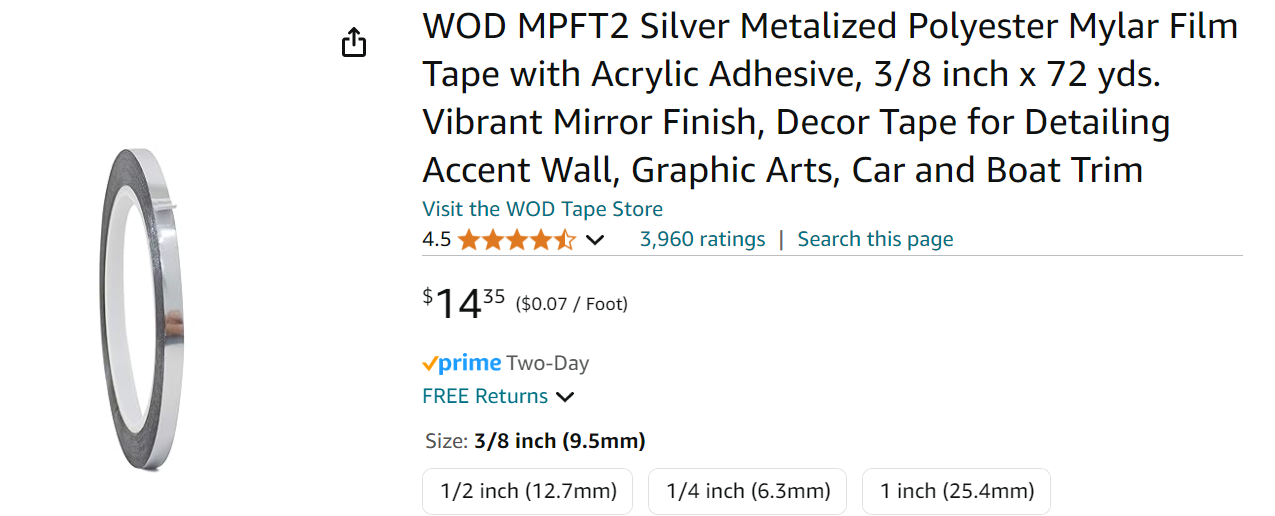
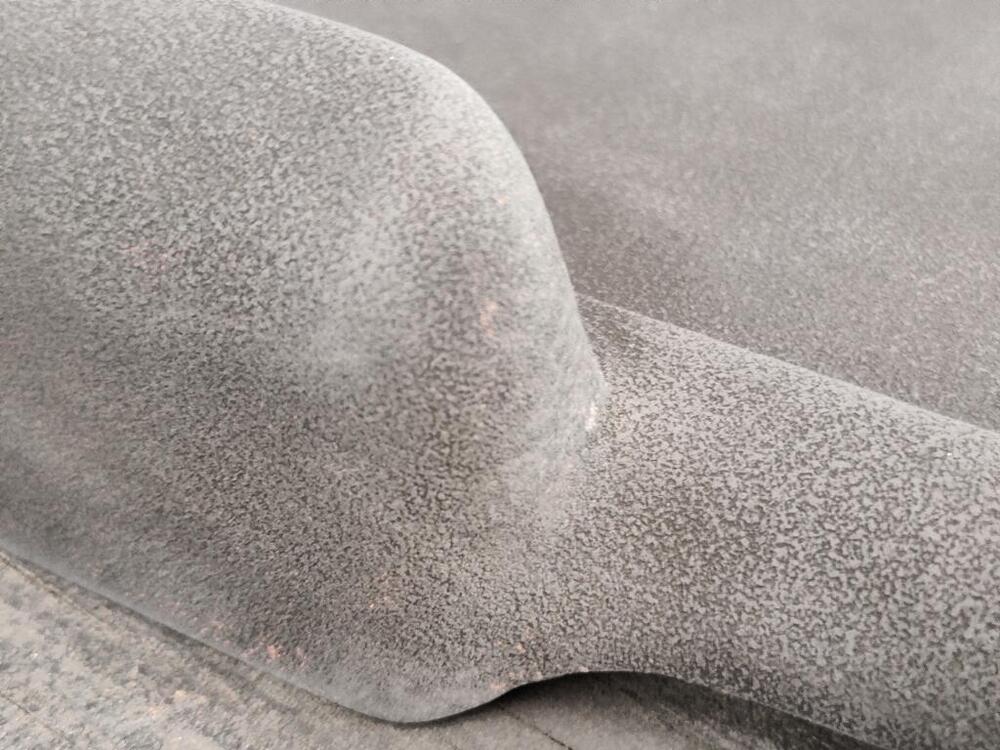
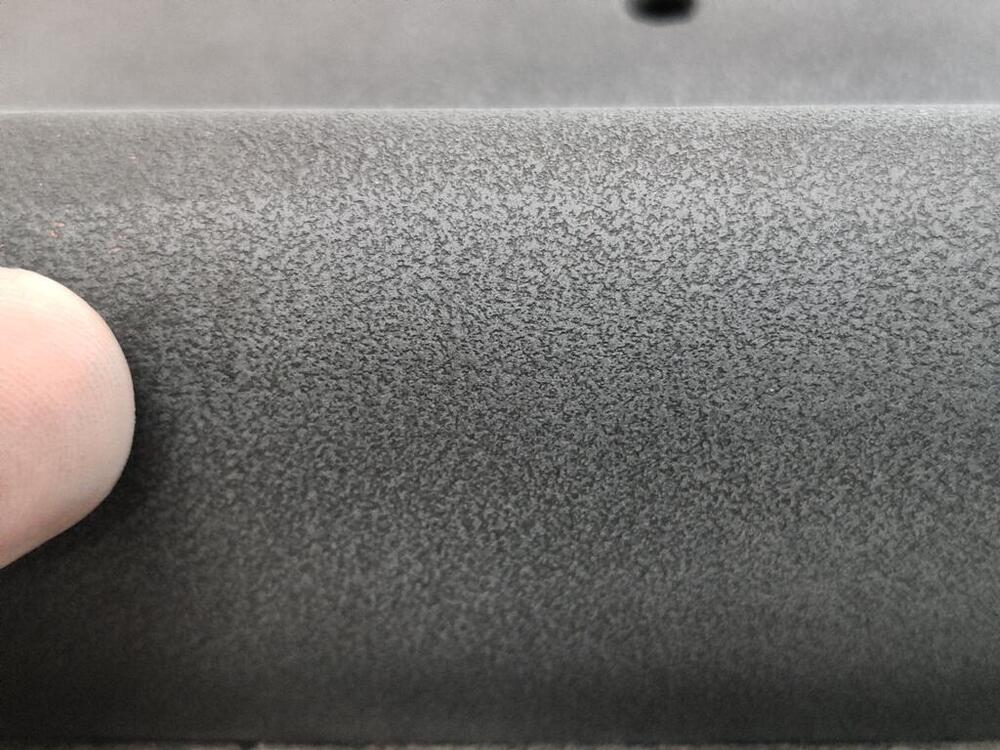
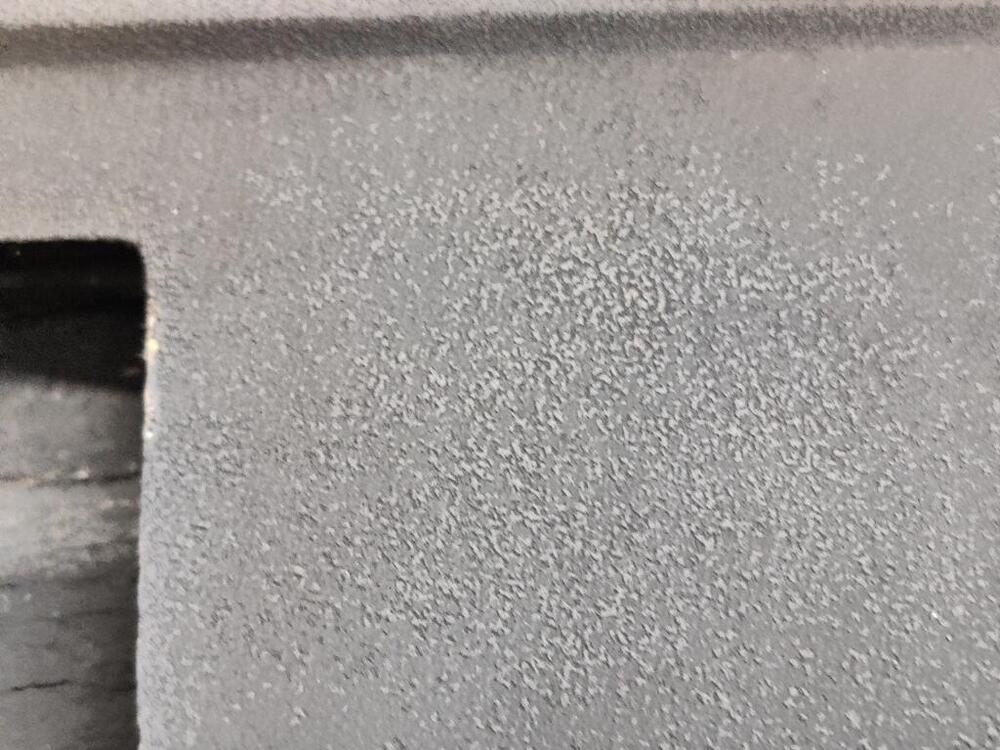
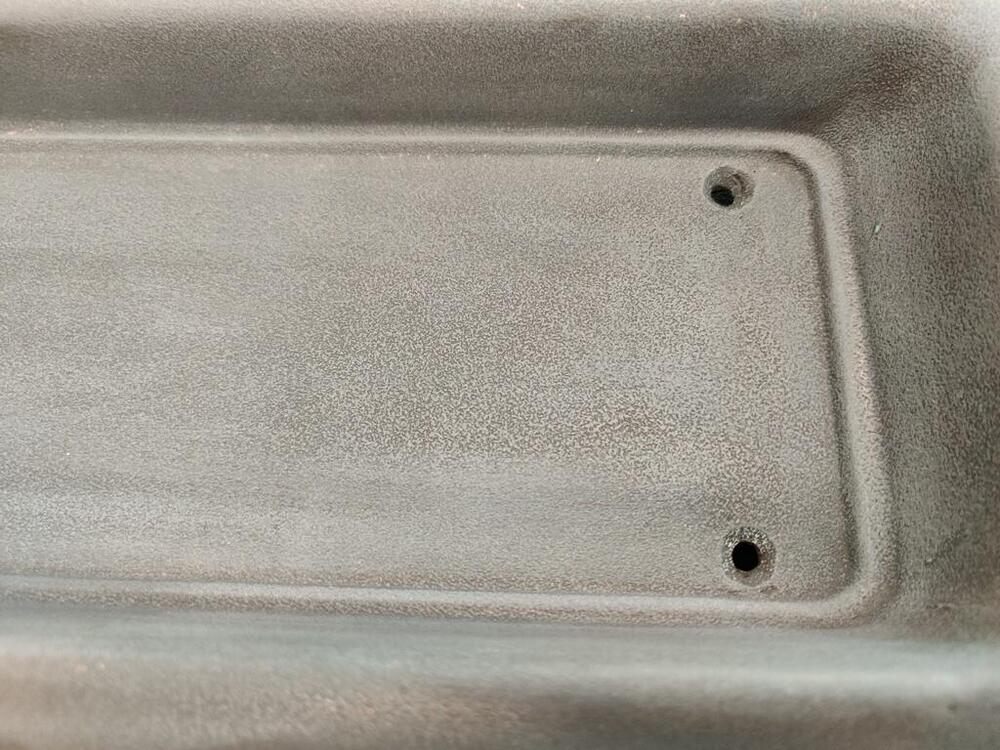
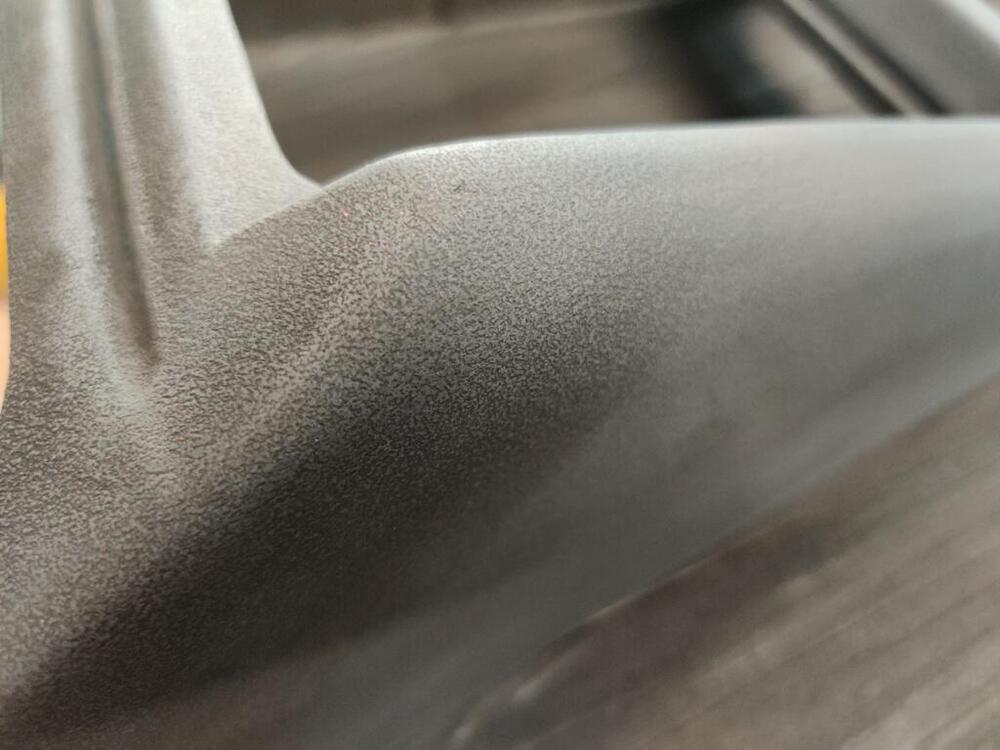
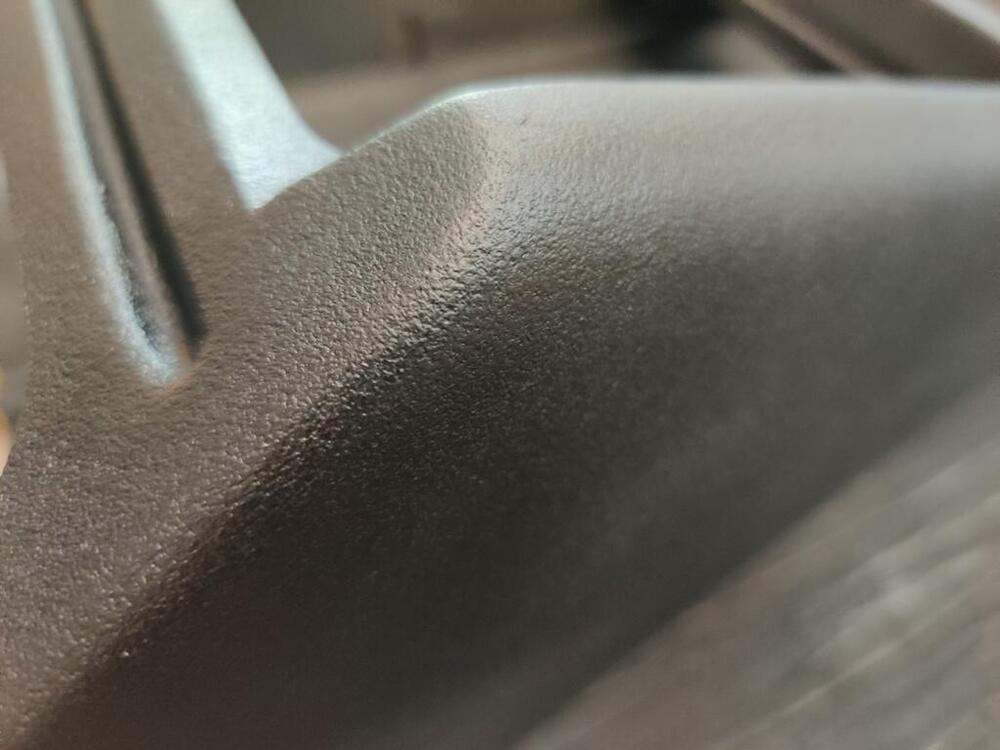
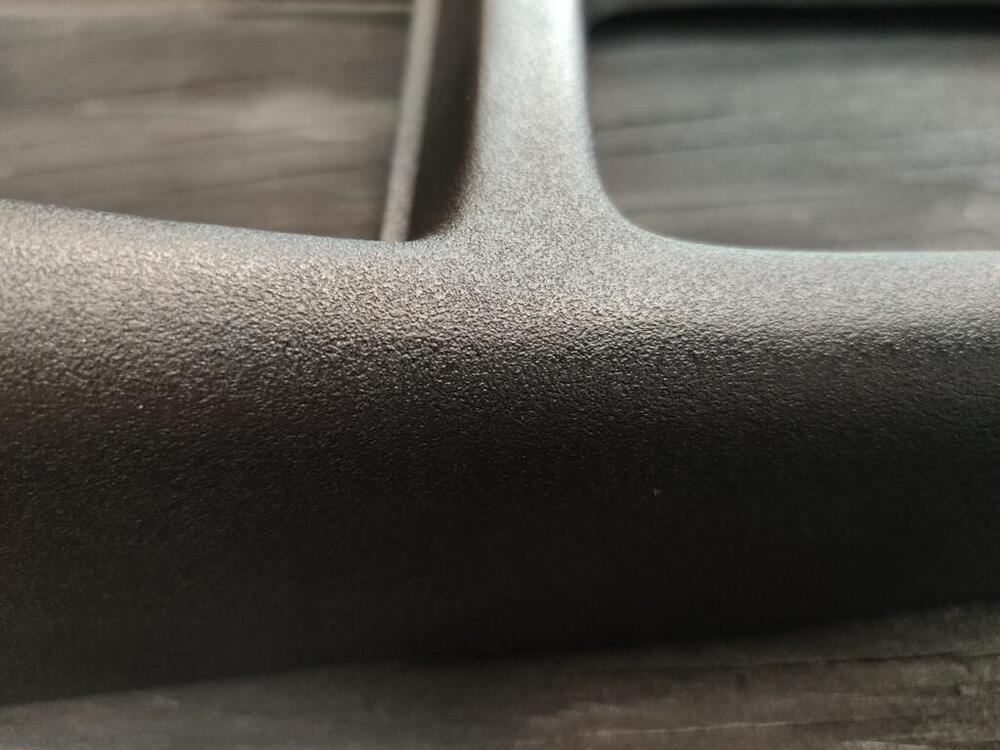
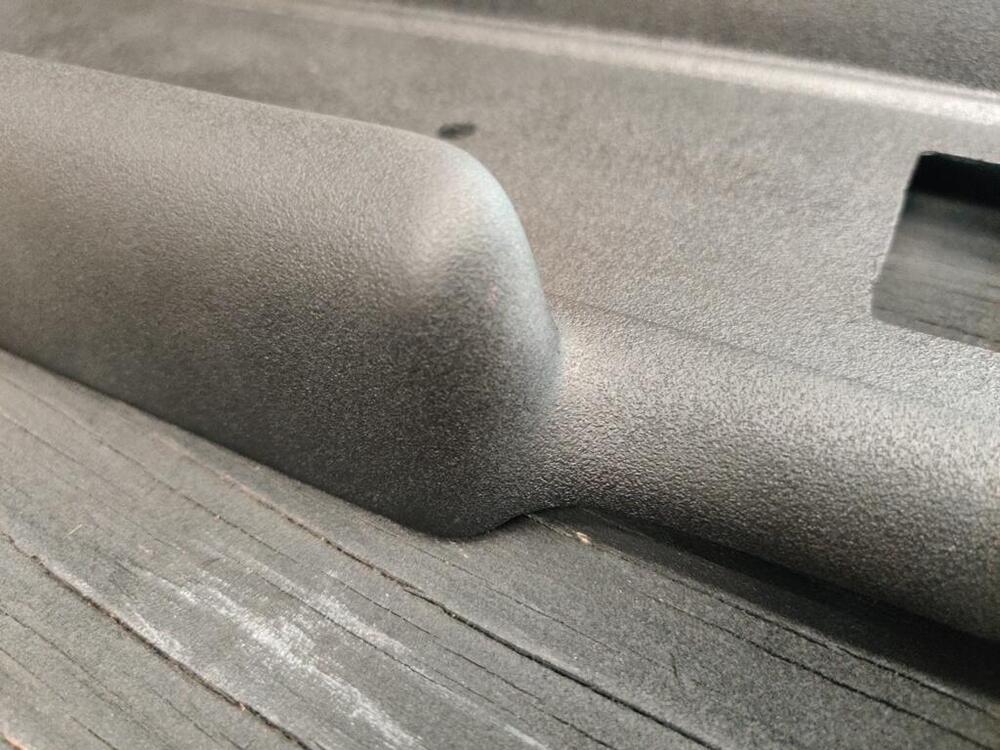
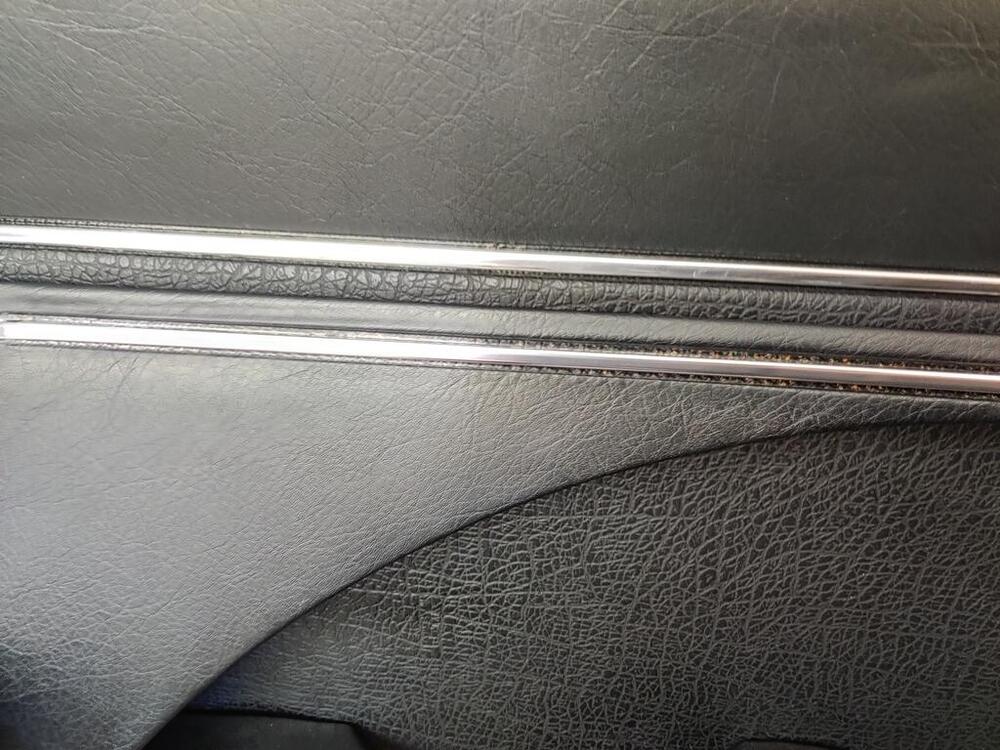
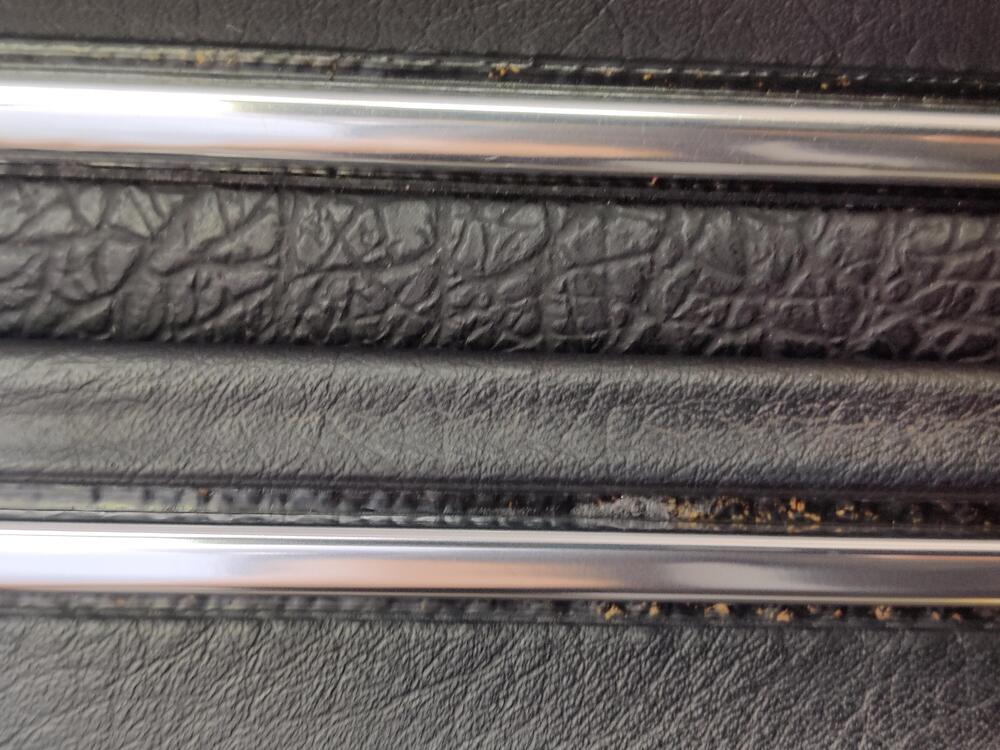
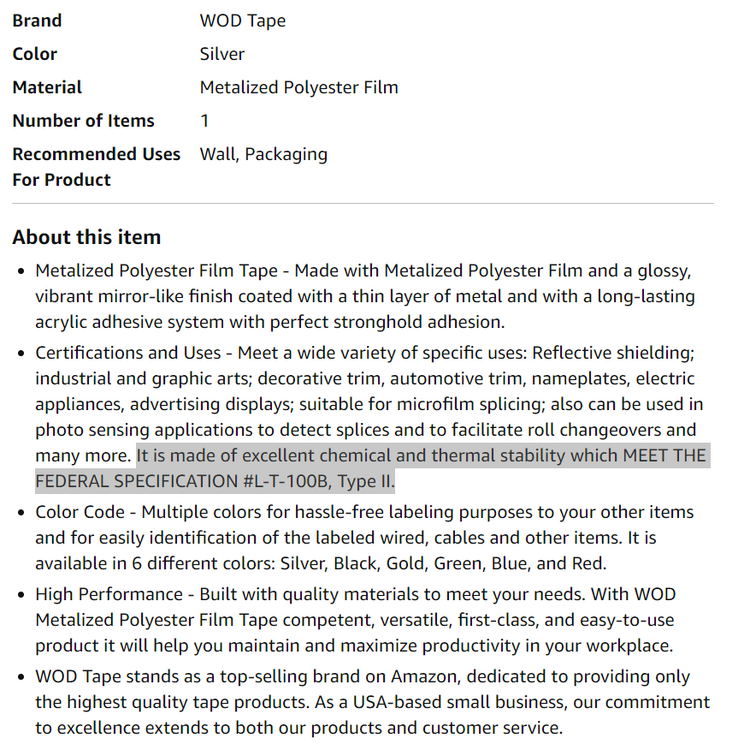
I continued working on the center console this week. I used an 800 grit sponge sanding pad and went over the texture. Here are several pictures before painting. The texture doesn't look like the factory one so much, but it is a decent approximation. From the last picture in this group of three through the rest of the pictures, the console has semi-gloss black paint applied. Another little project I completed was these interior trim panels. The silver/chrome had come off of them. I don't know what happened to my pictures of the "before", but the "chrome" stripe was blue. I found this Metalized Polyester Mylar Film Tape with Acrylic Adhesive and decided to give it a try: It took about 7 tries to get it on the panel to my satisfaction. I was getting some air bubbles on some of the attempts. And it was a bit crooked on some as well. Thankfully, you get 72 yards of it on one roll, so I had plenty to spare. 🙂 Anyway, I am very pleased with the final outcome. I hope it stands up to heat, etc. well as time progresses.


 4 points
 -
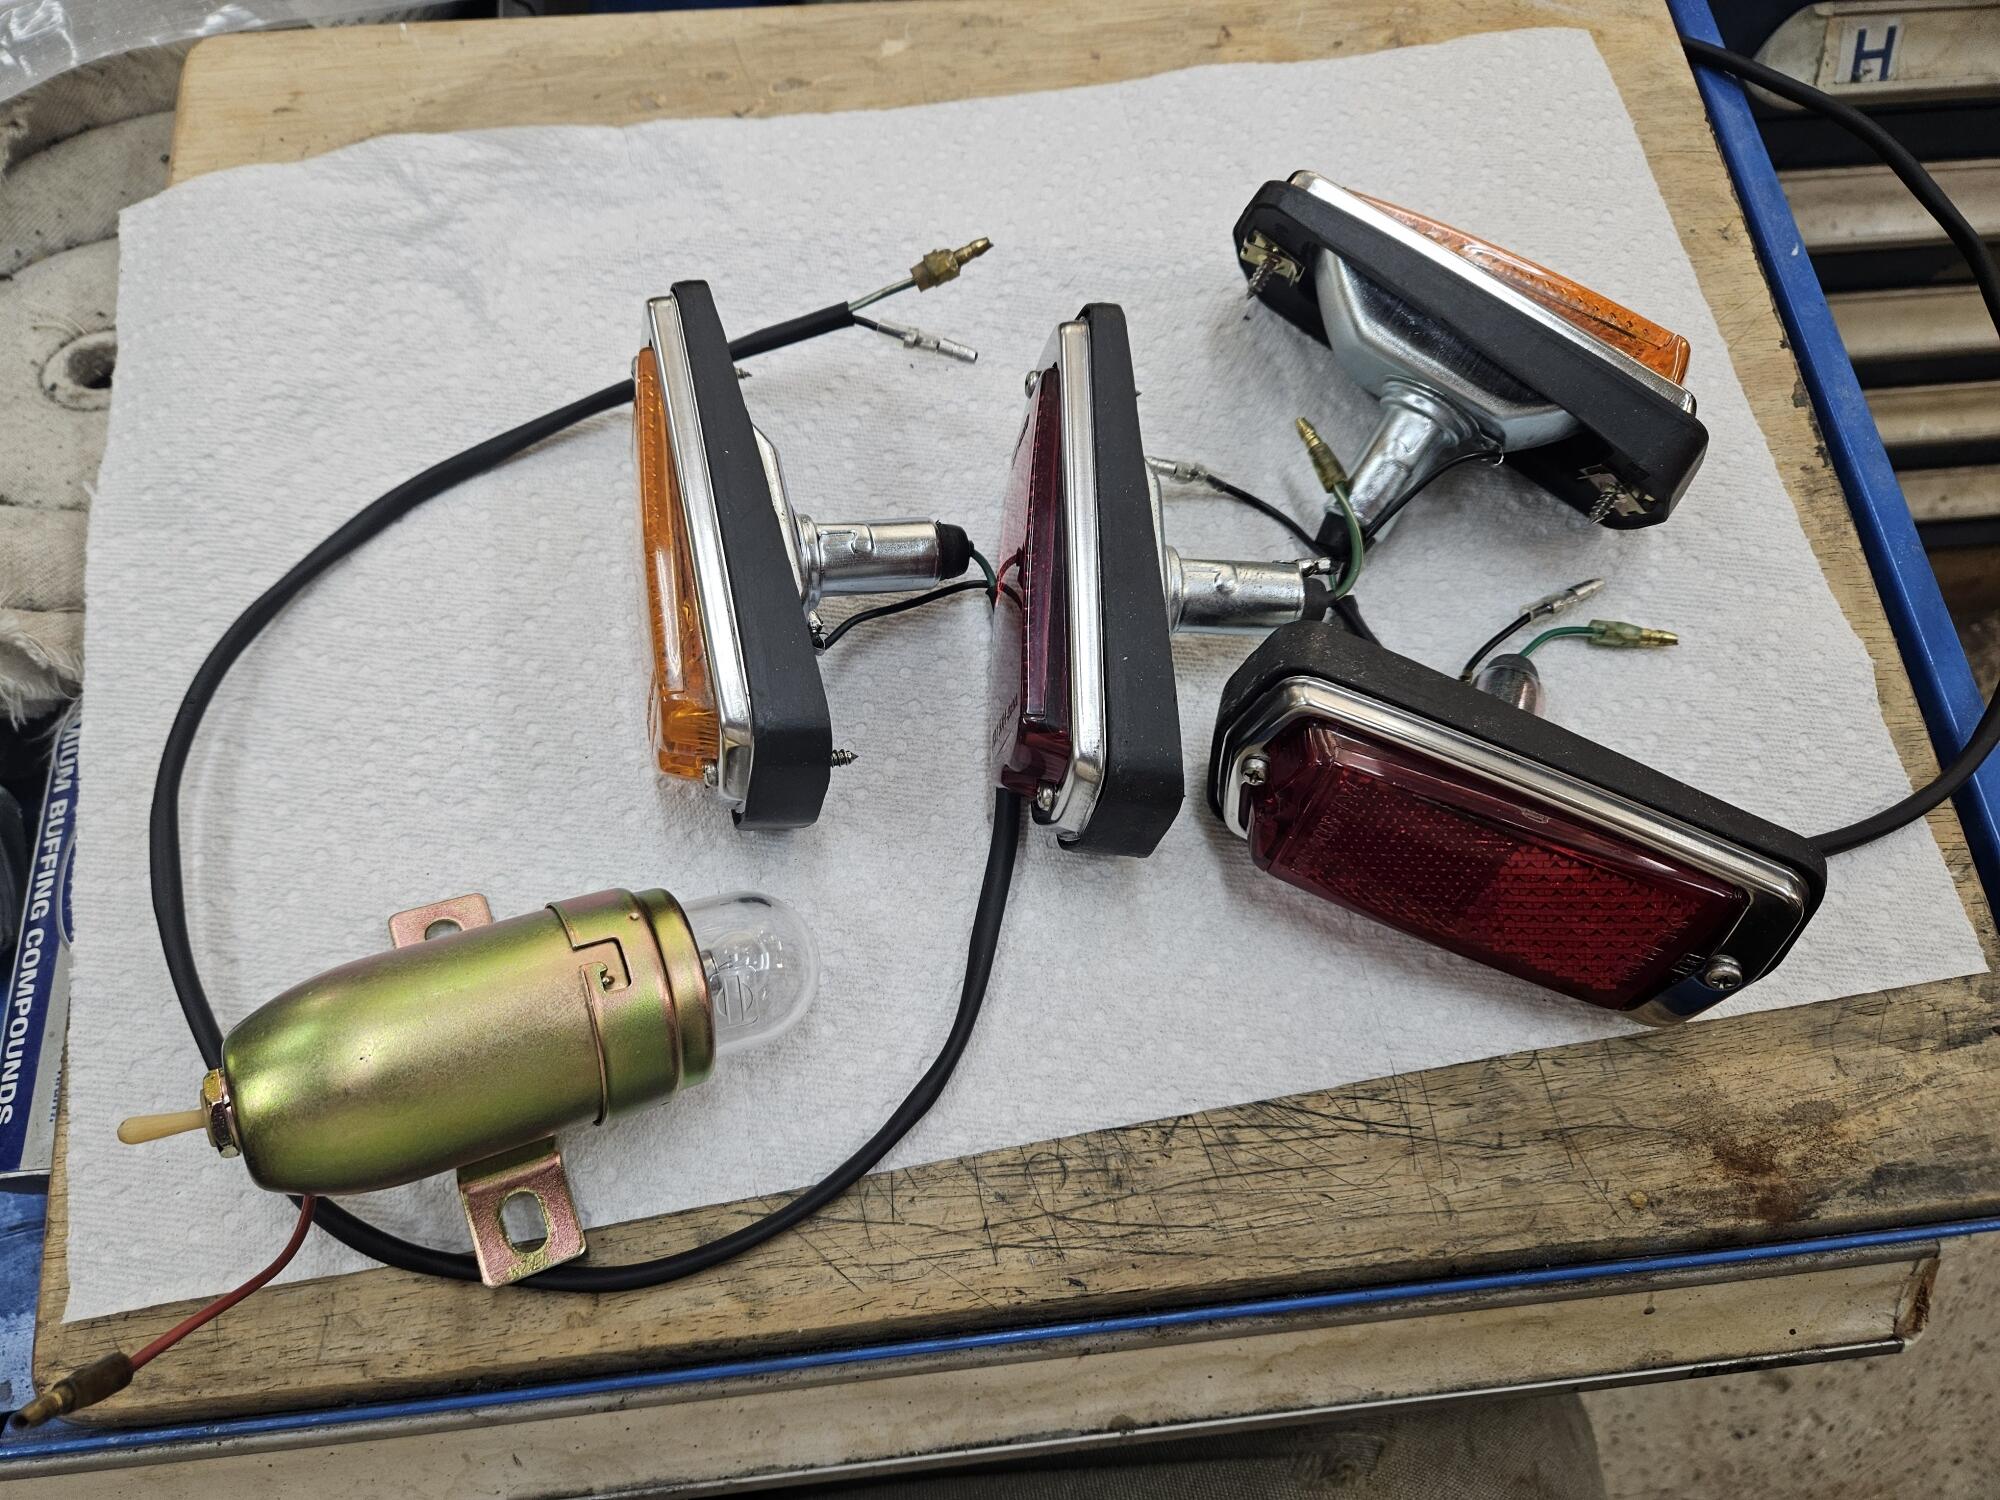
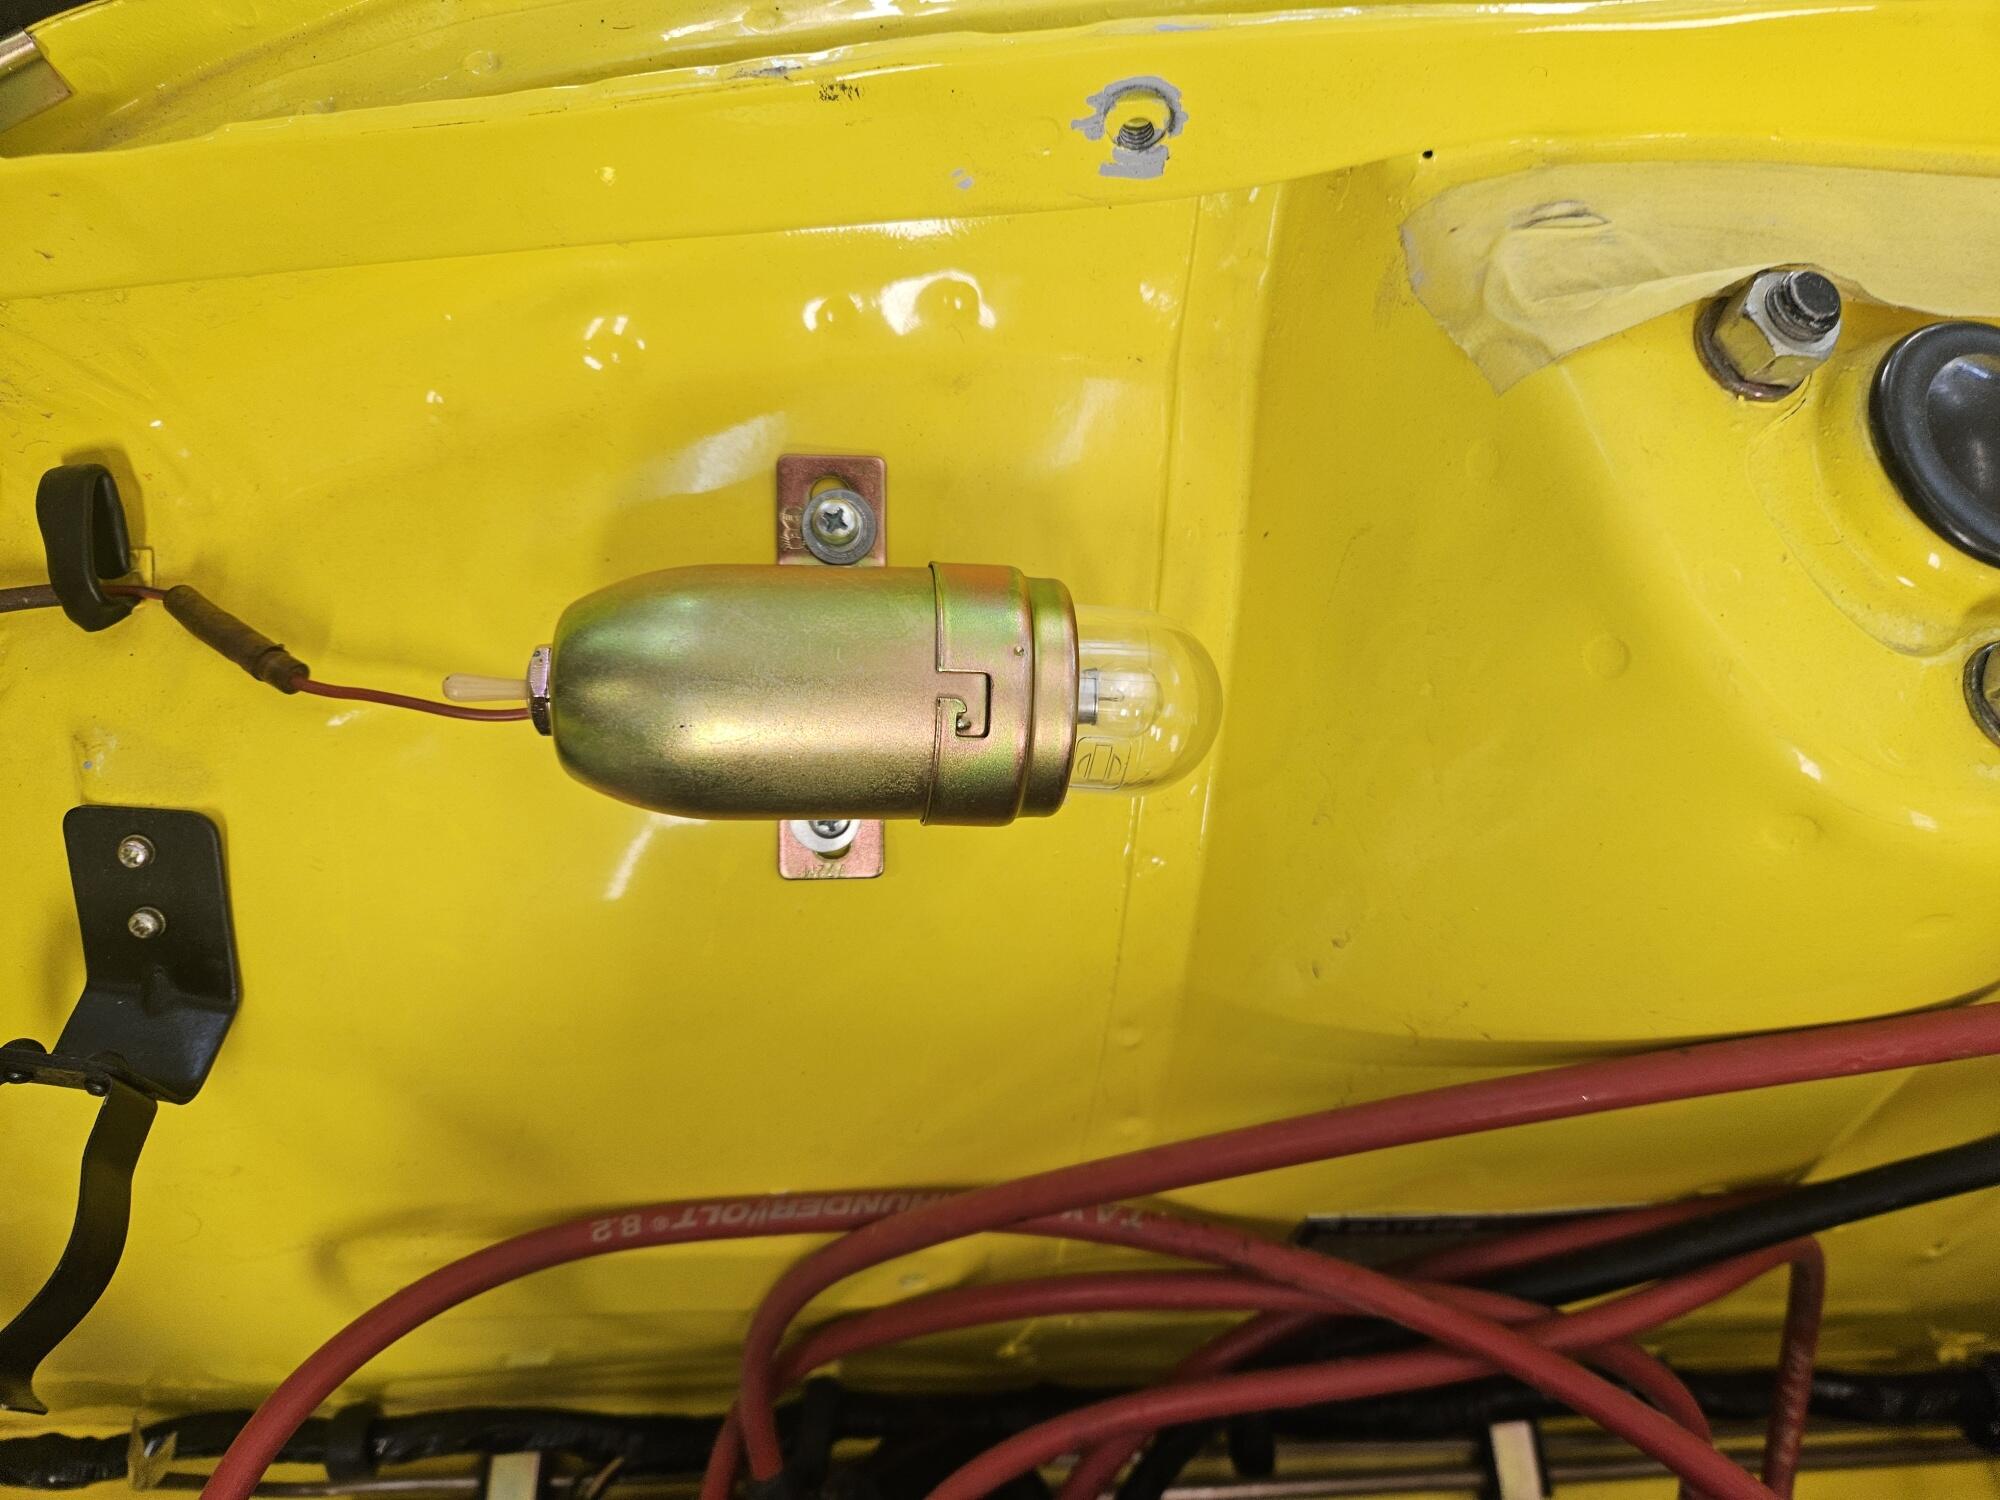
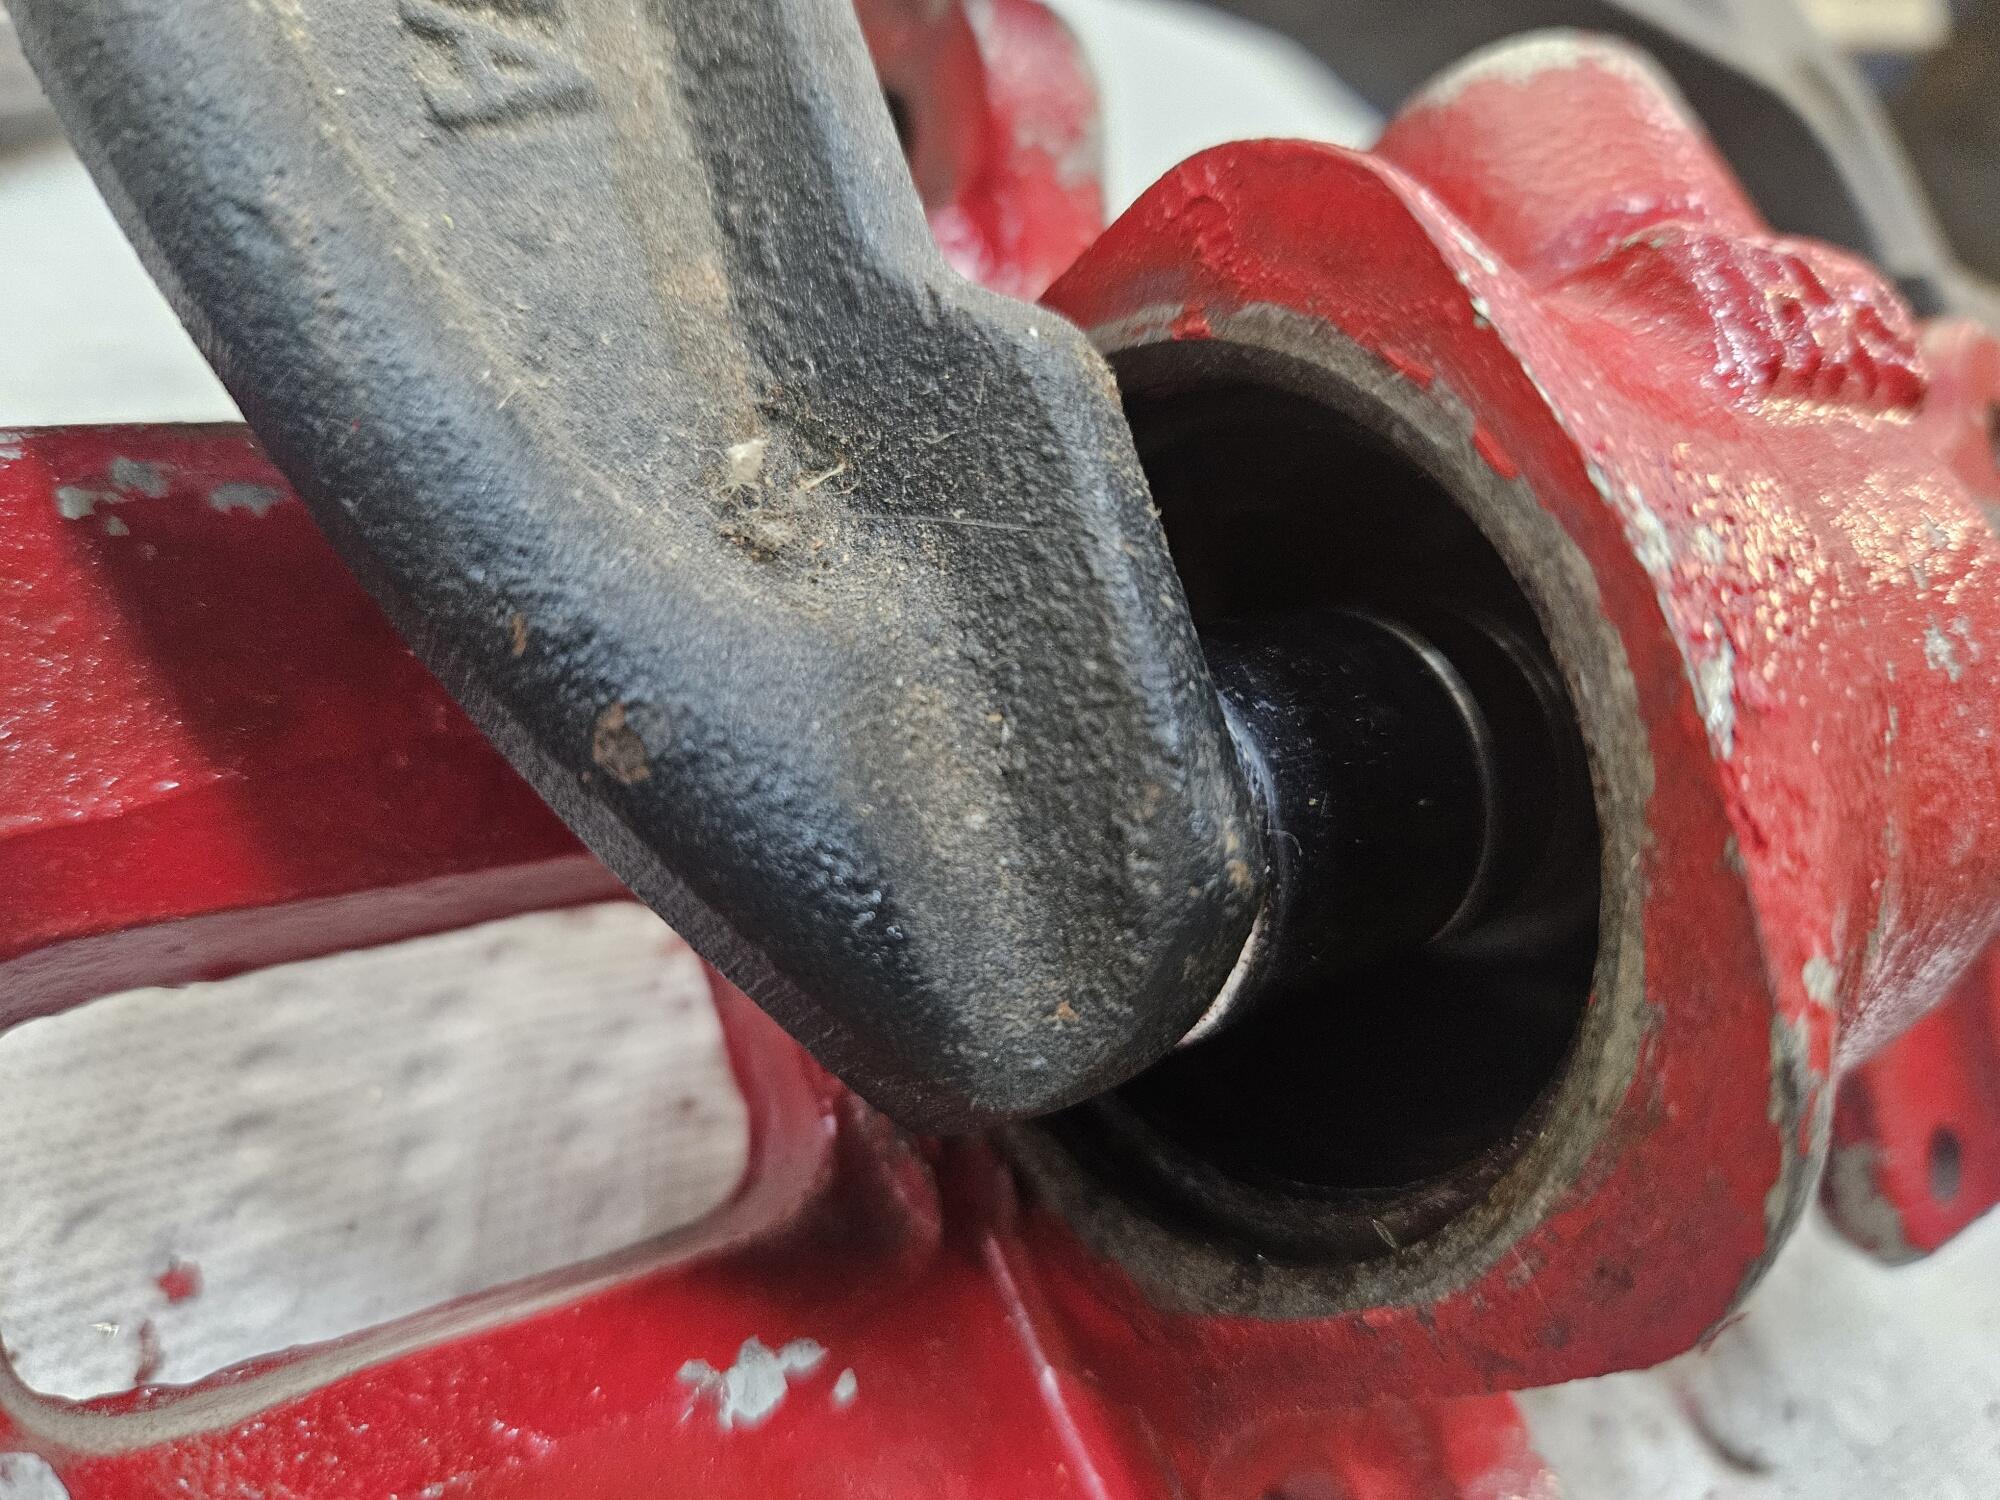
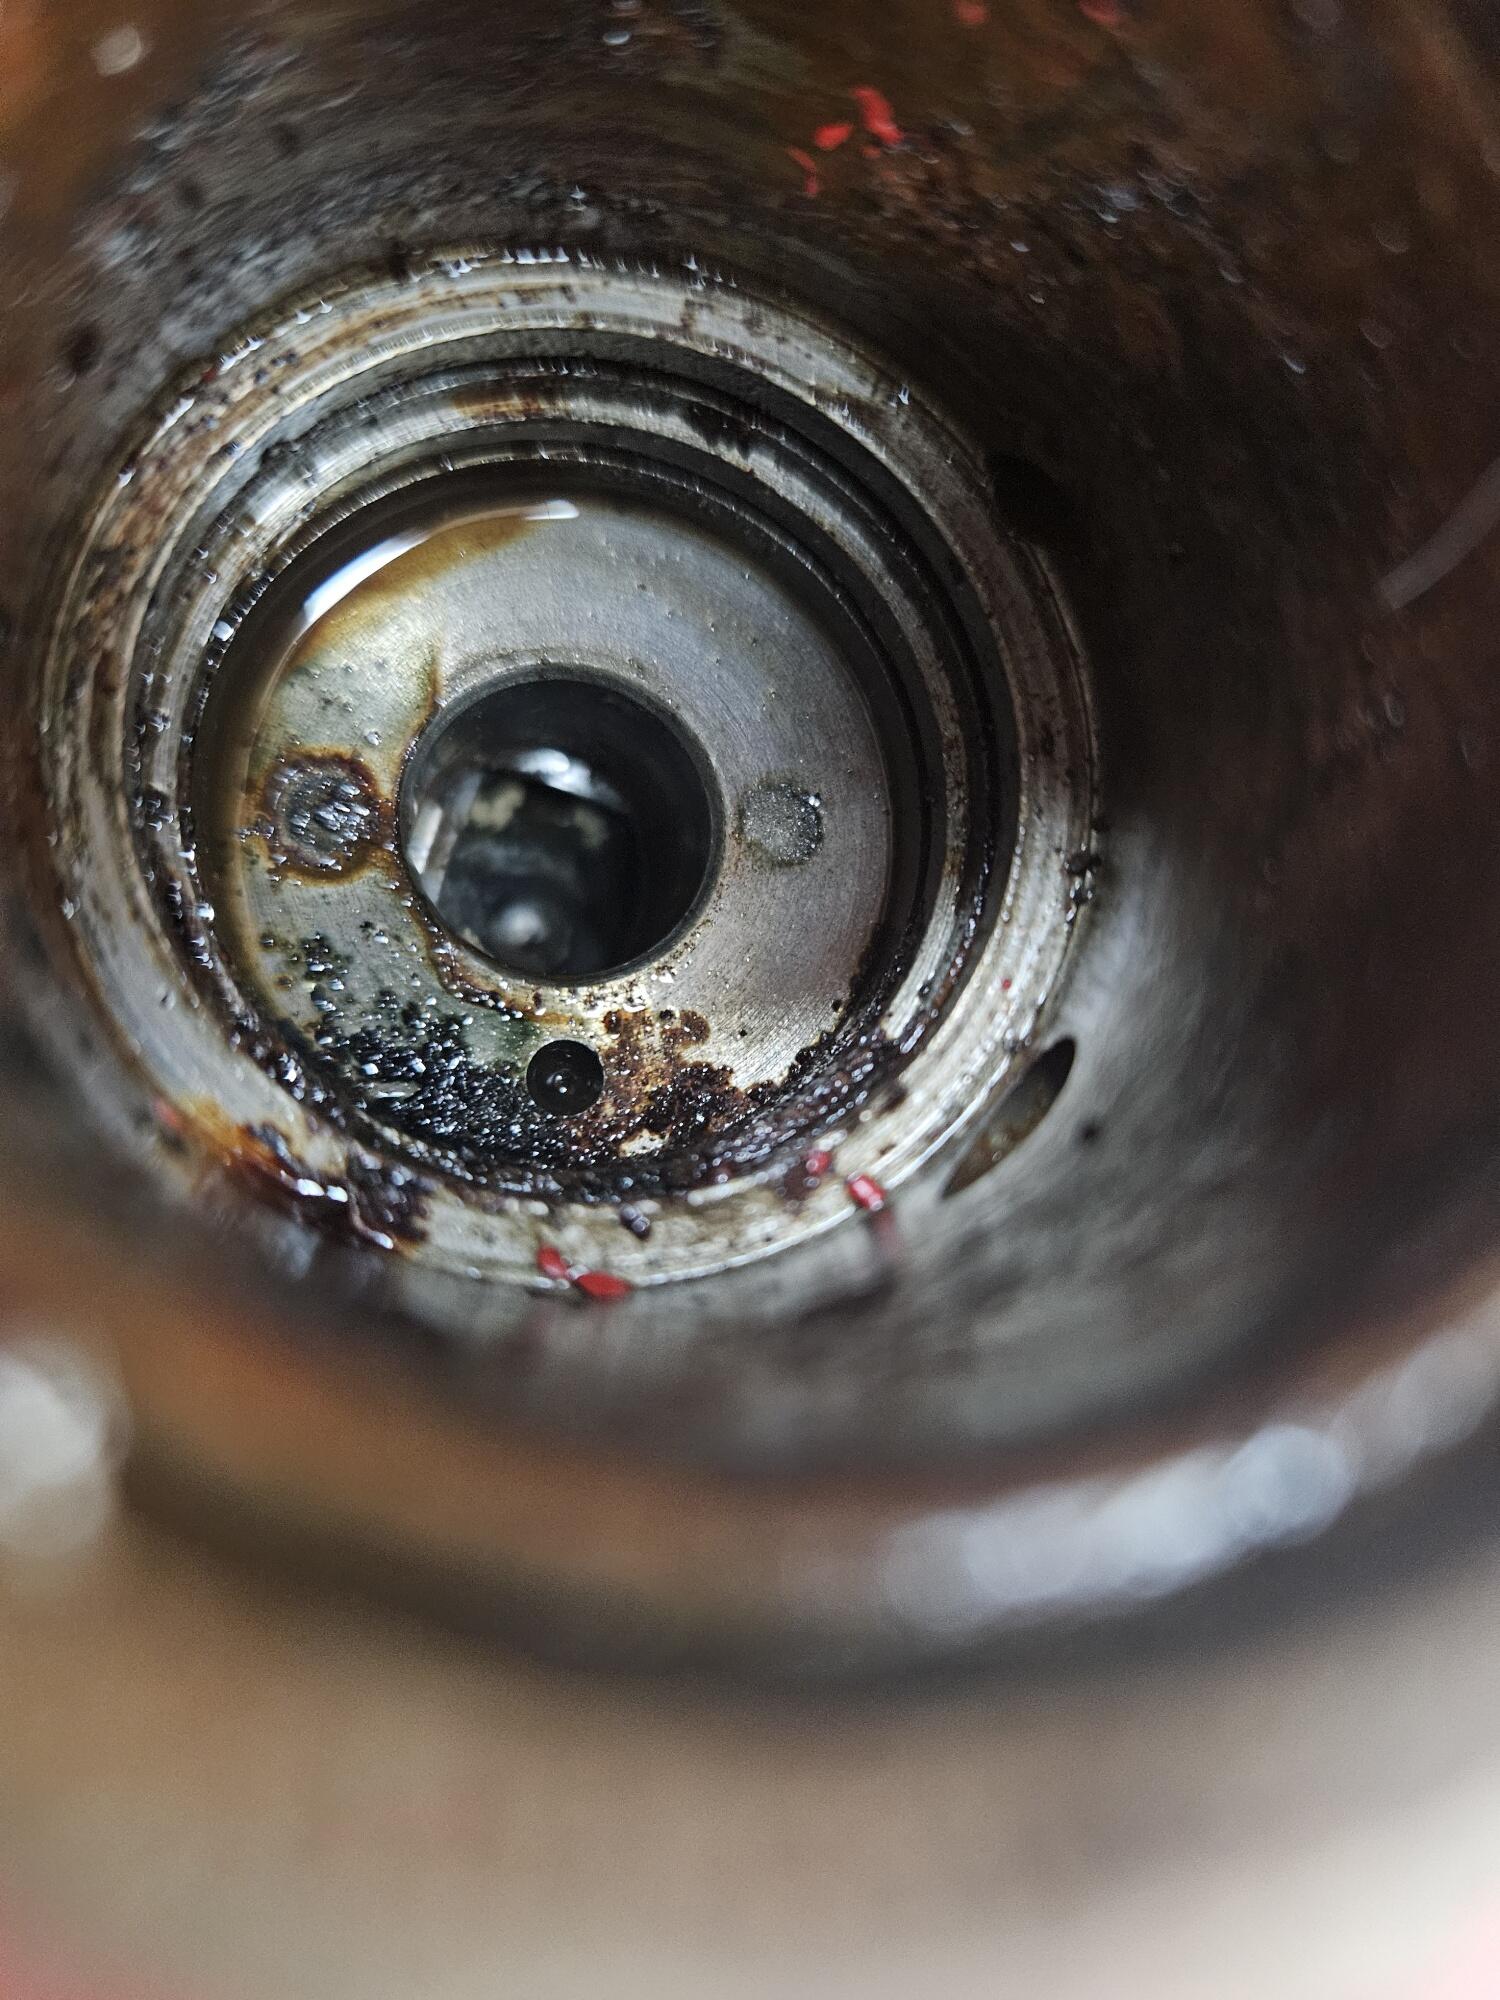
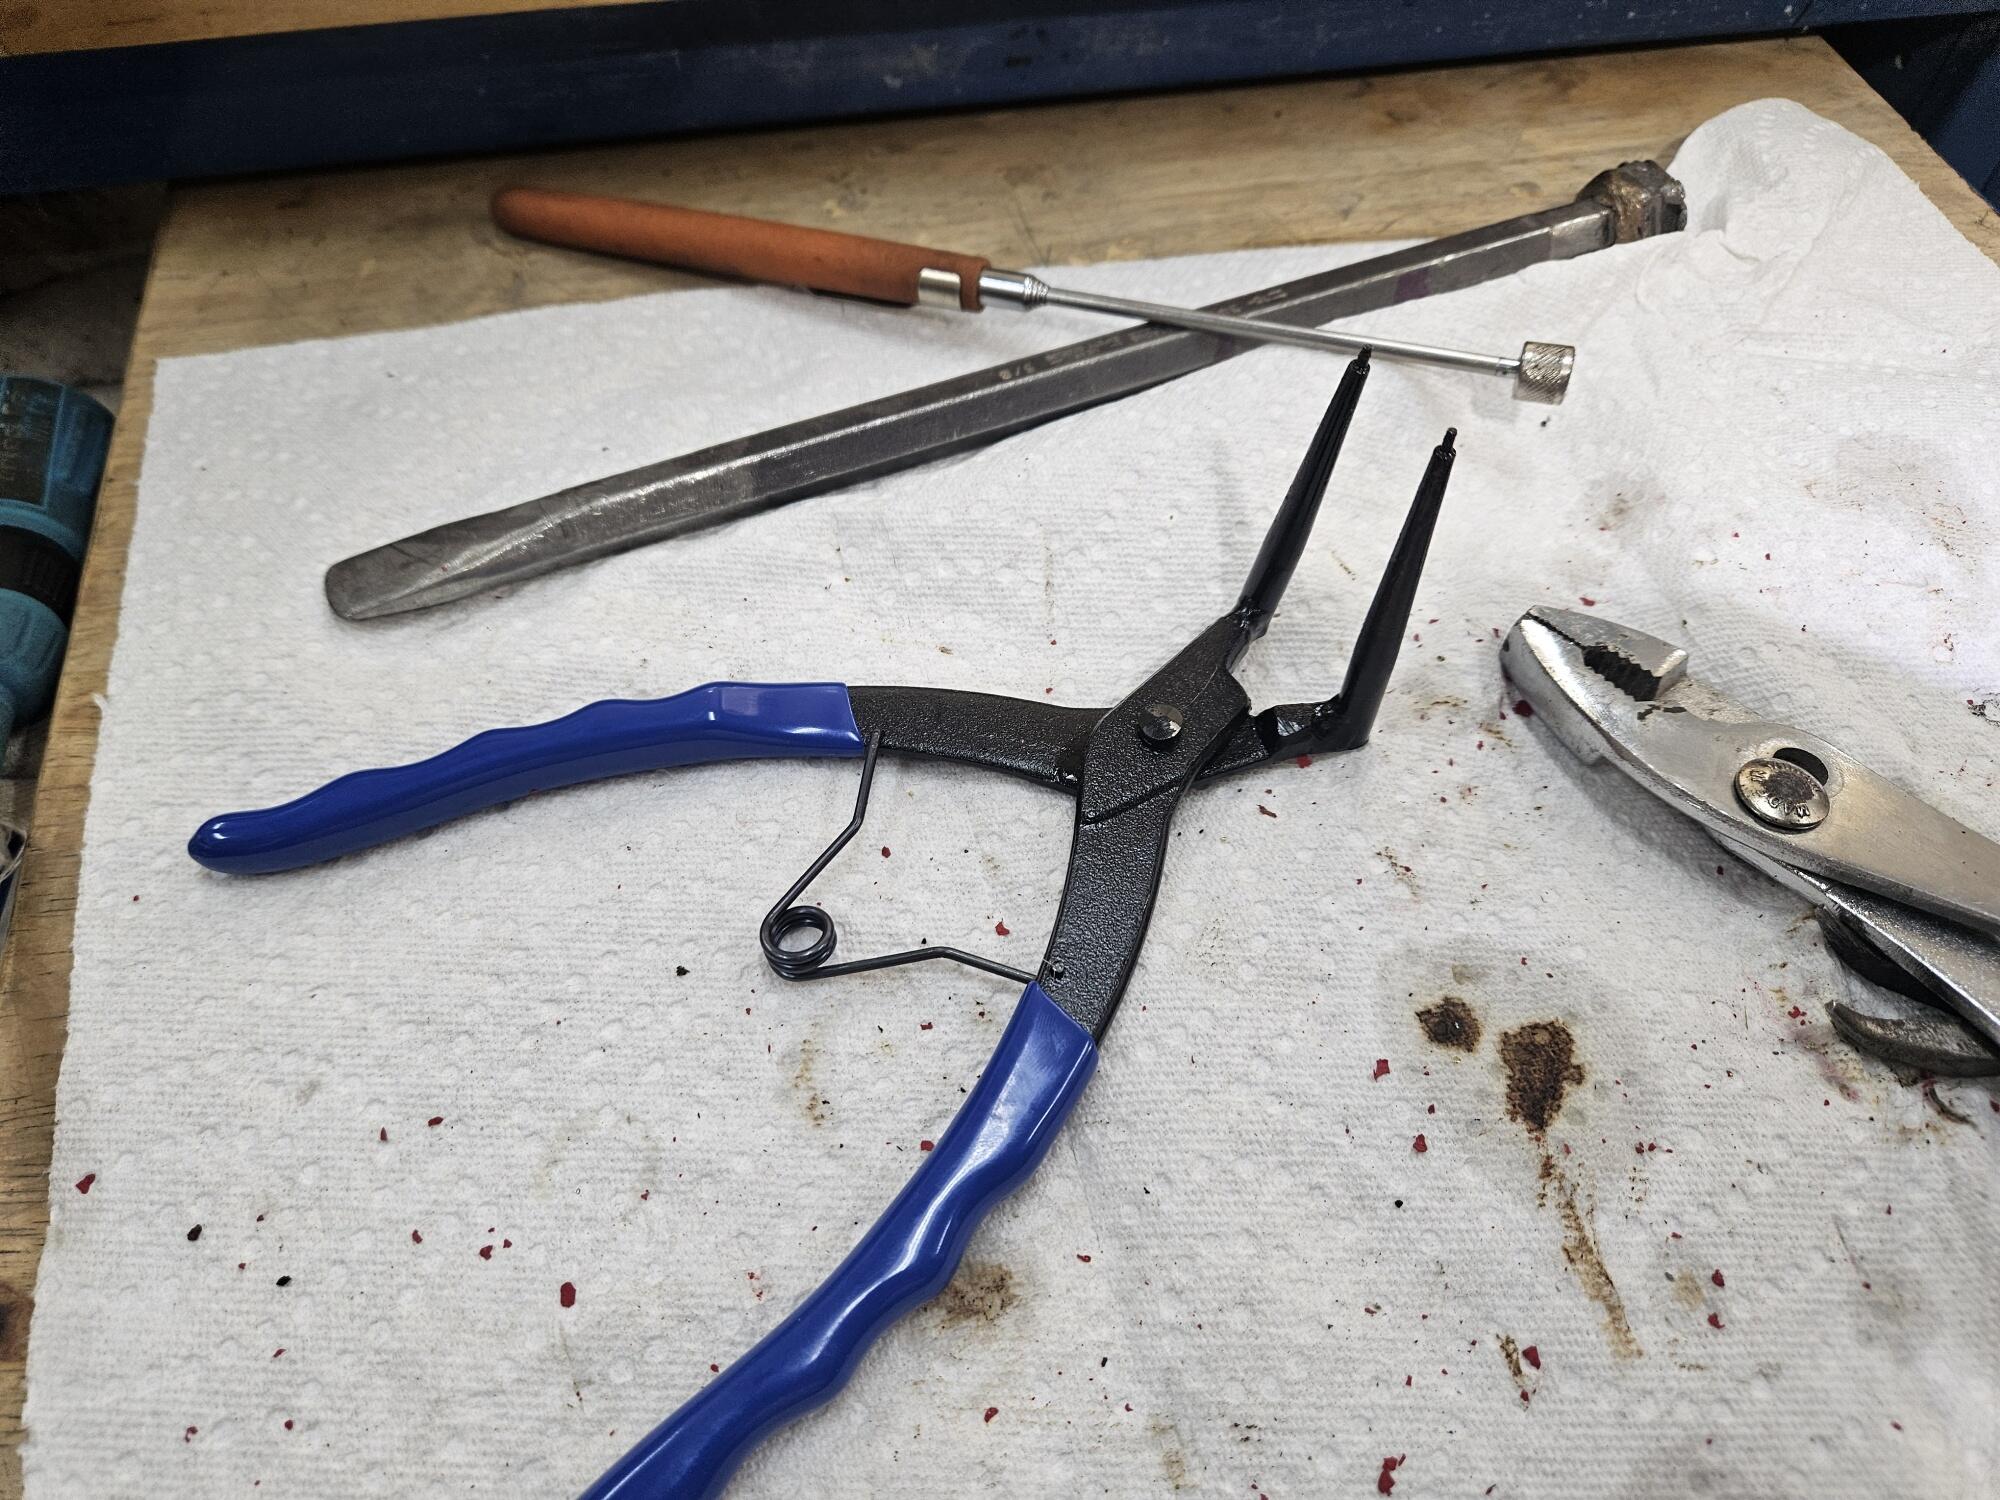
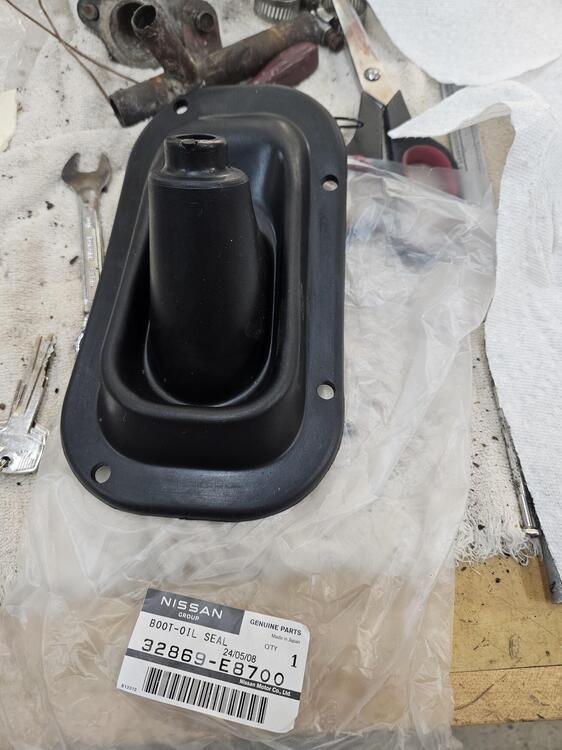
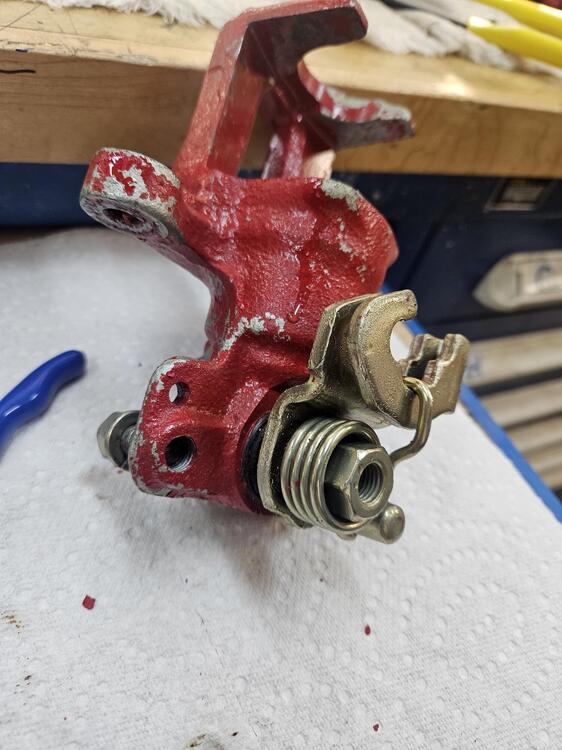
3 pointsSo I finally got back into the shop this weekend. A while back I was working on reworking some marker lights. Jim Arnett watched me struggle along with that for a while before he said "I have a nice set of running lights all redone if you're interested?" So yes, I'm interested! Jim does nice work and I got them in a week or so ago. I put the rears on yesterday and a engine room light that also came from him. I also got a new shift boot and rubber boot for the end of the transmission I also figured out how to get the maxima calipers apart There is a clip way down inside you need to get out I bought these snap right pliers. They work really good Needs some clean up Rebuild kits come in on Monday


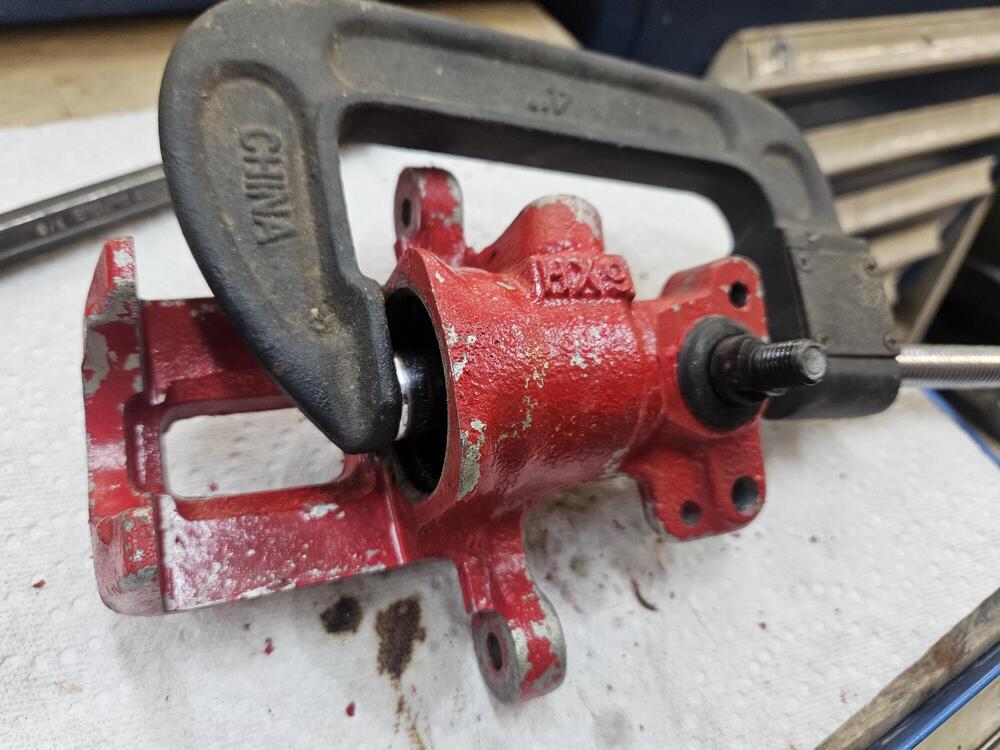

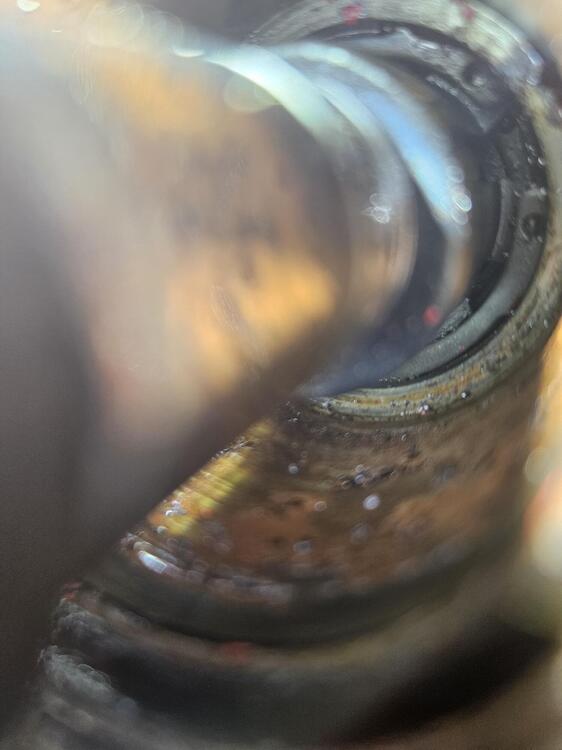

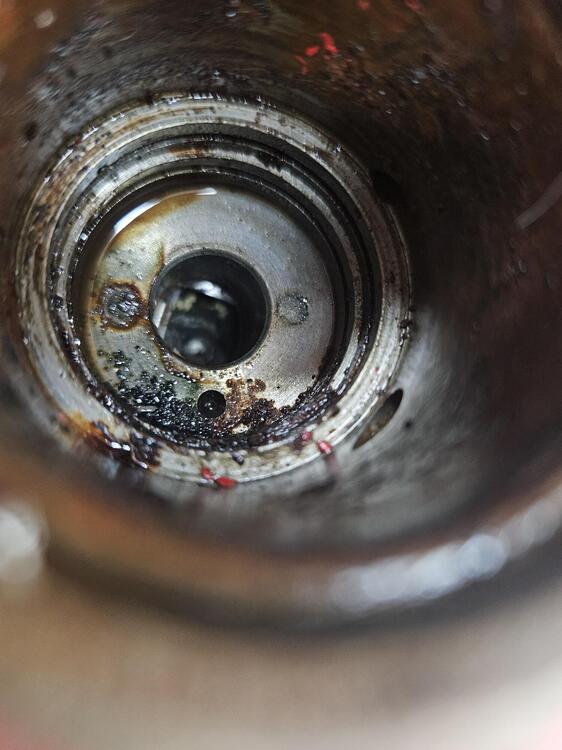
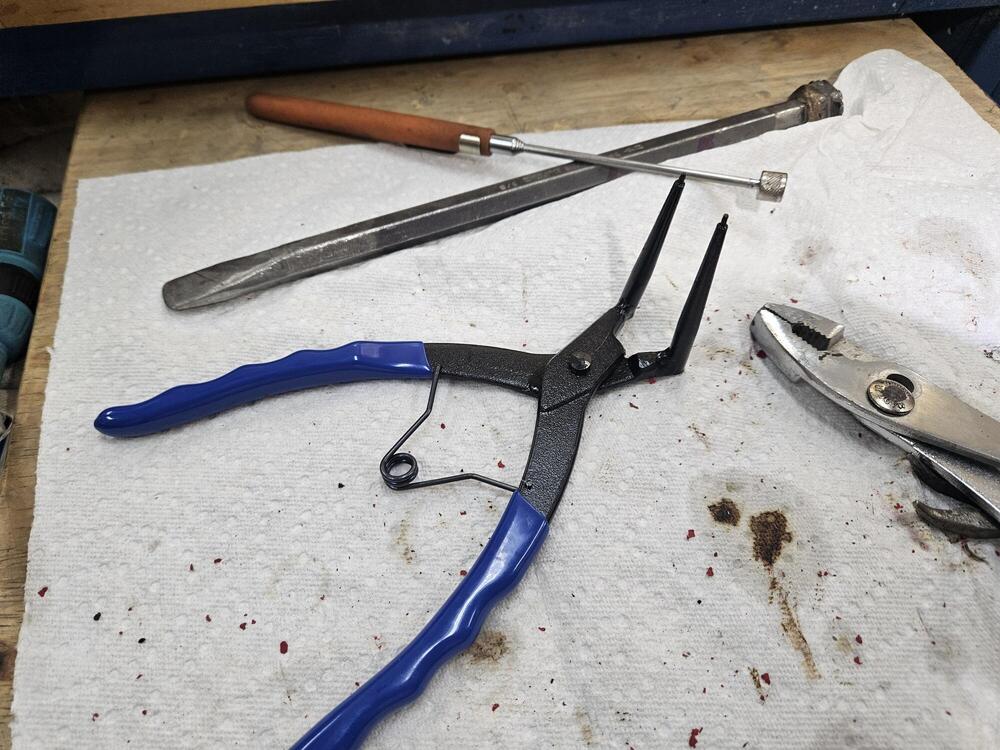 3 points
 -
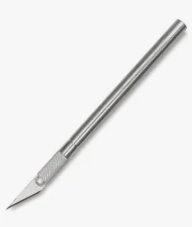
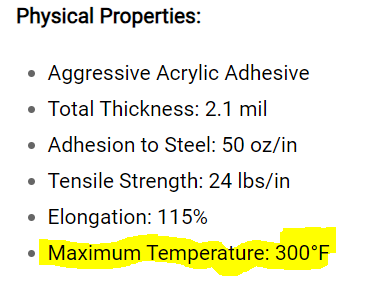
It is very sticky. For most of the failed attempts, the tape and adhesive came off together. On one failed attempt, I didn't realize that some of the adhesive had stayed behind, and when I put a new piece on, it showed underneath the new piece. Removal of the adhesive using 3m adhesive remover was difficult. The 3/8" width I bought is perfect. Where I did not apply it perfectly straight, you could see a tiny sliver of extra tape off of the edge of the part that is supposed to be silver. I trimmed that by running an X-acto knife like this along the edge and then pulled the sliver of excess off. I only needed to trim one of them for a span of a couple of inches. I found some more information about the tape. It appears it may be able to handle hot car interiors: https://www.amazon.com/dp/B079C5PYV9?ref=ppx_yo2ov_dt_b_product_details&th=1 This product appears to be the same: https://store.tapesandtech.com/mylar-polyester-tapes/mmyp-1-metalized-polyester-film-tapes.html
 2 points
 -
I always adjusted my choke cables to end up with a little slack before they pulled the nozzles. My reasoning was I wanted that extra bit of slack to push the nozzles all the way up even if the choke knob wouldn't go all the way to the off position. That did prevent the cables from pulling the nozzles all the way to the bottom but even here in the NW I rarely needed full choke in the winter.2 points
-
1 pointI think I got the threading issue taken care of with a tap and cleaning up the threads. The bleeder screw appear to just need to press against the ball bearing to seal the port in the caliper unlike the more common design that requires a precise fit of the conical end of a bleeder into a matching profile in the port. I'm not too fond of the placement of the bleeder between two protrusions in the caliper, however. This design makes it difficult to close the valve while keeping a bleed drain tube attached.1 point
-
Wow... that's too much slack.. let's say a few mm. or as the americans say: 1/4 inch on the lever.. You can wiggle the lever in the beginning without reaction near the carbs.. then it's okay, when you pull the lever half an inch then you must see a reaction.1 point
-
Indeed, that looks perfect.. Does it stick really well? i mean is it very sticky and does it get off very difficult when you found it was not good enough? Does it have the exact width or did you have to cut it in size? It will have to prove itself if it stands time.. but for now it's looking good.1 point
-
I remember Alex having problems with the chokes light staying on and showing him the switch under the console. I wonder, is all that good and tight? Did you ever install the choke handle mount that screws down on the tunnel?1 point