Leaderboard
-
grannyknot
Free Member4Points5,158Posts -
conedodger
Free Member3Points12,513Posts -

Zed Head
Free Member3Points19,236Posts -
Bonzi Lon
Free Member2Points1,279Posts


Popular Content
Showing content with the highest reputation on 02/10/2024 in all areas
-
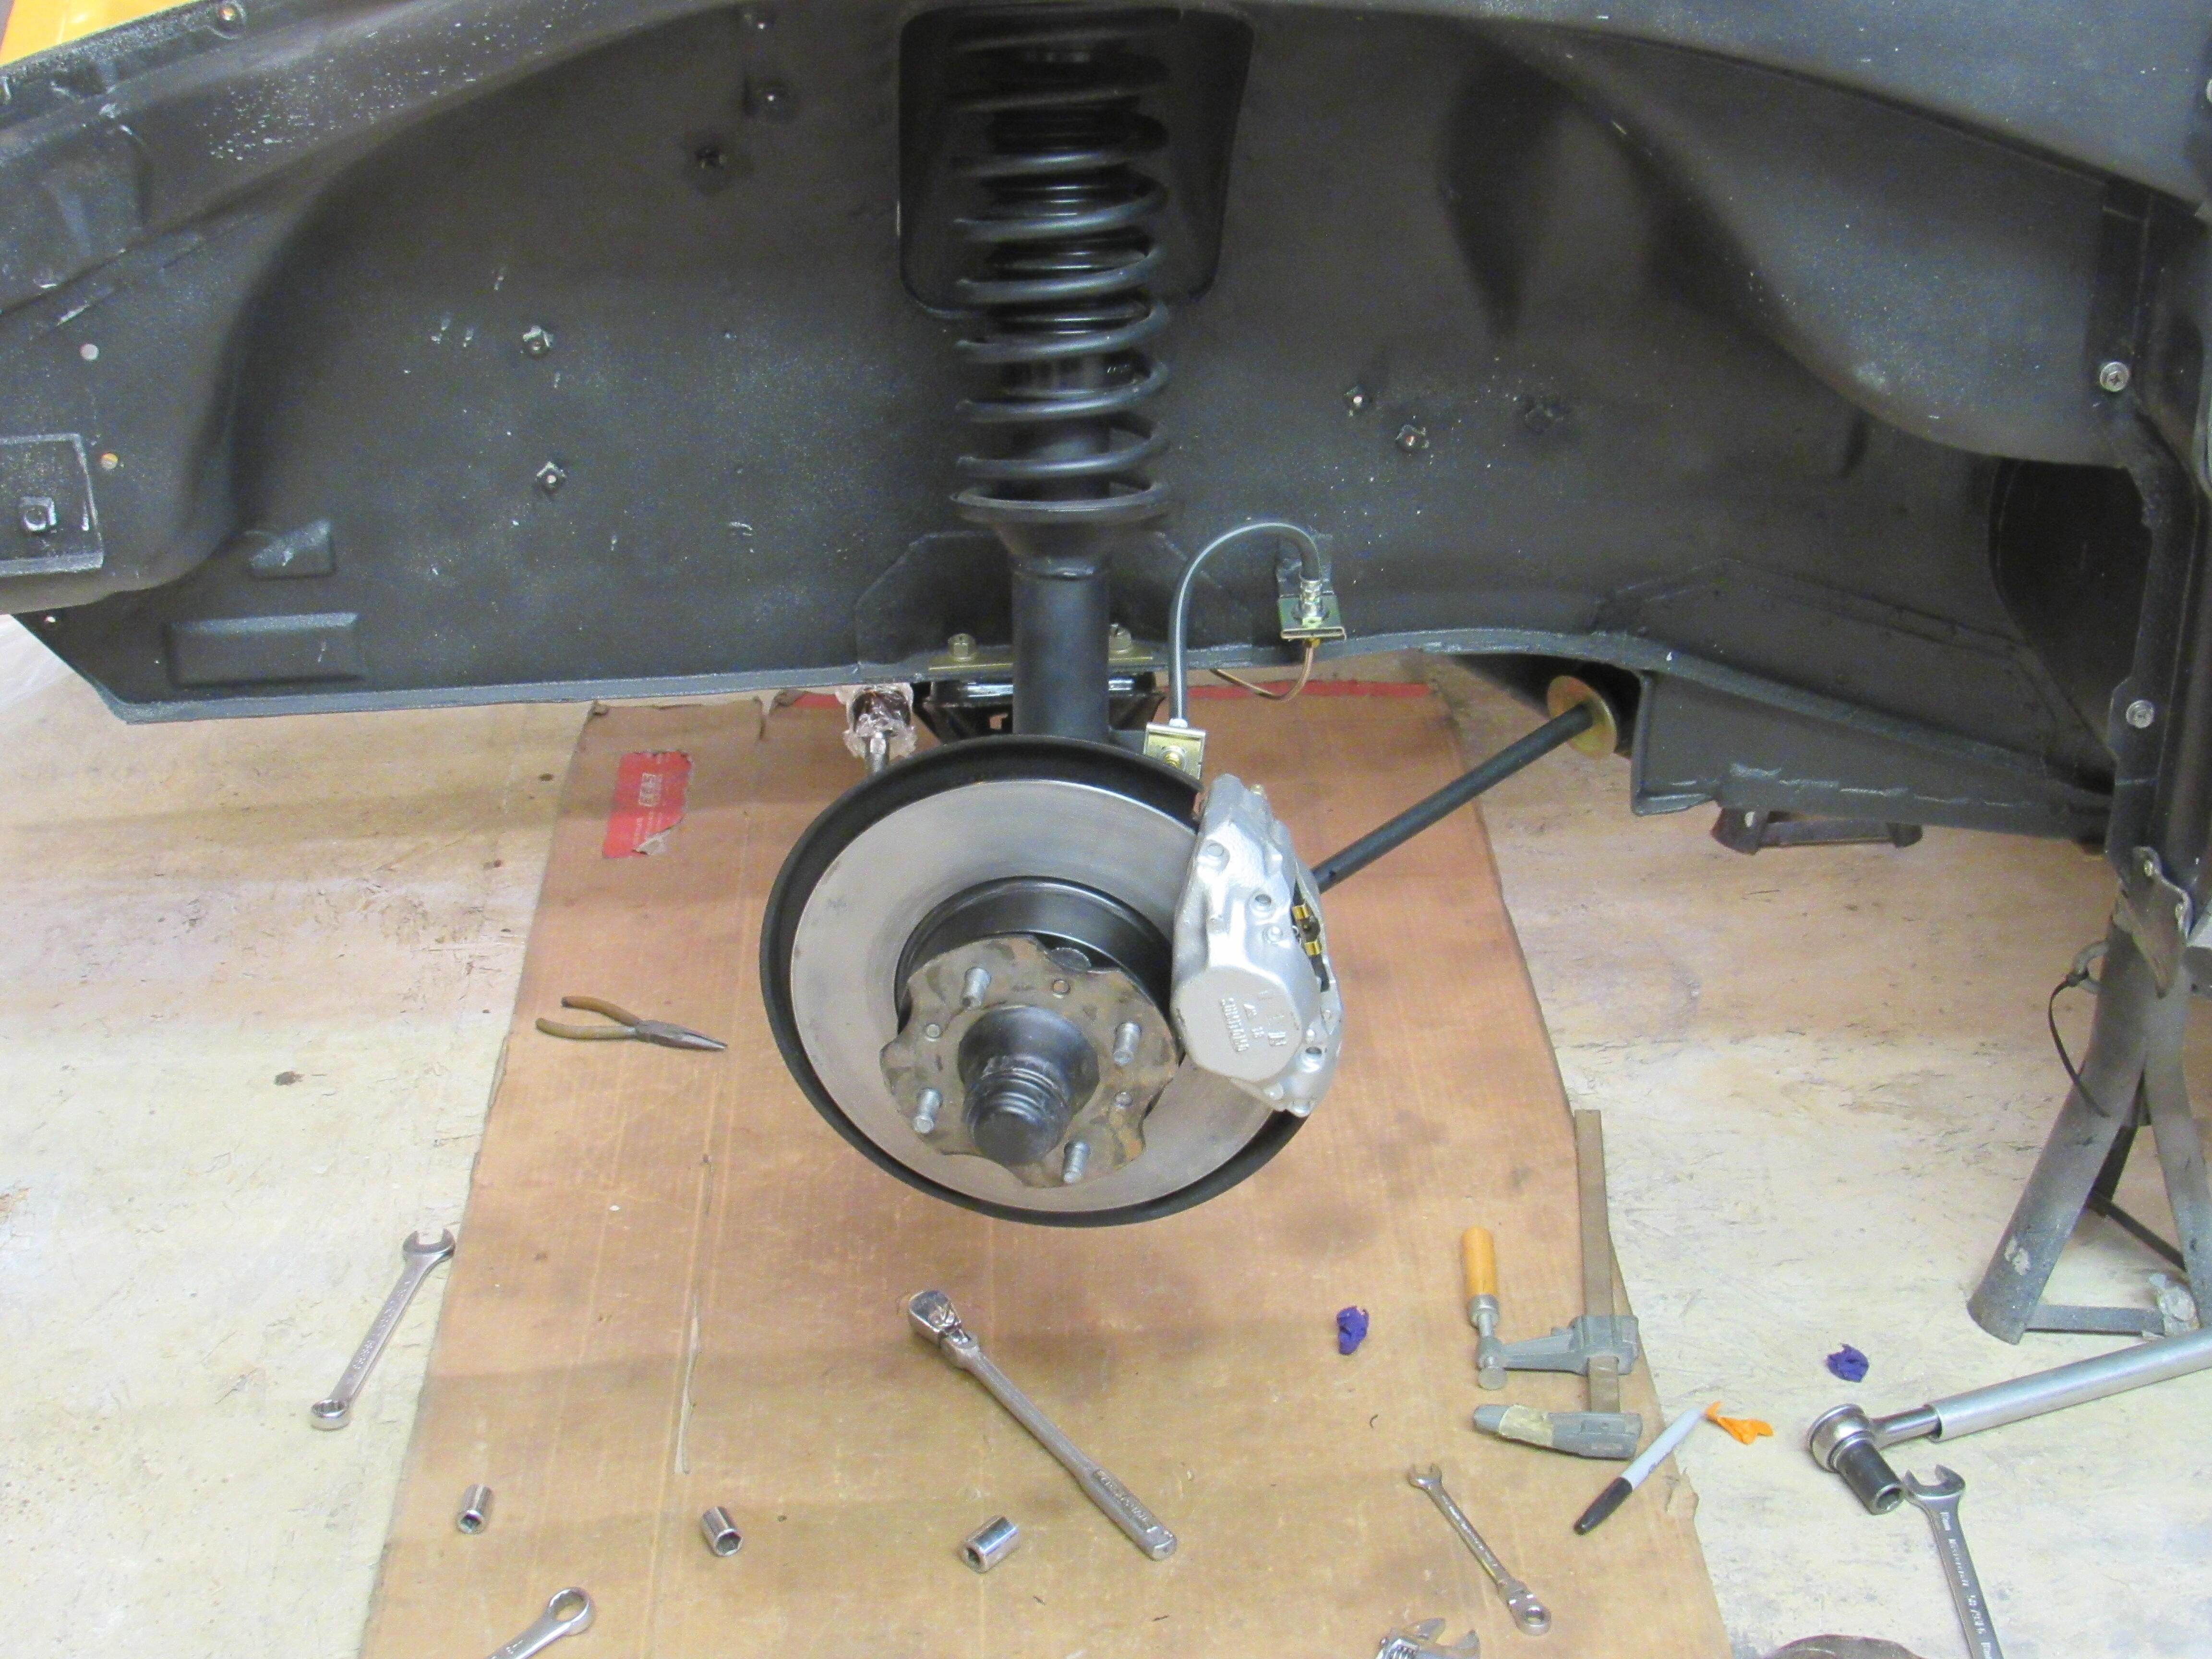
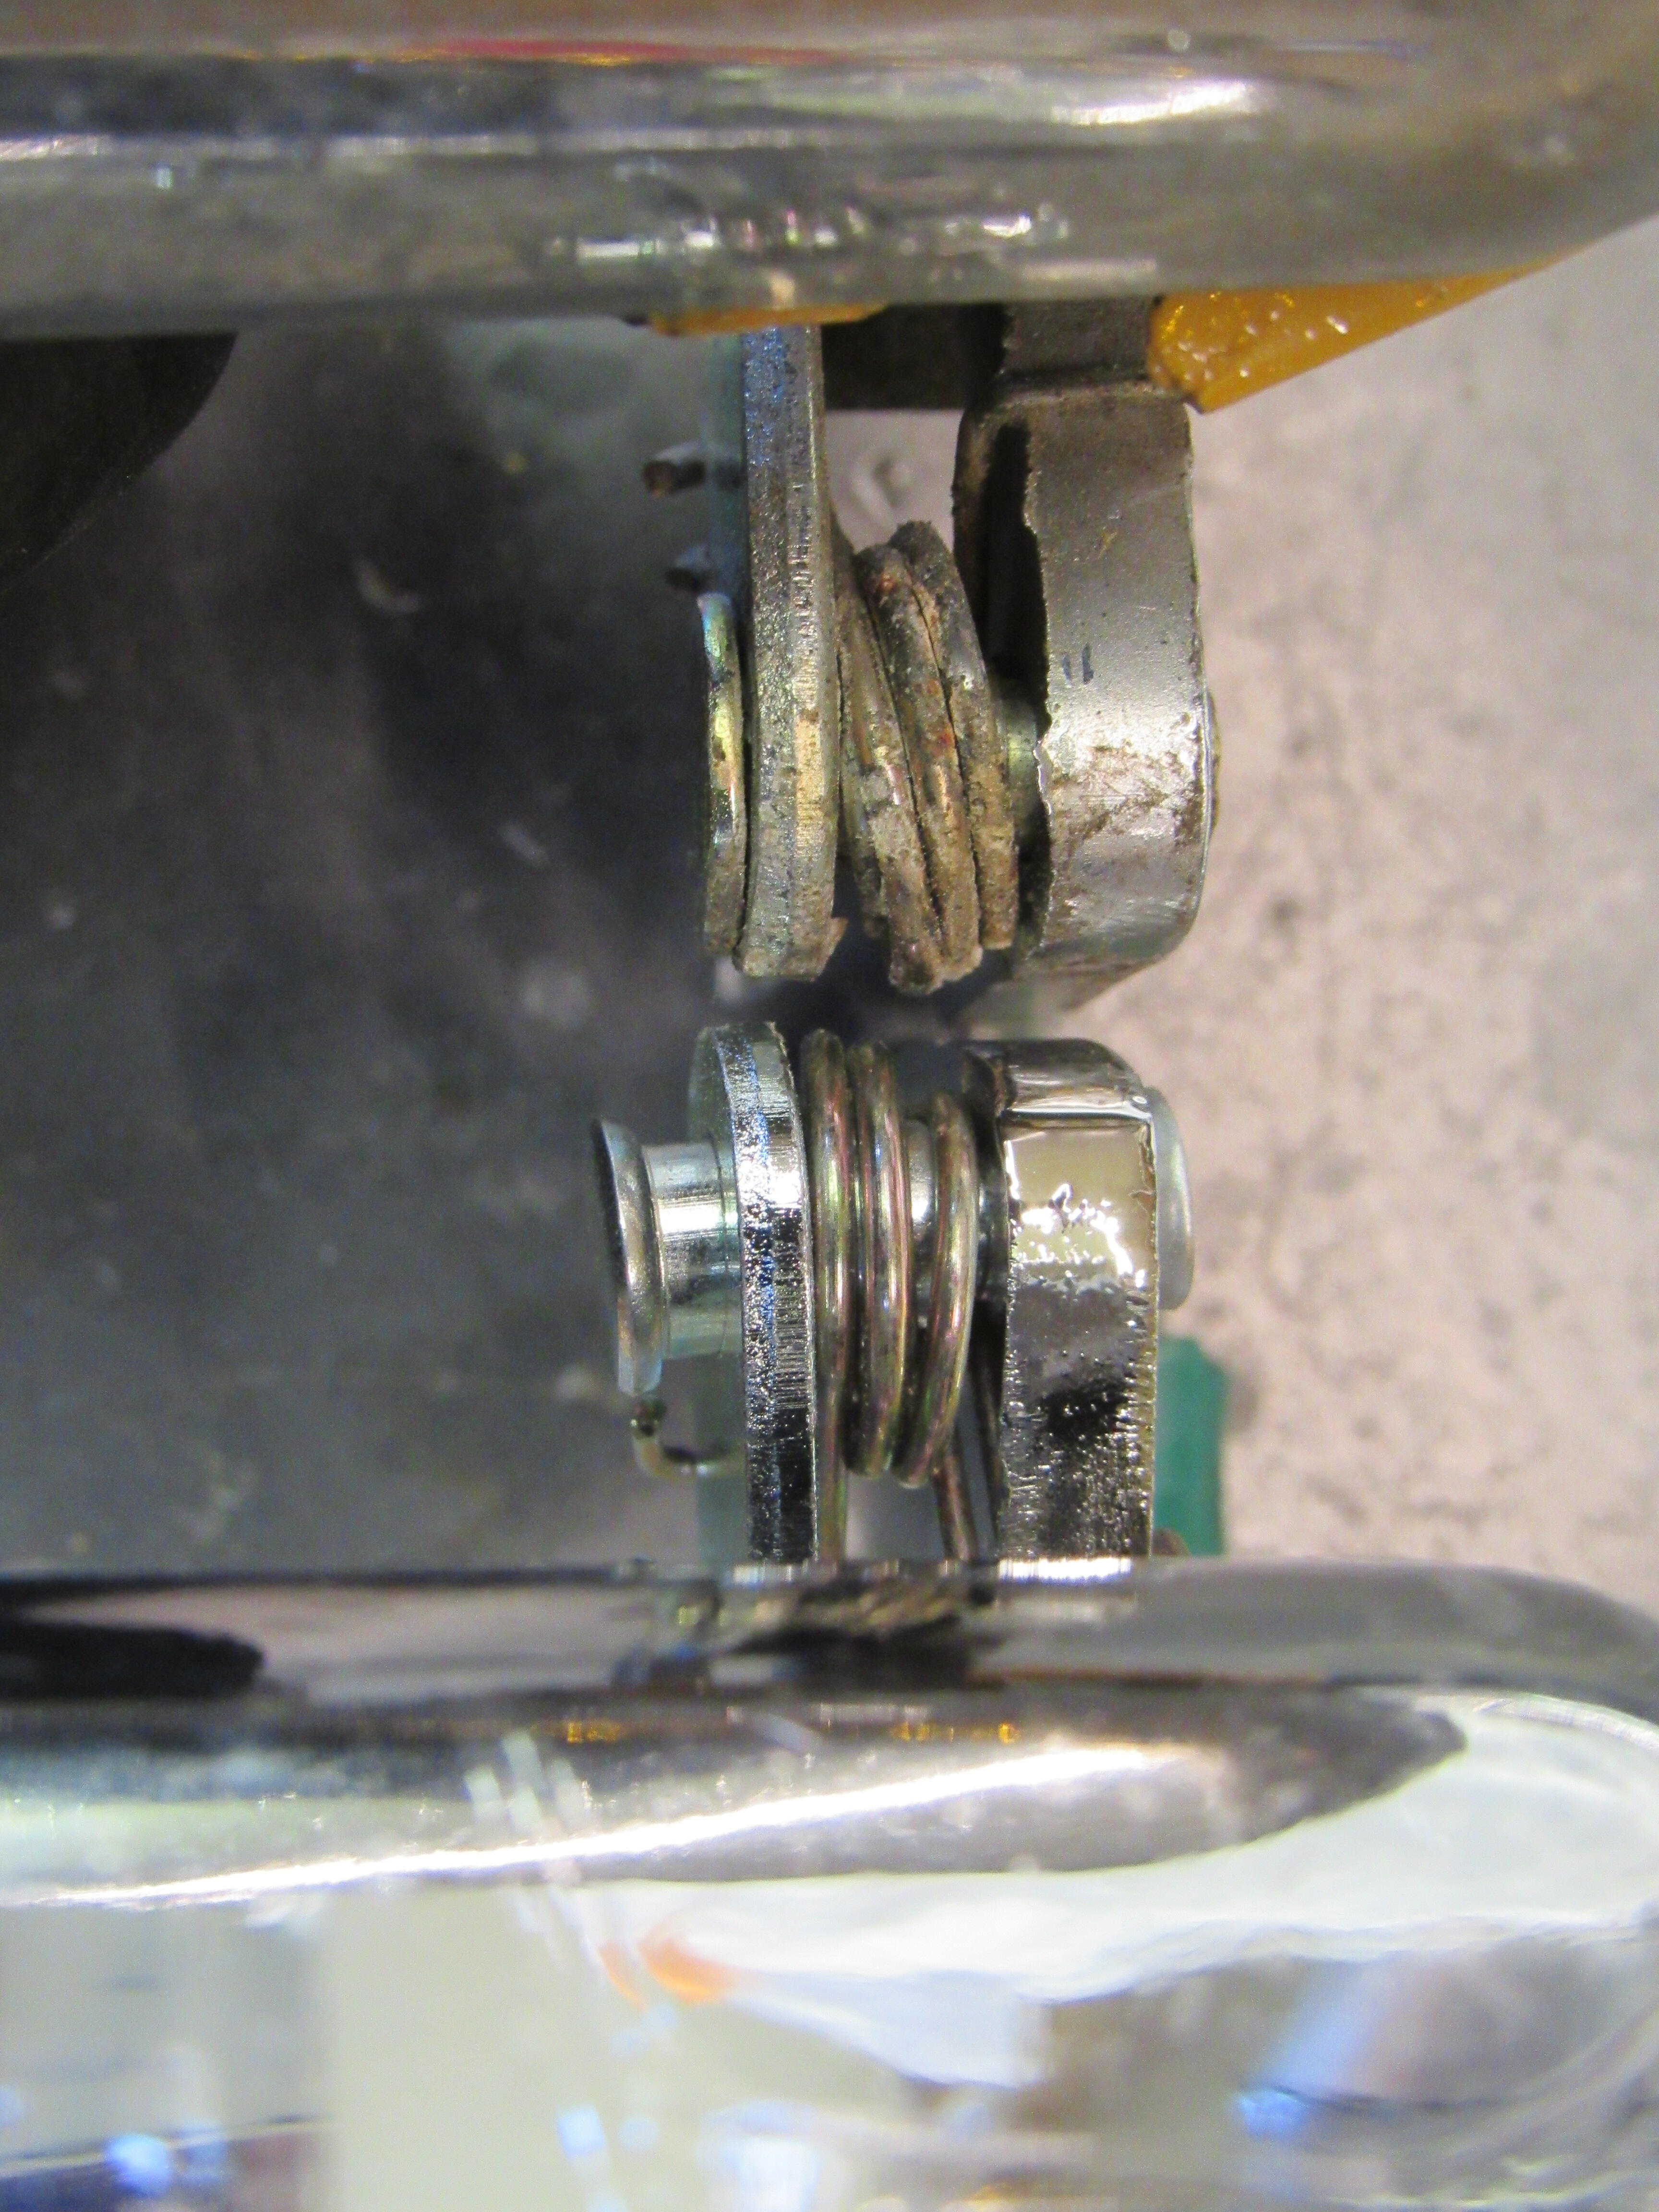
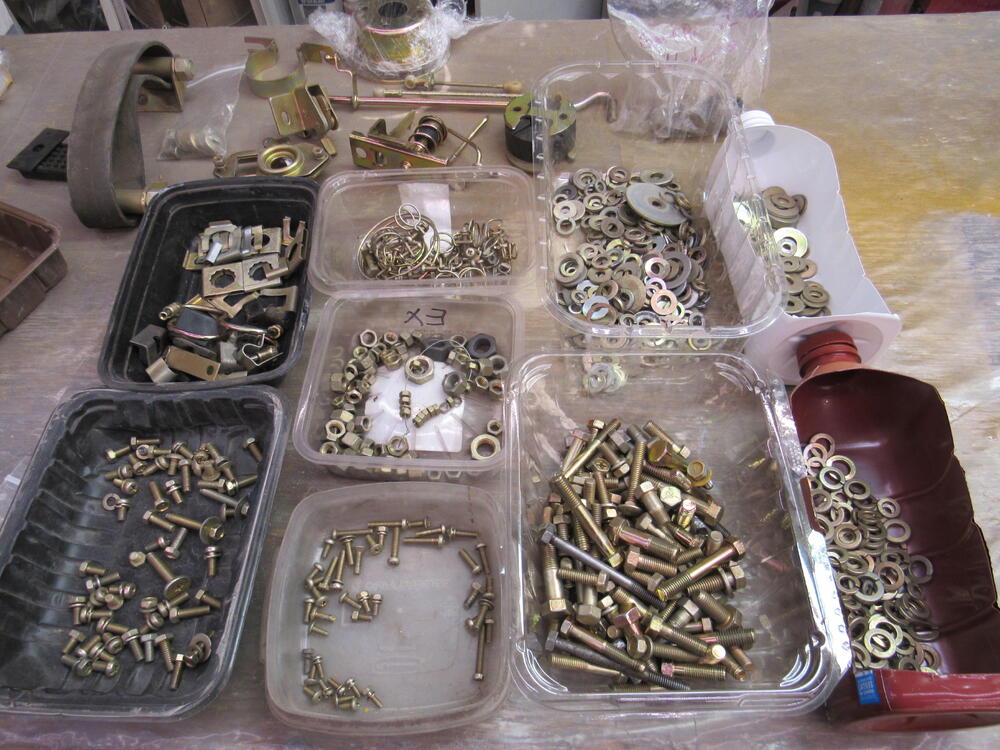
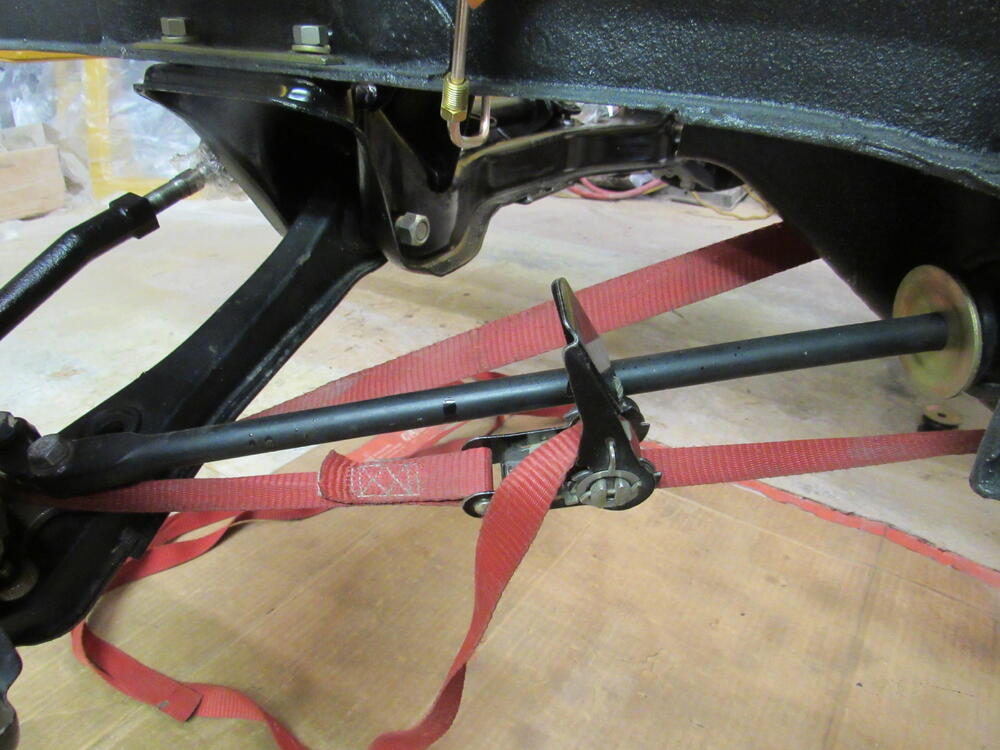
2 pointsI could have started with 1500 but it would have taken a lot longer to get through the orange peel.😄 I have some Meguiars #7 and a black foam pad I've never used, maybe I'll do some tests, Thanks. I got a bunch of stuff installed today, This is the only effective way I've found to install the T/C rods, come to think of it, I might have picked it up from someone here.


 2 points
 -
2 pointsMuch of that looks similar to my process. My sanding utilizes those same grits. What is most different is the second pad, and DA. I use a rotary buffer for all three buffing stages. I use Meguiars Diamond cut M8532 with a lambswool pad. Then I switch to M8332 with a Meguiars yellow foam pad. At the end of this stage, the paint typically looks good enough to call it "finished" from just a few feet away, but there are typically some very light "swirl" marks if you look at it in the right light, or if you wait a week and look at it in direct sunlight. I don't see "light scratch" imperfections going in various directions at this stage. And for the final stage, I use Meguiars number 7 on a Meguiars black foam finishing pad. I have found this stuff to be excellent at removing the last evidence of any kind of buffing or swirl marks. I also use it for final polishing of plastic parts like light tail lights and the clear dashboard instrument lenses. I didn't wet sand and buff my current restoration project, but I have used the above process many times and the resulting finish is without flaws.2 points
-
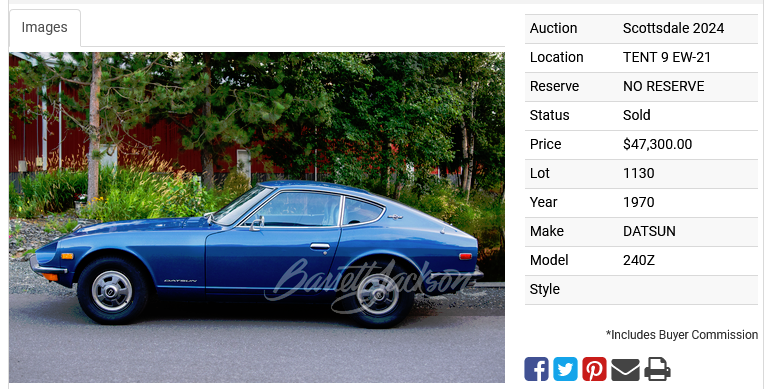
2 pointsGreat memory, Cliff, but not that one. The Sheik that bought it and had it shipped to Dubai UAE, never sent photos of it restored. He did have about a dozen restored Z's at that time, including a 432, photos are lost though. For those wondering: It was a blue/blue December 1969 door tag, HLS30-00110. The whole car and interior was painted black, then upon further examination found the blue interior. This was before the low VIN craze caught on here, it was June 2010, but was happy with what I got for it at that time. Bonzi Lon2 points
-
2 points
-
2 pointsOdds are good that the sleeve/collar is the one that came with the car. So the typical 280Z 225 mm pressure plate will probably work correctly. Worst case, you take the measurement after you get it and have to wait to get a new sleeve. Your biggest mistake would be installing without taking that measurement. That's where all of the "what's wrong" threads come from. So, at this point you're really just choosing between a "guaranteed" correct fit or maybe having to wait for a new sleeve. Certainty or uncertainty.2 points
-
1 pointAt one point my jobber told me to start at 1500 grit. I was starting at 1000 or 1200 and couldn't get all the scratches out. That was also when he told me to cut and buff within 3 days of clear1 point
-
1 pointThey are on the surface of the clear coat, first grit after the clear coat has cured is 1200, dry on a 6: disc sander to remove the orange peel, then wet blocking with 1200, then wet 1500, 2000 and finally 2500, thoroughly cleaning everything between grits. Buffing starts with a 7" lambswool pad on a rotary buffer with Mequiars Pro speed 100 compound, then Menzerna compound 400 on a separate 7"lambswool rotary, then TLD The final polish on a 6" orange foam pad using a DA sander, then Carnauba wax on a white foam pad using a DA sander.1 point
-
1 pointIt’s really very simple. If you are sure you have a 225mm flywheel, you can use a 240Z clutch and 240Z collar or a 280Z clutch with a 280Z collar……your choice. Call Motorsports and tell them you want a 240Z clutch and a 240Z collar and throwout bearing. They will send you the correct combo. My 280 motors with 225mm flywheels all run the 240Z cluches. I like them best.1 point
-
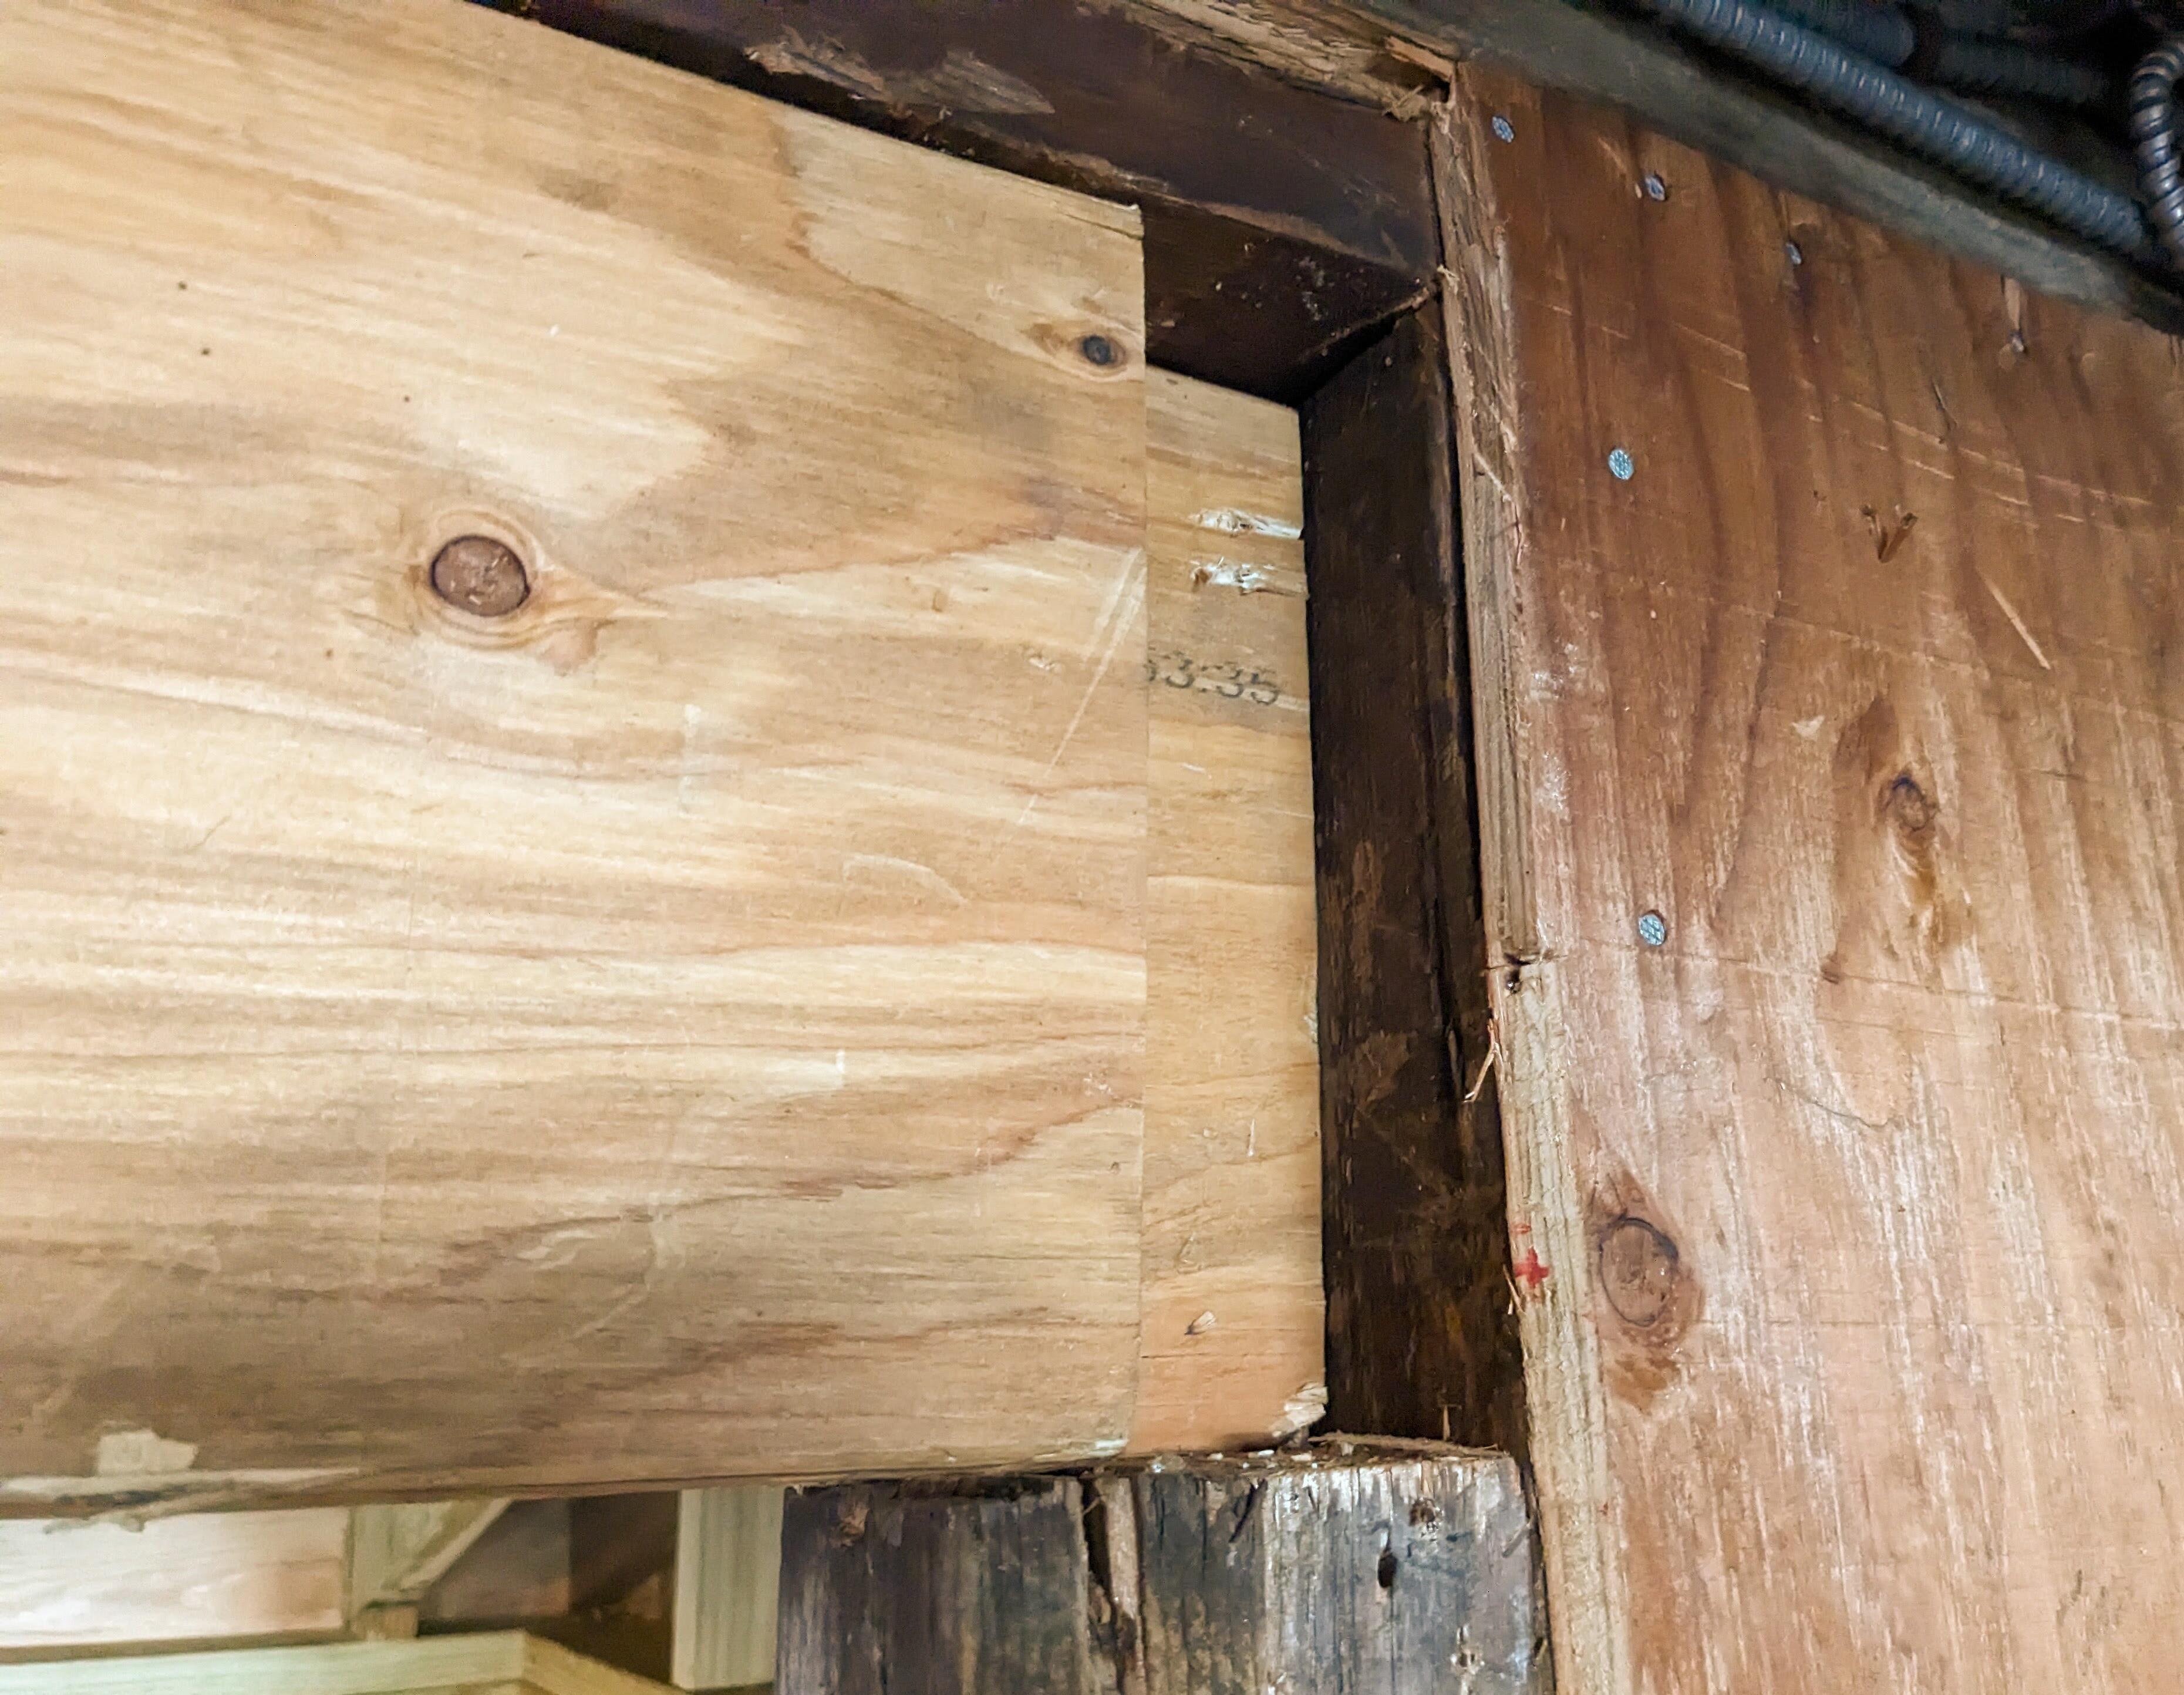
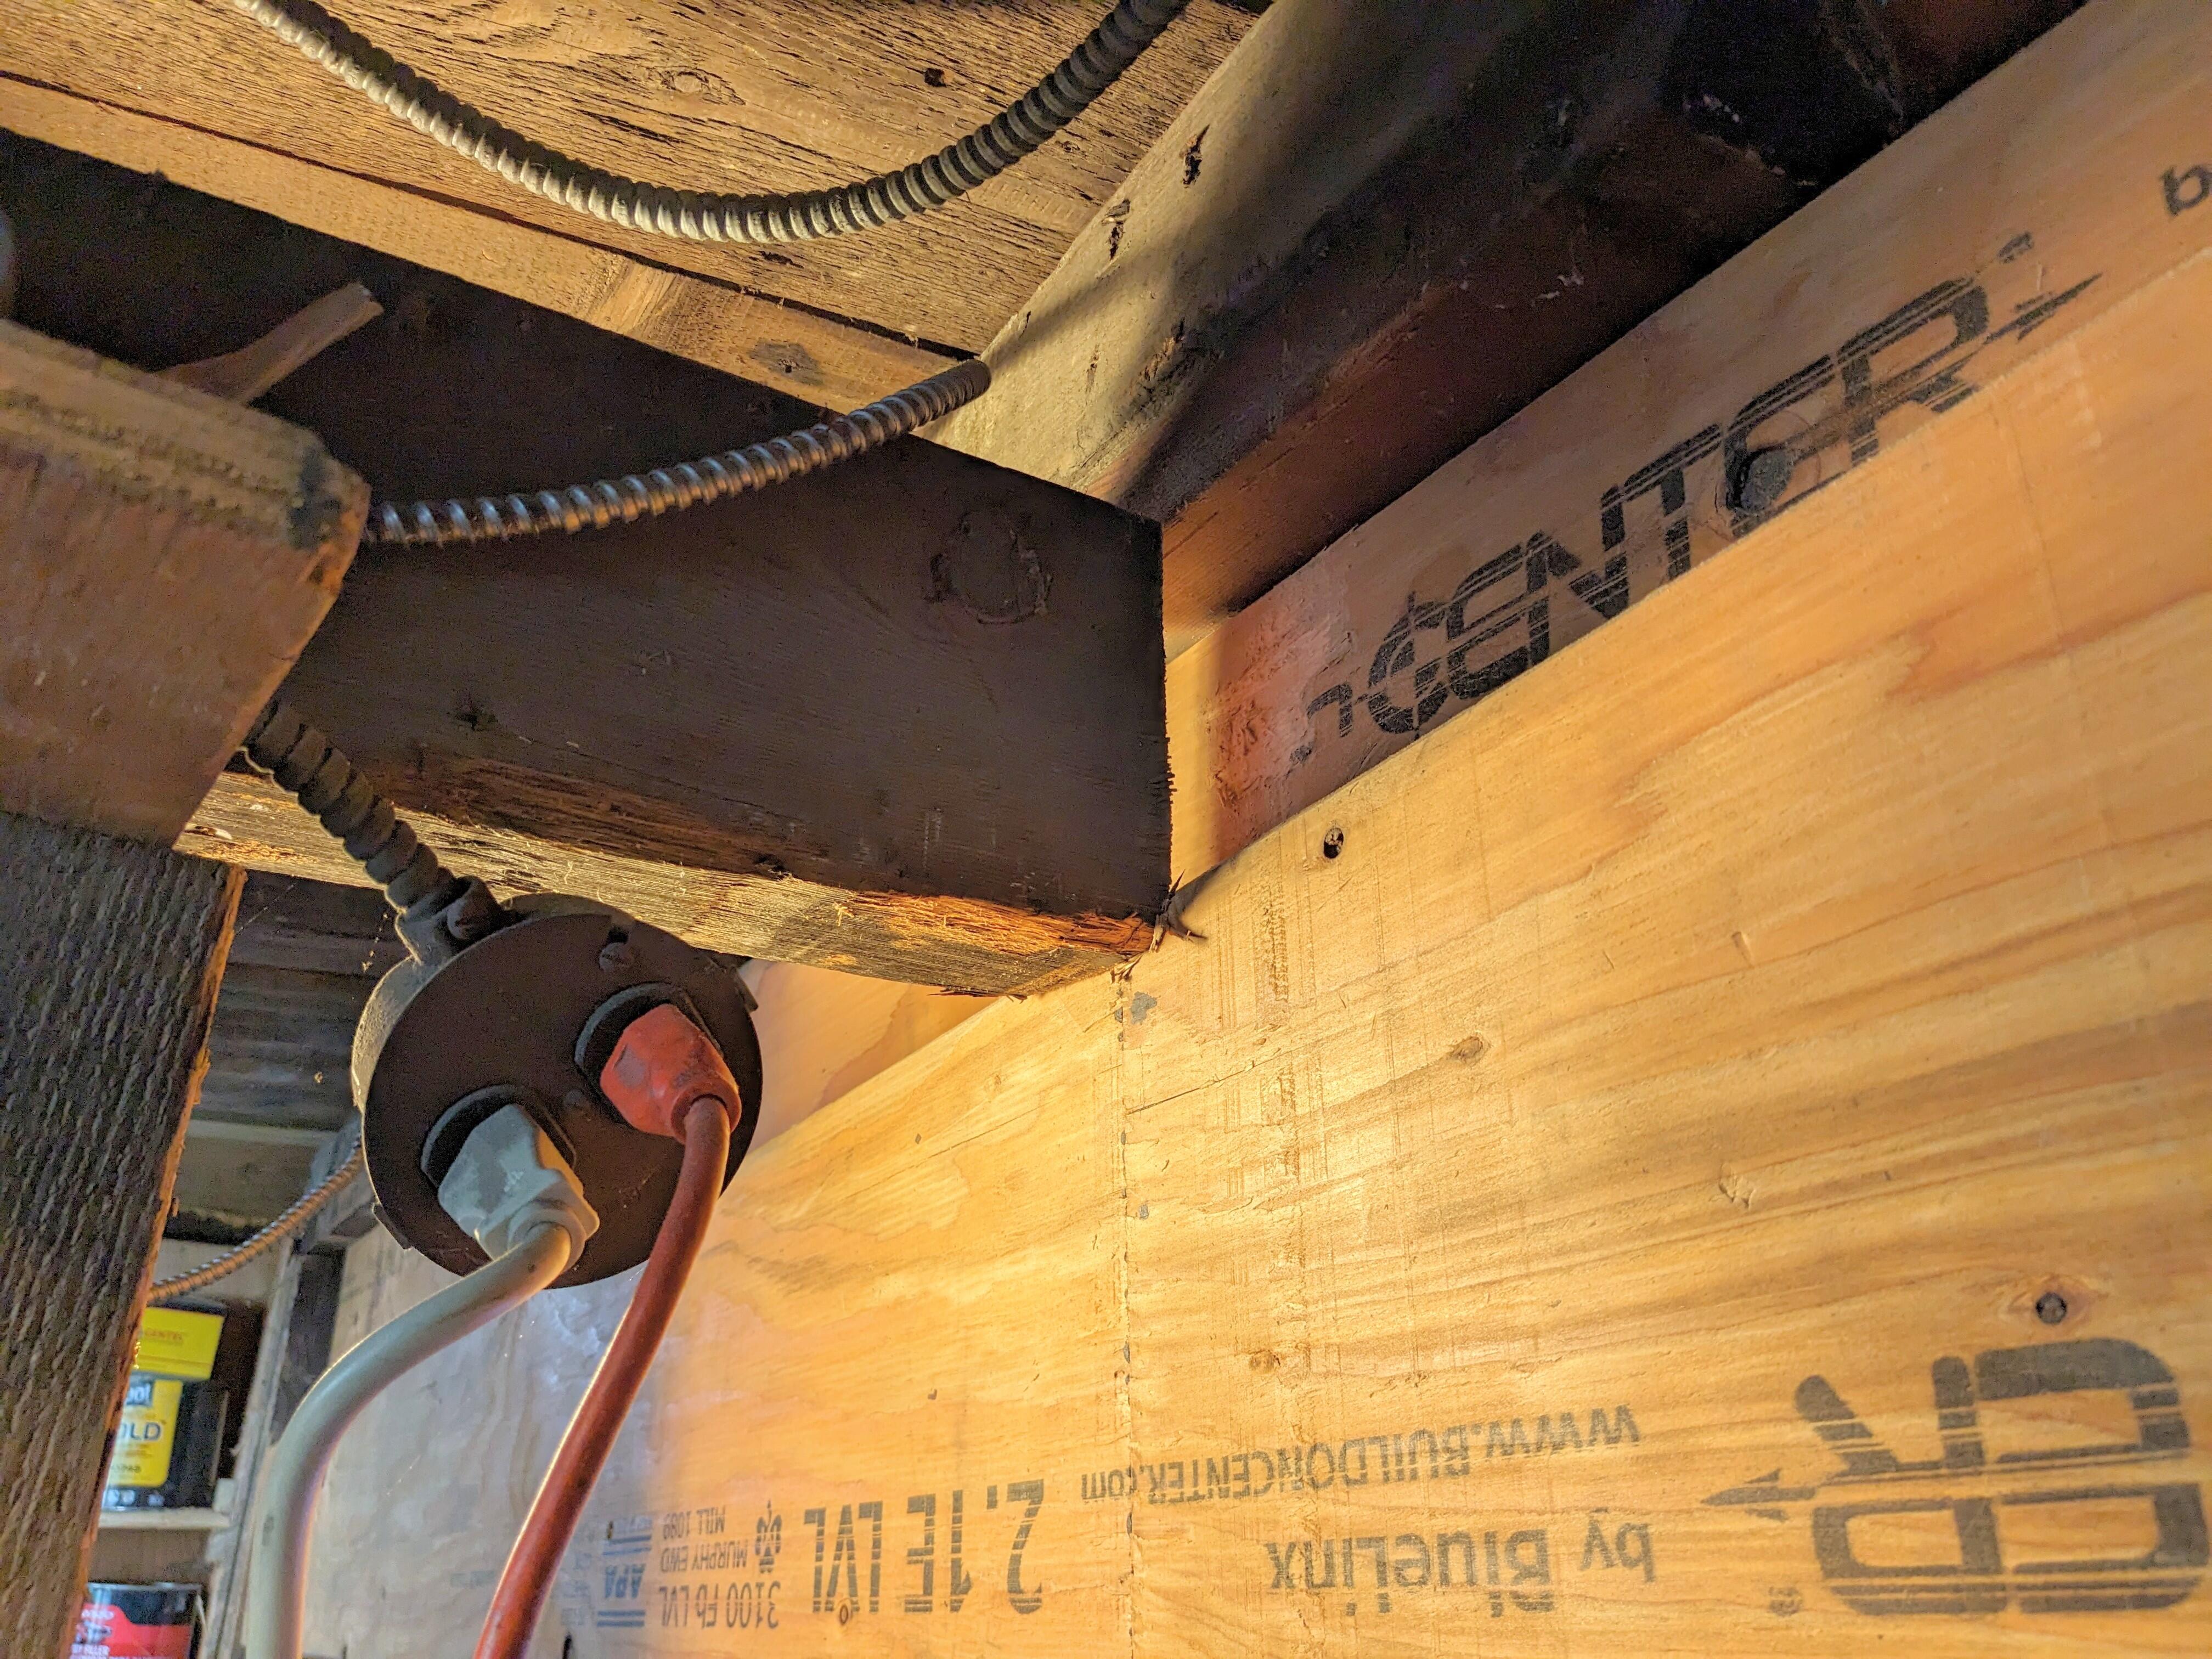
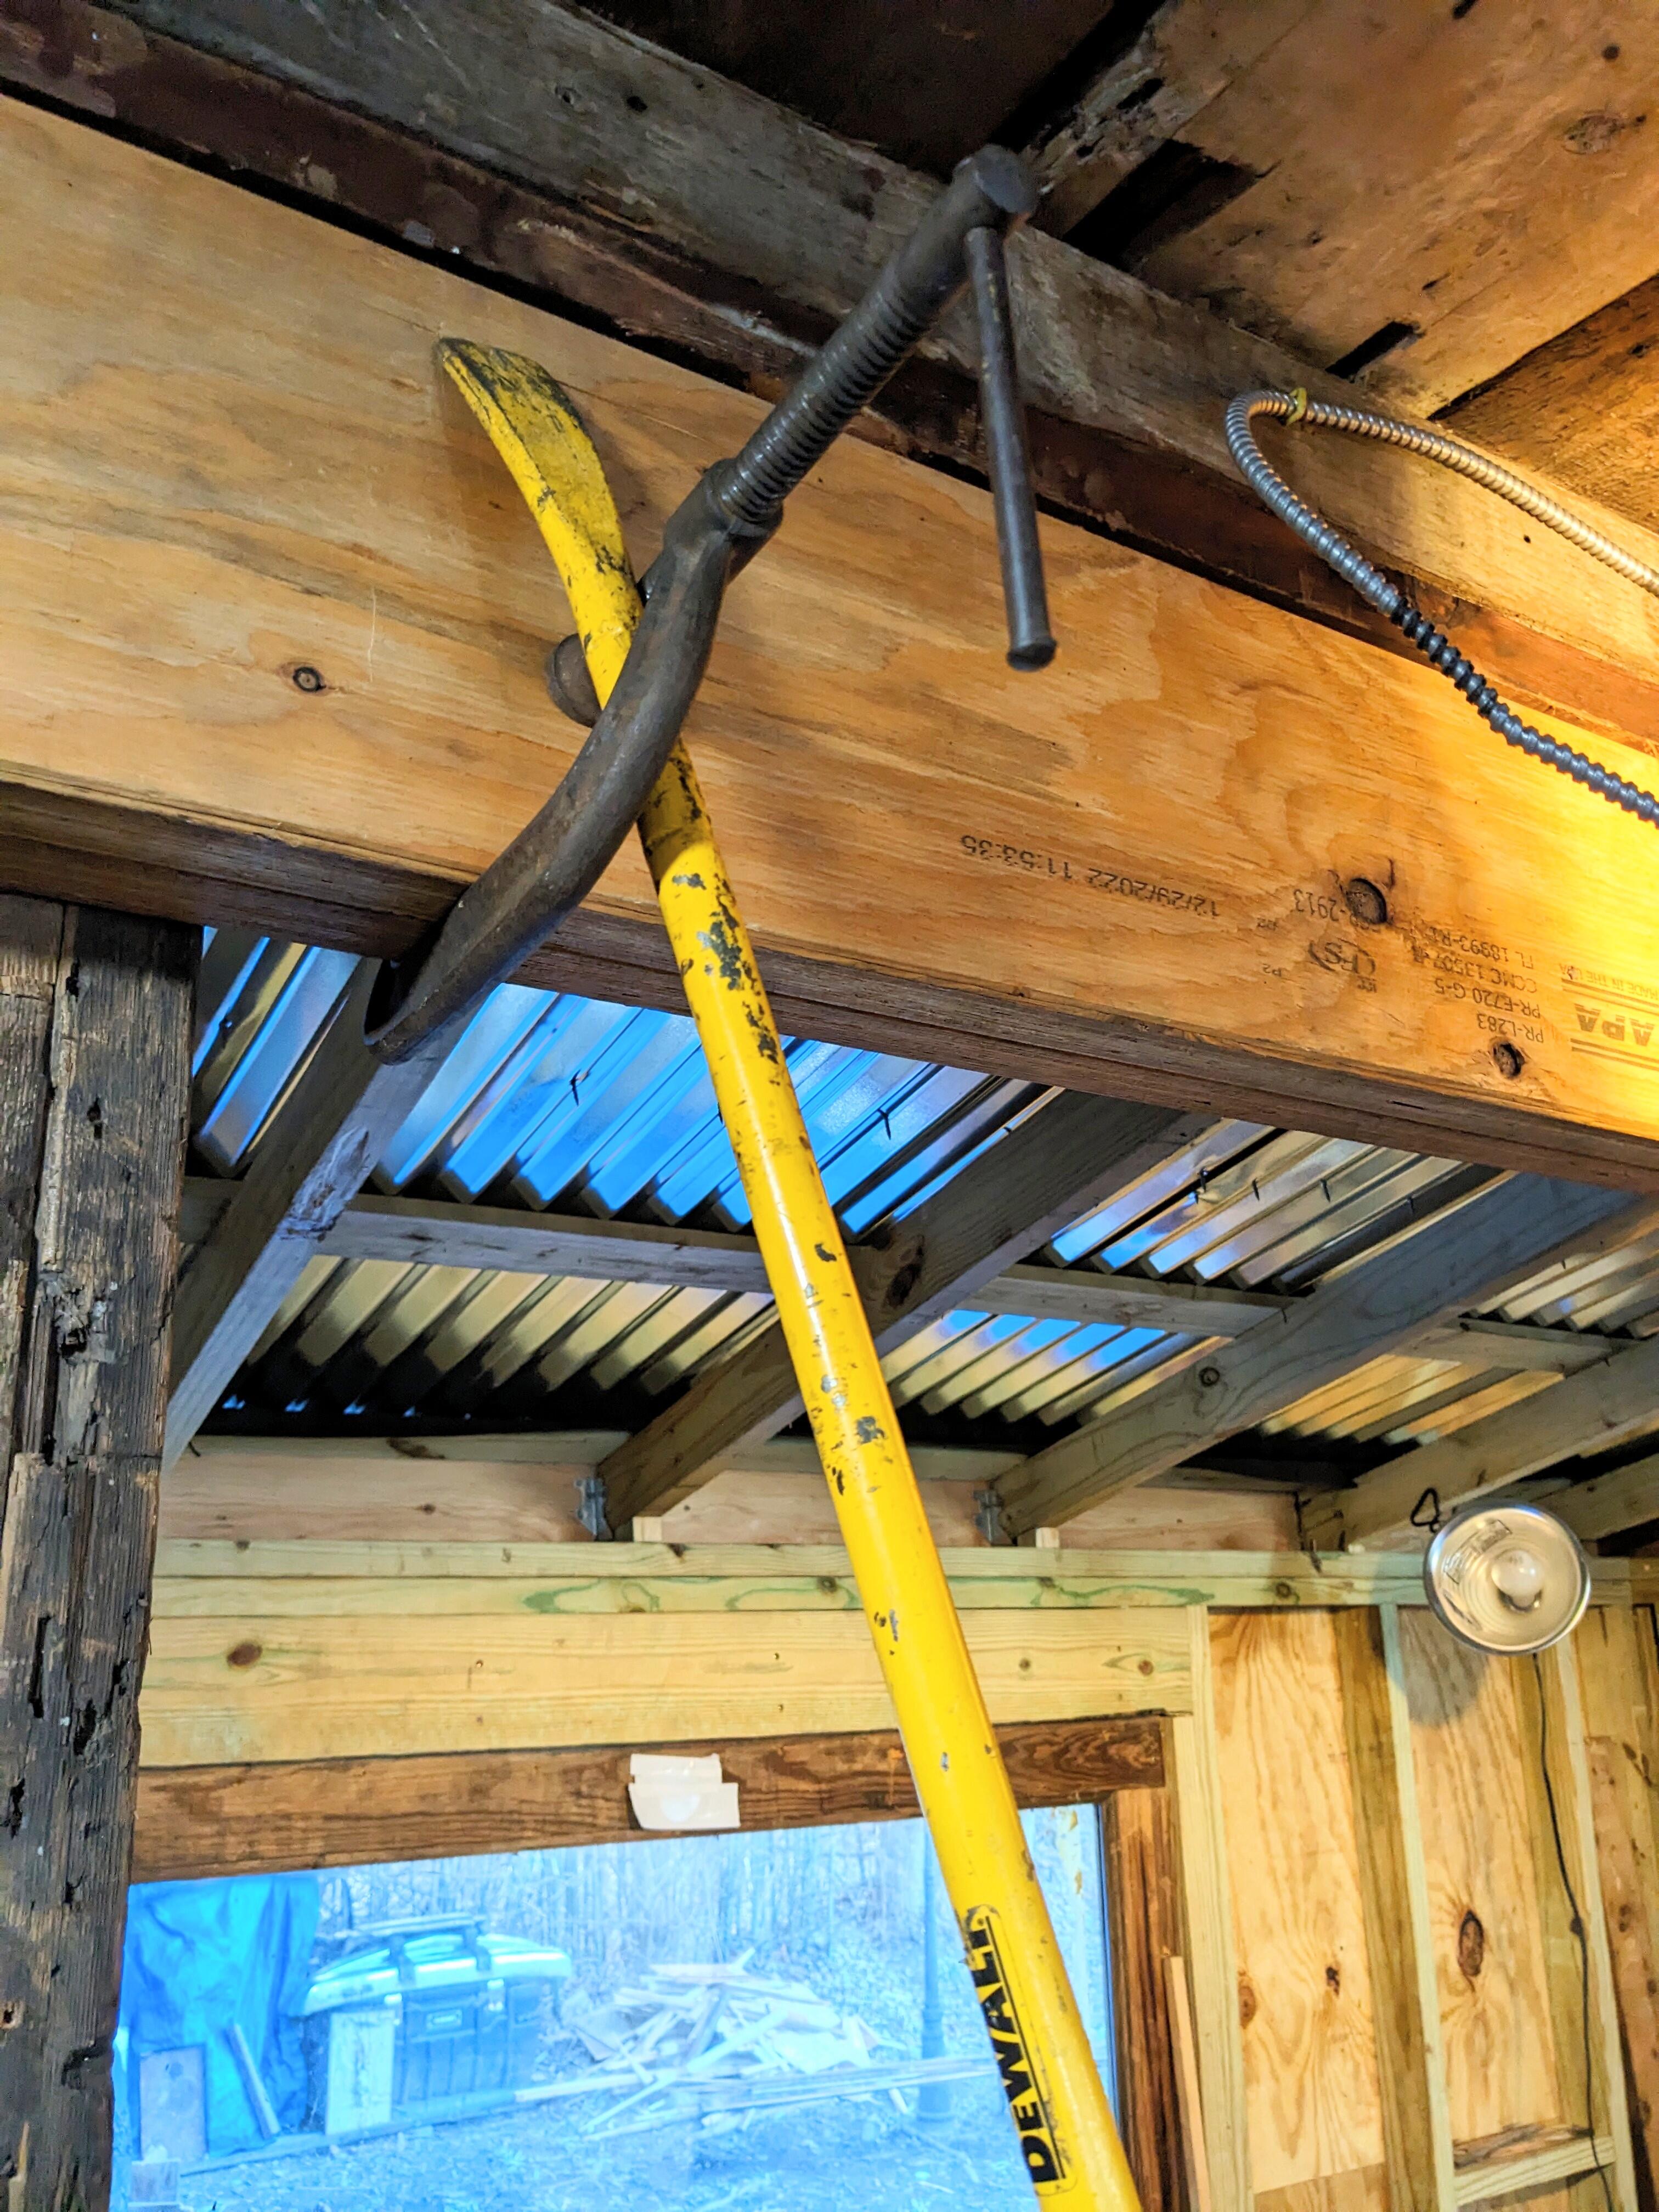
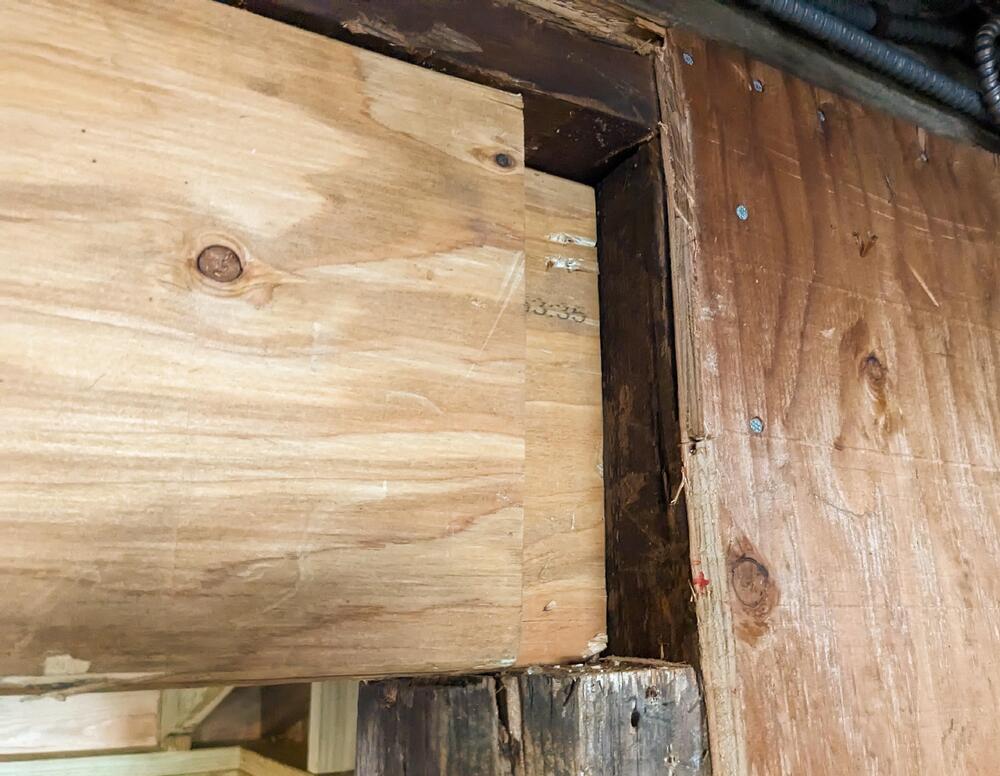
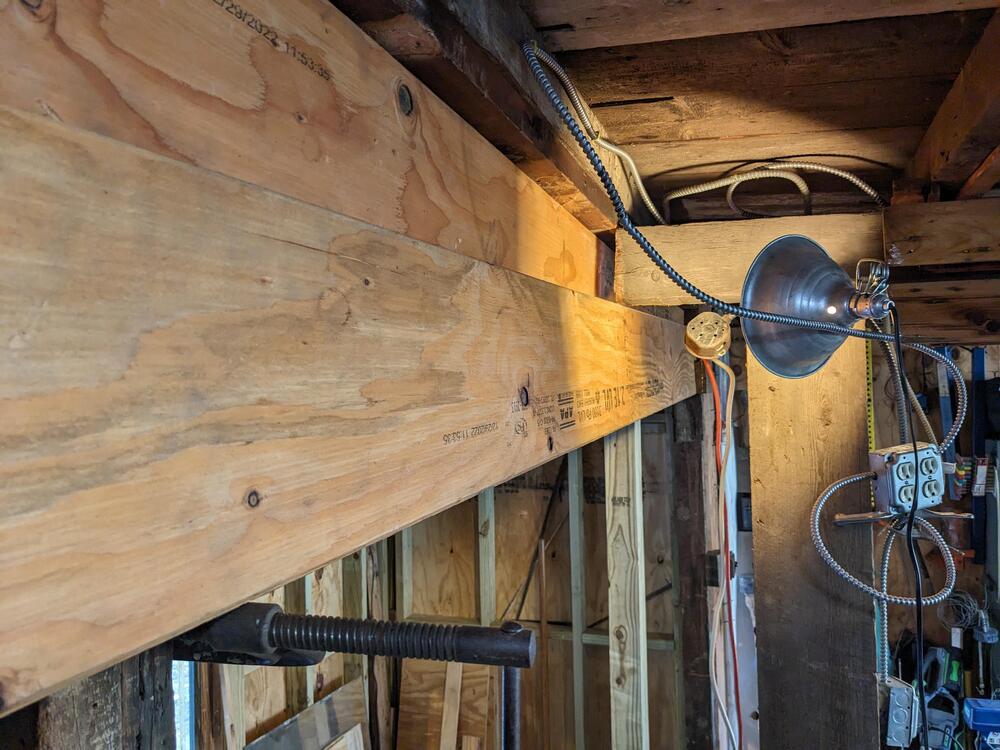
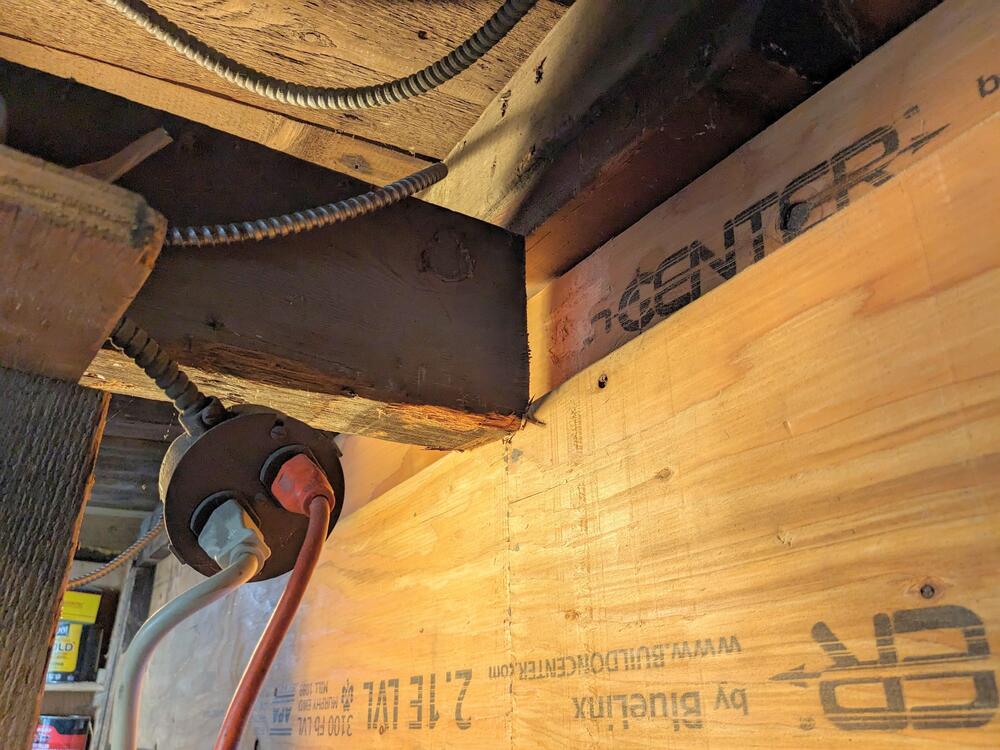
Got the second ply in after work. One issue I missed yesterday was that I only cut 2.75" off the beam, instead of the 3" required for the two plates to squeeze in. Fixed that, then got the ply up in the ballpark, and used a pry bar to get the ply started behind the beam. After that I was able to see-saw the ply up level, then I walloped the left end in until it was flush on the right side king - put the left side jack back in, and just added some screws to hold the header in place & level. Tomorrow I'll wrap that up & add the secondary jacks on either side Since I don't have any g clamps deep enough to reach over halfway up the ply, I'm using the long pry bar leveraged through the g clamps to push the two firmly together at the top, and I will screw the beams together this way, working my way along the top first, then the middle & bottom
 1 point
 -
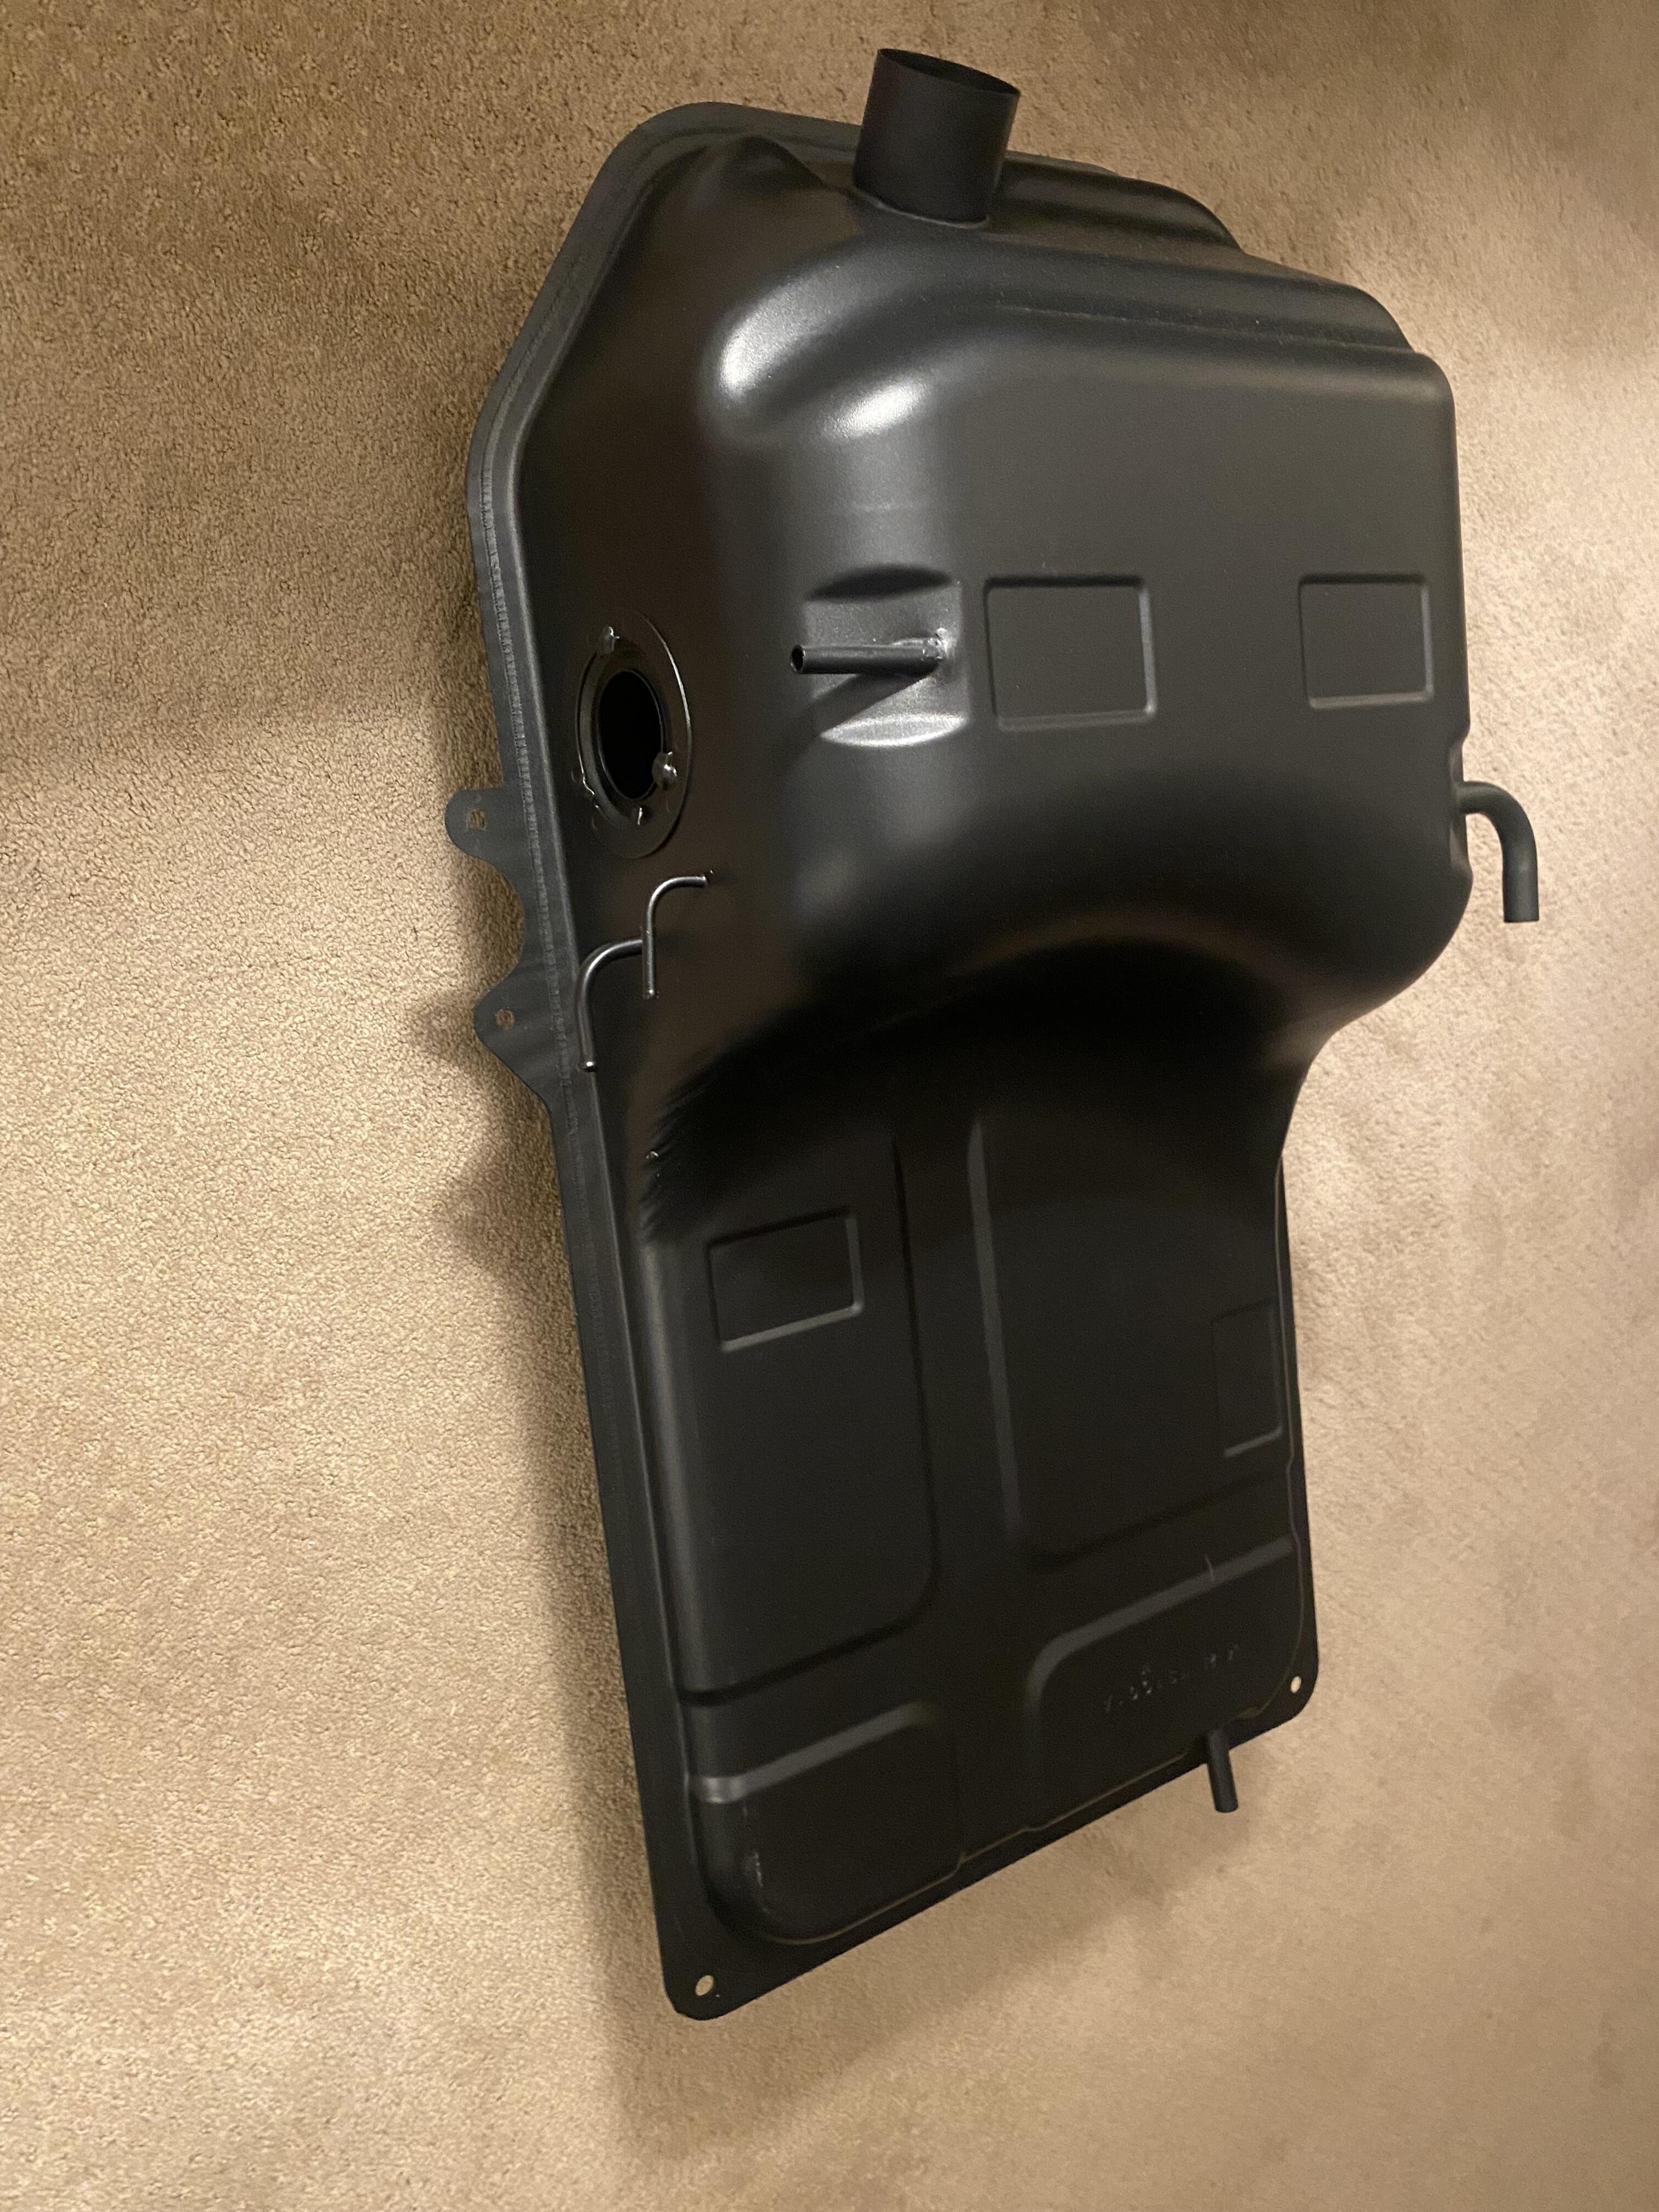
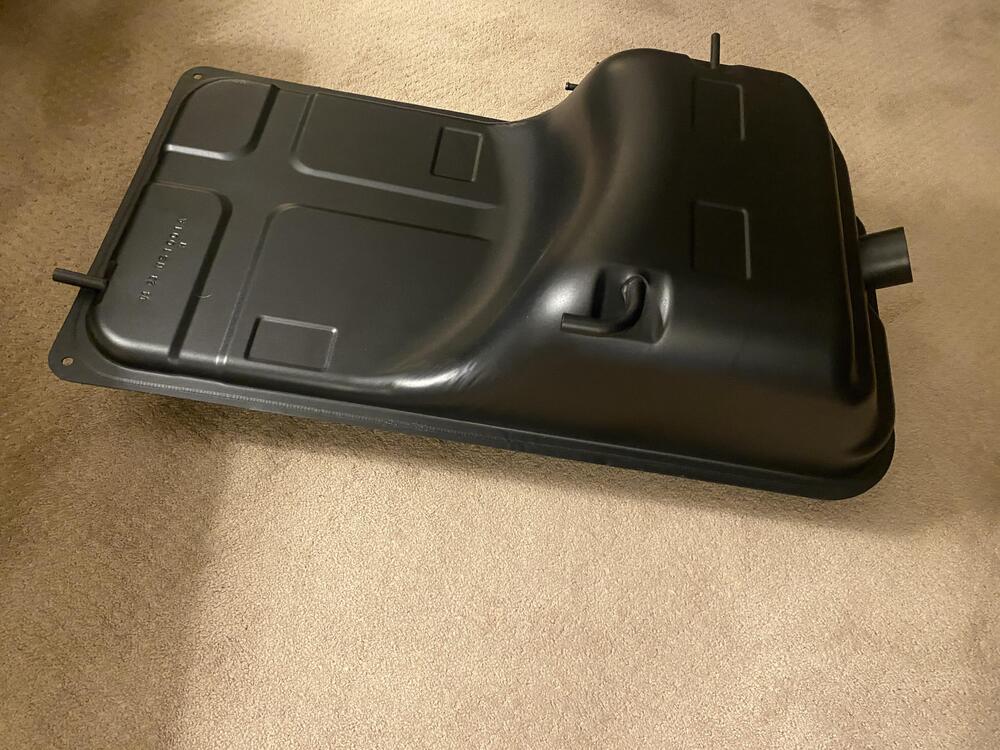
Unwrapped my brand new gas tank from S30. It looks fantastic!

 1 point
 -
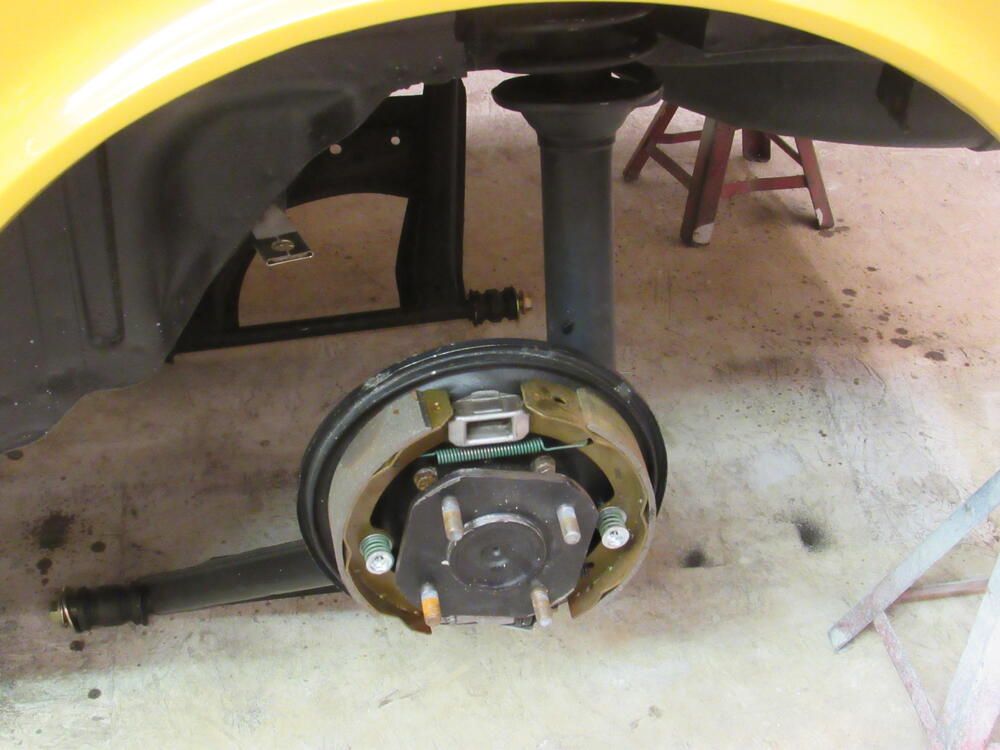
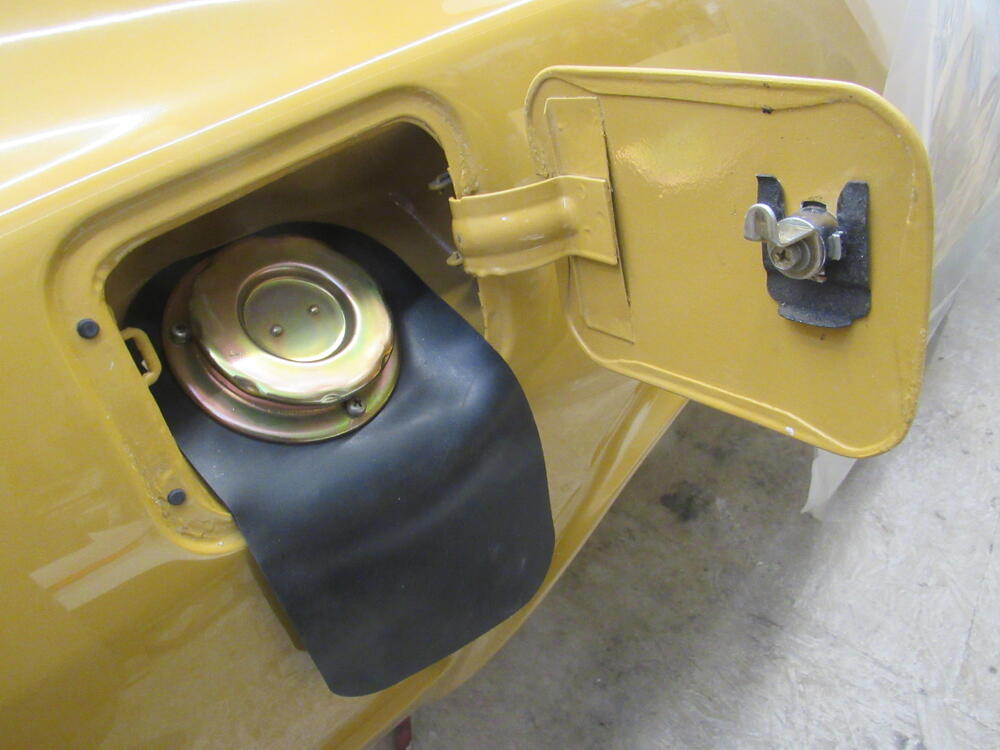
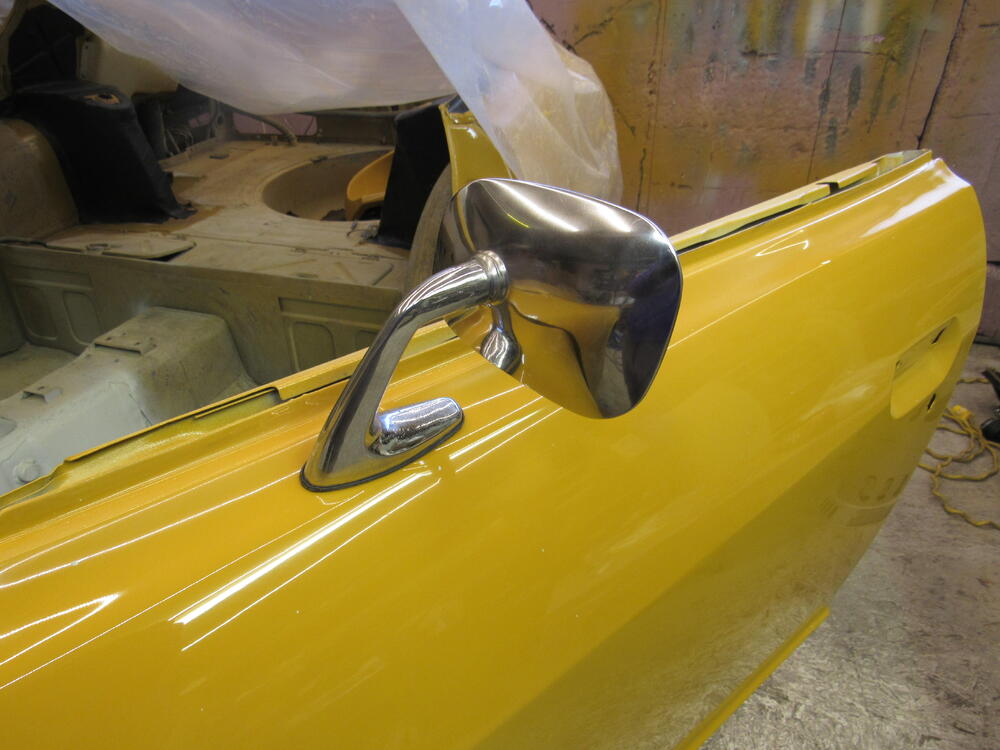
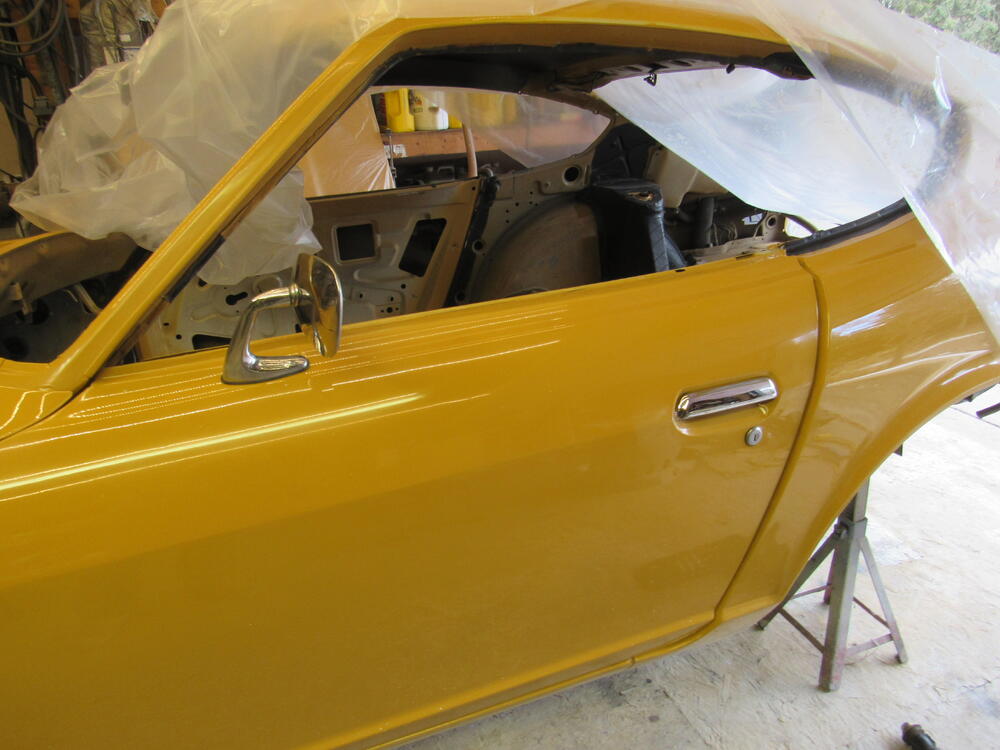
1 pointI tried to stay out of the shop but I couldn't, resprayed the sugar scoop in the morning and spent the rest of the day doing fun stuff, installing shiny things. The new door handles I was raving about do have one flaw, the hinge pins are longer/wider than the original pins, so I had to file out a notch on both openings to accommodate them, then seal up the bare metal. Not a big deal but it wouldn't be difficult for them to just use a shorter pin.


 1 point
 -
1 point
-
1 point
-
Got it. I'll anchor the ply that's up, & then take at least the left jack out. Adding blocks to see-saw the ply in place would be safer for me than the way I did the first one.1 point