


Leaderboard
-

ConVerTT
Free Member4Points422Posts -
HusseinHolland
Free Member4Points1,031Posts -
KenFirch
 Subscriber
 3Points271Posts
 -
inline6
Subscriber3Points1,282Posts


Popular Content
Showing content with the highest reputation on 12/10/2023 in all areas
-
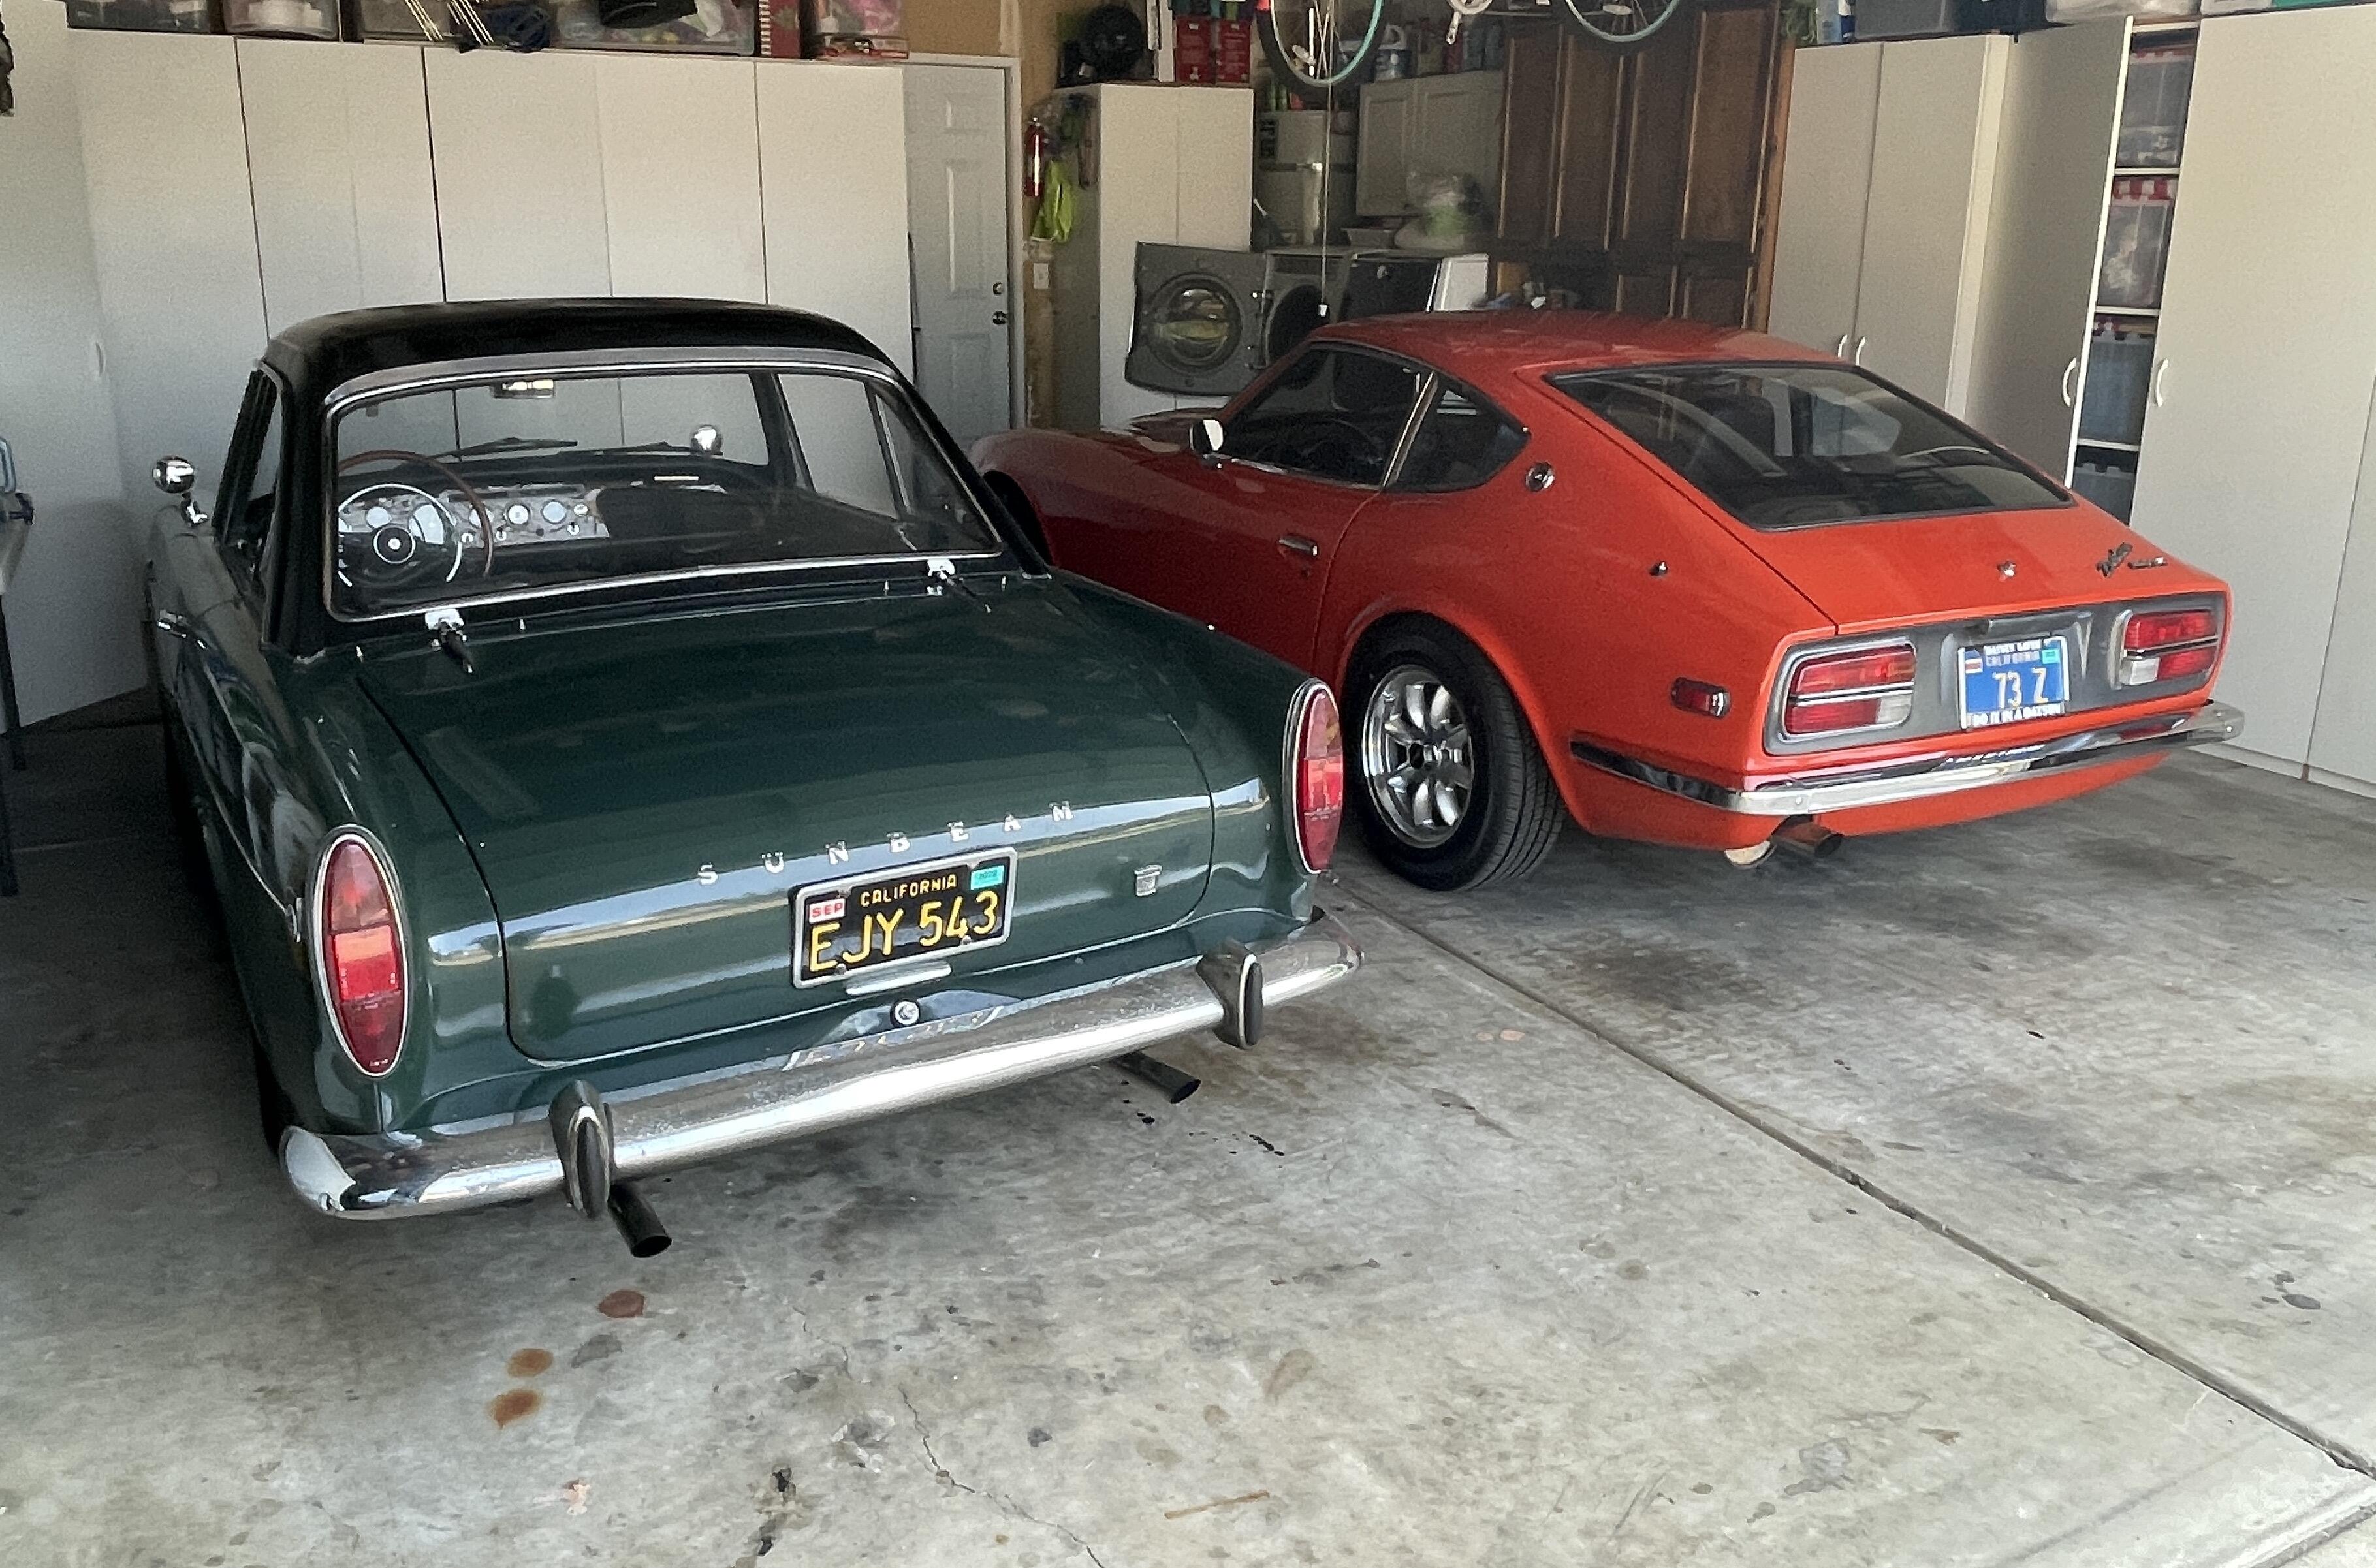
3 pointsOld thread, but, I bit the bullet and bought the ZCar Garage big brake kit! Reasons: My brakes were due for work, and I wanted something better. I've had to really jam on the brakes a few times in freeway traffic jams, wondering if I'm going to be able to stop in time. Wanted setup that would fit my 15" PanaSports. Wasn't in the mood to piece together various parts to get a working system. Wanted something that's engineered for the Z. Well, they do look awesome too. Looks like they've kept the Wilwood parking brake setup. I've got it installed, and the car is back on the ground. Today I need to find an isolated road somewhere where I can bed the brake pads in and "season" the rotors. I'll be posting a YouTube video of my install process once I'm done editing it.

 3 points
 -
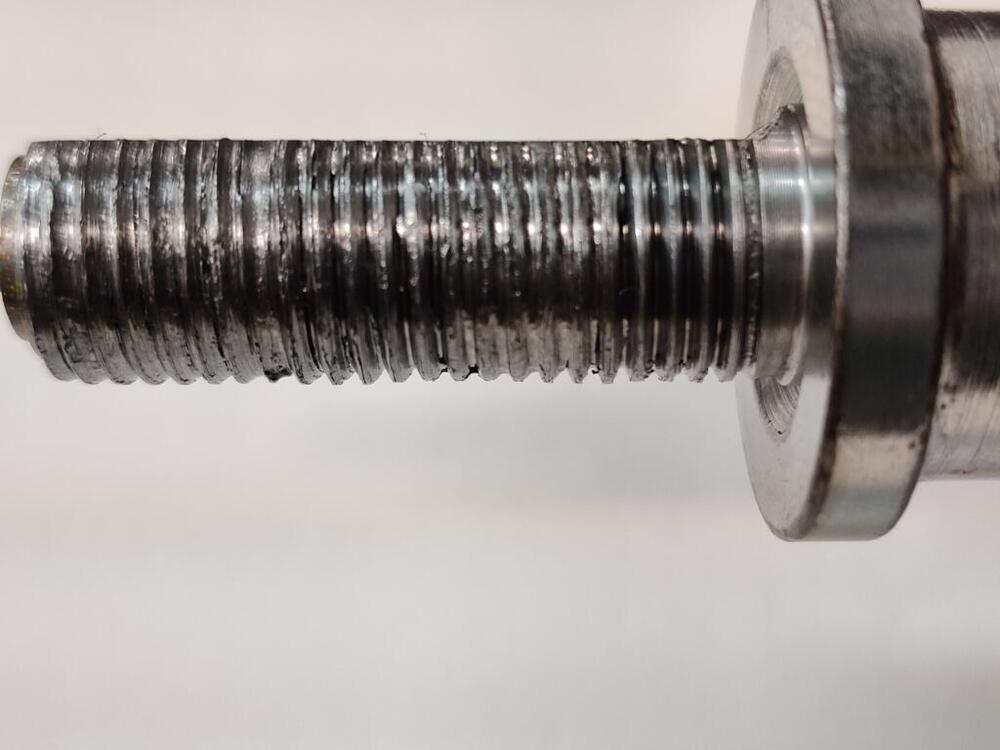
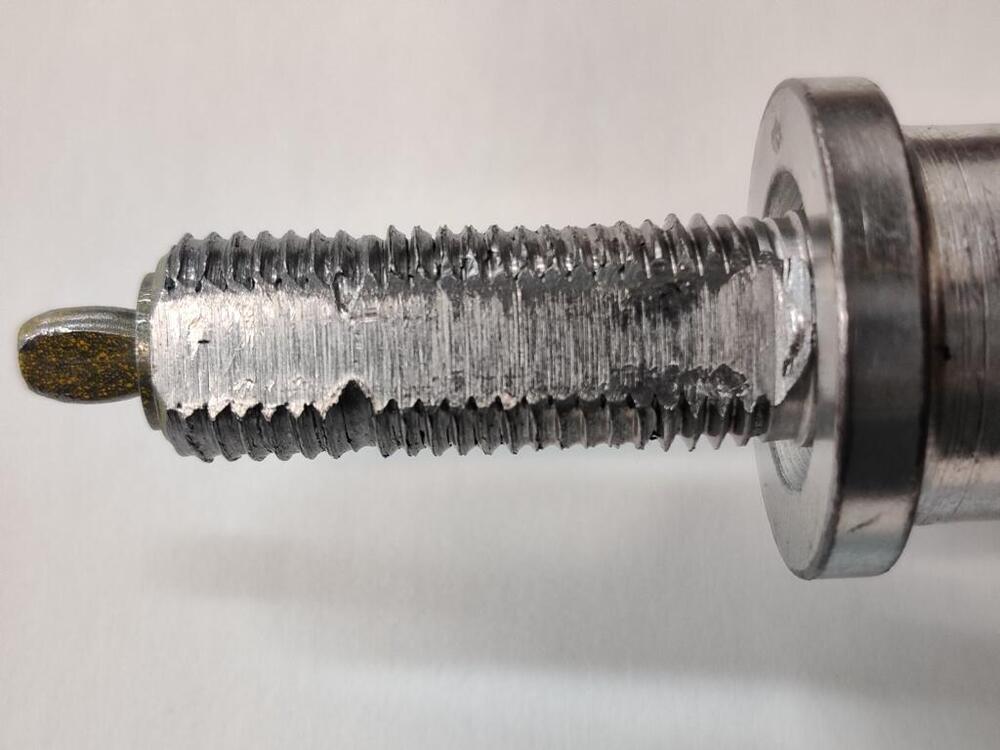
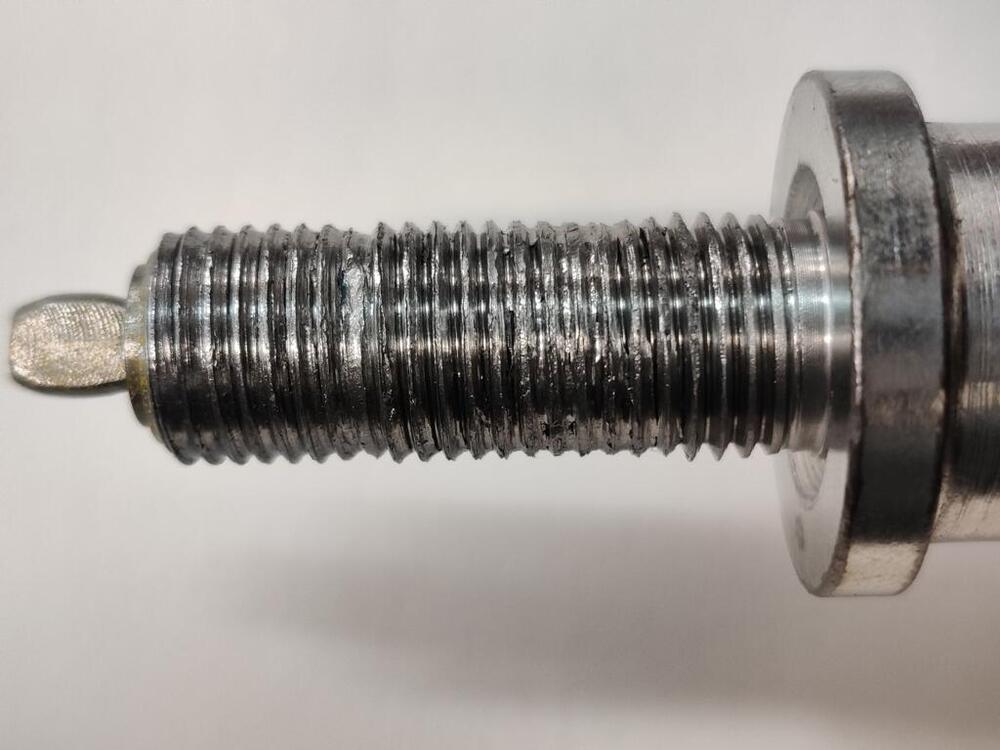
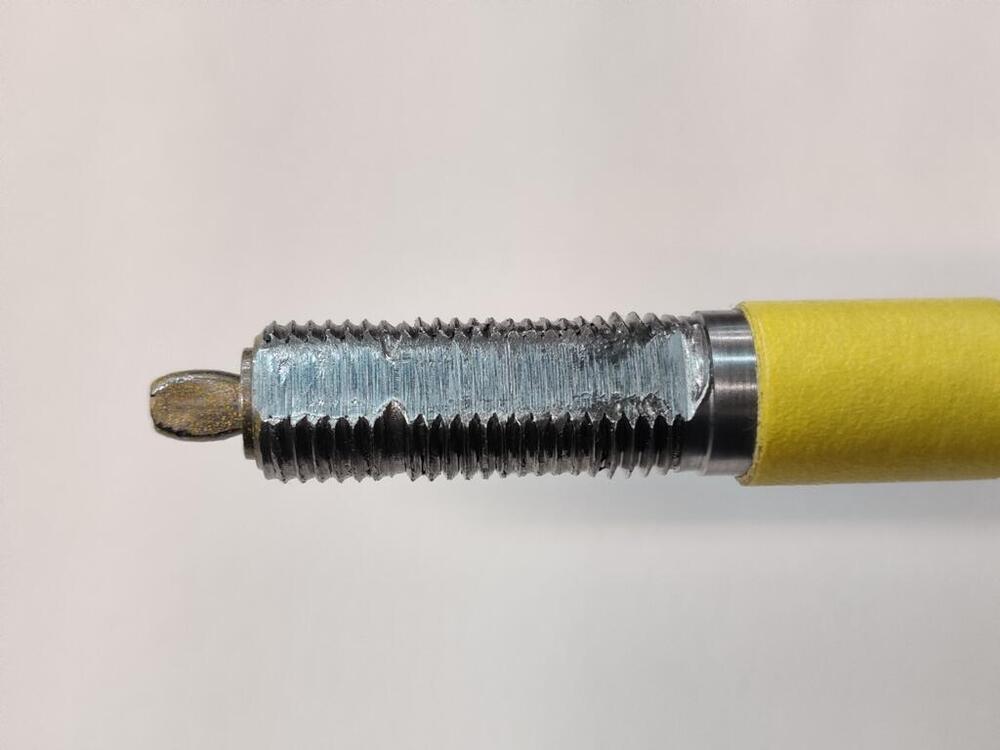
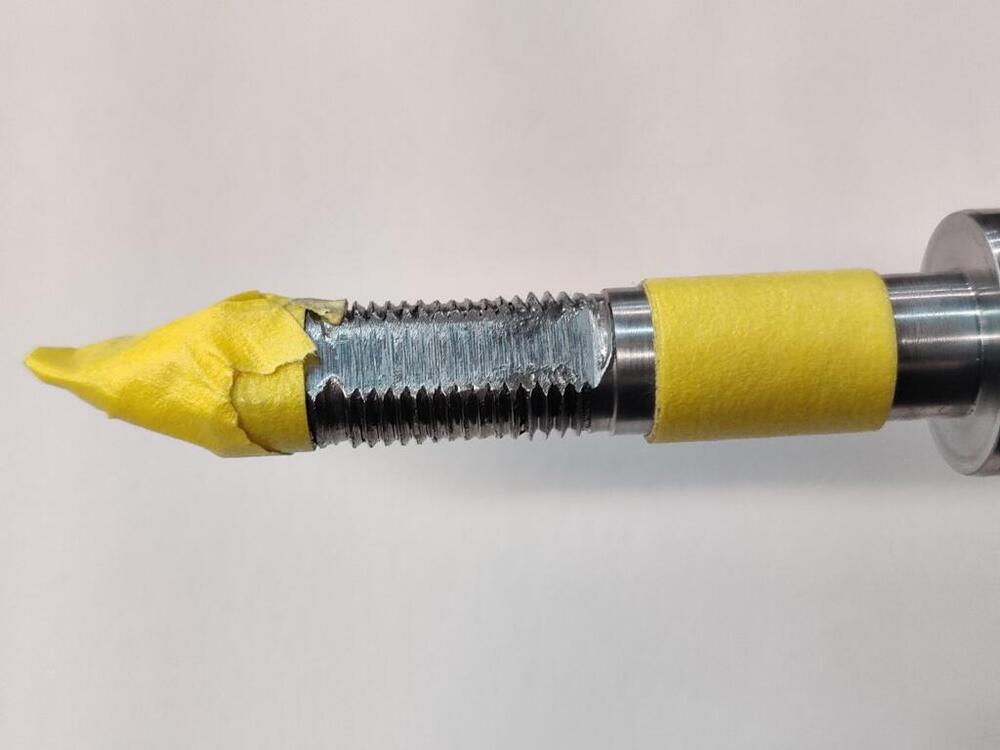
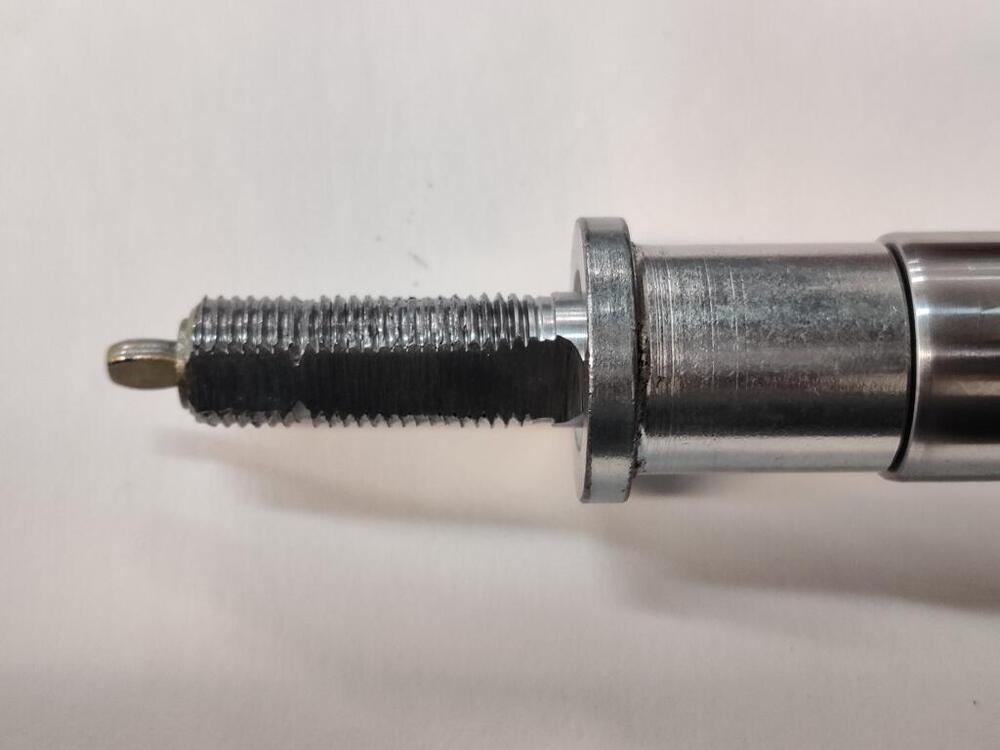
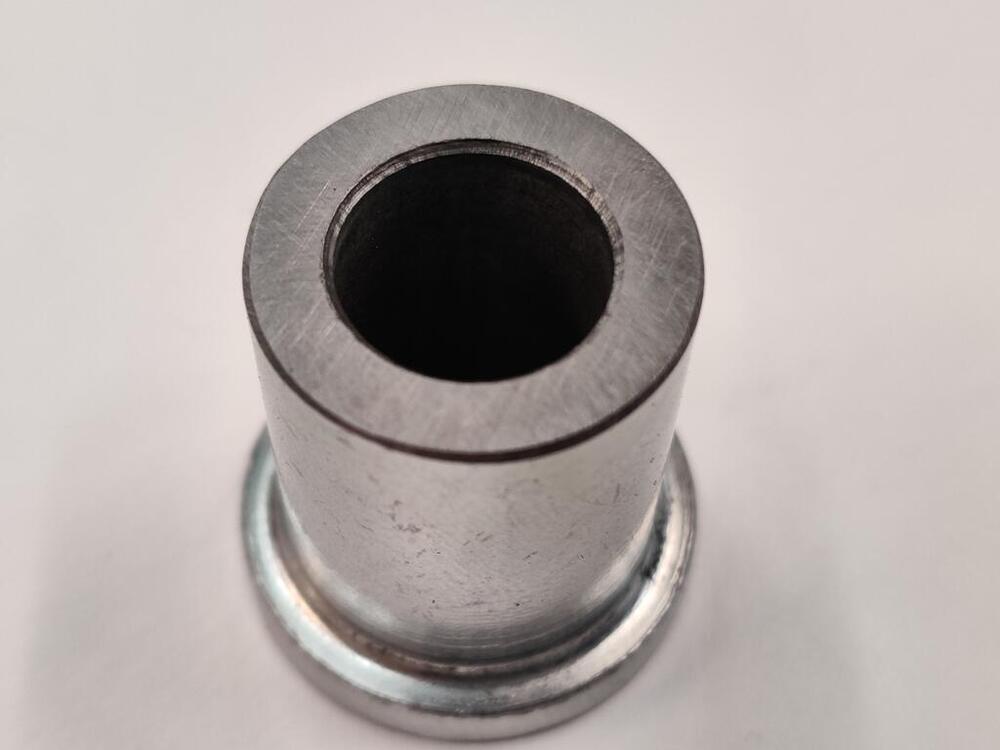
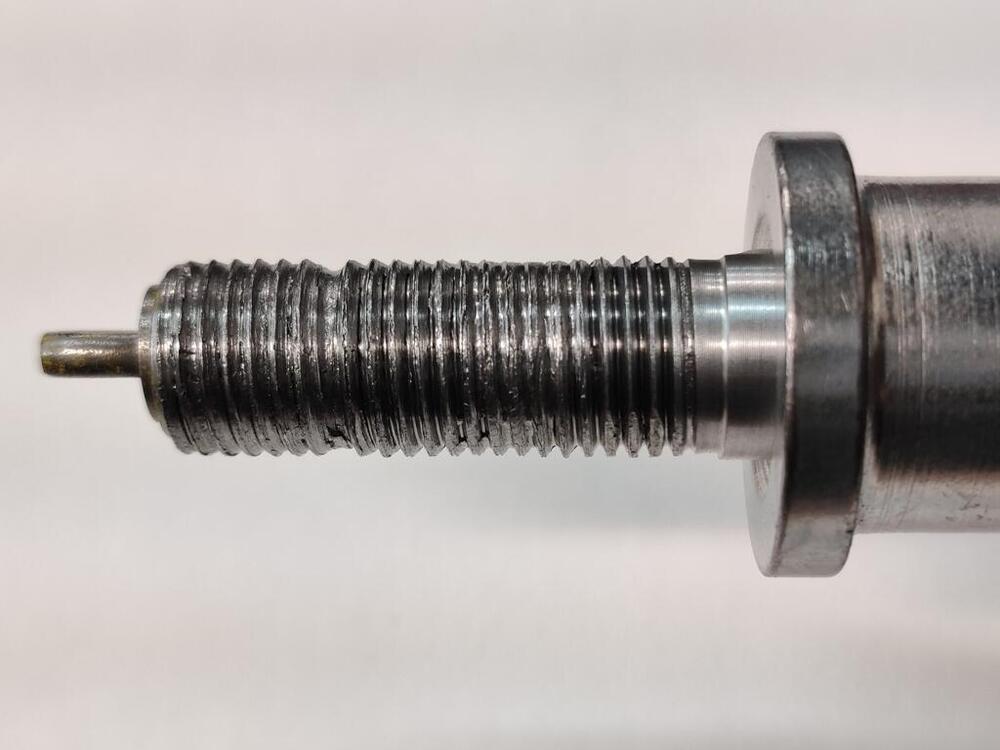
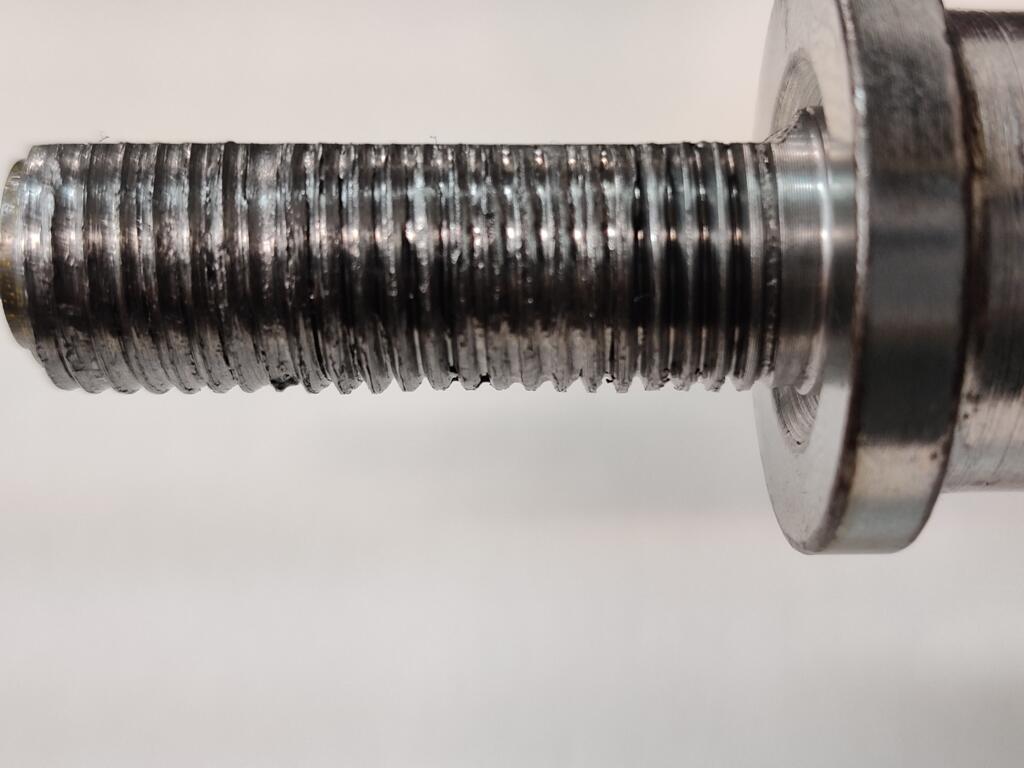
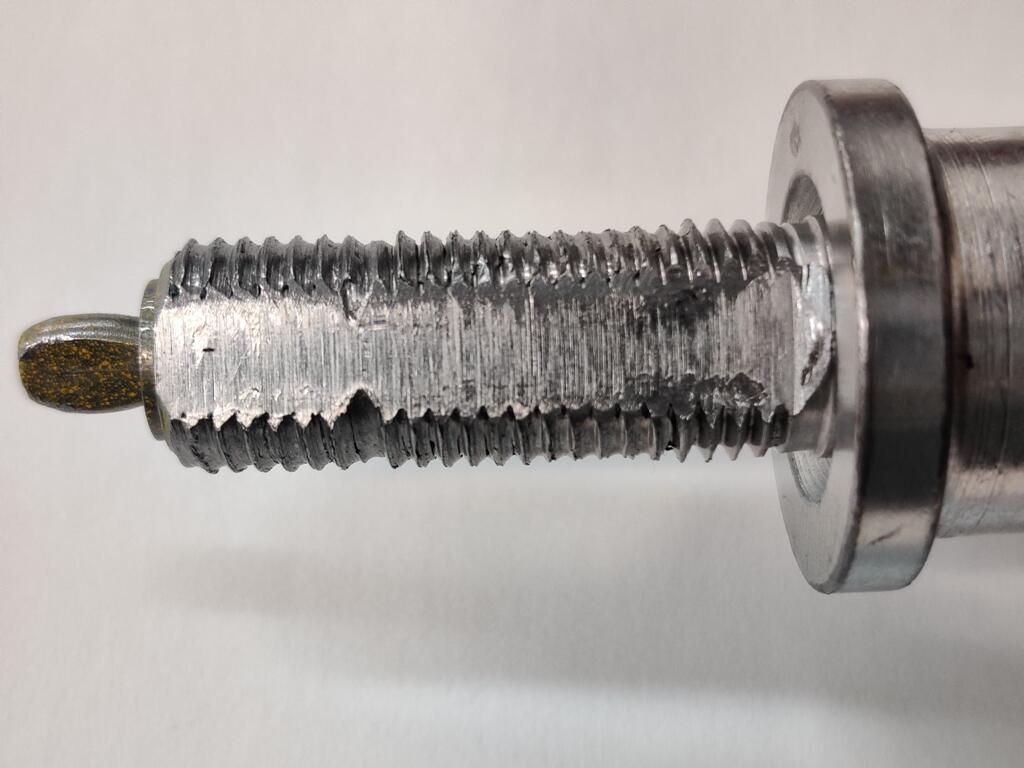
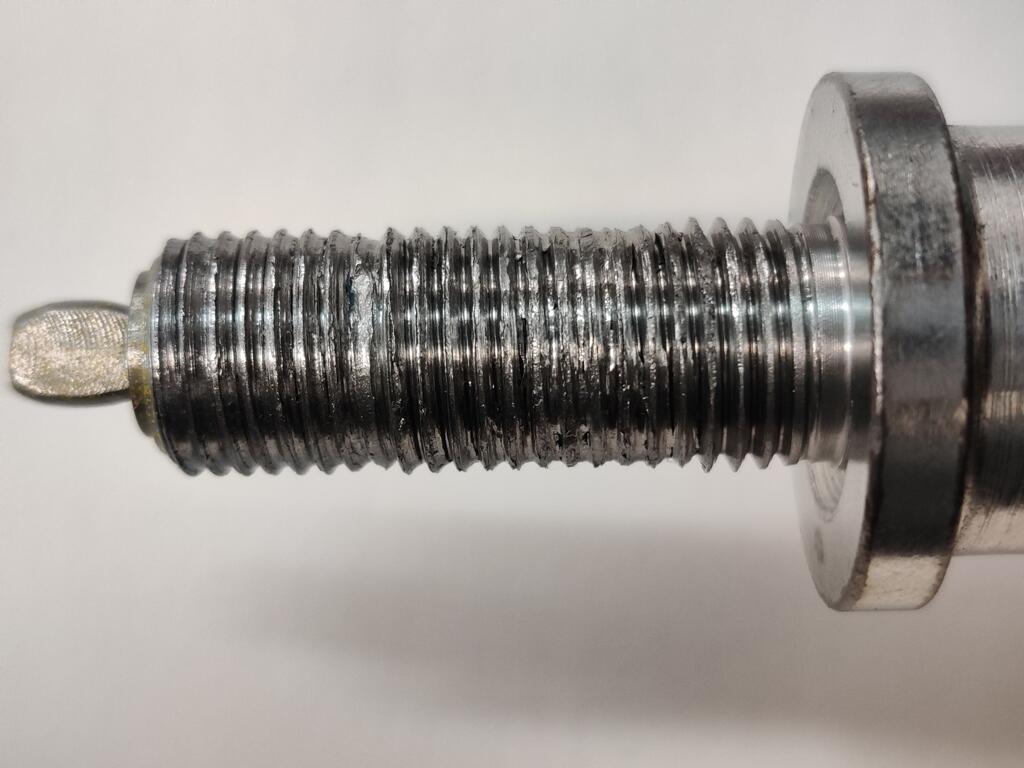
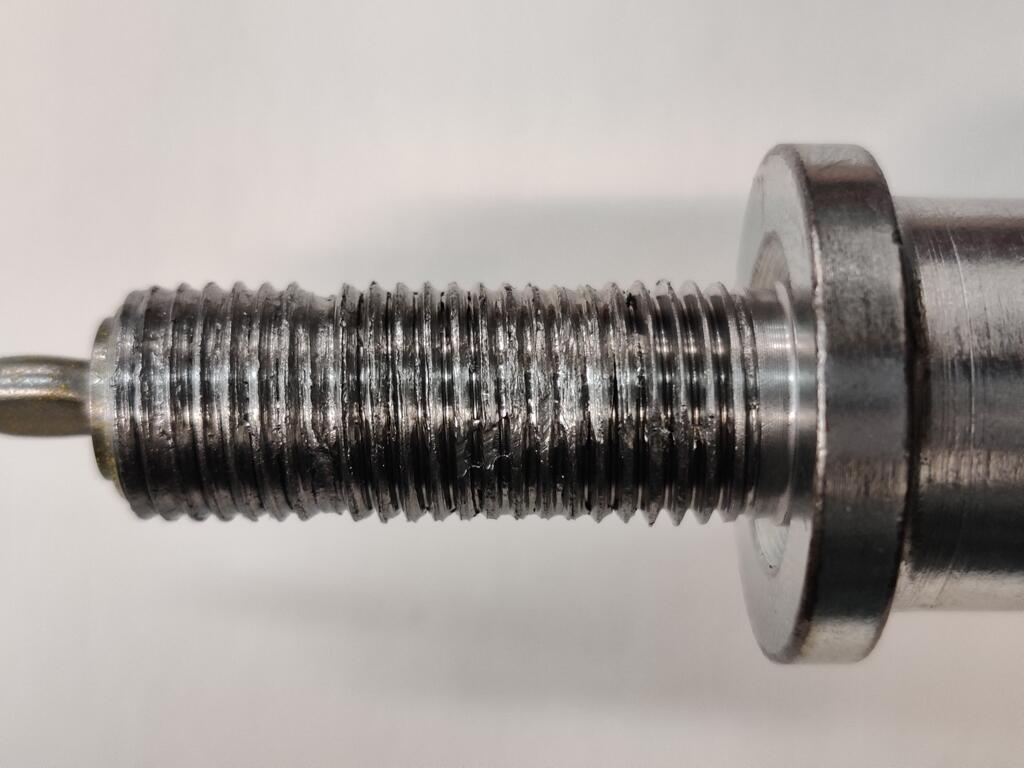
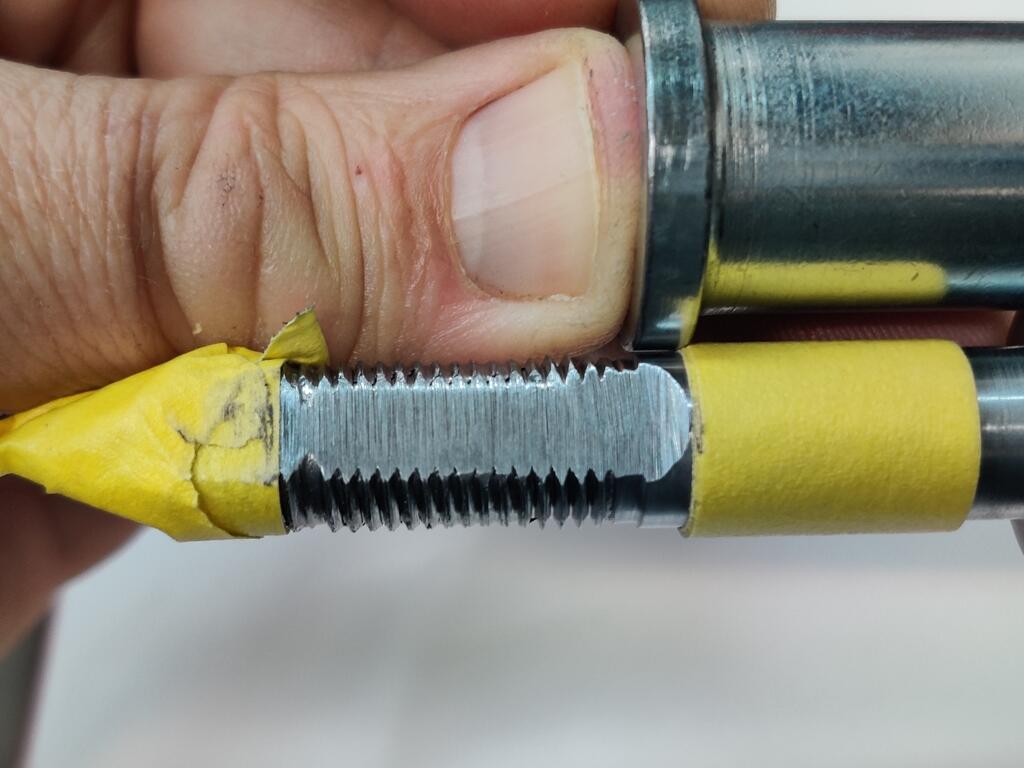
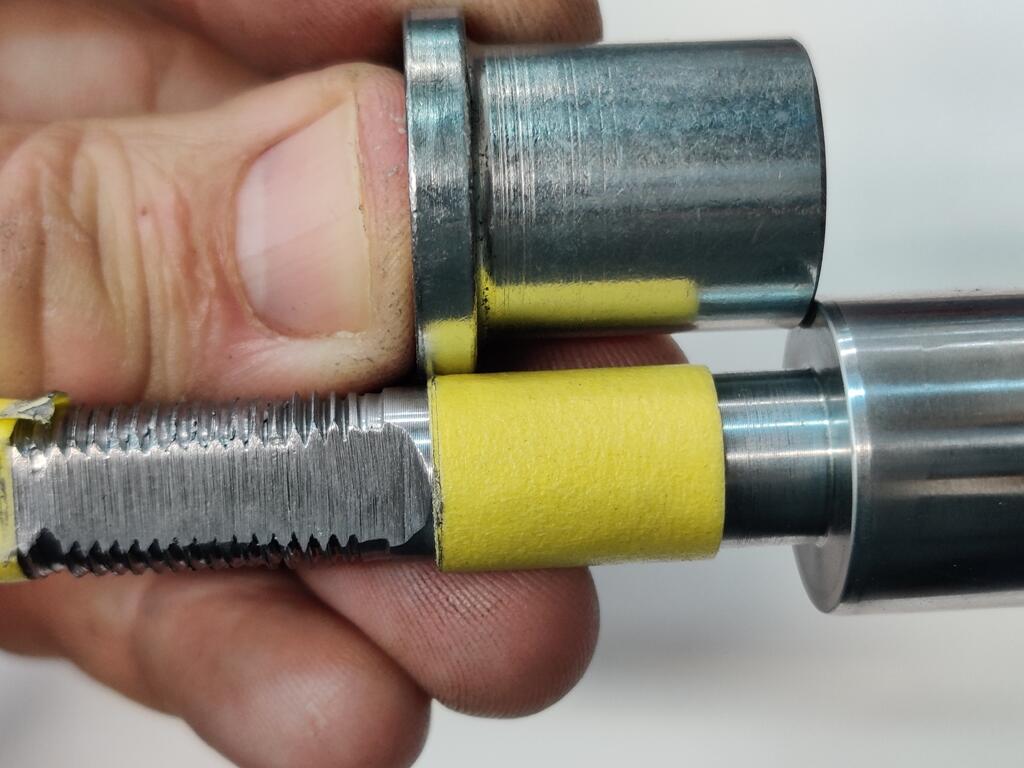
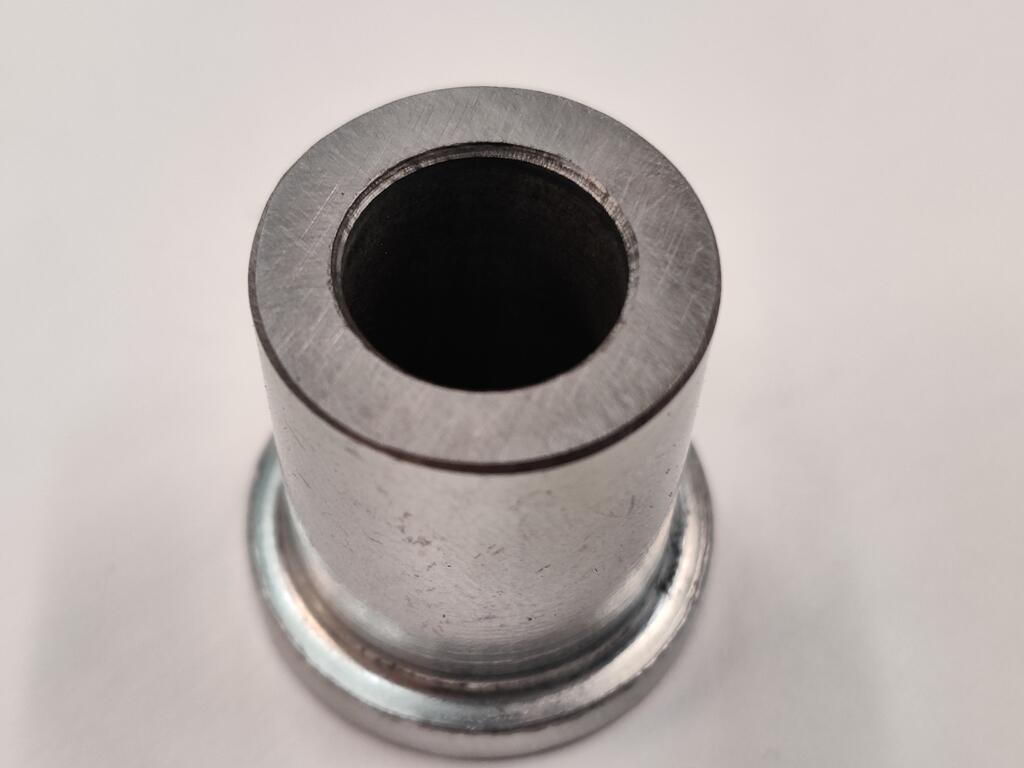
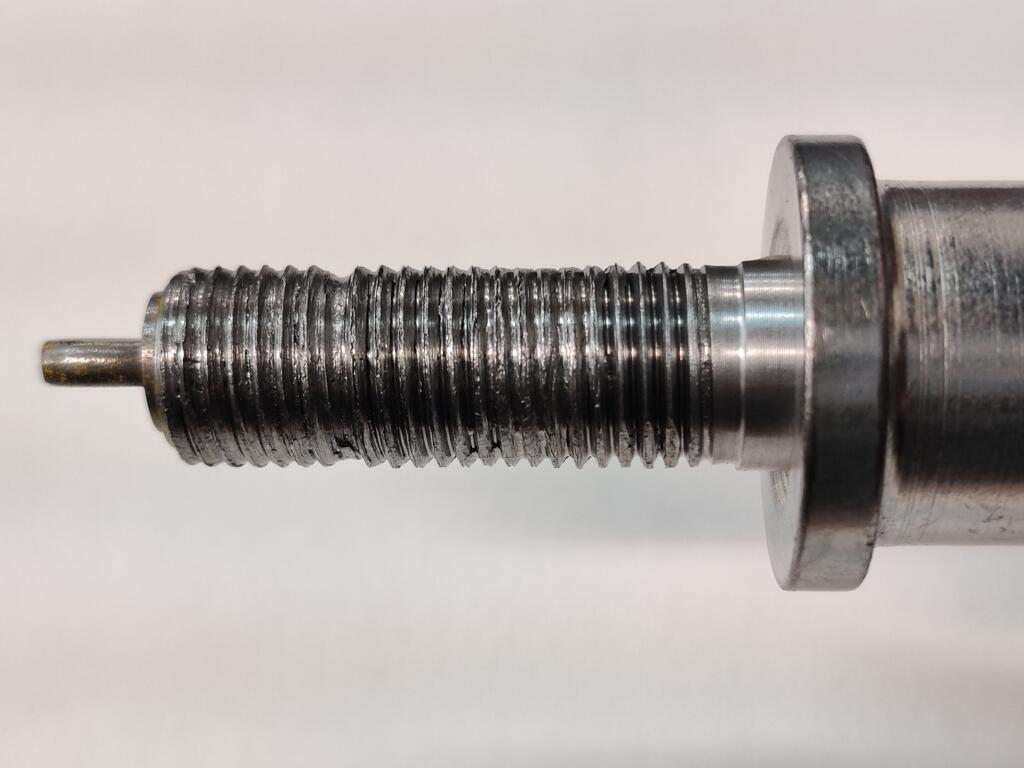
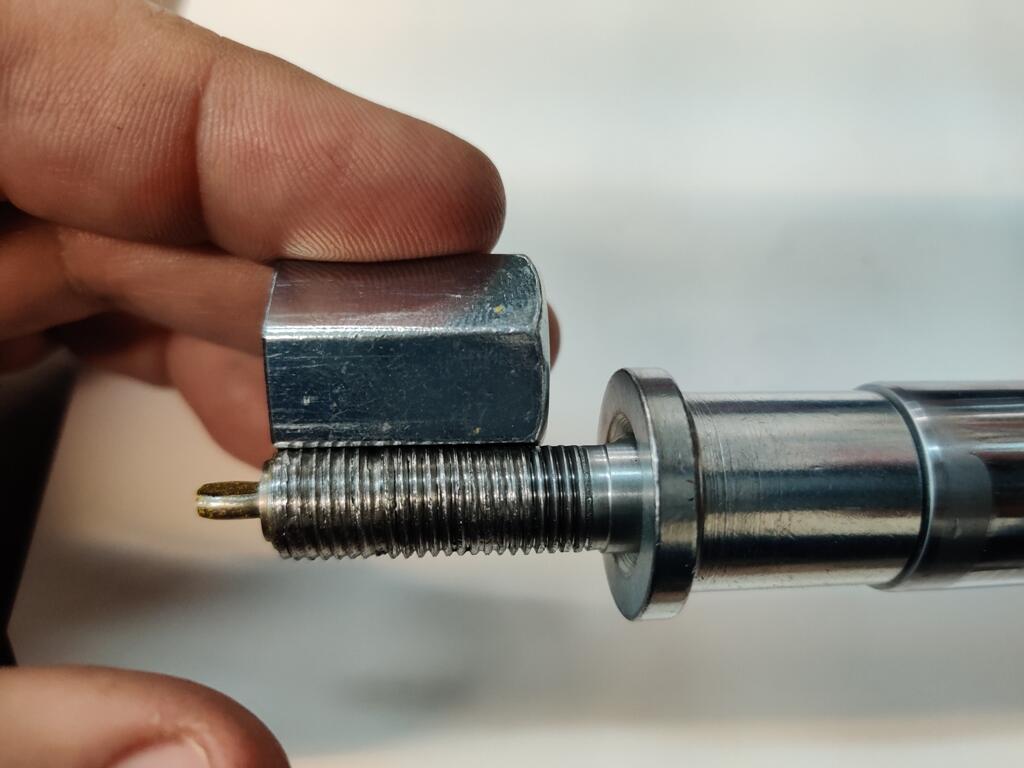
Yeah, it is not obvious which is the right torque value. I decided to try to save the strut insert and spent a couple of hours giving careful attention to the threads. I used this tool which is for repairing threads: Using a lot of patience, I kept at it until the new coupler nut would thread on without difficulty. Here's how it looked after all that effort - these pictures capture how it looks all the way around the circumference. While not "great", the threads look better than before. Also, note that the 4 to 5 threads just above the spacer (a bit more than a 1/4") were not mangled because the thickness of the isolator stacked on the spacer protected them. As I examined the situation, I determined that I could "alter" things a little bit, so I could utilize those threads. Basically, by shortening the spacer, the isolator can slide down further on the shaft and expose those threads to the fastener. I started by putting tape on the shaft to mark the area that I needed to grind to fit the "D" in the upper strut mount isolator. And, I taped off the adjustment mechanism to keep metal dust from getting into it. After using a belt sander to grind the "flat" in the shaft a little lower, I had to remove the same length of material from the bottom of the spacer. I don't have a lathe, so I had to be very careful with grinding. After removing some length, I very, very carefully used the side (which I have never used) of my 8" bench grinder wheel and kept measuring with vernier calipers until the cut side was square with the non-cut side. Then, I chamfered edges (middle pic). The shortened spacer length matches the shaft again (third pic here): Final pics, with the third pic here showing the coupler nut after shortening it also. I could have shortened the spacer and the nut a bit more to pick up another couple of good threads. However, given that the original nut only engaged about 7 threads, and this one engages more than double that (though some are in very bad shape), I felt grabbing those last two was not necessary. Today, I assembled the strut, put it on the car, and used that same torque wrench to set the nut to 37 ft lbs without any issue whatsoever. I used a good bit of blue Locktight, which will keep the nut from backing off. I plan to check the torque on that nut repeatedly as I put the first 500 to 1000 miles on the car. If it turns when retorqueing or feels odd at all, I will swap the insert for a new one.


 3 points
 -
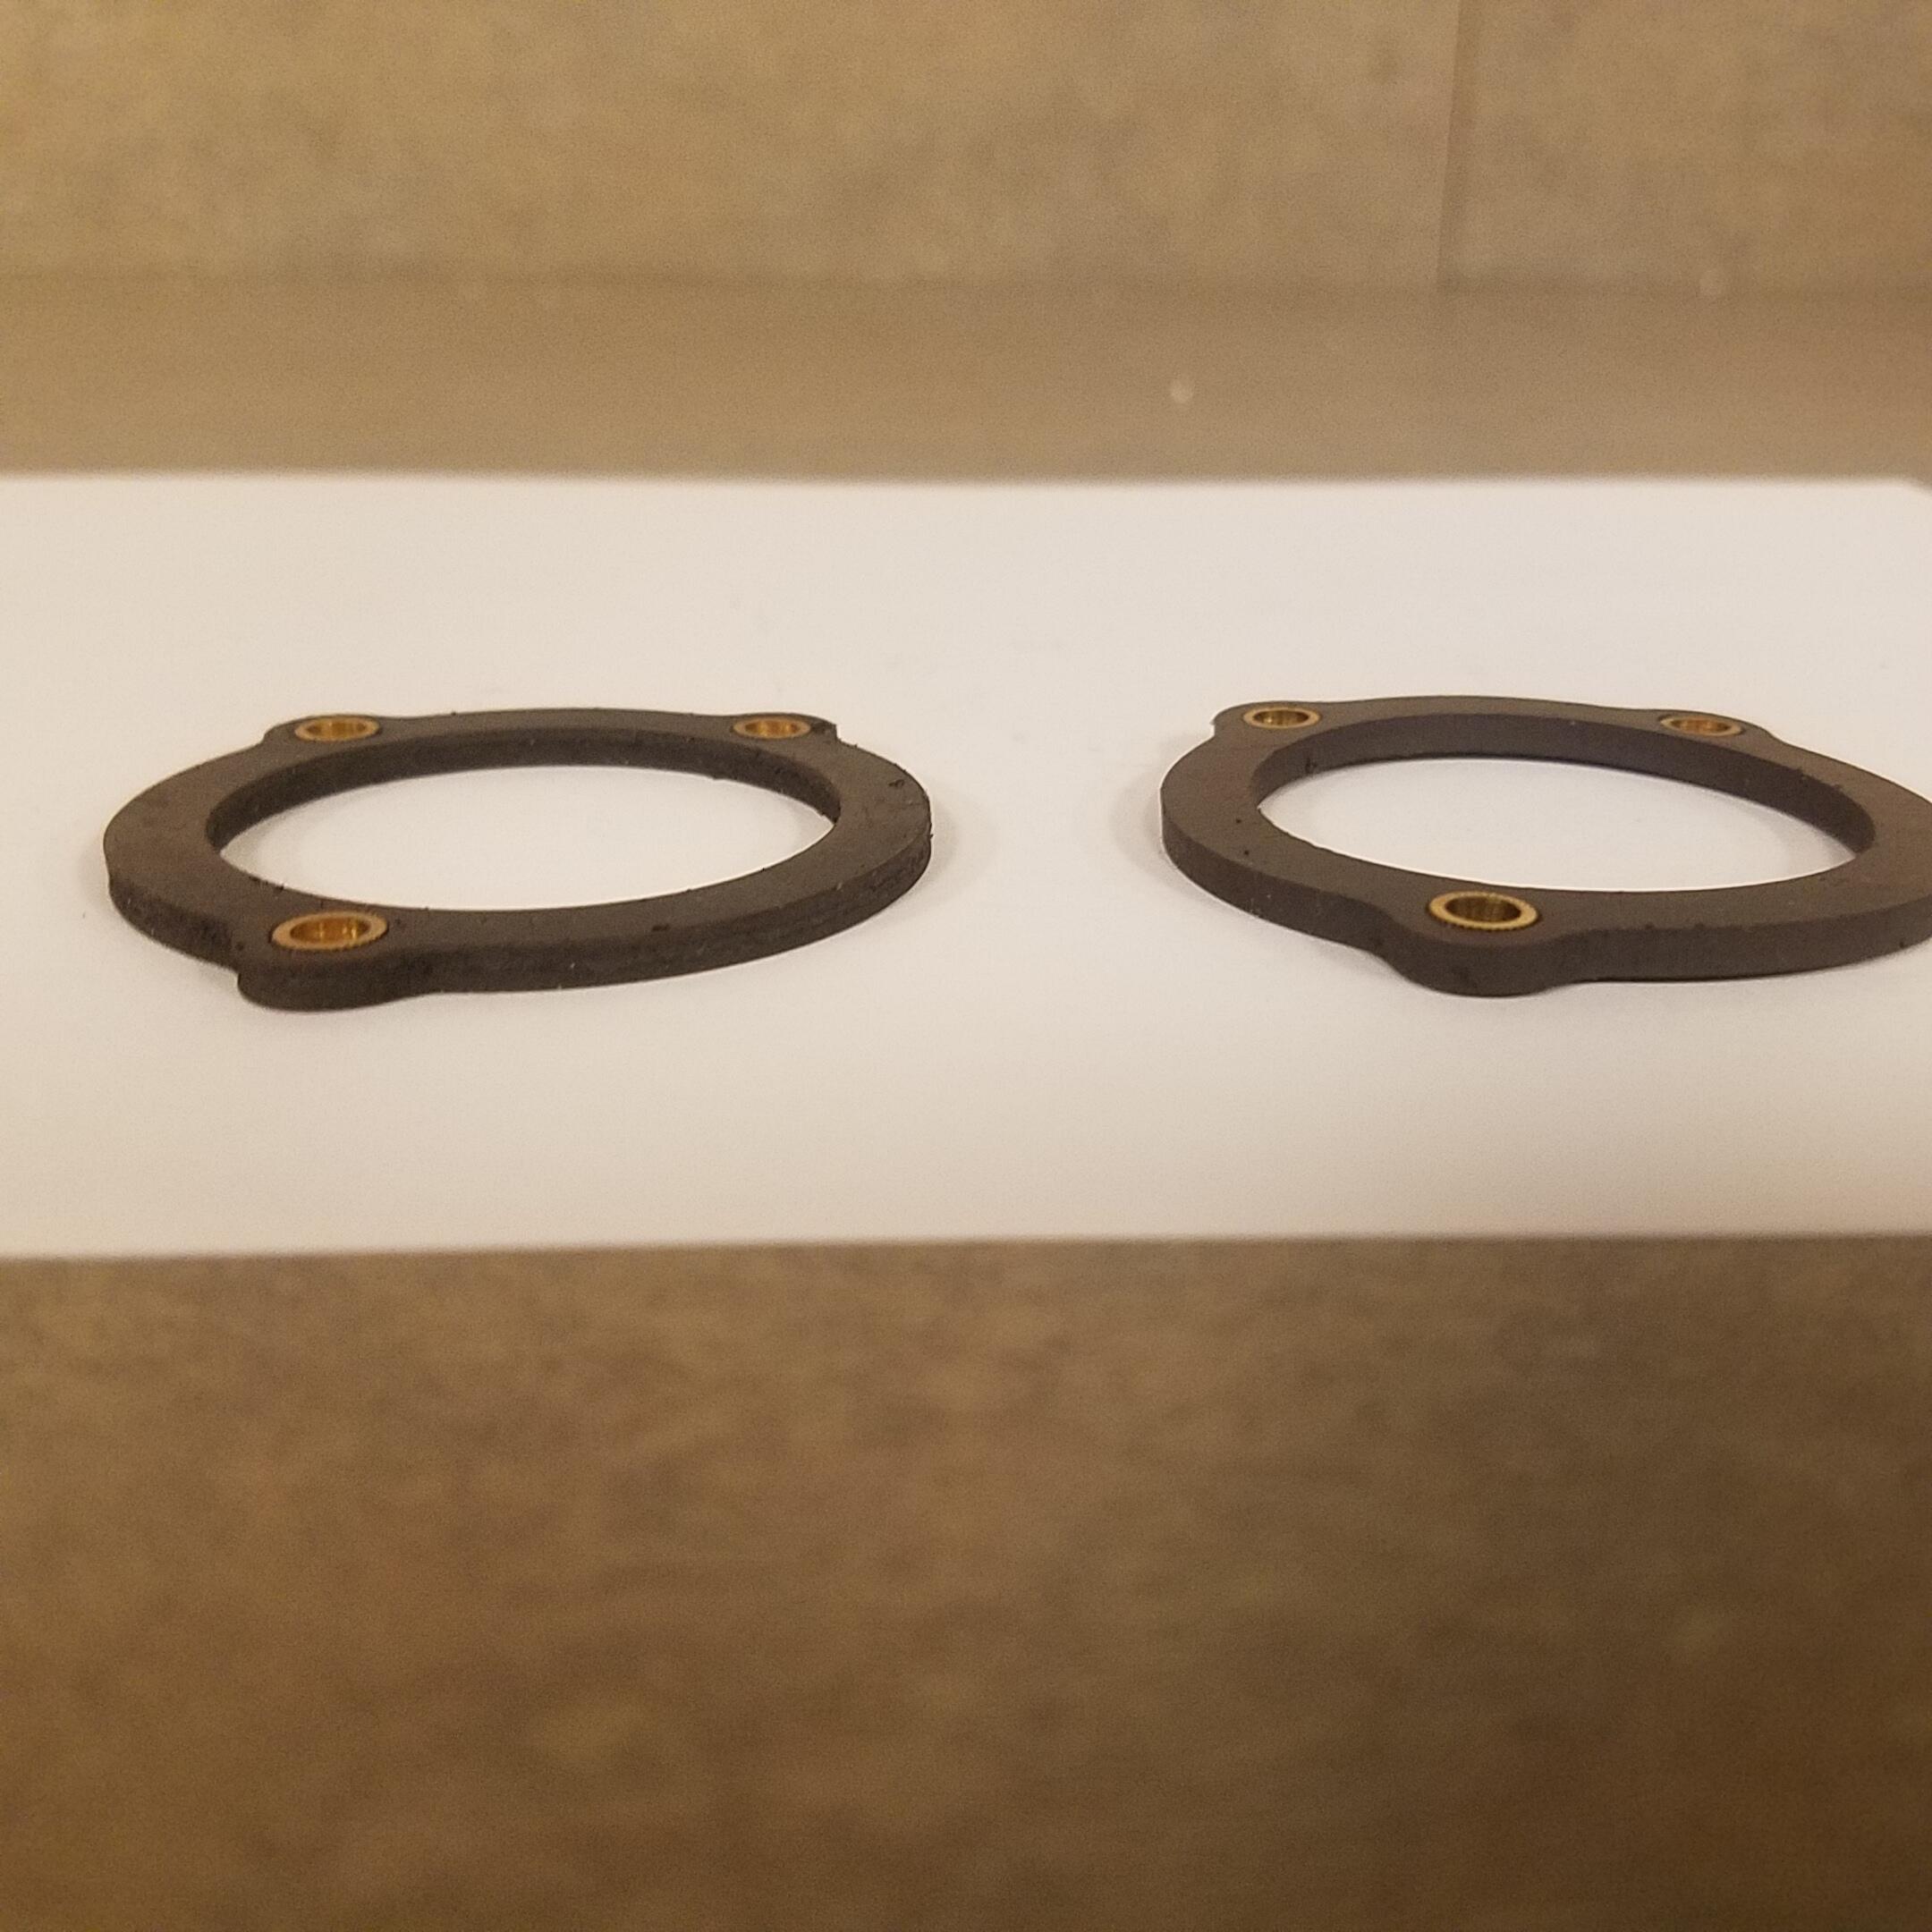
2 points2 points2 pointsView Advert Matchbox Distributor replacement magnet 22158S6700 22158-S6700 Greeting all. Great news, after a year and a half of design and testing I have finally finished my latest project. I now have for sale replacement distributor magnets for all matchbox Datsun distributors. This is the magnet that most people find broken when they do a distributor repair. The original magnets become brittle and stick to the stator and usually break in multiple pieces when you pull the stator off. The magnet has become NLA (no longer available) from Nissan. I purchased about 30 of them a couple of years ago and sold them and tried to order more and they were all gone. I thought that finding the material to make a reproduction magnet would be pretty EZ.....not! The issue is that most flexible magnet material is not magnetized correctly and has very poor magnetism retention and the material is not suitable for hi temperatures. The material will loose its magnetism and the material will degrade when exposed to temperatures over 150°. After contacting all of the big magnet experts I was running out of hope and that is when Captain Obvious contacted me and we talked about what I was attempting to accomplish and he suggested a place I had not contacted. After contacting this company, I was able to purchase a material that is the same thickness and has a temperature rating of 250° and has the correct polarity needed to generate the induced voltage to trigger the ICM. The sample that was sent to me was cut out and tested in all 3 of my Z cars and I then sent it to Captain Obvious for some in depth bench testing for signal strength and quality. The results of the bench testing were great. This replacement material actually generates a higher signal strength at both idle and hi RPM ranges. Peak voltage at idle for an OEM magnet was 1.28v. Peak voltage with my reproduction is 1.68v, that is a 25% increase in induced voltage signal strength going to the ICM to trigger the coil. Peak voltages at 2500 rpm for an OEM magnet was 2.96v. Peak voltage with my reproduction magnet is 4.00v. That is also a 25% increase in signal strength. With the higher signal strength, extremely hi temperature rating and an exact copy of the design my reproduction magnet is a great option when rebuilding your distributor. Couple this with my improved breaker plate bearing retainer and you will have many years of reliability from your distributor. Here is a couple of pictures of an NOS Nissan magnet next to my reproduction magnet. I challenge you to tell me which is which. I had to mark them to tell the difference. A huge thank you to Captain Obvious! The parts I sell are in Mandan North Dakota. I can be contacted either thru a private message or you can email me at chaug@bis.midco.net or text me at seven zero one -471- fifteen thirtyfour. I sell the magnet for 35.00 and the breaker plate bearing retainer kit for 30.00. If you want both I can cut you a deal for $60.00. Shipping to the lower 48 USA is included in the prices. I do ship international. I have sent Breaker Plate Repair Kits to Europe, New Zealand and Australia. Shipping for international has been in the $18.00 - 20.00 range Advertiser kickstand80 Date 12/09/2023 Price $35 Category Parts for Sale

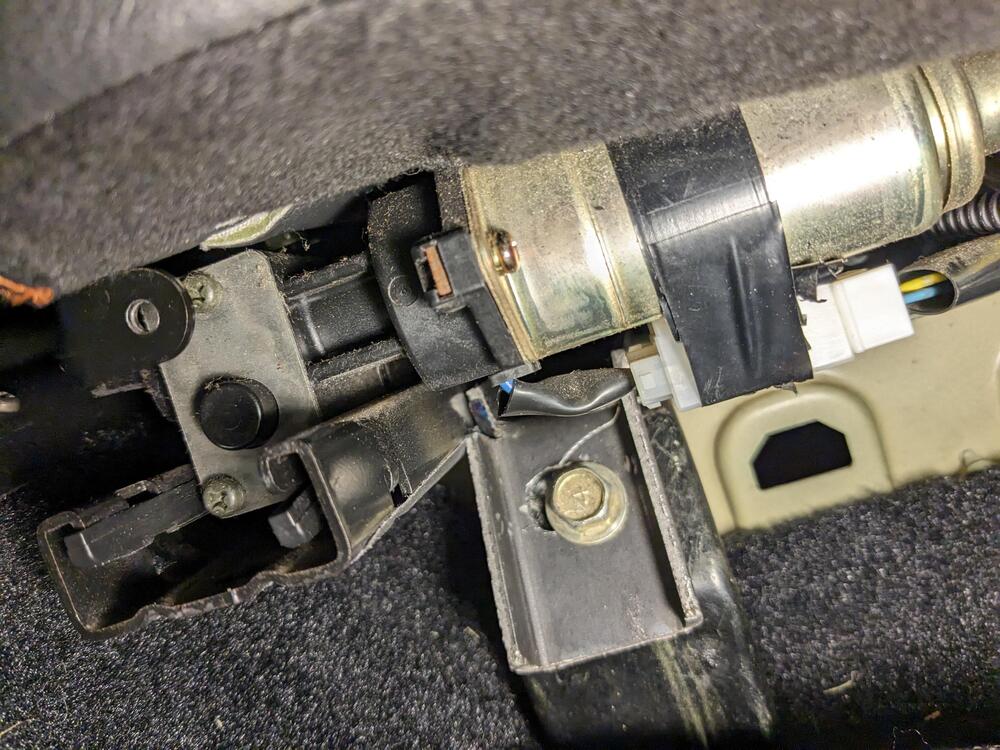
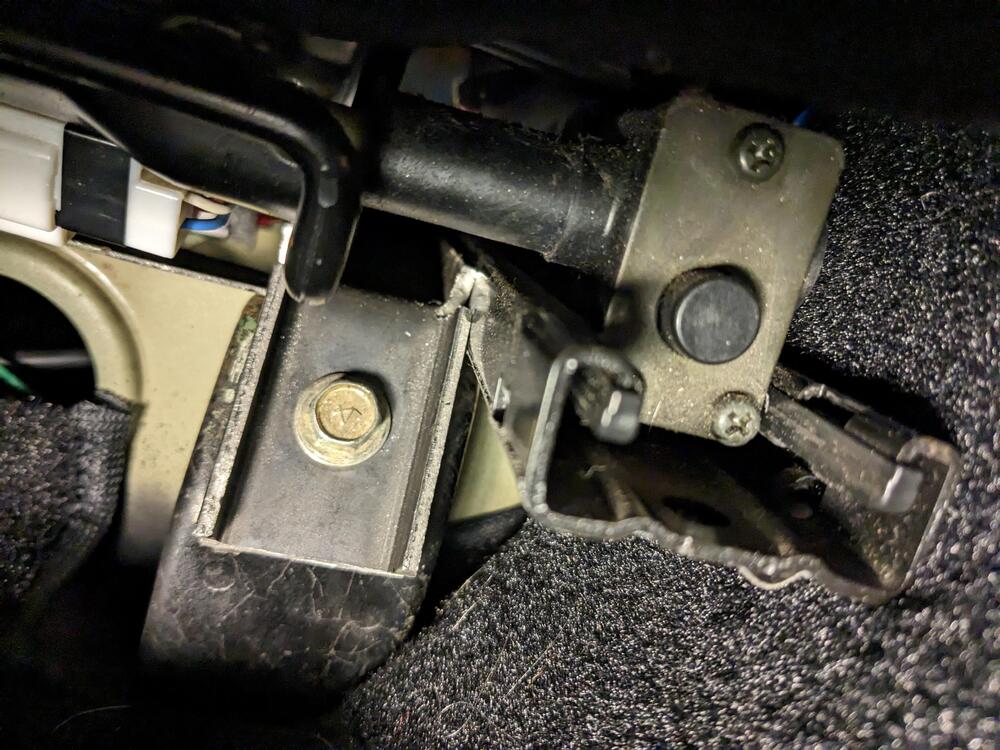
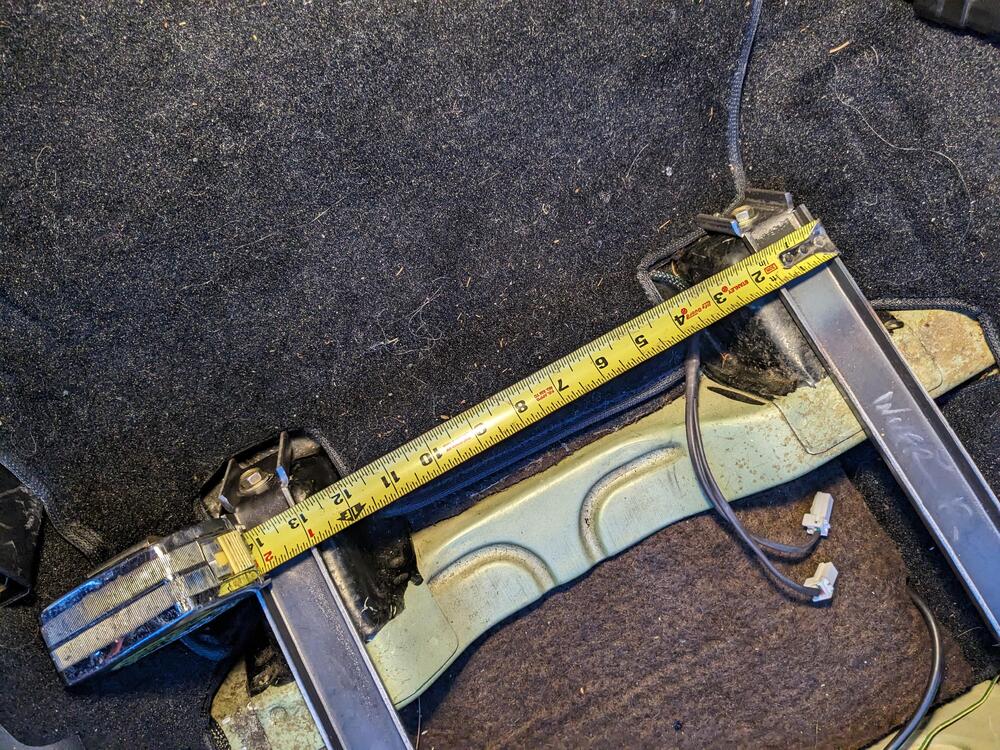
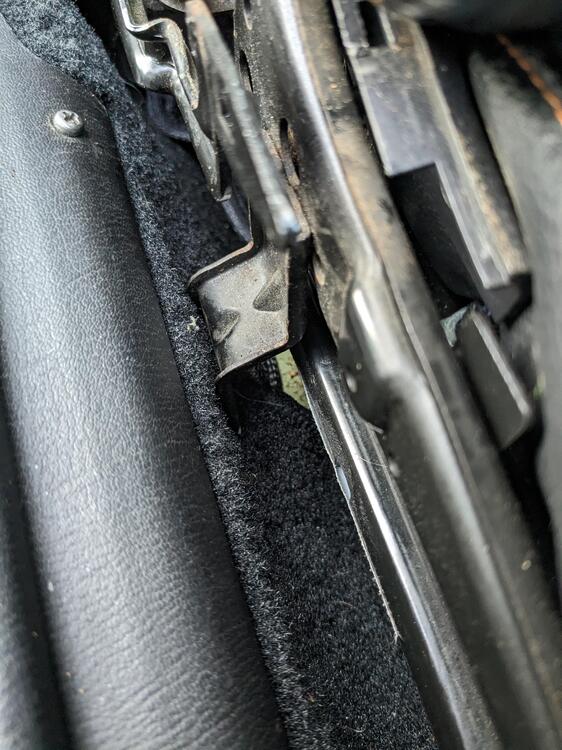
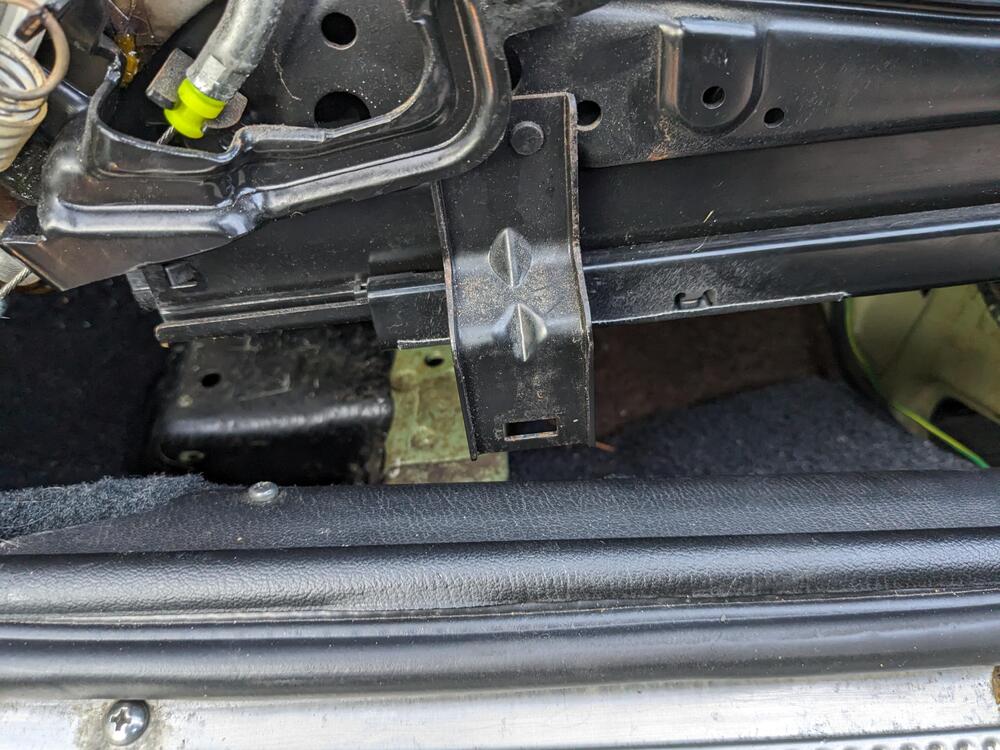
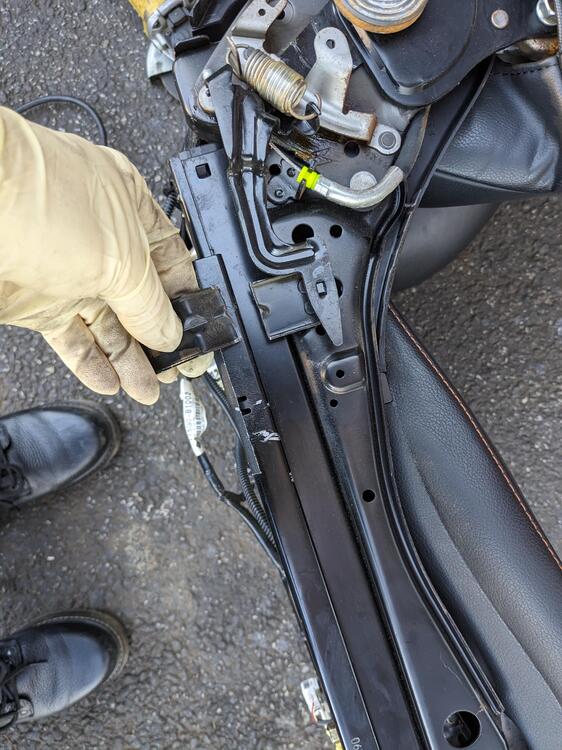
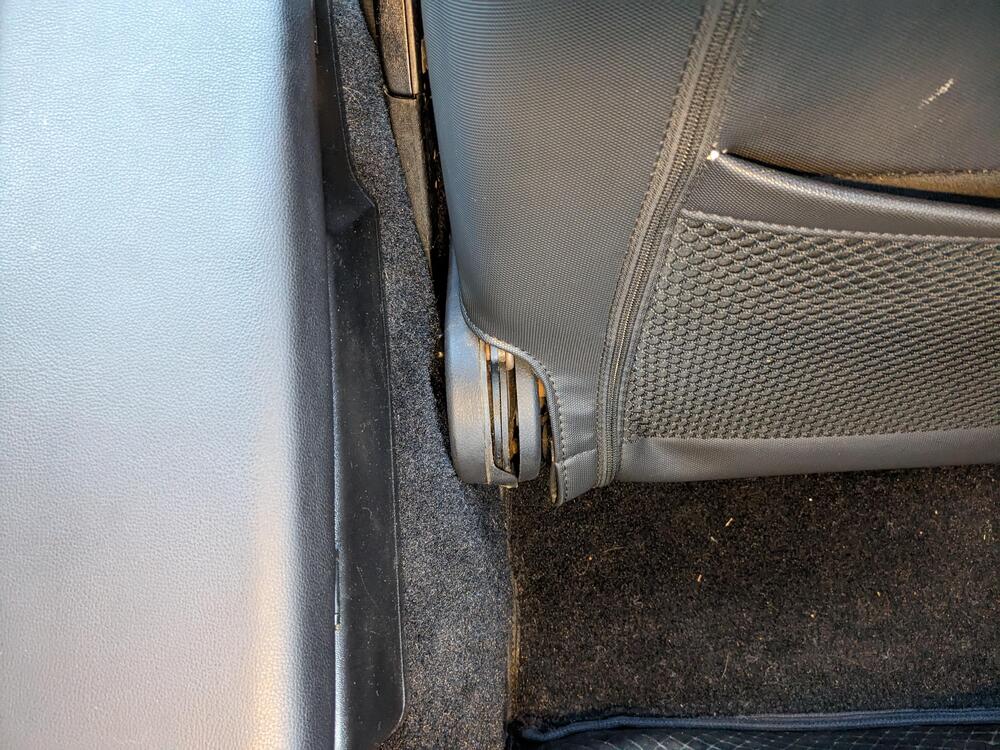
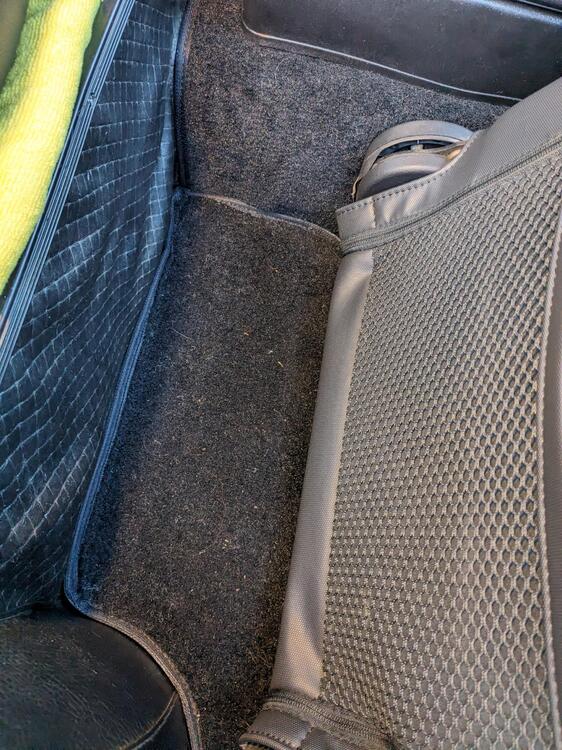
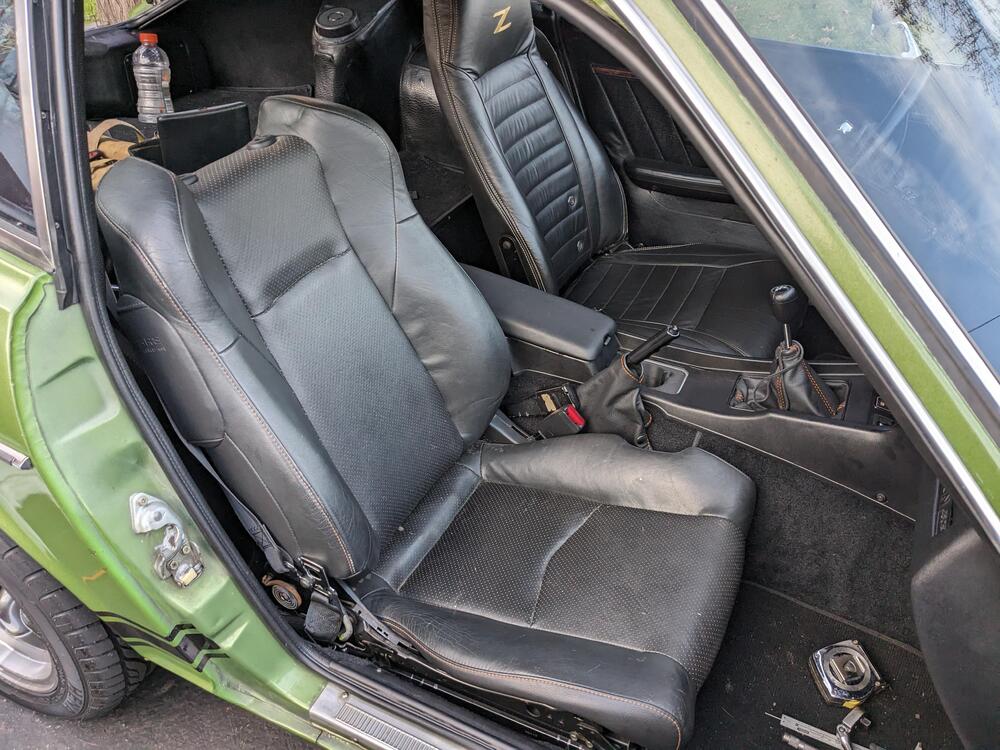
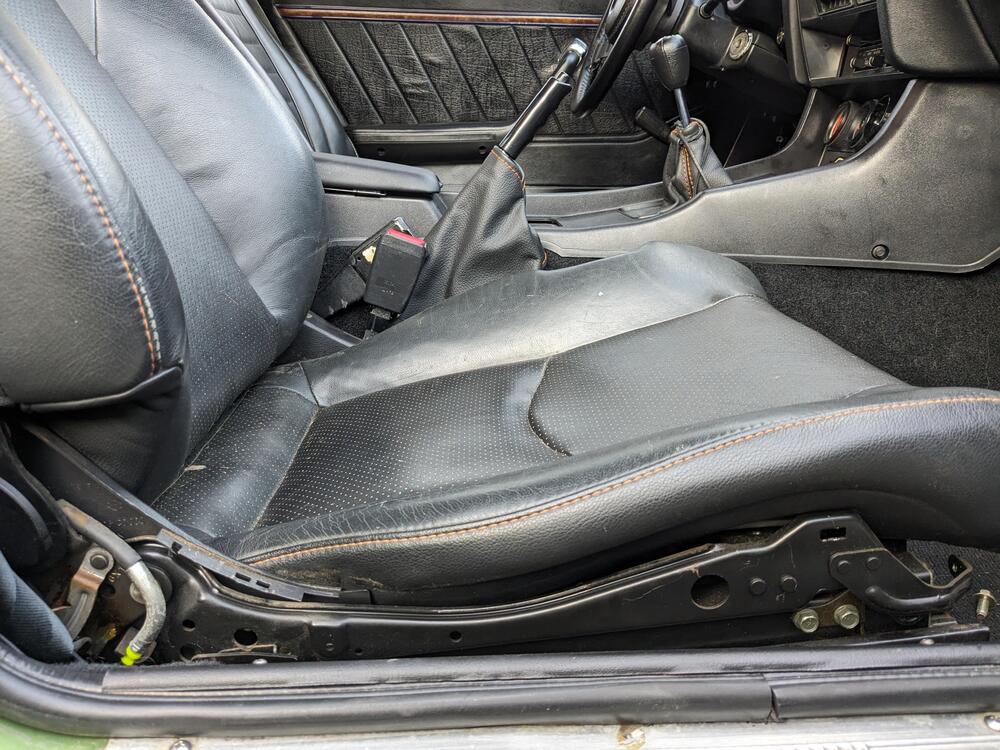
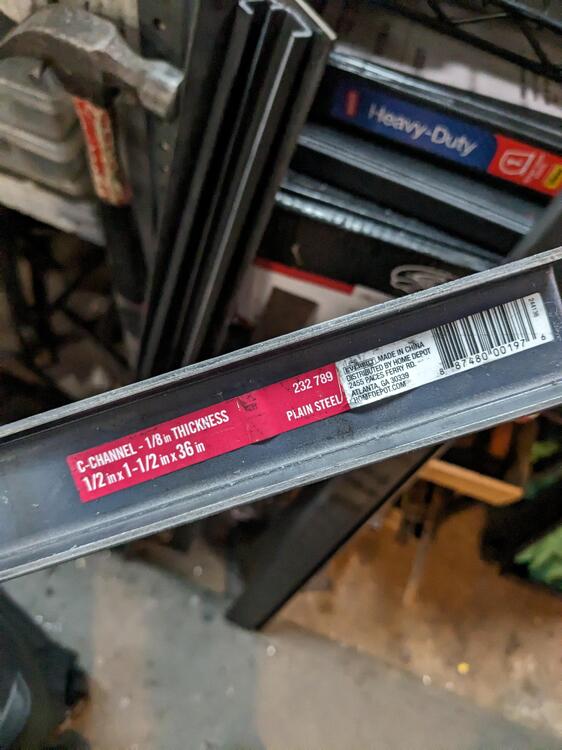
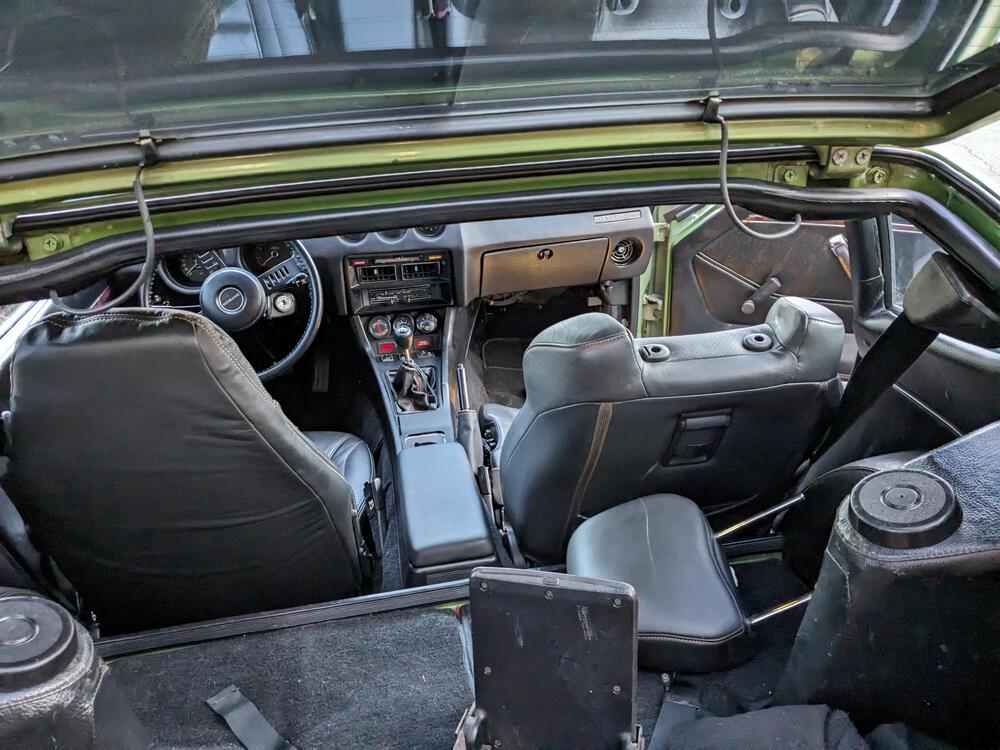
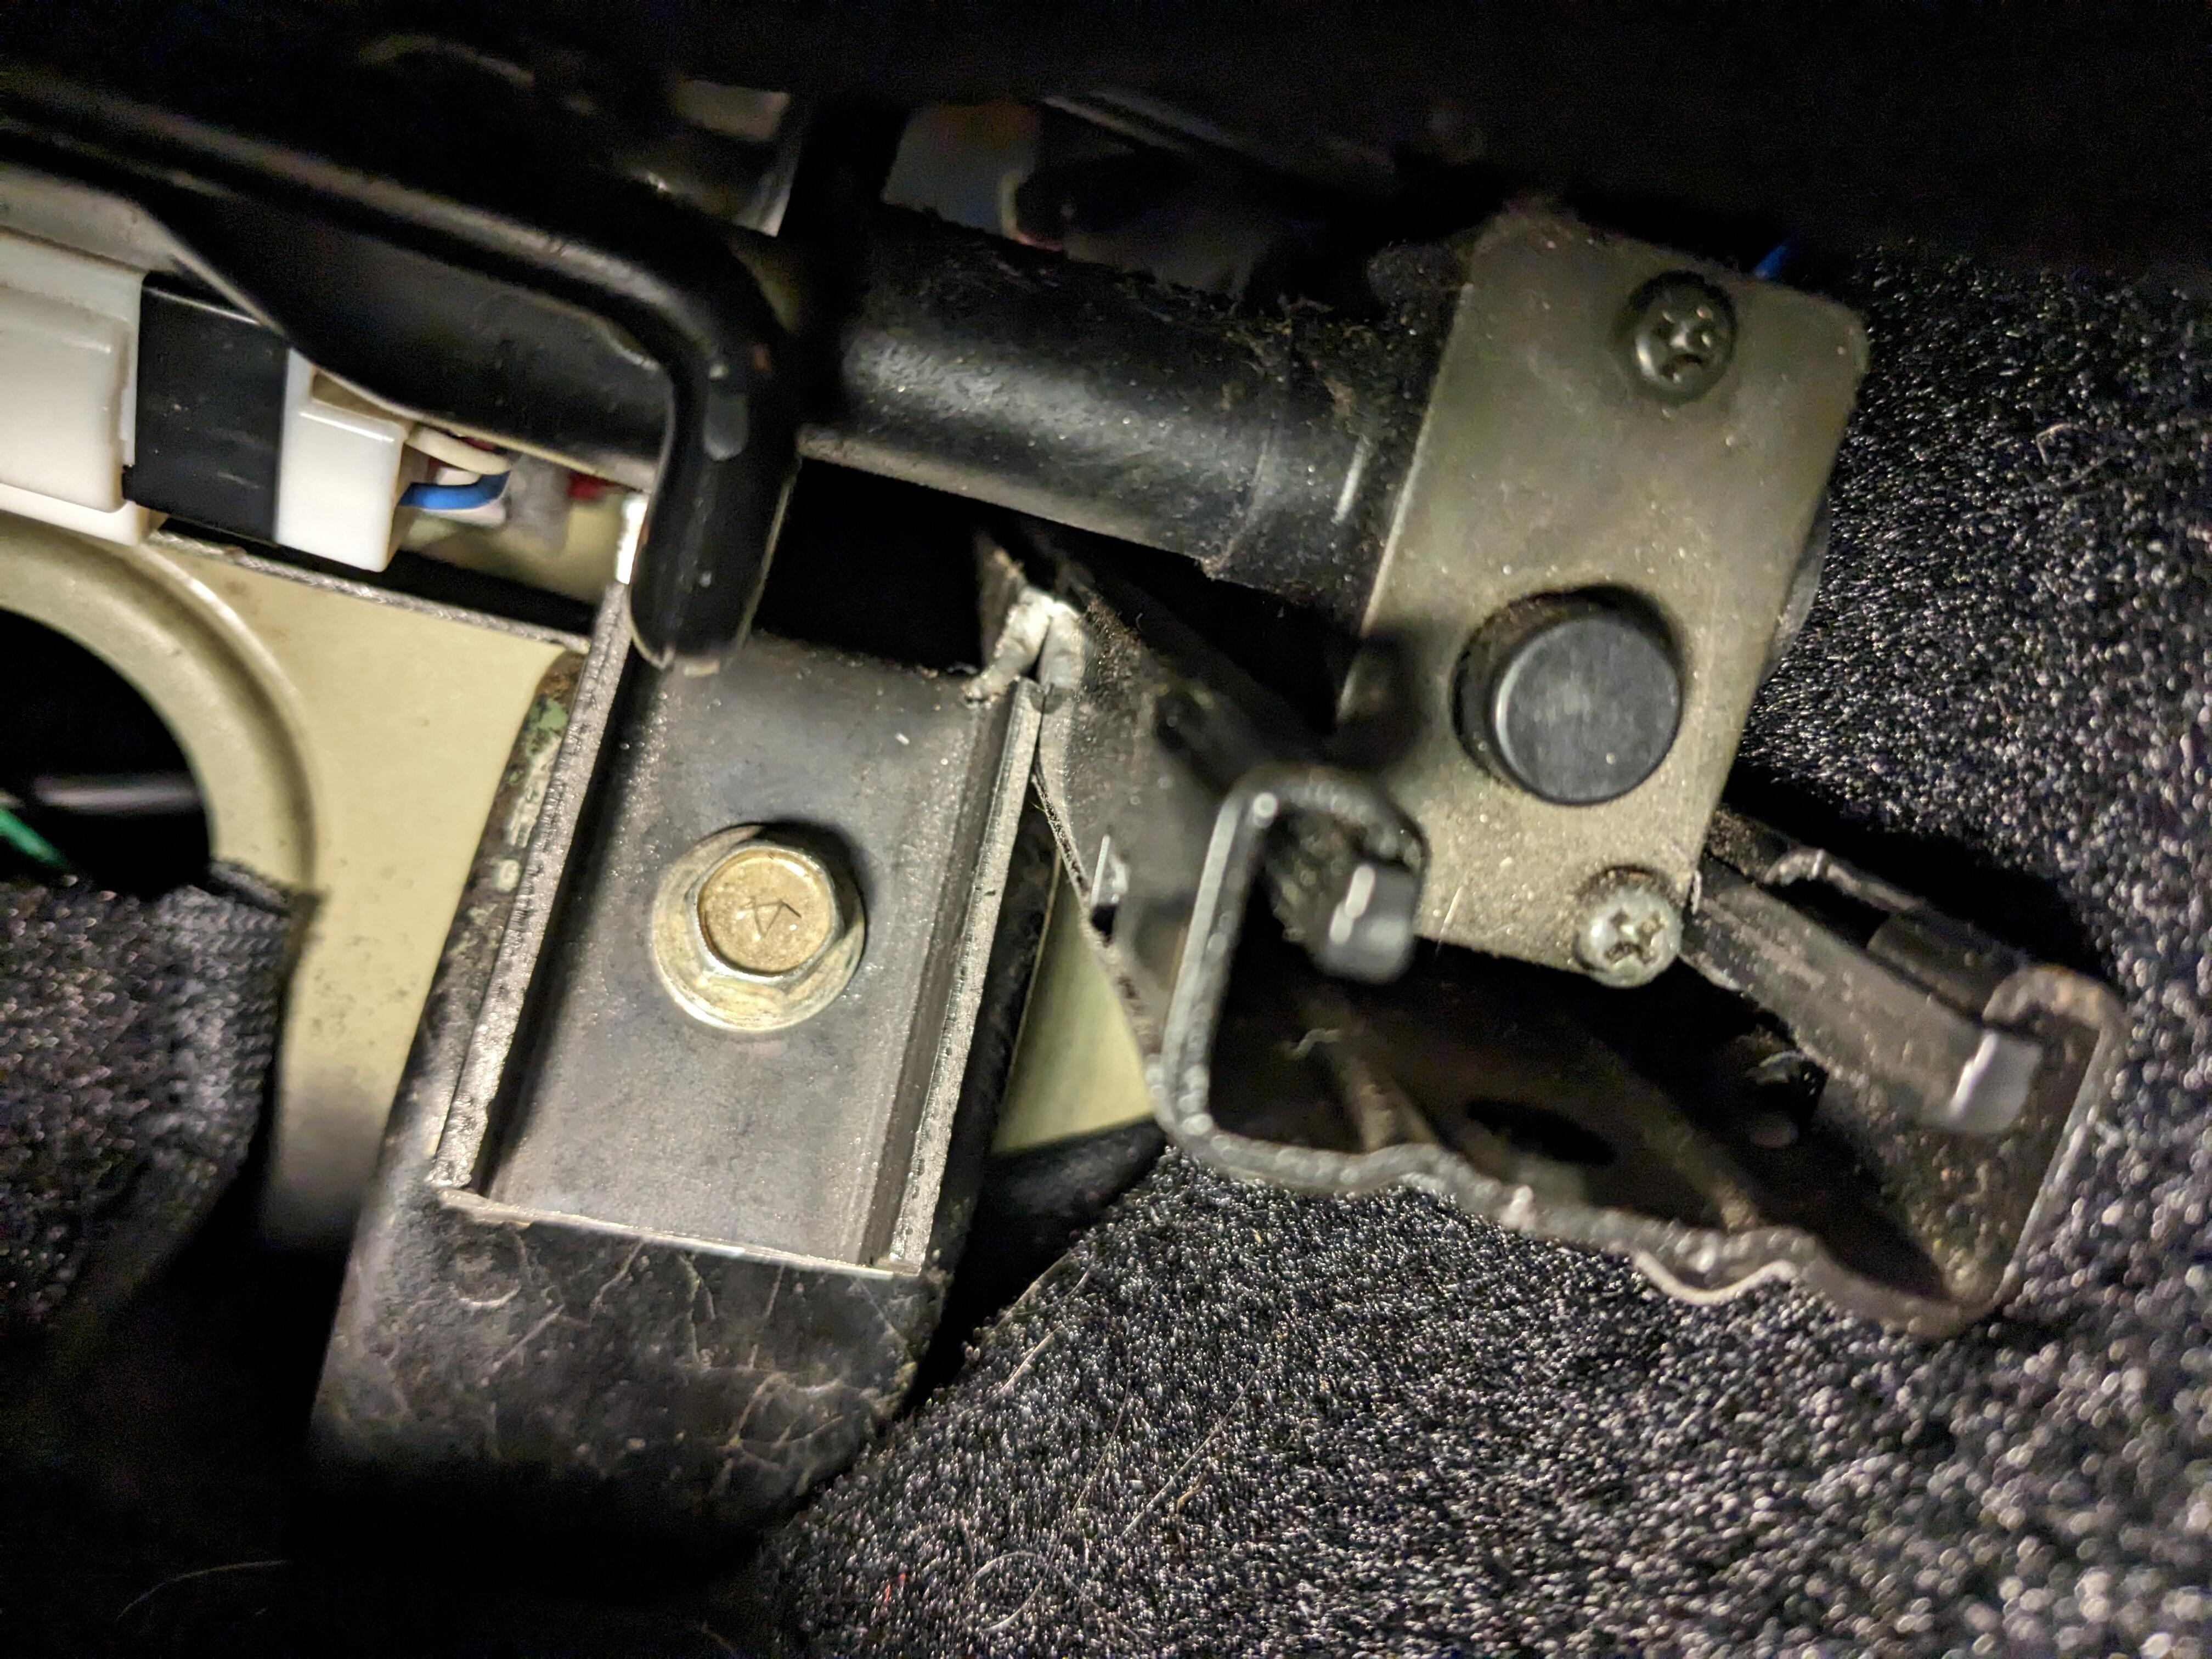
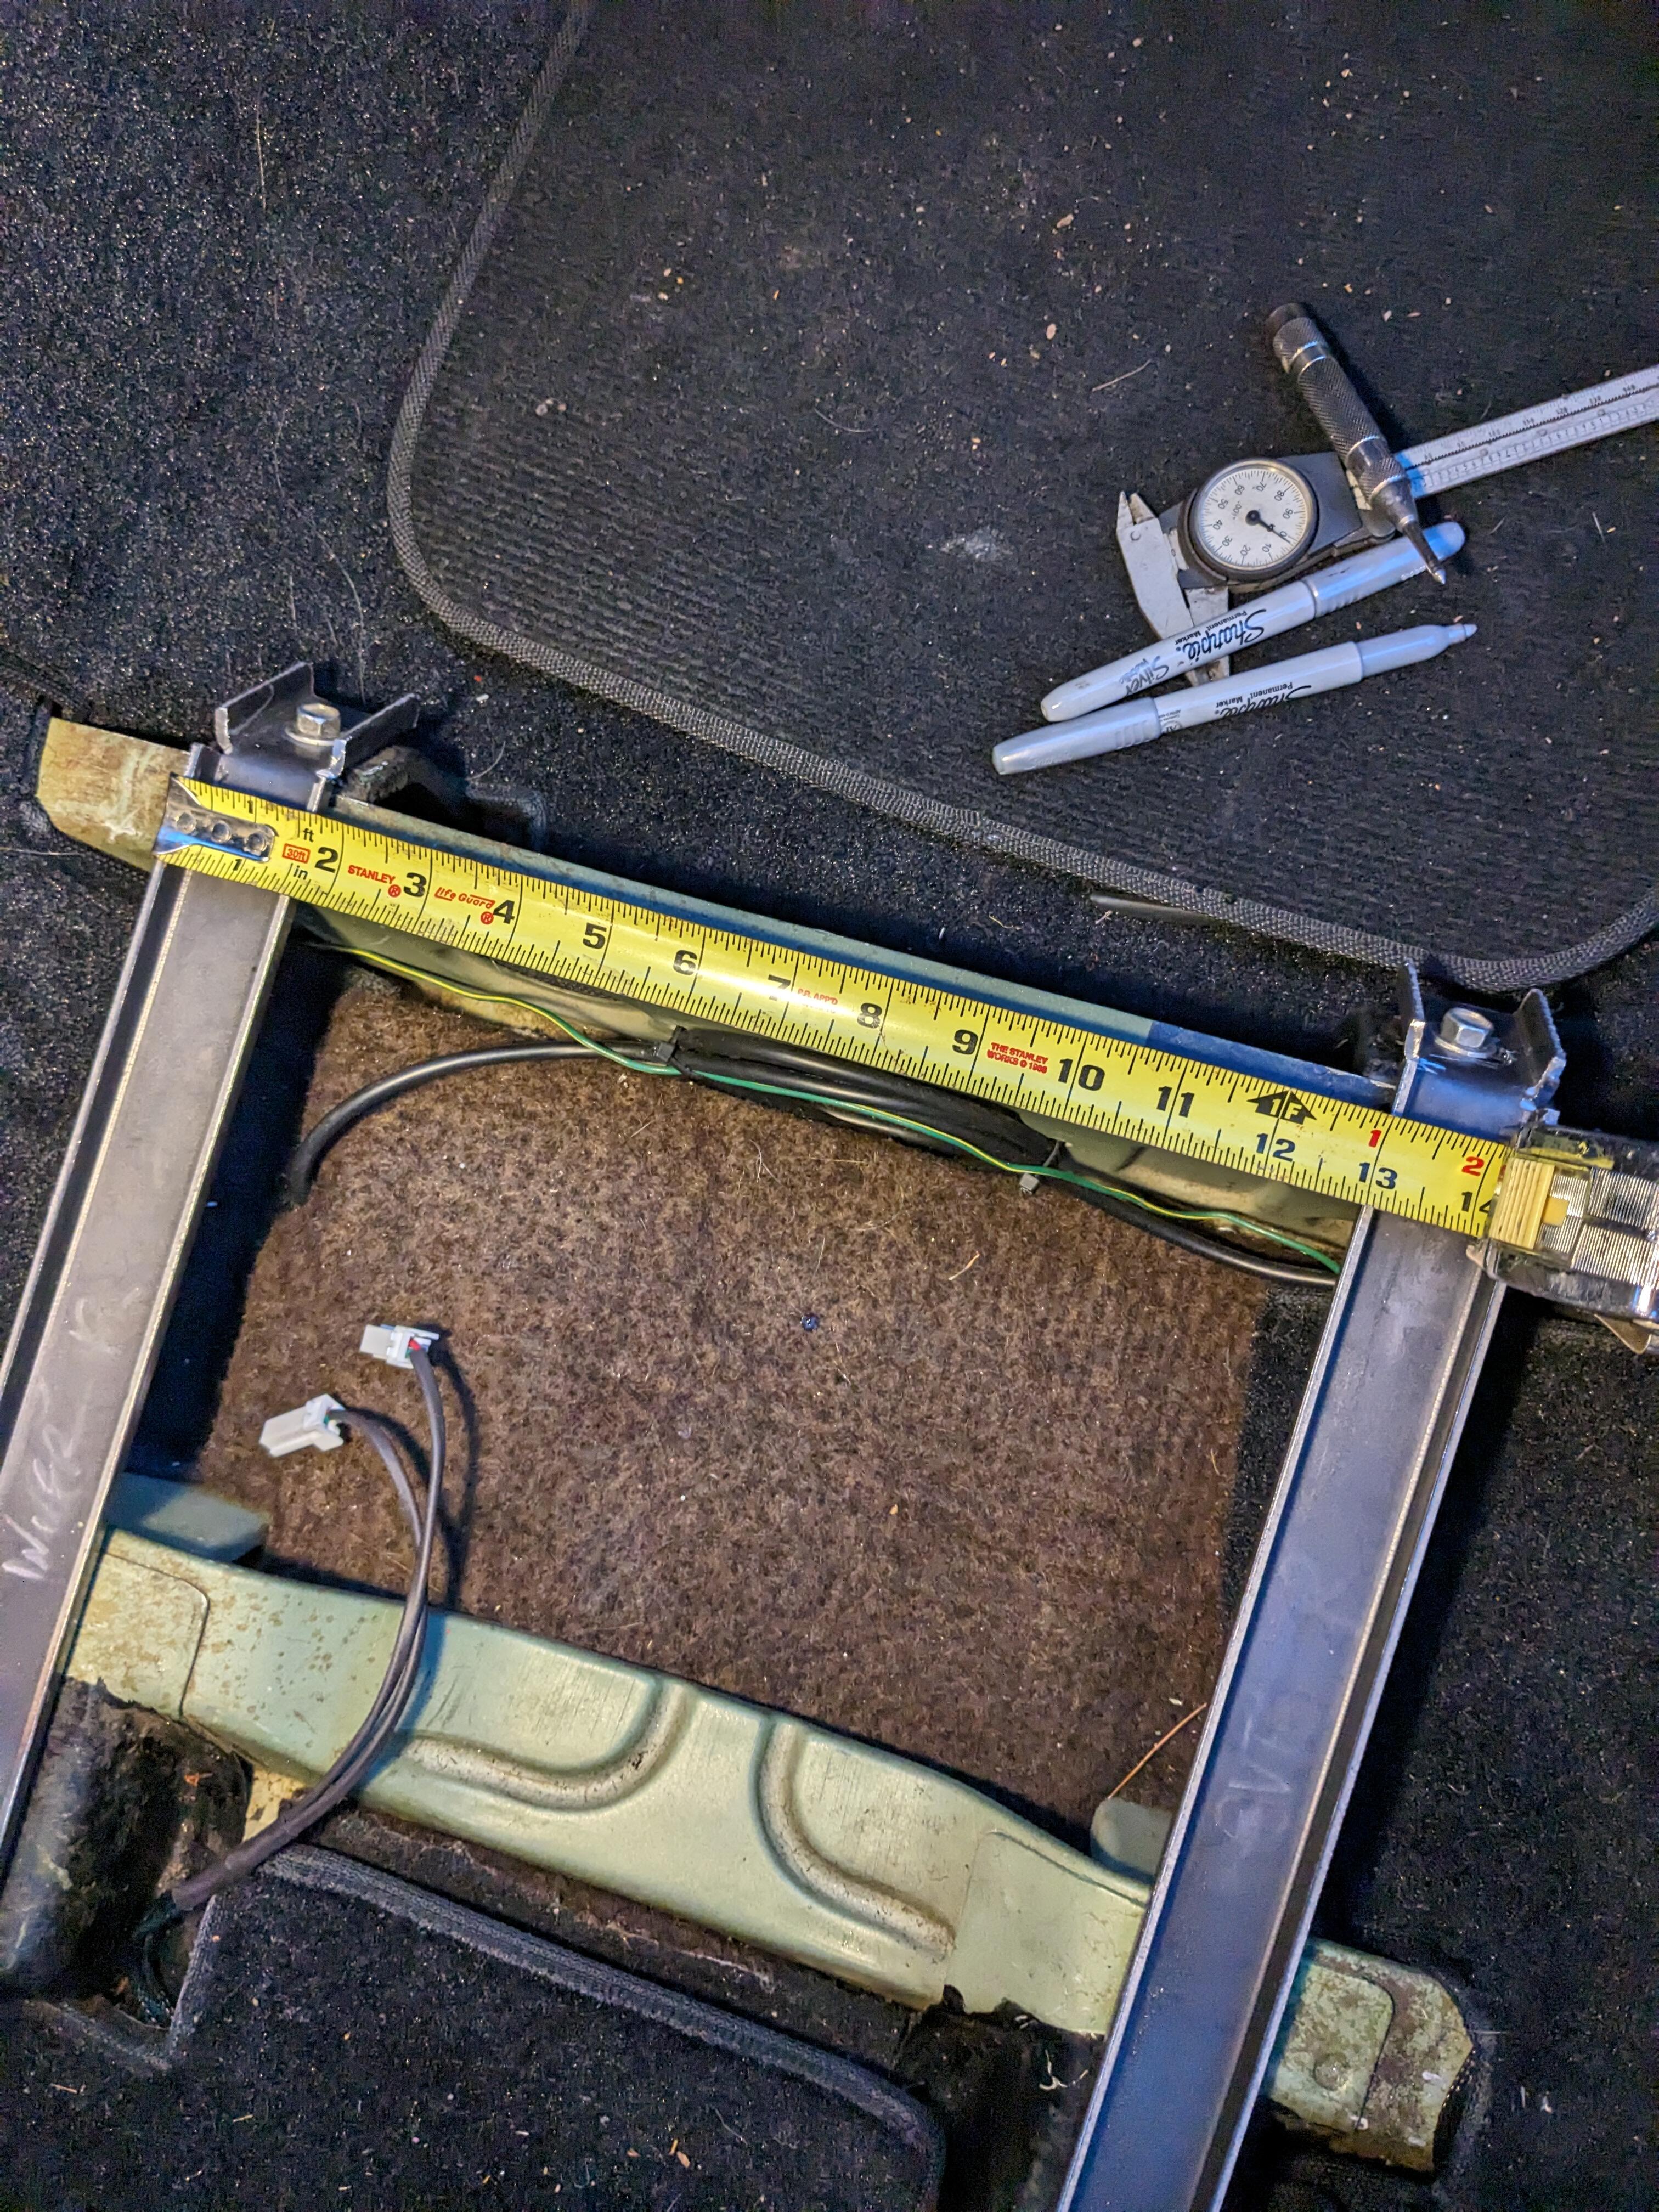
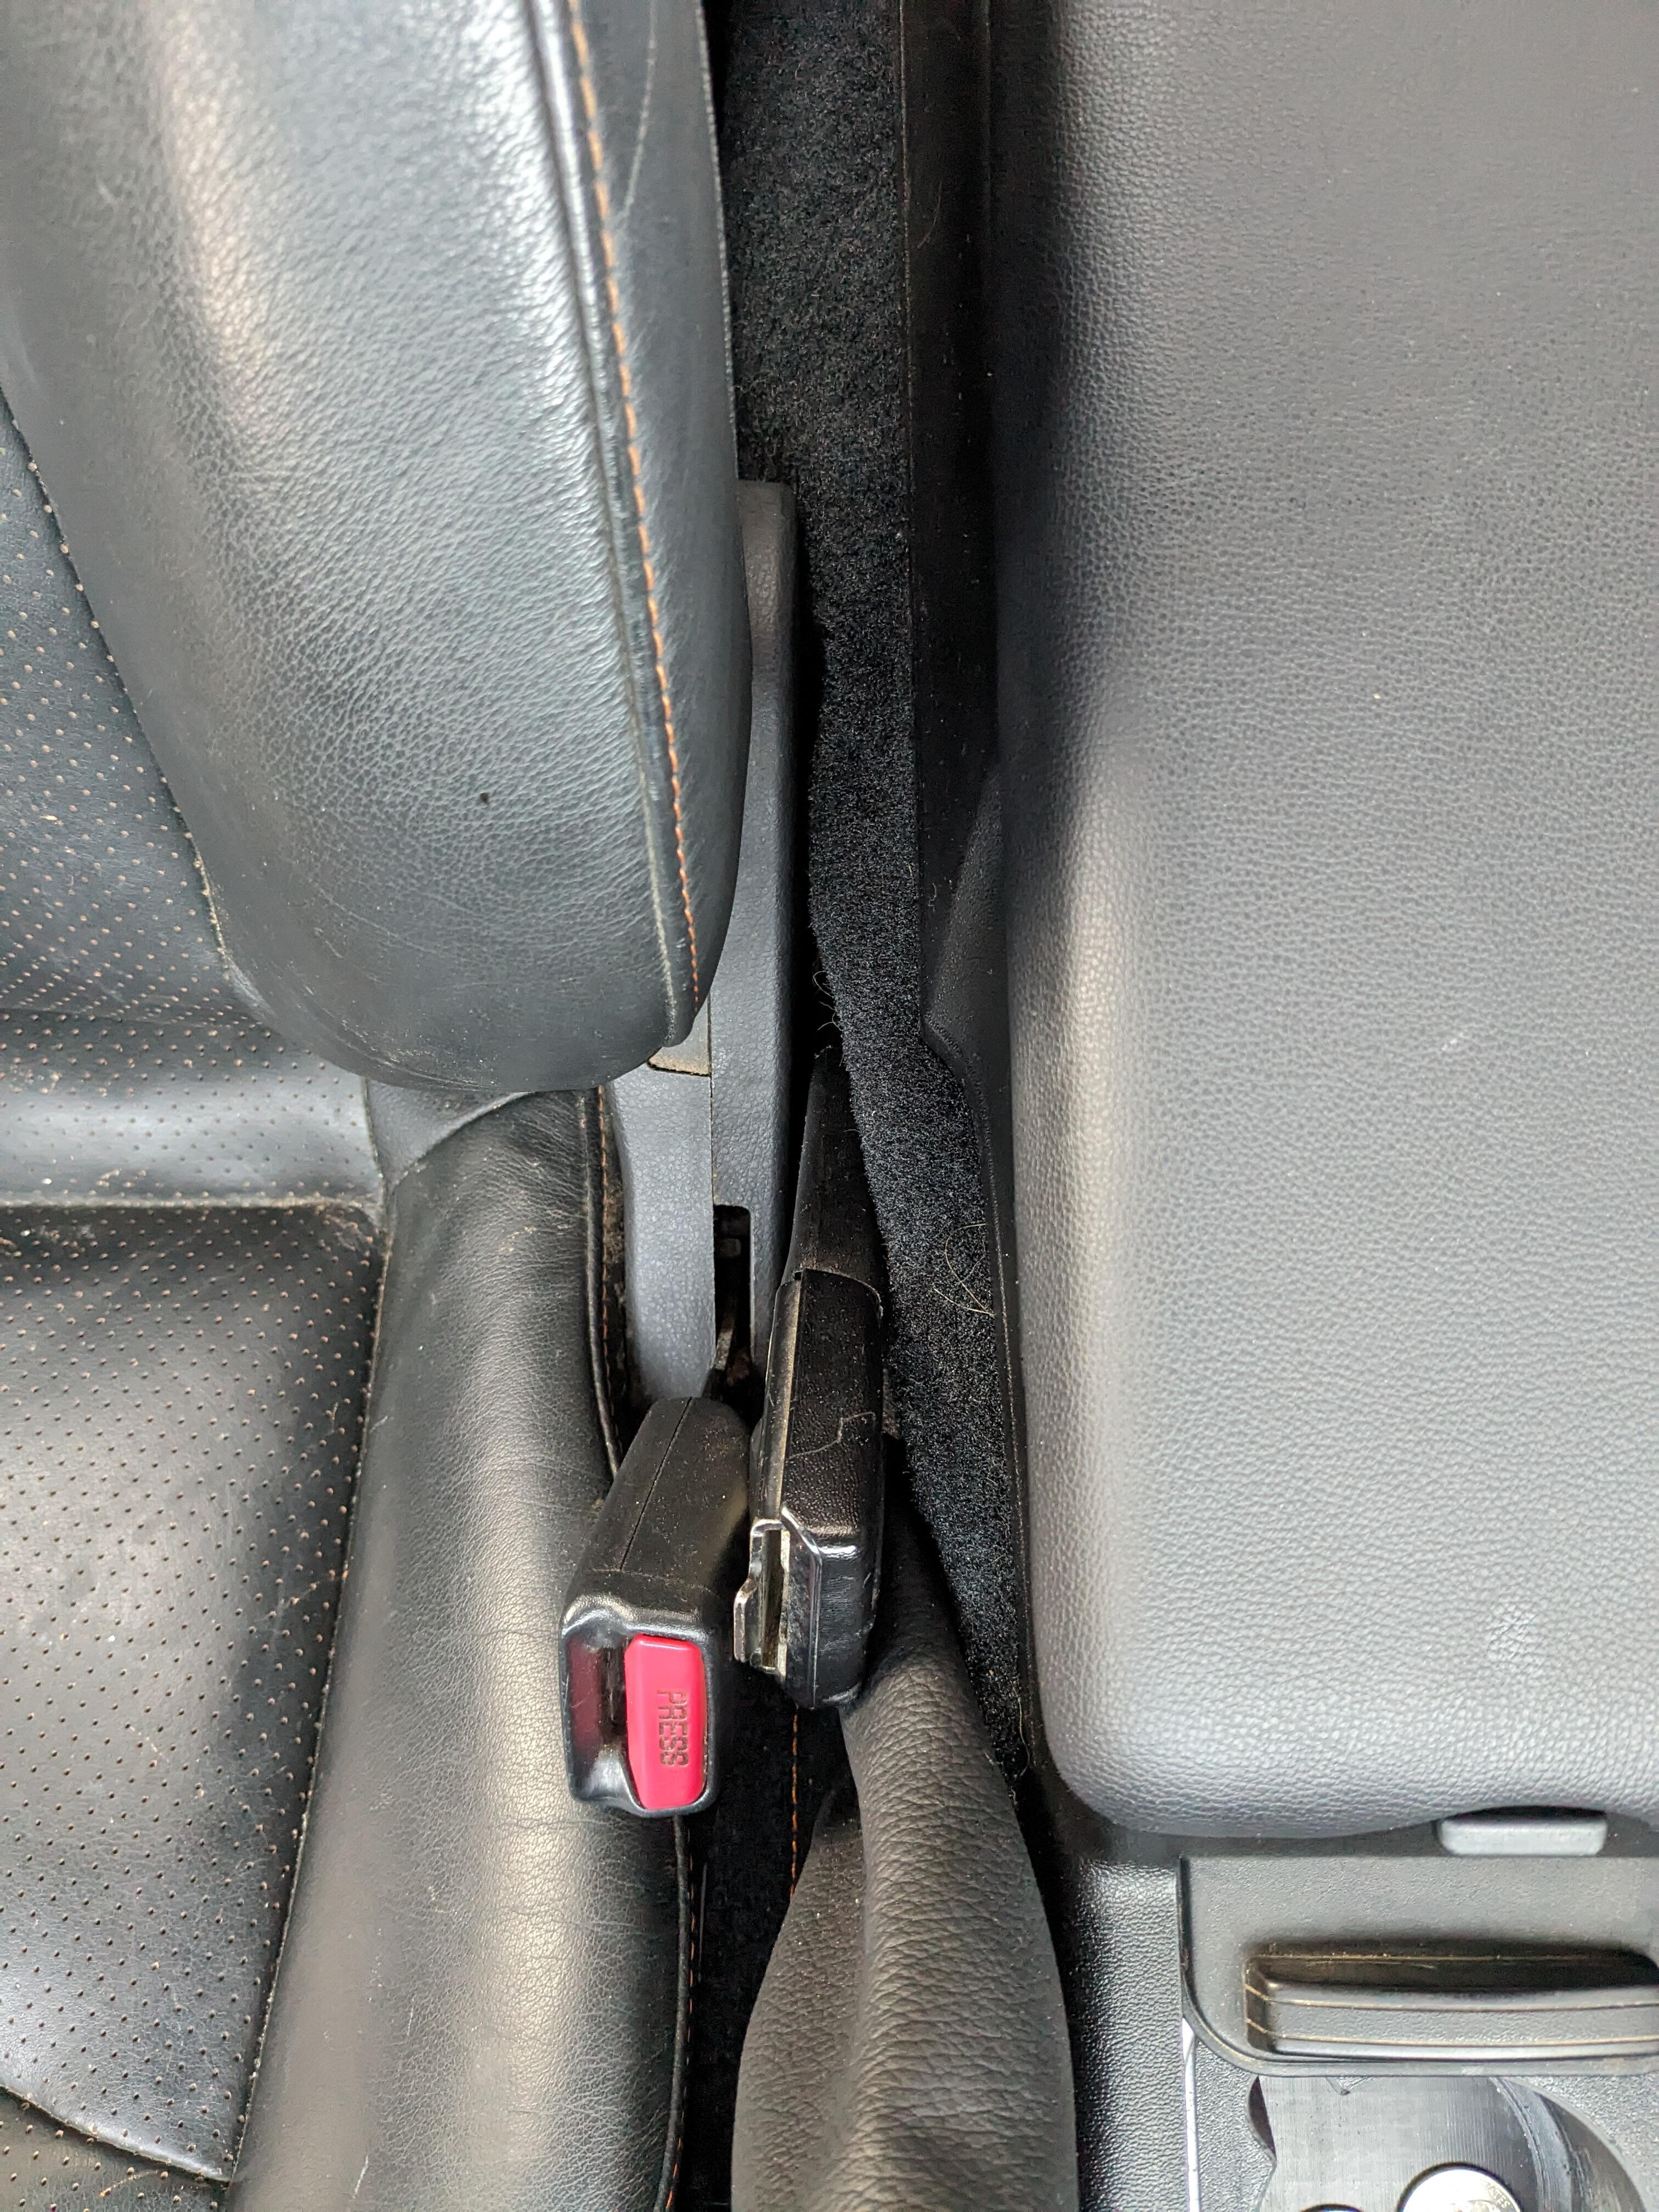
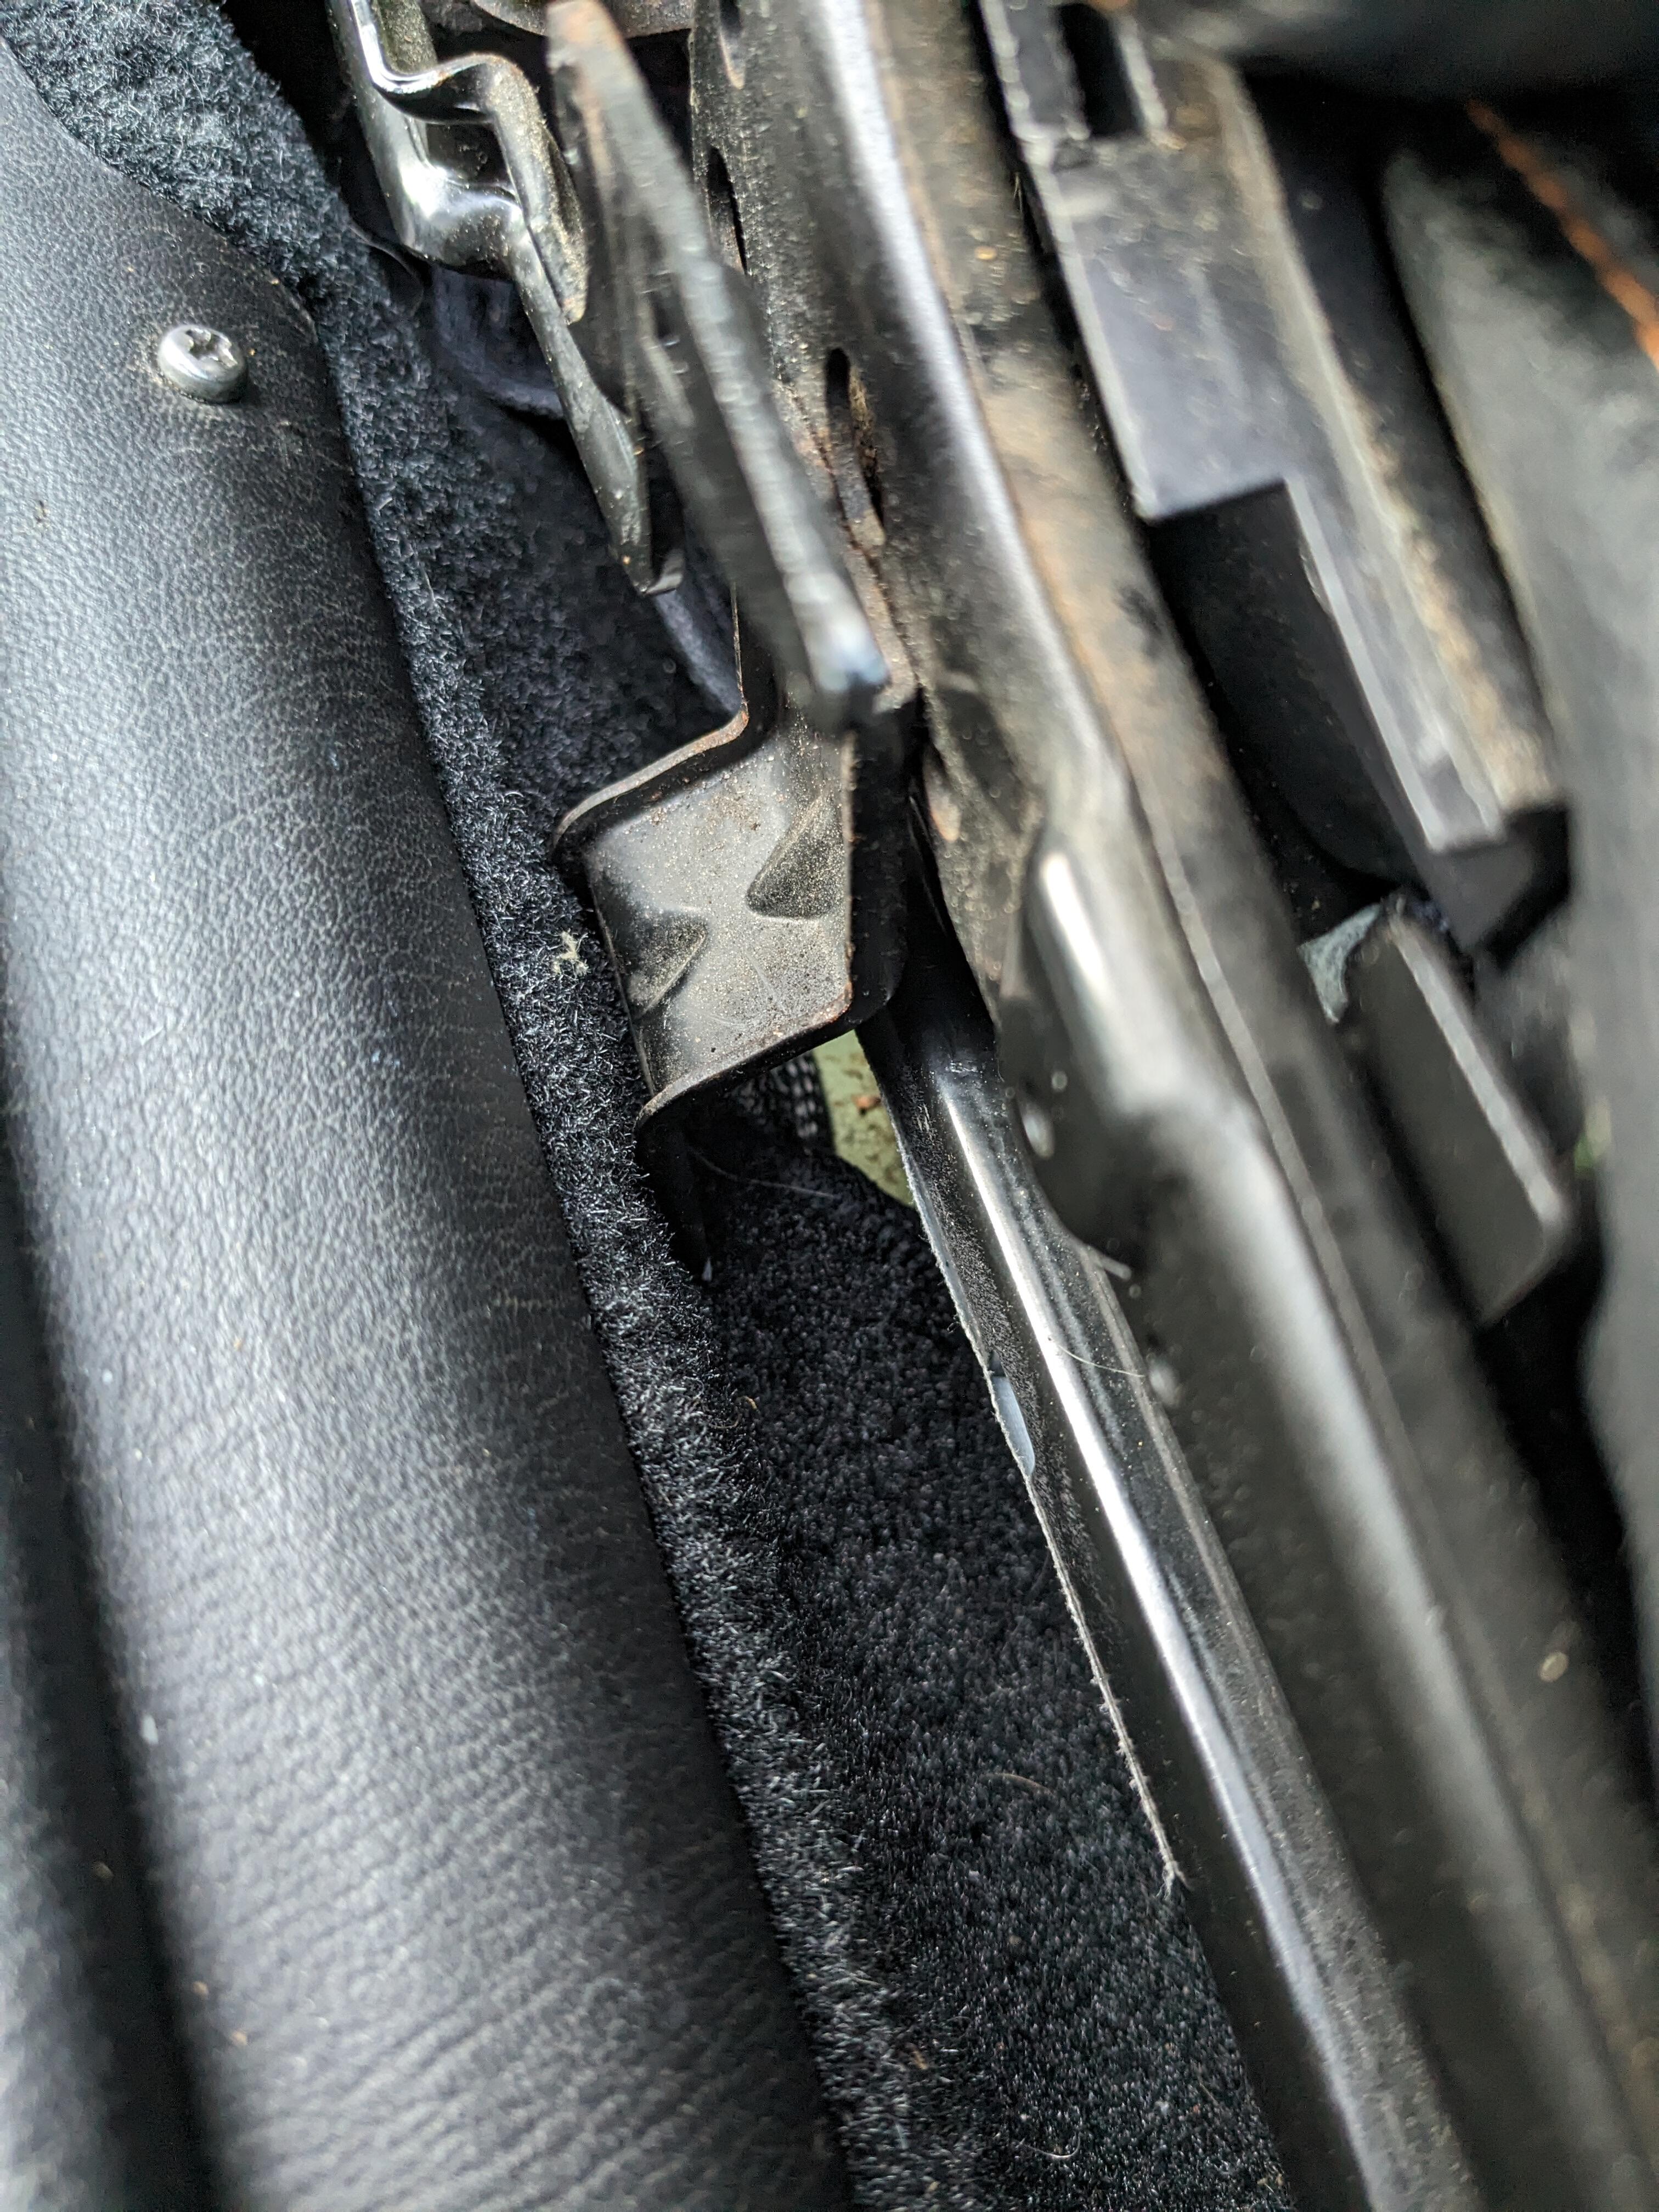
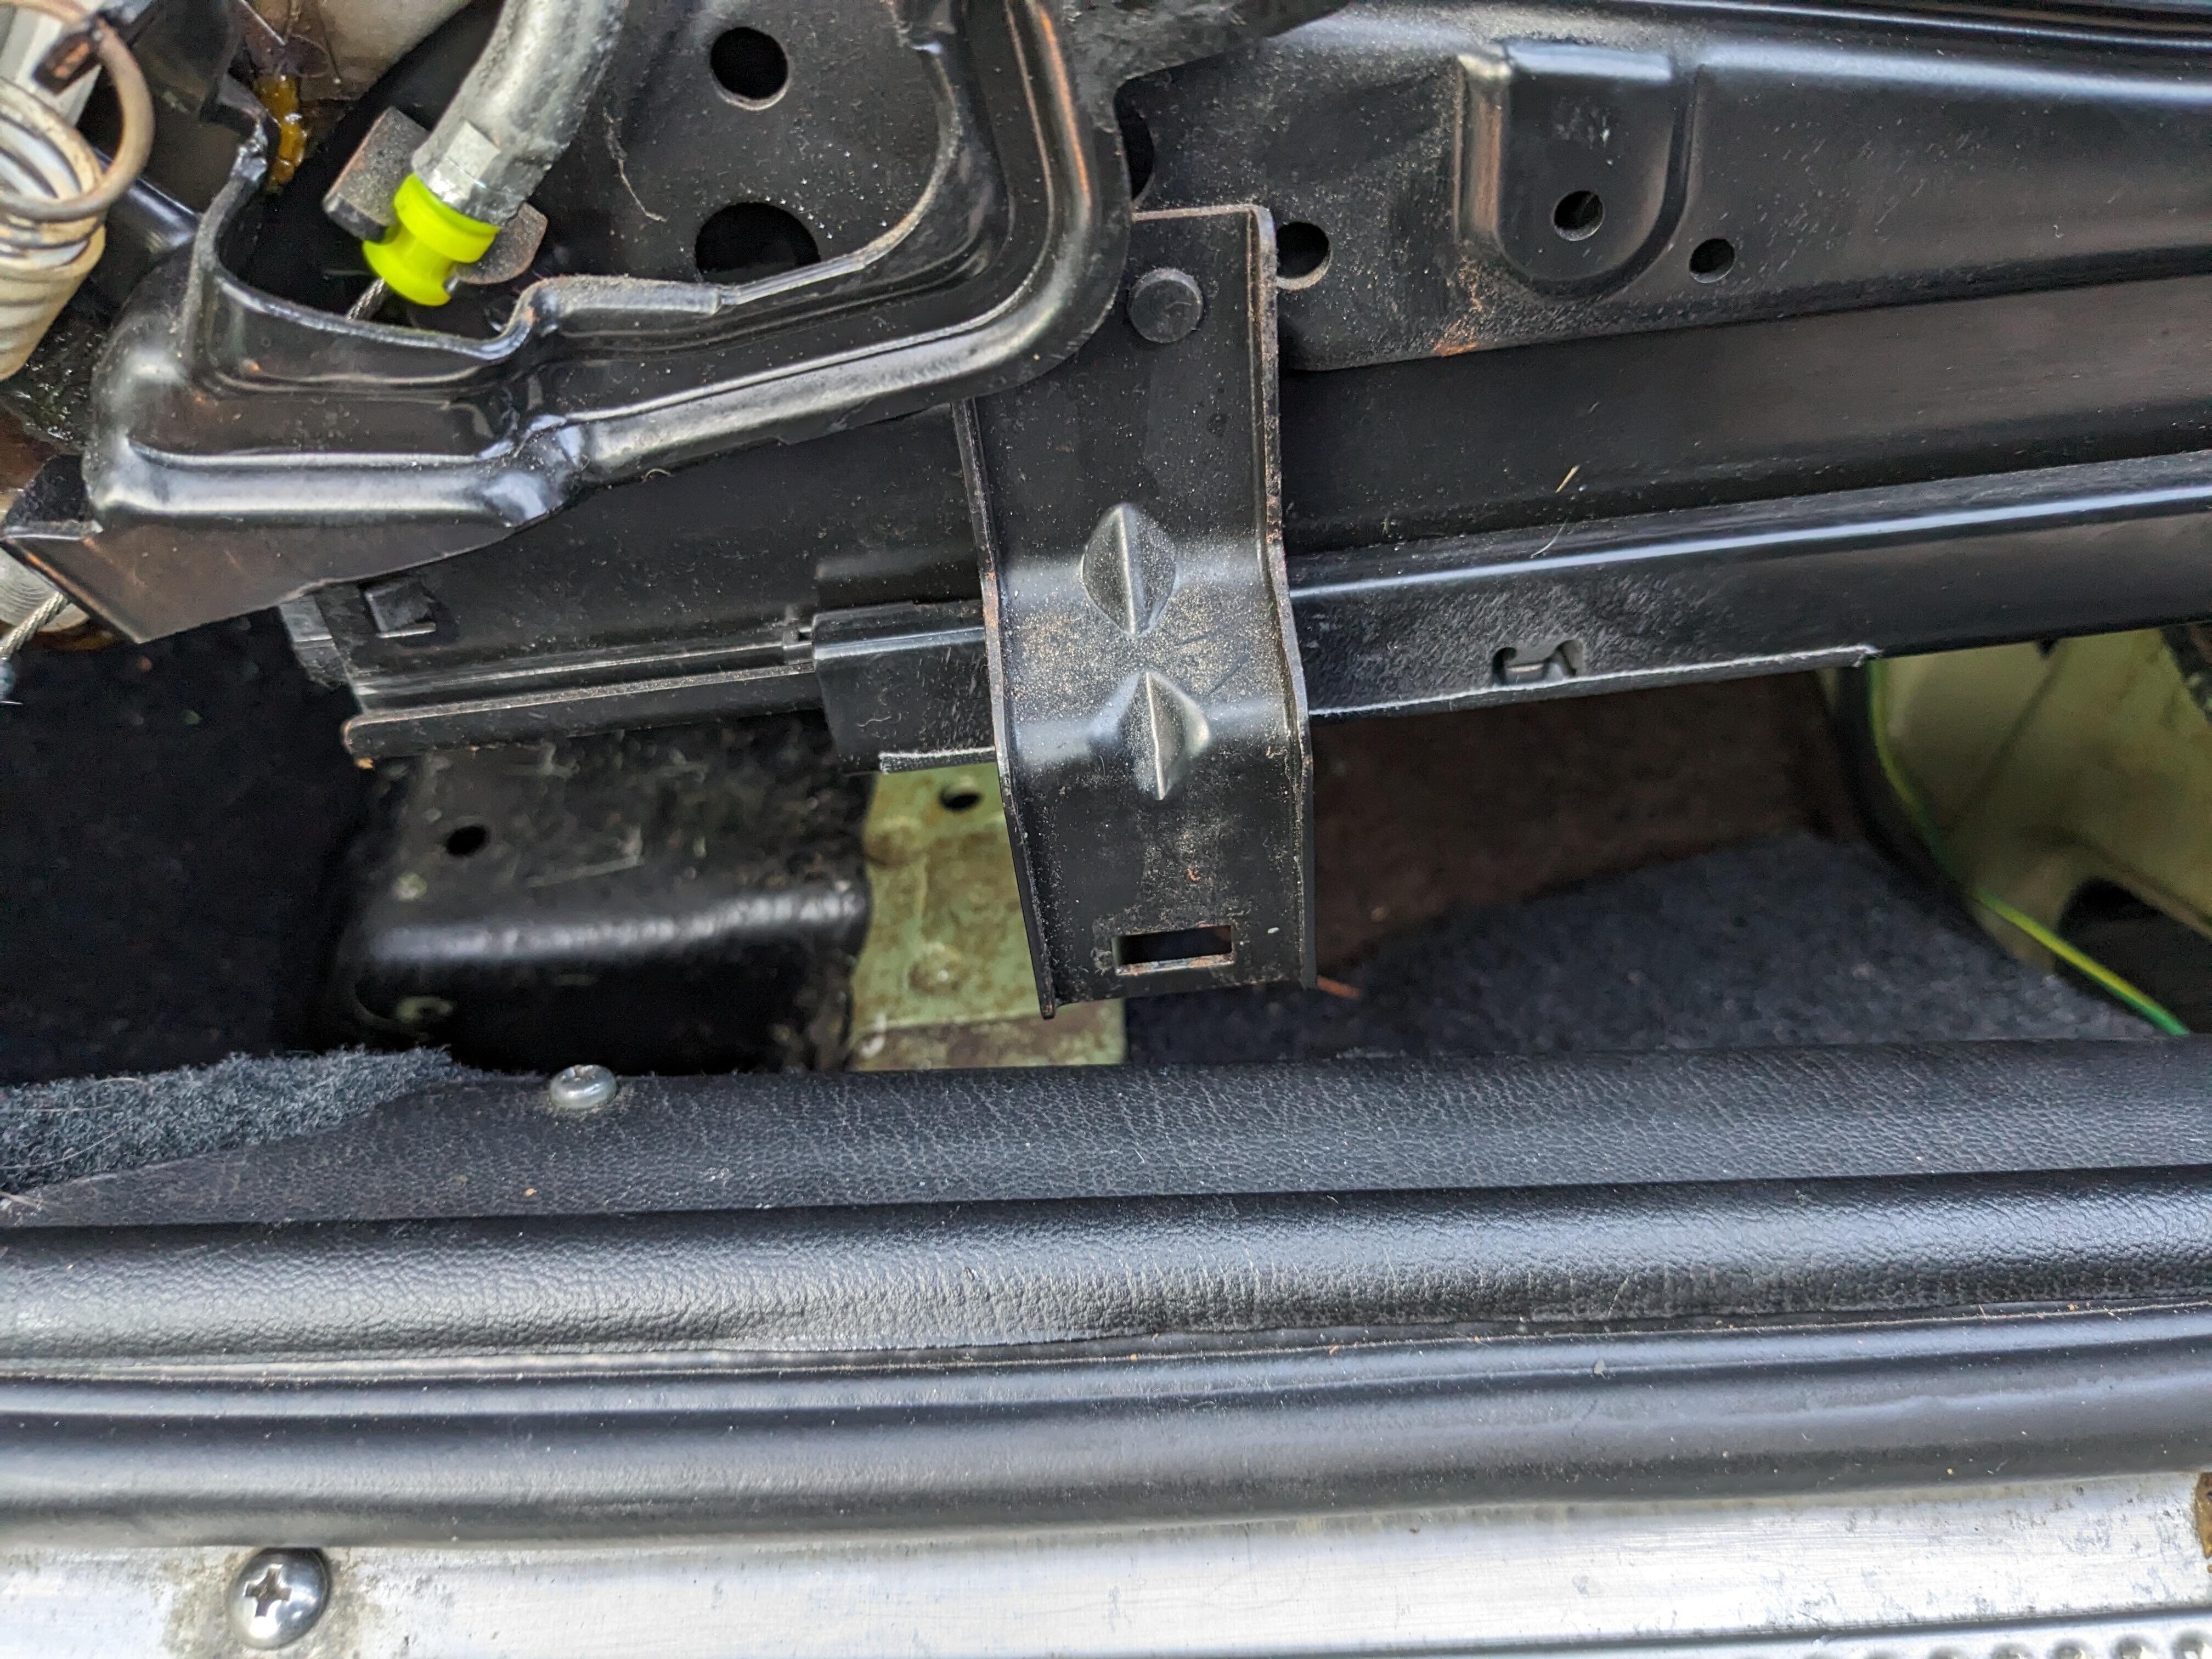
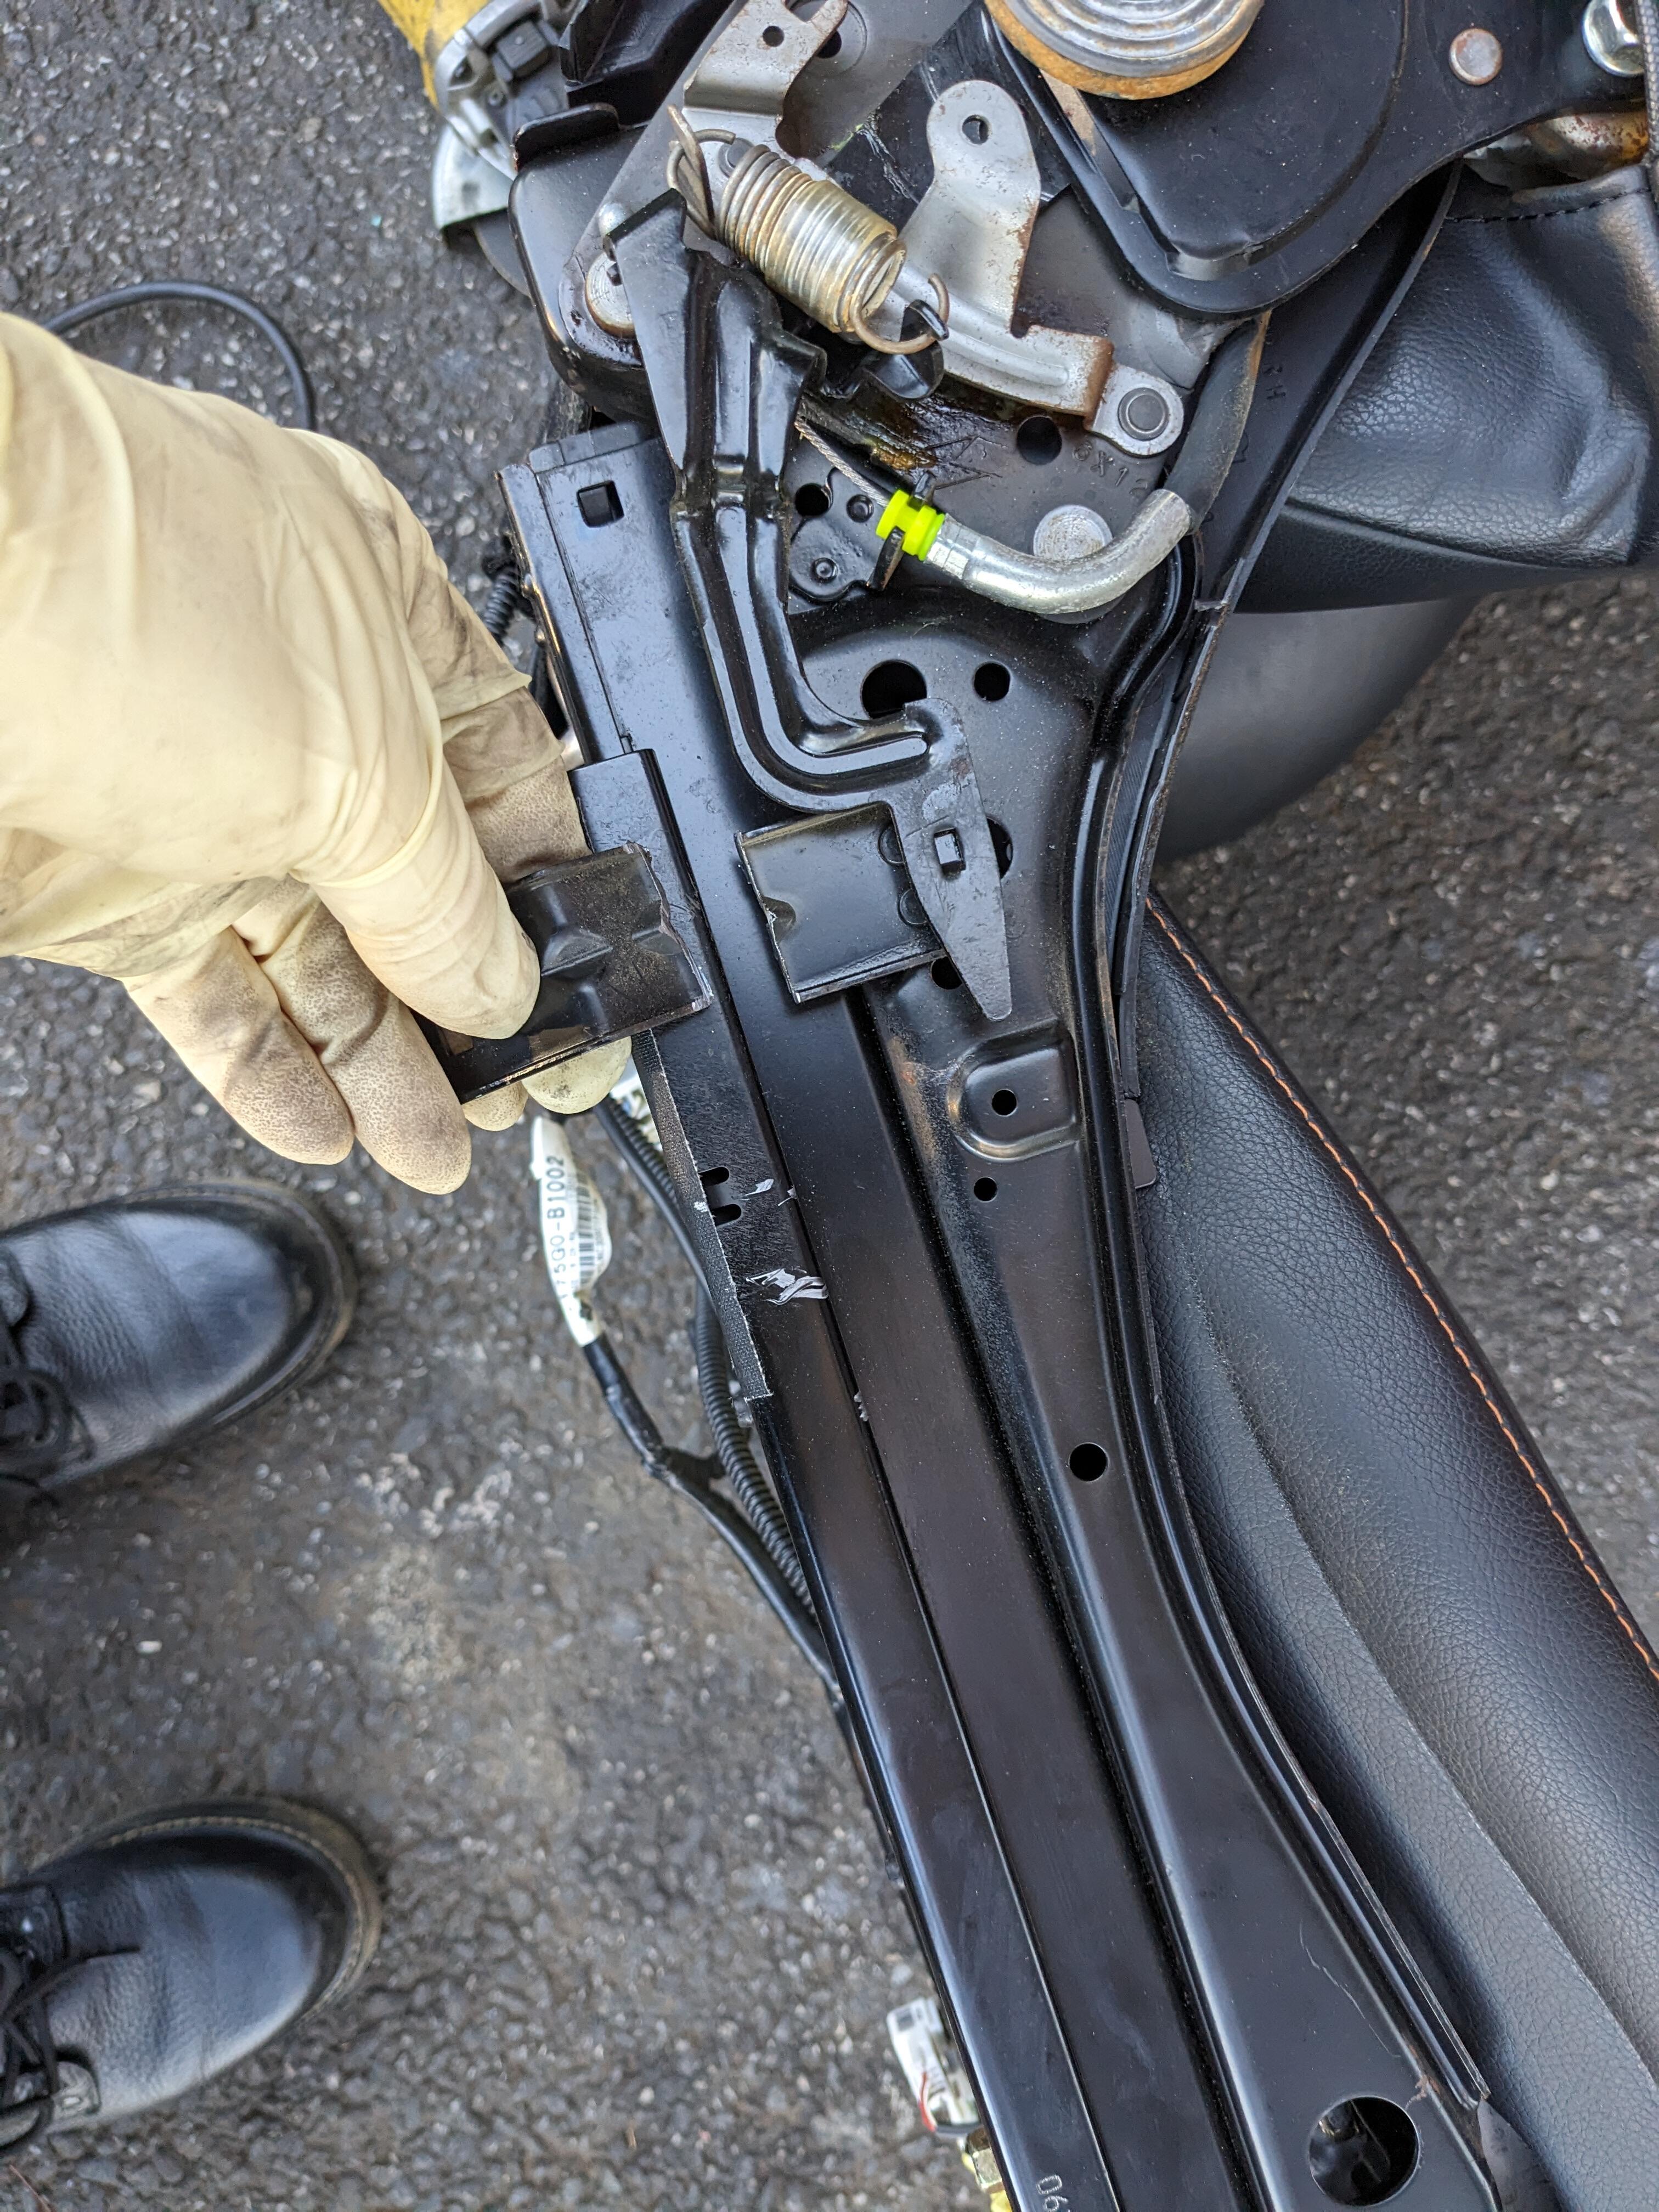
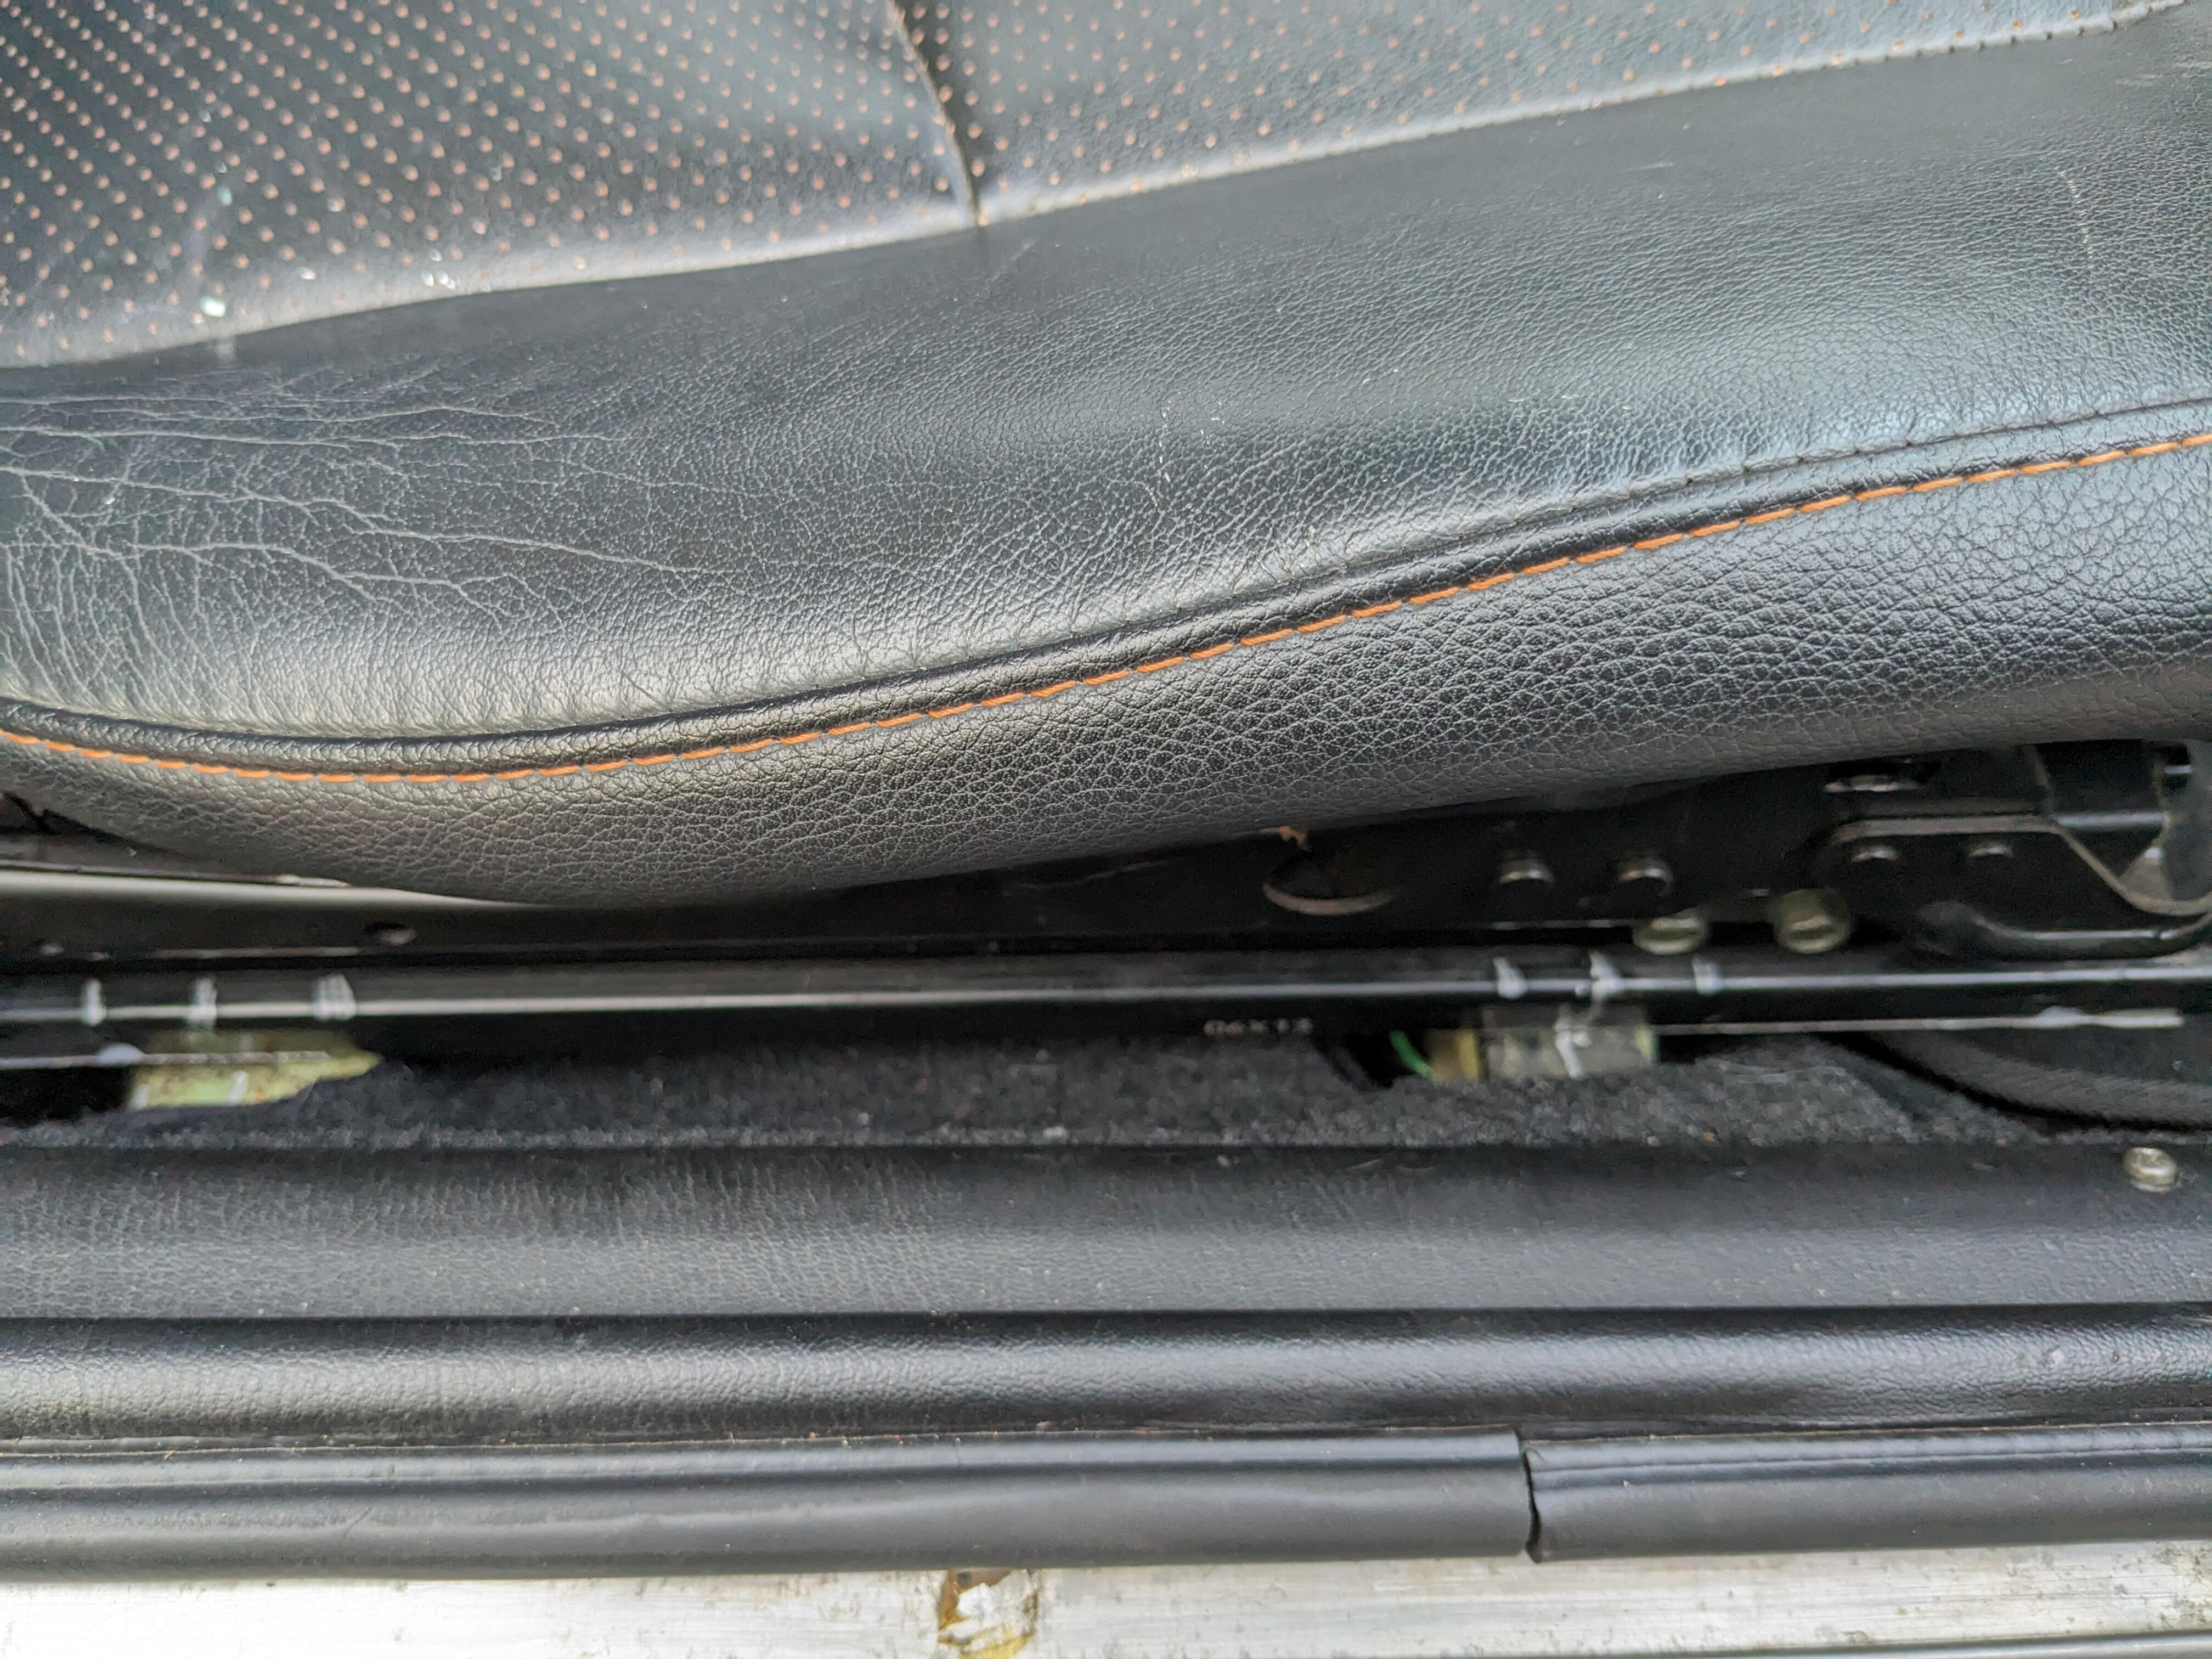
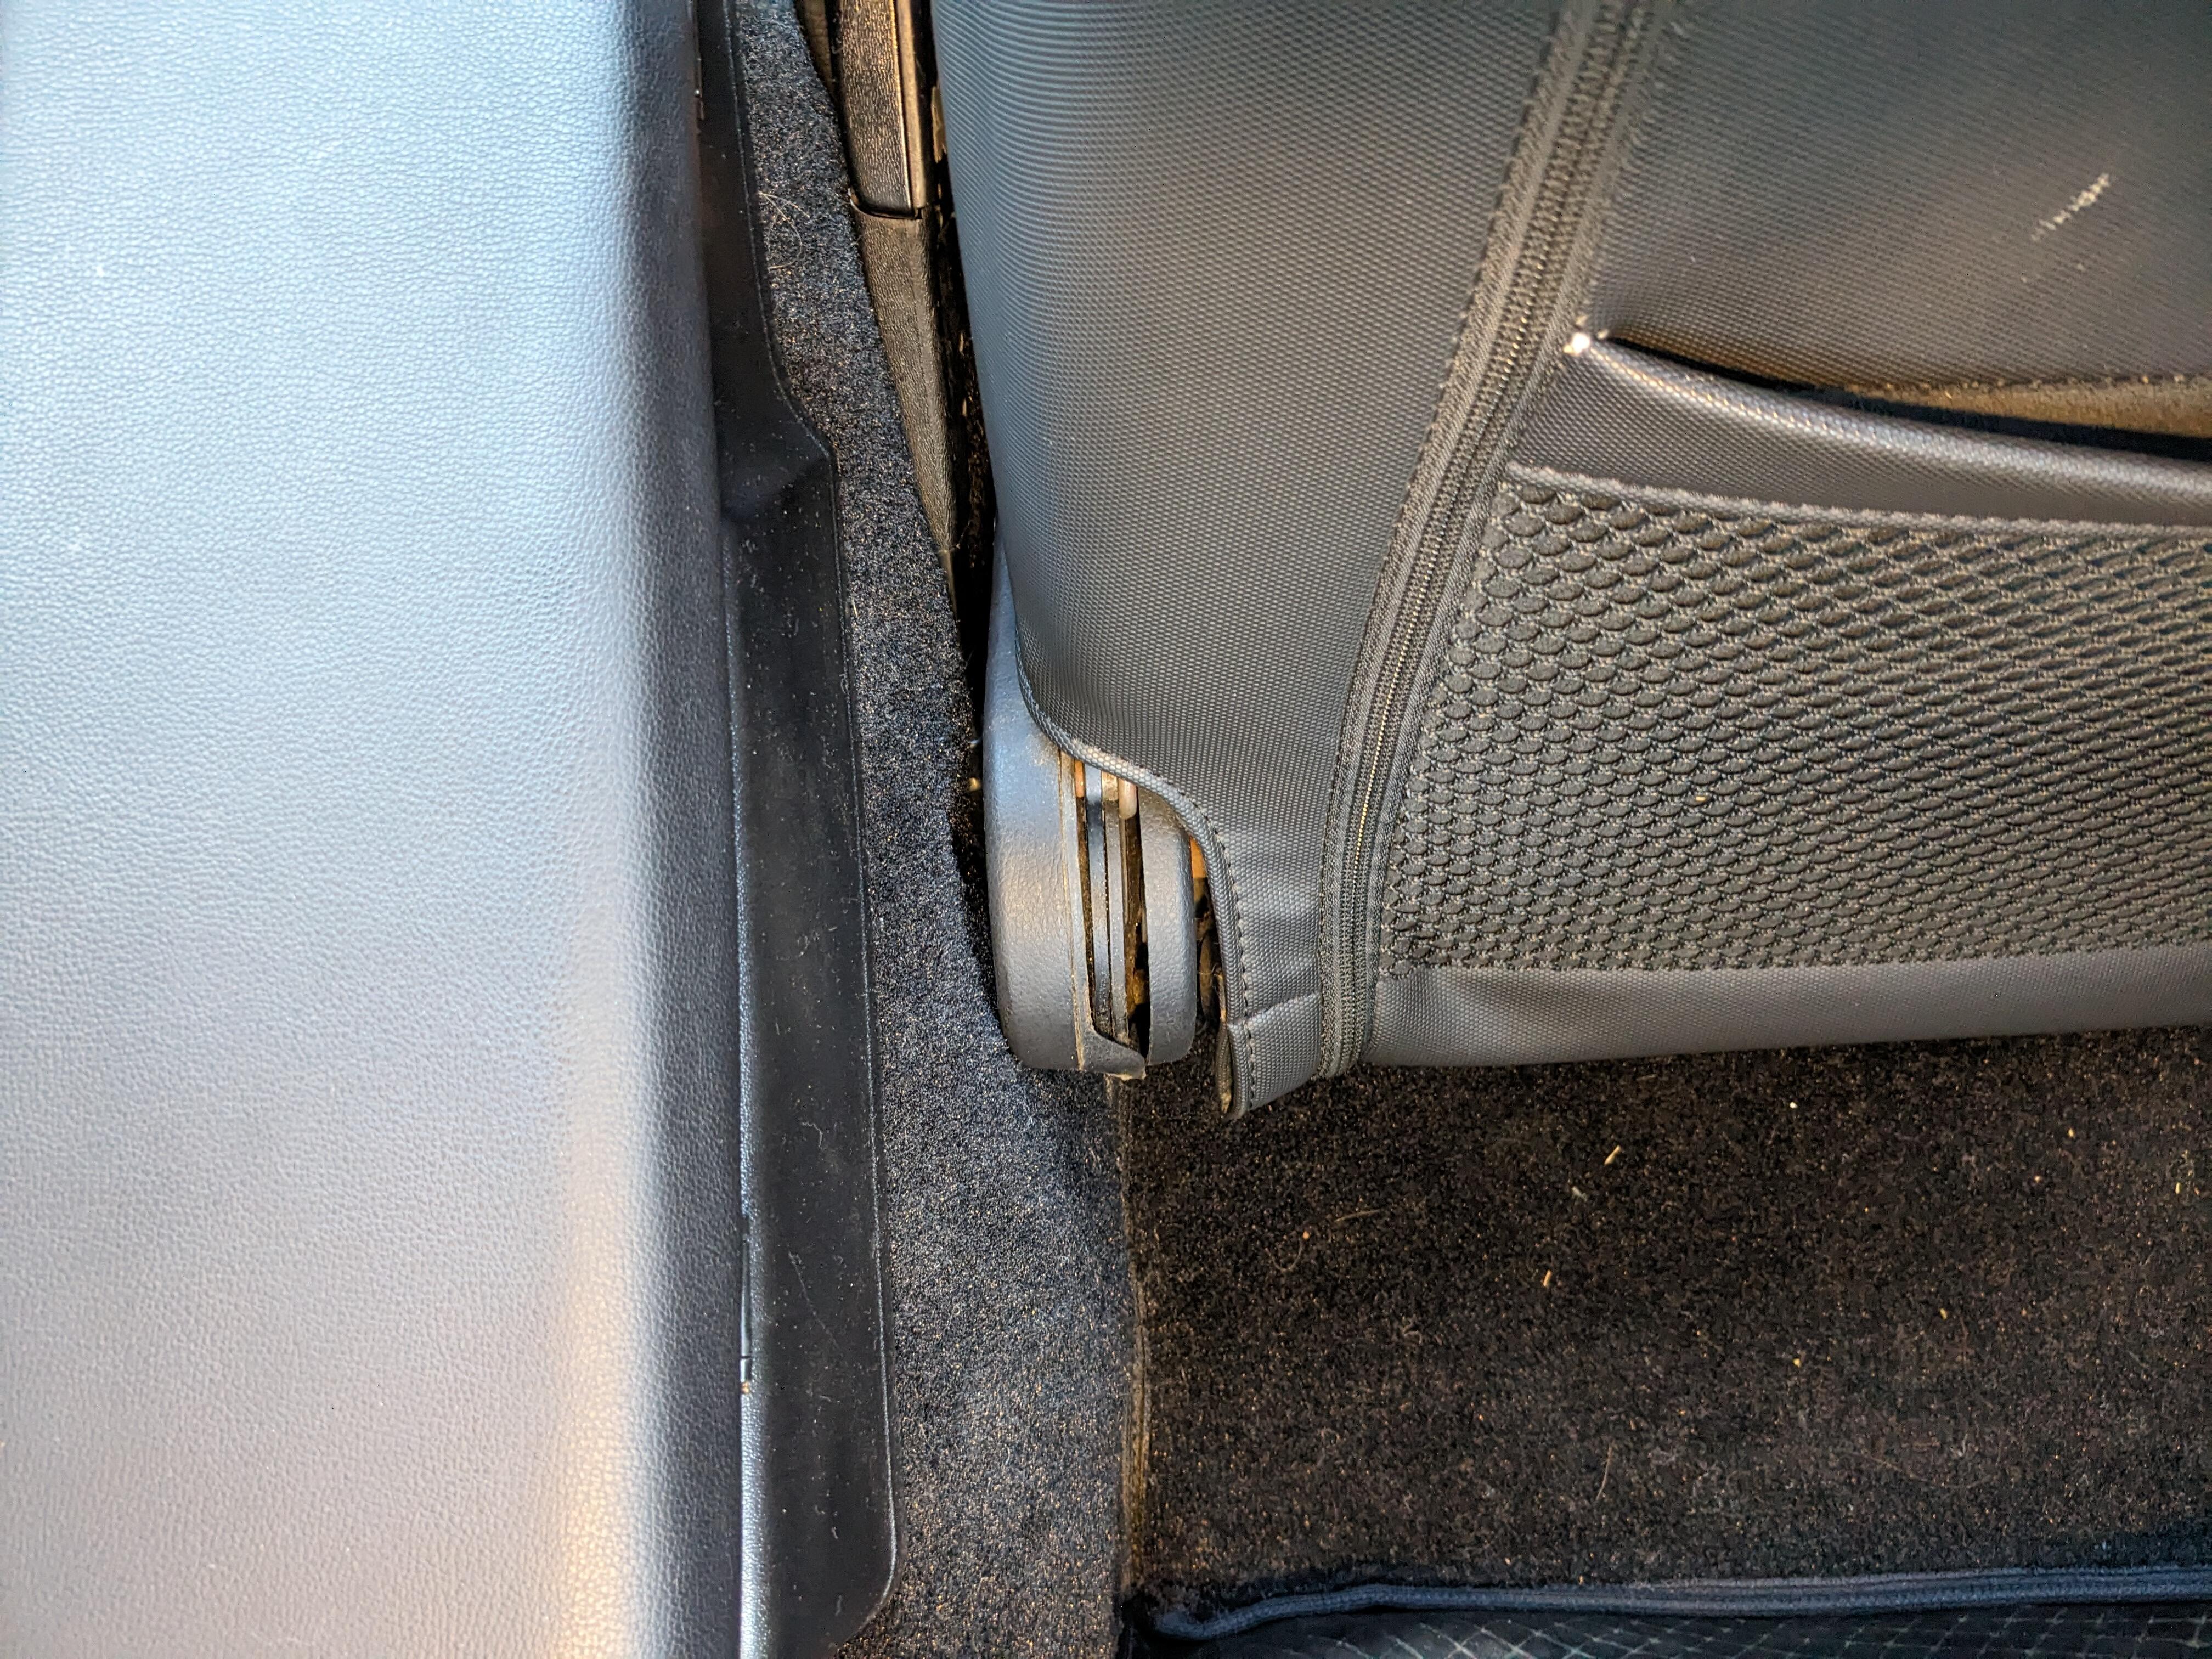
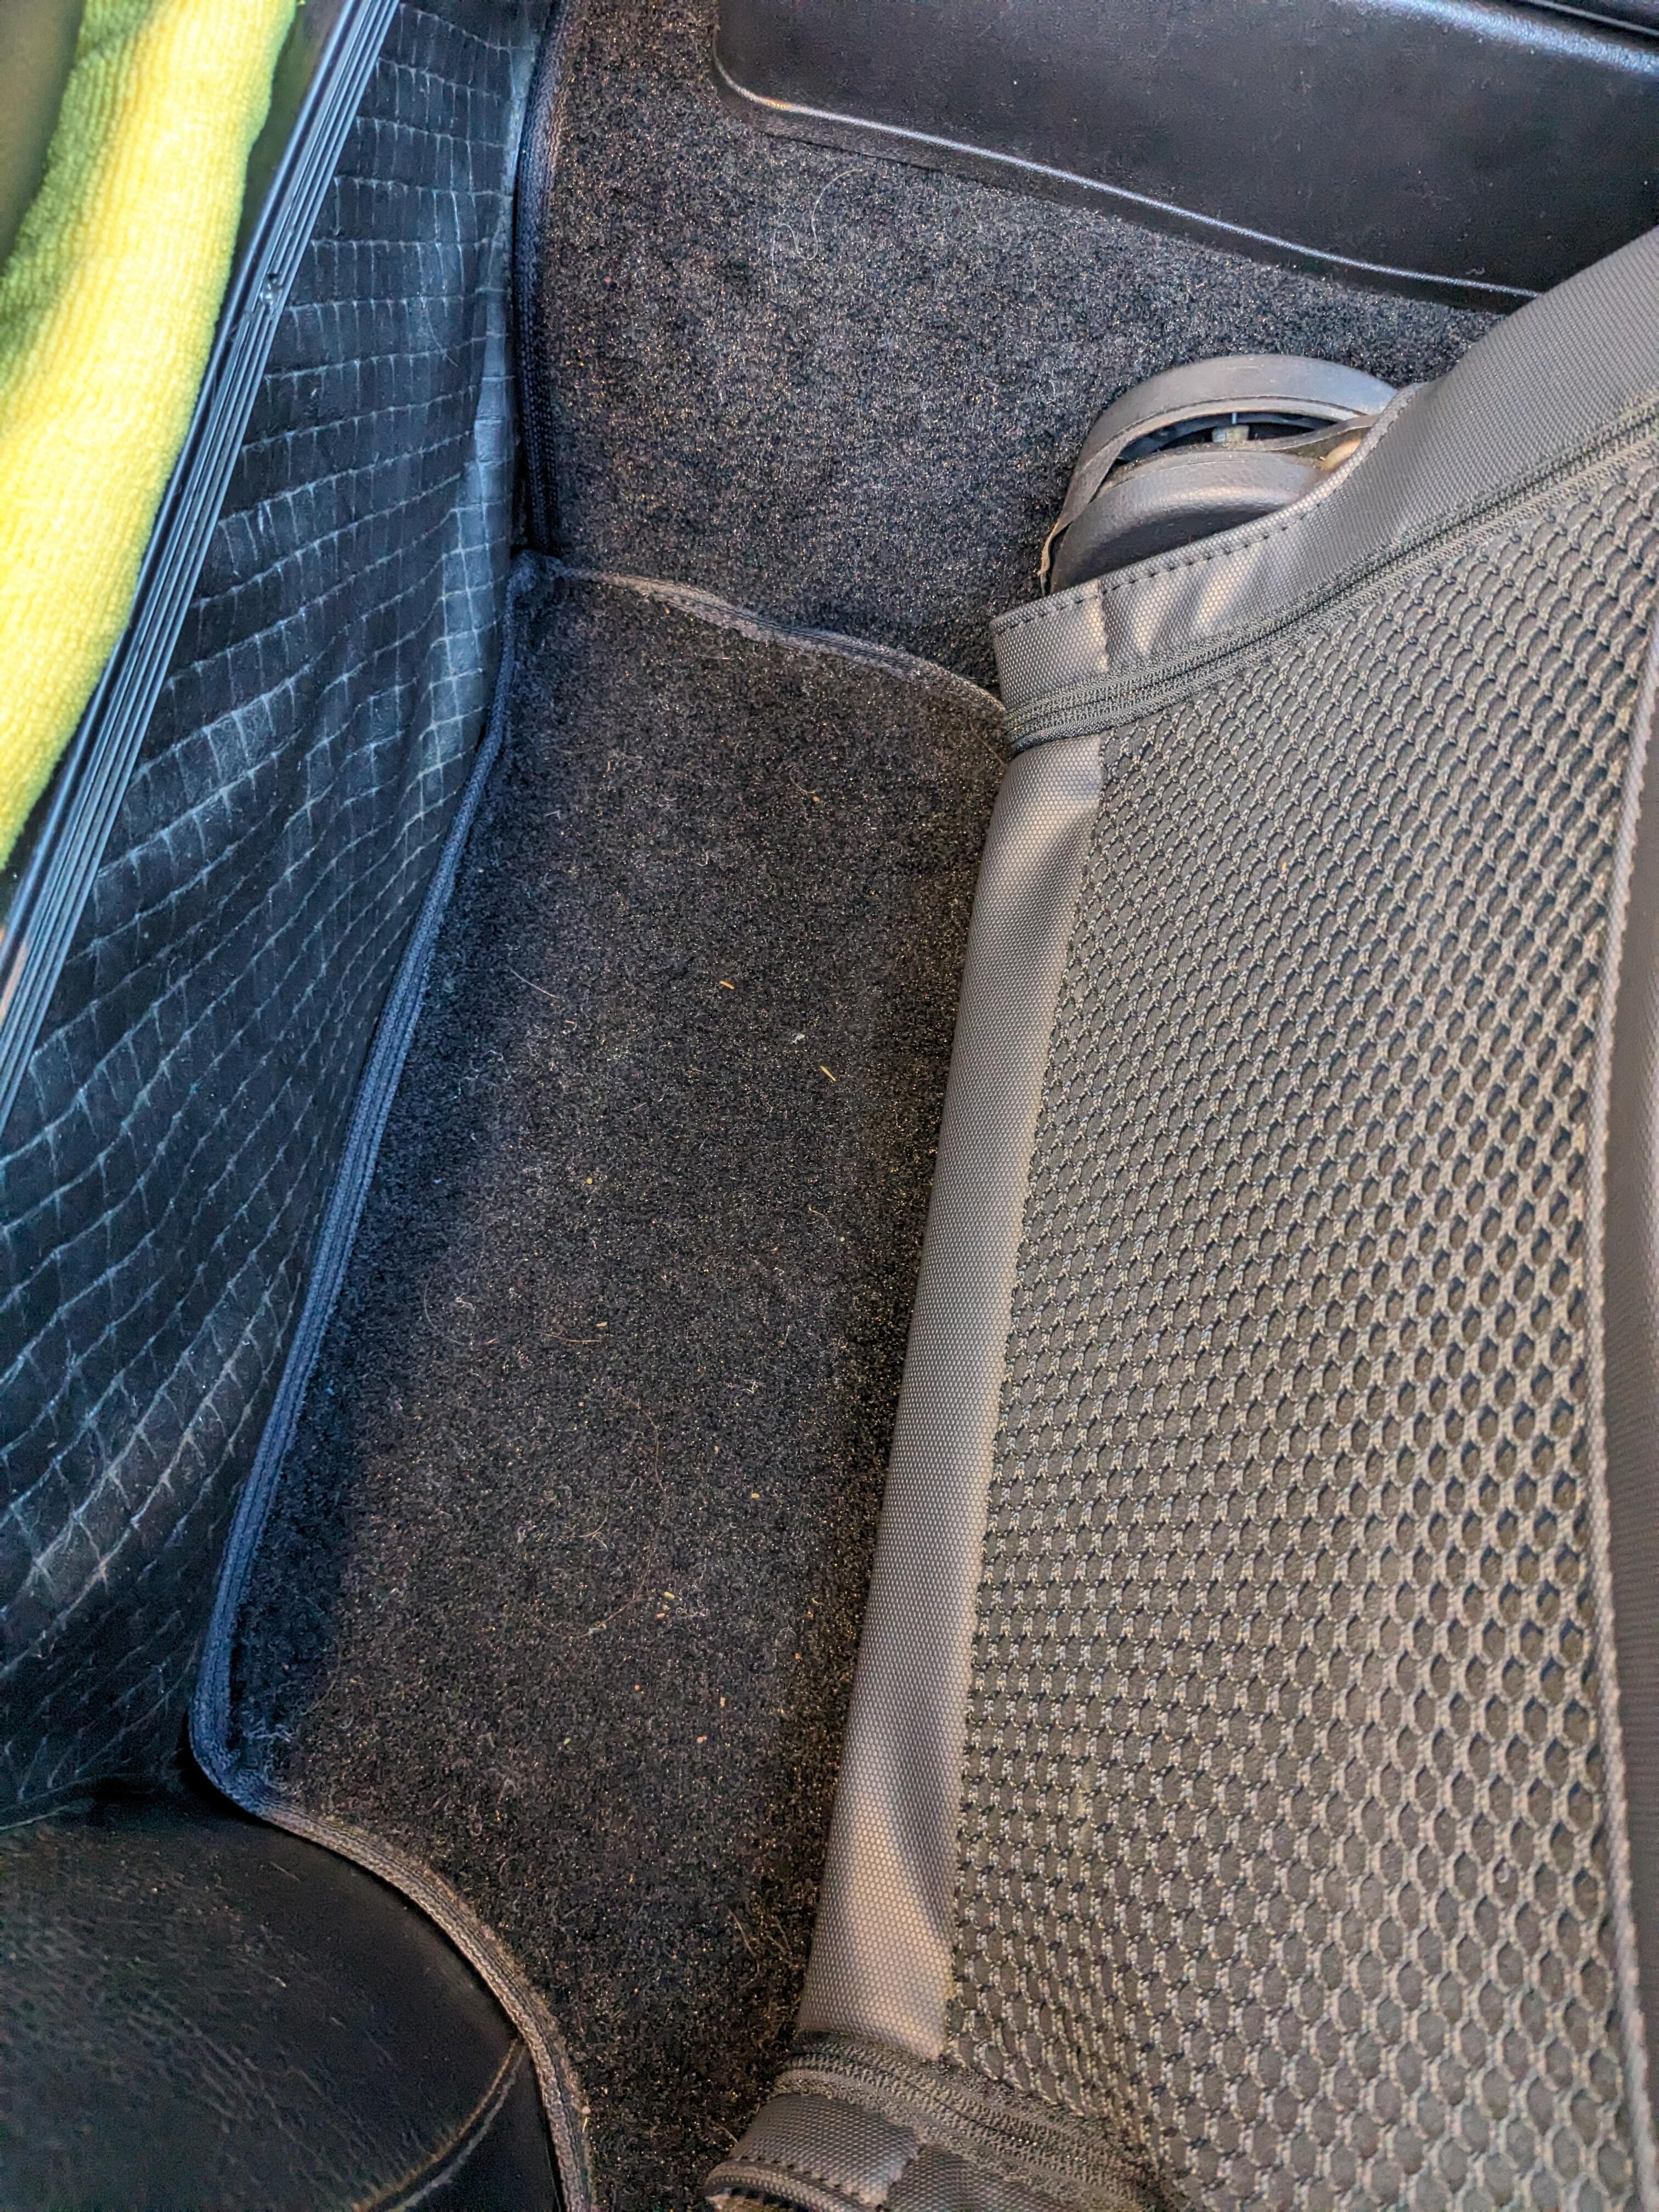
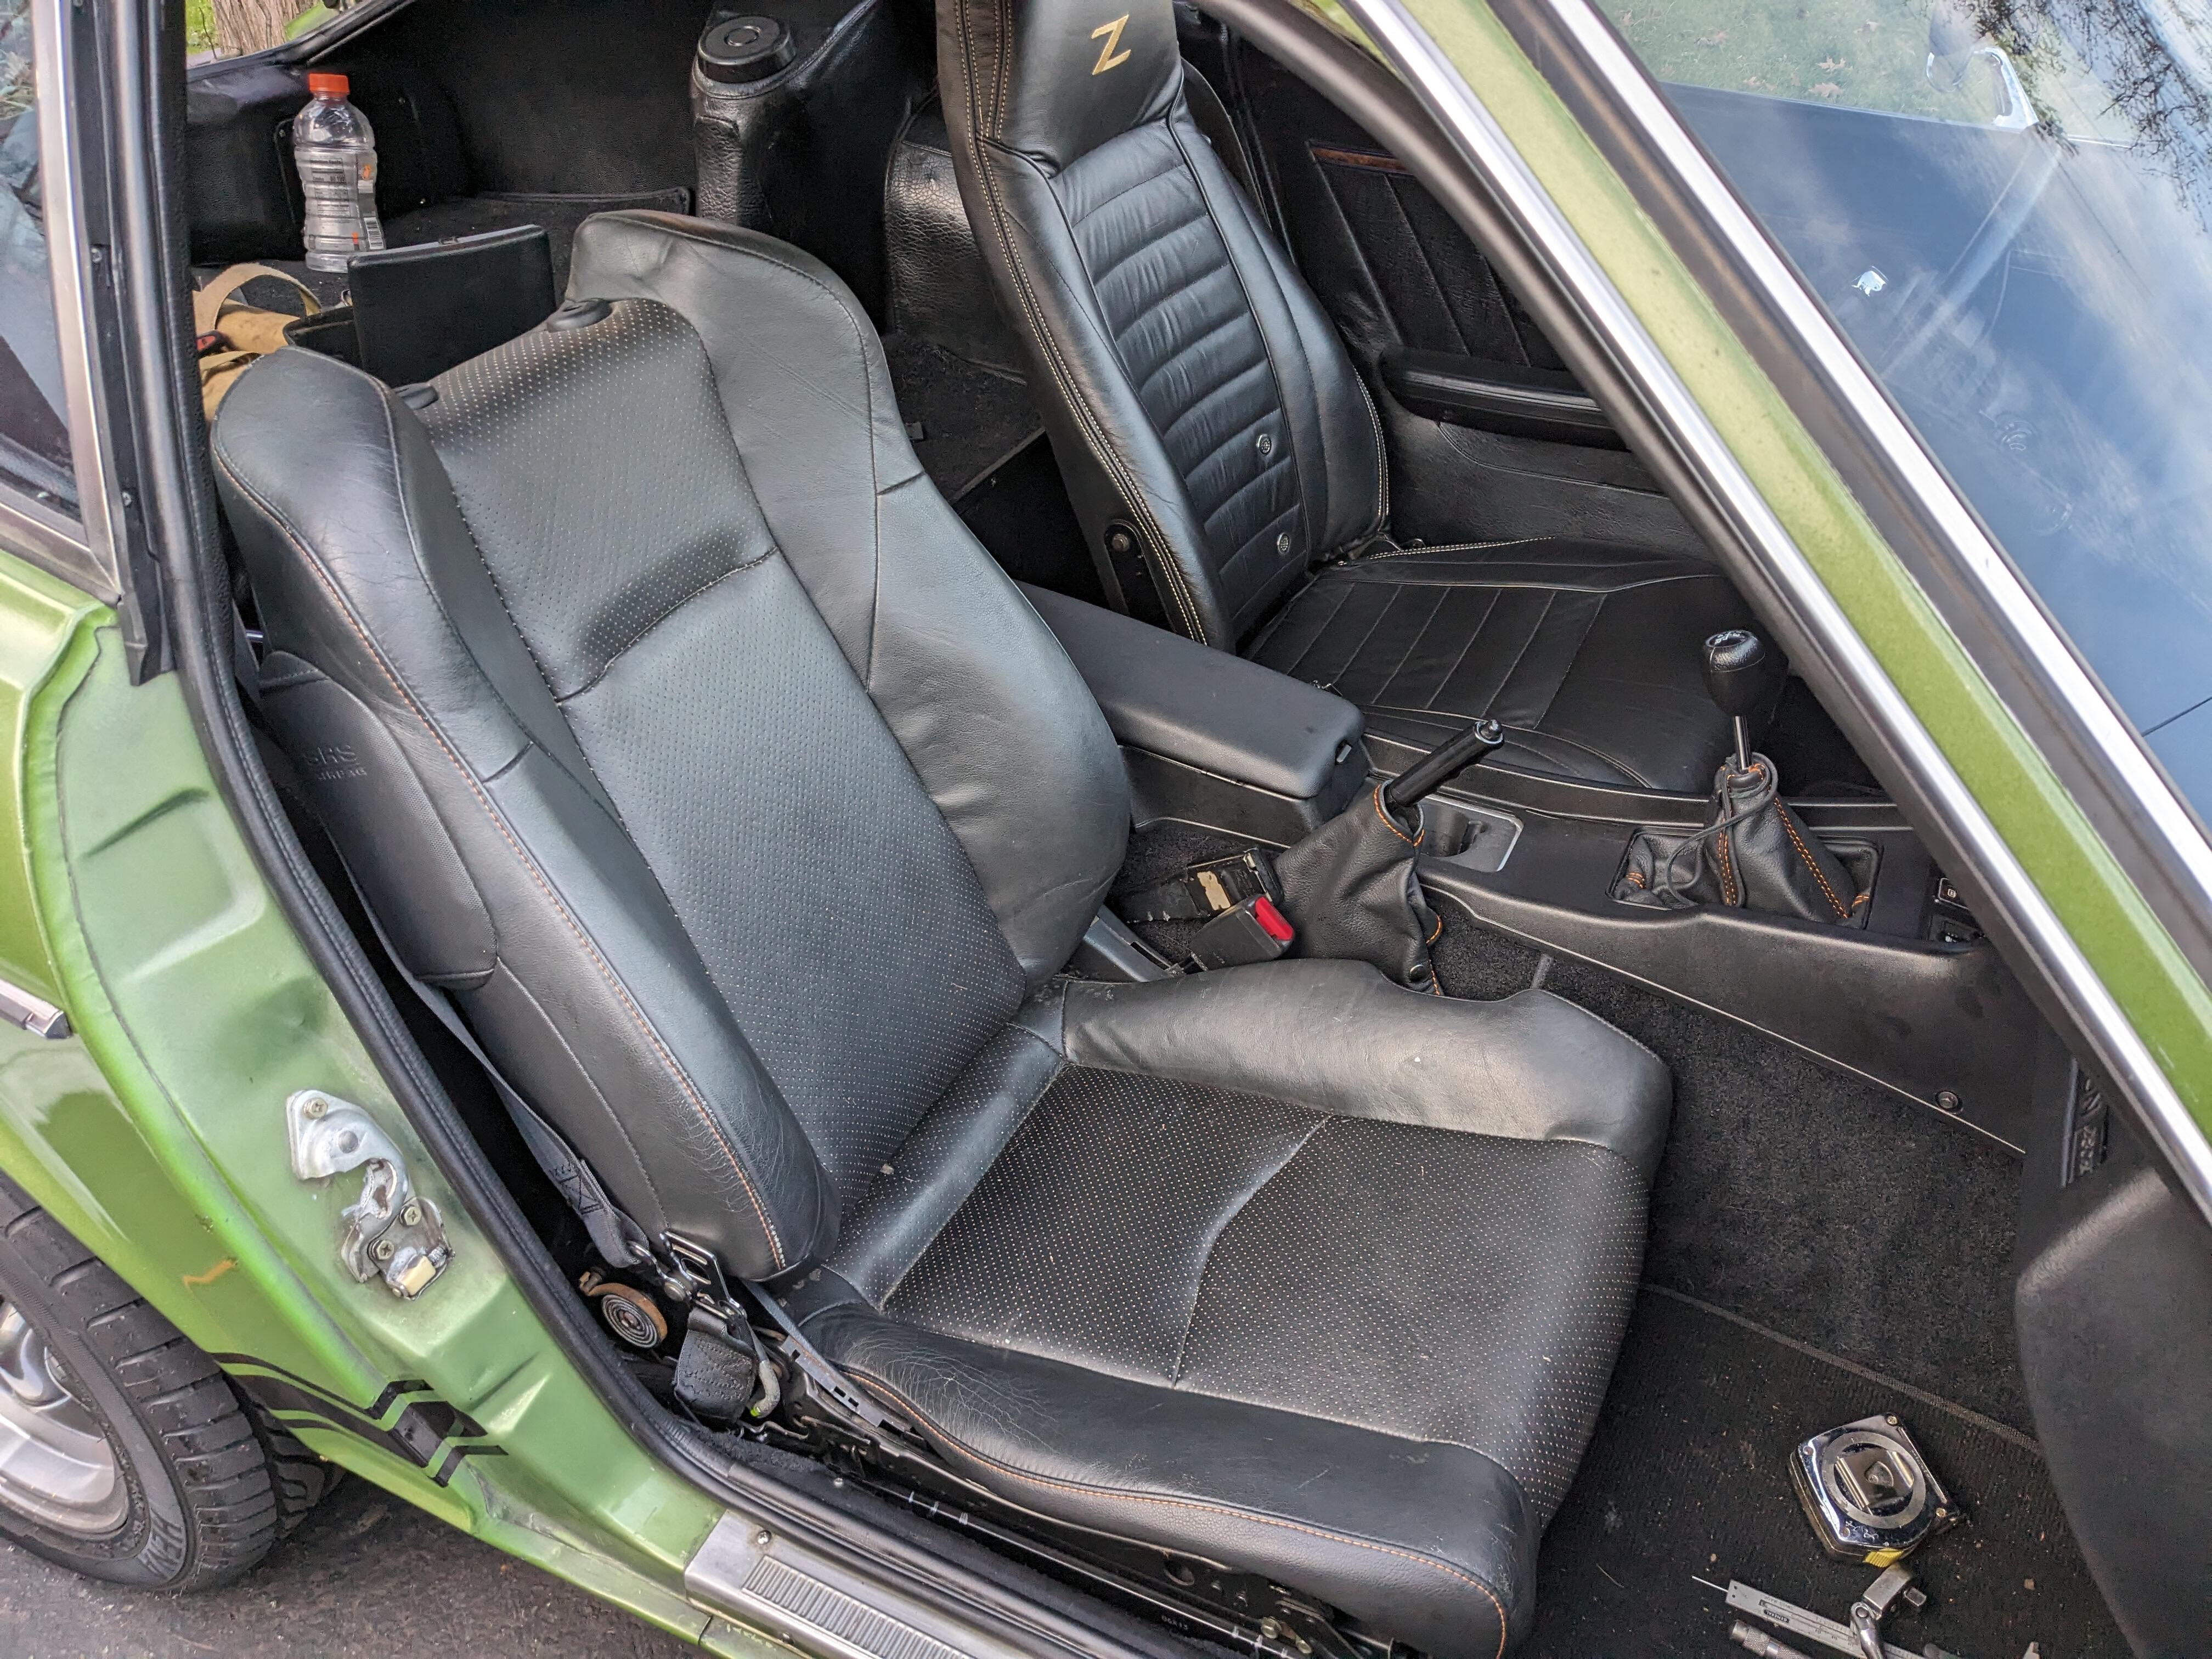
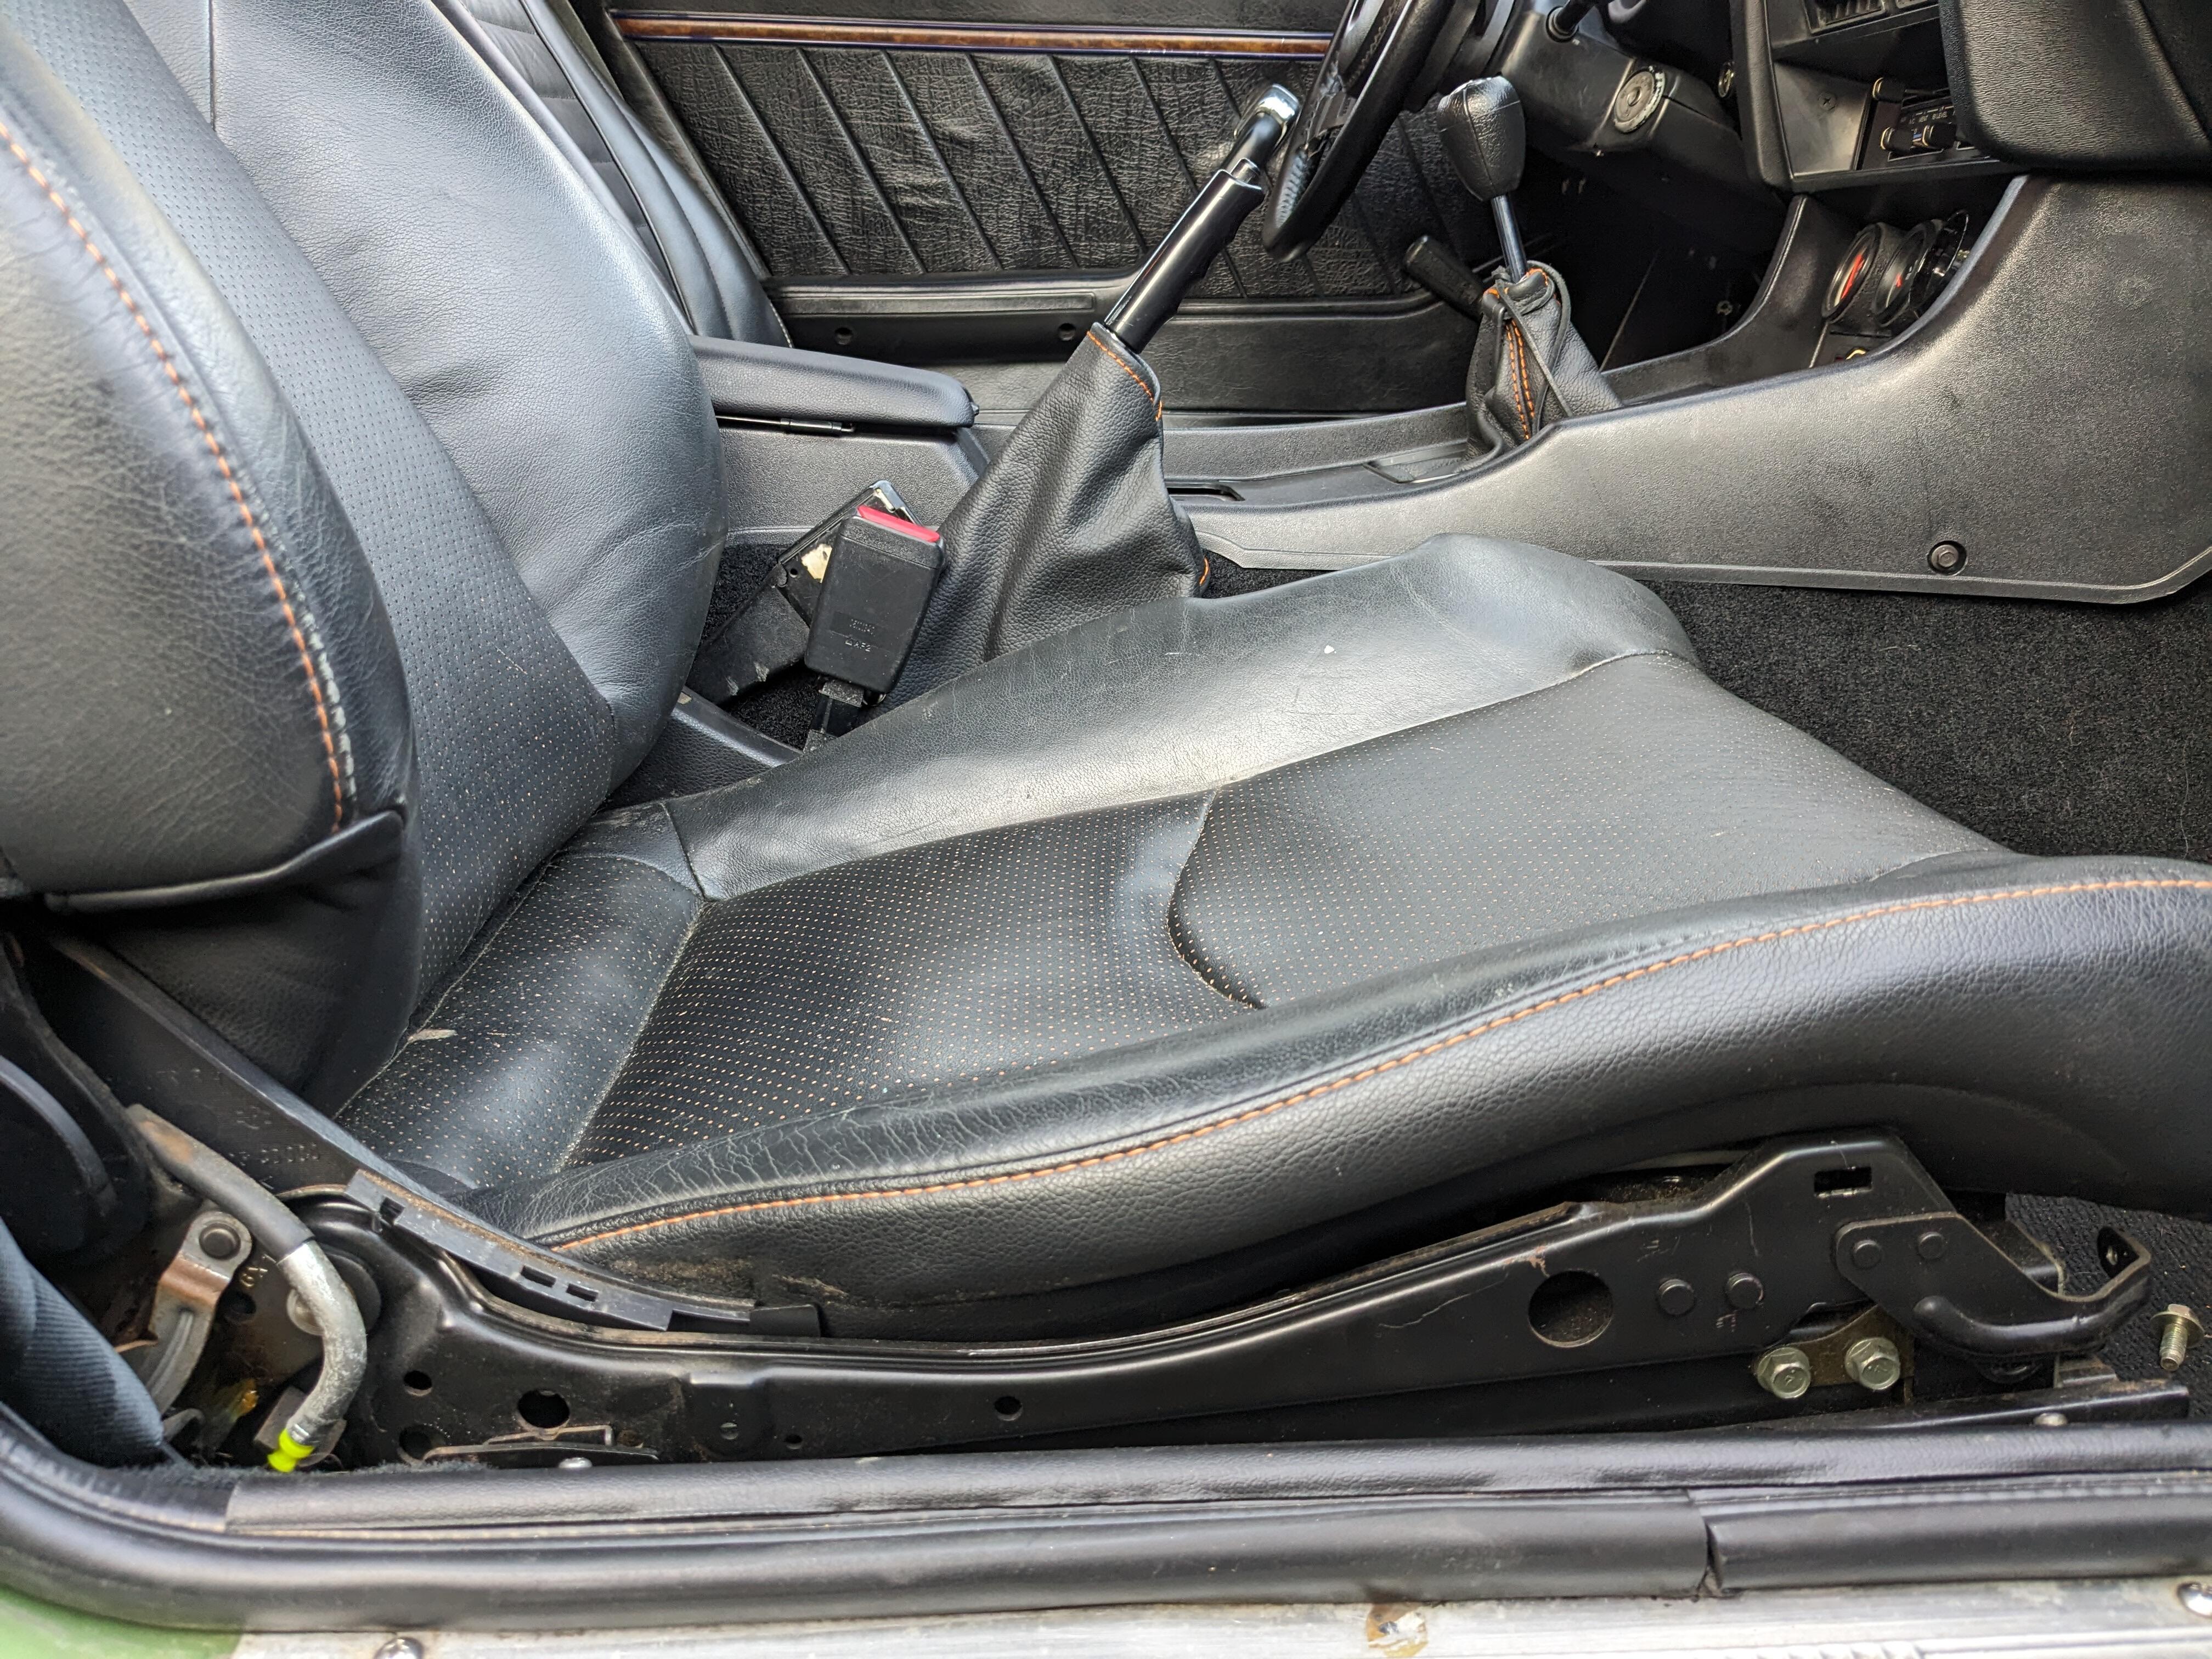
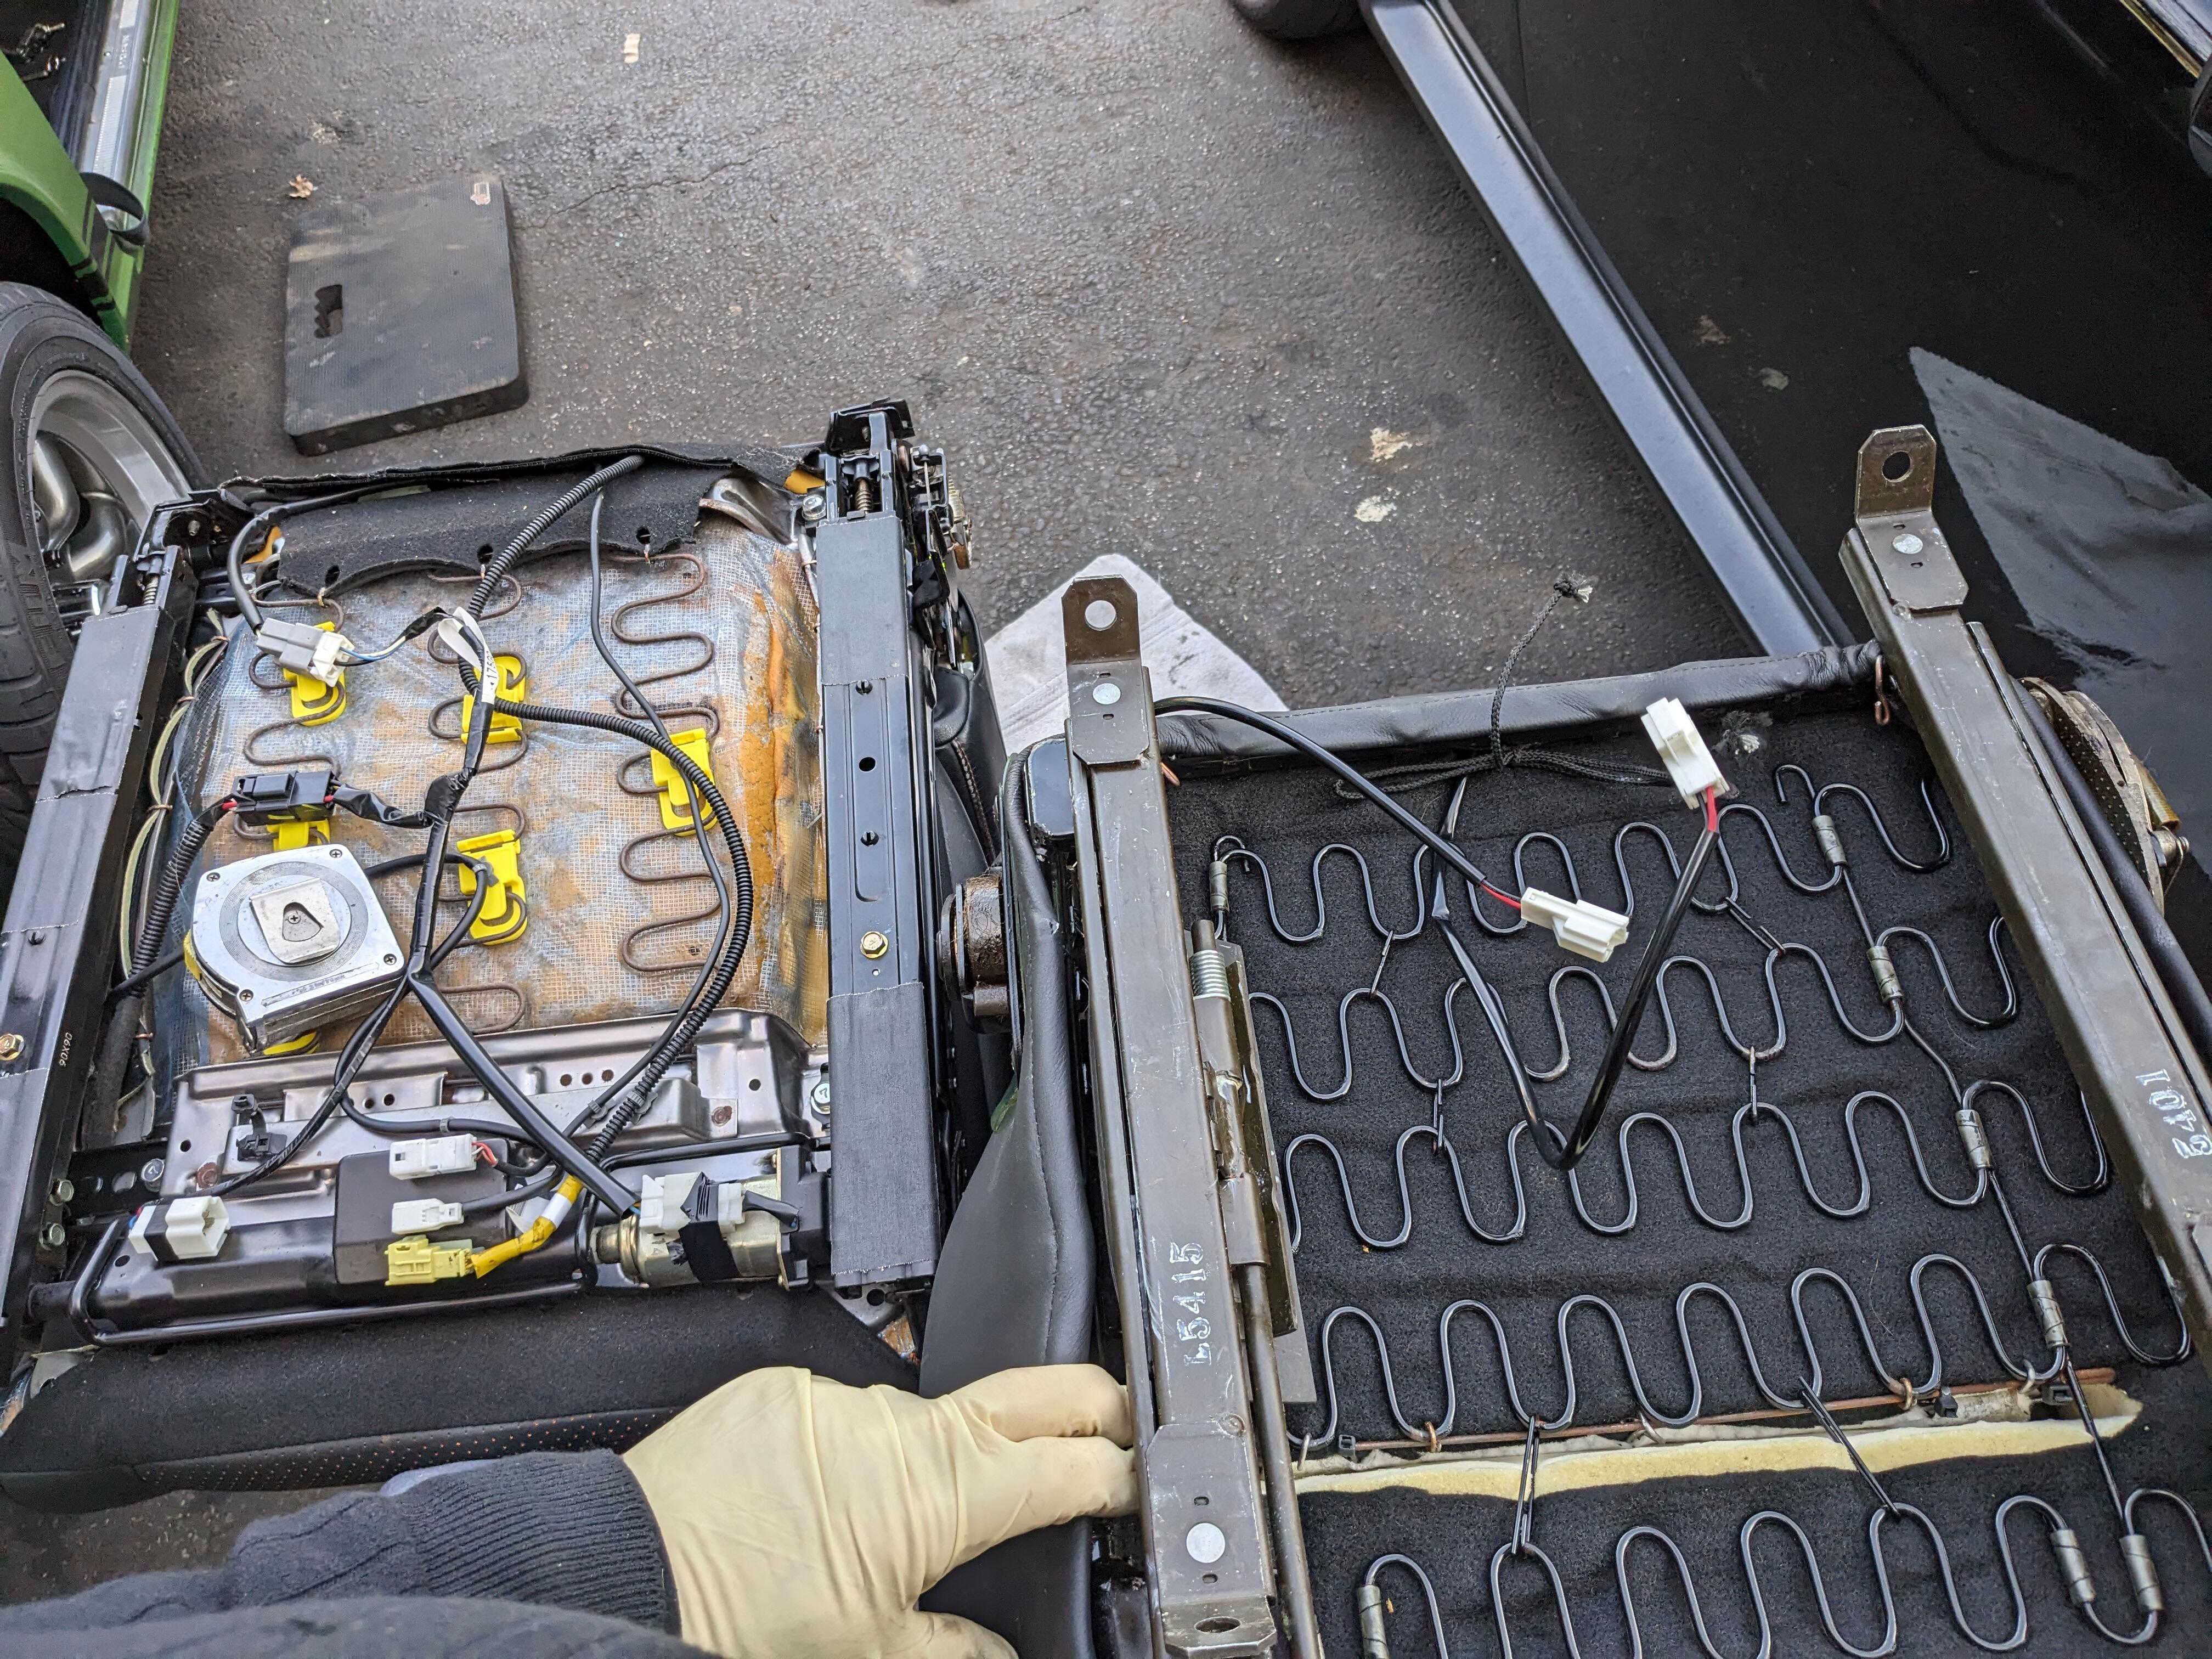
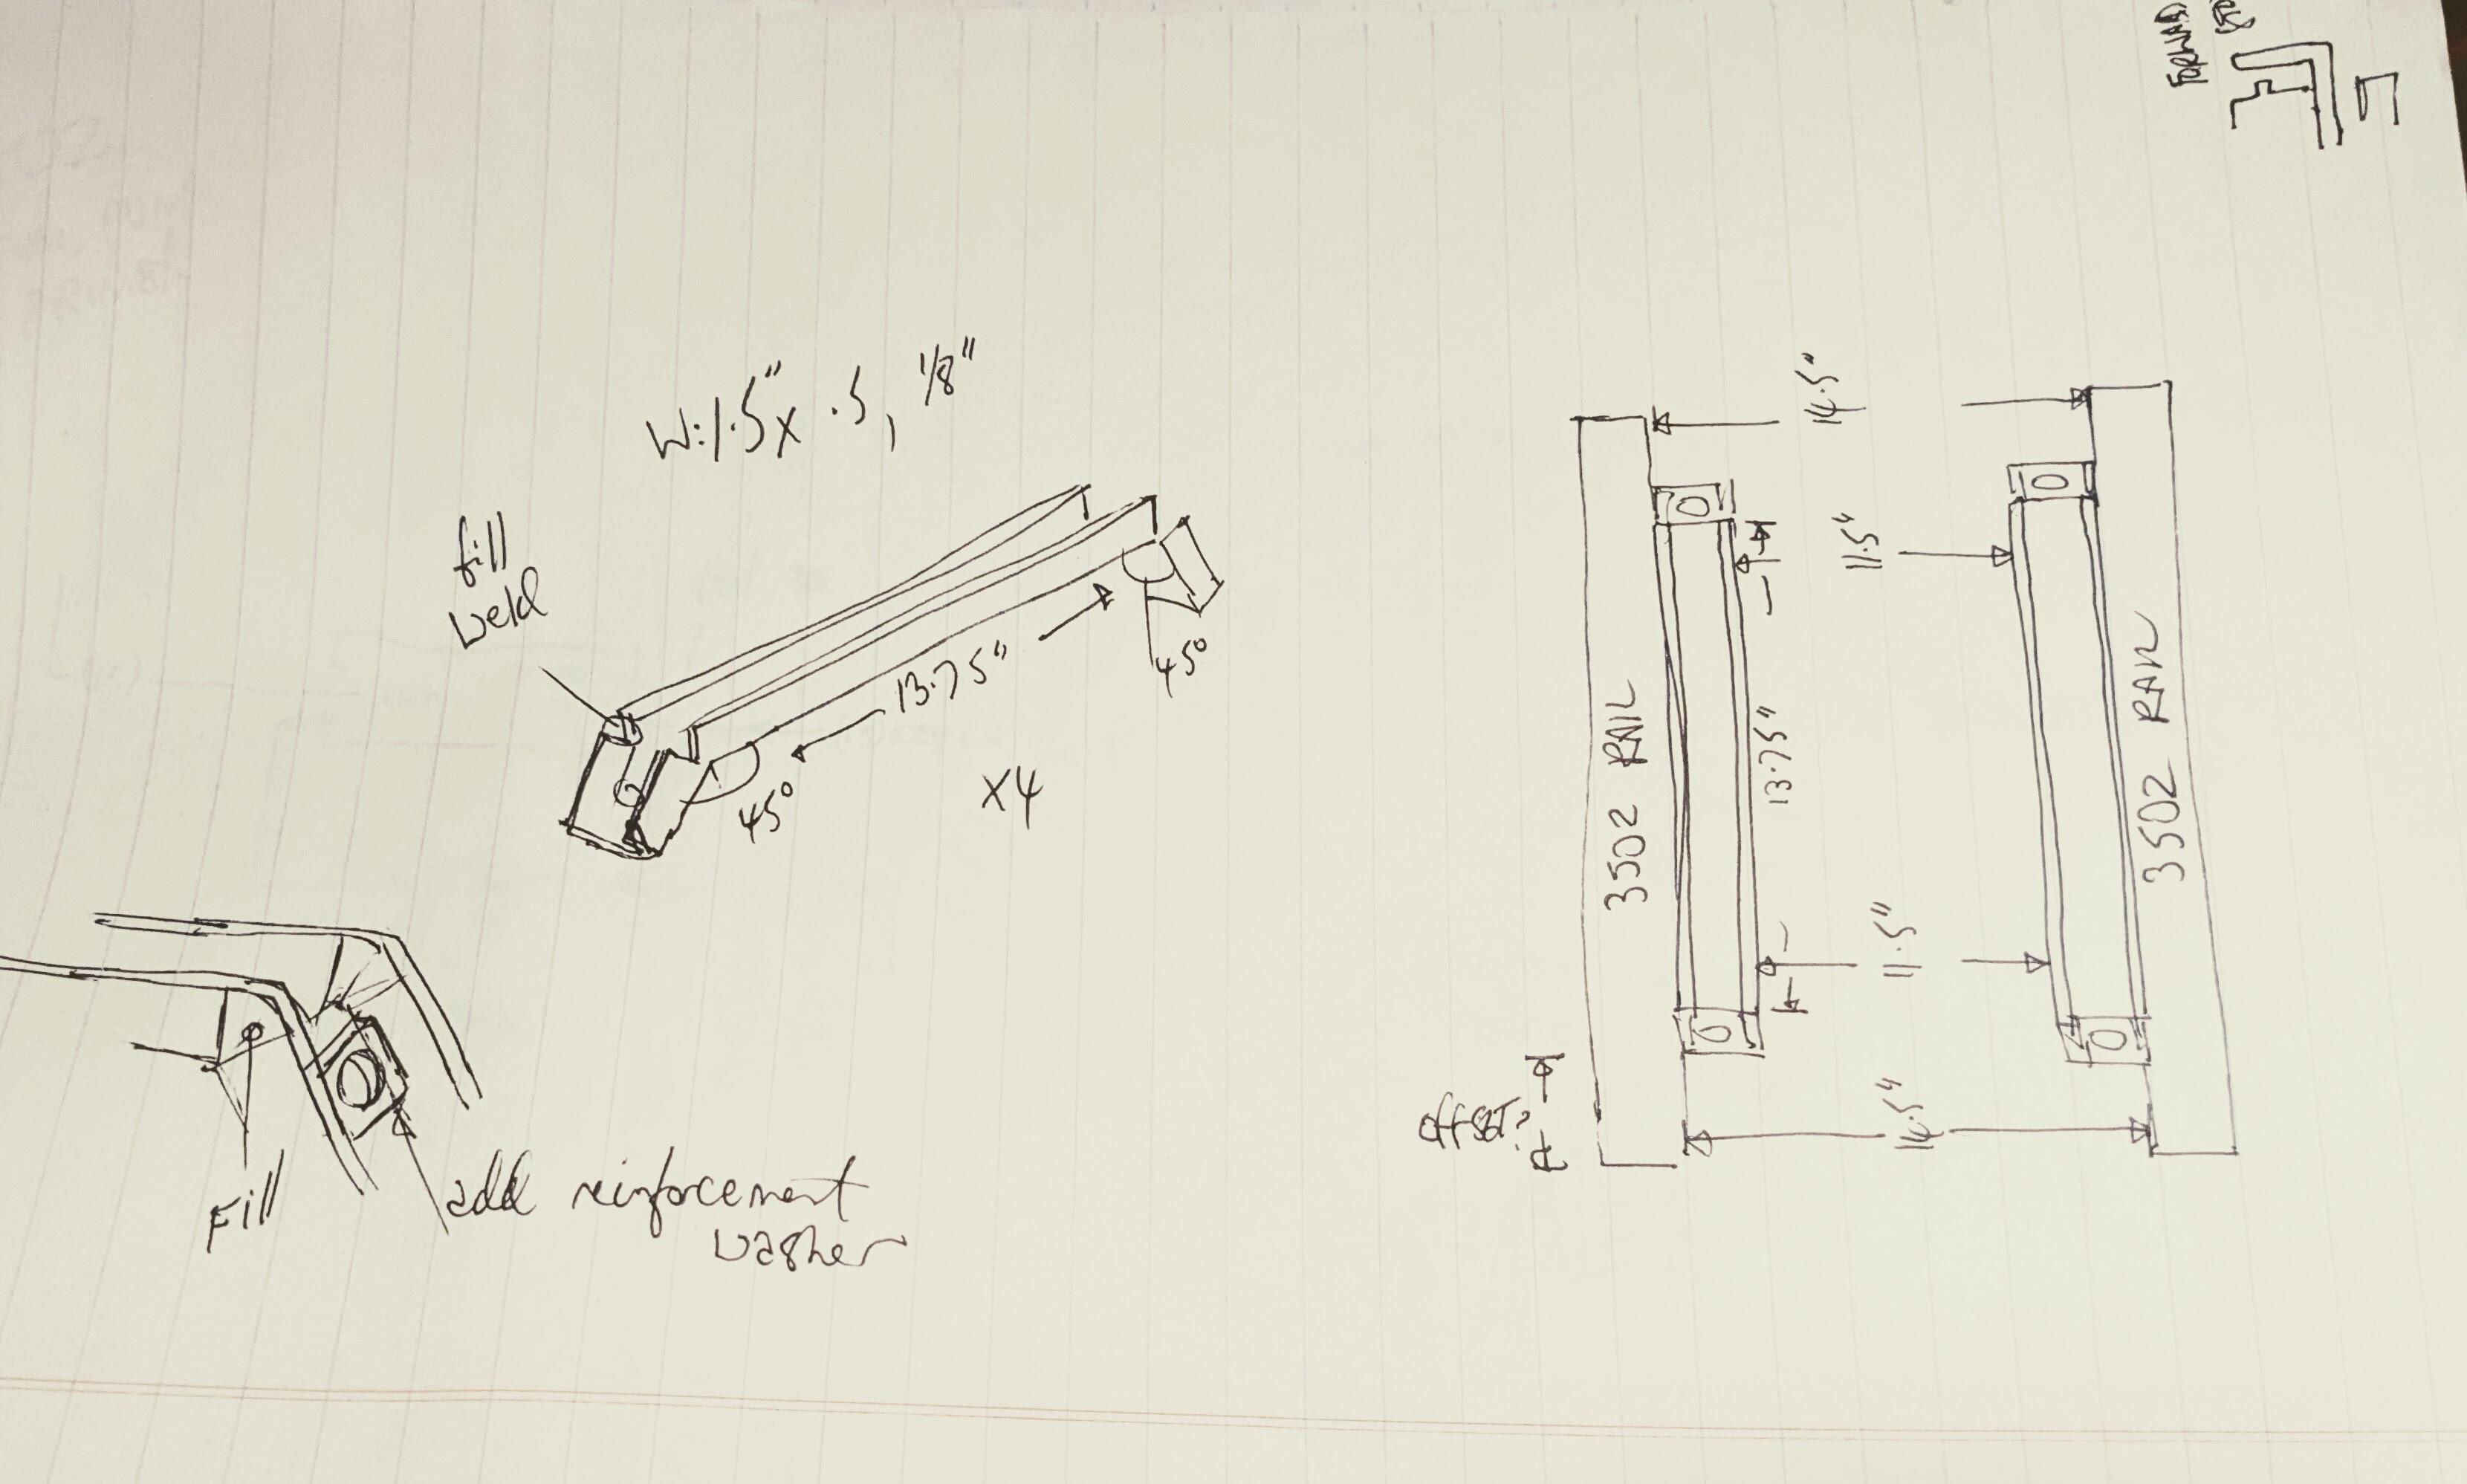
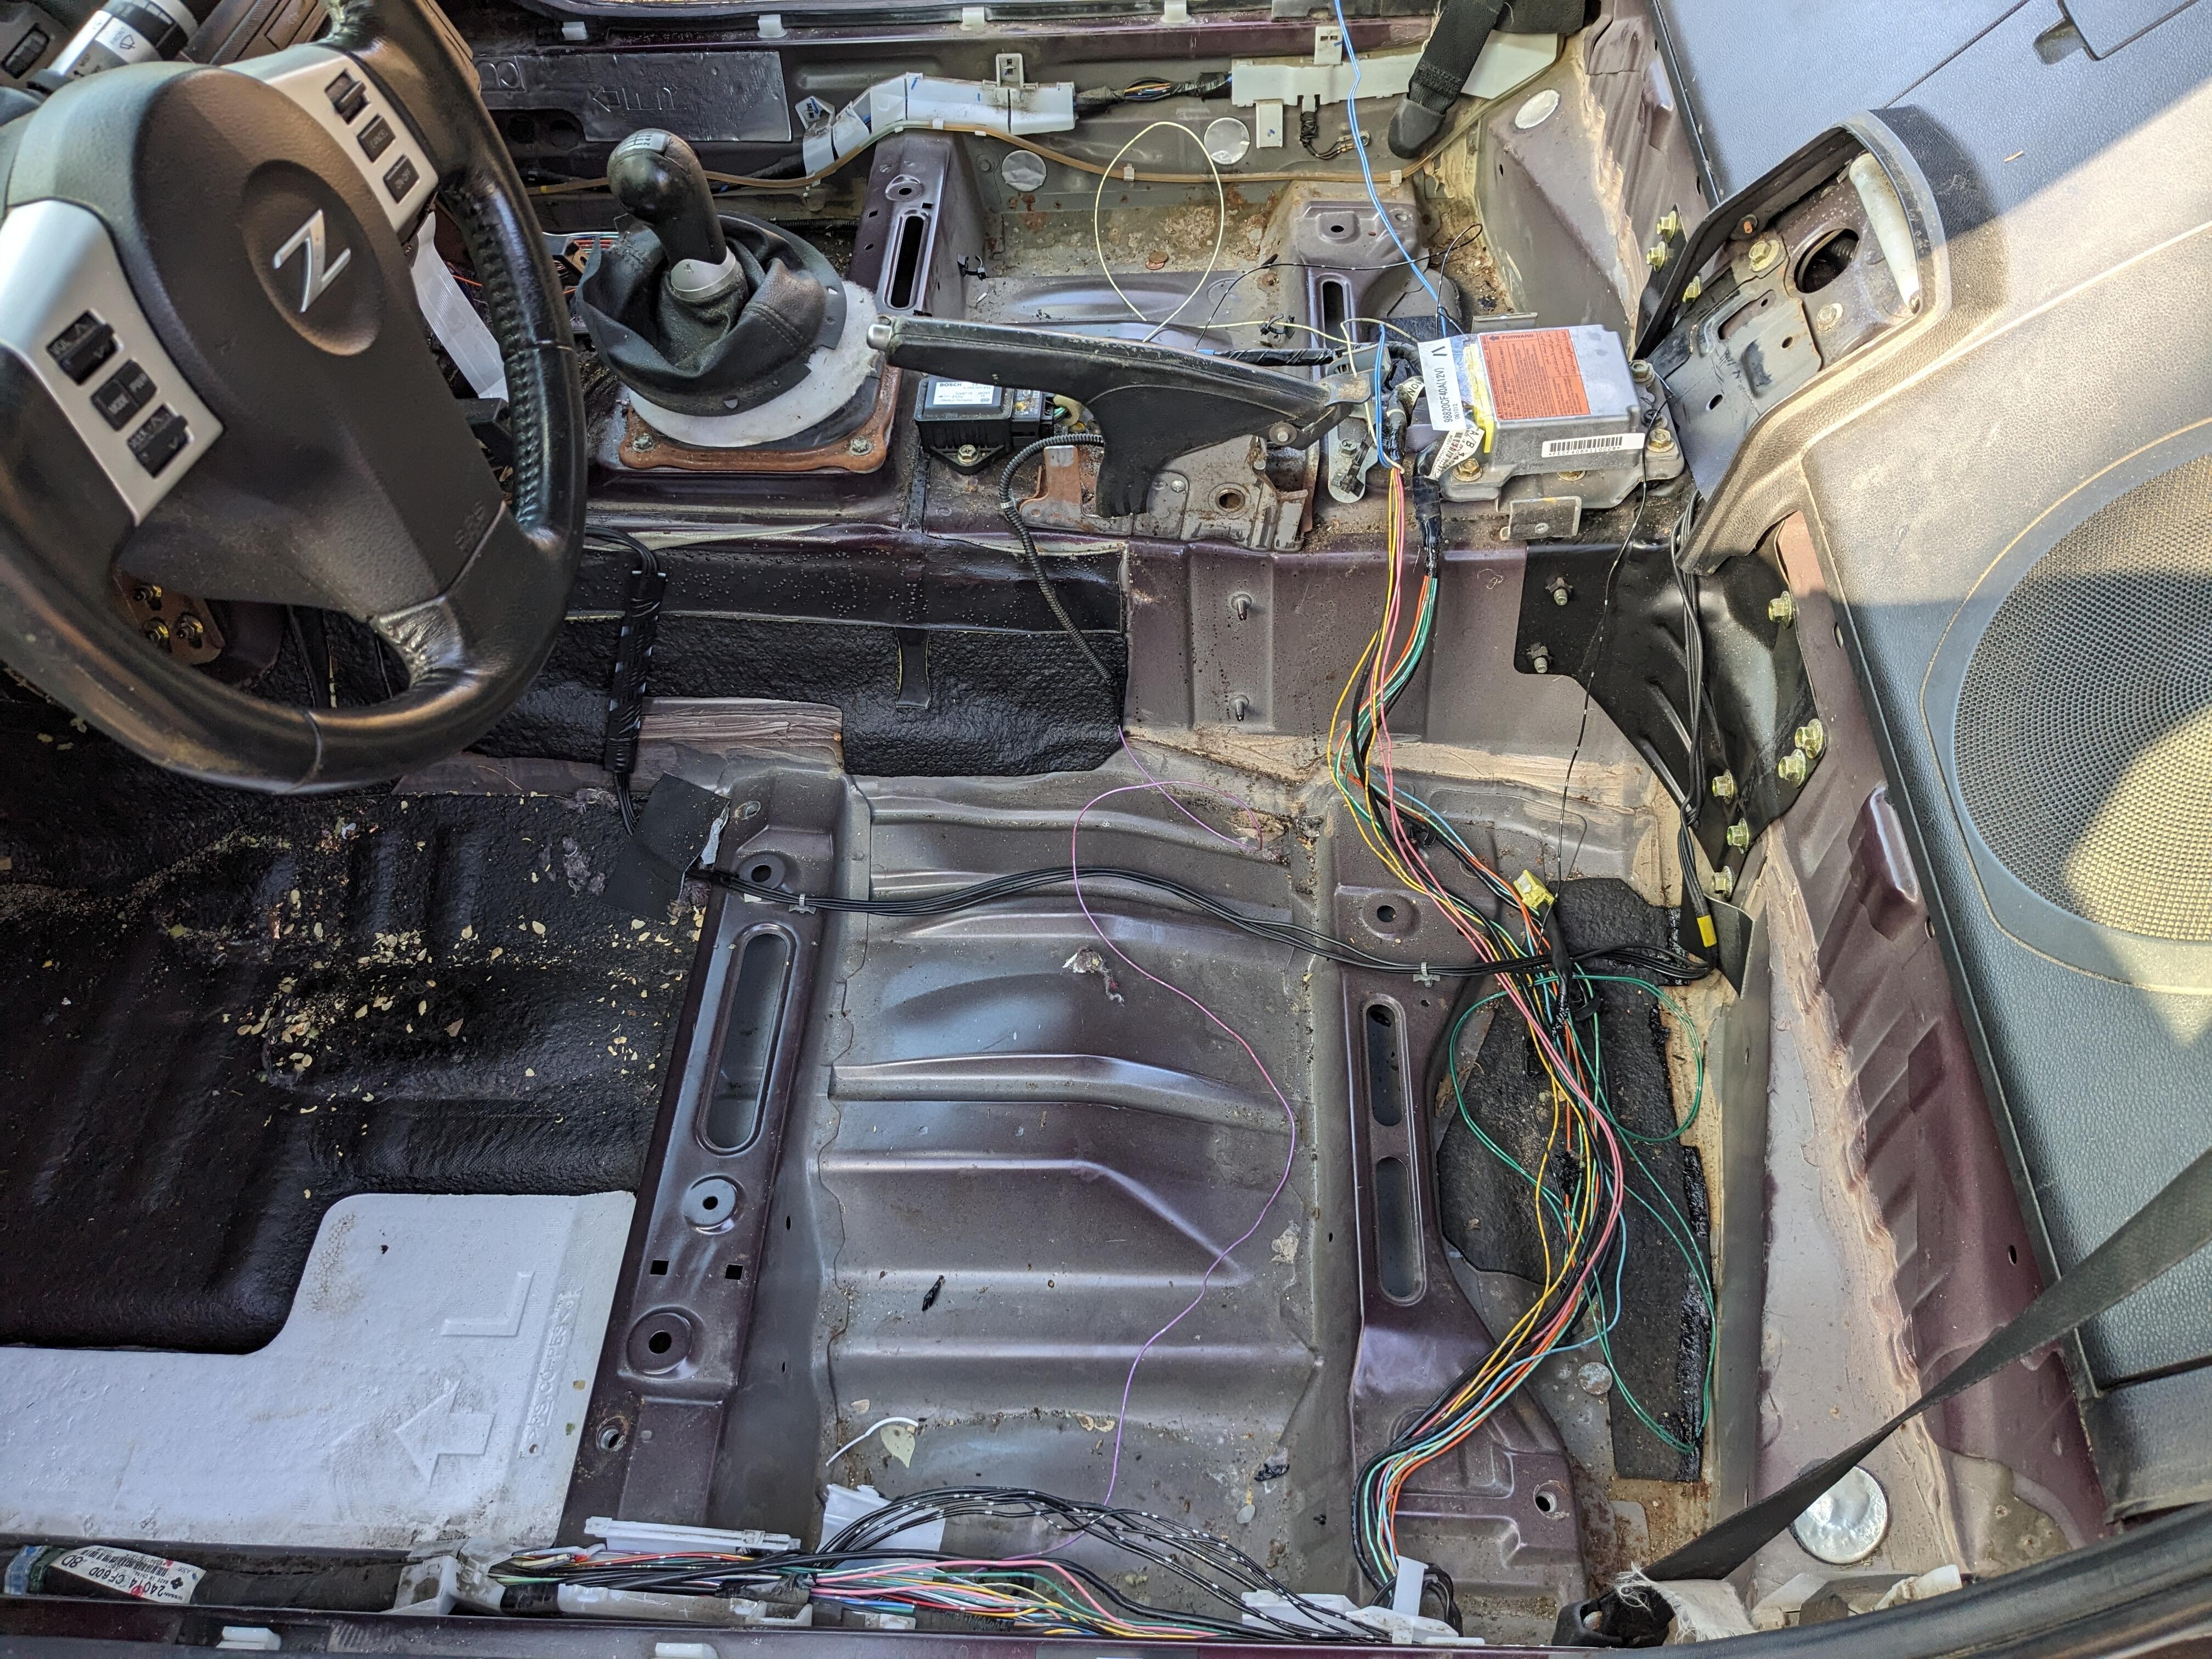
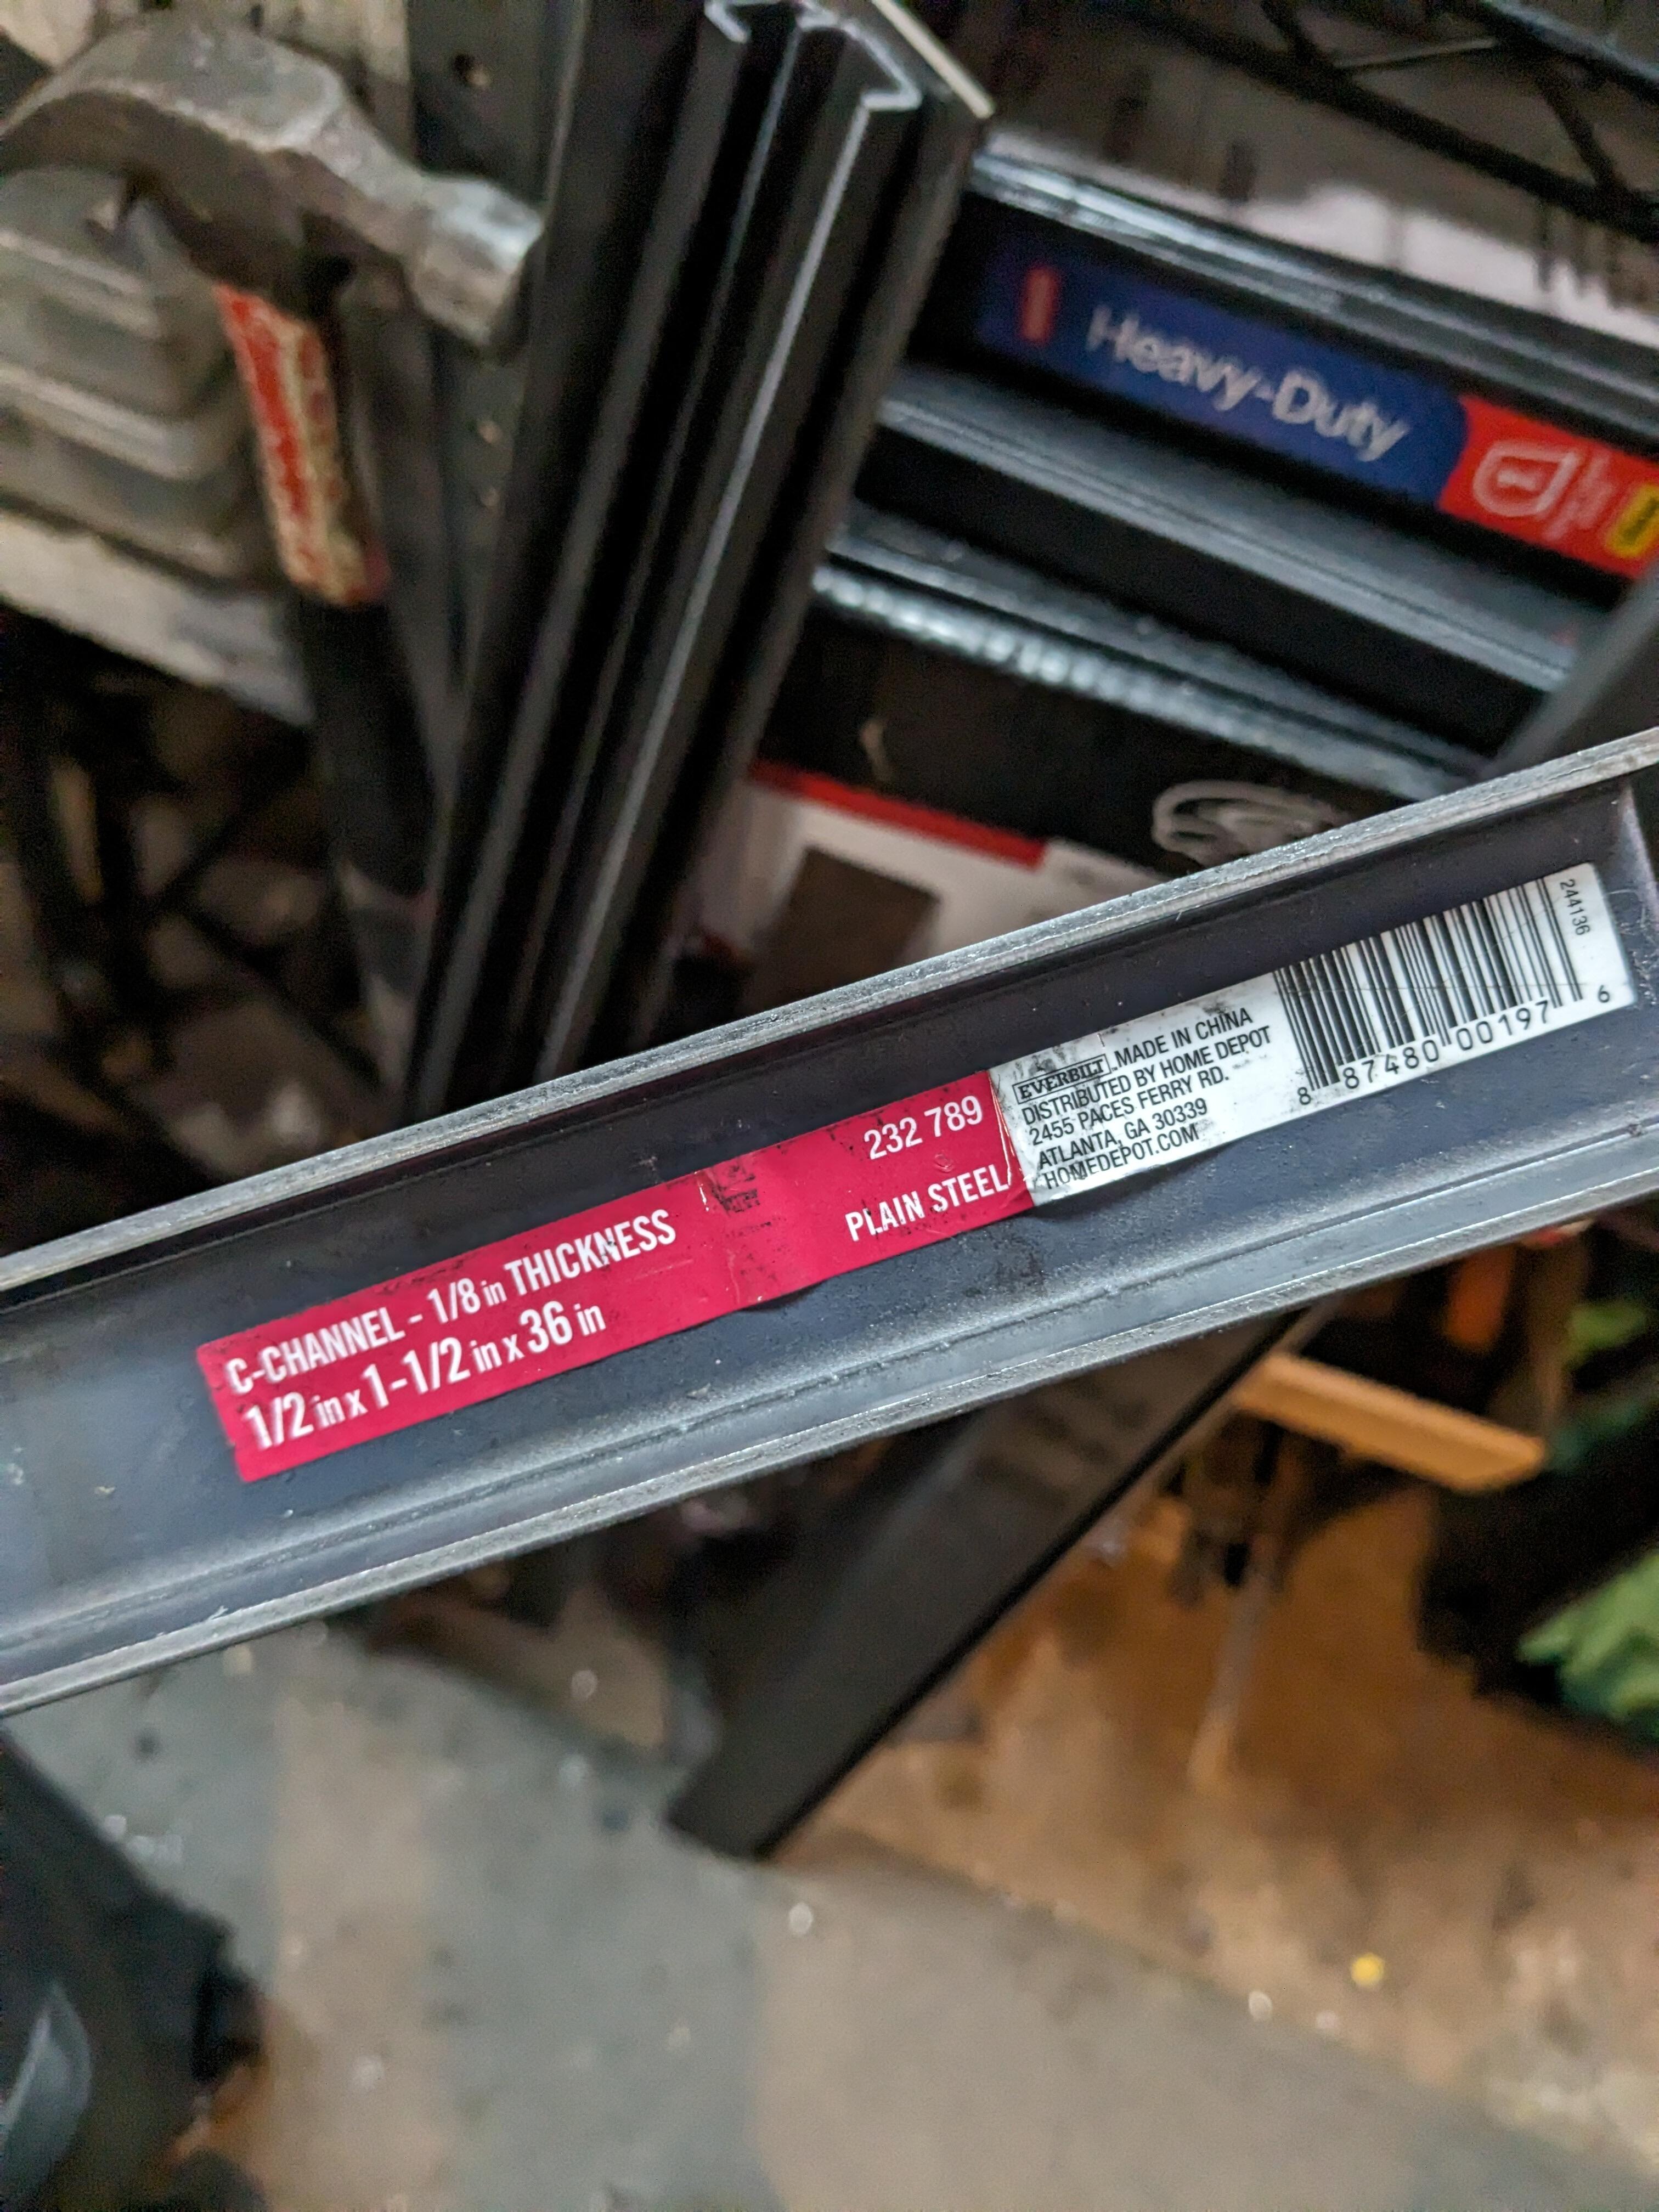
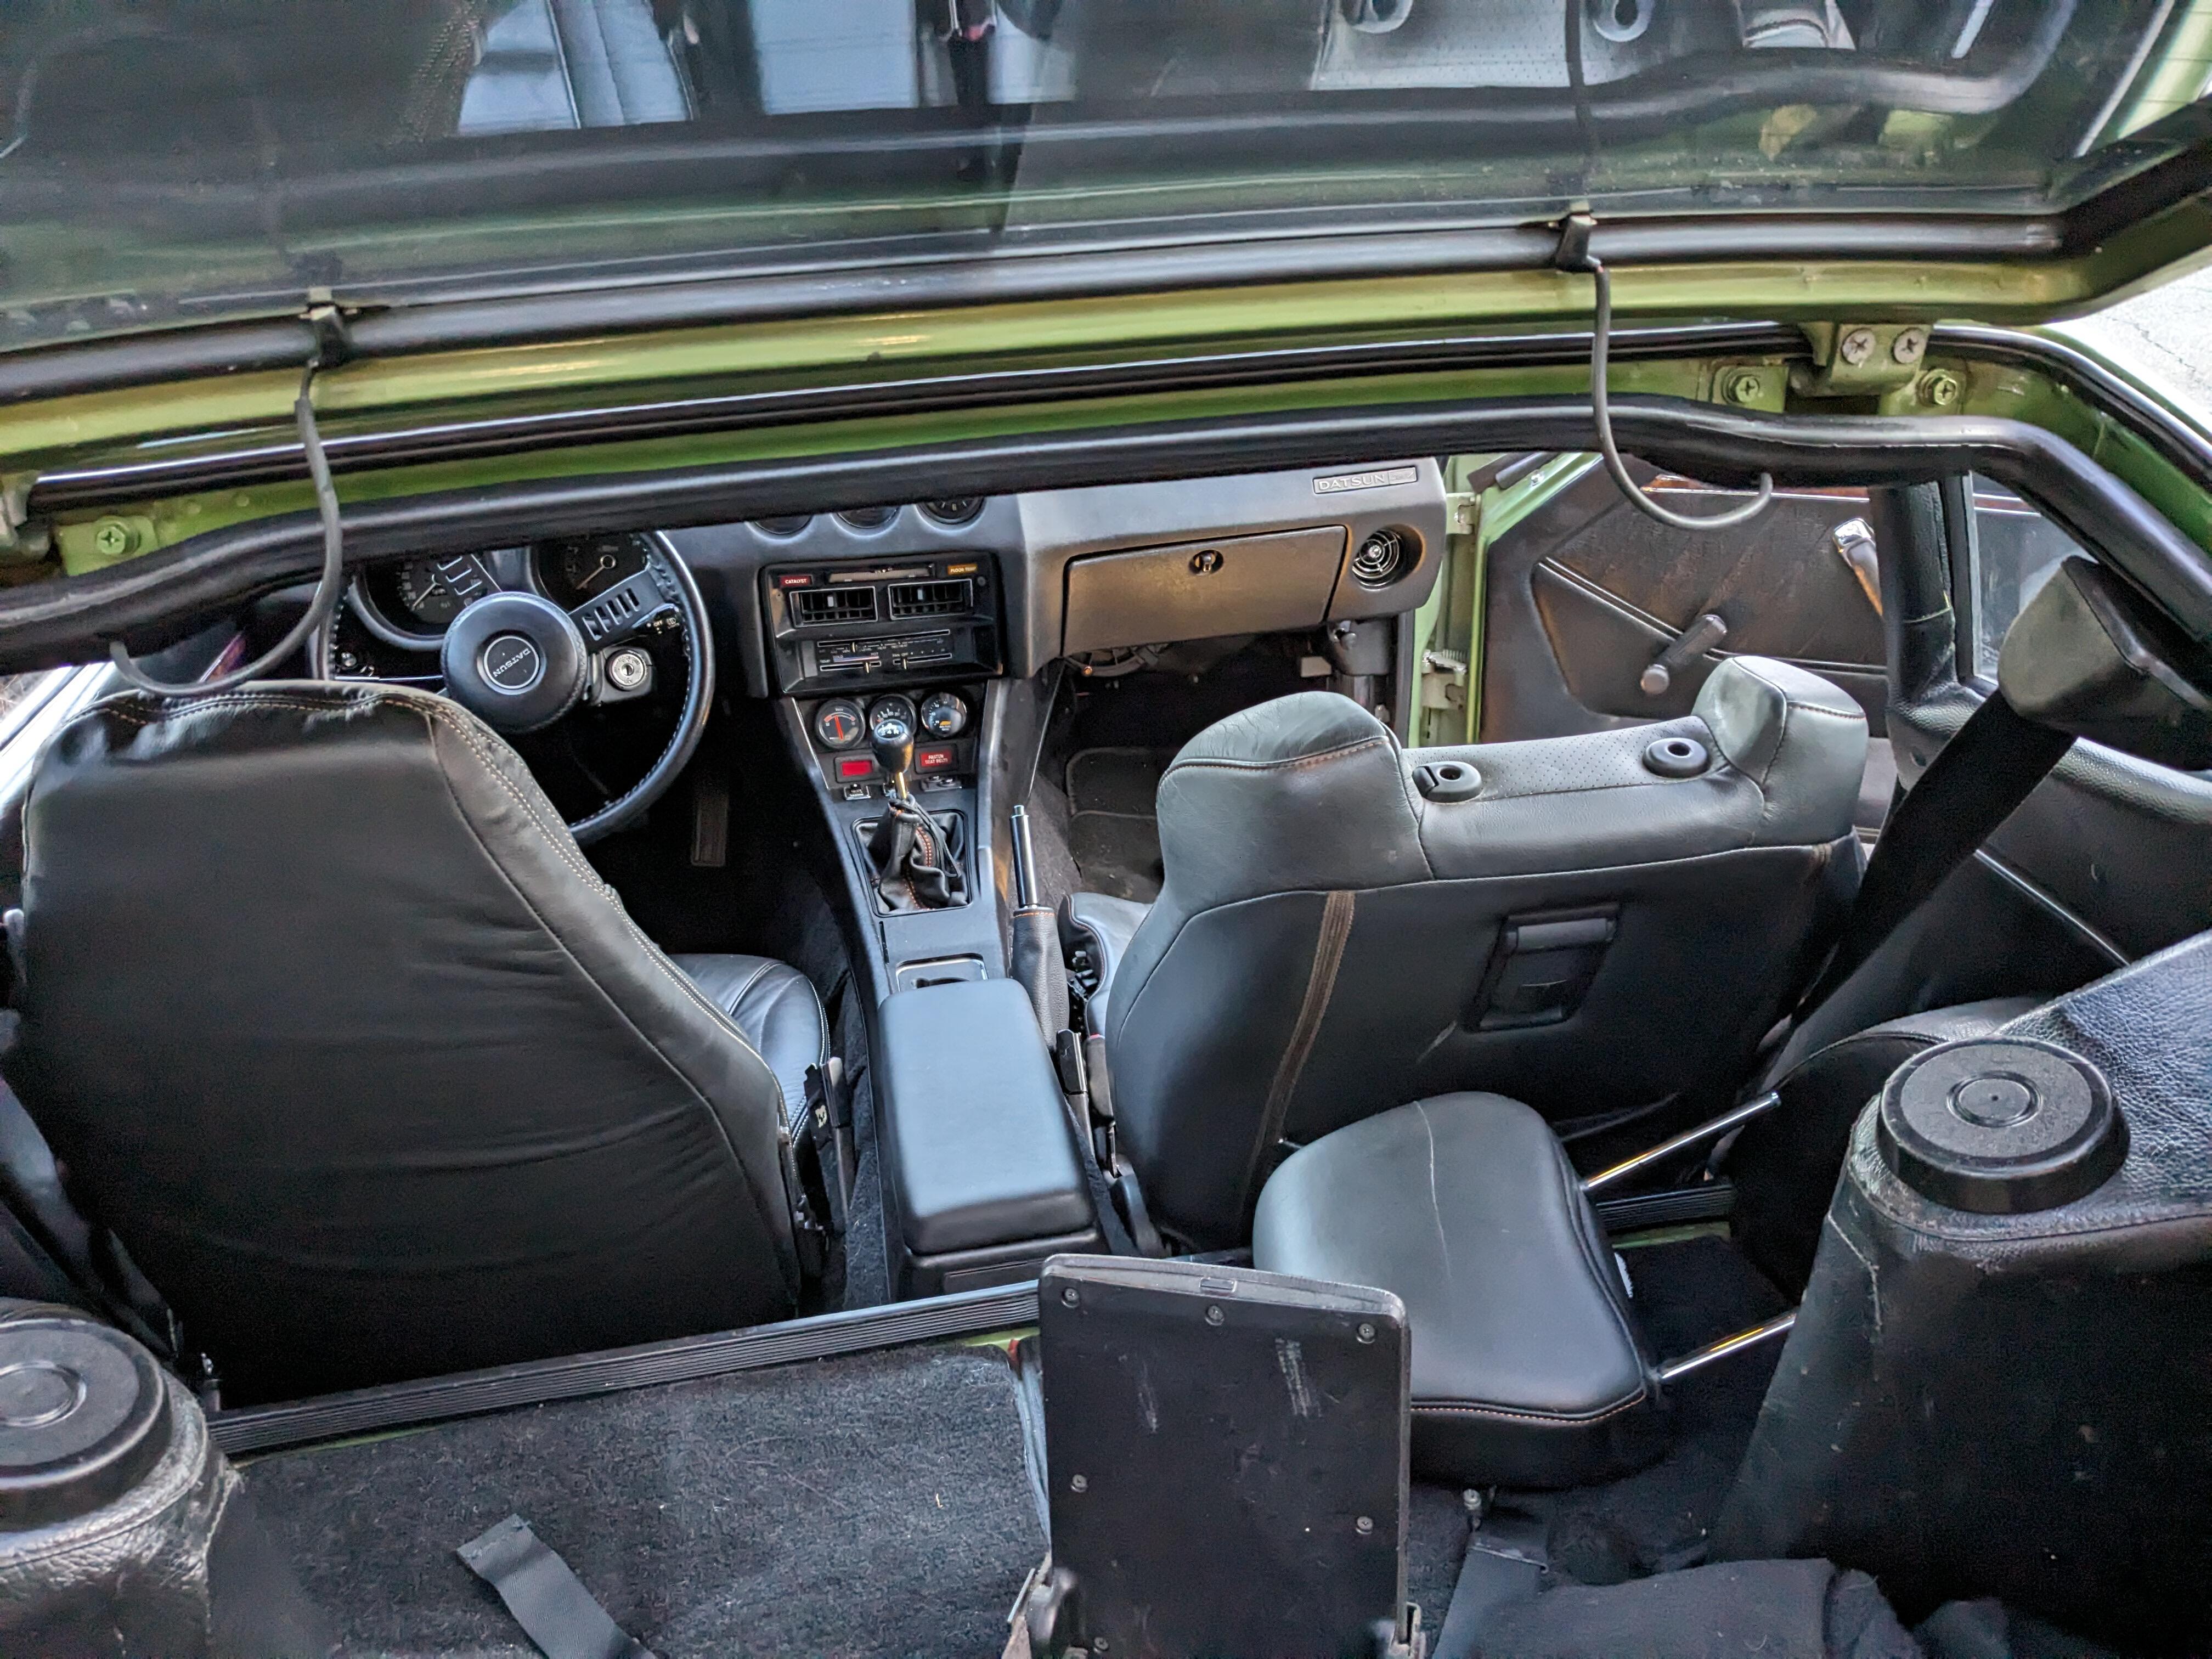
 2 points2 pointsTook the seat power & heater wiring out of the 350Z Couple of issues. I neglected to mark the fore/aft setting of the outer rail before I cut off the standoffs, and observe the stock rake of the cushion in the 350Z. What I have found is that the 350Z rails sit precisely outboard of the 1/8" 1.5"x.5" C channel rails I'm making. Figure it's significantly more rigid than flat stock. I'll possibly add cross braces of C channel. I'll tack the 350Z rails to these first, after I fill-weld the cuts. doesn't look like the seat cushion / base will hit anywhere at this drop though Have to figure out if I can dismantle the rails to allow for welding the new with the existing. Don't want to melt the plastic guide inserts. Clearances Recliner is up against the 280Z belt reel guide, without the protective cover. Probably won't be keeping the stock belts. I'll leave the trim off until I figure that out. up against the ledge, pretty much tangs for retaining outer cover have to be removed, hits the cross frame Placement. As far back as it can sit, cushion is still further forward than the driver's seat Like this, it sits lower than the stock seat cushion , feels comfortable as is.
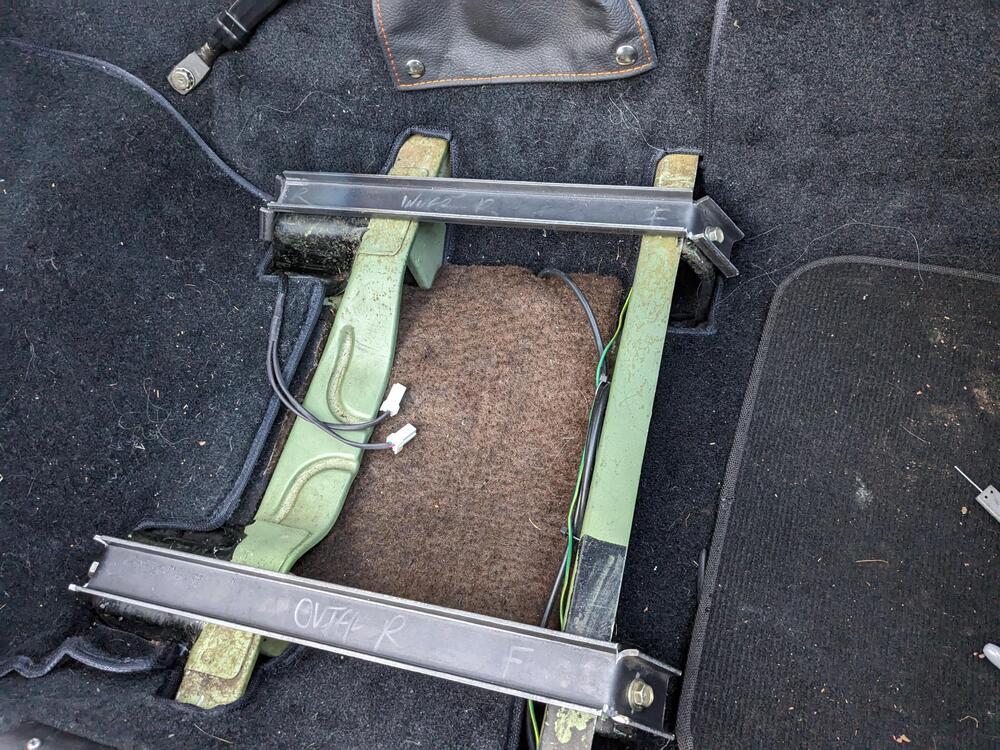


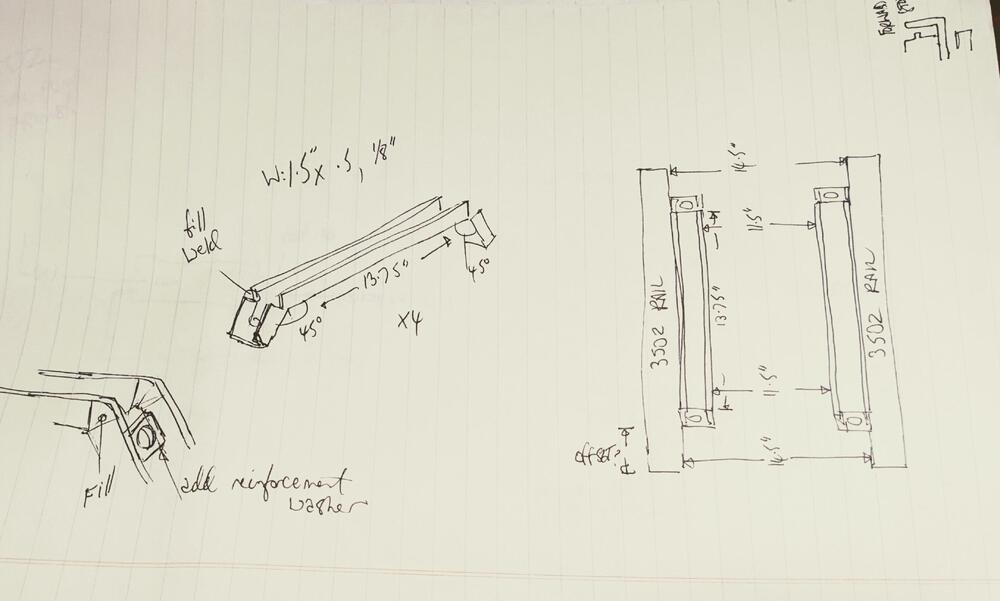


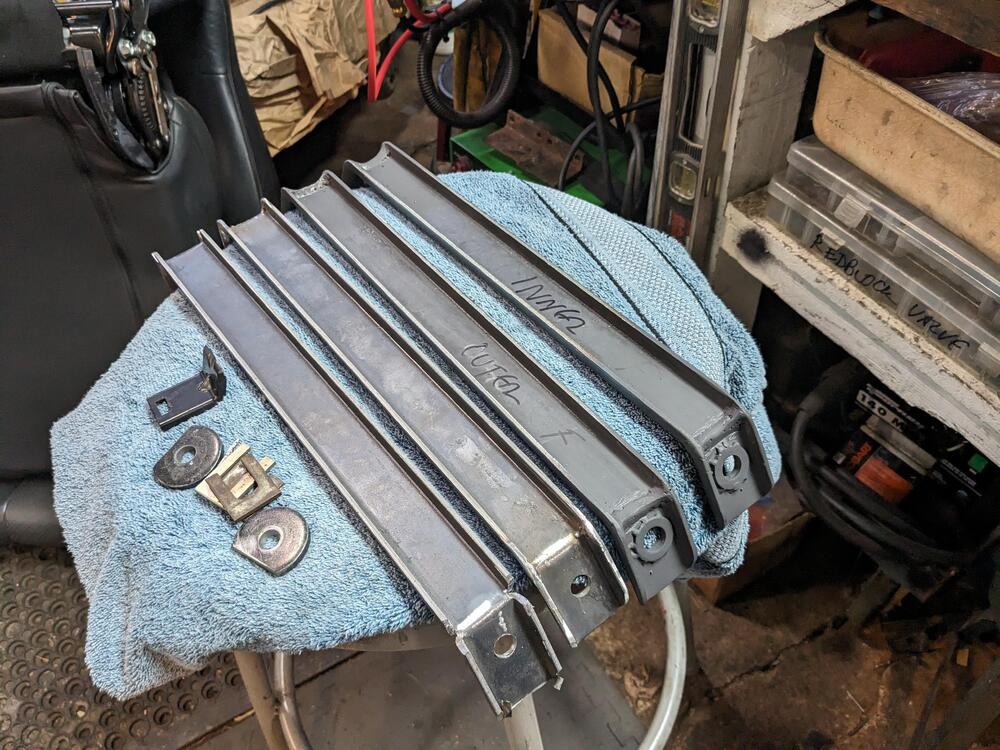
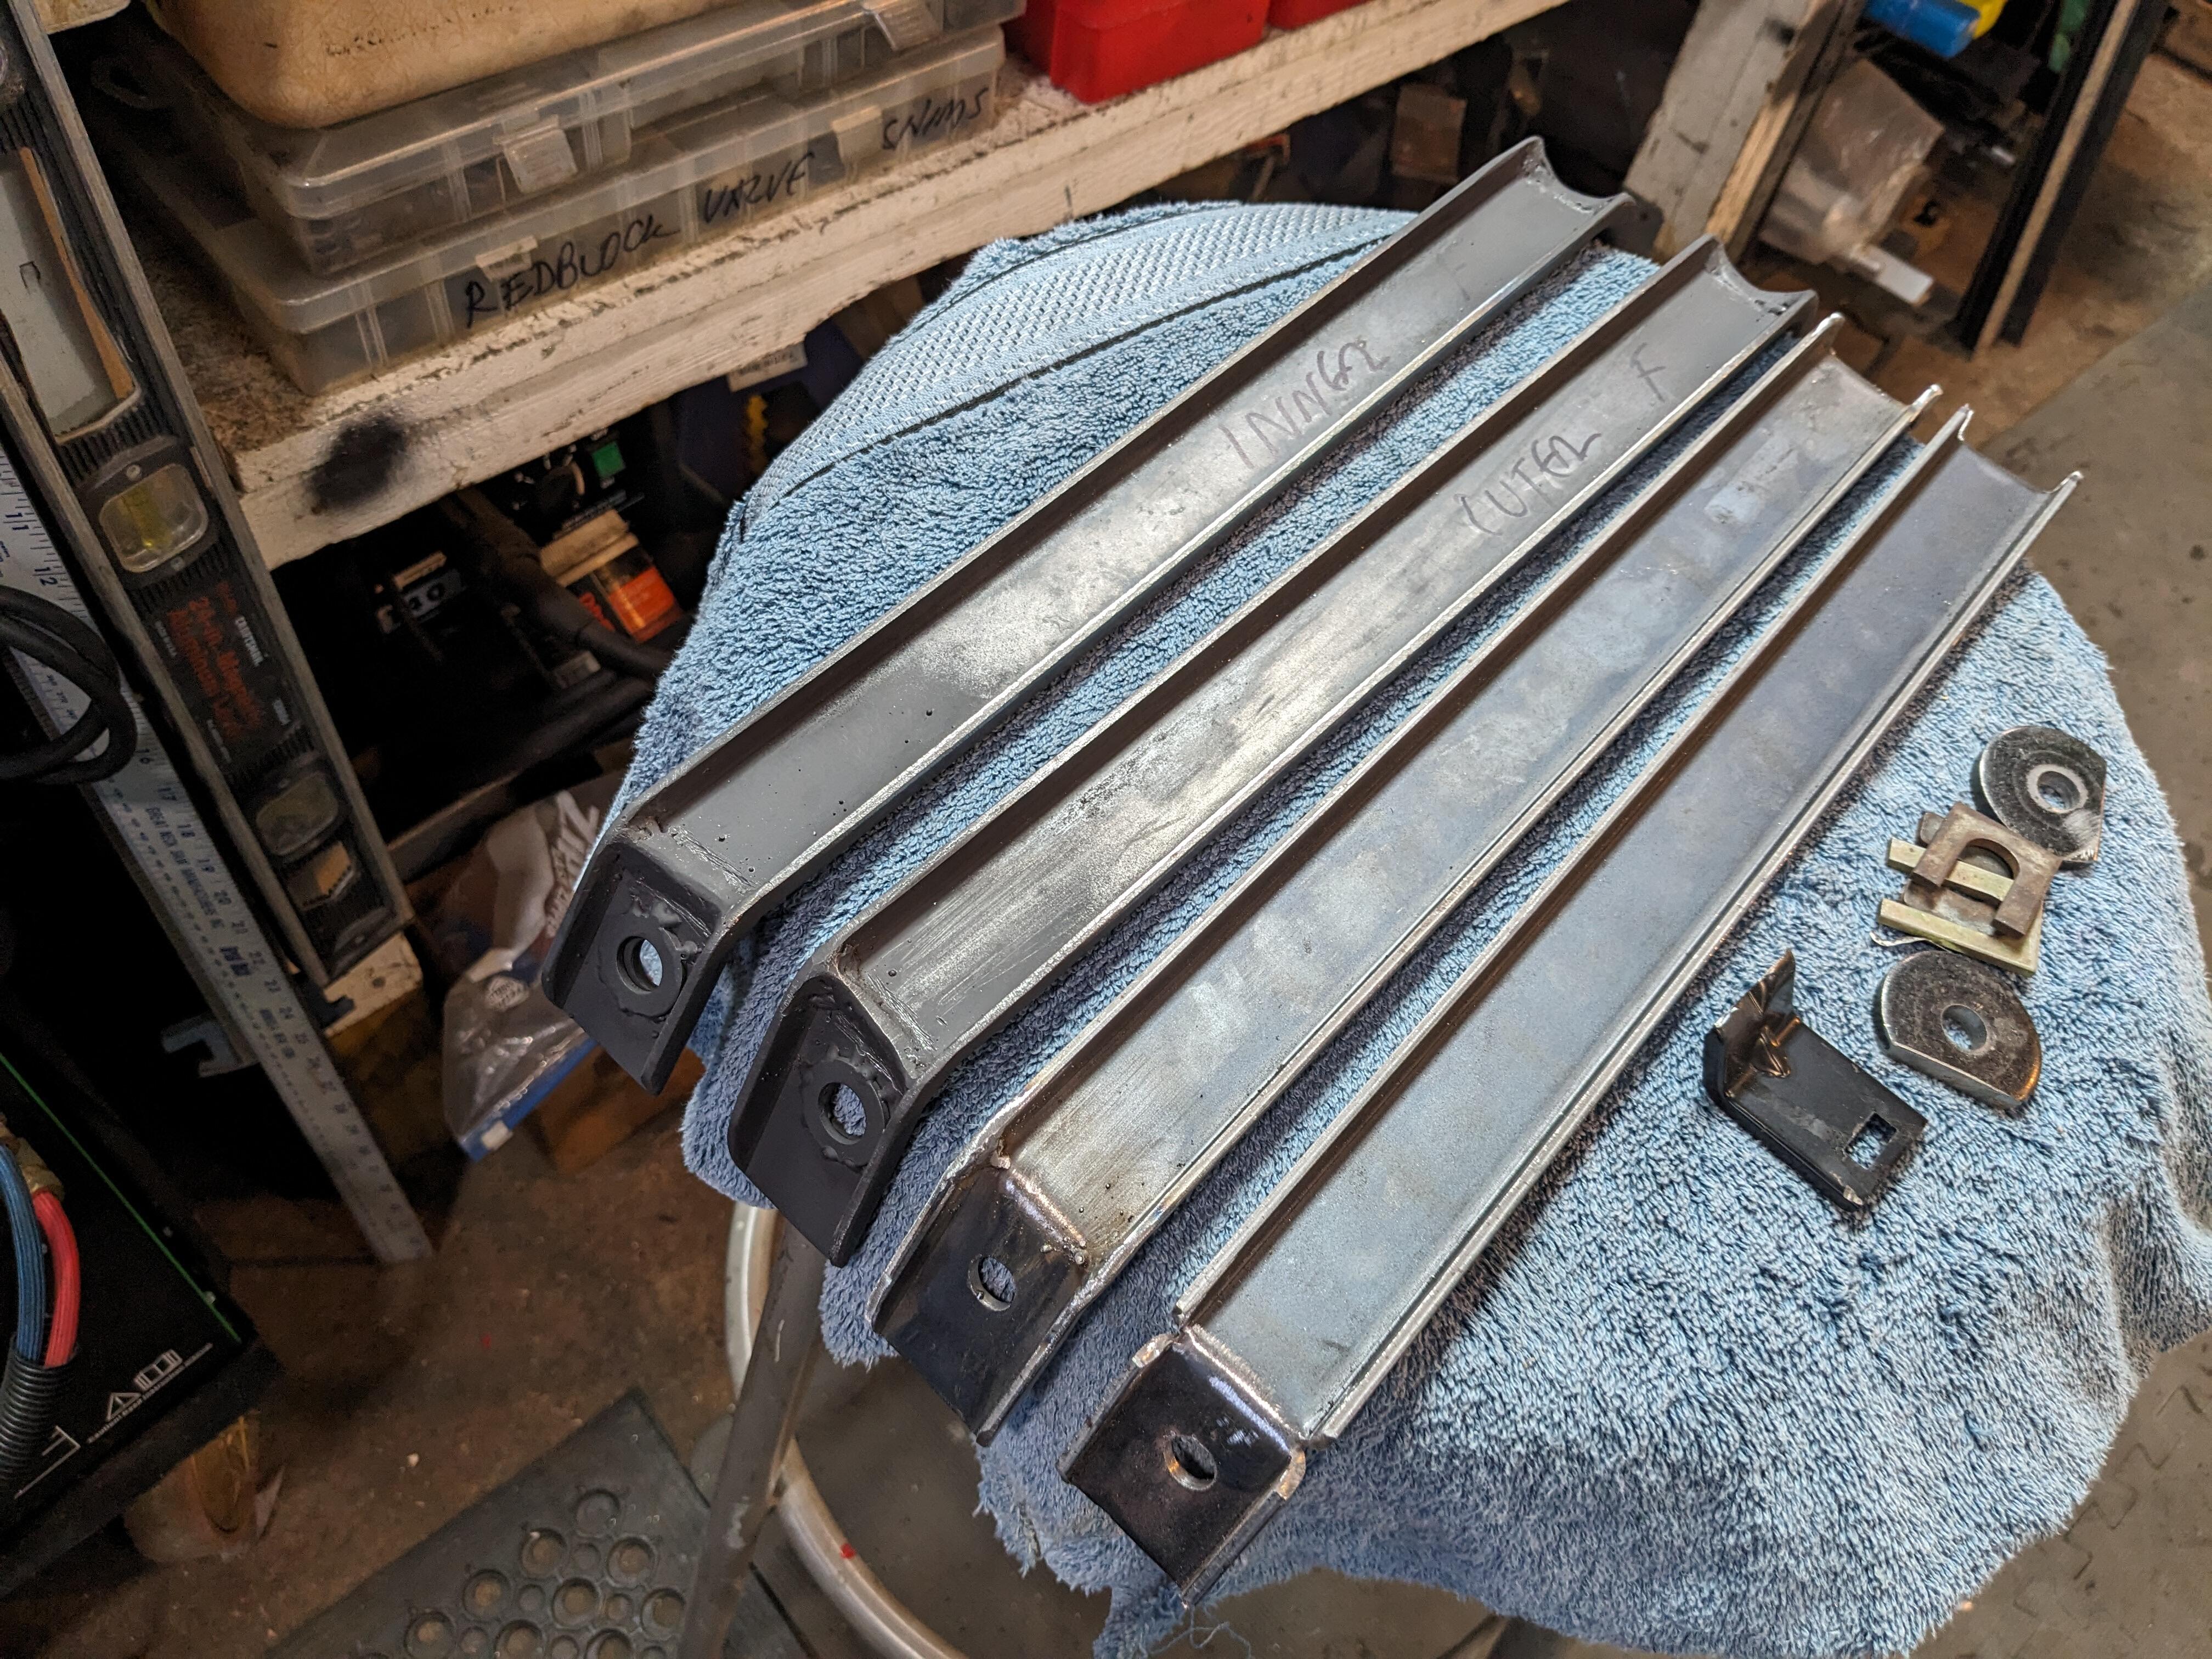
 2 points2 pointsI agree, I wouldn't use it on a primary large seal. The outer hatch seal (non oem) has a small stiff channel tbat fits over the metal lip. It's hard for me to be that precise with 3m. I used it for the inspection lid rubber piece too. As for the micro brushes, I just use them so I don't cut the bottle and chance having it dry up.2 points1 pointHad a few hours today, so I filled the pie cuts & added reinforcing washers on the PS rails. Cut the 2 DS rails & started welding them also welded a bead on the backside where I had bent the plate tools for cleanup Added a rib across the top side of the bend also
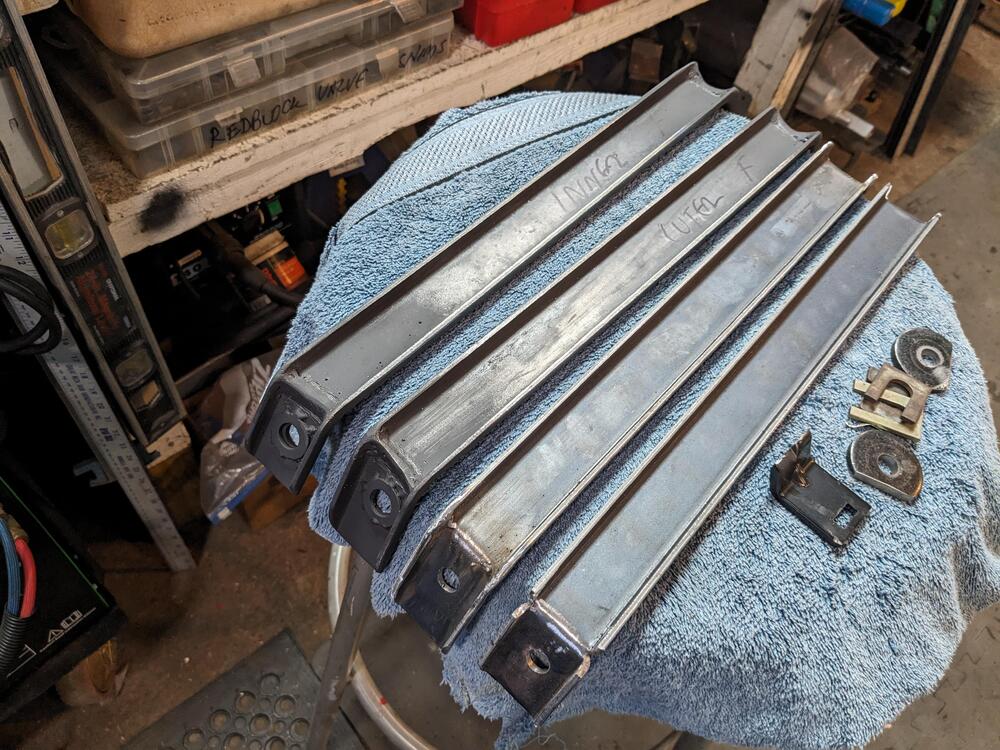


 1 point1 pointGreat idea. I ordered all the APEX gear on Black Friday and just got a tracking number yesterday...so soon soon 😀1 point1 pointare you planning to add electronic power assisted steering? You can always add it later, but have to leave some space for the computer/powersupply for it under the dash. Did you already get the "Apex Engineering" rear end?1 point1 pointSo this project is leaning in the restomod direction now. I sold the l28, kept my rb25det, and bought a "spare" rb25de that just happened to show up here locally....still deciding on naturally aspirated or turbocharged.... Here is the new scope...blue mean "acquired', red means "pending/TBD".... The current plan is to make sure everything fits before sending her to paint (hopefully some time this summer)...
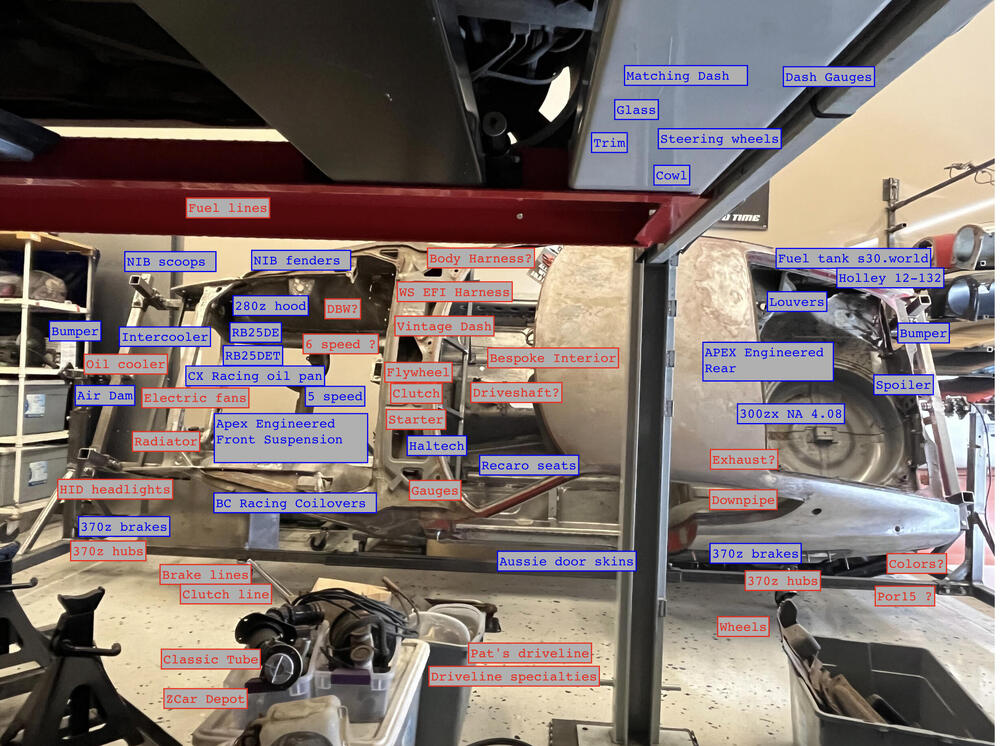 1 point1 pointHas all your seat work to date been on the right side seat? I ask because the left seat may be a little more complicated if your car has a bulge in the floor for a catalytic converter. It started in CA first, but not sure what year they started that.1 point1 pointWent back through to find this (many thanks for the details) - The stock belts just won't work if I want to add the 350Z outer mechanism trim - which is a must - So I've ordered the Wesco Roadster Retractables w/ 11" receiver sleeve. That should allow me to adjust the angle of the mounting rails very slightly outboard at the rear, which will give me at least a inch or two of rearward movement.
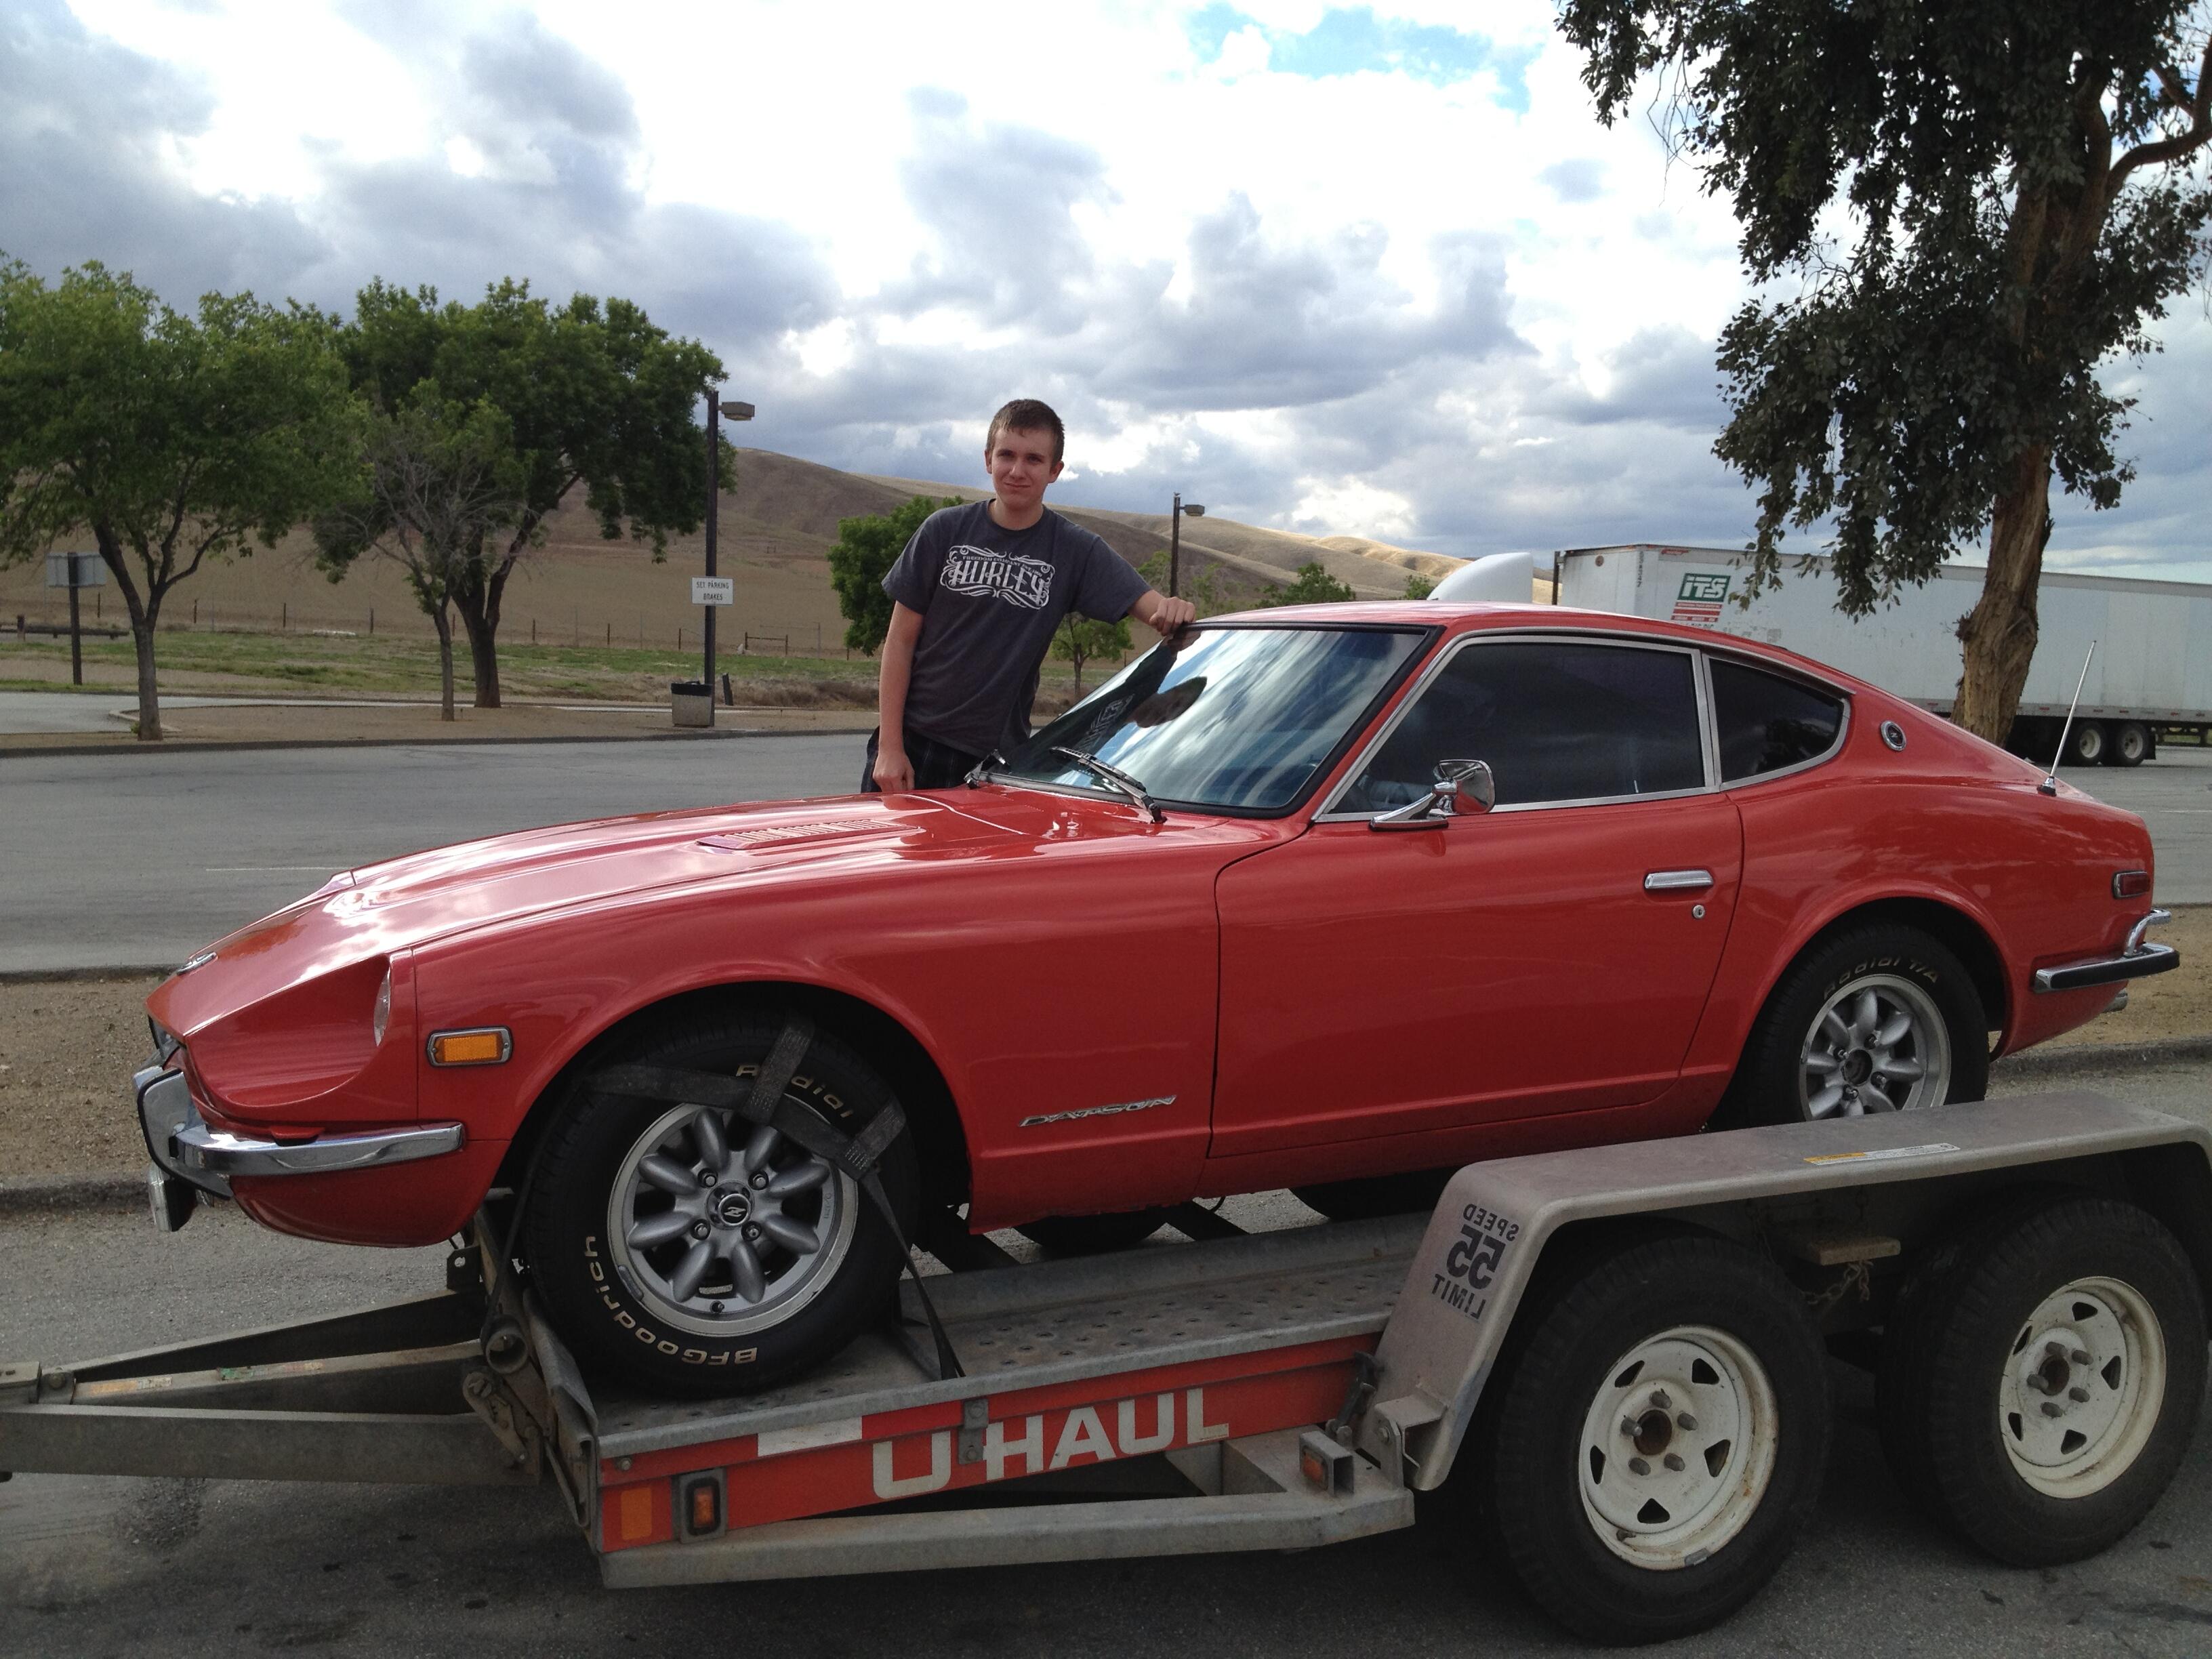
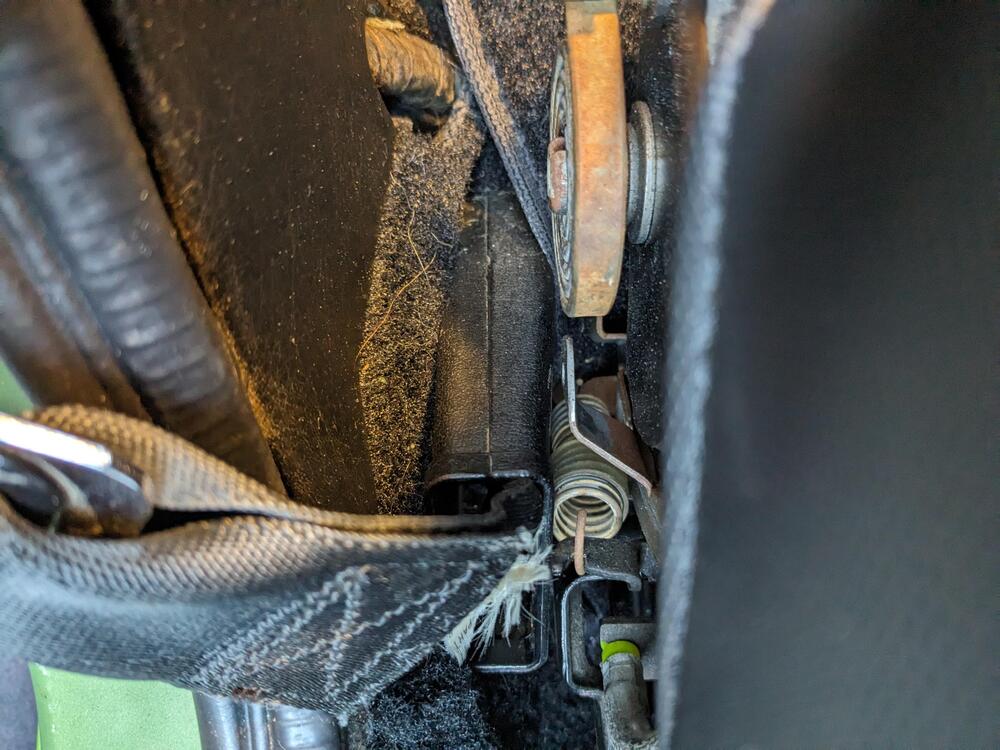 1 point1 pointFounds these on the web and had to angle them with a grinder. I had two missing. Thought someone might need them so sharing: https://yheng-hardware.en.made-in-china.com/product/pwJtVaxLVKkr/China-Stainless-Steel-M6-M8-M10-DIN186-T-Head-Bolt-T-Bolt.html1 point1 pointThis brings back fond and not so fond memories of doing the same thing with my drivetrain. Be sure to check the rear diff strap holders bolted to the tunnel. Mine were rusty and flaking apart. Luckily I had a machine shop I was friends with fabricate new ones out of 3/16 stainless. They even wrote a cad program and used a laser cutter and bent them just like the stock ones. All the work will pay off in the end.1 point1 pointJust saw this link today. That first picture of your Z on the UHAUL trailer brought back memories. Only after 3+ years and 3x the money I paid for it I unfortunately passed it on to the next guy to finish. Definitely a labor of love.
 1 point1 pointIt was brutal! I've done the best I could and always knew I probably wouldn't end up with a Concours product. That being said I did expect a very nice finished product that I could be proud of....This was FAR from that. My hats off to everyone here that is spending the time and money to get to that level! I can't imagine how long it takes and how expensive that becomes. I had an idea in my head how long this would take and how much money I would have in it......I have doubled both! The guy that ran that shop was pretty embarrassed and did the right thing. In the end they did a nice job at their expense the second go around. Me and him are fairly close though, It could have been really bad if it were with someone I had no relationship with.1 point1 pointHey she looks great, worth all the extra work to get what you want. Seeing that poor paint work for the first time must have been soul crushing, hope they cut you slack on the bill.1 point1 pointHad some wiring issues that took me a while to figure out. This car had dealer installed AC, I didn't put that back on though I may change my mind when summer rolls around and I'm sweating profusely all over my armor-all'd seats. Car seems to have plenty of power and it should handle AC without making it sluggish. I had some of that wiring for the AC jacked up and the whole thing with the blower motor wire changing colors was confusing. Somehow I had something connected that energized the radio housing! Wheel Cylinders started leaking, were working fine before but I guess they didn't like sitting on a shelf for a year. Ordered rebuild kits since this is a '71 and the replacements cost around $350.....PO must have already did the conversion to the later model cylinders cause that kit definitely wouldn't work. Ignition switch is wonkey now with the key. You have to persuade the key just right to turn in on and off and now the key will come out when the car is running. Not sure what that's about but I have a new switch ready to install. Of course after I had everything put back together and the new door cards on before I realized the locks wouldn't work and the windows weren't tracking right. If I do another one of these cars I should be able to cut my time in half after all the boneheaded things I have done on this one. Should have checked all of that before installing the door cards which aren't a breeze to install with the new clips. Locking problem ended up being simply the little plastic ends that are on the rods that connect to handle to the latch were ran out too far and wouldn't let the latch return enough so the locks could engage. Sounds easy but that was a head scratcher! Worst of all is the windows. Got the Passenger side working pretty well but the left side is giving me fits. Window tips down in the frame on its way up. I've used this site to search on the adjustment and I'm sure I have all the adjustment I can to solve that problem but its still off. There is some slop in the track that the white roller bushings slide in. Best I can figure that slop is giving the window room to dip. I didn't have the roller guides on this car and now have those to install in the next day or so but I think that is more of a fix for the window leaning towards the outside. The white roller bearings/bushings are of course out of stock.
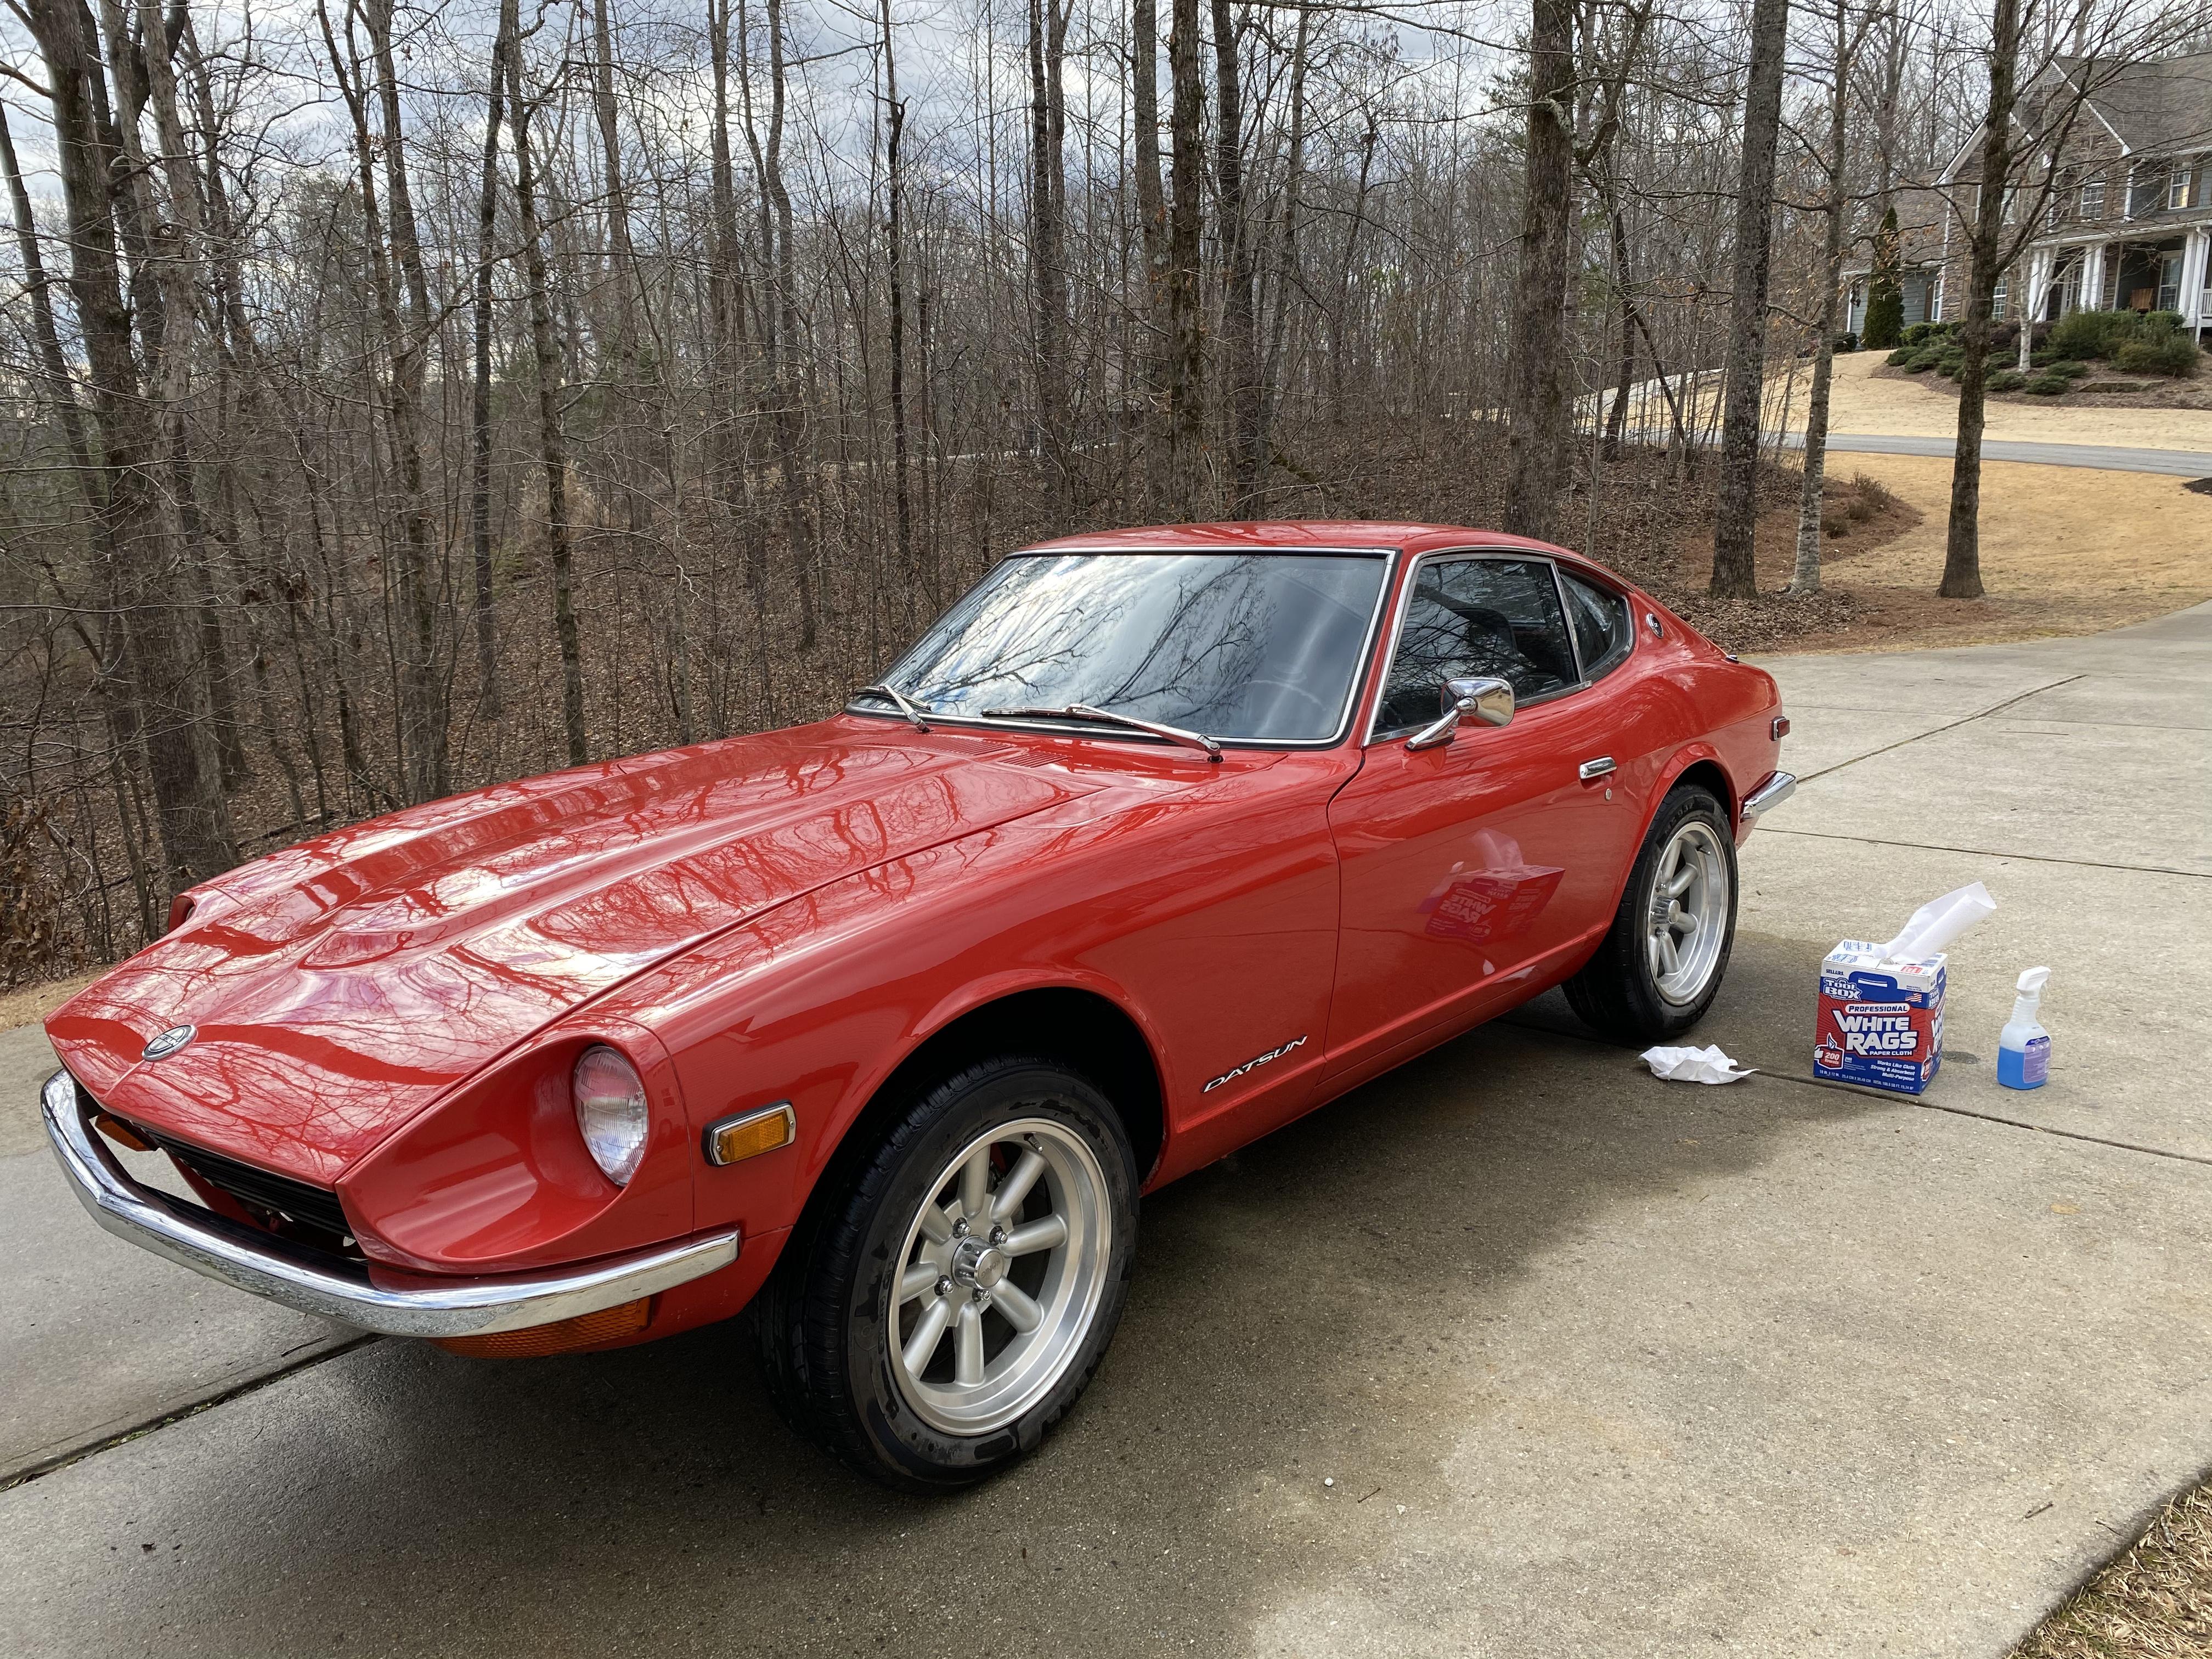
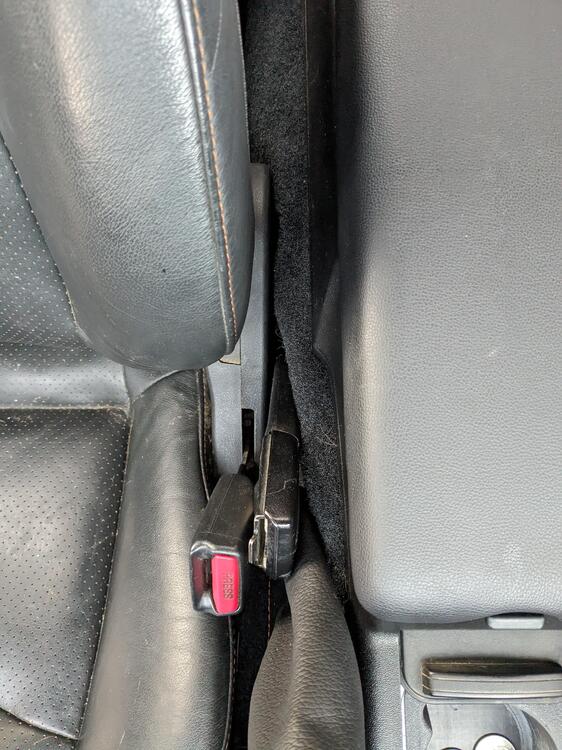
 1 point1 pointMount them in reverse of the instructions: retractor at the quarter window using the OE shoulder belt bolts, the other end at the outboard floor mount. The retractor should pivot freely if you've used the plastic bushings. You should be able to sit in the seat and pull the belt across your body towards the tunnel. By sash guide, do you mean a plastic cover over the latch belt? The latch belt mounts to the inboard location at the tunnel. For my install I had to add some angle to the bracket to get it to seat properly against the floorboard. Let me know if this all works out. Edit: OK, I jumped over to the WESCO site and may have spotted the issue. The belt you want is called the Roadster Retractable and you should get the 11" rigid sleeve end. This belt does not have a sash. I have the standard buckle but you have choices for extra $. Sorry for any confusion on model. Jim1 point


Important Information
By using this site, you agree to our Privacy Policy and Guidelines. We have placed cookies on your device to help make this website better. You can adjust your cookie settings, otherwise we'll assume you're okay to continue.