Leaderboard
-
Patcon
 Subscriber
 6Points11,142Posts
 -
grannyknot
Free Member5Points5,158Posts -
conedodger
Free Member2Points12,513Posts -
Zed2k
Free Member1Points44Posts


Popular Content
Showing content with the highest reputation on 11/20/2023 in all areas
-
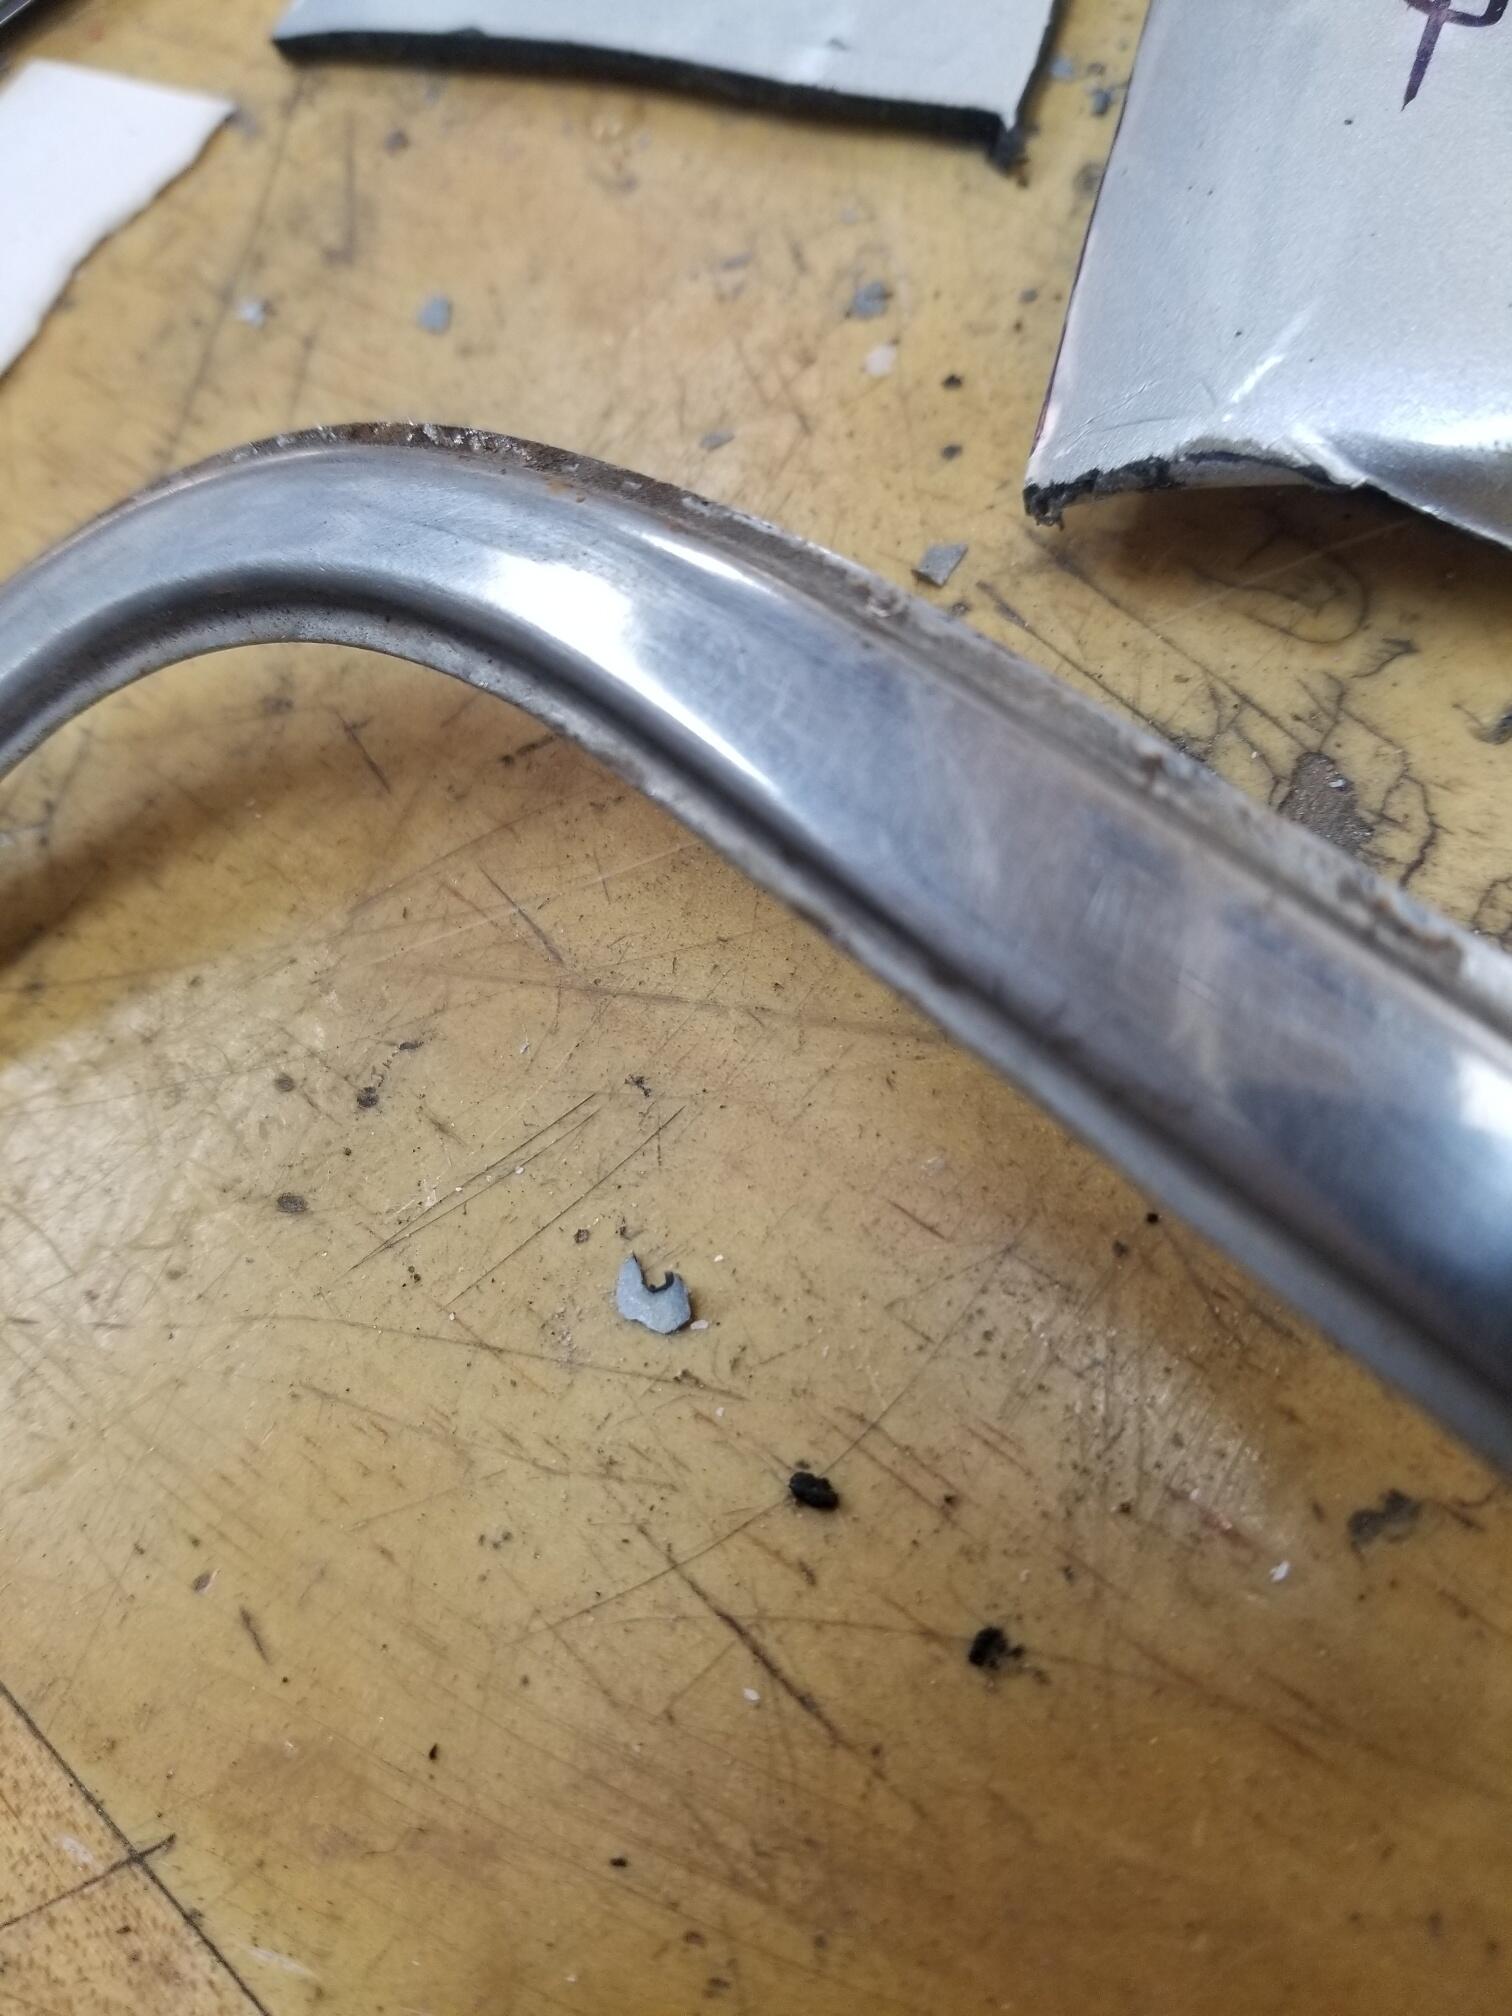
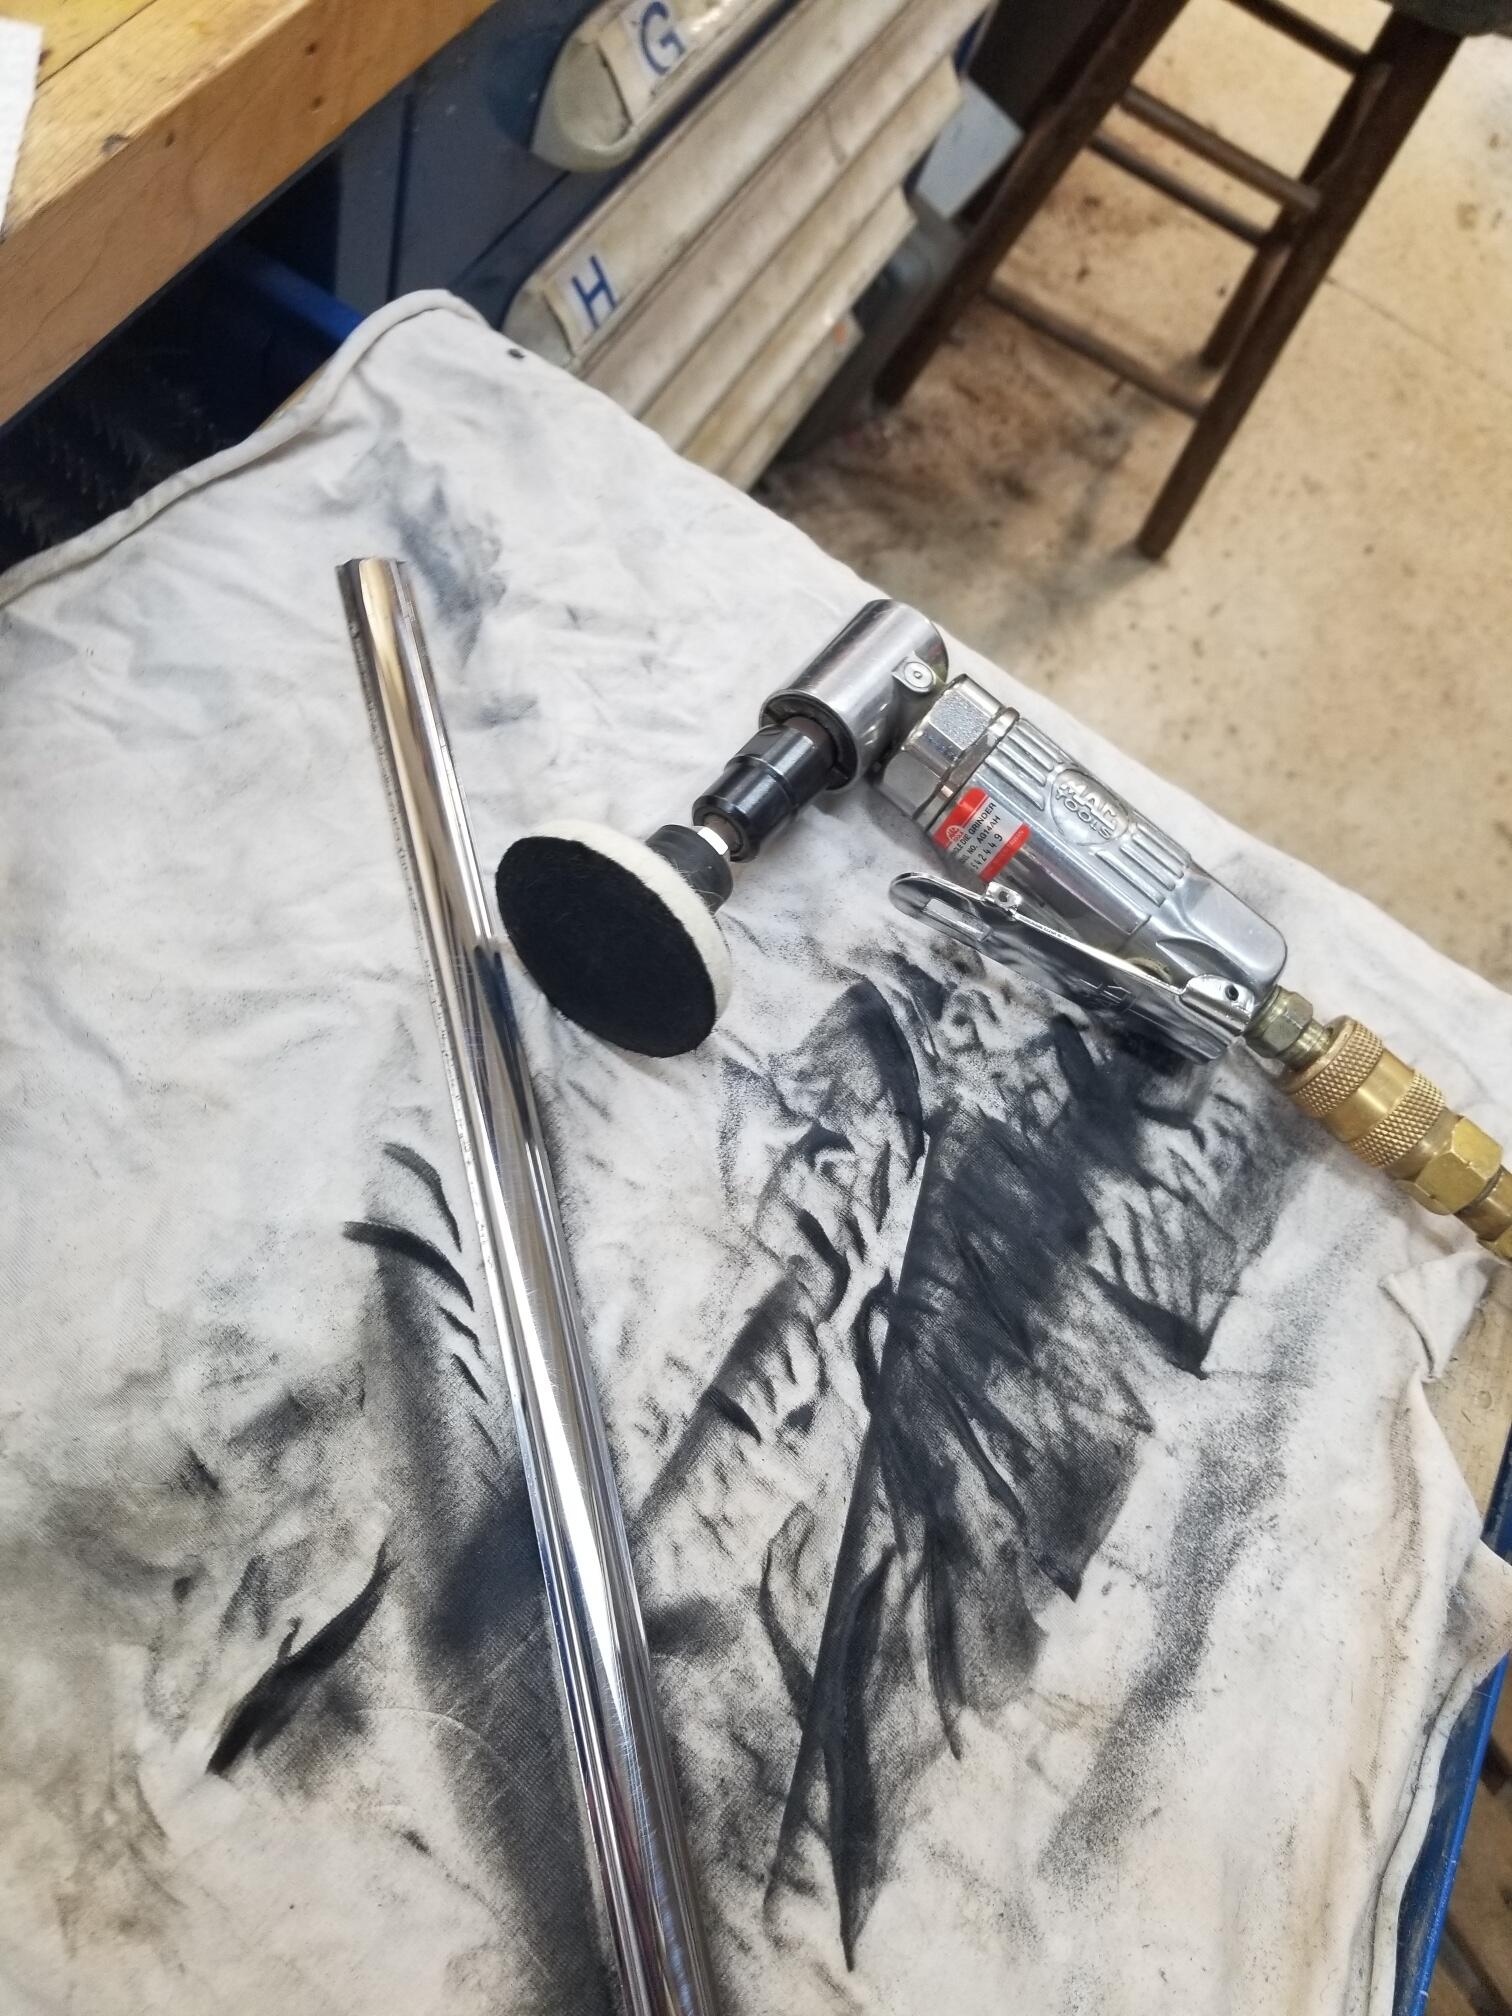
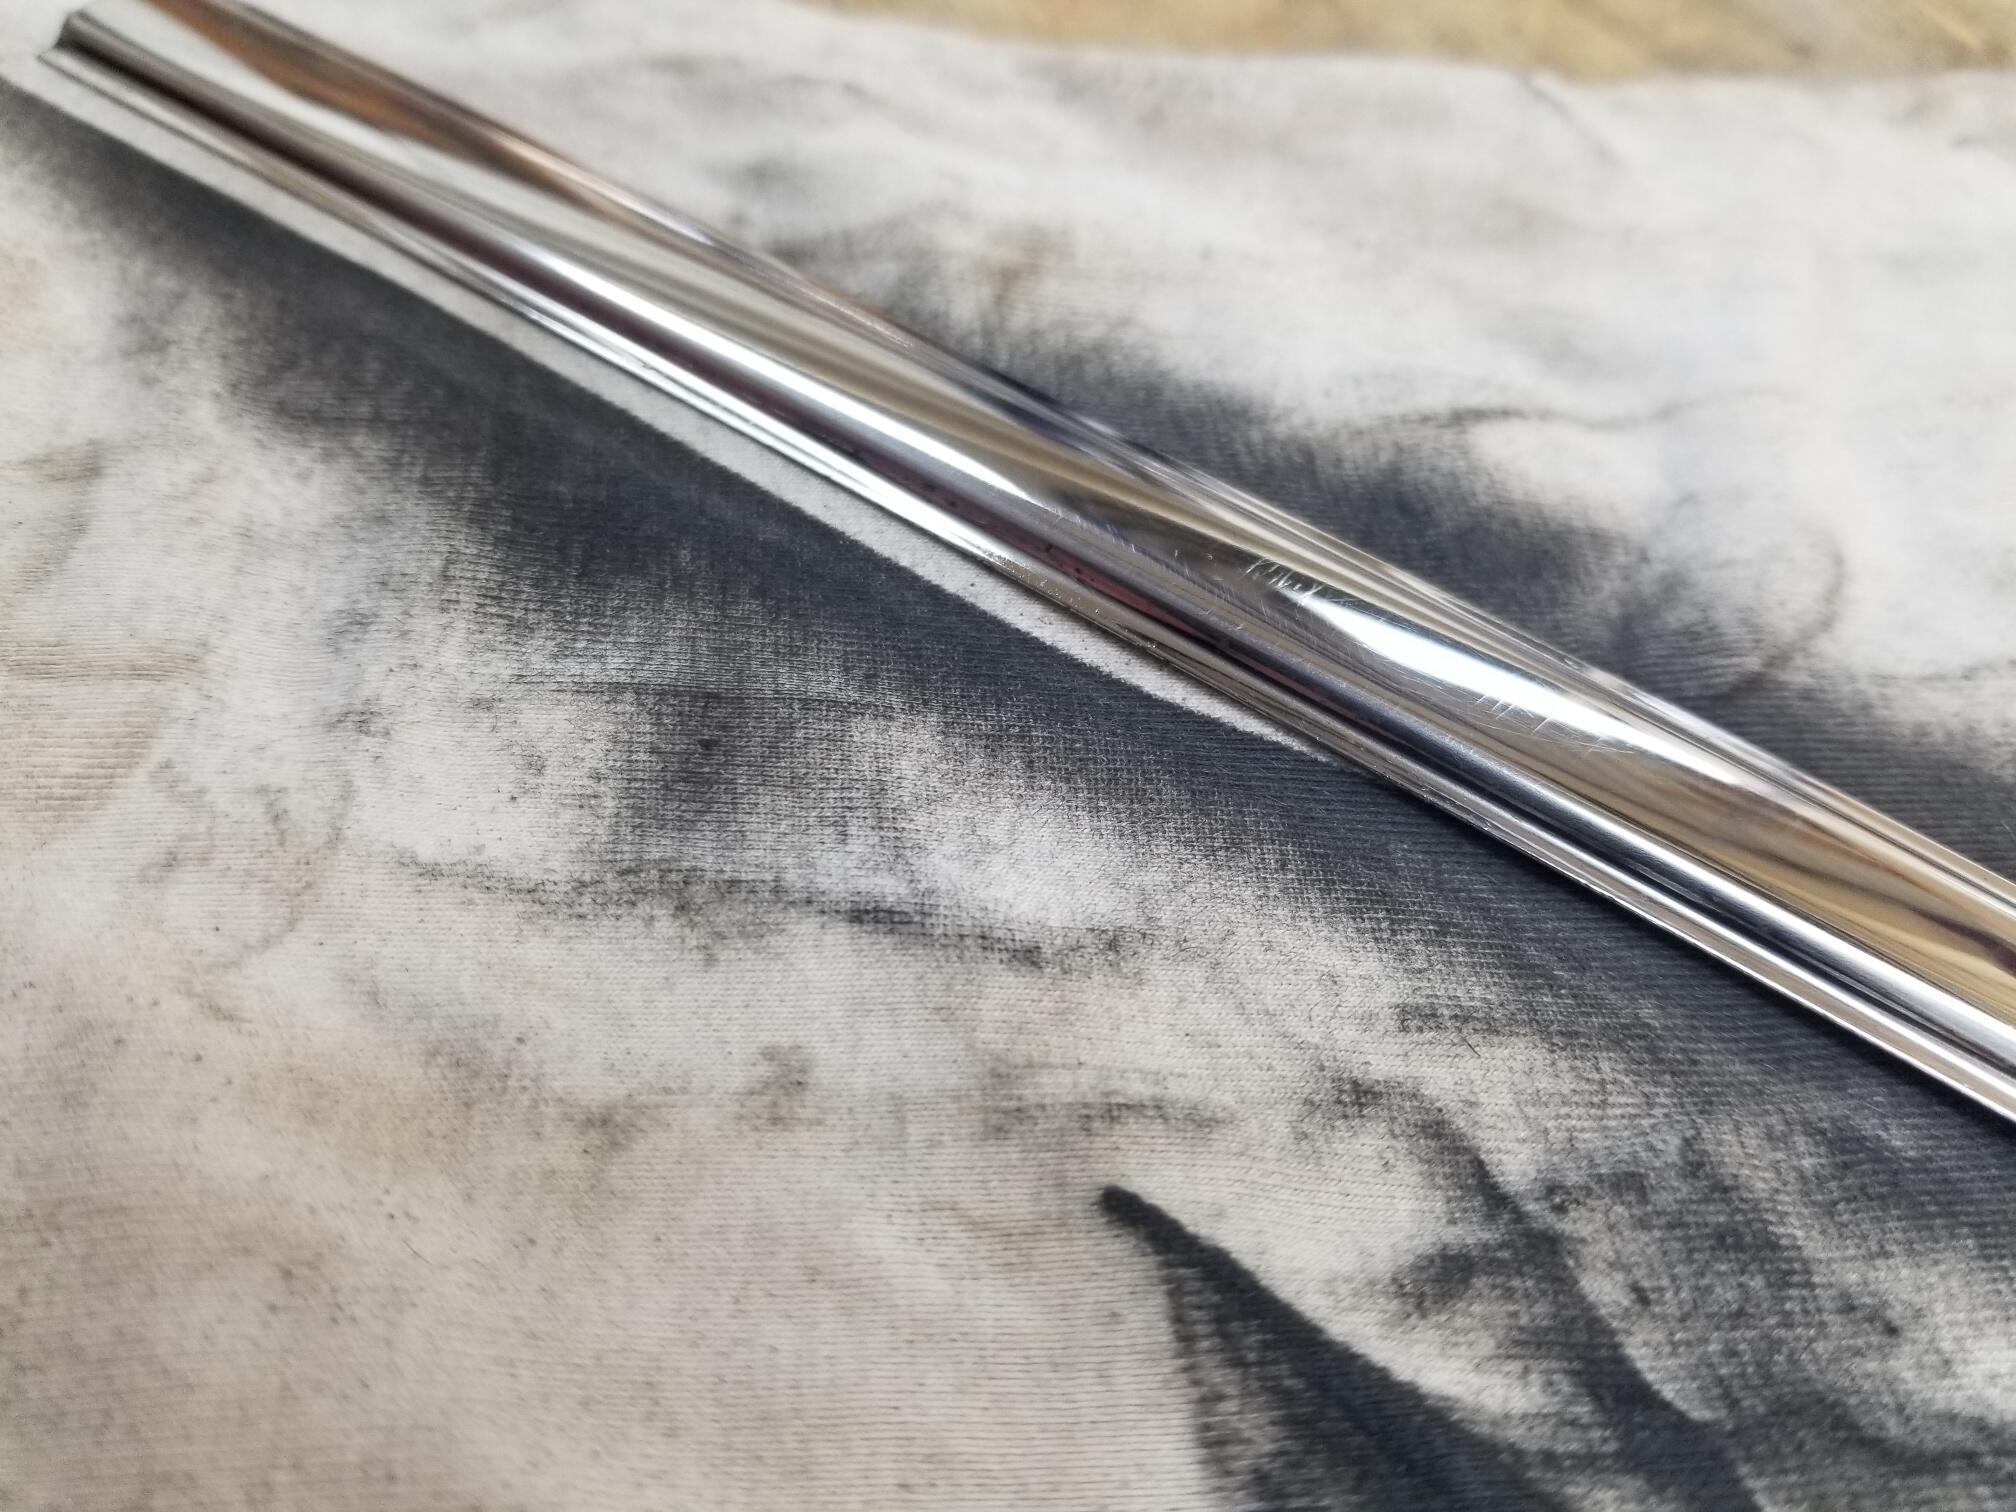
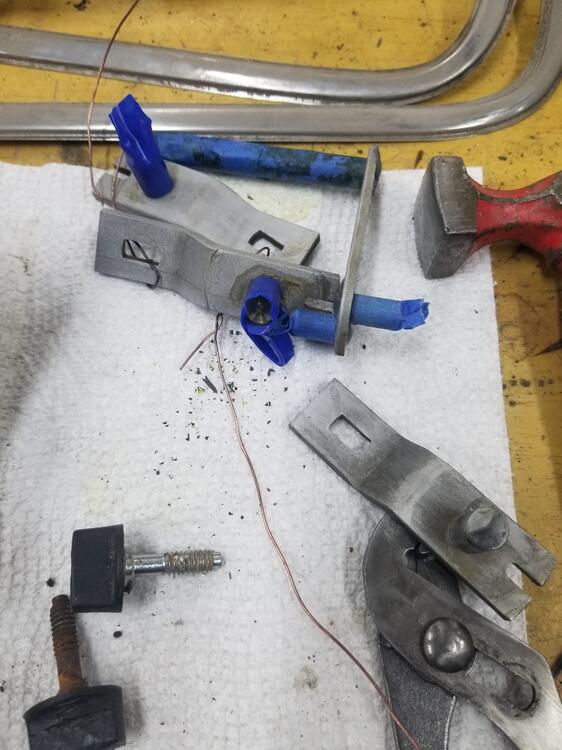
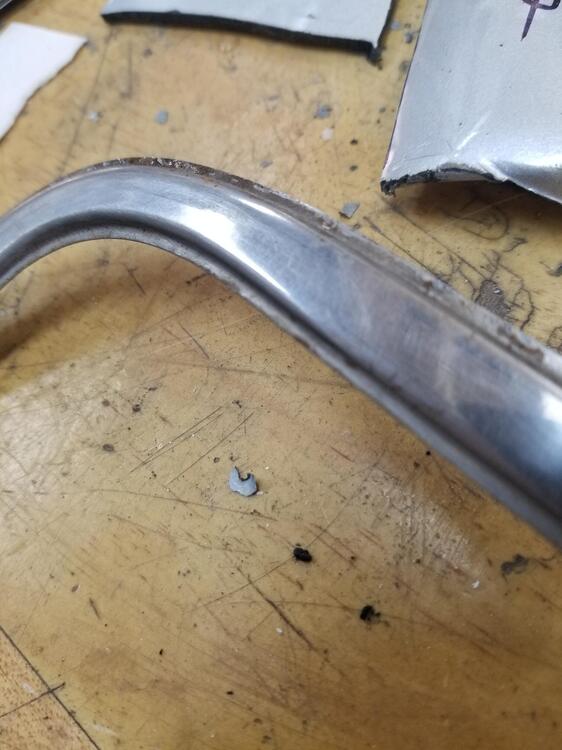
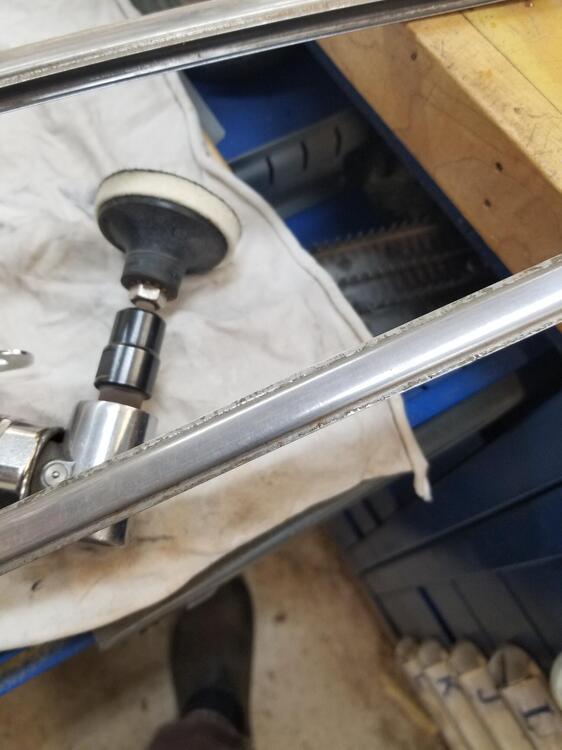
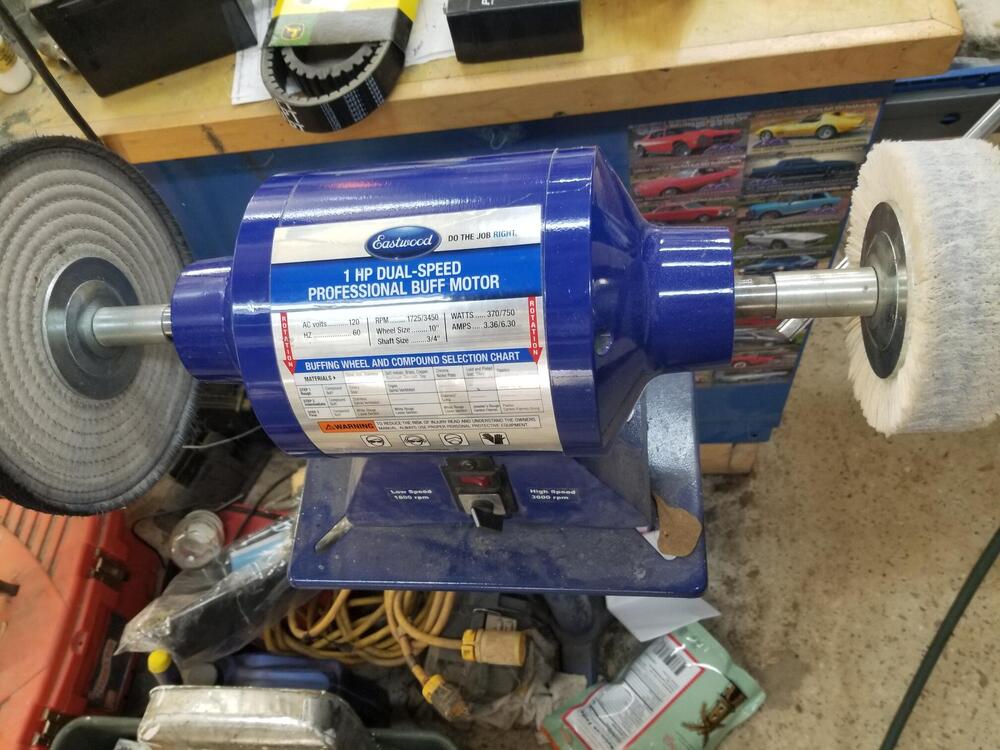
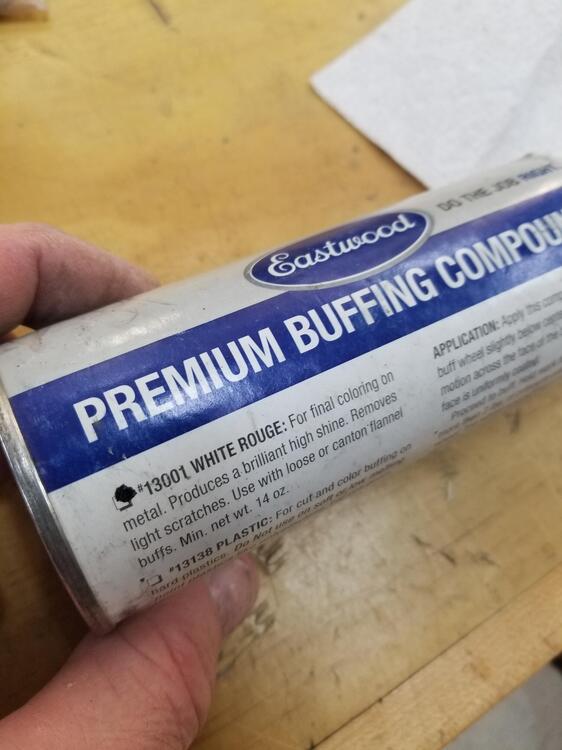
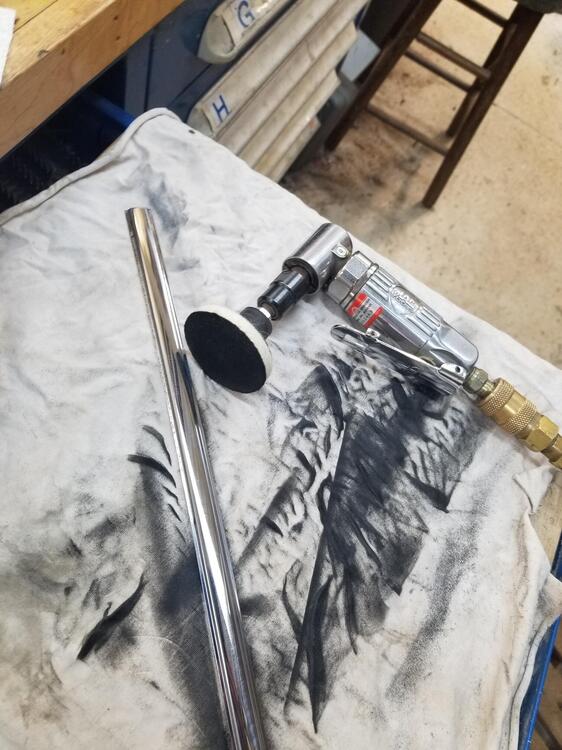
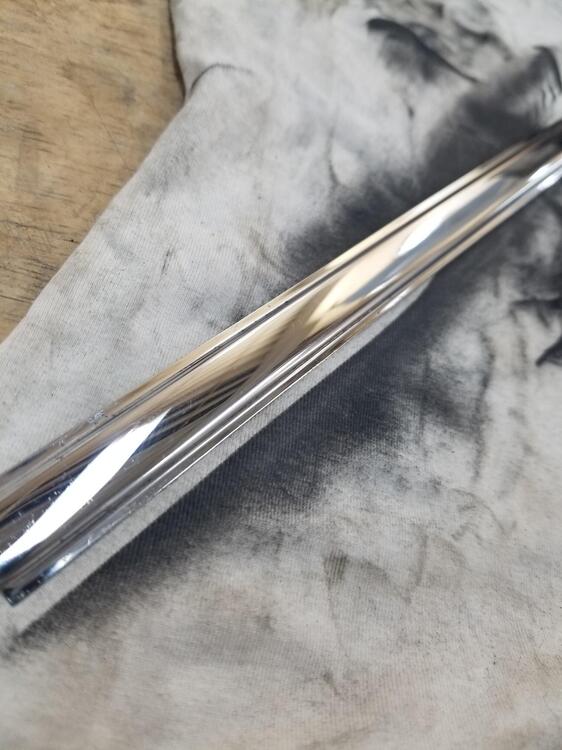
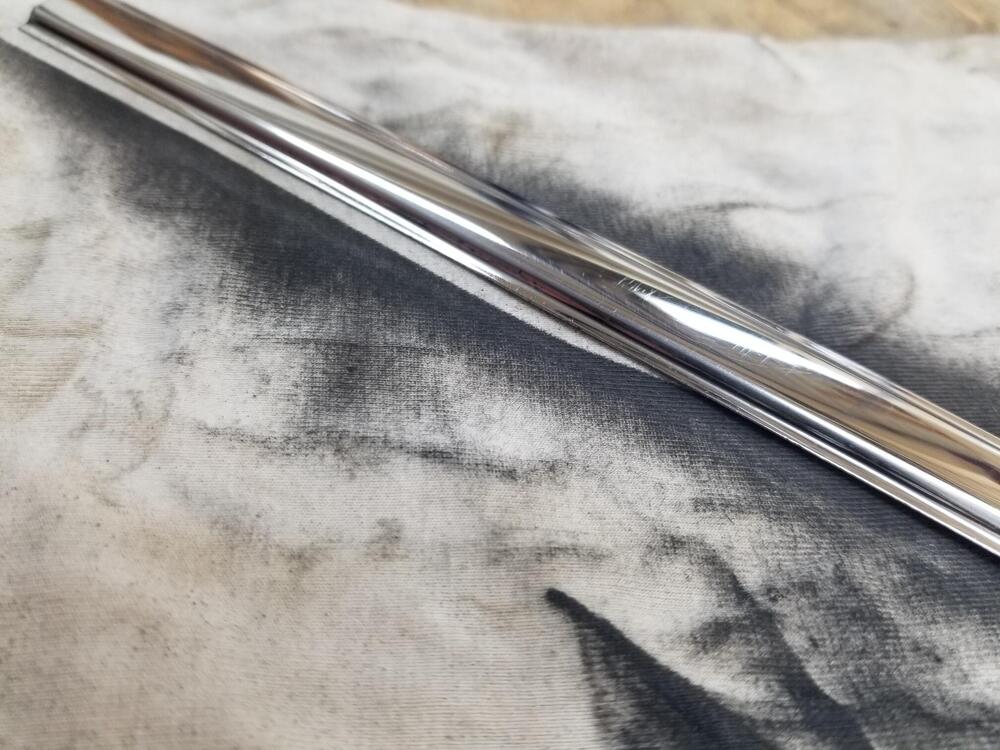
6 pointsSo I worked on the glass trim for the rear hatch glass some I have a nice 2 speed buffer but I don't like polishing these parts that way. If it grabs it they usually get destroyed and they're a little too much like blades to have whipping around you. So I used a buffing pad on a 2" Rolok This is what the finish looked like to start with I'm using white rouge This is after. You can still see some scratching but they will do for now. If I let myself be OCD, I could wet sand starting with 1500 probably and then buff but I don't want to slow my progress down right now On another note, I soaked the blistered yellow zinc in citric acid for a day or too. When they came out they were black. But come to find out that just rinsed right off with water and a toothbrush. Then dried them off. I will bead blast them again before I replate
 6 points
 -
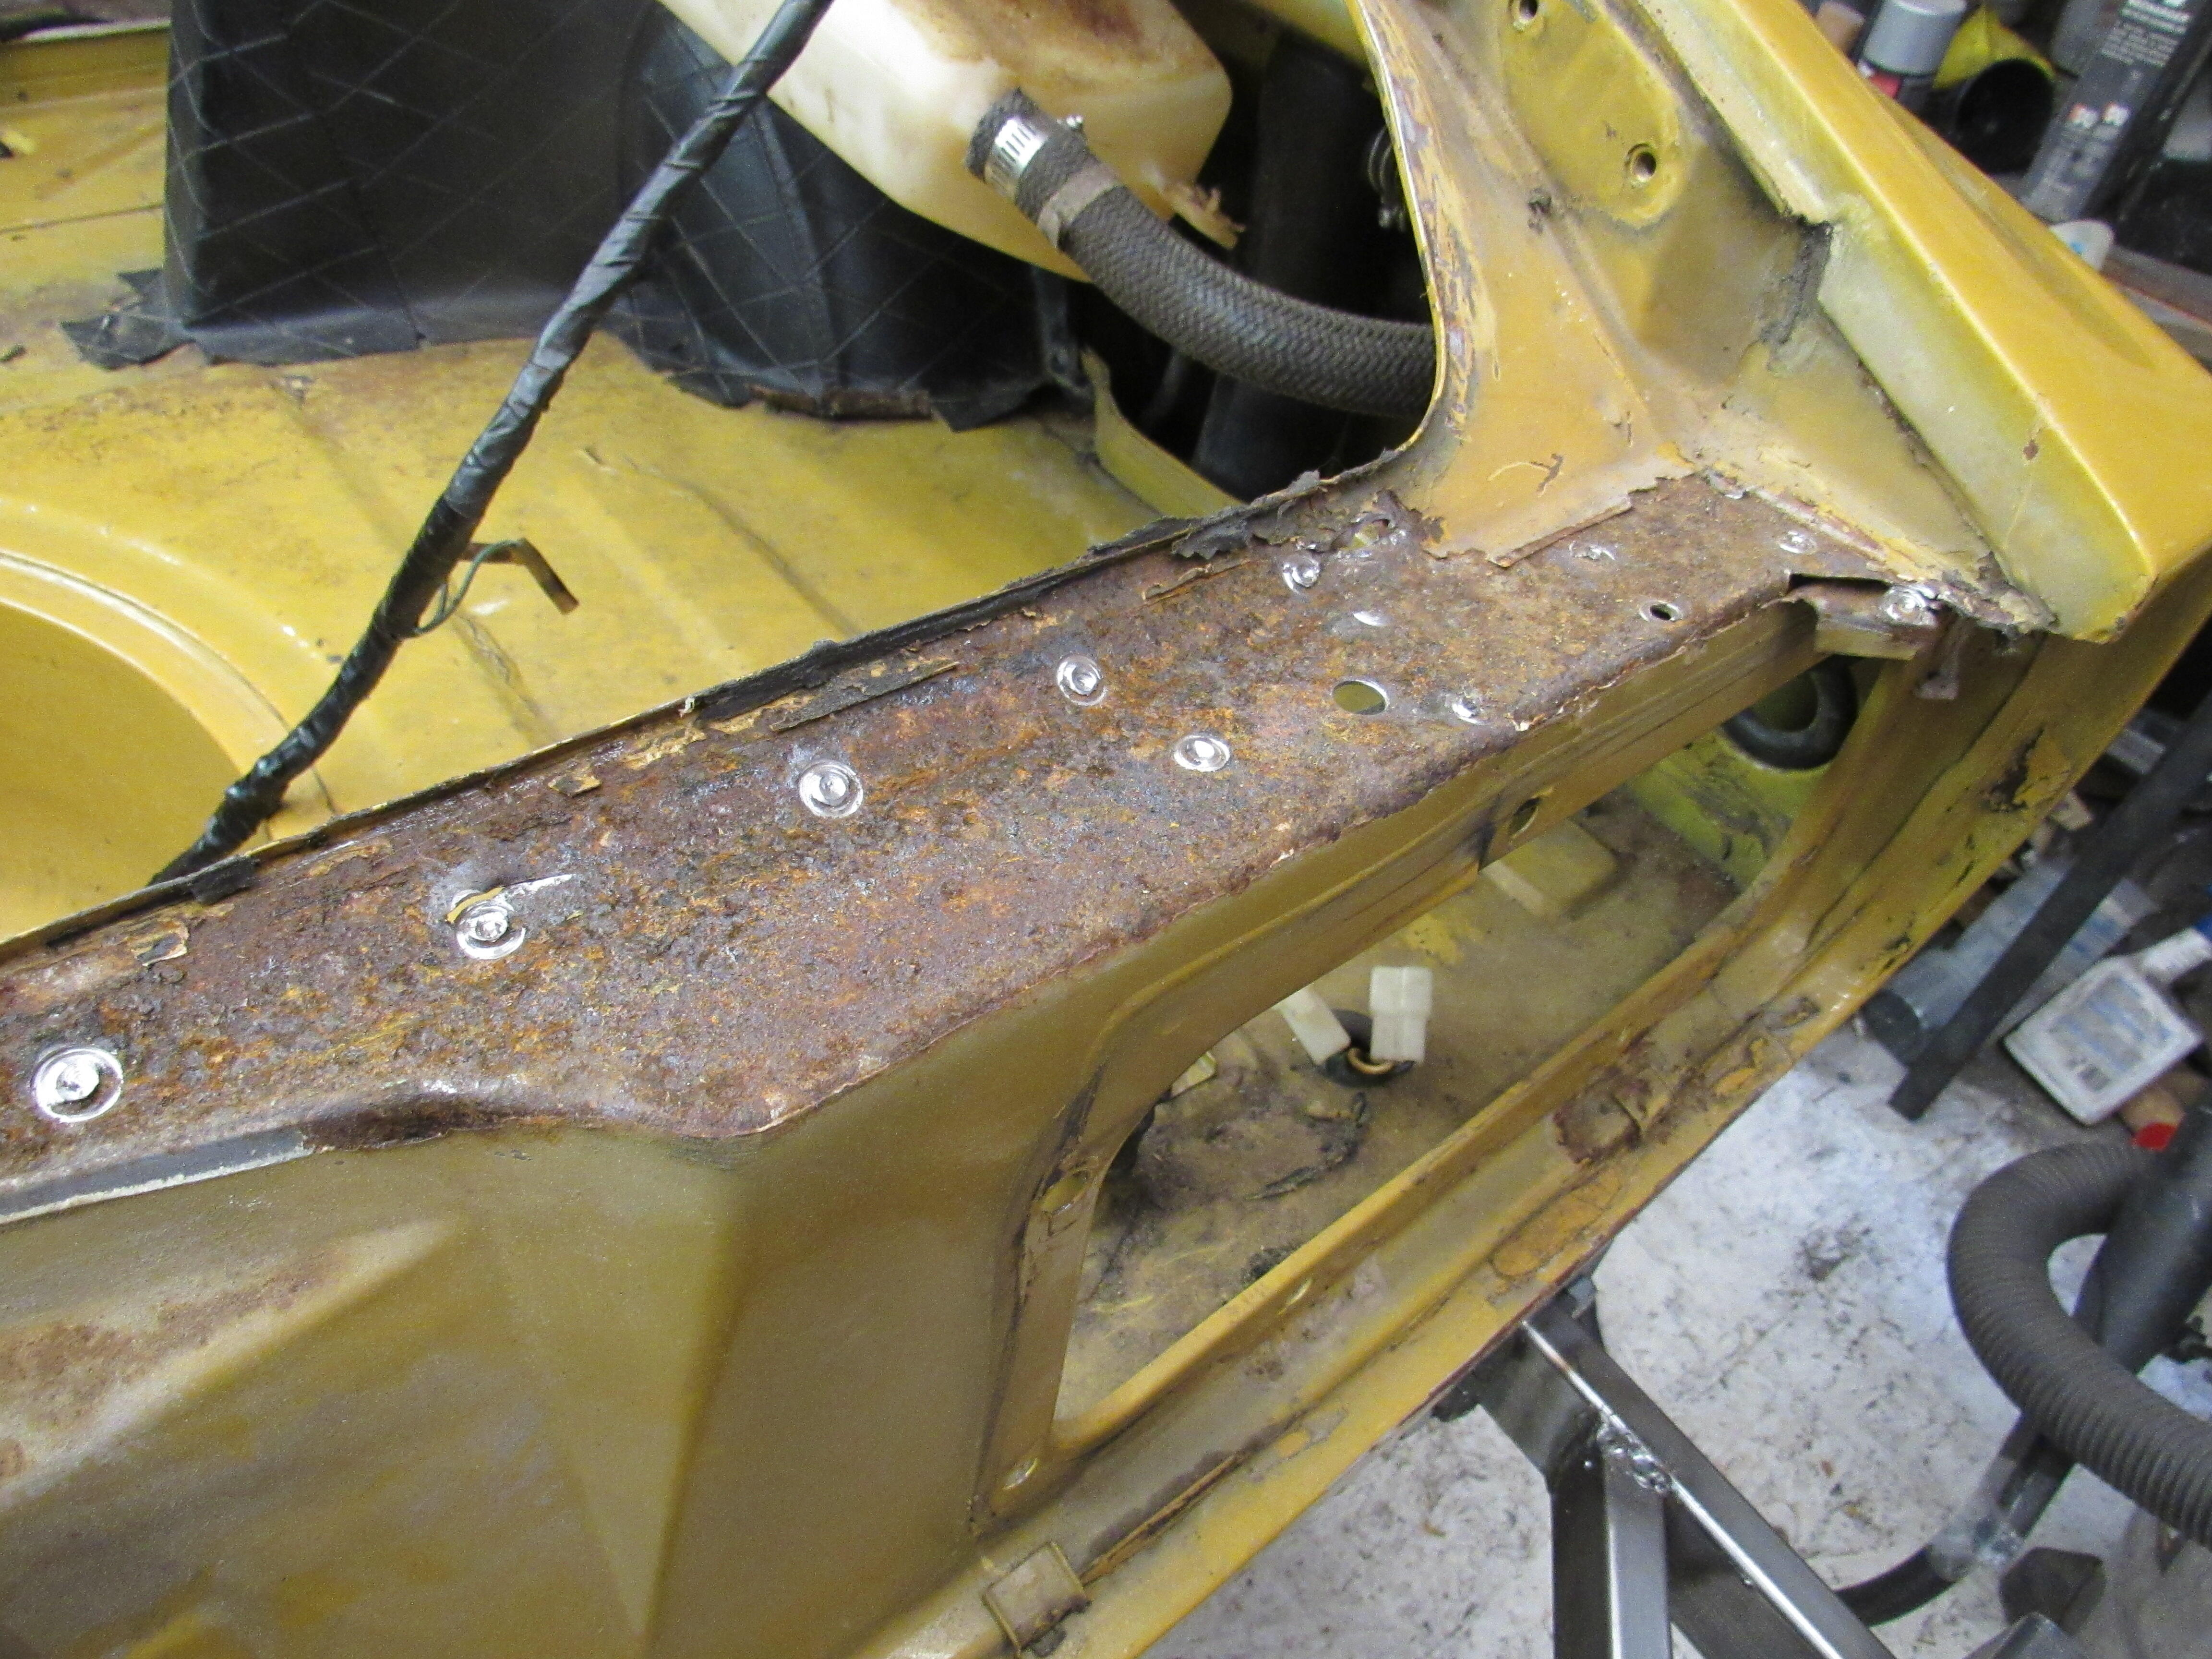
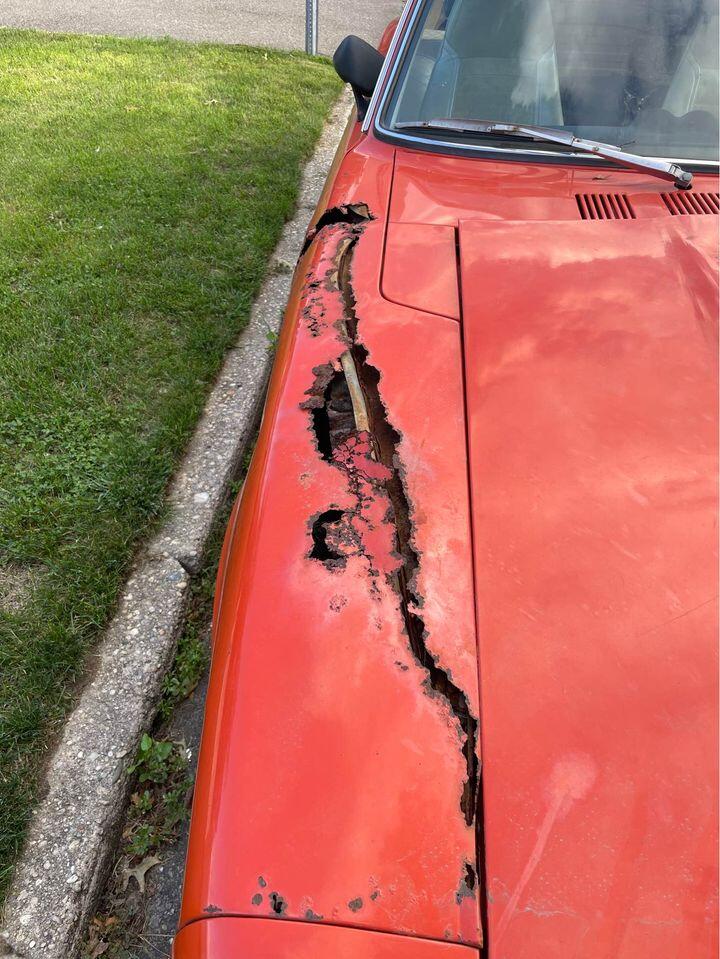
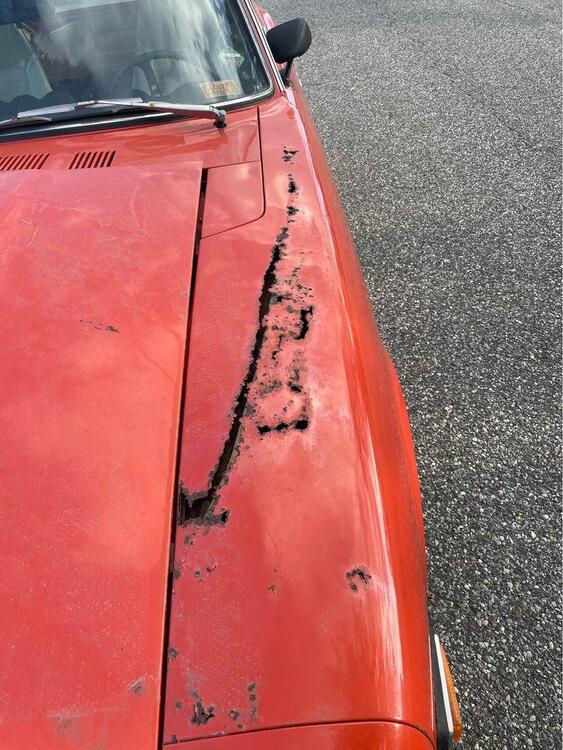
3 pointsLuckily, KF Vintage makes the exact replacement sections, https://kfvintagejdm.com/shop/datsun/under-slam-panel-repair-section-left-side-datsun-240z/ Patcon said it, like an archaeologist you have to remove the first layer, second layer and just keep cutting back until you reach clean metal . If it's real bad you just remove the whole piece but something so localized like that area I'll use the back of the rocker panel, the dog leg panel and probably a piece of the inside rocker. I'll post pics as I cut through.3 points
-
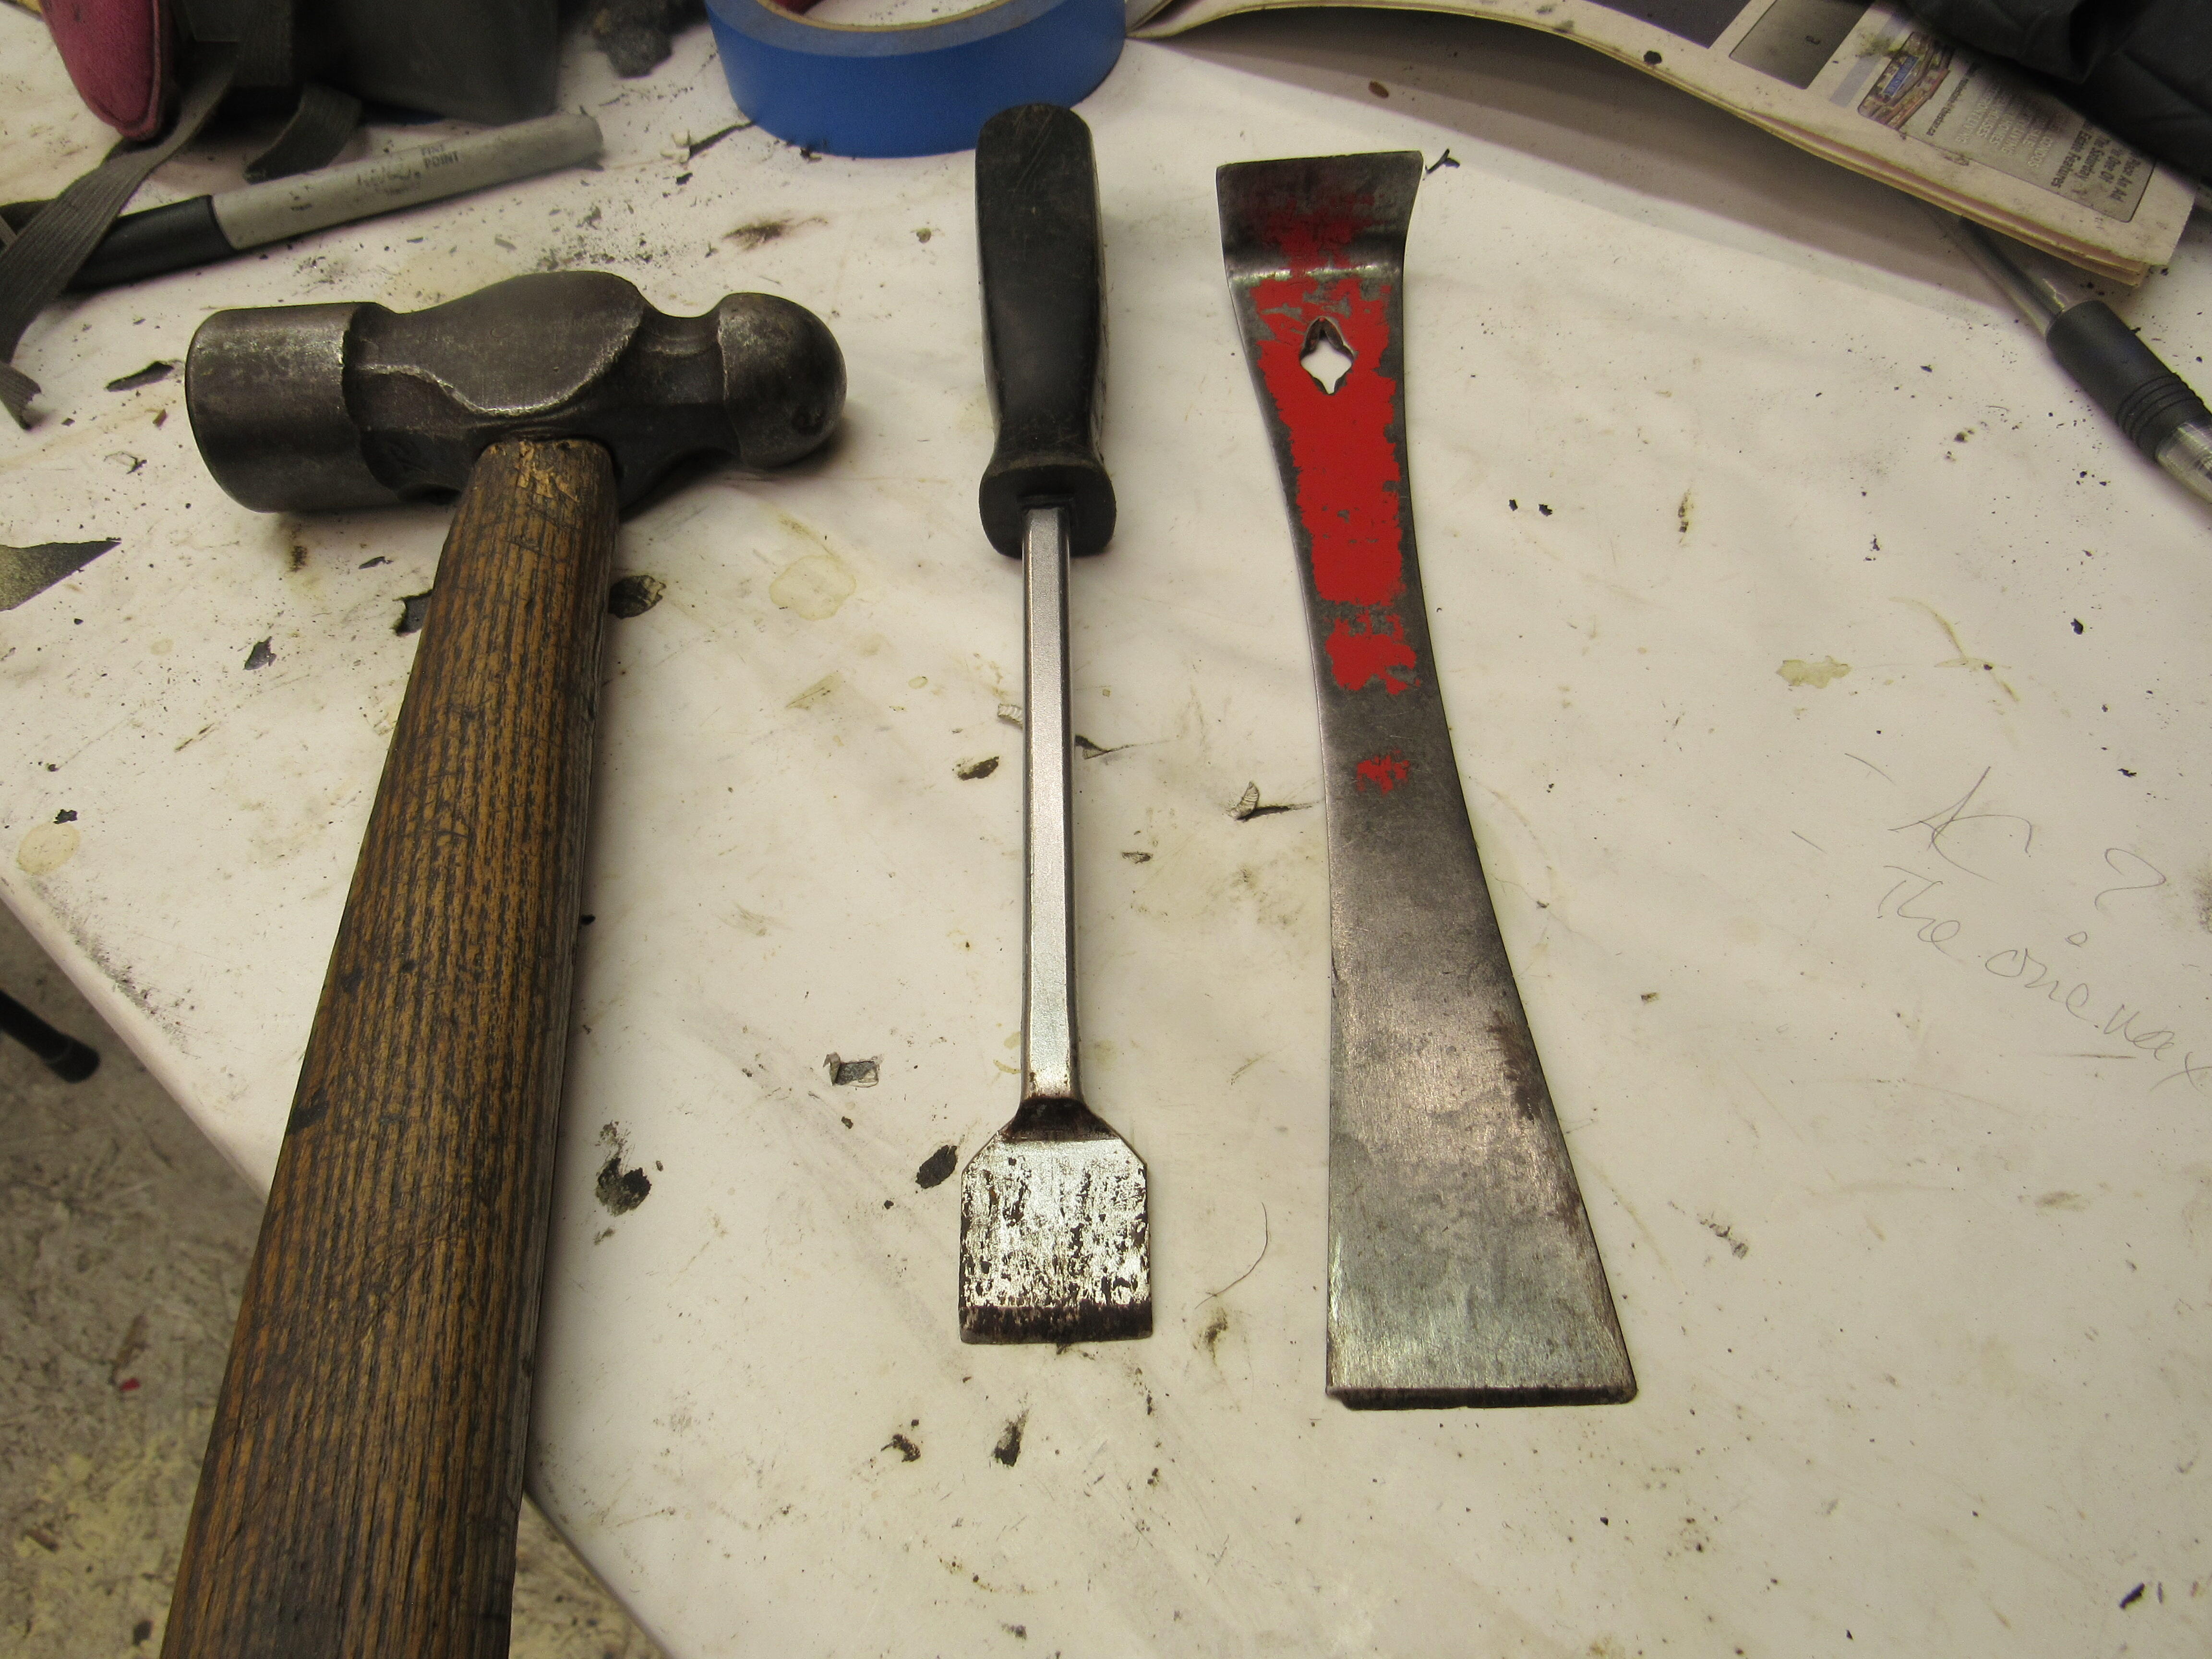
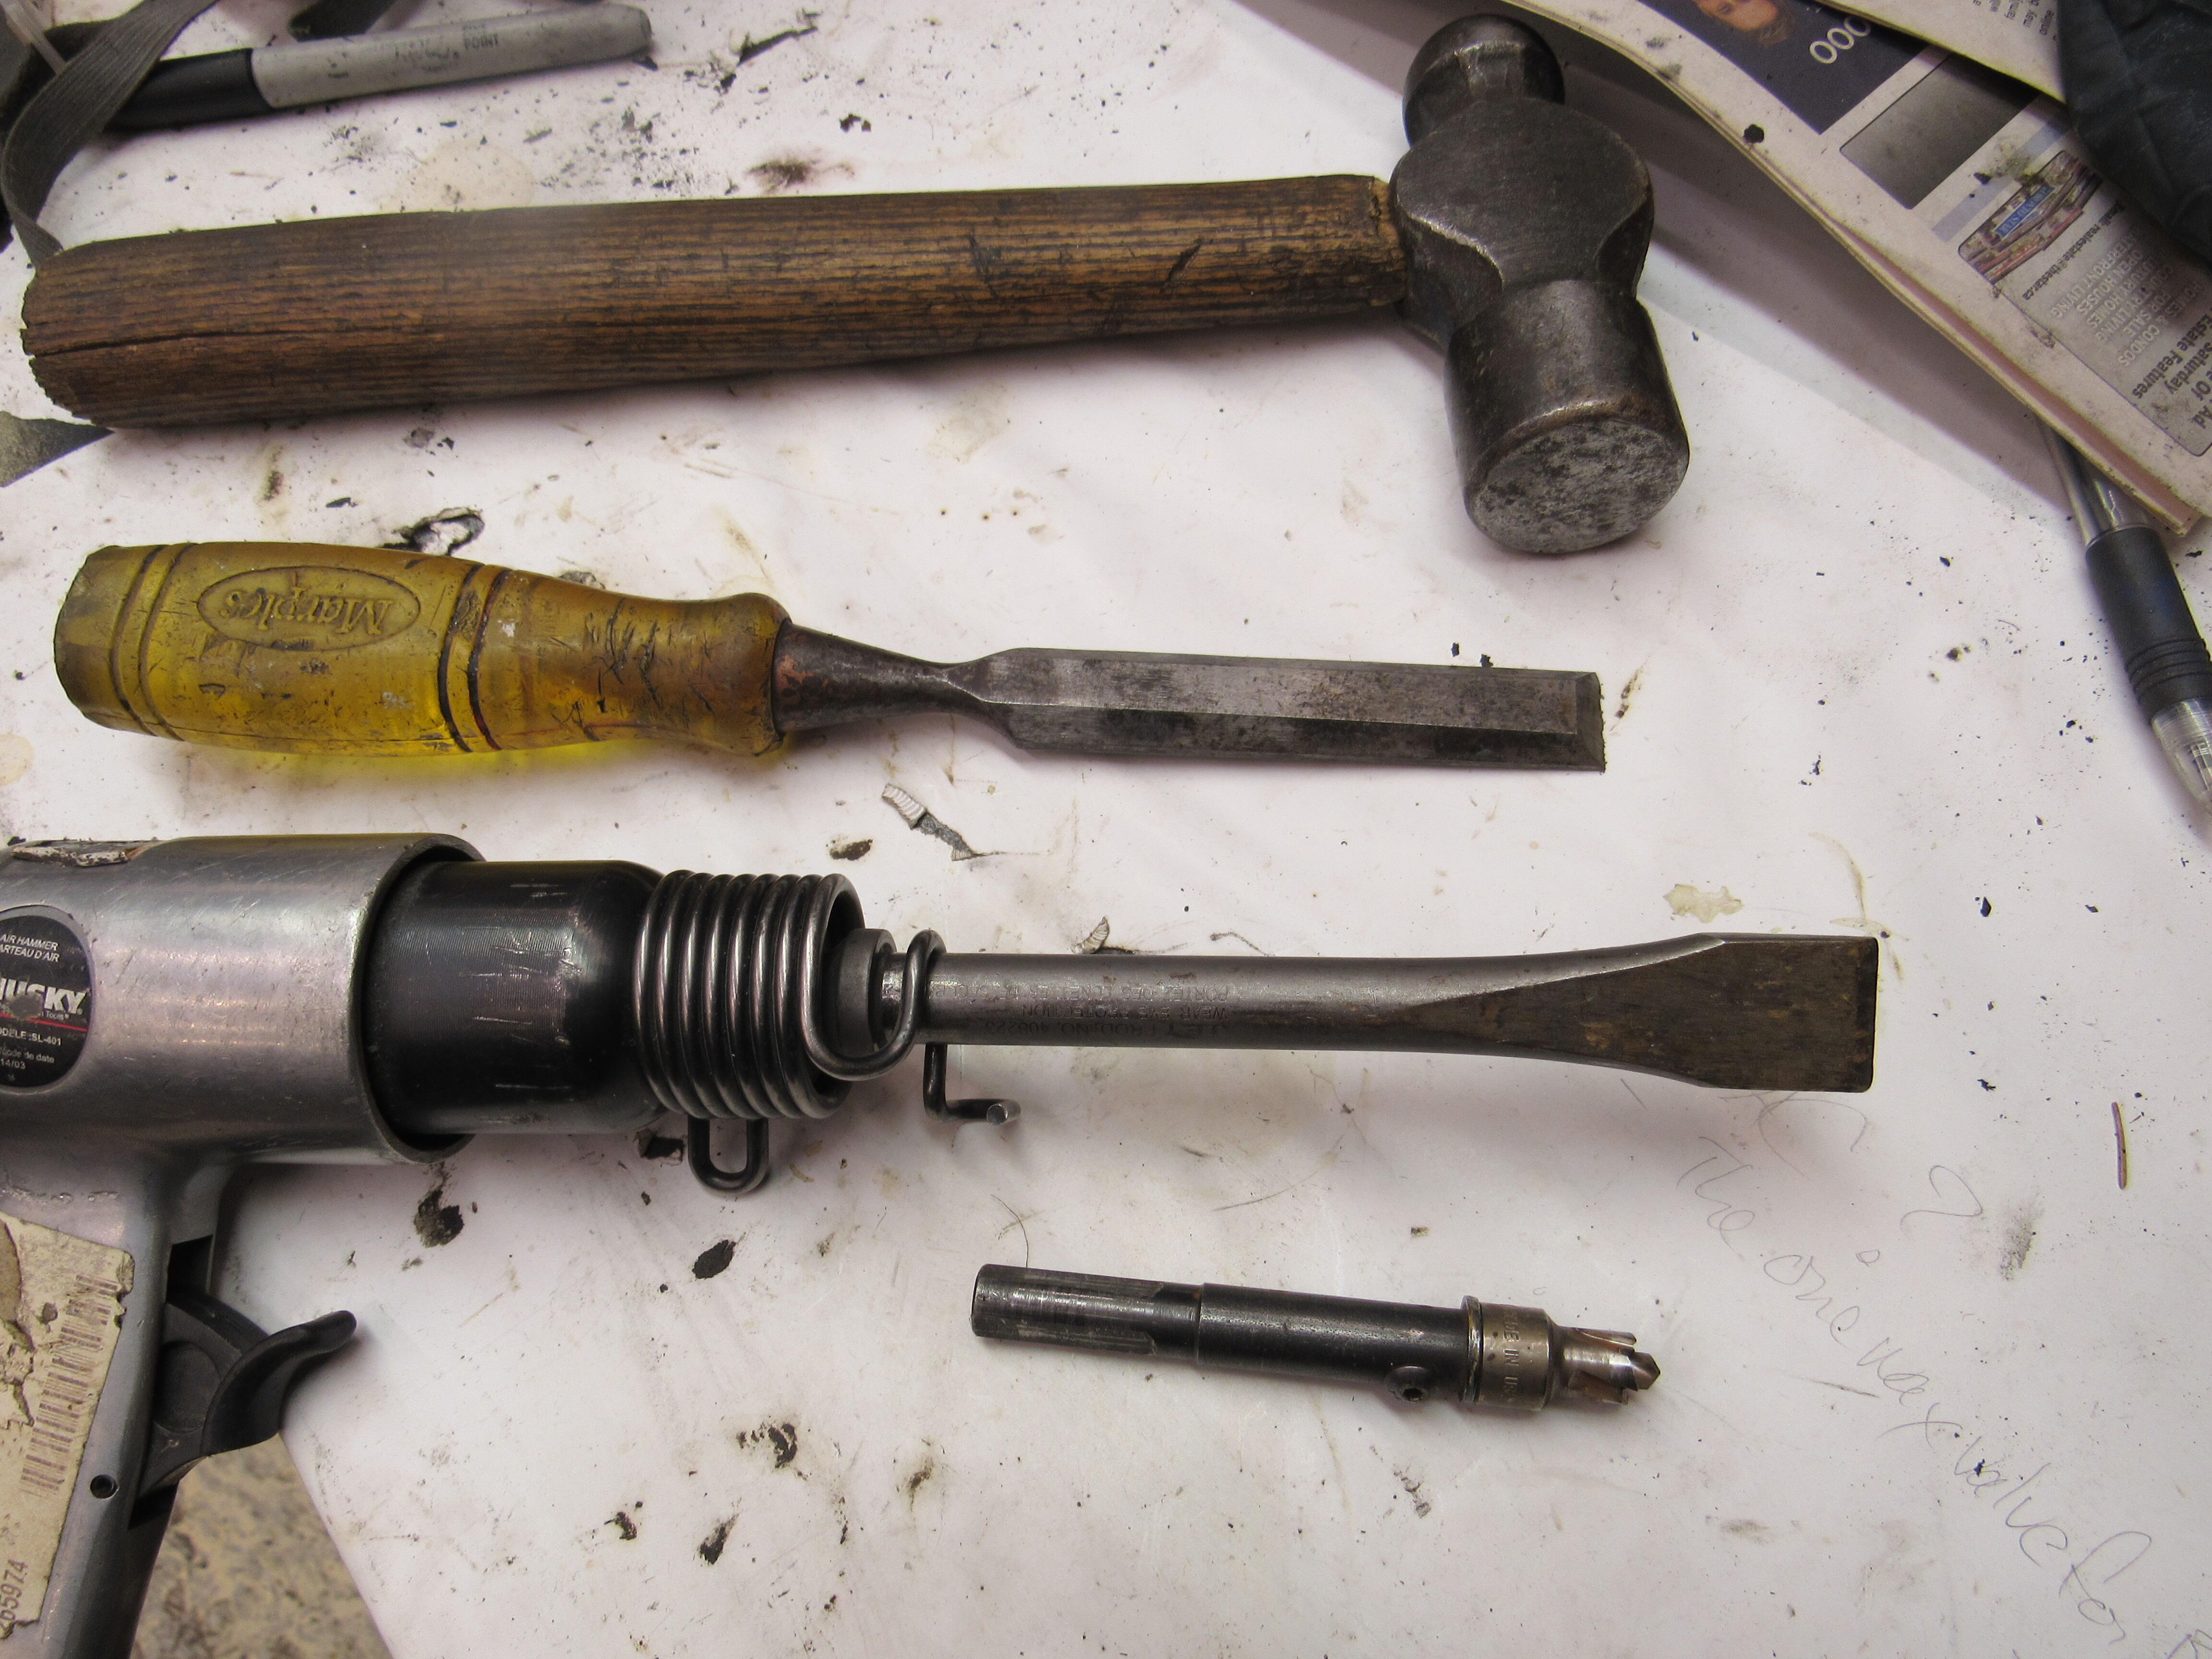
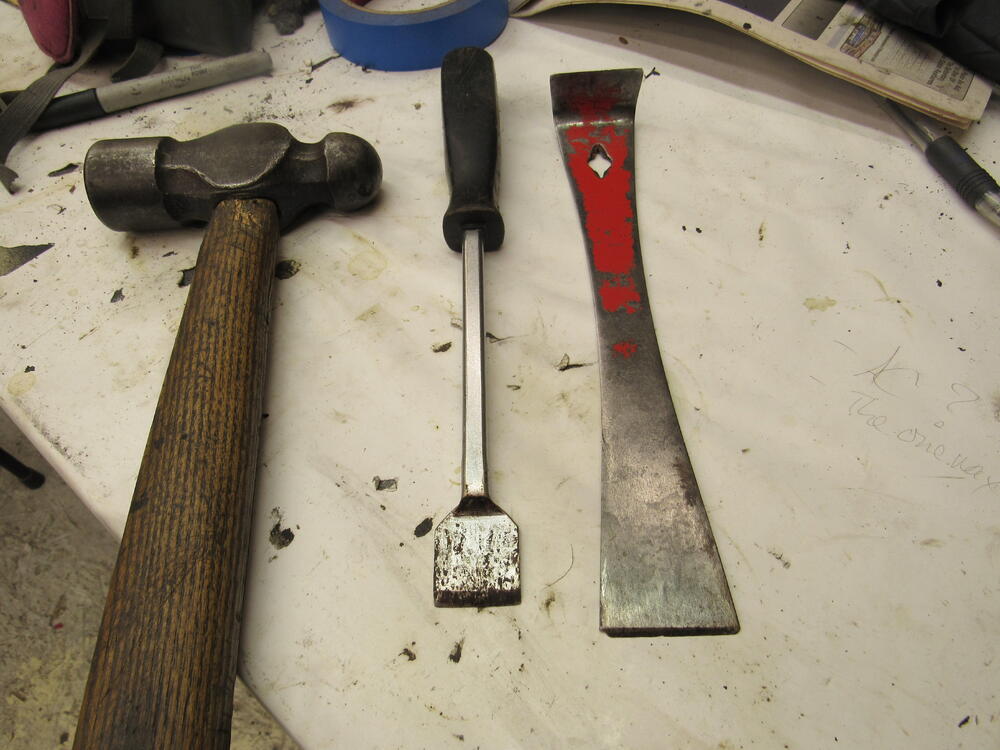
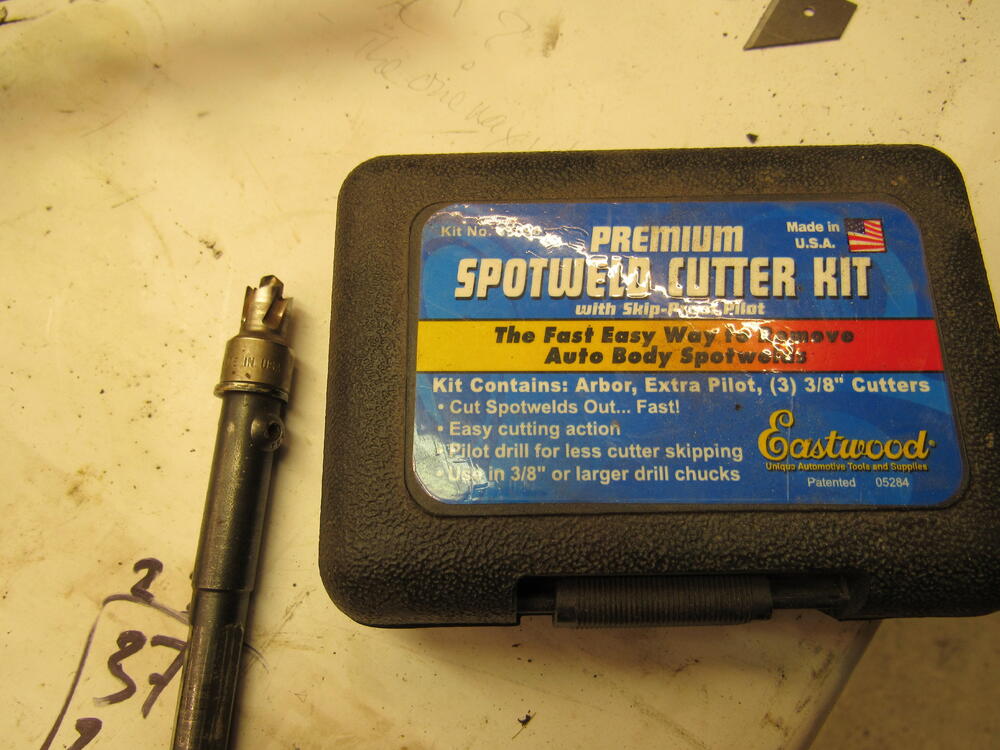
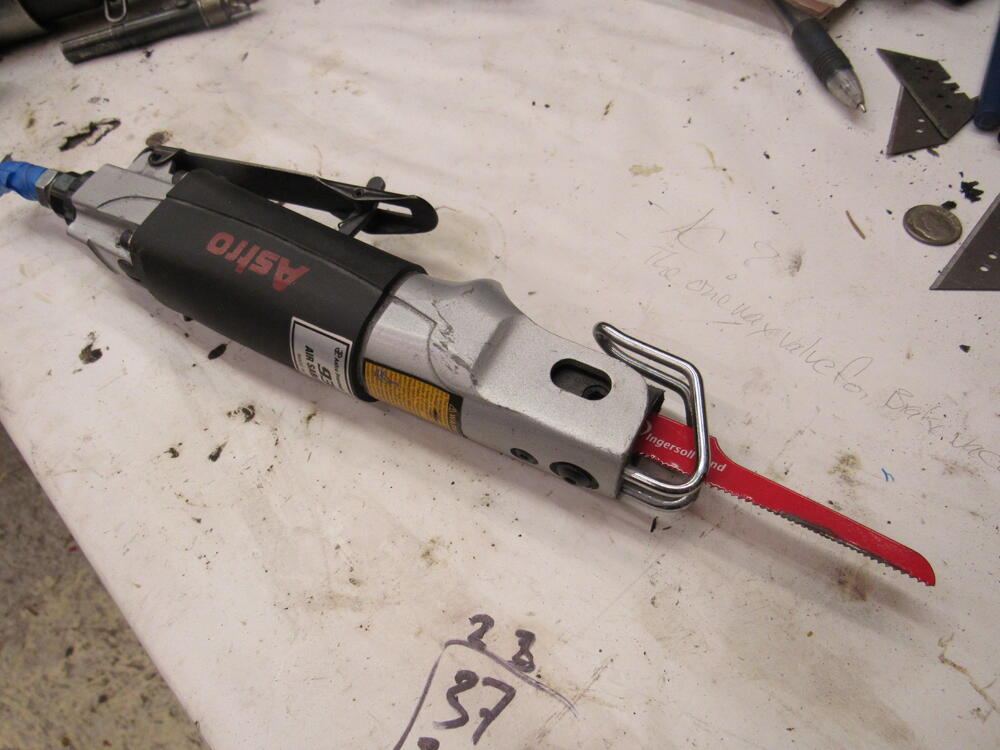
1 pointI did use dry ice once and it worked okay, the closest place to me that sells dry ice is about an hour away so I end up doing it by hand. If it is like -10C in the shop early in the morning I take a hammer to the tar mat and breaks up almost as well as the dry ice. My 2 best chipping tools are a gasket scrapper and a carpenters pry bar, also, a hammer. I've gone through a few different spot weld tools and the best one so far is this kit from Eastwoods, it works best when you pre drill the centre of the spot weld with a 1/16" or 1/8" drill. You push hard with a hand held drill and as soon as you see a little puff brown rust you know you are through the first layer of metal, that's where you stop or you will cut a hole in the backing plate. Splitting, the seam I mostly do with and old wood chisel, it's easier to control, if I'm not making any headway I pull out the air chisel, it's a great tool but you can cut through the good metal you want to keep really fast. If neither the hand chisel or air chisel are working then the air saw is the best way to go. As good as these tools are, drilling out spot welds is a hard, dirty tedious job, almost as bad as chipping out tar mat😄 Yes, that's a corn cob, cattle corn, feed corn.

 1 point
 -
1 pointNice job on the hatch trim! I went thru all of this years ago with all of the windshield and hatch trim, drip rails, door glass frames, and the quarter glass frames. In the absence of air tools I used an old high speed drill motor, 4" buffing wheel and jeweler's rouge. I ended up holding each piece flat on the bench with one hand and polishing with the other. Not always the easiest to handle but at least I didn't have parts flying around the garage. I also polished the aluminum door sill plates. I used small screws in the existing holes to fasten them to the front edge of the bench to hold securely in place.1 point
-
1 pointI can only address number 3, and only speculatively. It sure looks like a corn cob. We seem to be raising corn-fed mice or rats! The house I lived in when I first bought this car was on a lot cut out of a corn field. I moved out of that house in 1996. I'm wondering if it goes that far back! It's more likely that they pulled the cob out of the nearby garbage can in the garage and took it back to their "dining room". I did drop in on Chris the other day when he was enjoying some quality time with removal of the tar mat. No dry ice was evident, but he did comment that recent cool mornings made the mat more brittle and easier to remove.1 point
-
1 pointThat’s correct. The +8 also has two different pistons where the “W” series had both larger pistons. Parts are still readily available from Toyota for a rebuild.1 point
-
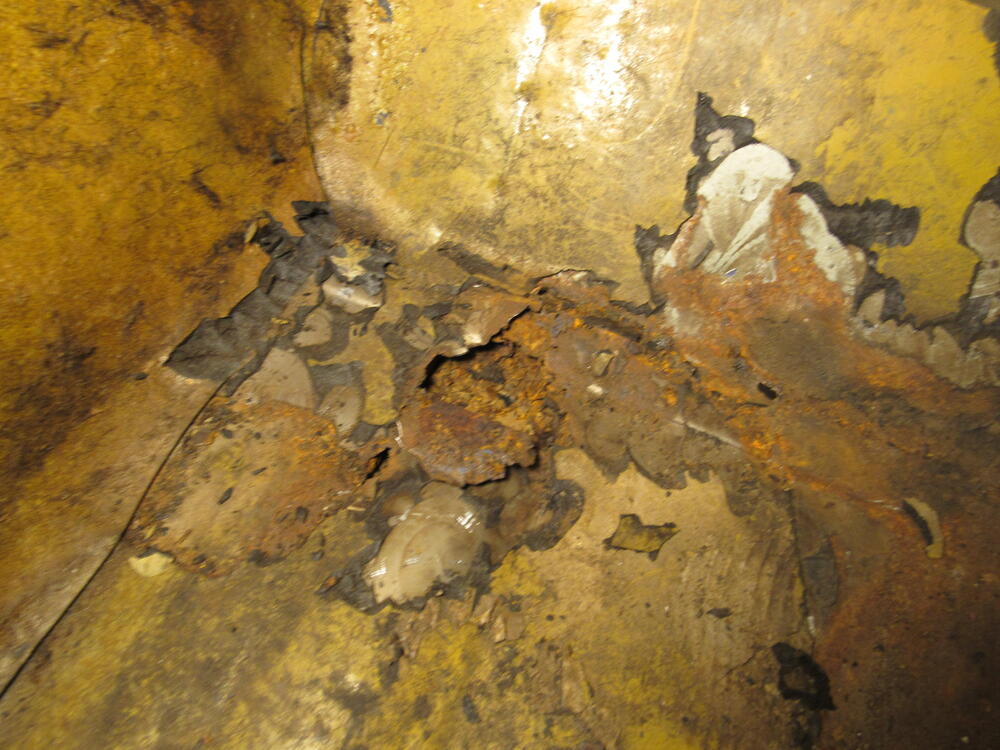
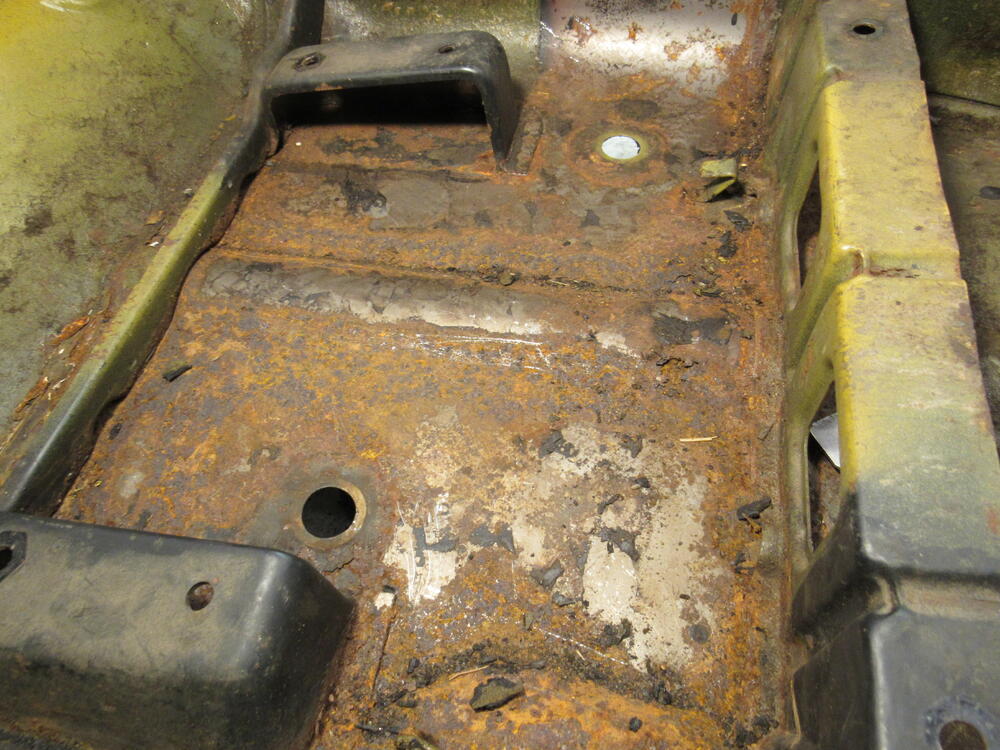
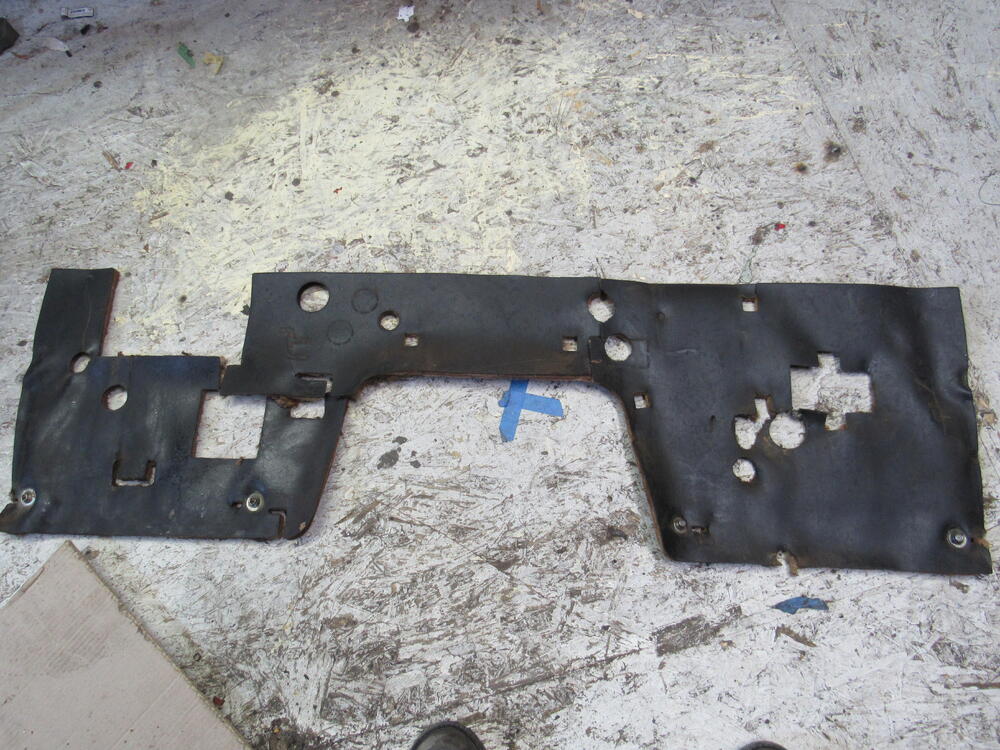
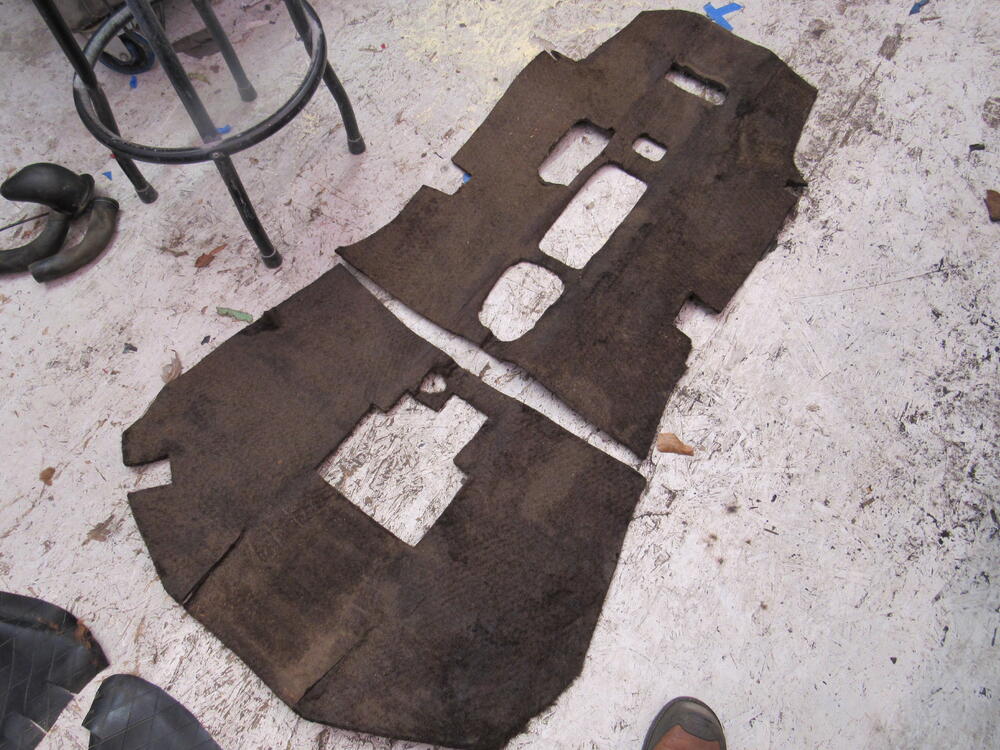
1 pointI started chipping away at the tar mat today, oh what fun I was hoping I could save the floor pans but they are too far gone, water was pooling and the rust is bad. I manged to remove the firewall insulation, vinyl cover and original trans tunnel insulation and I can reuse all of them. Also found another long term tenant, this was only half of what was came out, the rest I had to get by sticking the vacuum hose through the vent.


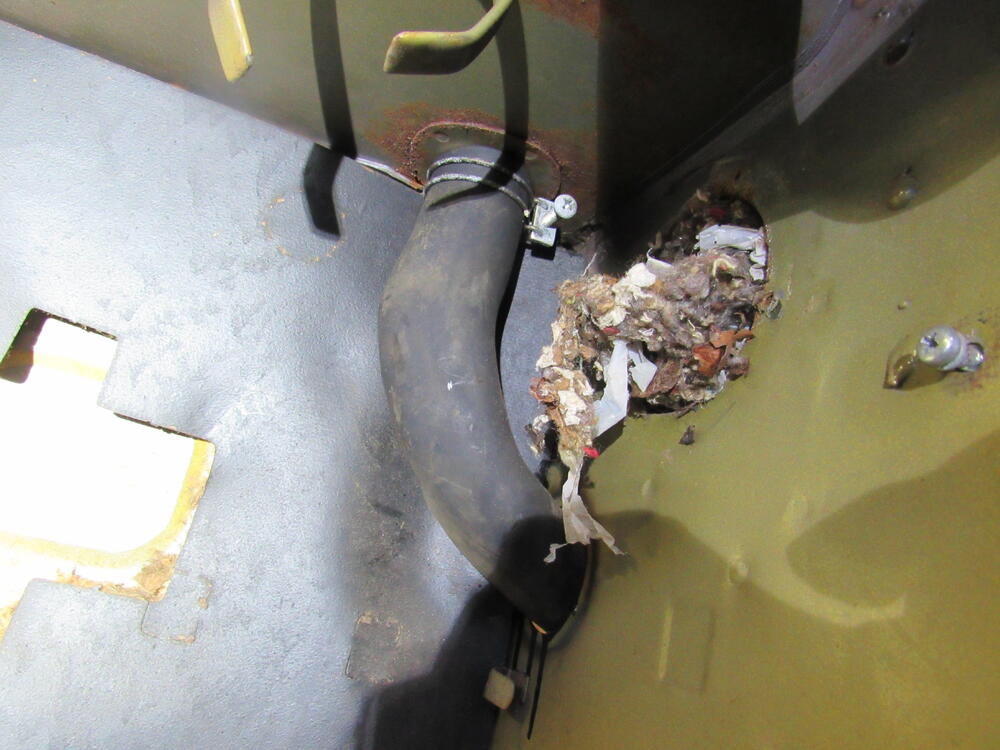
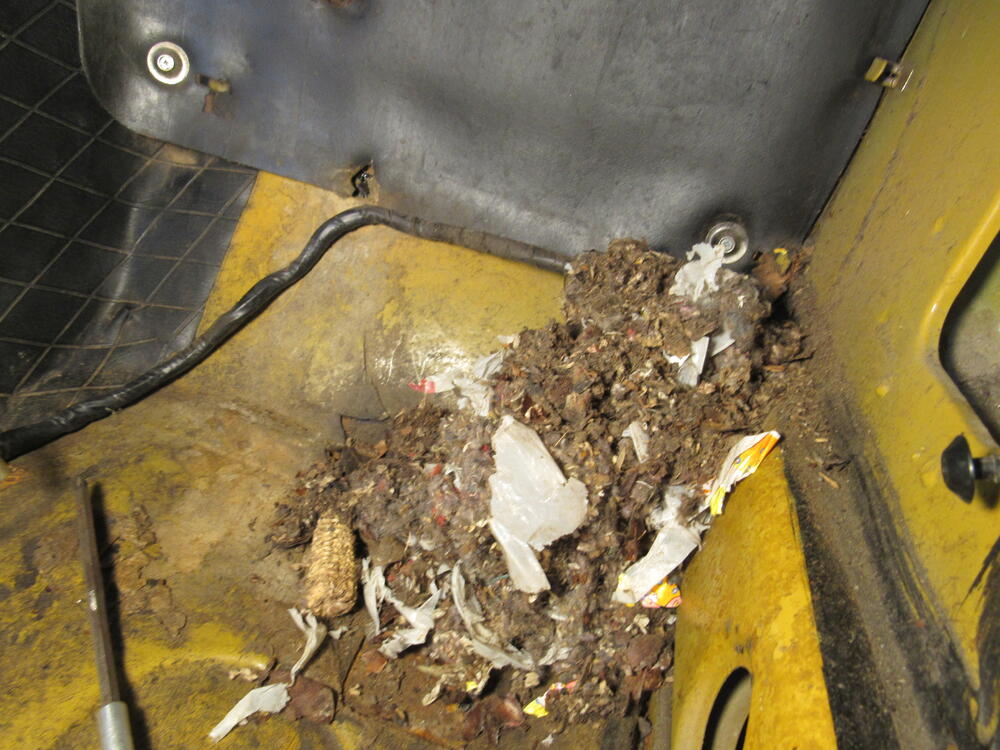 1 point
 -
1 pointSounds like you sorted this out but it was my understanding that the +8 caliper was for the non vented stock rotor and the W was for the wider vented rotor. I have had mine on the non vented rotors for some years now and may recall incorrectly.1 point
-
1 pointMake sure not to use home center type weather seals in metal on metal situations. Those materials tend to hold water.

 1 point
 -
1 pointHi all I have been toying with the Idea of putting a turbo on my triple webber setup all I need is some advice I know there was a company in Dallas somewhere selling this type of set up but not sure If anyone has seen one of these working what sort of manifold would I have to use to clear the triple webber setup. Parts are very rare over hear in the uk. Thanks...1 point