Leaderboard
-

CanTechZ
Free Member4Points1,311Posts -
Captain Obvious
Free Member2Points10,081Posts -
.JPG.cfcada9cf1c1b502df3f5f2f2ca3ff36.JPG)
SteveJ
Free Member1Points9,646Posts -
HS30-H
Free Member1Points5,509Posts


Popular Content
Showing content with the highest reputation on 07/10/2023 in all areas
-
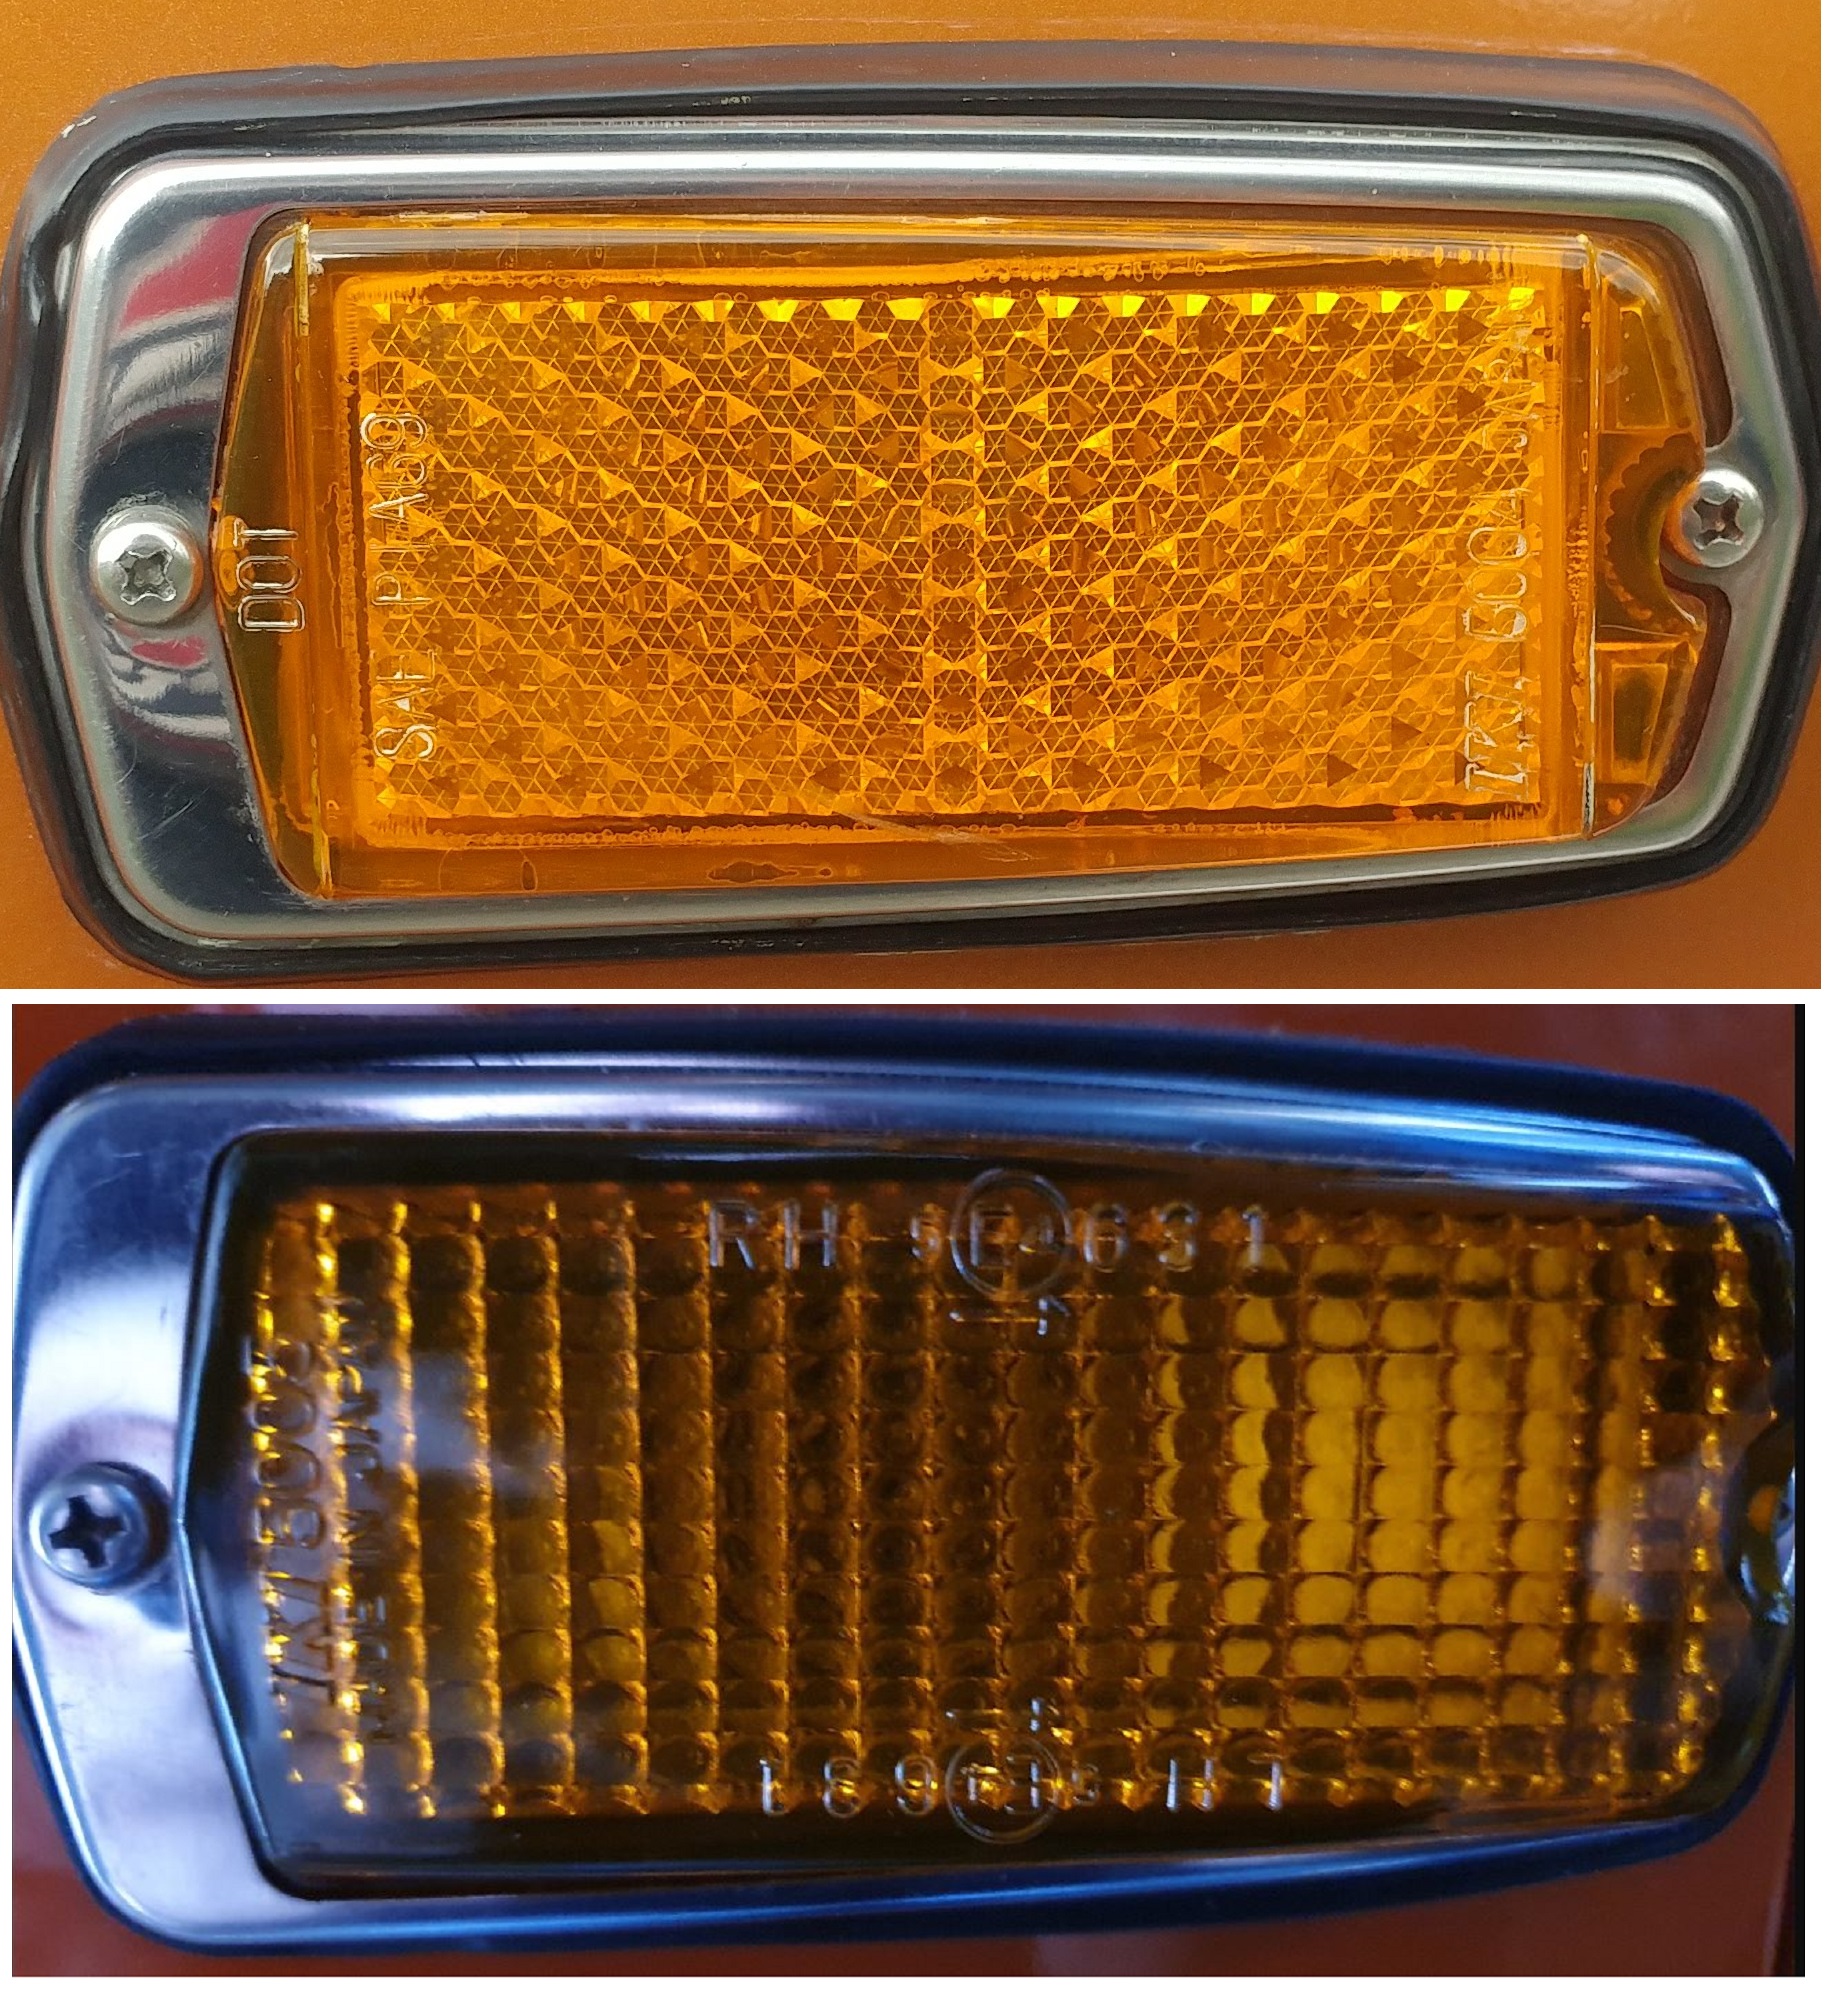
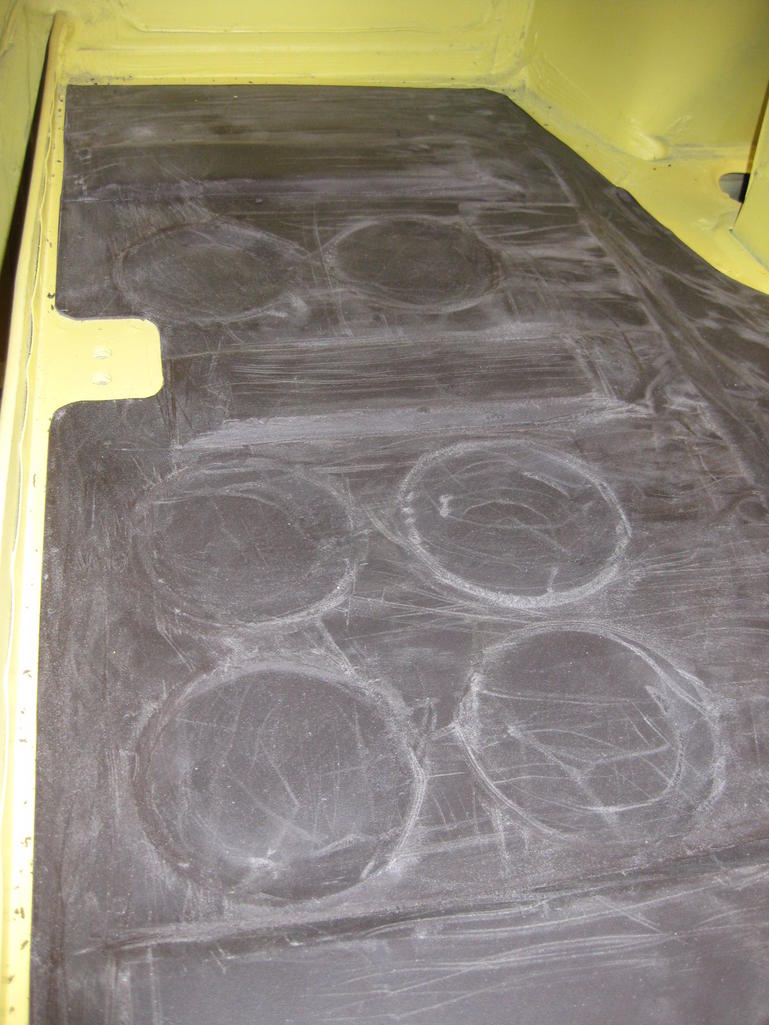
4 points@HS30-Hand @jfa.series1thanks for sharing this interesting info about the side marker lights. I had a quick look at the pictures I have of my 7/70 (originally delivered to Canada) and they have the IKI 5004 DOT lenses, as Jim found. It also is interesting that the IKI 5004 lenses have a different pattern for the reflective feature. IKI 5004 has a pattern that is prismatic and IKI 5005 seems to be more like a pattern of circular, possibly parabolic shapes.
 4 points
 -
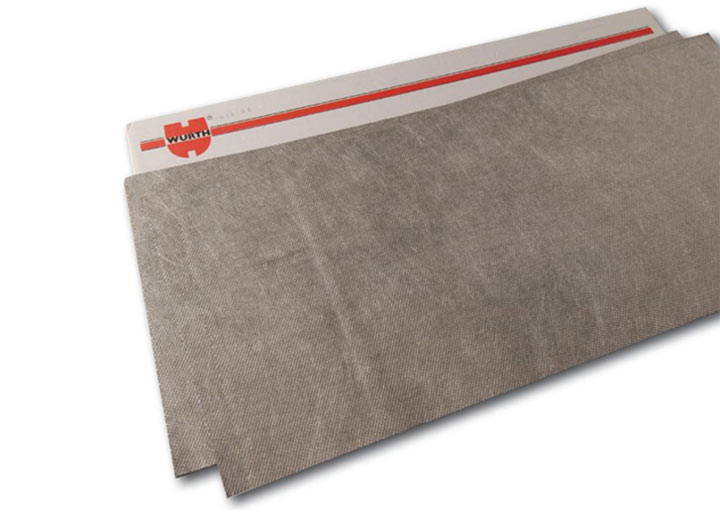
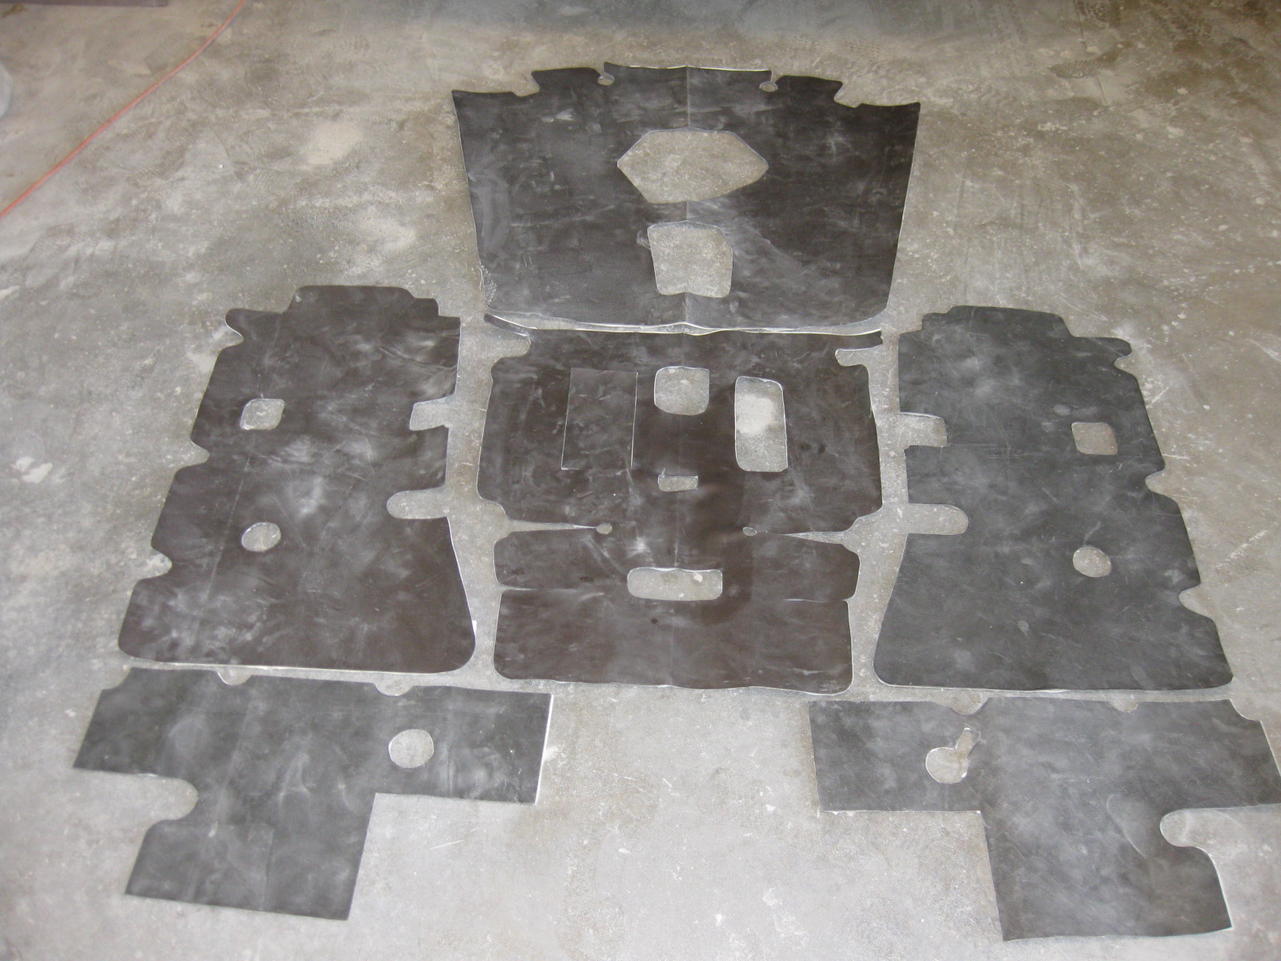
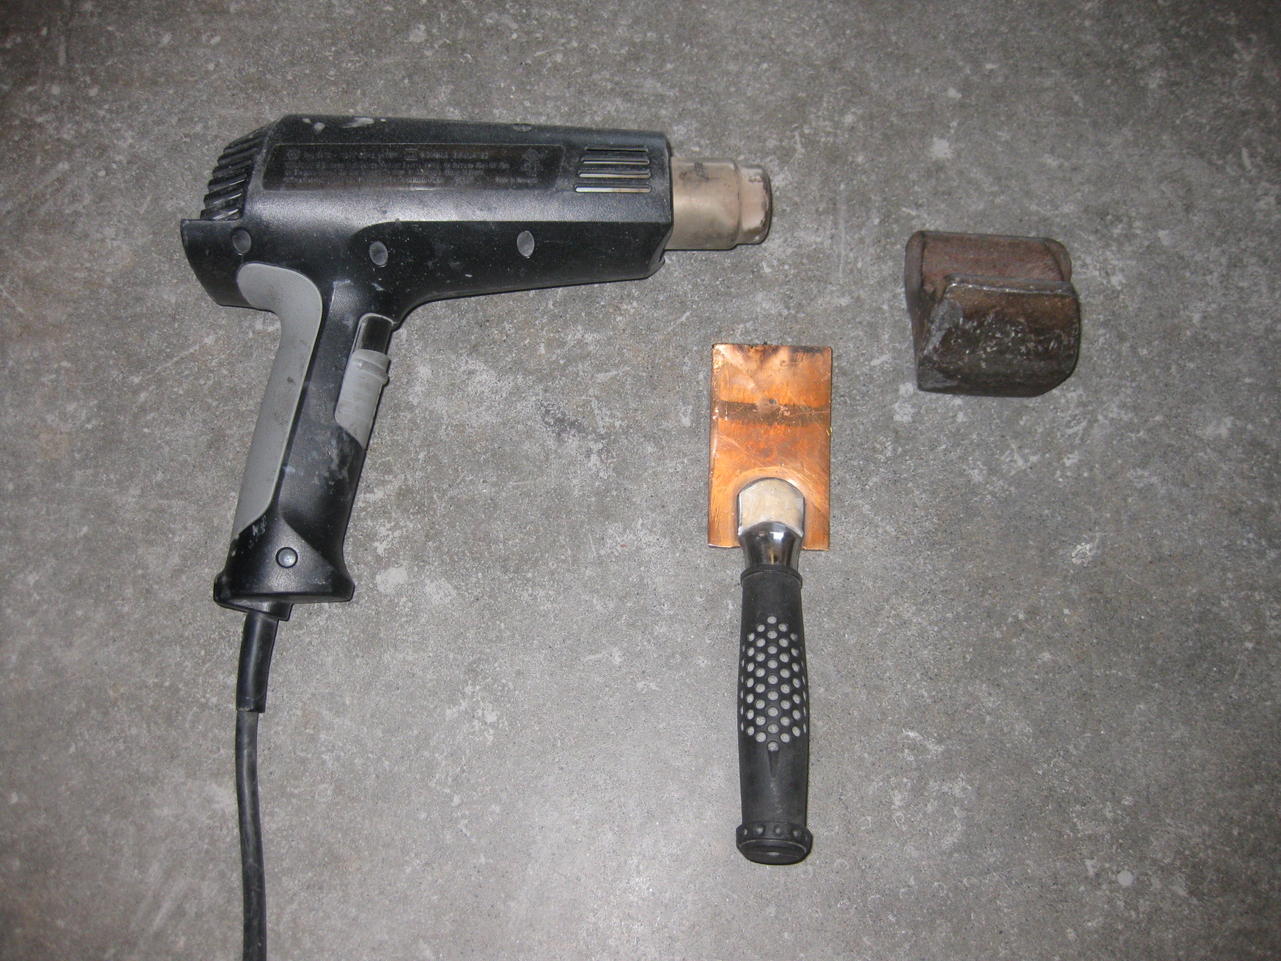
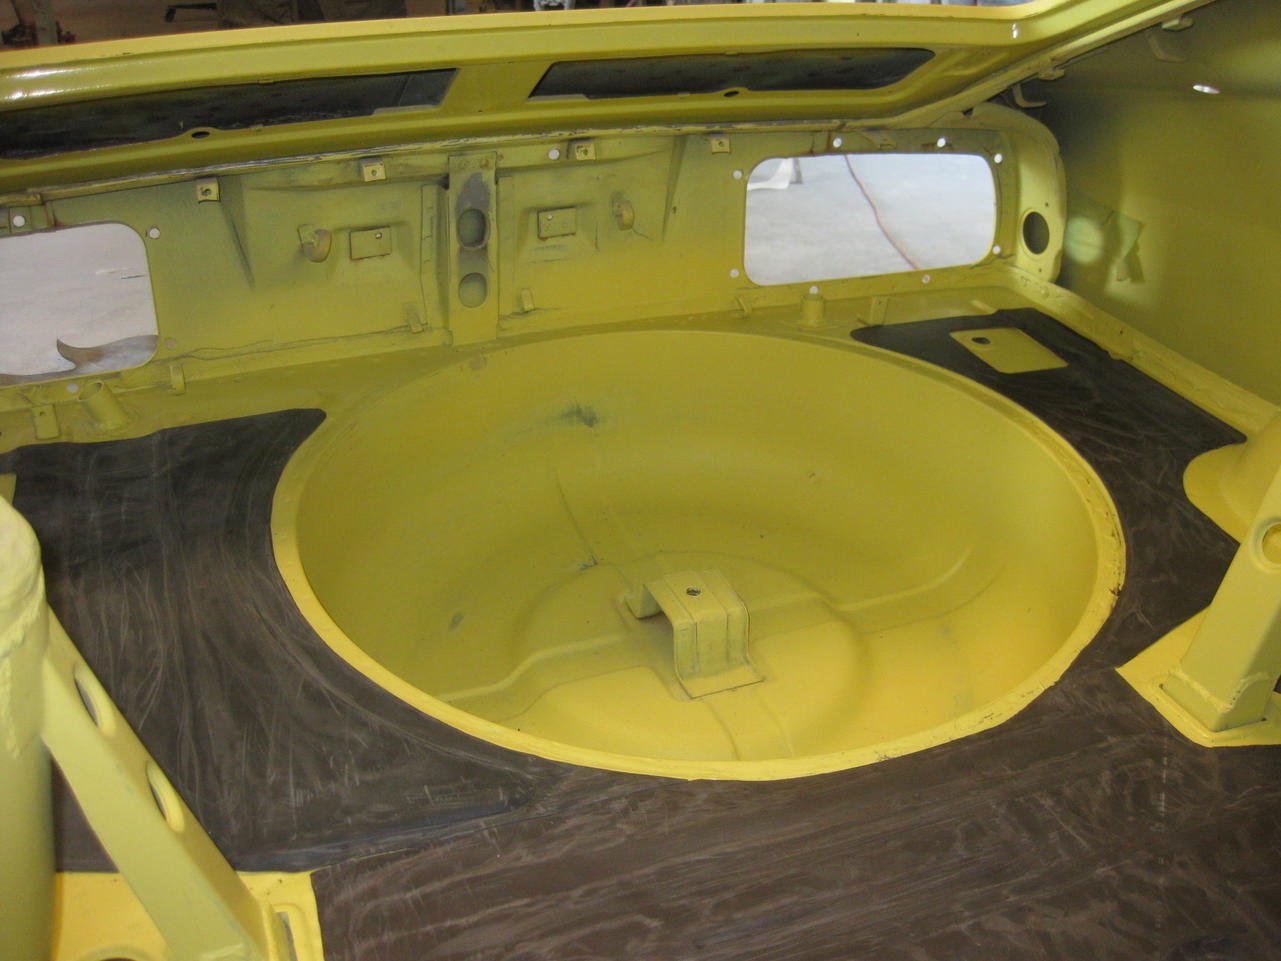
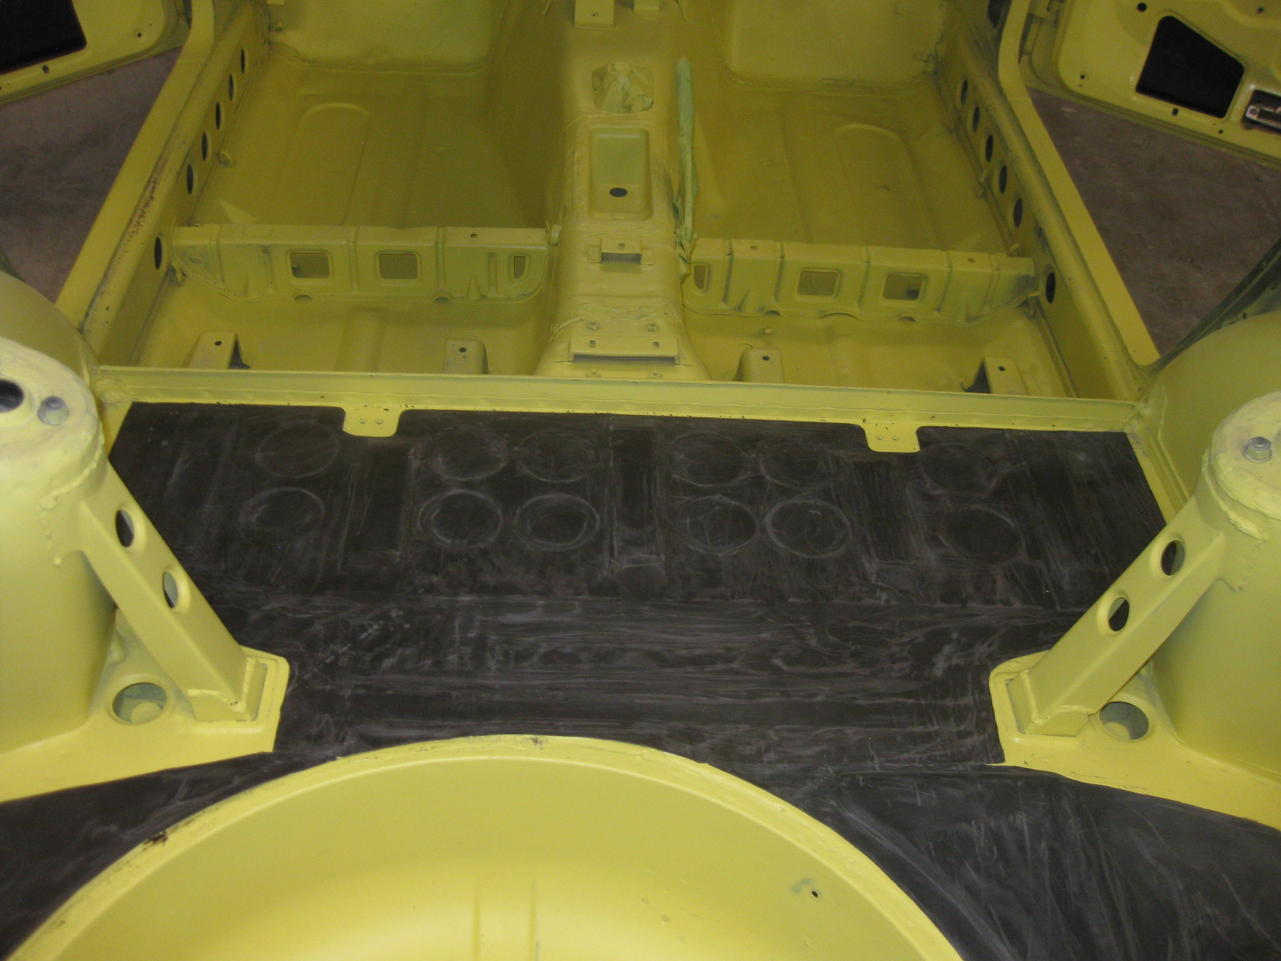
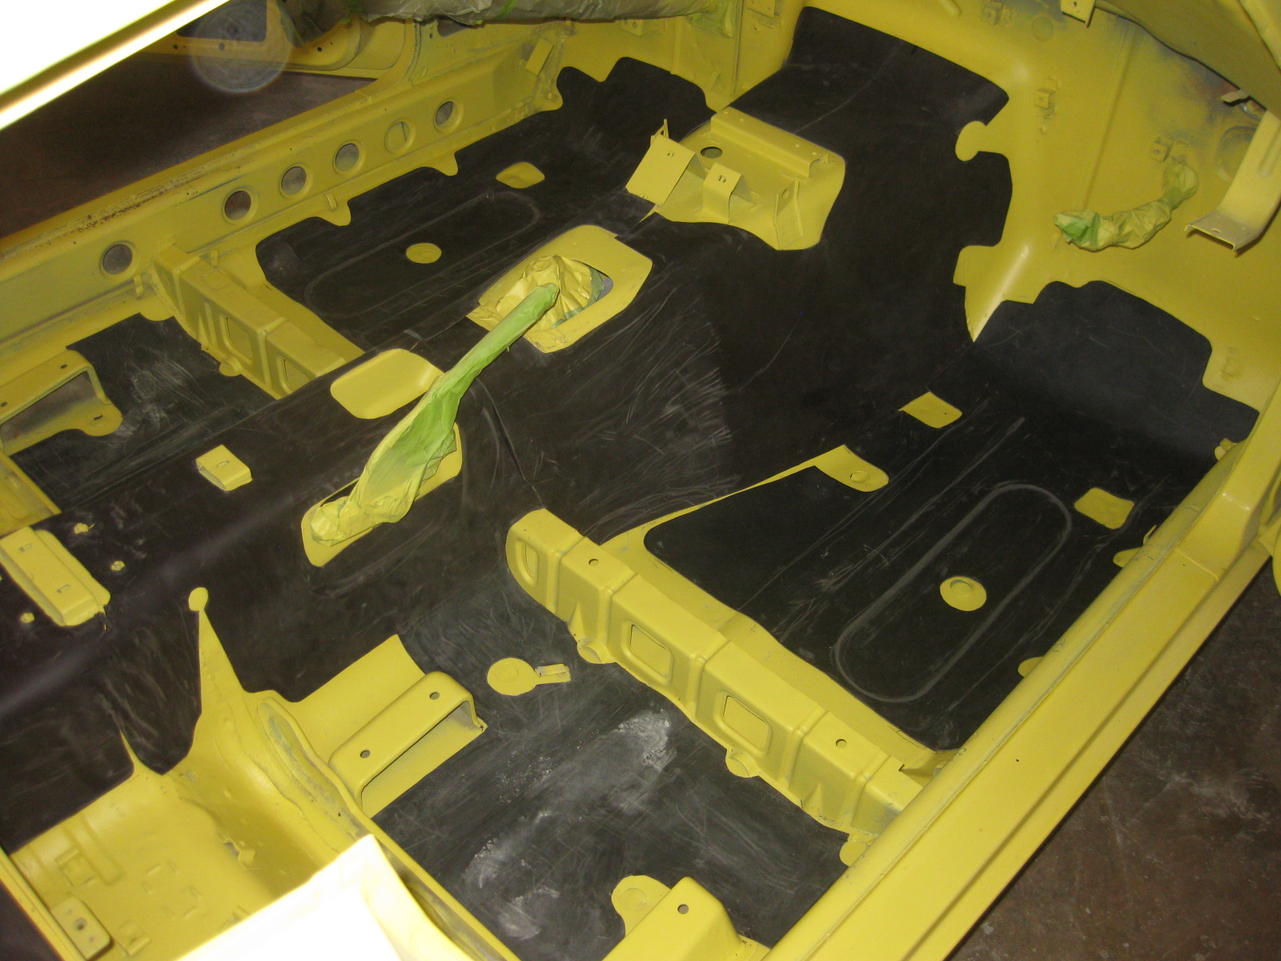
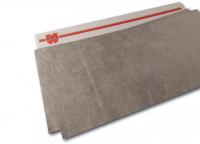
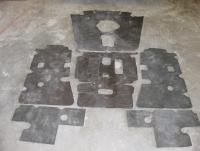
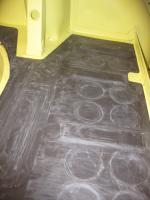
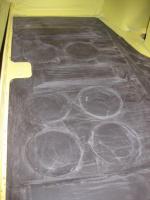
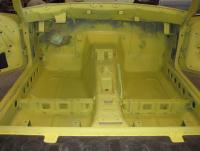
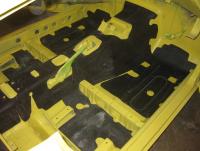
1 pointAfter 8 years of fits and starts restoring "Buttercup", a 7/70 build date 240Z (#7032) it has come down to the interior, which was completely stripped and the old tar mat removed. While "Murdermat", "Fatmat", and the like are what are commonly used as upgrade/replacement--- I wanted the original deal--- as close to the factory fitment as possible. After lots of net searching I finally found what I thought would be as near the original asphaltic mat as I was apt to find. I bought the mat from AutoAtlanta FOR PORSCHE: WU890100, WU8 901 00 - READY TO SHIP - (WURTH FLOOR PAN TAR SOUND DEADENING INSULATING KIT) , a purveyor of restoration parts for Porsche autos: I used a roll of rosin paper to trace the original floor mat outlines---- from the interior of another '70 240Z I had purchased as a parts car---- and cut out the patterns , traced it again and cut the new mat out with scissors. Here's how that looks: Next I proceeded to install the mat using a heat gun and a couple of hand tools to shape the mat to the sheet metal contours of the floor pans, transmission tunnel and rear hatch floor: The mat has an adhesive and a release paper and when heated can be formed easily to the contours of the metal. It took several hours to create the patterns and do the install. I deviated from installing the mat on bare metal by painting all of the interior first, but the mat will be painted the body color as was done originally with a complete re-spray of the interior . All in all I am satisfied with the product and offer this to assist to anyone wanting to do the same in the restoration of their Z. Paint should follow in the next few days and I will post up a few photos when that has been completed. Jim D. "Zup"


 1 point
 -
Don’t want to place a valuable supplier on notice when it could have been something I missed. I did try everything to keep them from binding.1 point
-
Not sure if you mentioned the Silvermine package in one of your threads (it's hard to to follow along when you start a new thread for each sub-project), but if it's one with adjustable control arms you could also widen the track to get clearance for the axles. That's what some people do. And, since I'm here, might as well say that the u-joint halfshafts are actually pretty strong, Lots of guys run them with high HP Chevy small blocks. The CV axle swap was a neat idea when people were using Nissan CV axles but I'm not so sure that aftermarket Trakmotive axles are better than Nissan u-joint halfshafts. Not trying to be a buzzkill, just pointing out the aftermarket problem. That is also something to keep in mind if you run the u-joint shafts for a while. New aftermarket u-joints are probably not better than used Nissan u-joints. Anyway, looks like fun.1 point
-
Well it's holiday season. First i was away for two weeks enjoying the sea, now my bodyshop us running on low flame, so the recent progress is a bit slow. Also because they have to finish another nice project for another customer first. Here's what happened in the last few weeks. The inner wheel tub has been repaired on the inside and outside visible part, as well as LH inside trunk area which my previos bodyshop messed up a bit. The rusty swiss-cheese bit which you still see is the part from the rear quarter, which will be replaceed completely with the NOS piece in my posession soon. The main task is to rework the KFV side sills before putting them into the car. Generally their part is as close to OEM specs as it gets and fit really excellent, but these are somehow quite off in all directions. We made several templates to compare them to the OEM ones and nothing fits. so my bodyshop has to rework them. I'm a bit surprized as their stuff usually is really ace, but these not, on both sides. I tried to reach out to them with many pictures and measurements but haven't got any feedback, sadly. So the only thing we can do is rework them. Any bodyshop will anyway tell you that usually not a single replacement panel is a straight-on swap, so it's not a big deal, but some extra hours. And he had to go to a different shop which has a longer metal-scissor long enough to gut this pieces: On the already finished part, their in-house paintshop had the finished area sanded down and primered so it doesn't start to rust in the summer heat. That's it for now. I expect a pallette of goodies from Japan here mid-august and i have put an eye on a nice collection of parts, but negotiation will surely take a bit of time. wish me luck. And i hop in the coming weeks the bodyshop speeds up things a bit, when the yellow VW Bus in the background is completed (only small damage repair).1 point
-
1 pointThey fit just fine. Fuel profile is different (no surprise), but mechanically they mount identically.1 point
-
1 point
-
1 point
-
1 pointThe EFI relay is the top one in the relay box under the hood on a 78. The dropping resistor is located behind the wiindshield washer bottle.1 point
-
1 pointI agree - well done Kats! Articles like this are just what this site does best. You can get questions, personal experiences, debate, pictures, and finally a conclusion - all in one thread. Once it goes into the archives its a valuable reference for everybody. Its also great to see a thread tied up with a positive result. Excellent work. When I bought my project car ( a Fairlady Z-L produced in the second half of 1970, and very similar to Mr Yamada's car that Kats mentioned ) it was incomplete and many parts were missing. I won't be restoring it to its original specification - as its going to be a 432-R replica - but knowing what it WOULD have been like is a great help. Kats, I have a question in relation to Mr Nishi's thoughts that the original Jute might have been coated / painted / sprayed / dipped in some kind of fluid anti-rust treatment. From the scraps of remaining Jute on my project car, and the original Jute on my ZG, I can see that it is indeed coated in a dark and sticky fluid. This appears to have been applied at the Factory - and it is not caused by a leak! So are you going to attempt to replicate any of this treatment to your Jute pads? Maybe its best not to, as long as they are not going to get wet and you are going to make sure that all is well under your carpets. In my opinion, the coating is rather sticky and a little bit messy. All the best, Alan T.1 point