Leaderboard
-
Captain Obvious
Free Member9Points10,081Posts -
z3beemer
Free Member6Points169Posts -

Zed Head
Free Member6Points19,236Posts -
Patcon
 Subscriber
 4Points11,142Posts


Popular Content
Showing content with the highest reputation on 07/03/2023 in Posts
-
3 pointsMy thoughts on the matter are in the form of a complaint... I don't like the condition description of the parts. I find it deceptive. There is no mention that the part is 3D-printed, and in fact, I find it easily misconstrued as an original part. For example: "New: A brand-new, unused, unopened, undamaged item in its original packaging (where packaging is applicable). Packaging should be the same as what is found in a retail store, unless the item was packaged by the manufacturer in non-retail packaging, such as an unprinted box or plastic bag. See the seller's listing for full details." Of course it's new. Of course it's in it's original packaging (because since he made it, "original packaging" would be whatever packaging this guy puts it in). And of course it's the same as what's found in a retail store unless it isn't. Maybe it's just me, but I find it deceptive. I think the condition should be "New aftermarket 3D printed reproduction part.".3 points
-
3 pointsFirst Q - Depends on your definition of "needed". I've seen junk in those filters, so I consider them cheap insurance as a "last chance" filter. Would catch anything that comes off the inside of your fuel pump or the rubber hoses between the main filter and the bowl. As mentioned above, they are still available (for the round tops) and they're not that expensive. I'd run 'em. Second Q - No. And I doubt the real issue is the bushing. I bet the problem is more the shaft than the bushing. Once you wear through the hard chrome into the soft brass underbelly, it wears pretty easily. You comfortable with precision stuff on your lathe yet? Third Q - My (non-expert) method is to use a thin layer of rubber sheet (1 mm thick rubber gasket sheeting) on the jaws of your bench vice. The rubber provides a little stickier surface to grip the needle along with some cushion and compliance to spread the force. Grip up high, slight twist and pull. Don't chew your needles up with pliers.
 3 points
 -
2 pointsOn one the first starts on my 73 restoration project, I notice I didn't have any oil pressure showing on the gauge. I was pretty sure I had oil pressure because the engine wasn't making a lot of noise but shut it down just to be on the safe side. Using the forum, I was able to find out how to check to determine whether it was the gauge or the sending unit. Turns out it was the sending unit. I ordered a new one from Zcar Depot. I installed it and that took care of the issue. I started noticing a small oil leak under the car. I had a hard time locating the source but finally discovered it was coming from the oil pressure sending unit. It appeared dry around threads, but i removed it and sealed around the threads with permatex and reinstalled, still leaked, still dry around the threads, tried again using teflon tape, seemed to get worse but still dry around the threads. So i removed it again and figured it may be leaking around the back seam where the front and back portions of the unit come together. I did notice some oil there. On the bench, I injected some air into the unit and quite a bit of oil came out around the seam. I notified the guys at Zcar Depot and they were very accommodating (as usual) and sent me out a replacement. The first one they sent me was silver and screwed into the block very easily. I was able to get 3 or 4 turns on it before having to use a wrench. The second one was a Beck/Arnley brand and gold in color. I had a hard time getting it started in to the block and when I did I could only get about 1/2 turn on it and it was very tight. Here's what I did. The threads appeared to be 1/8"-27 NPT thread. I ran a tap in the hole in the block. It threaded in smoothly without the use of any tools. Then I ran a die of the same size on the threaded side of the sending unit. It took a little more effort but nothing excessive. I then buffed the threads on a wire wheel to remove any of the gold plated coating. I was now able to start it into the block hole about one turn or so. Using a wrench I would turn it one turn at a time then back it out, it was still pretty snug but seemed to be going in smooth and straight. I did this 4 or 5 times, turning it in a little deeper each time until it felt like it bottomed out (or was in as far as it would go). That took care of the problem andi the leak. I thought this info may be helpful in case others run into the same issues. The attached pic shows where the oil was leaking out once I applied air pressure to it.
 2 points
 -
2 pointsYeah, I'm no ebay jockey and was wondering about that. So it sounds like ebay asks you if the part is new or not and as soon as you say your part is "new", they fill all that in for you. I did browse through some of the feedback and it's clear that the guy is credible and trying to make things work. I just think it should be called out specifically somewhere that the parts are 3D printed repros.2 points
-
2 pointsIn fact there was little to no Cadmium plating on these cars. By the late 1960s the use of Cadmium plating in the Japanese domestic automotive and motorcycle industries was being severely restricted, for obvious reasons. Nissan used Zinc ('亜鉛' = 'Aen') plating to protect most of the steel parts on the S30-series Z, either with a 'Clear' (sometimes called 'Blue') passivated finish or a Gold (also called 'Yellow') passivated finish. The Gold passivate is Hexavalent Chromium.2 points
-
2 pointsBy the way those filter screens are readily available. I think I got mine online for like $1 a piece.2 points
-
2 pointsAfter you remove the screw from the slide that holds the needle you can grab the needle up high right near the bottom of the slide with a pair of vise grips and twist it while applying downward pressure. Don't worry if you get some marking on the needle from the vise grip. That part of the needle never gets into the nozzle (jet). I would still soak it some sort of penetrating oil before attempting the removal. Acetone and automatic transmission fluid is cheap and works well. Use a 50/50 mix.2 points
-
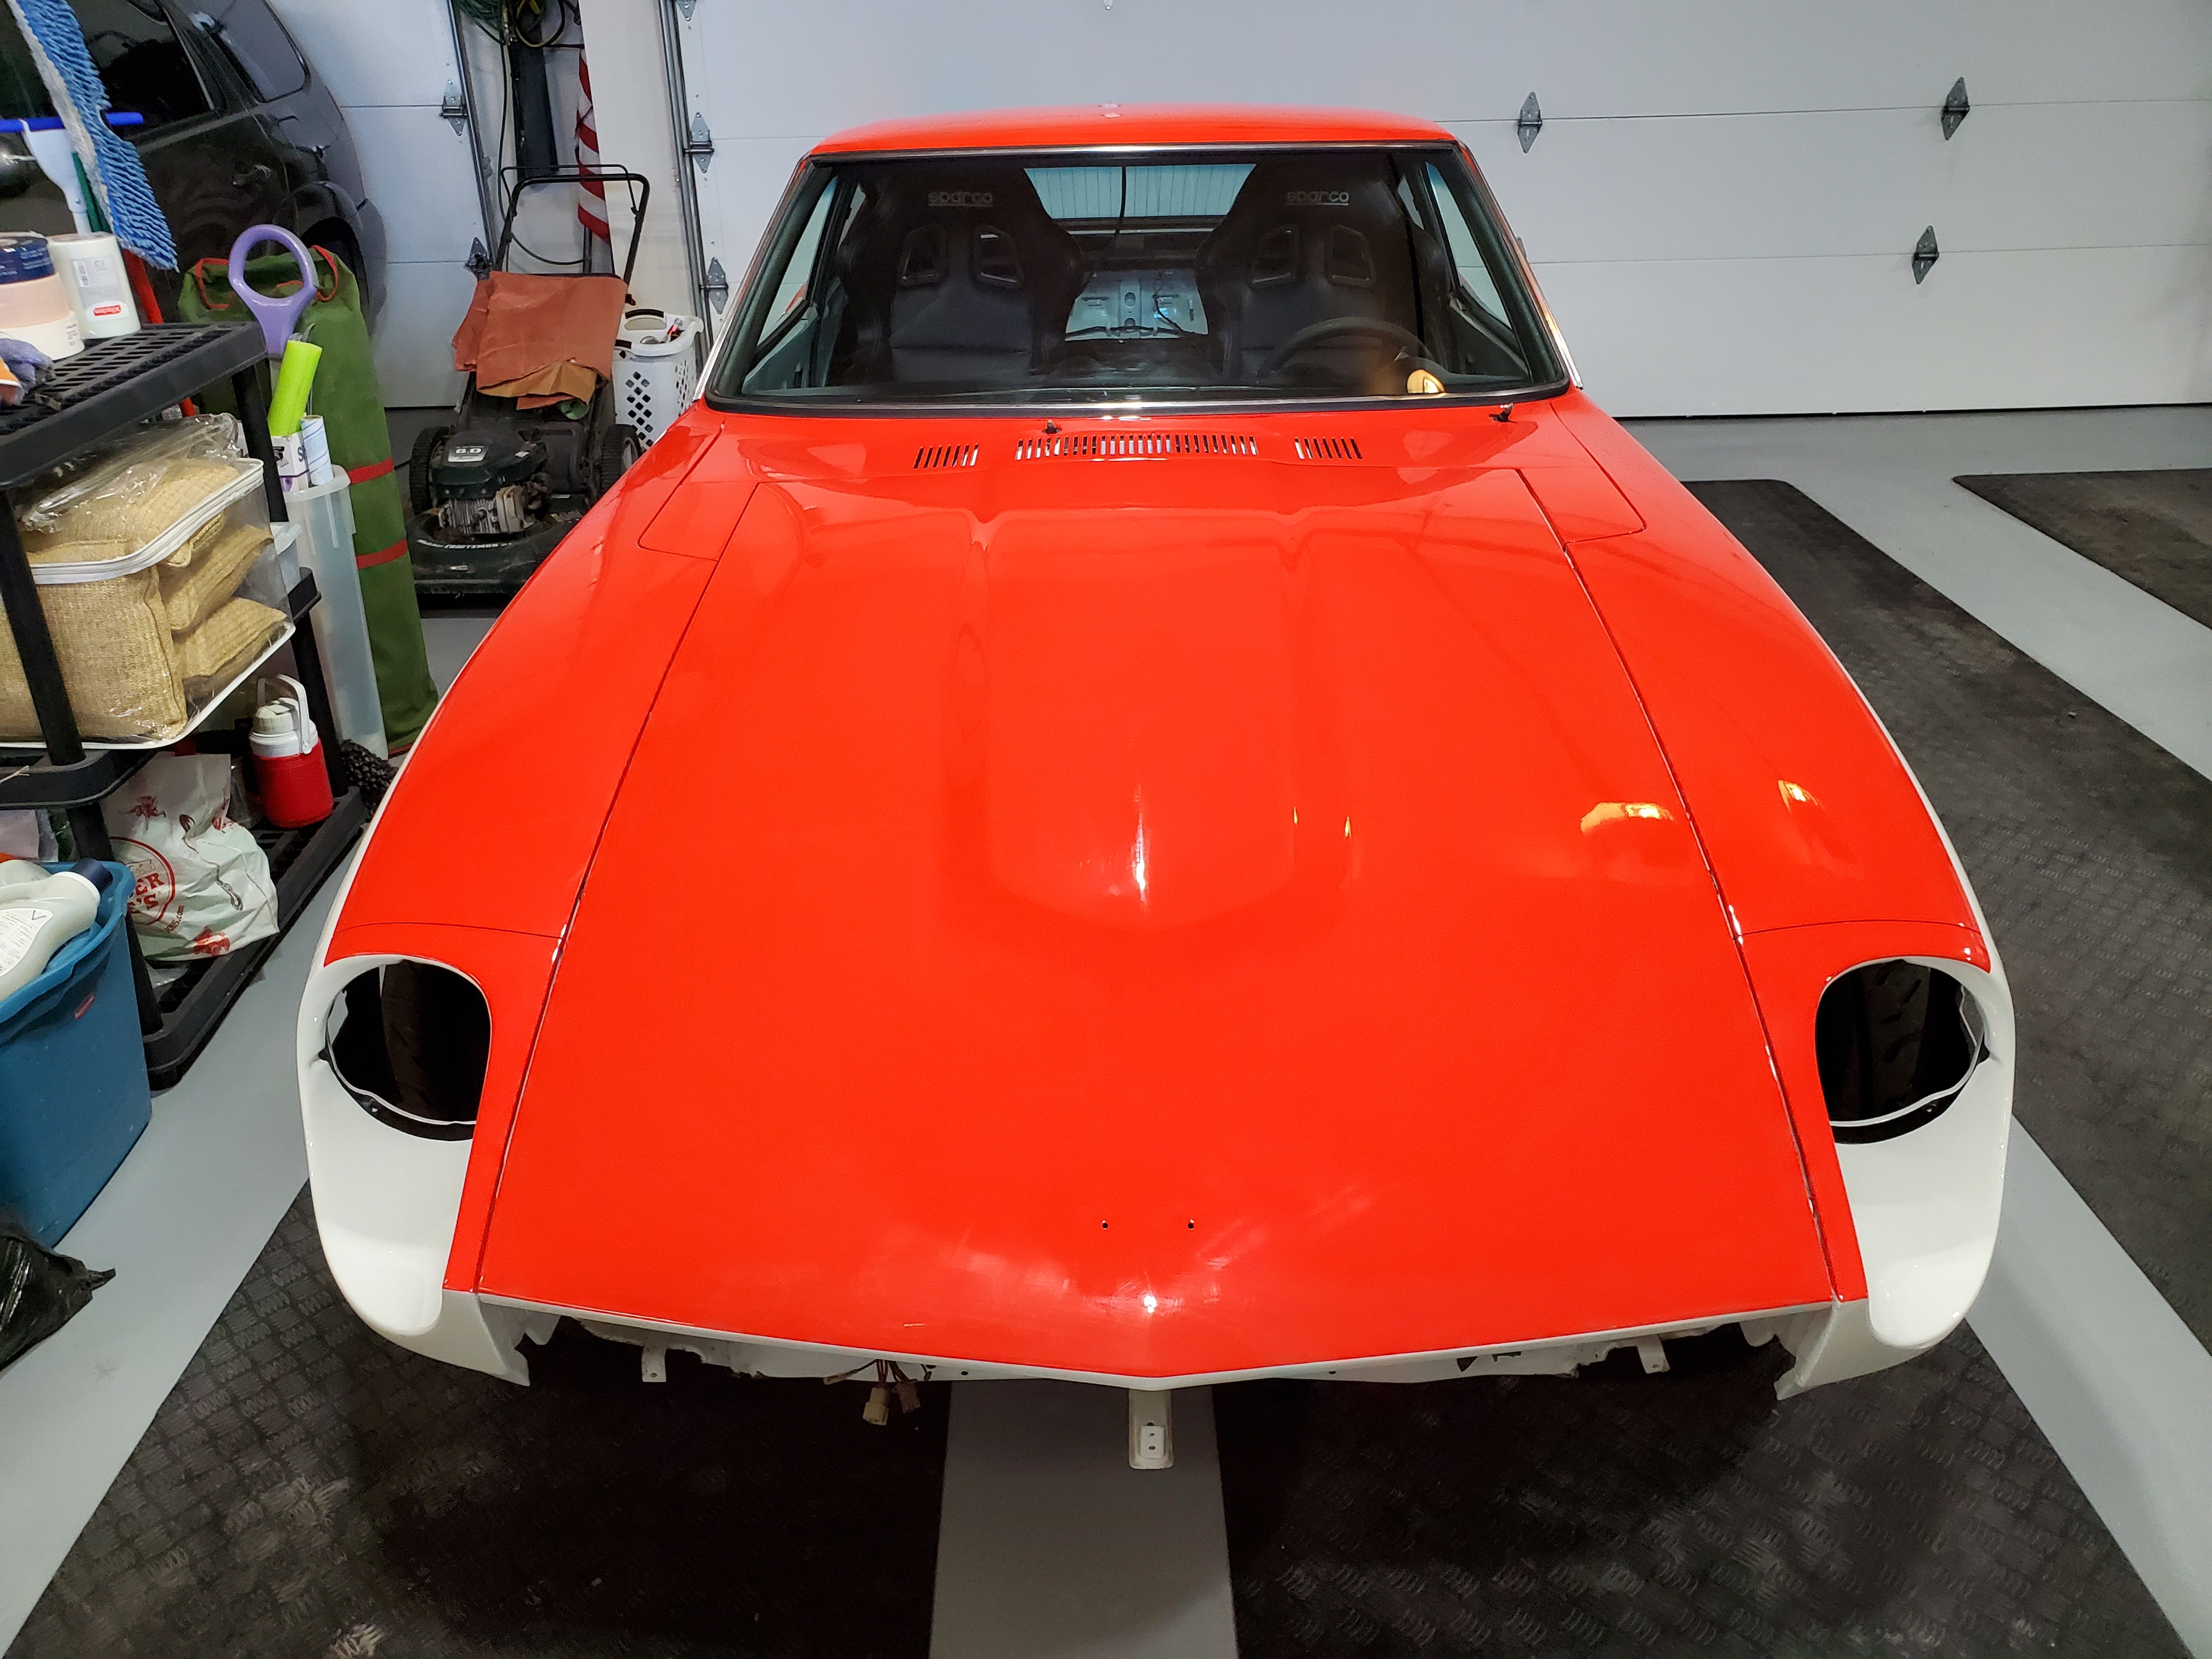
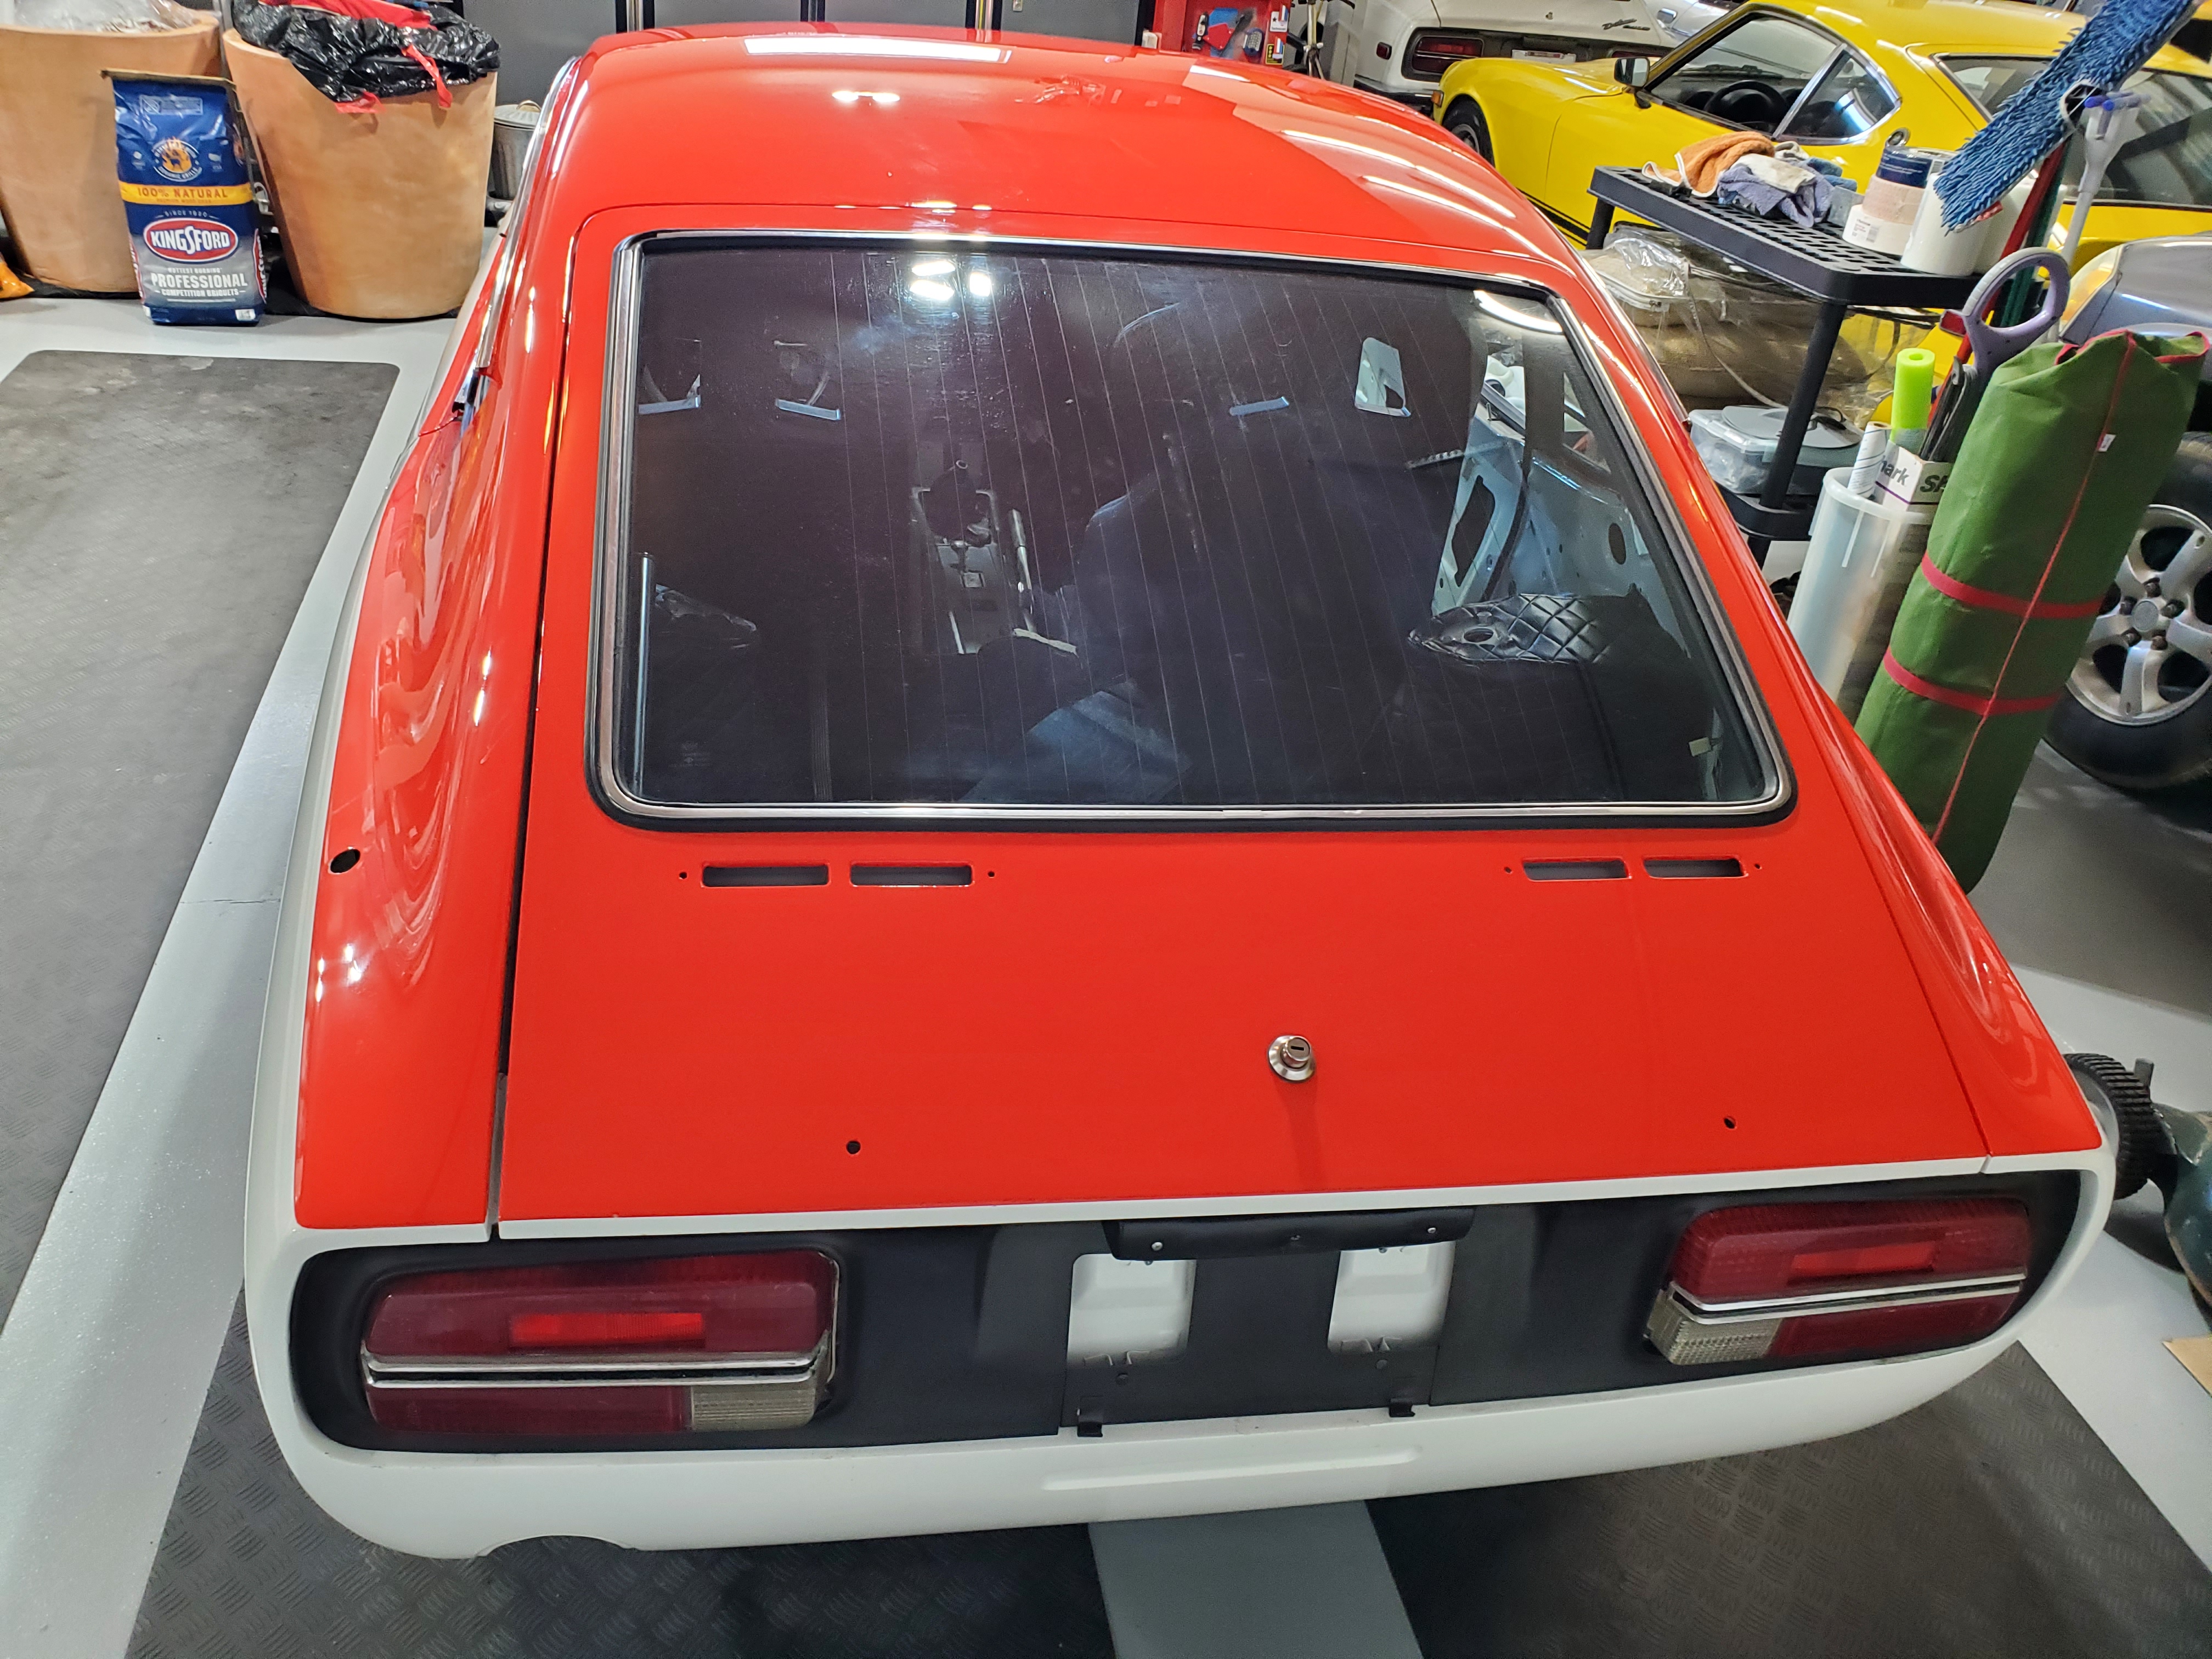
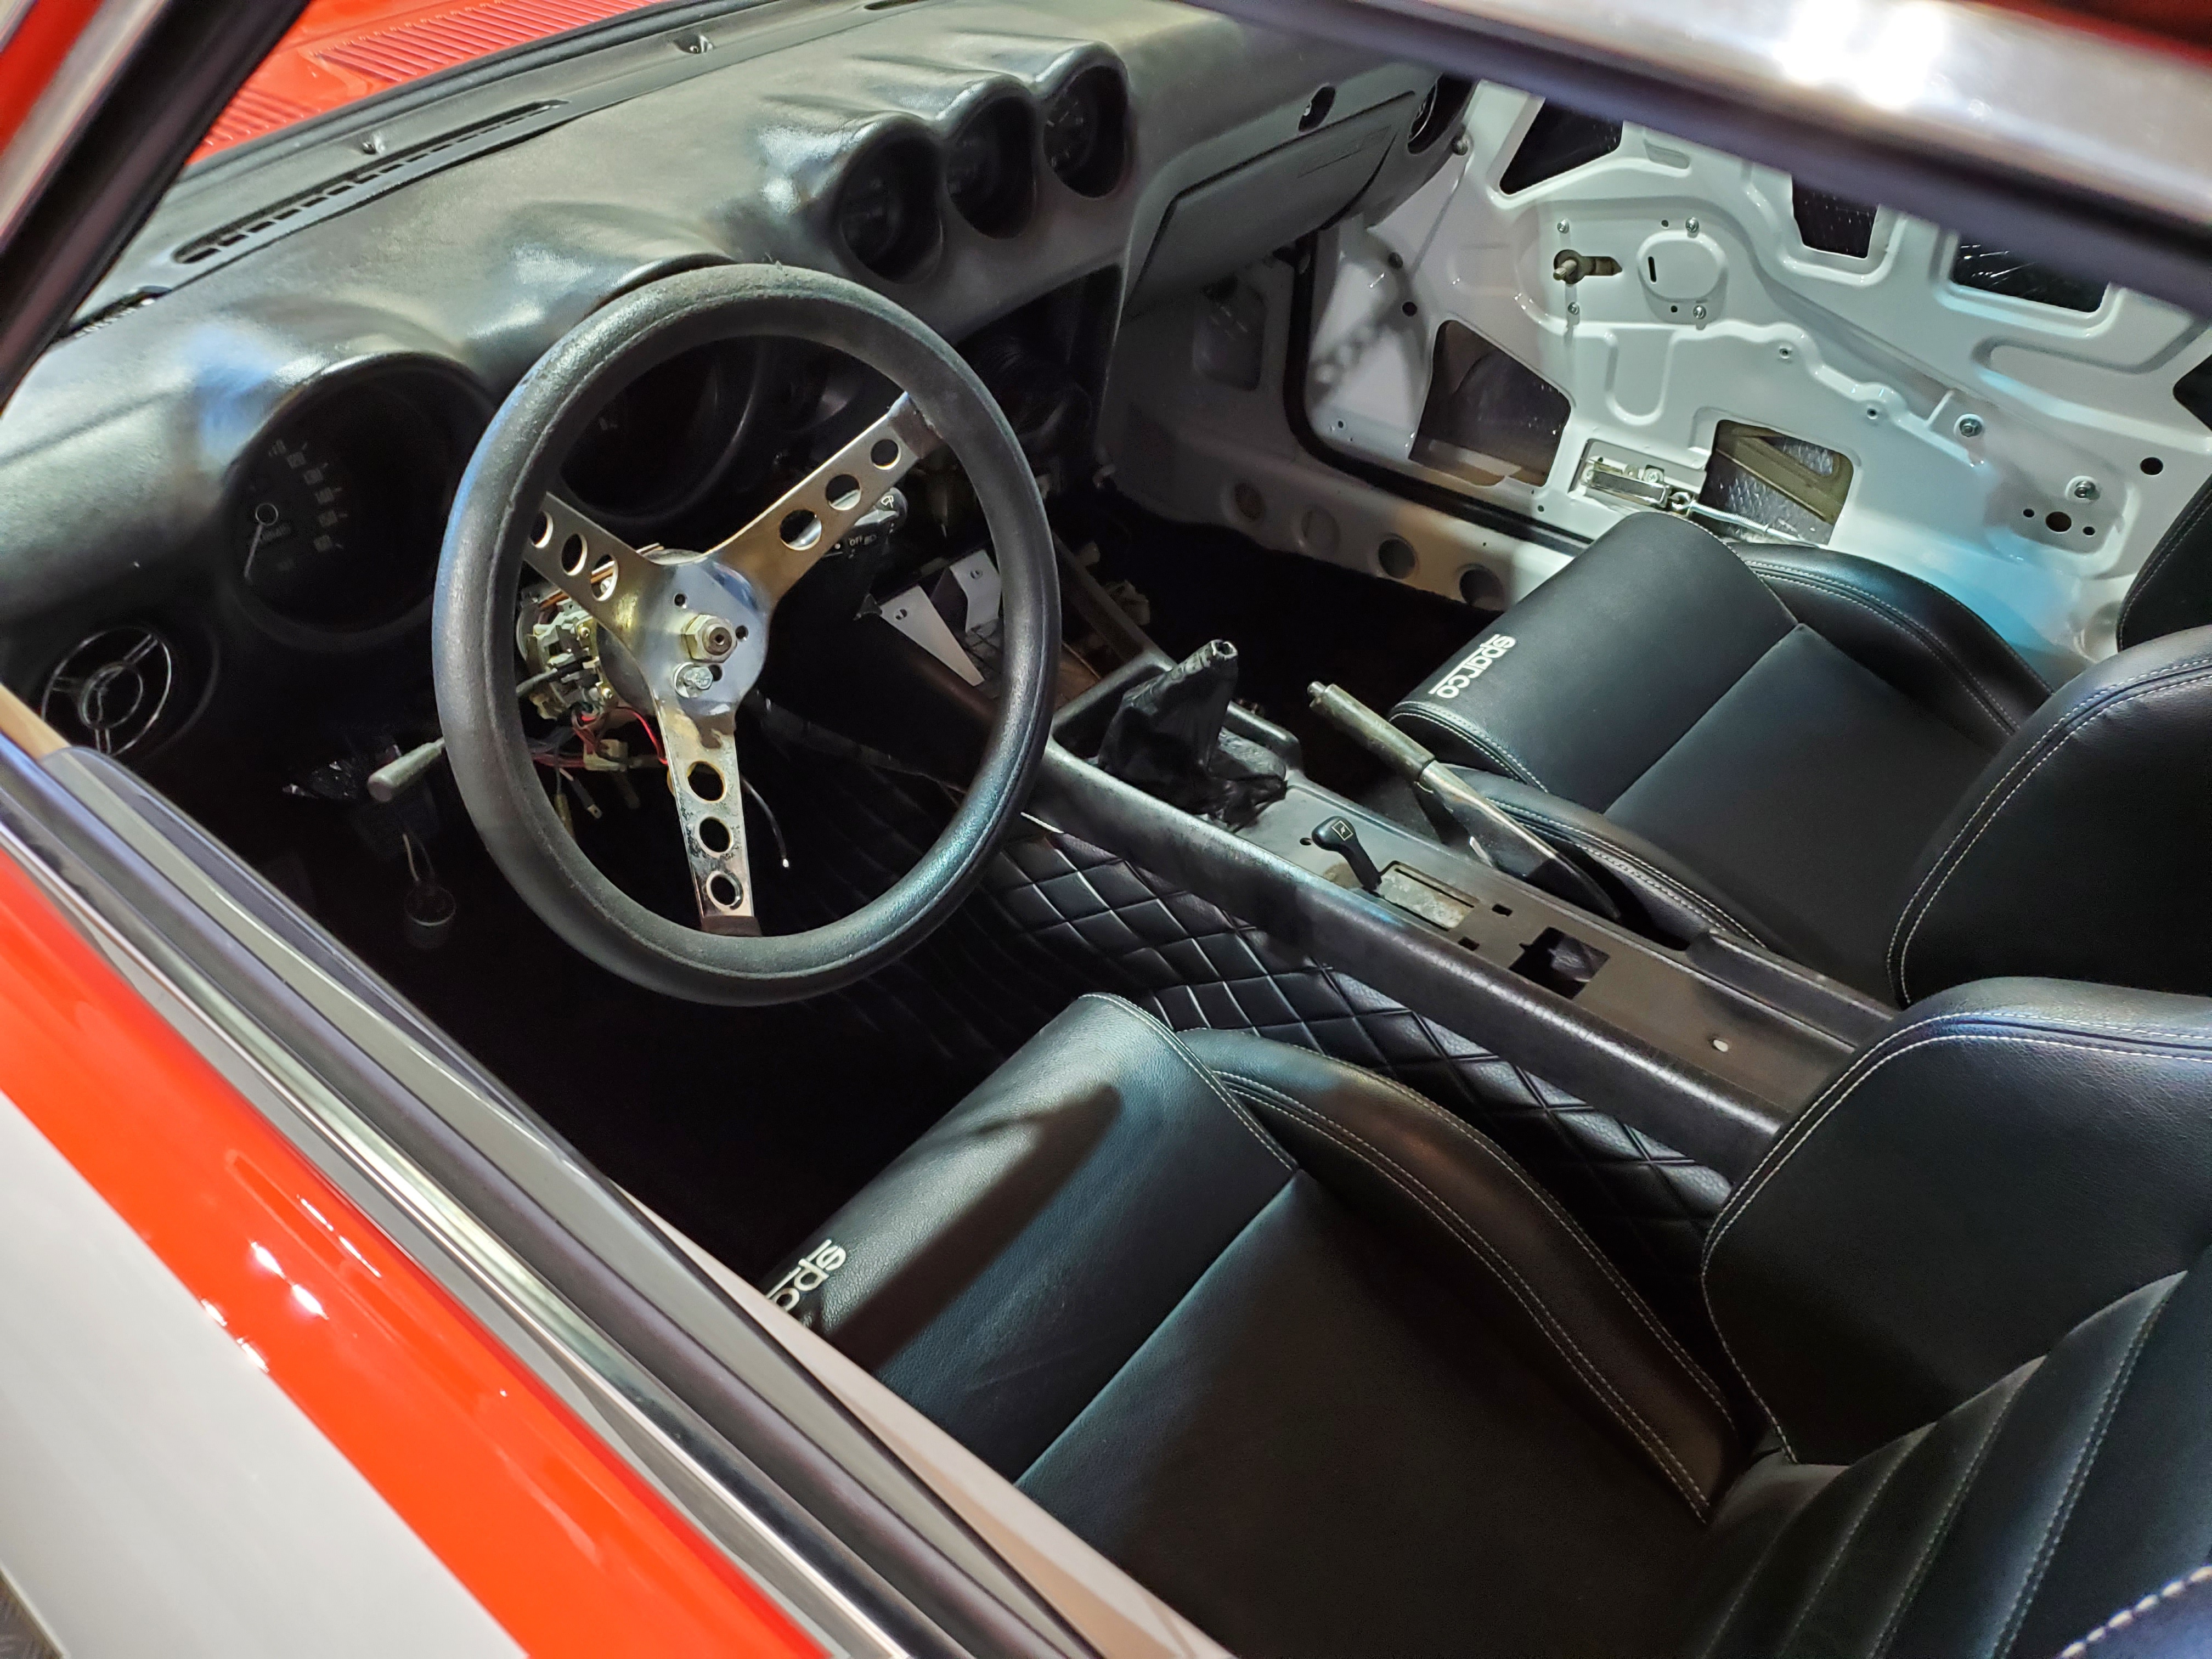
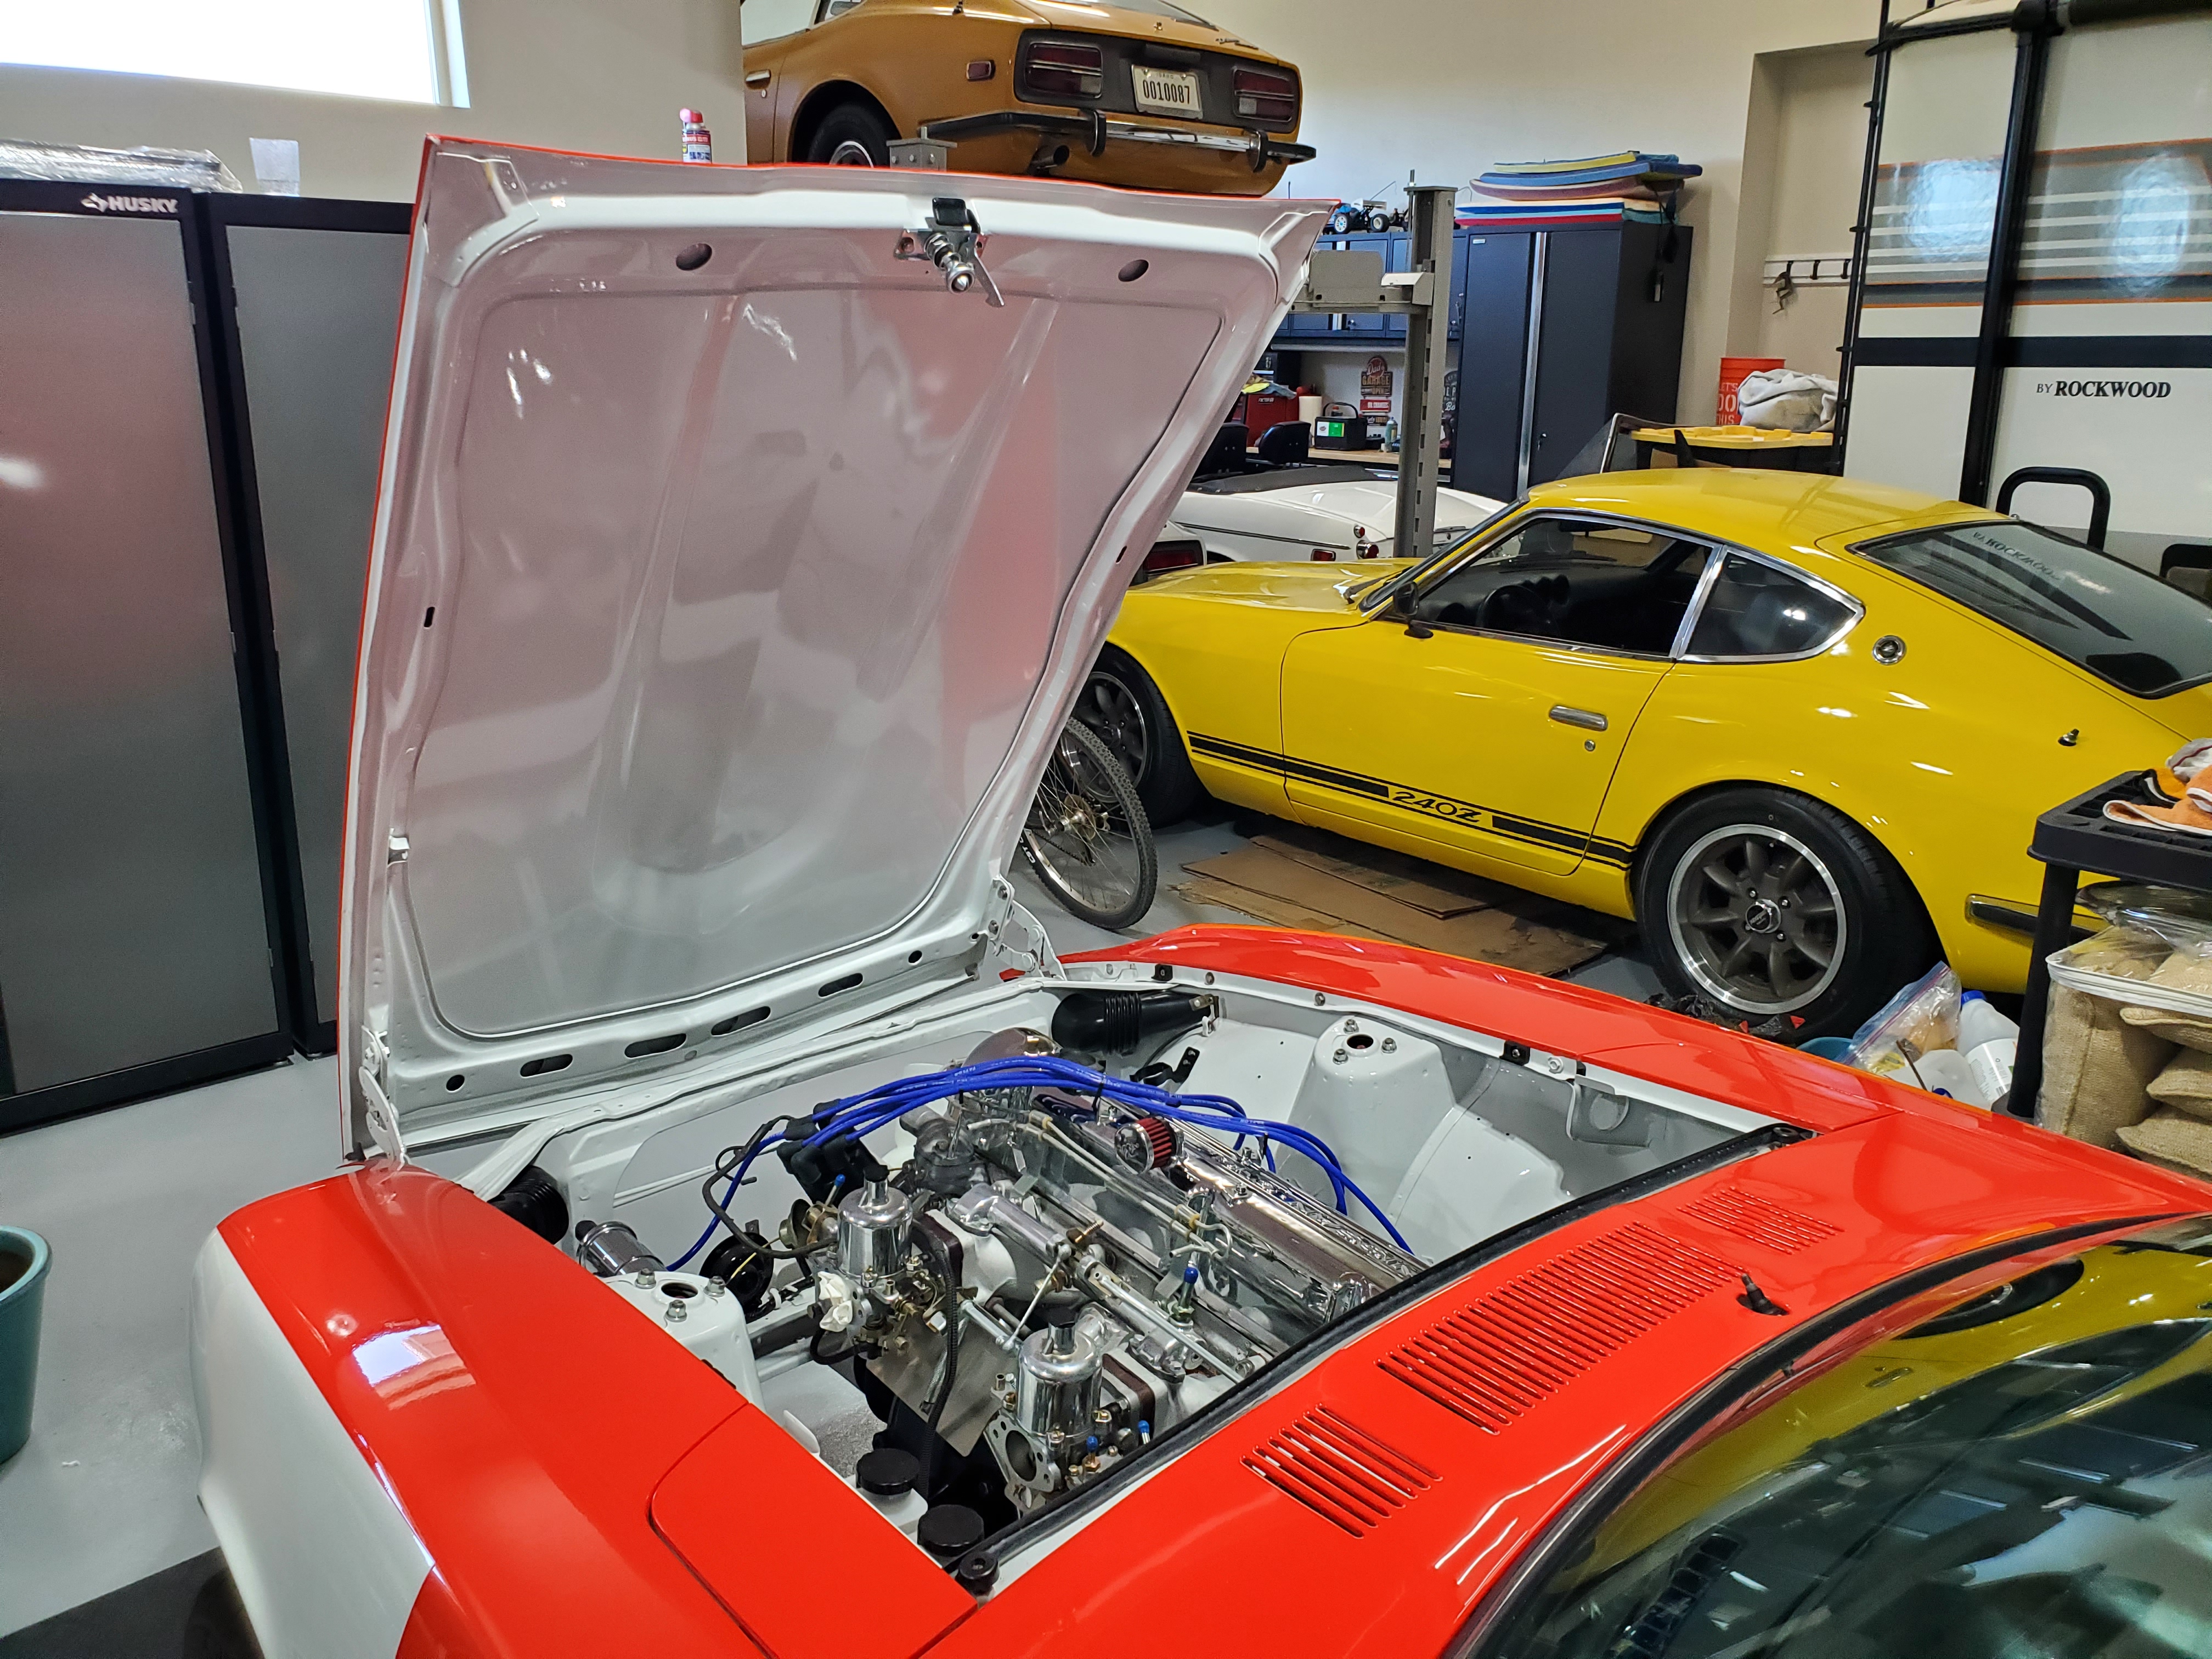
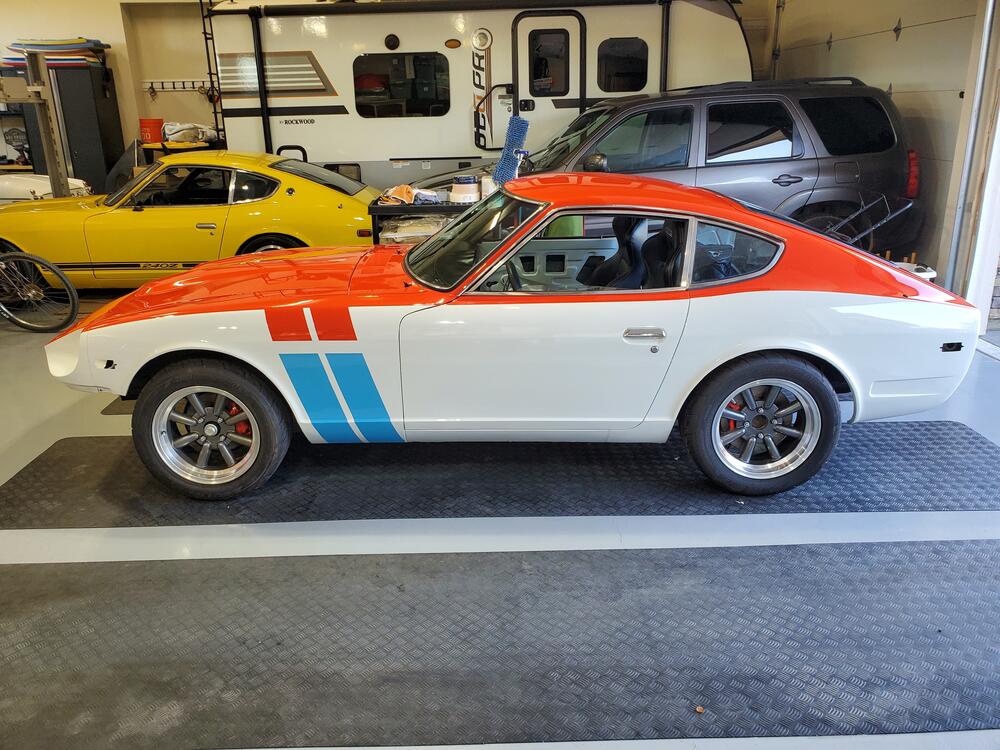
2 pointsThe paint job on this car is gorgeous! I love seeing this in my garage even though it is not mine. It looks right at home with my other cars. After a two year break, I am back restoring Z cars....in my retirement. I love it. I did some of the work on this Z back in San Diego for a good friend of mine (the owner). I helped install the motor and transmission, all of the glass, most of the interior as well as the electrical harness refurb and wiper motor refurb. To make a long story short, I moved to Idaho, the owner is moving to Texas and not much has been done on the car since I left San Diego. I was asked to complete the build by the owner which I am more than happy to do. So, I will blog my progress on the site here for both the owner and others to see. Some of the plans are to remove the current brake set-up and install the Z car garage set-up. Also, I will add air conditioning. I have done neither of these on my previous builds, but hope to get input from the group and installation videos as needed. So, car arrived yesterday evening. We unloaded the car and pushed it into the garage where I will do the work. Today, I just wiped down the car with detailer and microfiber cloth to clean off the dust on the car and the engine bay, also cleaned the windows. I aligned the hood and latch mechanism so that everything operates smoothly. Tomorrow, I will begin to tackle the electrical wiring. Most of the remaining parts are still in San Diego, but will arrive here in two weeks. Until then, I will clean up some of the items that are currently on the car. Here are a few pics


 2 points
 -
Fuel won't flow backward through the FPR. It's pushing on a tiny little area. Hydraulics.
 2 points
 -
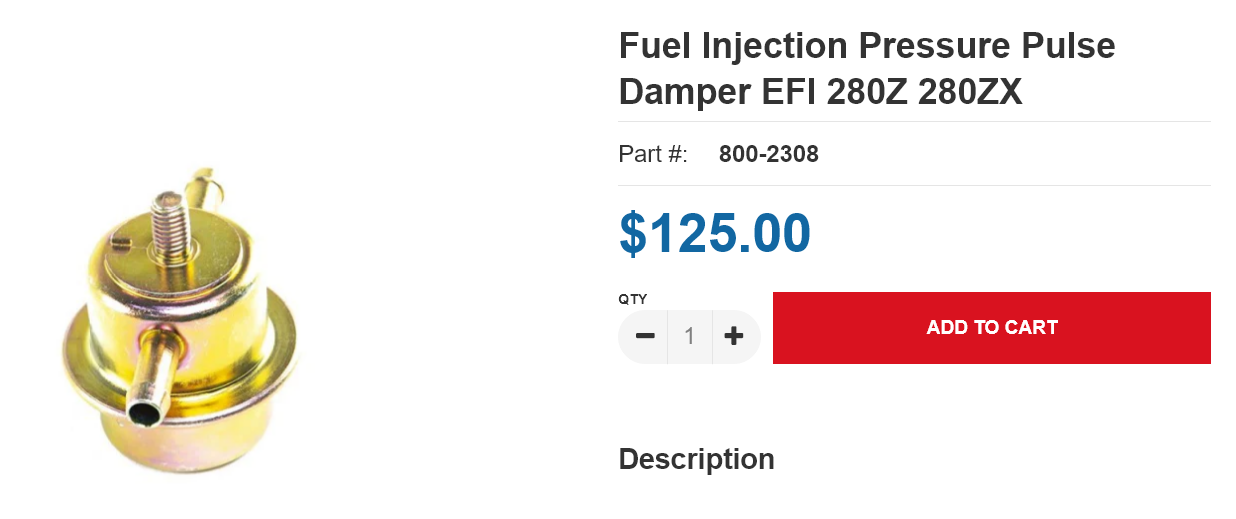
Maybe just saving some money? Didn't have spare hose or tubing? Had a spare FPR laying around and needed to stop a fuel leak so he could sell it? There was a thread in the past about alternatives. They're out there but if you go to the Z specific web sites, that looks like a quick and dirty good idea. https://zcardepot.com/products/fule-injection-pressure-pulse-damper-efi-280z-280zx
 1 point
 -
1 point
-
Are you absolutely sure the problem is fuel delivery, and not ignition? Using a fuel pressure gauge you should be able to confirm or eliminate fuel delivery as the culprit. Using a timing light, and a tach/dwell meter you should be able to confirm if the ignition system is performing as it should. When the mechanic had the tank out to replace the fuel gauge sending unit, did he not clean the tank and asses its condition? Also, there should be a nylon sock on the fuel pickup in the tank, sometimes they get clogged with debris and rust. Also, an observation. Are the short rubber hose bits from the fuel rail to the injectors original to the car? If so, they should be replaced. Many fuel injected Z cars have caught fire when these fail and fuel is dumped onto a hot exhaust manifold.1 point
-
Siteunseen, Thanks! the pre-filter seems like a great idea and cheap insurance to ensure the crap in the tank gets captured before it makes its merry way to the engine fuel filter, or worse, to the injectors. I did try to squeeze the supply line while the engine is running, it is very difficult to squeeze. My next step is going to be the Fram fuel filter at the tank. Hopefully that resolves my problem. If not, I guess I will continue troubleshooting. I'll update once that is completed. Paul1 point
-
1 pointI doubt the needles in the replacement kit were the correct profile.1 point
-
1 pointThanks guys, I got the needles out, cemented in with gasoline varnish.1 point
-
1 point
-
1 pointI've got some magnetic rubber vise pads that might work good for the needles.1 point
-
1 pointCan’t comment on the banjo question but the needles on all 3 sets of my carbs just slide out when undone. I strongly suspect you are battling corrosion. Just use the usual penetrating oils etc and soak then gently try to move them out. Good luck fella.1 point
-
1 pointThat I don’t doubt for a second - I just don’t trust eBay and other sellers to be doing that level of attention to detail / design. So my point really is more about being clear about the standard to which these things are made.1 point
-
1 pointRegarding the stainless lines. Classic Tube ships the lines in a cardboard box, about 3.5 feet long. Since the longer lines exceed this, they have “shipping bends” which must be straightened out prior to installation. I found it easy to do, following the provided instructions. Also, I didn’t find it any more difficult to tighten the ends, using my calibrated from years of experience hands and flare nut wrenches. Classic Tube recommends 15ftlbs of torque. So if you have a crows foot flare nut wrench and a torque wrench, that is the best practice. Can’t recall if they specify the grade of stainless but I suspect they are using 301, which is malleable enough to not have the work hardening issues of other stainless grades. And the stainless polishes up mirror shiny for those who want more bling.1 point
-
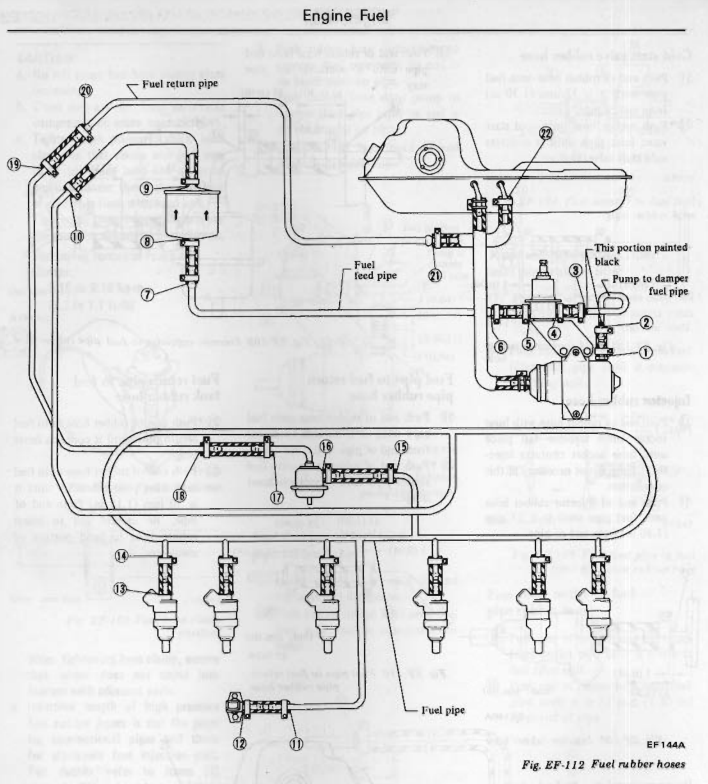
So the device on the BAT car is item 16 in this diagram, which would be mounted near the injector fuel rail, under the hood, not at the rear of the car downstream of the fuel pump.1 point
-
The bottom tube is for bypassed fuel keeping the pressure from getting too high, it's returned to the tank in a proper set up. Seems like we're discussing a very missed attempt to put an NLA dampener "looking" part on a high pressure fuel pump. The PO was going by looks instead of function. Had he searched he would have found an alternative. I thought we were talking about the BRE car.1 point
-
Maybe just spanning the gap between the old crusty hoses ends. Looks like a new FPR though. Strange. @zspert, that old braided fuel hose could blow, or just slow leak from longitudinal cracks, at any time. It's on the high pressure side. I remember that soon after I bought my car, after I had installed a new pump and got the car driving well, I was pulling out of my neighborhood and a UPS truck driver pulled up beside me to tell me that fuel was pouring out from under my car. A PO had used low pressure fuel line and it had split. Luckily everything was cold and I was within walking (running) distance to my house where I had some spare hose. I was able to squeeze under the car which I had parked next to the curb behind a strip mall to replace the hose and get it back to the house. I felt bad about the big gas stain on the pavement but at least there wasn't a pile of melted plastic and tire rubber.1 point
-
1 pointUnder my battery tray on my '72 acid had corroded those fuel lines beneath on the frame rail. Little pin holes but only short 4" or so sections. I cut the bad out with a small copper tube cutter then replaced with rubber fuel line and worm gear clamps. It's not permanent but that was in 2015.1 point
-
1 point
-
1 pointI don't really know. Pretty much all of the heat is on the other side as long as its not pouring out when it's running. It might even be drawing air in when it's running. I would replace the whole line if I could. Also liquid gasoline is really not that flammable. It's the fumes that are the problem1 point
-
1 pointHere's a clue about the quality of the typical reman alternator. Some of the repair parts cost more than a whole reman. https://www.rockauto.com/en/moreinfo.php?pk=45765&cc=1209260&pt=4884&jsn=394

 1 point
 -
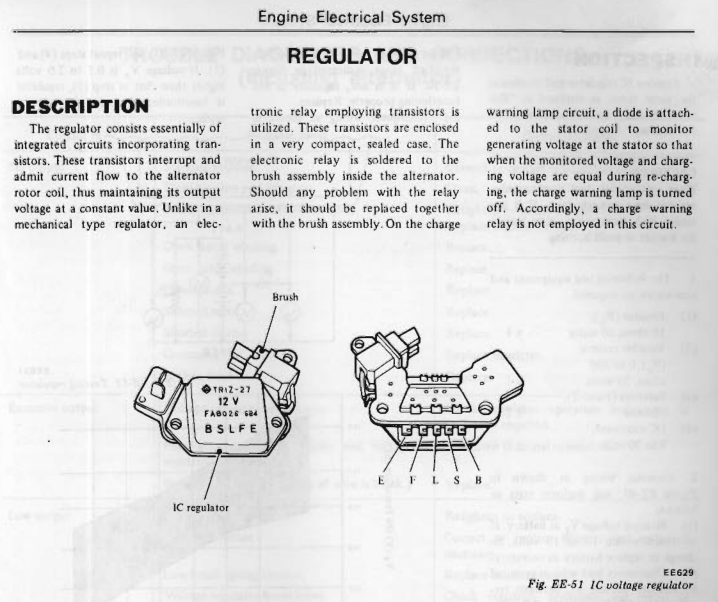
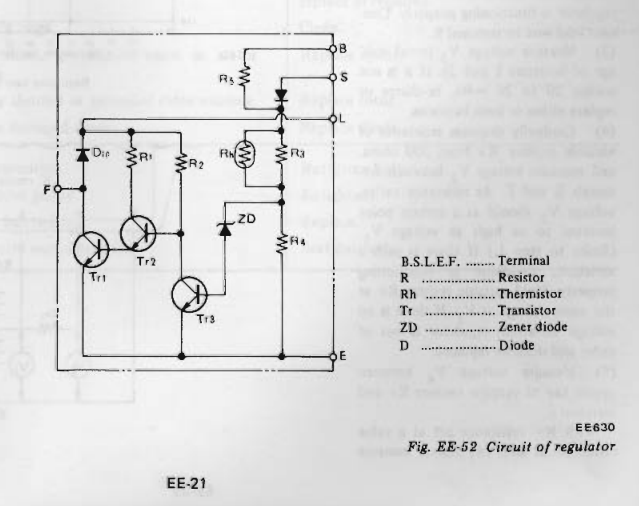
1 pointAlso, never really noticed it before, but Nissan put a nice description of the regulator in the FSM. They even supplied a circuit schematic. It's not my field but still pretty cool to ponder.
 1 point
 -
UPDATE: Sooooo..... you guys (and gals) are going to love this! :-) We finally gave up on trying to figure out the issue and we had a mechanic that we've had some history with, pick up the car and try to help us figure out the problem. Long story short, the mechanic noticed that the coolant level was really low (we lost a bunch doing the intake swap and other misc tasks). He filled that up, checked the calibrations on the AFM and TPS and a few other things..... car has run perfectly since. He's had the car for a week, letting it sit running to get hot, took it very several rides and never had one problem. Apparently the temp sensor was throwing some ugly info back the ecu since the coolant level was so low and once hot it had big time negative affects on fuel supply. He does believe the gauge we have on the rail is off as it's still only showing 20 psi, but I think he did put the gauge right after the fuel filter and was at 30 psi or more. 4 weeks of BS for low coolant level. Pretty amazing!1 point