Leaderboard
-
jfa.series1
 Subscriber
 6Points2,734Posts
 -
.JPG.cfcada9cf1c1b502df3f5f2f2ca3ff36.JPG)
SteveJ
Free Member5Points9,646Posts -
conedodger
Free Member4Points12,516Posts -
emccallum
Subscriber4Points428Posts


Popular Content
Showing content with the highest reputation on 03/29/2023 in Posts
-
6 points
-
3 points
-
You could try pushing/burning the rubber out and hacksaw the sleeve, then heat and press out the sleeve. That will usually get them moving. Time consuming and you dont want to cut into the control arm. I have resorted to that a time or two.2 points
-
2 pointsI ended up taking it to a shop to get it done right. They replaced most everything. They did warranty it though so thats good i guess2 points
-
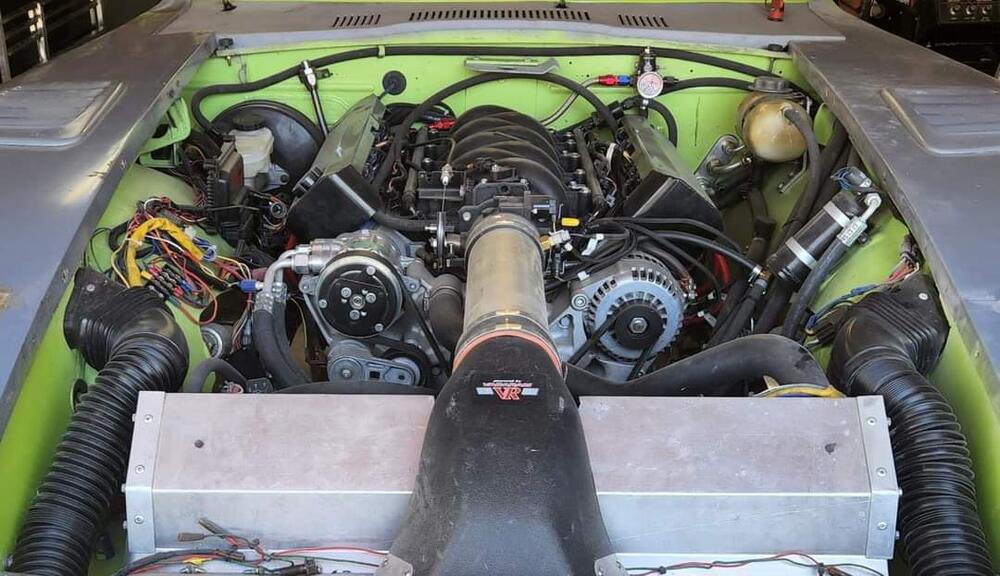
Just figured it was time for clean thread on this. I used a NTK25572 single wire O2 sensor for the ECU AEM wide band gauge and sensor for the read out Stock ECU, PRW-2 for the ignition transistor (and the correct transistor as well for testing). Aftermarket CAS (NTK) due to OE flaking out. the rest is all stock (turbo/CHTS/Knock sensor, Idle air control (vacuum modulator to control it), EGR.1 point
-
hmmm, did some more testing, put the bosch narrow band in, car runs like poo (goes super lean) back the the NTK, good to go. Guess the bosch is not the right one OR some cheap counterfeit deal. It was very low cost like 13$ IIRC guess you get what you pay for. The NTK was more like about 40$. I have the denso on the way, more video and testing to come when it arrives.1 point
-
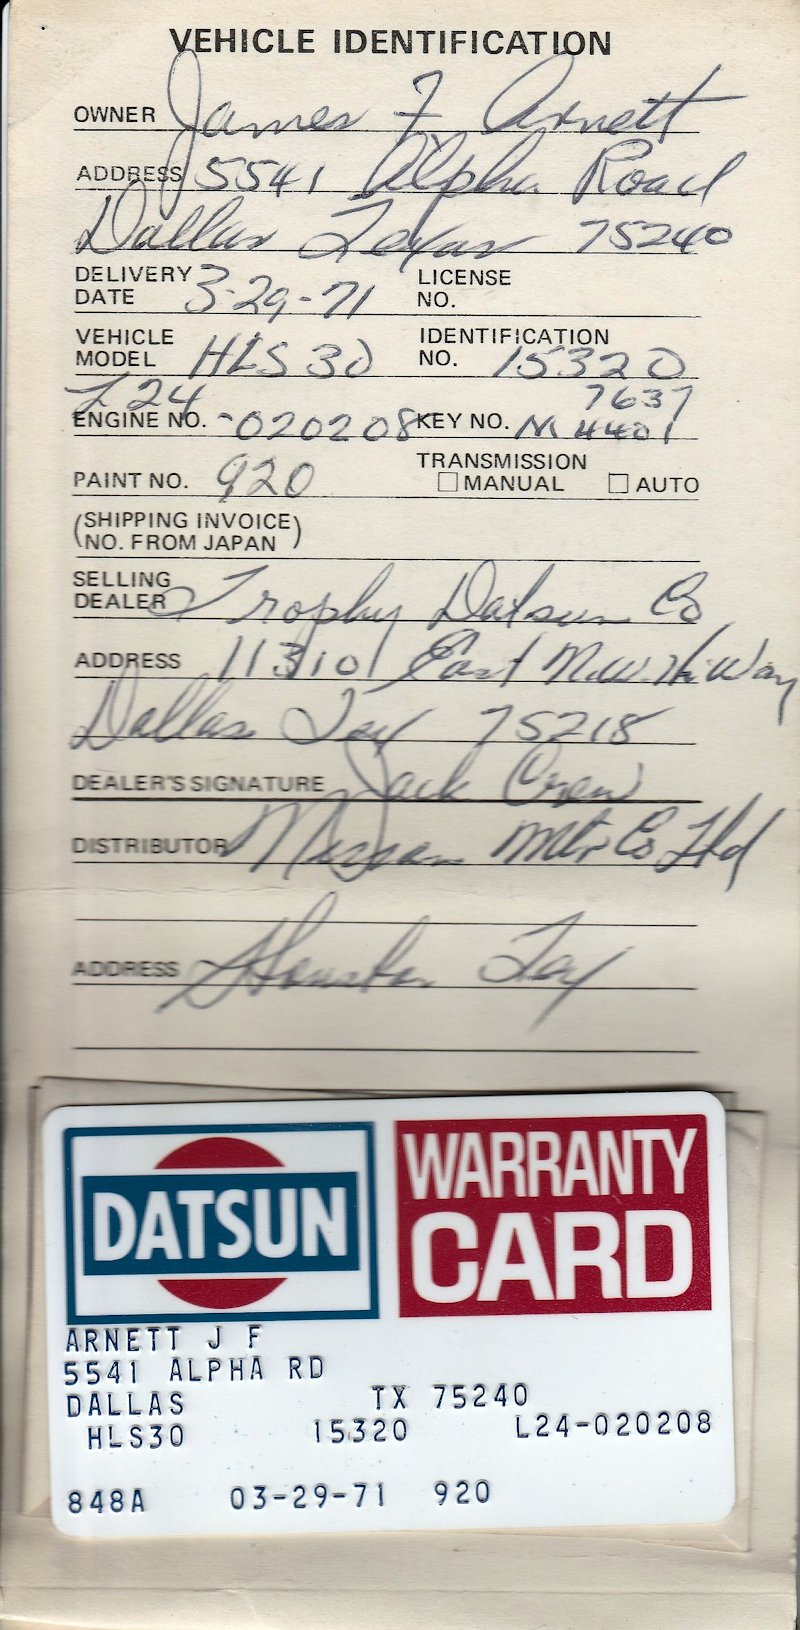
1 pointThanks - I actually printed that one out, since it had all the notes listed 🙂1 point
-
1 pointMaybe my message got him looking. I'm glad you're getting taken care of.1 point
-
1 pointI just reached out to Hung Vu on FB. He's having supply chain issues with the supplier.1 point
-
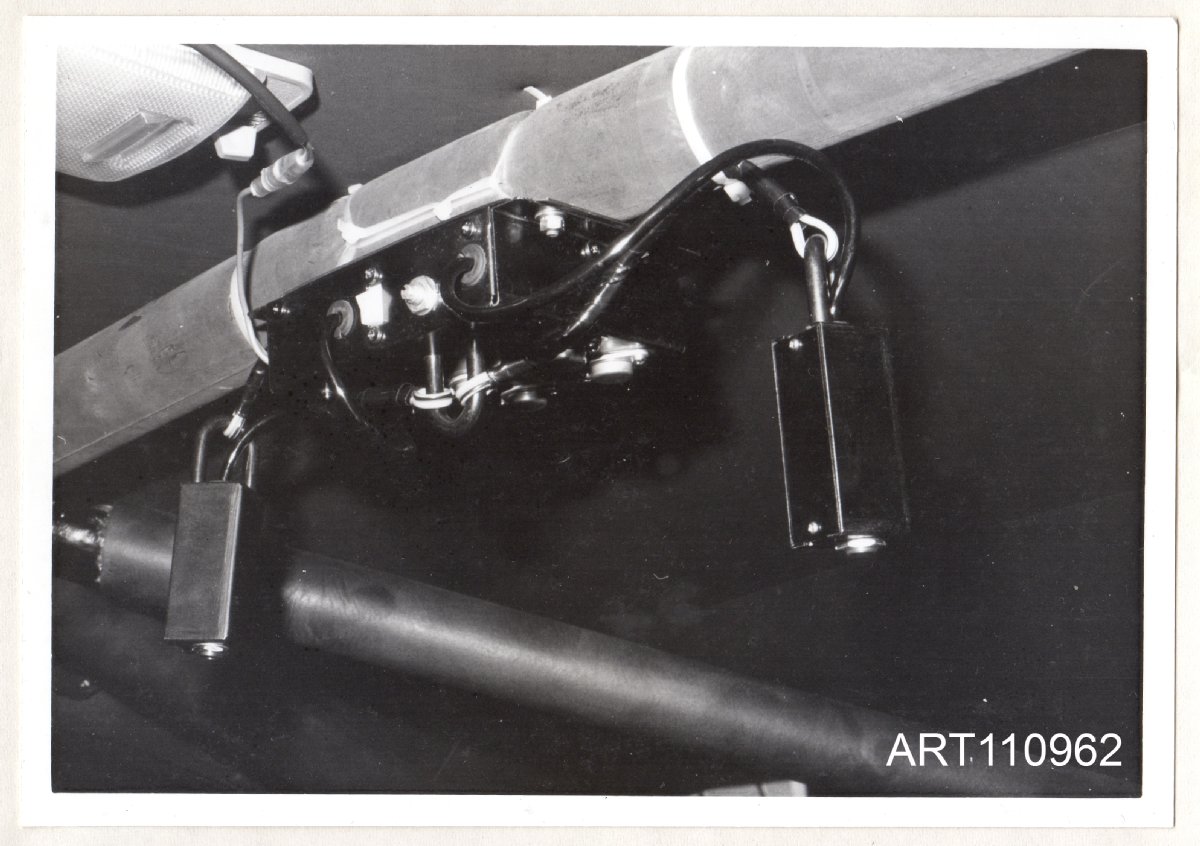
Hopefully not too much of a digression, but here's a photo of another iteration of the Teikoku Dempa/Clarion intercom/interphone box. This is an original period photo from a small hand-made booklet of data and advice put together by Nissan's Works competitions department at Oppama, and sent to the de-facto competitions department here in the UK in May 1974 (by then based at Nissan UK's Worthing HQ) with the intention of informing the UK competitions staff about details of the new P710 'Violet' Works rally cars which were - at that point - being shipped to them. The intercom/interphone unit is very similar to the one seen on '7924', which was built in mid 1972. It has the same volume control (interestingly, for a 'new' and supposedly unused car, the control knob appears to be missing as it is on '7924', which makes me wonder if they were prone to falling off, or just not fitted...?) and it also has the external 'floating' jack boxes, but with some extra belt-and-braces suspension for them. So, an indication that the Works team carried on with the same basic design well into 1974. I guess that Teikoku Dempa must have made a fair few of them?
 1 point
 -
Yeah, it sounds like you hit the limit of your press capacity. That's exactly how it feels when you hit the pressure limit. Why don't you give SteveJ's 20T a try? Always fun to have someone watch over your shoulder you as you sweat nervously while you have something under 19.5T of pressure.1 point
-
I suspect the U-joint spider is heat treated and would be difficult to drill and tap. Depends on how hard they made it. I know the tips where the bearings contact have to be quite hard. The body doesn't need to be that hard. but unless they selectively hardened the tips (inductive heating), the whole body would be hard. I'd hit it with a file first to see how hard it is. If the file just skates, it's a tough job to drill and tap that.1 point
-
1 pointI'm guessing that @Patcon uses the same "show me all of the new activity in the past 24 hours" feed that I do. And since they all occurred in the past 24 hours, all of them show up. Between the two recent topics, I get six of them. I thought you were having internet troubles and were getting duplicate posts. I certainly didn't think you did that on purpose. Before people replied to some of them and split them up, I got just about a whole screen of it! "Fairlady Z's topic in USA Eastern pic in USA Western y Z's topic in Canada d a topic in Canada a topic in USA Eastern in Maryland Z Club's Discussions"1 point
-
1 pointBack when I first posted, that was one of the first things I did but there was no change to the shaking. Definitely wouldn't rule it out for other people though.1 point
-
1 point
-
1 pointIt's a pastiche of one of the original World Championship of Makes stickers. Porsche were serial - consecutive - winners in that period:
 1 point
 -
1 point@Patcon you have a ton more projects than me! Thanks again for the help.1 point
-
1 pointI bought both sets of Rewinds from Discount Tire. They wanted $45 for the lug nuts but I found them cheaper. This was 2011 and 2015 and they were $25 or $30 back then from those guys on ebay. Exact same set with the same black extension adapter for tire tool or impact gun. Same wheels as Blitzed shows in post #33. I have them on my 240 and 280.1 point
-
1 pointErnest, You're killing me! I feel like I'm sitting still 😉 Looks great!1 point
-
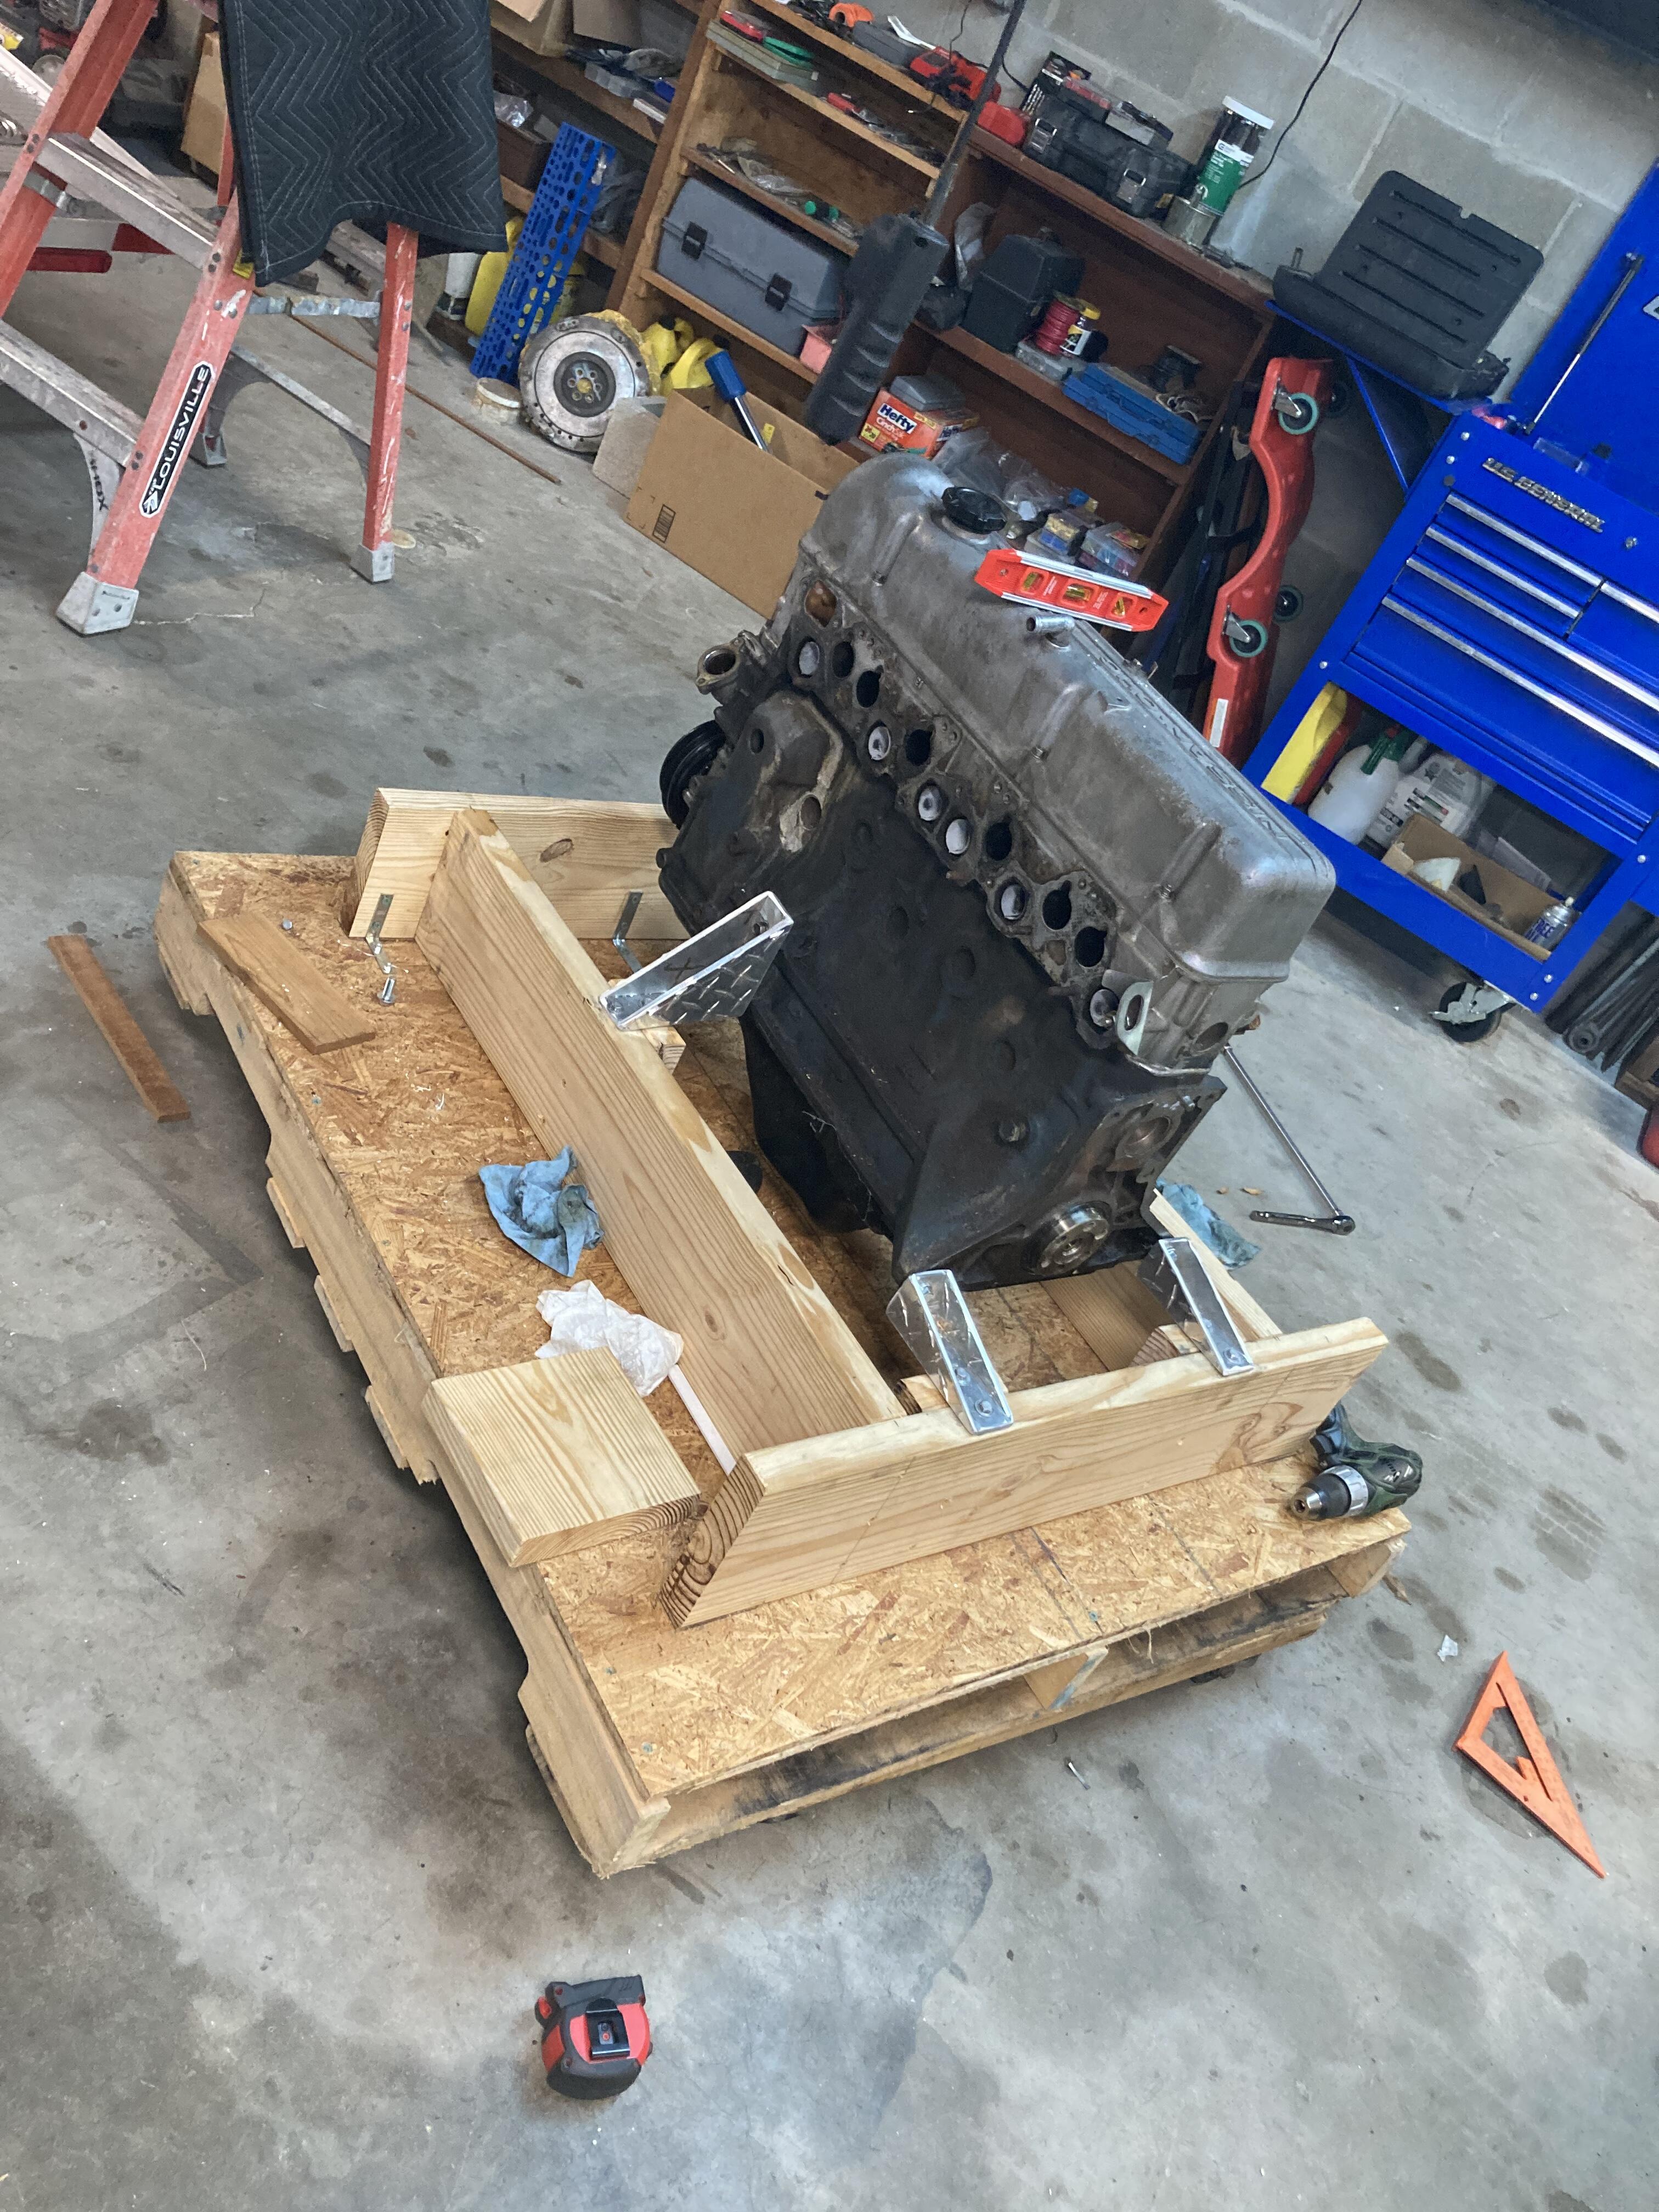
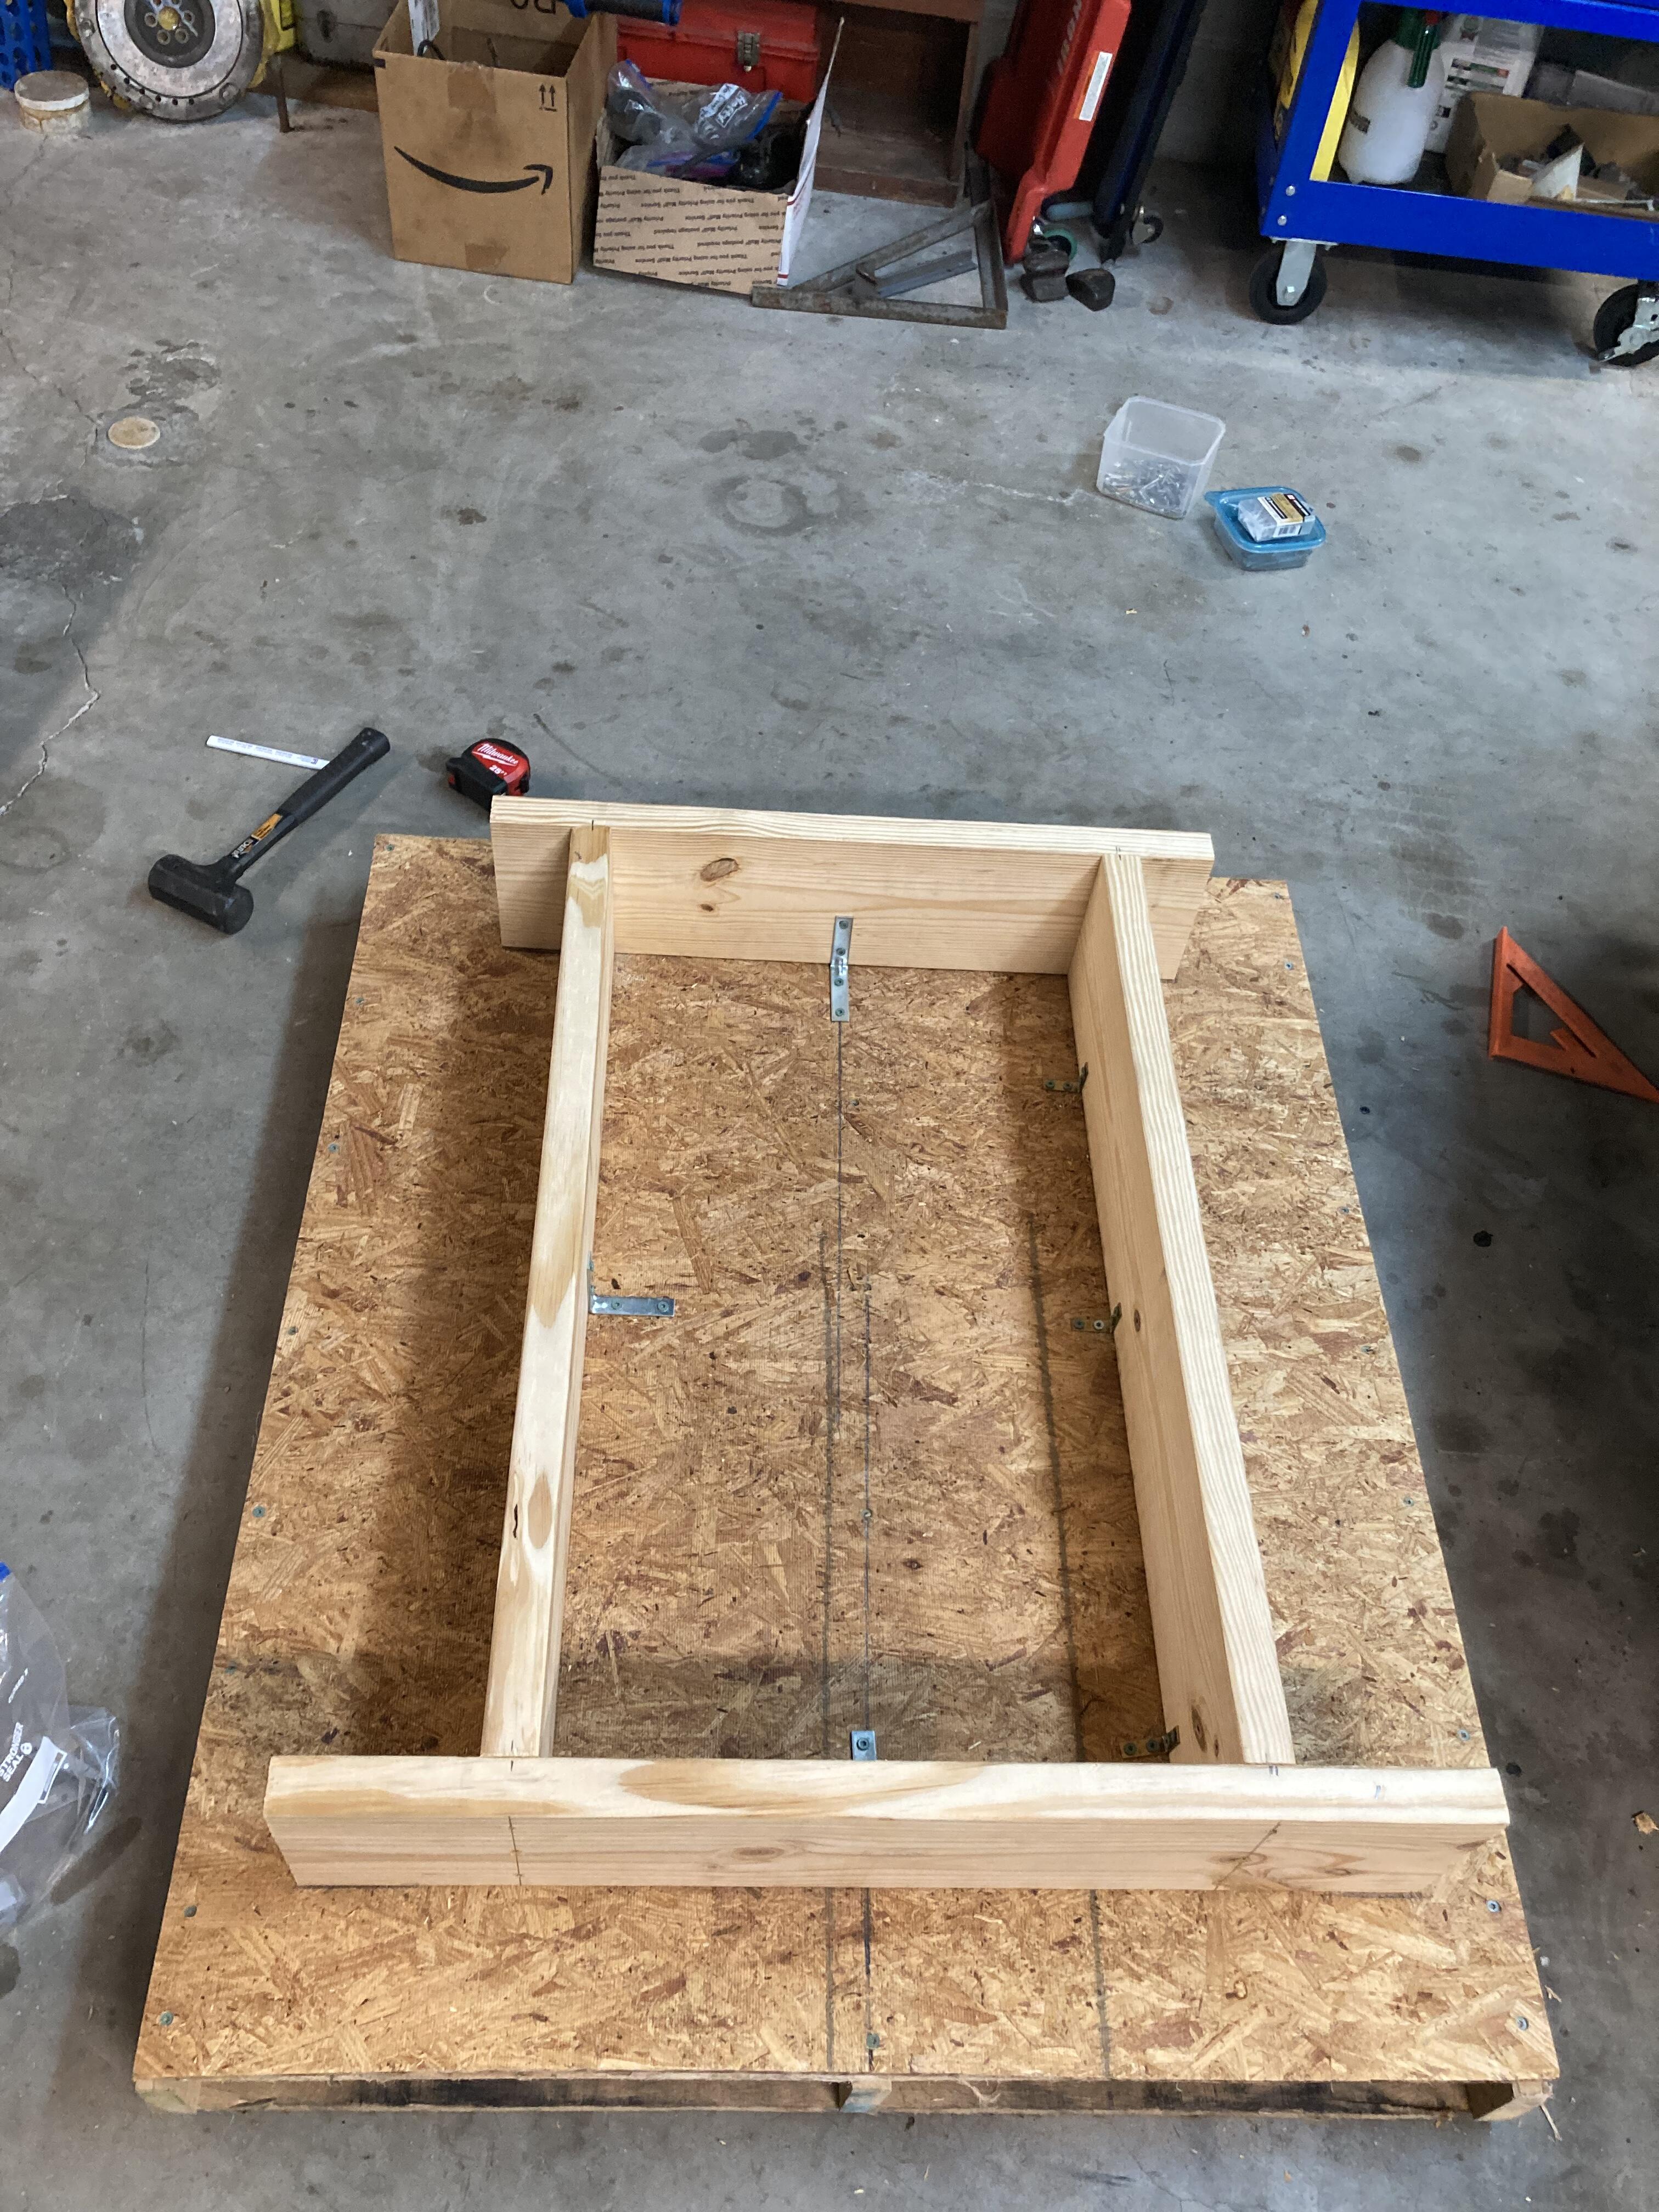
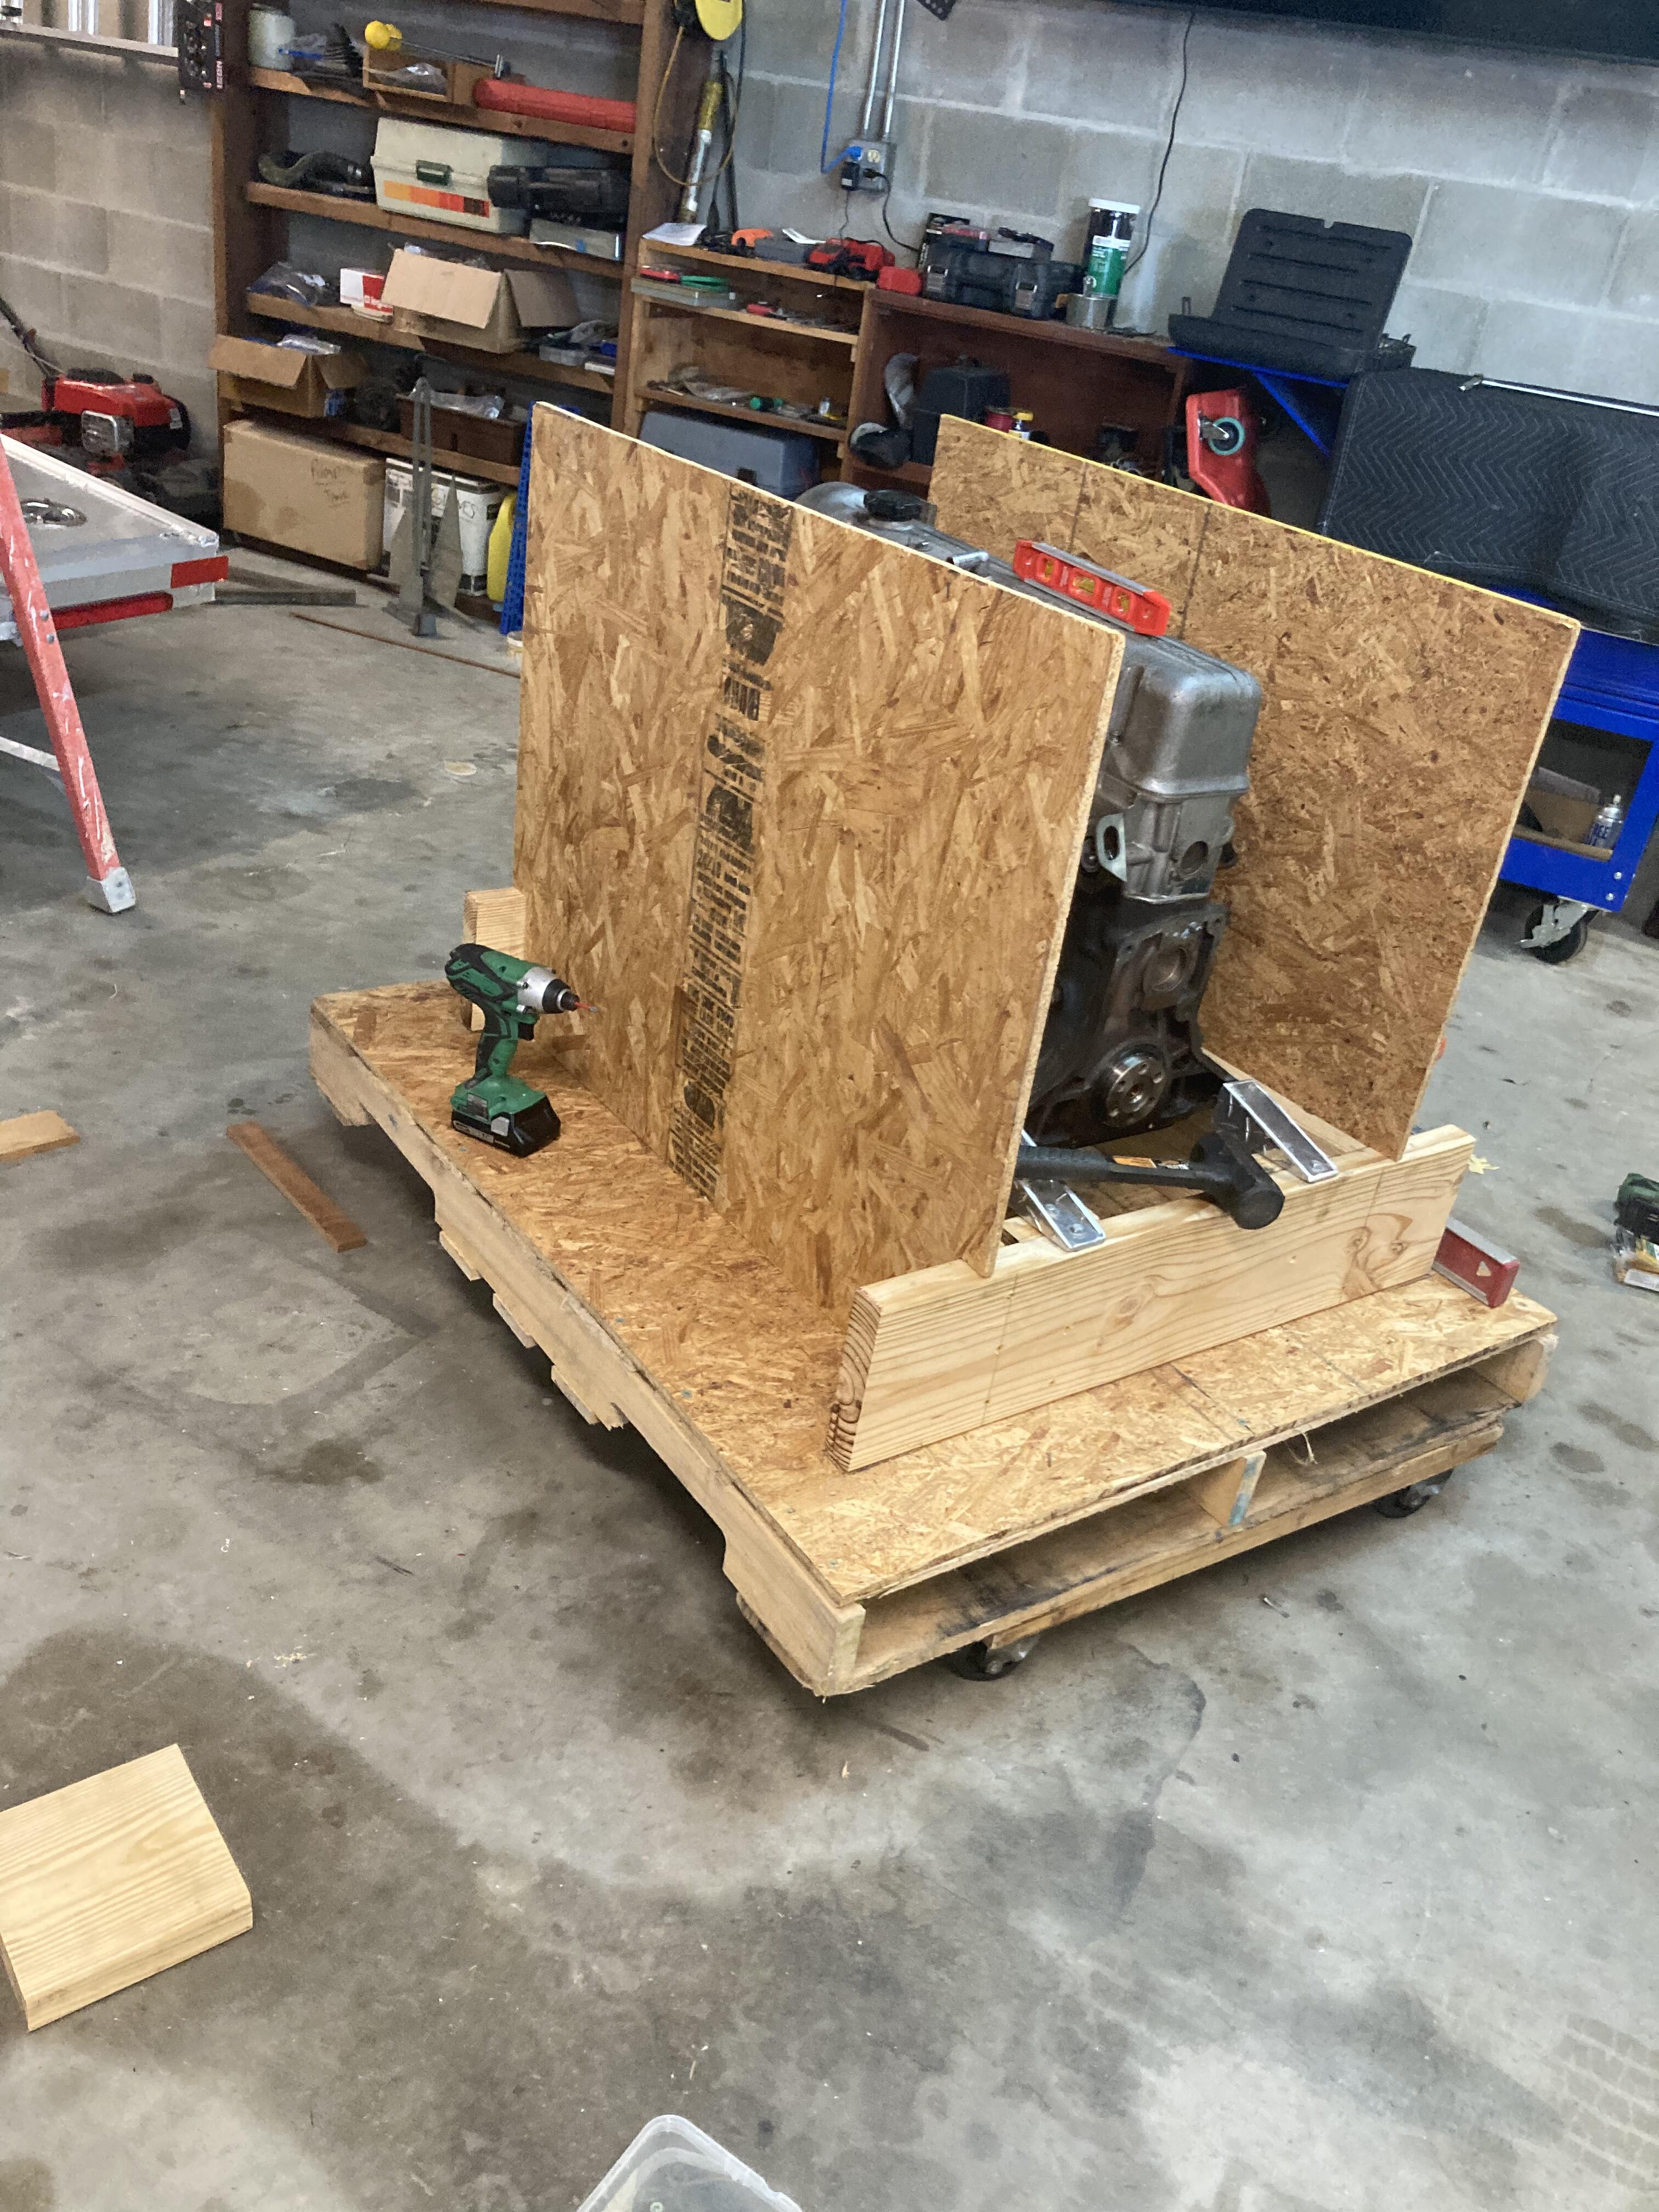
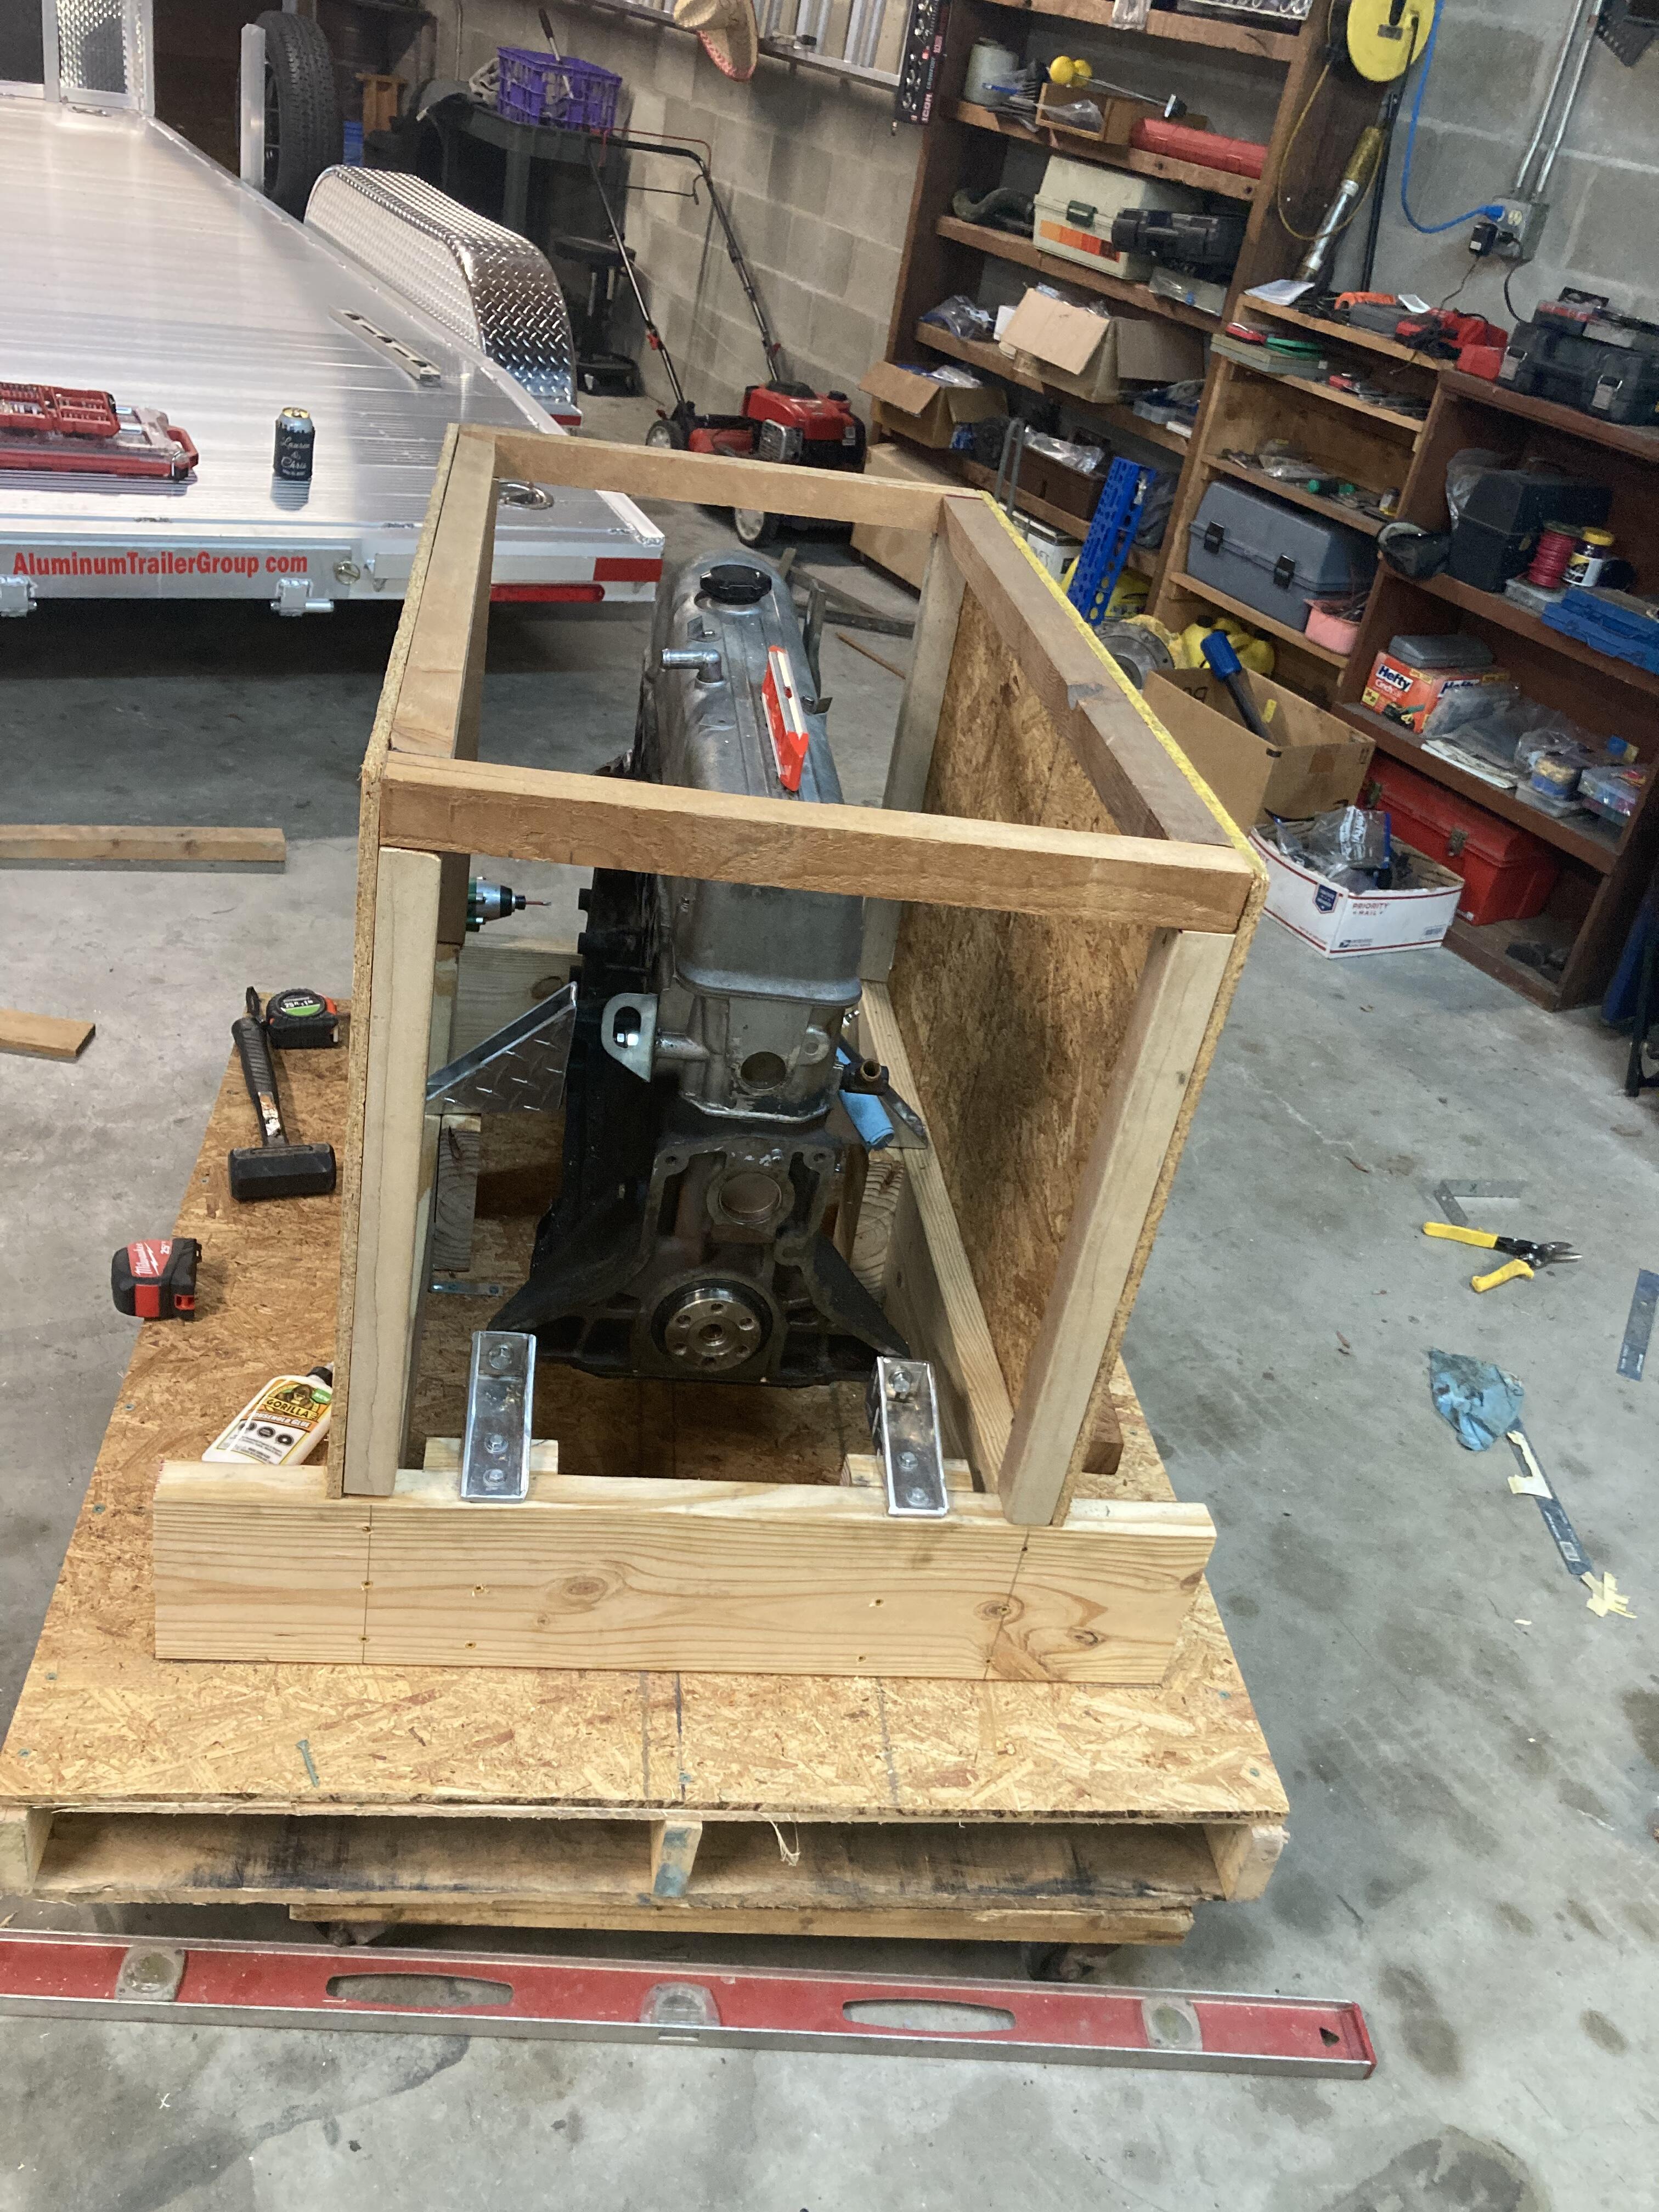
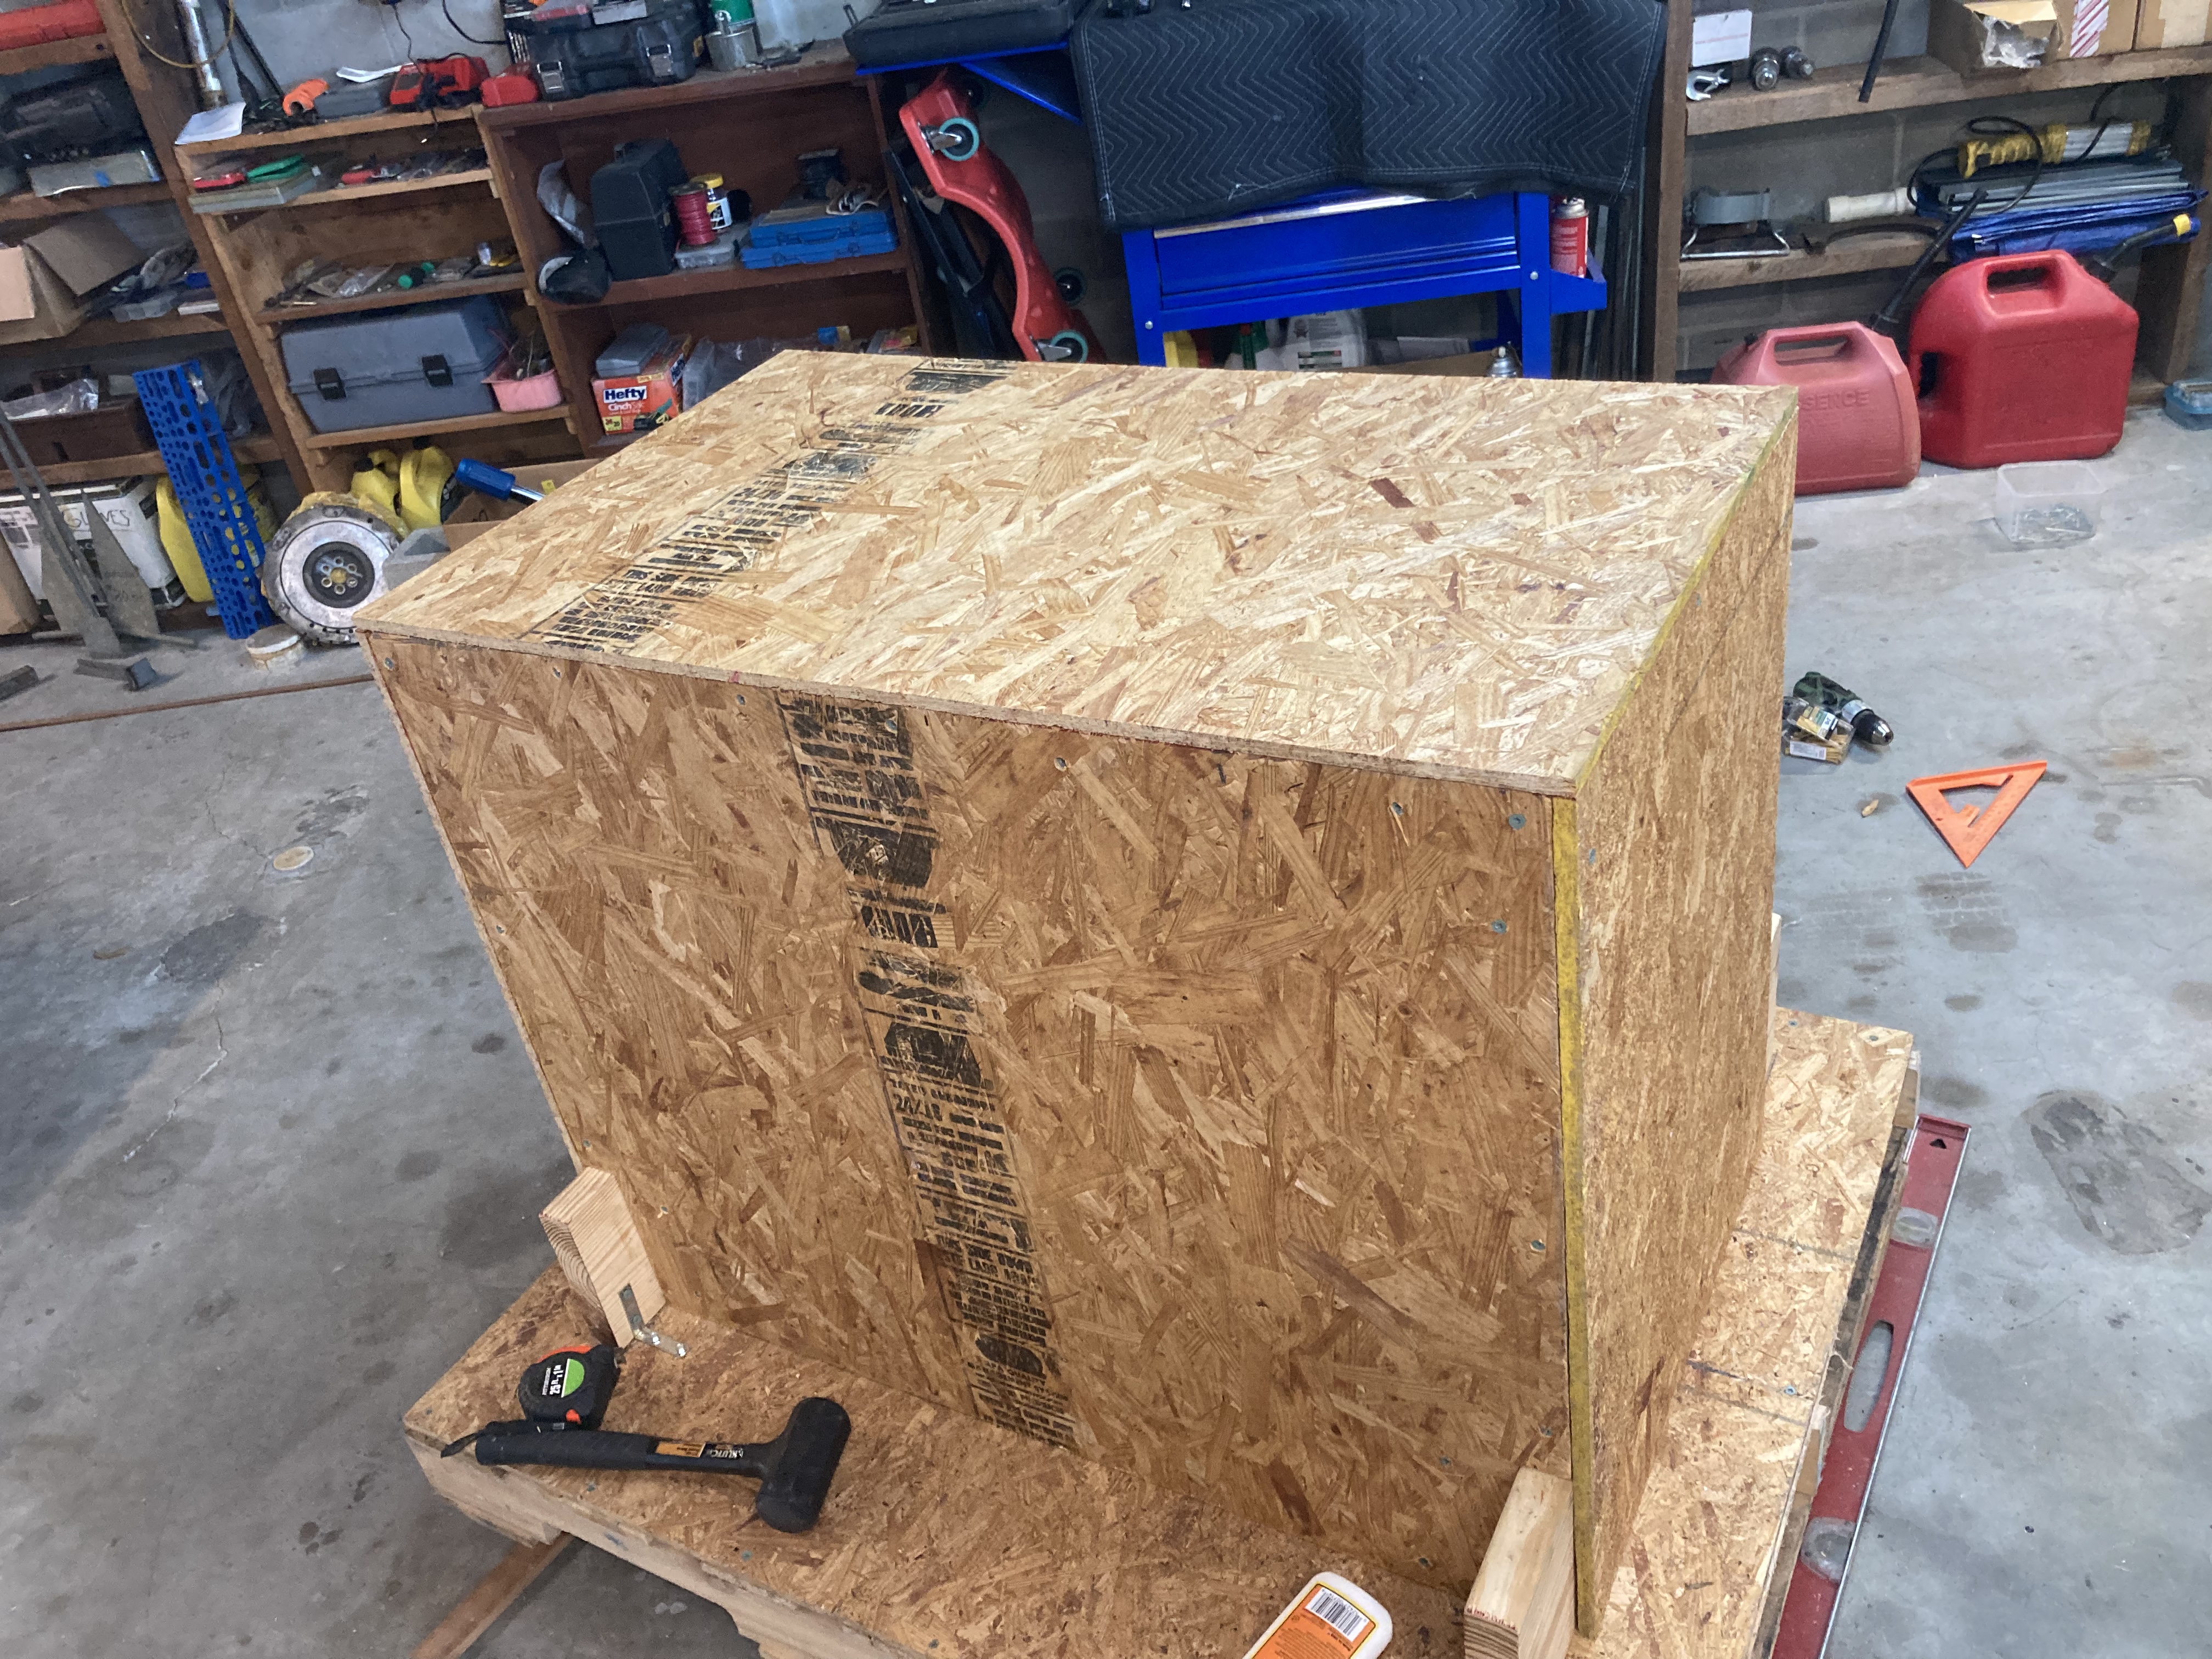
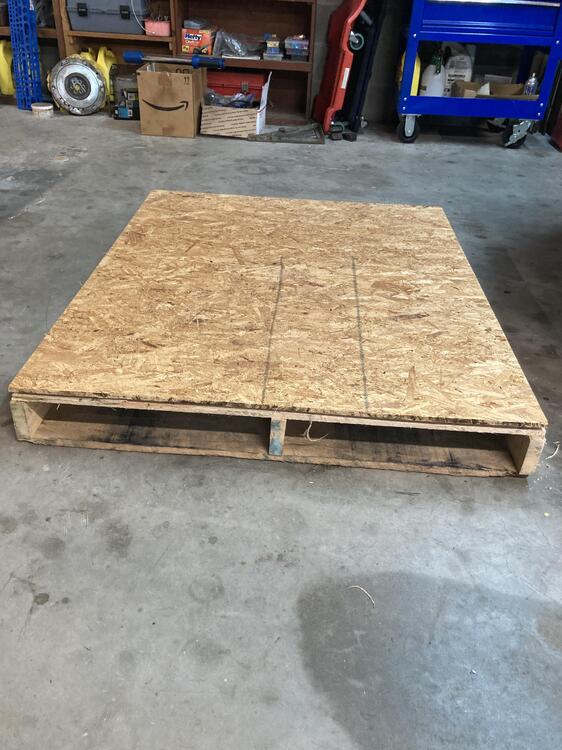
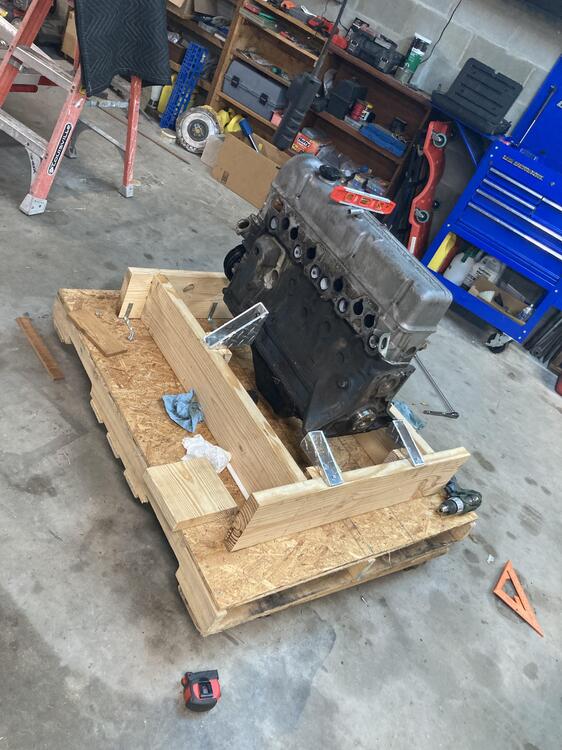
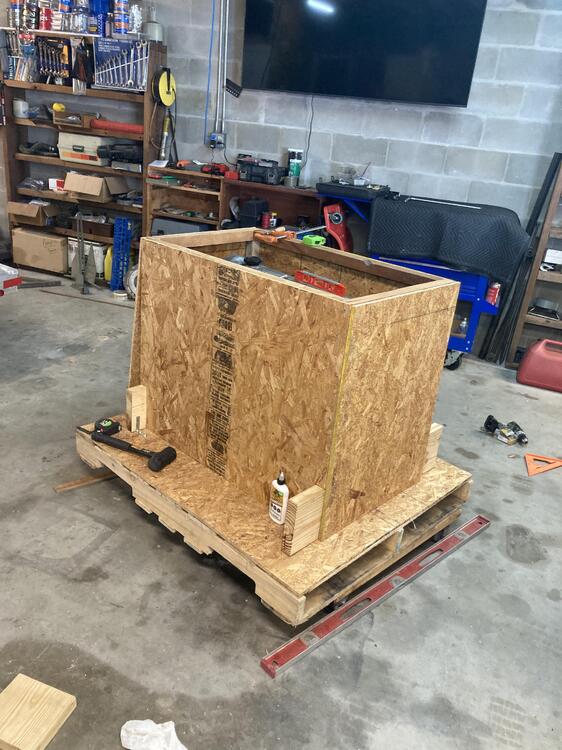
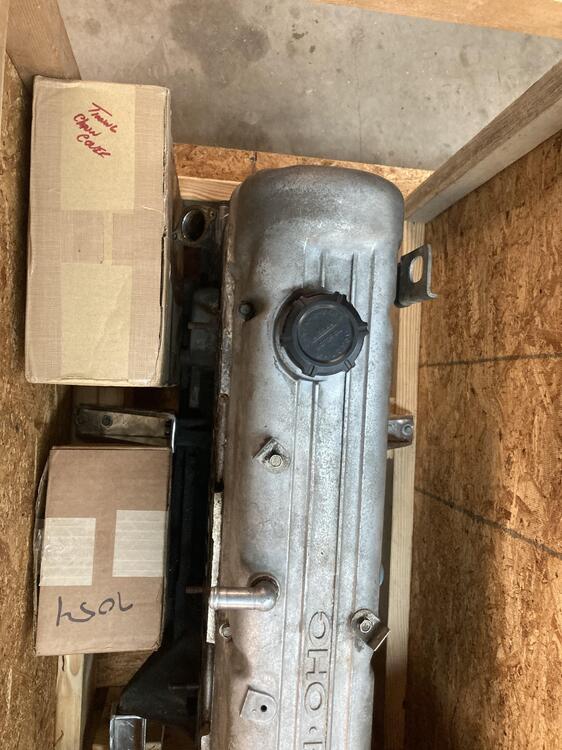
1 pointFinished building my crate a few weeks ago. The idea was to use the existing mounting points and keep the engine suspended where the No possible damage could be done to the pan or the pump. Here are some pics of how it went together with screws and glue on the non removable sections. I secured a top plate on the new pallet. From there you can see how I constructed it. Upon completion the entire box enclosure can be lifted off by removing the screws around the base. Don’t have a pic of the handles installed on each end for removal. Pretty happy with the way it came out. The crate made it up to Eiji at Datsun Spirit unscathed via R&L carriers.


 1 point
 -
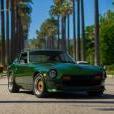
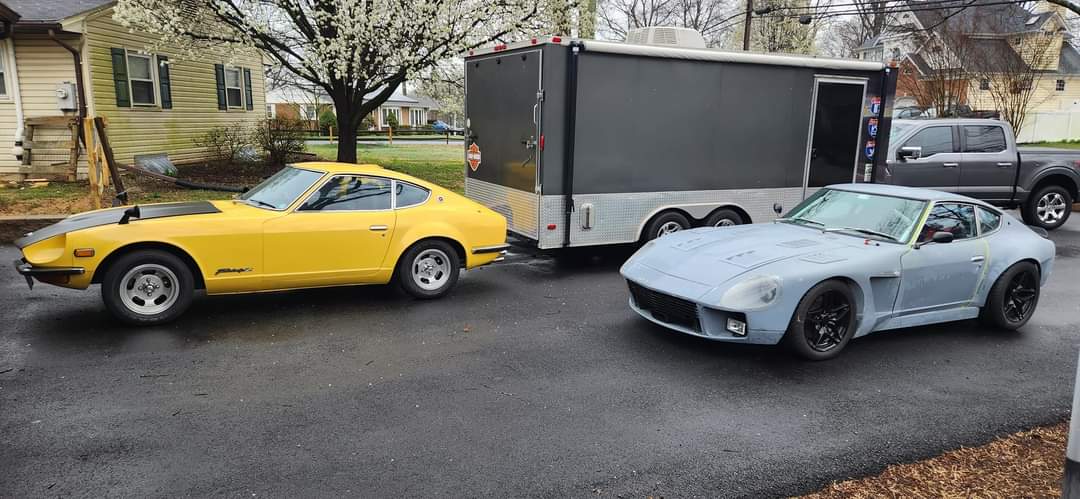
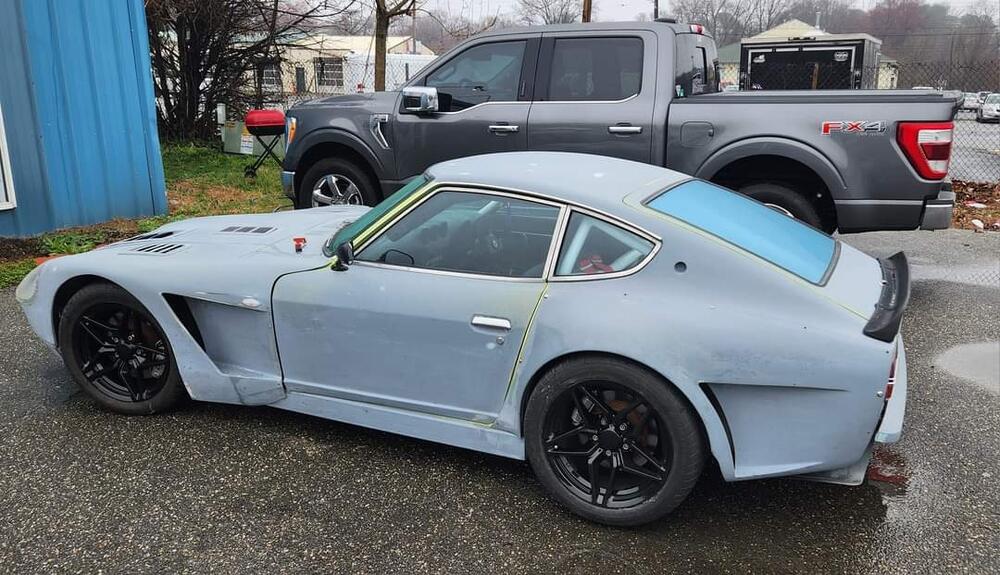
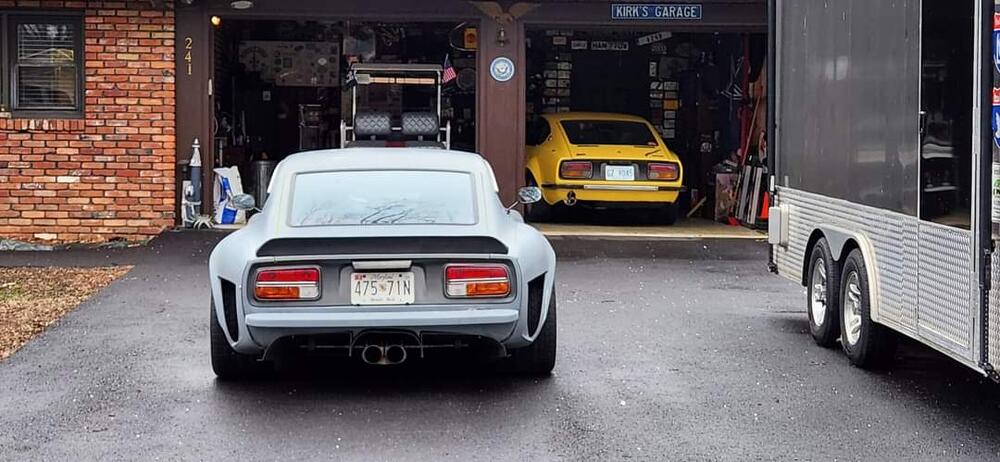
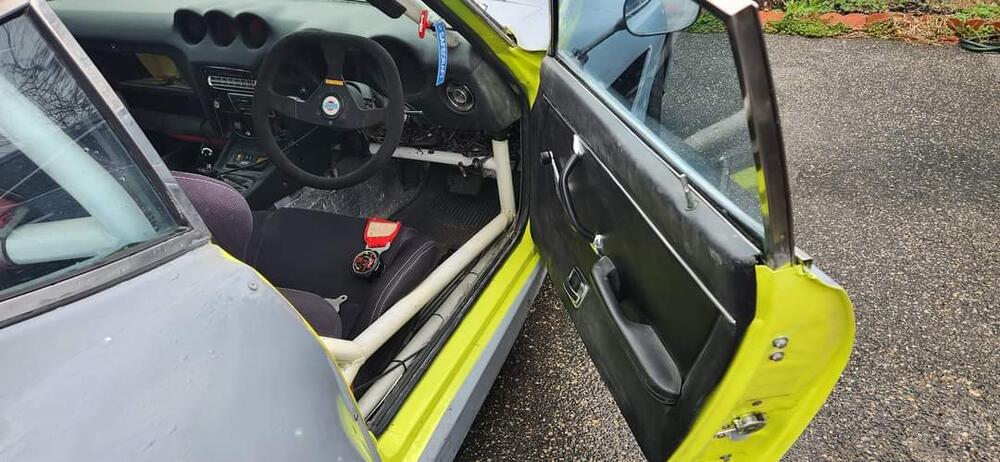
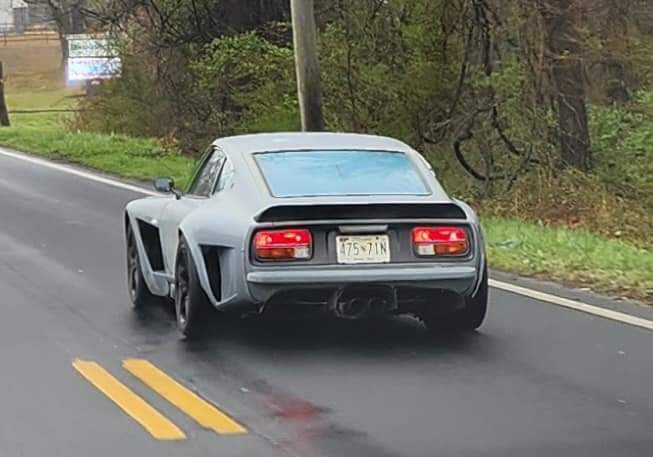
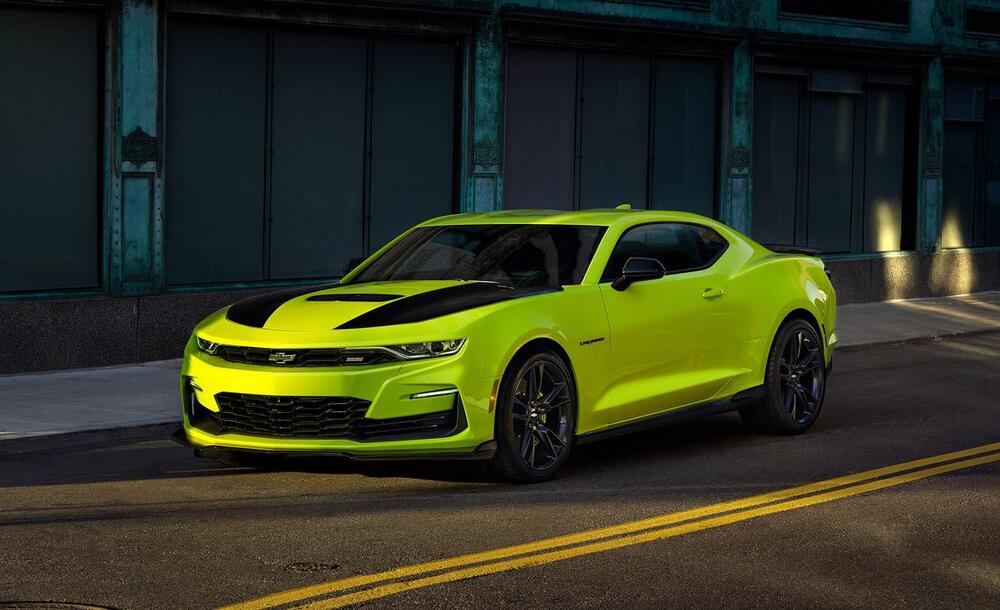
1 pointGreat to see an old friend of 20 years who is a Z genius Glenn McCoy. Glenn's build a 1972 Nissan Fairlady ZR1. The car will be painted in "Shock Yellow" a radical 2019 Camaro color. The color is very similar to Nissan Yellow Lime code 112. My 1970 Nissan Fairlady ZL will be painted the same and is an example of the body Glenn's car started from. Glenn was ready to junk the 1972 Fairlady ZL as mother nature was taking the car back. The very talented and meticulous Bobby Weaver will be painting both cars. The drivetrain is from a 1996 C4 Corvette and the LS1 engine came from a 2000 Camaro. Except for the coil over conversion, the suspension is bone stock C4 Corvette. Glenn also built a Daytona 240Z. The photoshoot at ZCON Daytona he remembers. A lot of people at the show really wanted the three cars to be seen together. It was an honor and it propelled him to try to make another statement to the Z Community on his current project.

 1 point
 -
1 pointMotor/trans installed yesterday. It sure takes a lot of tipping to get it to slide in. I had a good helper and got it in without scraping the hood latch or rad support.
 1 point
 -
Correct, removed the park bench bumpers and installing a air dam.1 point
-
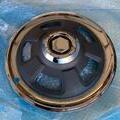
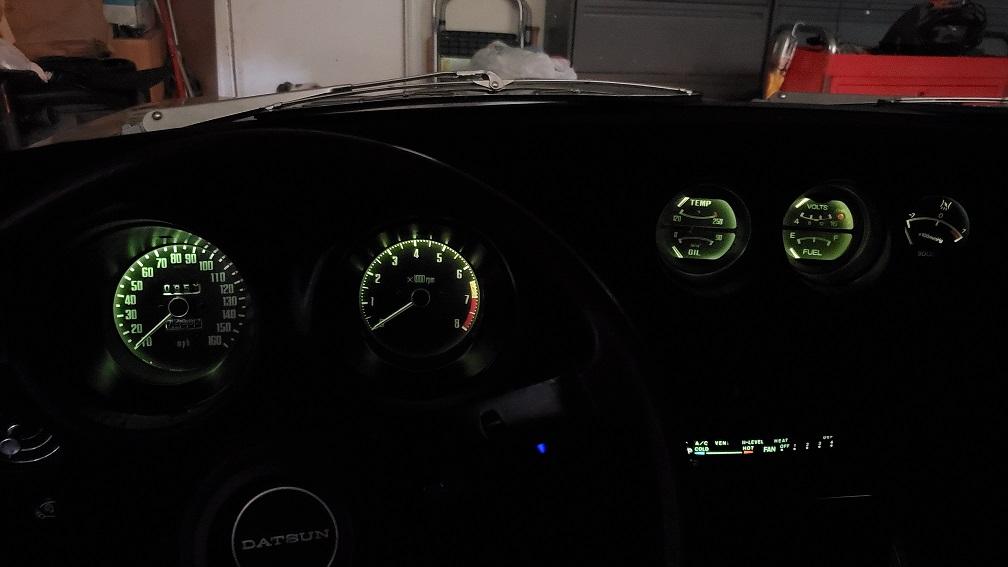
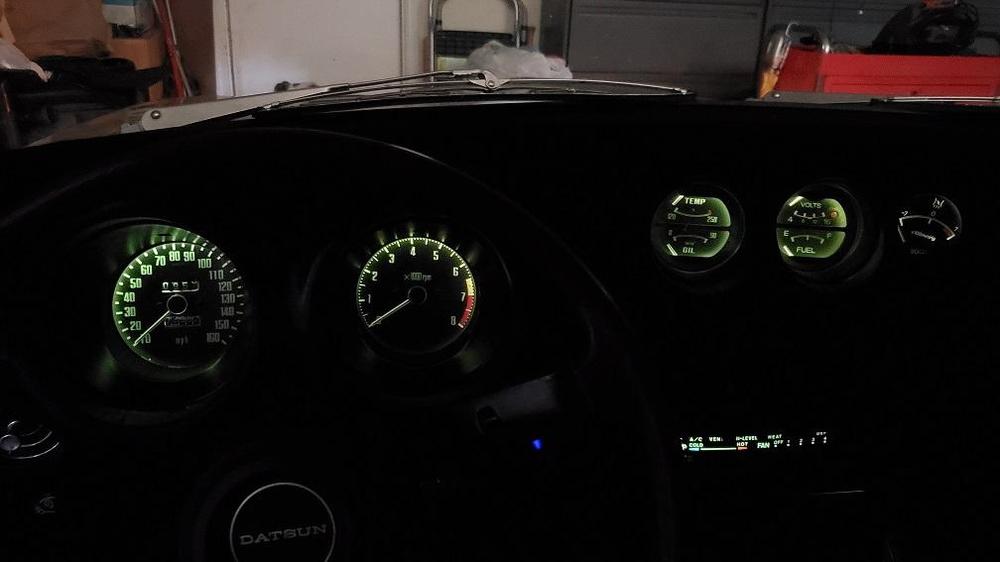
1 pointWhile you have those gauges apart you should pull the guts and repaint the insides of the cans a nice bright flat white. No matter what bulbs you choose, that will always help. Personally I don't like the harshness of the LED replacement "bulbs" that I have seen - I'm very old school that way. But repainting the inside of my gauges made a huge change in the brightness even using stock 3.4 watt bulbs.
 1 point