Leaderboard
-
Patcon
 Subscriber
 5Points11,142Posts
 -
grannyknot
Free Member3Points5,158Posts -

Zed Head
Free Member2Points19,236Posts -
Captain Obvious
Free Member1Points10,081Posts


Popular Content
Showing content with the highest reputation on 09/15/2018 in all areas
-
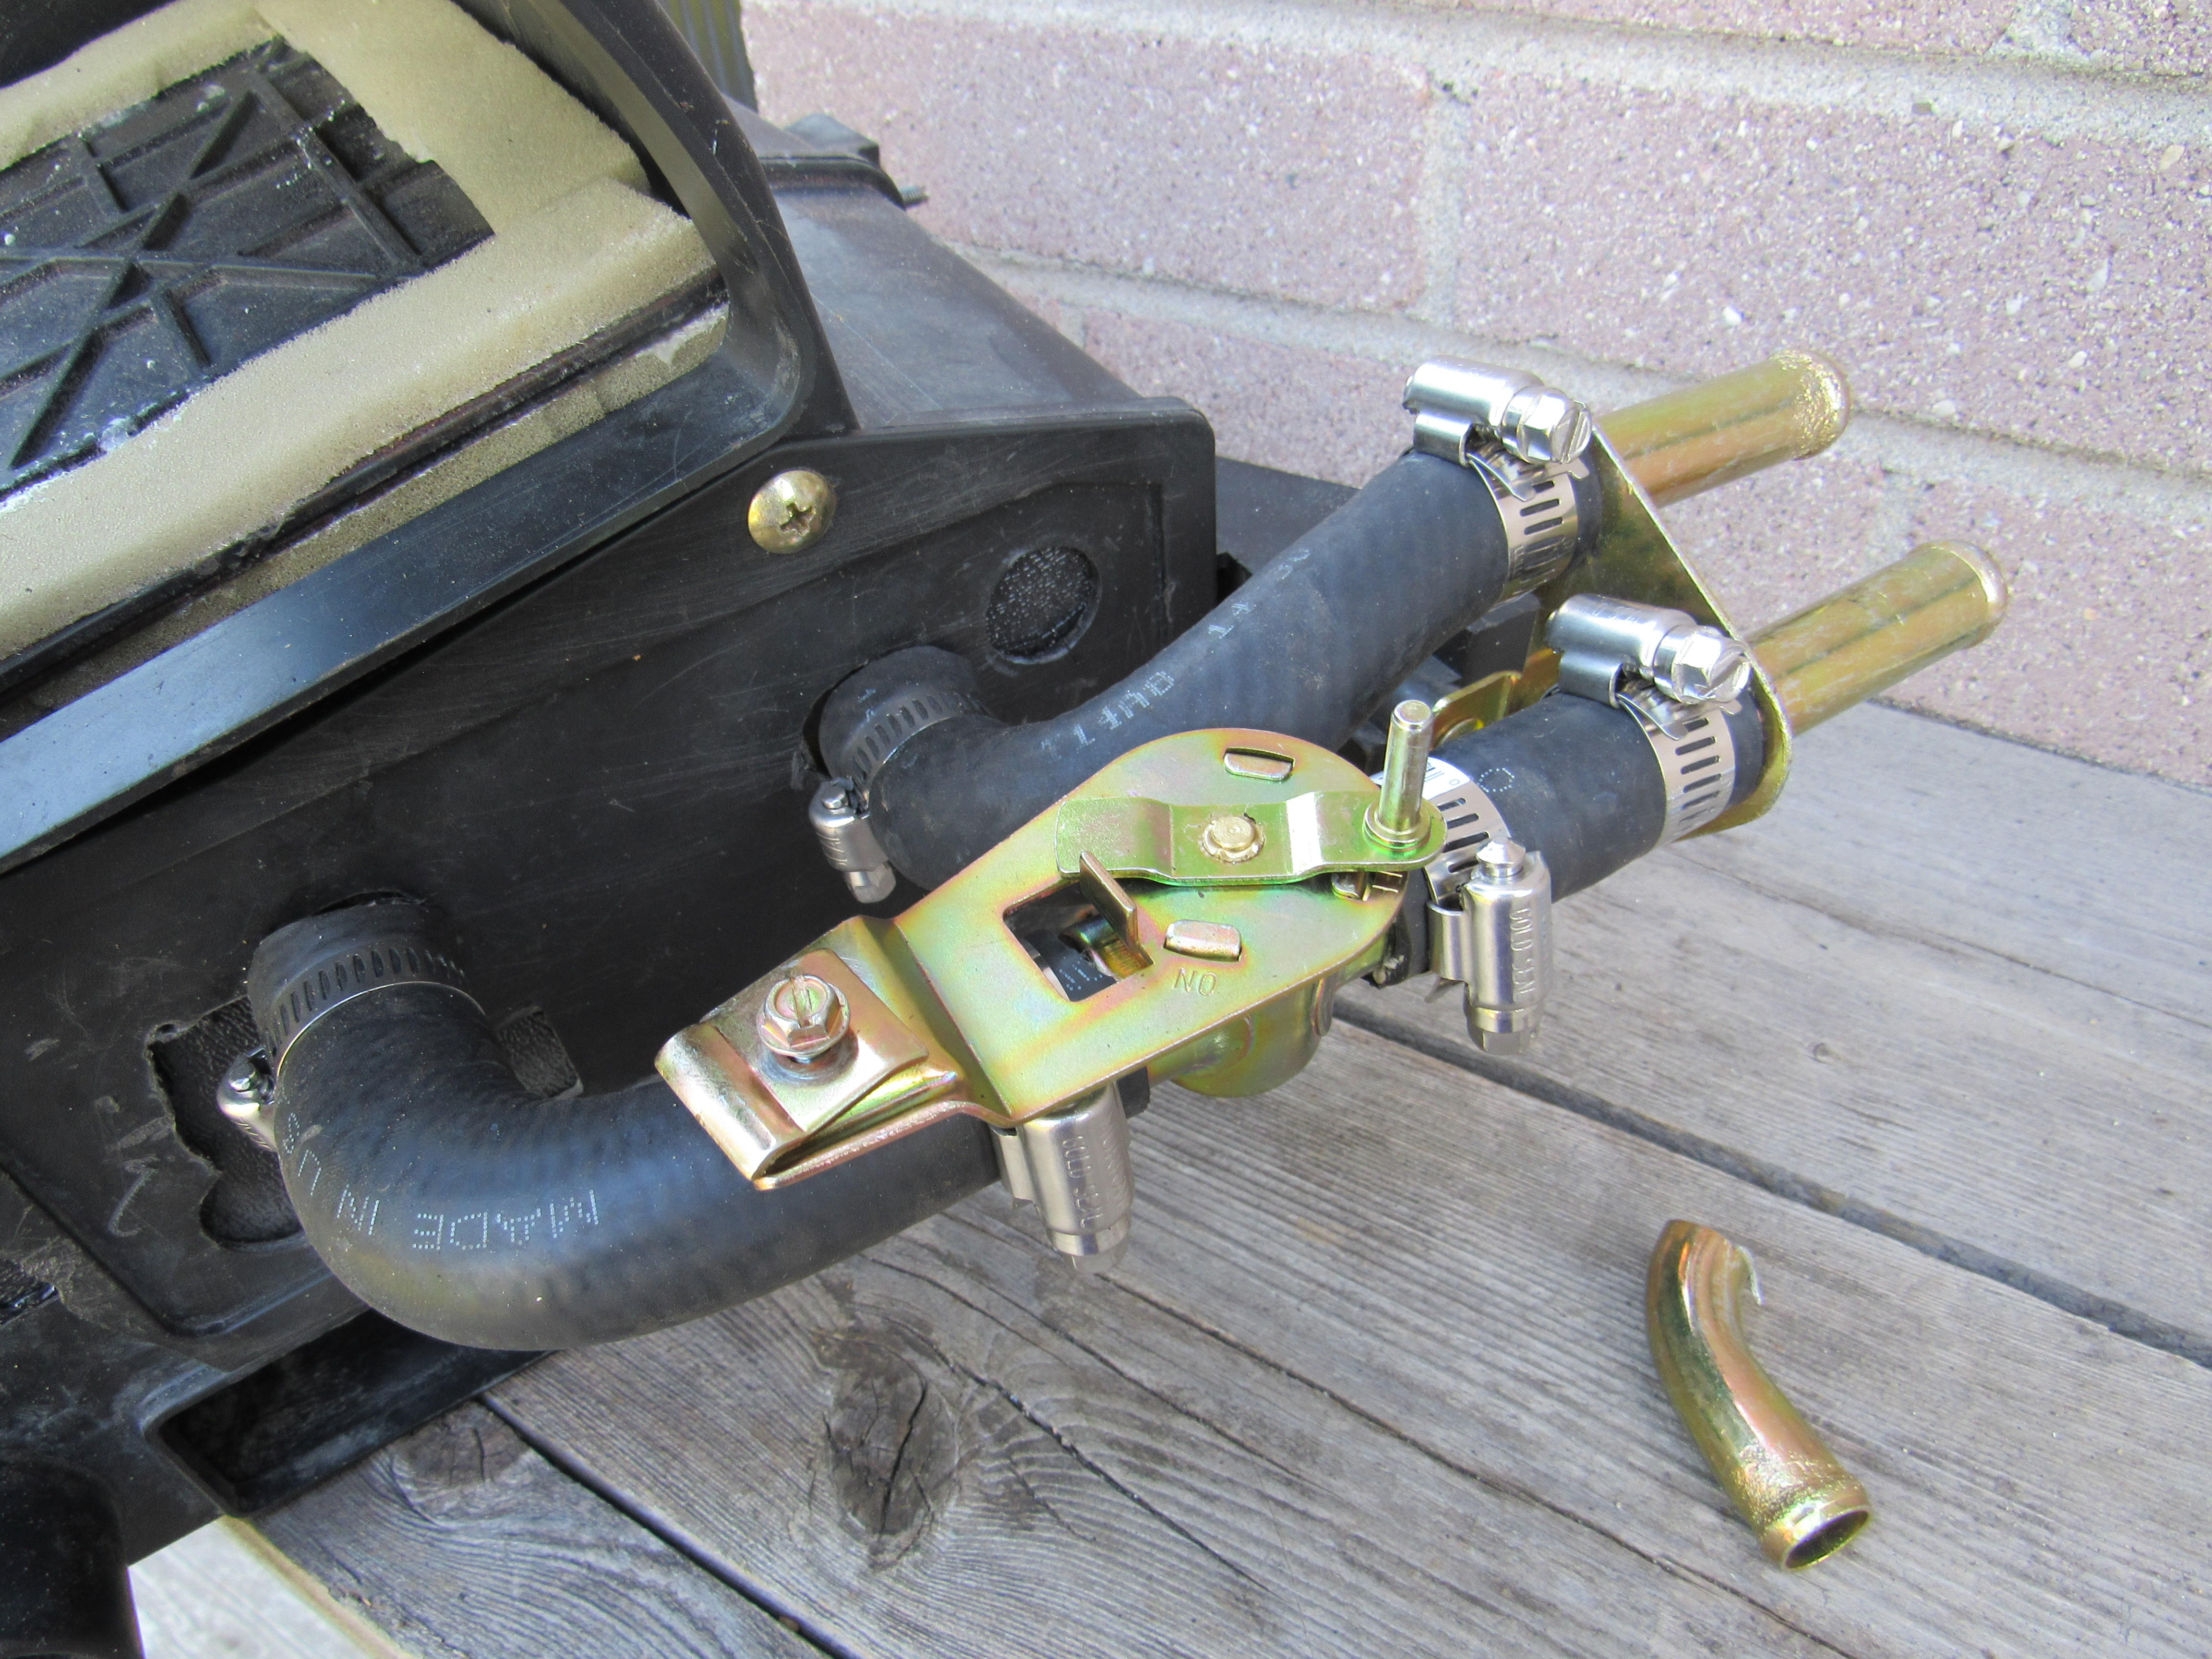
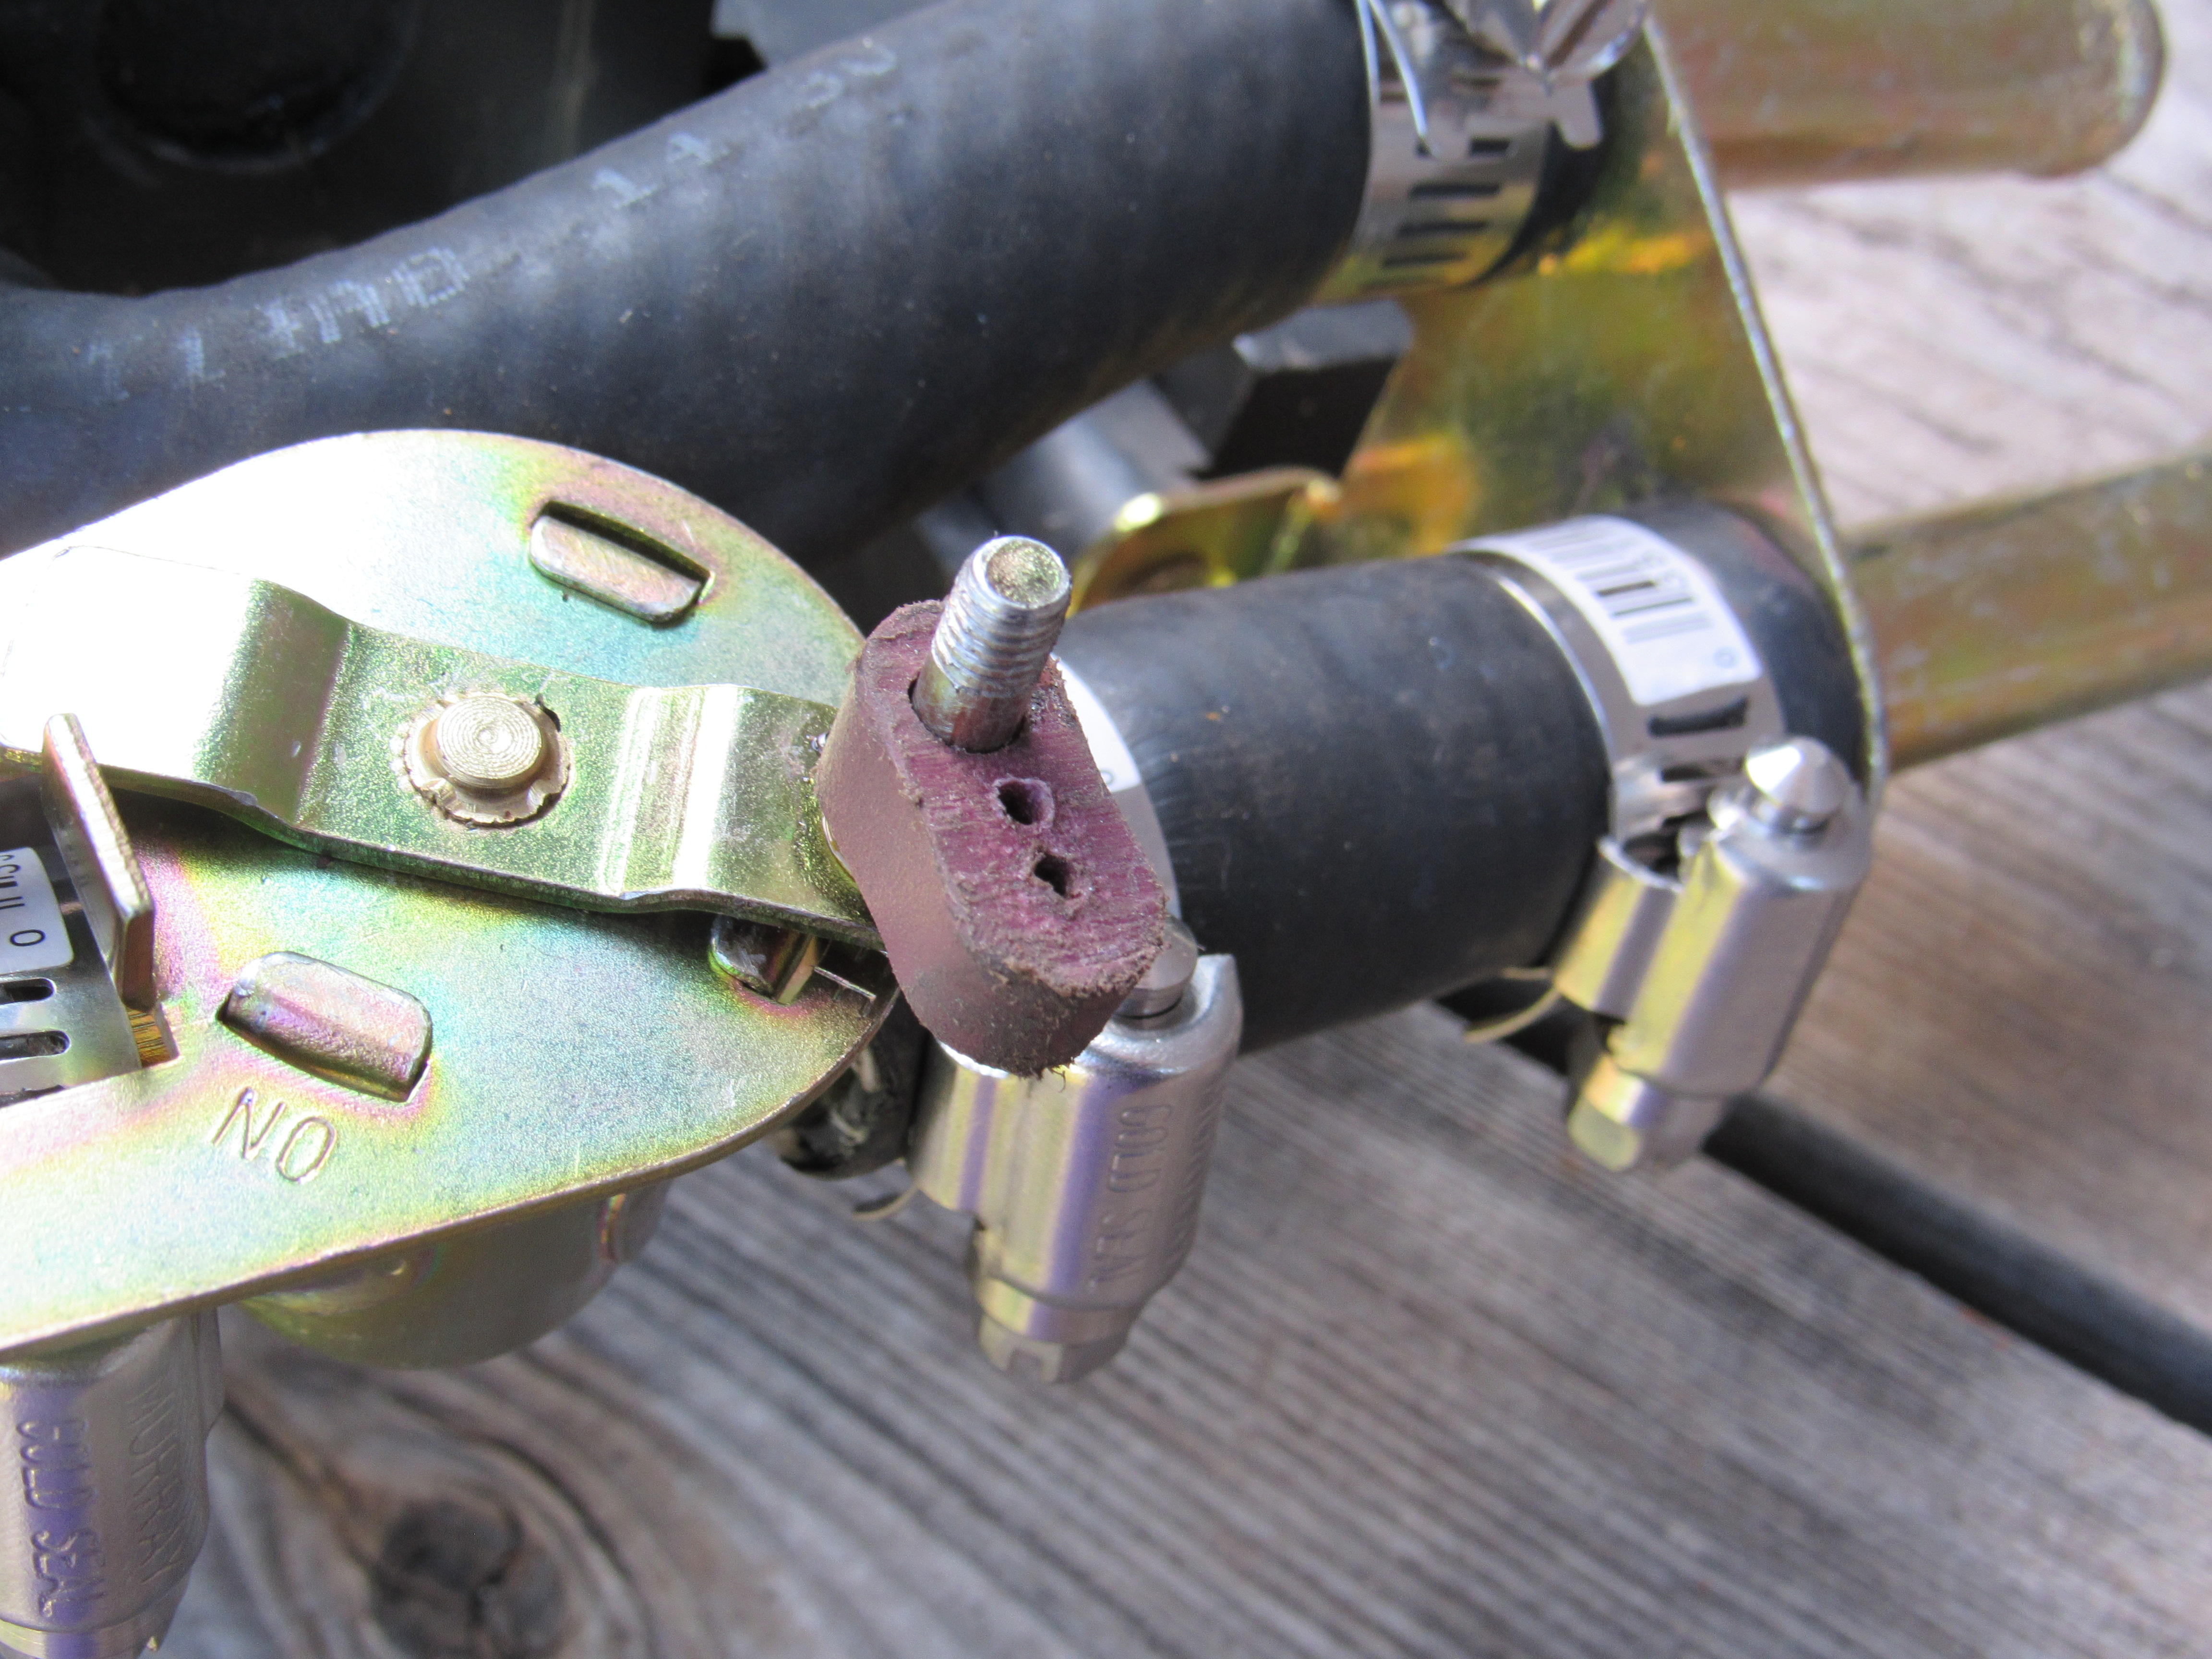
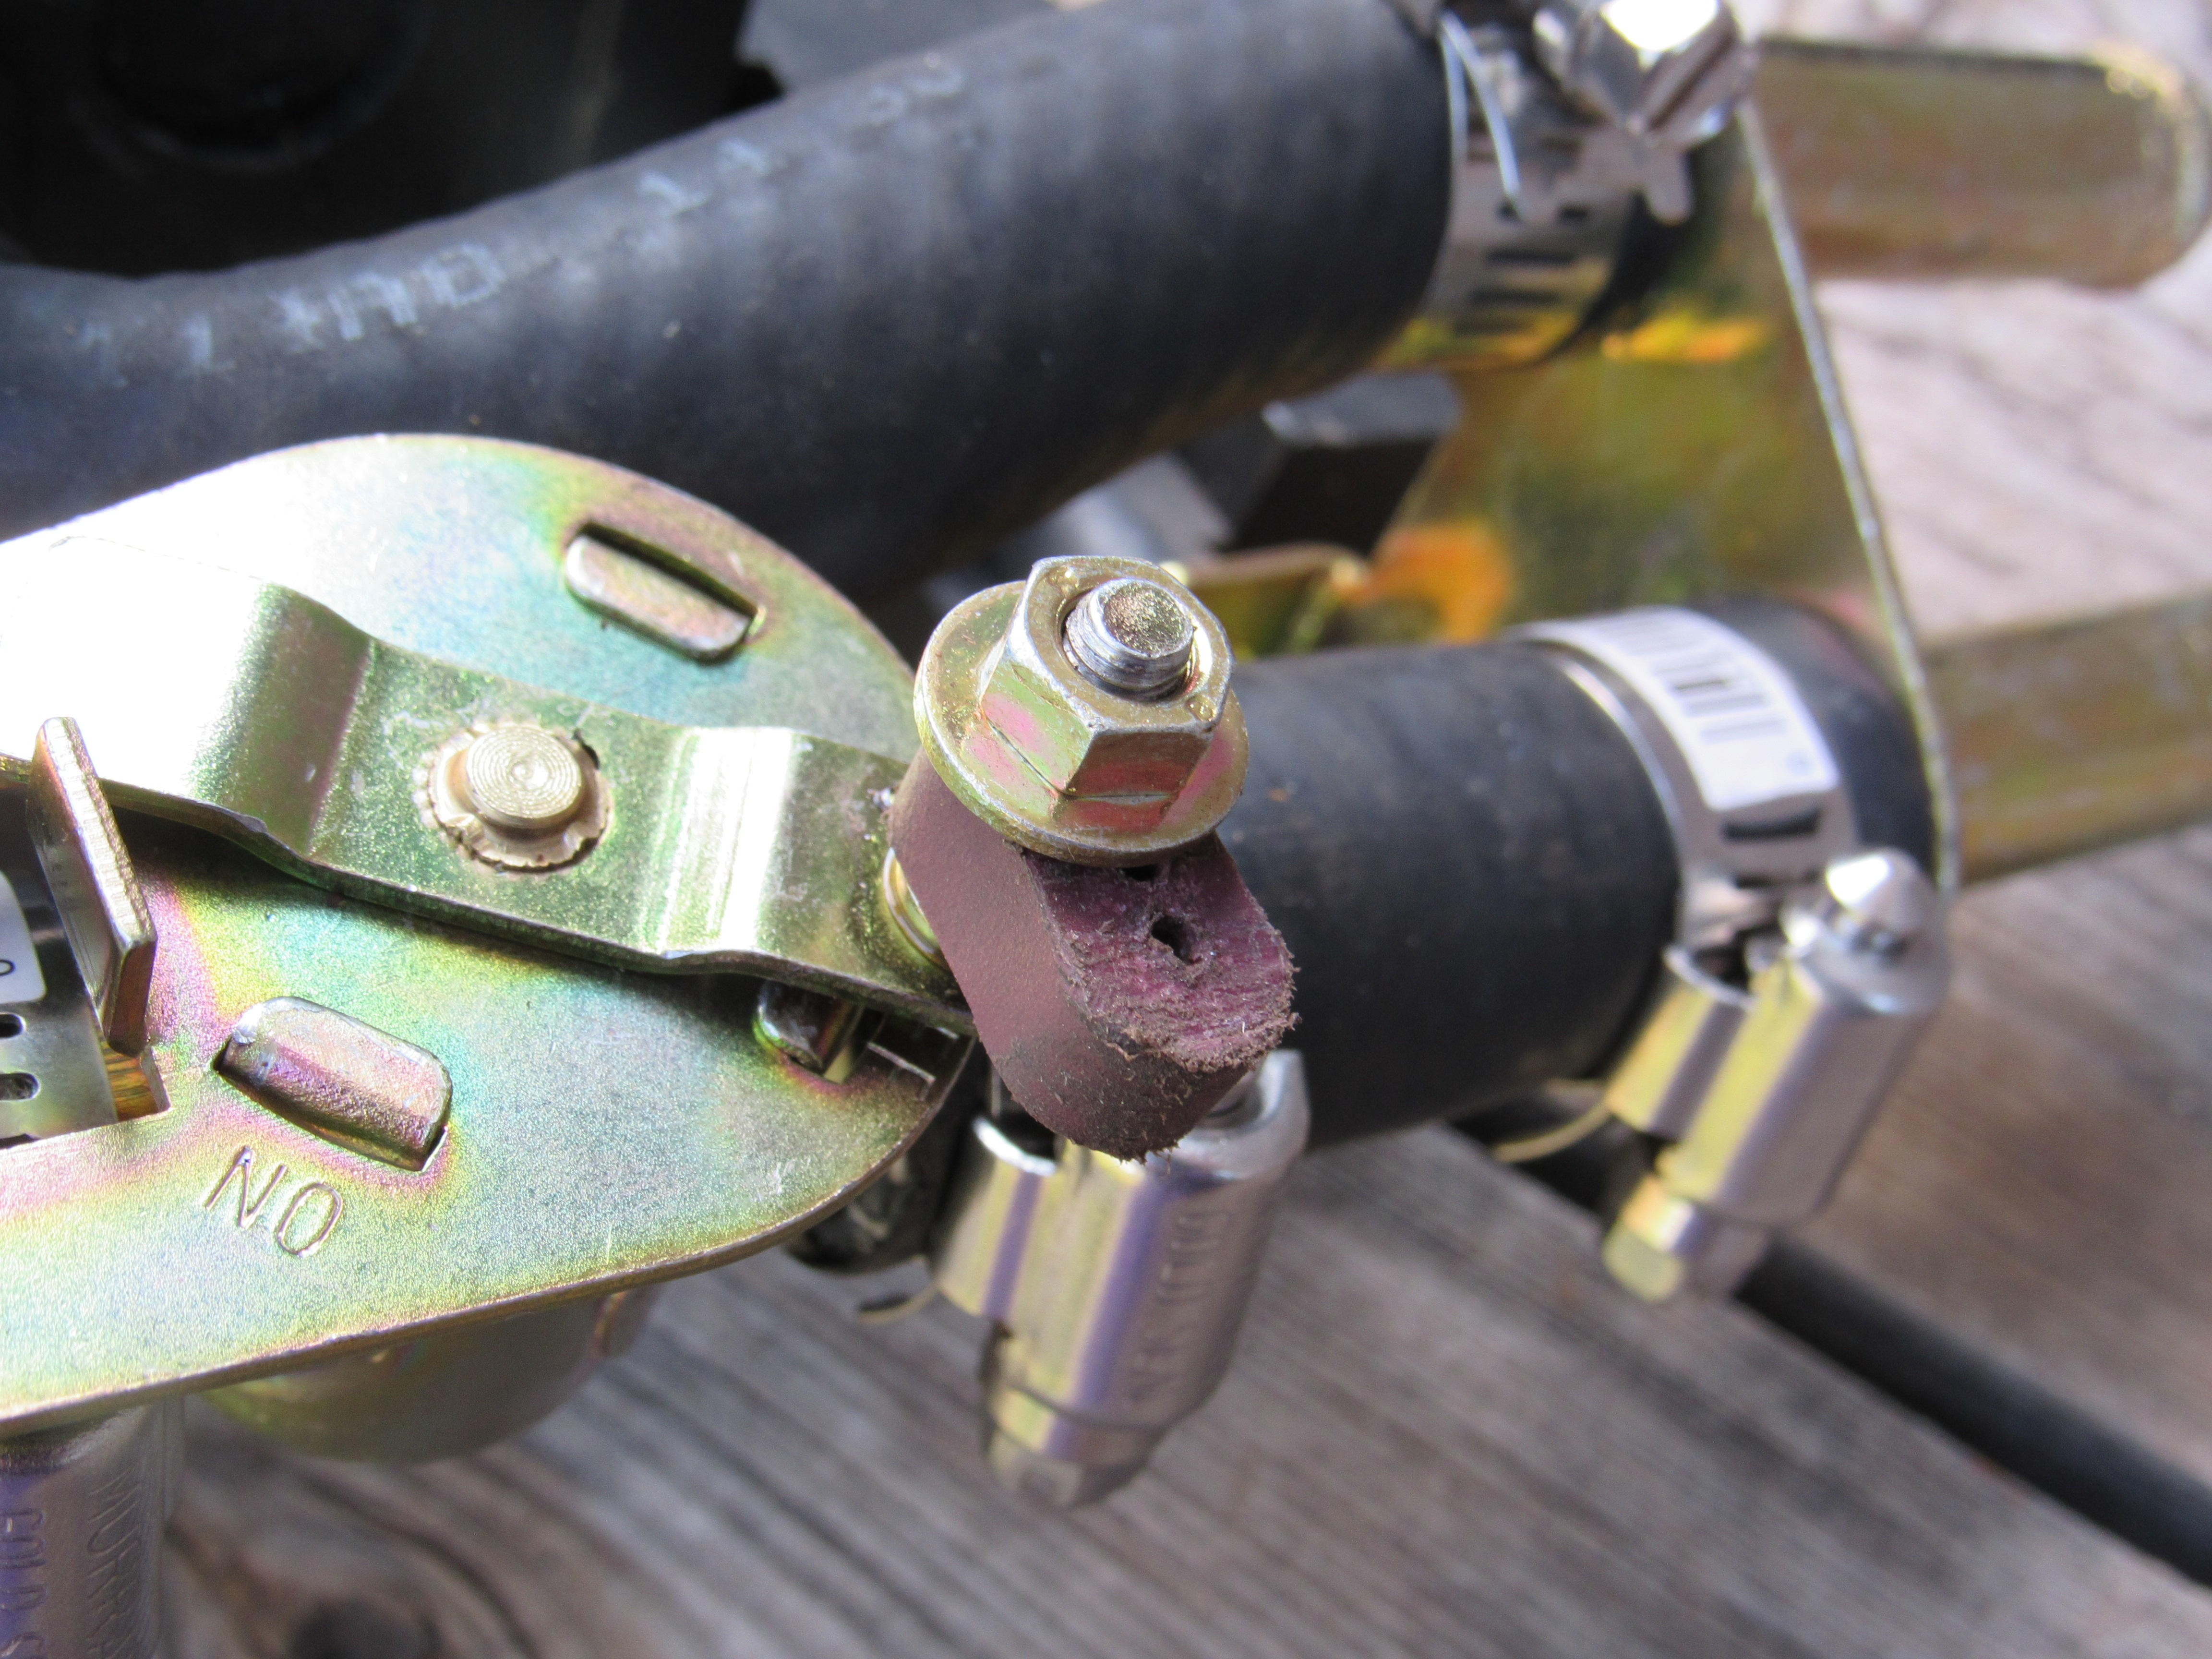
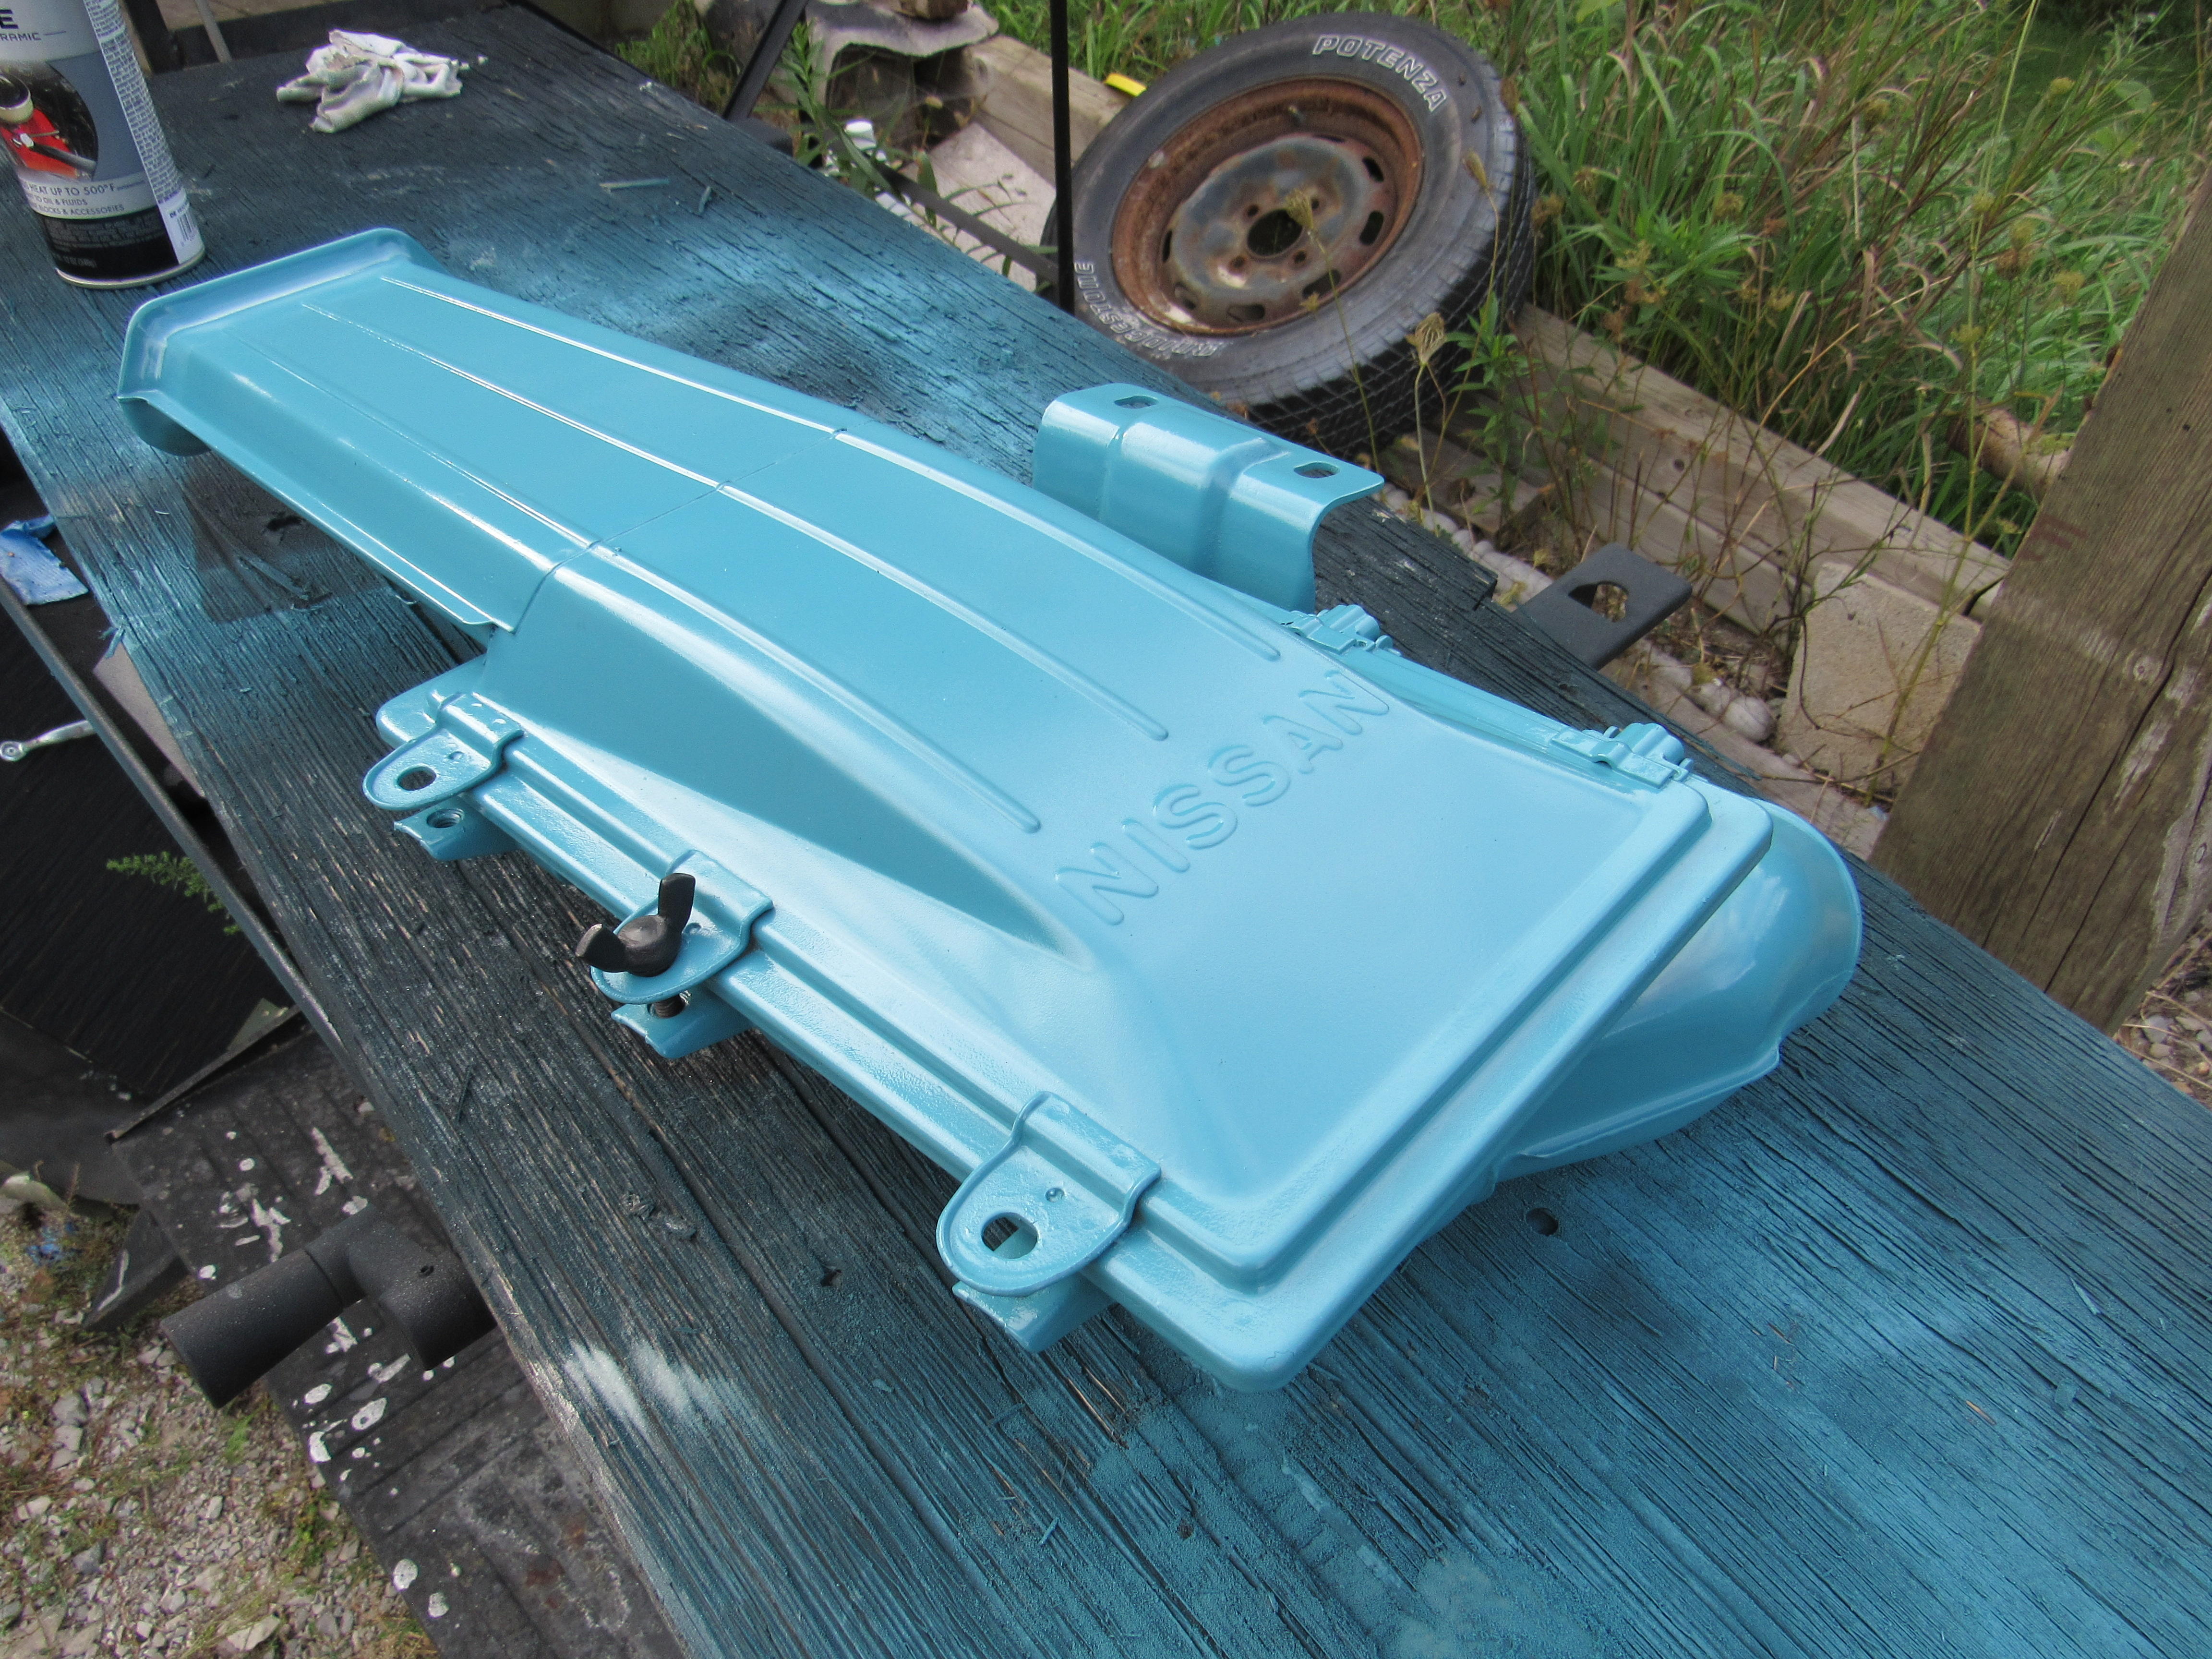
Well it took longer than planned but it's working, copied @mikev88 method but found I needed a nut on the top of the on/off stud to keep the swivel from flying off, an M5x.8 die works perfectly. The Duplicolor Pontiac Blue DE1610 really is a very close match to the stock colour, so thanks @siteunseen


 3 points
 -
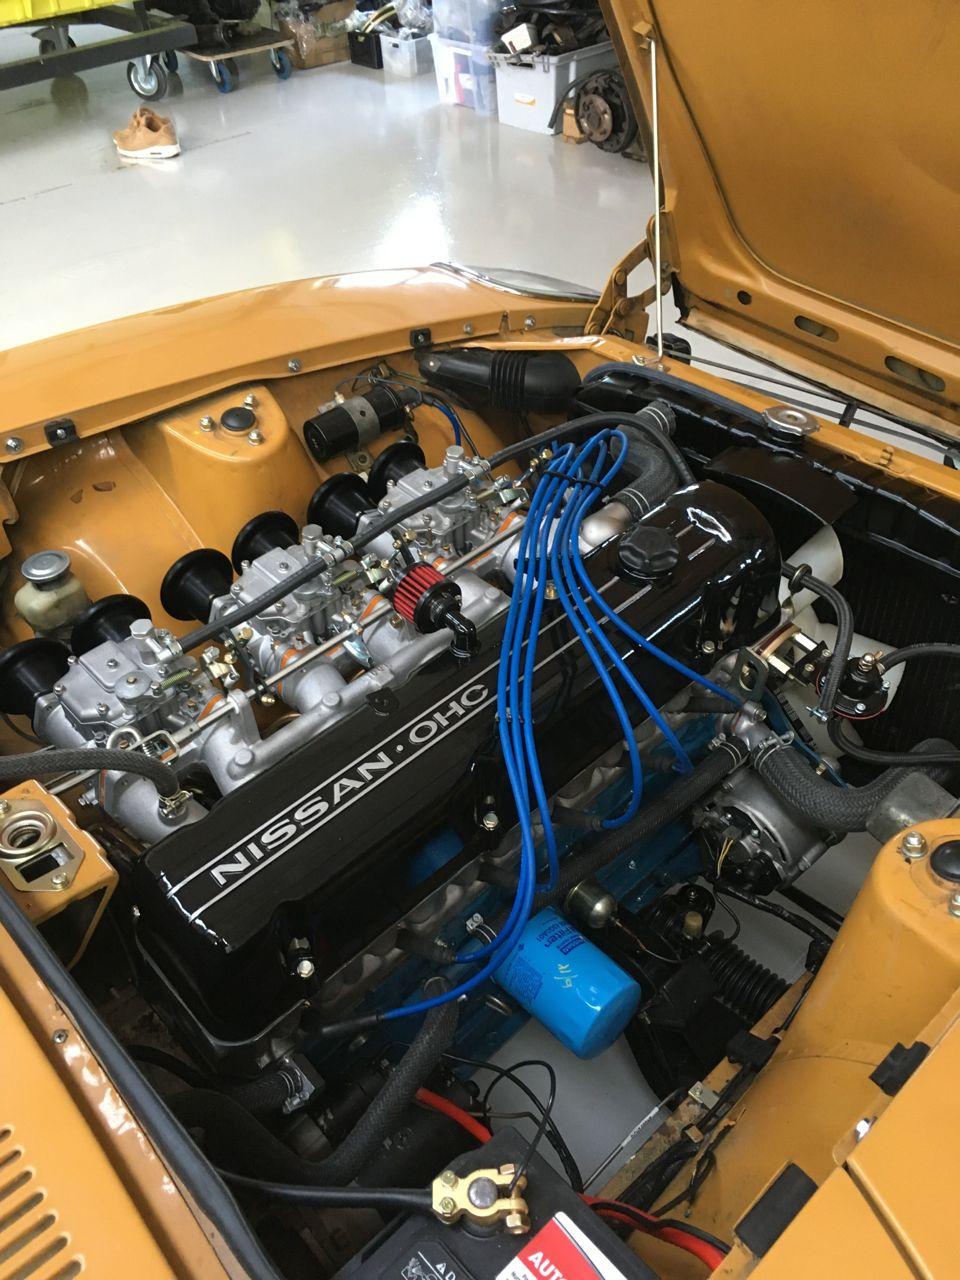
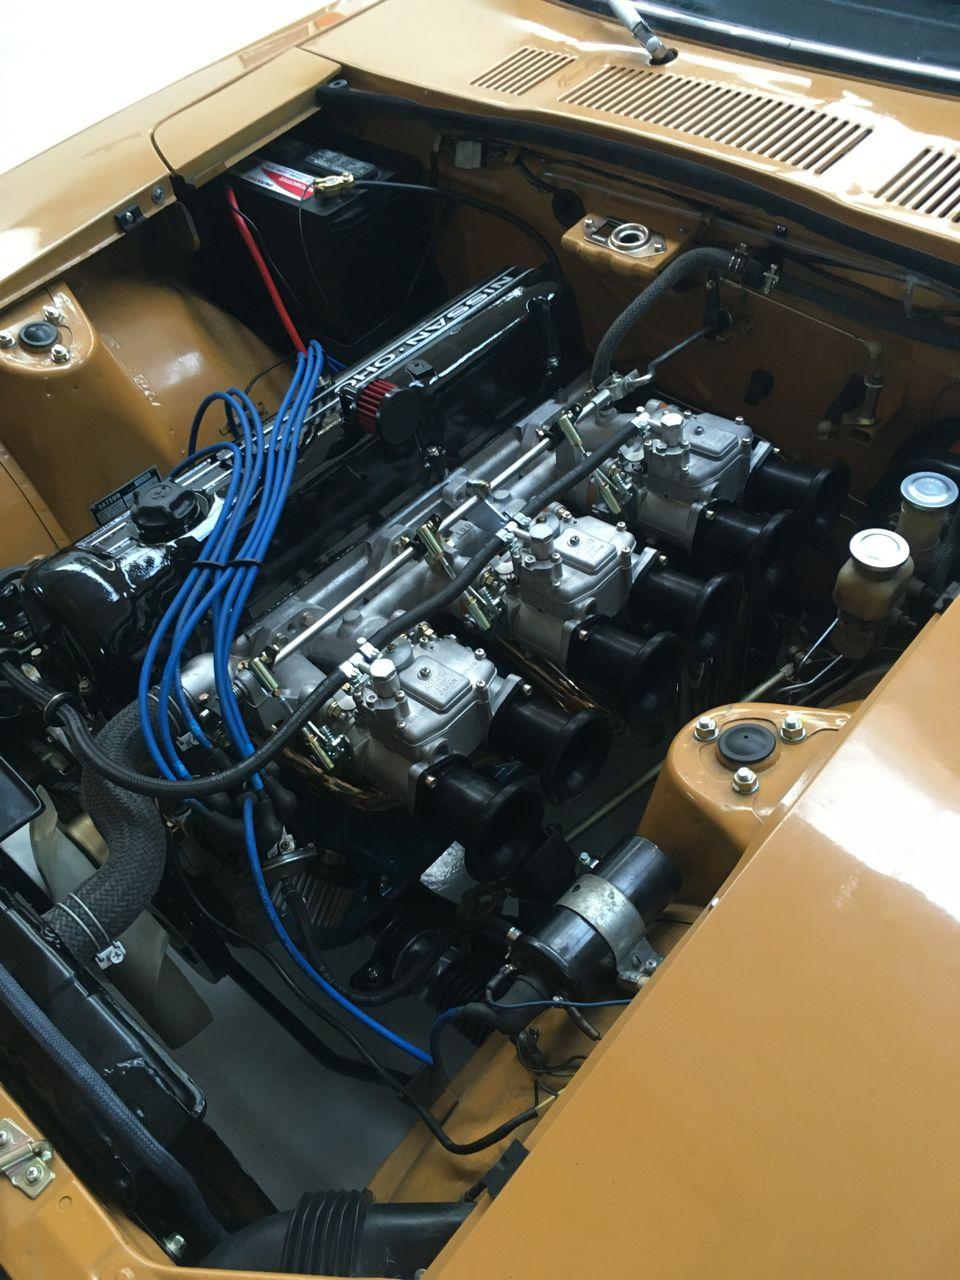
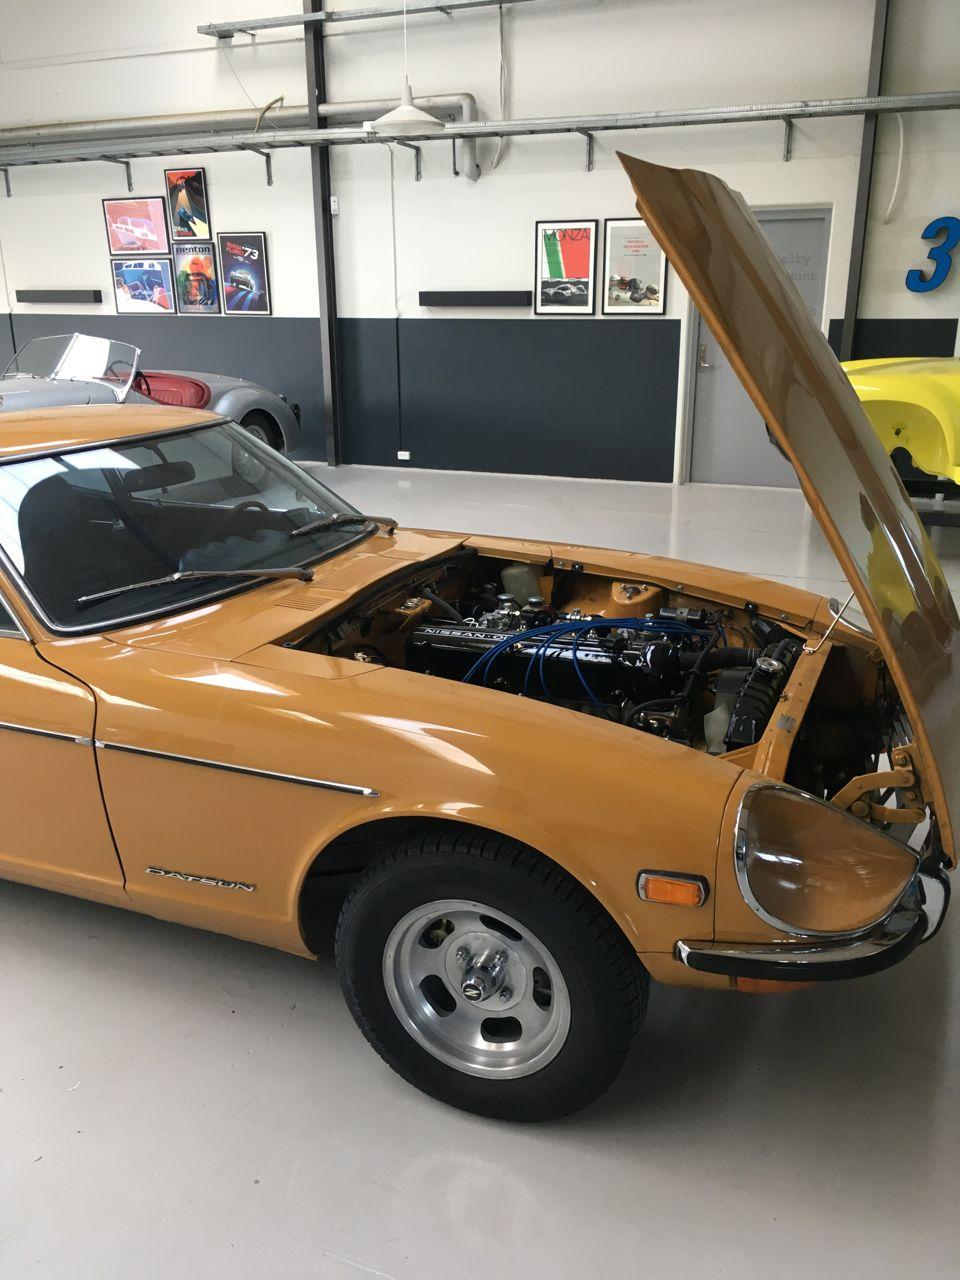
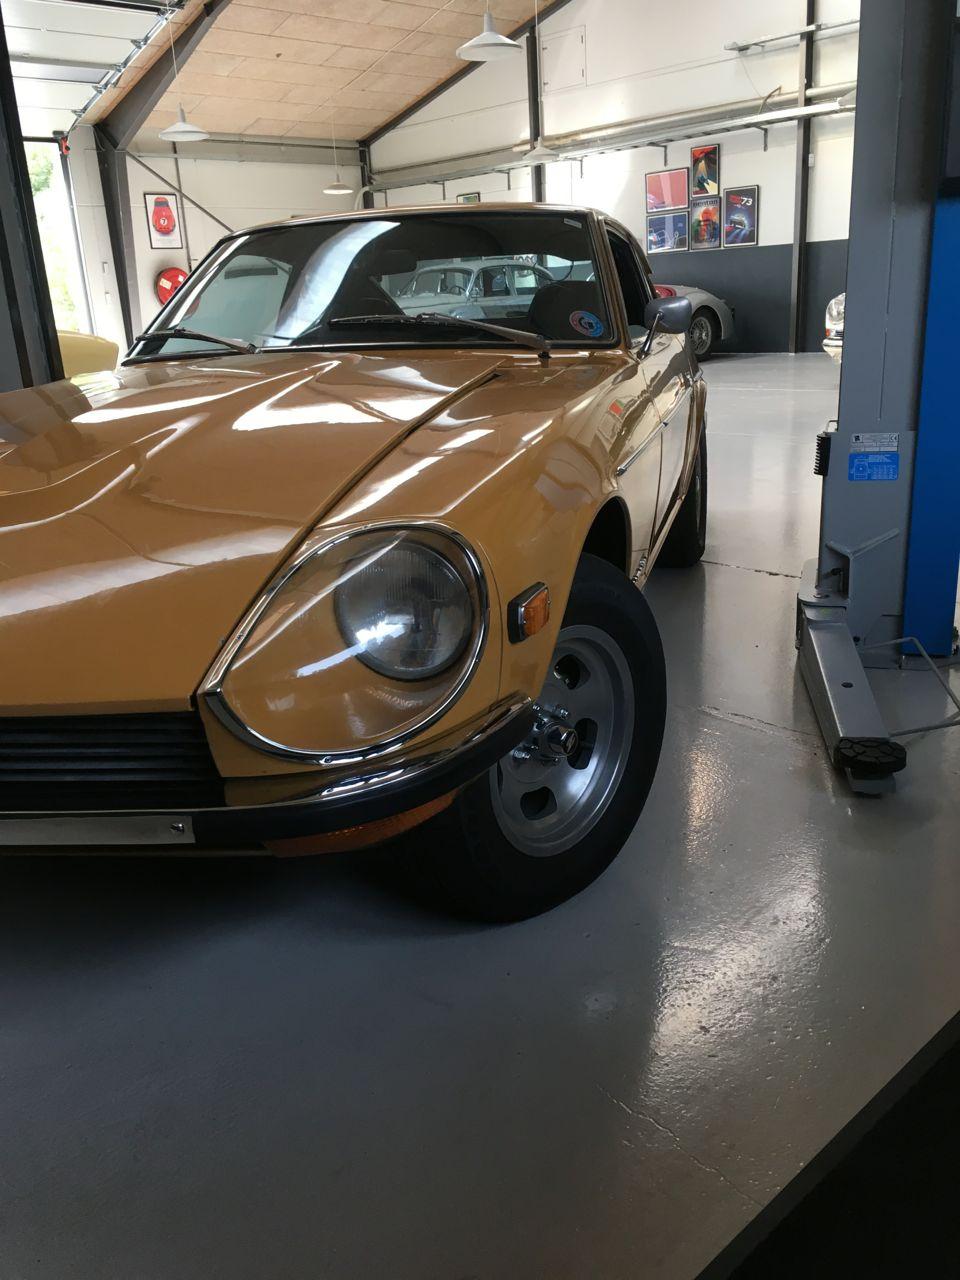
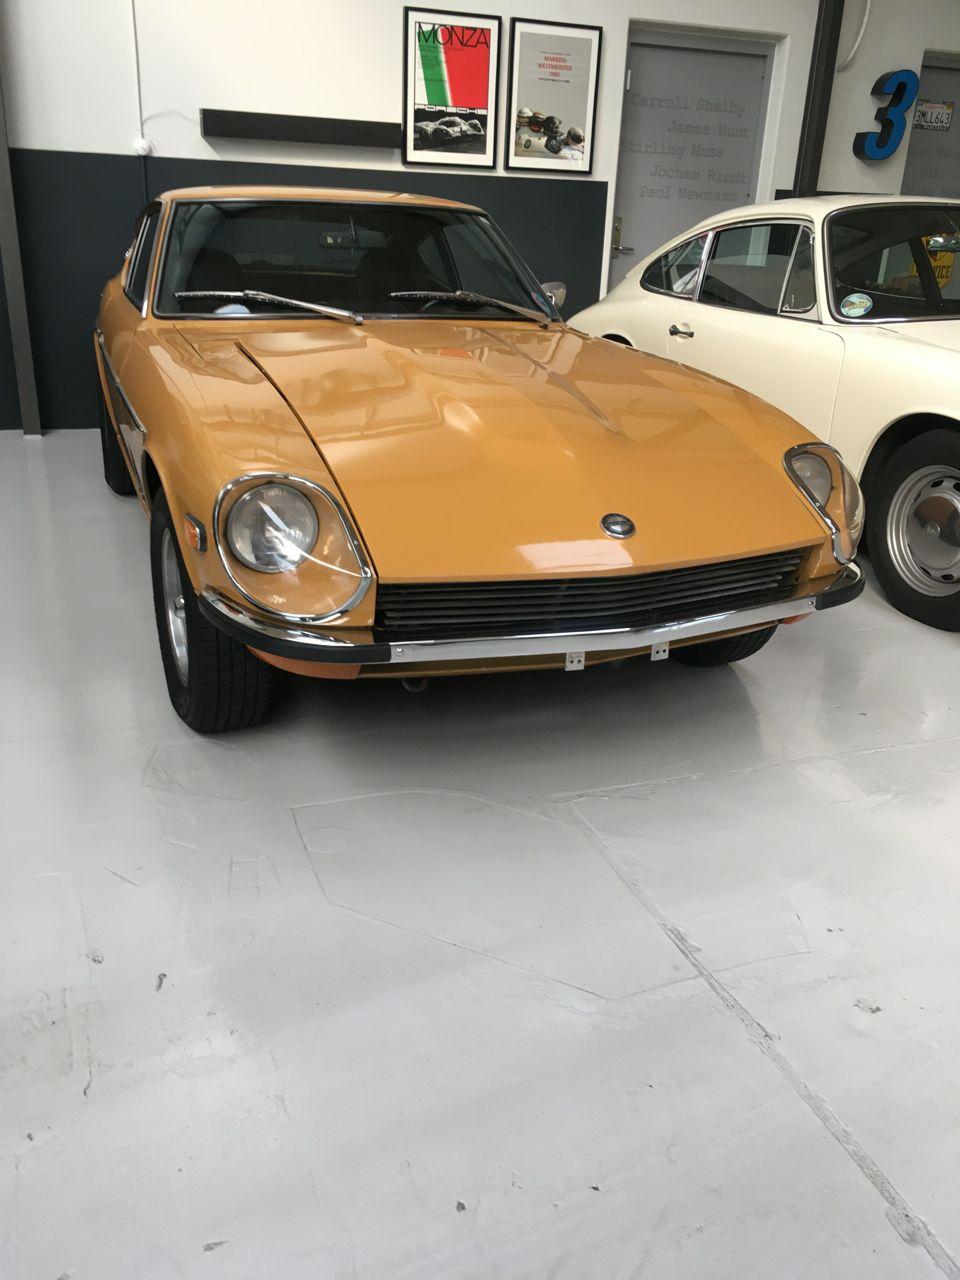
1 pointMy Sahara Gold 1971, which I was rebuilding the entire undercarriage, upgrade the motor with a mild race cam, a set of triple Mikuni´s and a Z-Story Exhaust system etc. are finally ready for some indian summer rides.. All in all, it has been a blast, working on this project and the numbers of trial and error are to a minimum. as for all work, there will be some small adjustments, and I think I´m through them all, at this moment. The last small things was done this afternoon in my workshop, and was attended the front and rear number rubber, as I took the bumbers of, I decided to delete the horns at the front, and before putting the new rubber corners on, I cleaned and polished the chrome work.. Now, all I need is to get the number plates some times next week, and drive it, just in time before winter.....


 1 point
 -
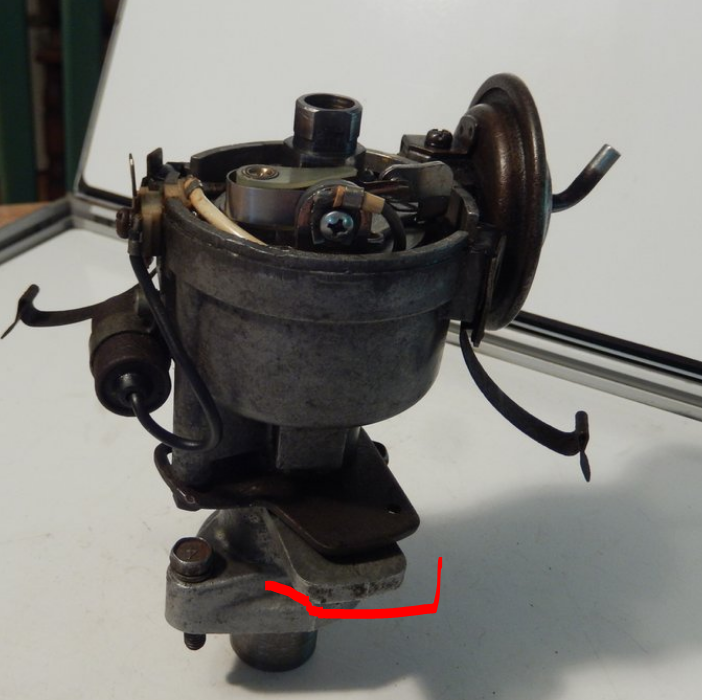
I misread your first post. I thought you were replacing your electronic distributor with an old points distributor. Now I see that you're just removing the distributor, cleaning it, and putting it right back in. The same distributor. It should be very simple as long as you mark the adjustment setting before you remove it, so that you can set it to the same timing. Mark the mount and the distributor and match them up on reinstall. And yes, they do only install one way.
 1 point
 -
1 point
-
1 point
-
1 point
-
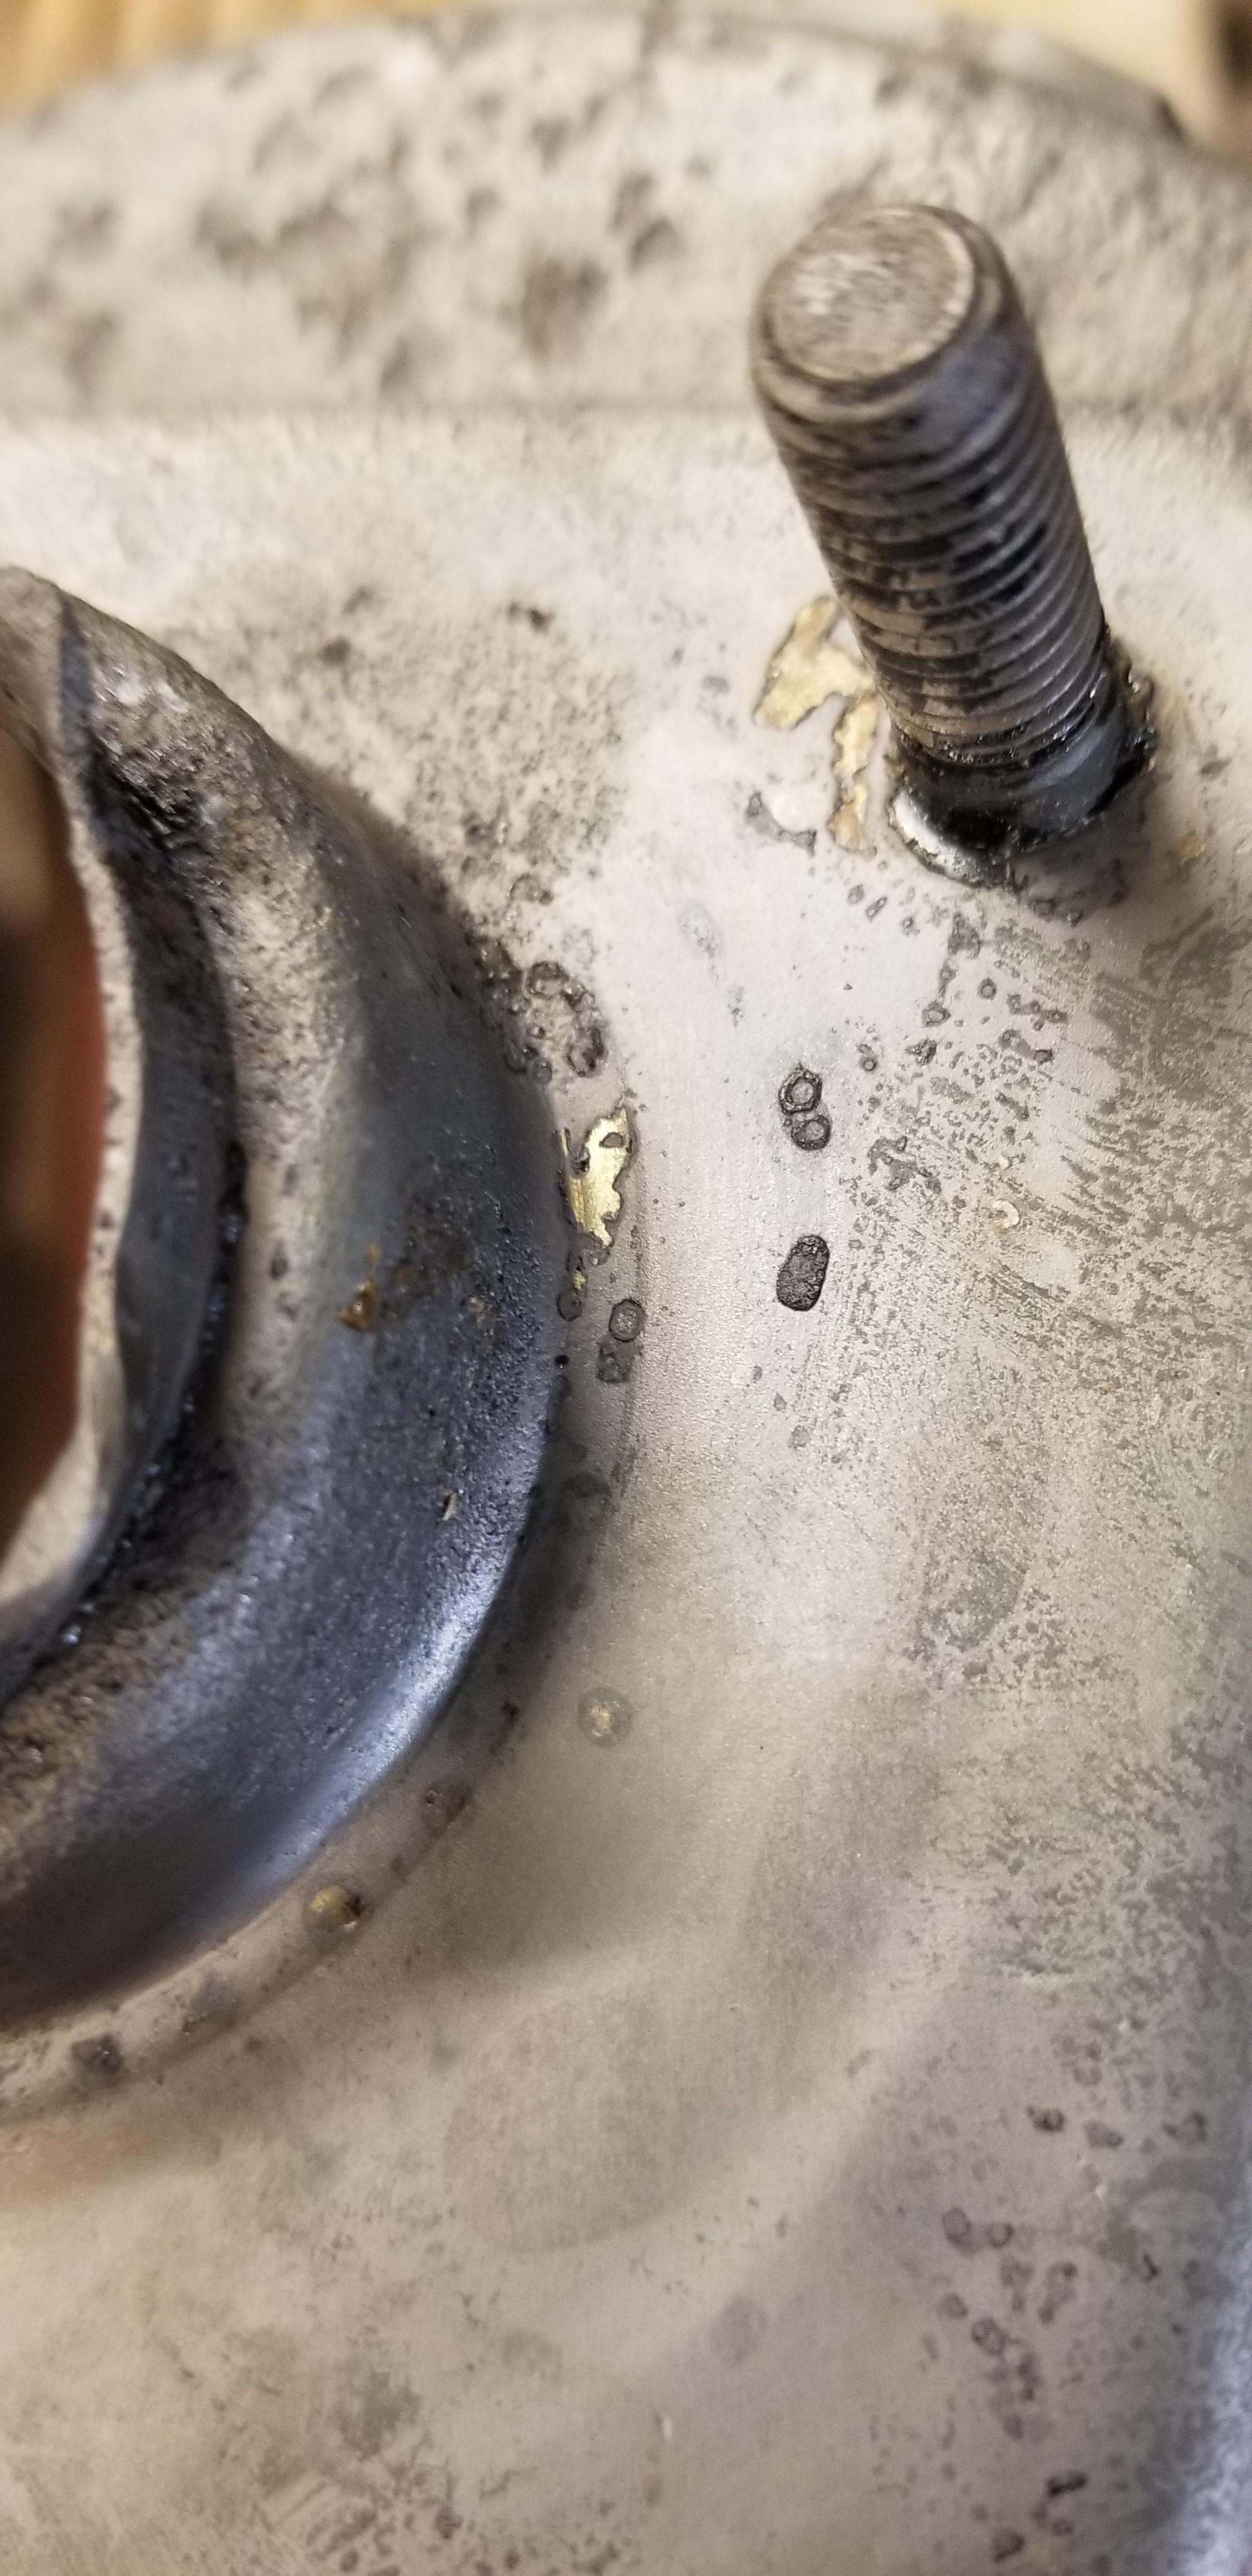
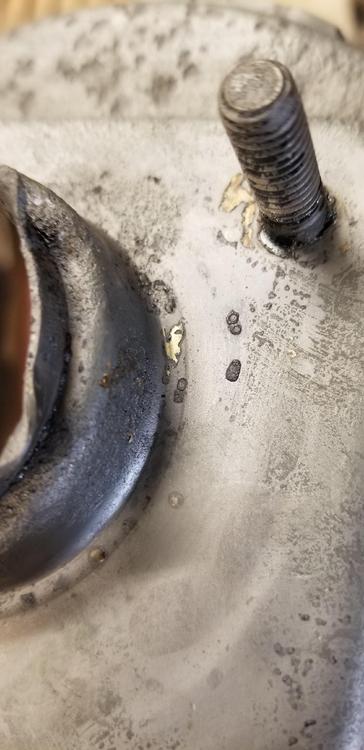
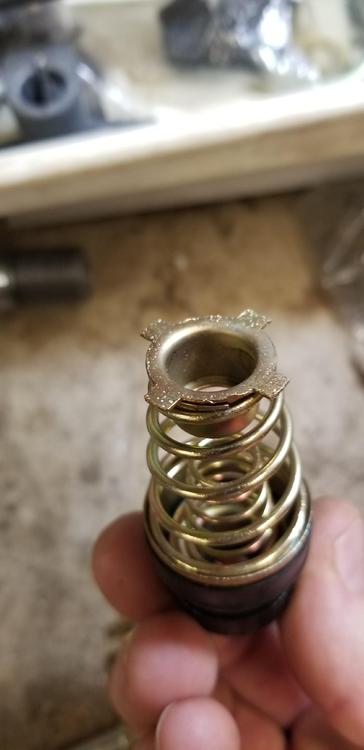
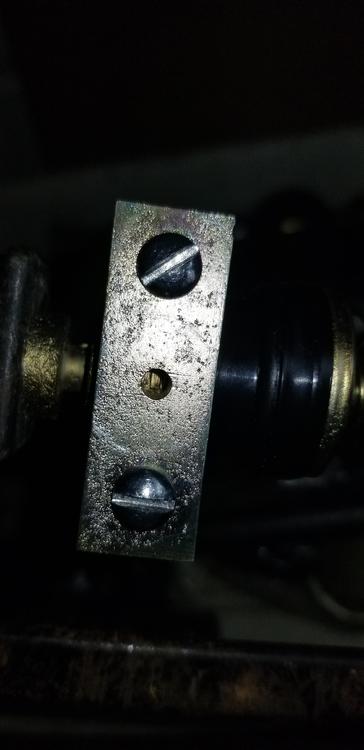
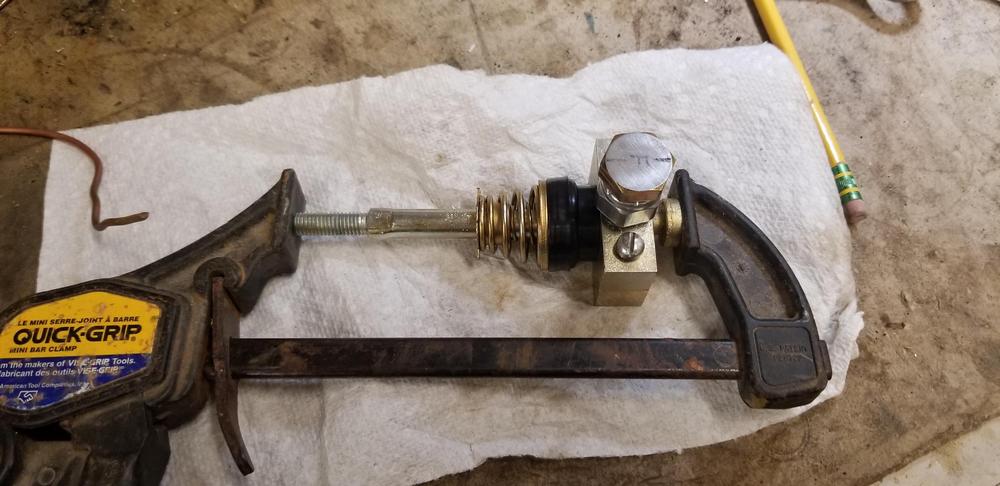
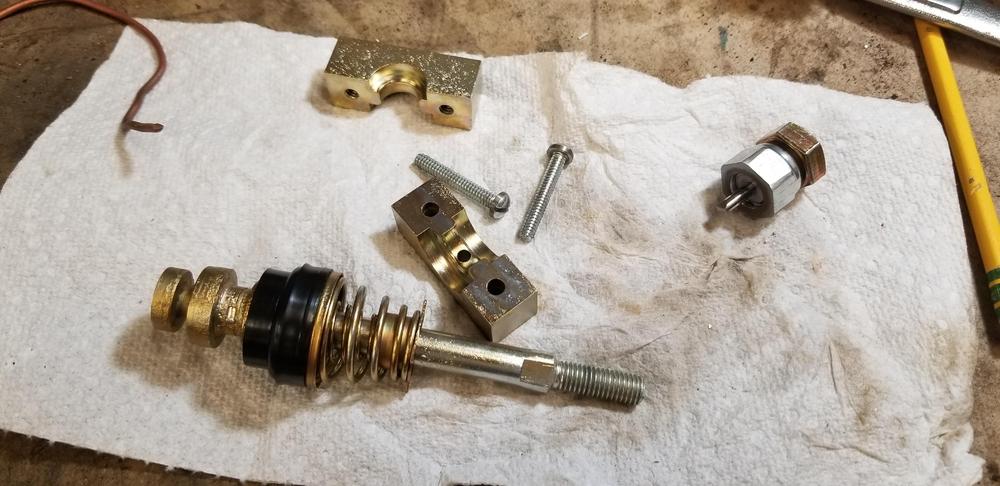
Well I worked on the booster some more today. I started by stripping the last remnants of paint from the booster shell. Some of it didn't want to come off in the blasting cabinet. Under the paint it looks like yellow zinc. You can see the yellow in a couple of the spots that were protected with paint. So did they plate the boosters first, then paint them. Otherwise, how did the studs get plated? I tried to remove a stud just to see if I could, but I think they are welded in some way even though I can't see where Stacked up the plunger parts Then clamped the plunger in to the cap. I actually had to tap the plunger into the cap with a hammer to get it to seat. Then clamped it in to the fixture. You can see the staking mark through the fixture hole Staked one side, then rotated 120 degrees and repeat. I staked it where it was originally staked. All done, ready for the booster I didn't use the hydraulic press to stake it. Instead I clamped it in the vise. That way I had a tactile way to determine how hard I was staking it
 1 point
 -
1 pointFor what its worth if you haven't made a decision I'd highly recommend the ST kit, I looked at all three options when I did mine and I thought it was the best choice in terms of fitment and value for money. I don't like the design off the MSA kit with drilling of the chassis involved and the Futofab kit doesn't seem to justify the extra price from anything I've read. The rear ST kit bar made a massive difference to the handling of my car, currently having reinforcement plates added to the front frame rails before the front bar goes in so as to not cause any damage to the chassis and prevent any potential for twisting or extra stress. Great addition ?1 point
-
1 point...And let's not forget Dave Irwin. If you run into problems, I and many others heartily attest to his work.1 point
-
1 pointSupply and demand. Some times you have to pay to play. There is no right or wrong in this equation. We don't have a right to own such fabulous cars or to keep them running. That is purely a personal responsibility. My 2 cents...1 point
-
1 pointI registered with BaT when it was still $800. Finished at $6,200 well outside of my reach, which is good. I didn't really need another project sitting around!1 point
-
1 point
-
Using a set of Falken / Ziex a size smaller than stock. Car sits a little lower due to the tires. 130 MPH speed rating, good in the rain. Tires with a high speed rating wear out a little faster, seems like a bad gamble to go with lower speed rating though. I went smaller to get a faster time at the strip, although I haven't raced it since installing them. Feels a lot faster off the line and 40 to 90 MPH for freeway on ramps. Speedo optimistic per table, but I don't care. Bigger motor now so maybe I'd get a quicker ET and/or faster top speed in 1/4 mile by going back to stock diameter, don't know though, lots of variables. Guess that's a question for a different thread. Main thing is get good tires. H rating or above. Bought some Enterprise cheapies when was broke. Scary in the rain, also one blew out on the freeway. It was fairly new.1 point