Leaderboard
-

240260280
Free Member6Points4,442Posts -
Captain Obvious
Free Member5Points10,081Posts -
motorman7
 Subscriber
 2Points2,228Posts
 -
conedodger
Free Member2Points12,513Posts


Popular Content
Showing content with the highest reputation on 06/30/2018 in all areas
-
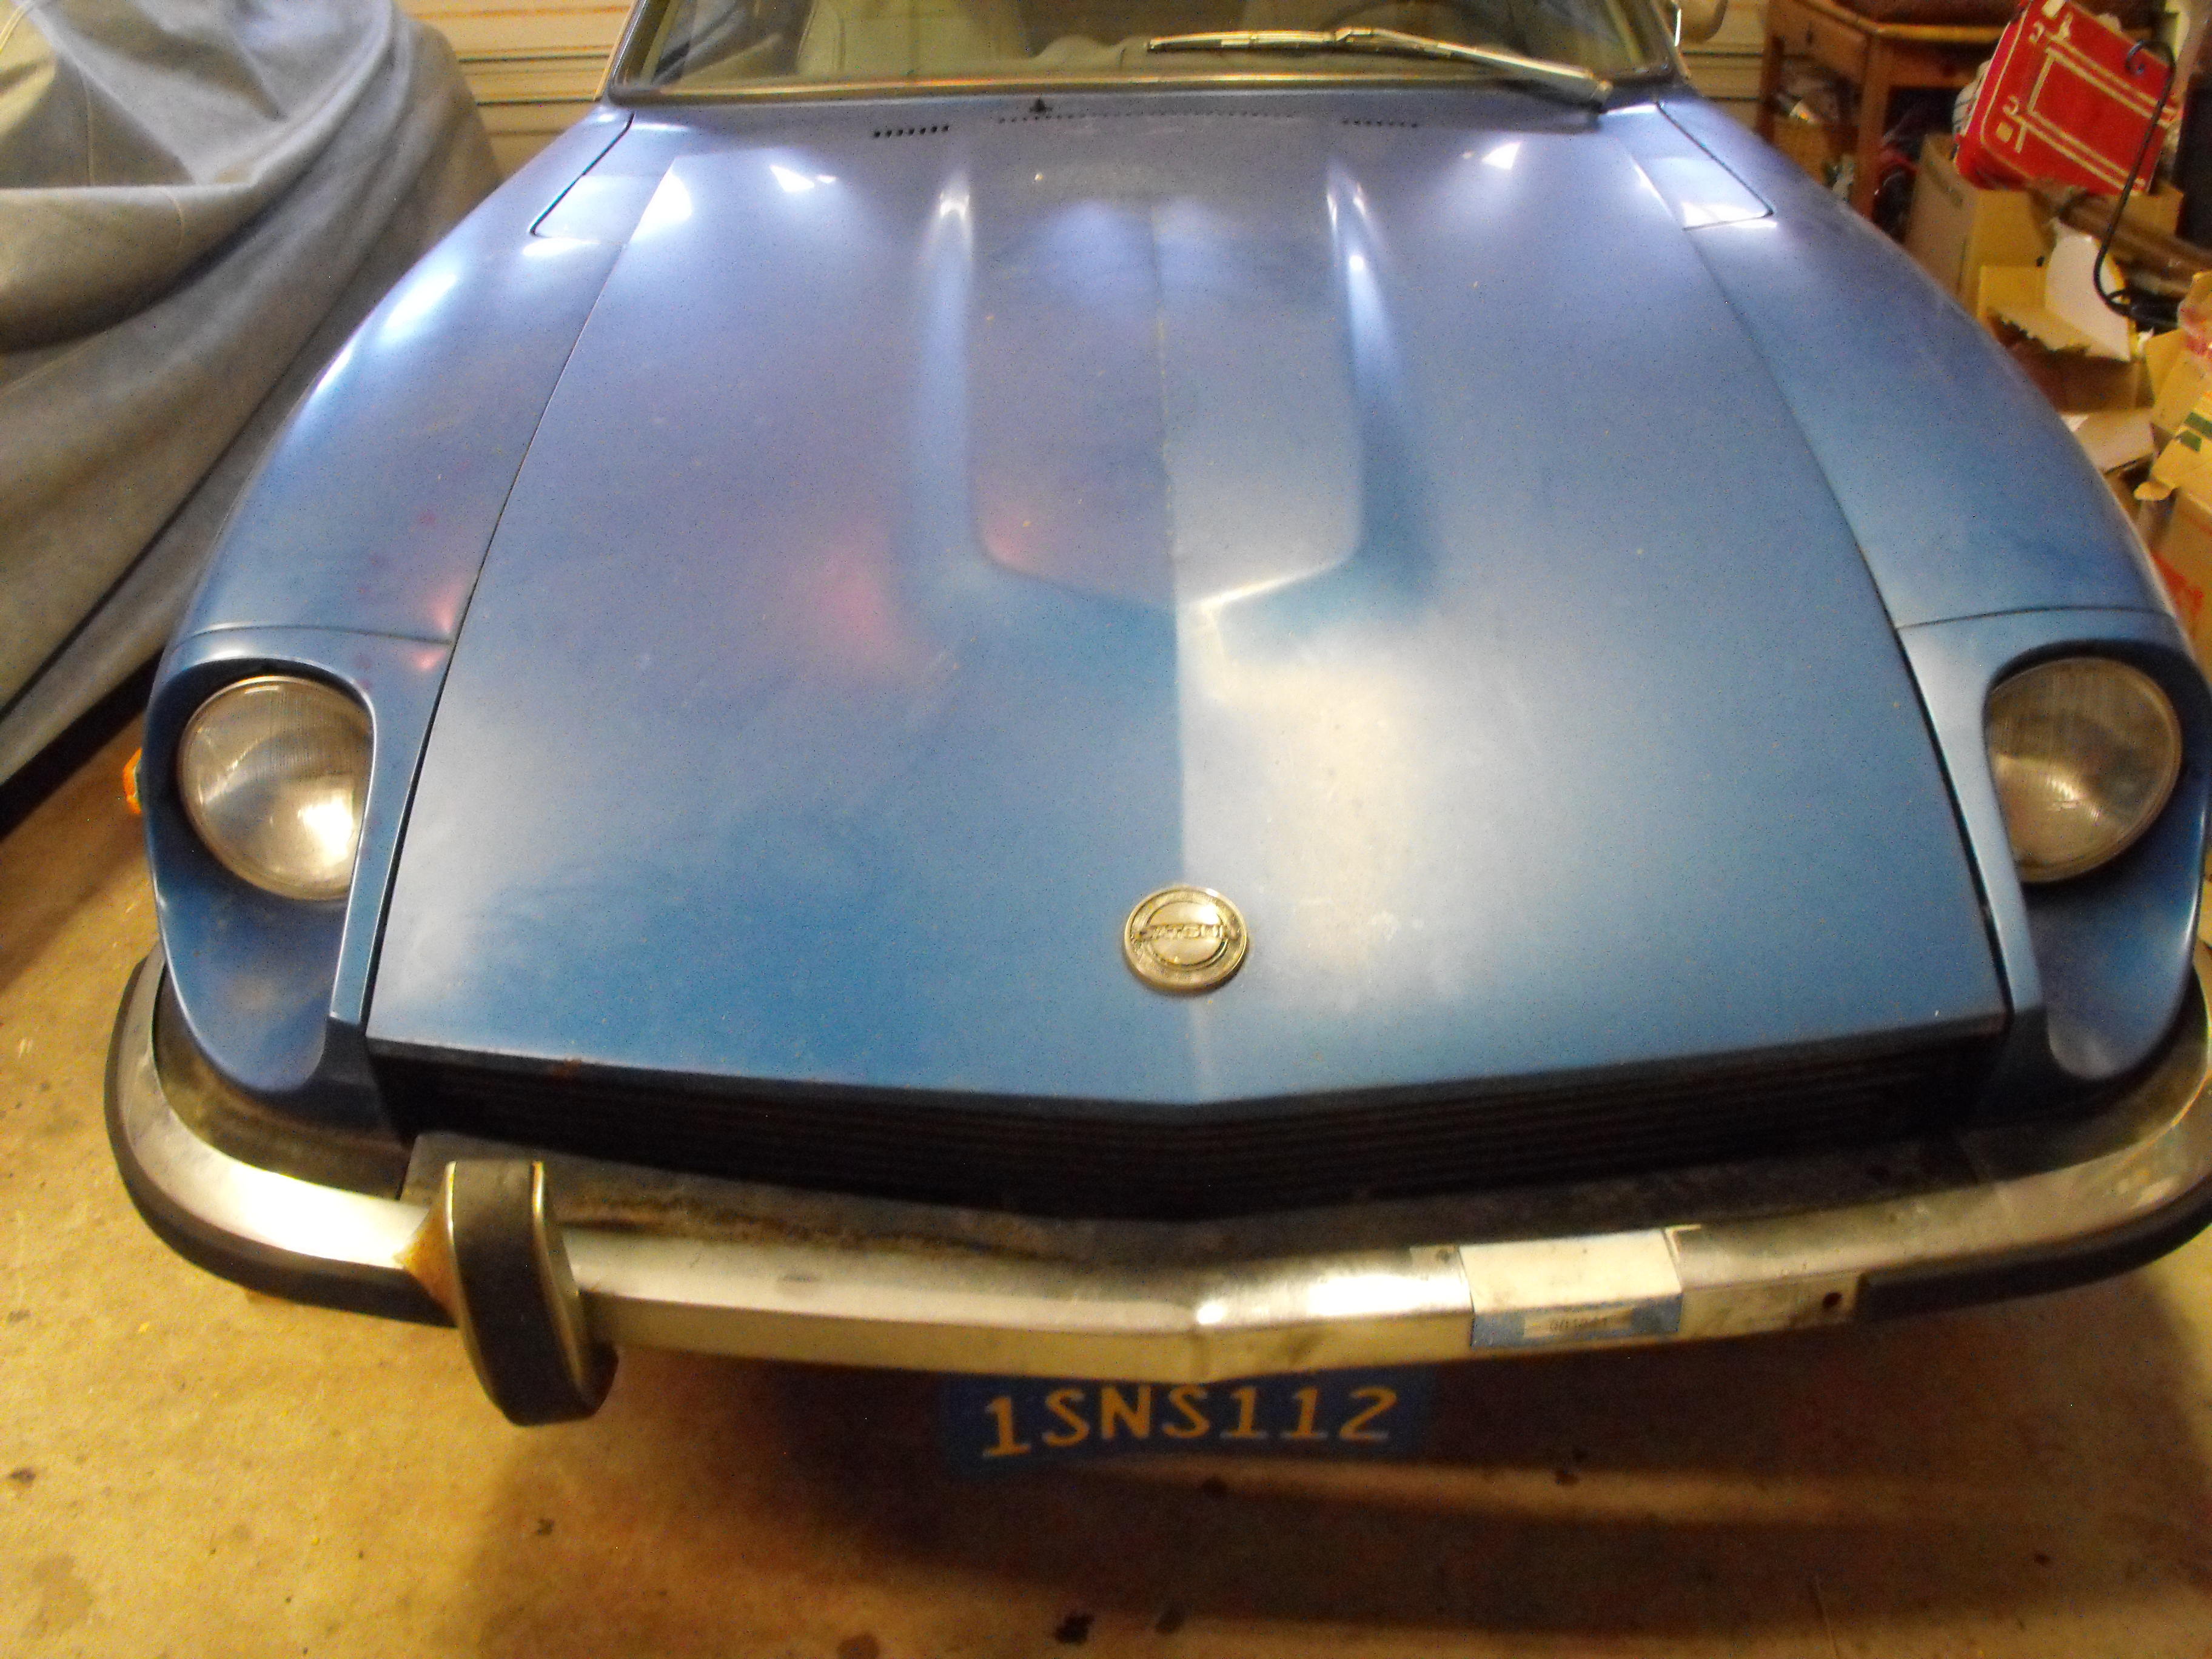
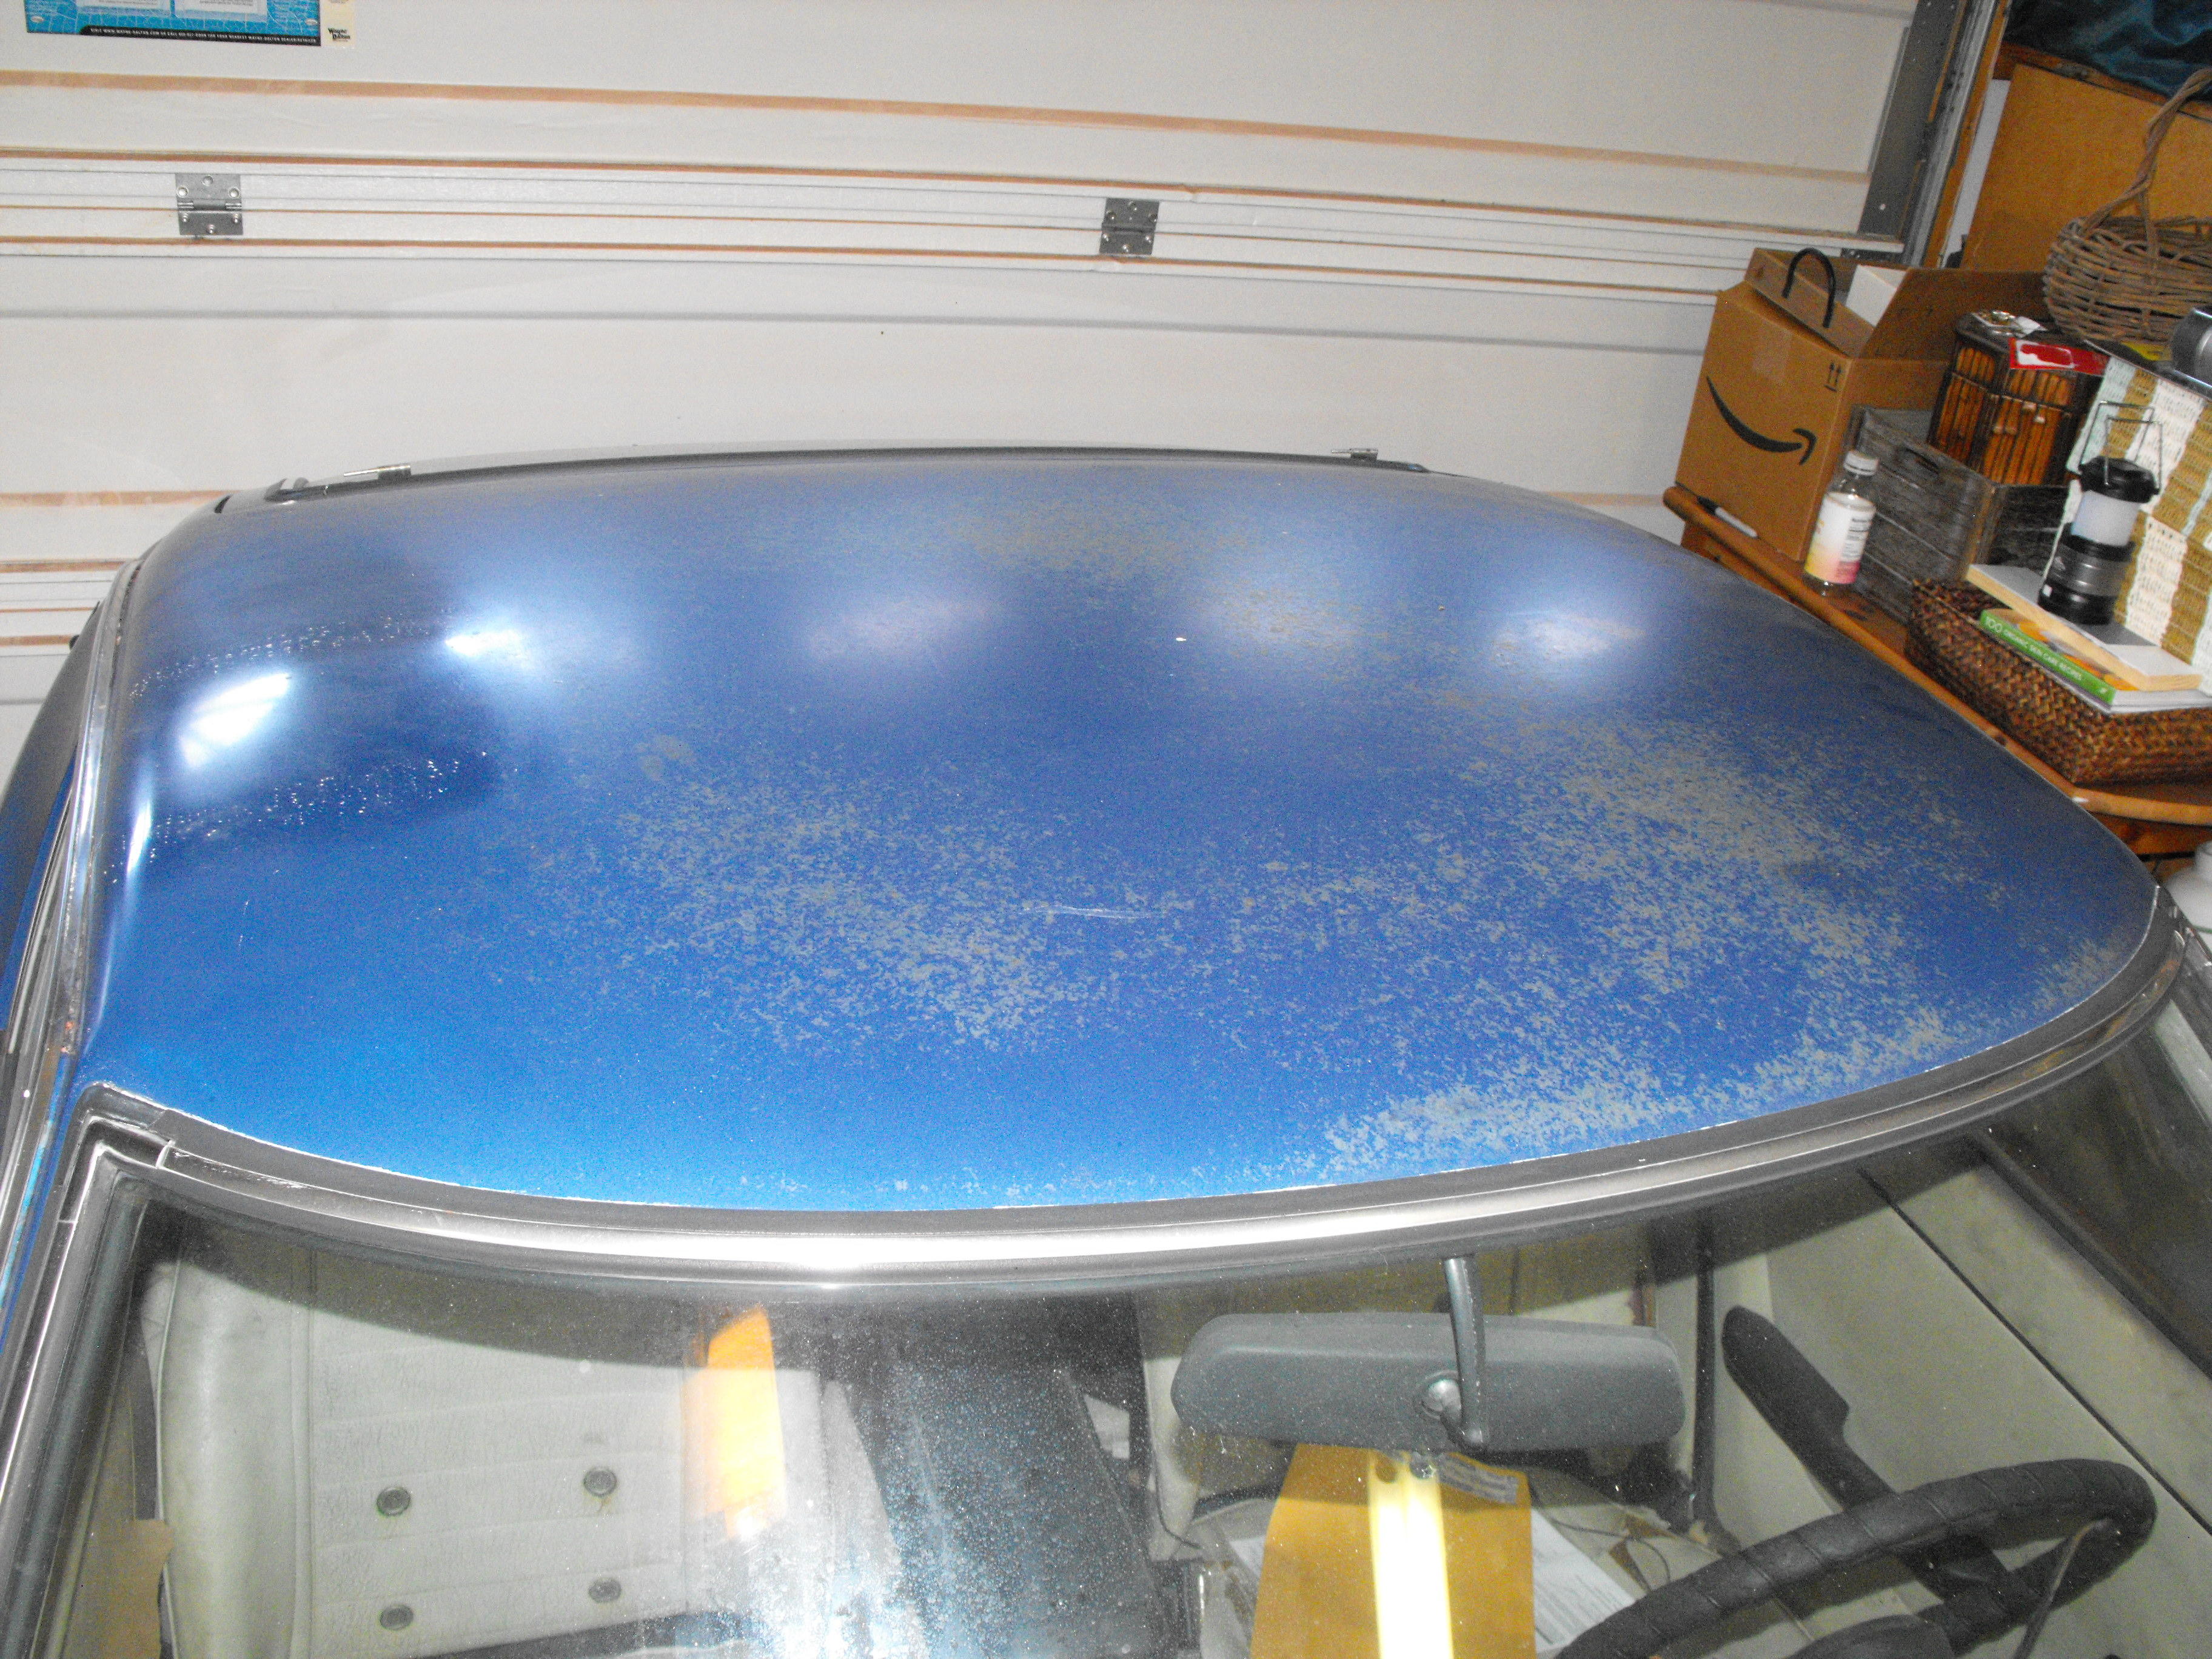
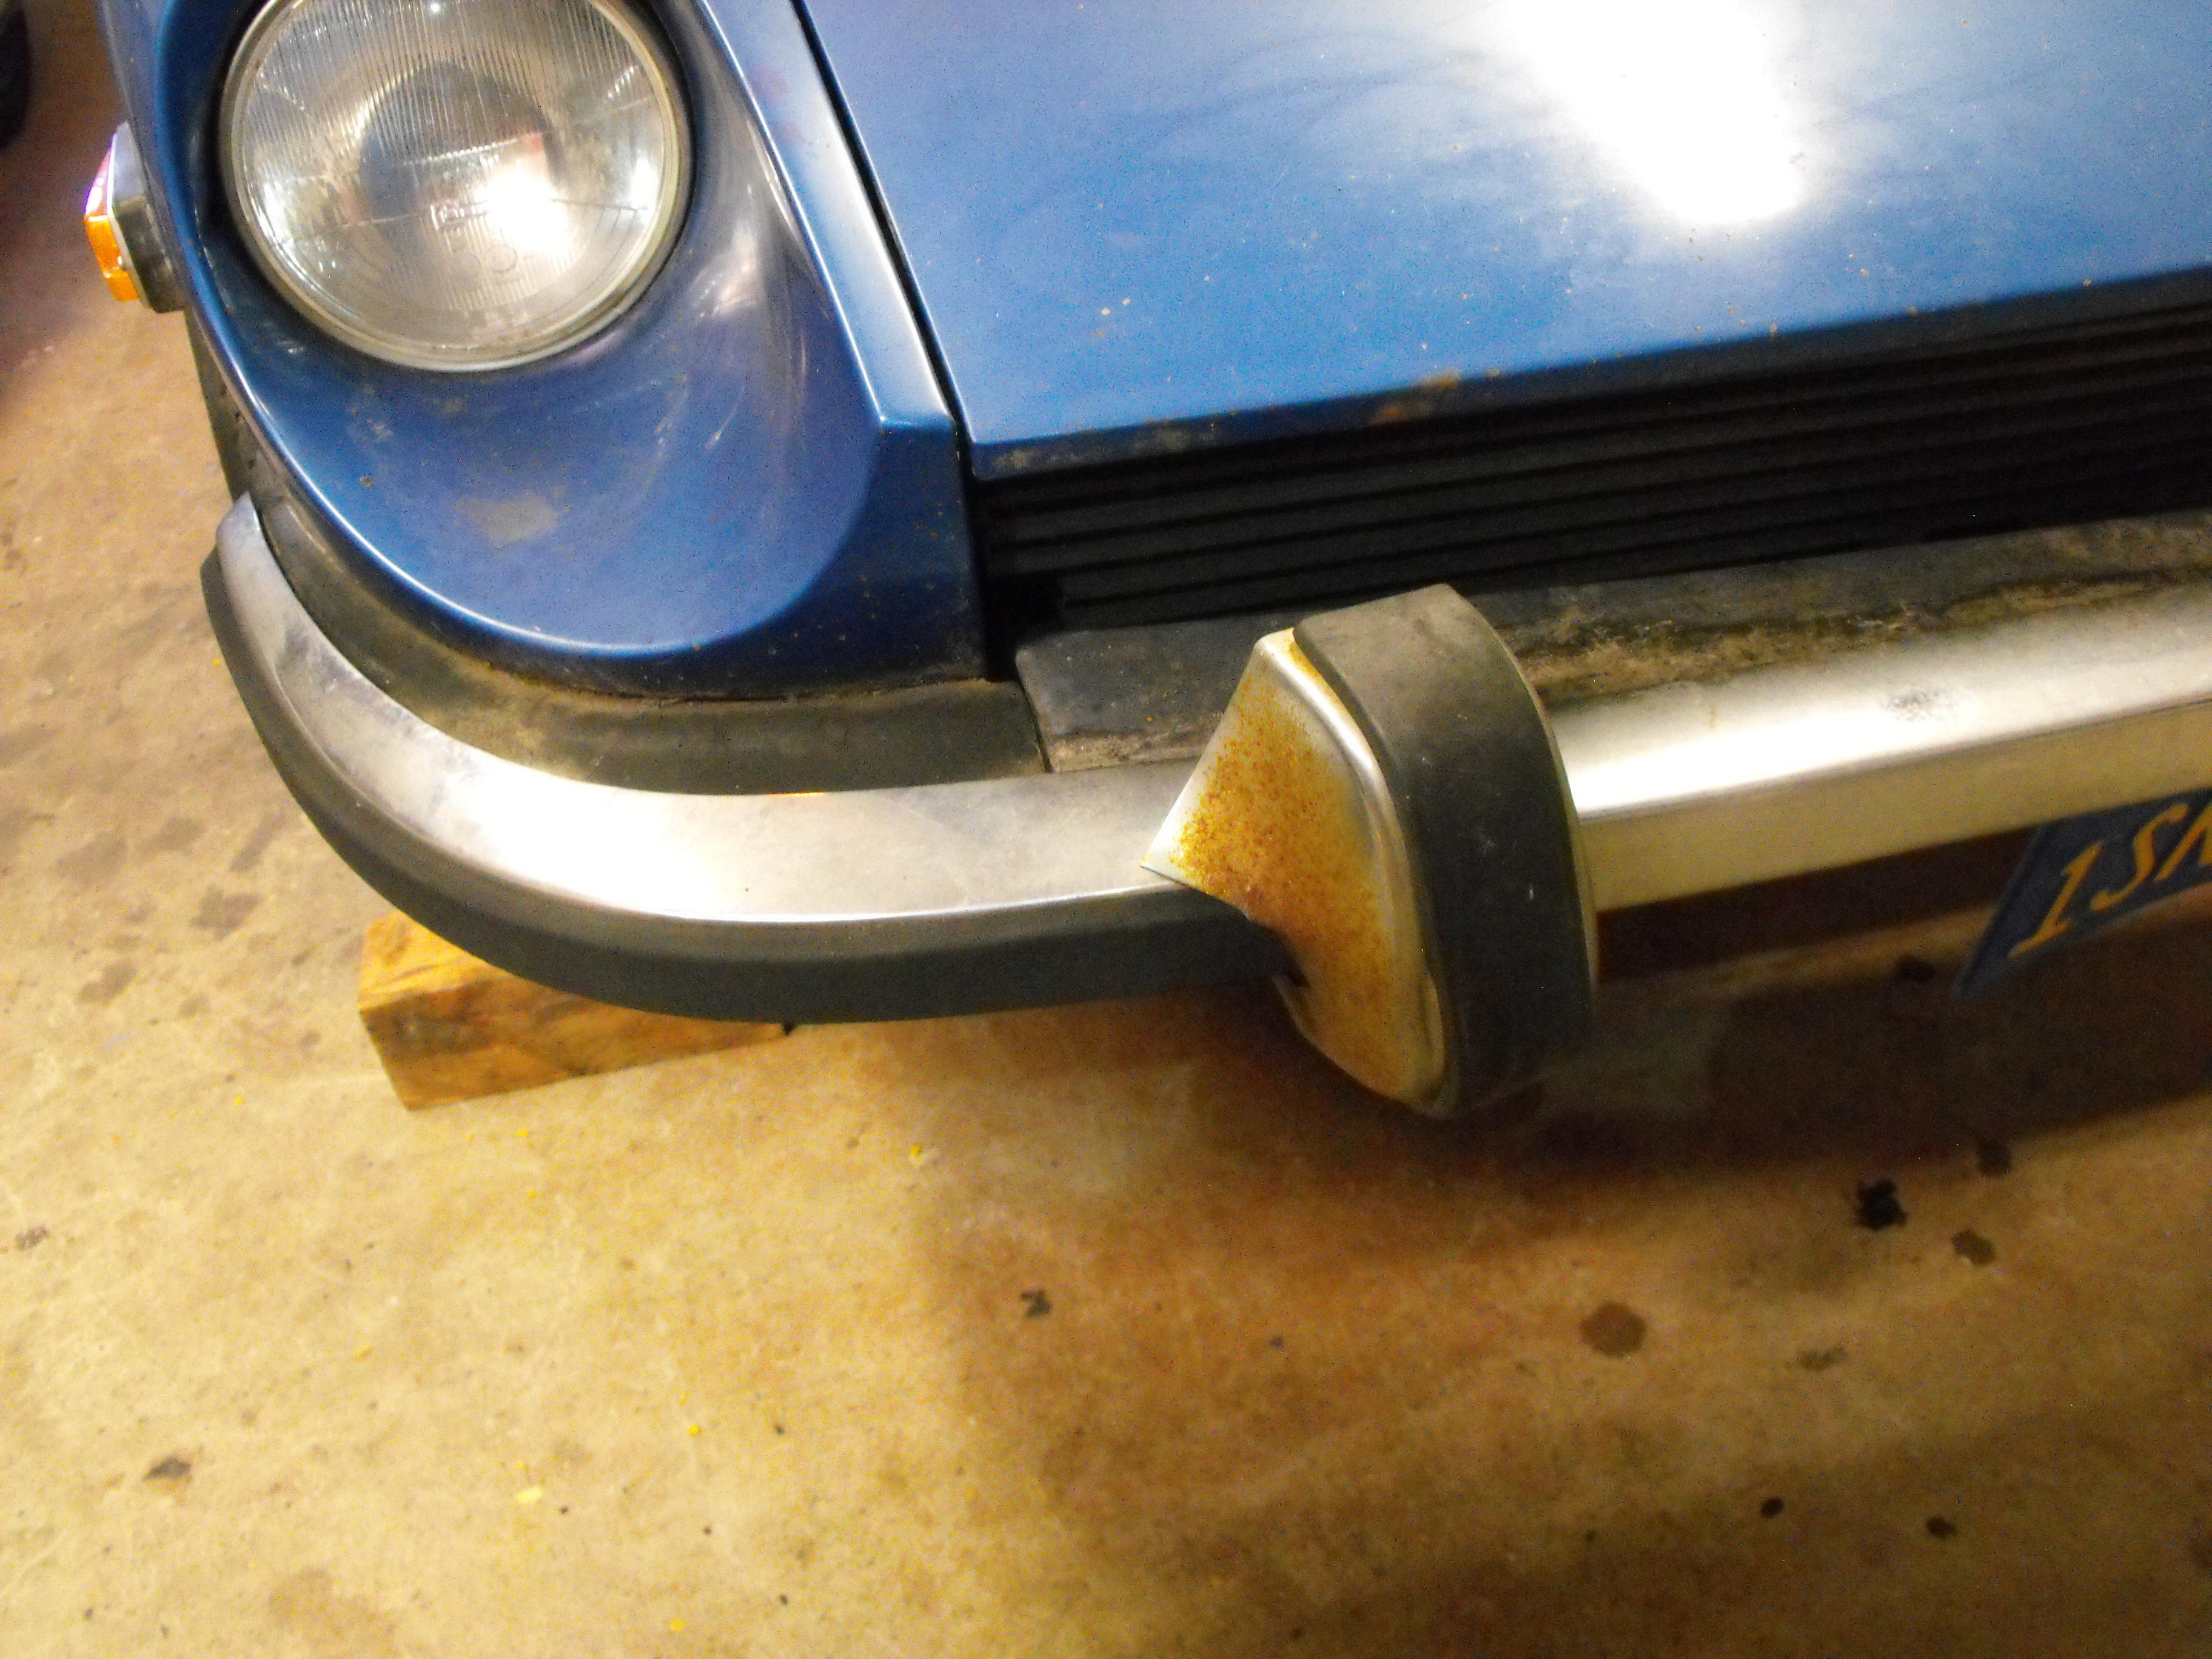
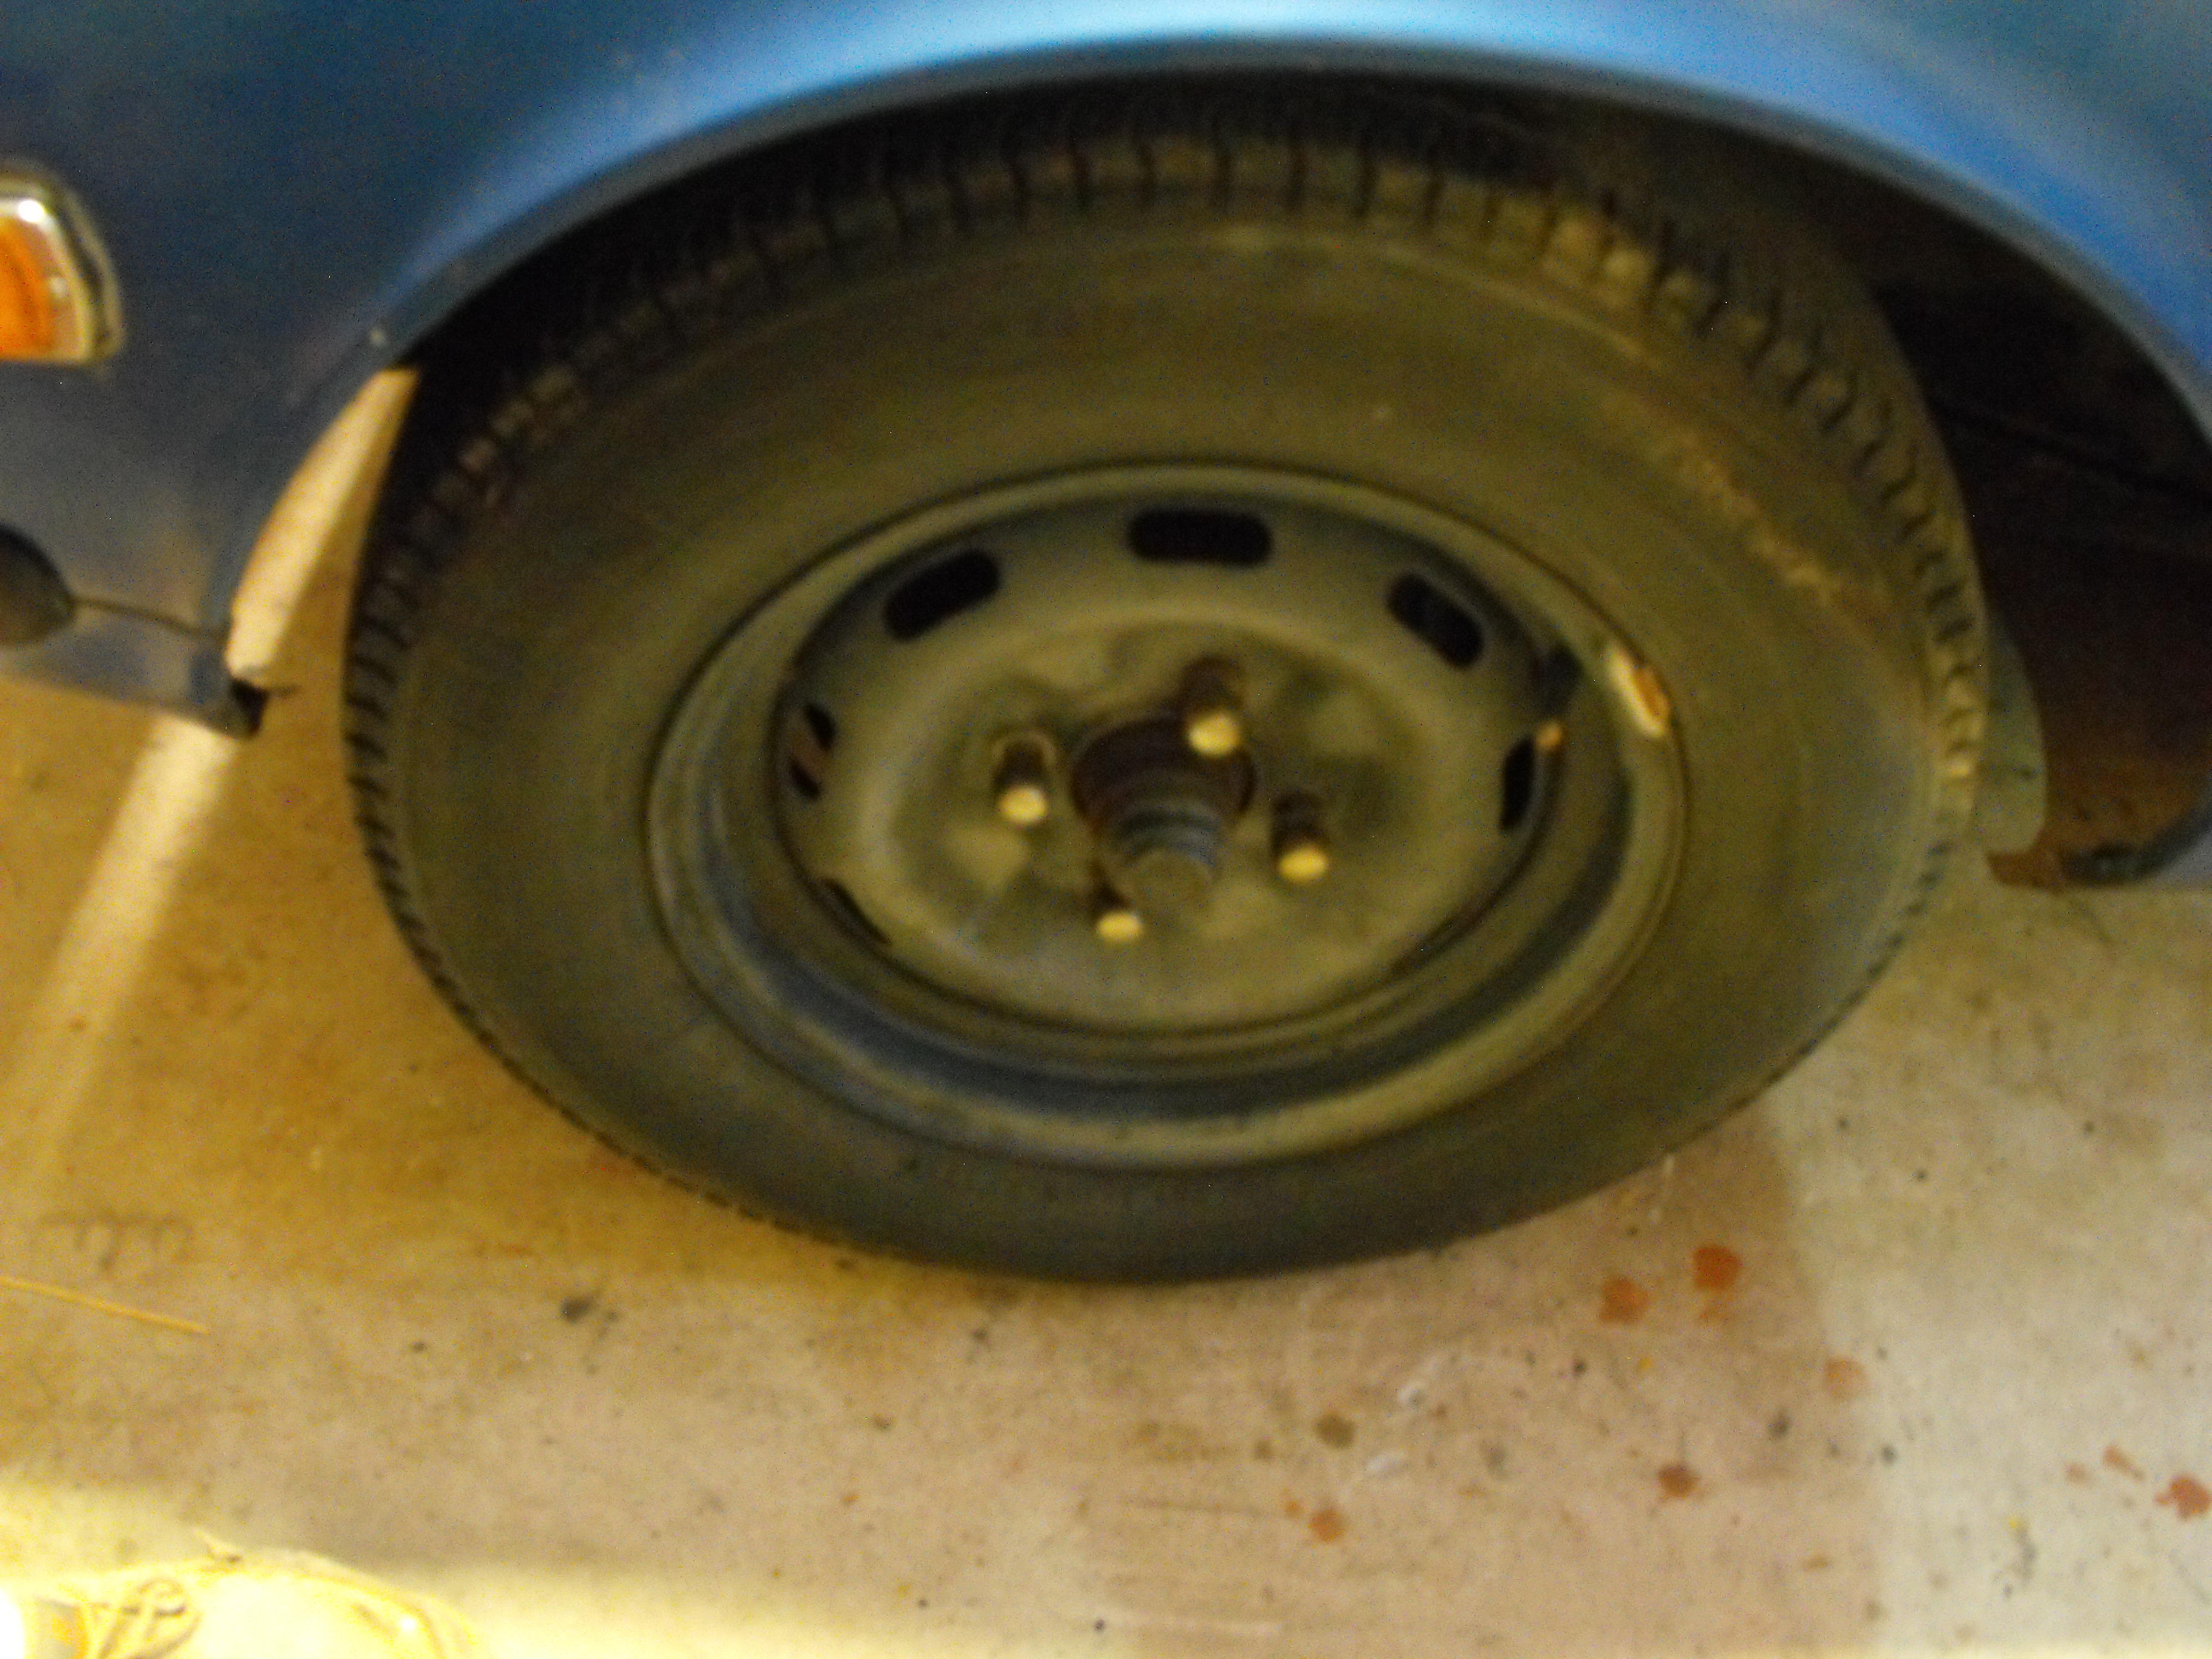
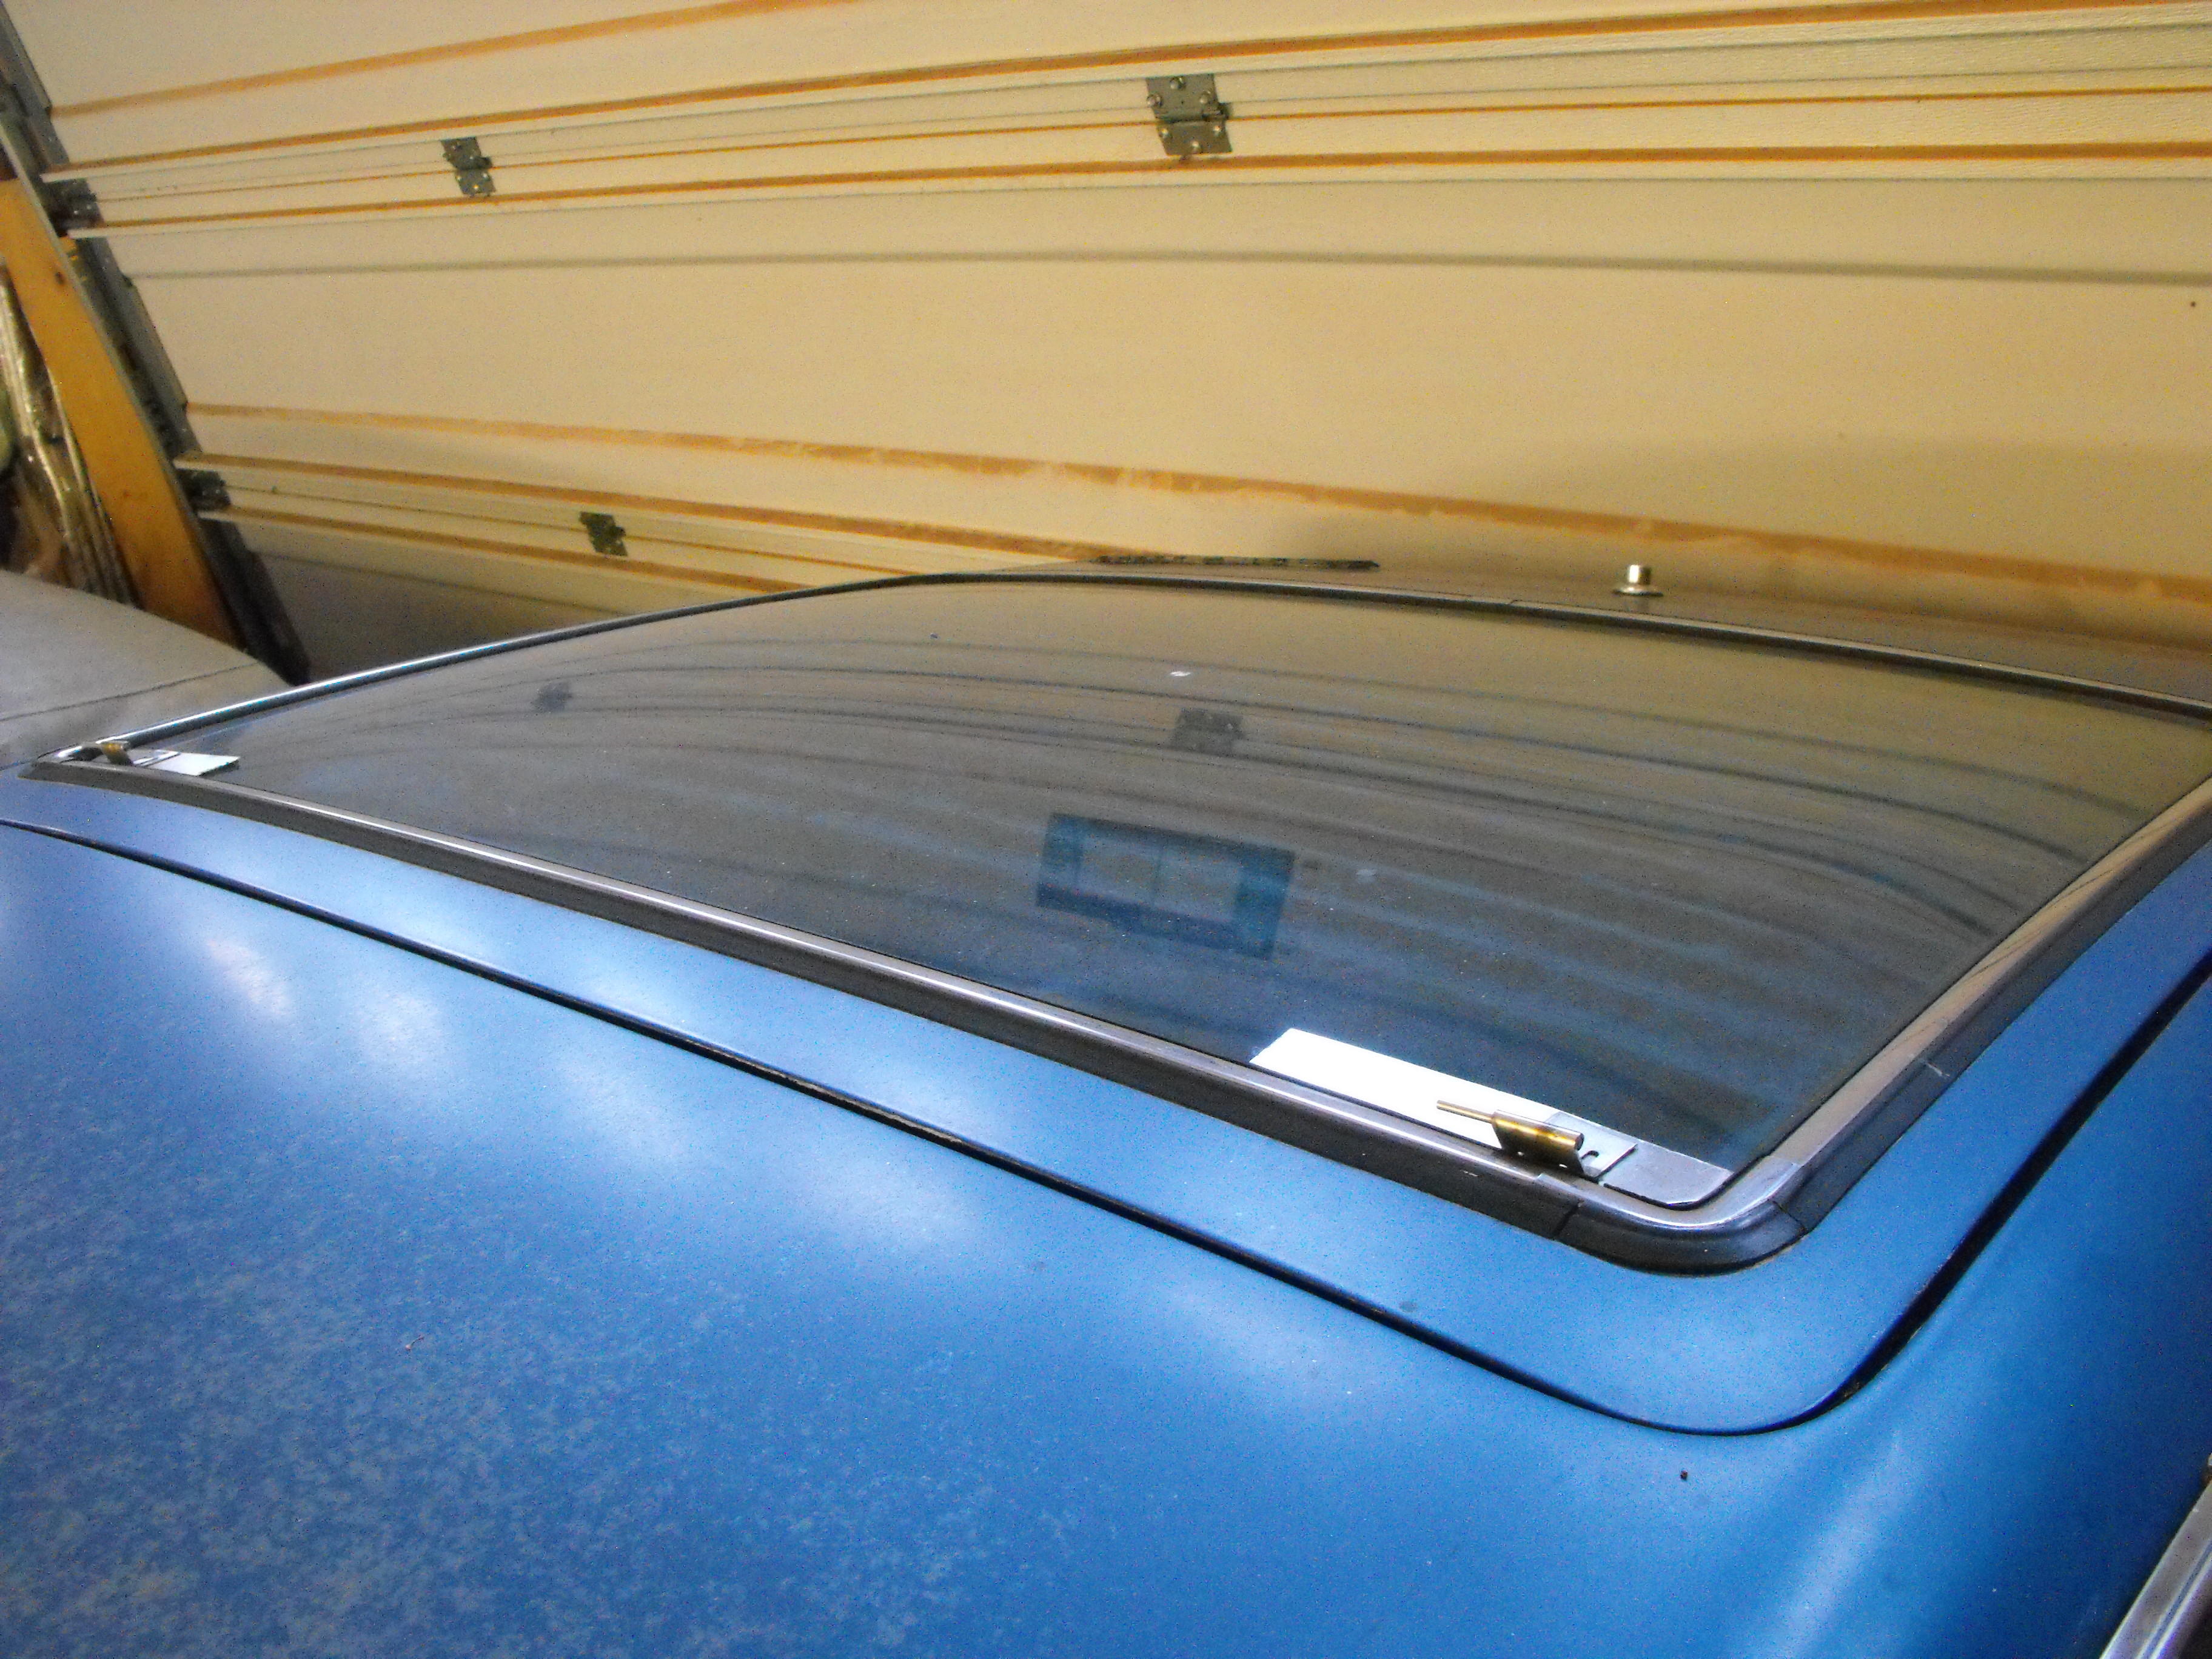
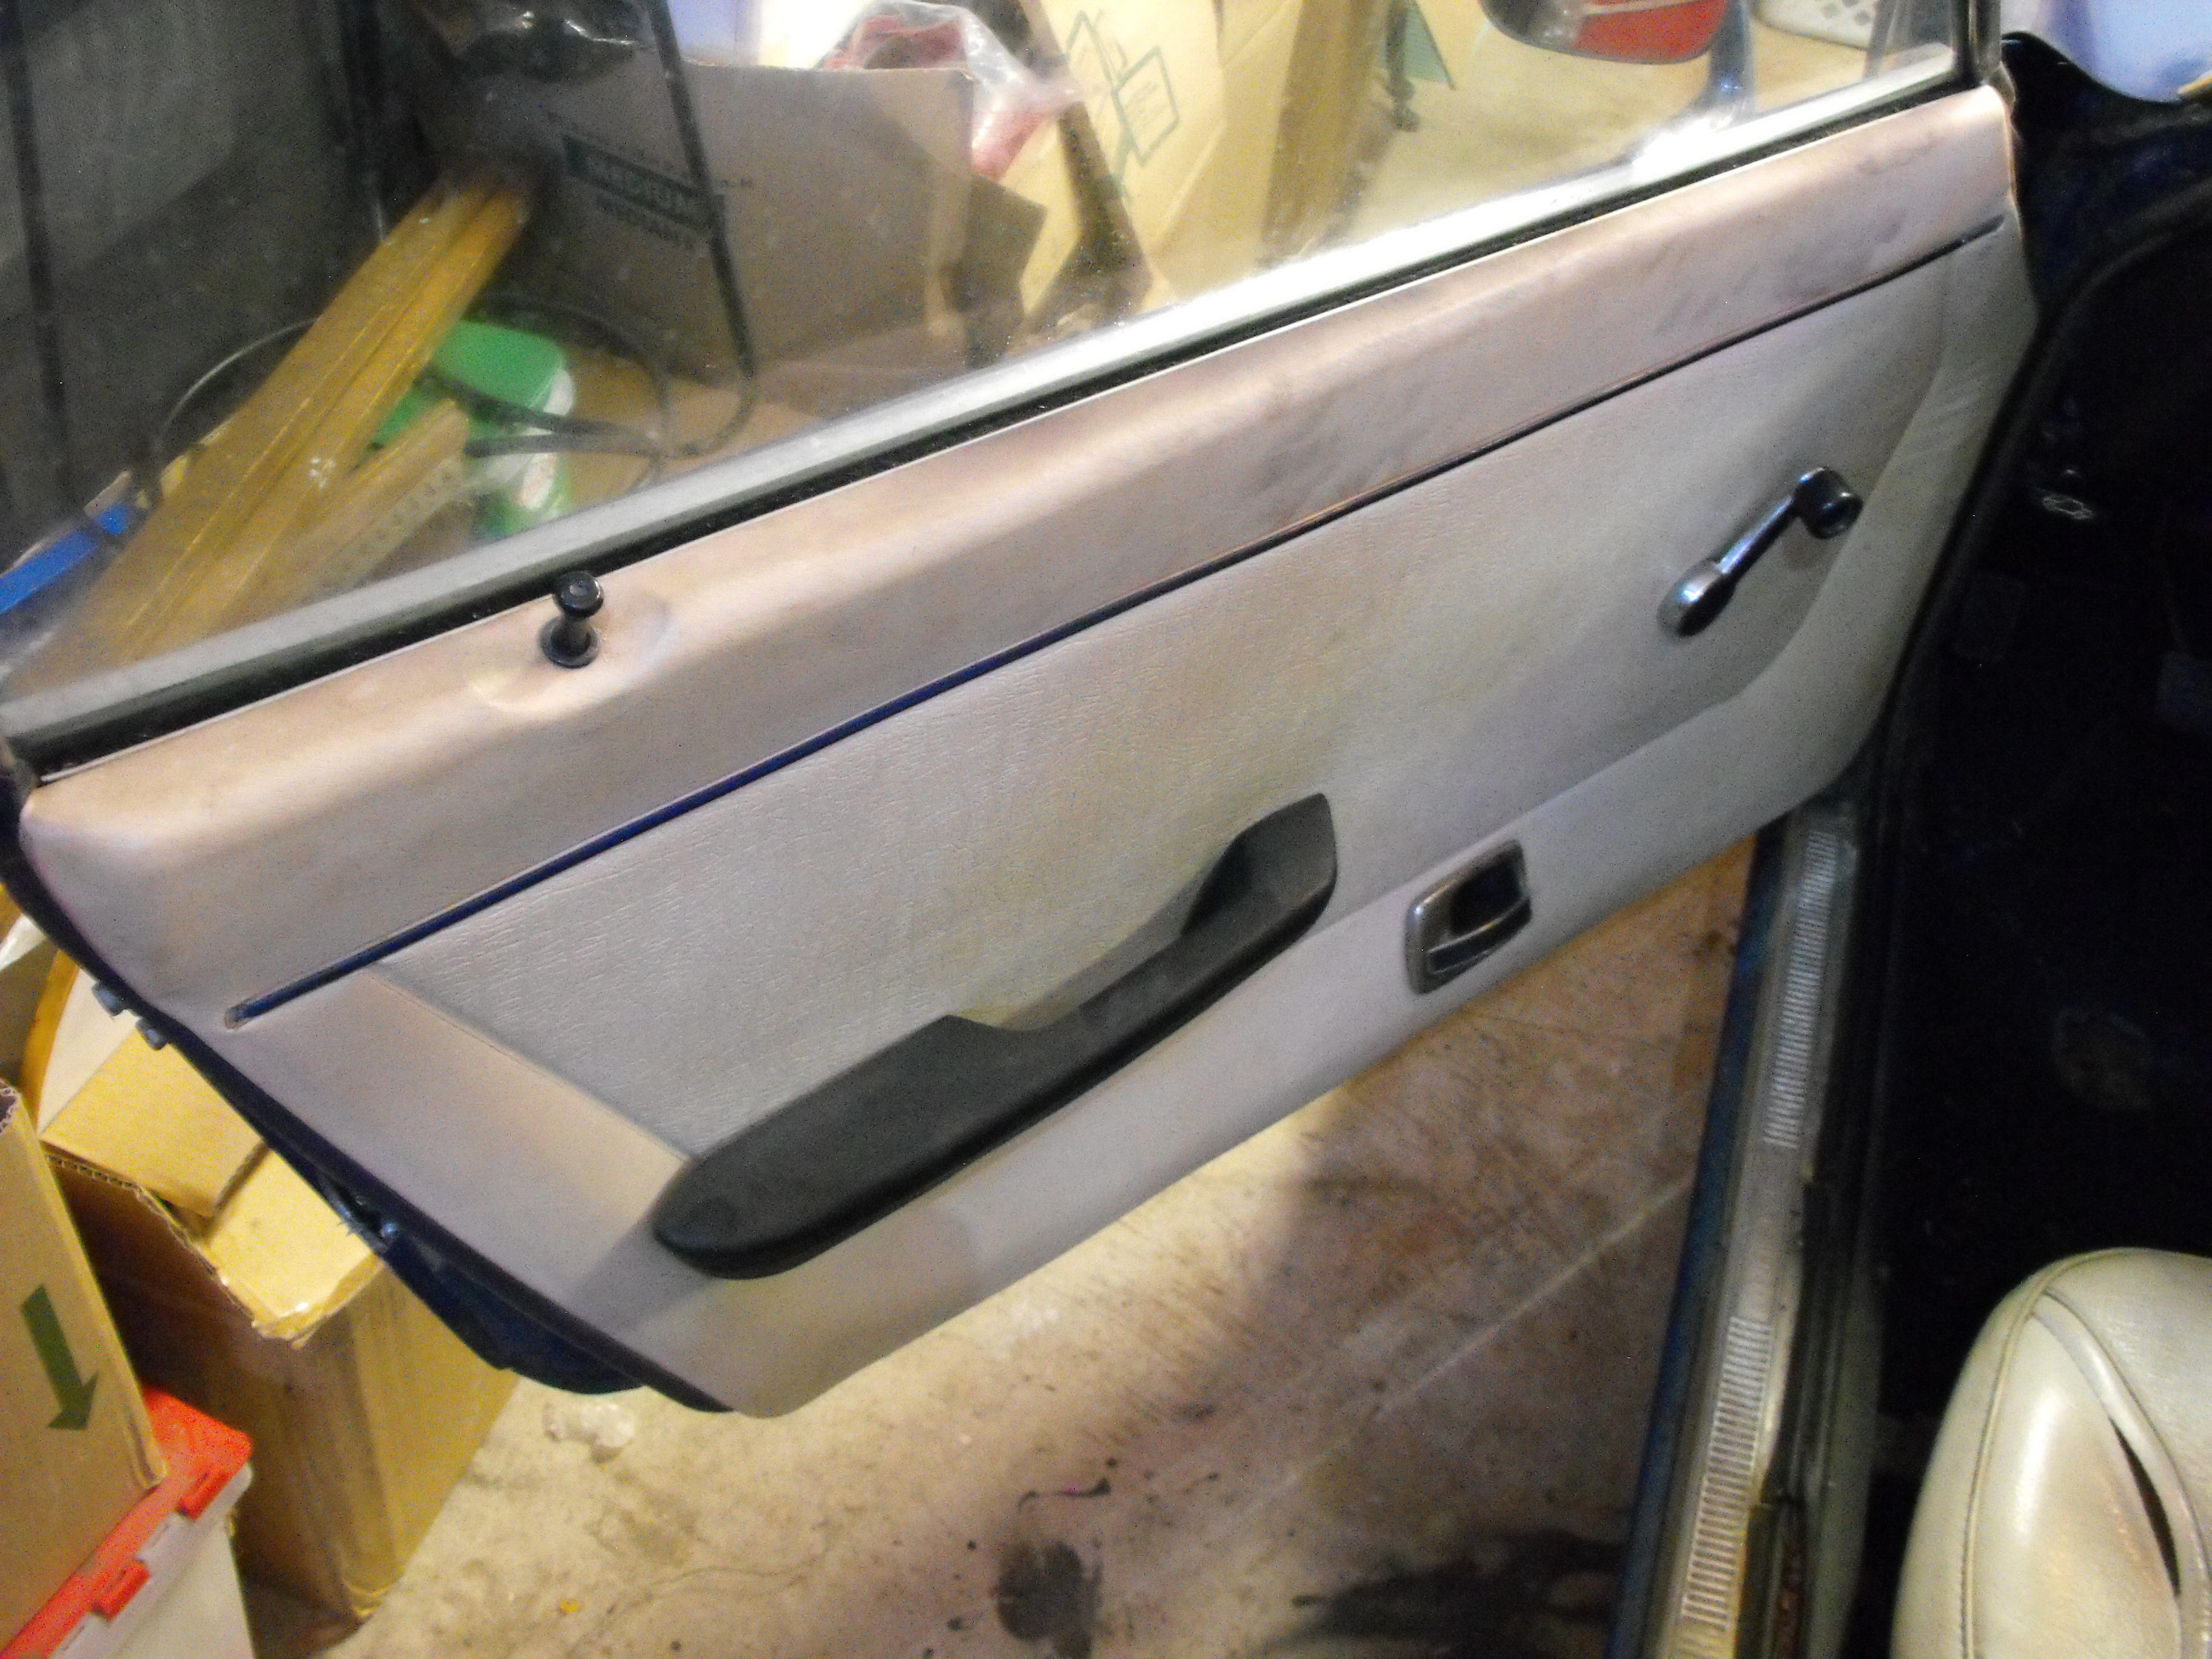
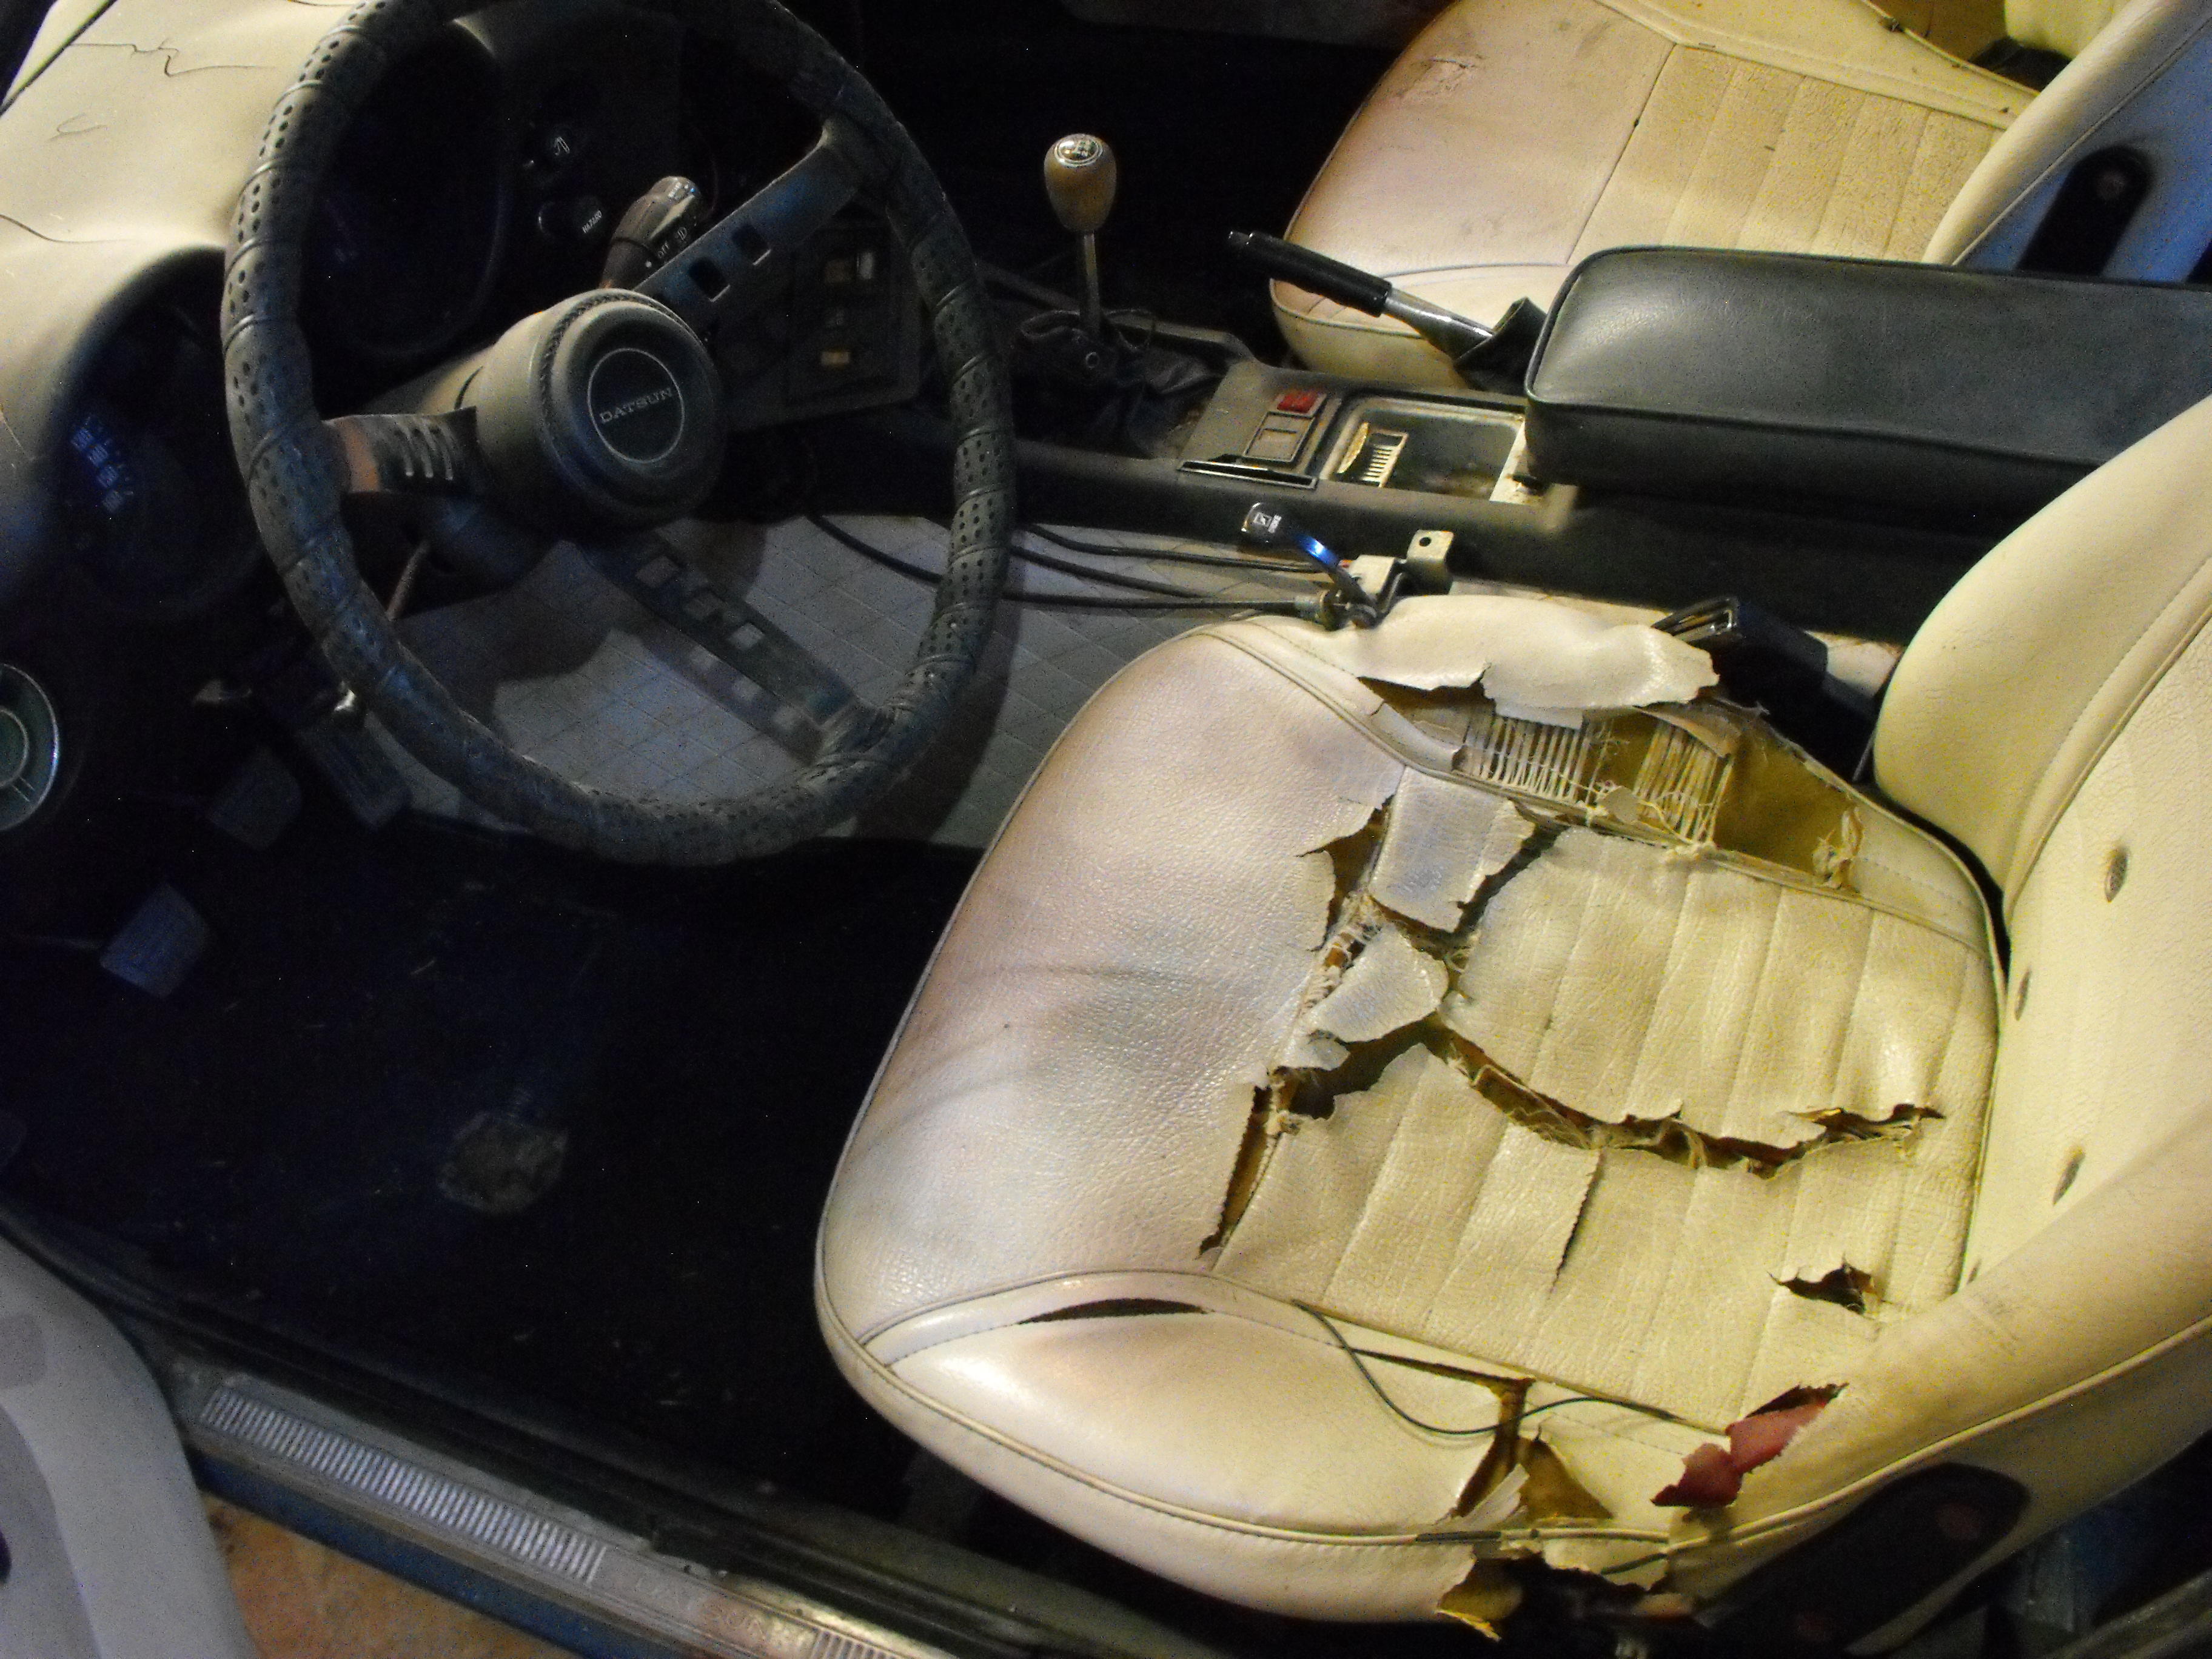
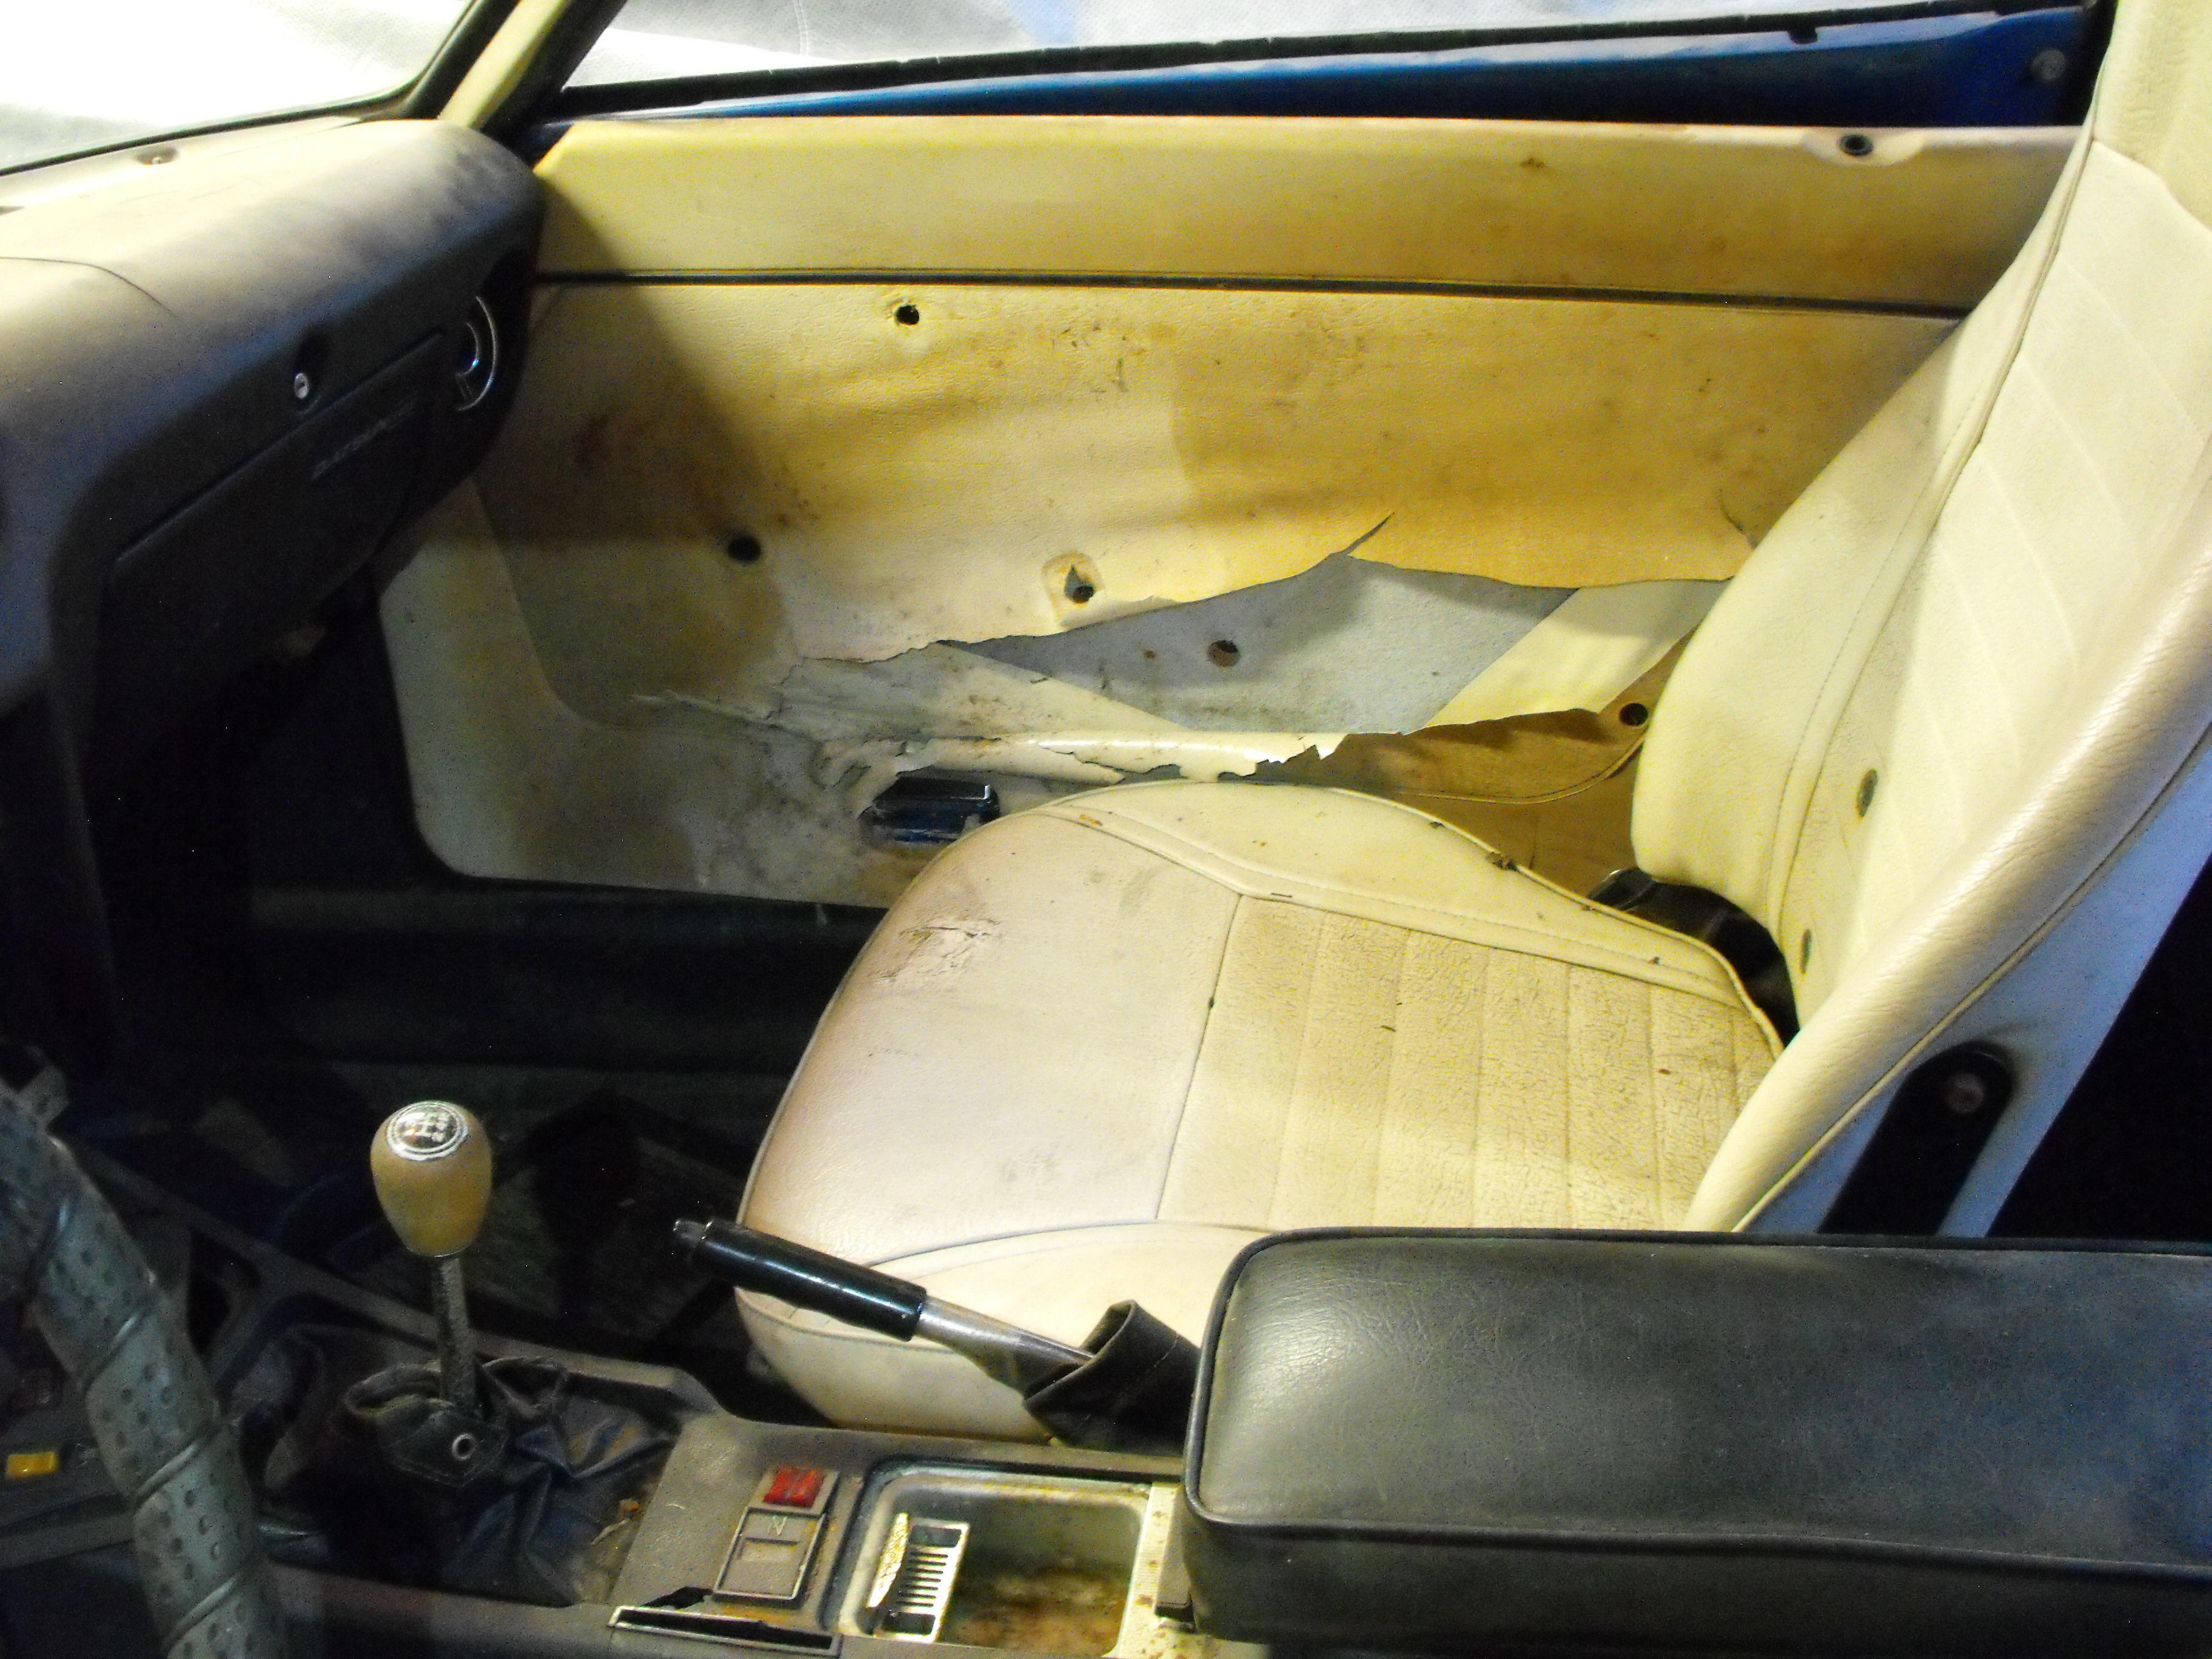
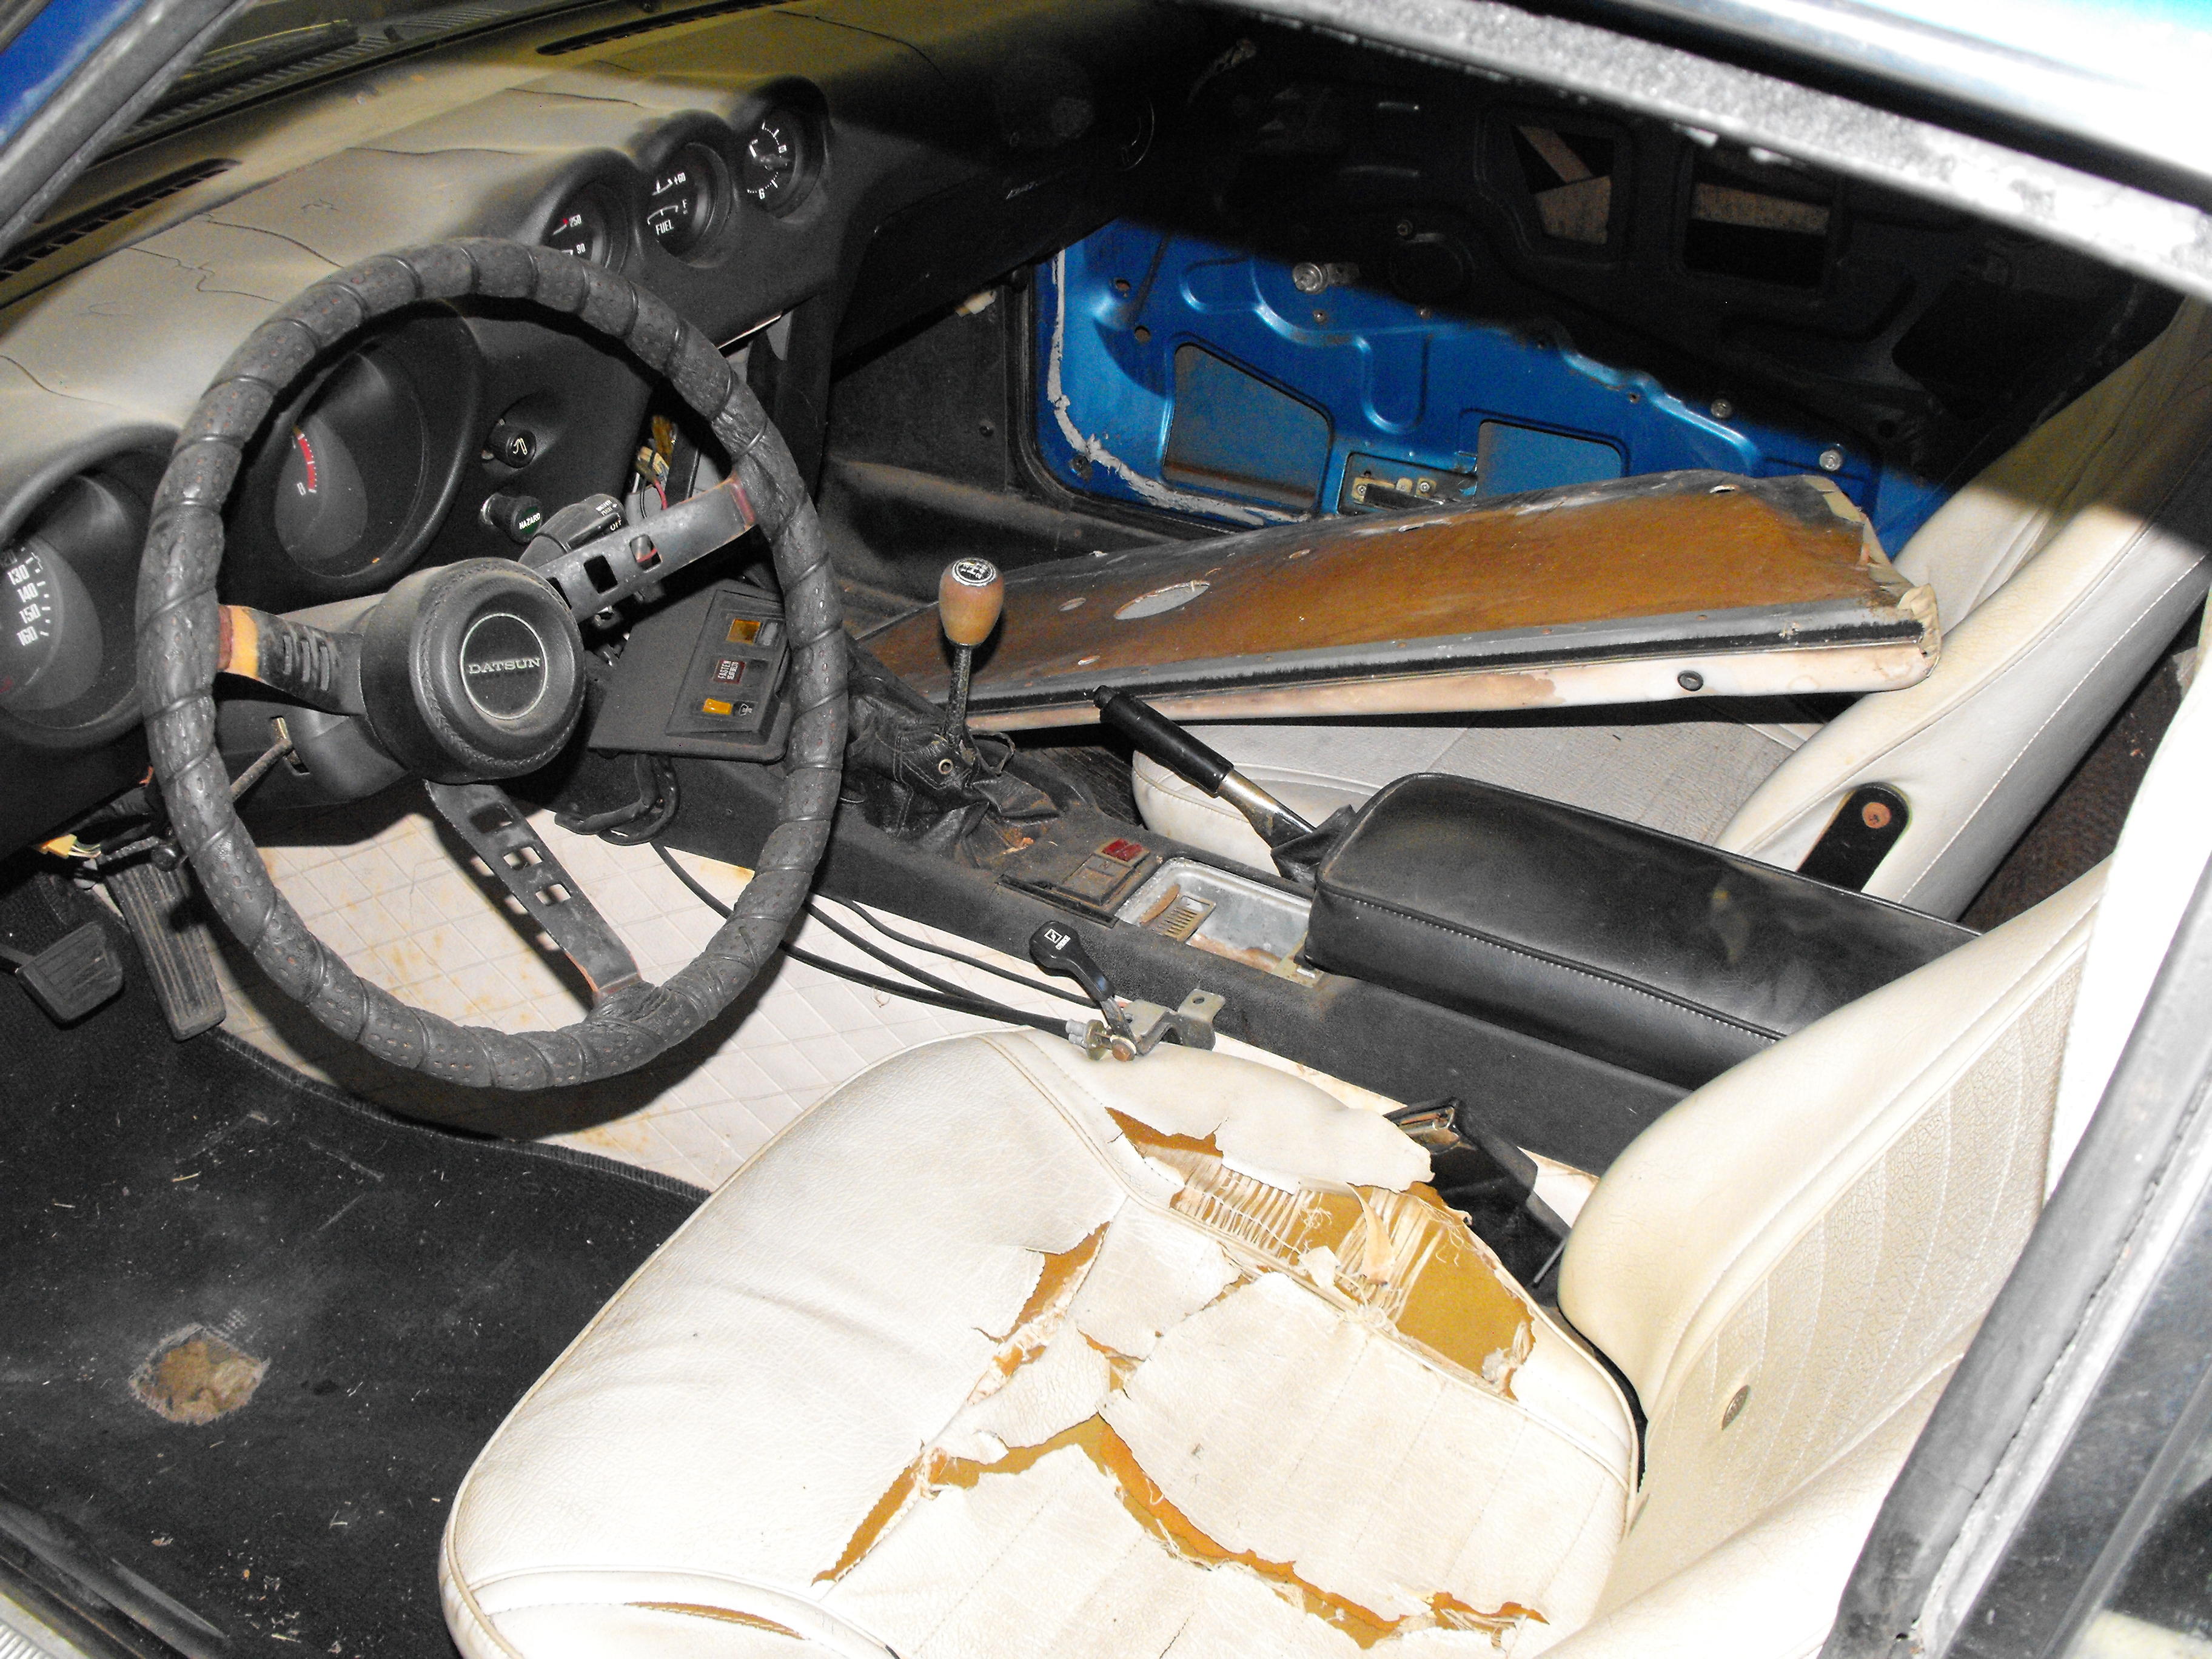
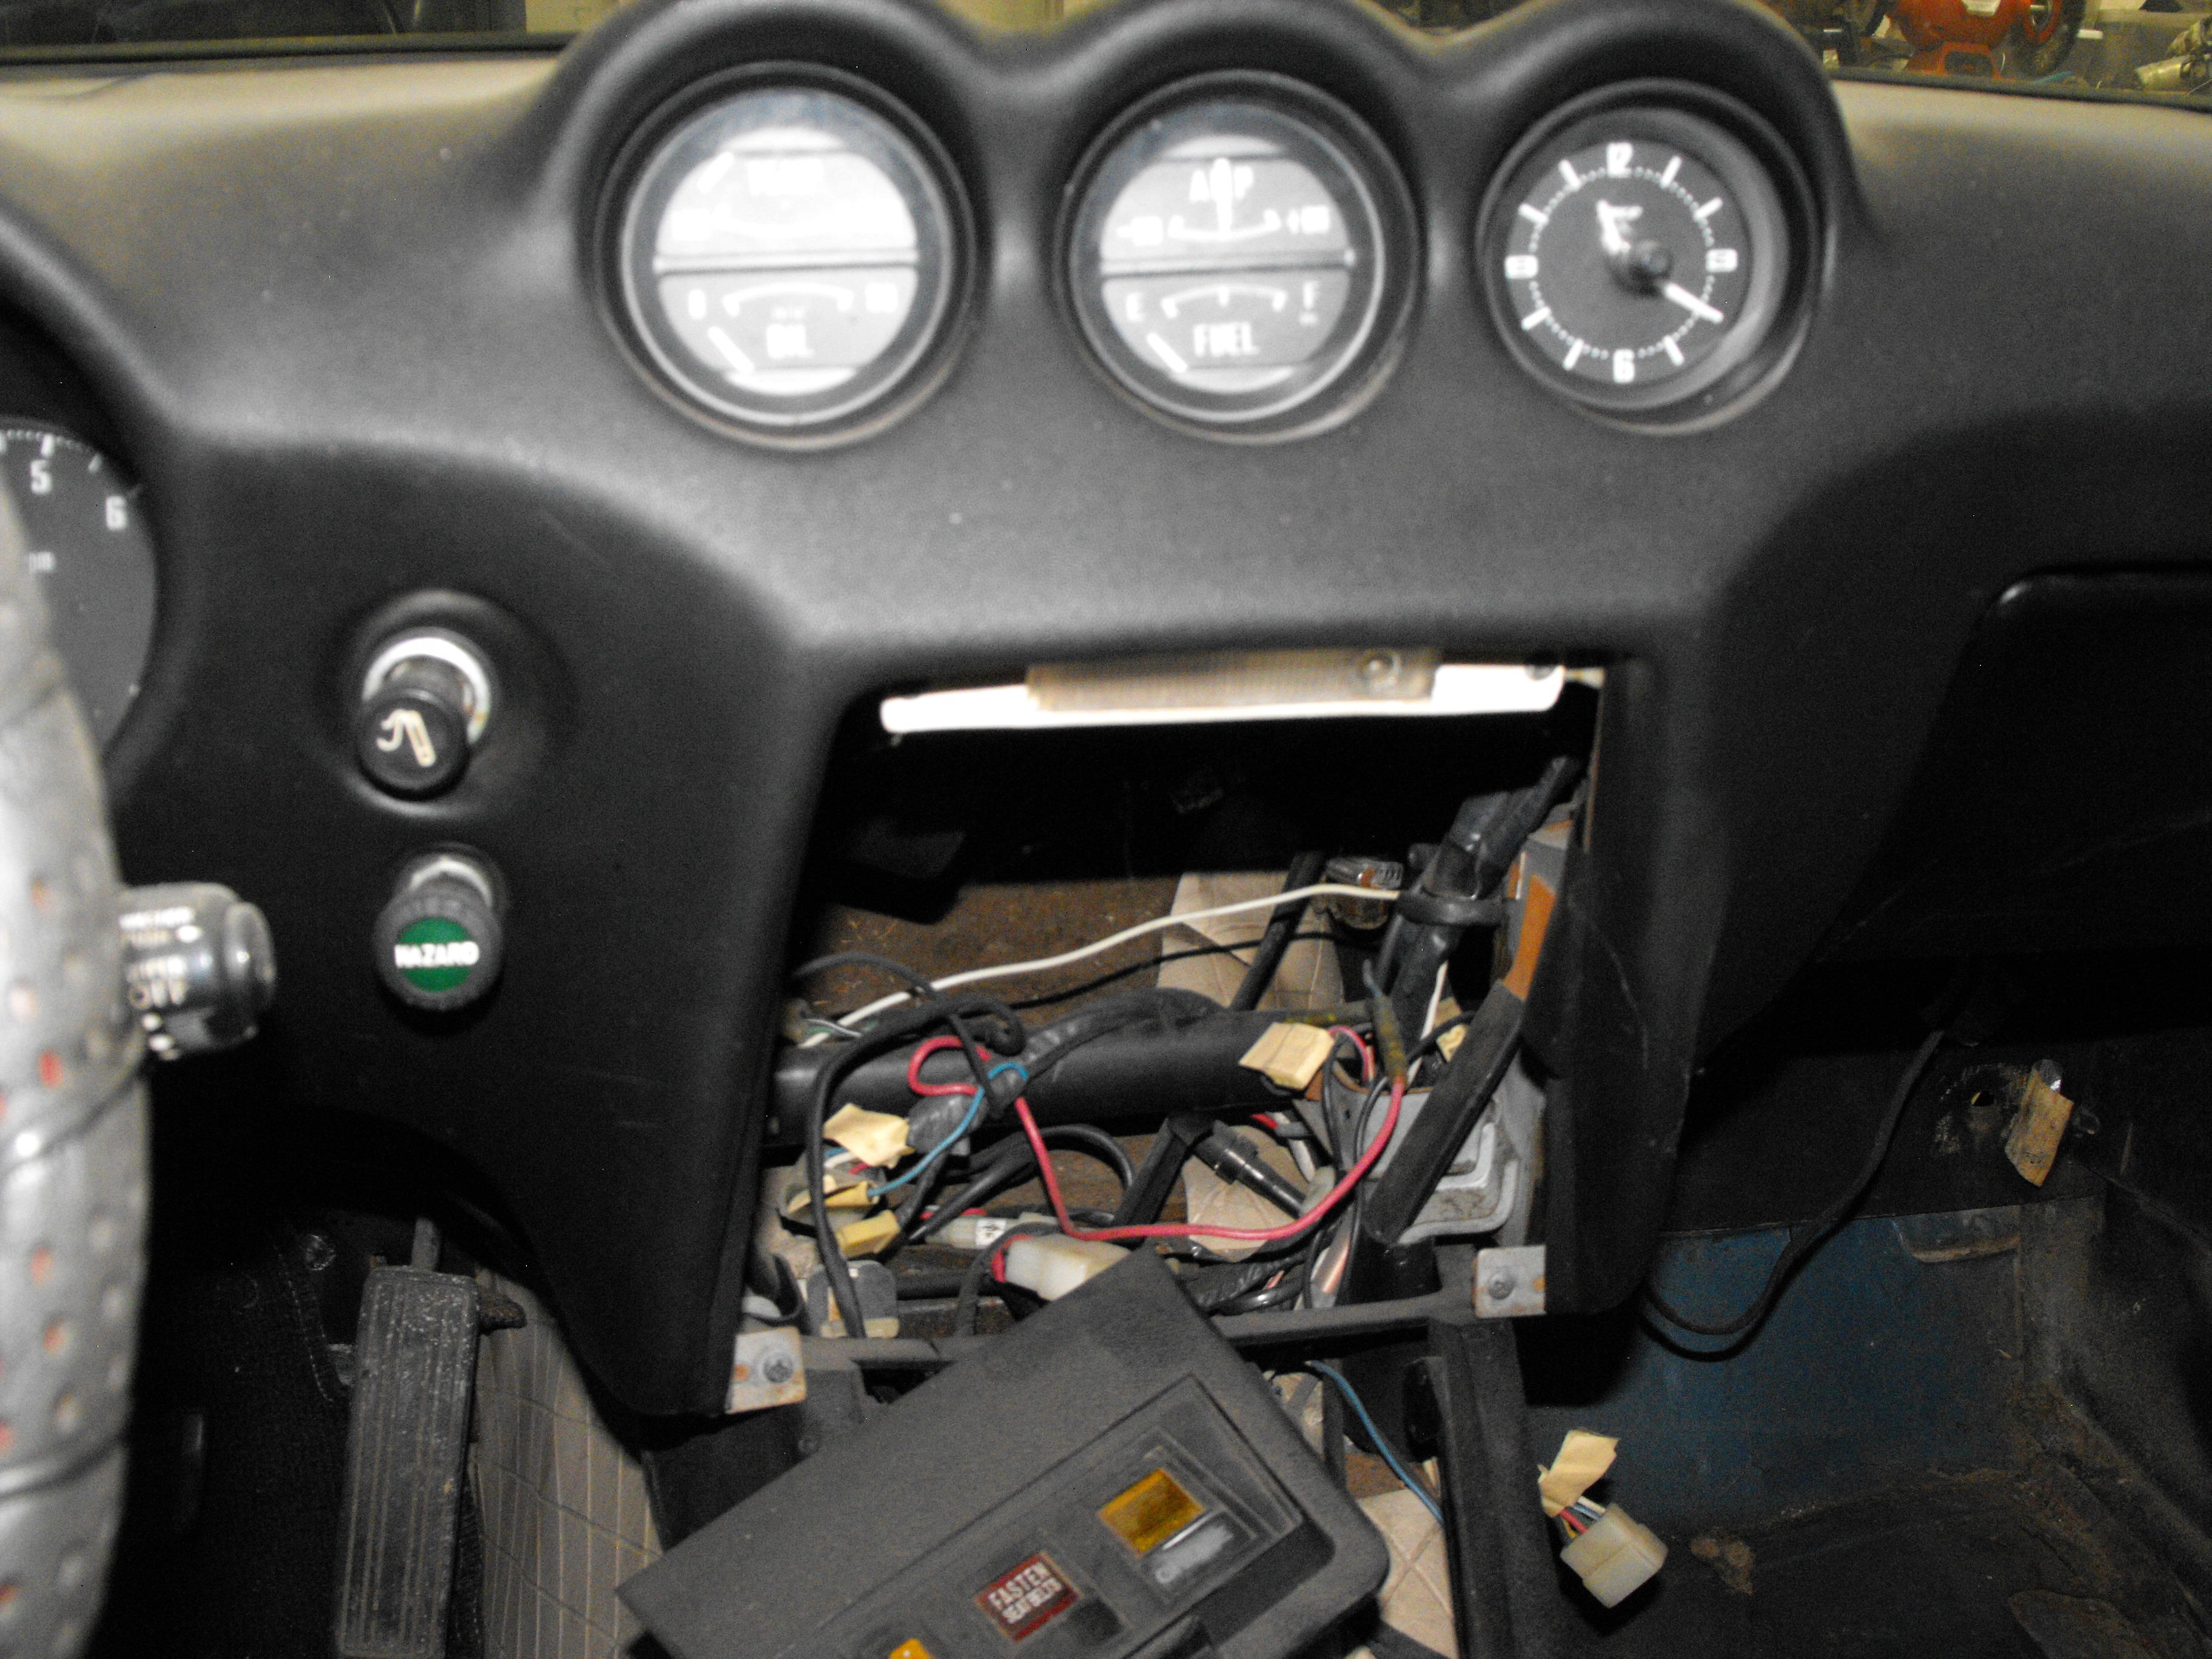
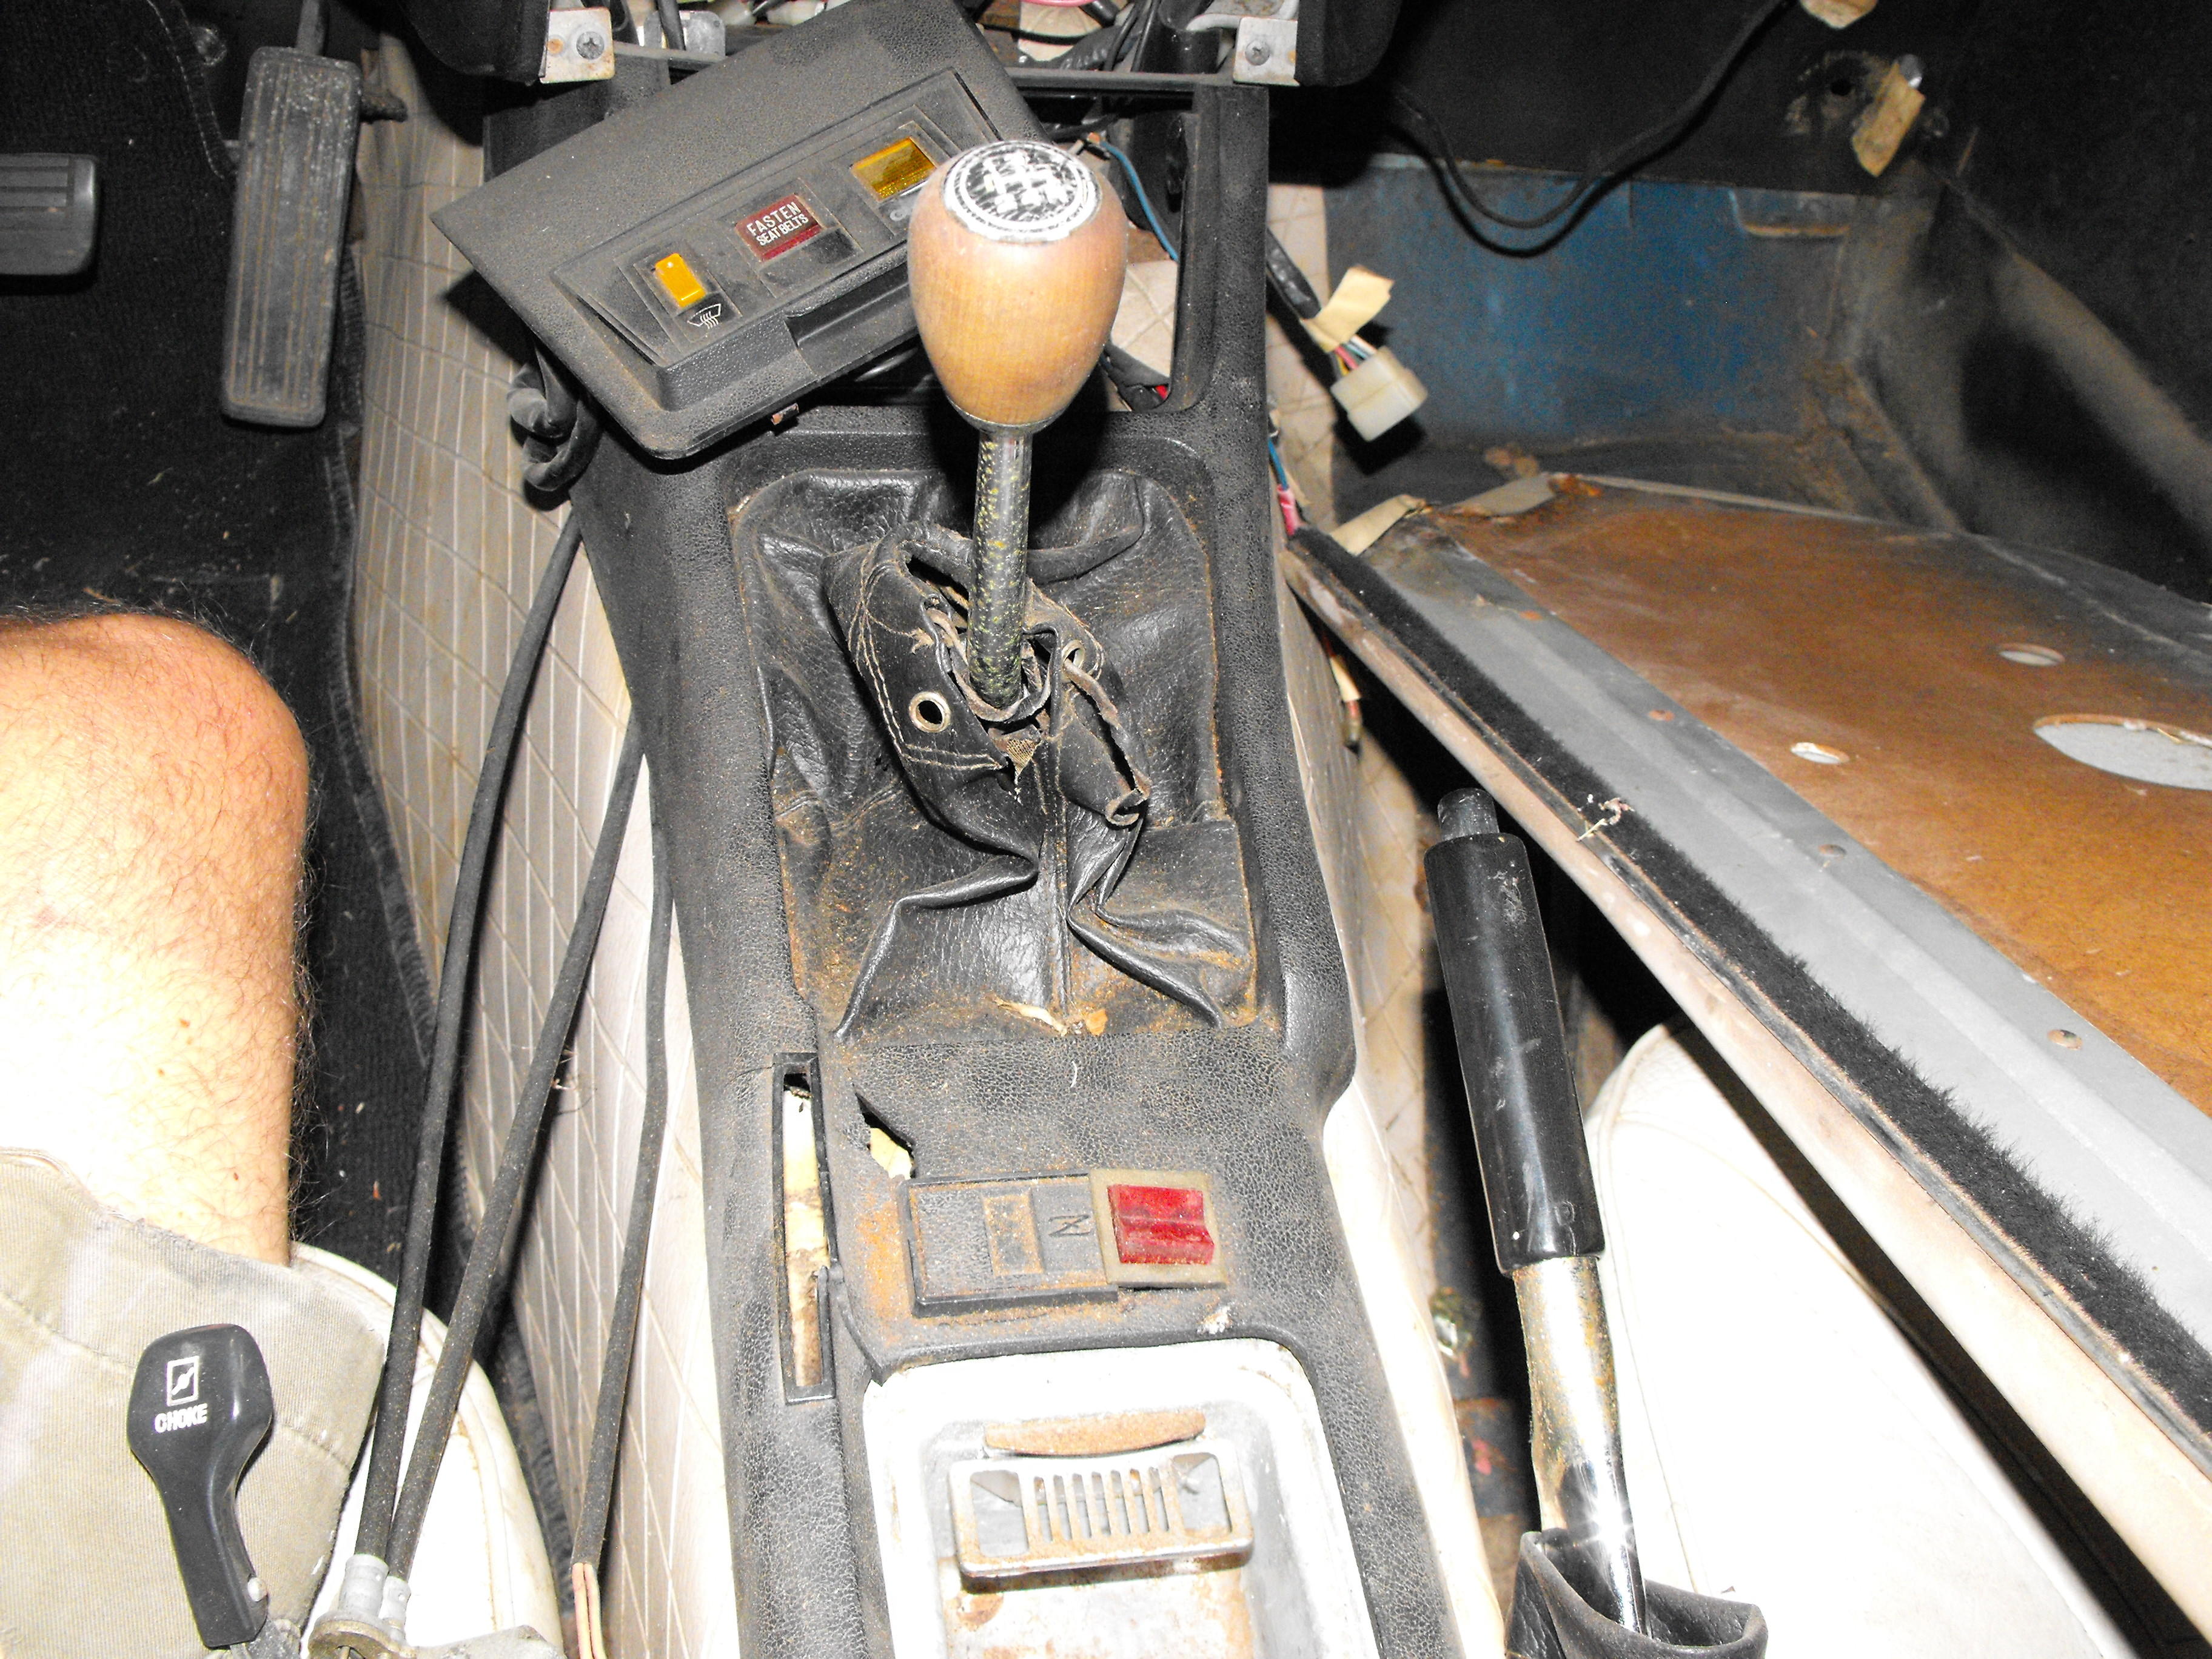
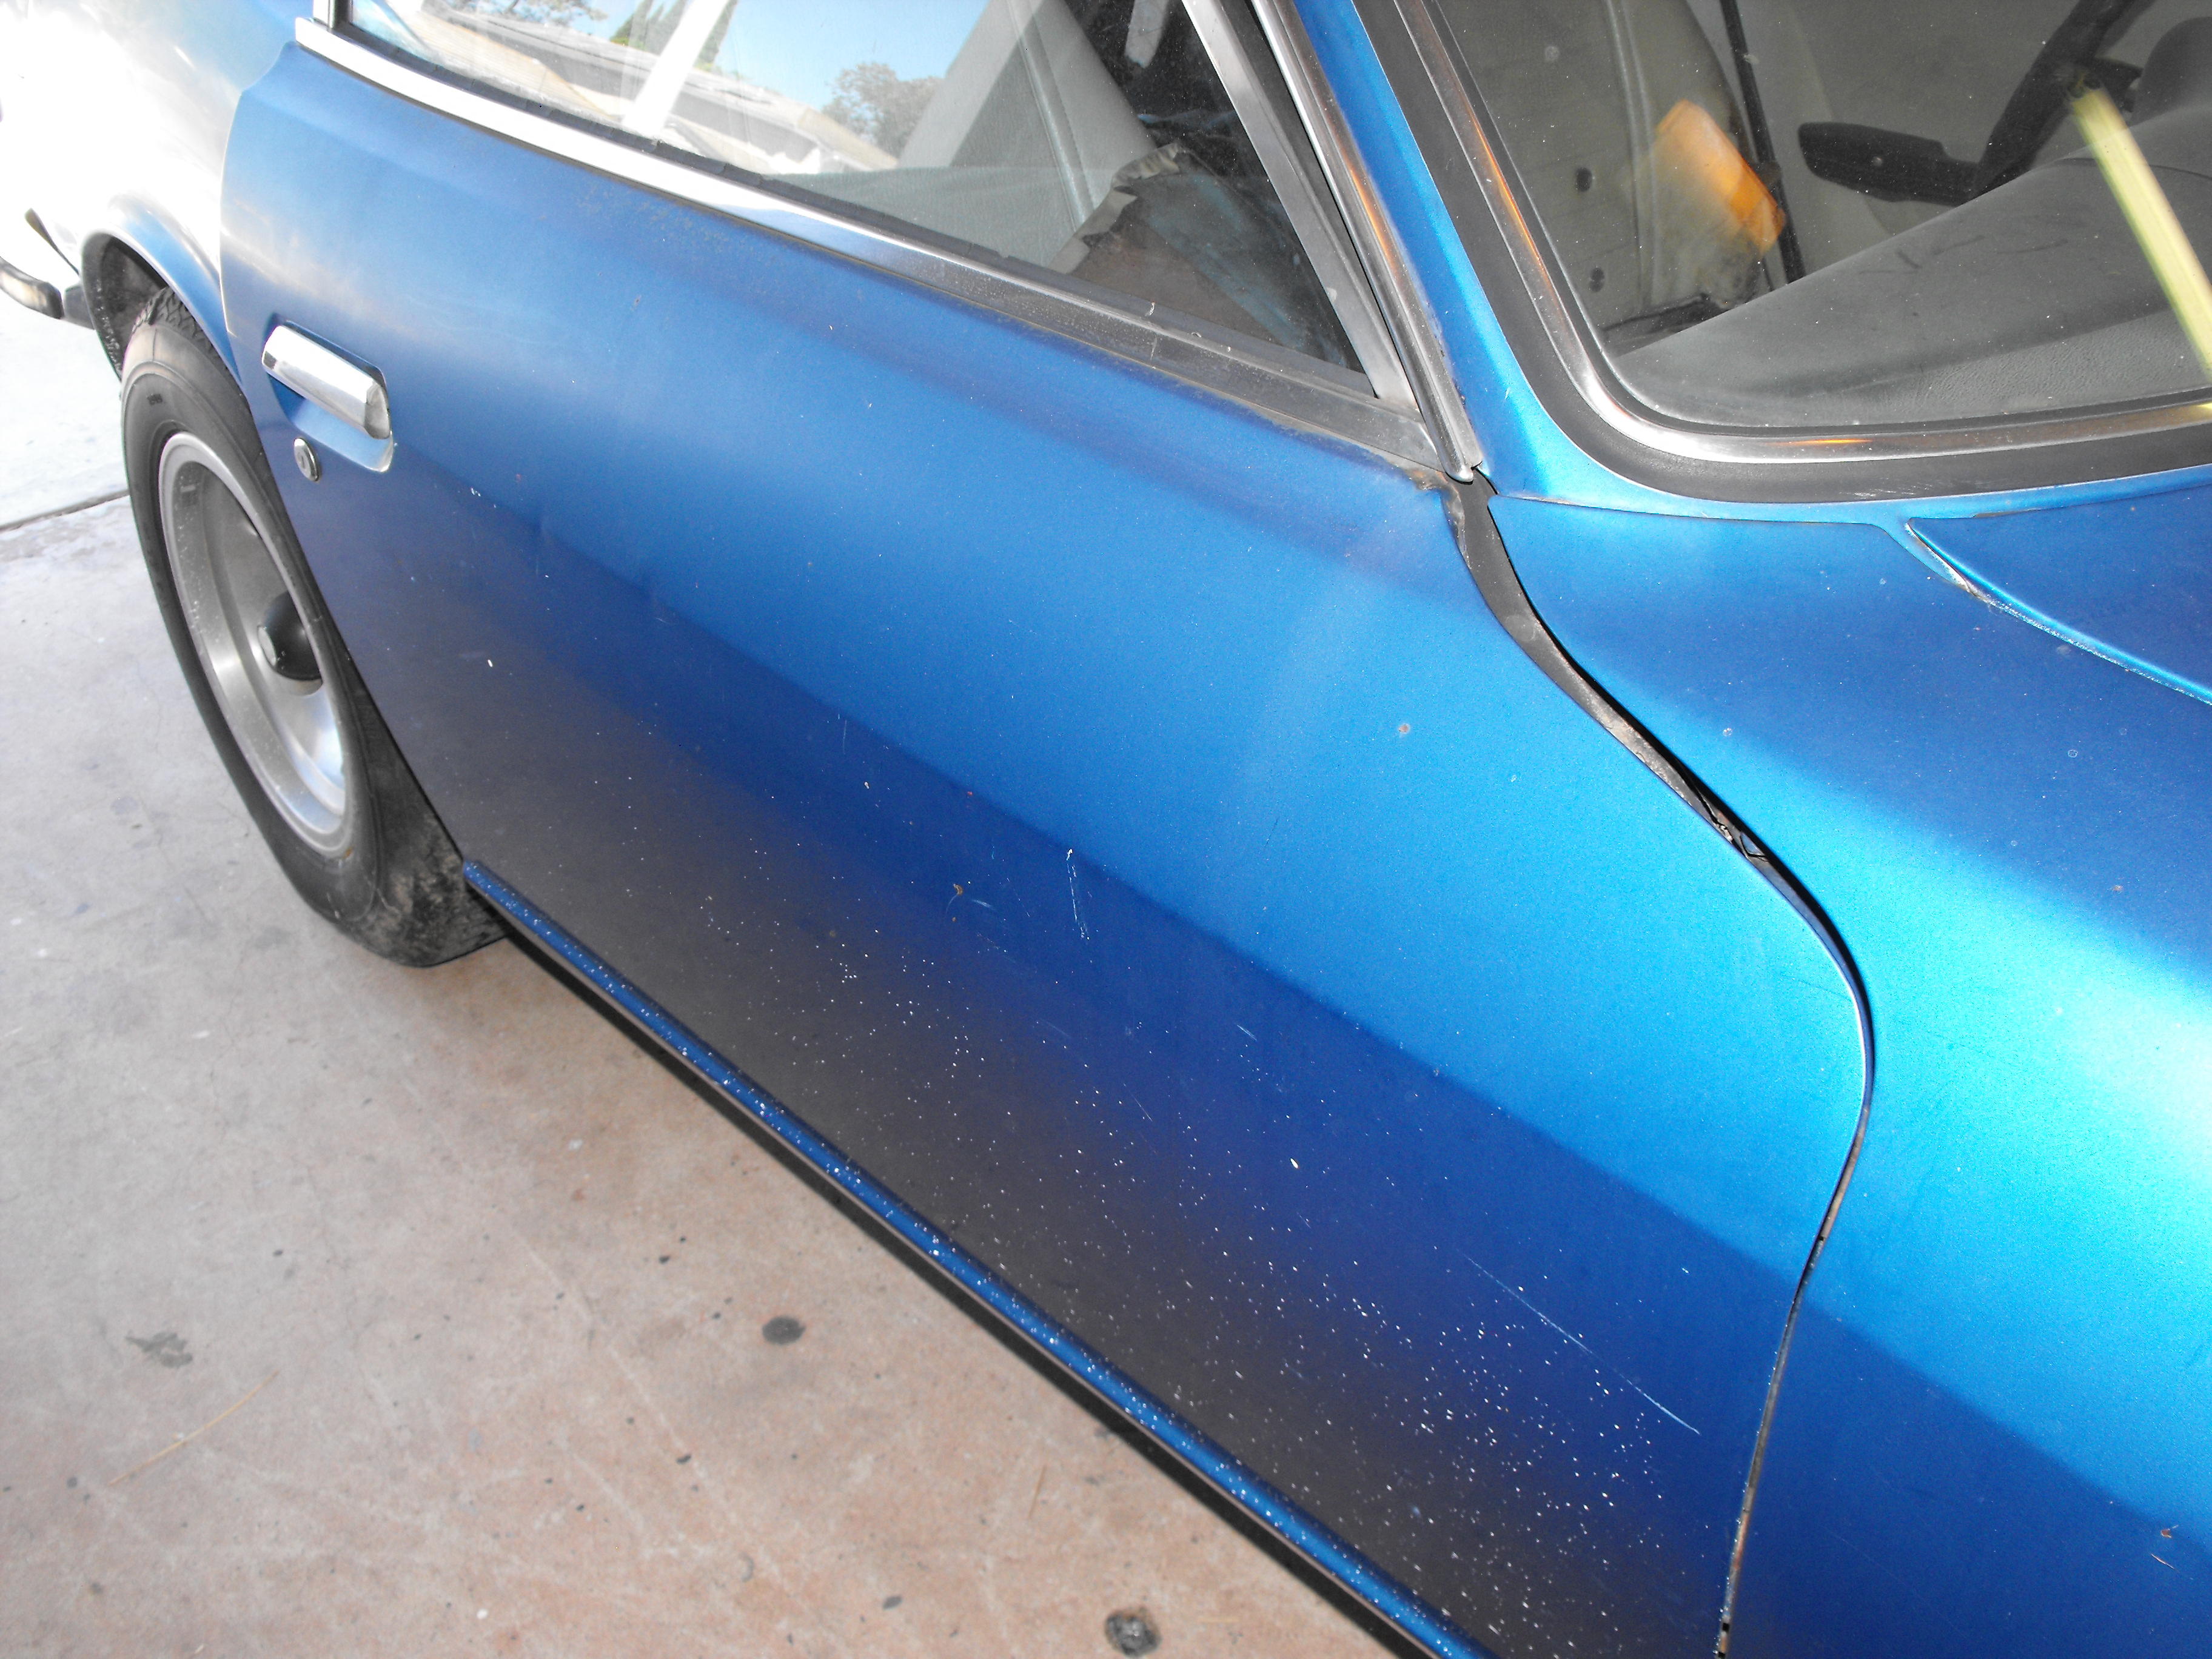
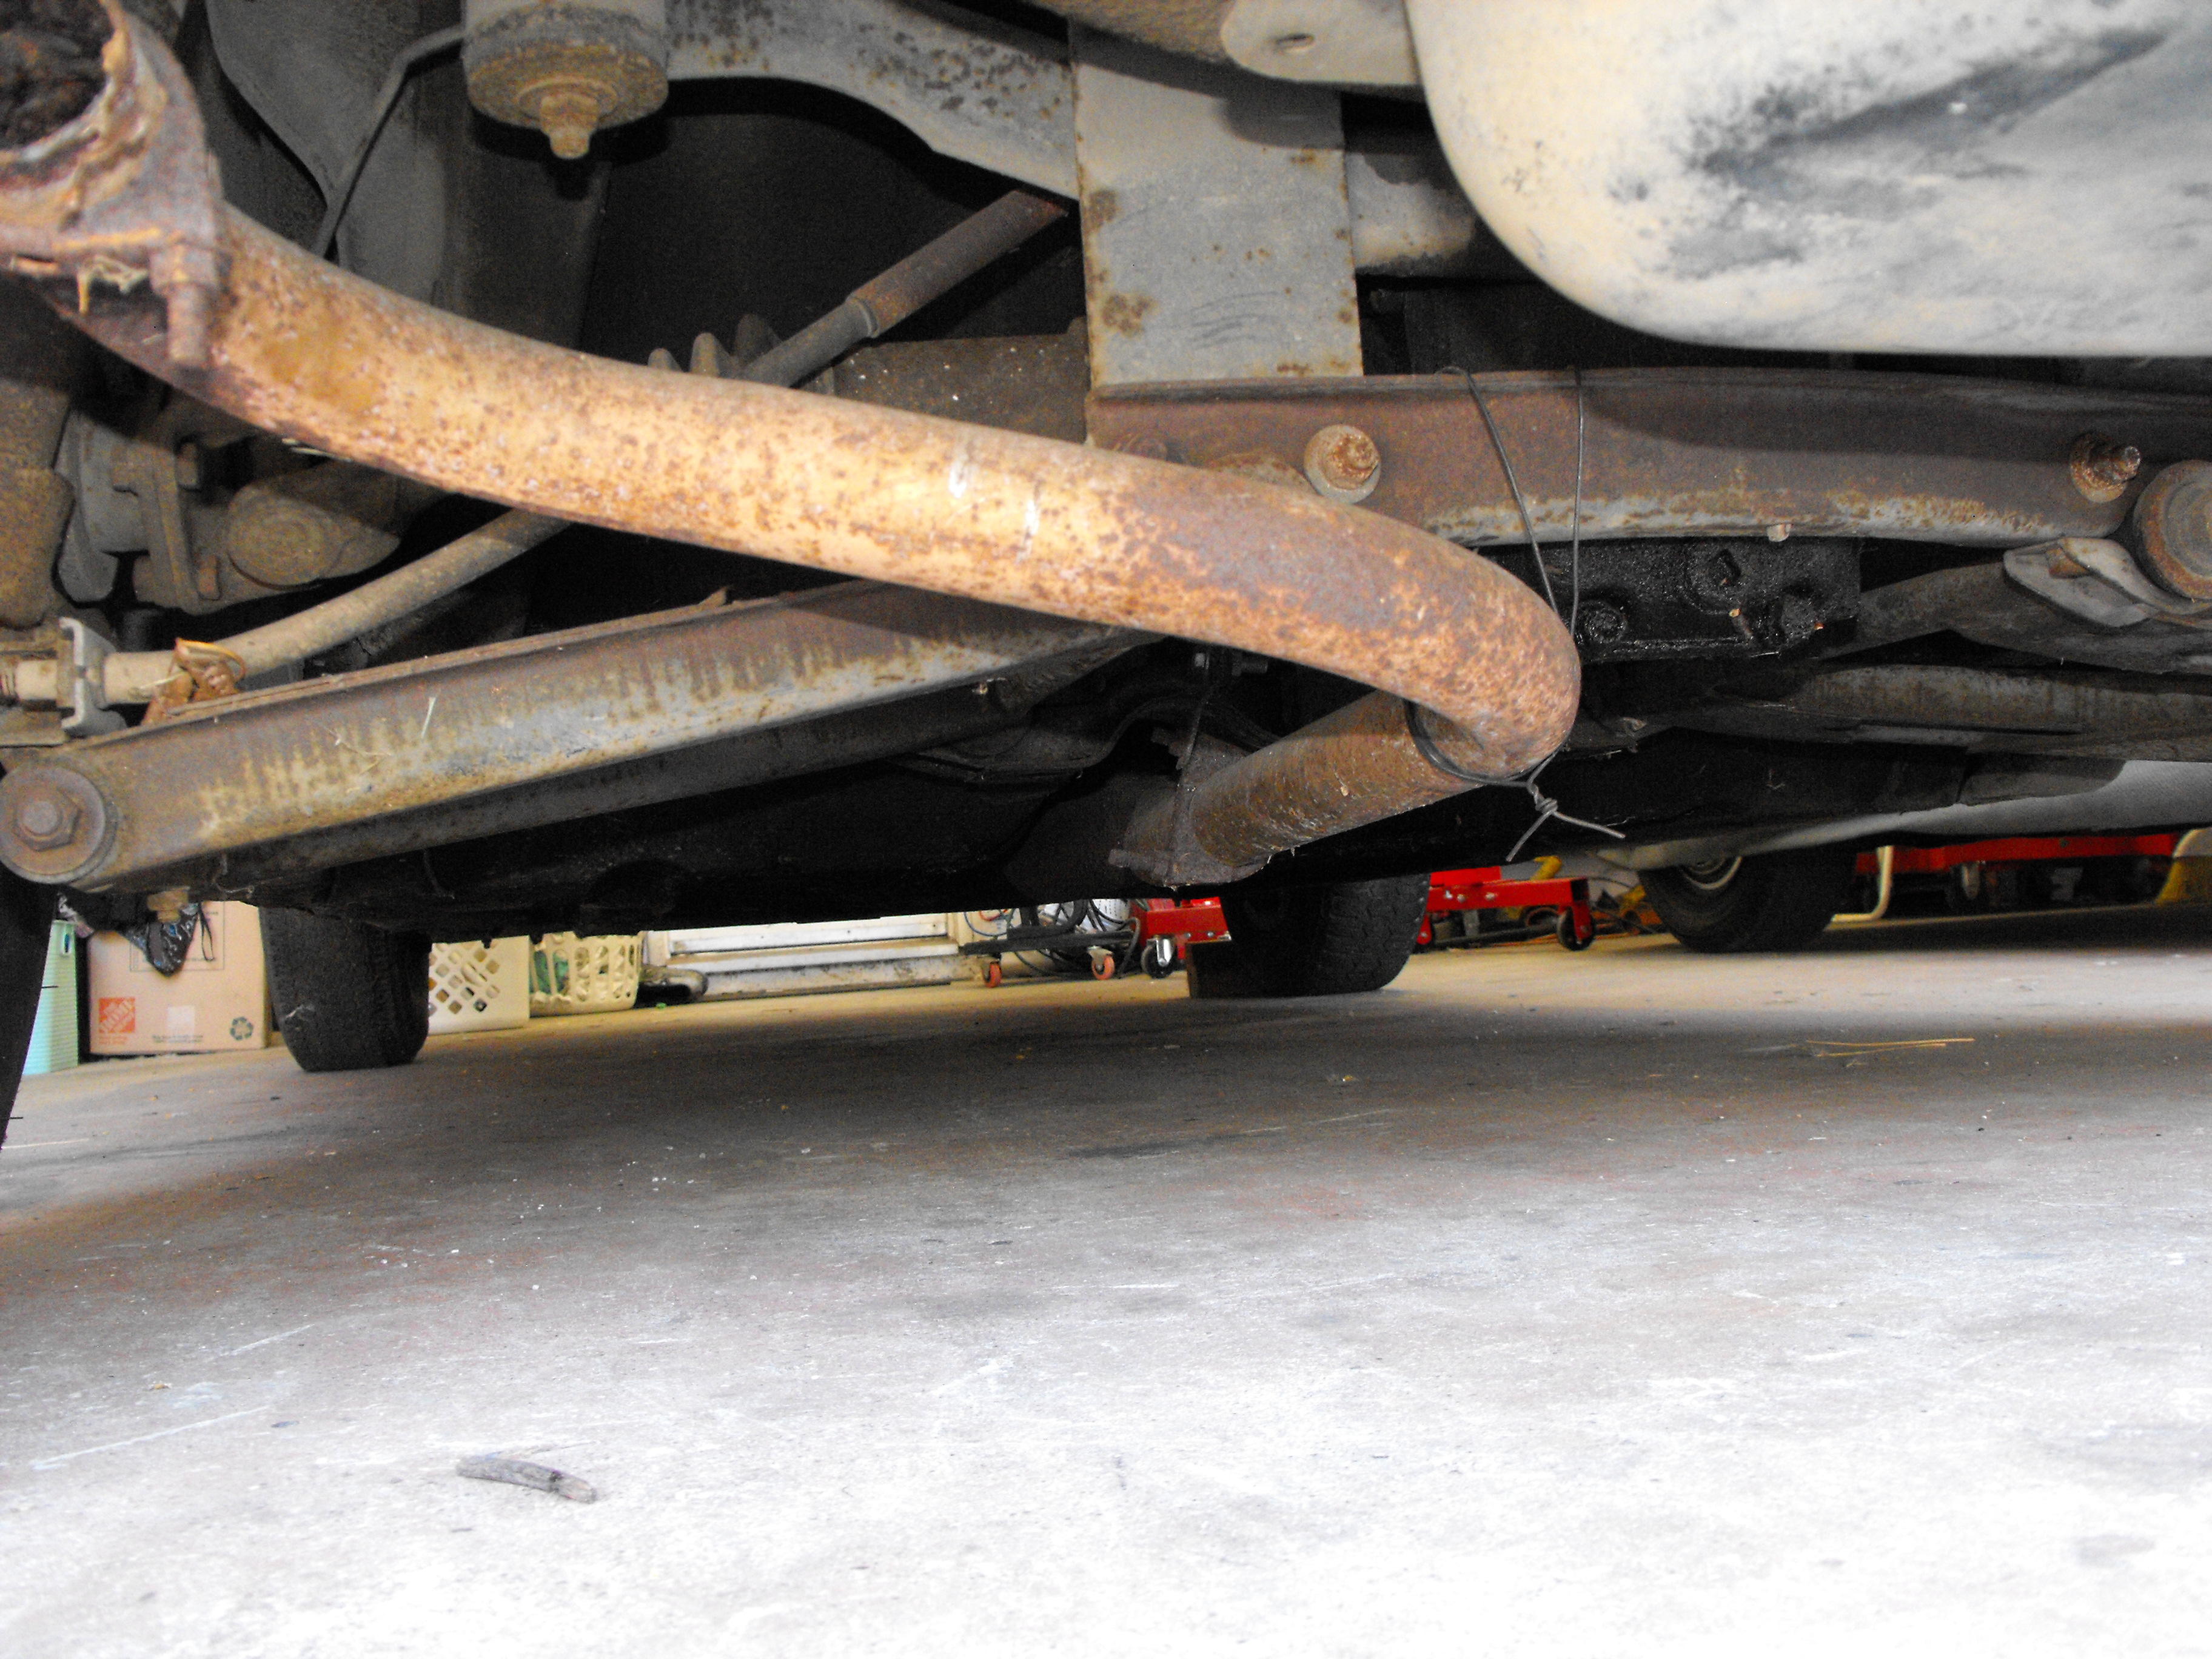
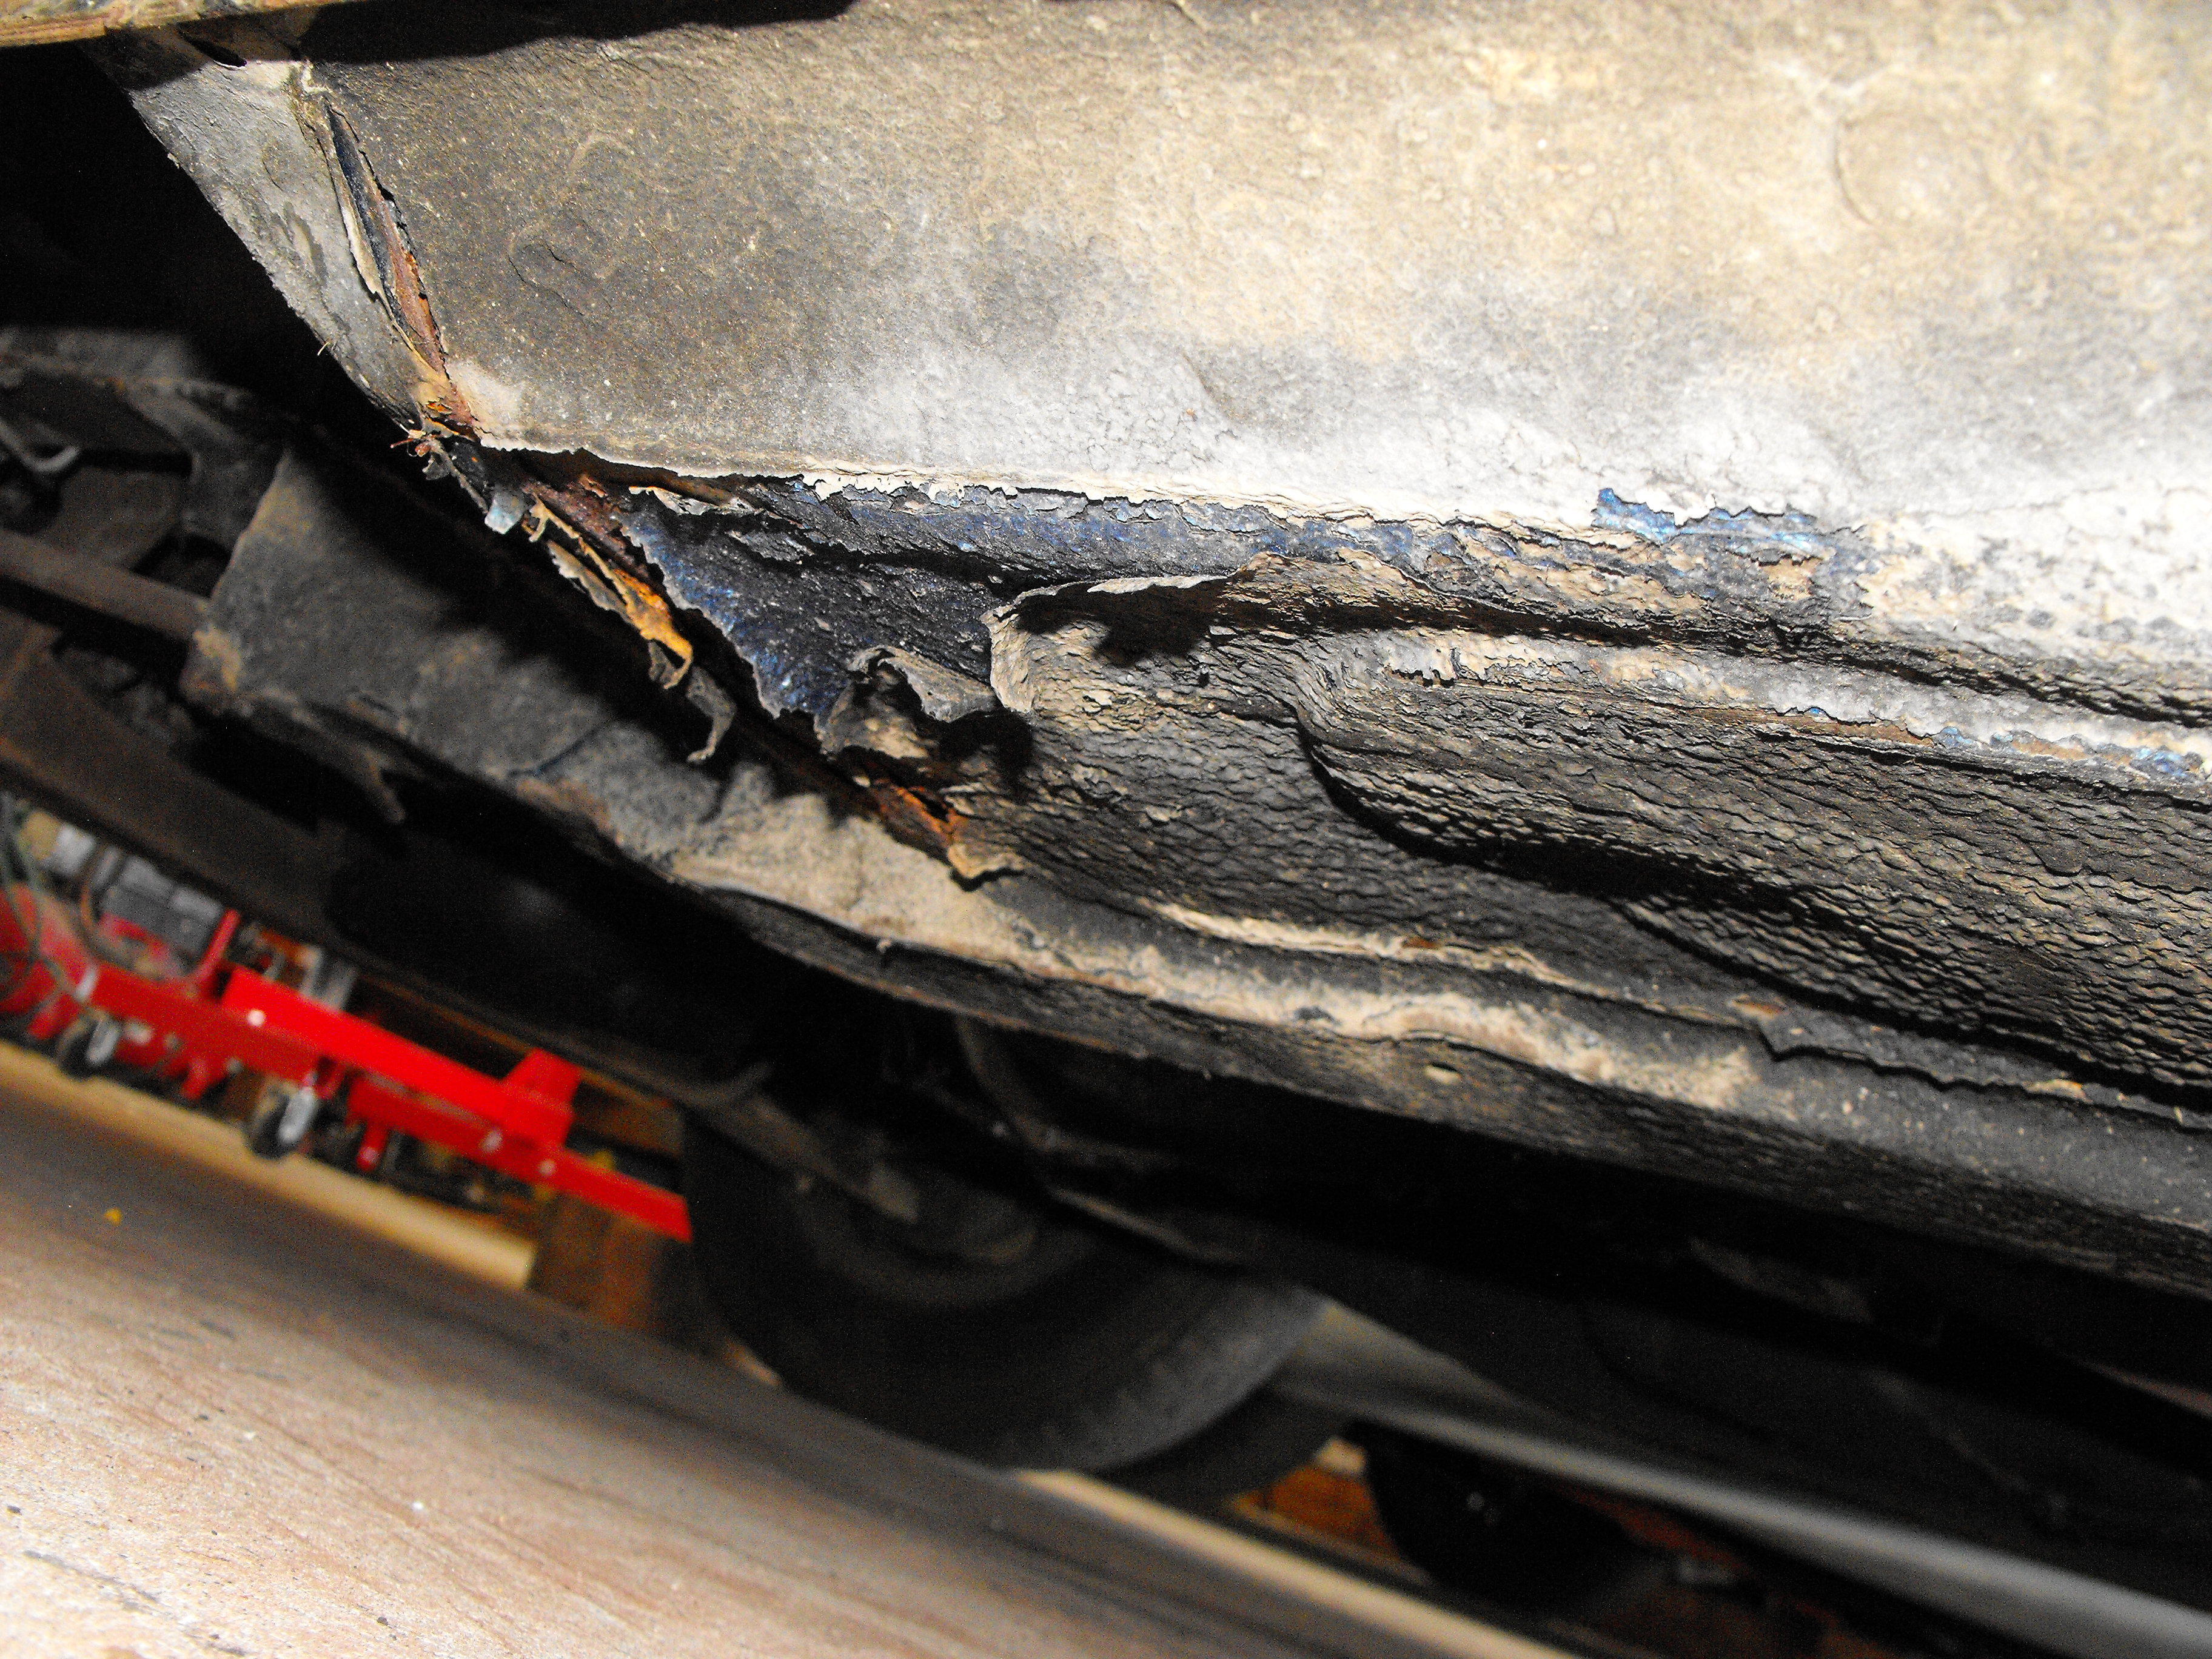
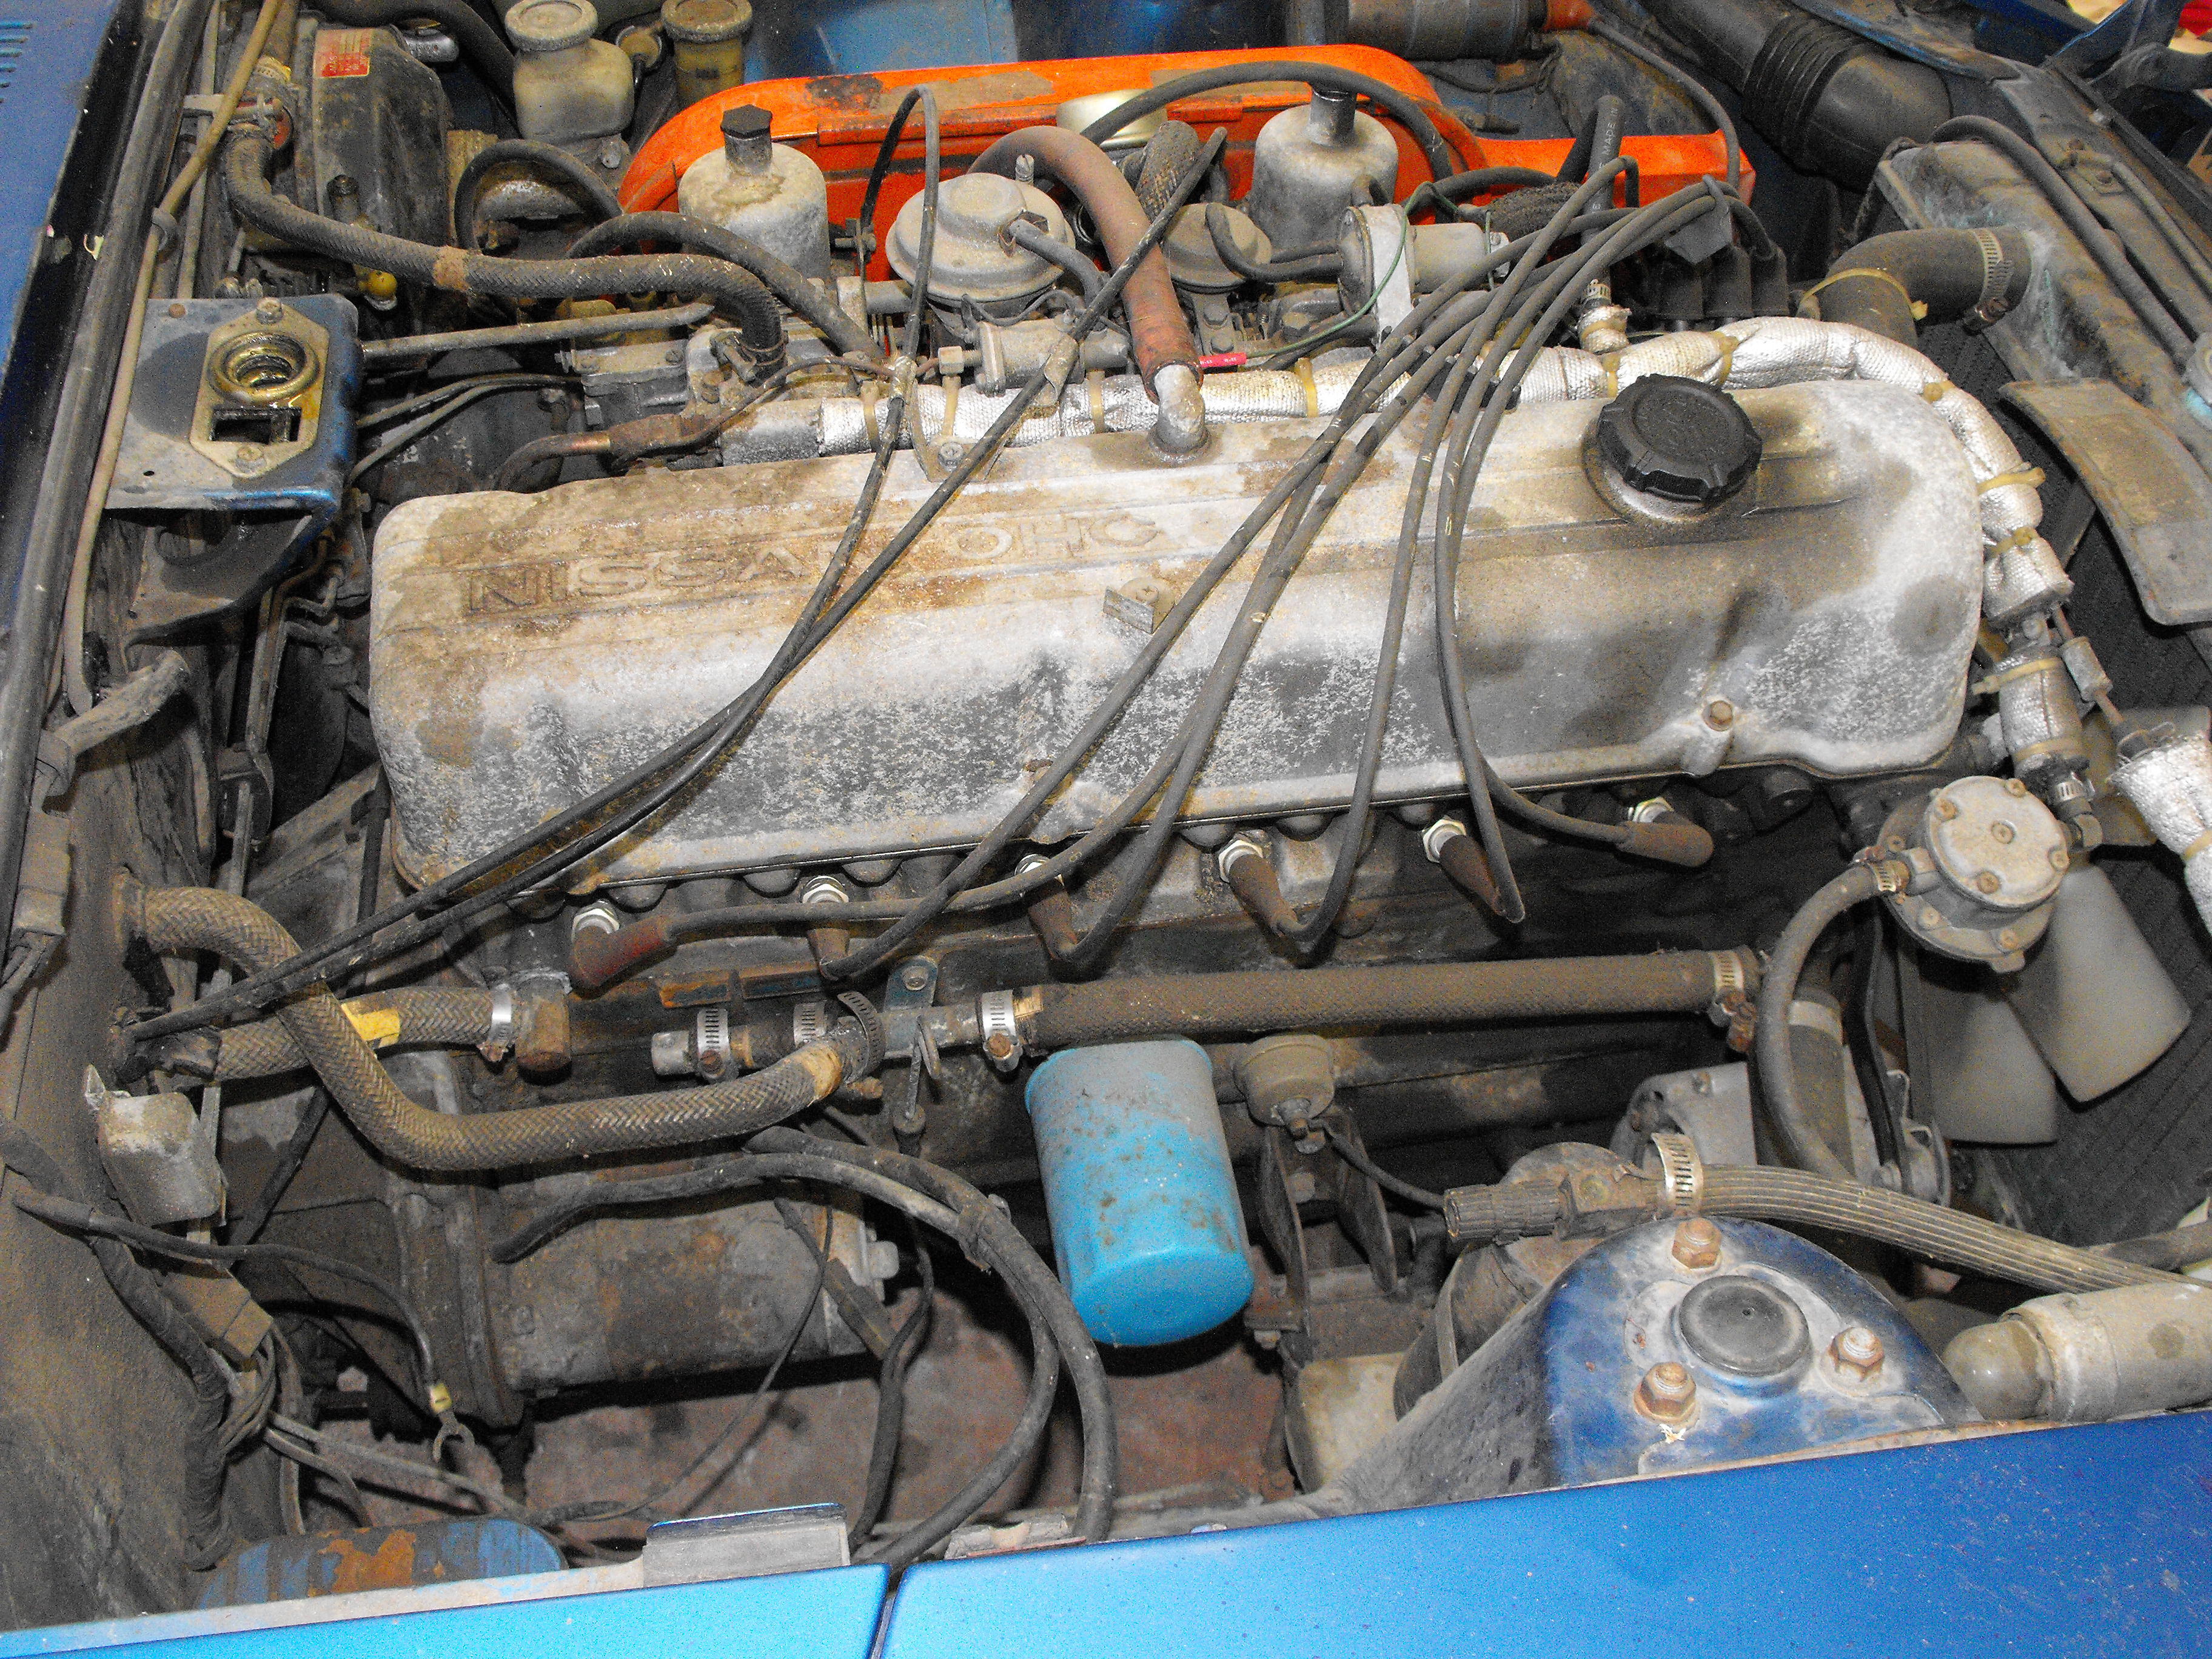
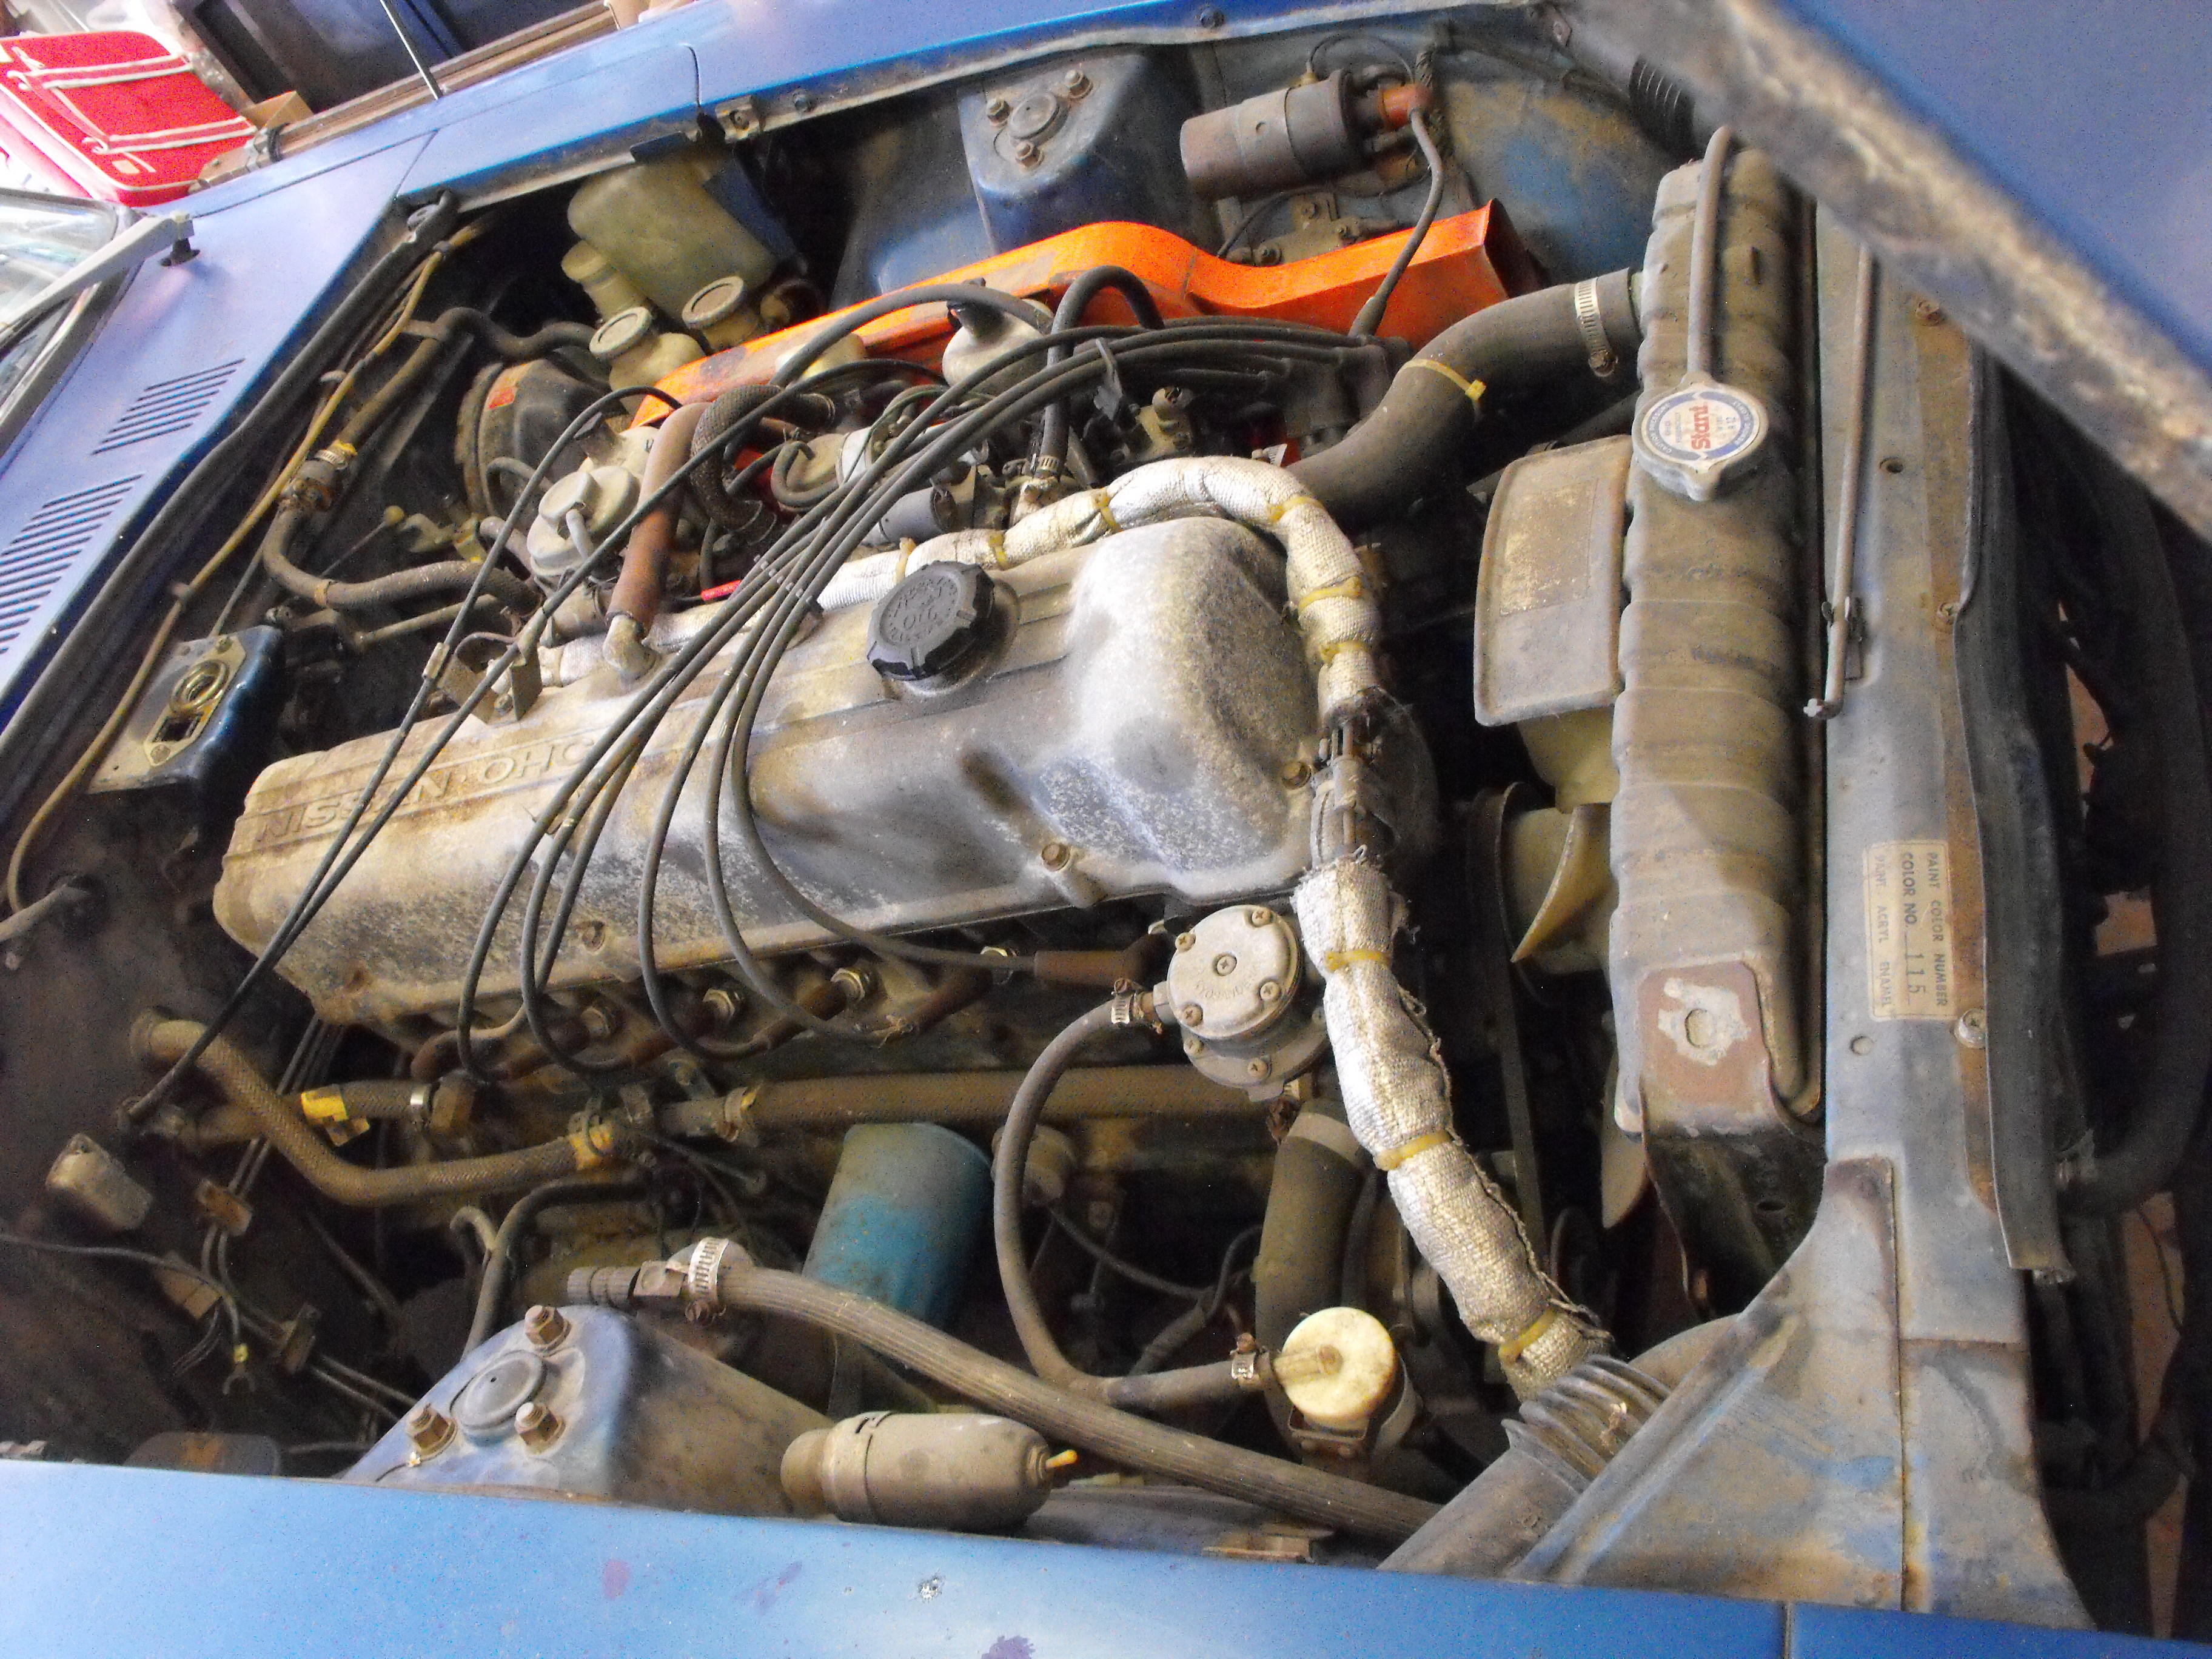
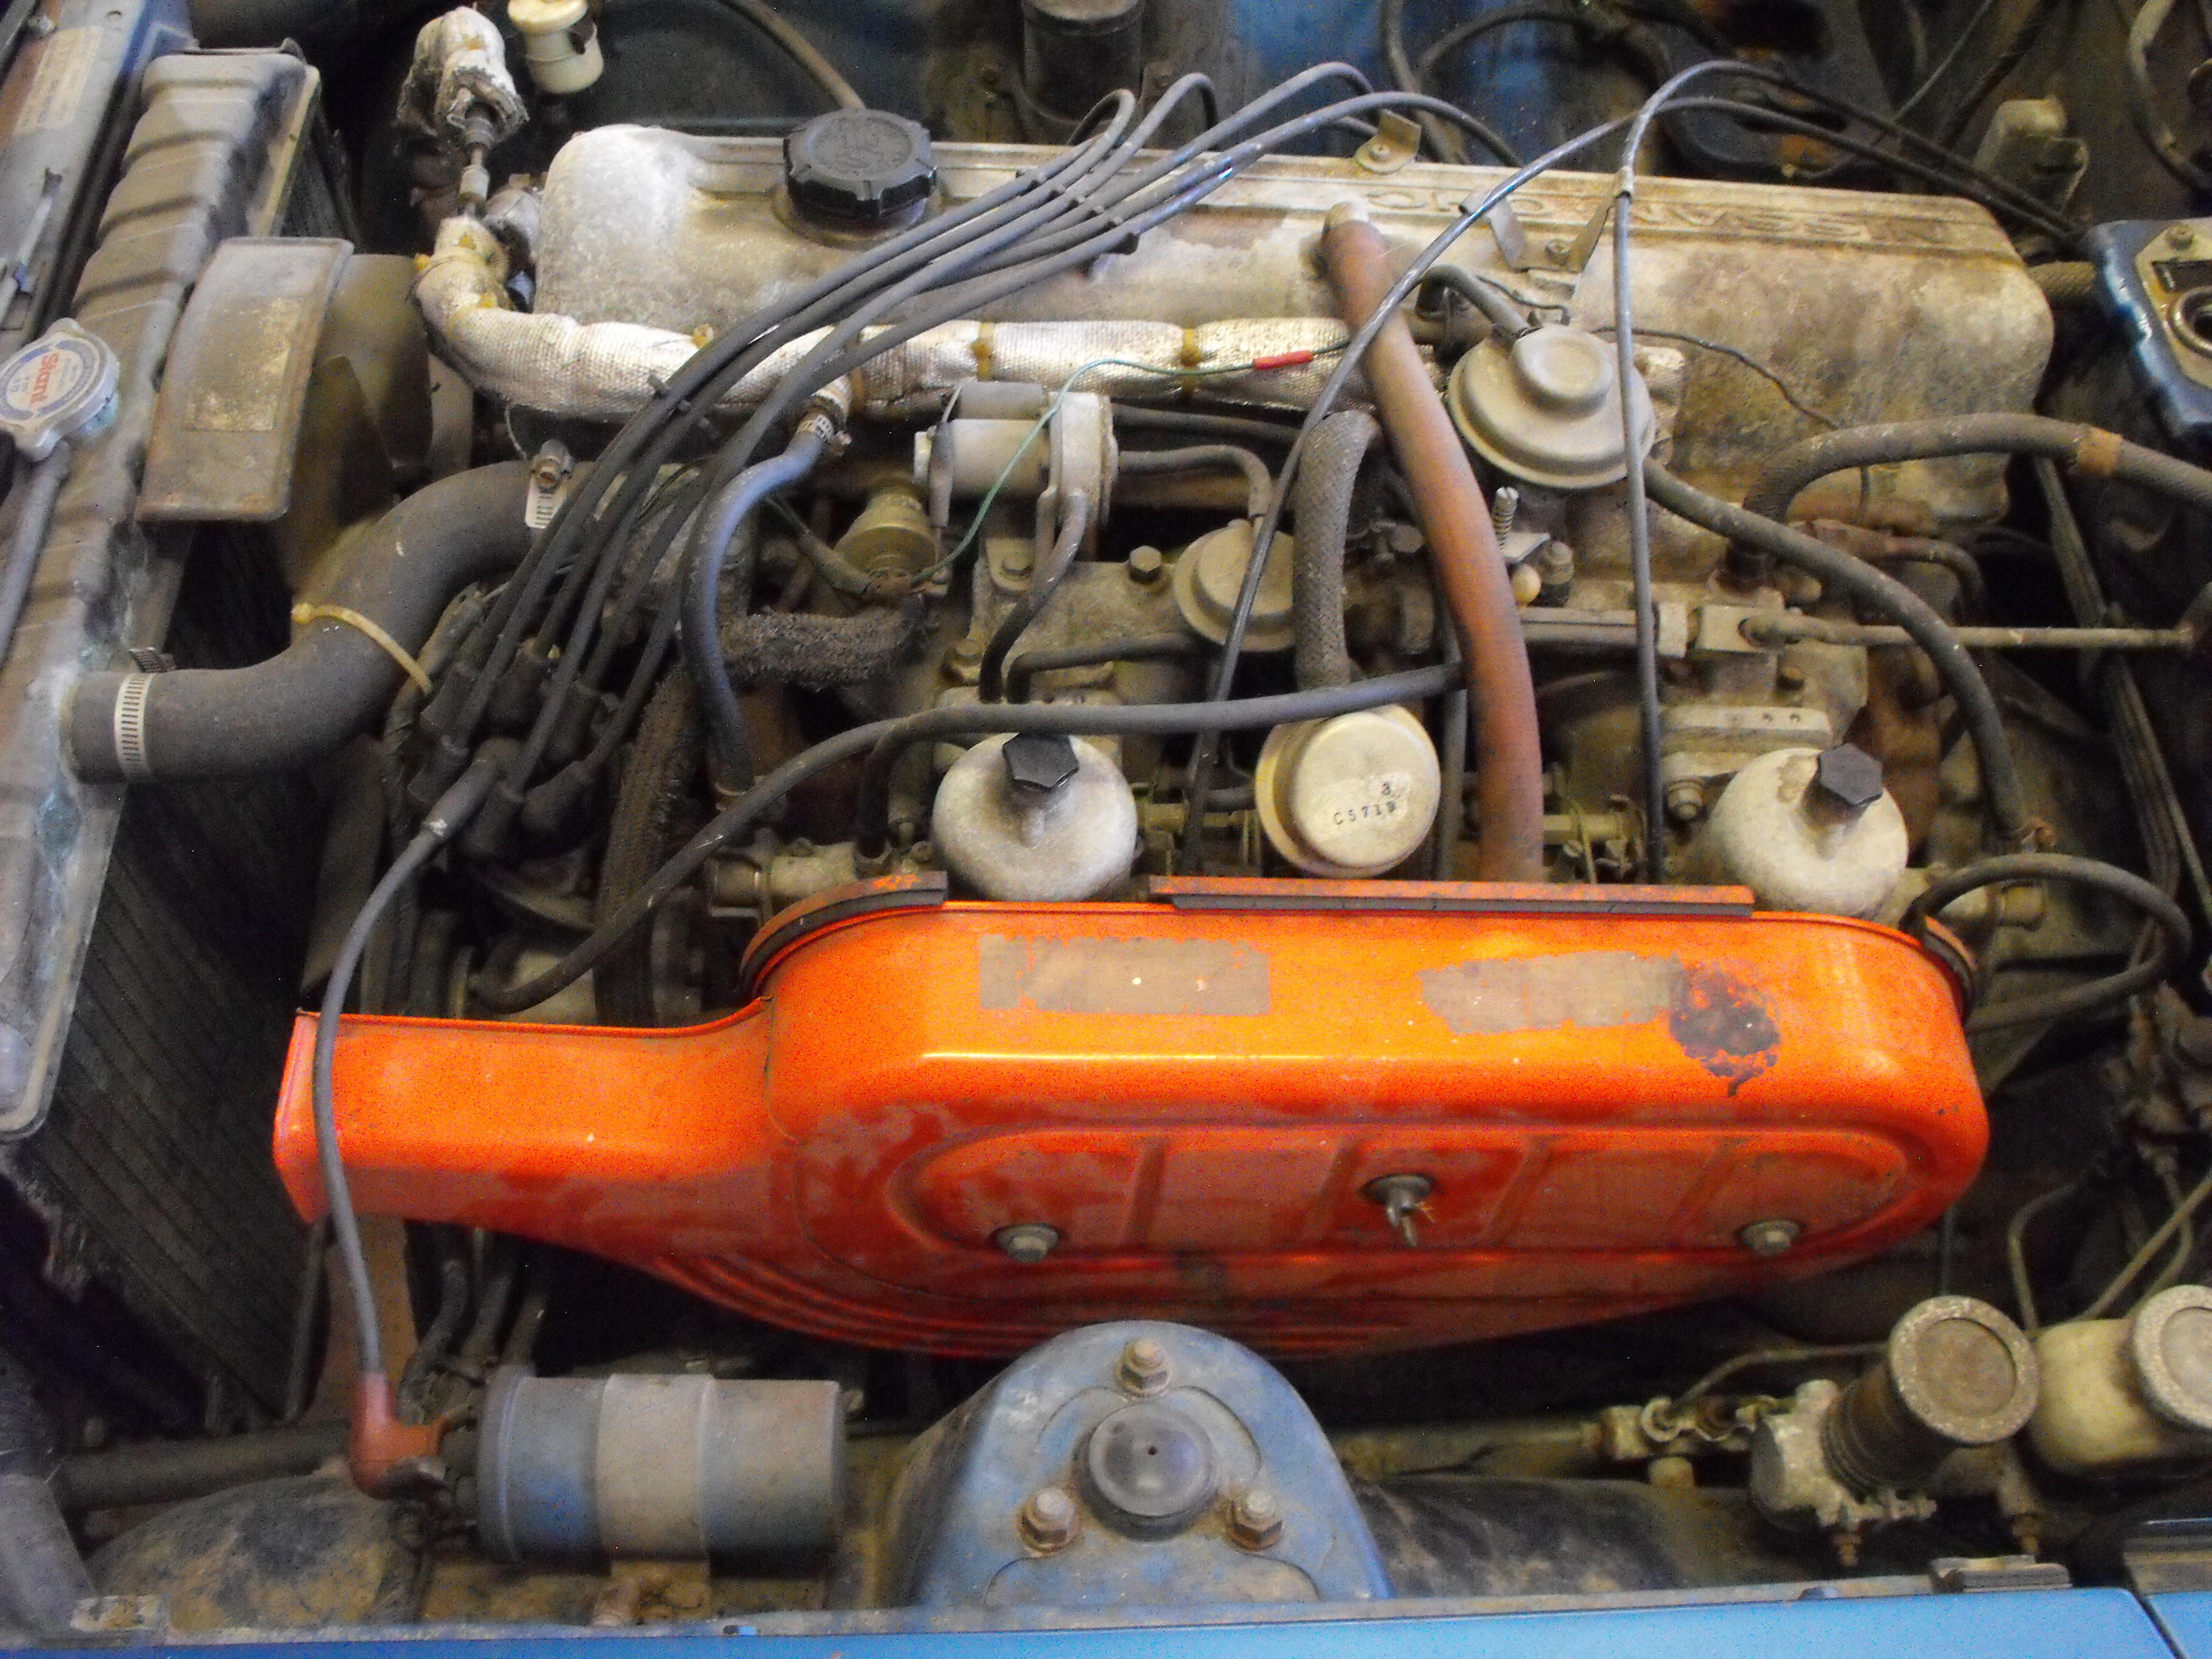
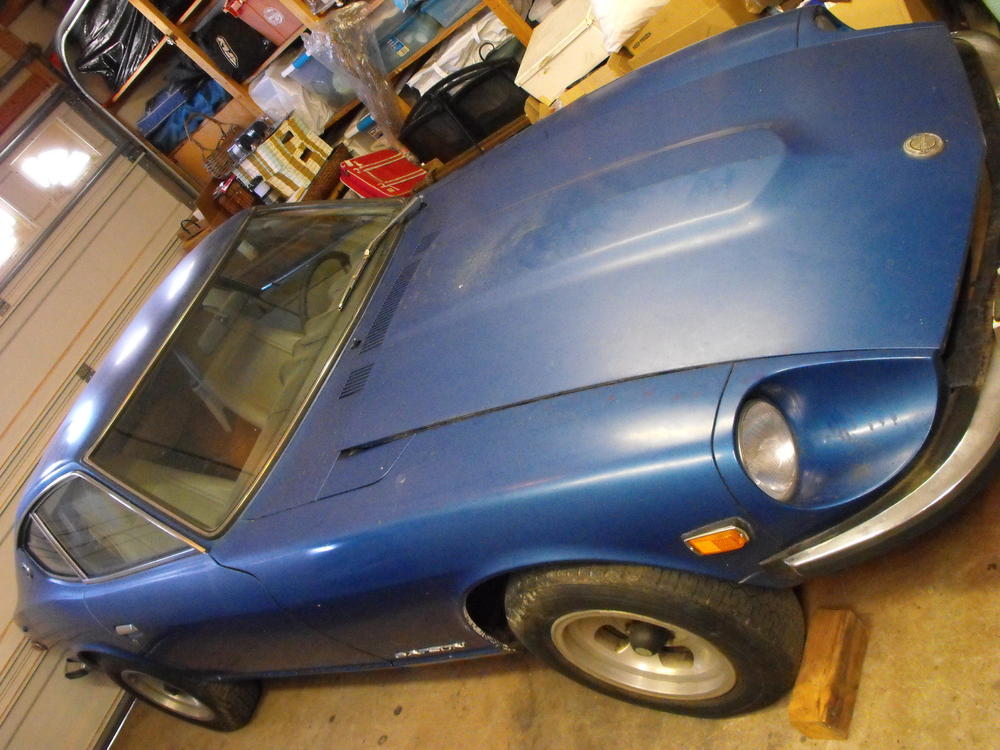
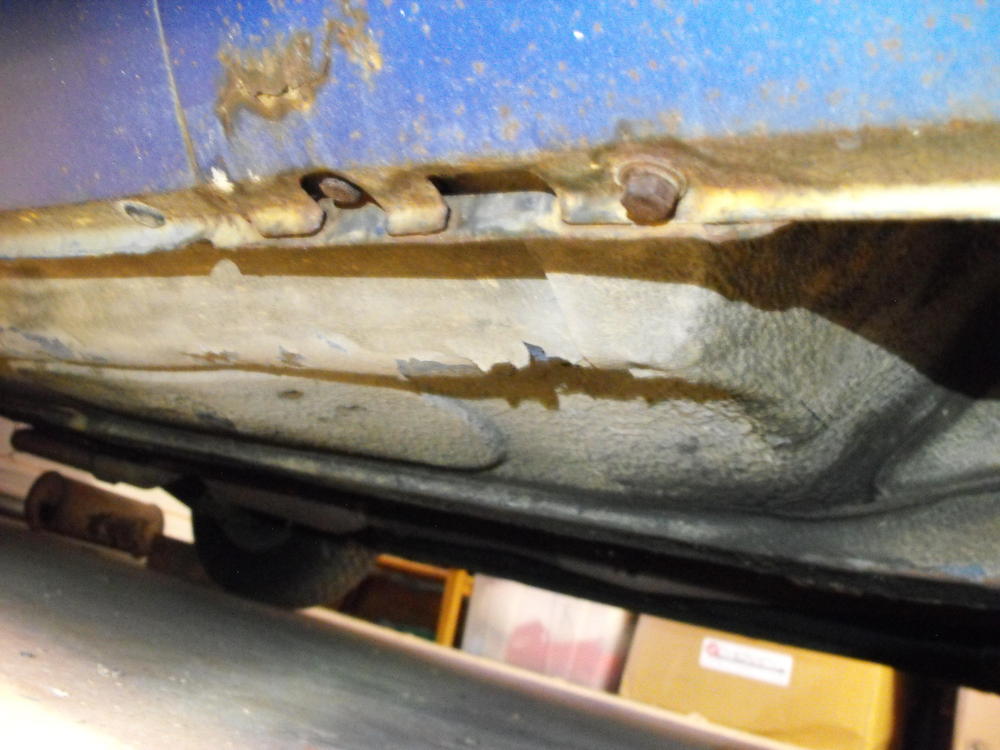
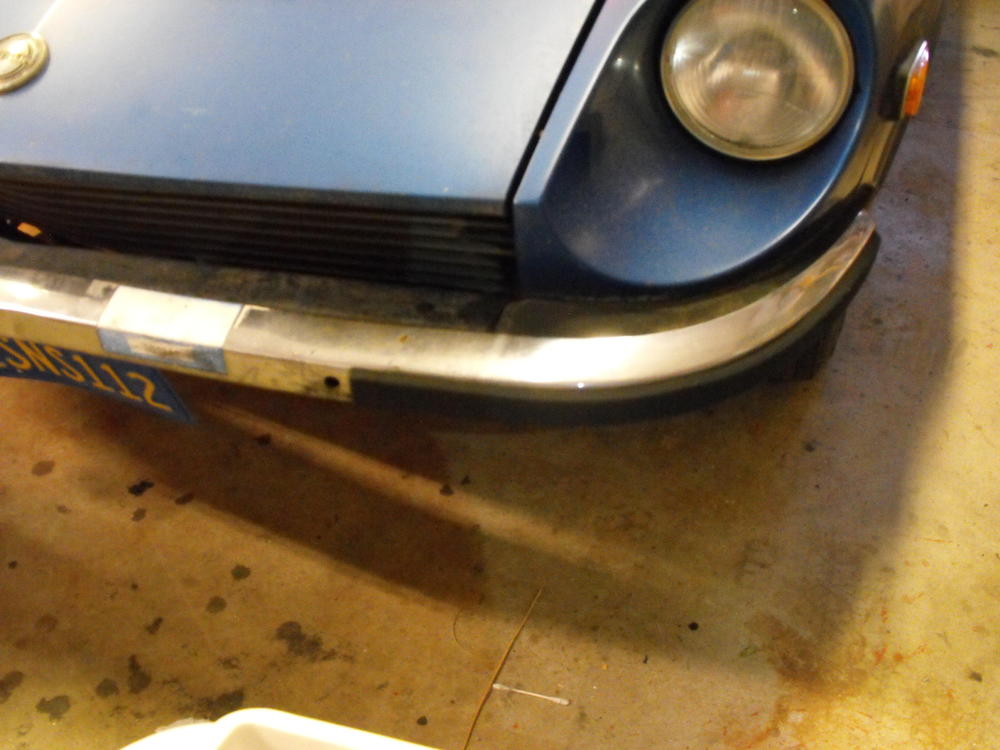
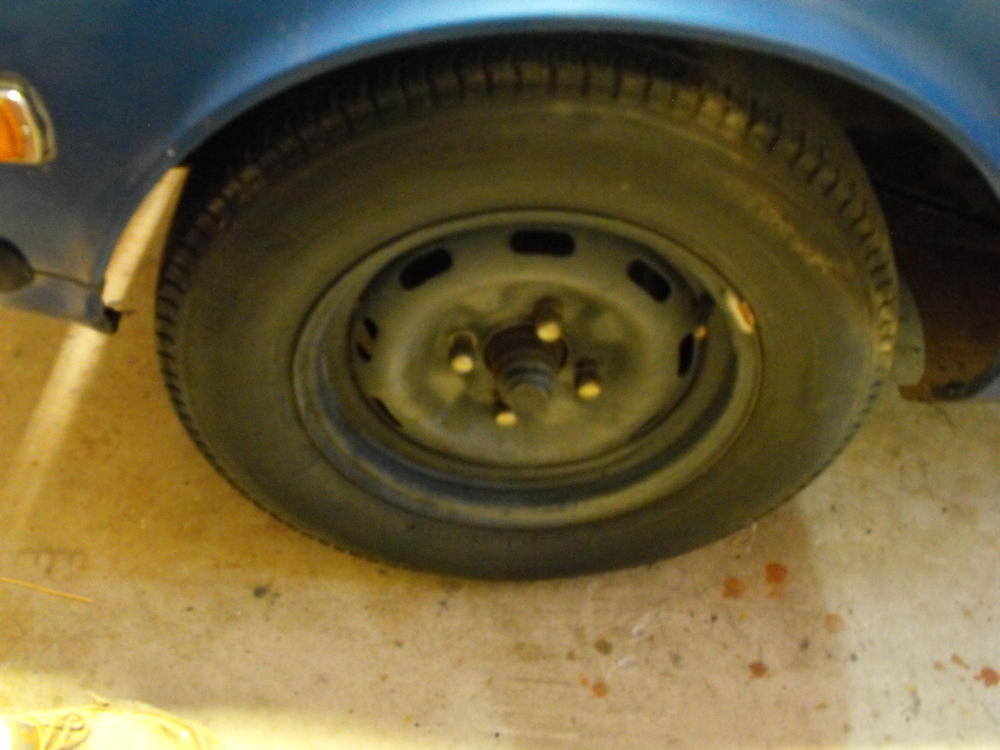
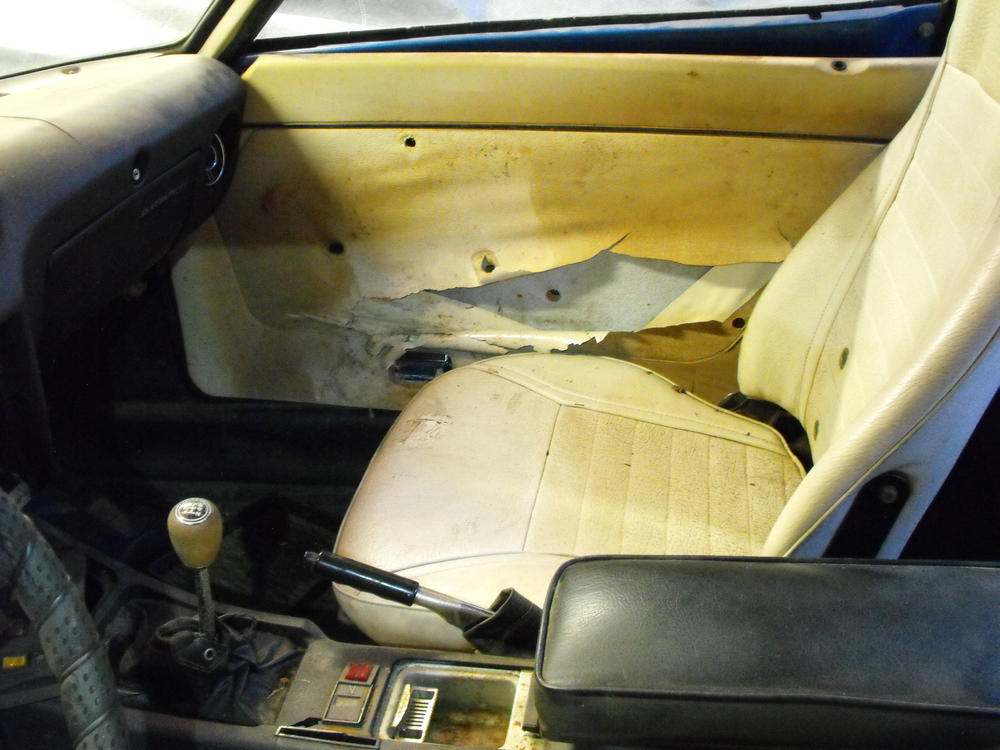
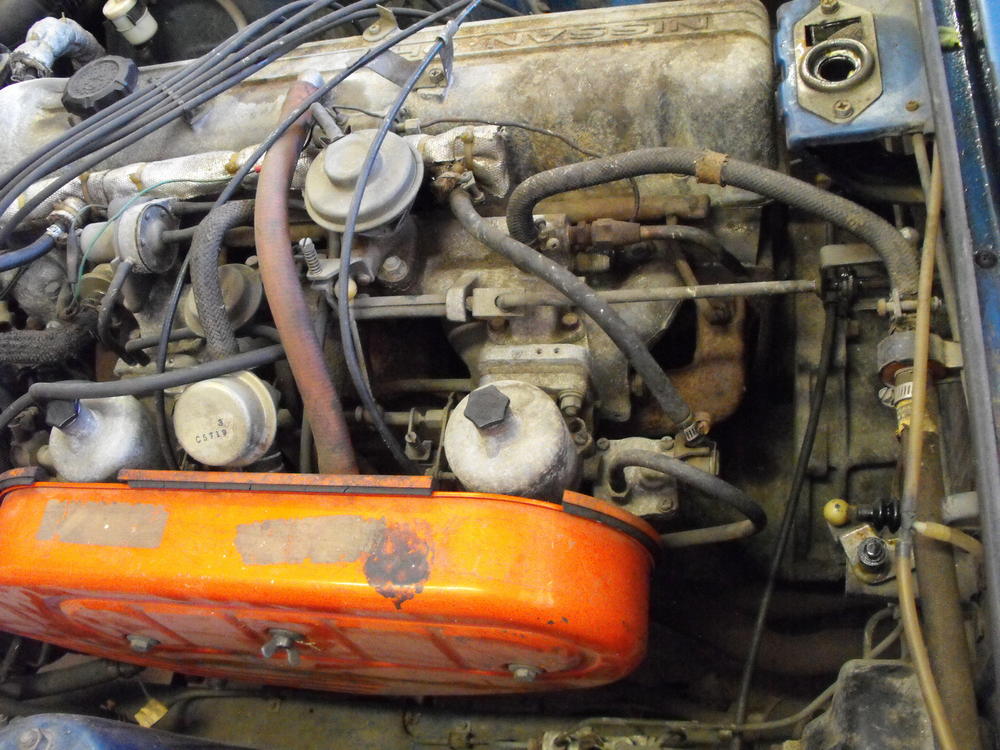
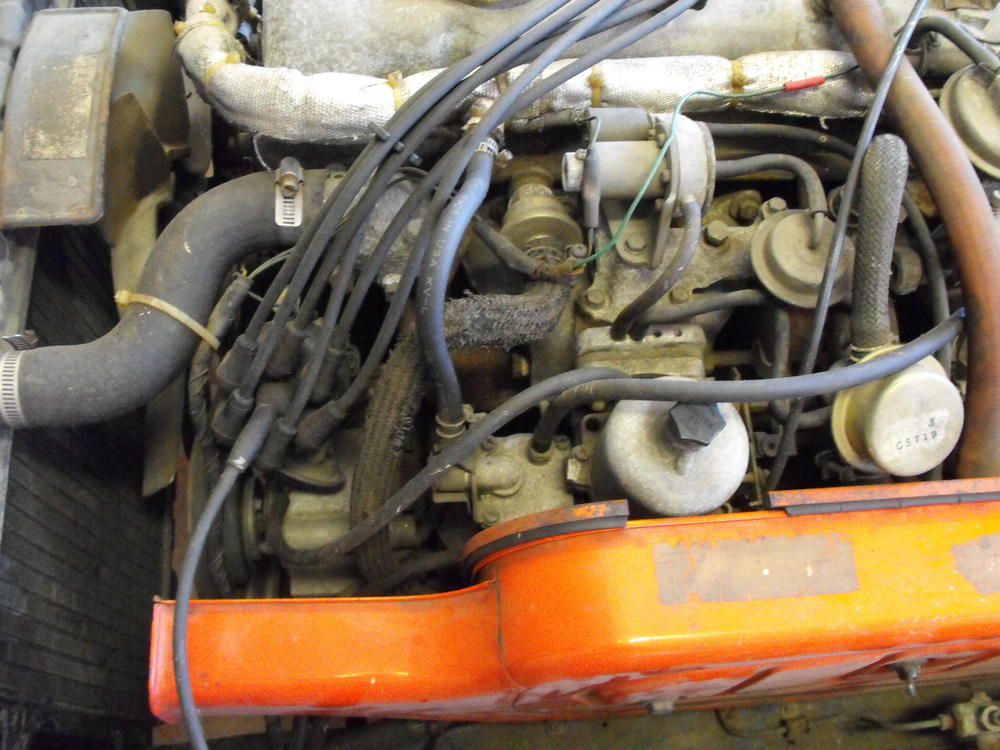
2 pointsWell, the last restoration went so well I think it's time to do another one. I am actually restoring this '73 240Z for a gentleman up in the Bay Area. He is the original owner of the Z and a friend of the Orange Z owner whose car I recently completed. We will pretty much go through the same process and restore this one to it's original condition including the original flat tops. Actually the flat tops are one of the first things we discussed on the phone and I was thrilled that he wanted to have those put back on (I would have a hard time restoring a '73 and putting on the round tops). So, attached are some pics of what we have to work with. I will document things here as the project progresses.


 2 points
 -
Glad to help guys. Here's some more pics showing some different ways to make the water connections to the Escort core. Only drawback is that all of these methods require moving the water control valve out into the engine compartment. Not a problem for me as I had done that long before I switched over to the Escort core, but those of you using the stock water control valves under the dash are left a little "out in the cold". (See what I did there?) Anyway, here's one way to make the water connections. This method utilizes the original feed through assembly to get through the firewall bulkhead: And here's another method that eliminates the (probably rusty anyway) bulkhead feed through. Two generic 90 degree bend tubes feeding through the firewall: I made the holes a little bigger and used some rubber grommets to protect the tubes. Here's the tubes up in the engine compartment before I put my water control valve back in: When I get another couple minutes, I'll upload some more pics of another option.2 points
-
1 pointIf it was me I would get it running with the L28ET. Madcaw here runs Megasquirt but there are more guys running it at hybridZ. Just be careful over there because they will flame you in a heartbeat. I would get it running and sort the brakes and electrical. In the meantime I would try to source doors and front fenders. The frame rails are gonna need some work and the quarter panel at the gas door is a real issue. The doors and fenders could probably be saved but if I could source some good ones, I wouldn't try.1 point
-
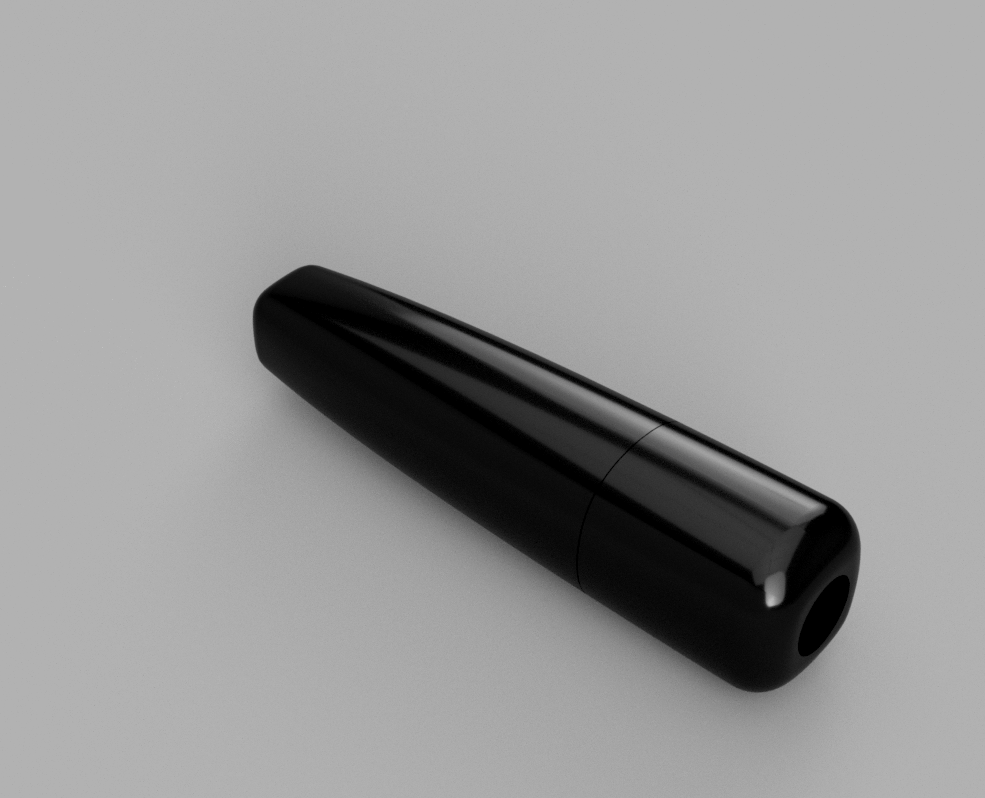
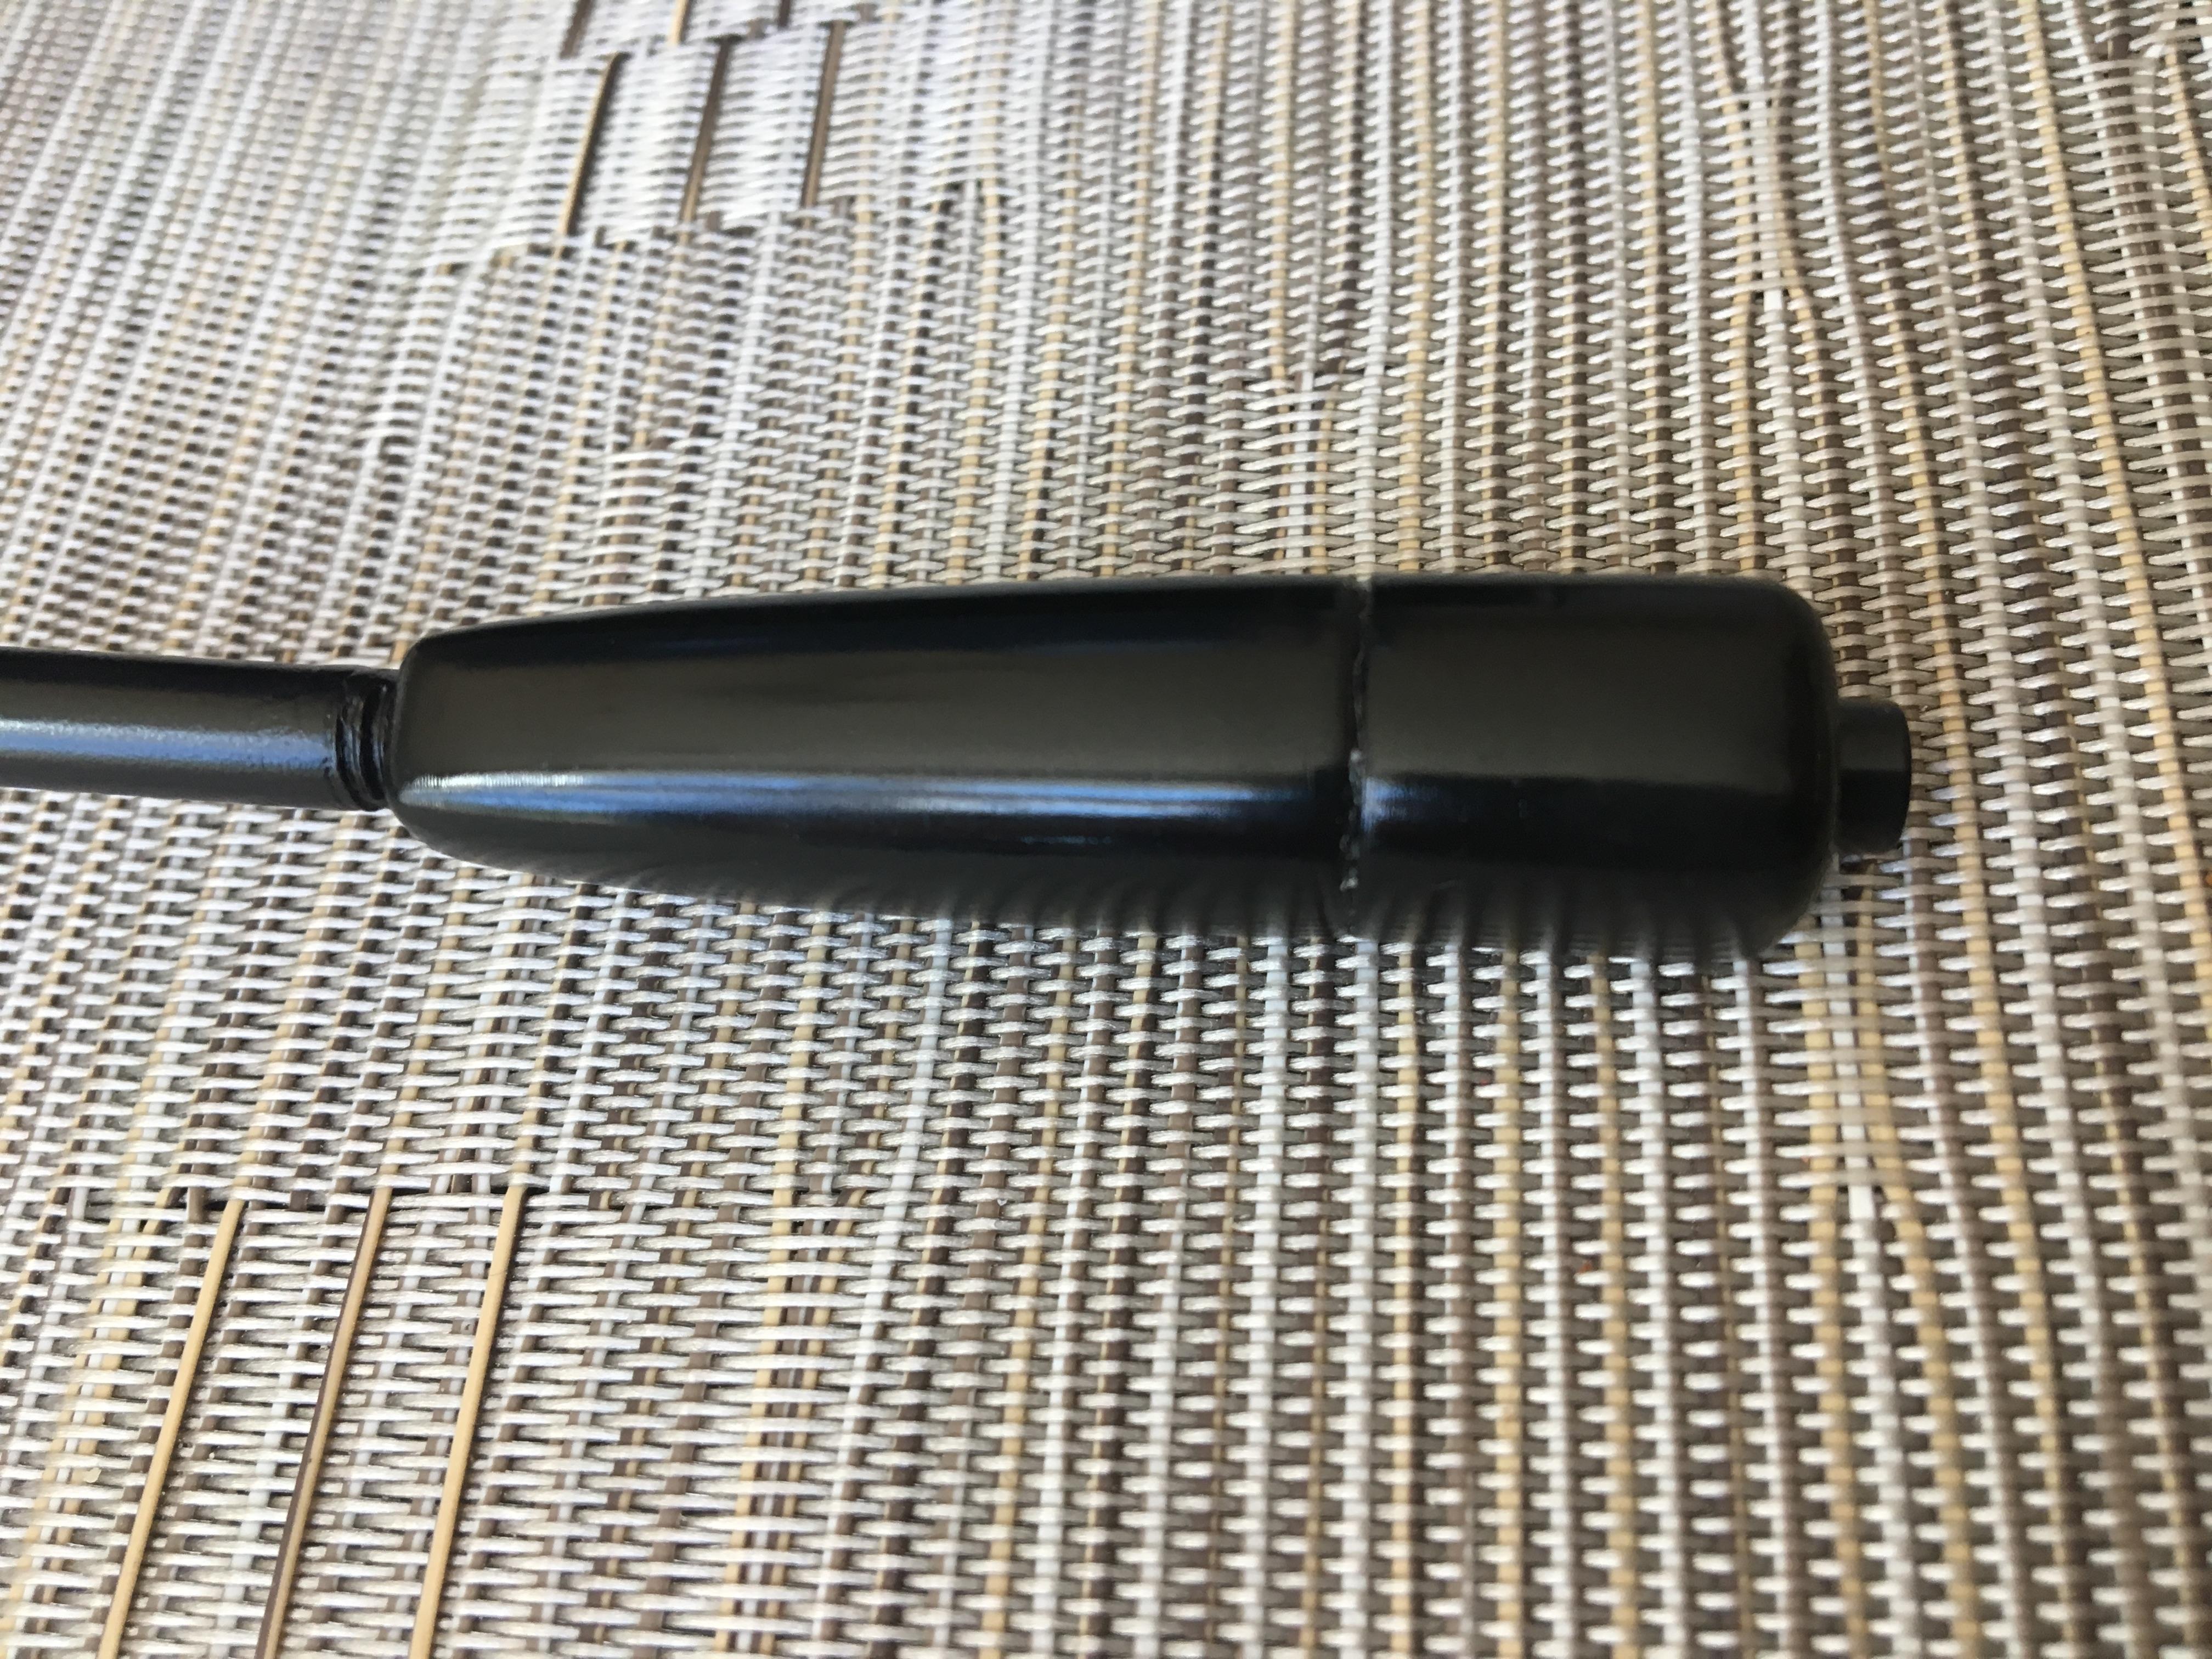
Big job, about the only thing you get a free ride on is the shift knob, looking forward to watching the transformation. Oh just found the close up pic of the shift knob, scratch that.1 point
-
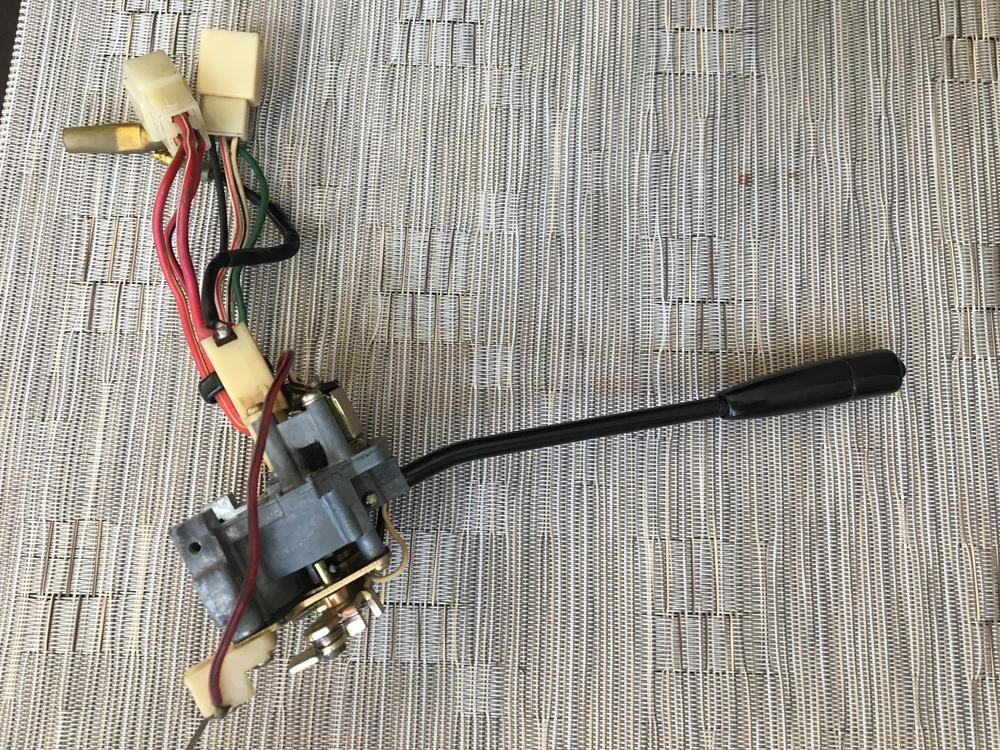
1 pointI have uploaded the 3D model of the indicator arm knob and instructions to thingiverse https://www.thingiverse.com/thing:2984466 Please note, this will only work for the JDM version cars the indicators are wired differently and includes a relay to power the lights.

 1 point
 -
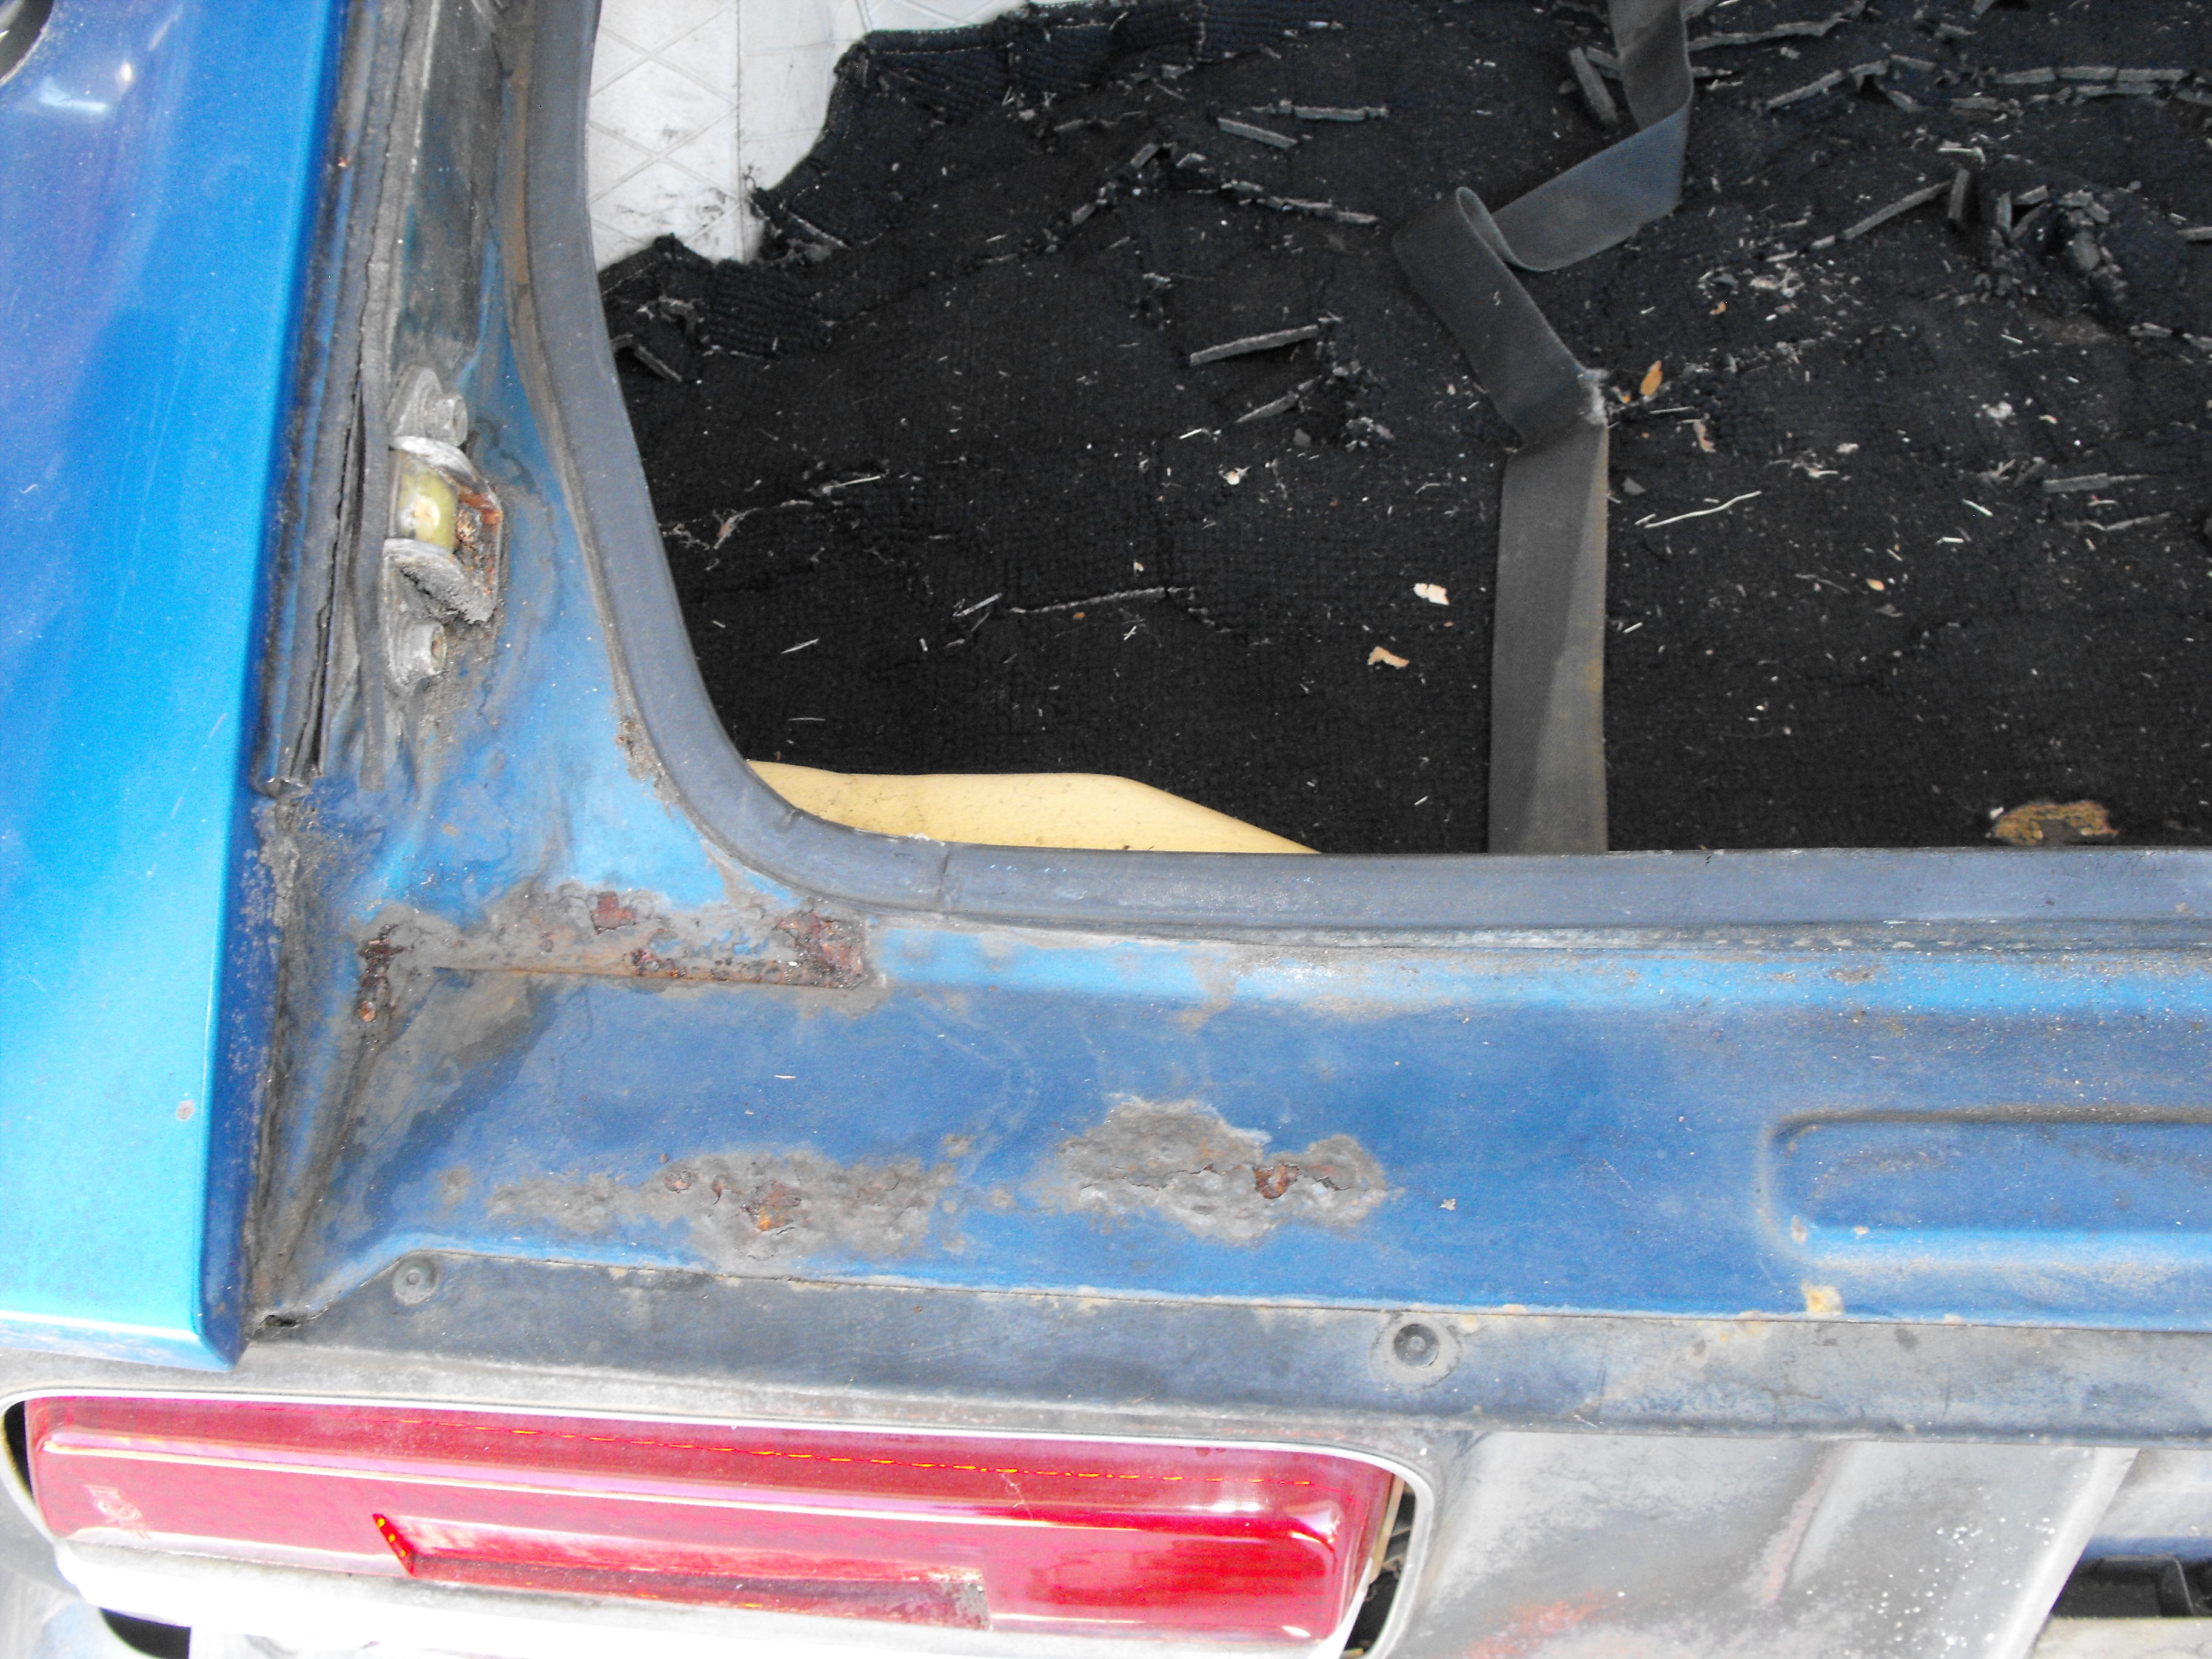
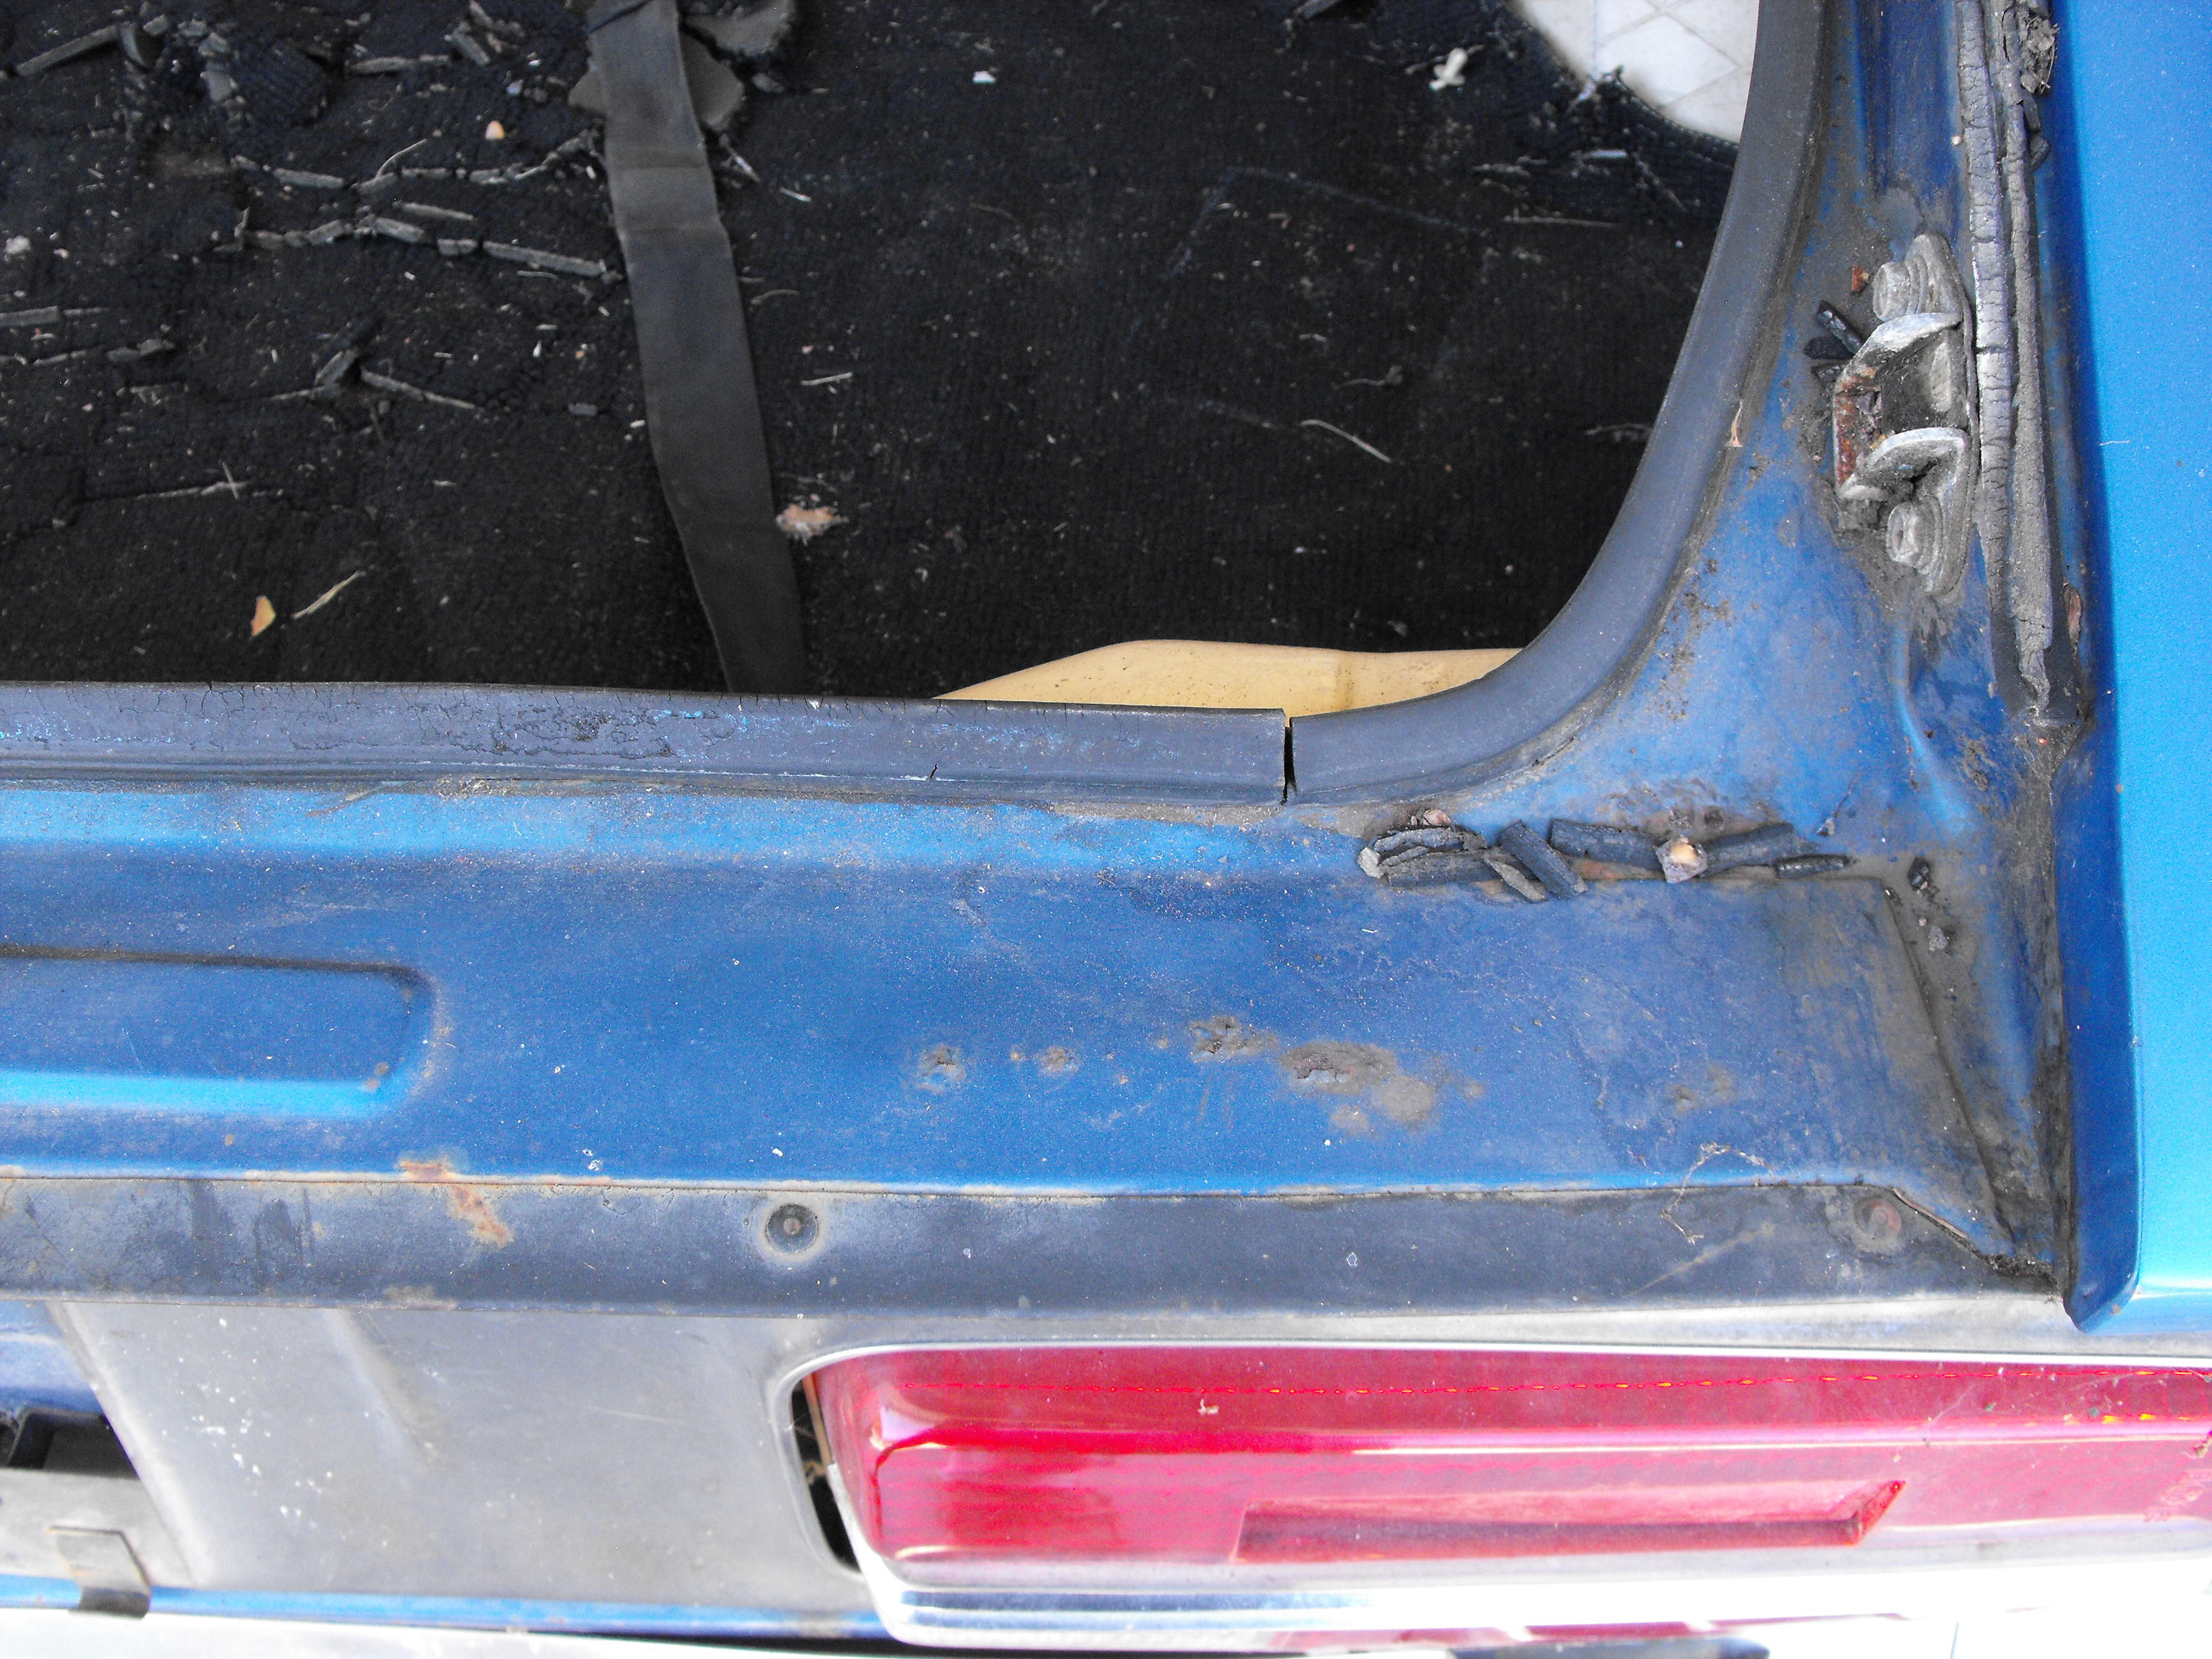
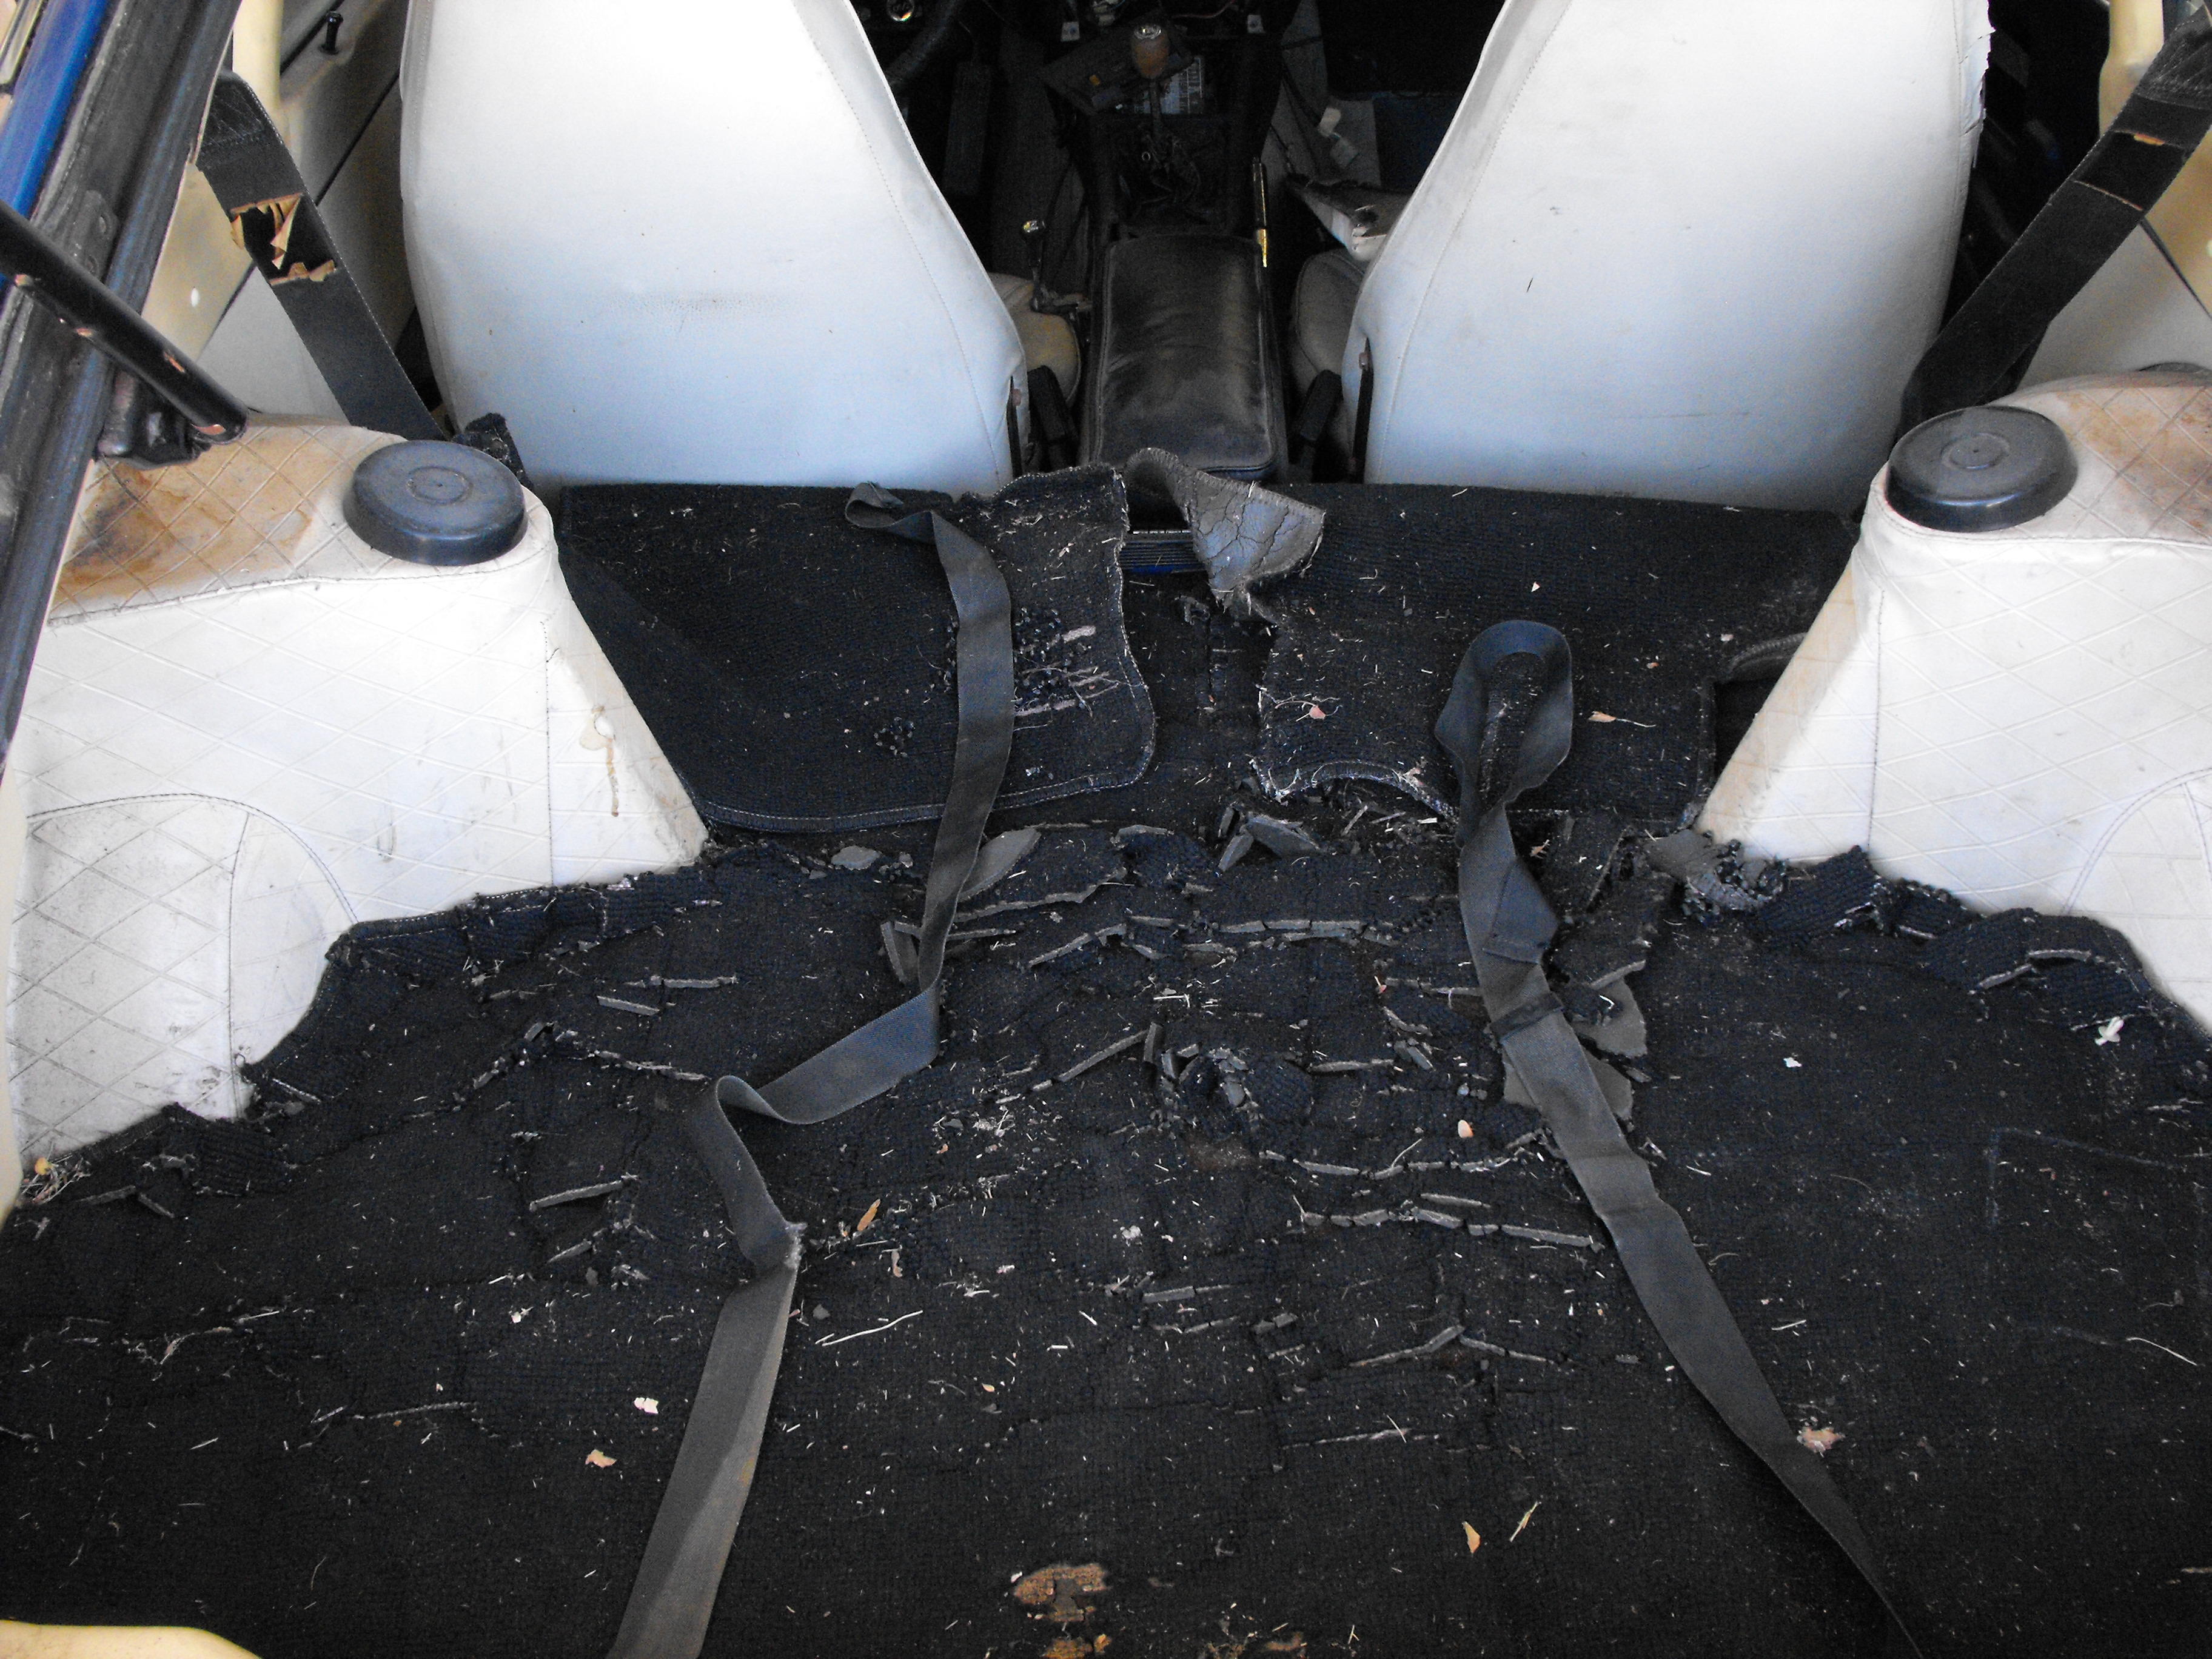
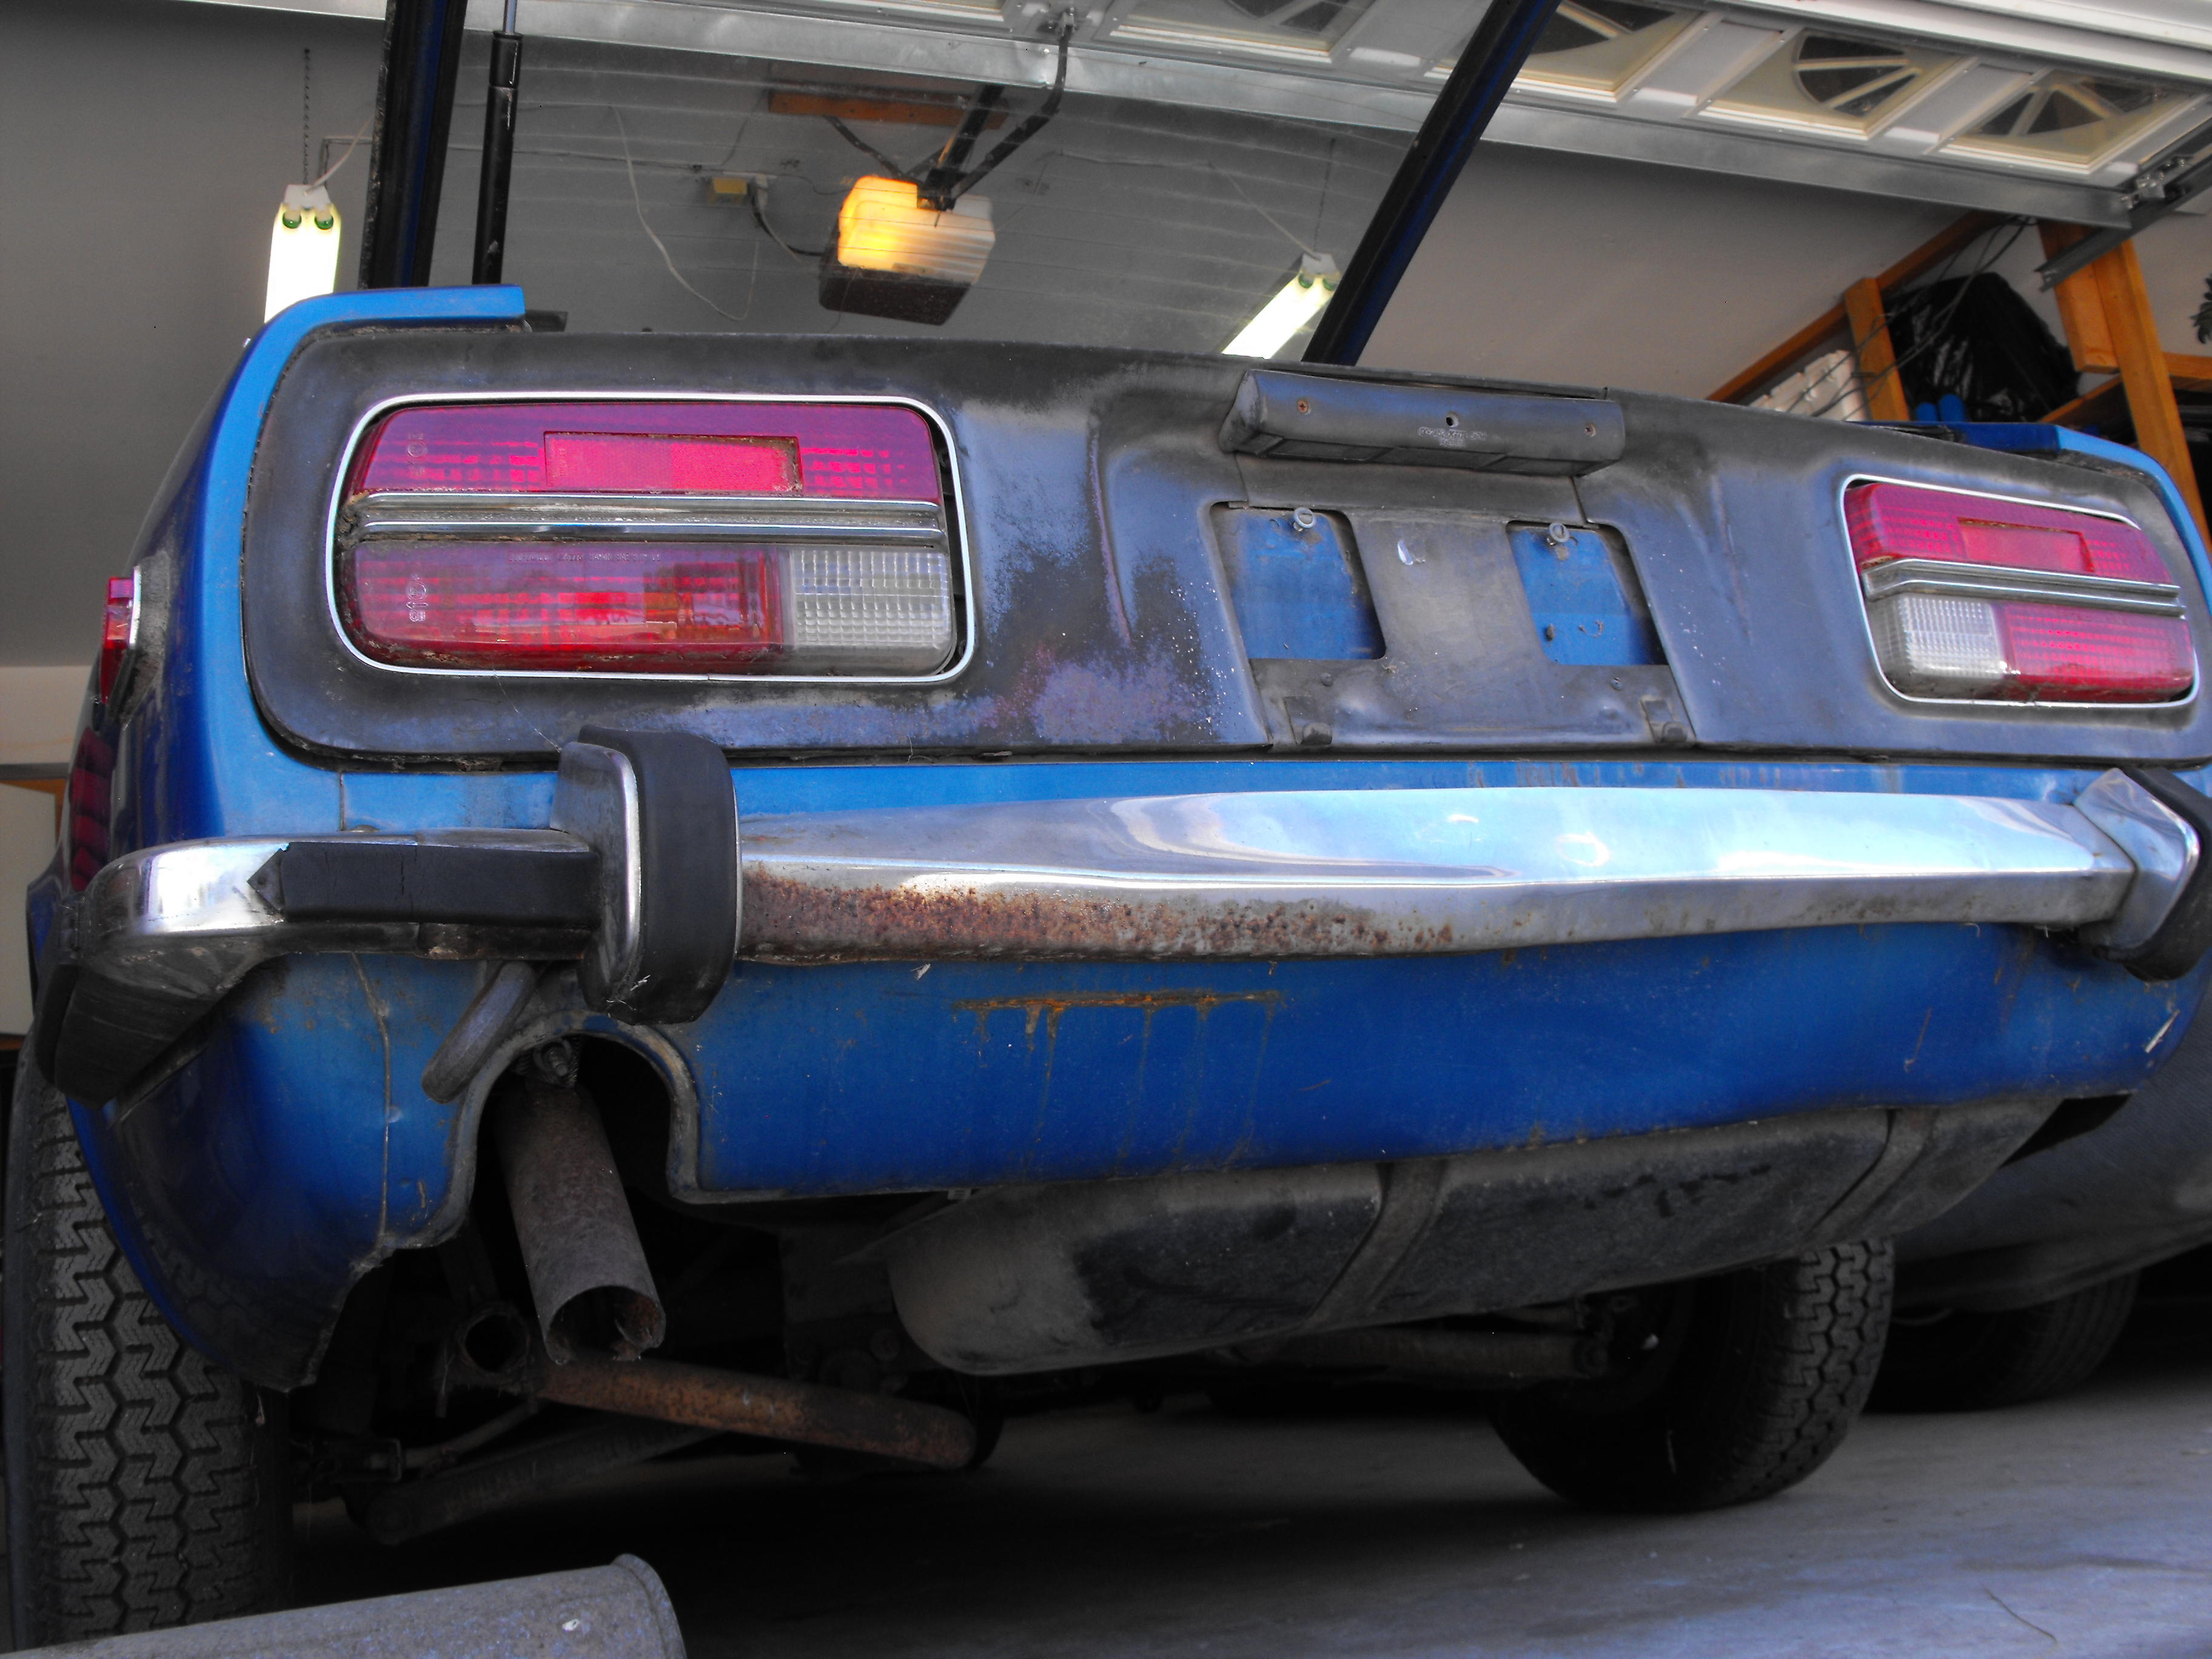
Had some problems with getting fuel from the tank. Flushed it to get the sediments out. No rust and no por15 coating. Changed oil and took it around the block. - Front right brake is dragging - No tail lights - No charge Not too bad for 11 year sleep. I should have these things resolved by the end of the week. Dropped the hatch carpet in a local shop for carbon copy. The rest of the carpets are in good shape. Picked up some DOM16 (Canadian equivalent to POR15) Up next, brakes, transmission fluid, electrical, patches in floors, mount seats.1 point
-
And another option, if you are a little crazy. Remember that (probably rusty) feed through assembly to pass through the firewall? You could do something like this... Make up a template based on the original and get yourself some stainless sheet and stainless tubing: Form the stainless sheet like the original: Build yourself a cheap-o bead roller to use on the lathe and use it to but the beads on the ends of the stainless tubing: Braze the tubes into the bracket: Clean it up. I really like this shot with the rusty crusty original in the background: And once you've gone through all that, you can use two simple generic 90 degree bend hoses on the interior. And since it's all stainless, it should last pretty much forever:1 point
-
1 point
-
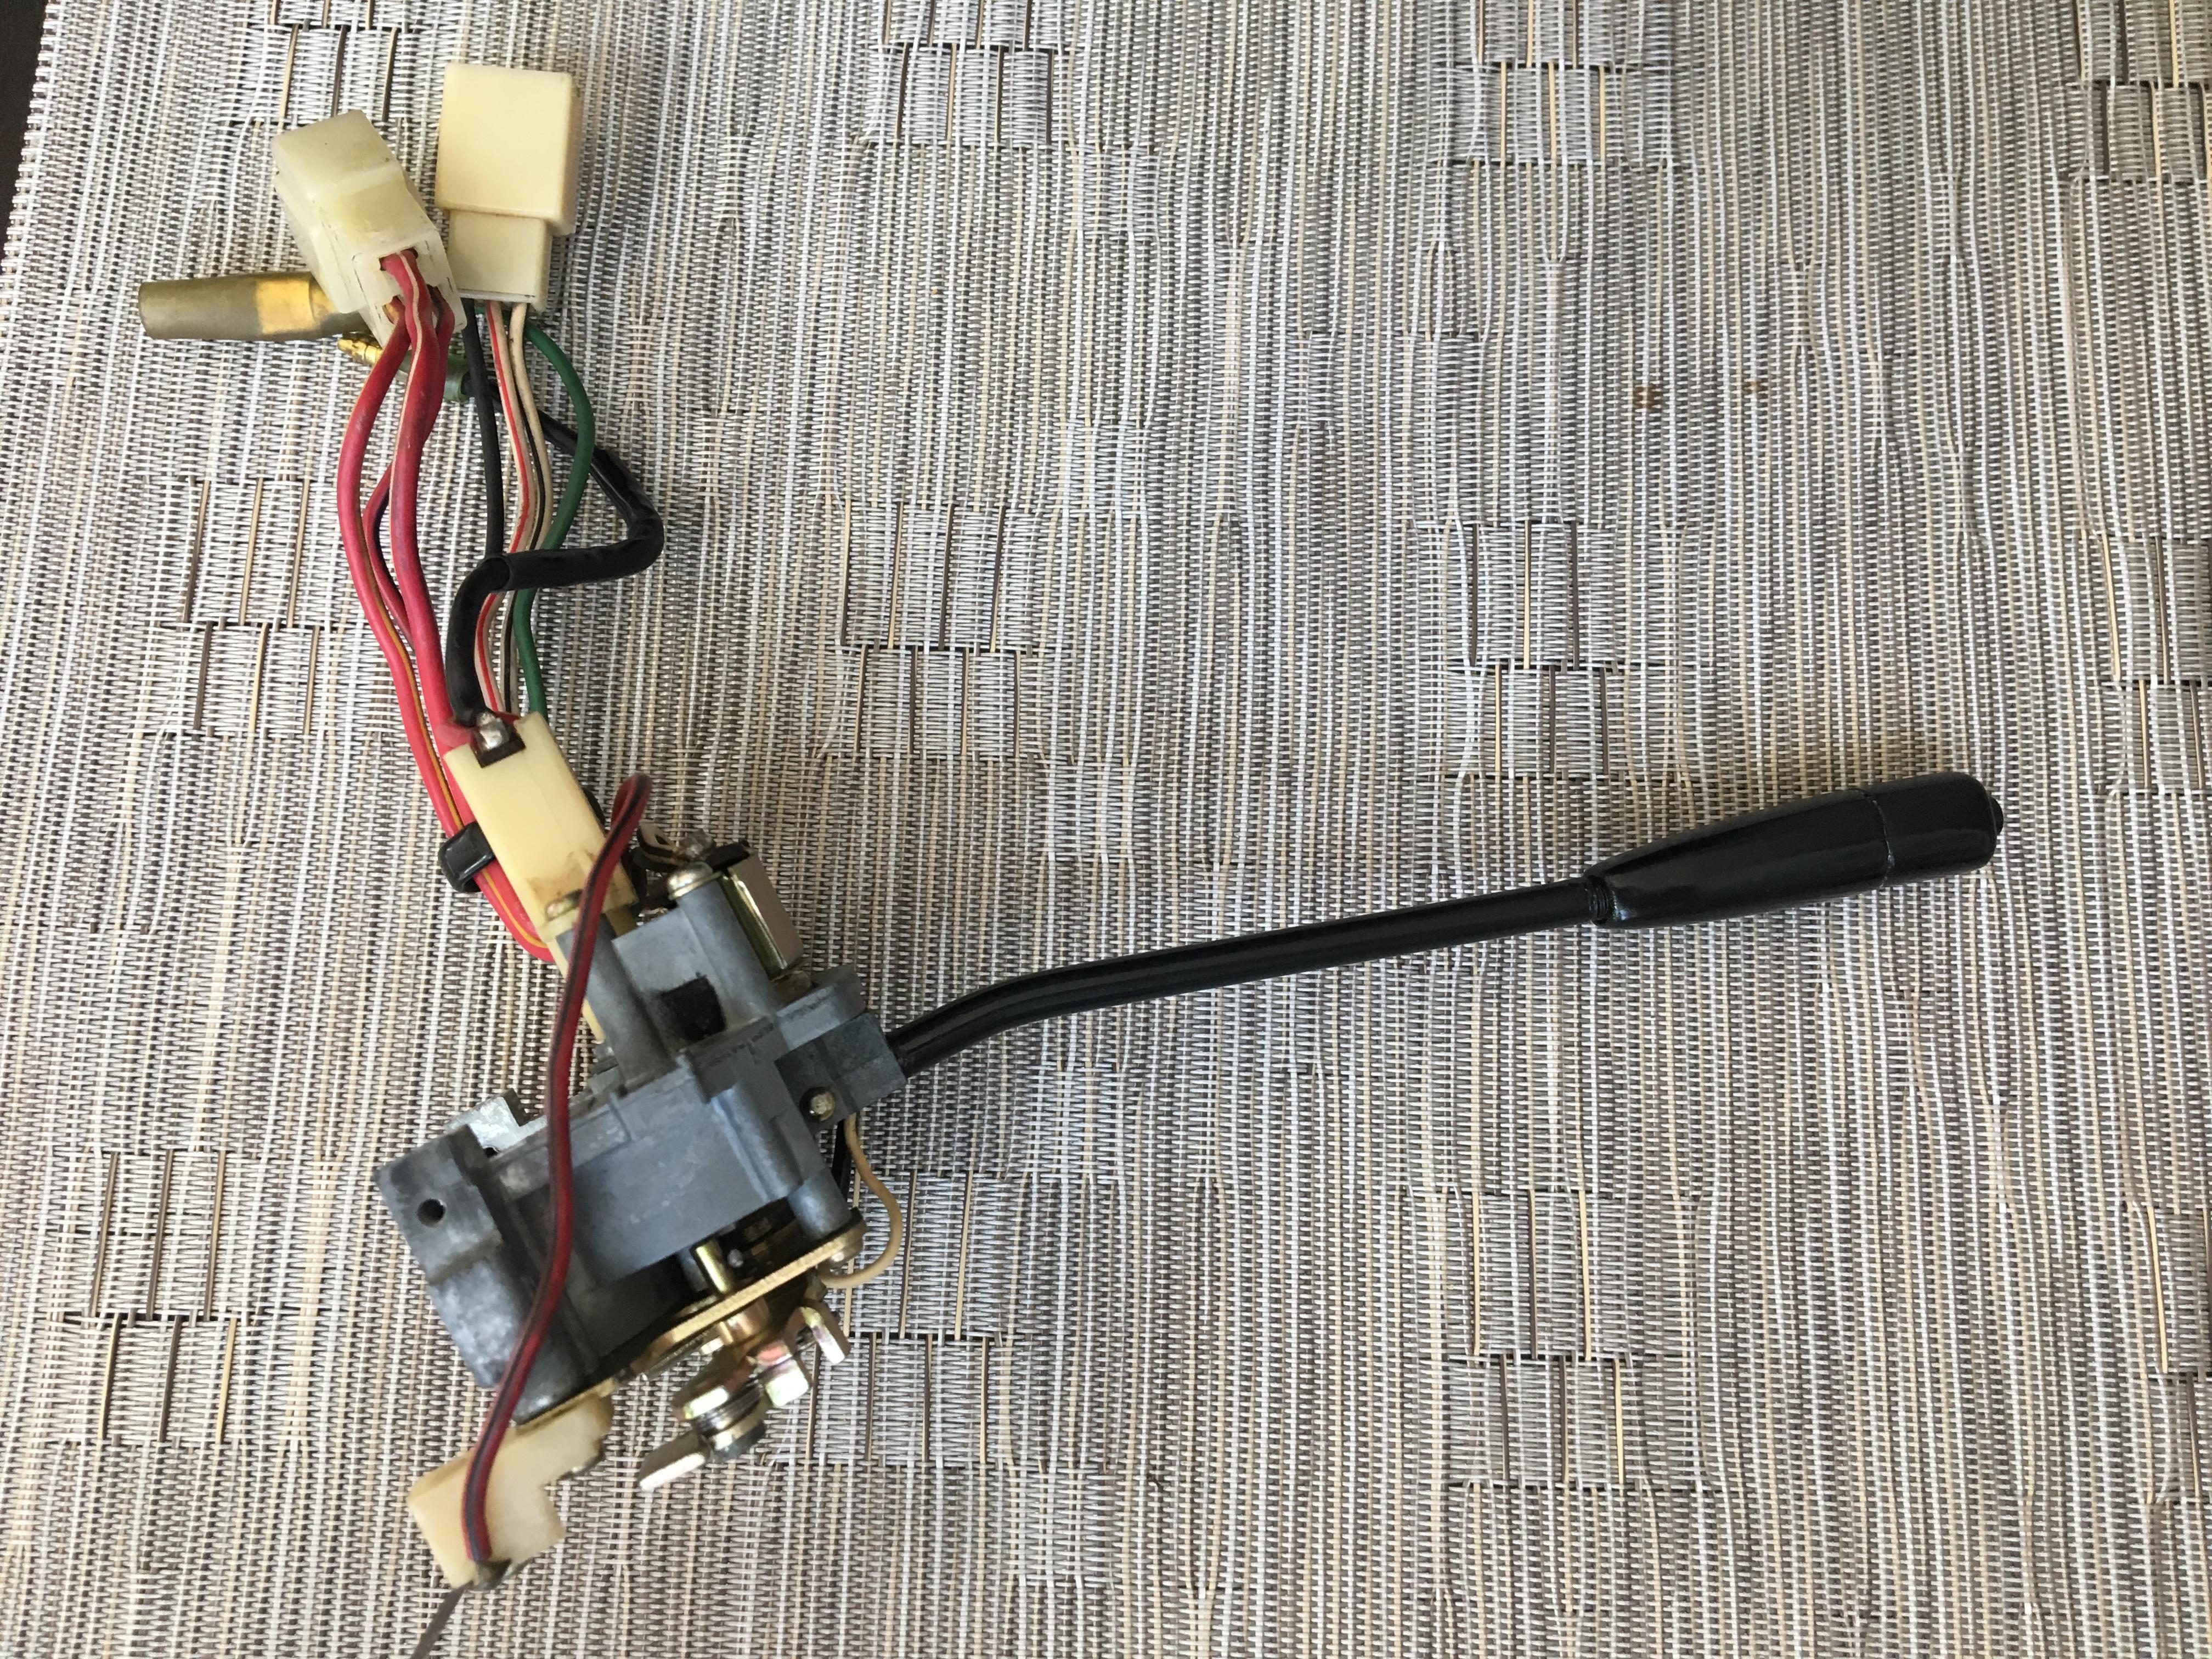
1 pointAn update. The end of the indicator was missing the knob and the push to flash switch. I 3d modeled and printed a replacement complete with momentary switch for the lights. All wired up, relay and lights working well.
 1 point
 -
1 point@Lumens Courtney Cutchen (from the Hagerty article above) is a member on this forum. She and I exchanged several PM regarding her need for carb linkage parts for her Z a year or so ago. Nice article, and yes she is a real nice lady with a passion for Z cars. Dustin is a lucky fellow indeed.1 point
-
1 point
-
Here's a summary with some reloaded pics. Heater core for a 91-02 Ford Escort SOHC (not the ZX2). The heater core is aluminum, and the one I got was Spectra Premium P/N 94741. I decided on the Escort core because it was the thinnest, smallest, most generic, cheap core that I could find with tubes that stuck straight out on the same side. No long funky bent tubes. No weird mounting flanges. Generic, small, thin, and cheap because it's from a ubiquitous car and not from a low volume hard to find Ferrari. Here's a pic of the Escort core next to the original 280 core: Escort core with a layer of foam around the outside for a snug fit inside the air box: Build a little shelf for the Escort core to sit on. Since the Escort core is a little thinner, it allowed me to move the core up a little so it doesn't interfere with the floor duct control linkages at the bottom of the heater box (like the stock one does). Aluminum angle material screwed into place as a lower support shelf: Escort core in place before putting on the access panel cover. Can't see it in the pic, but it's resting on the new aluminum shelf on the far side: Cut some new holes in the access cover for the inlet and outlet tubes and put the cover in place. Tape over the original holes so air doesn't come out where it's not supposed to. I put a support shelf on the back side of the cover for that end of the core as well, but after doing that, I'm not sure it's really necessary. If I were doing it again, I would probably skip that second shelf and just use the inlet and outlet tubes poking through the cover as the supports on that end. But if you look carefully, you can see the heads of screws that hold the shelf in place: When I get a couple more minutes, I'll post some pics on how to make water connection to the core.1 point