


Leaderboard
-

kats
Free Member5Points2,215Posts -
scotta
Free Member2Points90Posts -
Home Built by Jeff
Free Member2Points262Posts -
.JPG.cfcada9cf1c1b502df3f5f2f2ca3ff36.JPG)
SteveJ
Free Member2Points9,646Posts


Popular Content
Showing content with the highest reputation on 05/05/2018 in all areas
-
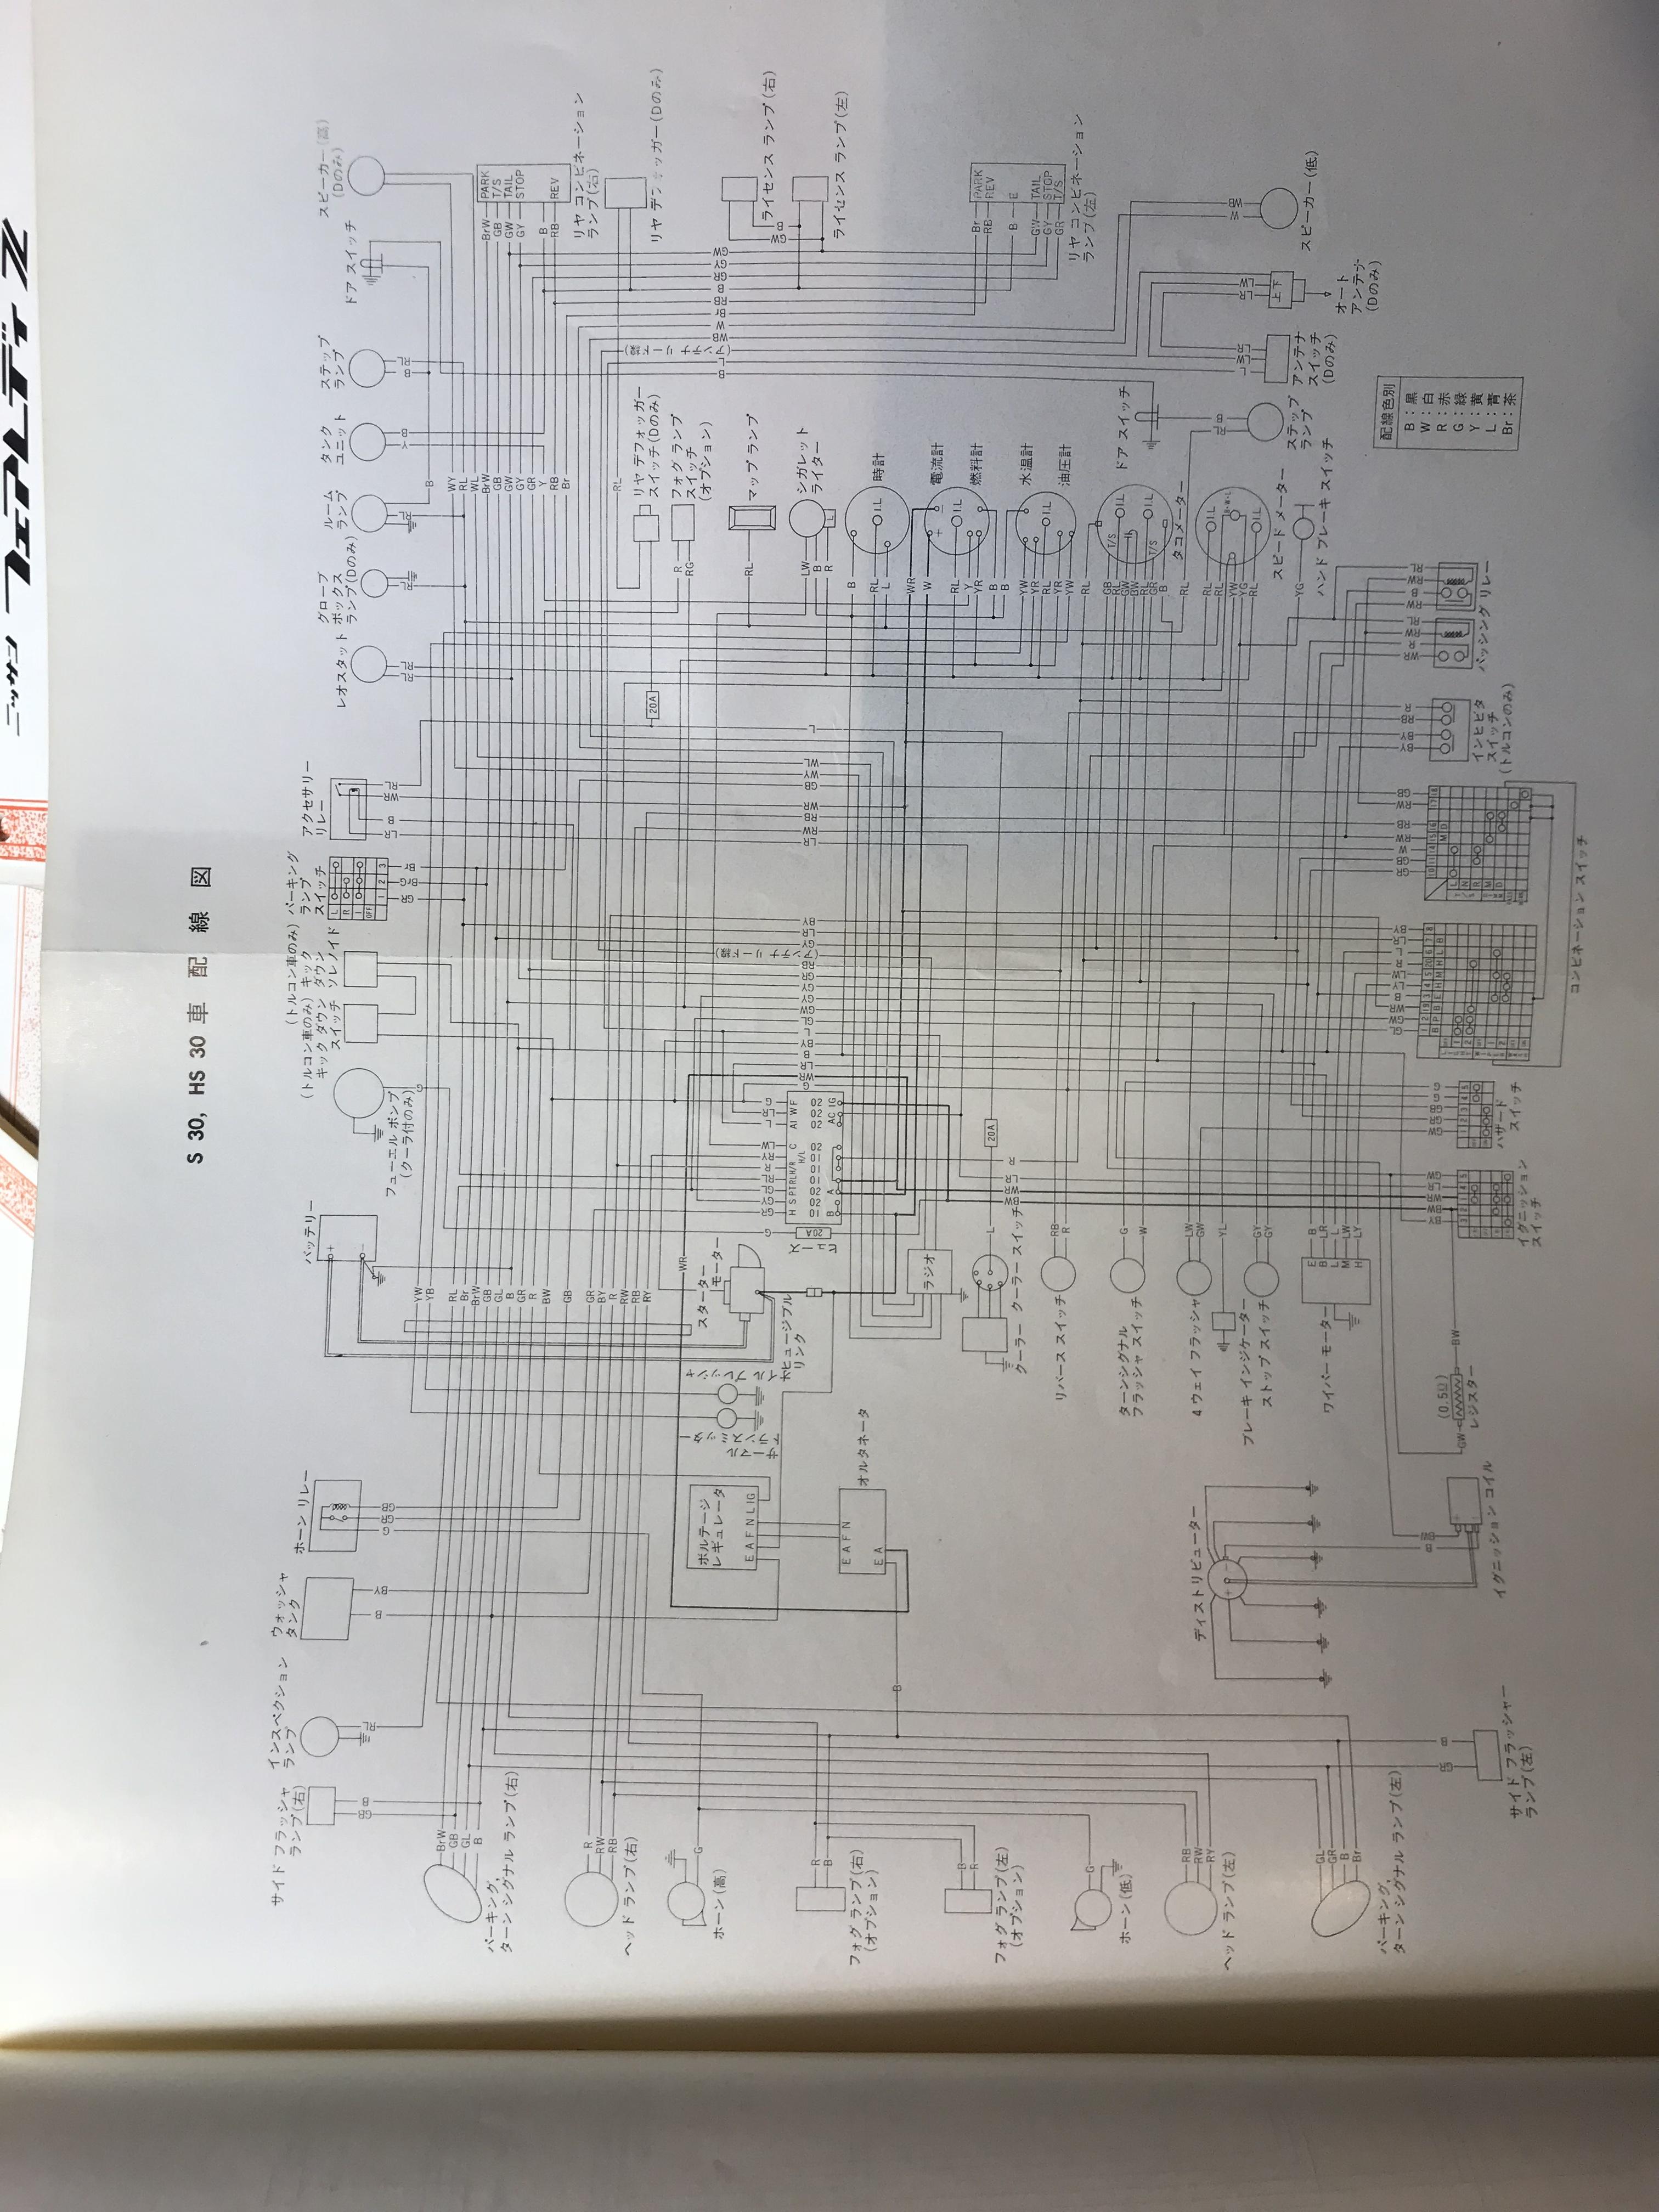
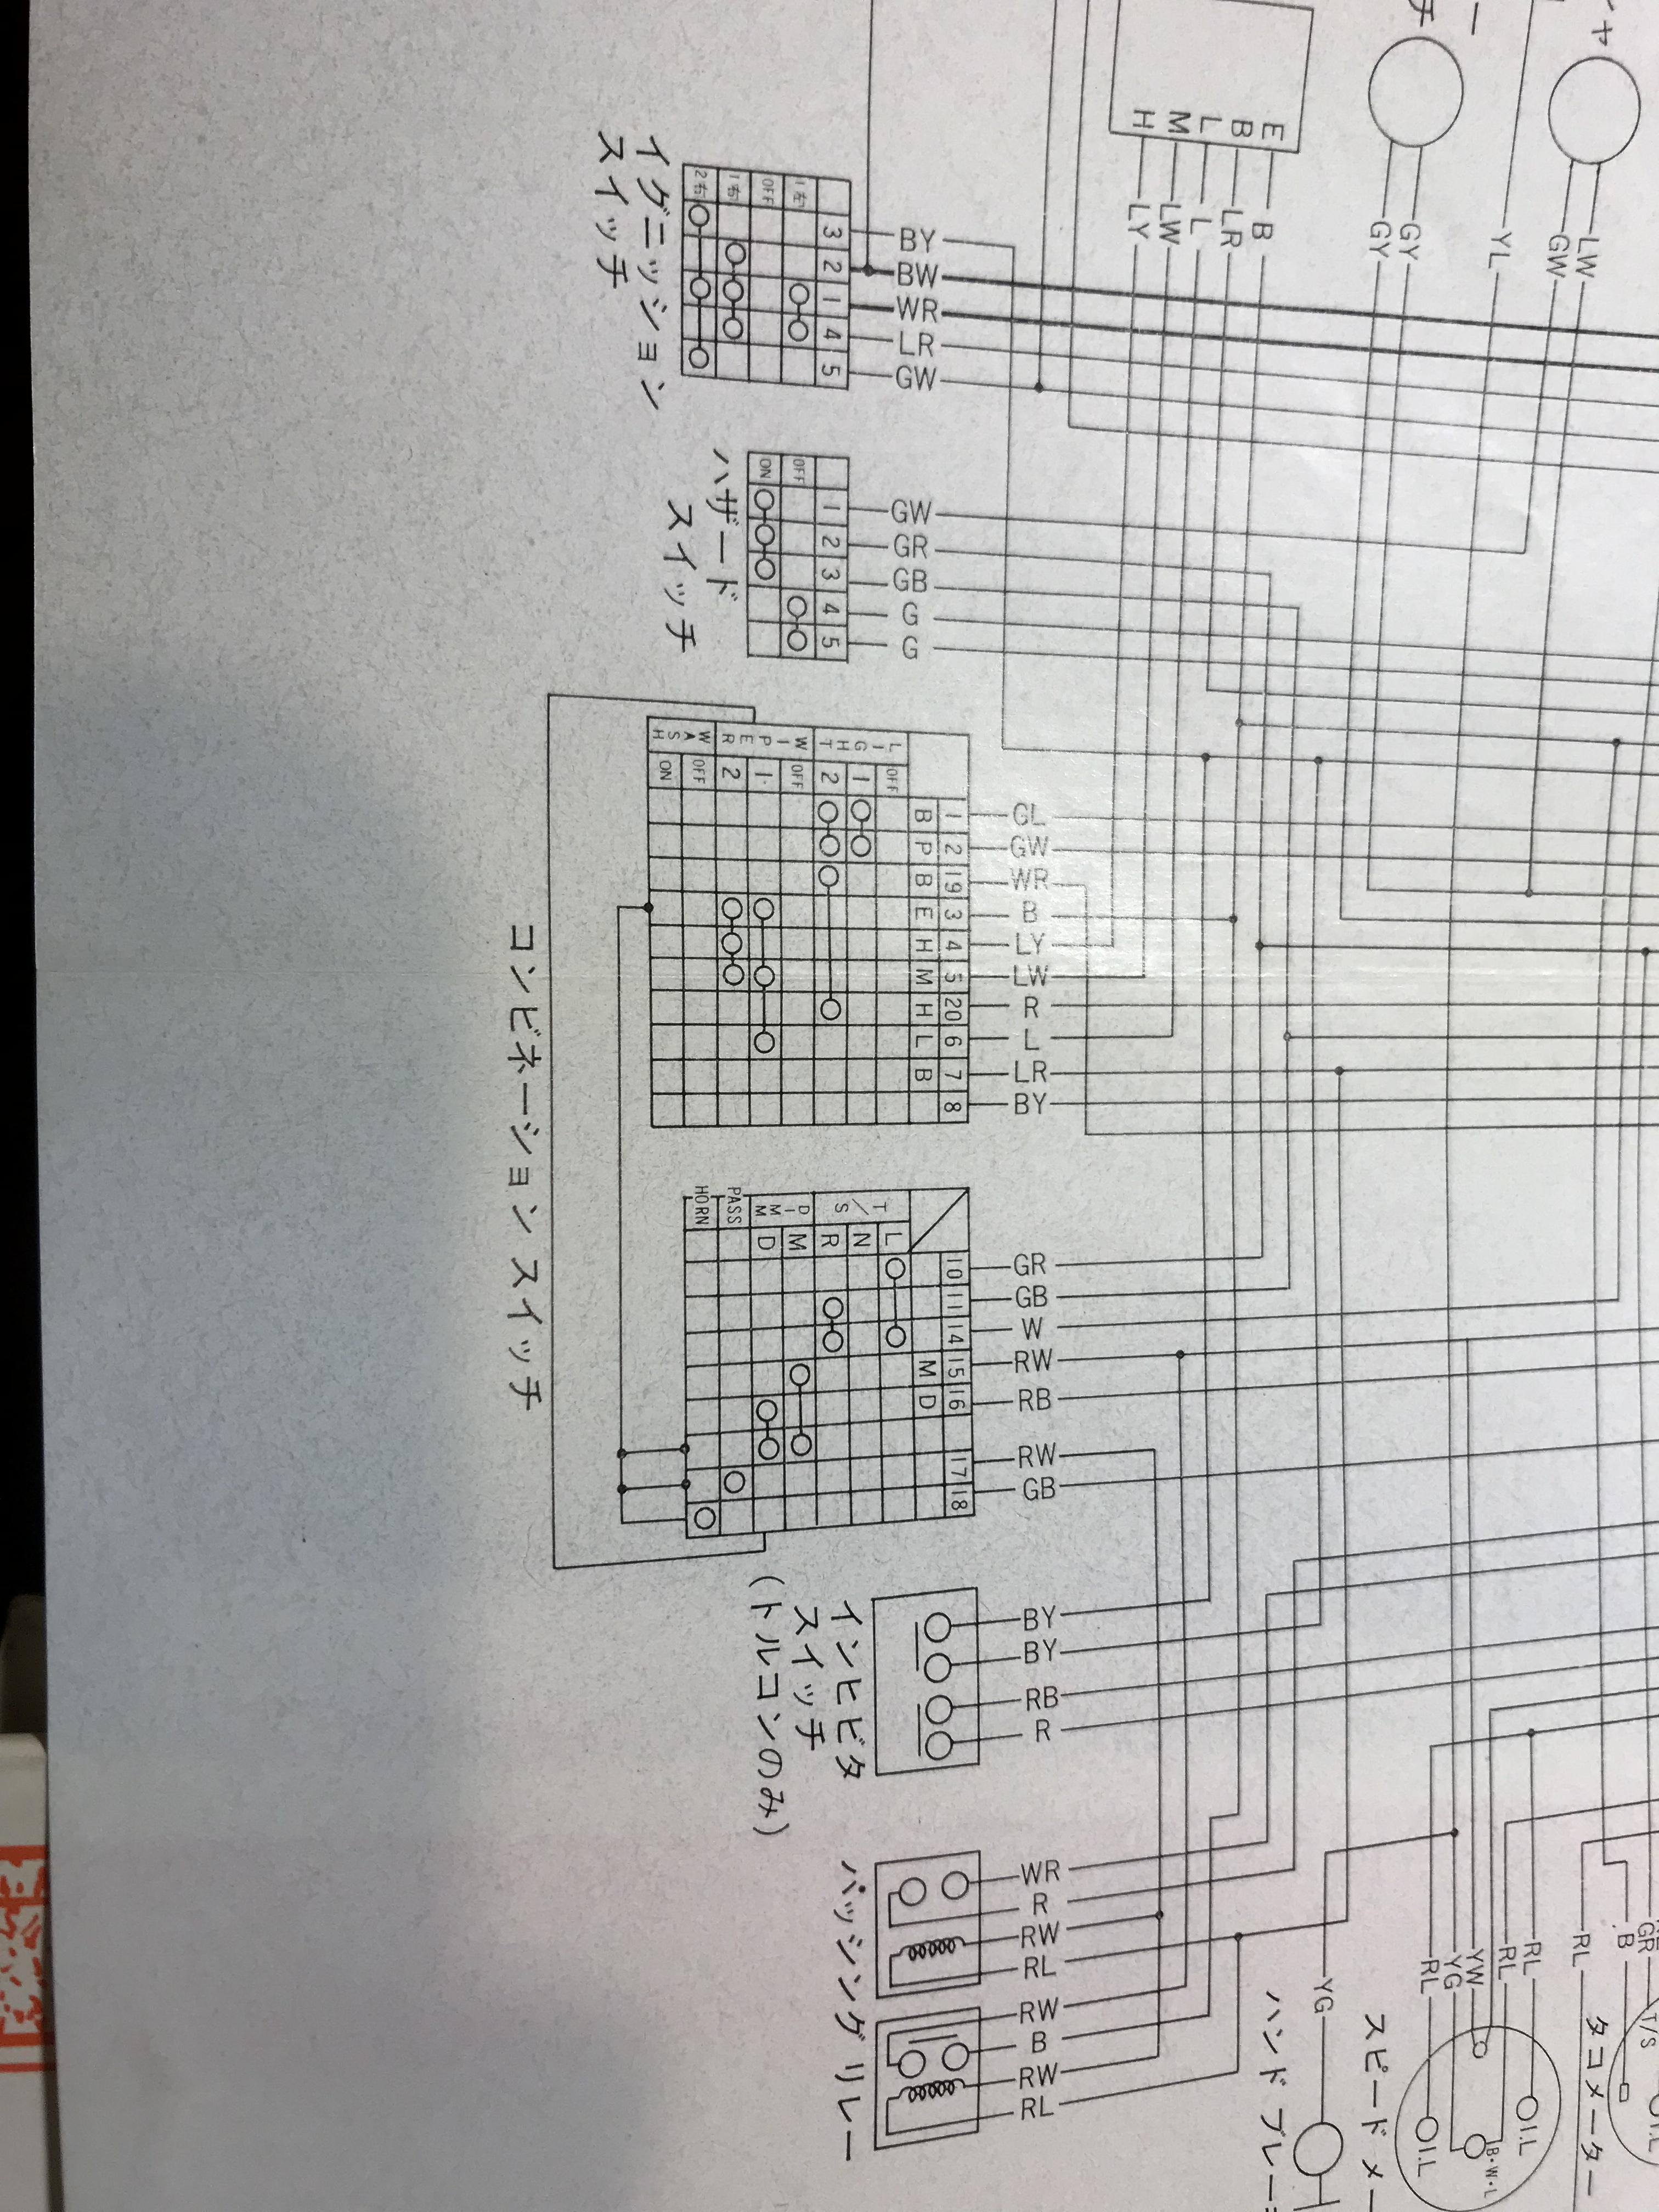
2 pointsThere's a "flash-to-pass" circuit in that diagram. The Swiss 260Z we had in the shop had that feature and I've heard that the Fairlady's did too. Check that circuitry and it's associated relay. The USA models only have the HI/LOW beam selector (switch) associated with the turn signal lever. Maybe something is mis-wired so the turn signal switch is setting the flash-to-pass relay.2 points
-
2 pointsHi SteveJ , I will look into my books, if I have the one , I will post here . Kats2 points
-
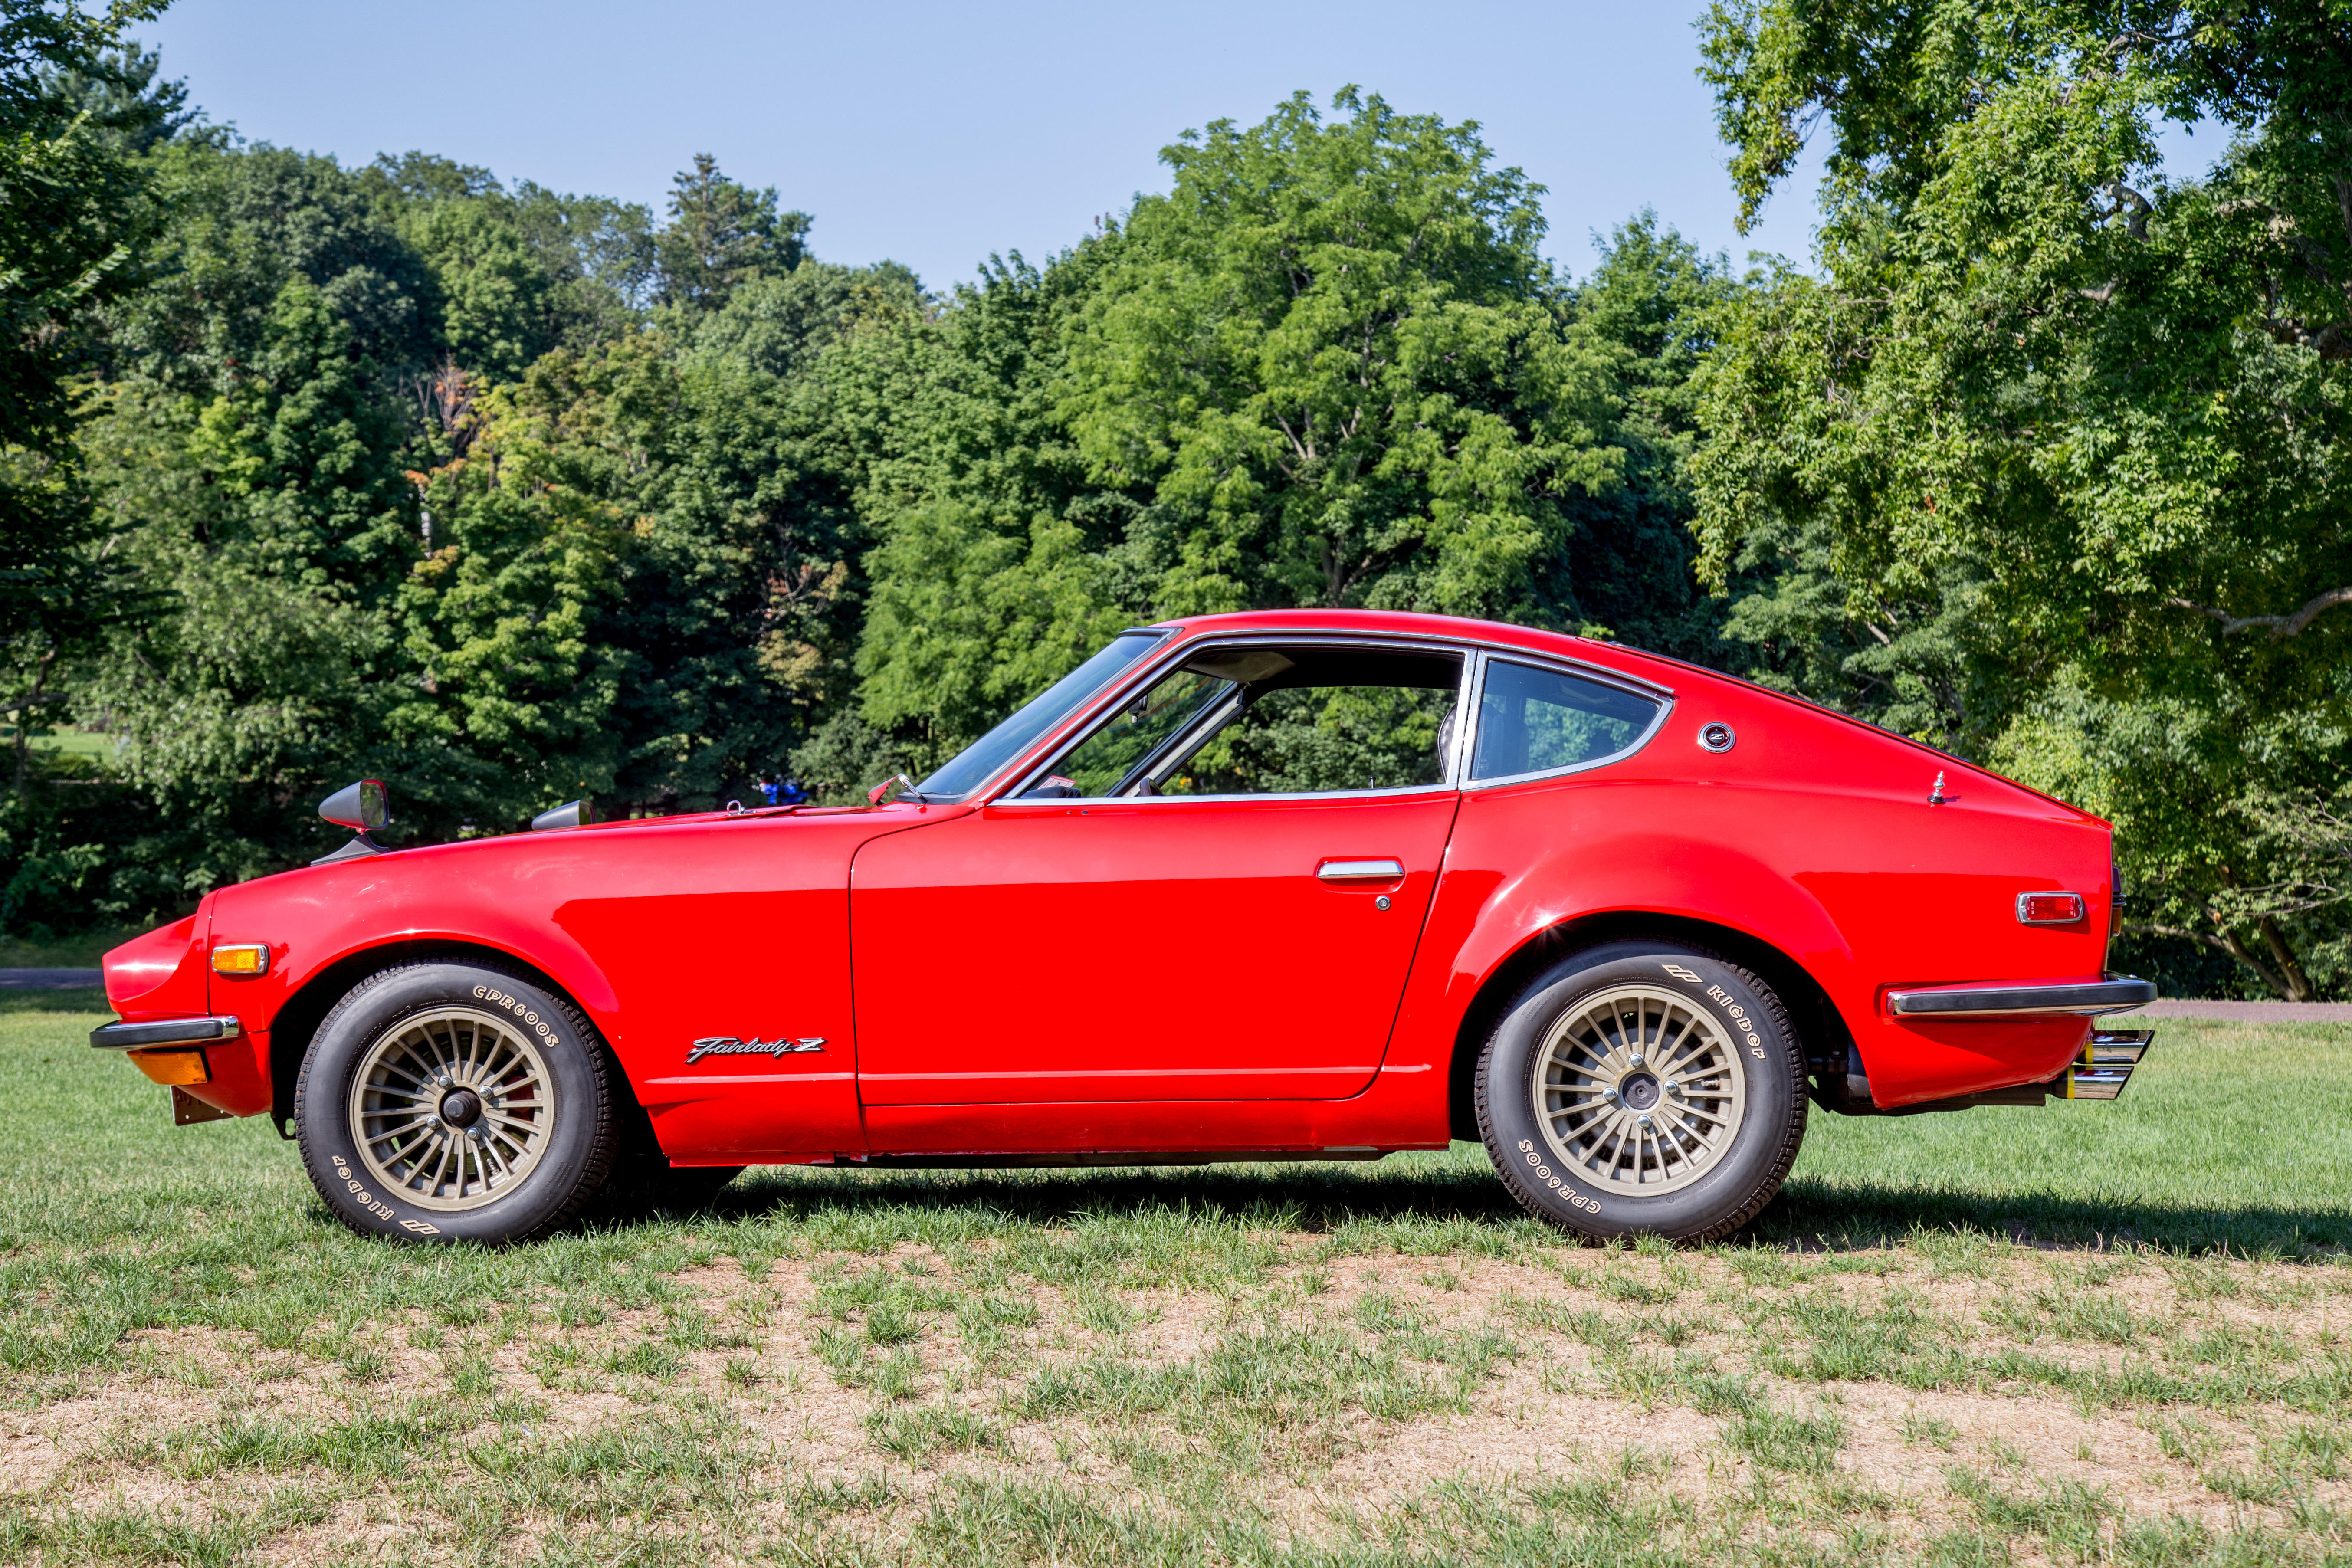
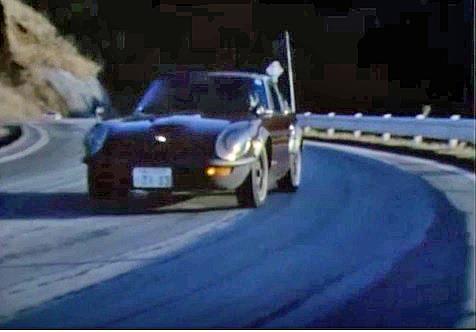
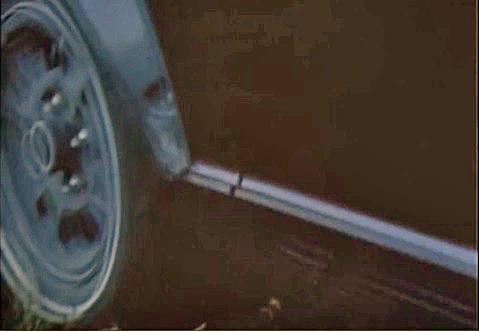
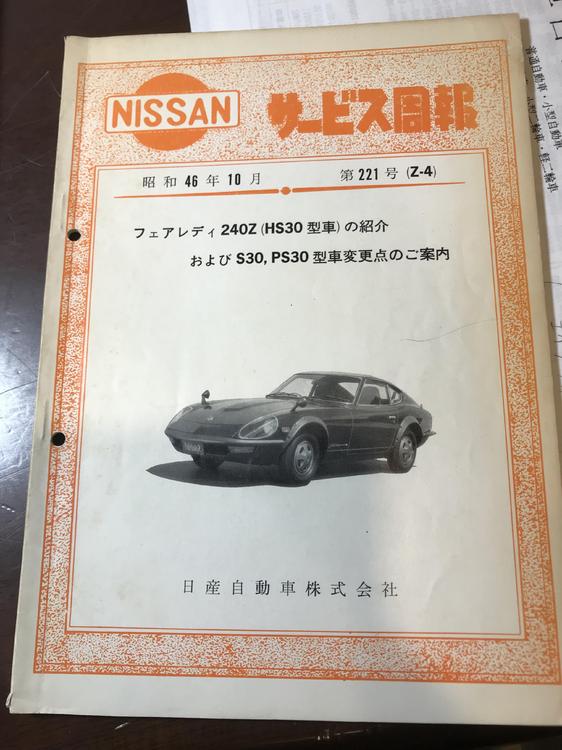
2 pointsHi , today All Fairlady meeting was held at Fuji Speedway , too bad , I could not go there. I found this , old Japanese TV movie which was broadcasted on Feb 28th 1975 , https://minkara.carview.co.jp/smart/userid/1569569/blog/41320555/ a female narcotics officer rides her Fairlady 240ZG , you can see vinyl top and Z432 wheels !! Very rare indeed . Kats

 2 points
 -
1 point
-
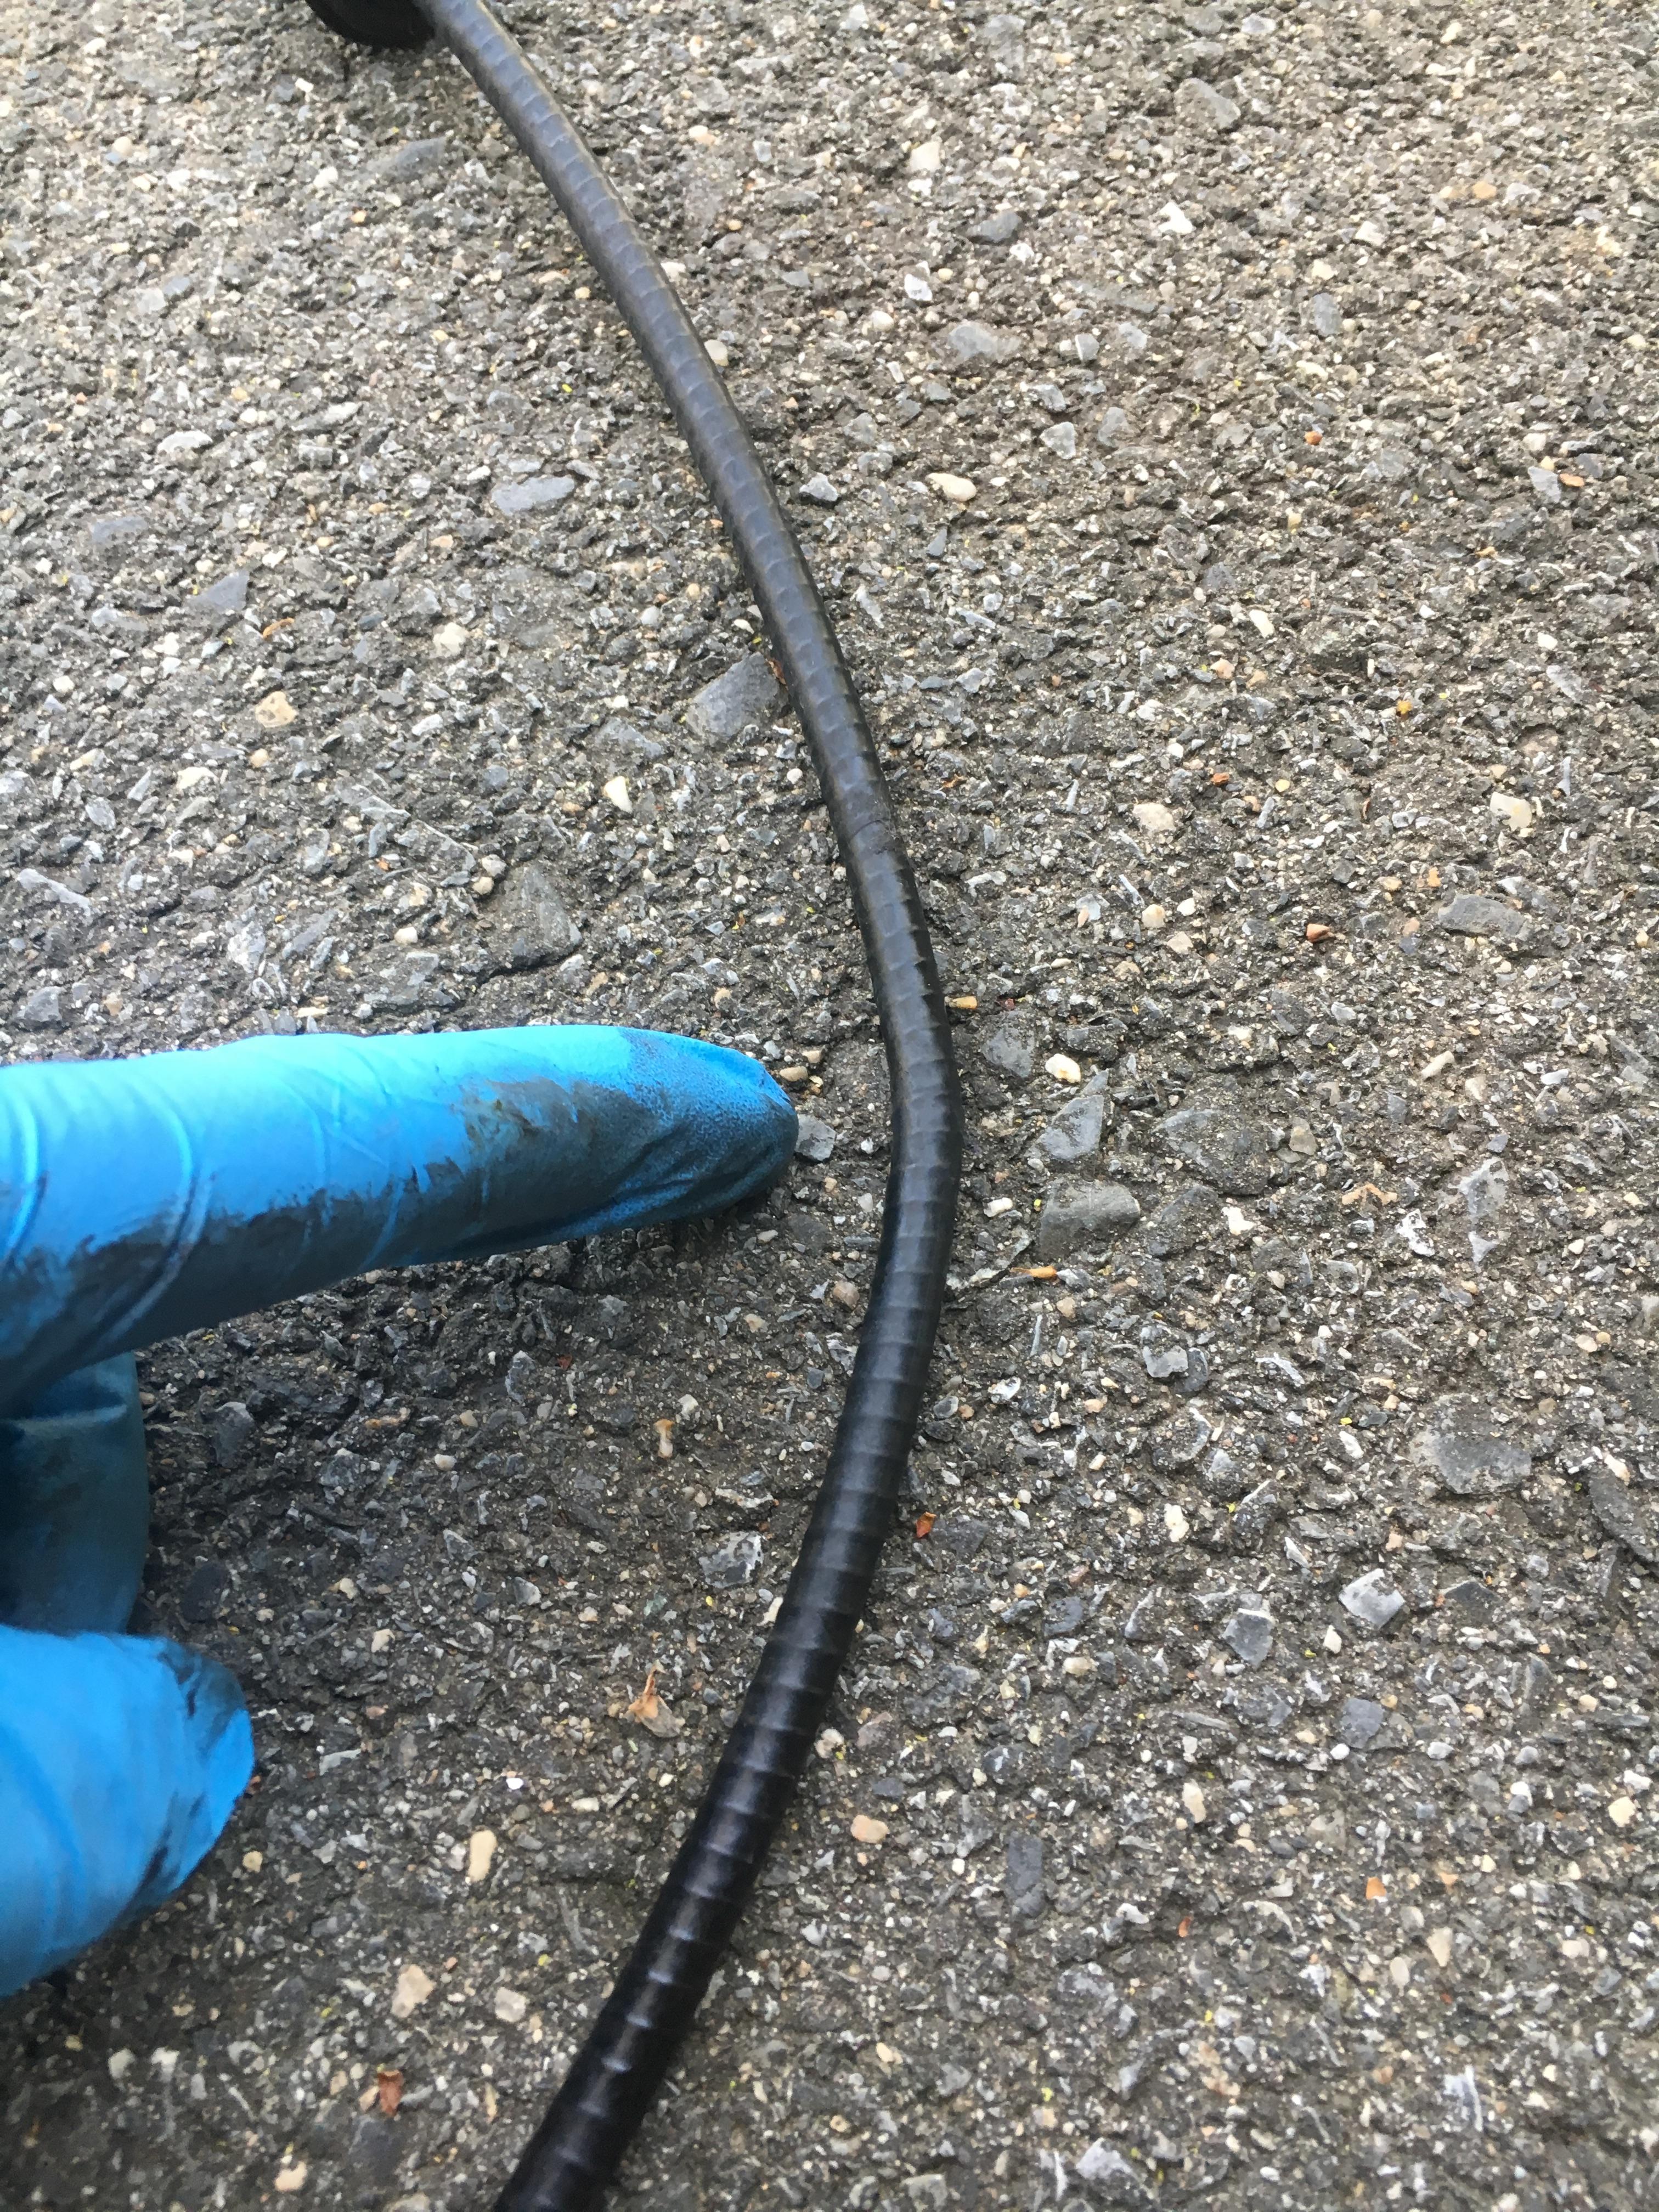
It seems that’s what happened as there is a kink or split in the jacket. I ordered a replacement. Howard
 1 point
 -
1 point
-
1 pointKats San, doumo arigato gozaimasu. Not only will this help with the wiring. It has also confirmed my suspicions that it is a 1972 not a 1973 as believed by previous owner.1 point
-
1 pointThank you, @kats, for taking the time to post these diagrams. They are of excellent quality.1 point
-
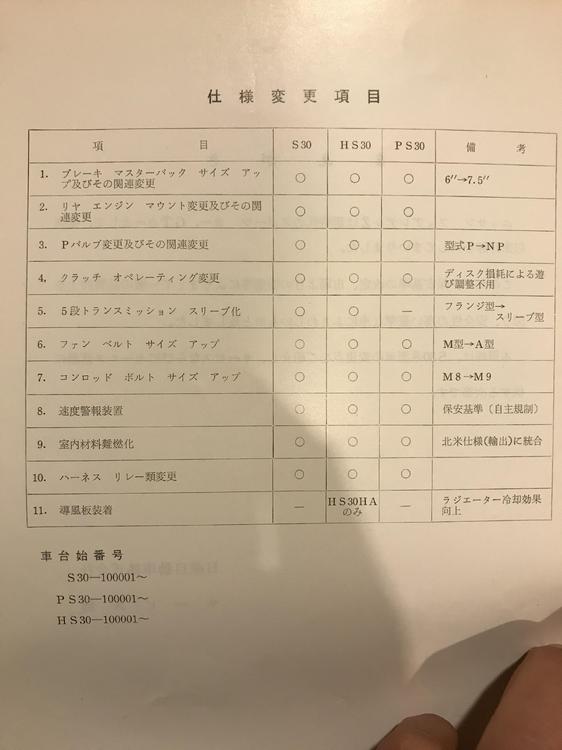
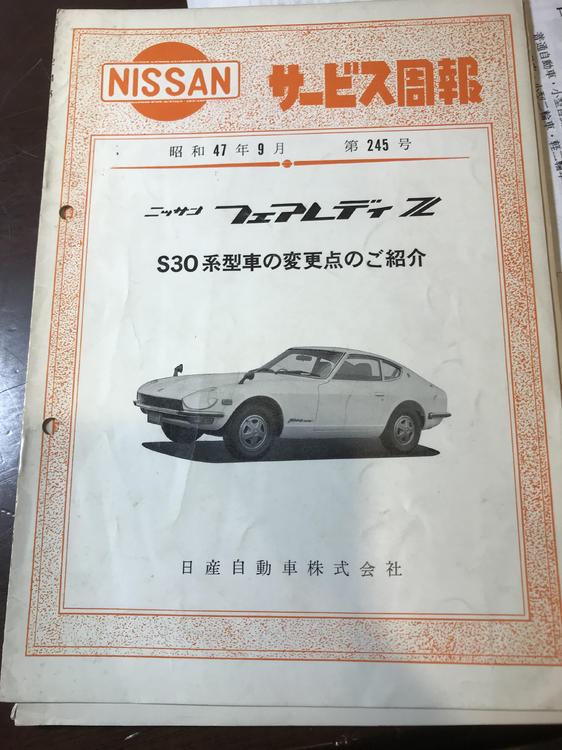
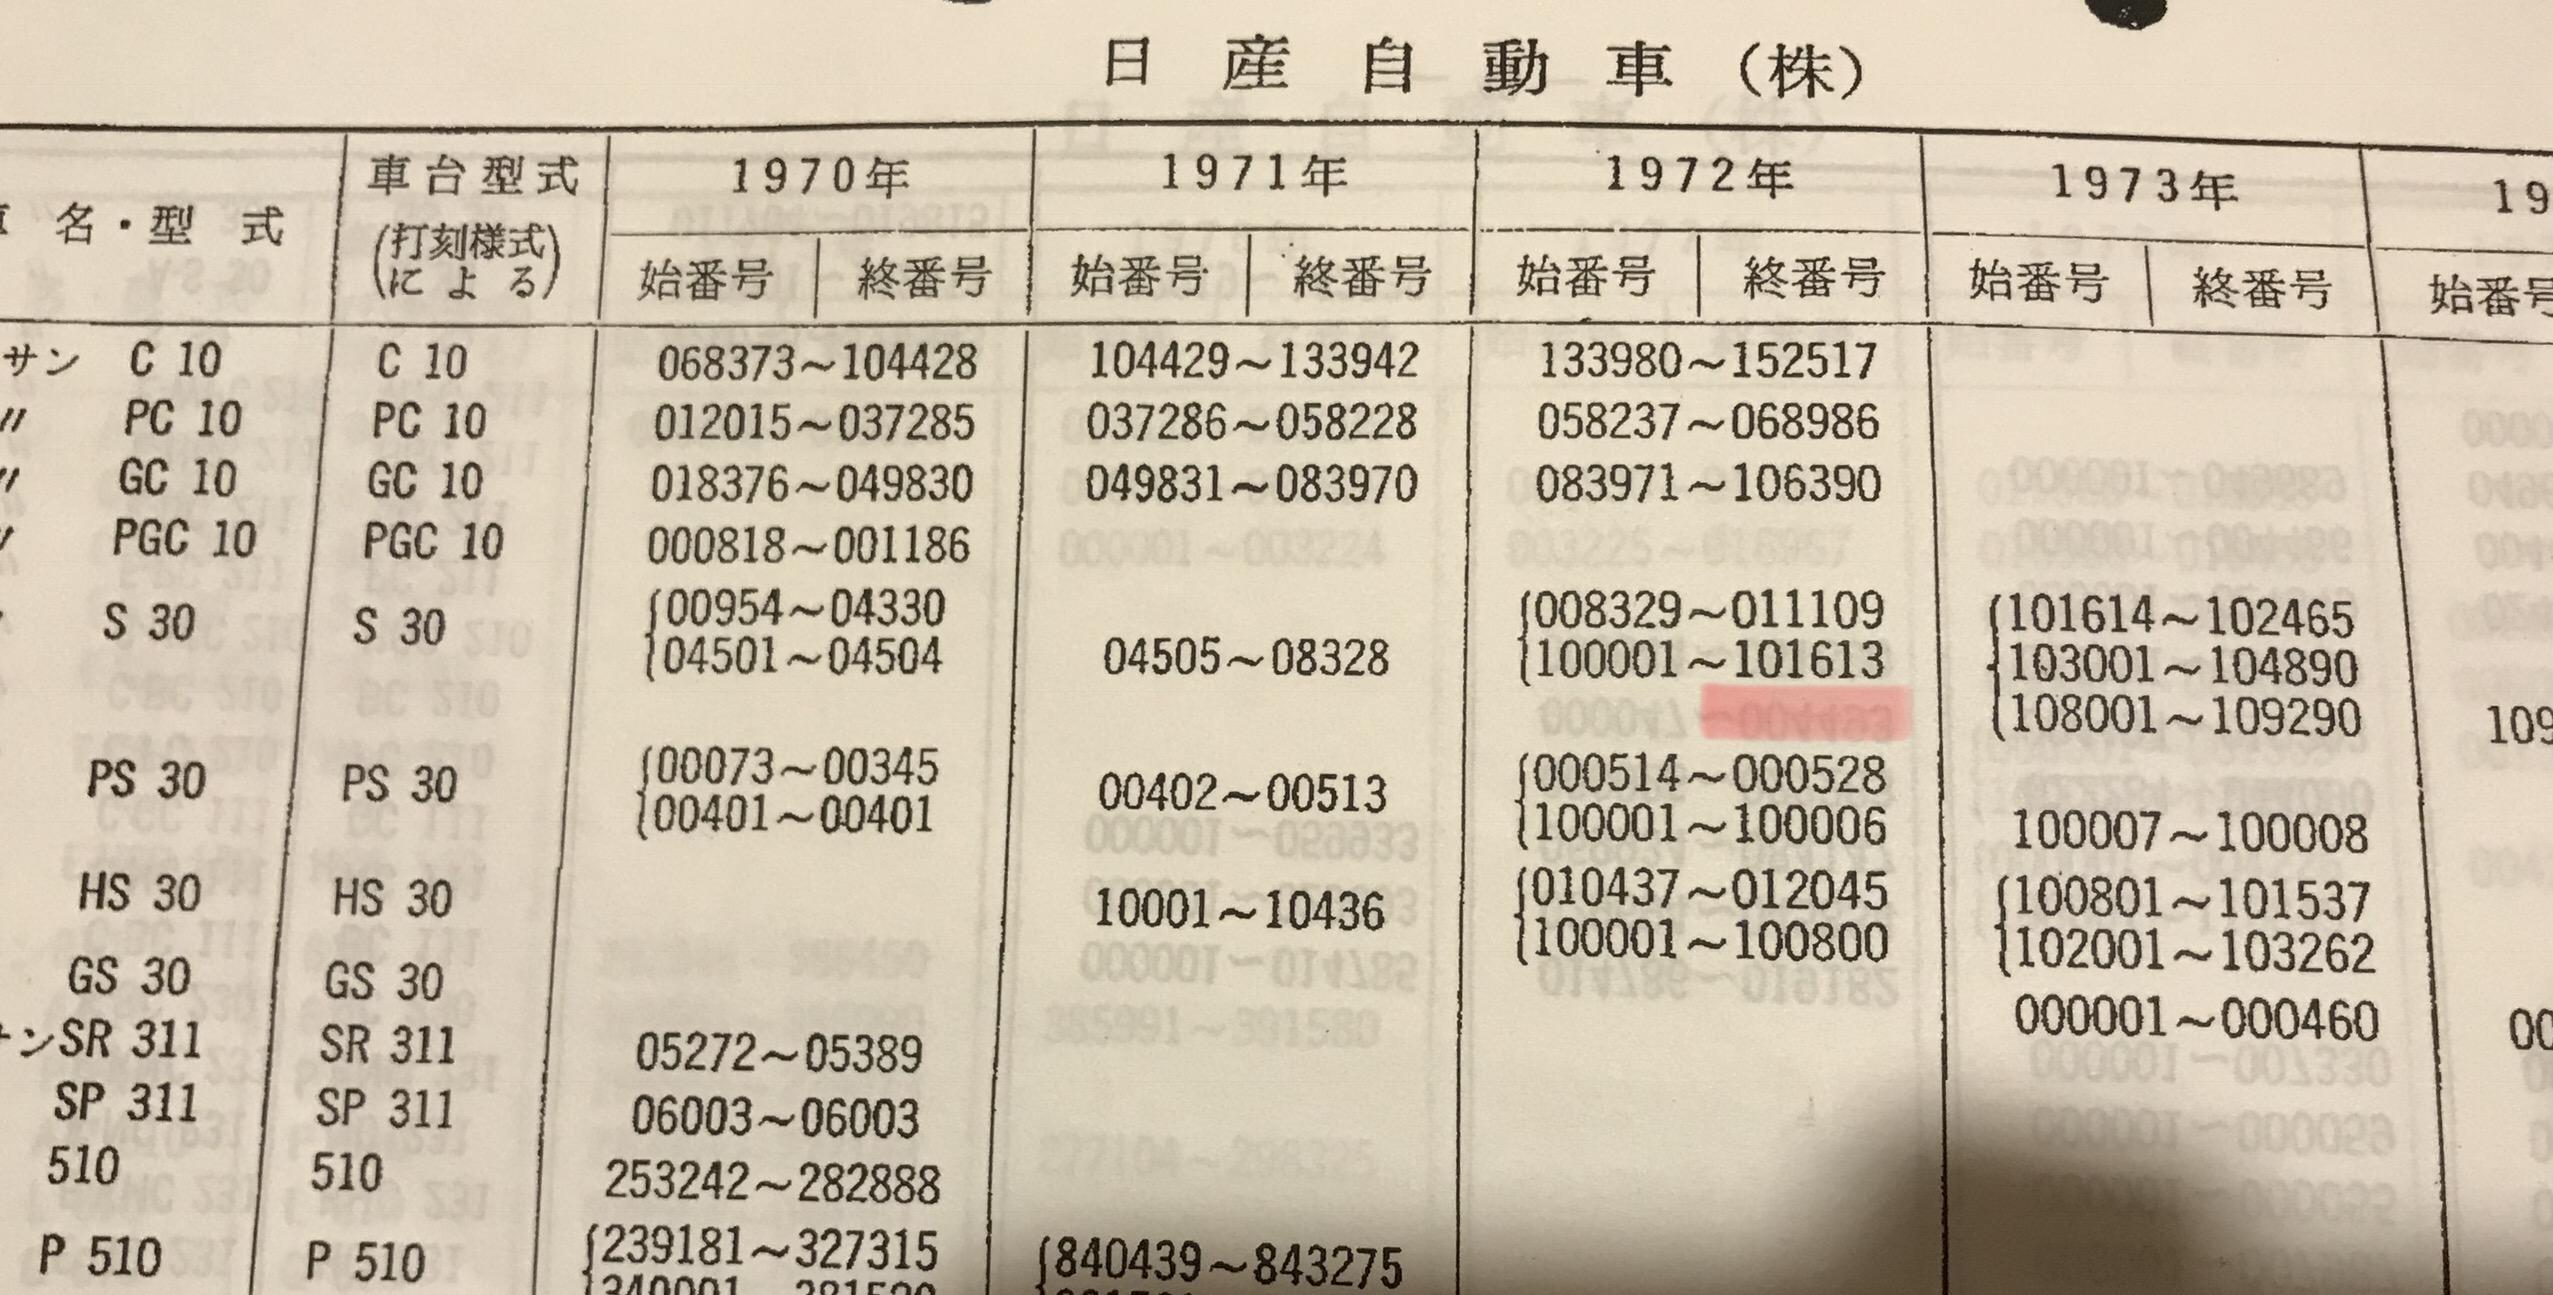
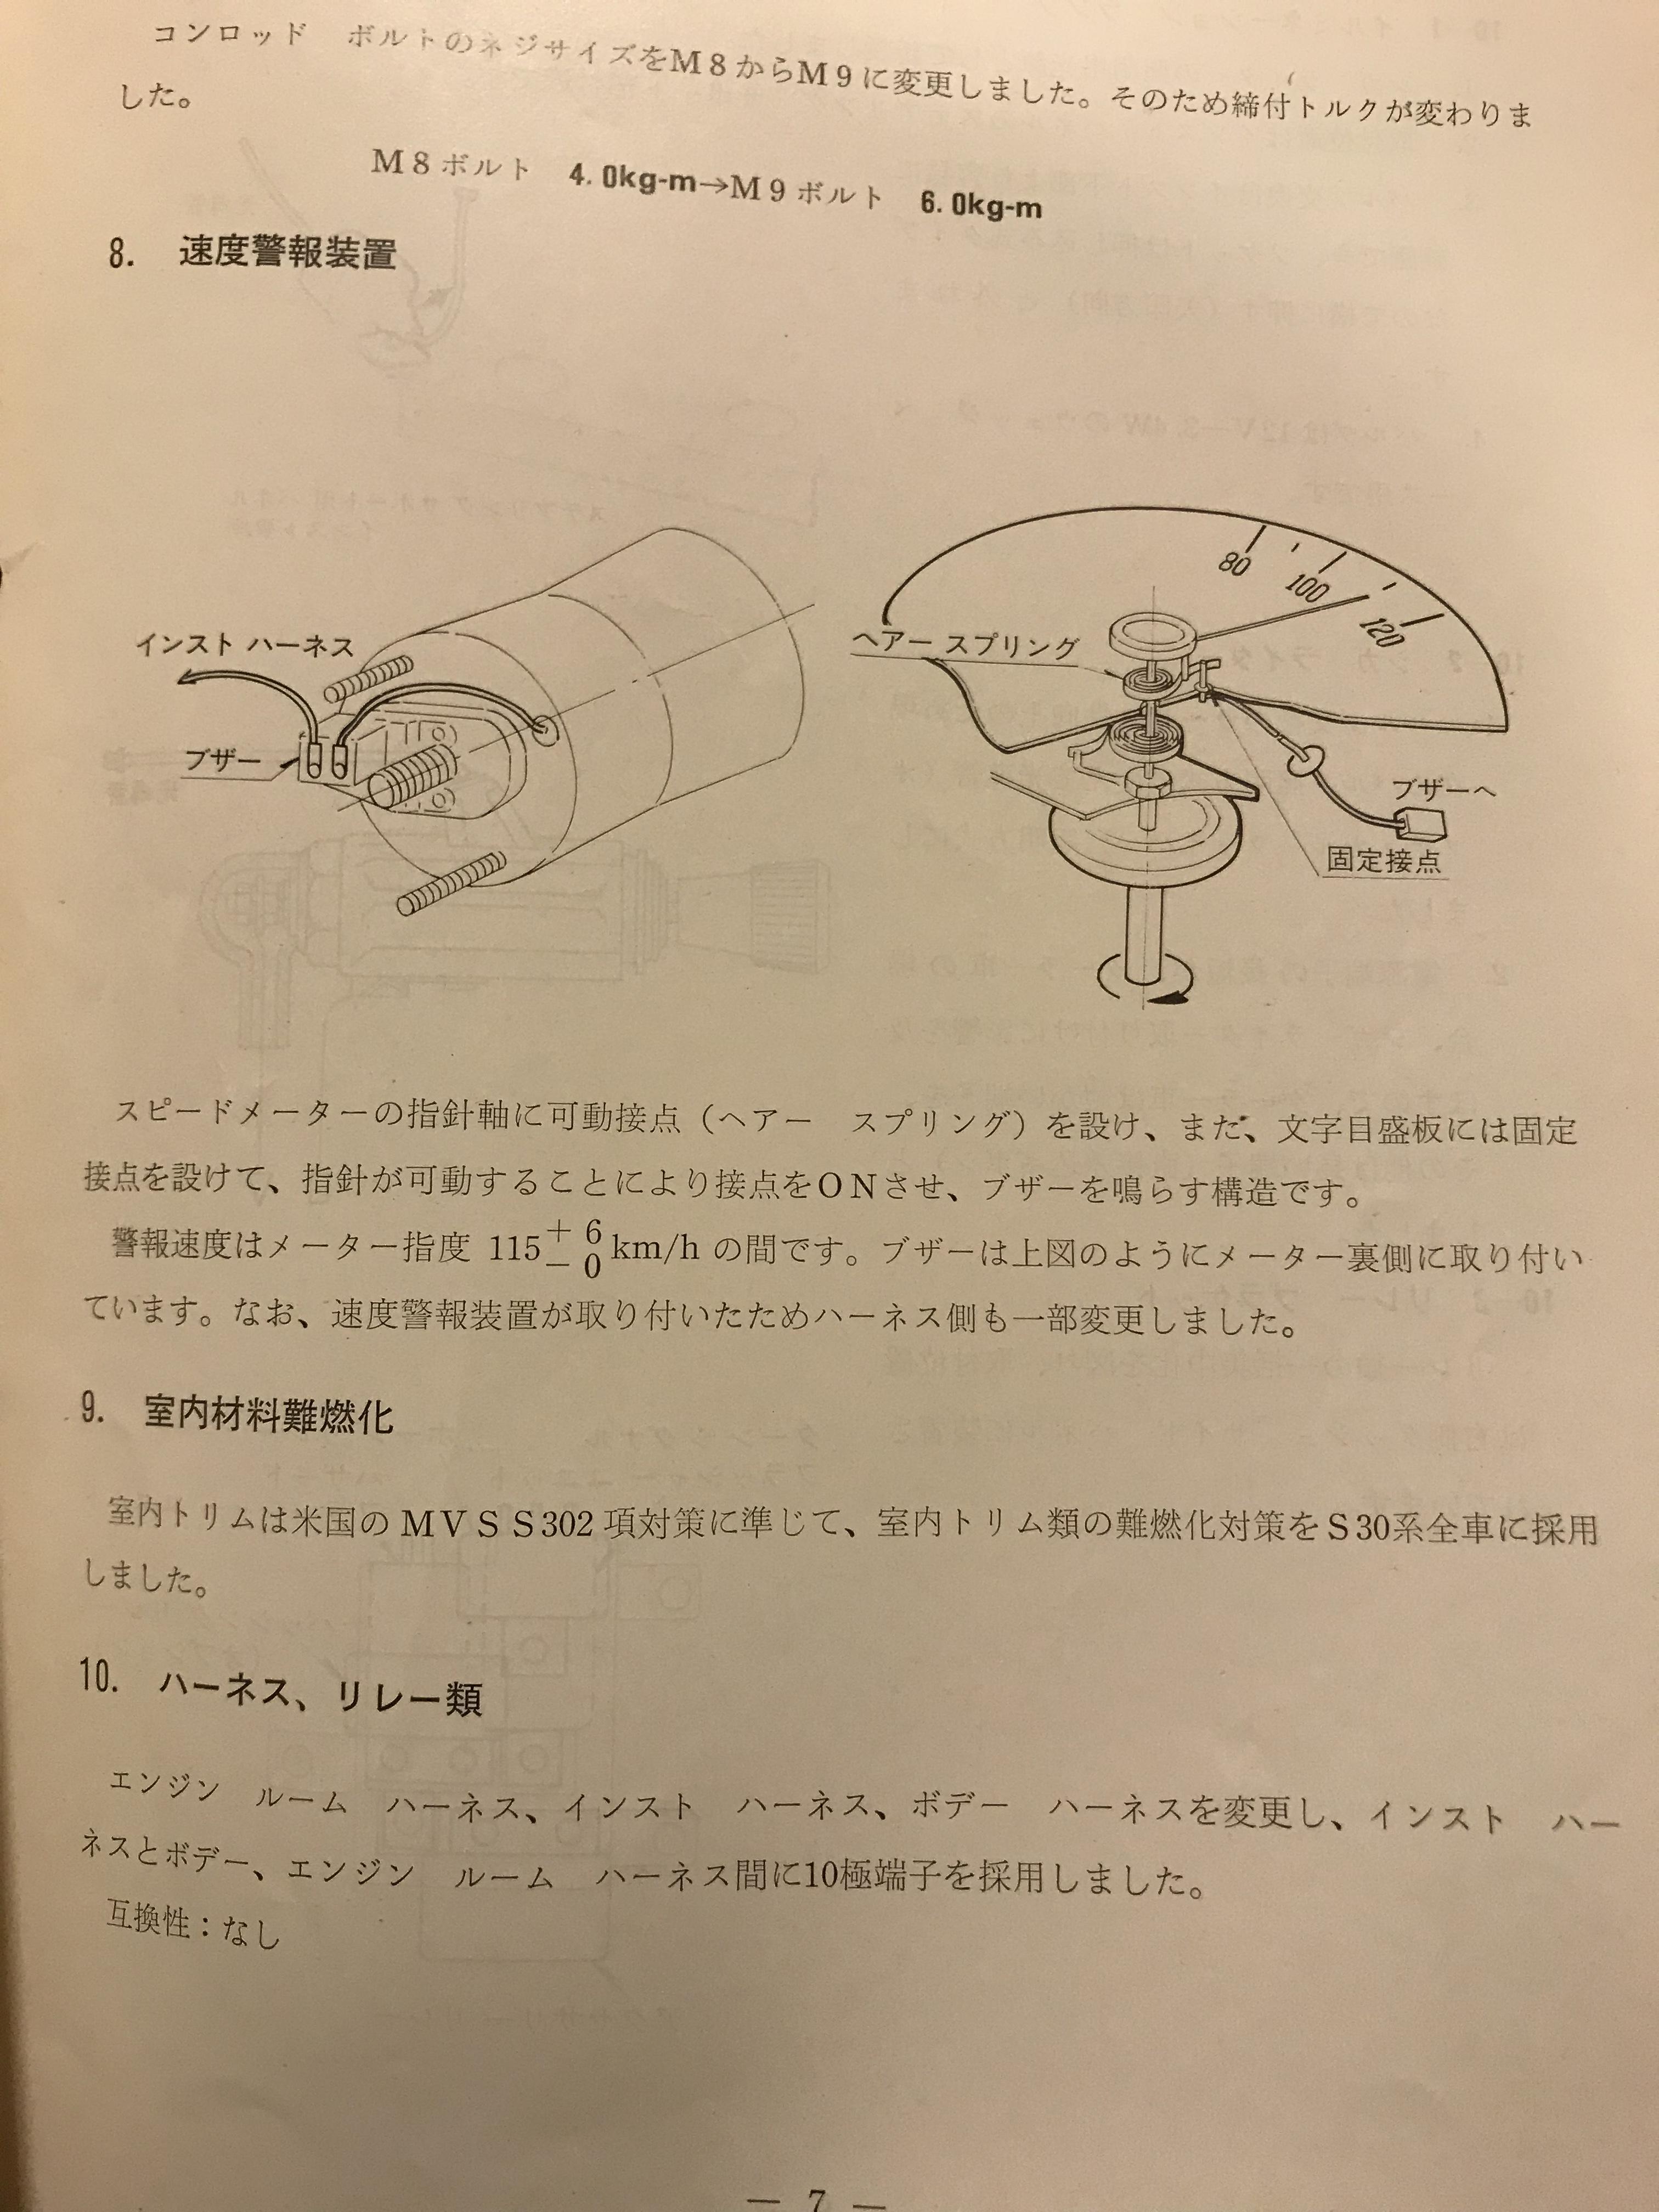
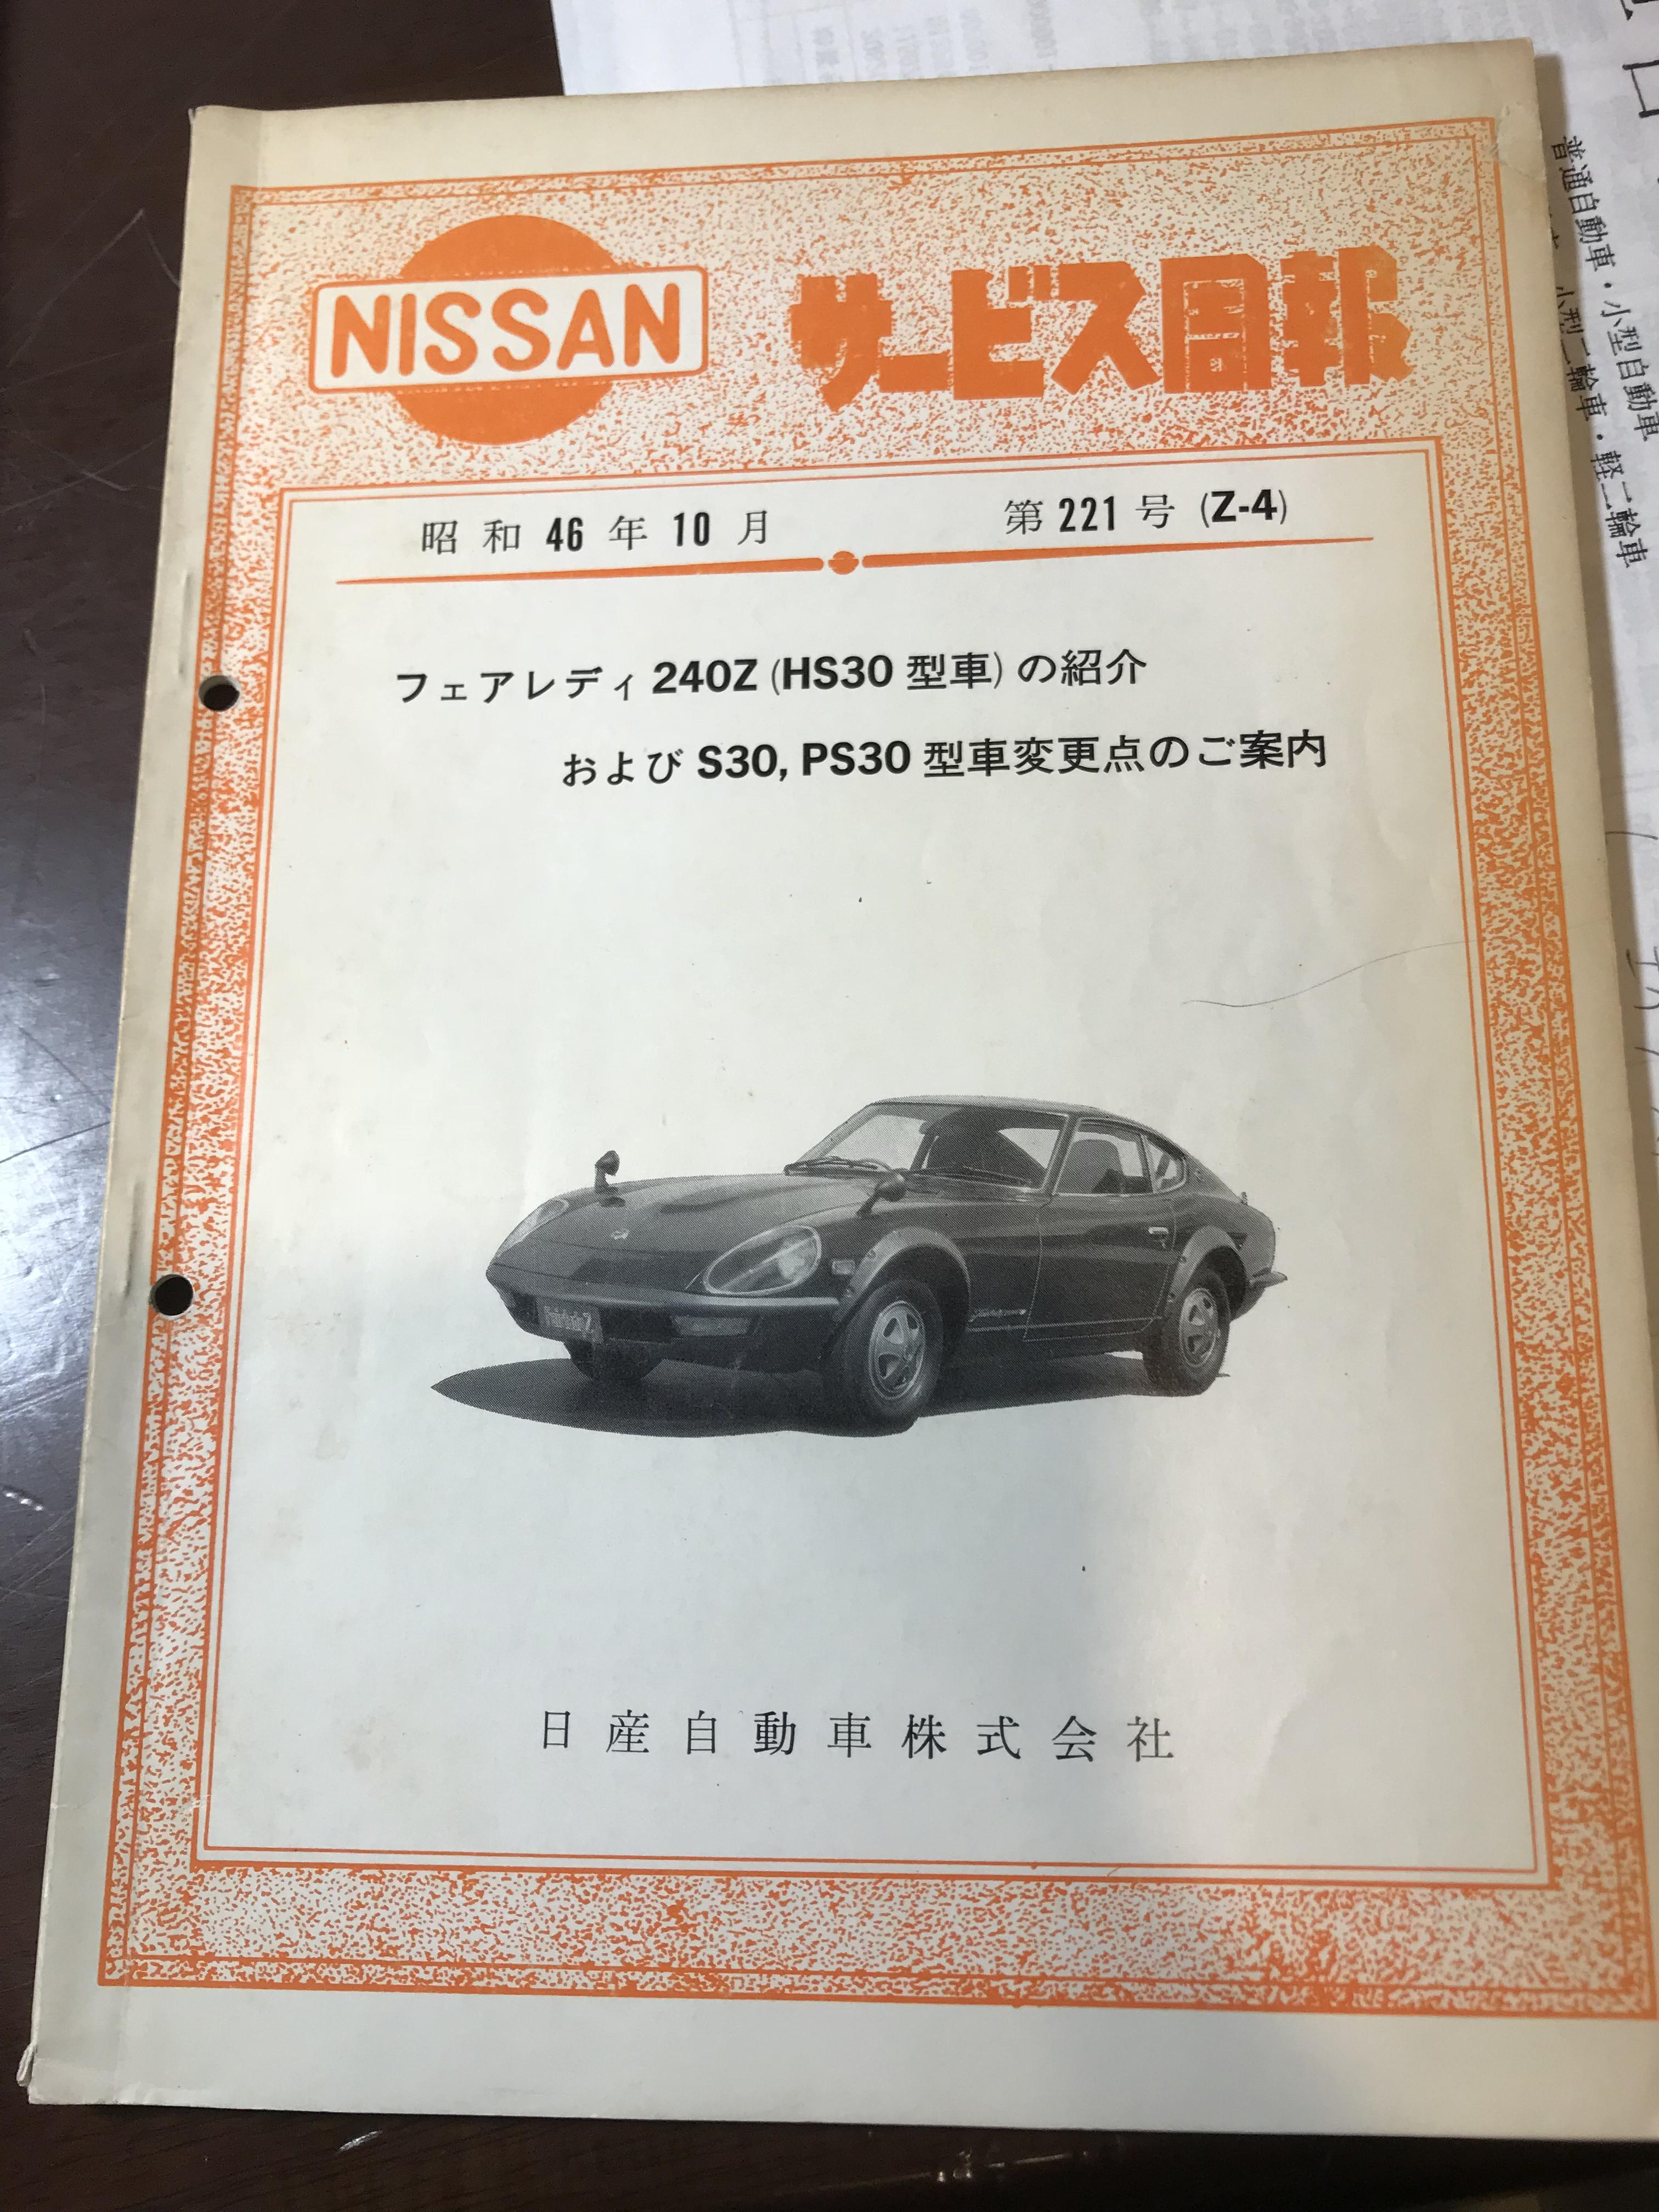
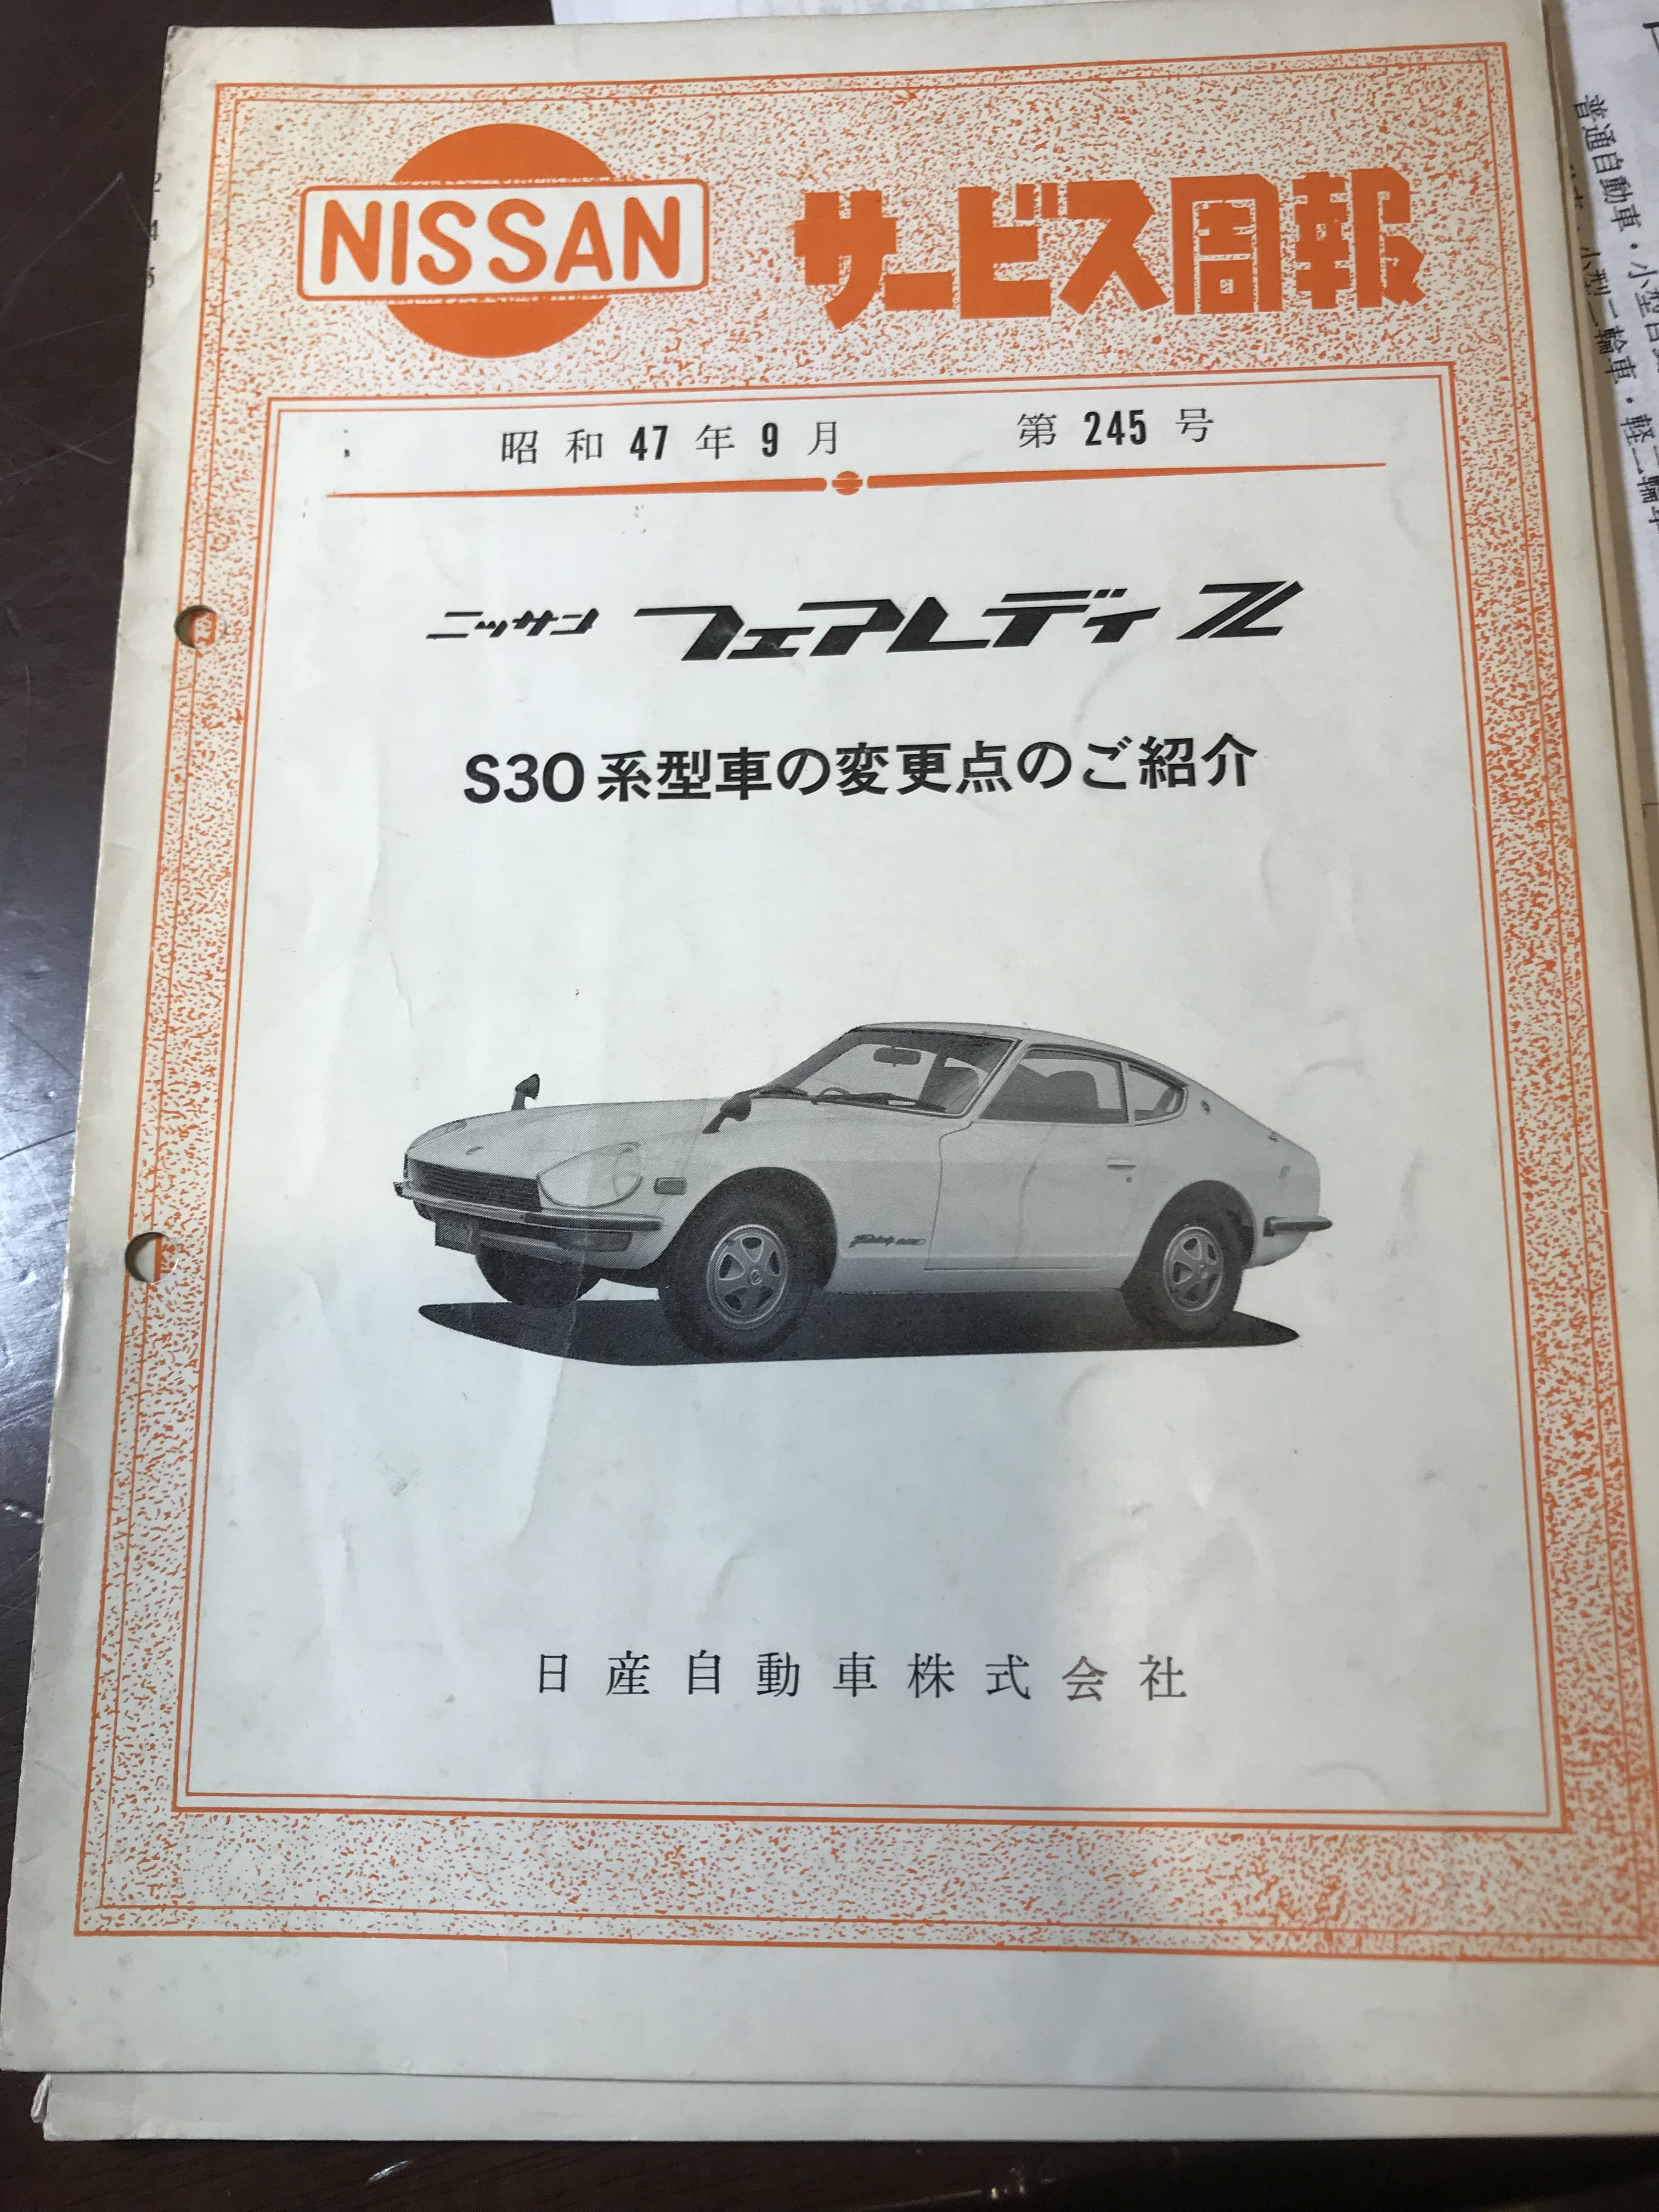
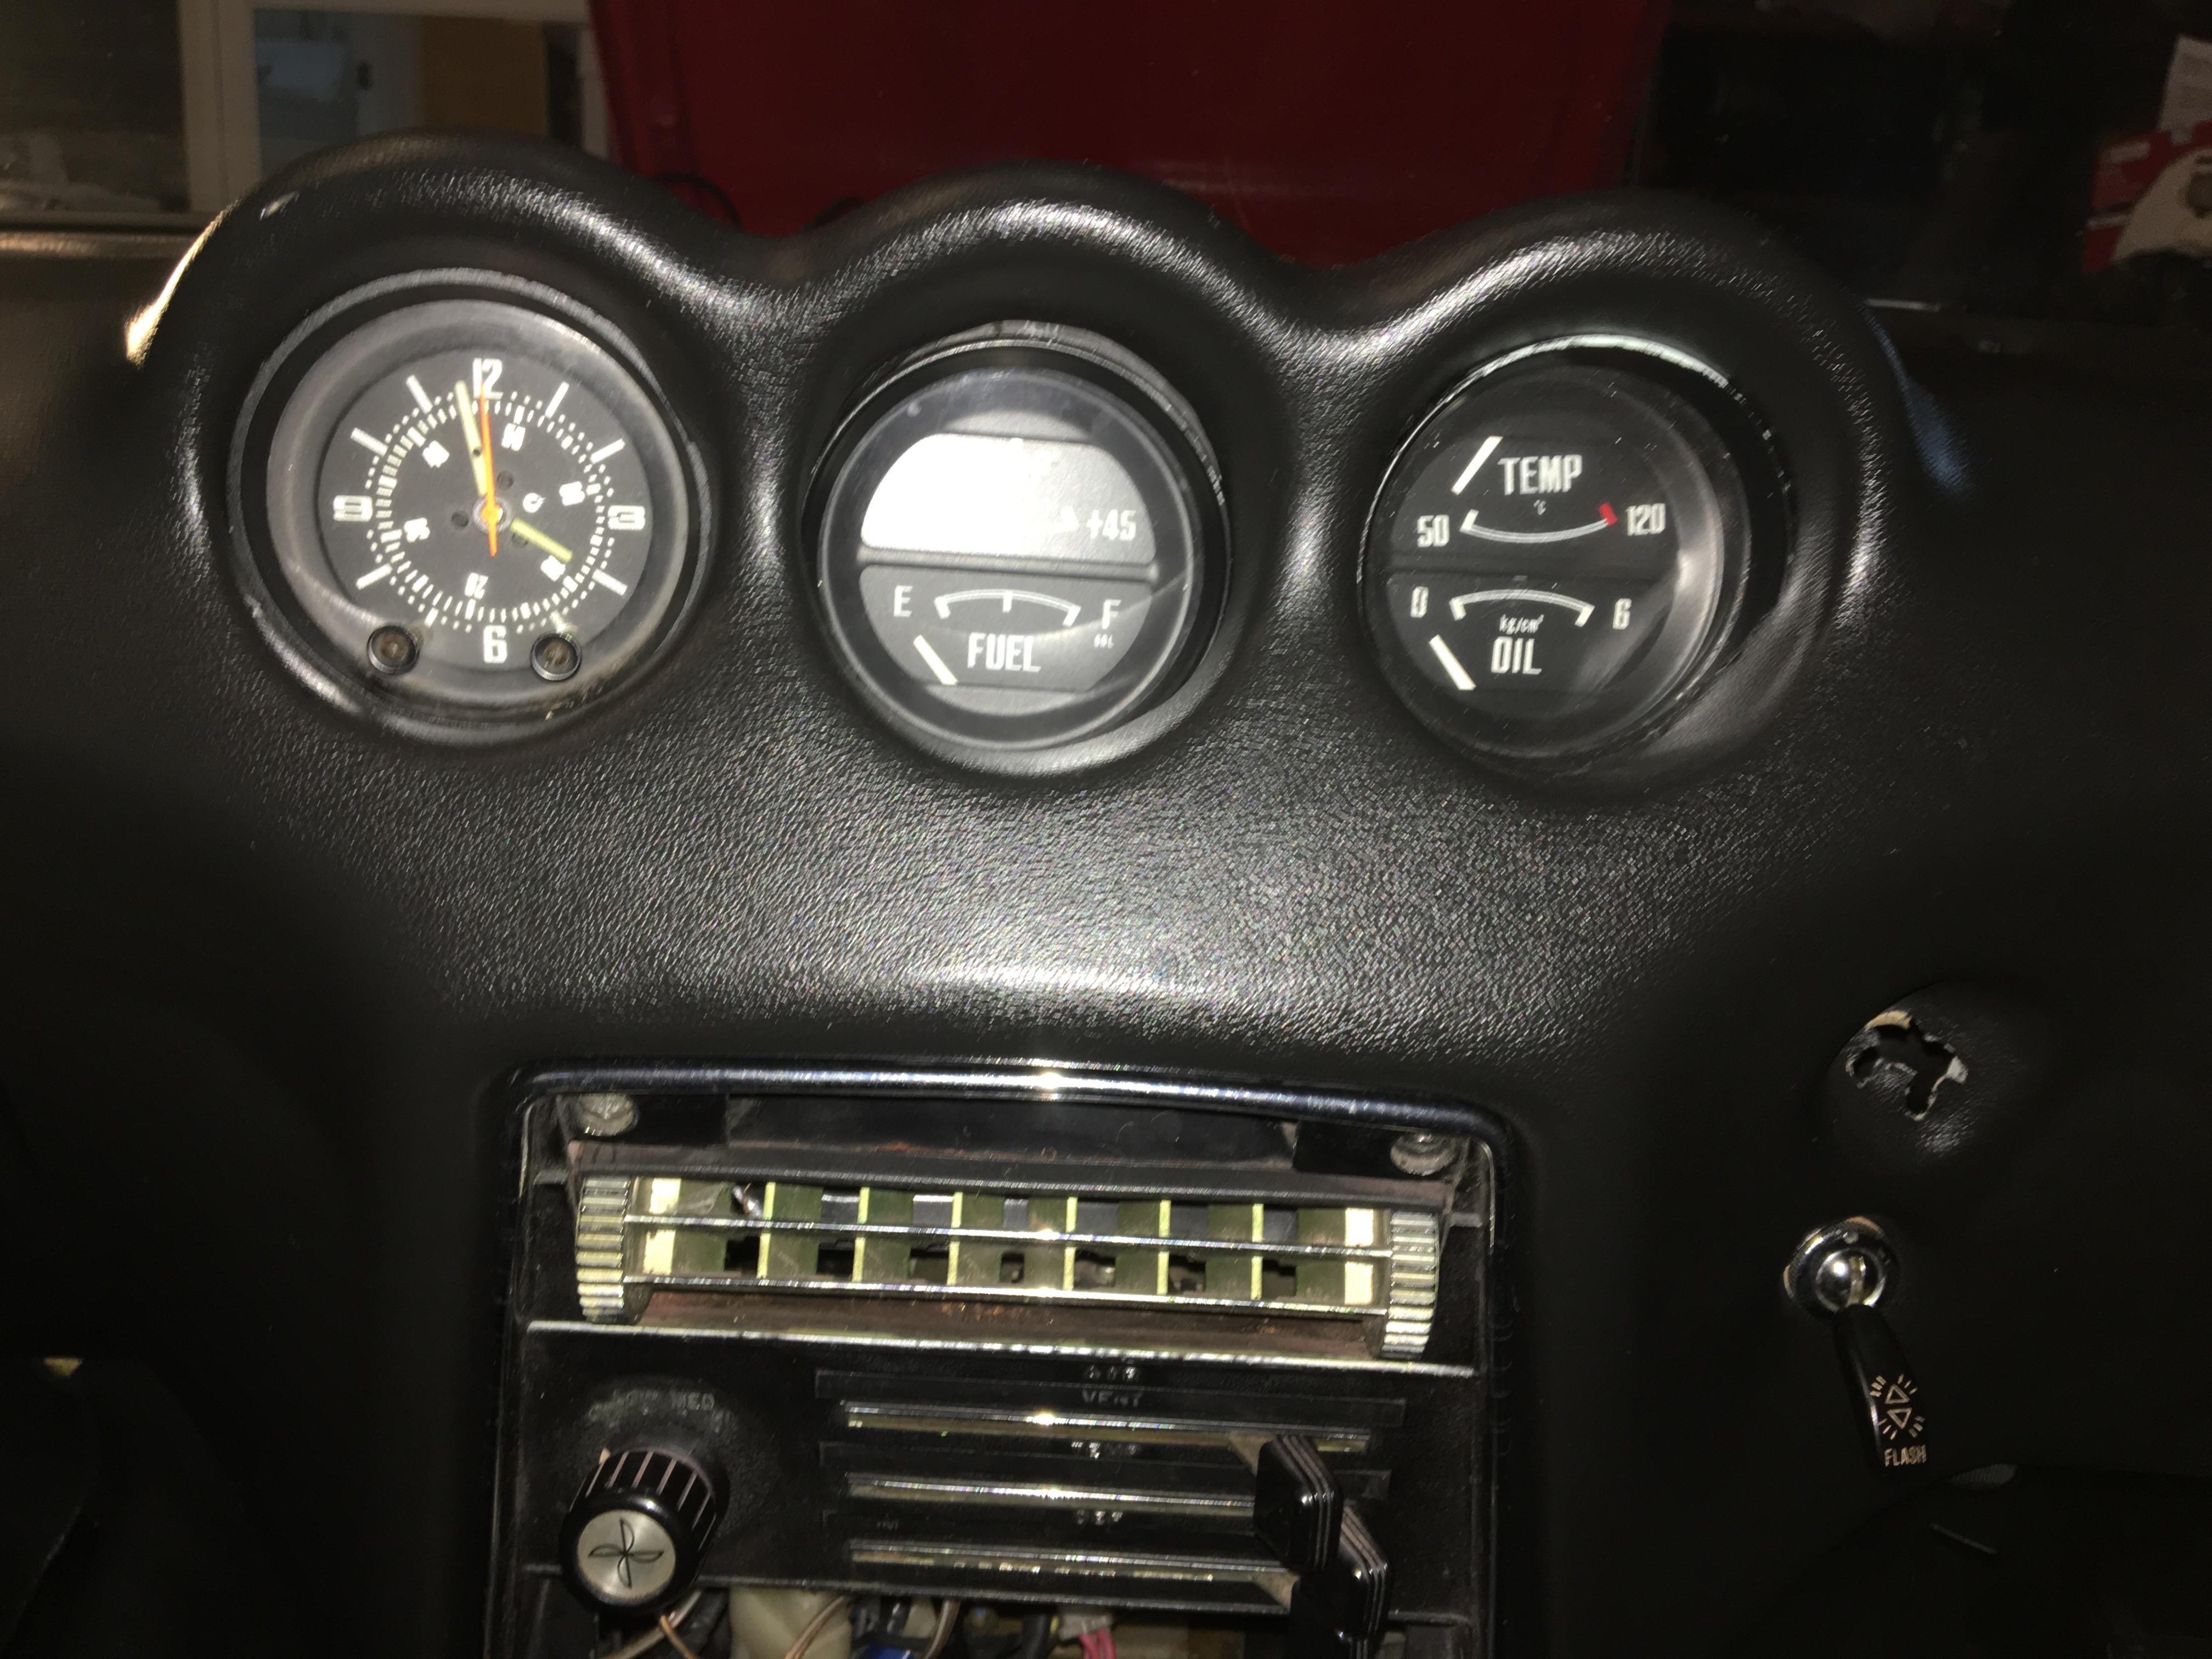
1 pointHi scotta , I do not know I will be able to answer your questions, but here are some pictures what I have. Your car looks like late 1972 built, as we can see the last chassis number for 1972 is S30-101613 , your car S30-100698 could be built in September or October . Unfortunately The service bulletin Sep 1972 ( guide for the changes , this time created new chassis number starting from S30- 100001) does not have a wiring diagram. But can we use this, a diagram for Oct 1971 ? Because the headlight switch and the turn signal switch are basically the same up to Sep 1973 as well as the flasher units and the flasher switch. However, harness connectors had a big change at Sep 1972, they went 10 pins for the dash harness which connects to the body and engine harness. Sorry for poor quality of the pictures, hope this helps. Kats


 1 point
 -
1 point1 point1 pointI spend at least one day each week on this car, so to me it still feels super slow!1 point1 pointYikes! Your engine rebuild is passing mine!! And you are restoring a car too.1 point1 pointPicked up my S13 Fortune Auto coilovers. Looking forward to getting these in. My best friend is towing the car back to his place soon to weld in the Response Type S13 front conversion kit and he will also notch out the rear frame rails. We decided to see how low the car could go with the current wheel/tire combo and it can go really low. The upper arm hit the frame rail before the tire made any contact. Bump steer spacers also arrived from Japan. Note the notches in the S13 front kit. It's really cool because you can adjust camber at the bottom and/or top which means I can bring the track width in our out to suit wheel/tire fitment. It also allows you to rotate the upper camber mount and use it for caster adjustment if you desired. Just offers up a lot of adjustability overall. I also ran into a couple of roadblocks but working through it. First off the Z32 calipers don't even come close to fitting behind these Watanabe's. Even the stock front calipers rubbed a tad which could easily be fixed but I found some floating 2 pot slim calipers from Wilwood which will work once I have brackets made. Next off, the S13 rear coilovers upper hats were too large for the Z31 towers so my friend modified them a tad. But then the angle still isn't right using the S14 subframe with the Z31 chassis so my friend is trying to come up with a spherical bearing for the upper hats of the rear coilovers which would allow articulation and correct the angle issue. Worst case, I will sell the S13 coilovers and buy Z31's from Powertrix and modify the bottom rear mounts to fit the subframe. The machinist got the old valve seats and guides out and put the Tomei beryllium copper seats and supertech guides in. Next is port and polish then combustion chamber reshaping, unshrouding of the valves. Lastly, my little helper1 point1 pointThis week it was time to start cleaning up the engine block and paint it up ready for the rebuild. Jeff1 point1 pointKira, if you decide to go with protective side molding, choose the adhesive type as opposed to the pop riveted mount style (no holes in the body and you can remove them if you ever change your mind). If you google Body Side Molding, you can find them from suppliers such as Cowlesproducts.com.1 point0 pointsNo sir. Only if my case goes to court will I divulge the company/owner since the records will be public record. I am hoping the owner accepts responsibility/man's up for 6 years of ....lies/deception/poor workmanship/taking original parts and not returning despite my many requests. As well as wanting another 10,000$ and not having even completed the work I had already paid for.0 points


Important Information
By using this site, you agree to our Privacy Policy and Guidelines. We have placed cookies on your device to help make this website better. You can adjust your cookie settings, otherwise we'll assume you're okay to continue.