


Leaderboard
-
conedodger
Free Member3Points12,513Posts -
JLPurcell
Free Member3Points1,670Posts -
Patcon
 Subscriber
 3Points11,140Posts
 -

NicholasKoenig
Free Member3Points40Posts


Popular Content
Showing content with the highest reputation on 08/28/2017 in all areas
-
3 pointsI have a friend that collects "Tanks" and cars. His latest project was to find an original right hand drive Ford GT40 and have it cloned to original race specifications. Here is the result.... I would be lying if I were to say that I am not a bit jealous. Dave has great taste in cars!3 points
-
3 pointsSHES ALIVE!! I want to thank everyone who replied and helped get my Z back under its own power. For any new onlookers with the same issue and as some closure to those you helped Ill go over what it ultimately took. 1) My red EFI wires were wrong (I mistook these both as positive when putting the engine bay back in order after it being apart for months) but managed to get them sorted. 2) As a result or coincidentally my combo EFI relay under the dash went bad. Had pry marks from PO and the casing was fairly loose. Replaced with a new combo relay. 3) Missing(?) and/or insufficient grounds. I say missing hesitantly because comparing my 76 280z to Captain Obvious' 77 280z, my engine bay lacks a handfull of grounds. Whether that was a design change or the process of many hands on the Z over the years. That said, despite me sanding and scuffing all my ground wires, it looks like the connection between the chassis harness and alternator wasnt clean enough. I had tested for ground on the block and it read ok, I had done the same on the chassis and it read ok as well but this reading wasnt accurate, I suppose the bolt I tested wasnt clean enough! With those clean it literally started right up. Now Im turning my attention to vacuum leaks to get it idling tip top. If I forgot anything, Im sure Captain Obvious will fill it in at some point as he was the man who woke my Z from its coma!3 points
-
I have a pressure vessel that is used for flushing AC parts, I can use it with a regulated air pressure supply to supply fuel. Also have 6 injector plugs that I can wire up to activate. will use 6 separate vessels to capture flow to evaluate.1 point
-
IIRC pulling the injectors requires removal of the fuel rail. As such it seems in the interest of science it would be a good opportunity to hookup a fuel supply at 30 psi and do my own flow test prior to professional cleaning. I am hoping to replicate the imbalance of 1&3 to confirm the colortune as a viable approach to diagnosing flow issues, esp at idle duty cycle rates.1 point
-
1 pointHe looks to be too big for that small car. Stay close - he'll probably be looking for friends to exercise it for him!1 point
-
1 point
-
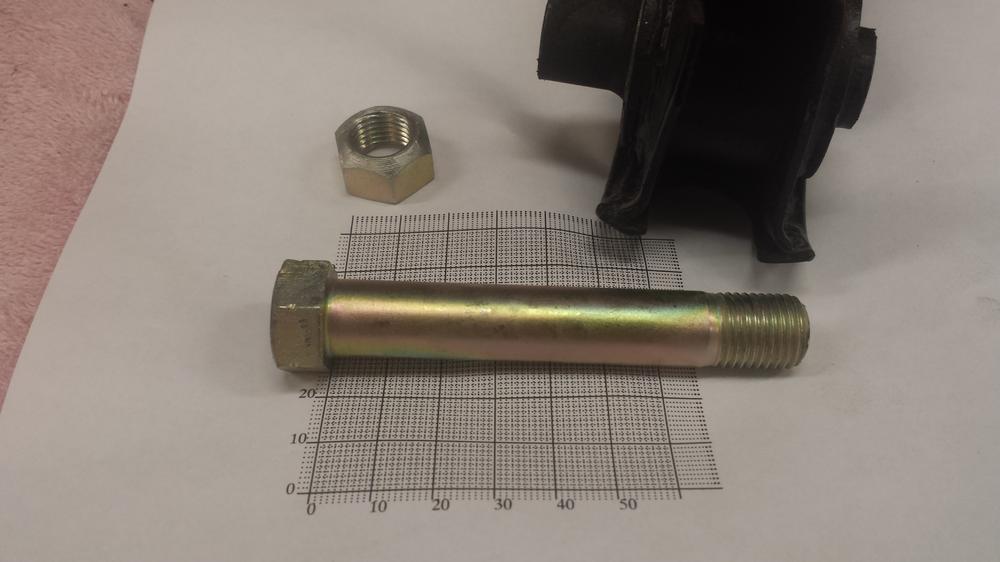
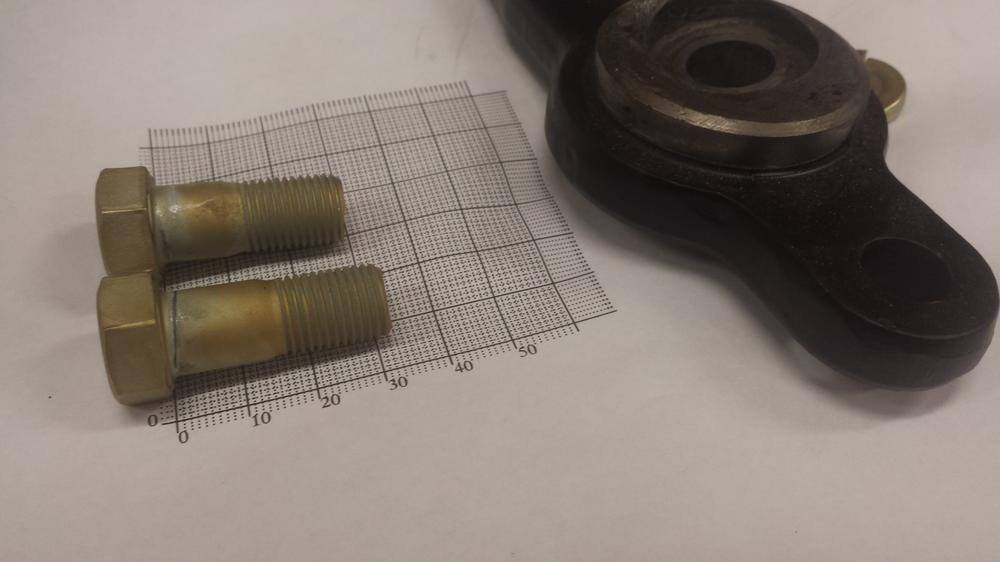
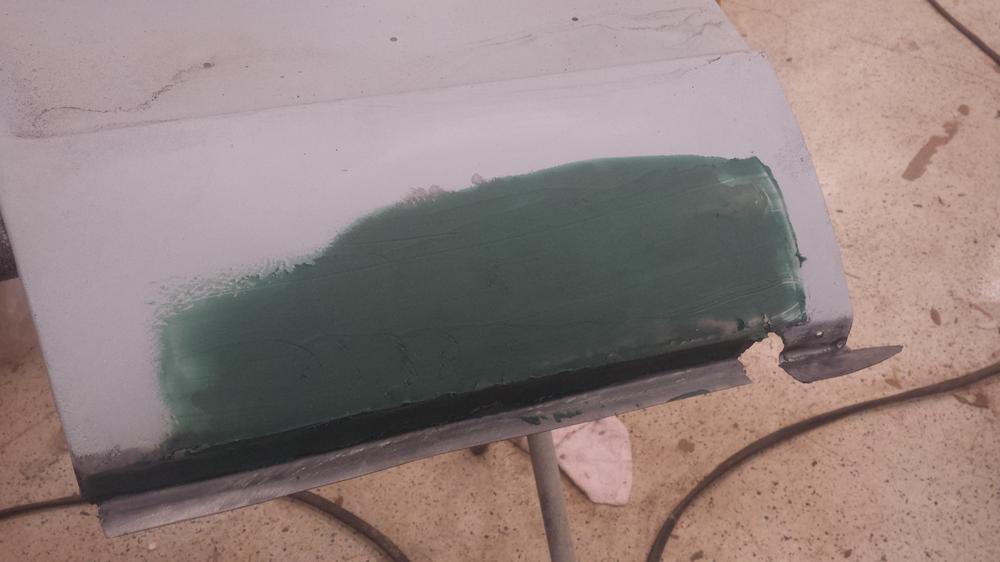
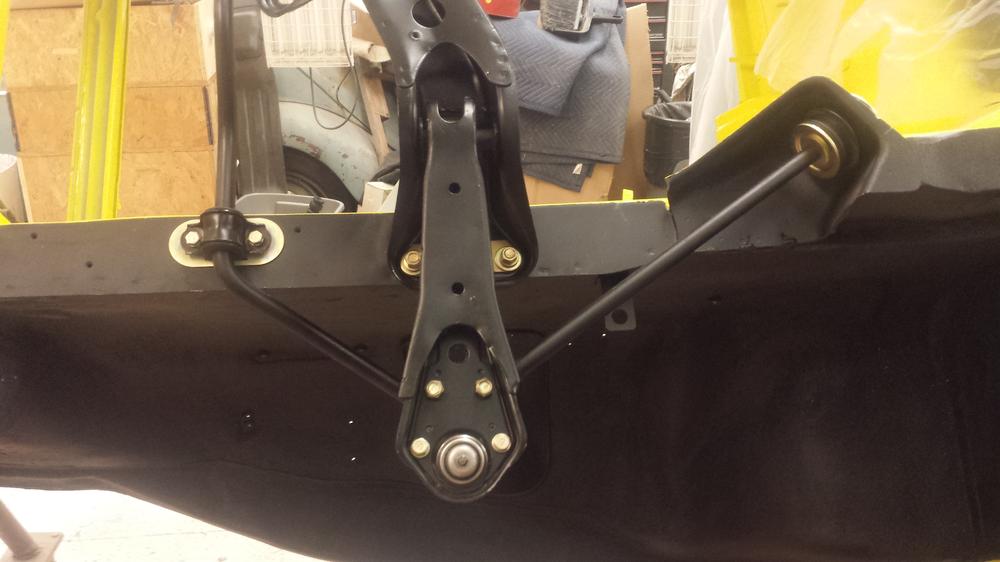
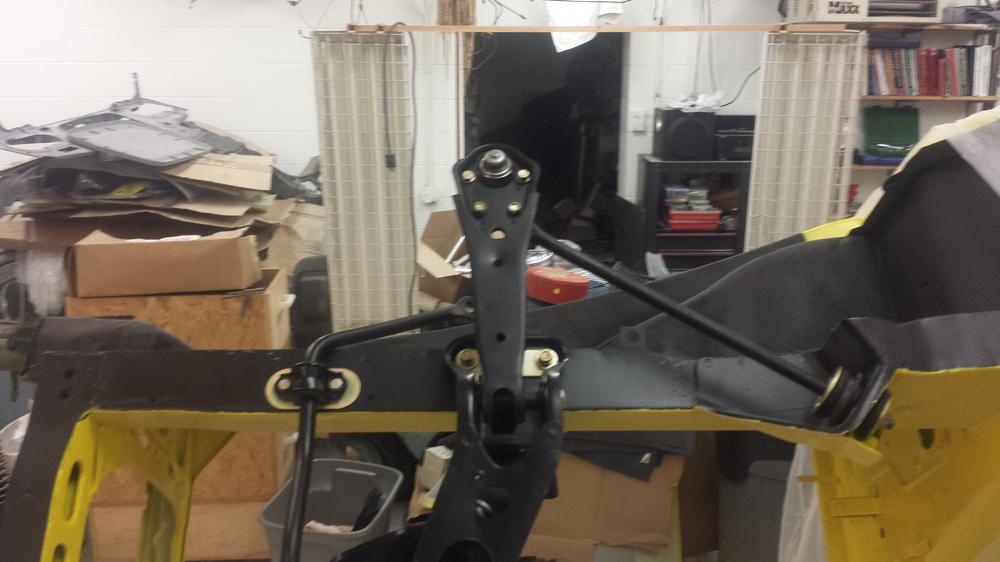
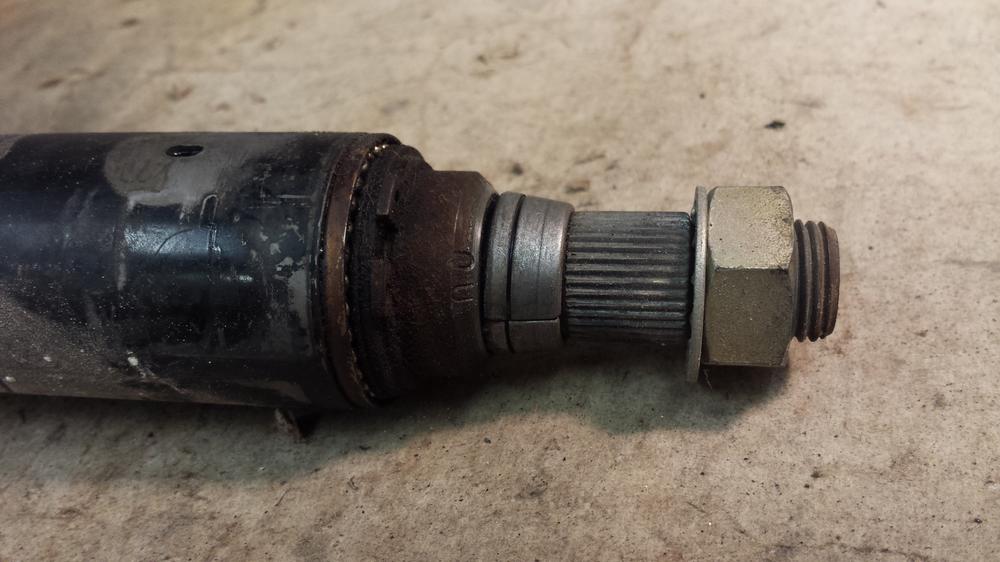
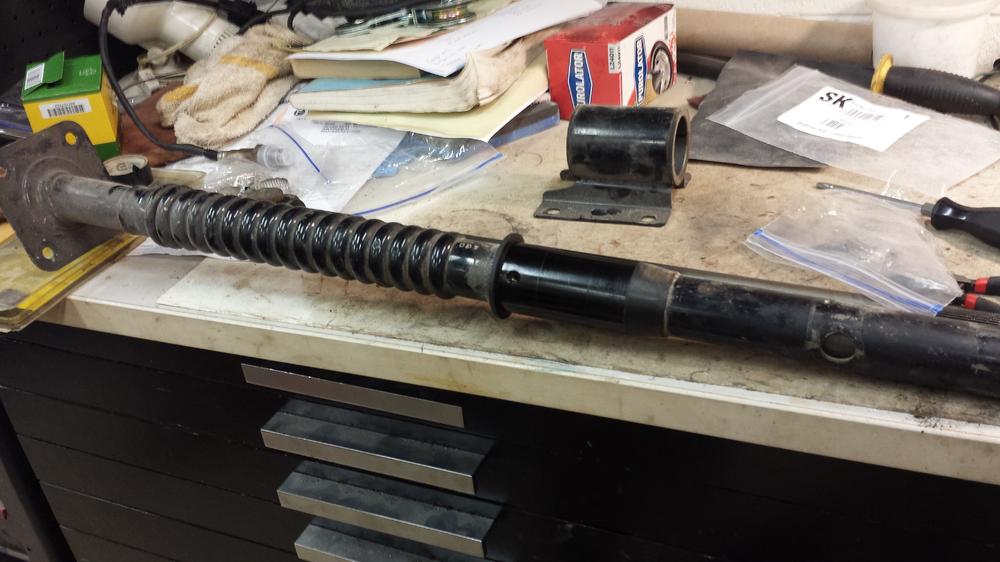
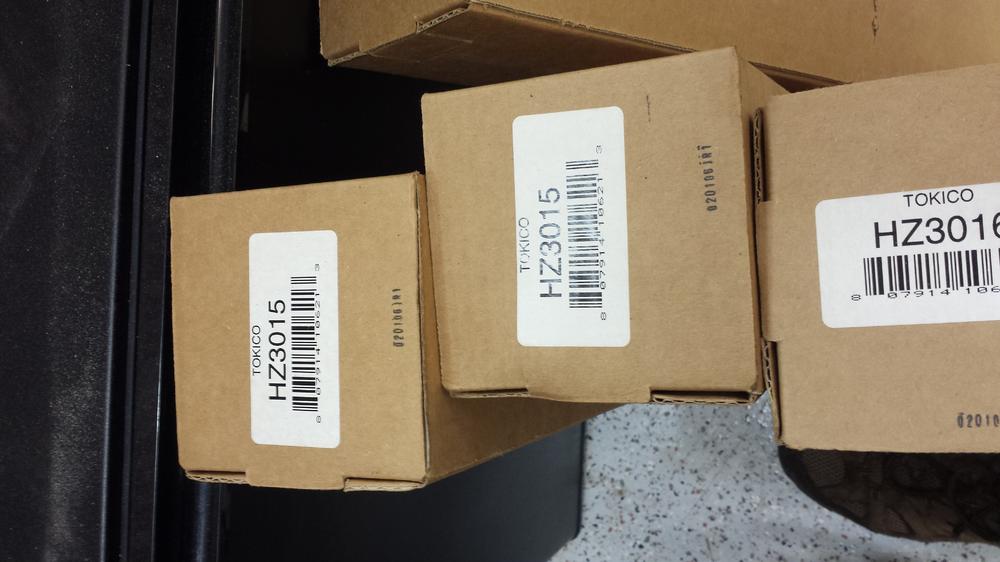
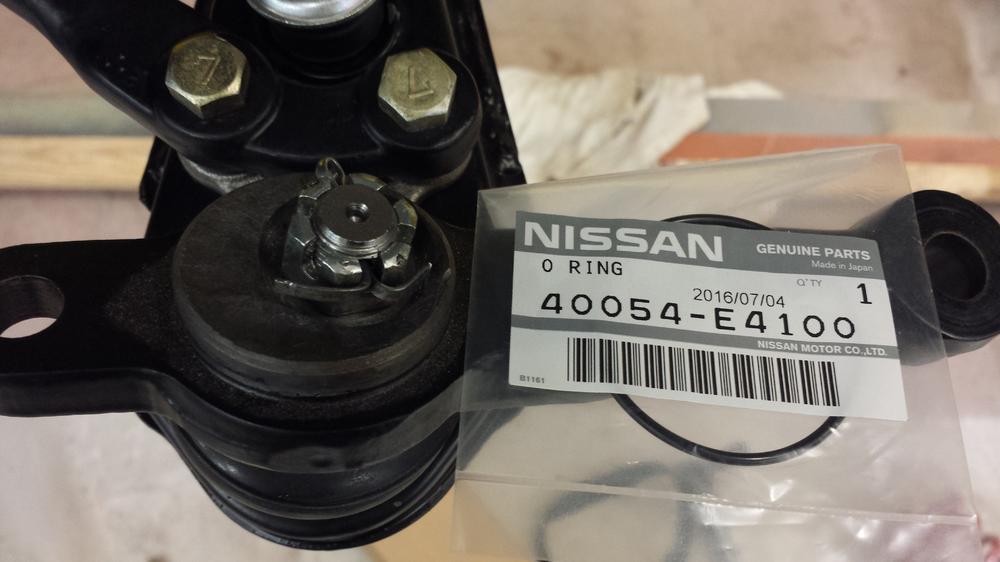
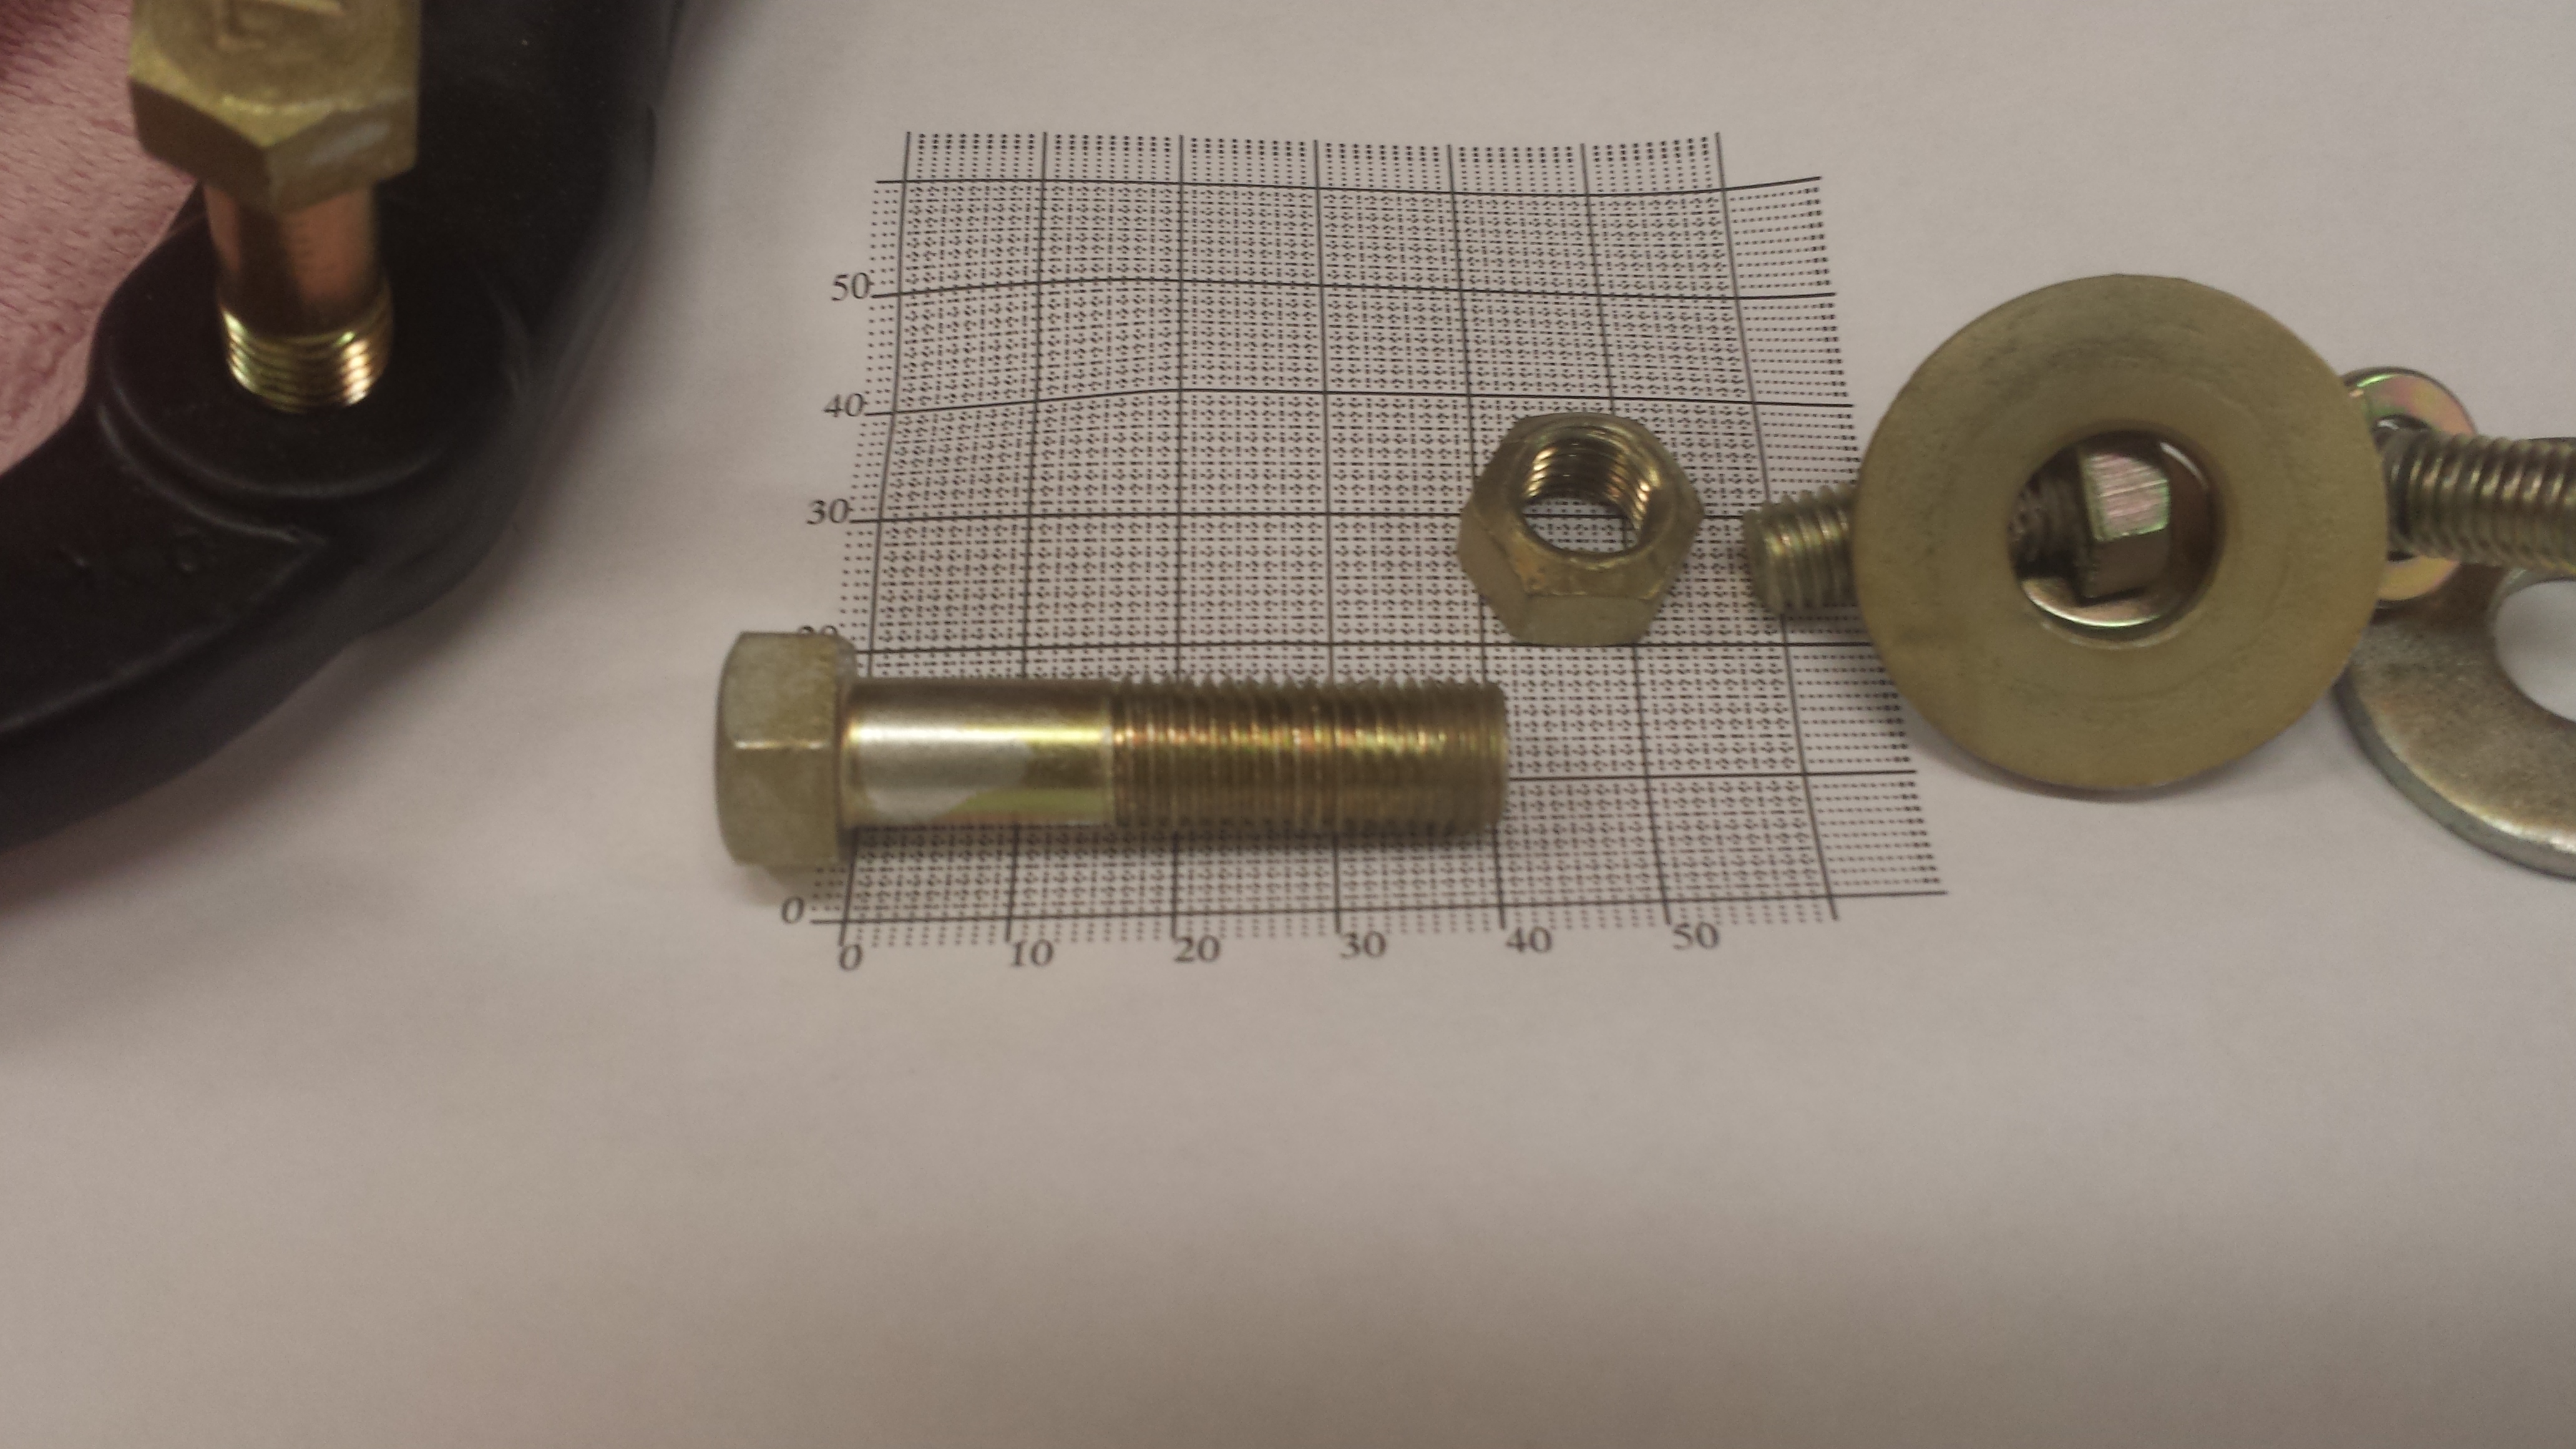
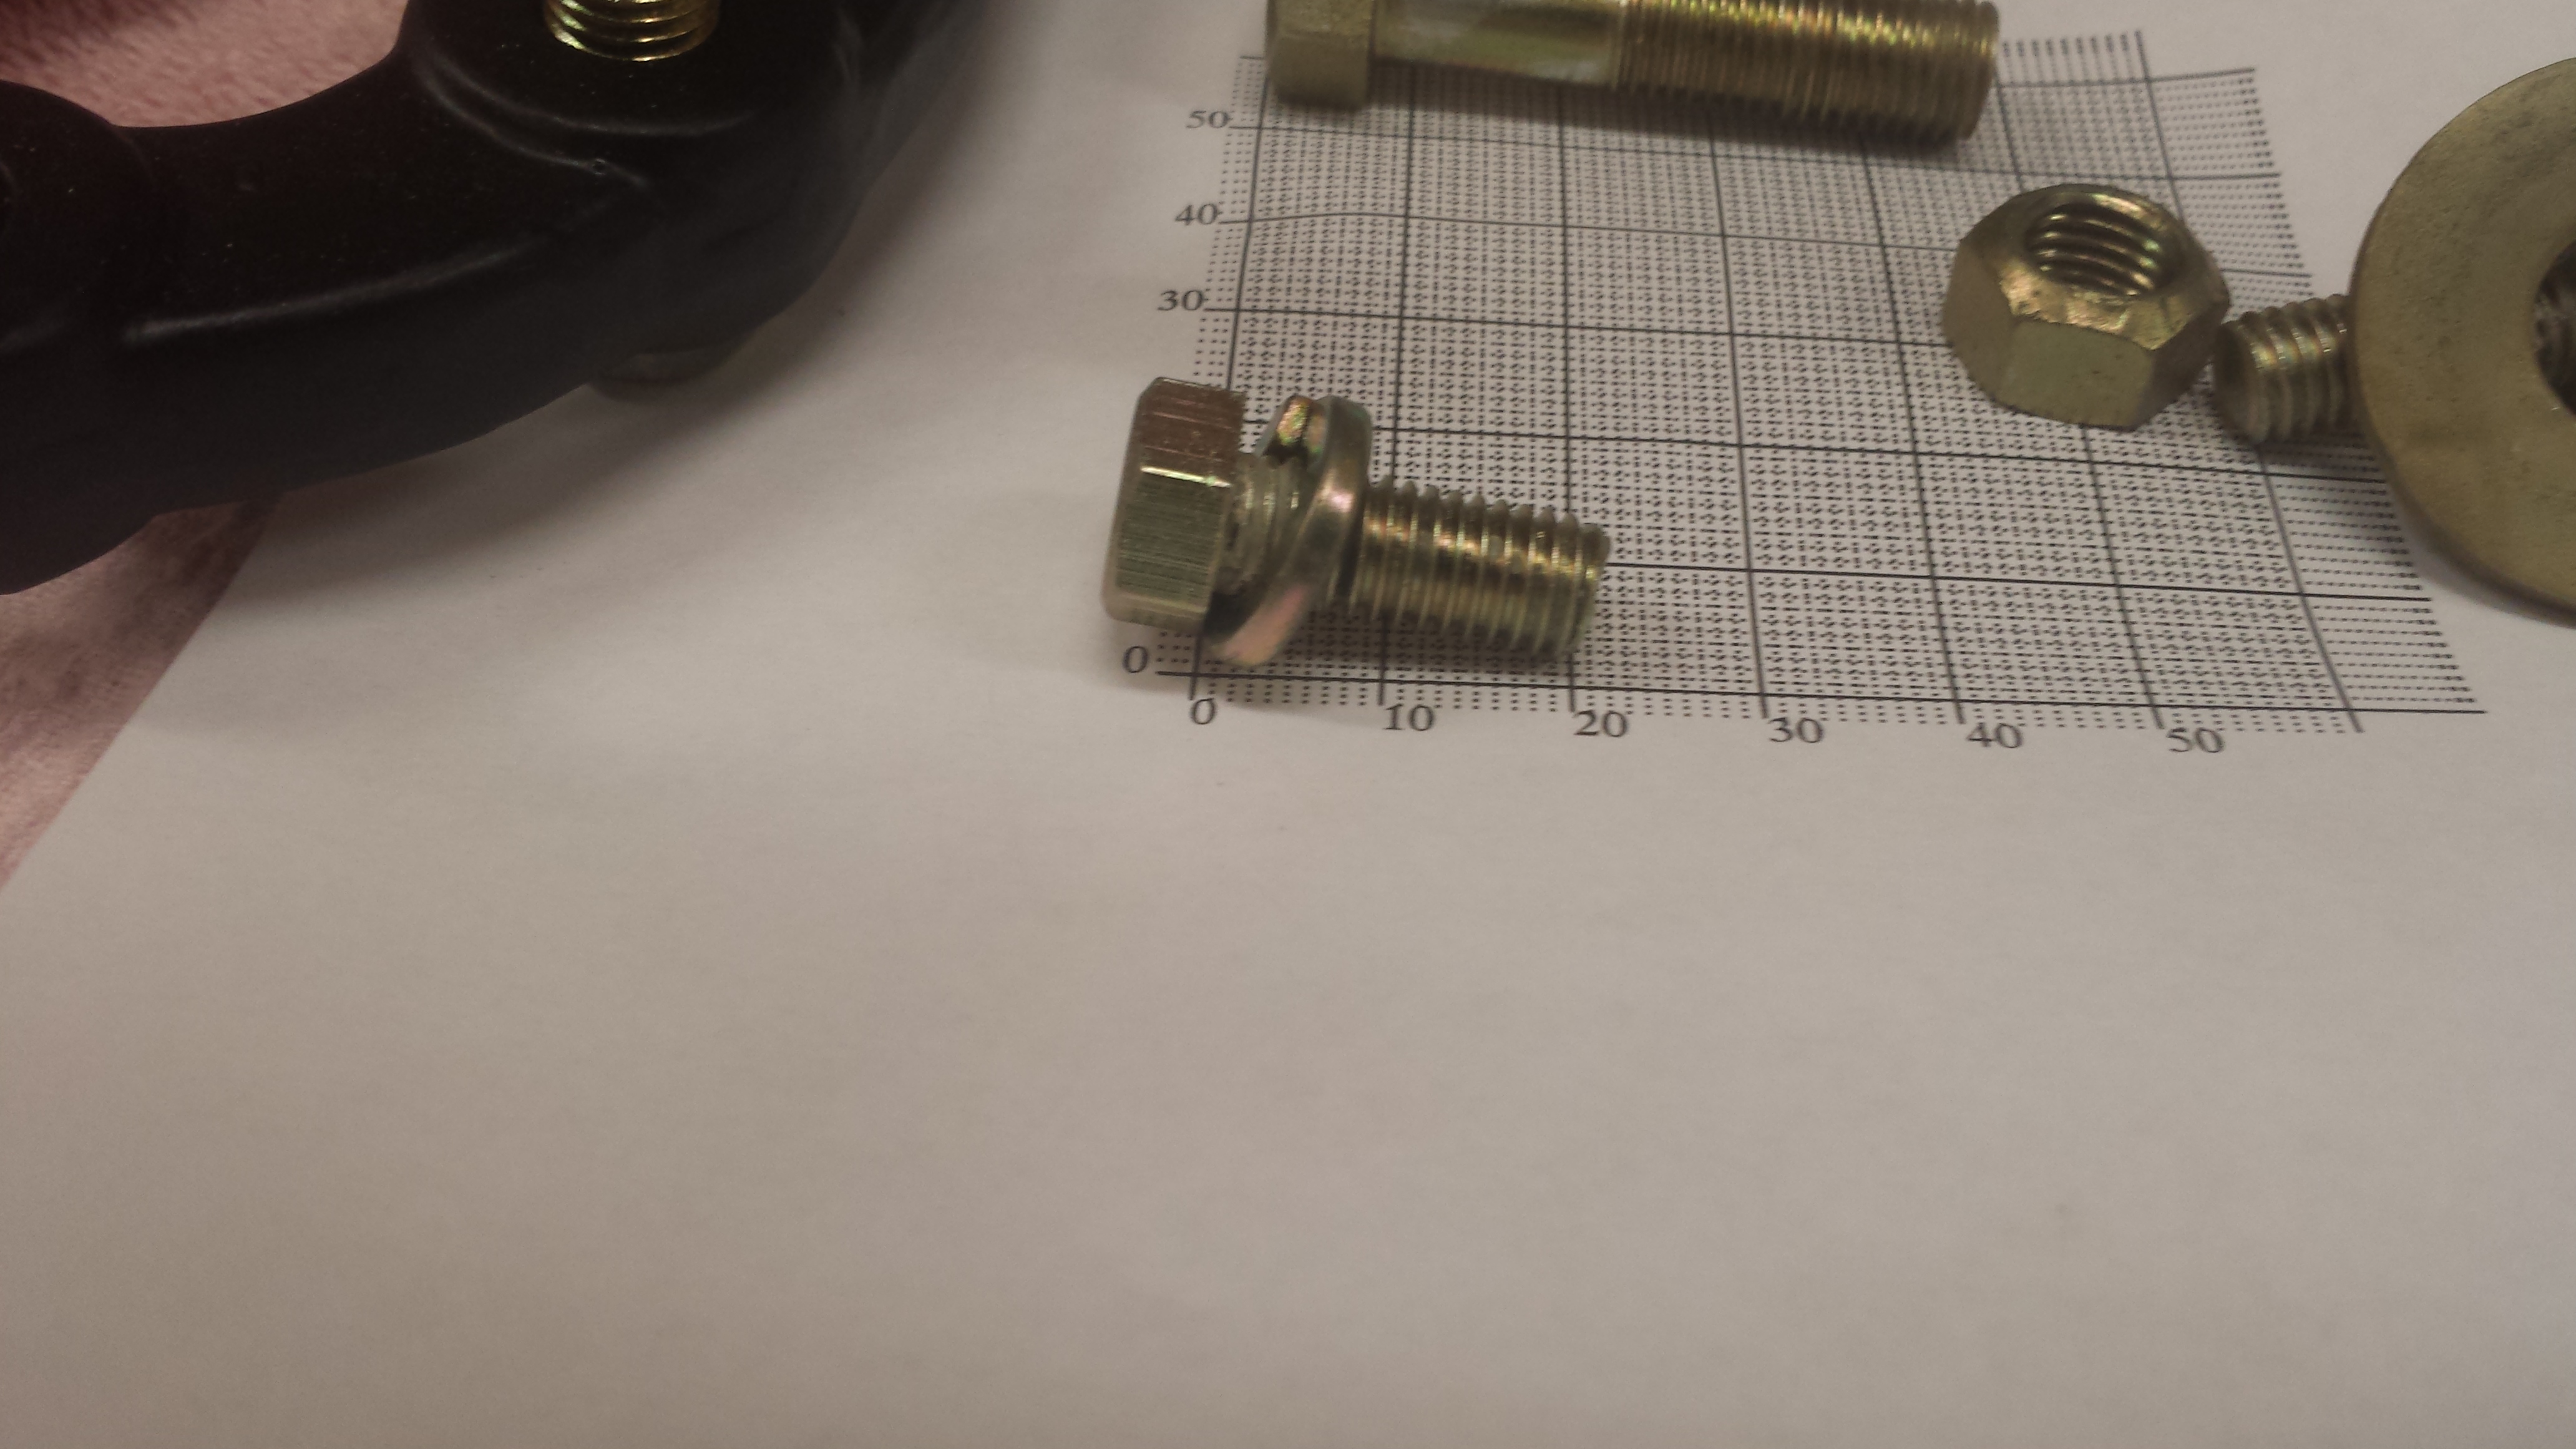
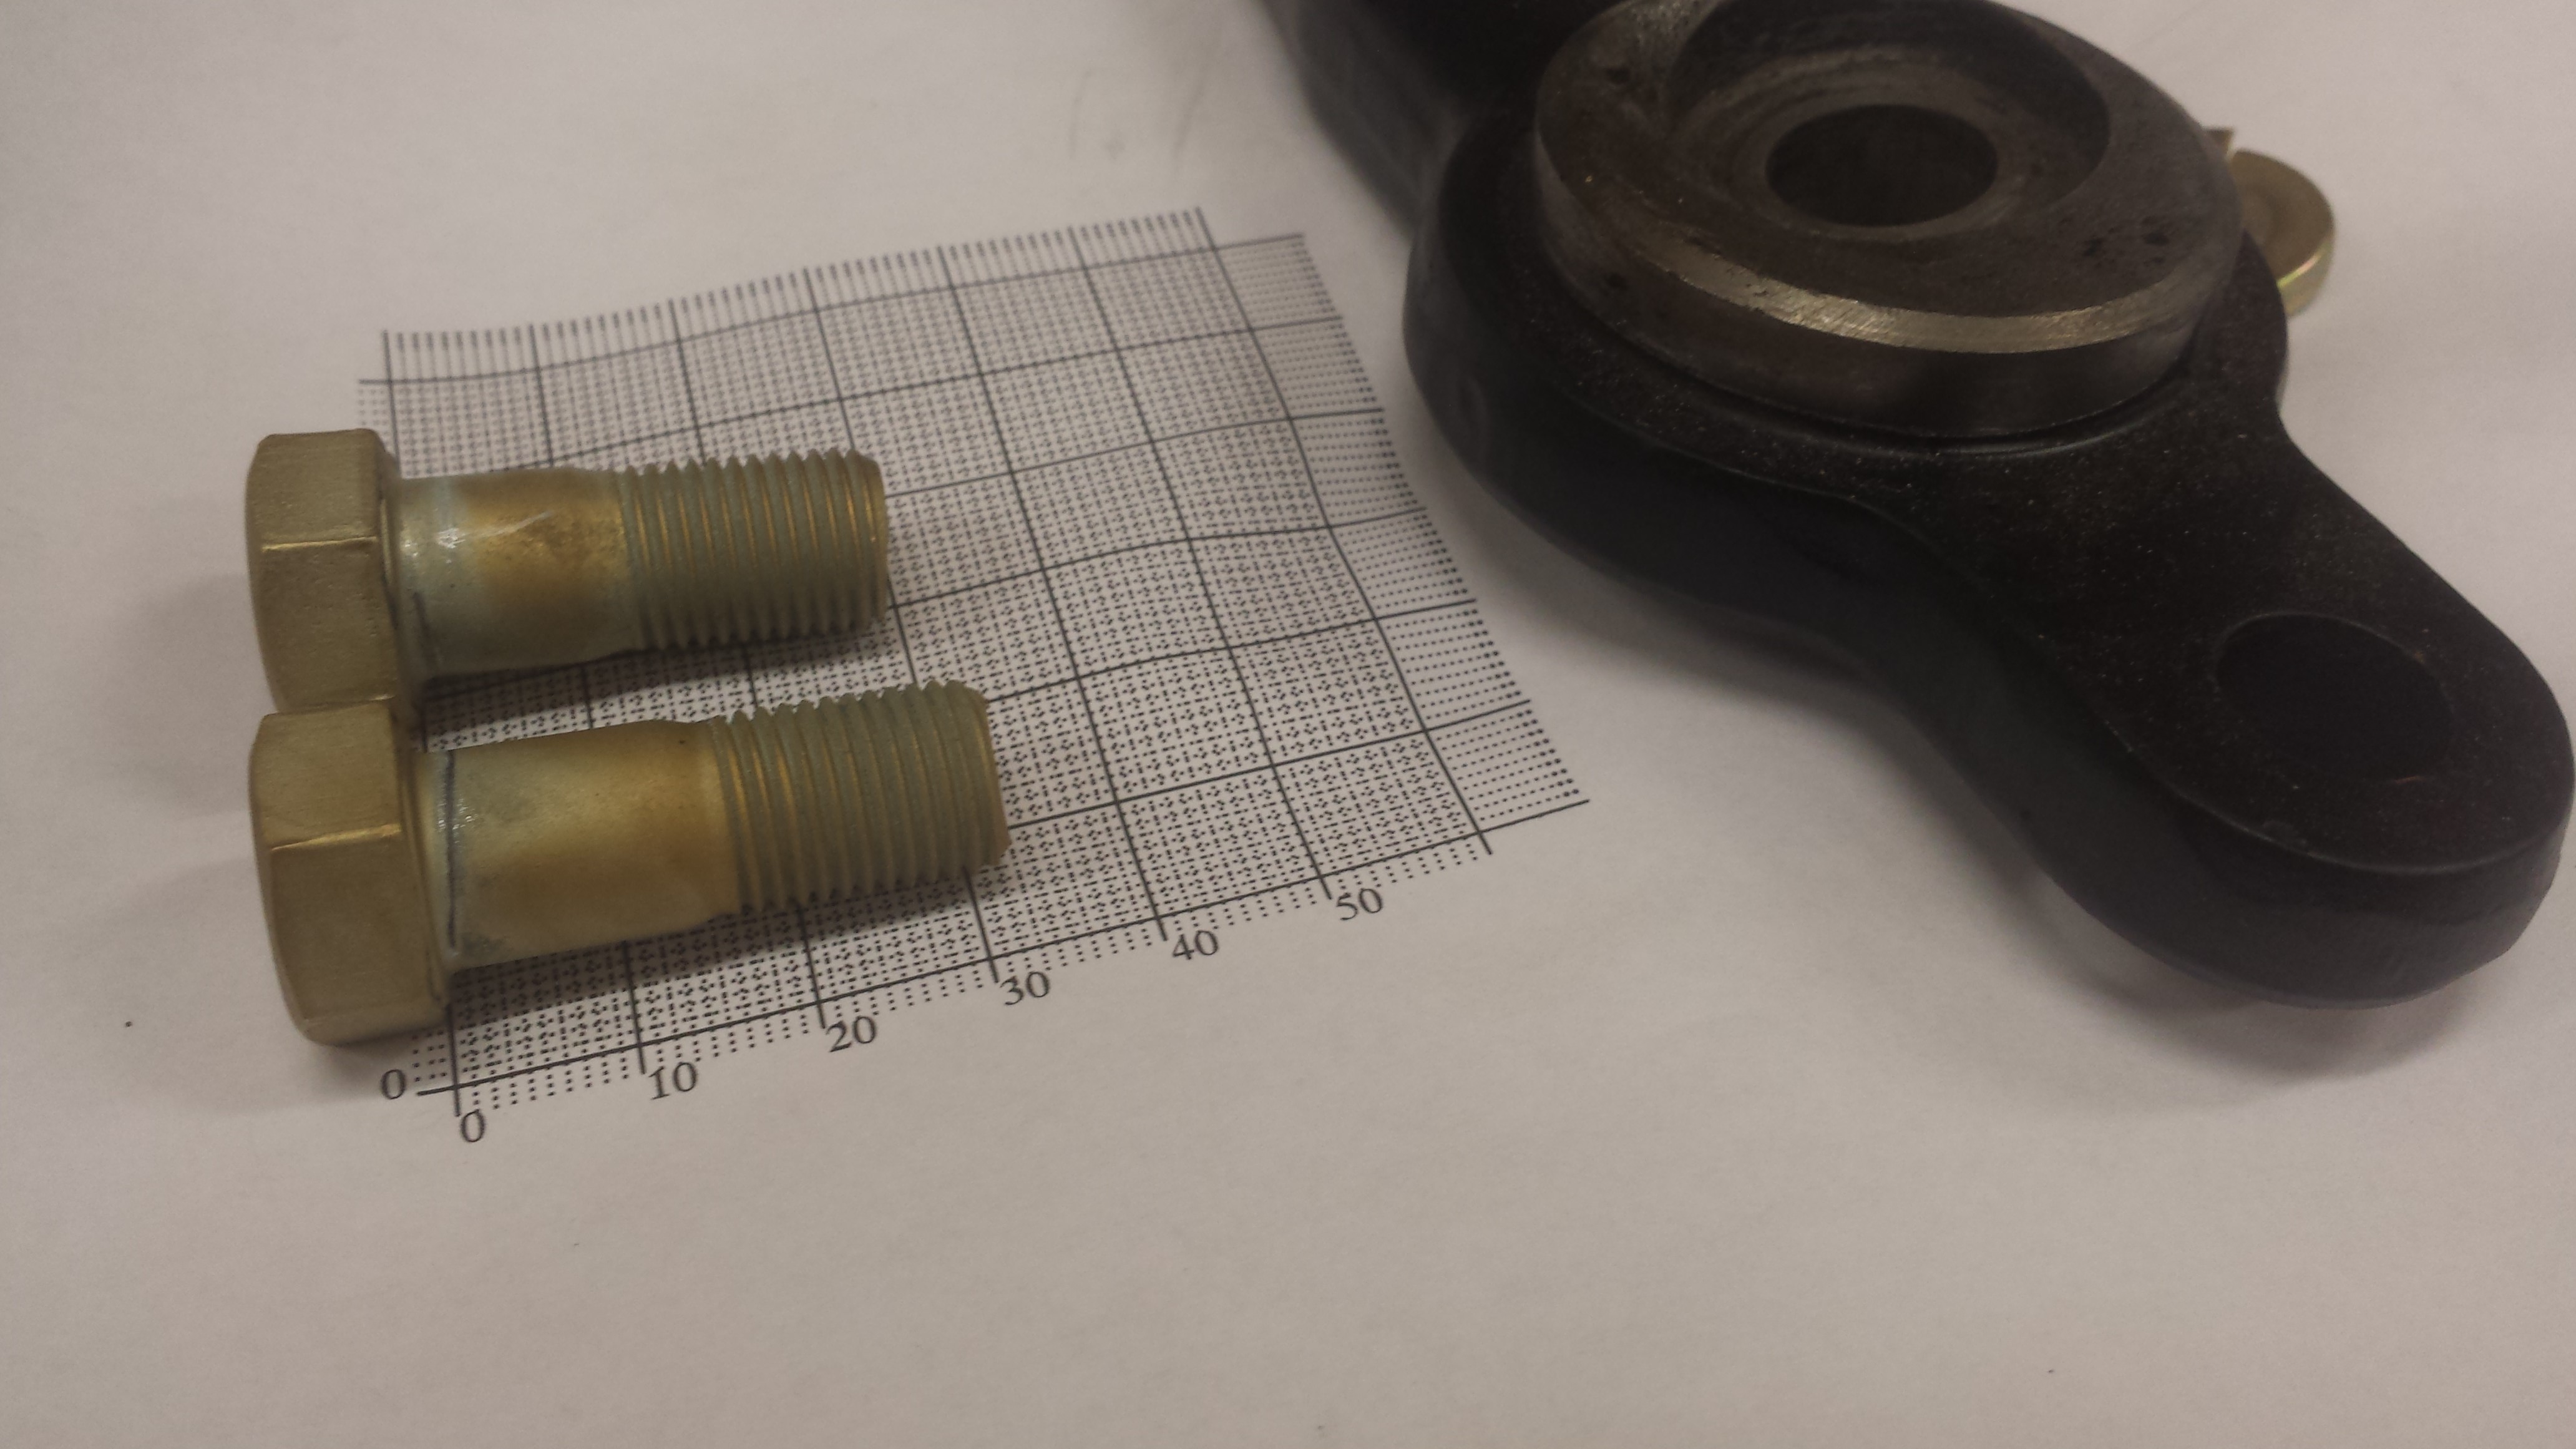
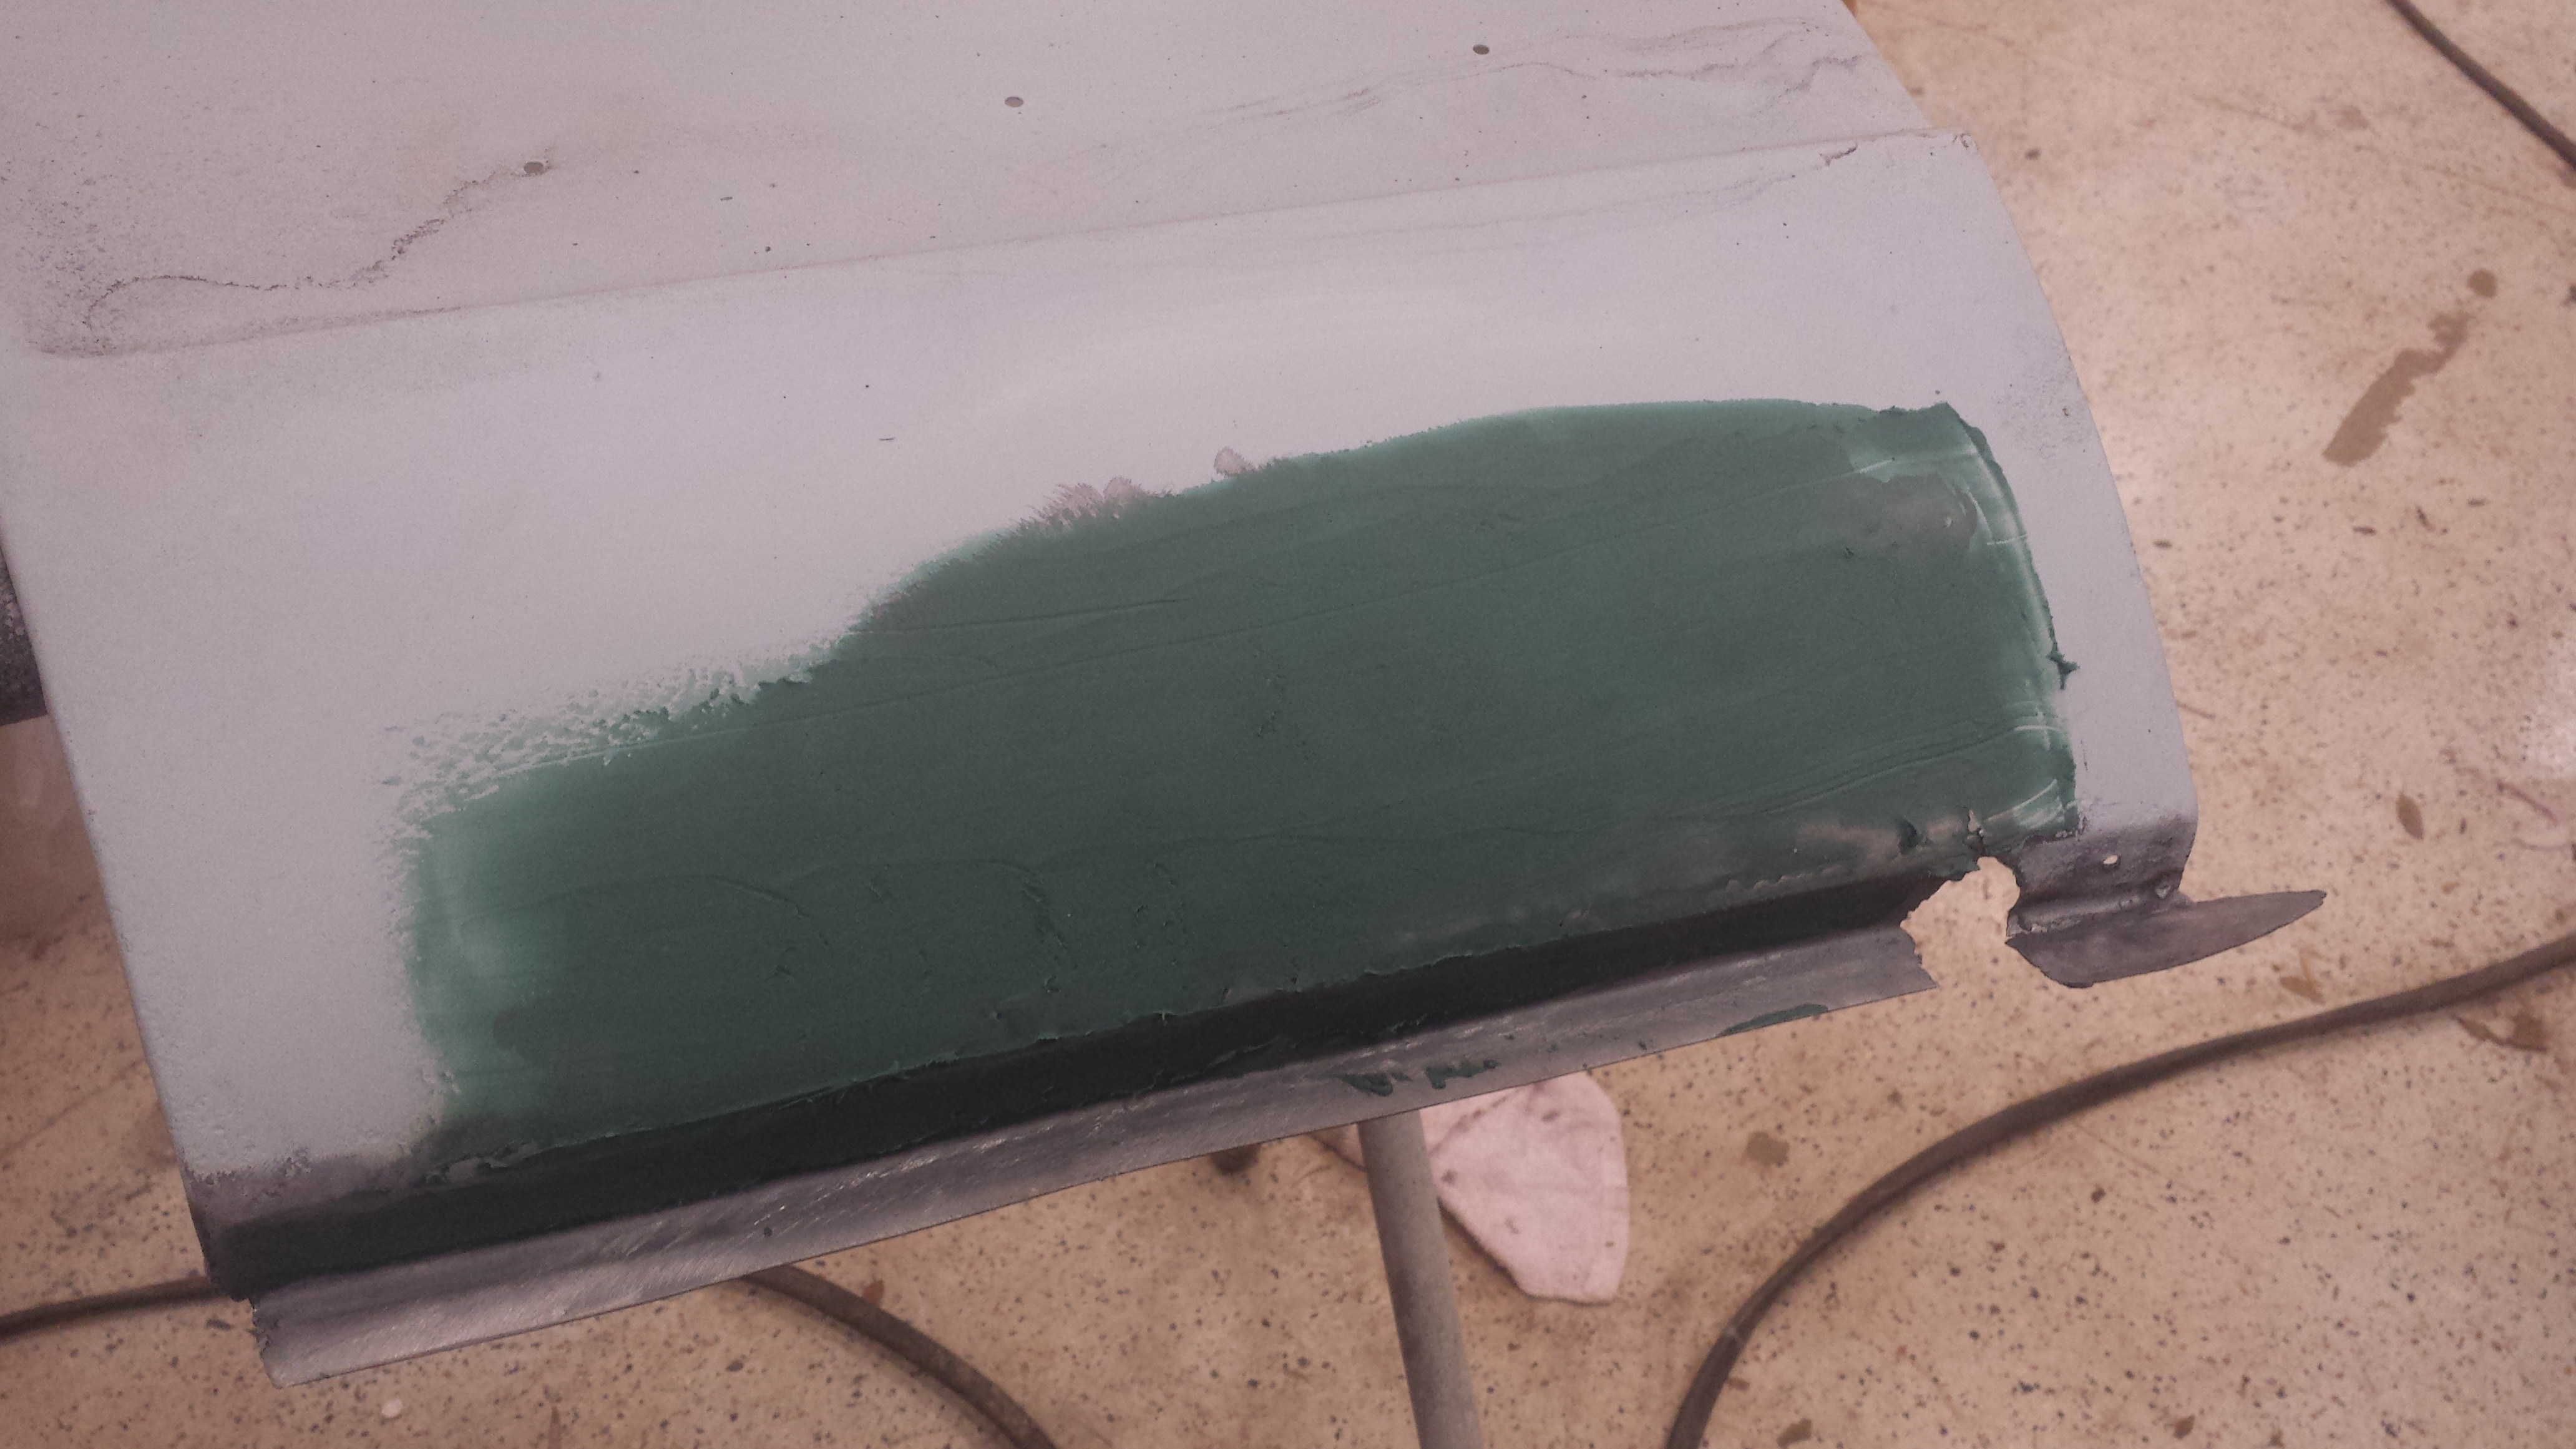
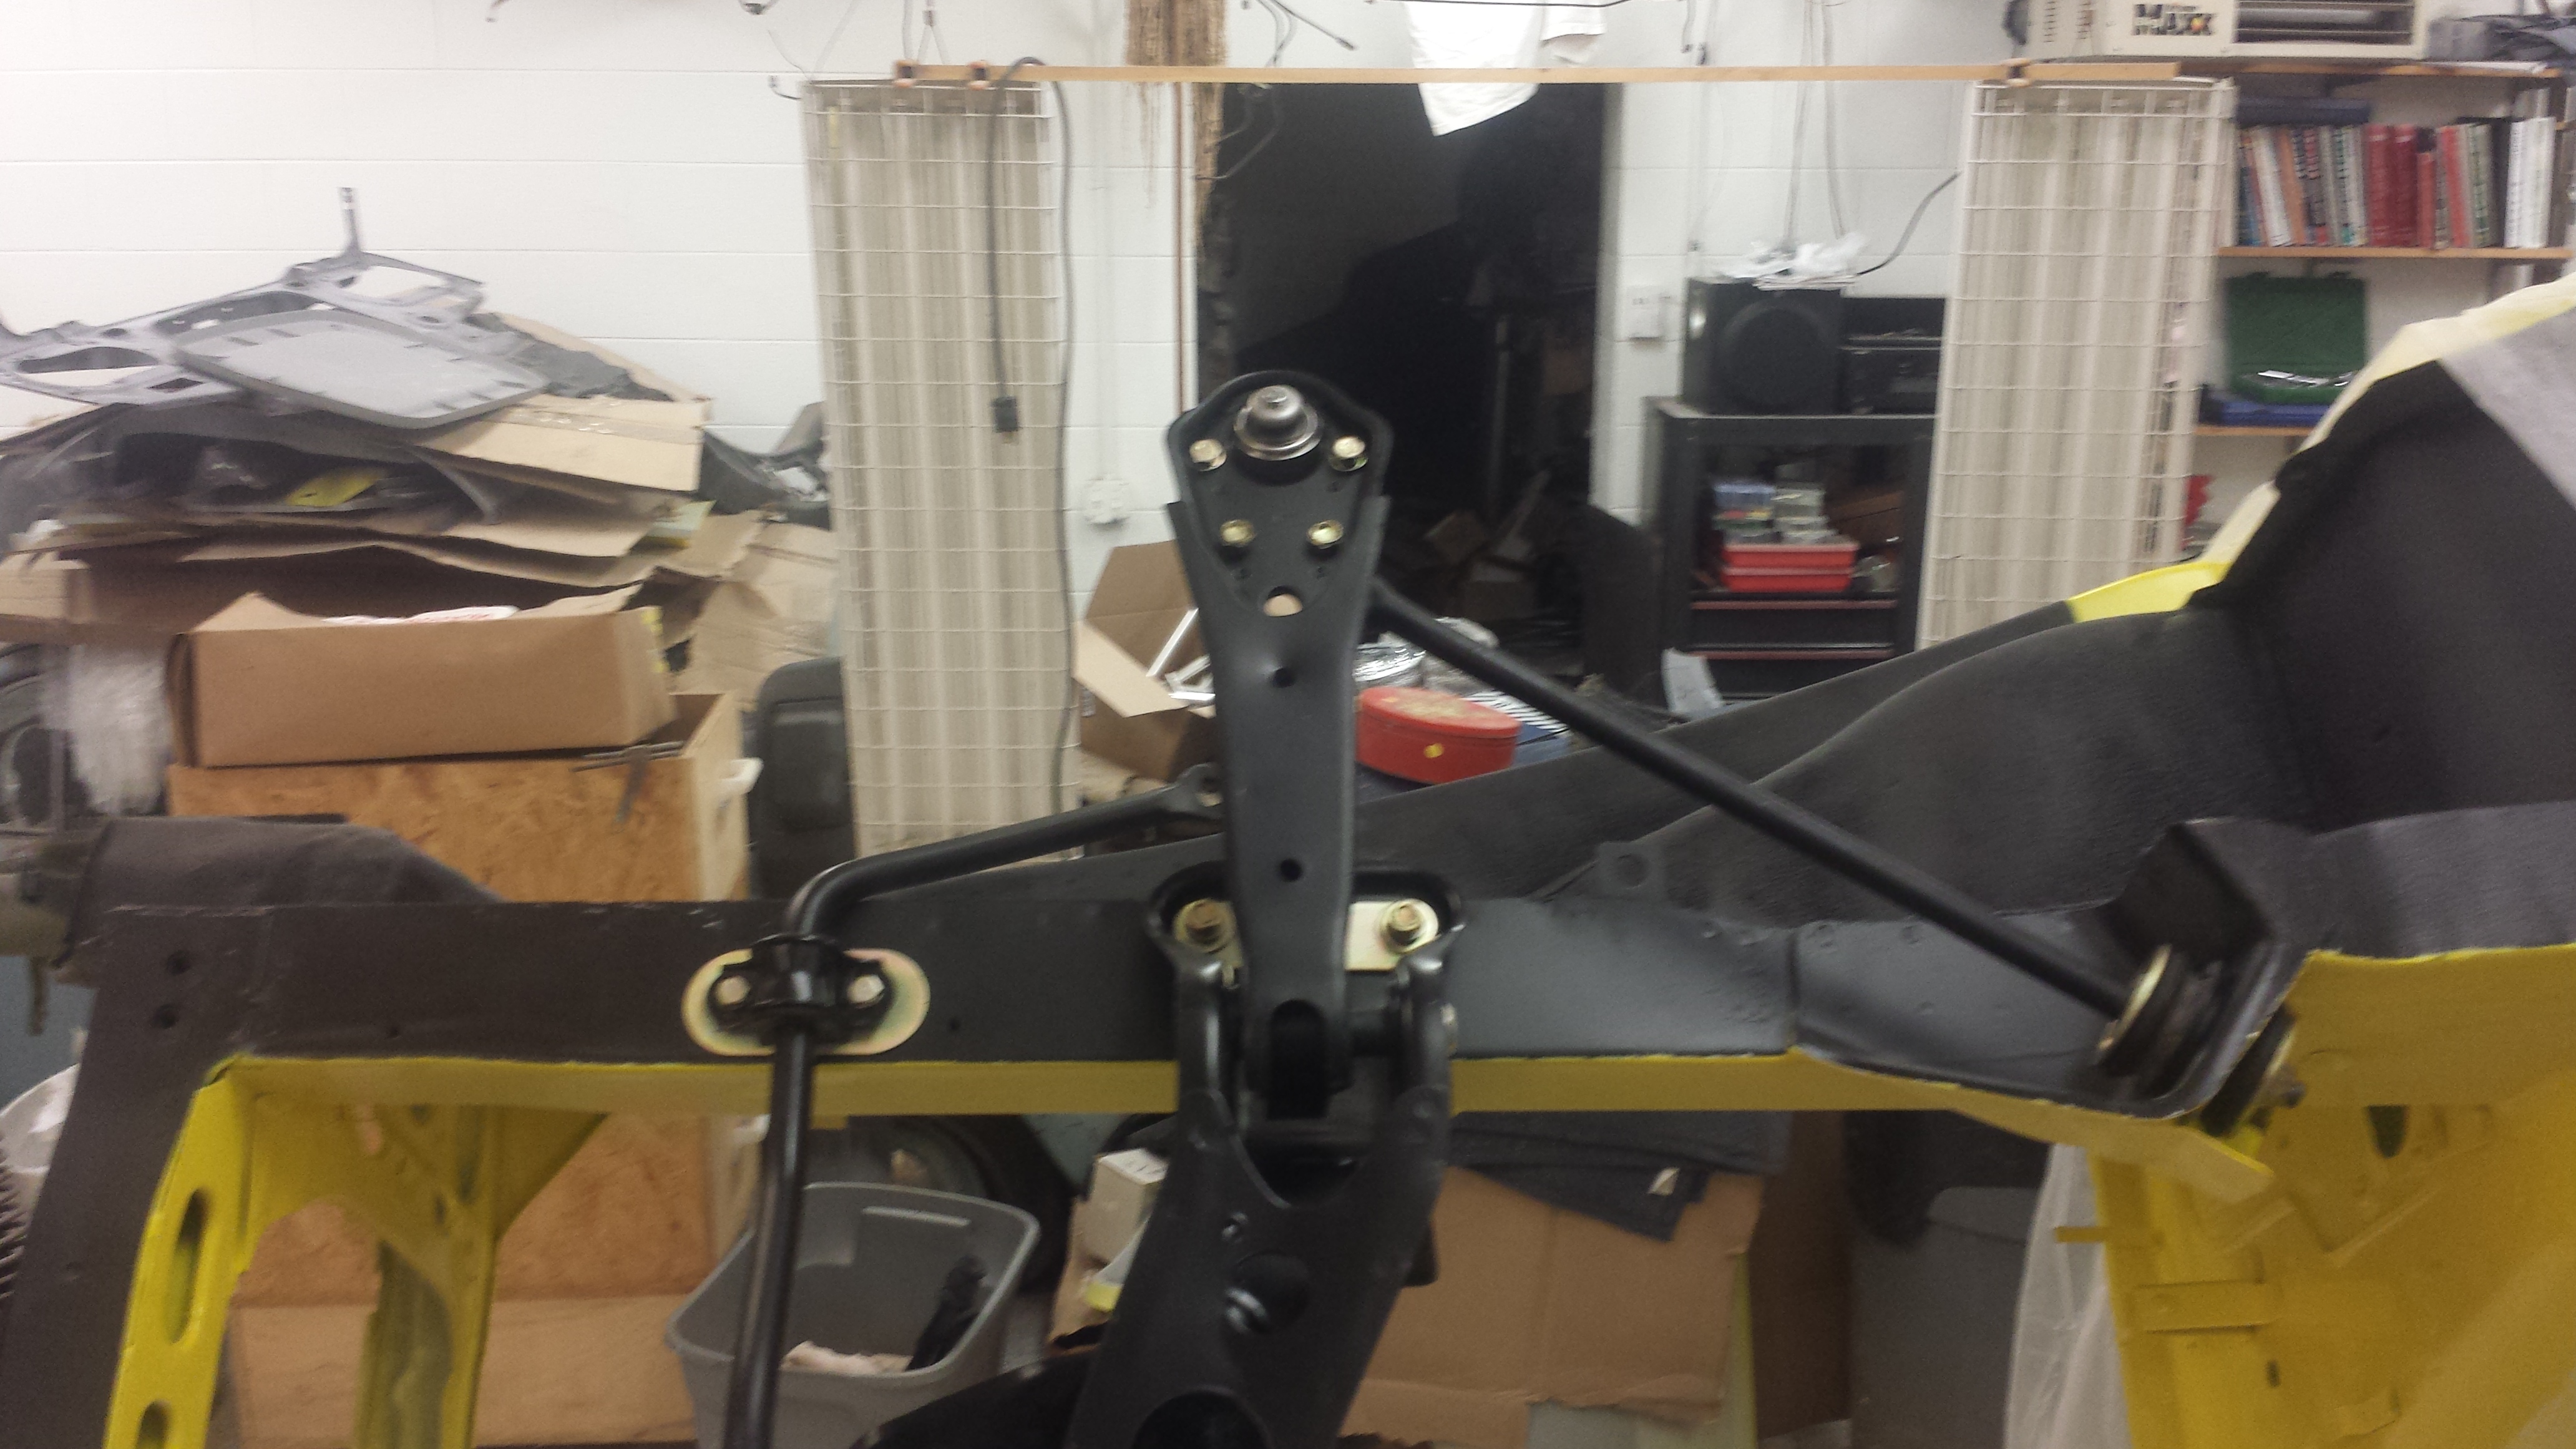
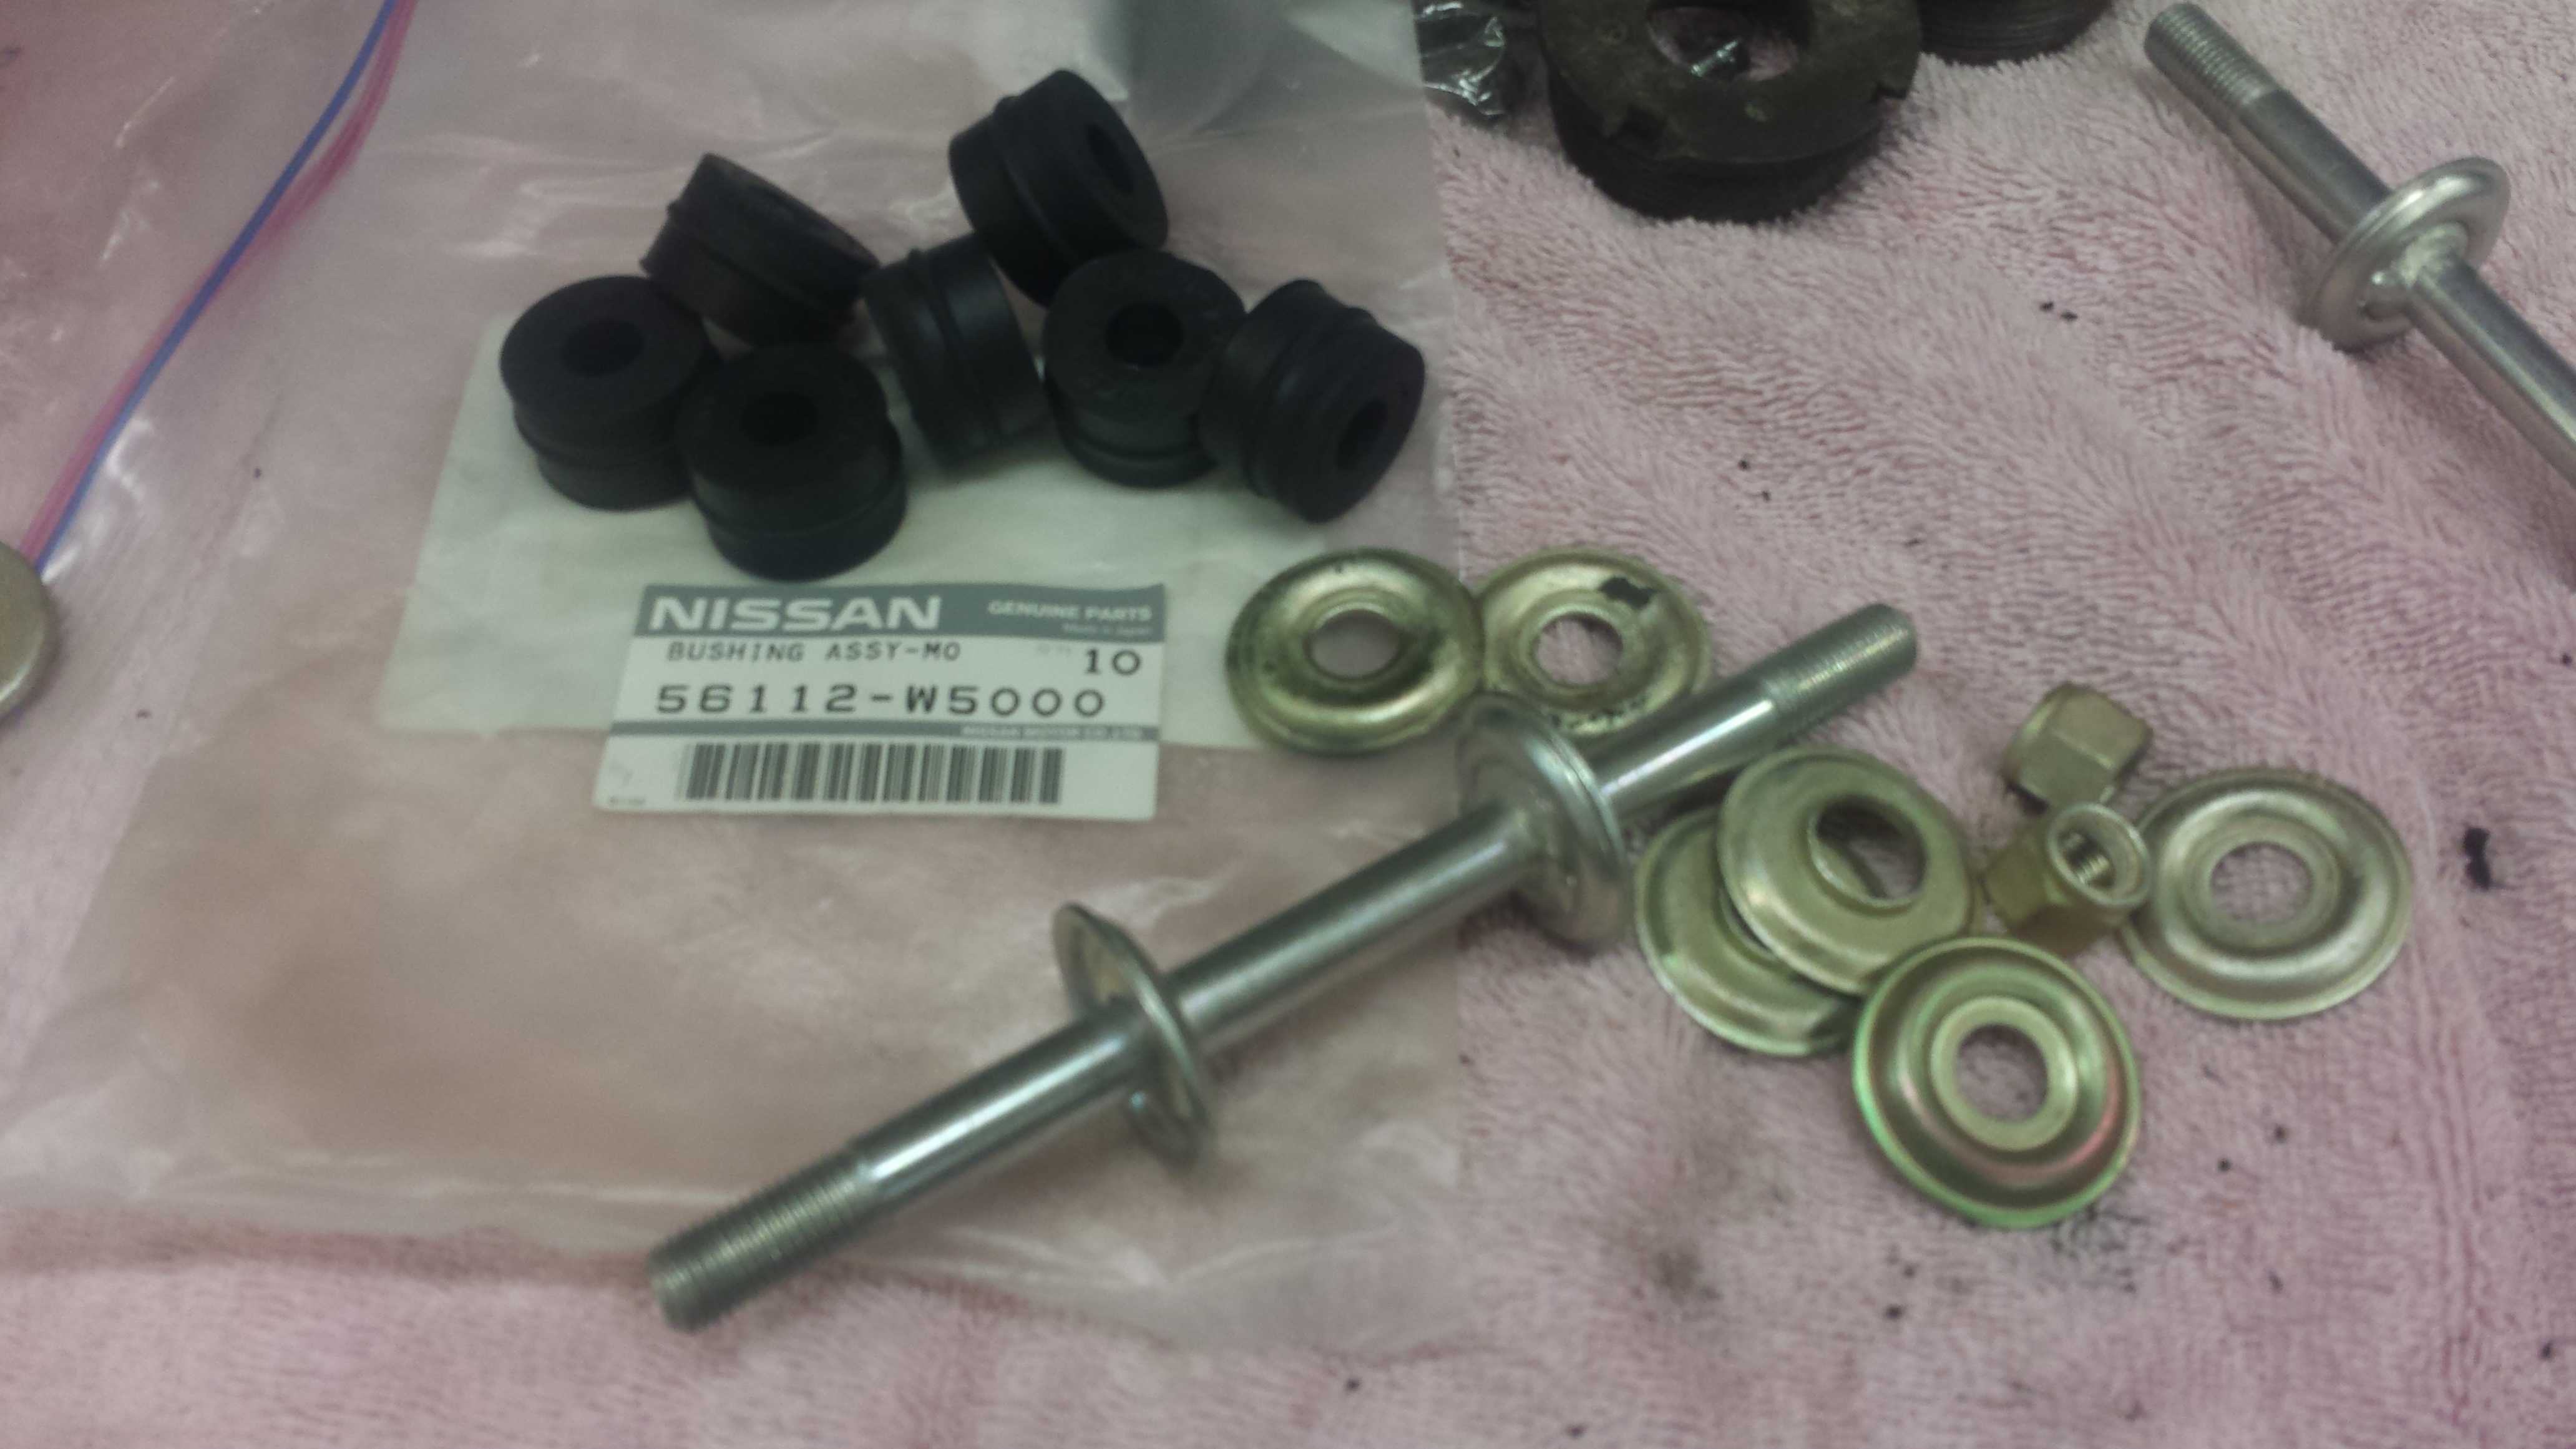
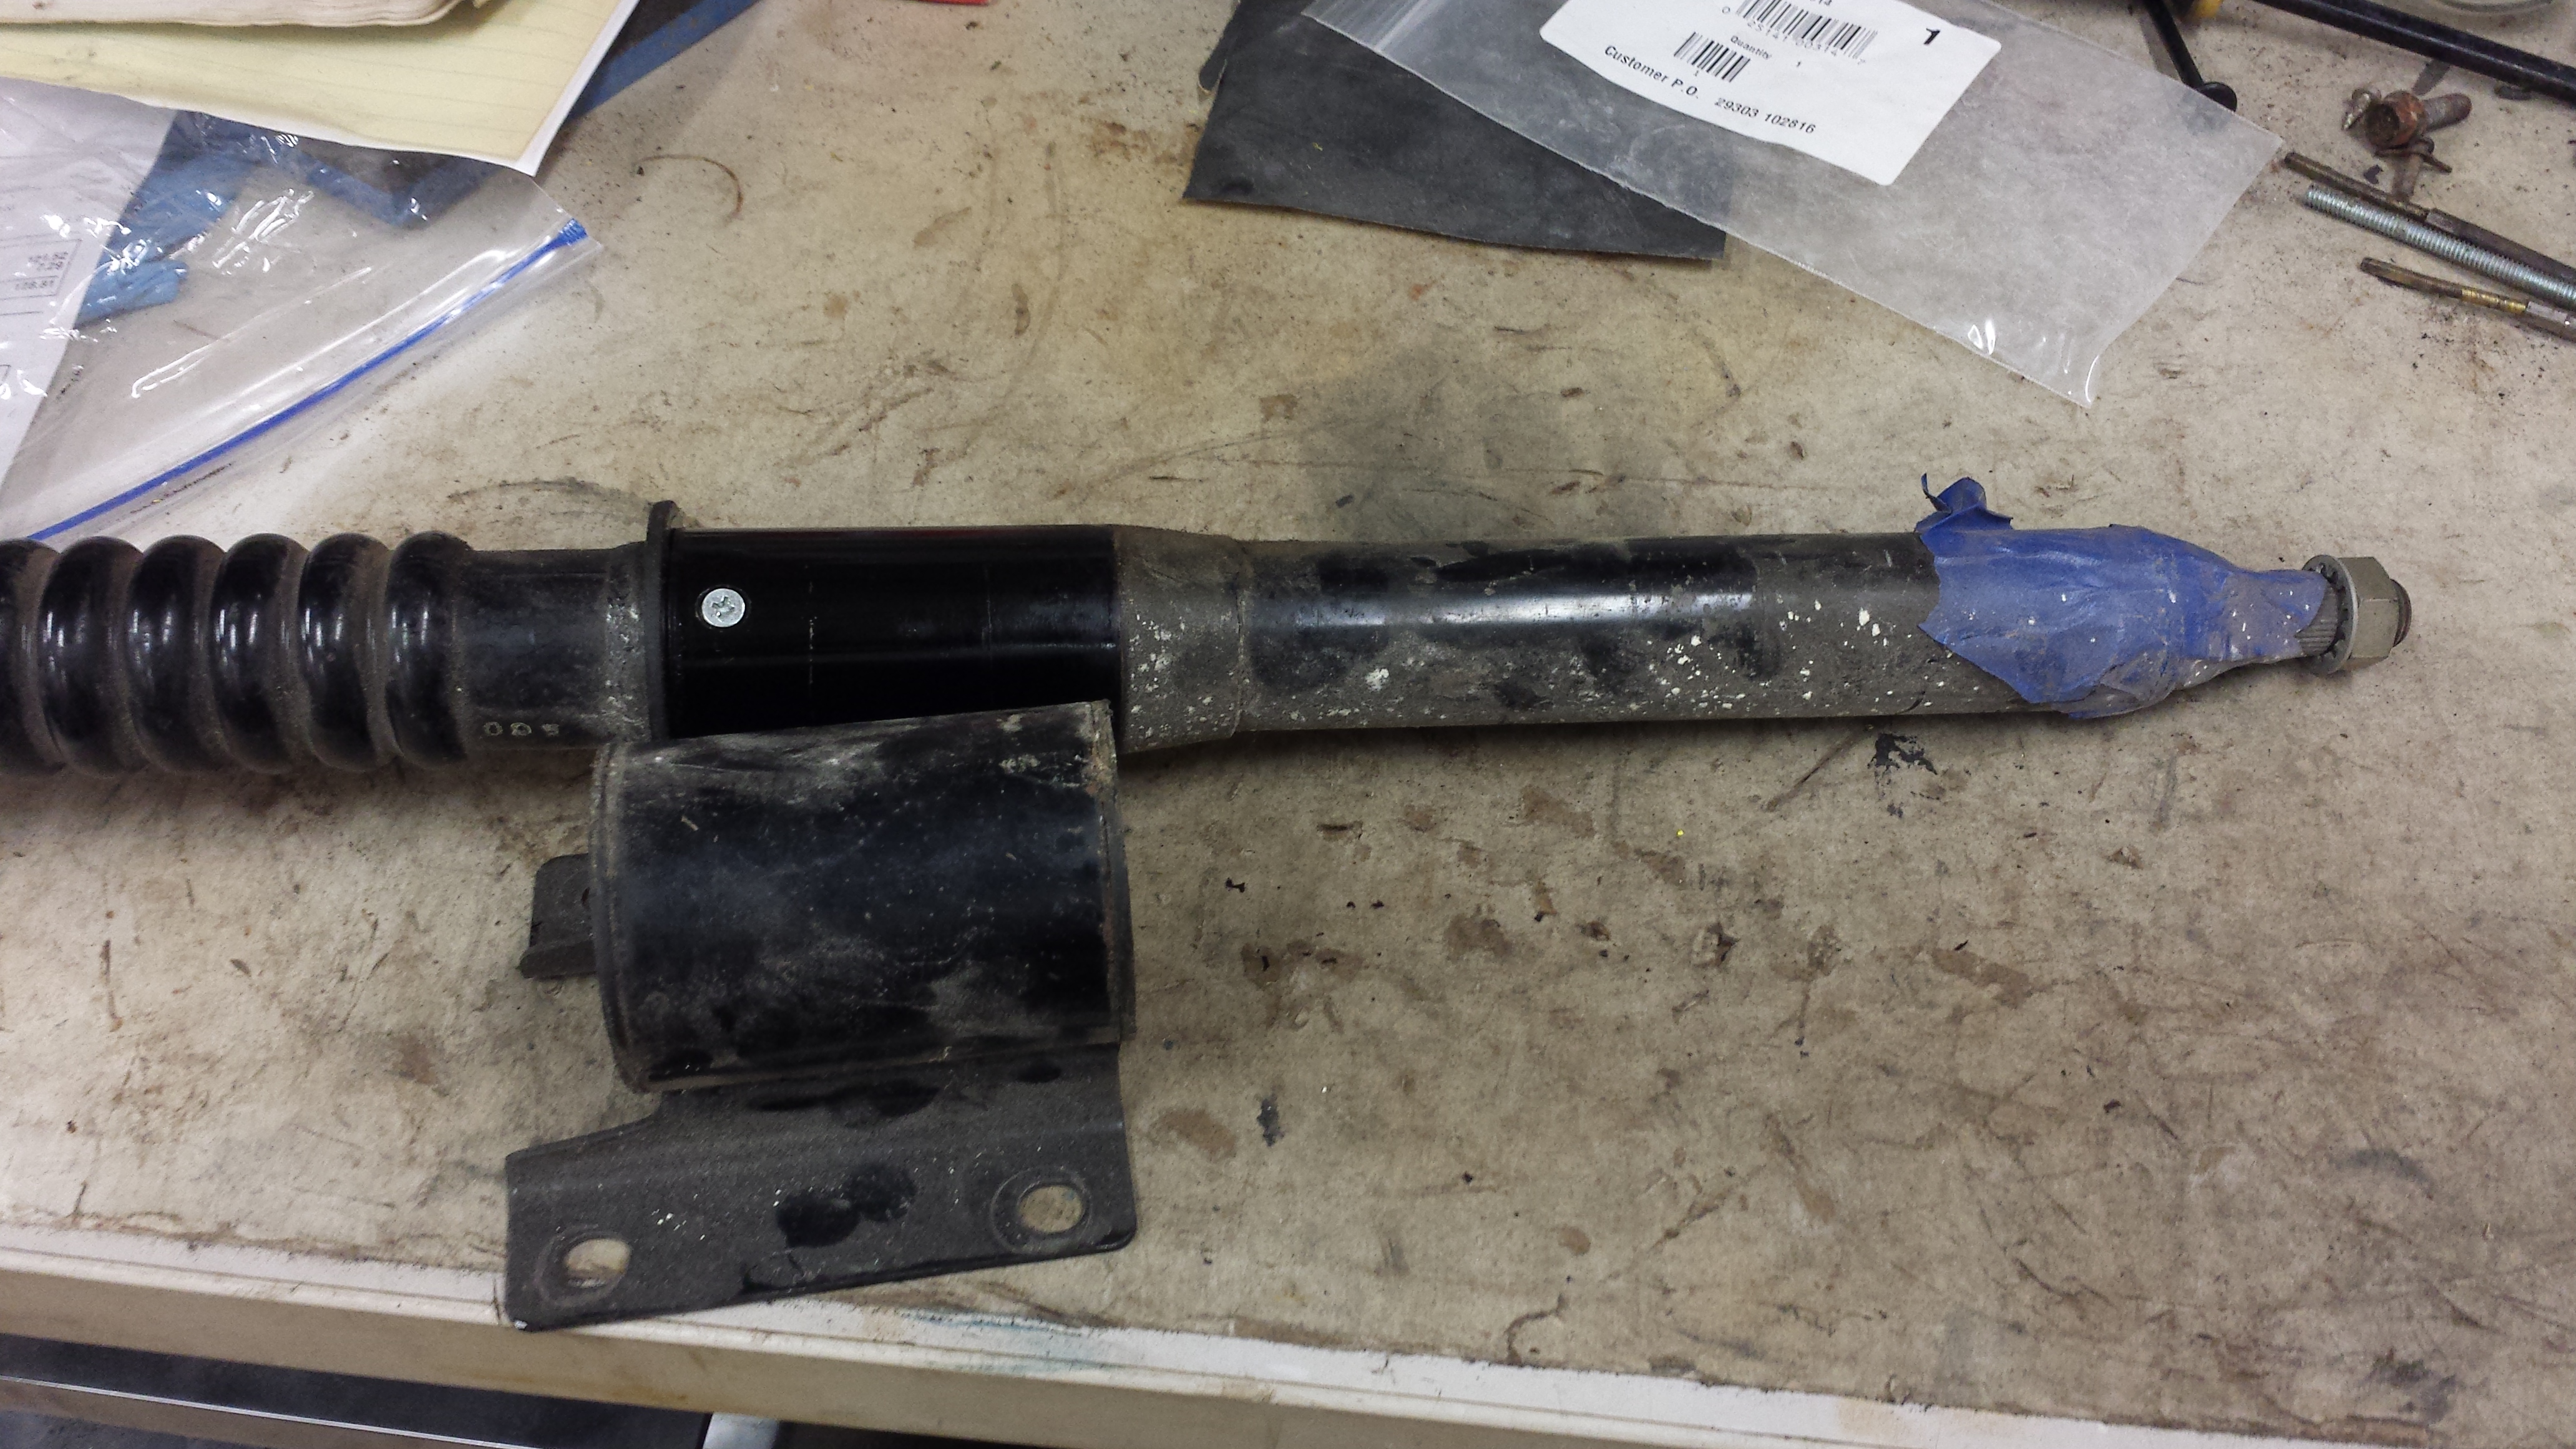
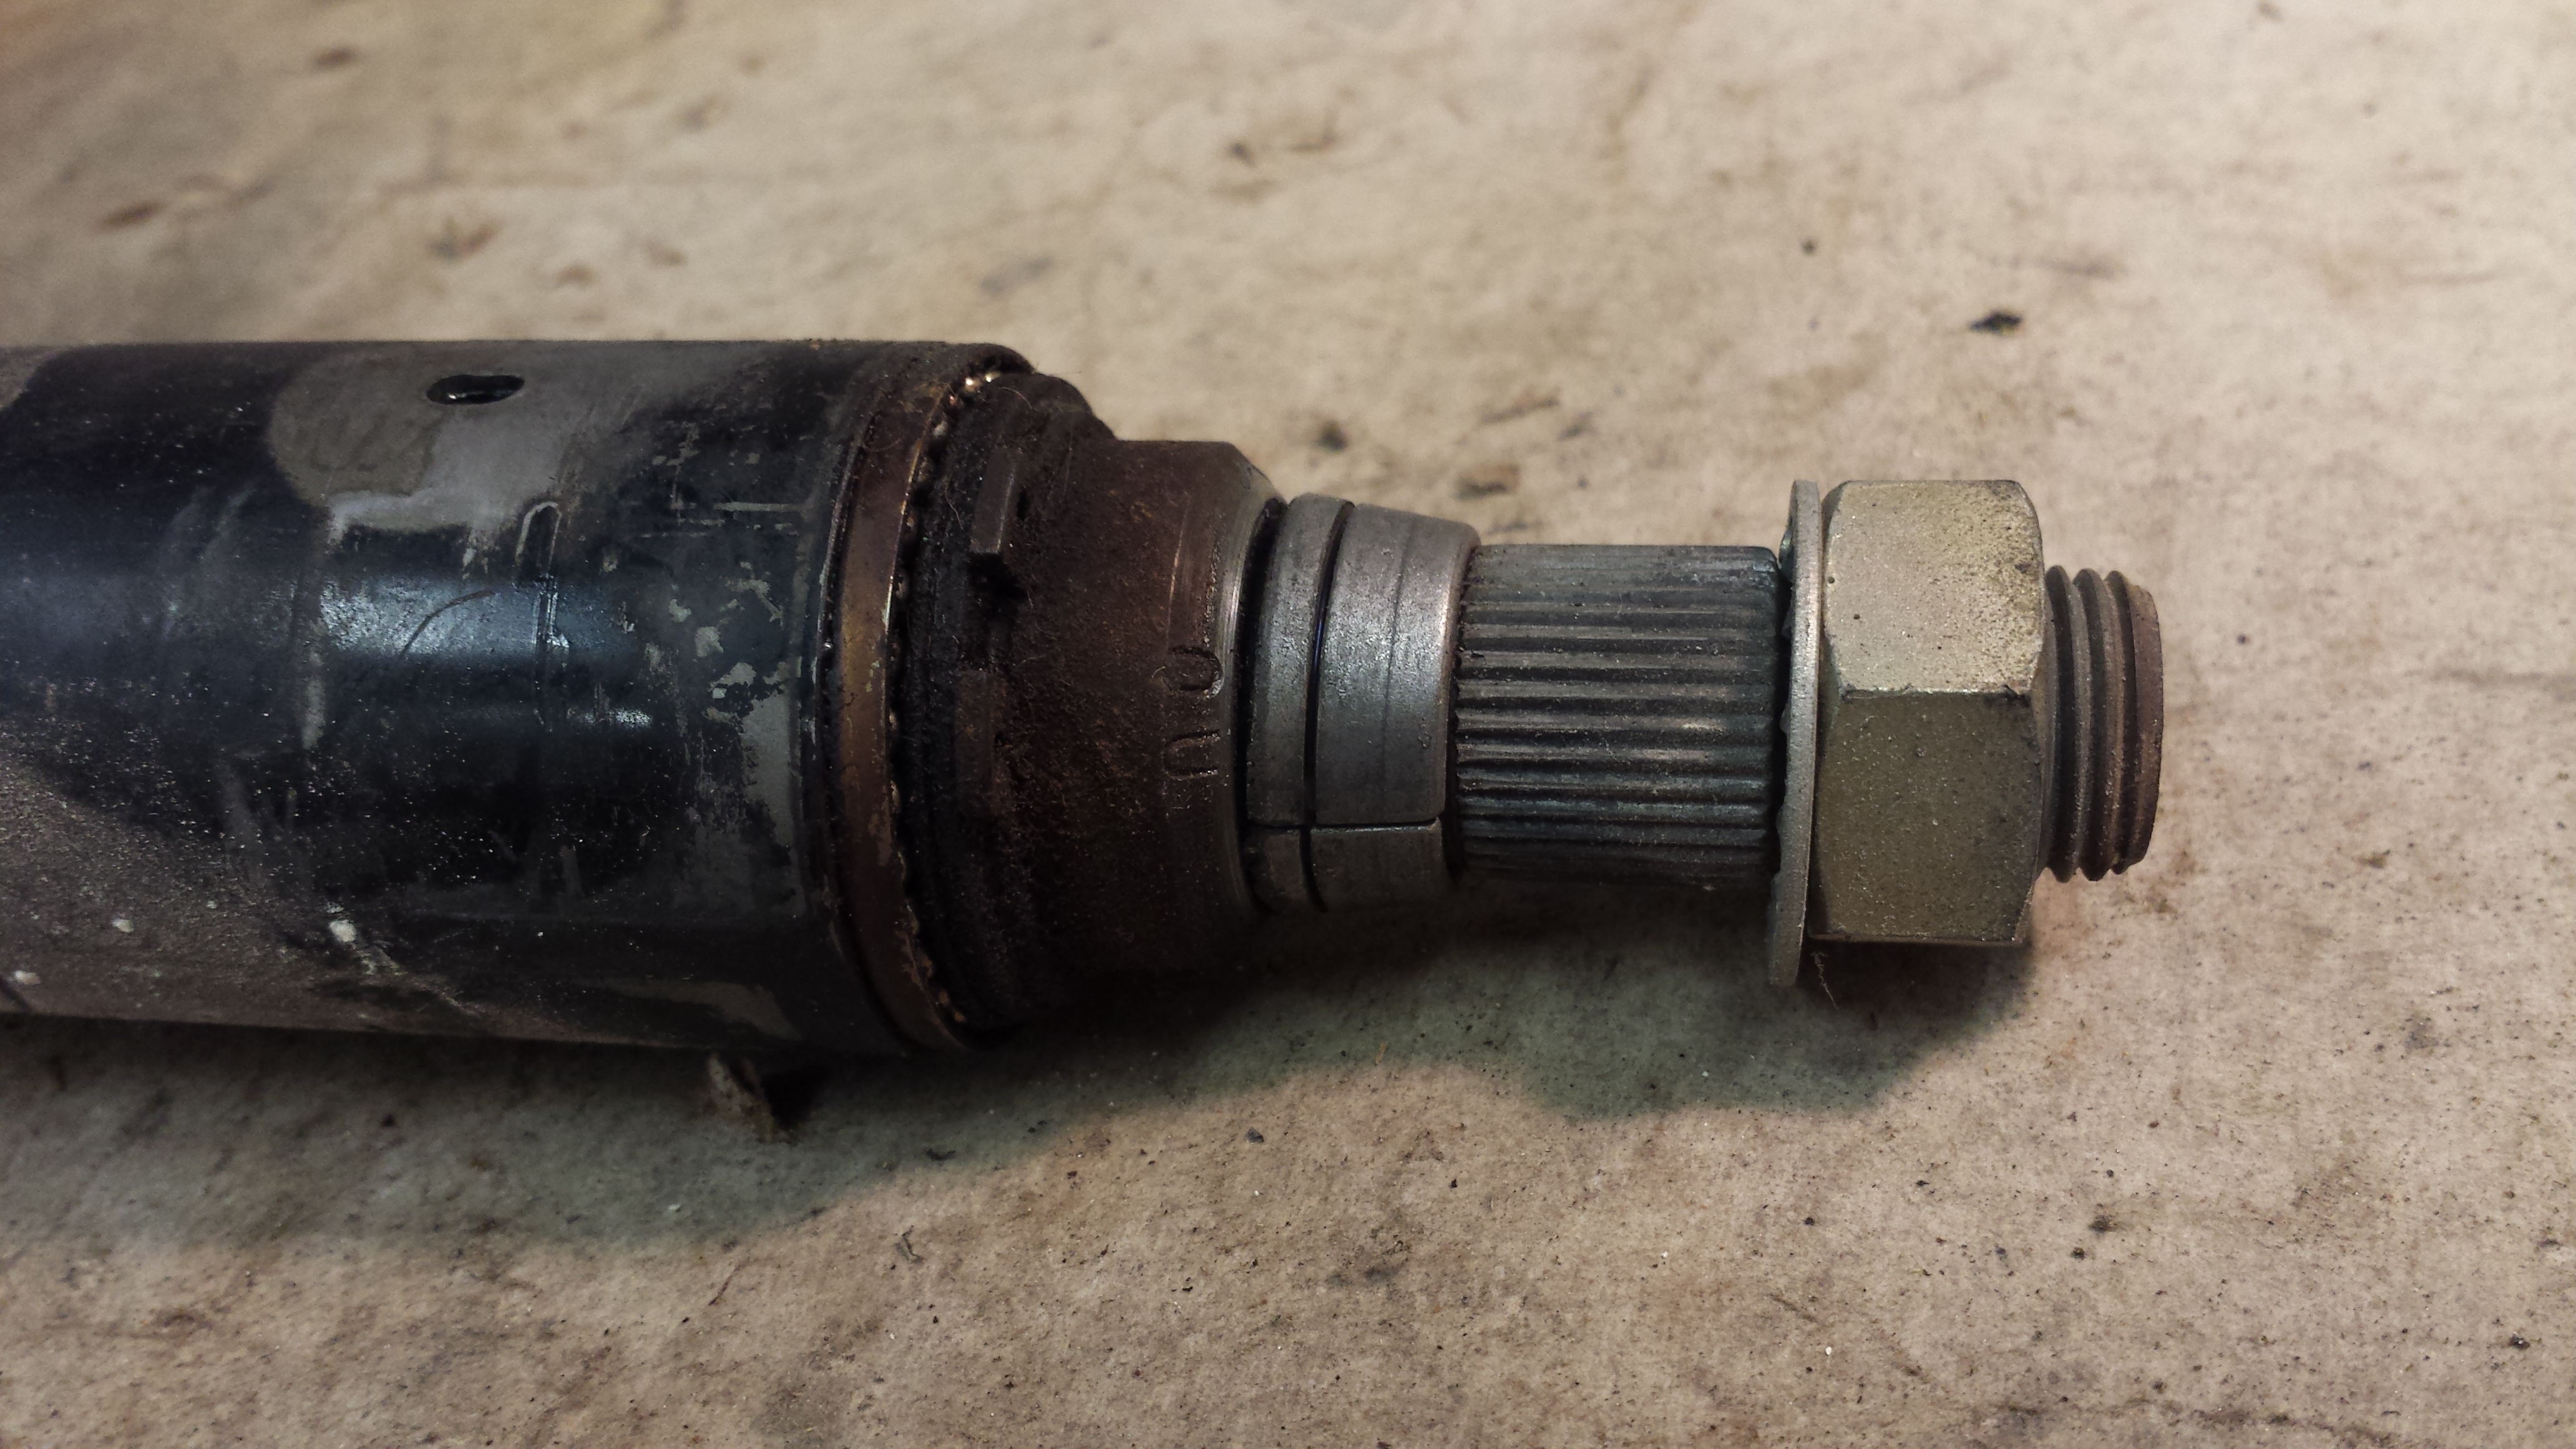
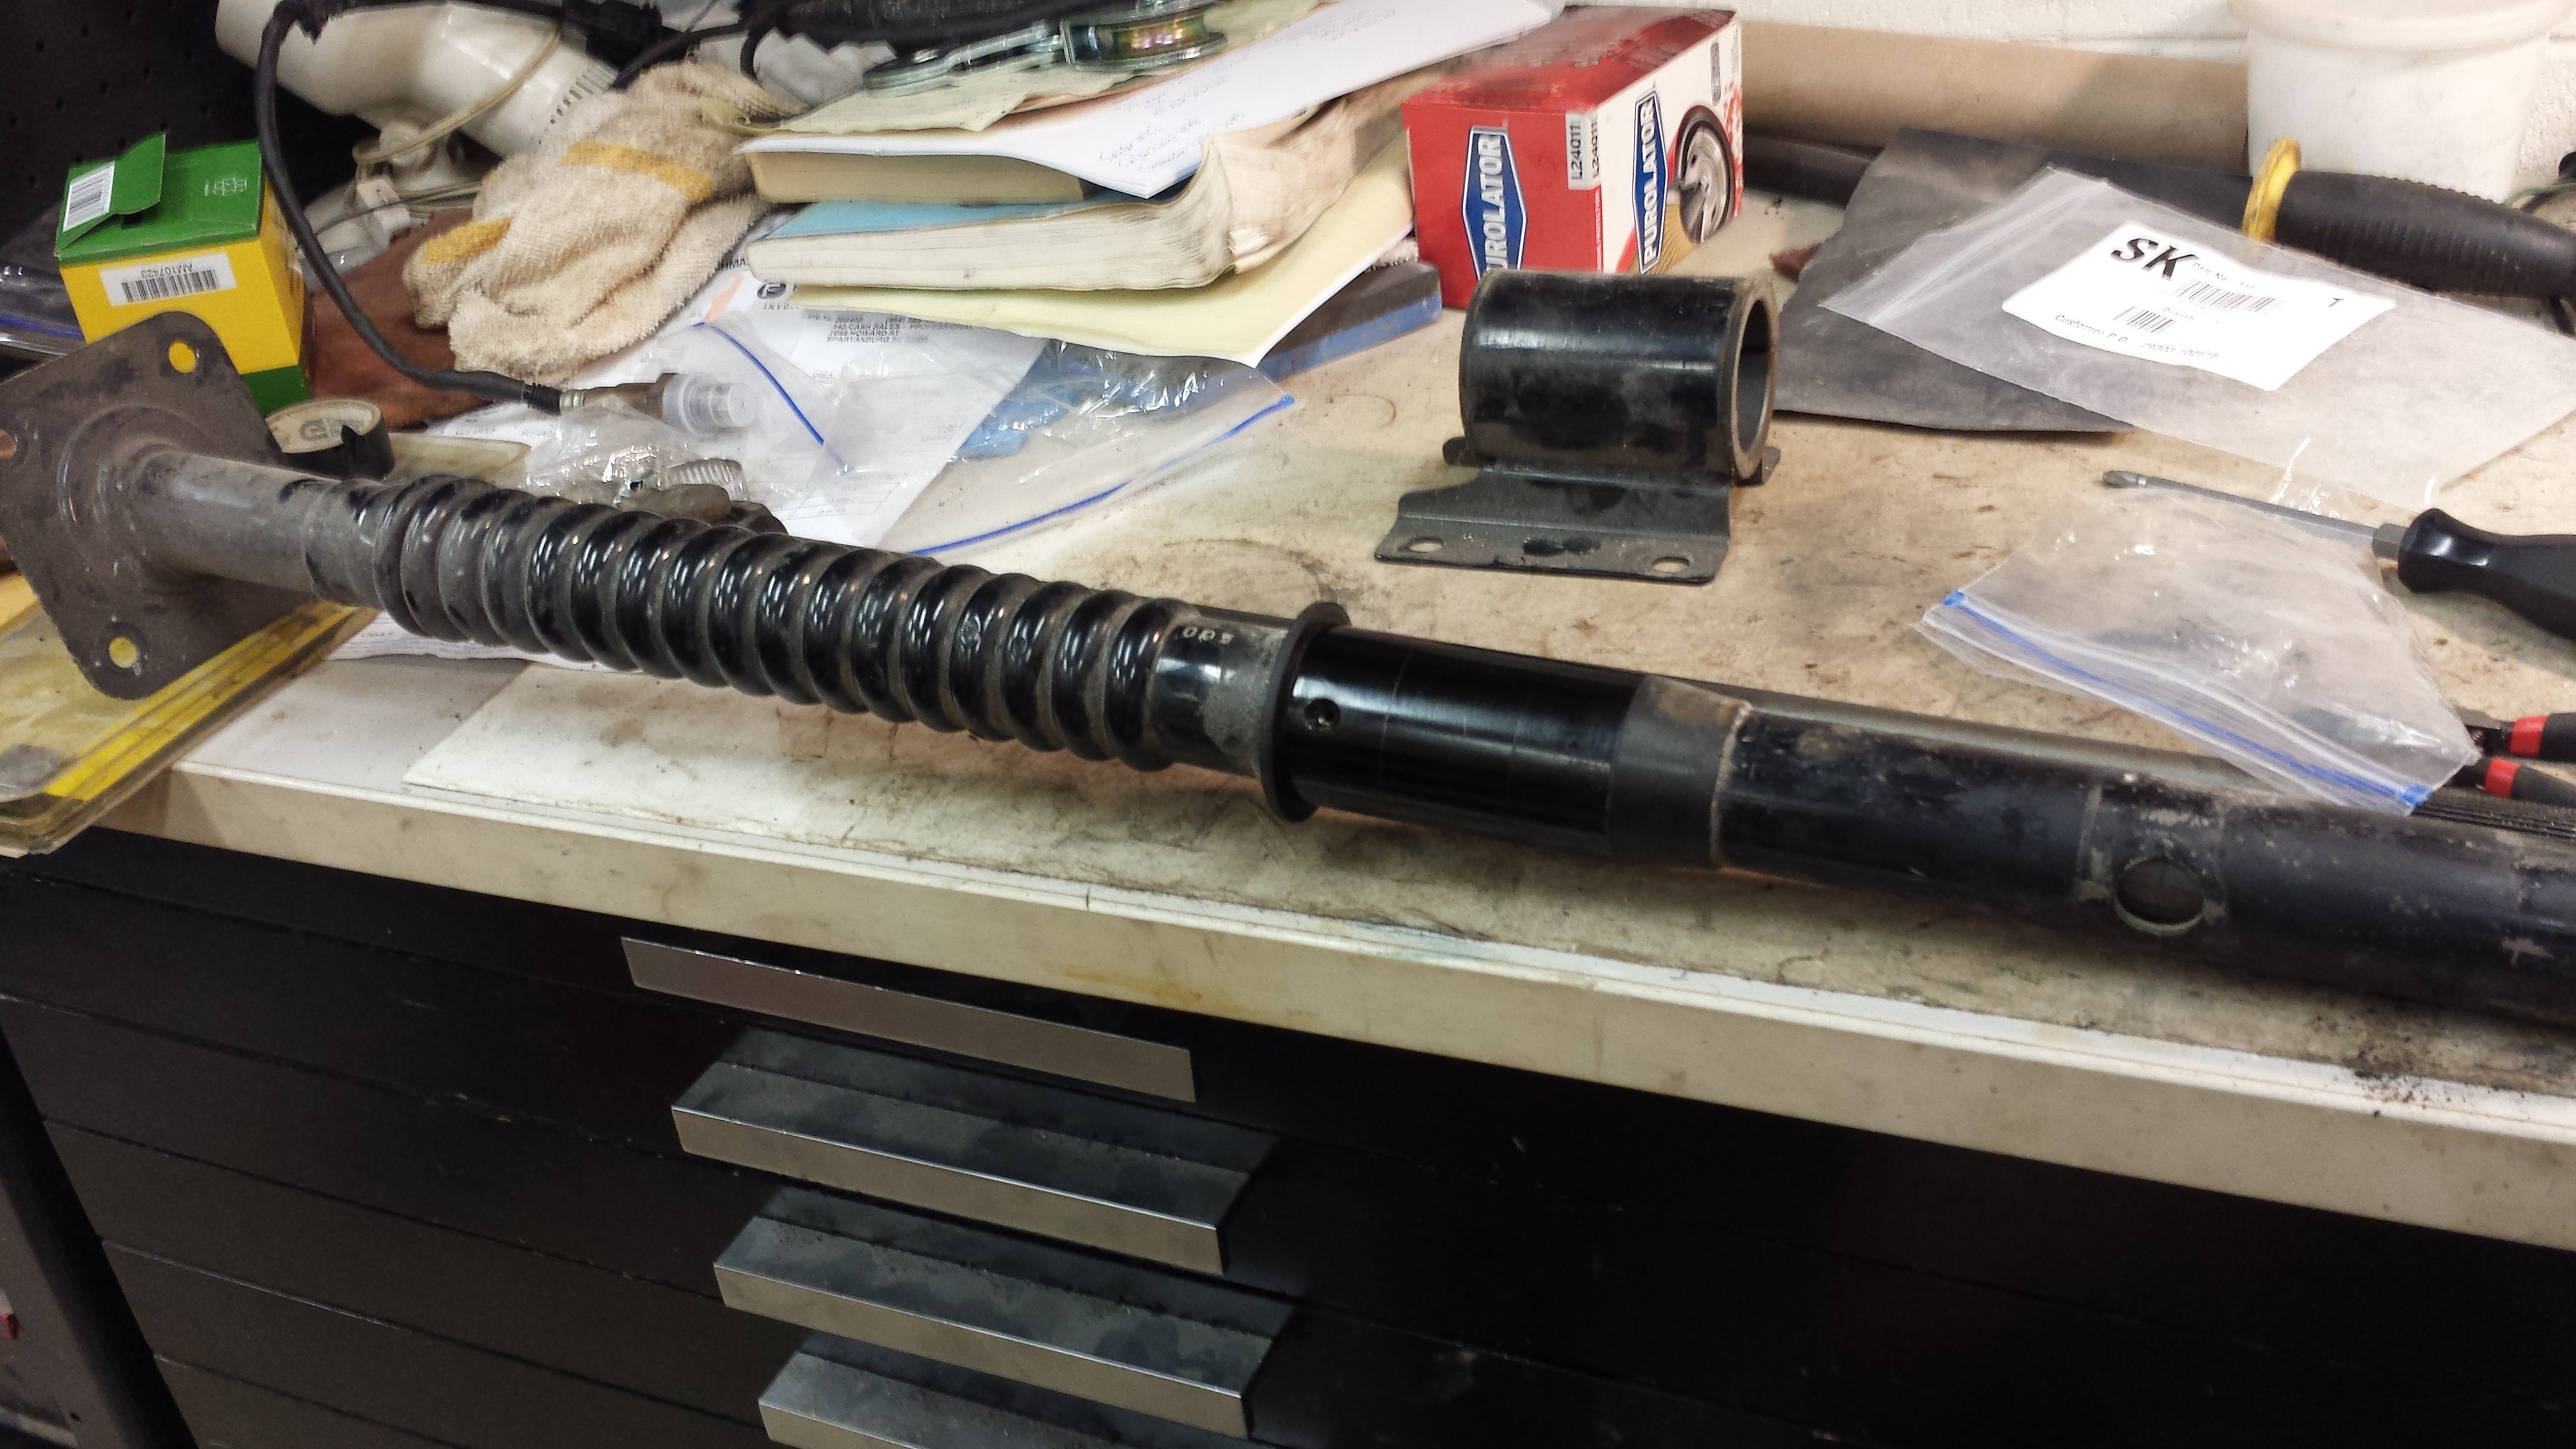
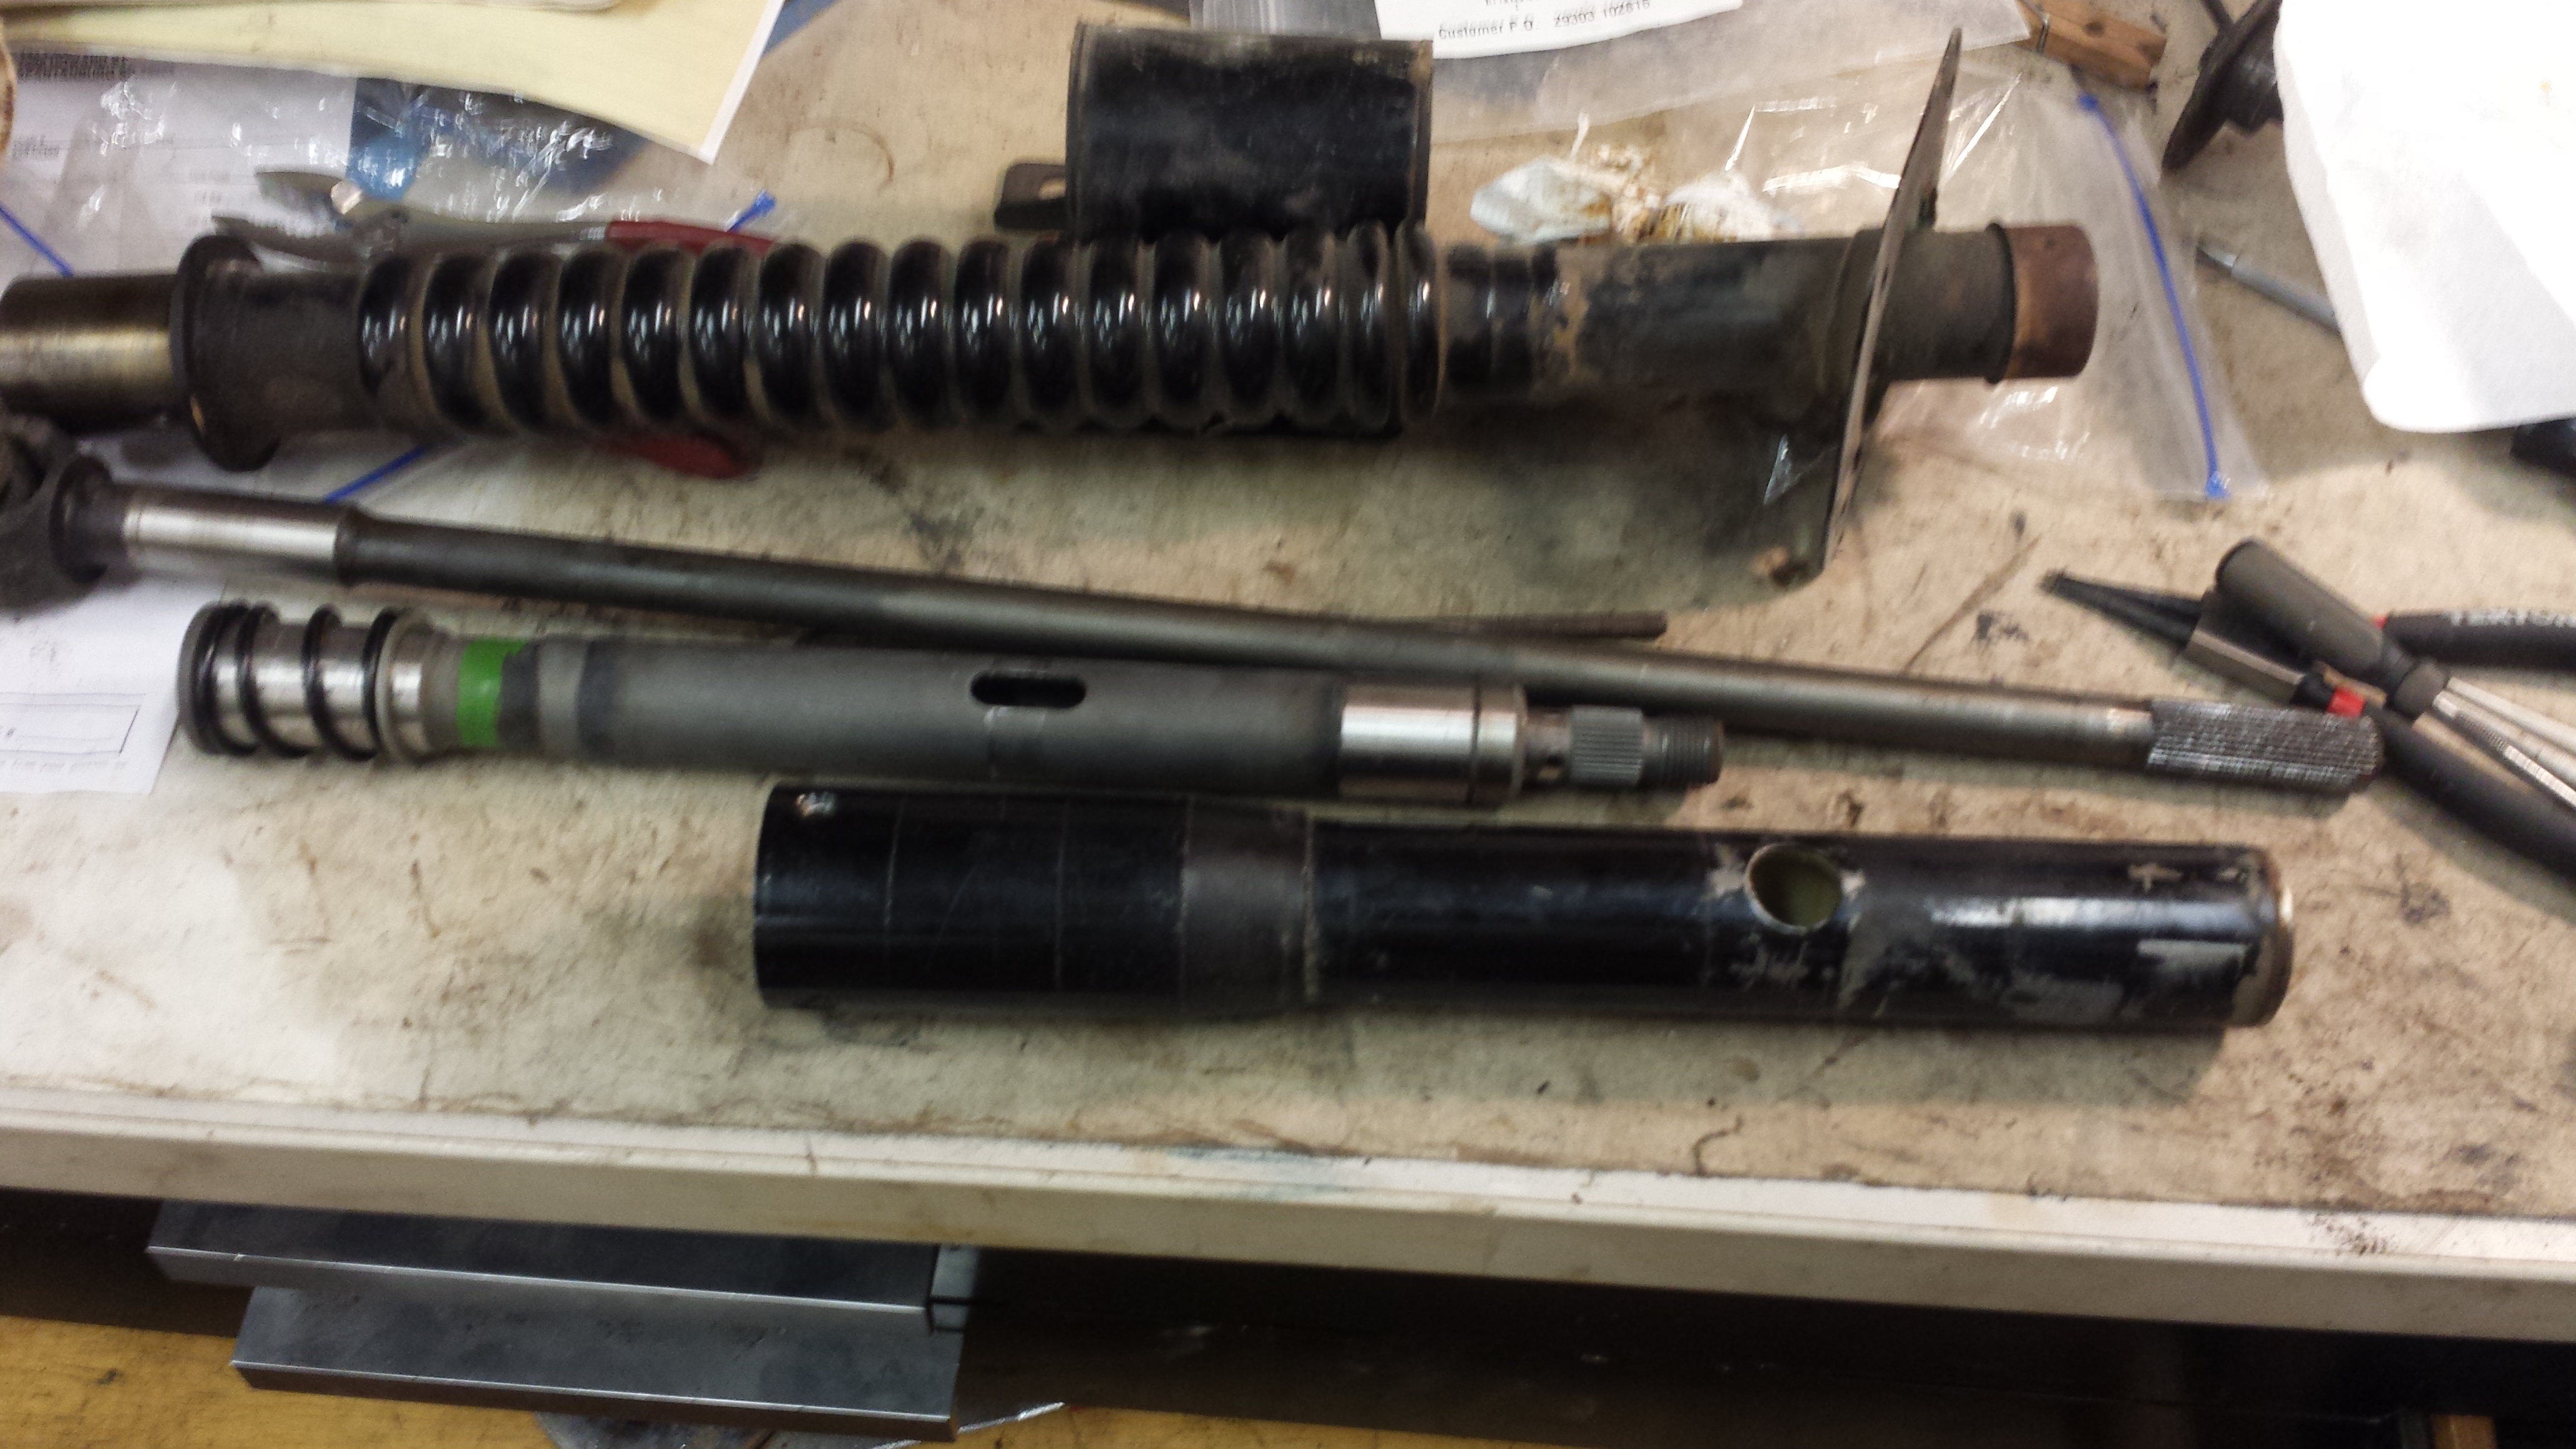
1 point1 pointPersonally I'd go for The Real Thing when it comes to brake parts, and fit genuine Sumitomo MK63 pads. However, there's an OEM Ford fitment that uses a similarly shaped pad to the solid rotor MK63, and they will work with a little modification. I don't know what your local market part number will be, but there's a Ferodo-branded DS2500 compound reference part number of FCP167H. Maybe you can cross-reference?1 point1 pointYou can also use some antisqueal sealant on the back of the pads even with the shims. One that comes to mind is something like CRC disc brake quiet Yes, I would think you should be able to lock all four...1 point1 pointSo in the last week or so I have made some more progress Skimmed out the fender with some fiberglass to deal with any pinholes. I may actually fill that section of the fender with fiberglass instead of plastic filler because it will be harder and may hold up better so close to the ground behind the wheel, but it is more difficult to work and finish properly Started figuring out bolt locations... This is the bolt from the lower front link to the crossmember These are the bolts for the tension rod and ball joint These are the bolts for the steering knuckles to strut tower. I couldn't find all of these so I pirated some from the parts pile in the yard. They are evidently NLA and hard to source. I replated these two which were not stellar, the heads look good so the rest really won't show. I will update the caswell thread after a little more experimentation. Also these bolts are evidently different lengths. I thought it was an anomaly but this car was this way and the other series 1 in the driveway had the same setup as well as the spare rack in the parts pile. The longer bolt was in the front bolt hole on the knuckle... I also bought these O rings for the steering knuckles. Evidently these are still being produced but they were like $12 each through Courtesy It is challenging to get the ball joints torqued with no steering installed on the car. I used a strap and tied it to the steering mounts to help keep them from twisting while I torqued them. I have also found it difficult to locate the correct torque values for the suspension. I have a copy of the FSM and a Haynes manual, but I tend to know the parts by other names... I also reworked the washer arrangement like CO explained. That was doable but still a challenge to get the tension rod nut started. I have these on the car at this point too but I had to order some lock nuts (NLA). They are an odd thread pitch and not commonly stocked. I haven't figured out a way to torque them other than to put a wrench on one end and assume both ends torque the same. I haven't come up with a way to hold them with out marking them up... I have most of the front suspension on except the front struts. I have a Tokico setup I bought about 7 years ago... It has the red springs which I will run to start with. I would have gone with the Eibachs if I had known better at the time and I may go with those later if these are too harsh. The directions call for light oil in the shock tube for heat transfer. Do any of you guys add oil when installing the struts? I like the idea if for no other reason than being able to remove them later. I have seen struts corrode into the strut so badly I couldn't remove them... I thought about using a synthetic 0w-30 oil for the tubes but have no idea how much to add, although it might say in the FSM. It wants them filled to like a 1/4" down from the top of the strut but I am not sure you can see that with the strut in the tube... I have also started redoing the upper steering column. I ordered the Kawasaki u joint (Amazon - Motor Master Universal Joint ATV700) to replace the joint in the shaft so I can bead blast and paint it. I have the clips off the old joint but it hasn't wanted to move yet so I have it soaking with some PB blaster There are a number of needle bearings inside the shaft but I am not planning on trying to remove them. I don't really have the right tools to remove them and don't want to risk damaging them with out knowing a suitable replacement is available. I plan on cleaning them well and regreasing the shaft on reassembly. Also I removed the cap off the bottom of the shaft so I could blast and plate it. I removed it so I wouldn't have to worry about beads getting up in the shaft and not being able to get it clean. If you decide to remove this cap there are two spots on the side where it has been staked, I didn't realize it but they are staked into a corresponding hole. They really need to be unstaked if possible. I just drove mine off but it folded the staked areas back. When I went to repair them, they broke off...tuition


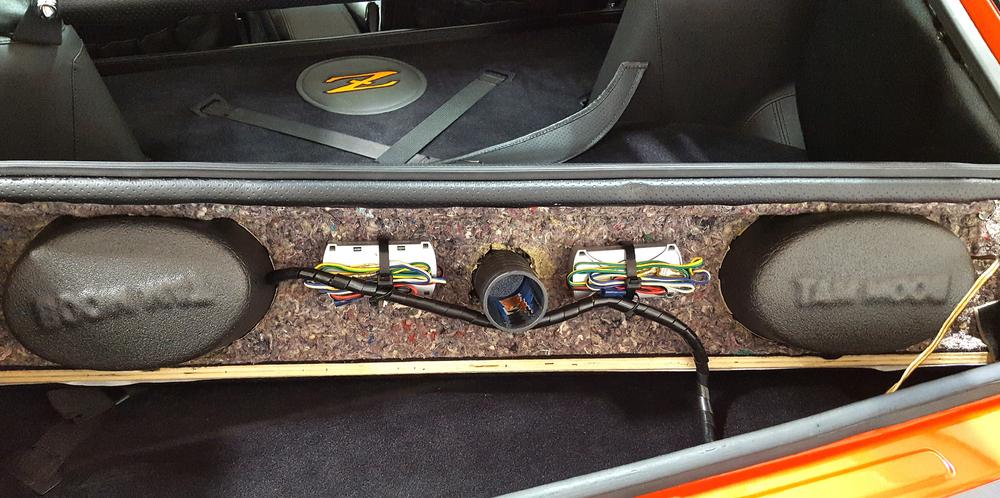
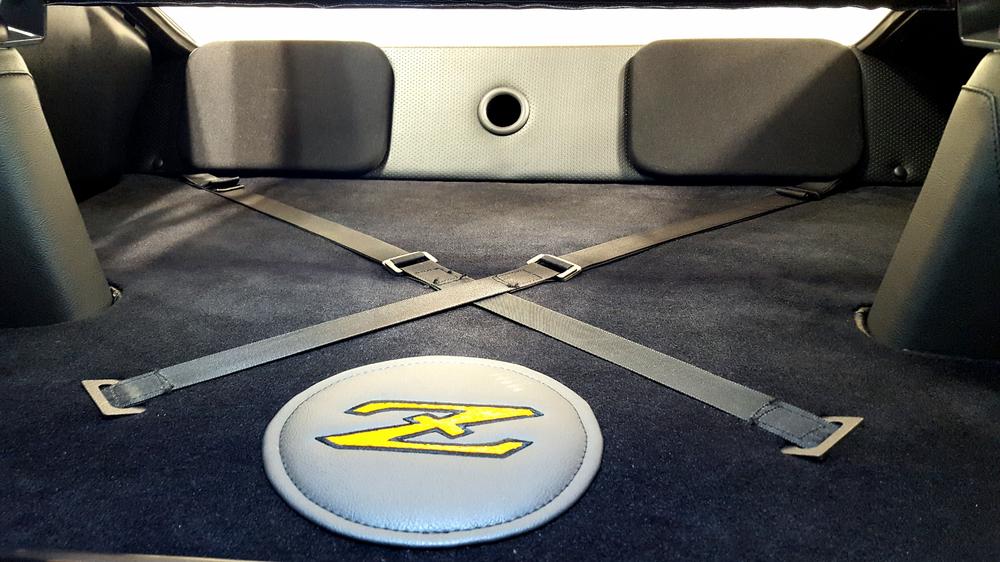
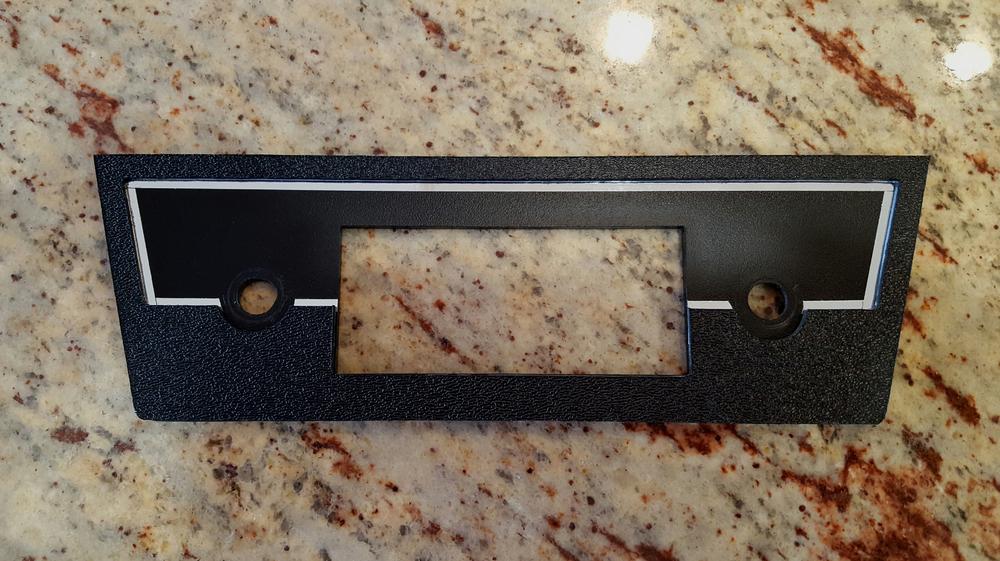
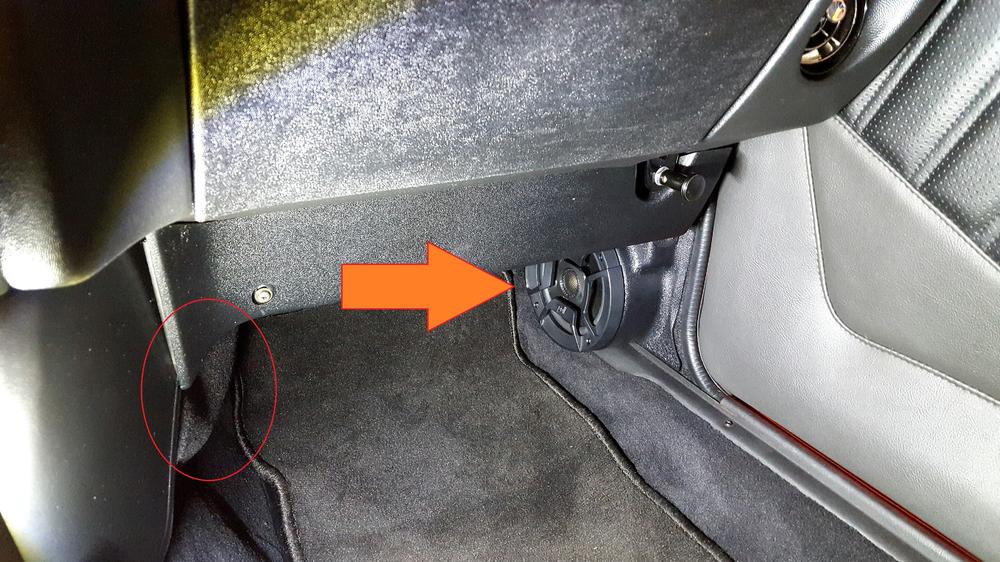
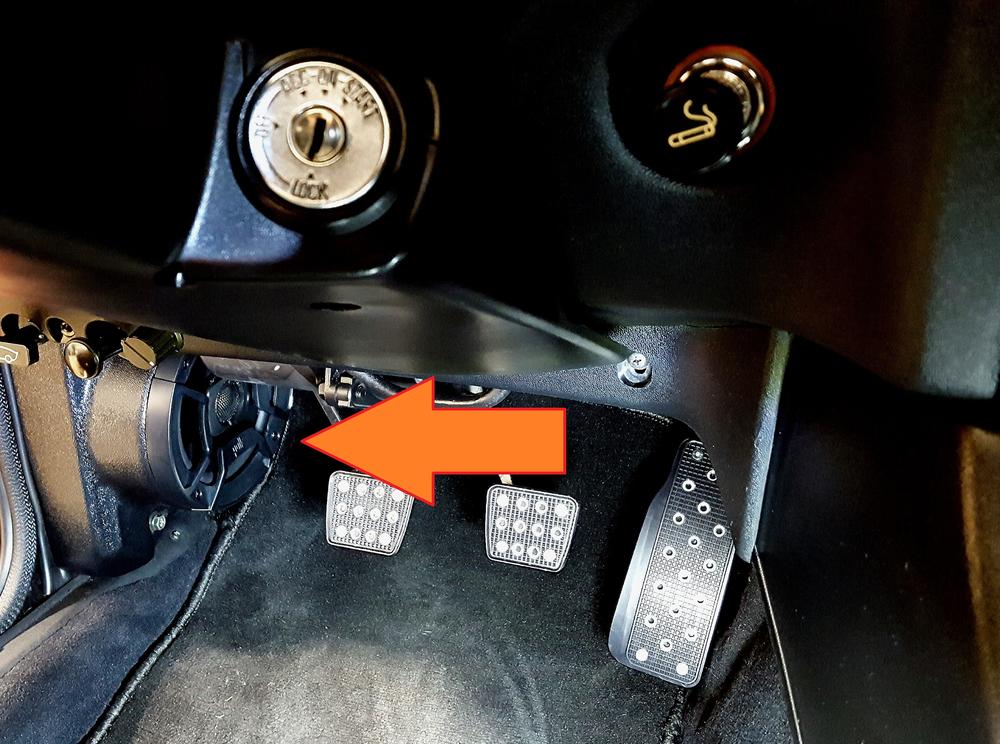
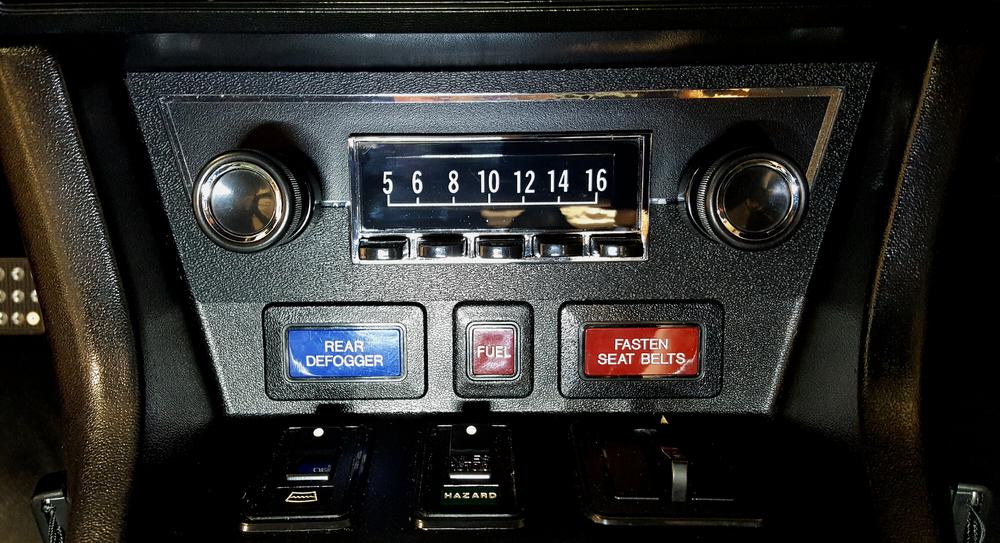
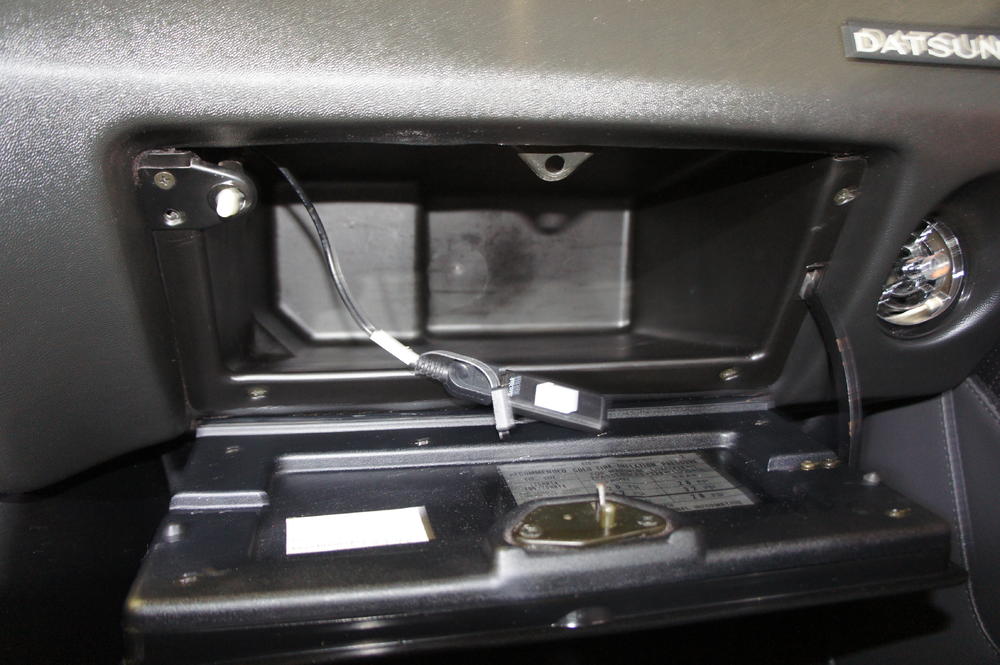
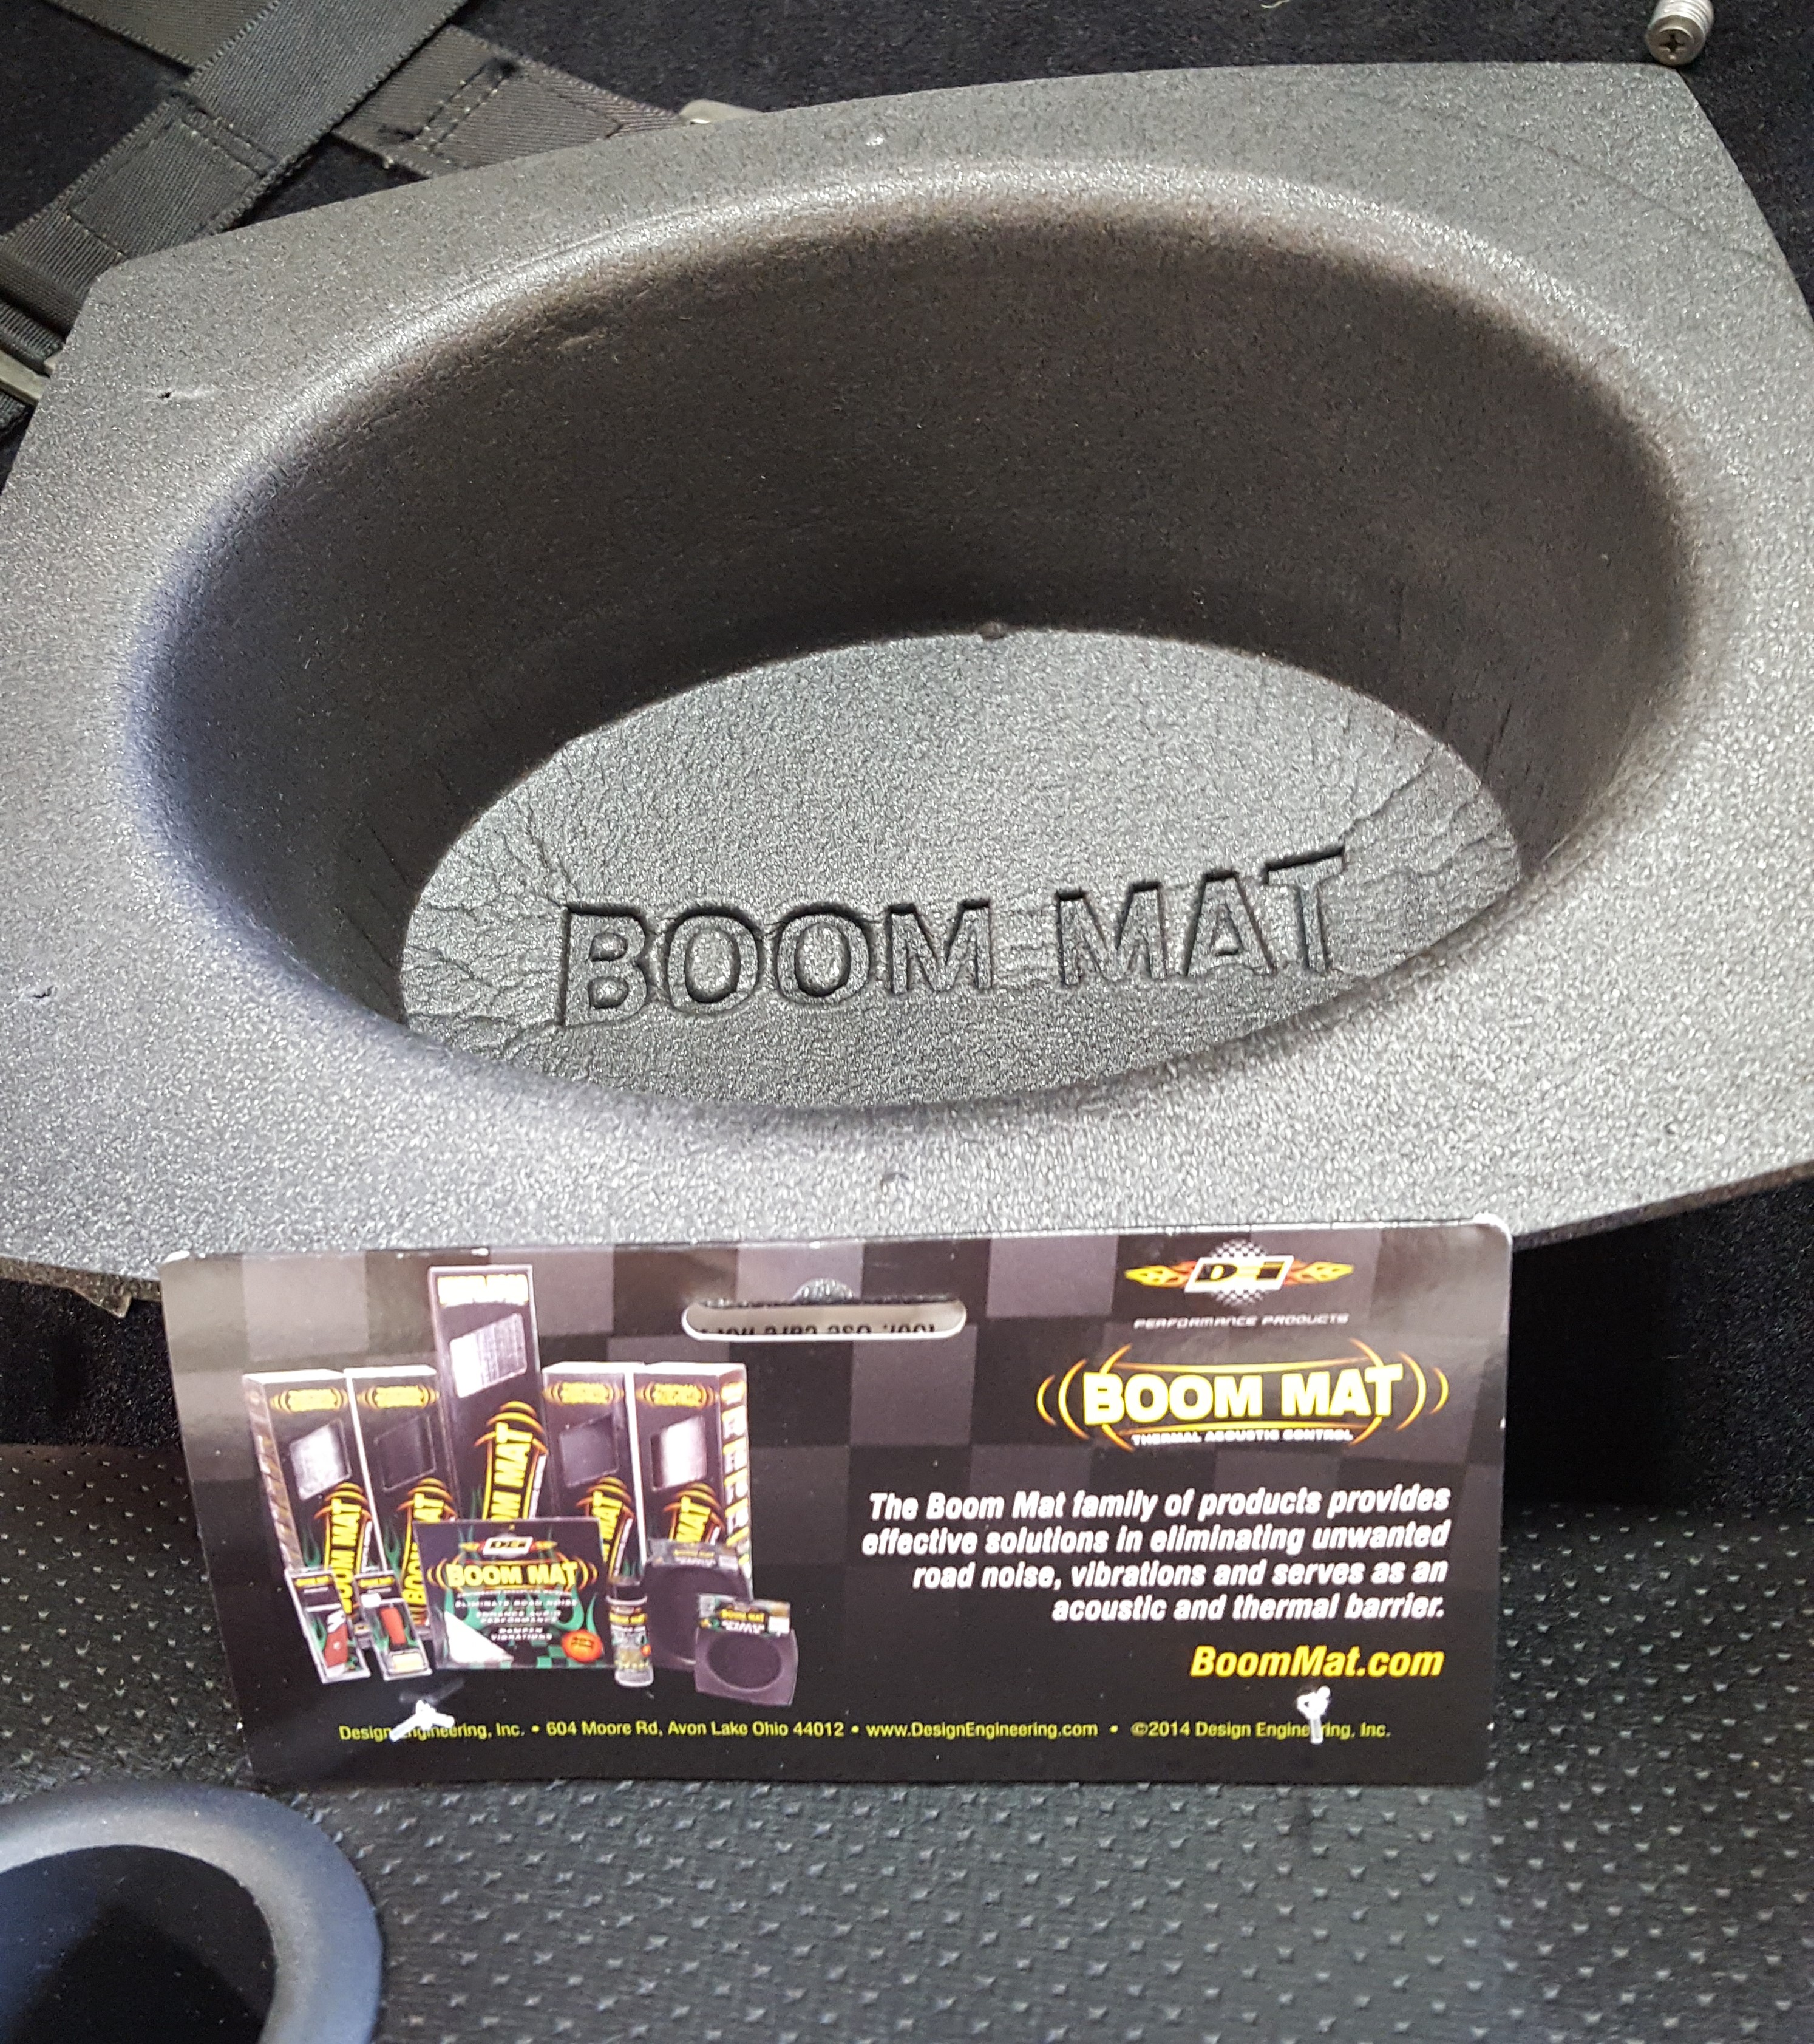
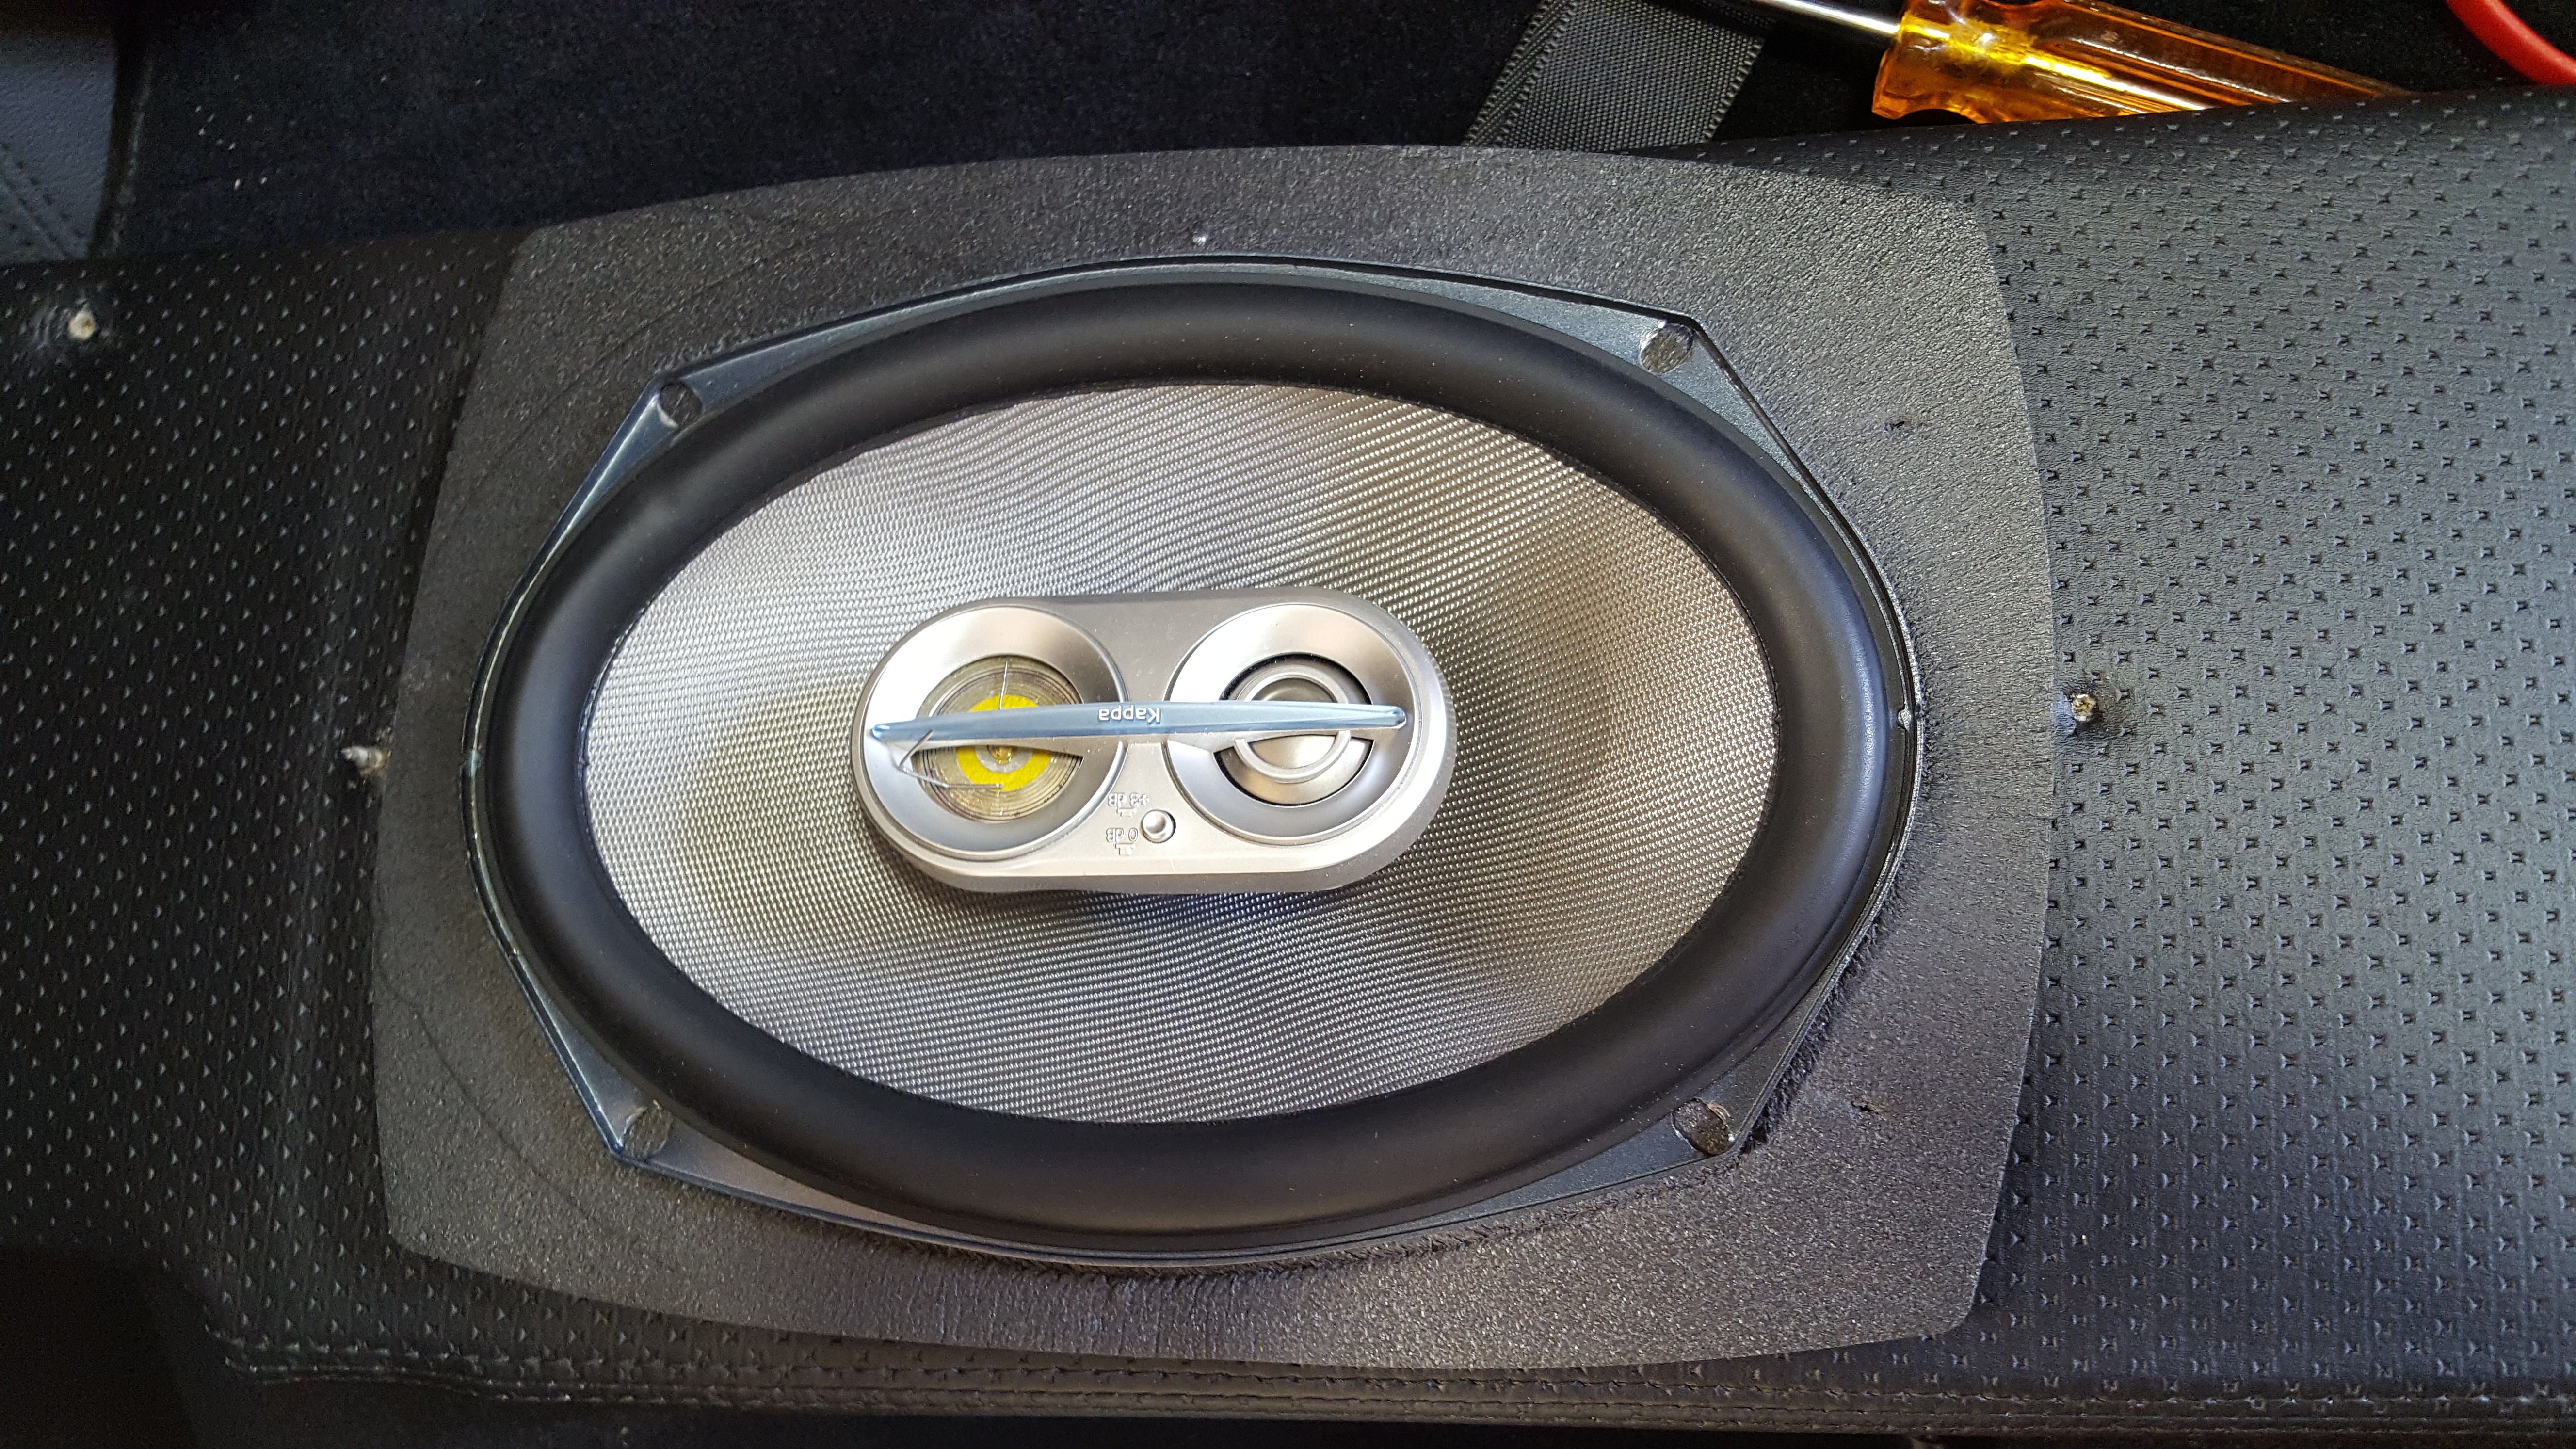
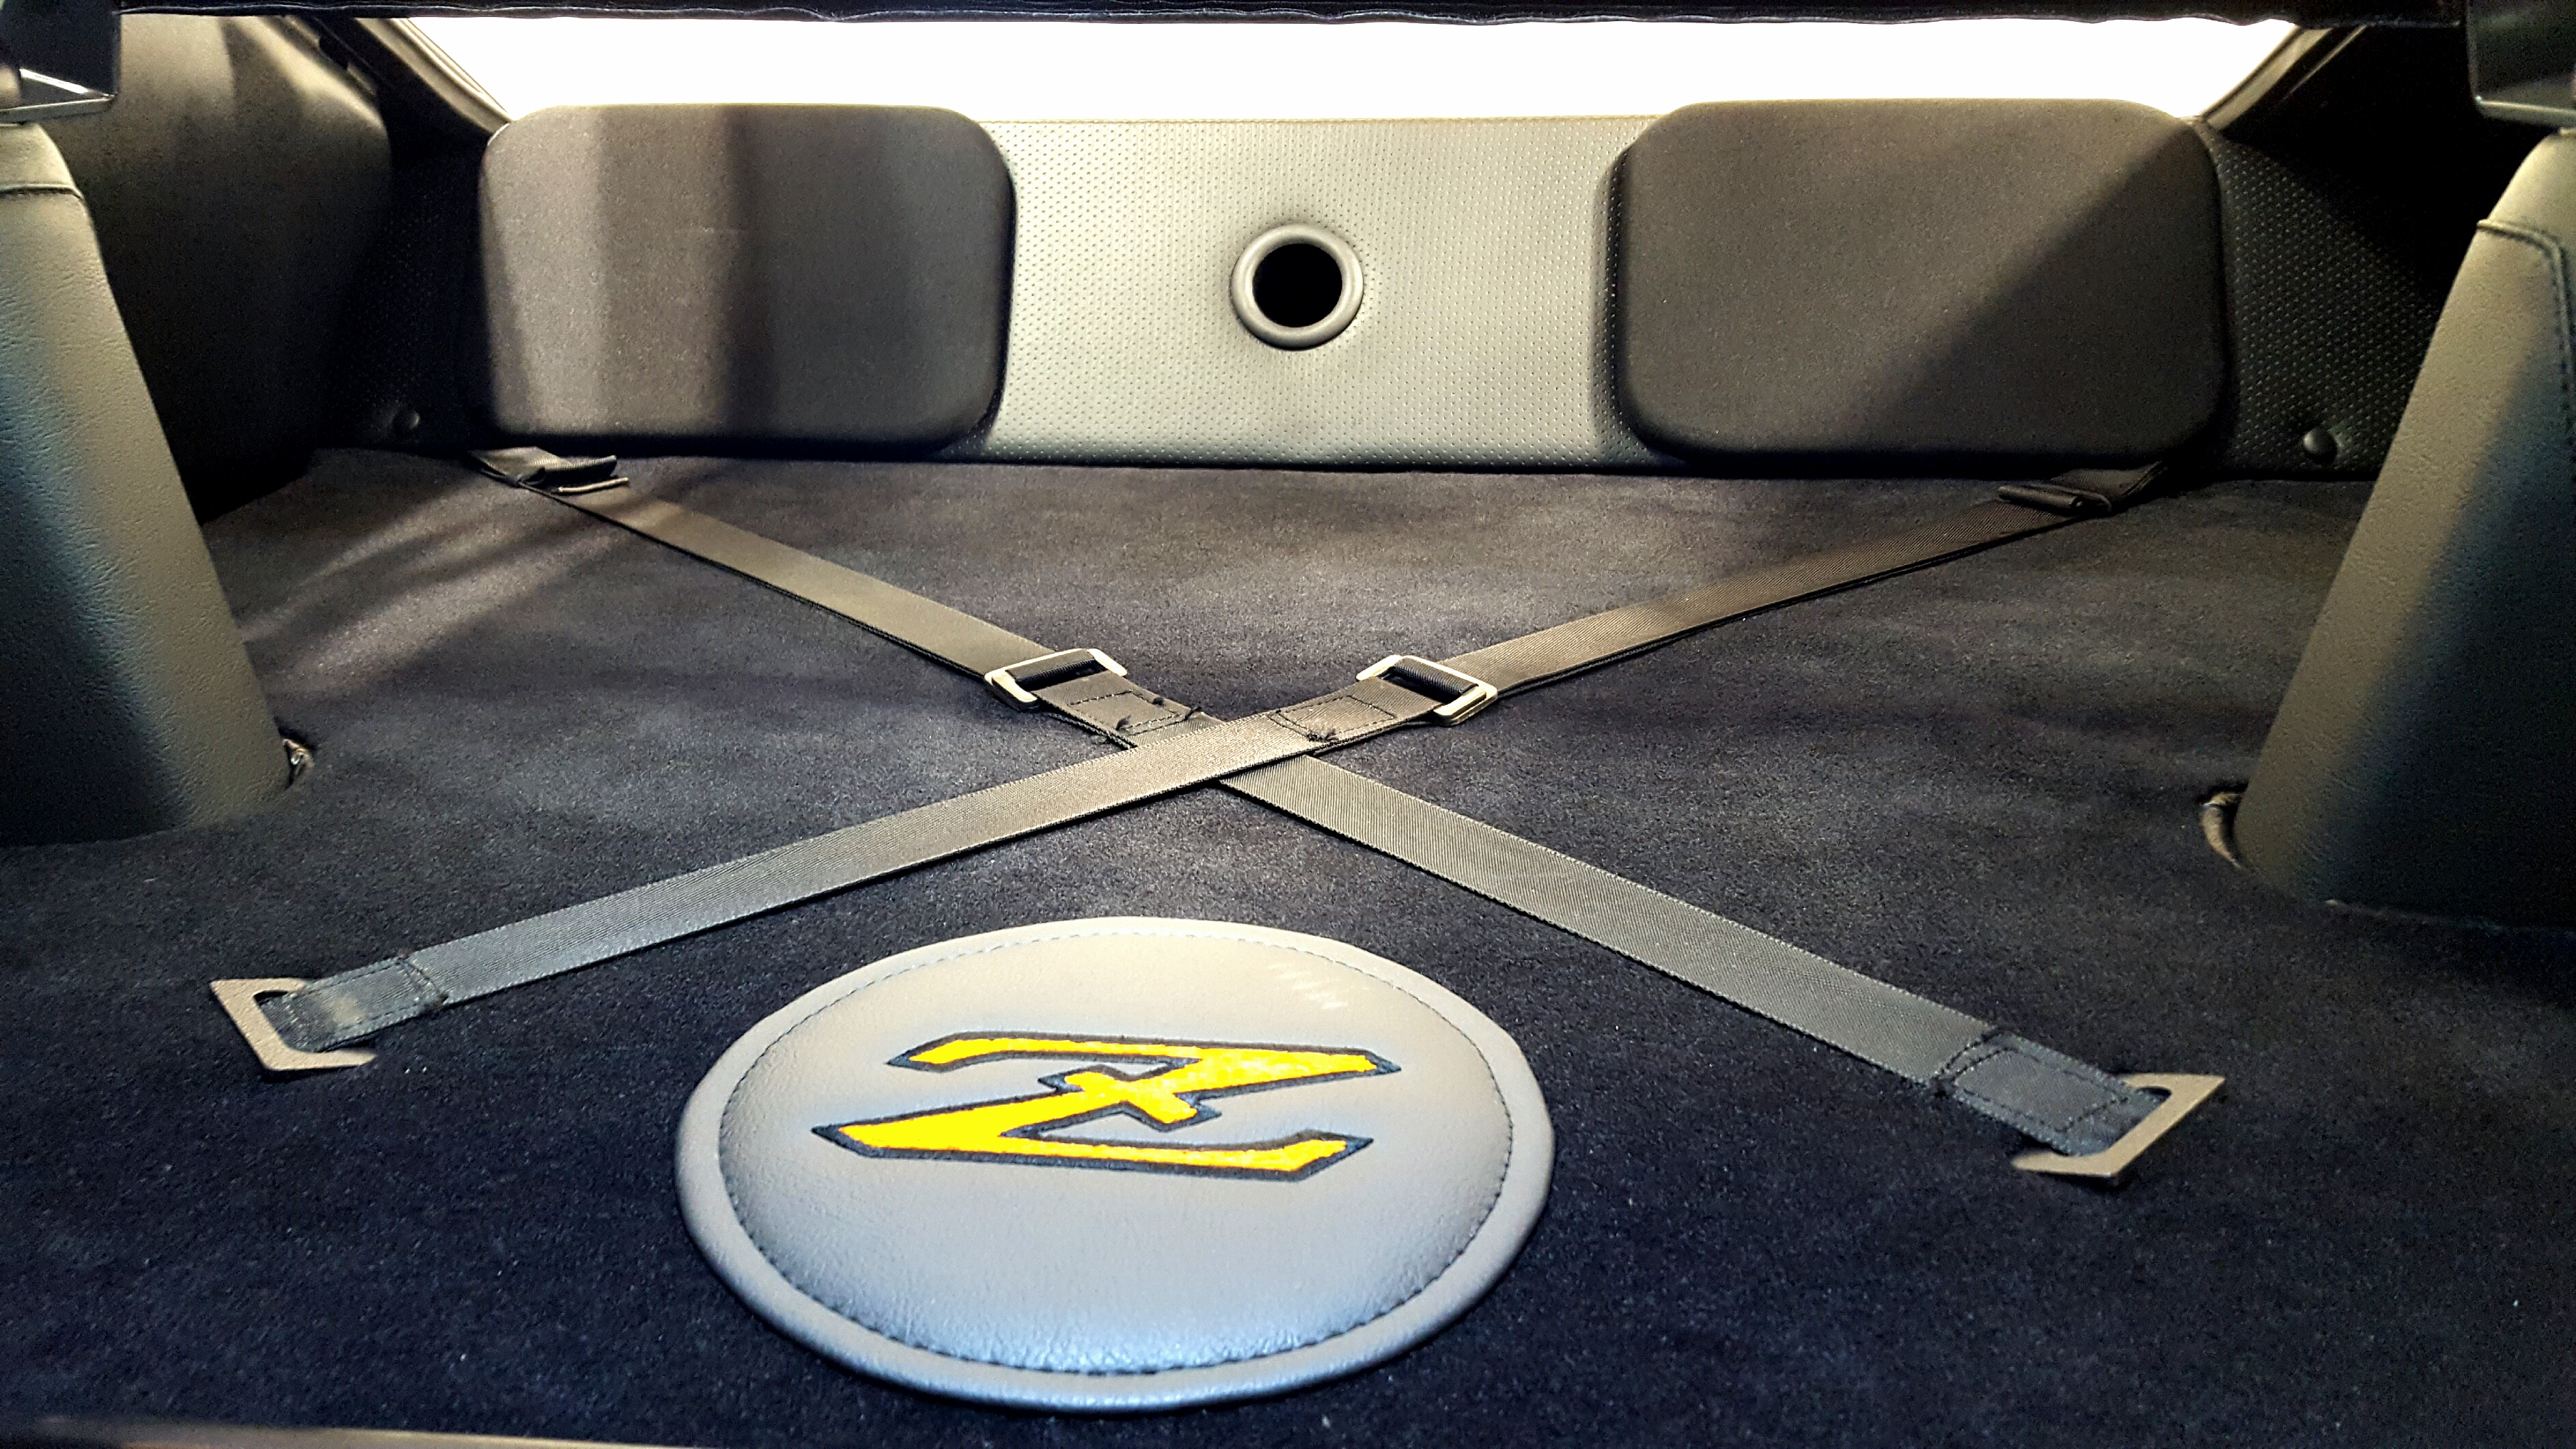
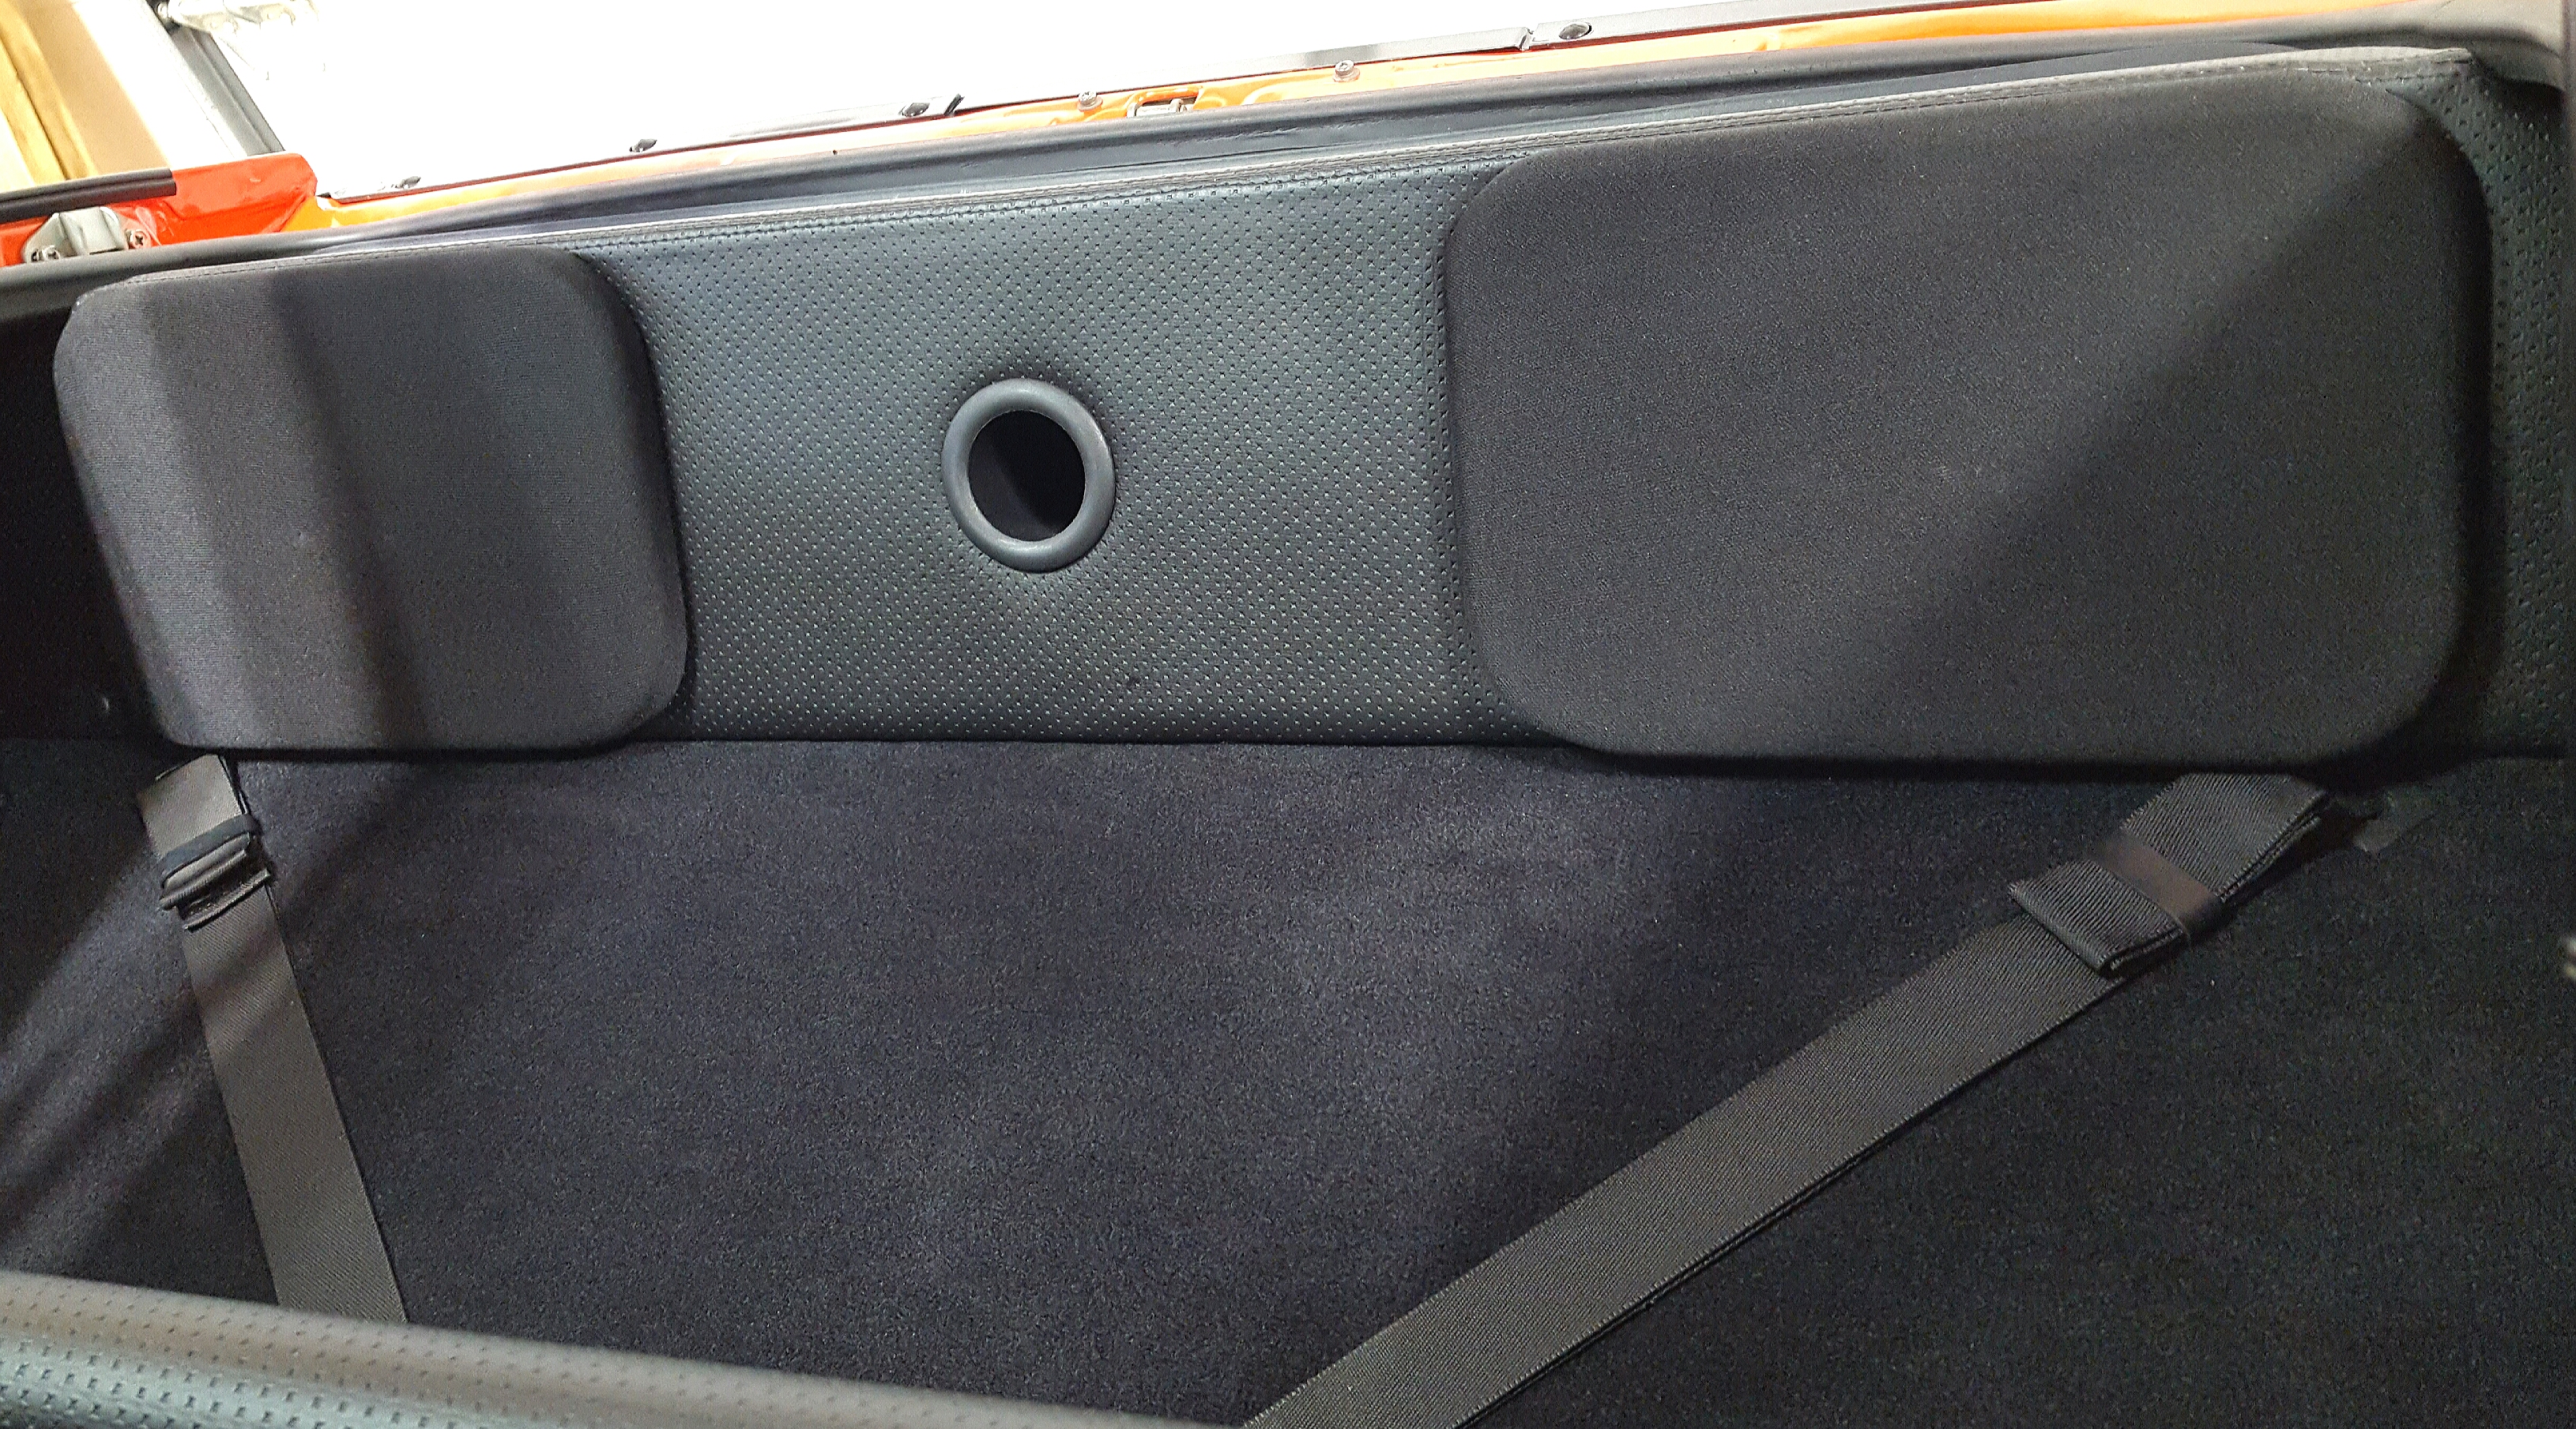
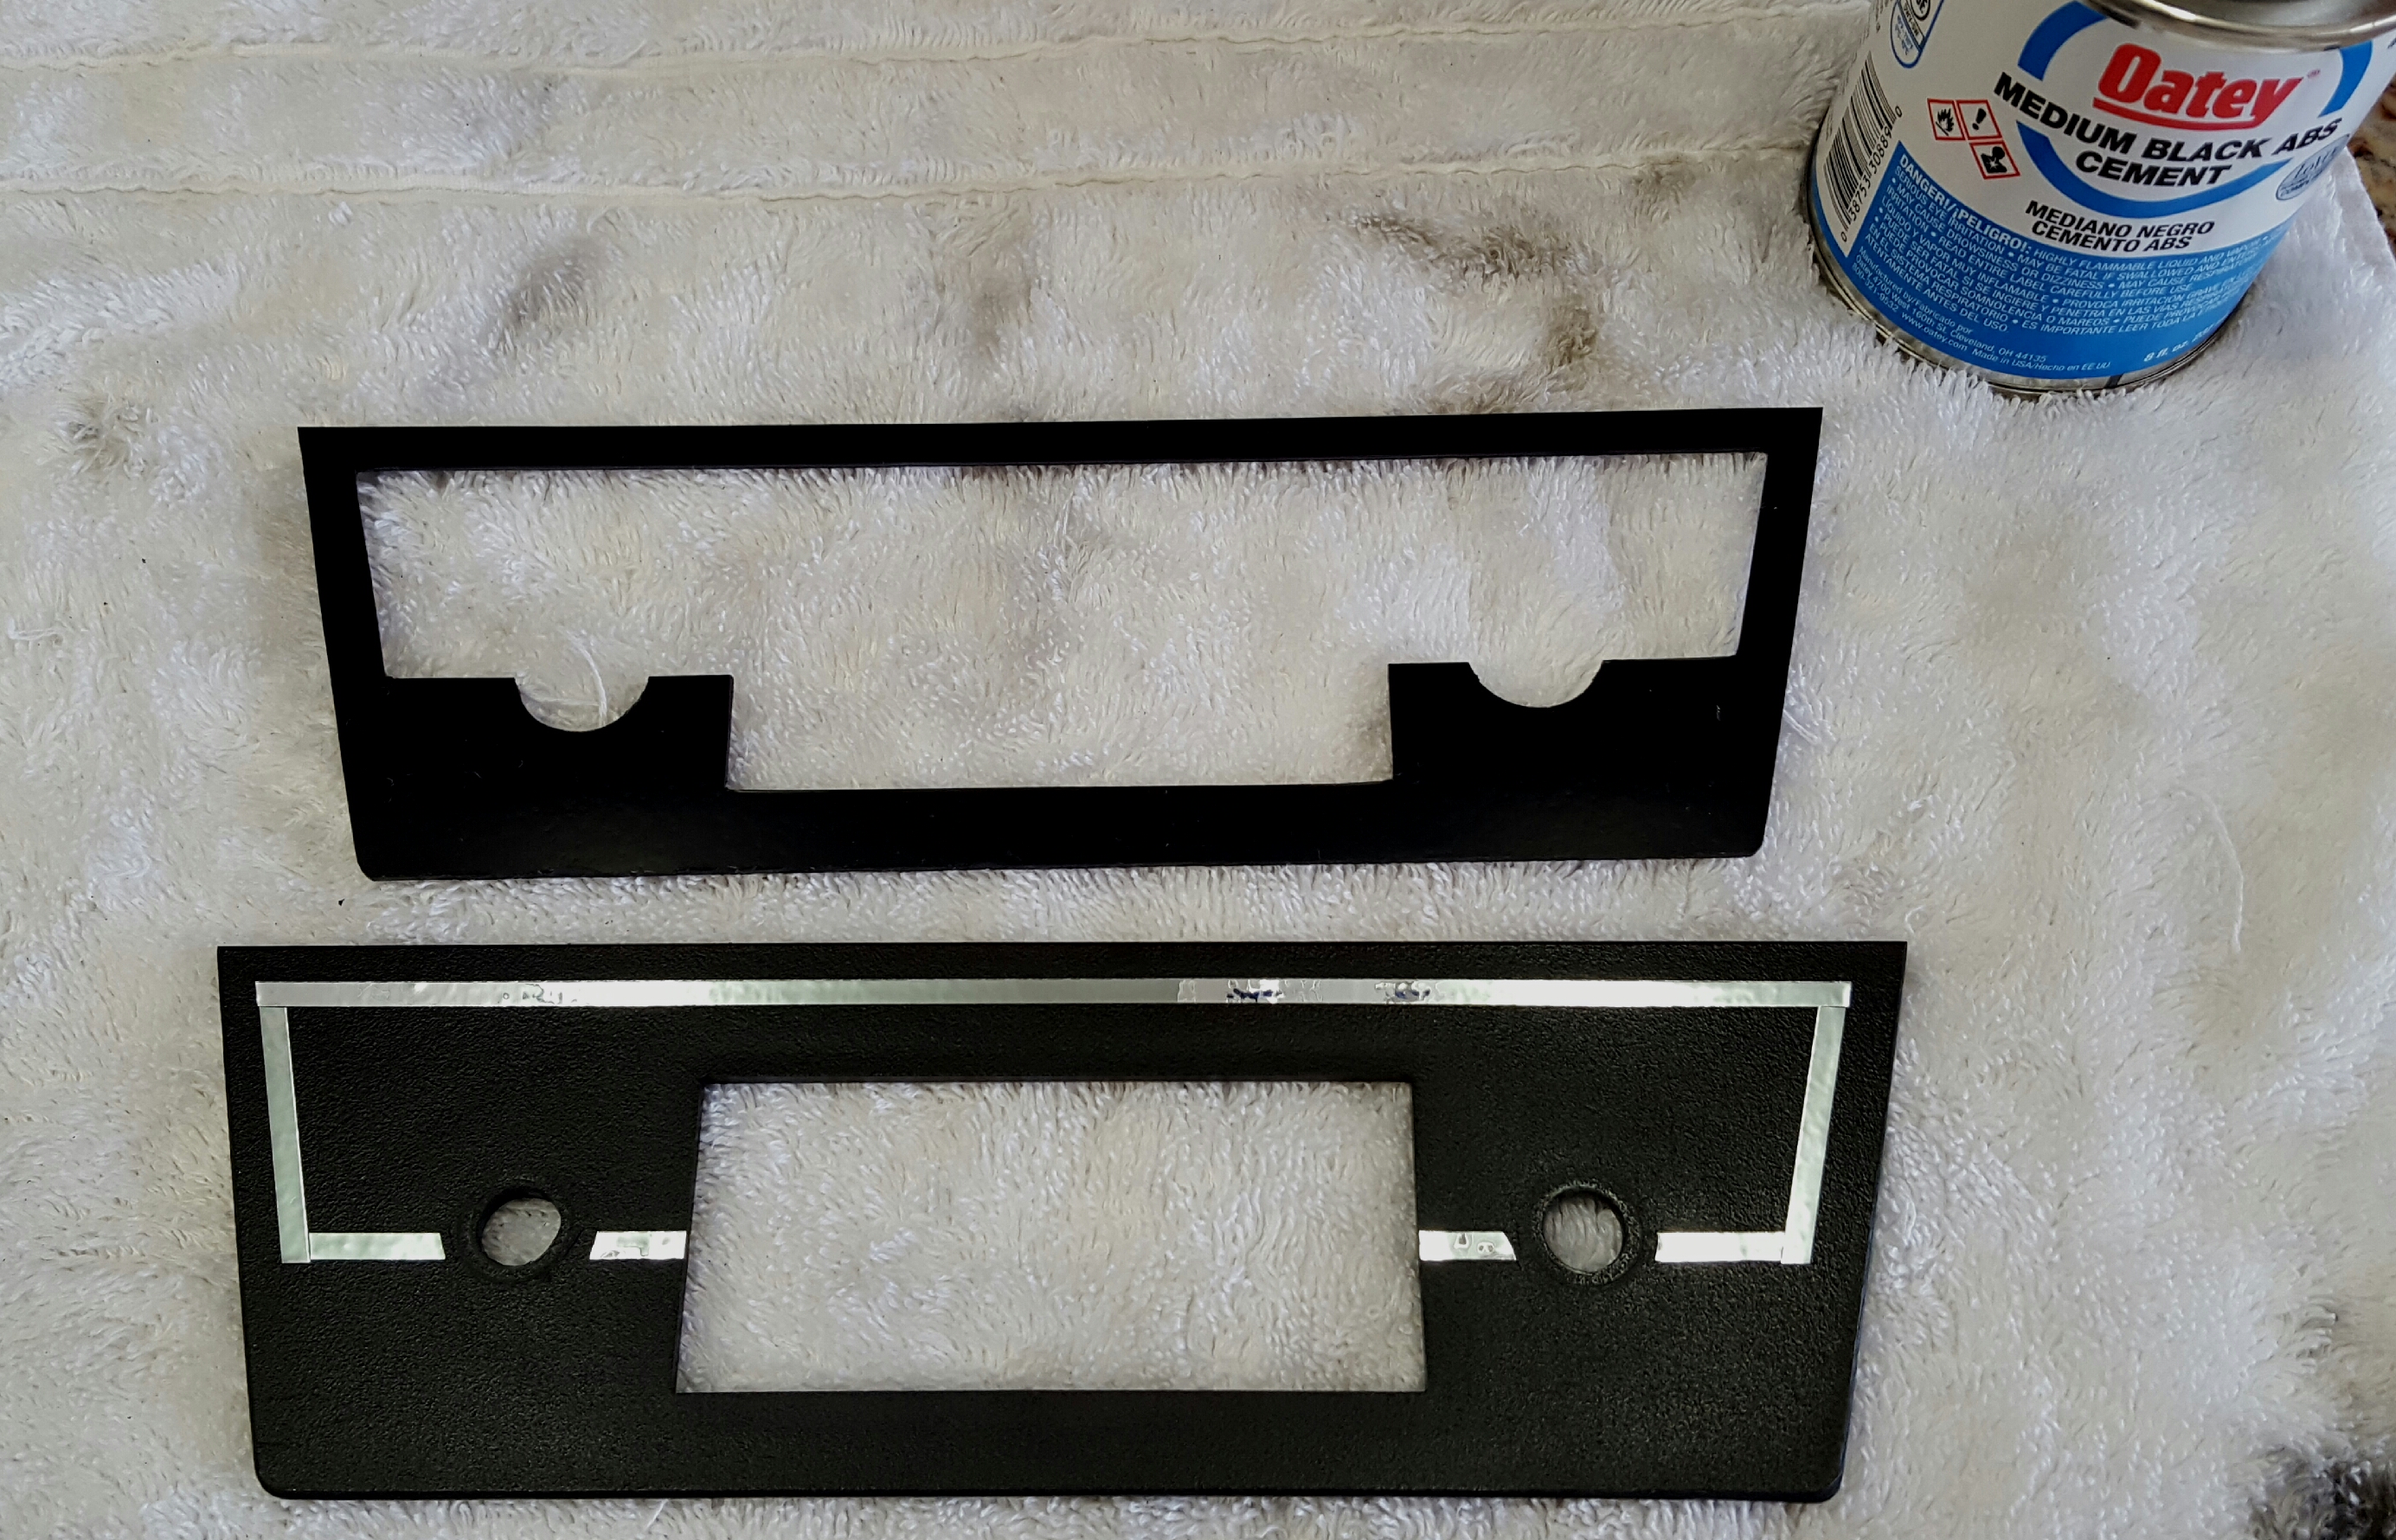
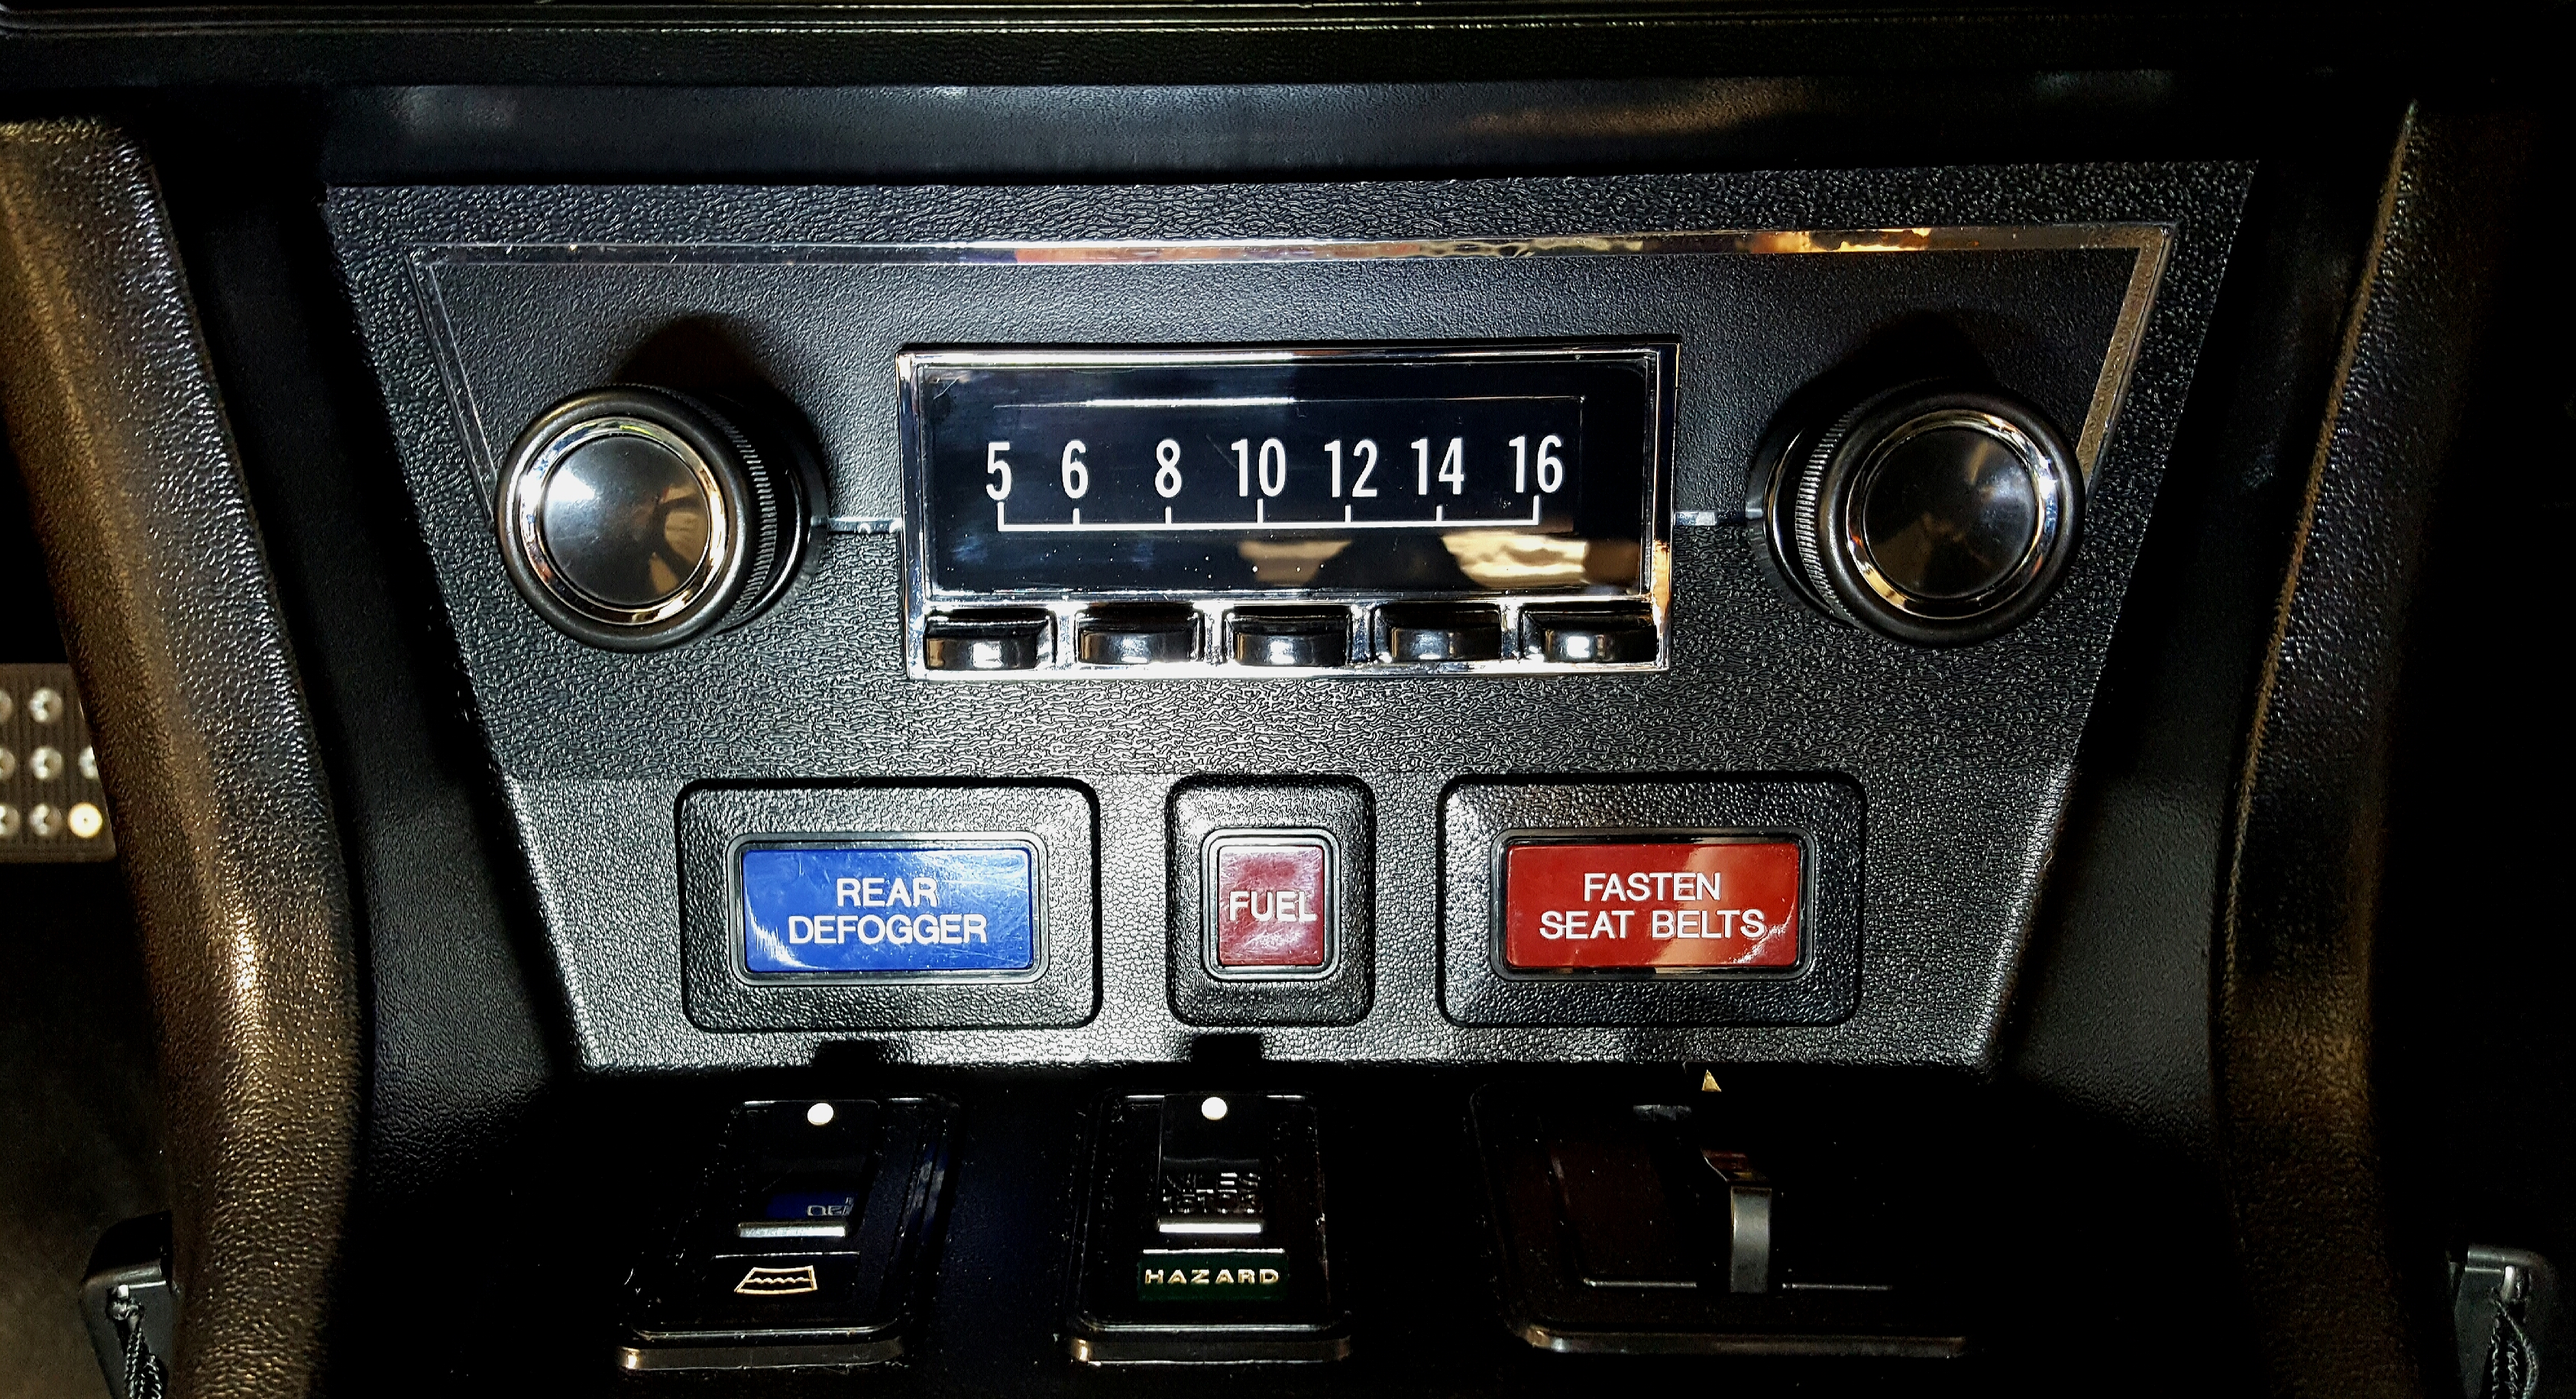
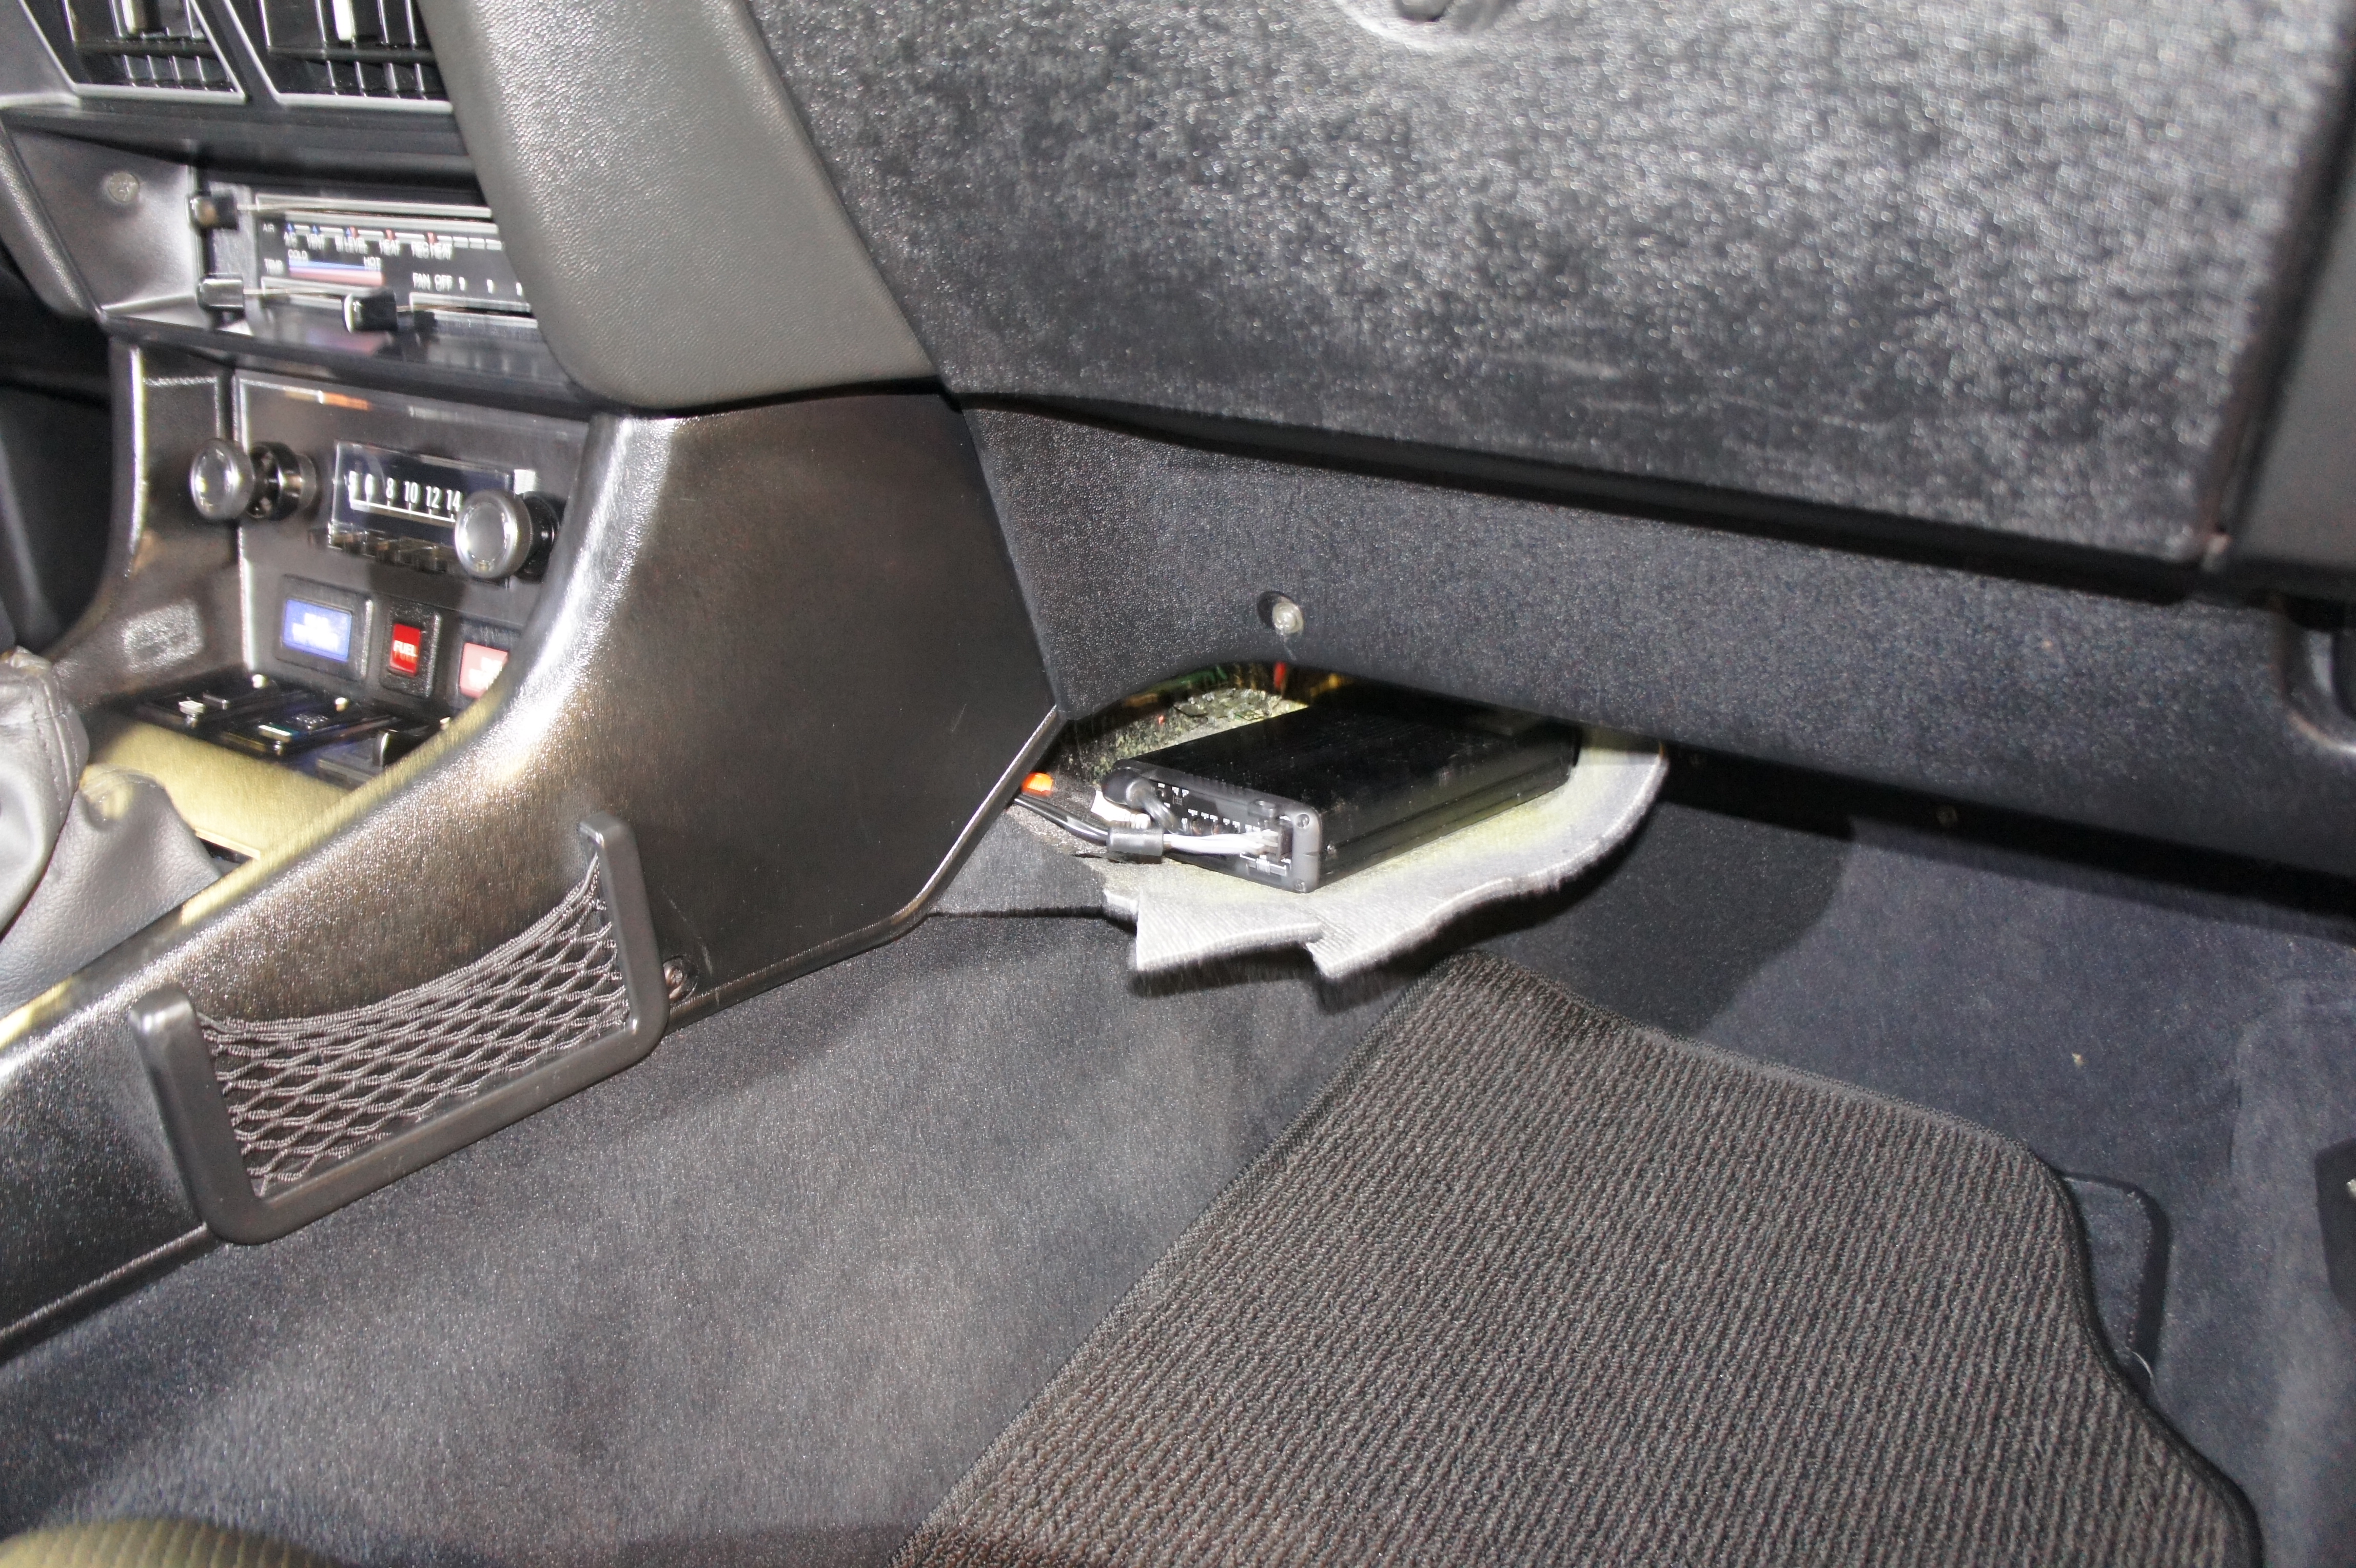
 1 point1 pointI rebuilt two proportioning valves this weekend. I used the seal kit from MSA. I paid close attention to the orientation of the seals during disassembly. Both valves had the exact same seals in them and they were identical to the photos above where seal (3) in BR-8 is fluted / grooved on the flat outside edge and dotted on the cupped inside edge. Seal (5) in BR-8 is exactly like the photos above where it is a little thicker than seal (3) and not dotted or fluted / grooved on the outside or inside surface. For clarity, in the case of both seals, the cupped side is oriented to face the middle of the valve. I personally was easily able to match up the MSA seals with the equal (but not identical) original seals. I found disassembly and re-assembly to be fairly quick and easy. I used a small c-clip squeezer (not spreader) (OTC brand, 1120) to squeeze the c-clip and remove from valve. Re-installation is a little more tricky. I use the same c-clip squeezer to squeeze the c-clip and insert it partially into the valve. Then I used a 5/16 deep socket to push / press (gently) the c-clip down until it clicked into position. To be clear, I don't yet know whether the proportioning valve works as I am still rebuilding the brakes on my 240z. I should know in a week or so. The valve from my low mile car was very clean. The valve from the car I am rebuilding the brakes for was very full of dirt and sediment....but not corrosion. So, I feel like I accomplished something....assuming the valve works. And, I enjoy rebuilding little parts. I should also mention that I cleaned up all original seals and, to me, they look new....like they could be reused without concern. Again, I think the key thing I accomplished is cleaning out the valve.1 point1 pointIts been a while but my engine finally came in and the car is mostly prepped for it to be dropped in. The engine is going to stay stock for a while so I can build into the power later is needed. I also have most of my roll bars installed at this point. The welds came out pretty good for me. I have the oil pan for the rear sump conversion and my wiring harness of the way. The engine should be in next weekend hopefully after I fabricate some engine mounts -Johnny Sent from my SAMSUNG-SM-G930A using Classic Zcar Club mobile1 point1 pointI changed my stereo setup because I was unsatisfied with the sound coming from the underdash speakers I had previously installed. I dumped these and installed a set of Polk Audio 5.25" DB522 coaxial speakers in Derek's kick panel speaker pods. I also substituted the Miura amplifier I had placed behind the Retrosound Radio for a much higher quality Kenwood KAC-M3004. It is slightly larger than the Miura but it's still relatively hidden under the carpet over the transmission hump (see pics). Additional to the front Polk Audio speakers I have Infinity Kappa 4" coaxial speakers under the quarter windows in the stock position for speakers in the 280Z and Infinity Kappa 6x9" speakers (wired only as woofers with the tweeters disconnected) in the re-upholstered MSA speaker box in the rear deck. I installed Boom Mat soft speaker baffles behind all 6 speakers. It's arguably the best sounding car system I've had. The circle identifies the amplifier location, with a slight bump on the carpet. The crossovers have been disconnected and only the base baffles are wired to the amp, rendering the rear Infinity Kappa 6x9s as very effective woofers. I also did some work on the Retrosound radio faceplate by adding a ABS overlay with the same texture as the OEM Datsun center console material and chrome pinstriping. I'm still searching for someone who will laser engrave the letters on the faceplate to further mimic the original. The USB remote ports are in the glovebox and in the center console. I tried to make everything look as stock as possible even though the MSA rear deck enclosure is quite obvious (but supplies the bass). The front kick panel speaker pods are a truly excellent product (shout out to Derek for amazing work) and are greatly responsible for the improvement in sound. All the different components are nicely balanced.
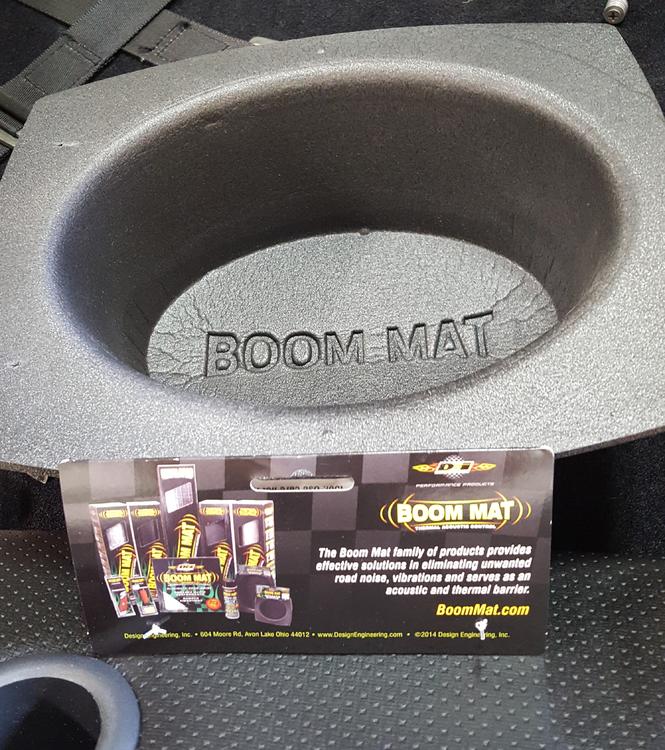


 1 point


Important Information
By using this site, you agree to our Privacy Policy and Guidelines. We have placed cookies on your device to help make this website better. You can adjust your cookie settings, otherwise we'll assume you're okay to continue.