Leaderboard
-
Captain Obvious
Free Member4Points10,081Posts -
madkaw
Free Member3Points4,370Posts -
Casey_z
Free Member2Points295Posts -

wheee!
Free Member2Points4,607Posts


Popular Content
Showing content with the highest reputation on 08/03/2017 in all areas
-
2 points
-
The 2017 Midwest Z Heritage Festival will be held at the Automotive Hall of Fame in Dearborn, MI August 18-19. Activities are planned for Friday and Saturday, including a gathering with employees at the Nissan Tech Center (Farmington Hills, MI), a group dinner and the world famous Woodward Dream Cruise. The premier car show event will be Saturday morning at the AHoF with judging, awards and raffle prizes.Full details and registration at https://www.midwestzheritageshow.com/. All proceeds of this event will be donated to the AHoF Museum - specifically to expand the Z car and Mr. K (1998 inductee) exhibit and archives.1 point
-
1 point
-
I found out my AEM AFR meter (#30-4110) has the analog output capability for data logging, look forward to see how my numbers look in graph format! So much tweaking, so much fun!!1 point
-
1 point
-
1 point
-
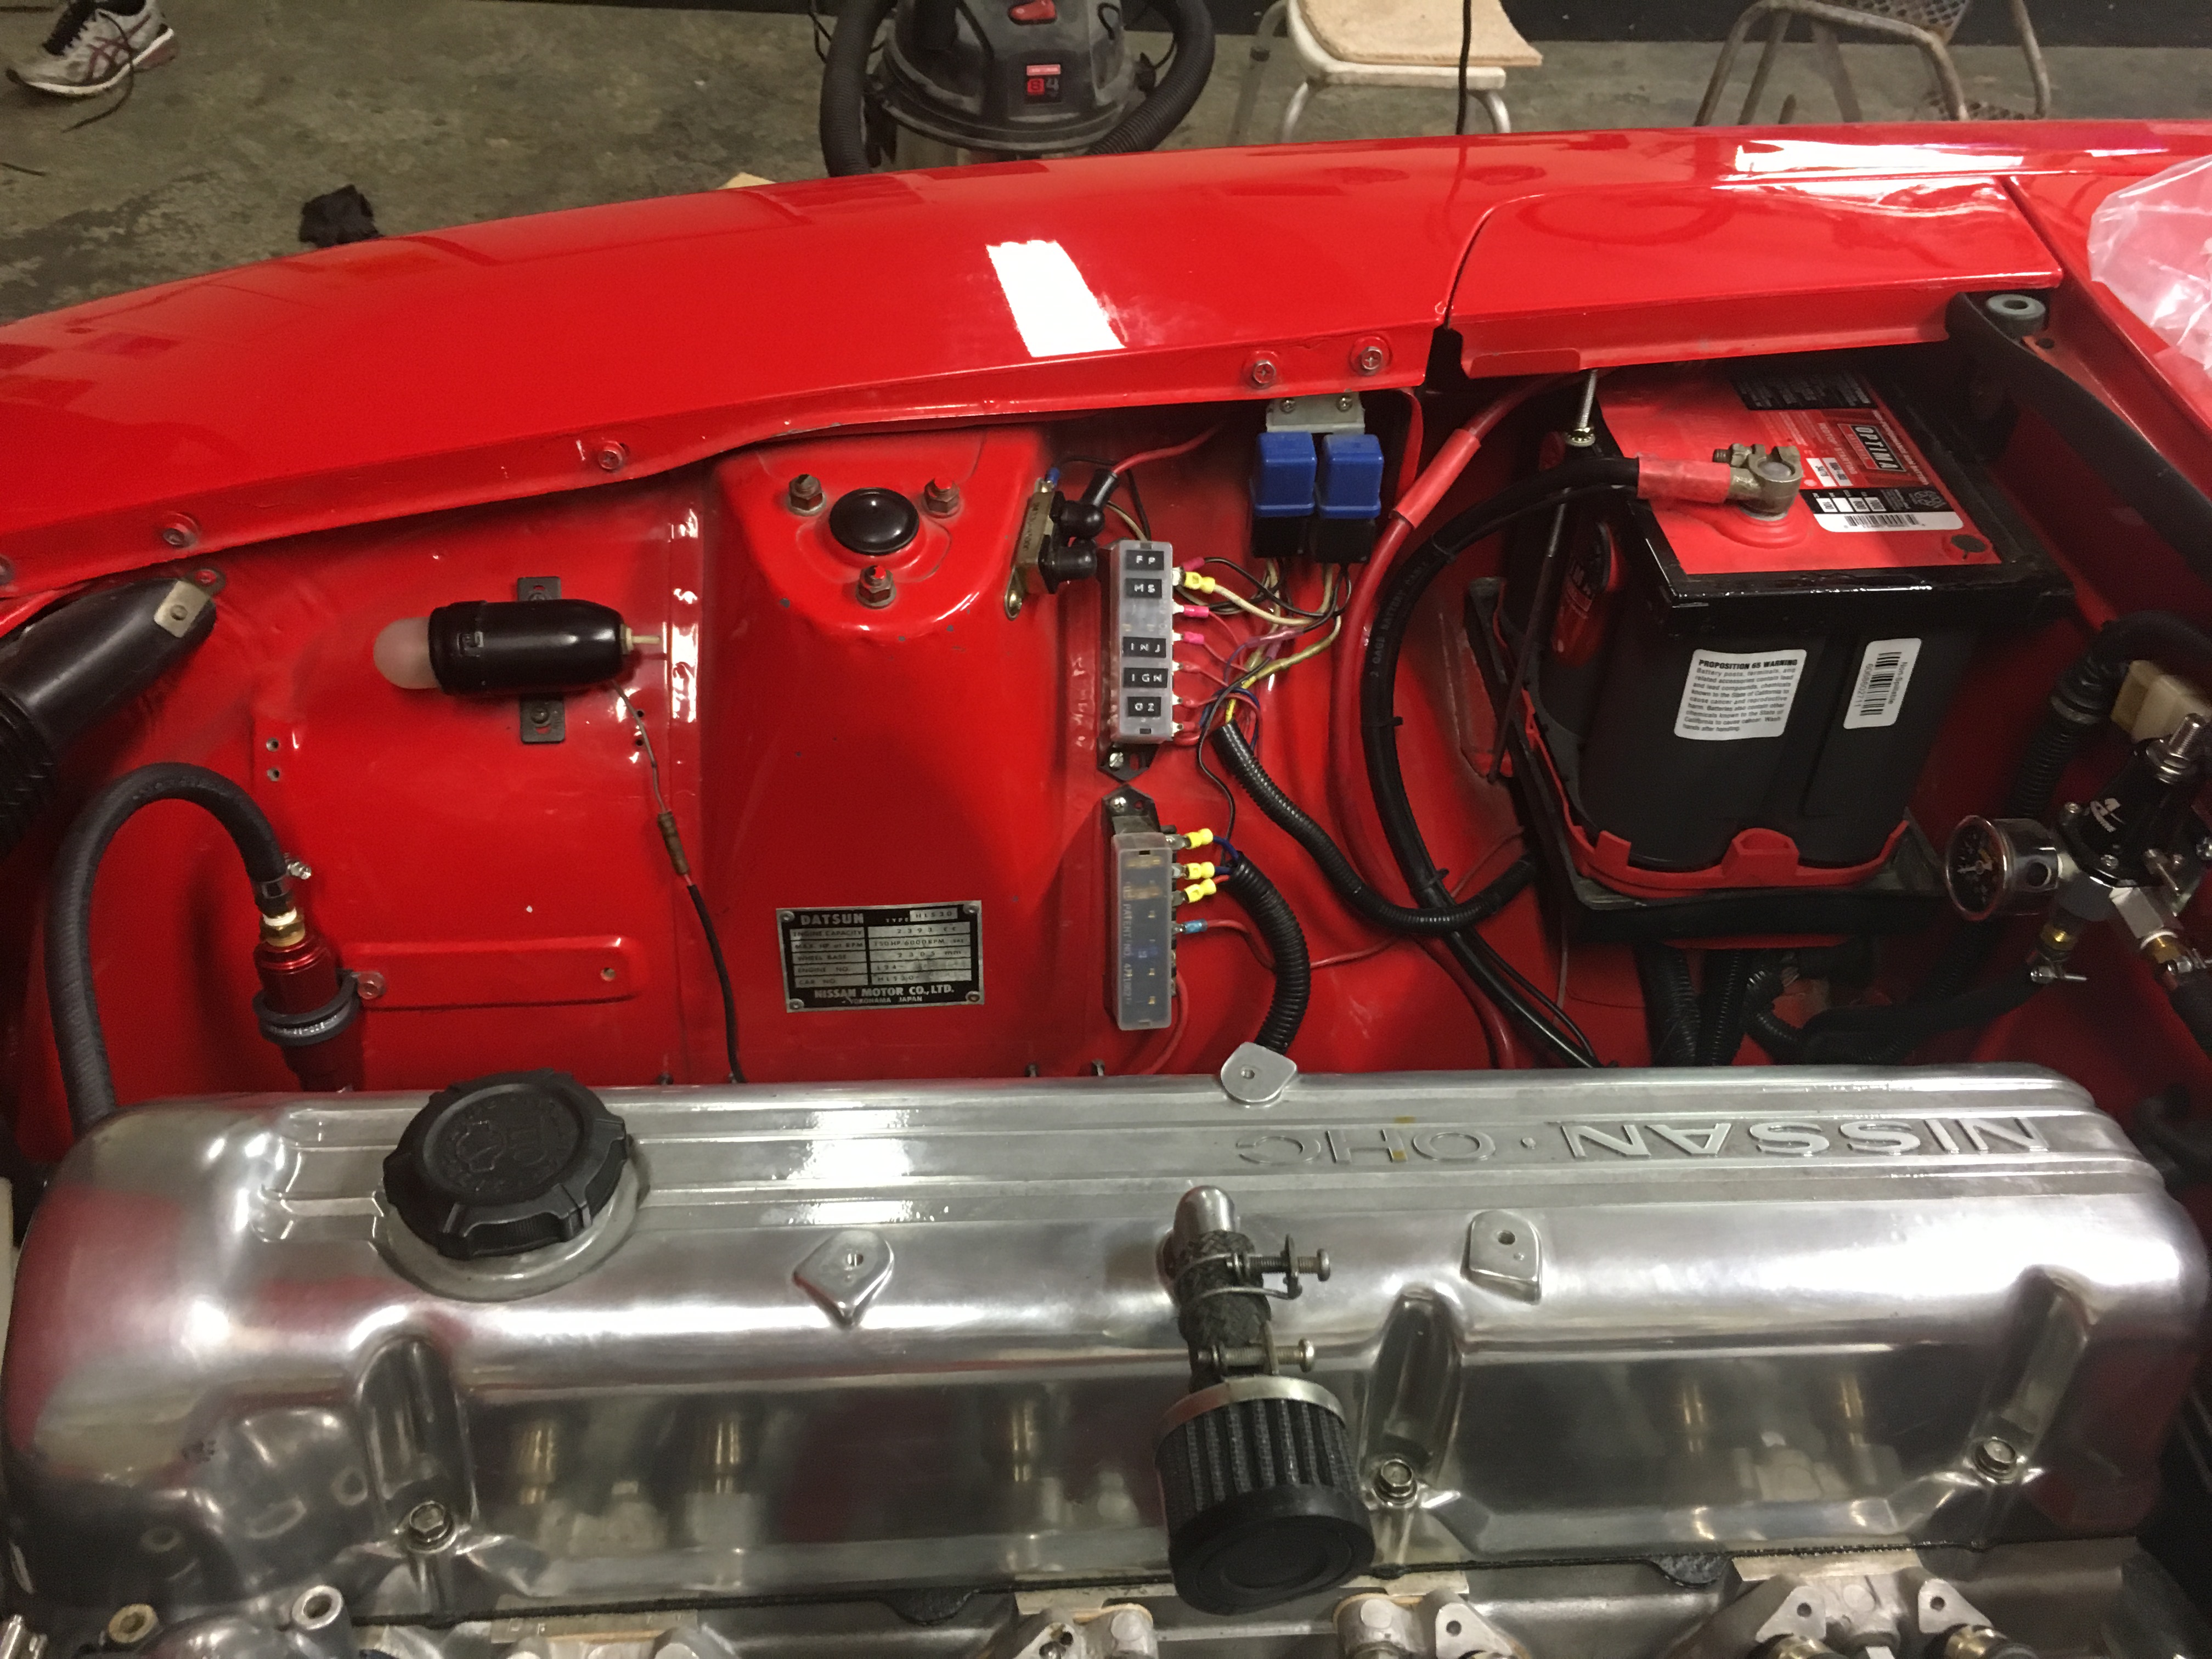
1 pointThe first block (the one closest to the master cylinder) is the brake warning switch. It doesn't proportion, it just lights the warning light if there's a failure in one axle of the system. The second block (the one on the firewall) does the proportioning. It's a little weird looking, but since the warning switch is mounted close to the LF wheel, they pulled the line off there to go to that corner. The pressure there will be the same as the RF, but it was just easier to pull the plumbing connection off there instead of pulling another front connection off the proportioning valve and backtracking to the LF corner.1 point
-
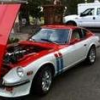
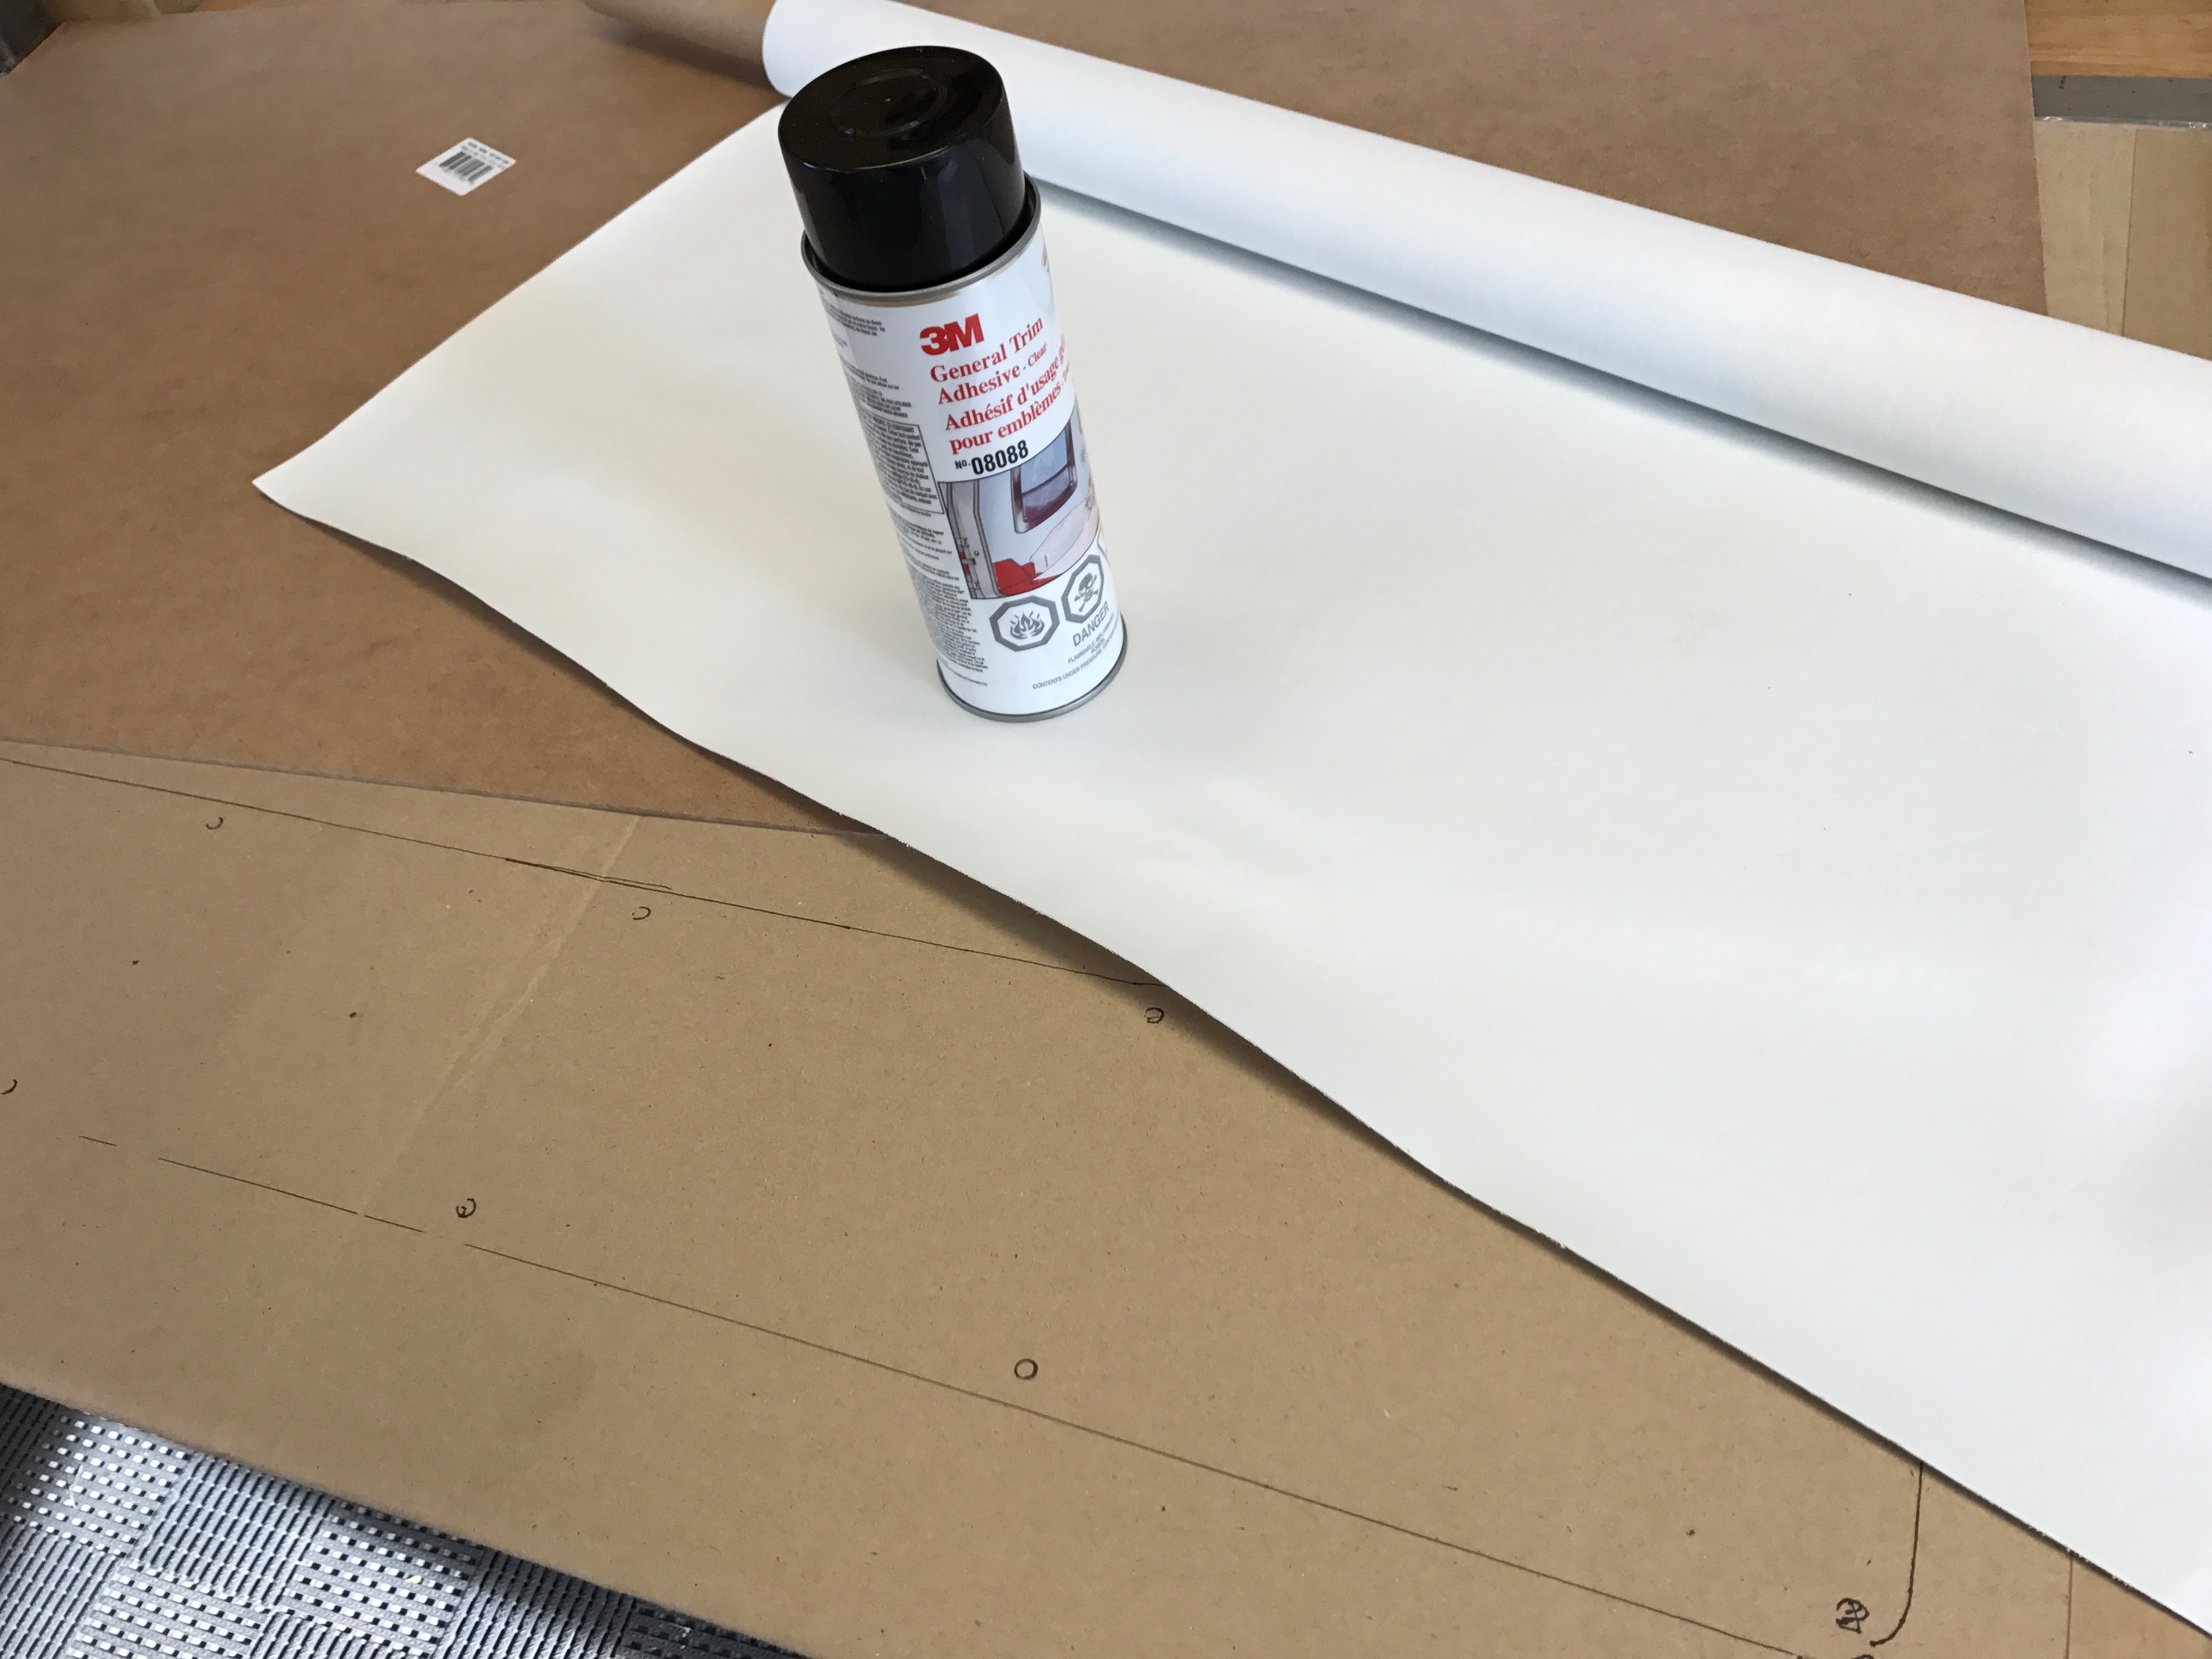
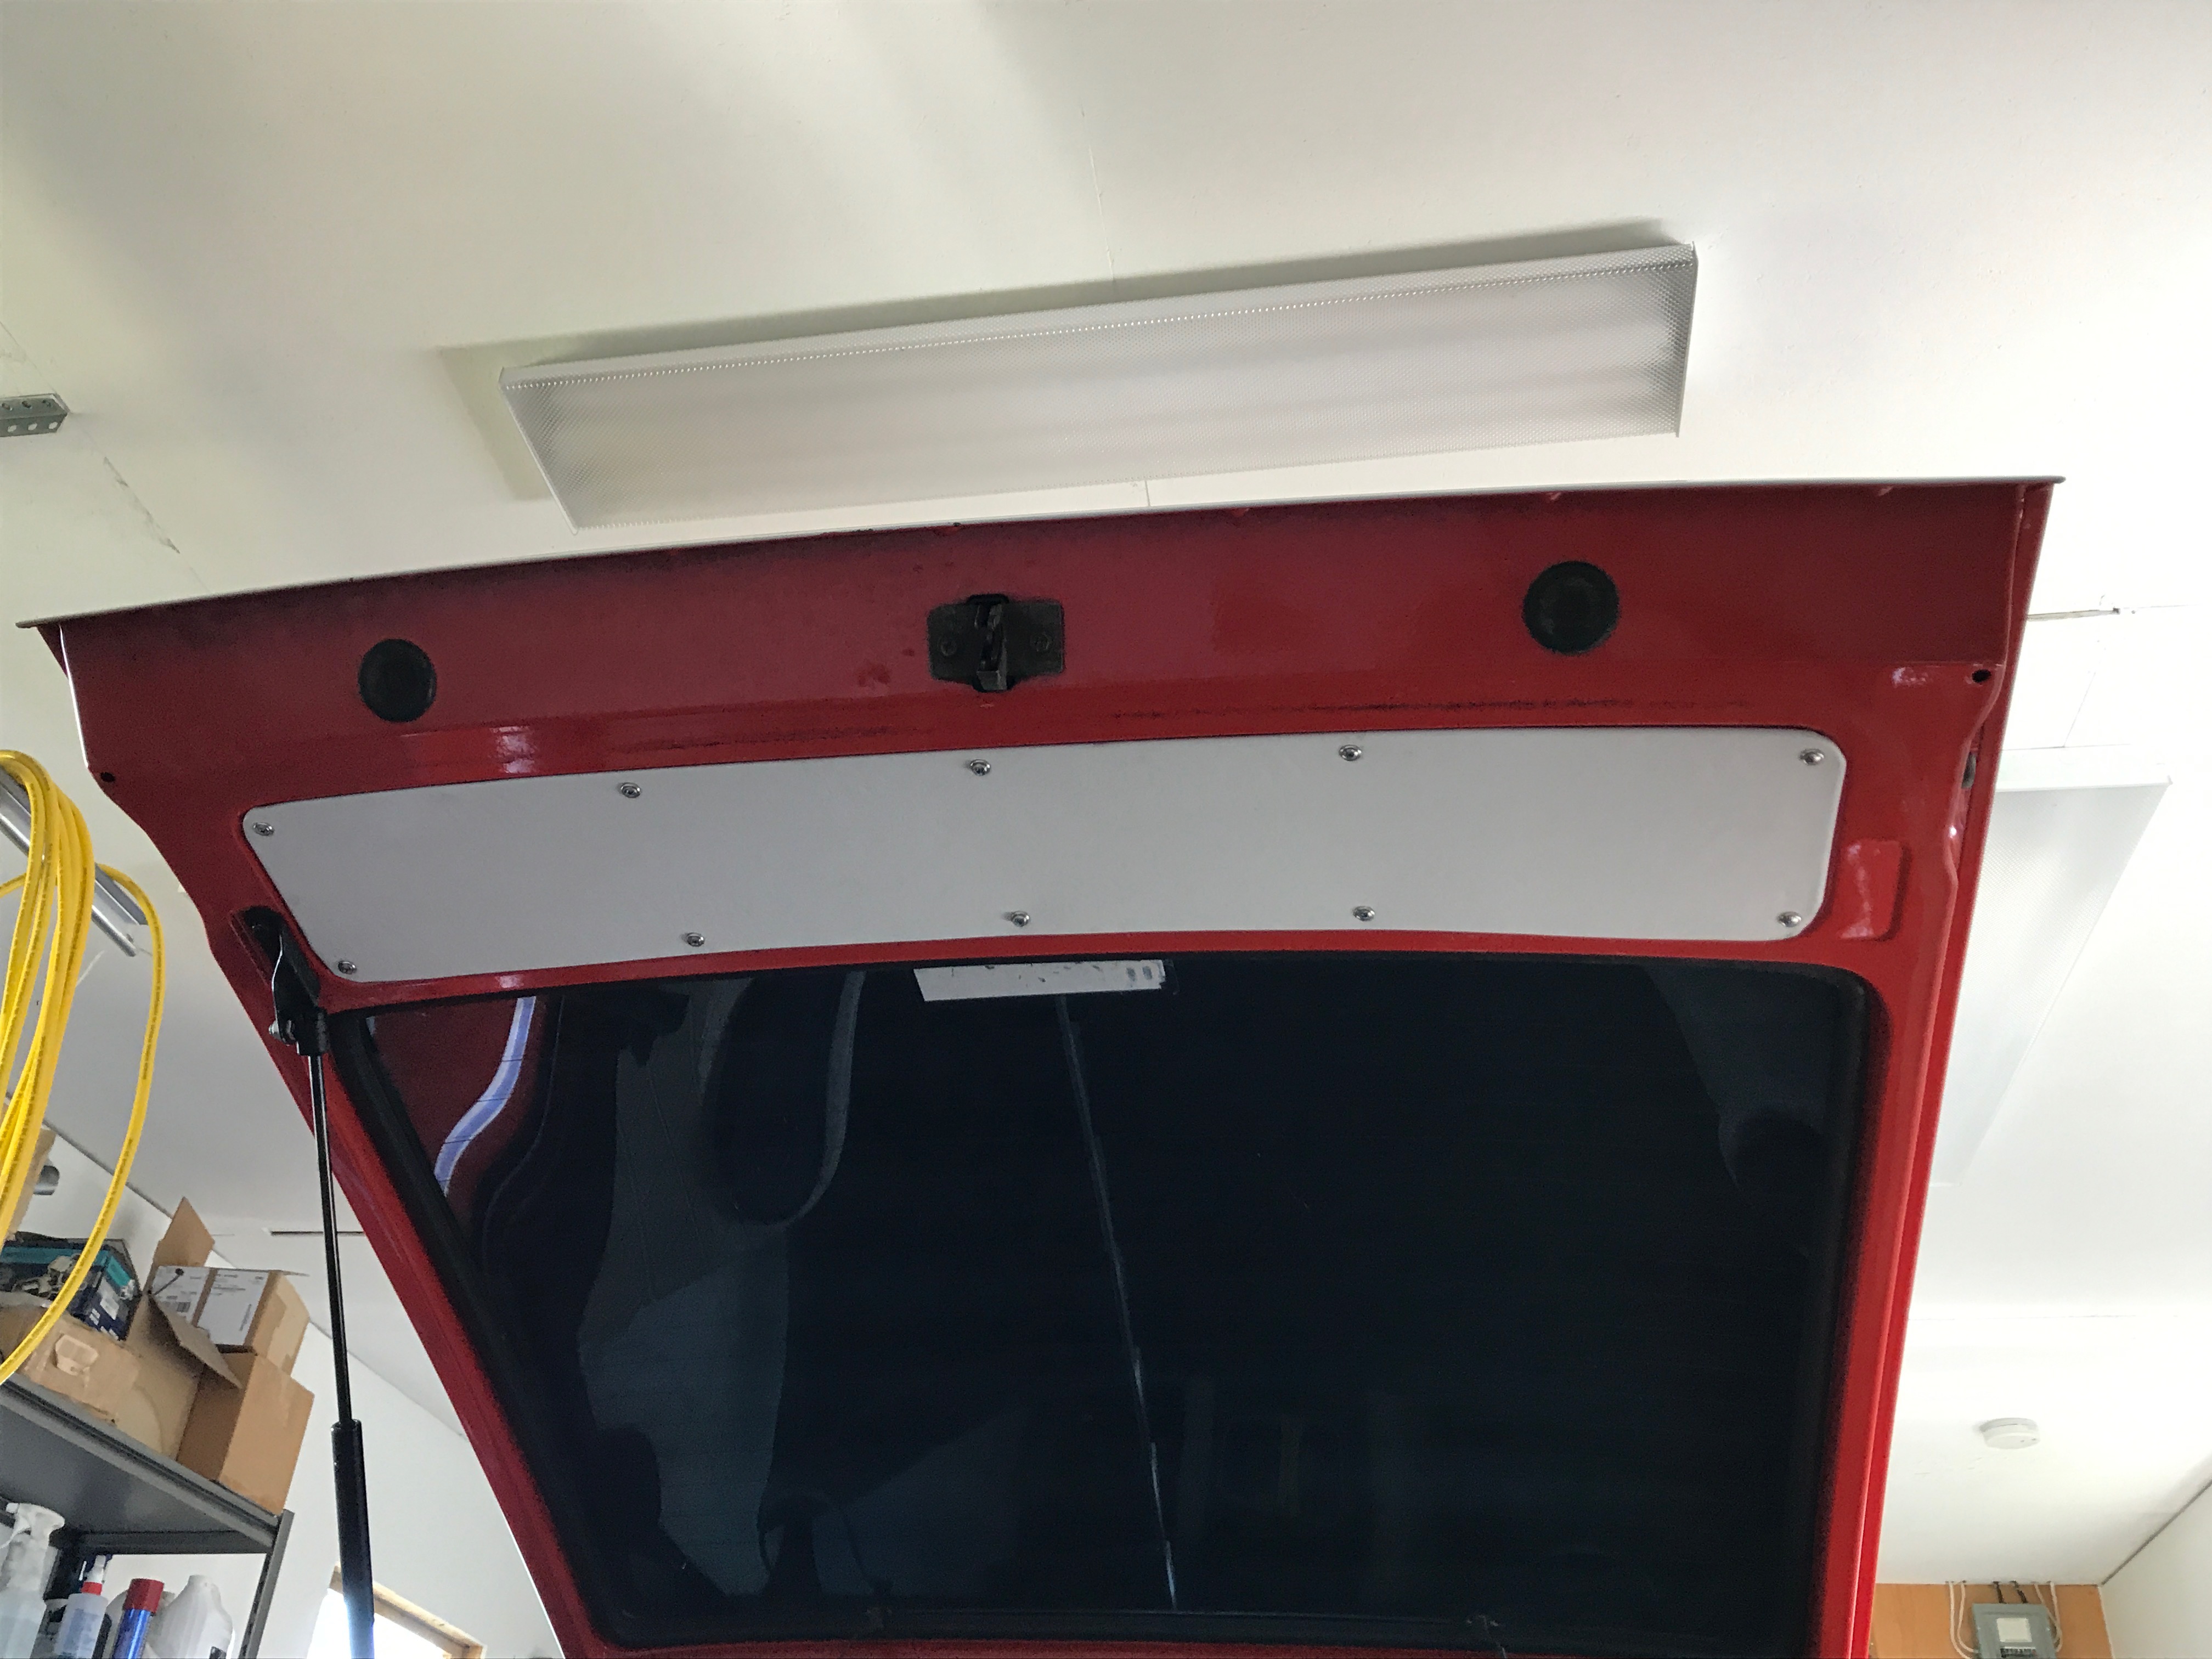
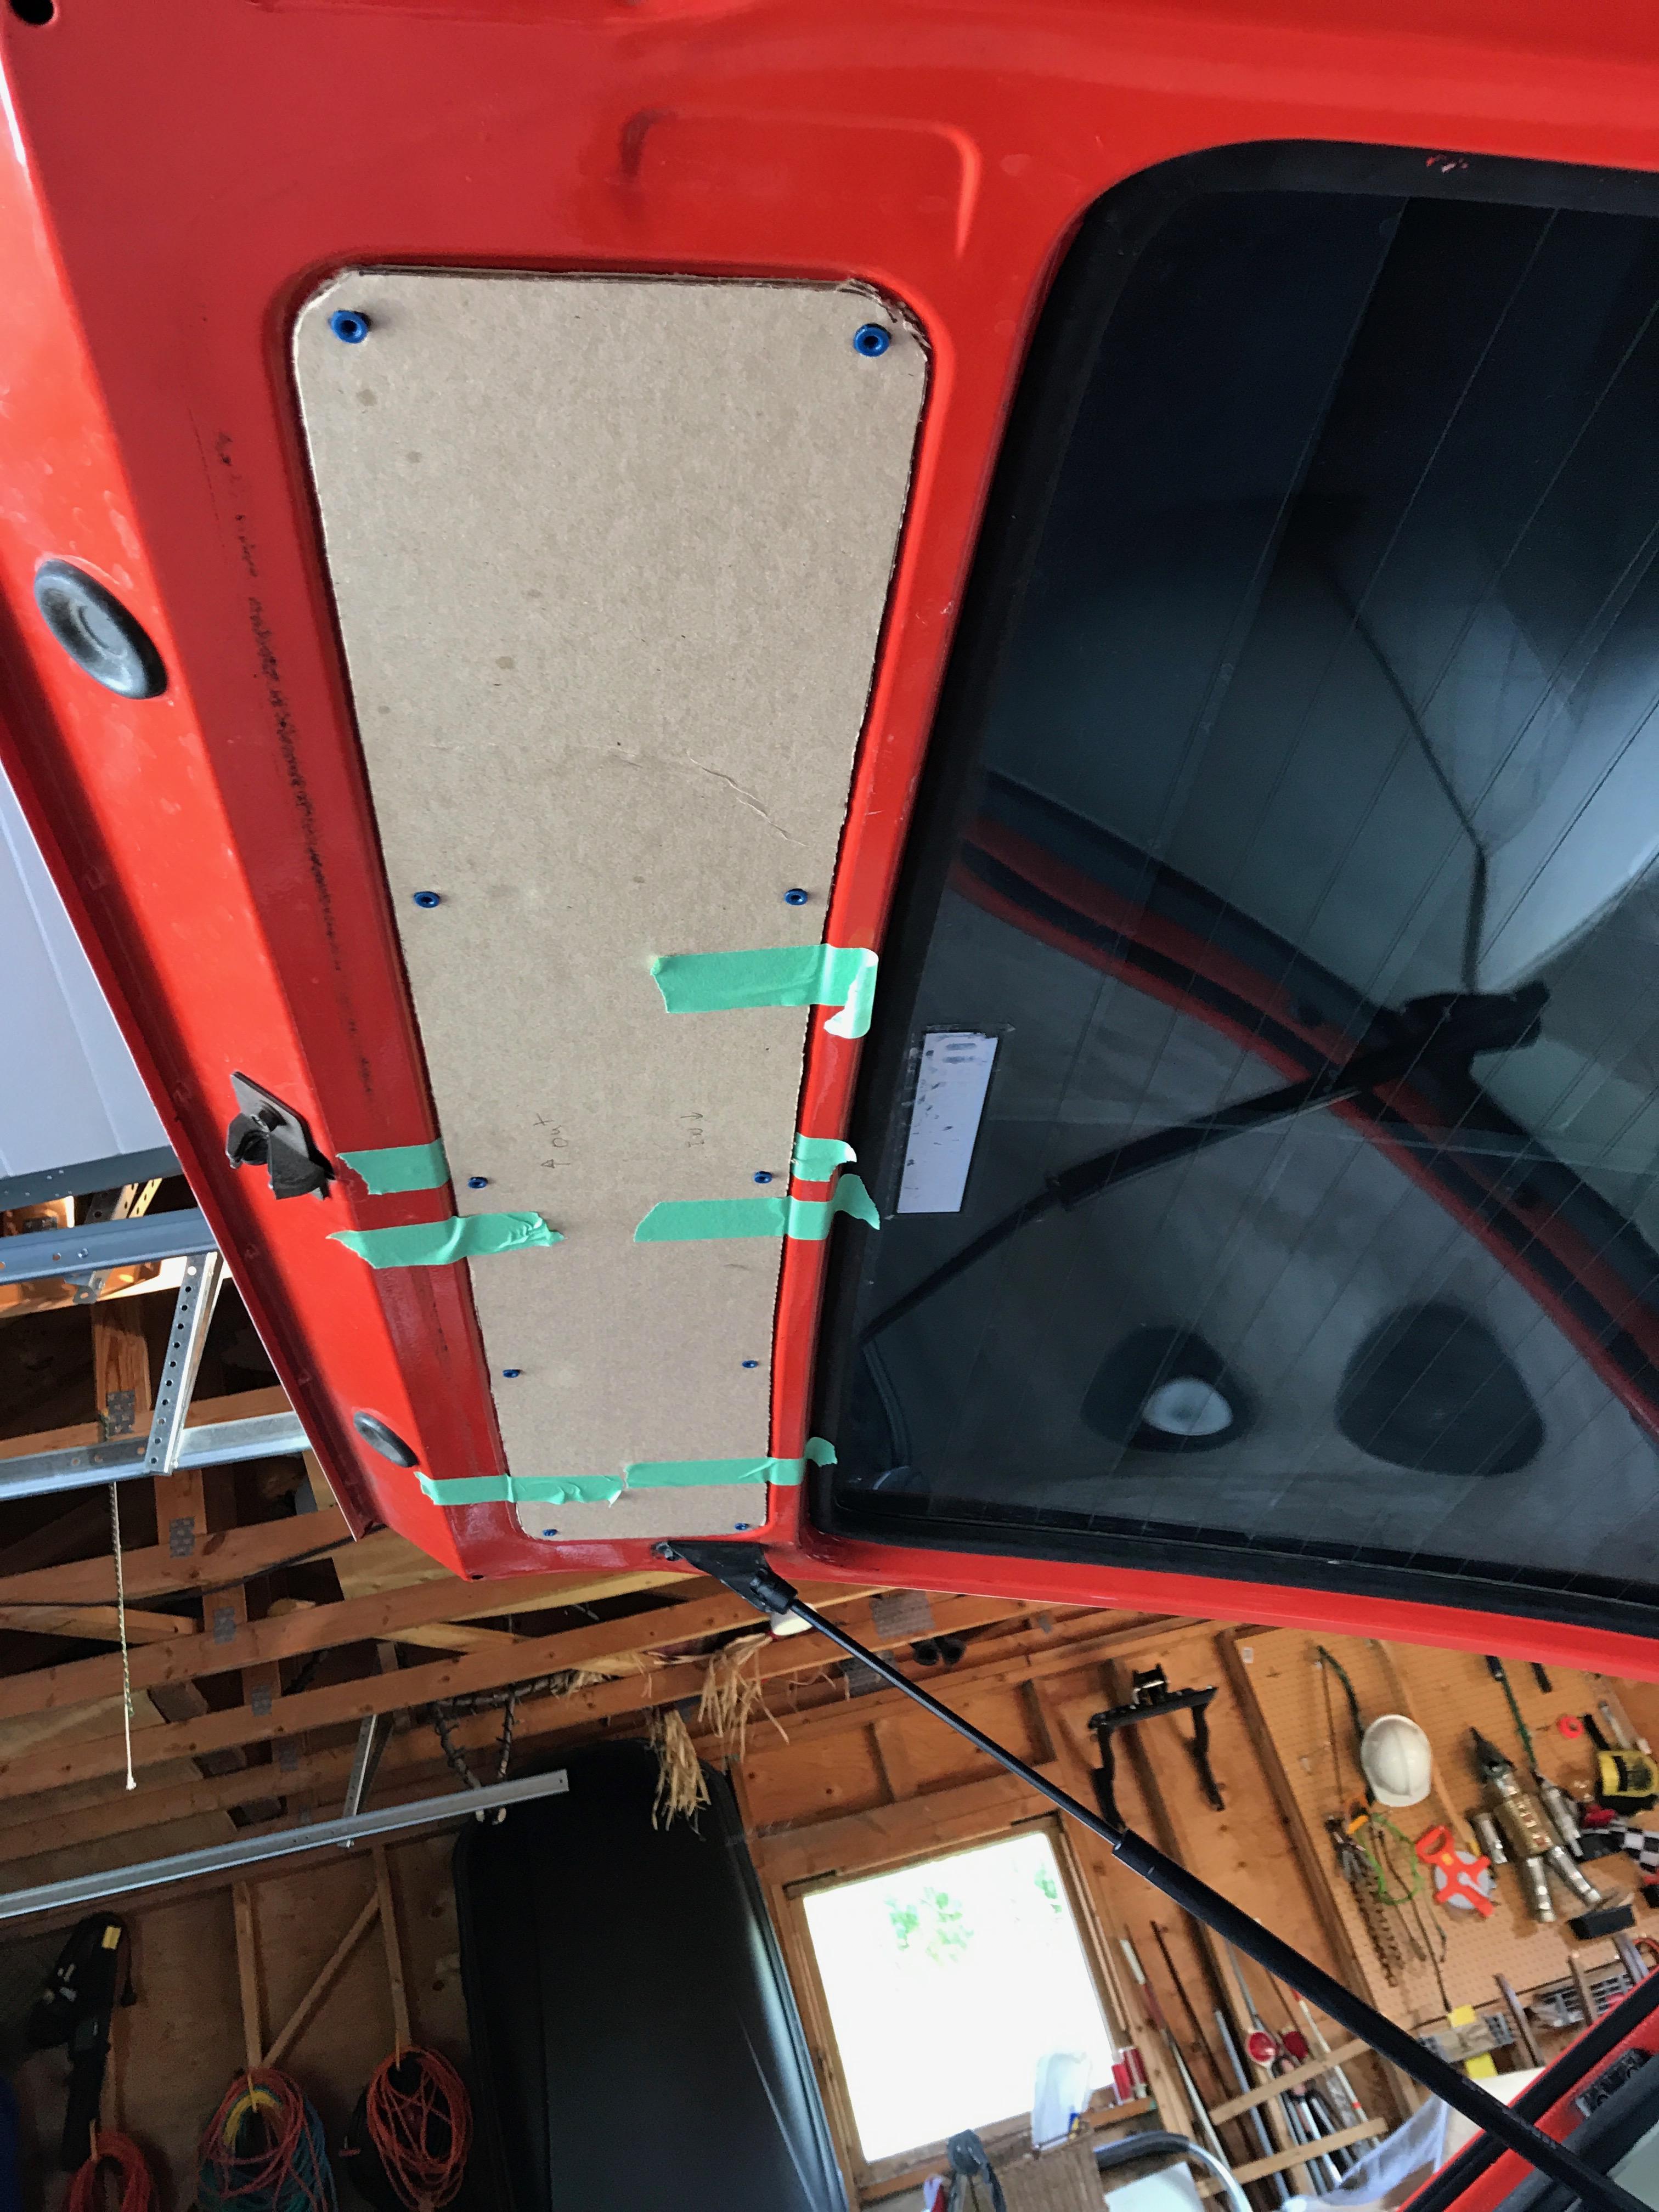
1 pointSo, I ended up driving over to Jim Karst's place to make a template from one of his old covers. Sightunseen measurements helped me get the holes started in the right place. I'm happy with the end product, but have one corner where I want to smooth out a little where the vinyl bunched up a little. I used rivetnuts with.bolts and finish washers because that's what I had in the shop. I may pick up some white screw caps to see if I like the look better. Thanks for everyone's help! L


 1 point
 -
1 pointMore progress. Will have to wait for the final brake line (rear distribution block to stock rear proportioning valve) to be made and put in position as I don't have the Wilwood valve yet. The old line is there so not to get lost. Brake cylinder in place for positioning the lines. Started the butyl soundmat install in the driver footwell too. Needed to mount the clutch cylinder so the footwell had to go in.1 point
-
1 pointThanks Matt! I was using photos of your lines to show me where things went properly. Looking at your black lines was what gave me the idea of colour coded ones for myself!1 point
-
I think we started a new Z club . BtownZ Club. BZC Met some friends at C& C
 1 point
 -
1 pointSo you are using a disposable cup system? I would like to go to that at some point. Why did you use mineral spirits instead of lacquer thinner for the epoxy clean up? I assume that drier has desiccant in it? When it turns pink, empty the beads out onto a cookie sheet in the oven at 200d F until they're deep blue then it's ready to reuse1 point
-
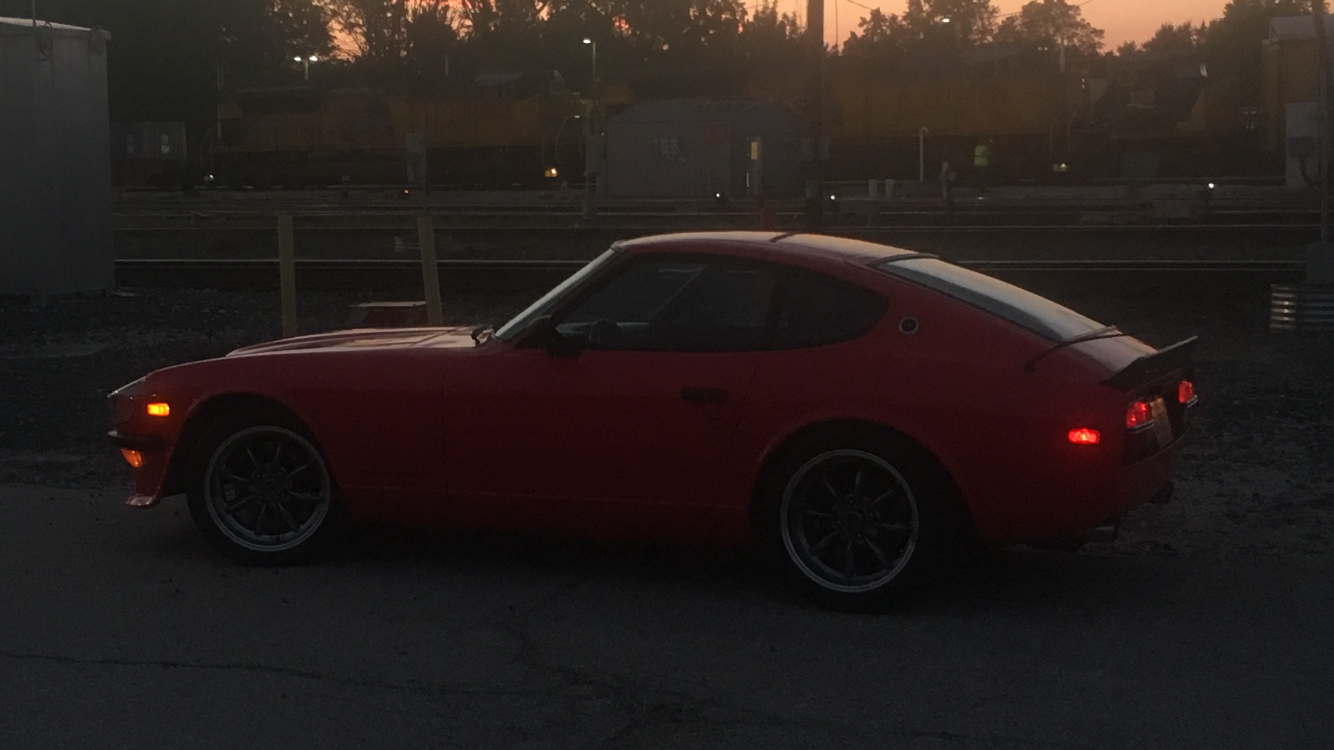
1 pointwhile messing around on the z yesterday I noticed the lack of a dust cover on the tie rod. Looks like it just crumbled up and was gone. I know the standard course of action is to replace tie rods, but the car steers well and handled fine, and I did not want to mess that up, so... of to part store and I got some dust boots. There were the cheap looking dorman ones and then better looking urethane ones. I got both just to cover the bases. jack up front off comes the wheel, impact driver makes short work of the nut, then nothing. I do not have one of those forks used to separate tie rods, banging on the sides of the ball joint part did nothing. Then it hit me, chill it out. Using some dust off turned upside down I hit the tie rod end to freeze it (there by shrinking it some). It practically popped out on its own. I still plan to get a fork but its a nice stress free way of popping that loose. From there it went as expected, put on the boot, reinstalled pumped in some grease and good to go. I only got one done (learning curve will make the next go a lot faster). The rubber parts don't look too bad, and still had some give to them, but I did get some new TC bushings anyway, for when it gets cooler. I can only stand it about 1 hour now when its 95 feels like 105 in the garage.1 point
-
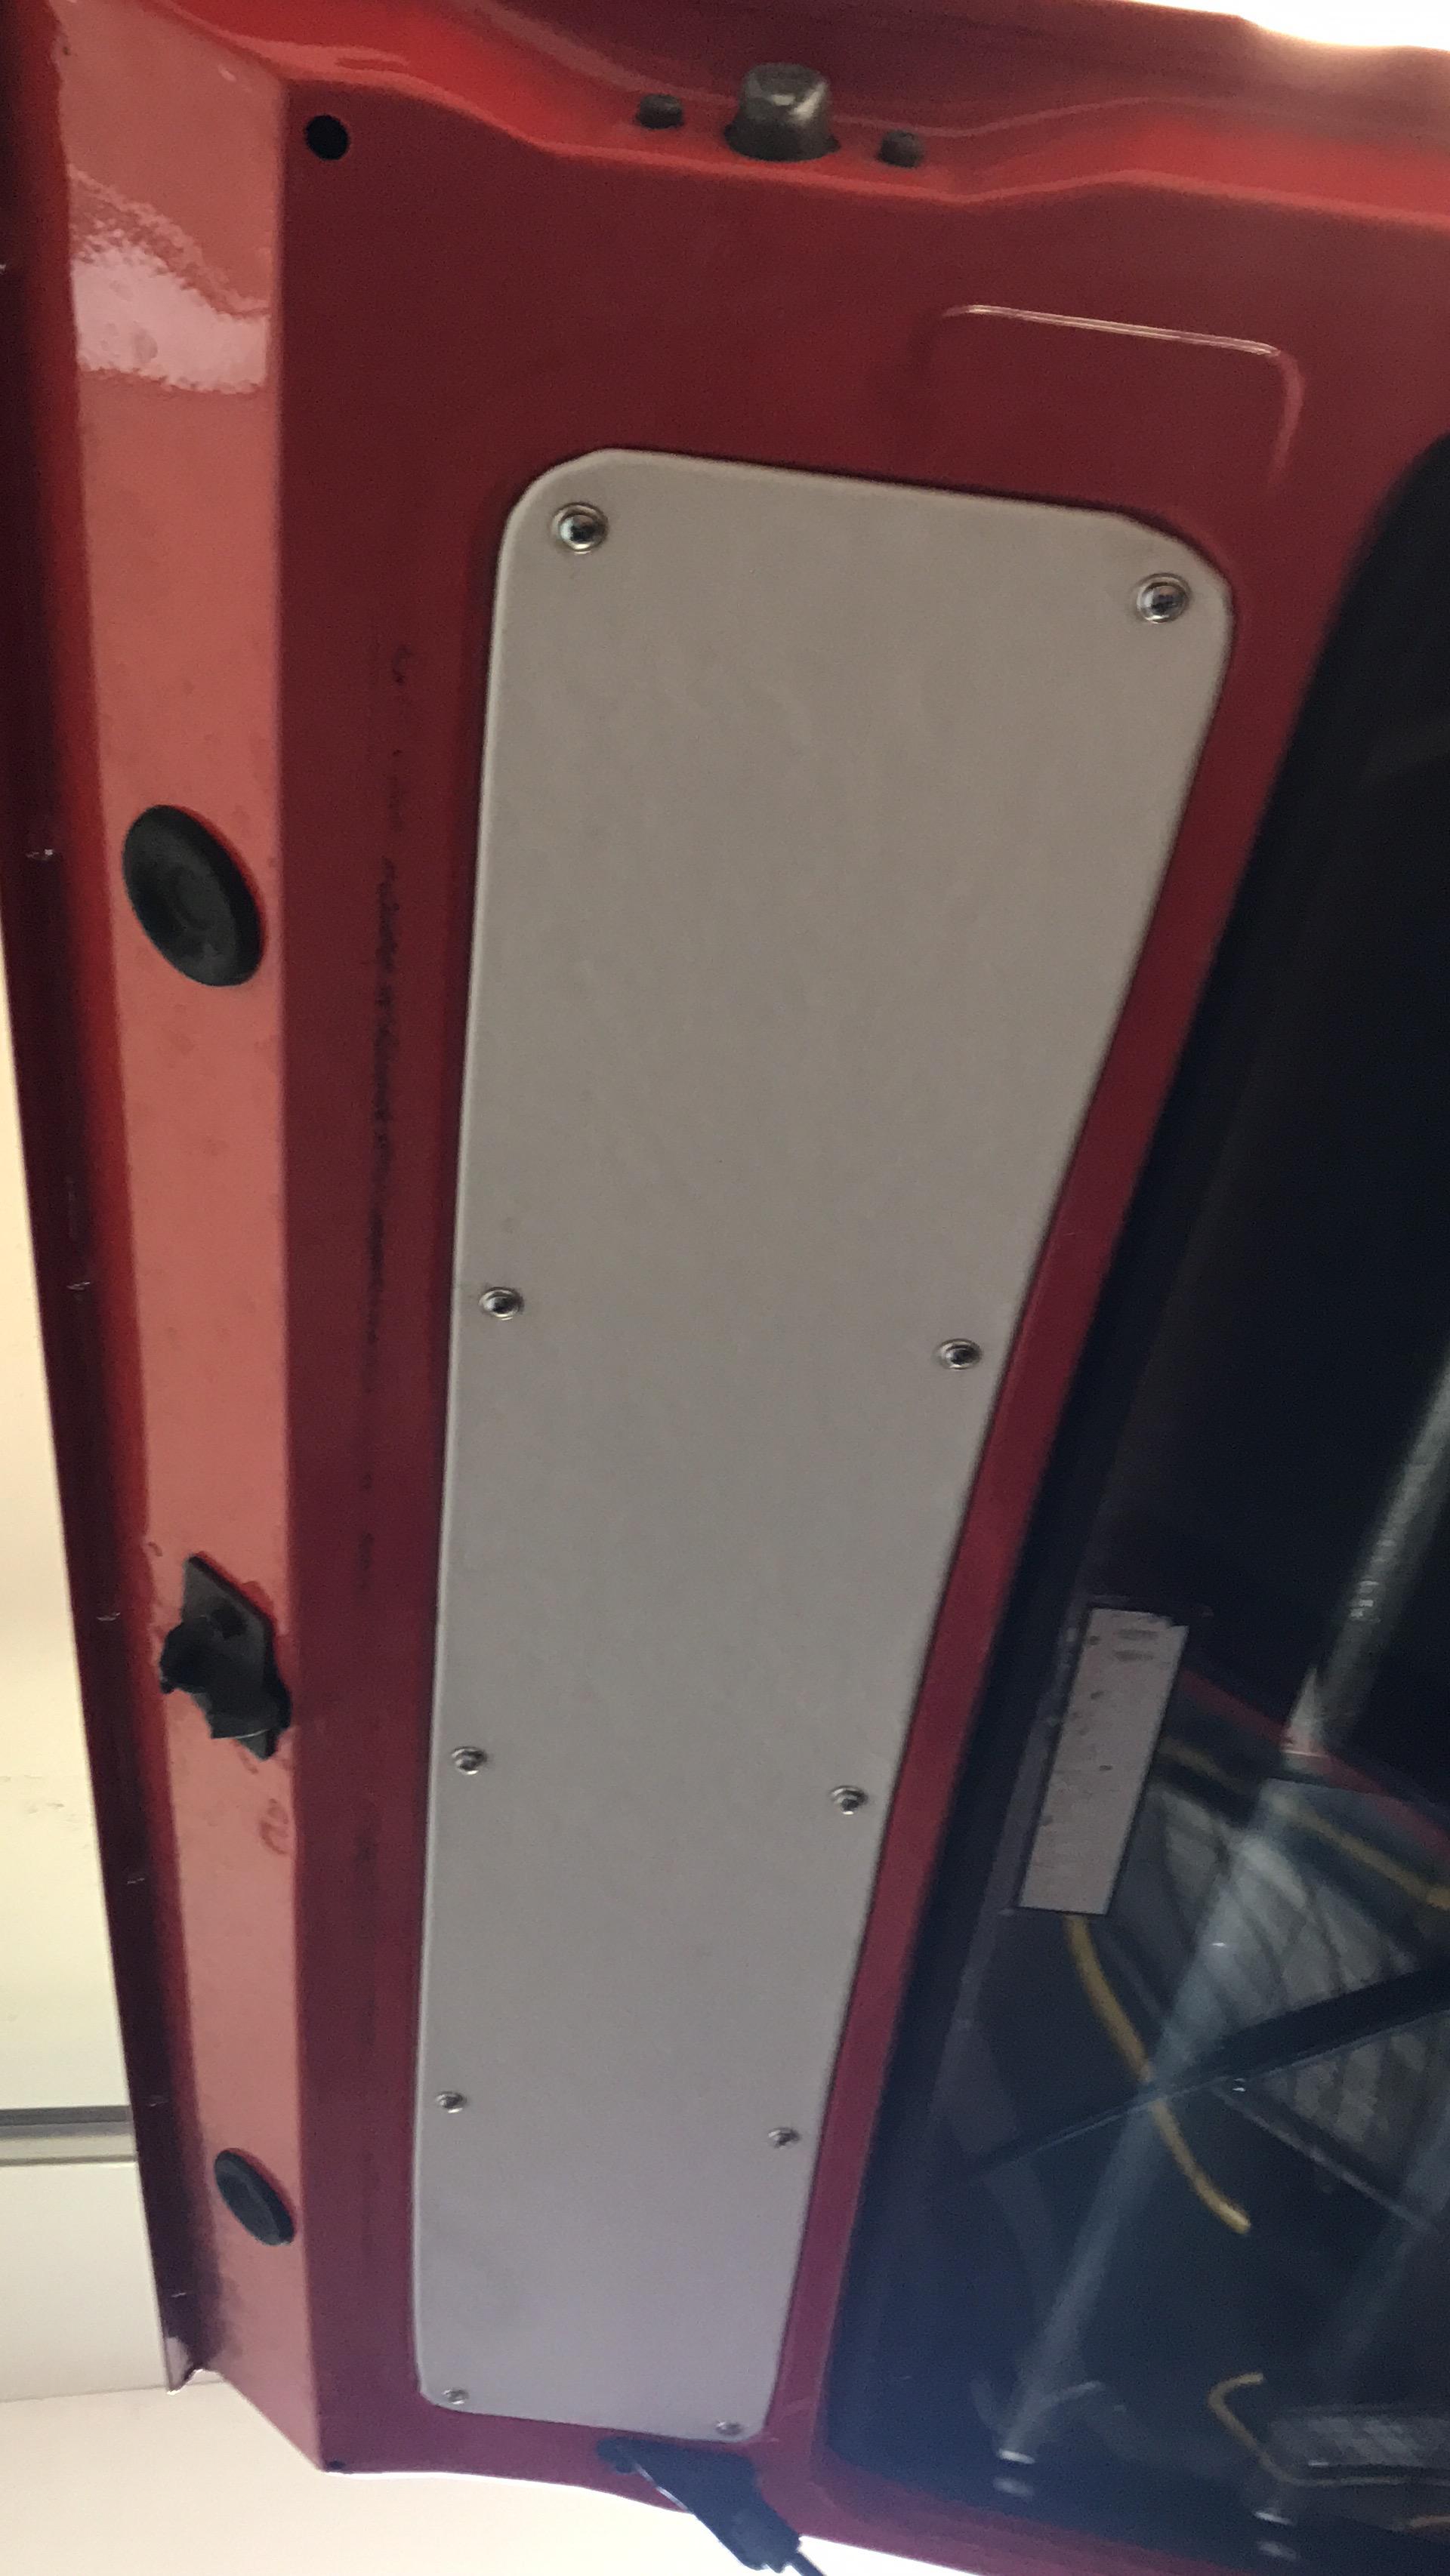
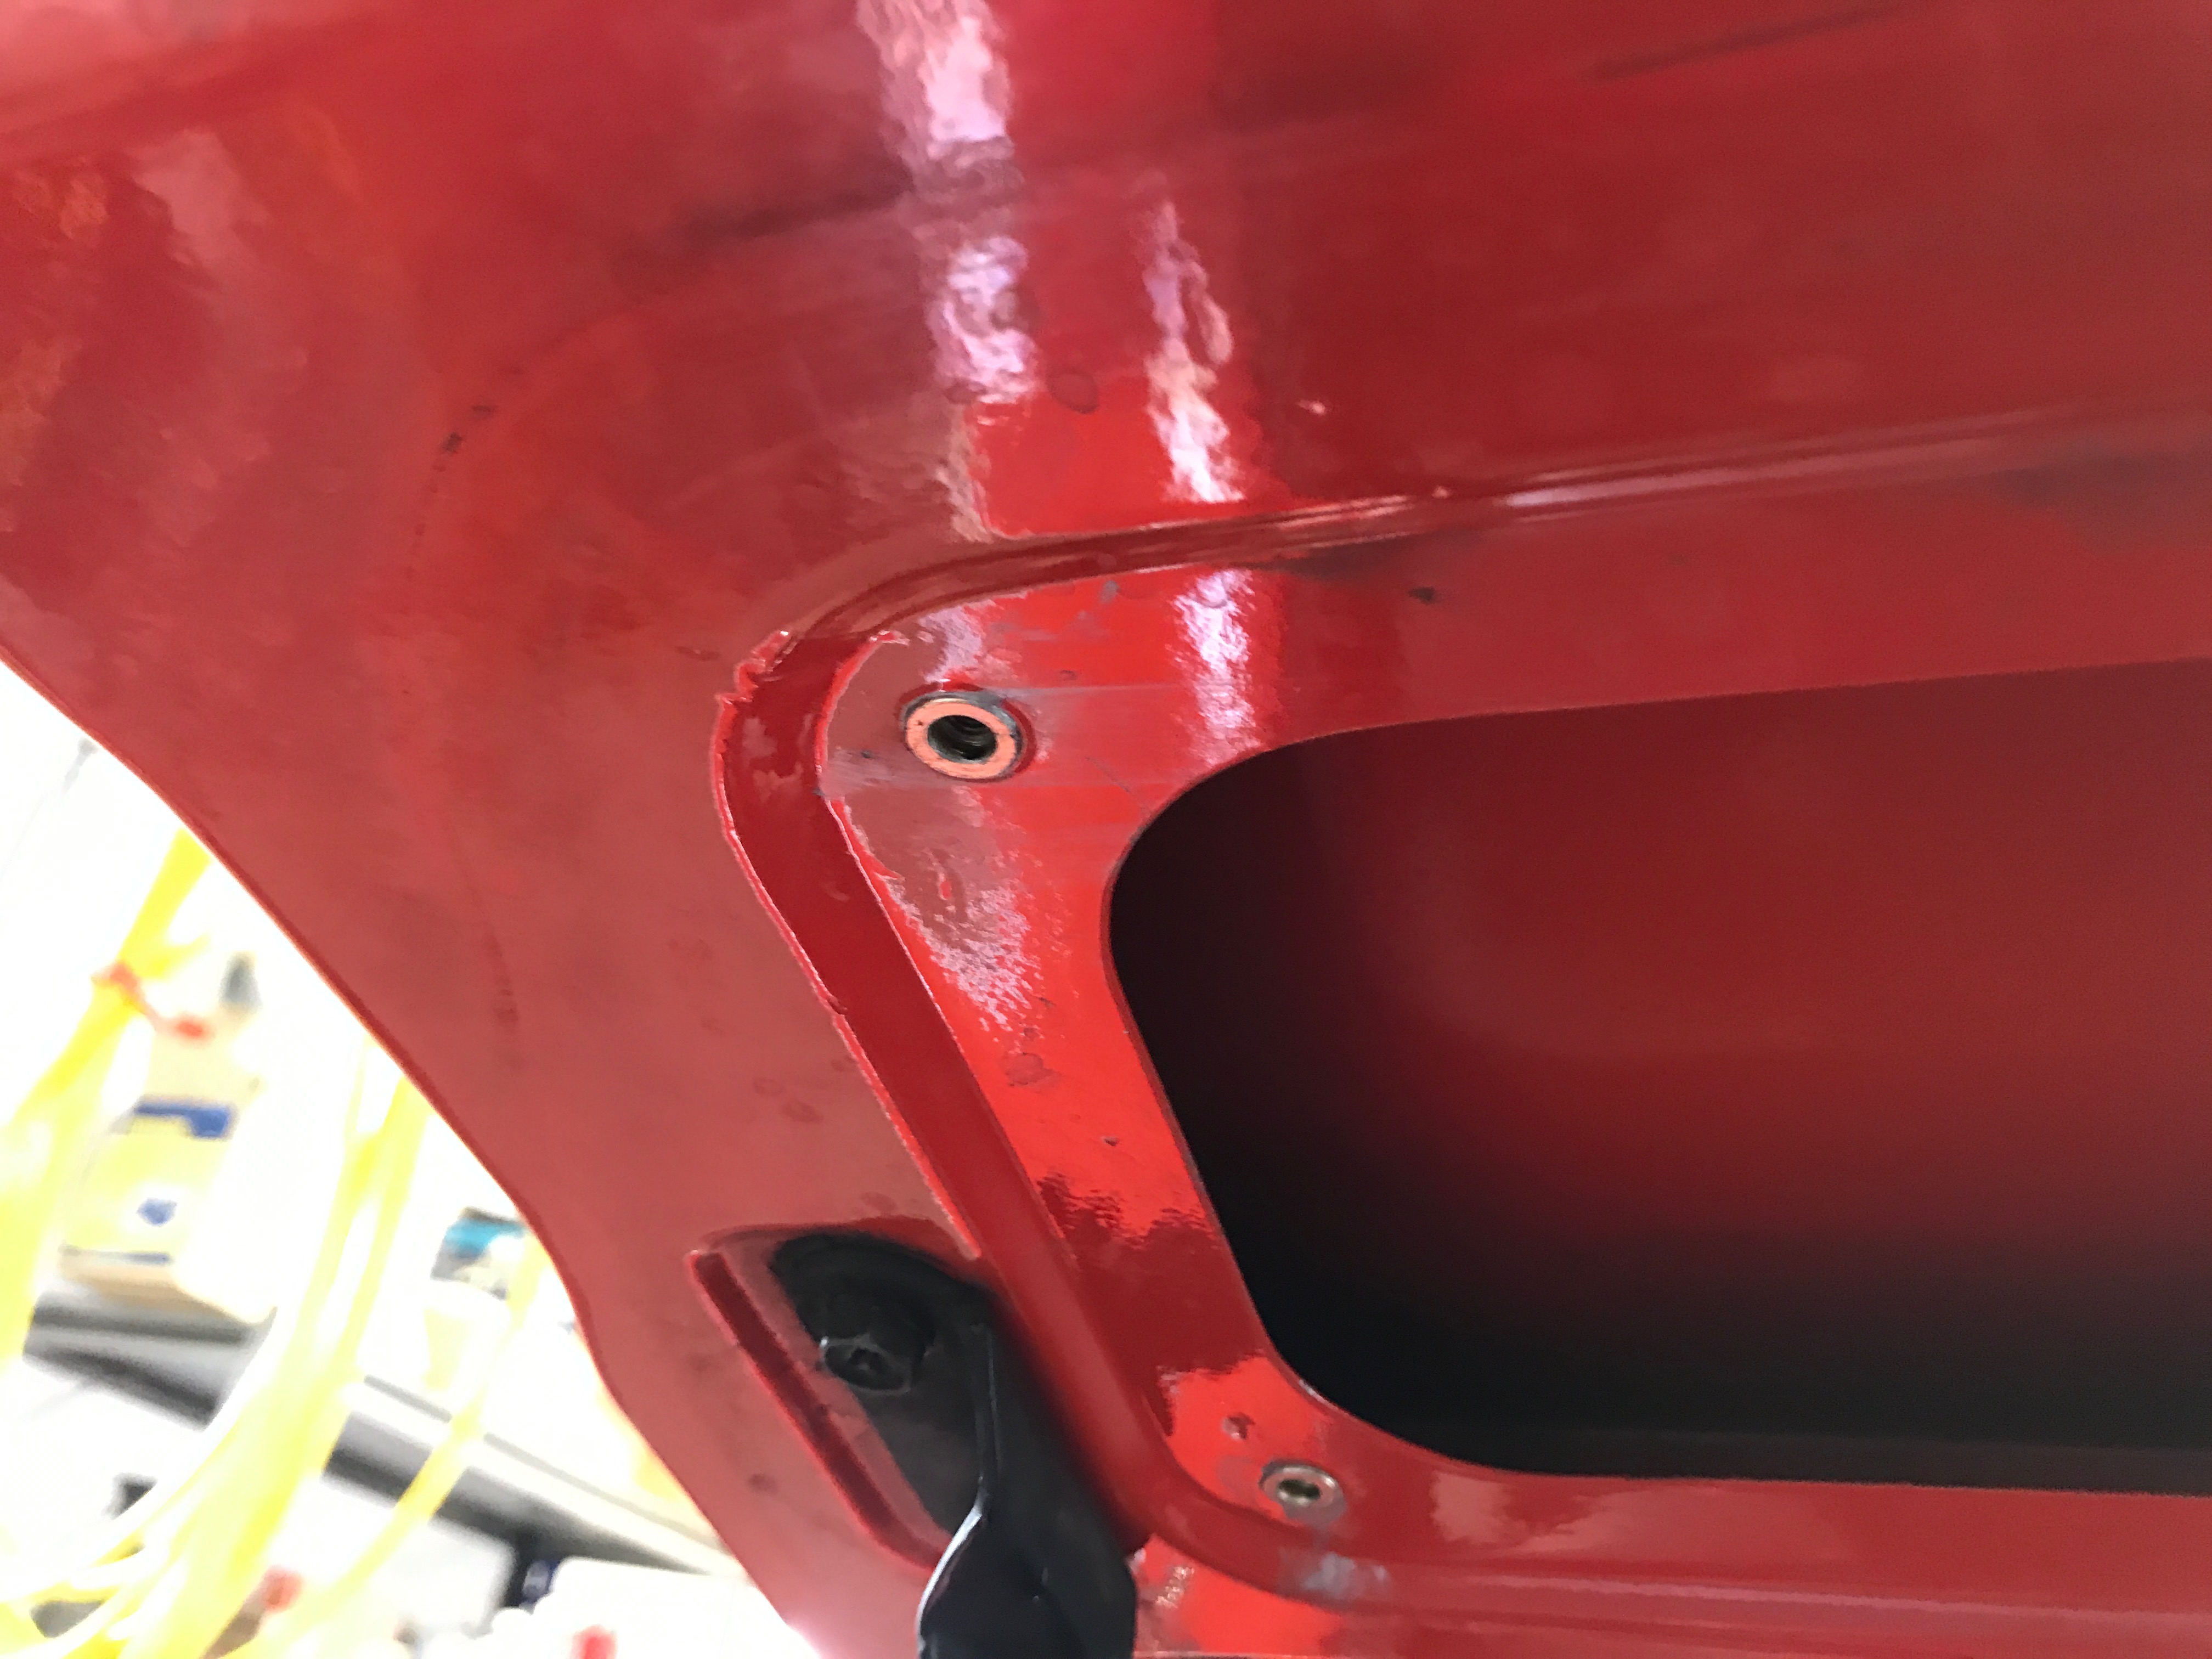
You posted something about this on another forum about five years ago. I had copied the link here in this thread but, apparently, I'm guessing, Mike thought that I was trolling or baiting you and deleted it. Don't really know what to do now since Mike deleted the information but if you search "240Z differential crossmember threaded hole" on Google you might find it. I think those are the words I used. The answer in the other forum was that the threaded holes are for exhaust system hangers. There was no answer on the plate. I'm going to guess it's a shim to bring the diff nose up for diff alignment. Sorry Mike, but my reply that you deleted was an honest post, and the edit was after I saw that the same name, DJACEY, was on the other forum. If you clicked the link that I posted you'd see that the name was hard to see, above the actual post. I did not see it until later. @Mike0 points