


Leaderboard
-
charliekwin
Free Member3Points664Posts -
motorman7
 Subscriber
 3Points2,226Posts
 -

kayinsunz
Free Member2Points33Posts -
Patcon
Subscriber1Points11,136Posts


Popular Content
Showing content with the highest reputation on 06/12/2017 in all areas
-
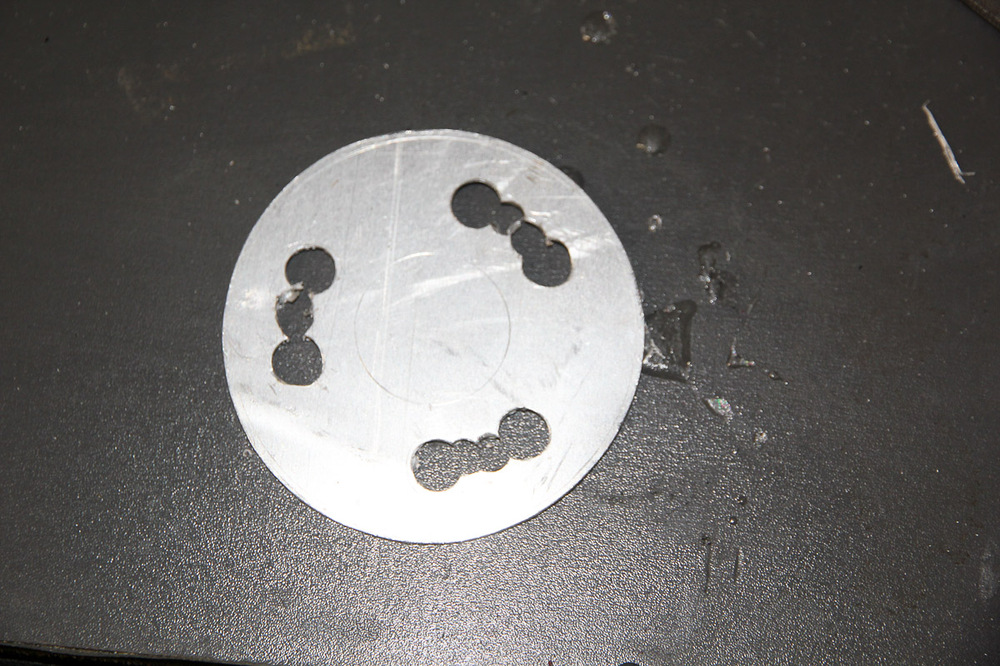
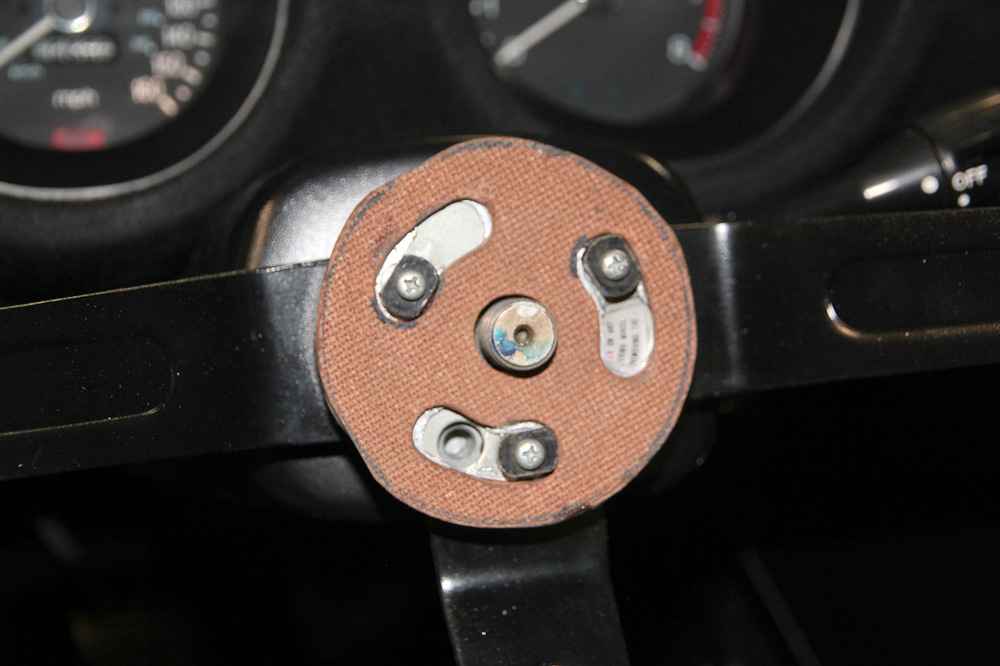
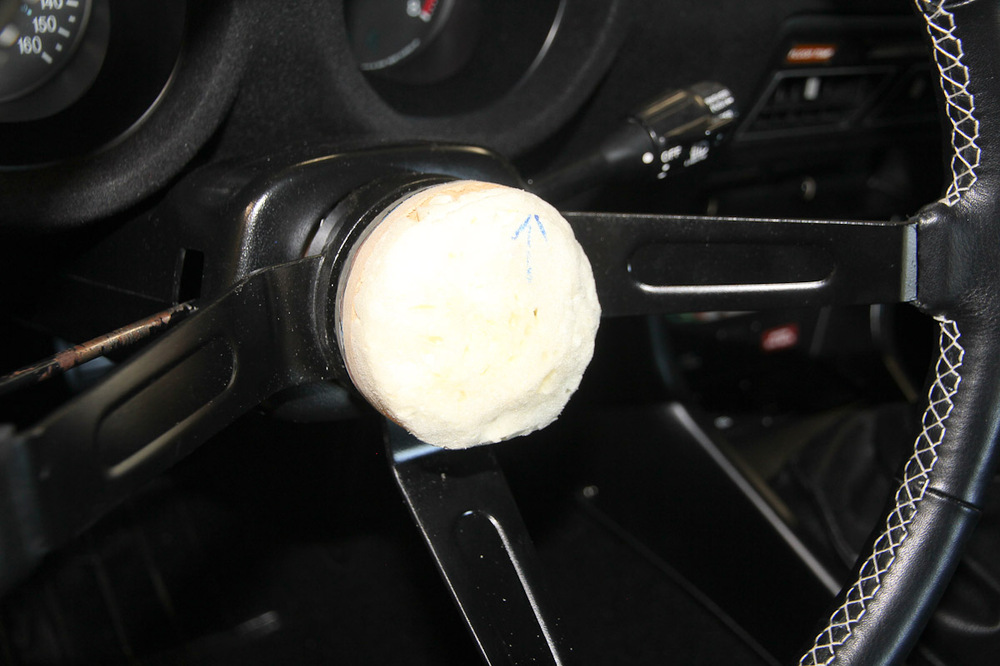
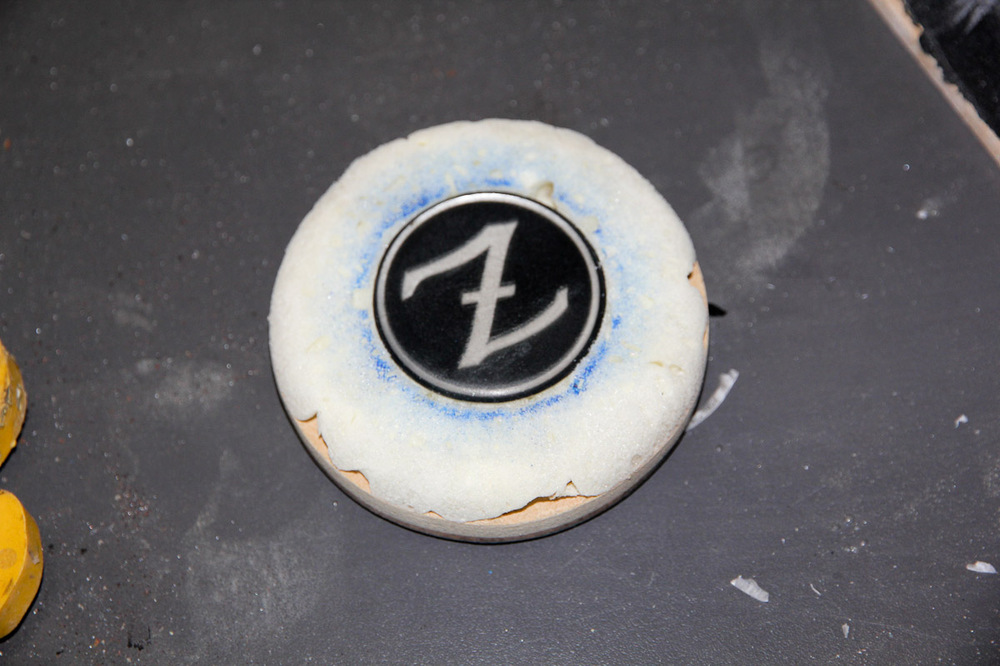
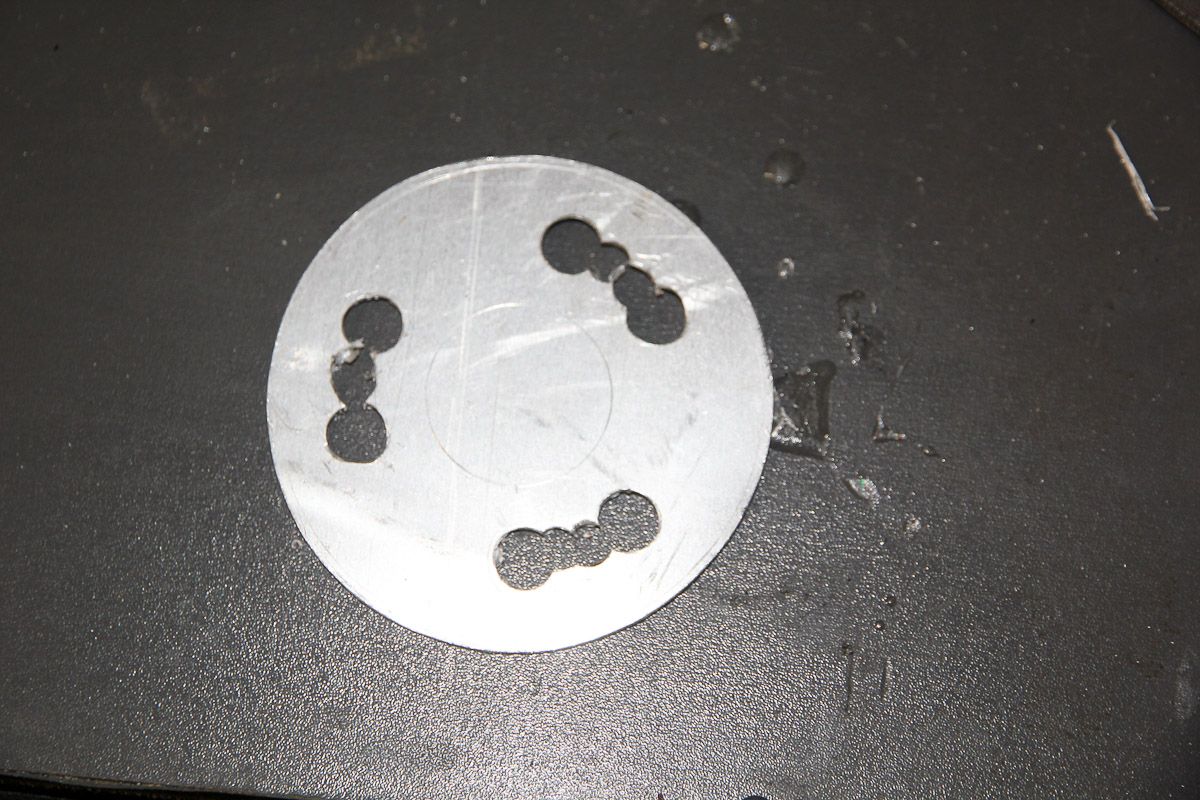
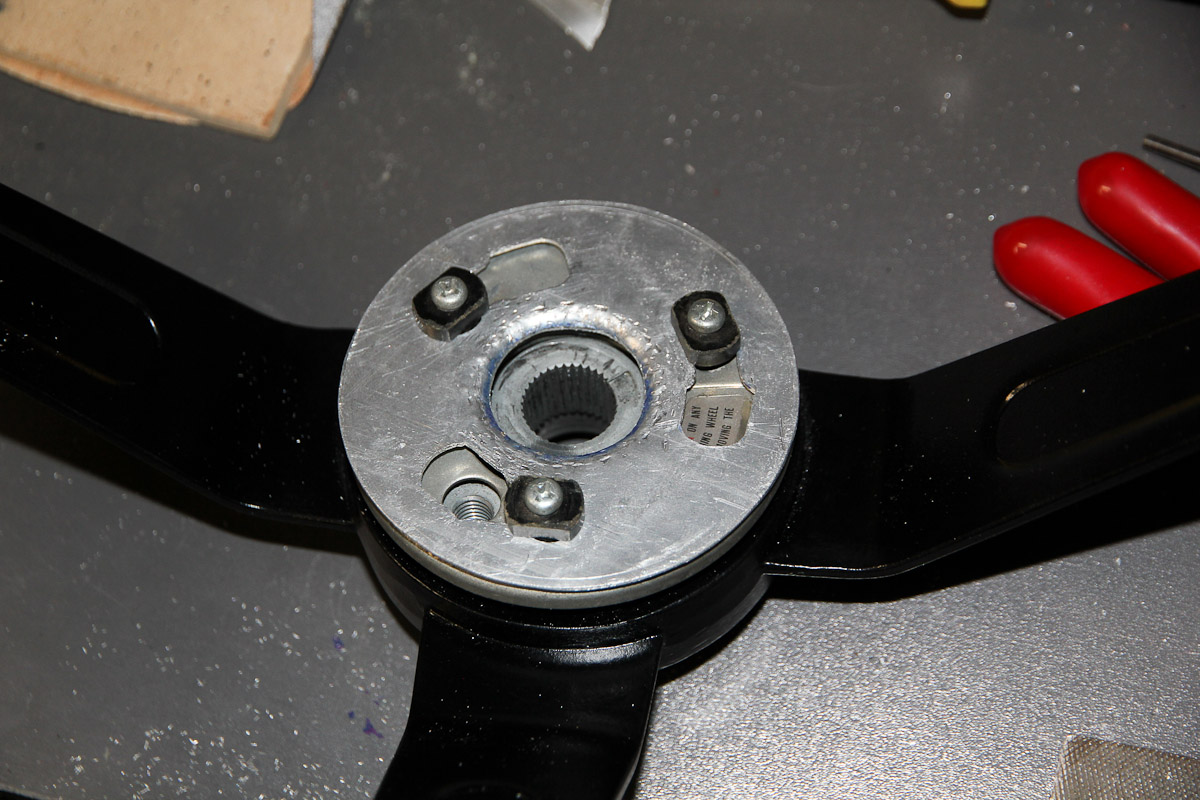
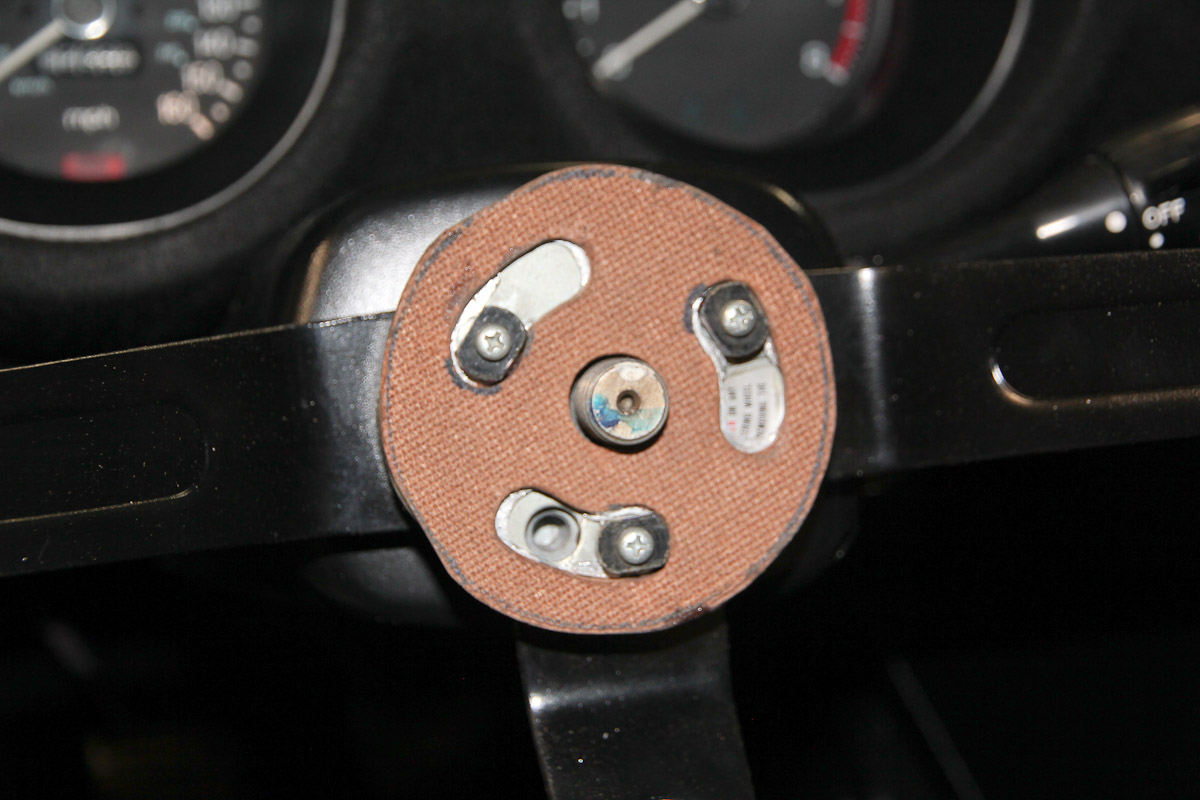
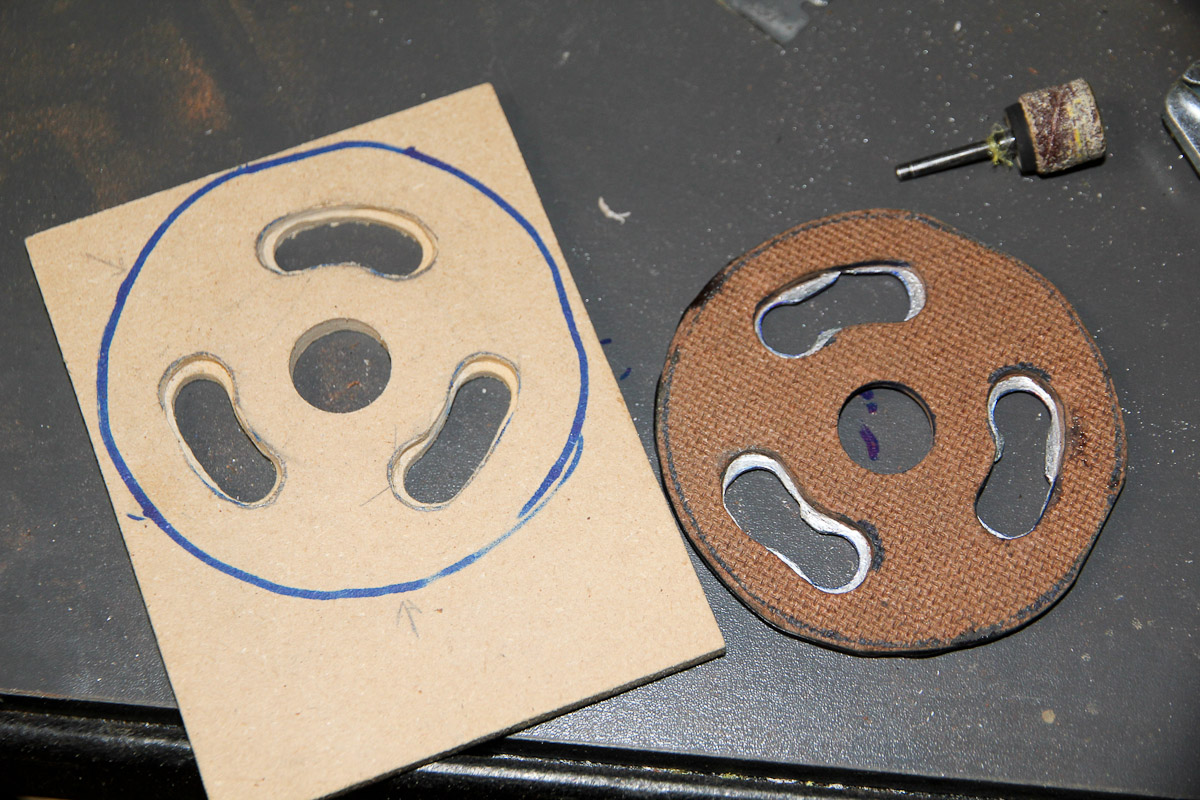
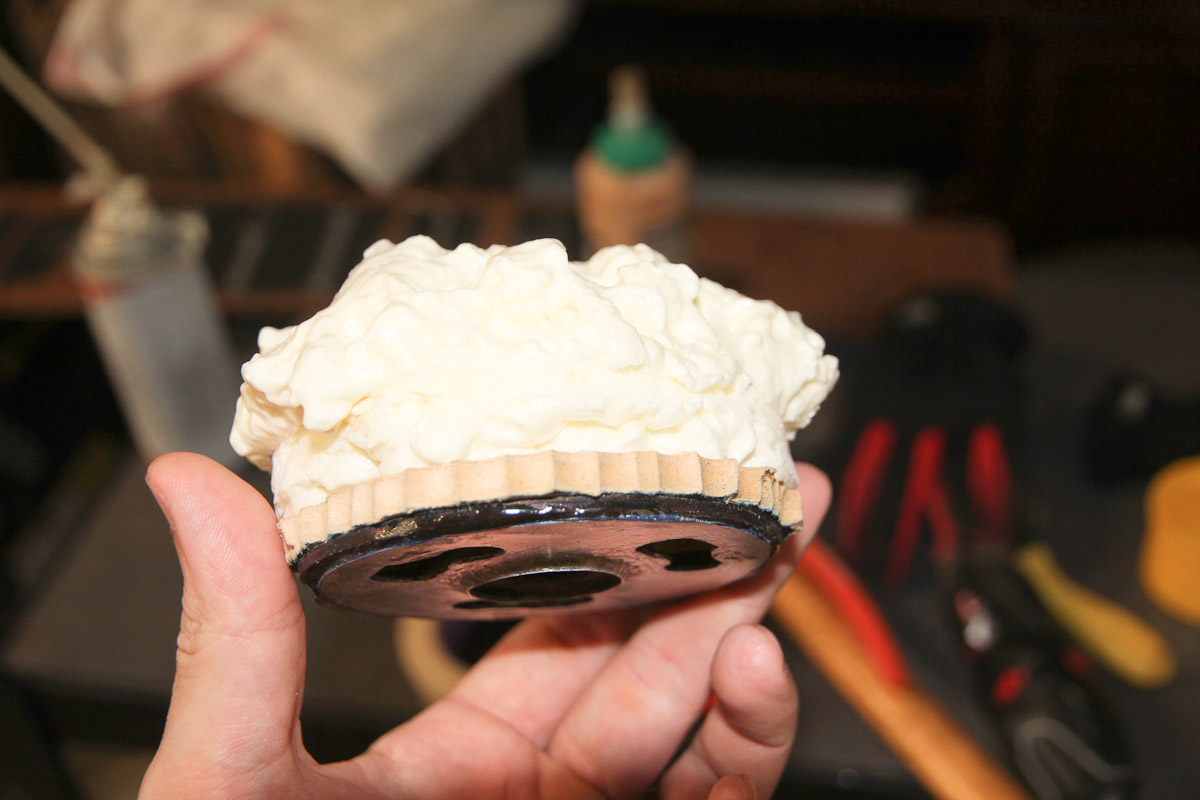
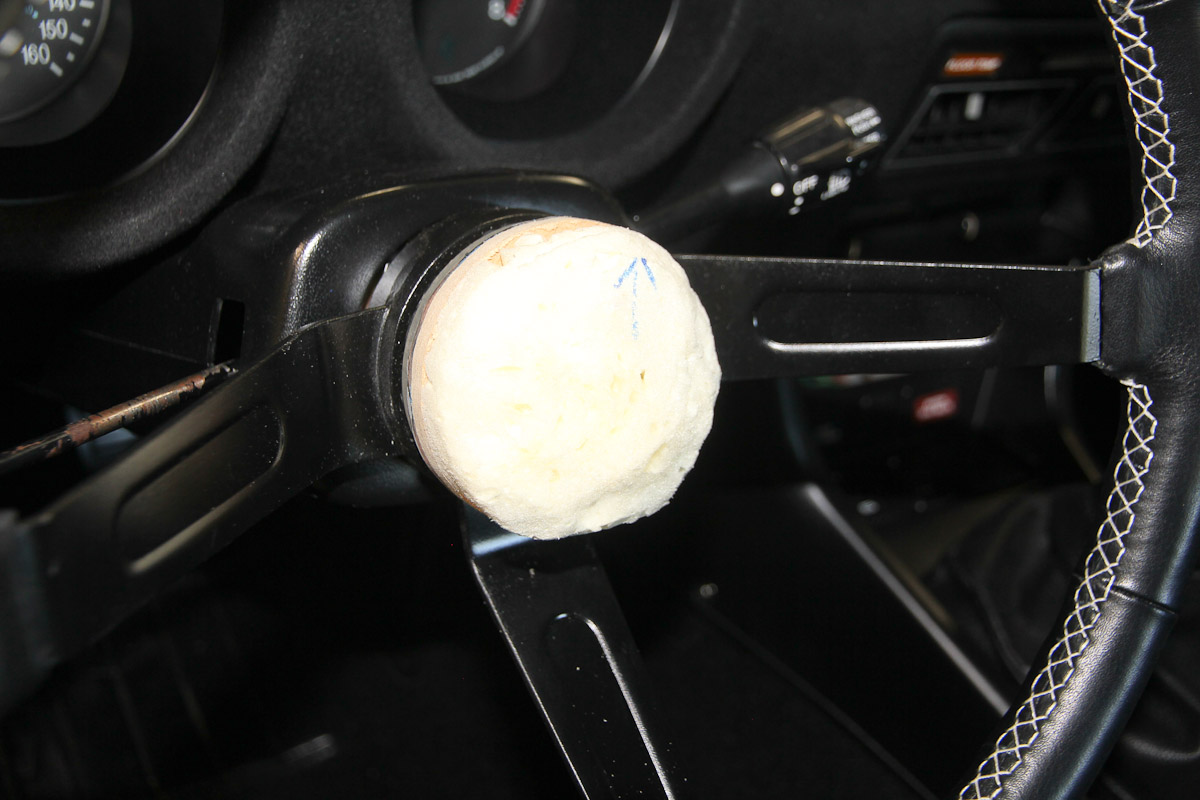
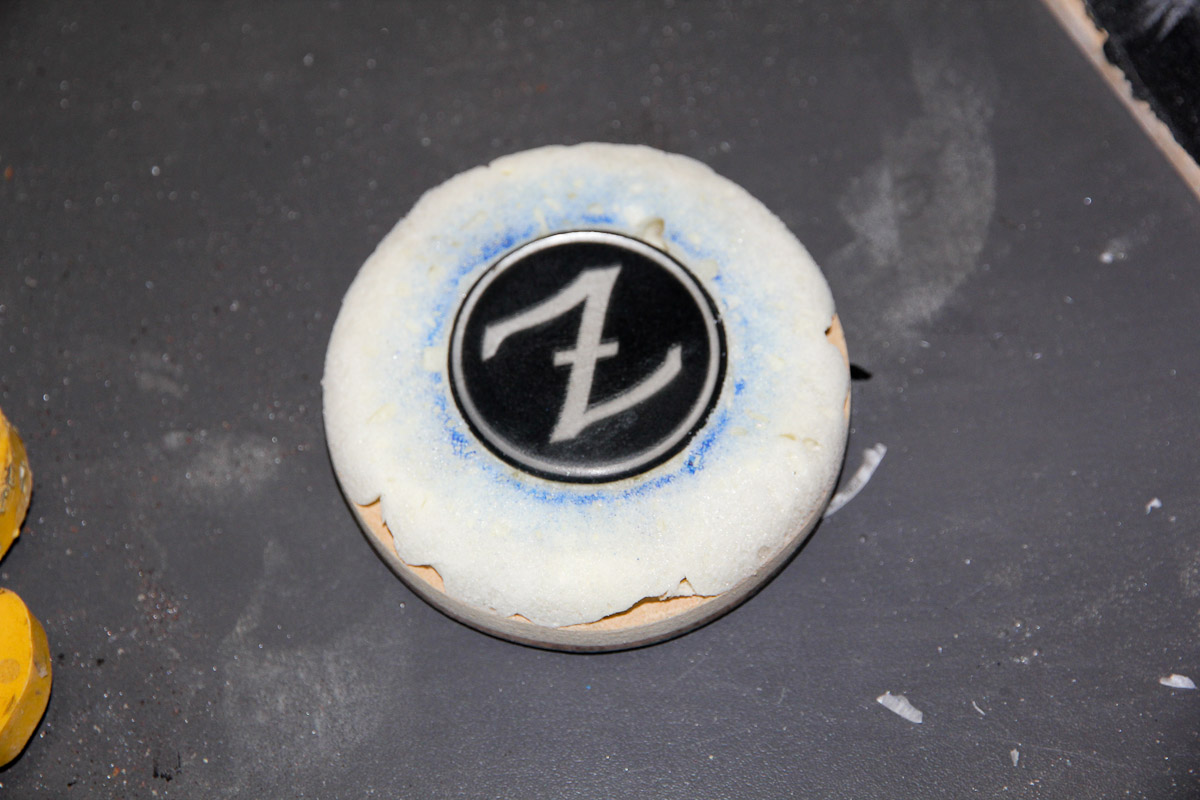
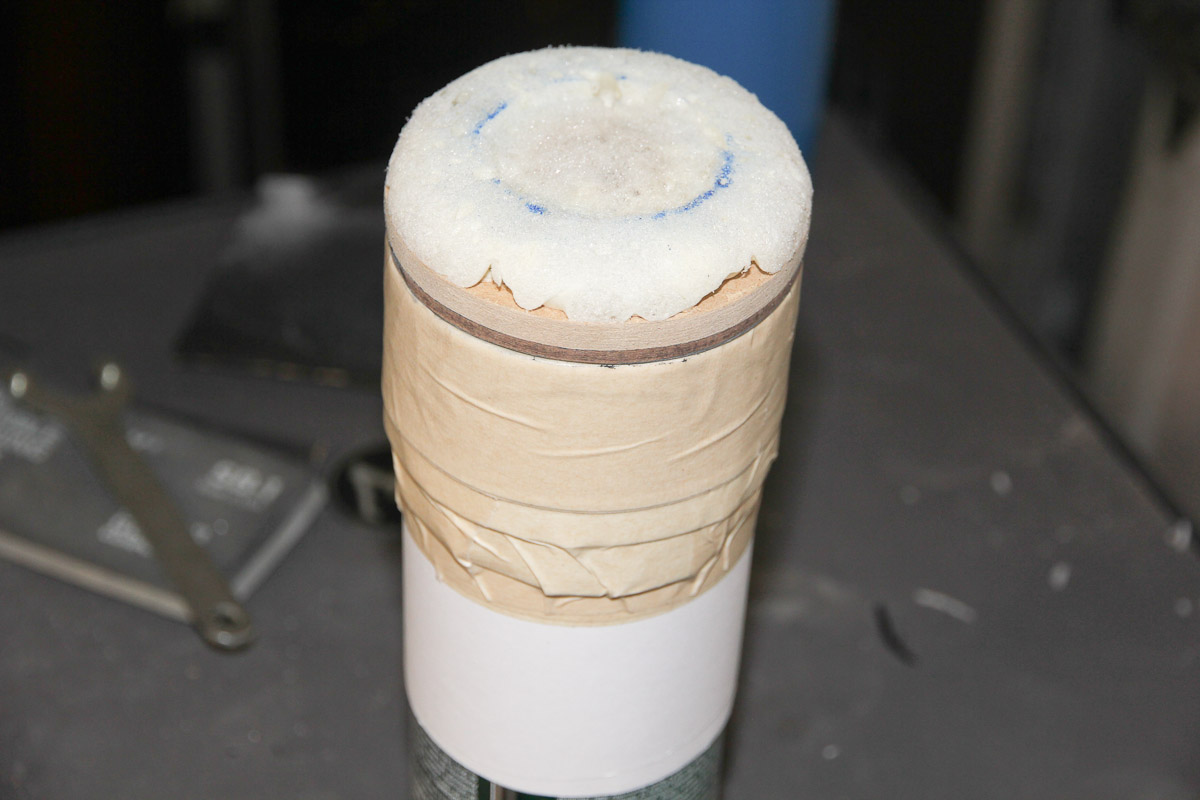
Took a couple of drives to get used to the smaller diameter on the steering wheel, but I'm quite enjoying it. It's nice having a high-quality item that's such a prominent touch point. Meanwhile, I've taken on a few miscellaneous projects. I got a Technoversions differential mount for Christmas that I was finally able to install. The car would jerk intermittently at throttle on and lift. The new mount has helped, but it still jerks sometimes (though less often and less violently). I'm thinking the transmission mount might be the culprit. As for the horn pad: I never liked the one that came with the 280Z -- it really big and ungainly -- so I'm trying to make a new one. I have a bunch of 3003 aluminum sheet laying around and used the stock horn pad backing plate as a template for the new one. The aluminum is way too soft on its own, so I glued on some hardboard and MDF pieces for extra strength. Then used Great Stuff foam to get a rough shape. I have a Z sticker that sticker that I found in the car that might work as a center piece. I laid some fiberglass over the whole thing and did a rough cut. I still need to sand and do some final shaping, then I plan to cover it with the leather I have left over from the steering wheel. Also: power windows! A new set of door panels is on the way from Pakistan, so now's a good time. The door was pretty gross, so it got a decent cleaning and some lubrication to begin with. I used the Spal kit, which is a little more expensive, but had better reviews than the cheaper knockoffs on eBay. Installation (as far as I've gotten) is pretty straightforward. This was the best configuration I could come up with to reduce the profile of all the parts to fit the door card. It bulges a tiny big behind the armrest, but it isn't very noticeable. With some Dremeling, I should be able to avoid the ugly plastic plug where the crank used to be. Video time! Still need to do the driver side. And run the wiring. If I had realized beforehand that running the wires was going to require removing the doors, there's a good chance I wouldn't have done the power windows. Too late now!


 3 points
 -
2 points@Zed Head. YOU ARE THA MAN Sparking strong on crank. Lessons learned: don't throw parts at a car without understanding the systems. Thank you so much.2 points
-
1 pointHi All, RedBird has a problem I'm at a loss to know what it is. I need you all once again. She started out having some change in engine sound at the very top end in 4th gear. It sounded like she was under a lot of overload, this would happen if I used the pedal for a little more gas. Then it started happening in 3rd gear, when it happens, there is no increase in power, and the rumble sound is accompanied with a small vibration. As of now, she goes right into that event right after getting into 3rd or 4th, when applying gas to move on up to proper speed. As of Sunday something new. Just driving along at 55 and the engine quits. No gas pedal, no sound, just coasting. It went for about 3 seconds, then the engine caught up and ran fine. Except for trying to get back to speed, then it had rumble rumble and no increase. I have to drive her more slowly and use lower shifting speeds to avoid the rumble rumble. Then ease her very slowly up to chosen speed. Today is the first I've been out since then, 12 mi to Dalton. At first she did not want to start, got her going twice more, and about 2 min later she stopped. Started her again, all OK then. Coming back from Dalton, she shut off again while driving, for a longer time, about 6 -7 seconds before restarting. Then again within another minute, for only 2 sec. We were near home, uneventful rest of trip. That's it. Ask away, or better yet tell me what to do. I have no idea. Thanks loads folks, I'm sure you know what to do. Jai1 point
-
1 pointThanks for the suggestions....hmmm...maybe a 280 master is the way to go. Something to try first, perhaps. The fuel pump is loud enough, I don't need another thing making noise. Also, I do have a mild cam, so another way to go is actually measure the vacuum I'm producing now to see what the base is. As for the brace, 240260280, I noticed the rod would flex some during initial throttle-up pressure, so the brace keeps that from happening. There are probably other ways to correct it, but this one works pretty well.1 point
-
Got the 155 mains and 195 correctors in now. But haven't had time to do any testing yet. (Having a 2 year old and 4 month old severely limits my time ) I'll report back with the results and we will go from there.1 point
-
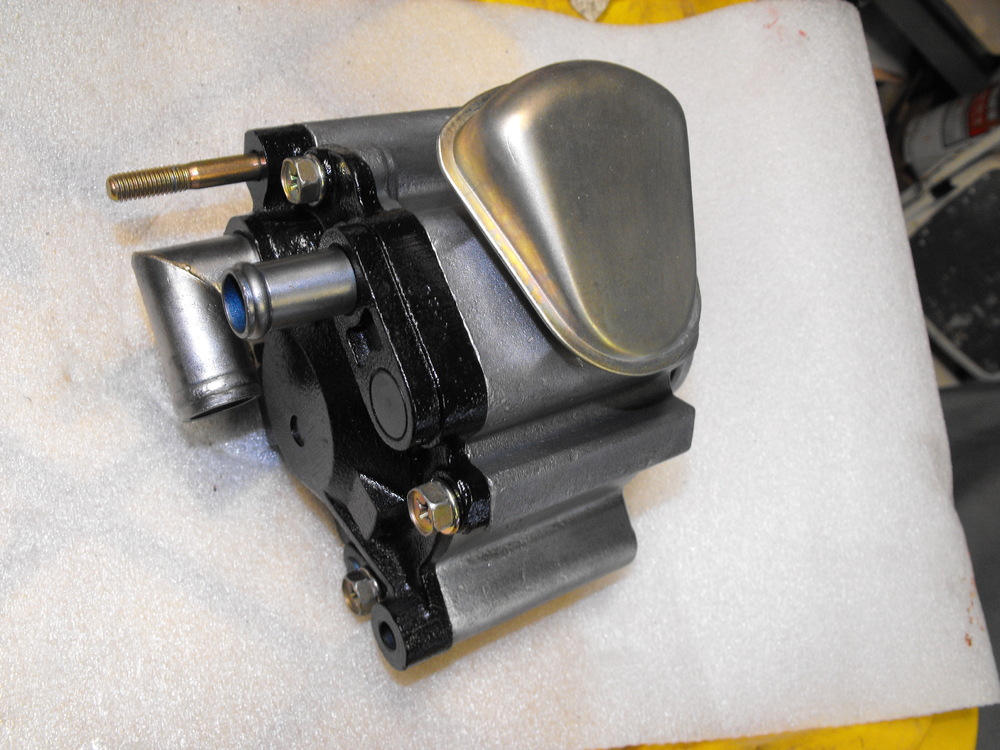
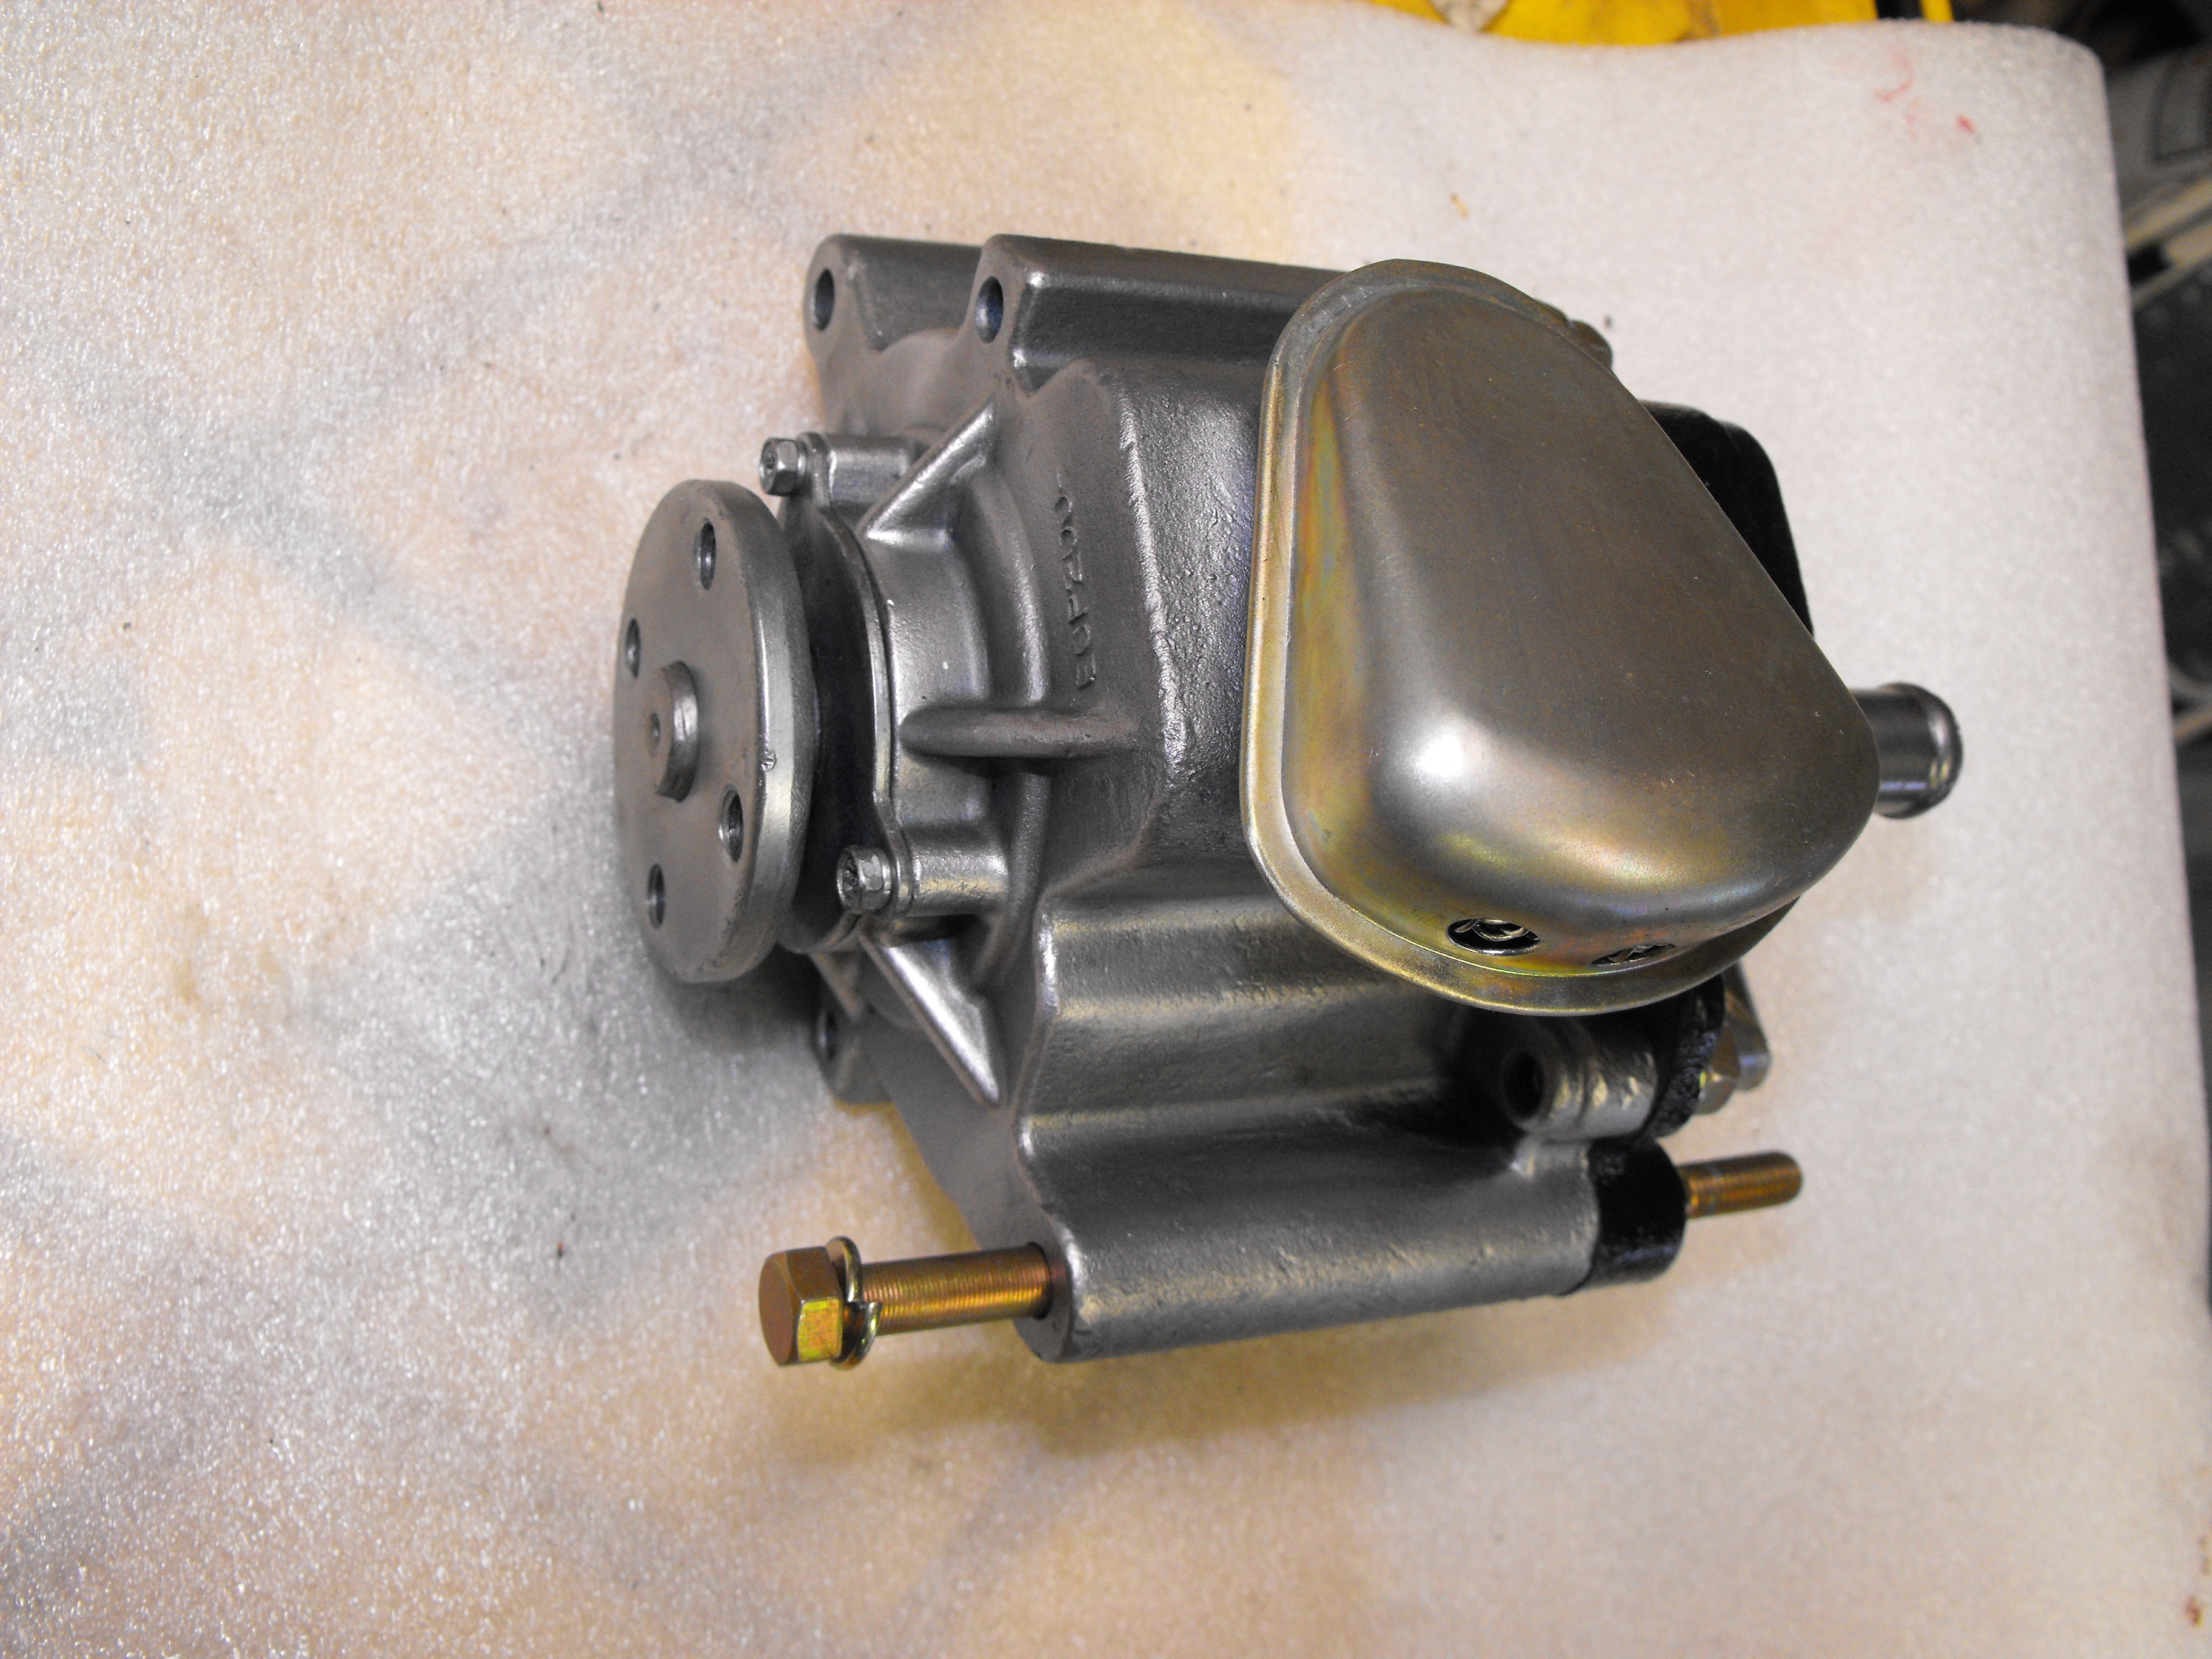
1 point1 point1 pointOn the shrinking disc thing... I bought a set last week a 9" and a smaller 5" and used it some today. That thing is so cool! It works like magic. One minute you have a dent the next its gone. Probably no filler needed. Makes me all grins when I use it...1 pointI would definitely add a ball valve like you pictured in the engine compartment. You could probably keep it completely closed for most of the year and only need to crack it open at the very beginning and end of the season. Speaking of which... I could probably close mine down now. I don't think I'll be needing heat until maybe October. As for the capacity of the heater core, I haven't measured it, but I don't think it's even as much as a half gallon. Maybe between a quart and a half gallon?1 point1 pointA little more progress tonight. Got the smog pump cleaned up and painted. Lubed the bearings while I had the back section off. Used clear satin over the aluminum housing and inlet and outlet pipes. Also got the air breather attached. Loosely installed the pump onto the motor.


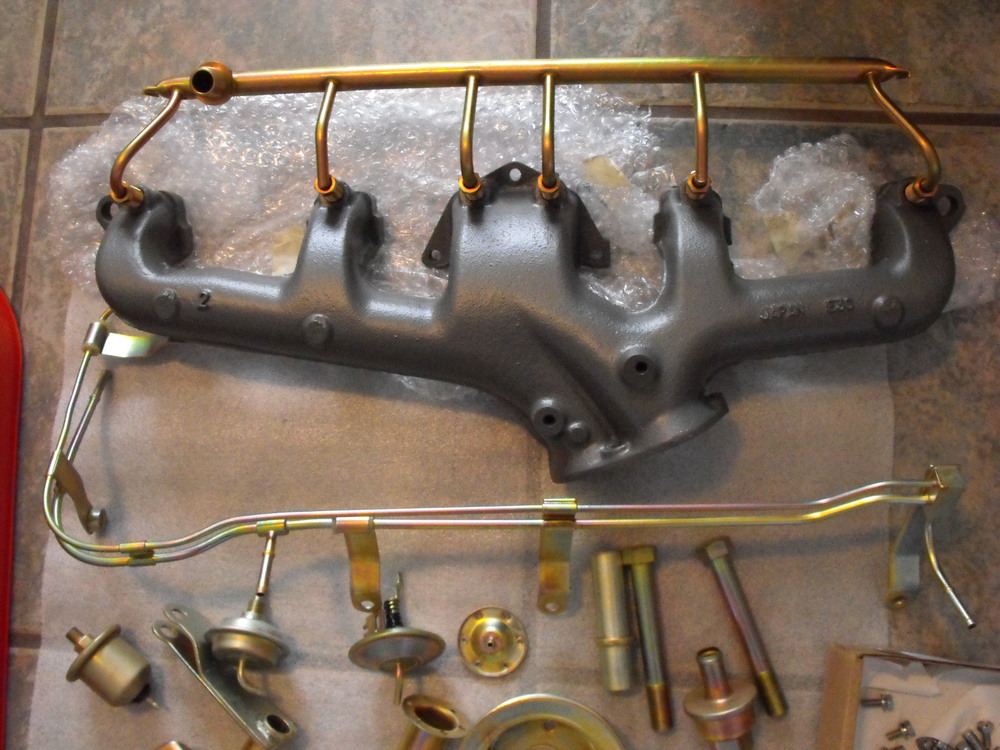
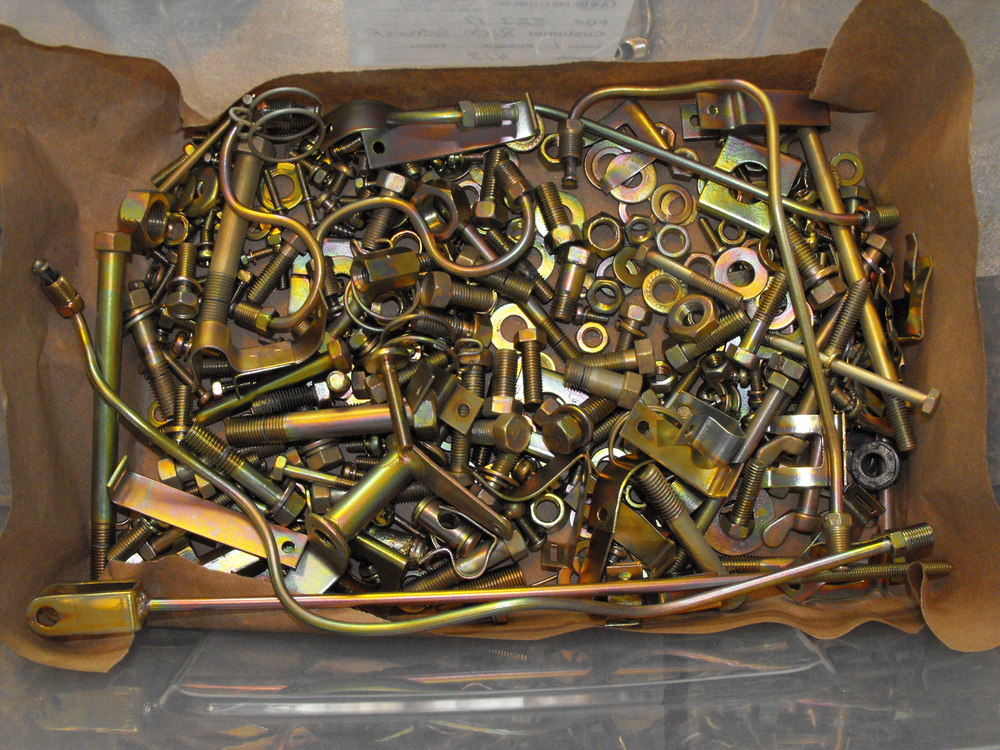
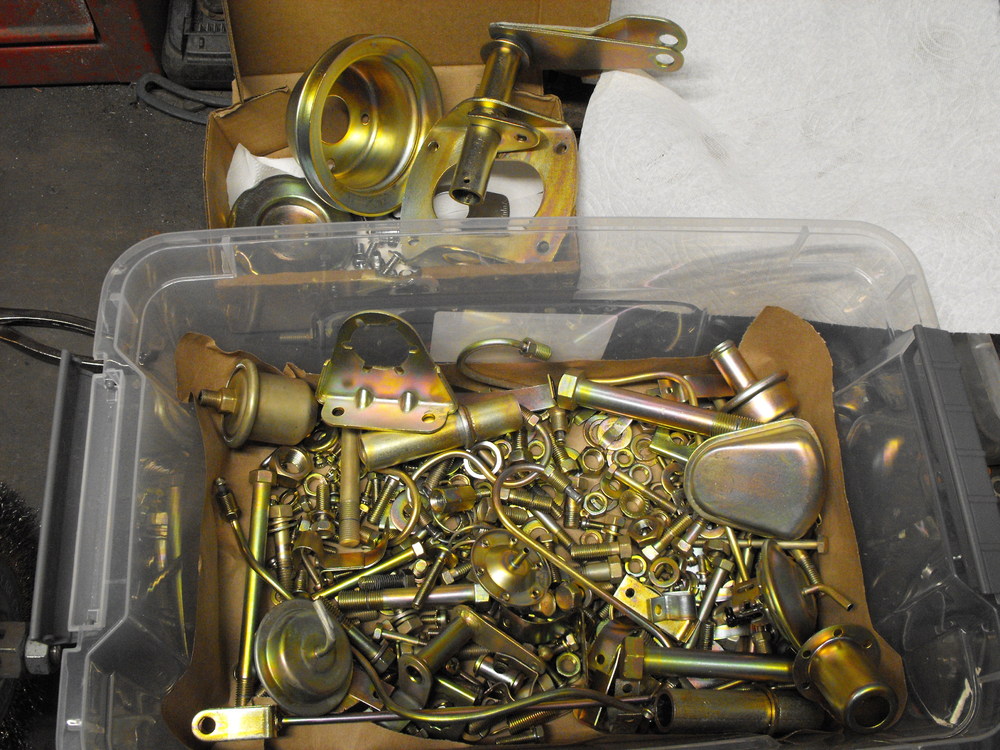
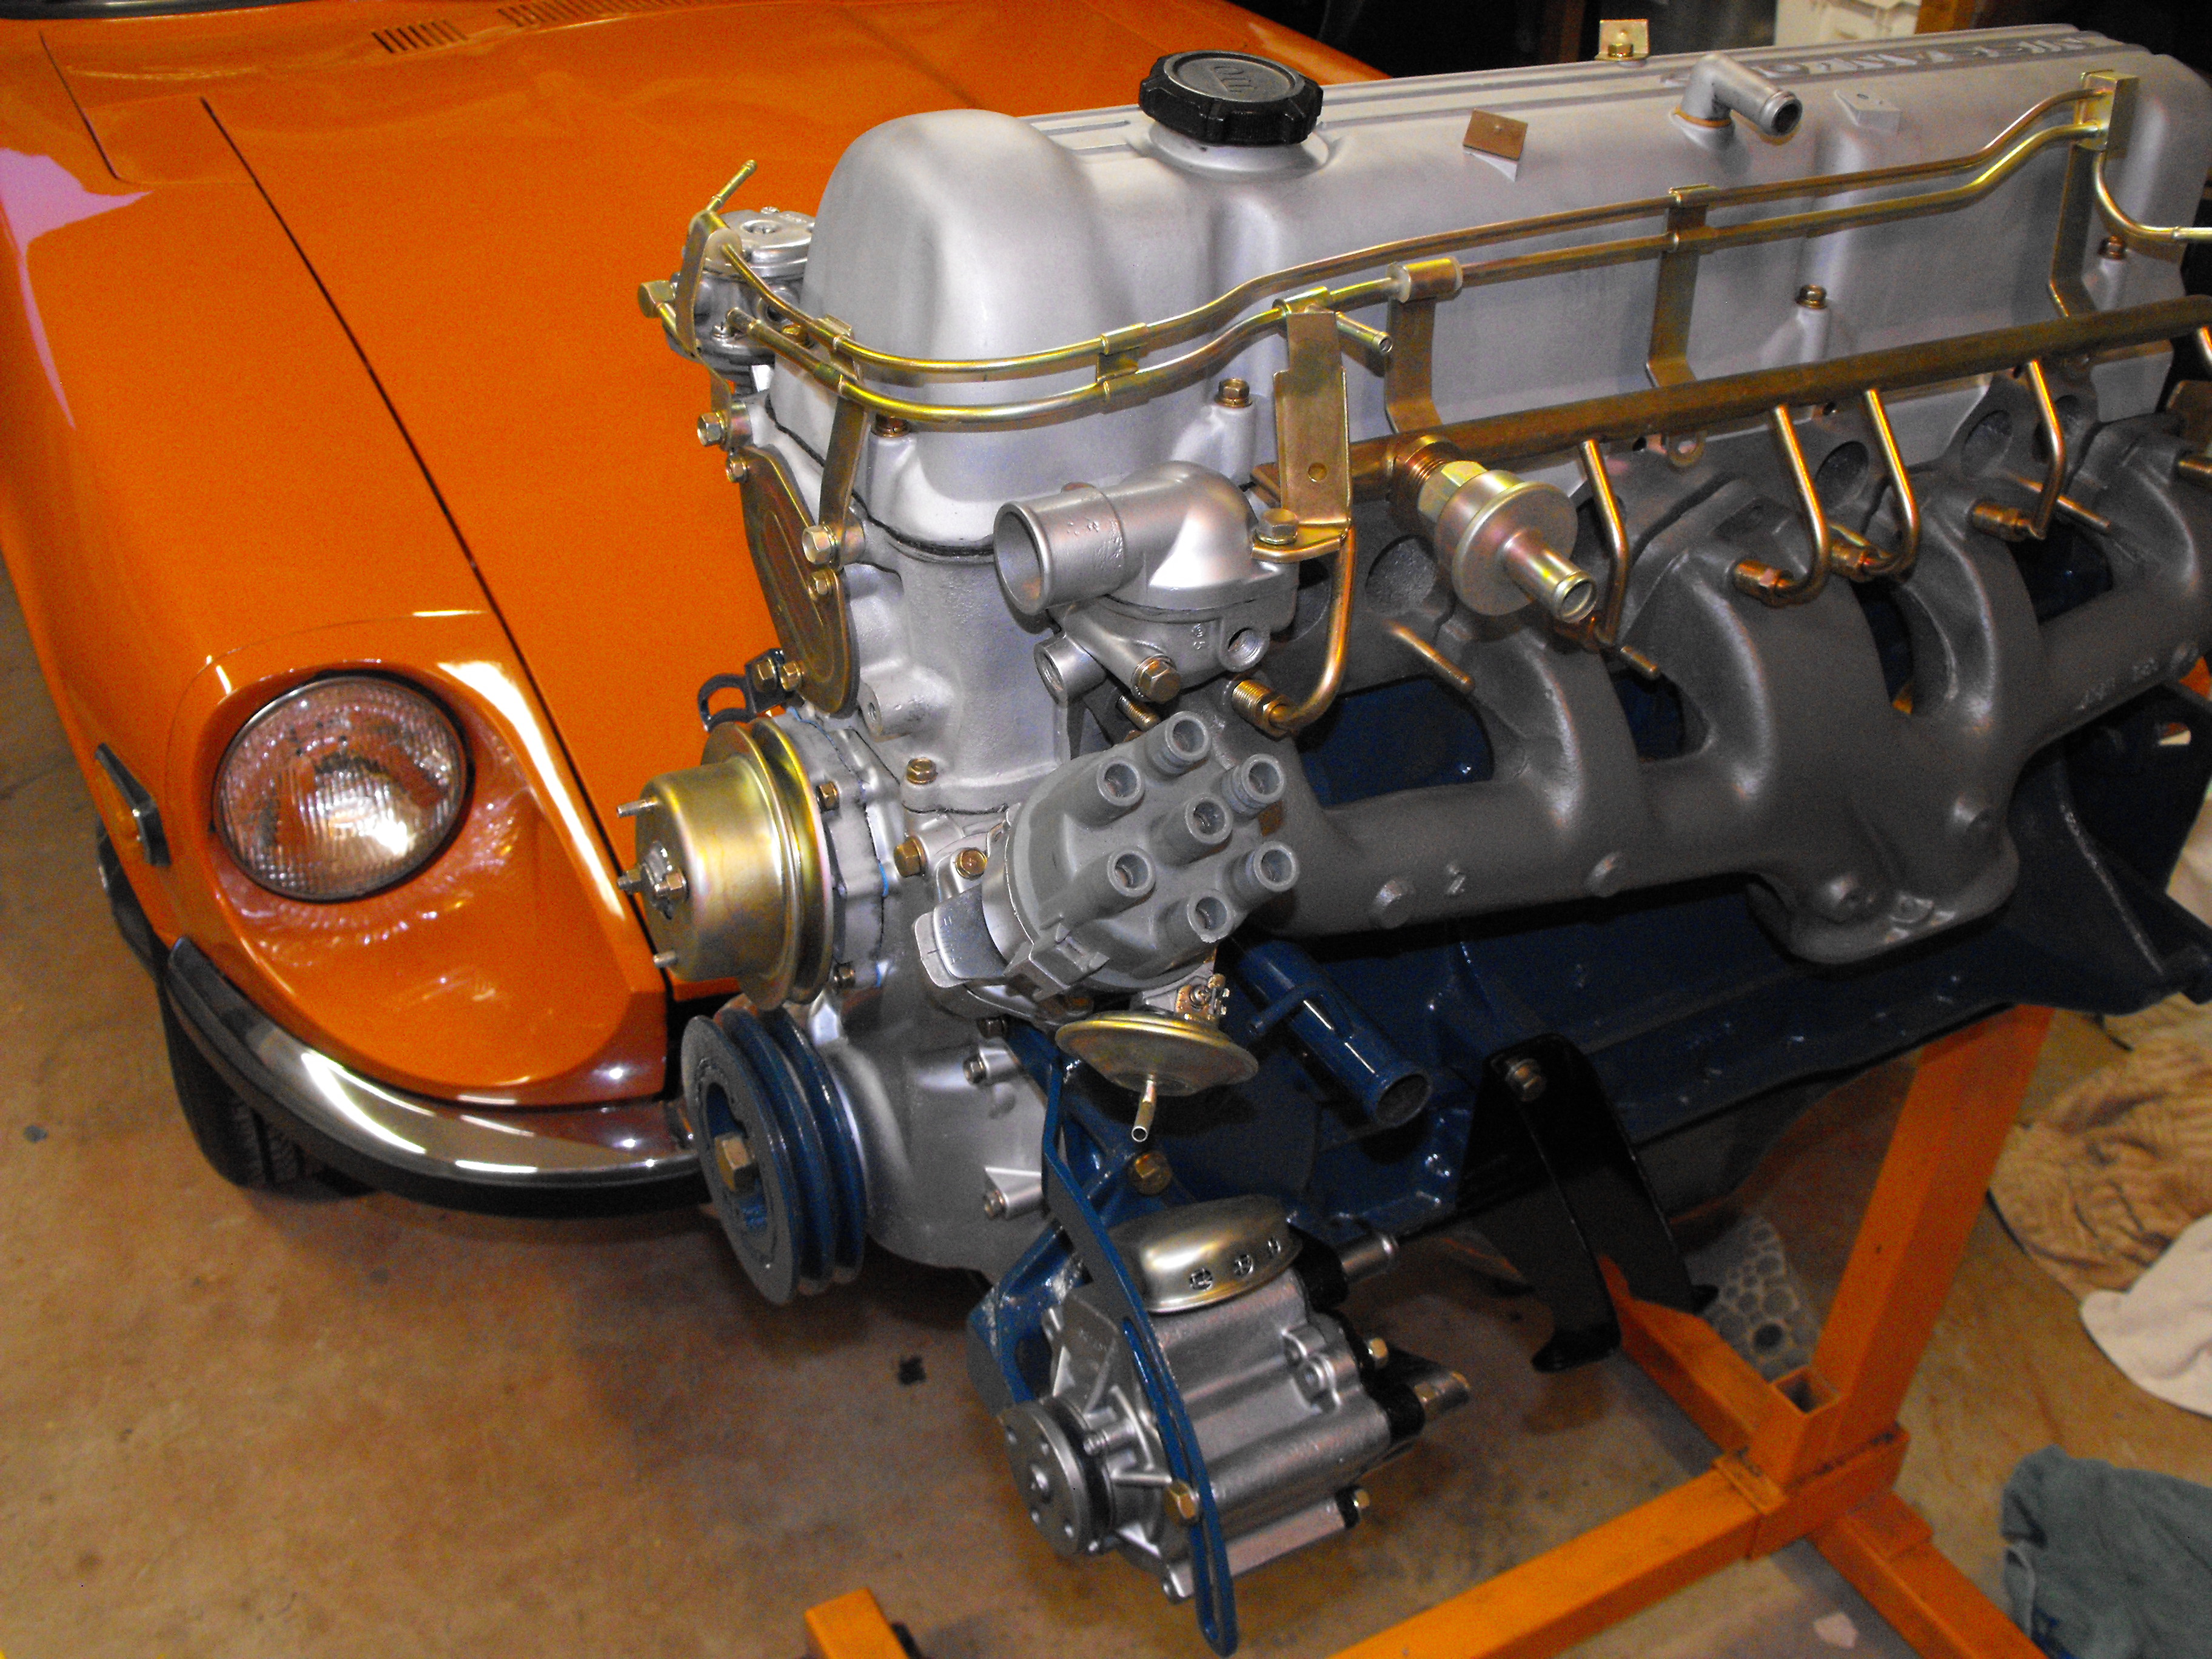
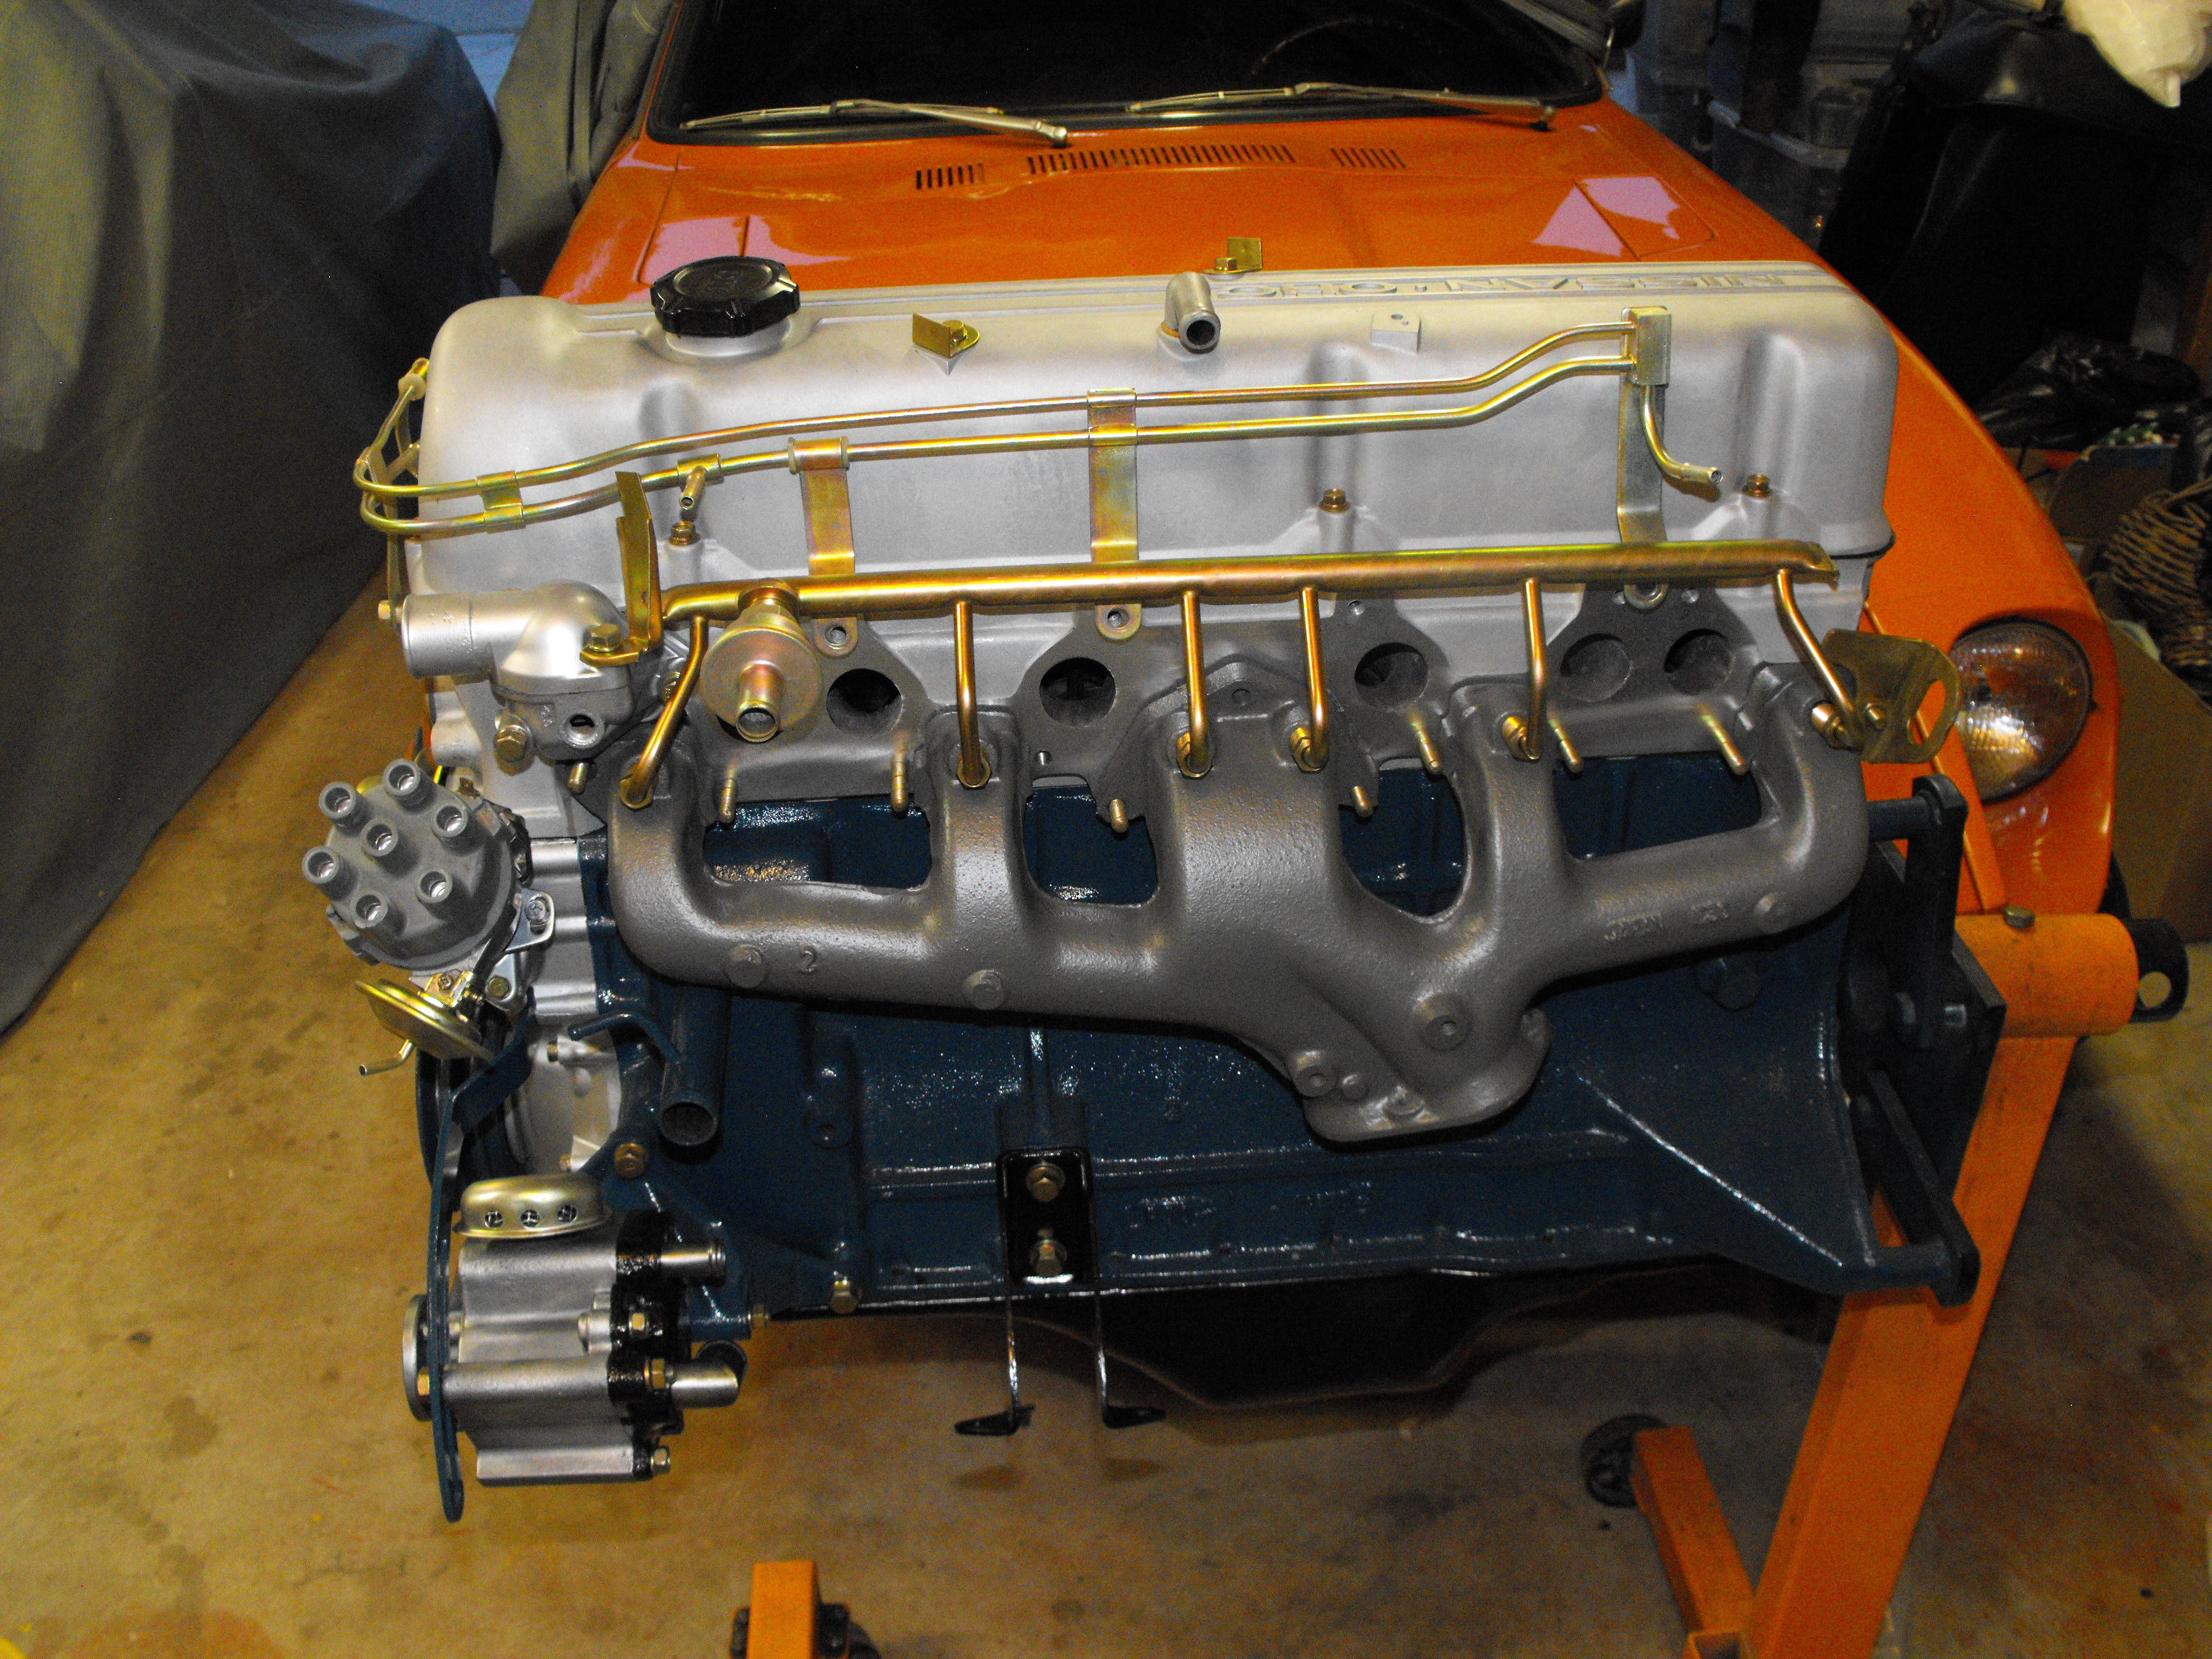
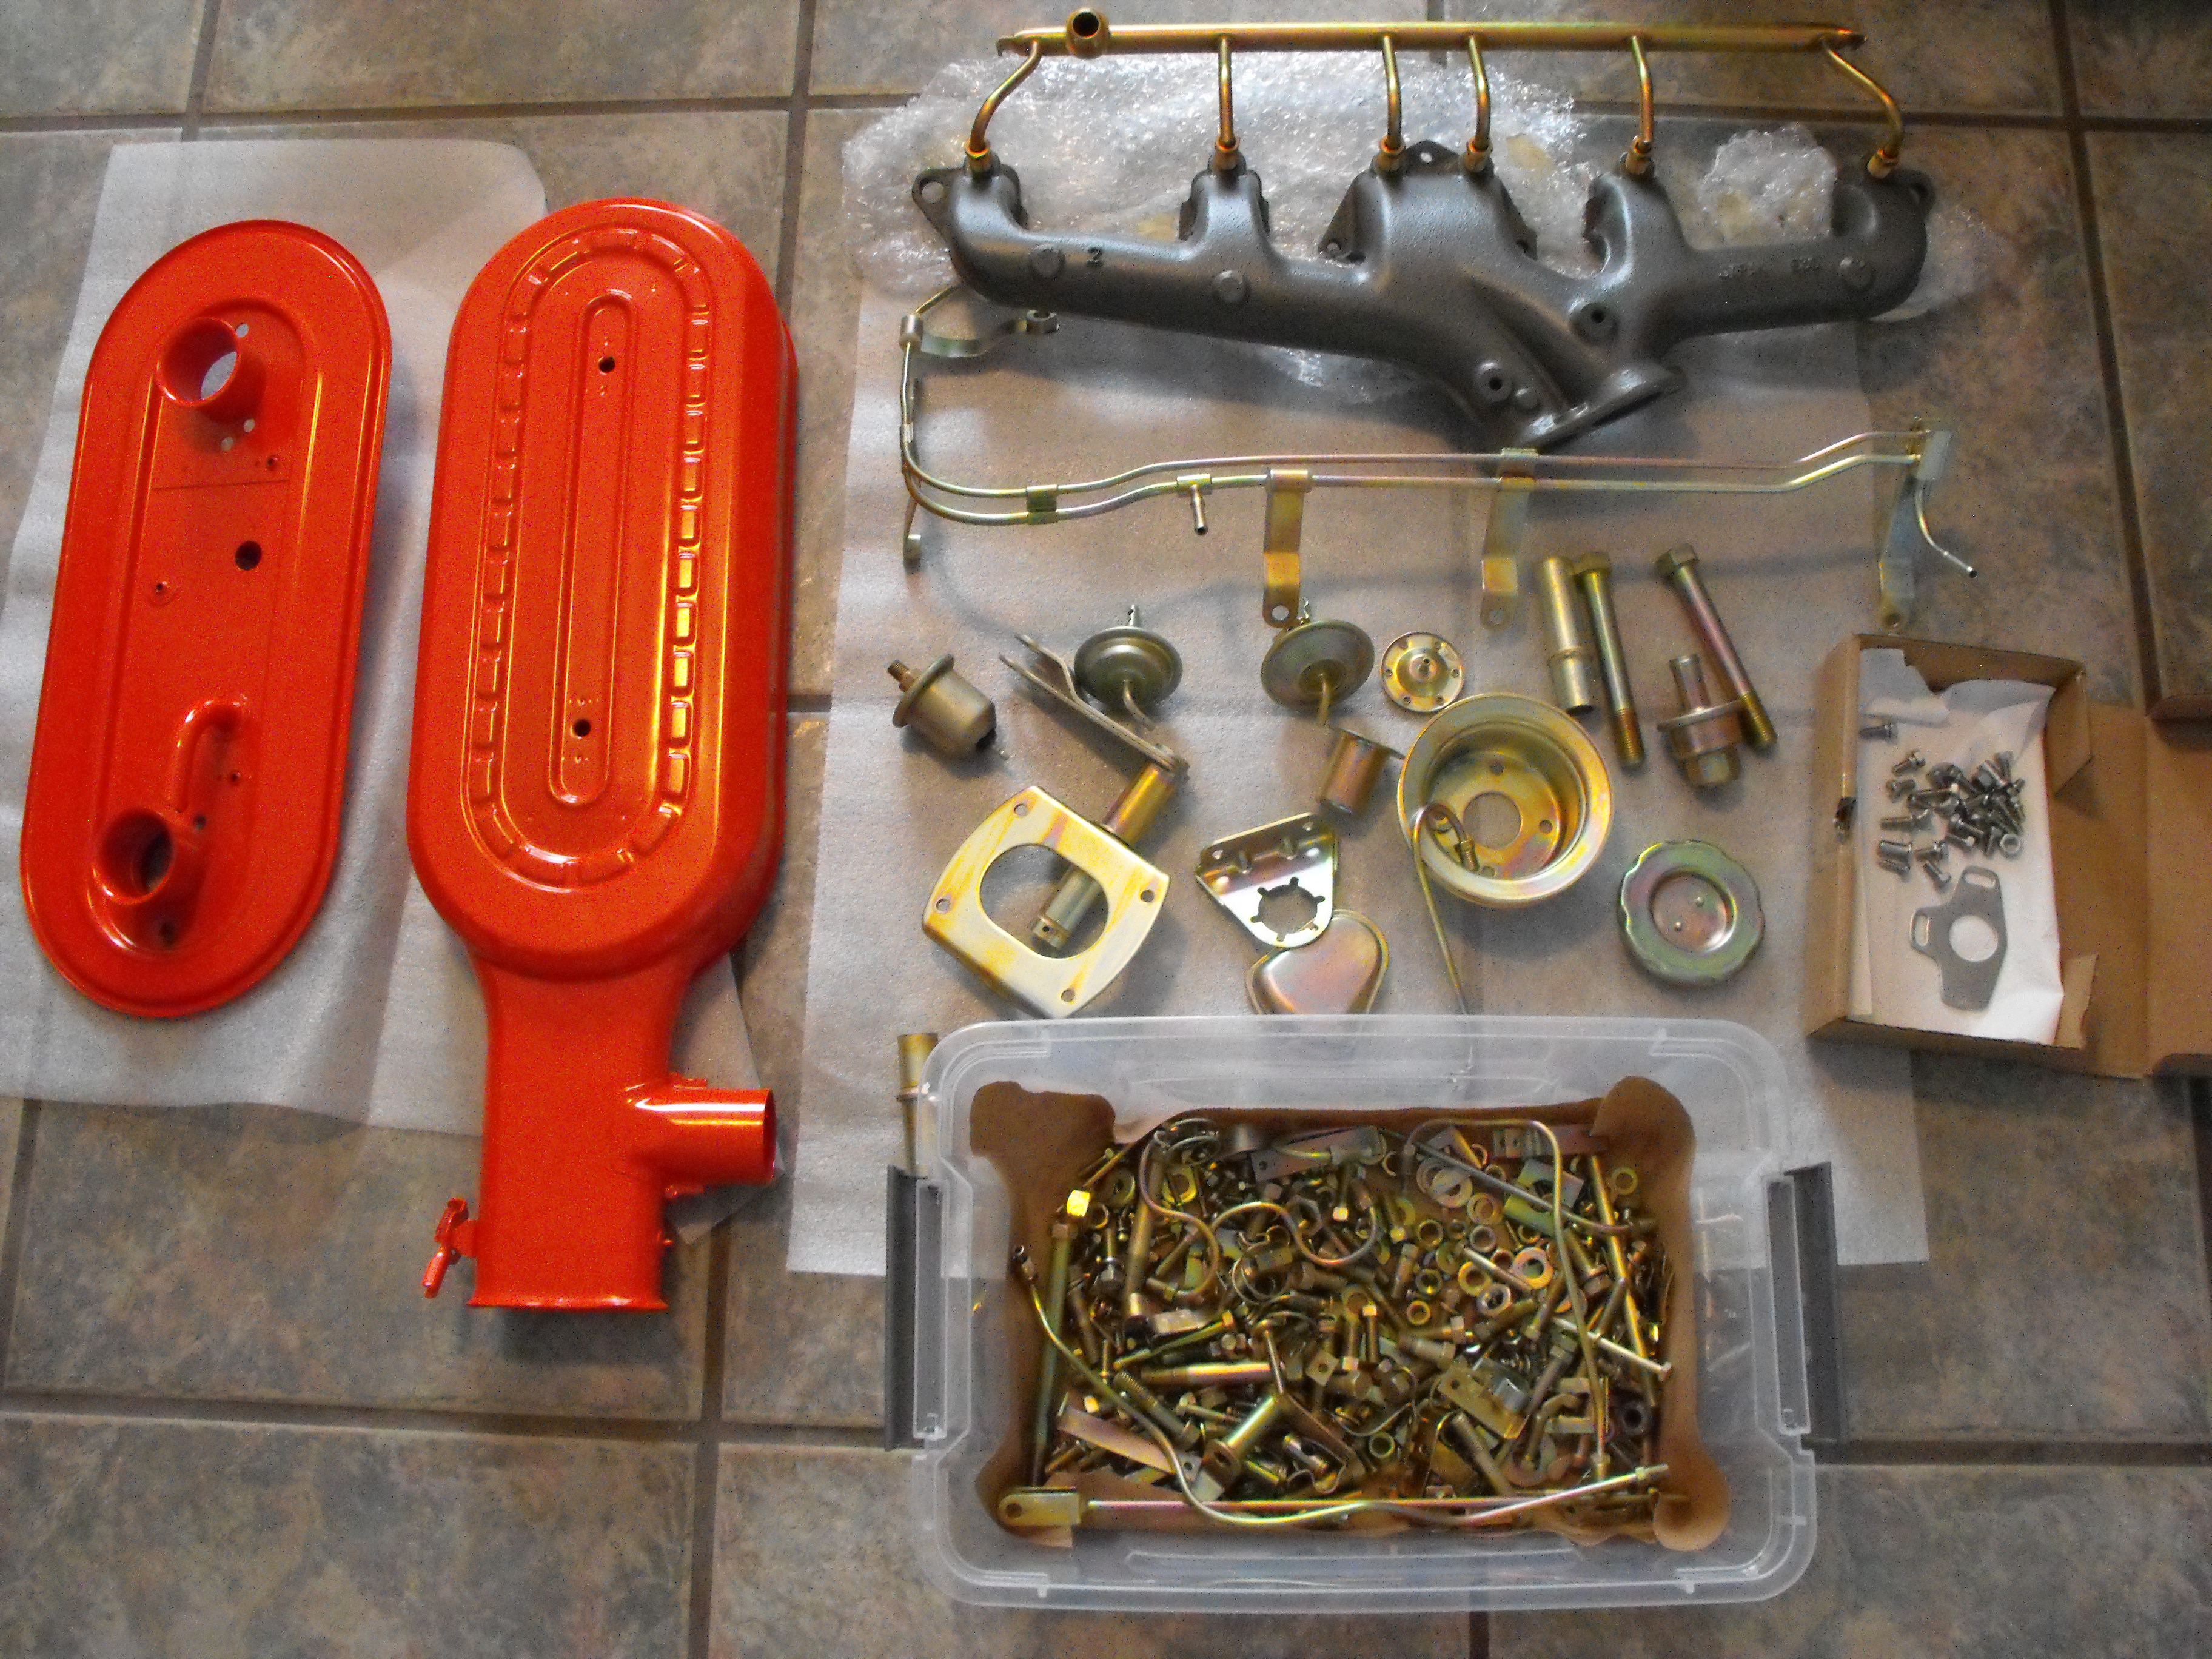
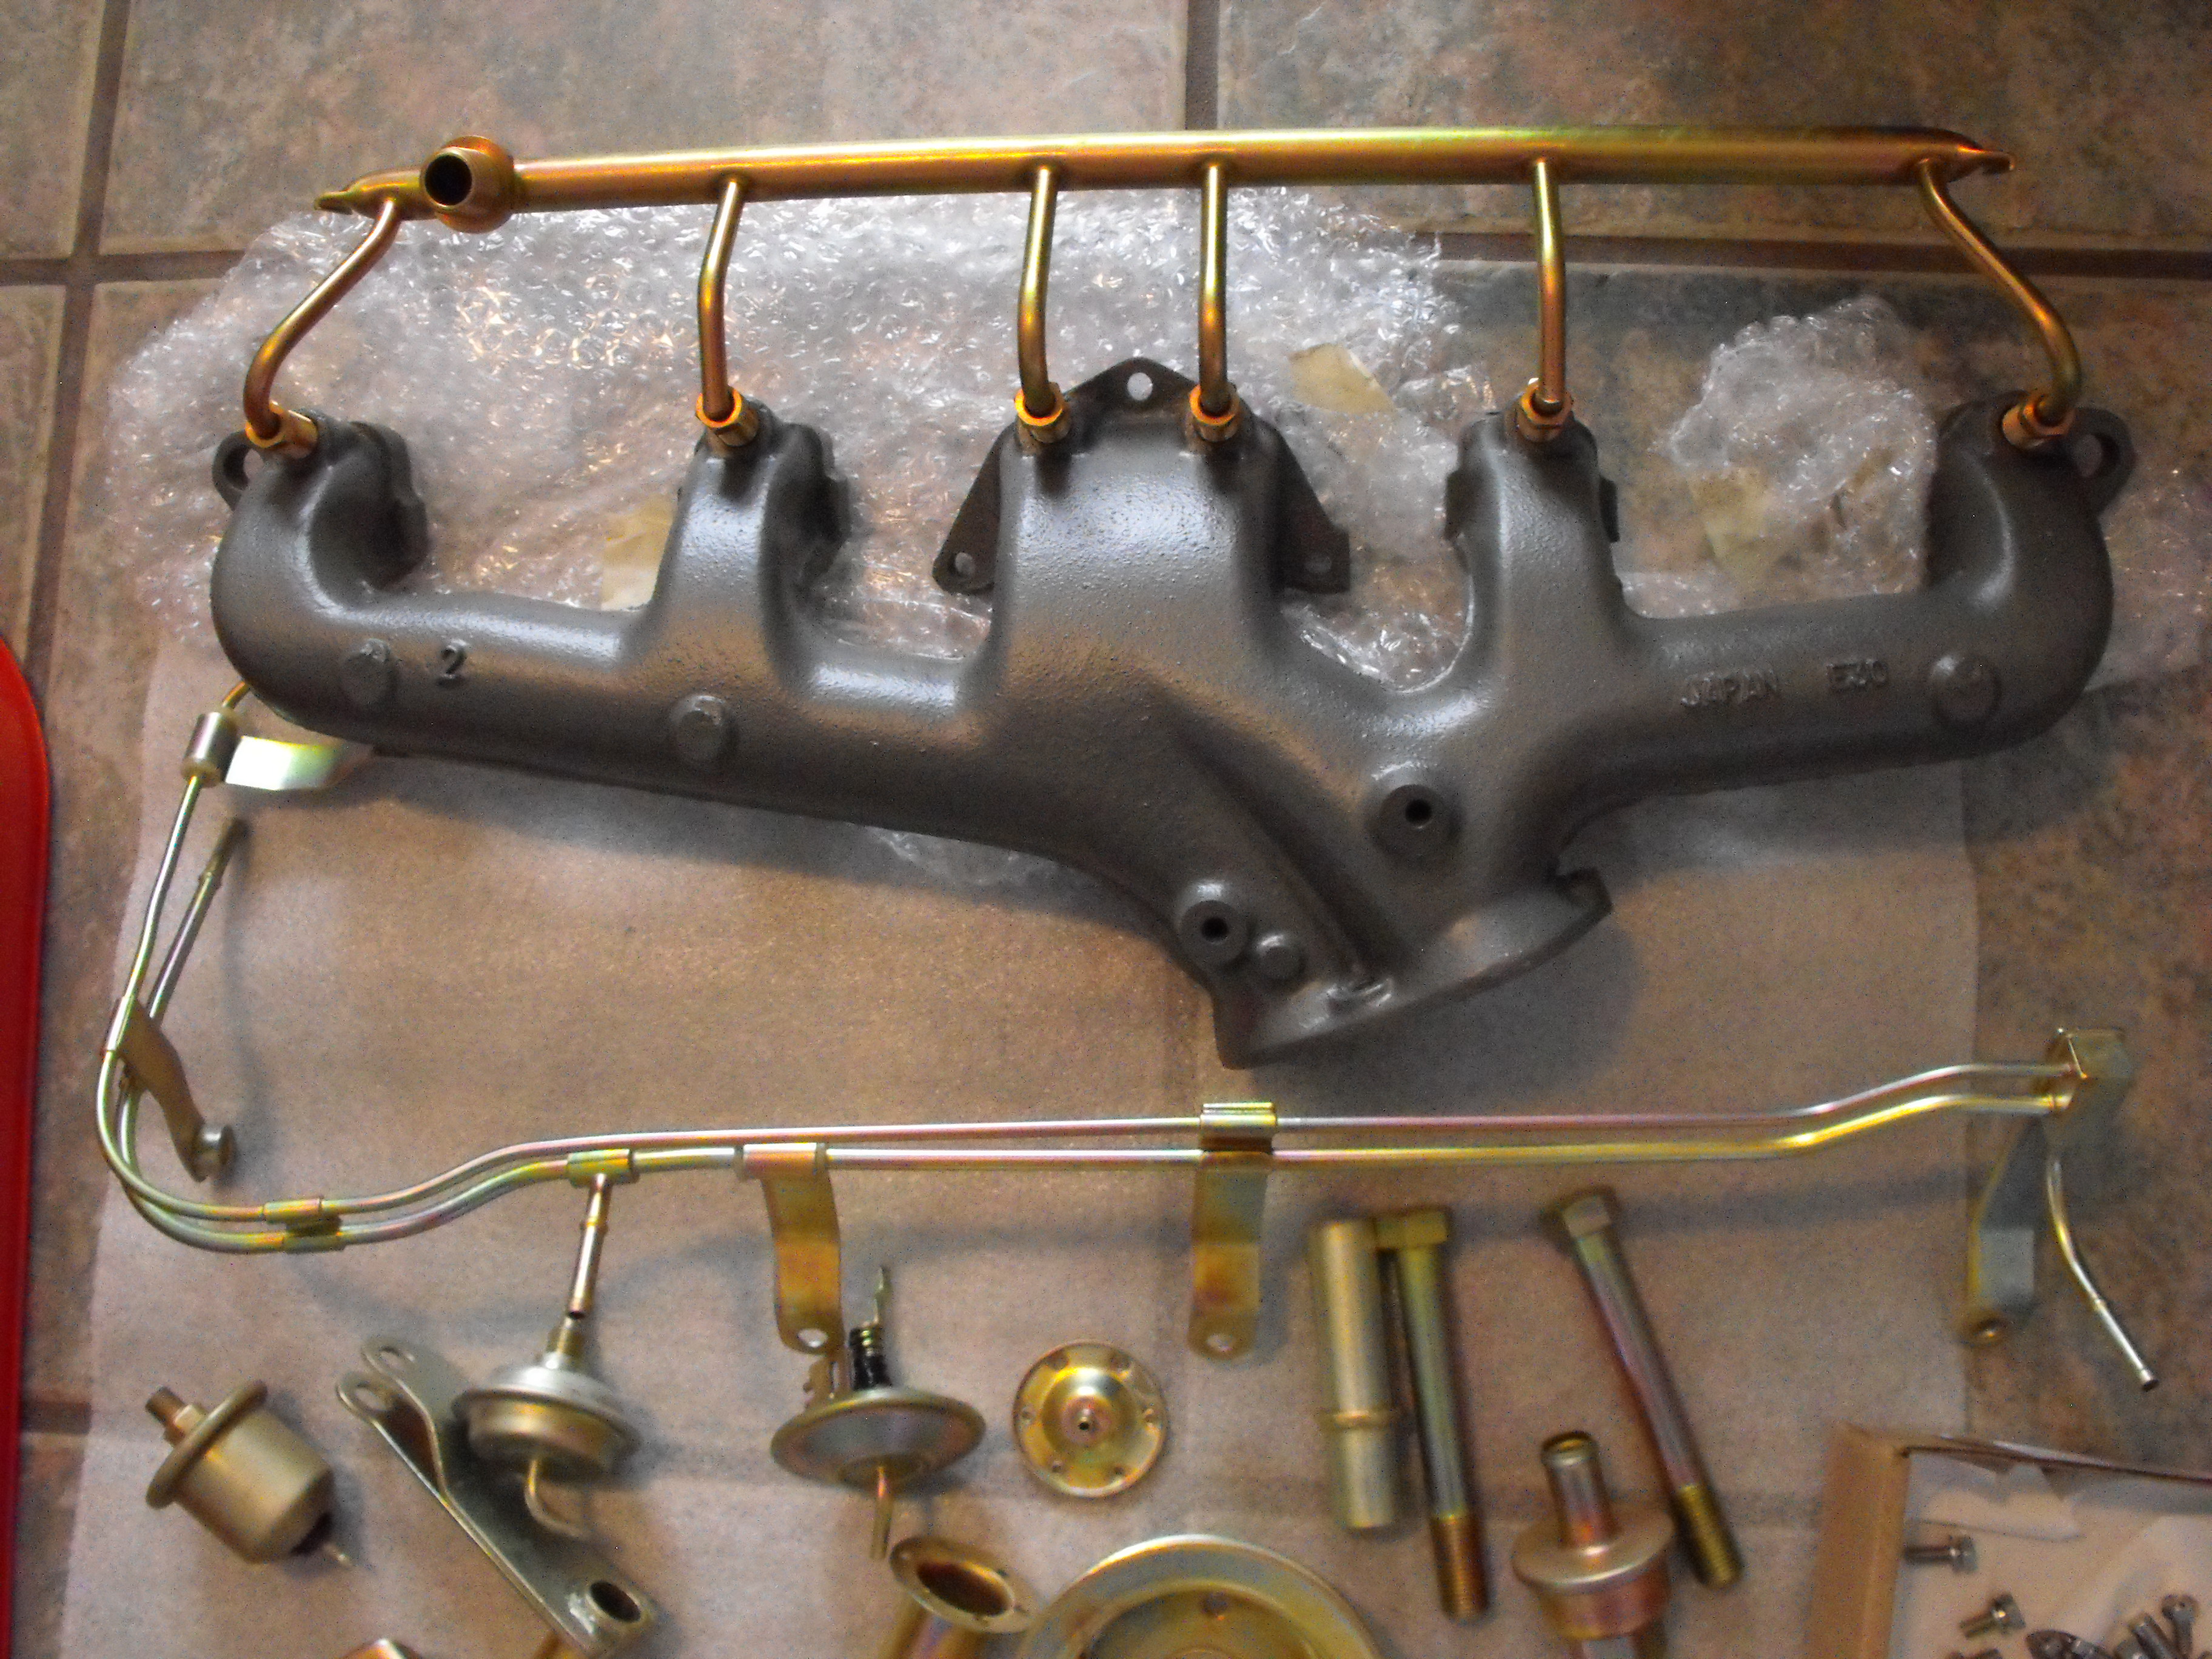
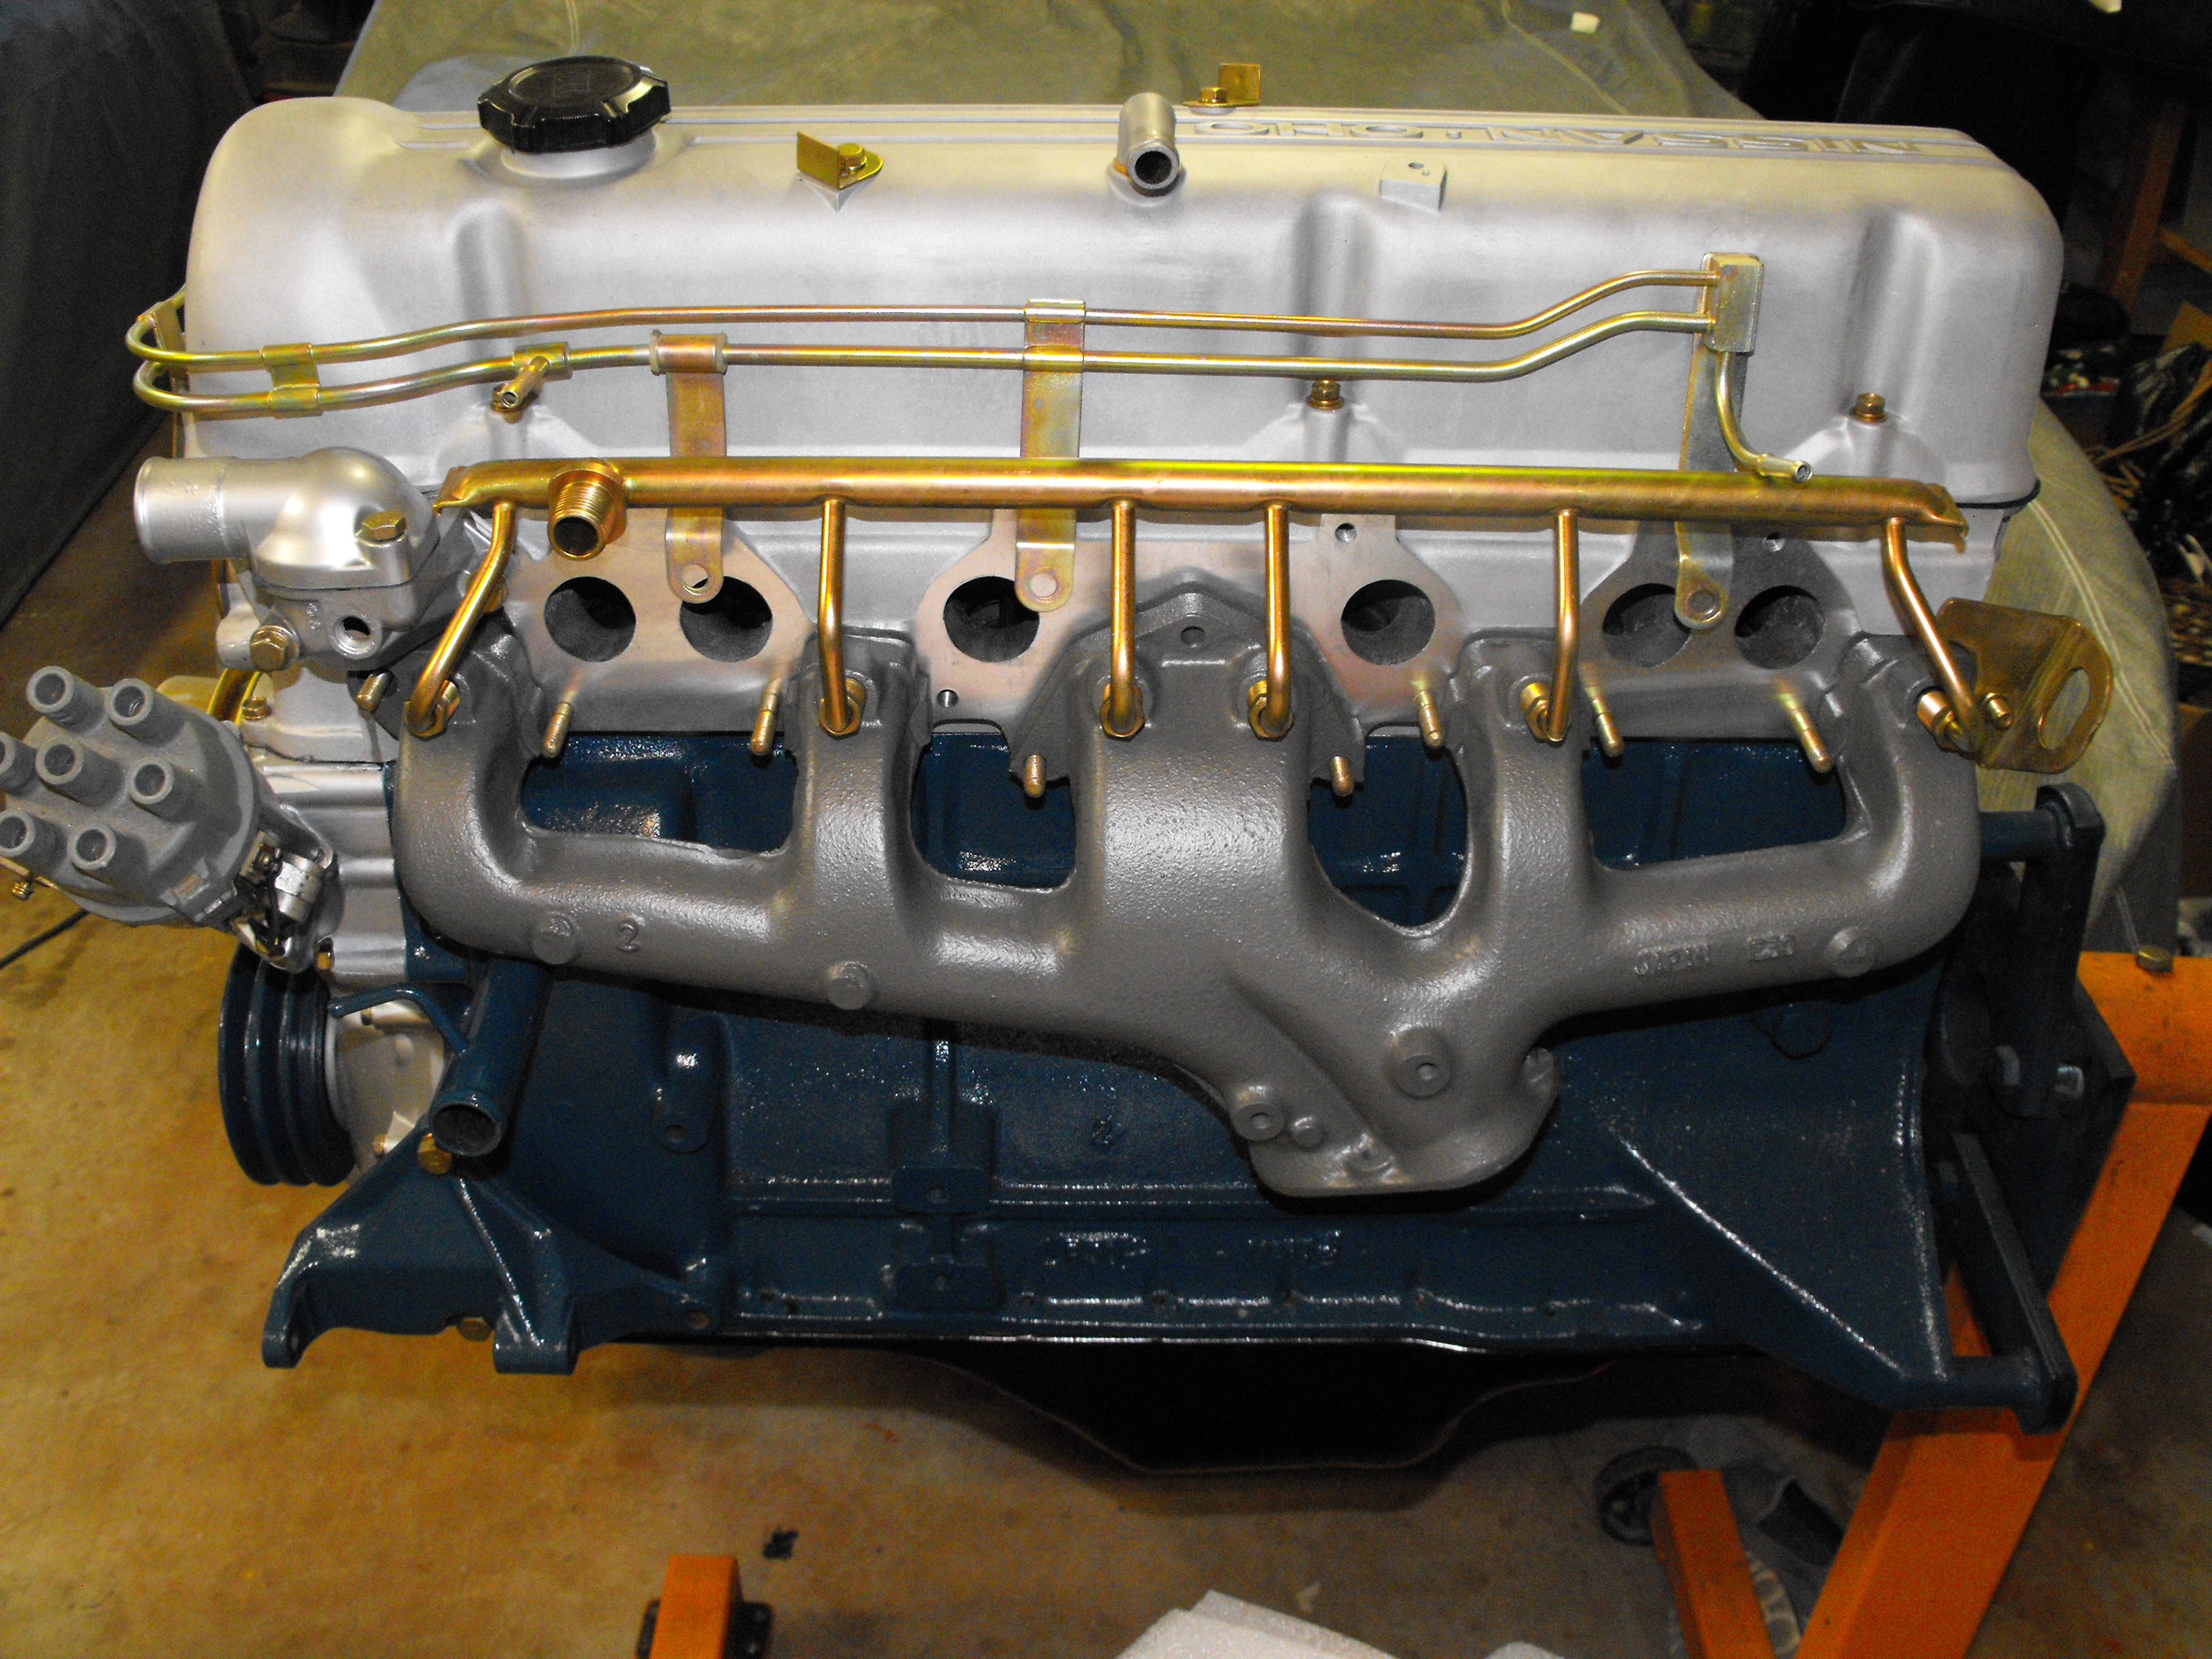
 1 point1 pointGot a large batch of freshly zinced parts in today. The pictures look lousy but the parts look great. Not sure why the 'gold' color does not work well on the camera. Also picked up the powder coated air cleaner and ceramic coated exhaust manifold. They really look great. Loosely placed a couple of parts on the motor just to see how they look. It's almost like Christmas
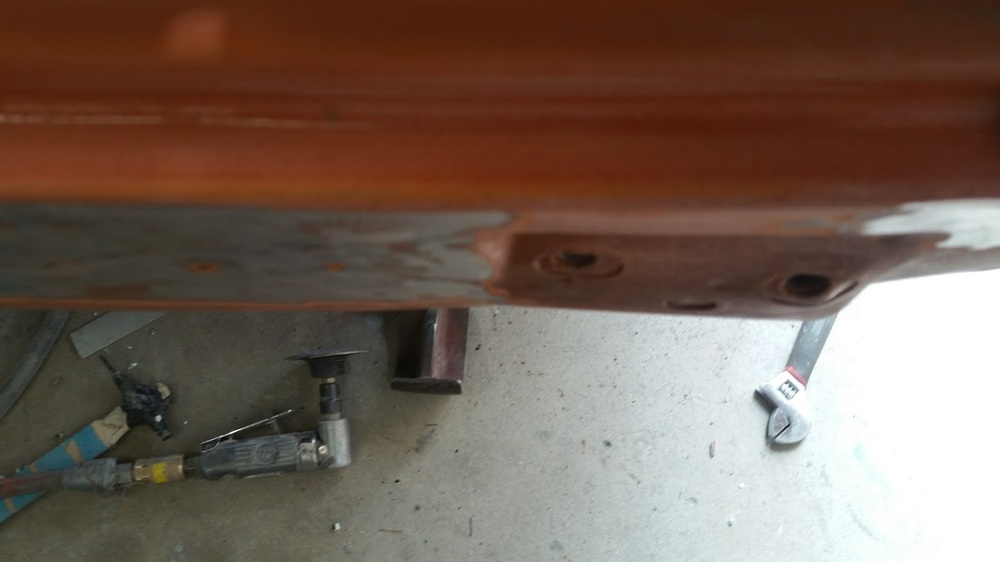
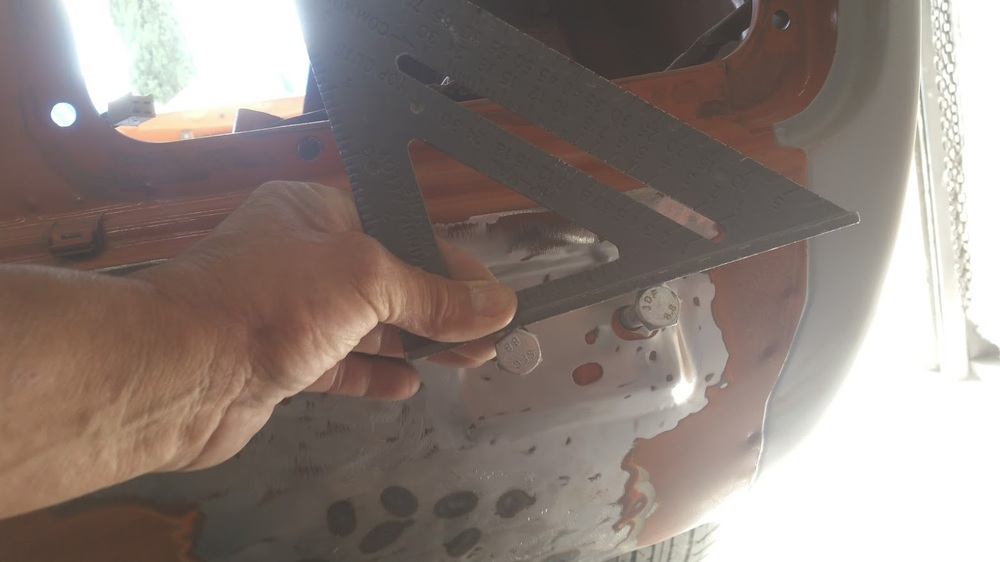
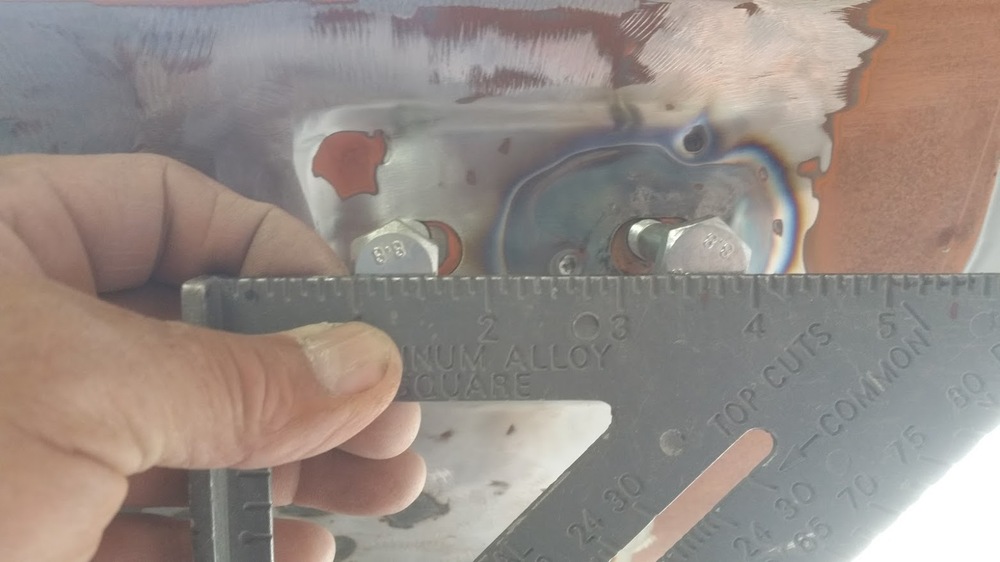
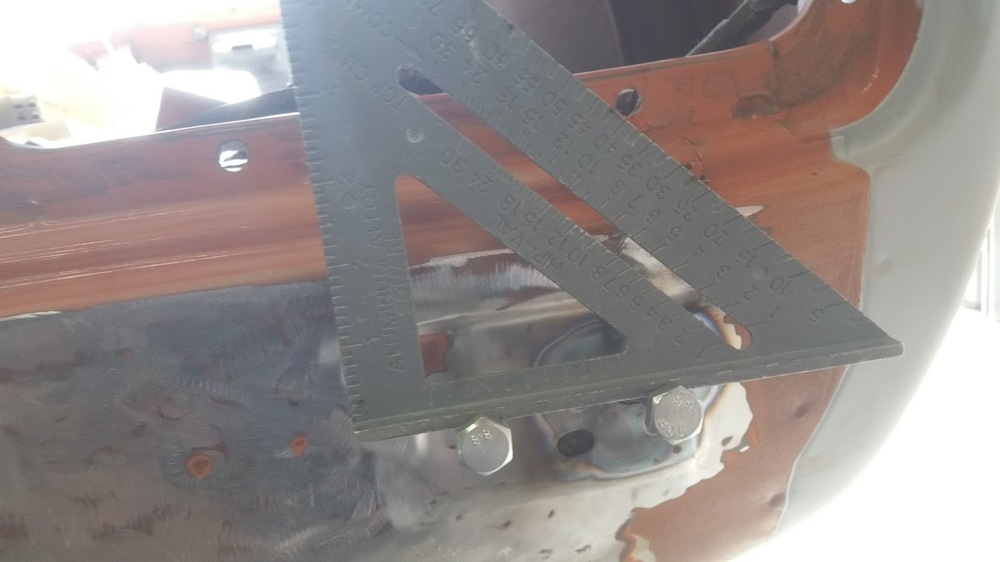
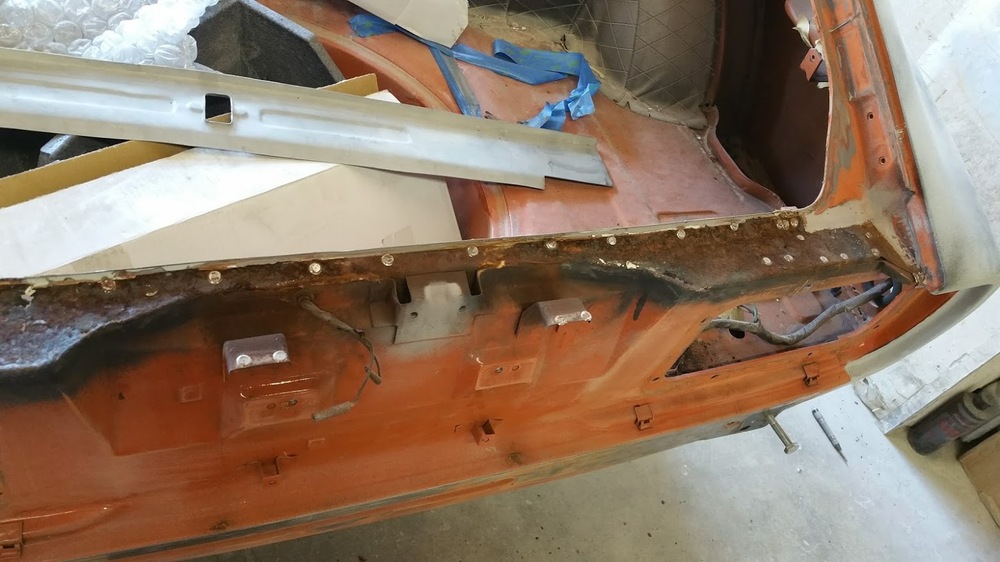
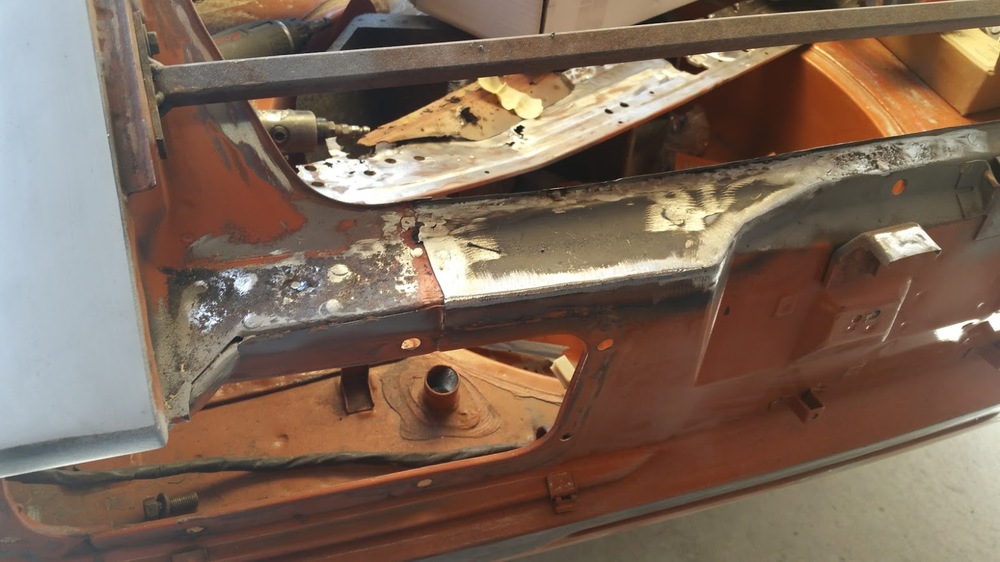
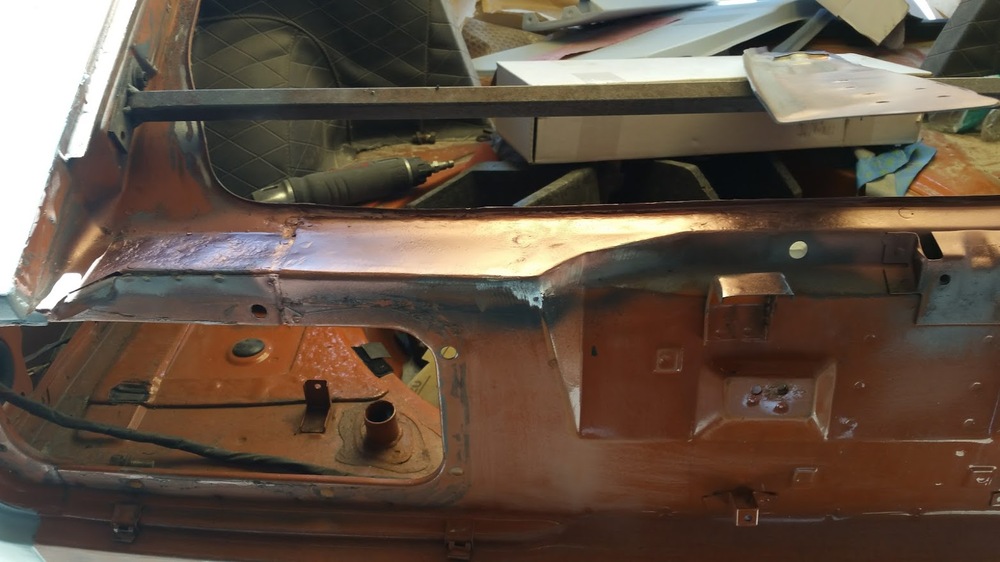
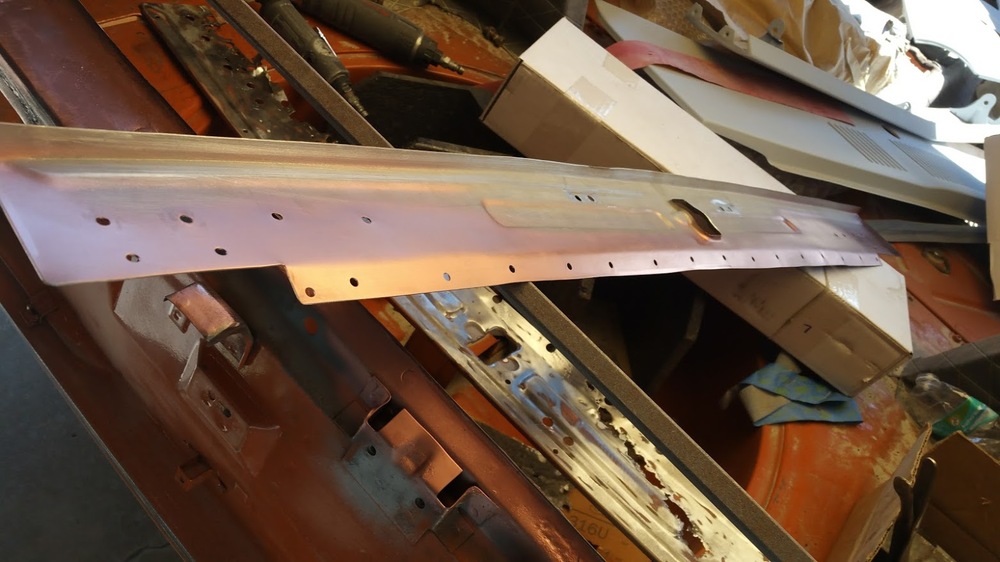
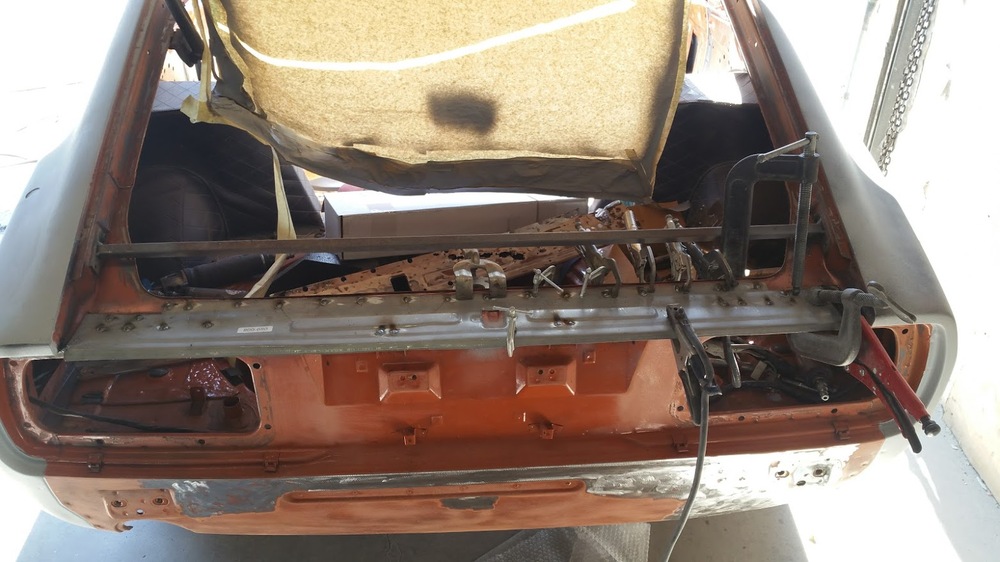
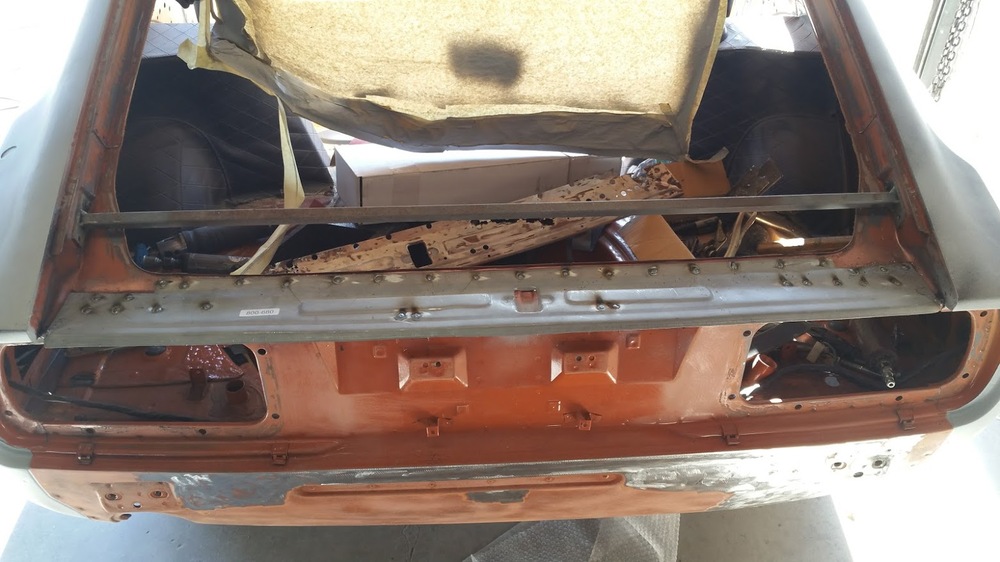
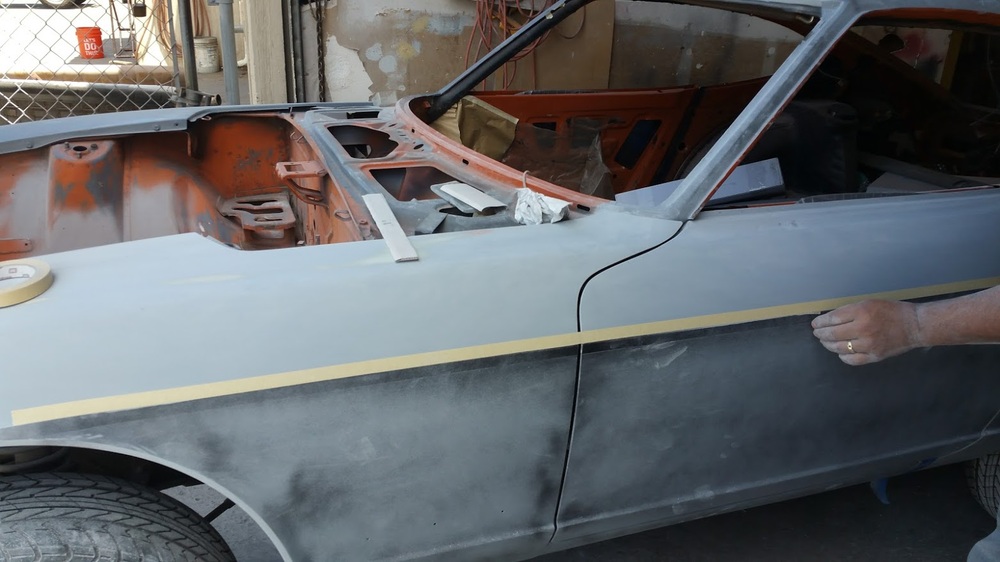
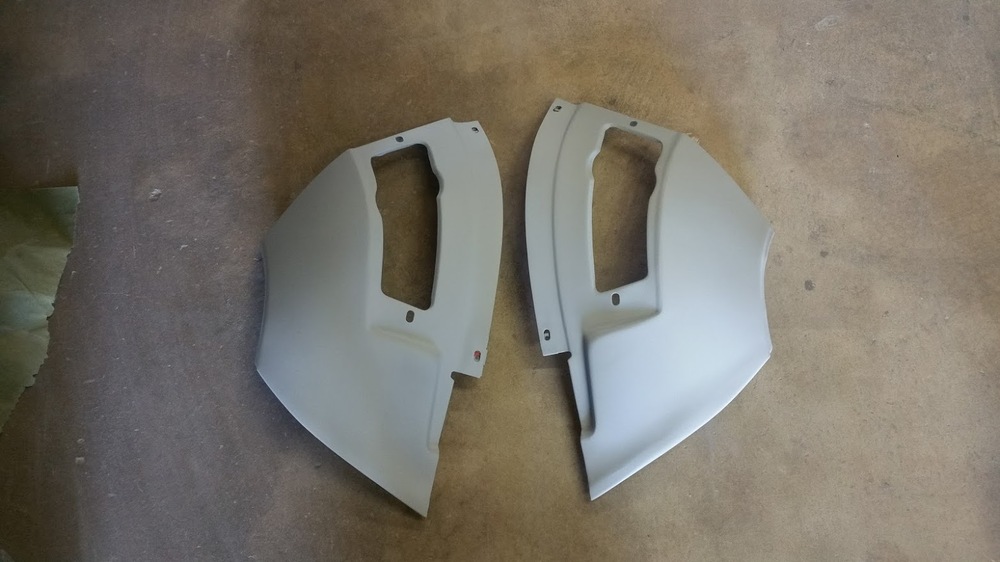
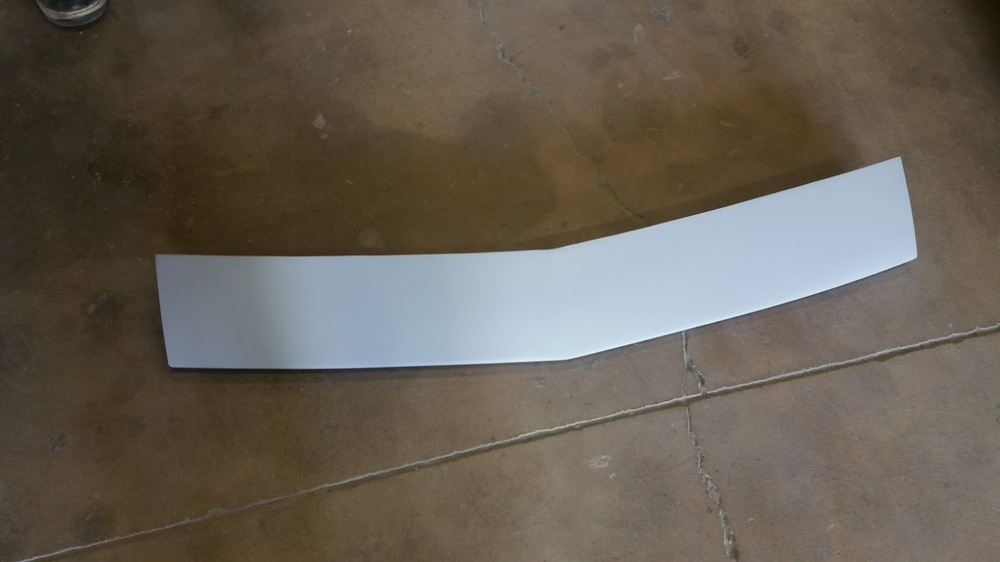
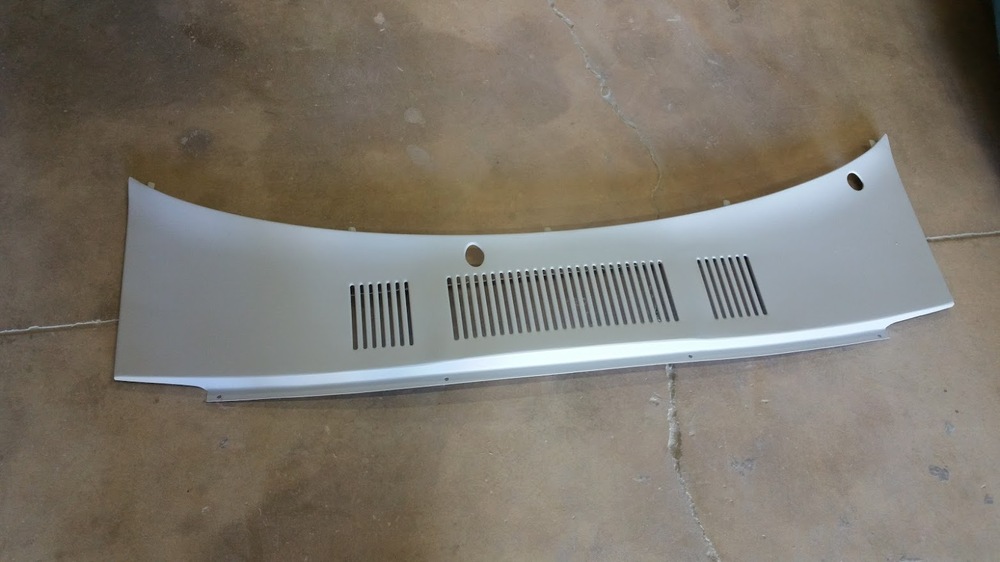
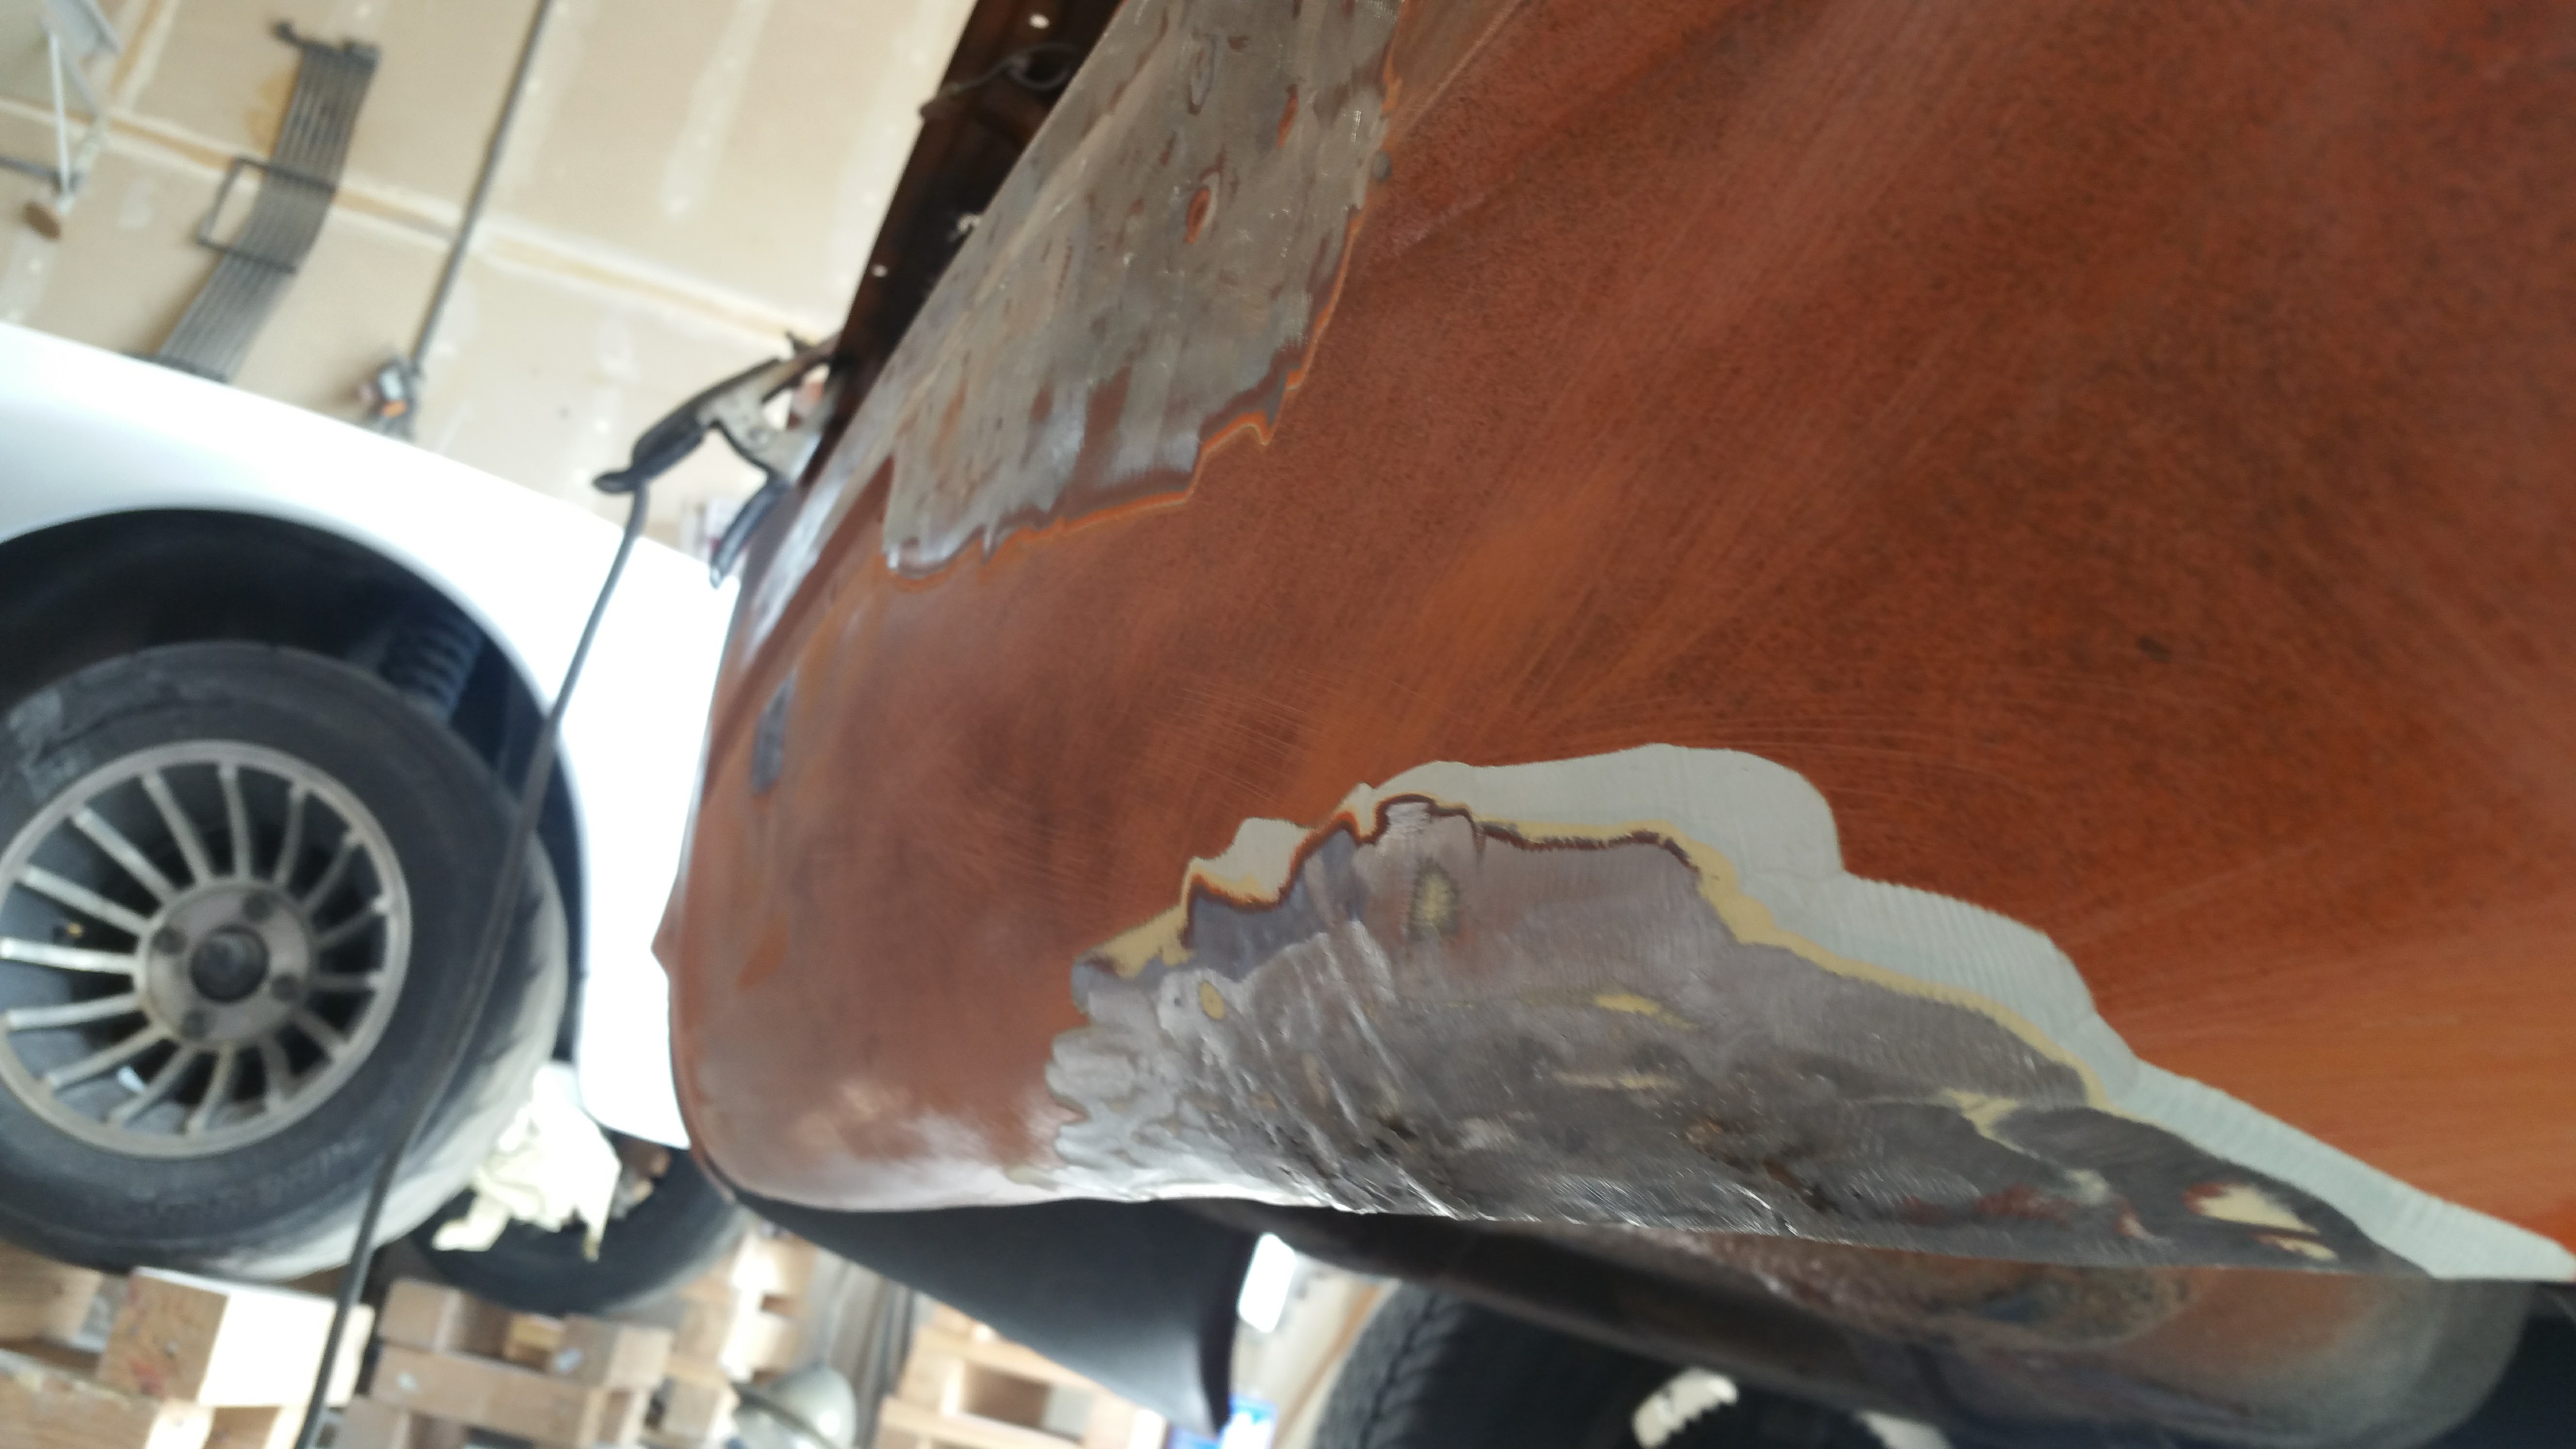
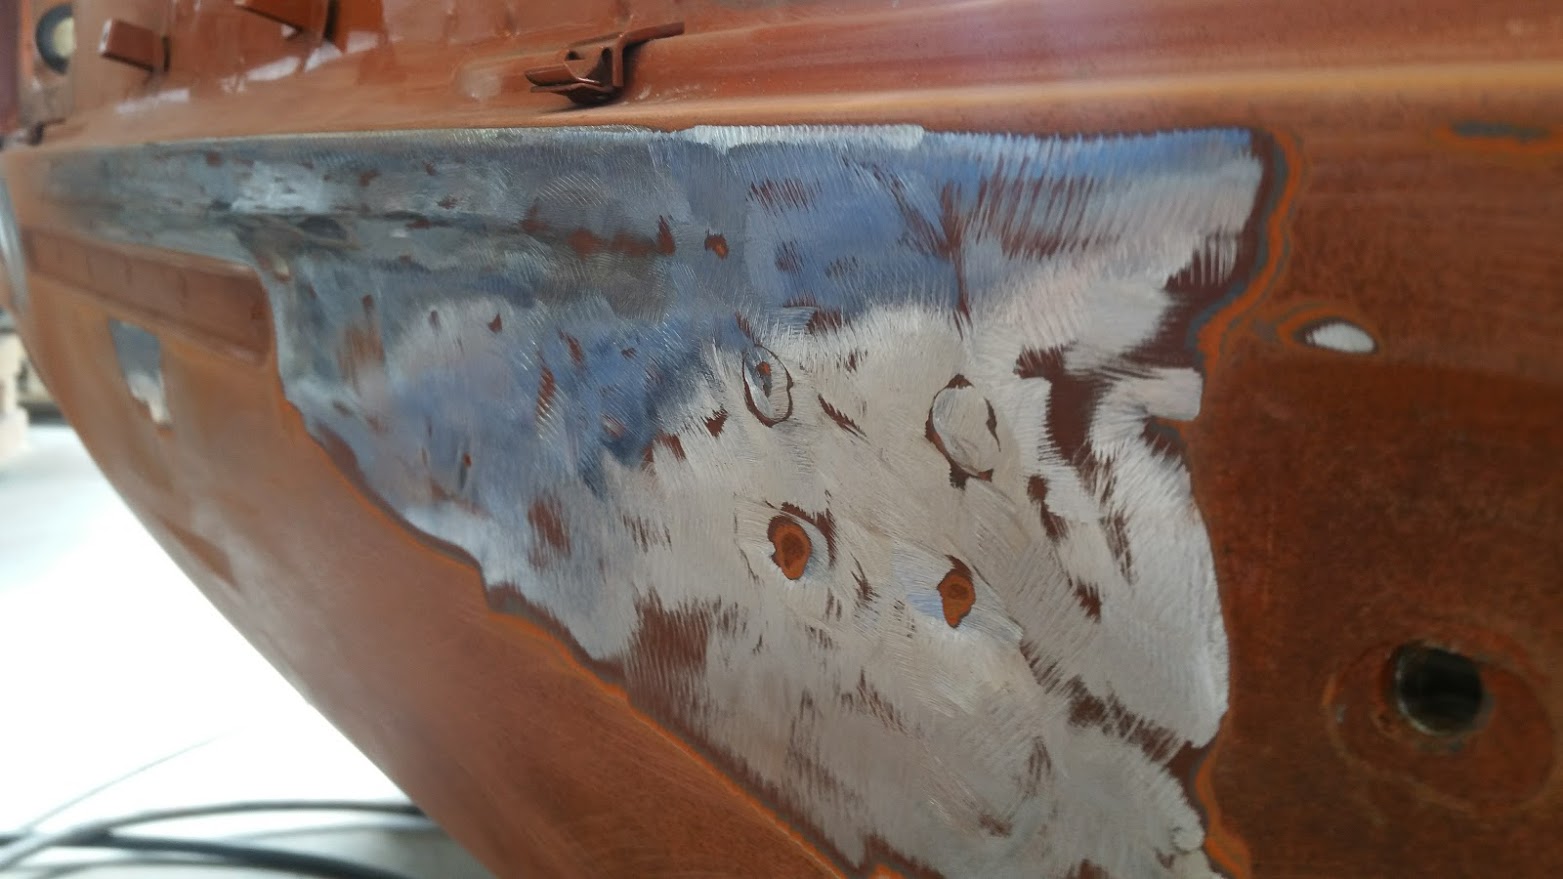
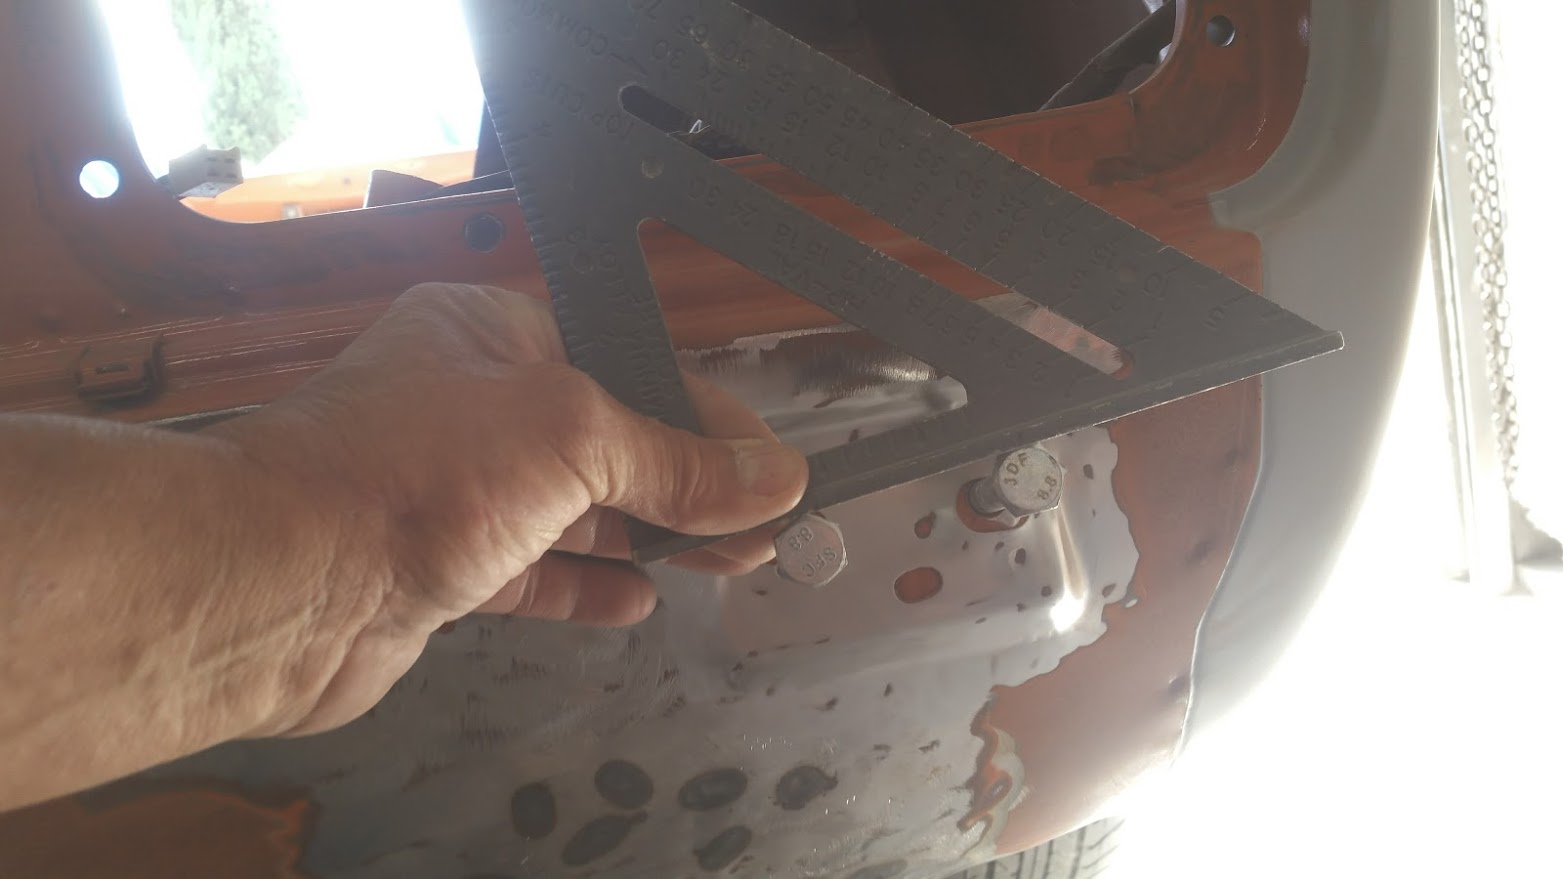
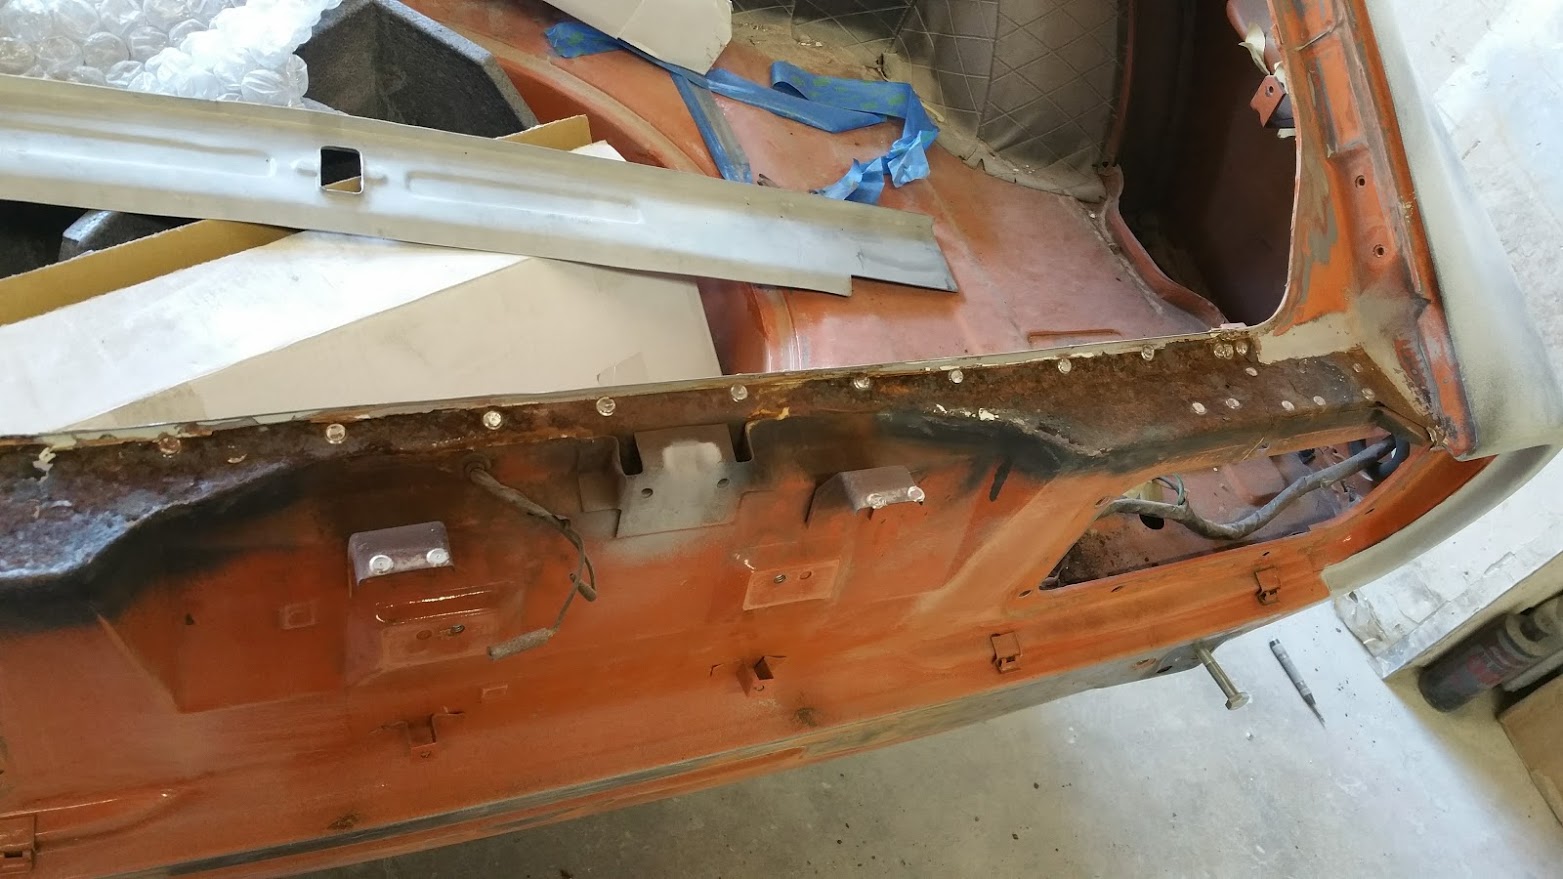
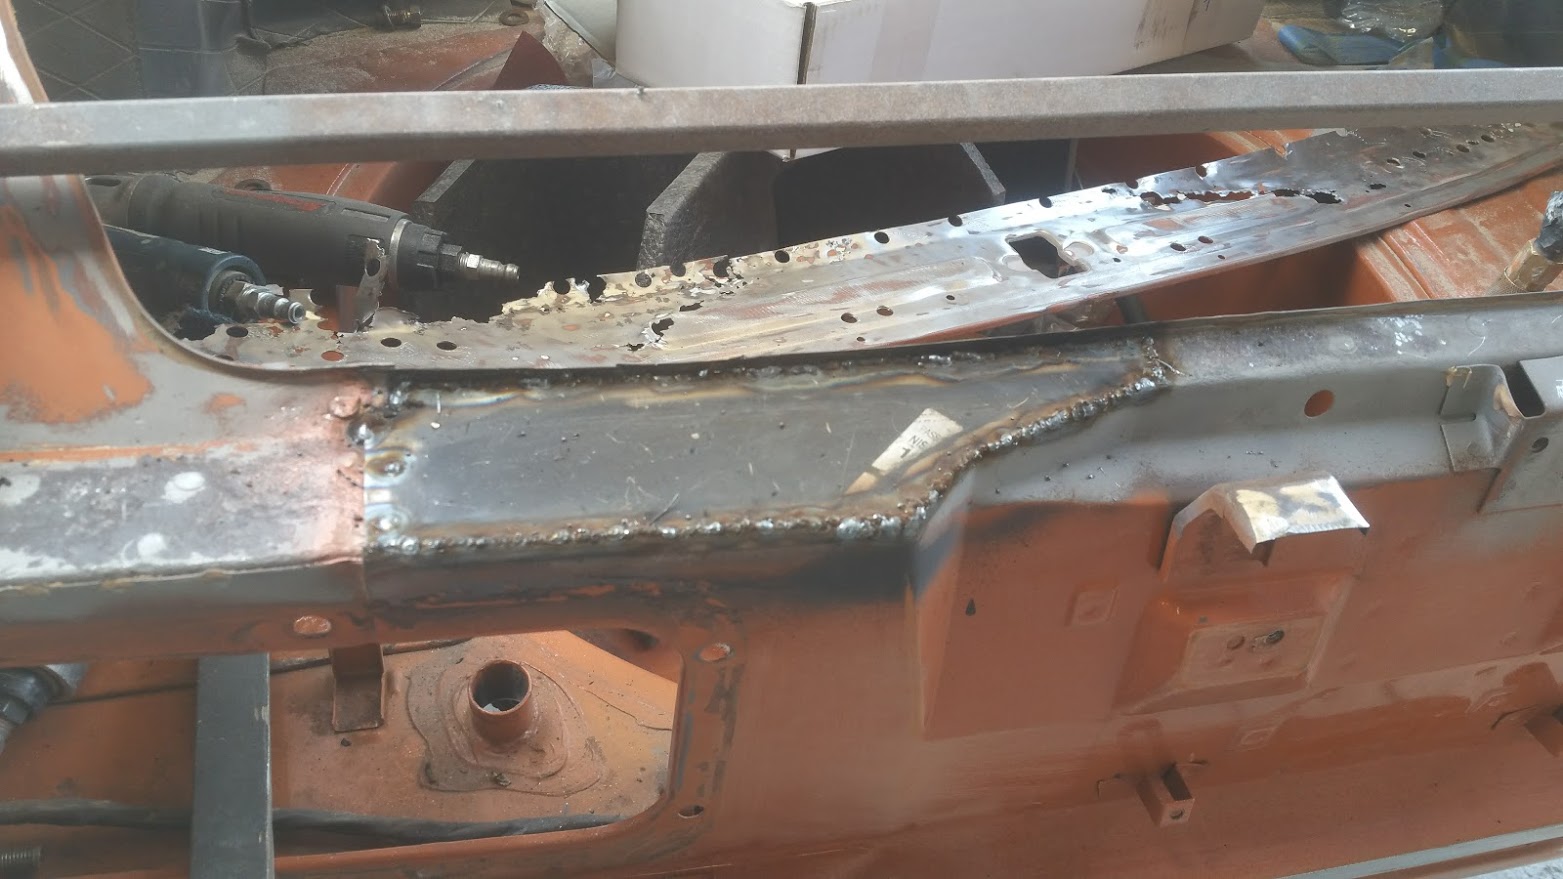
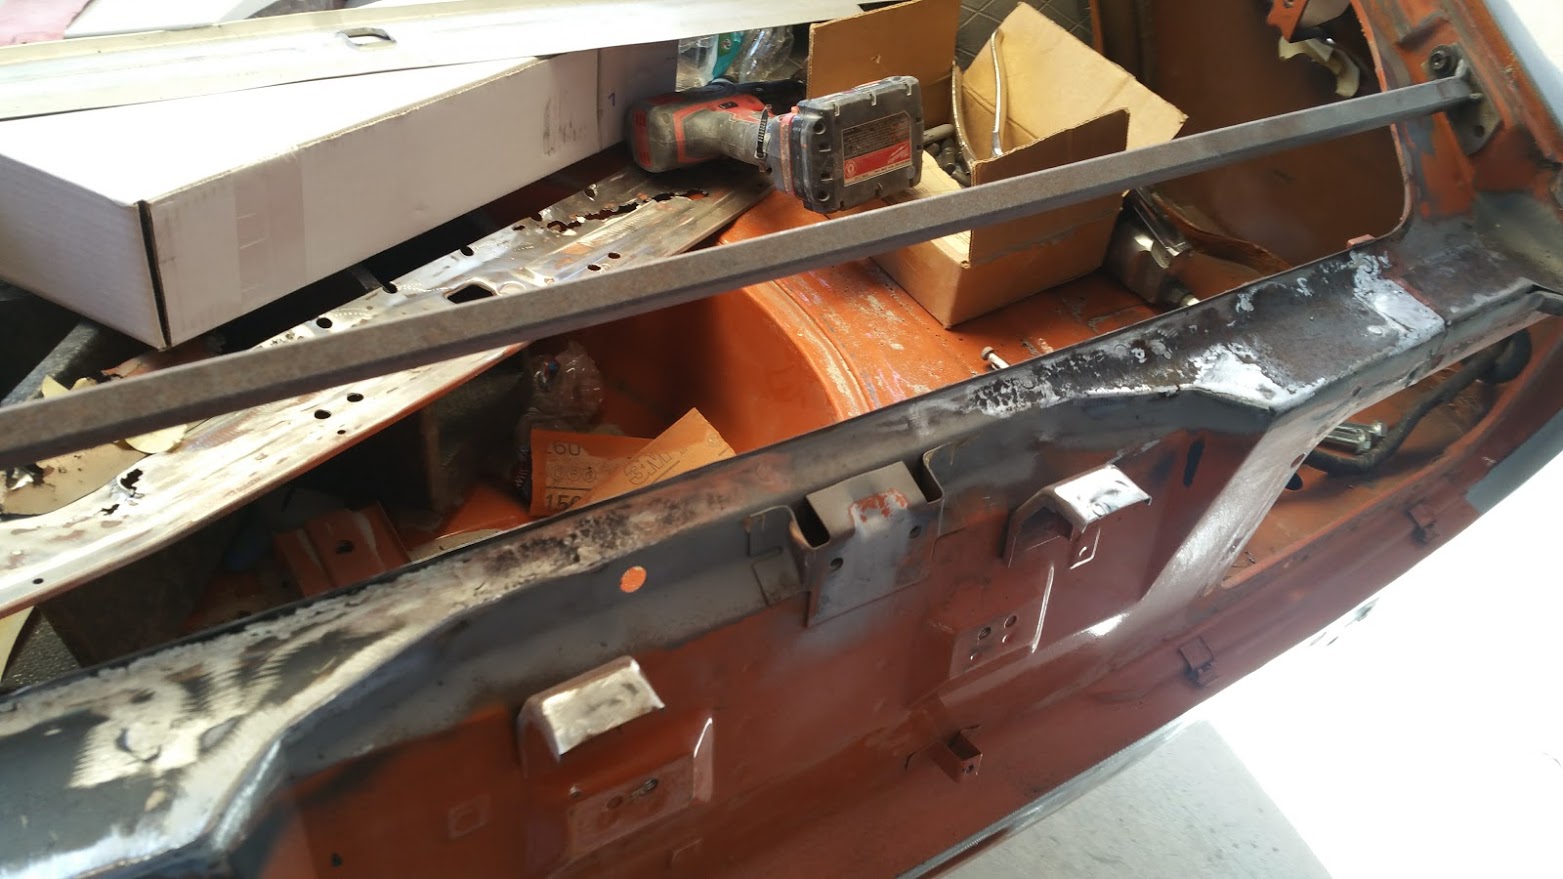
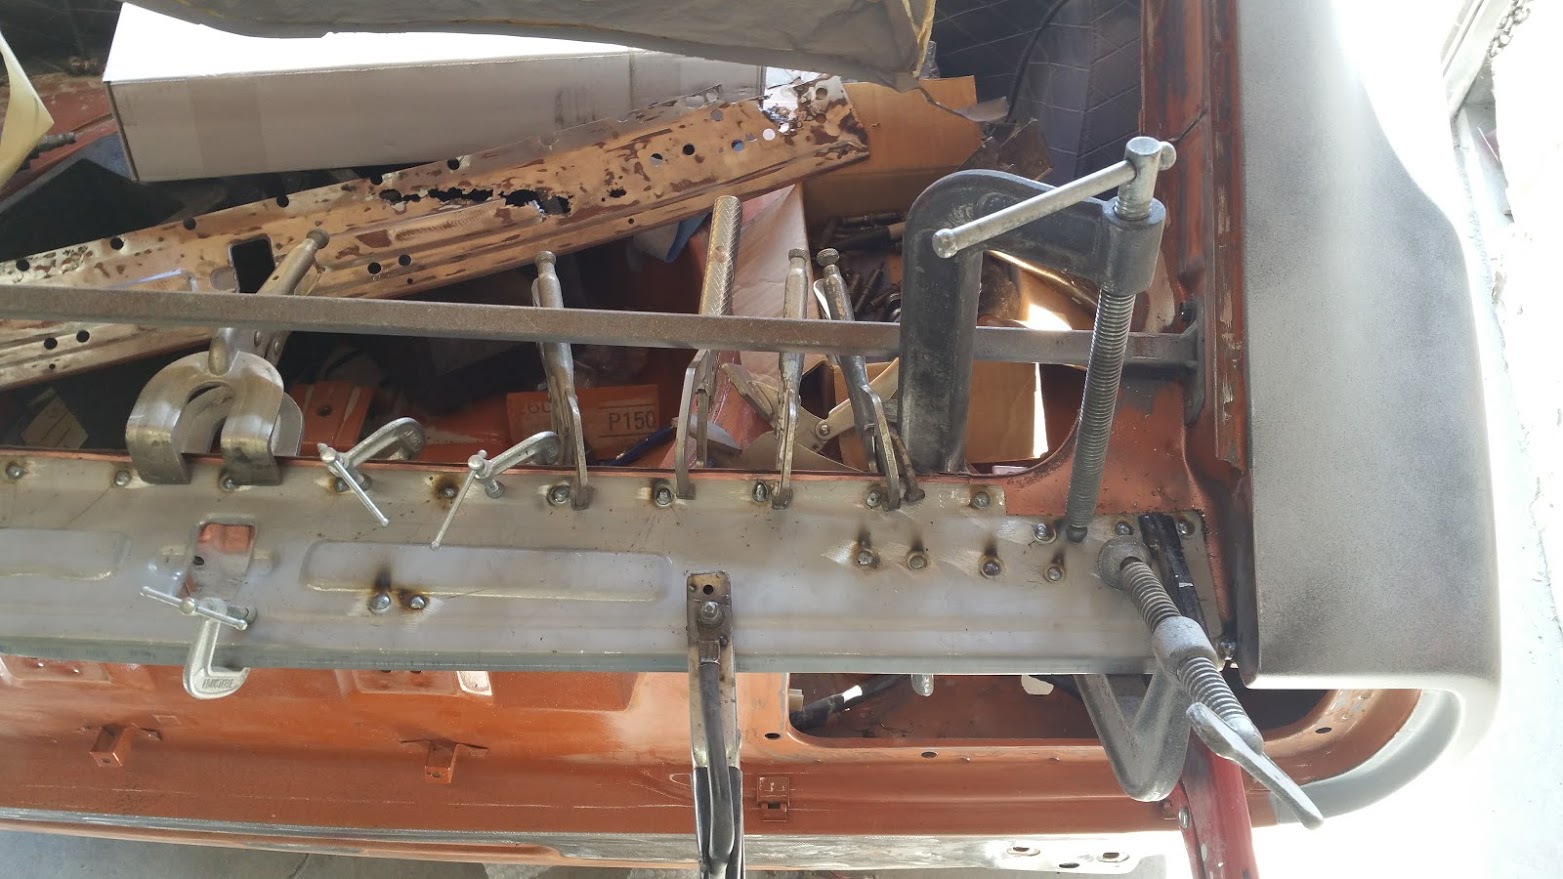
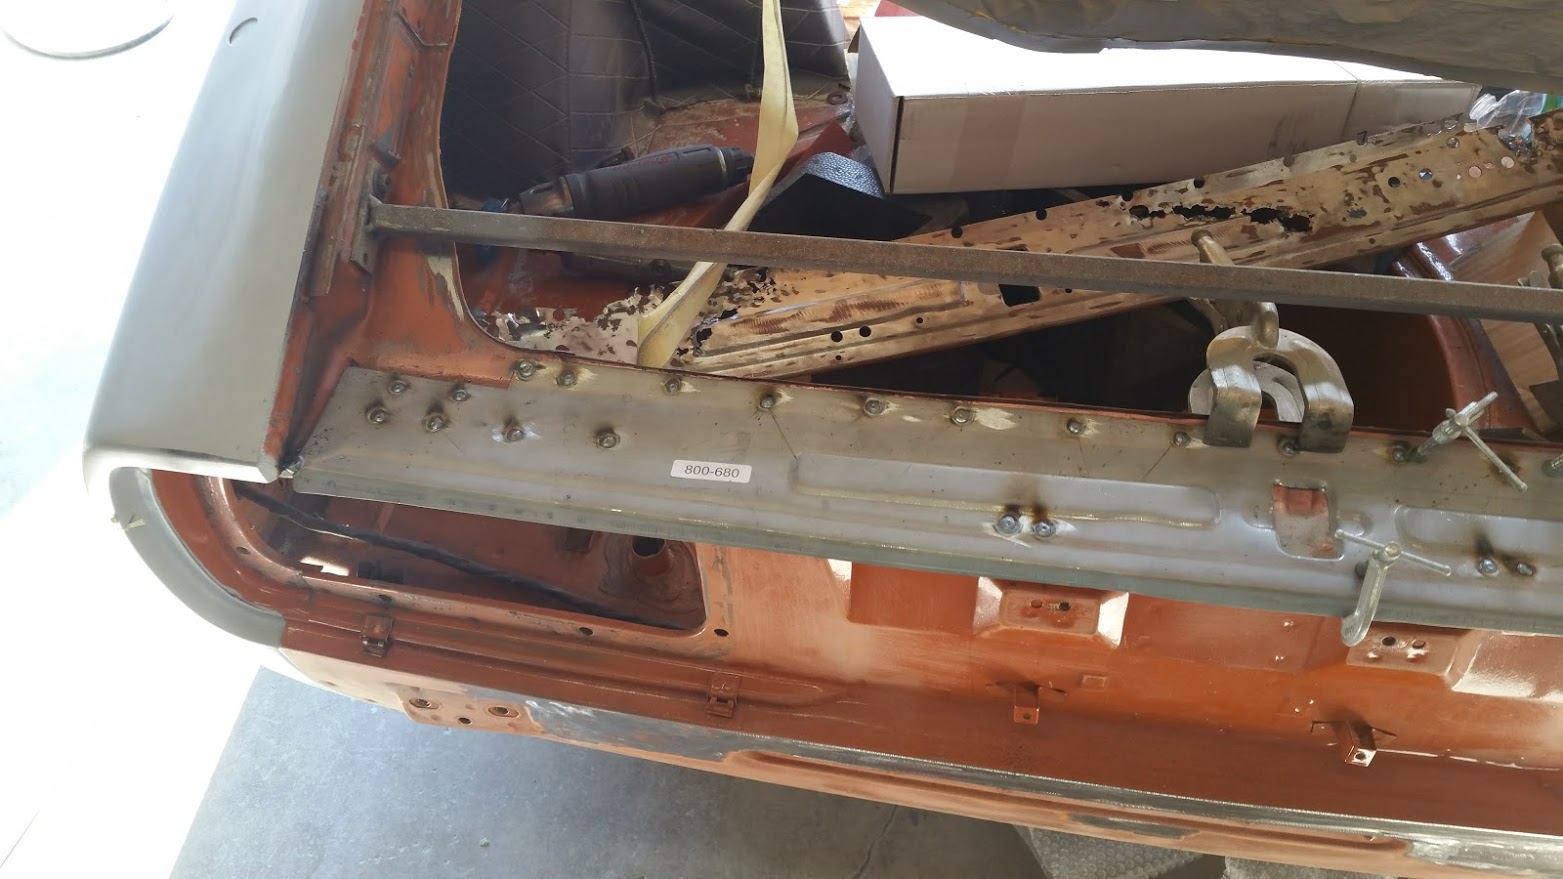
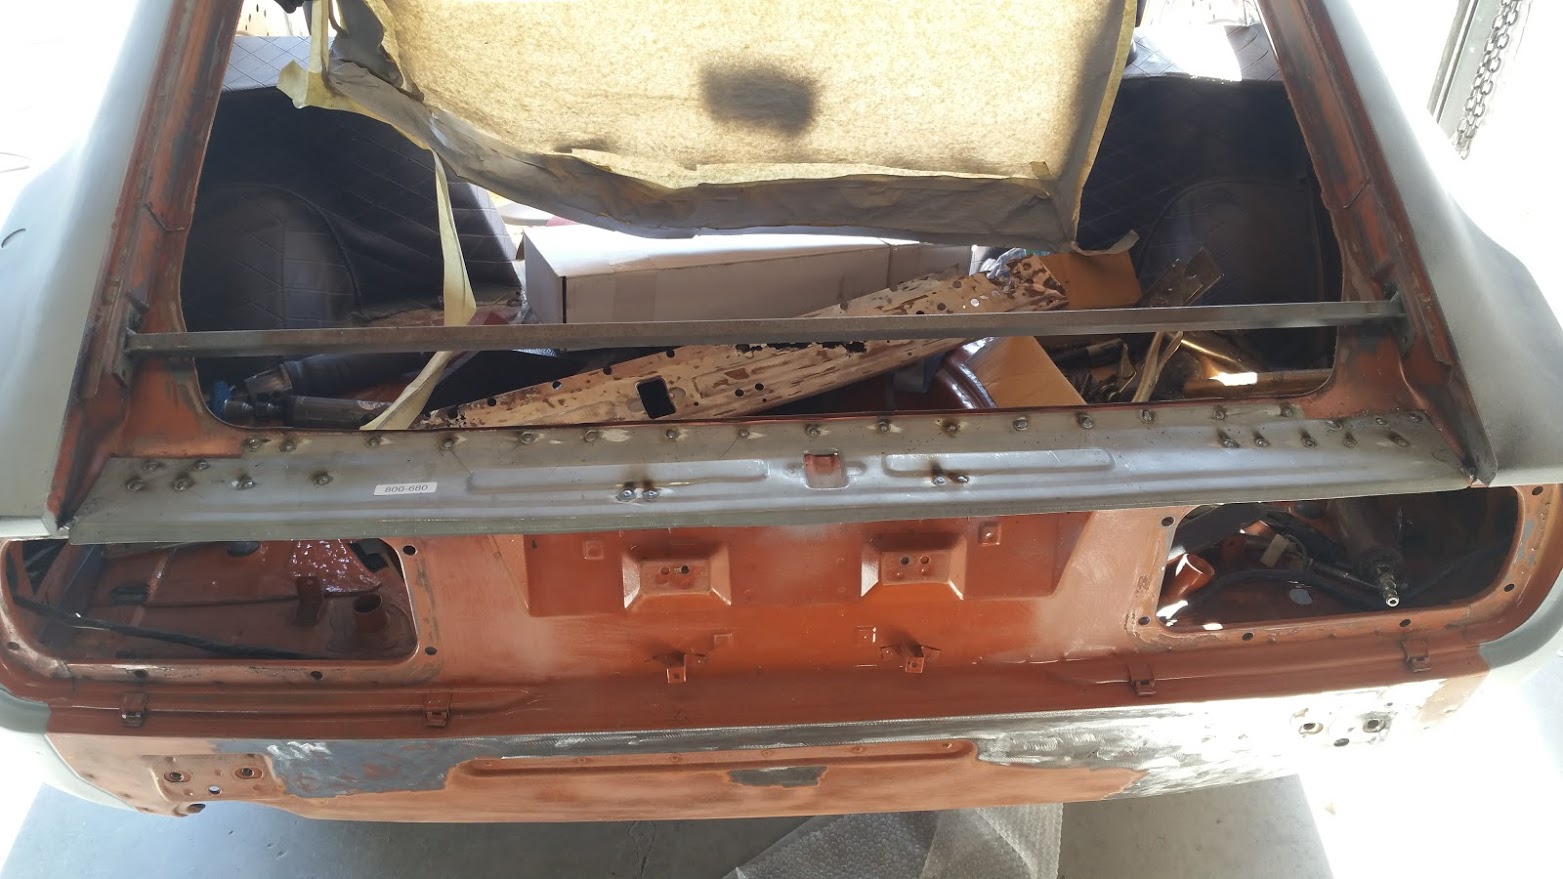
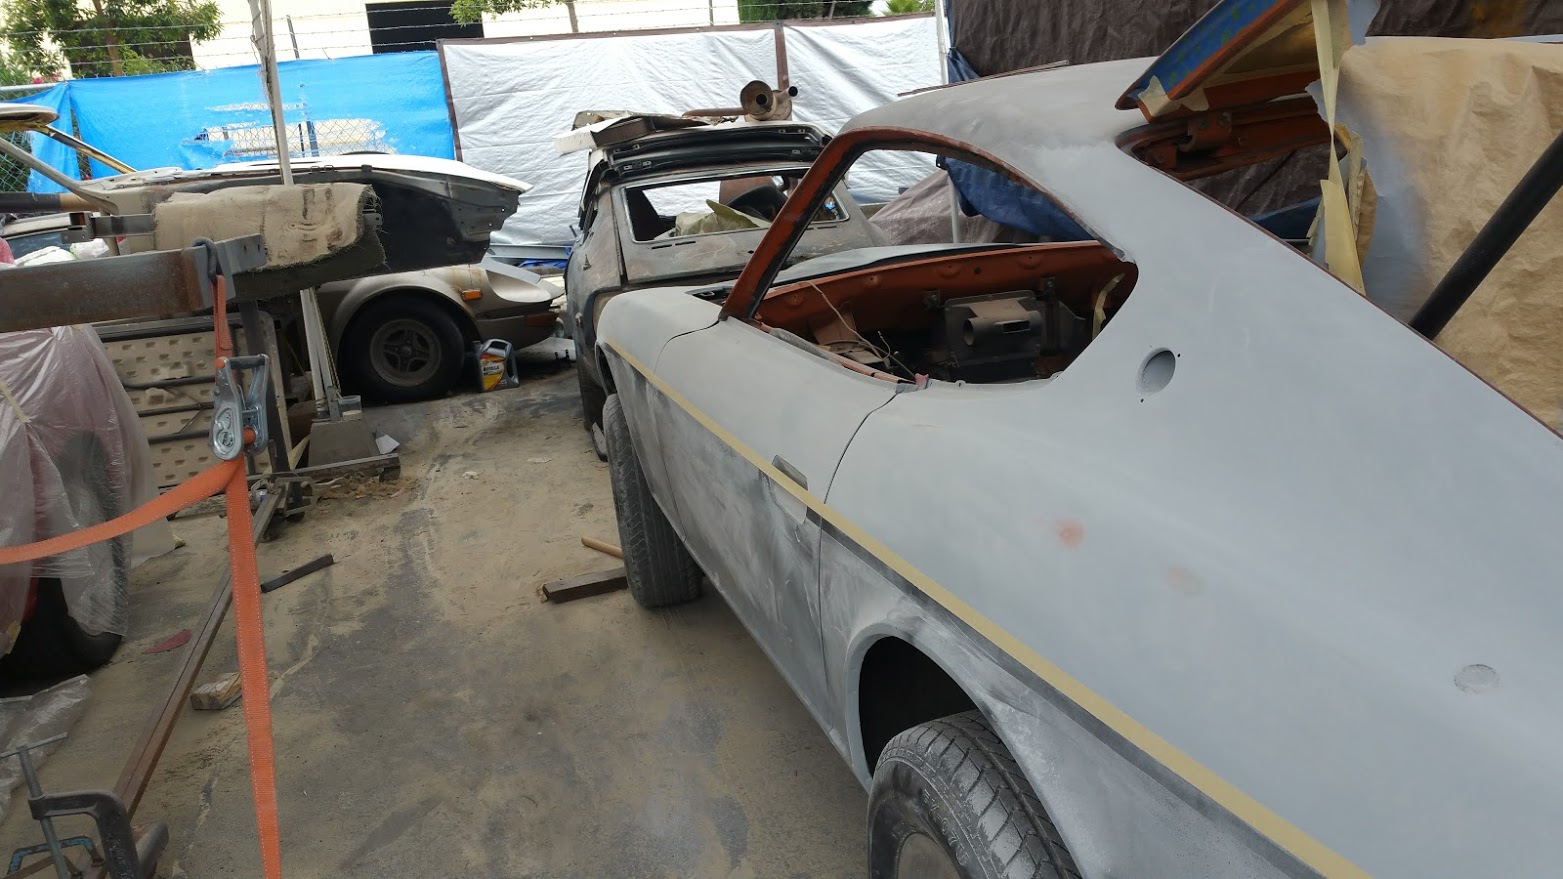
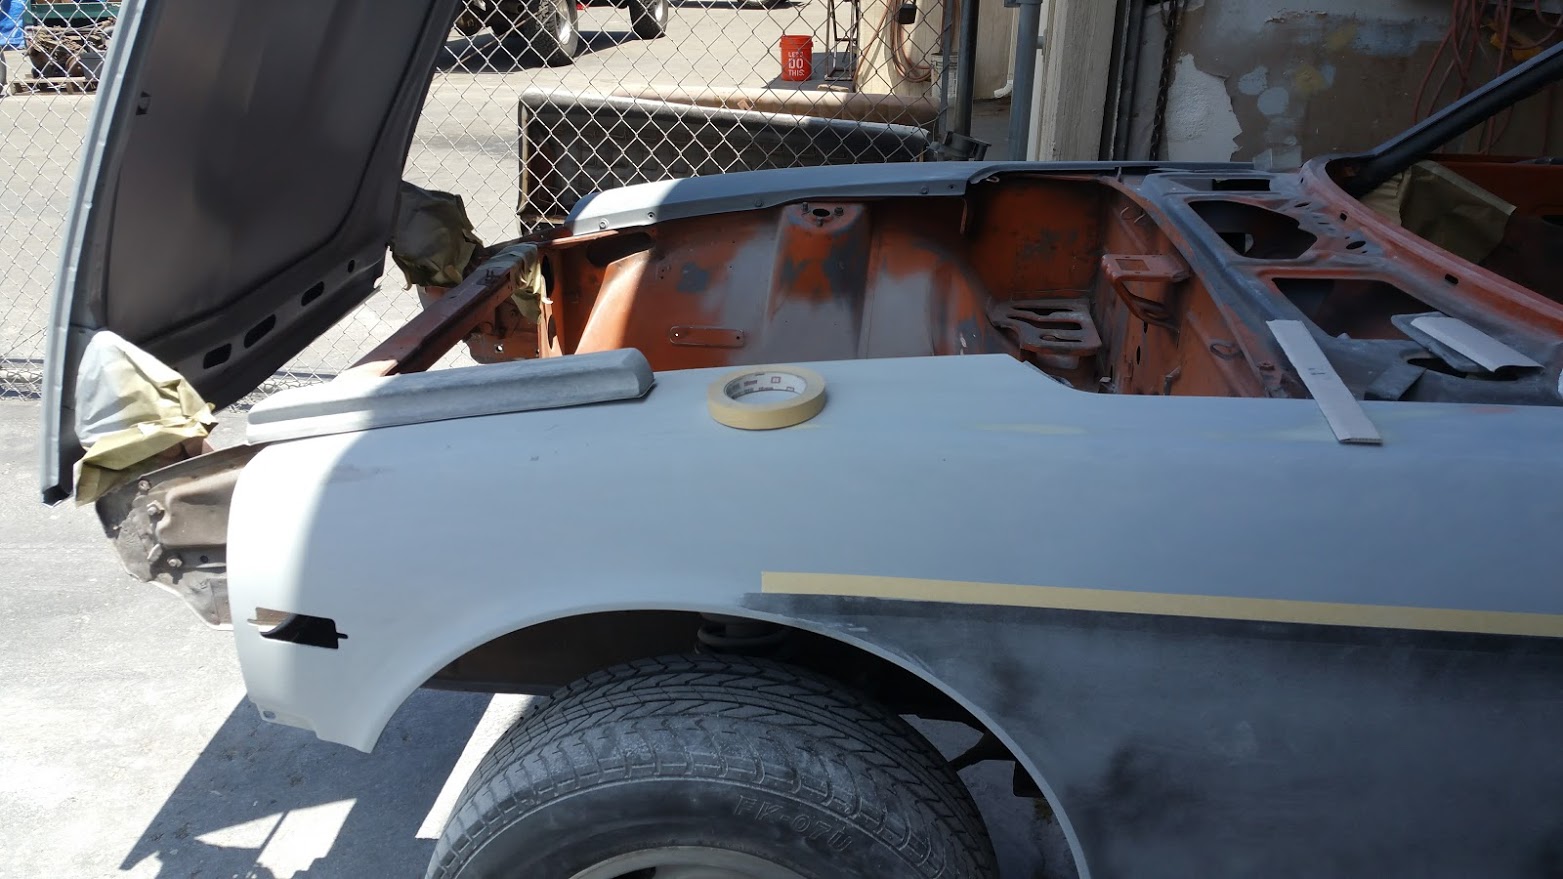
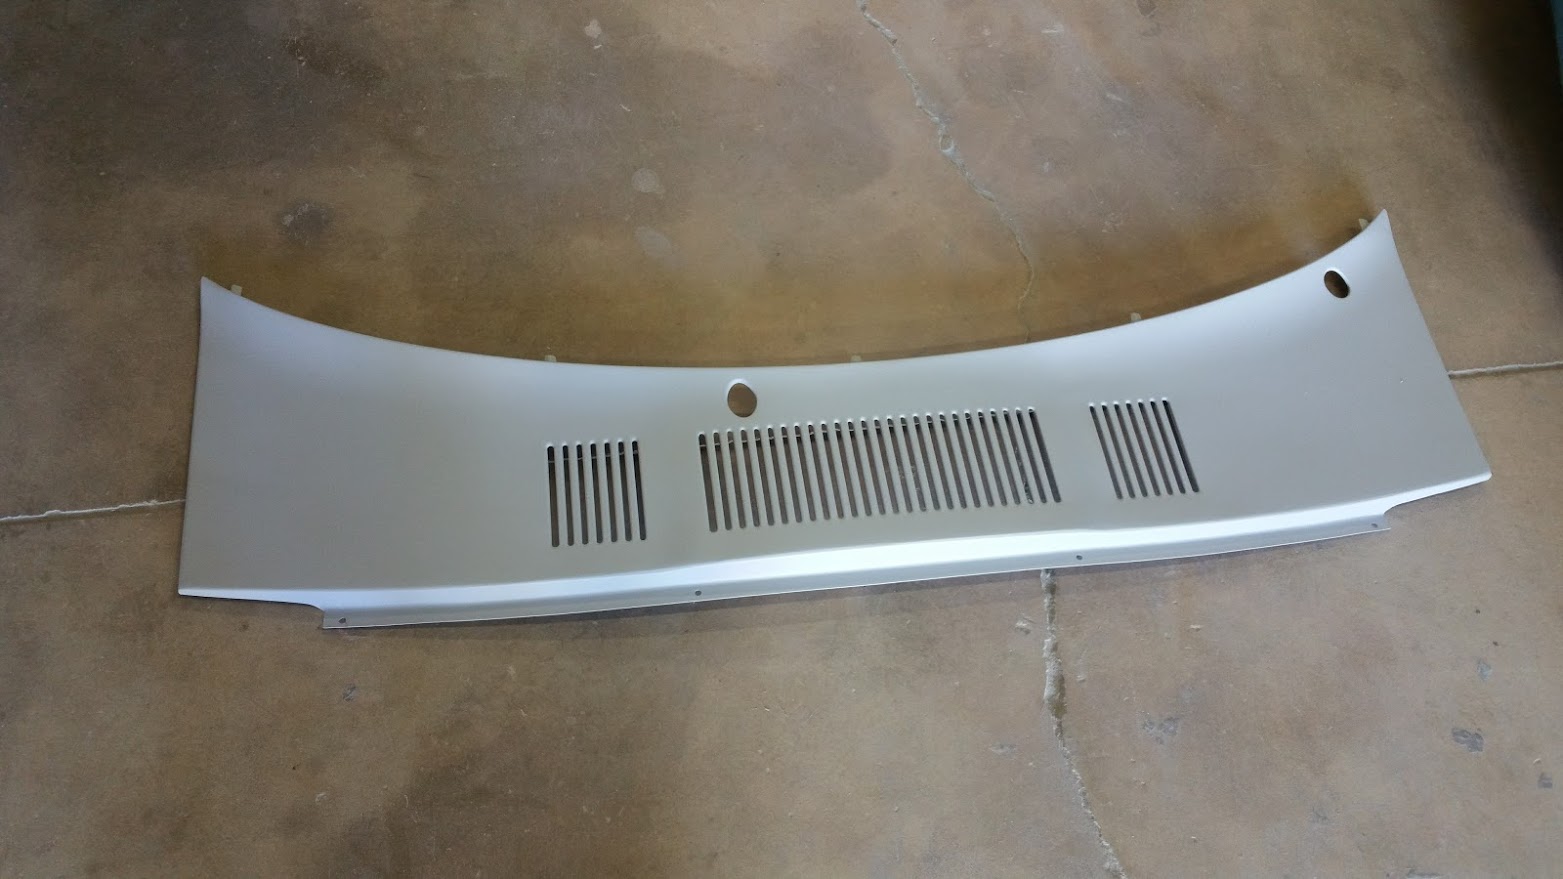
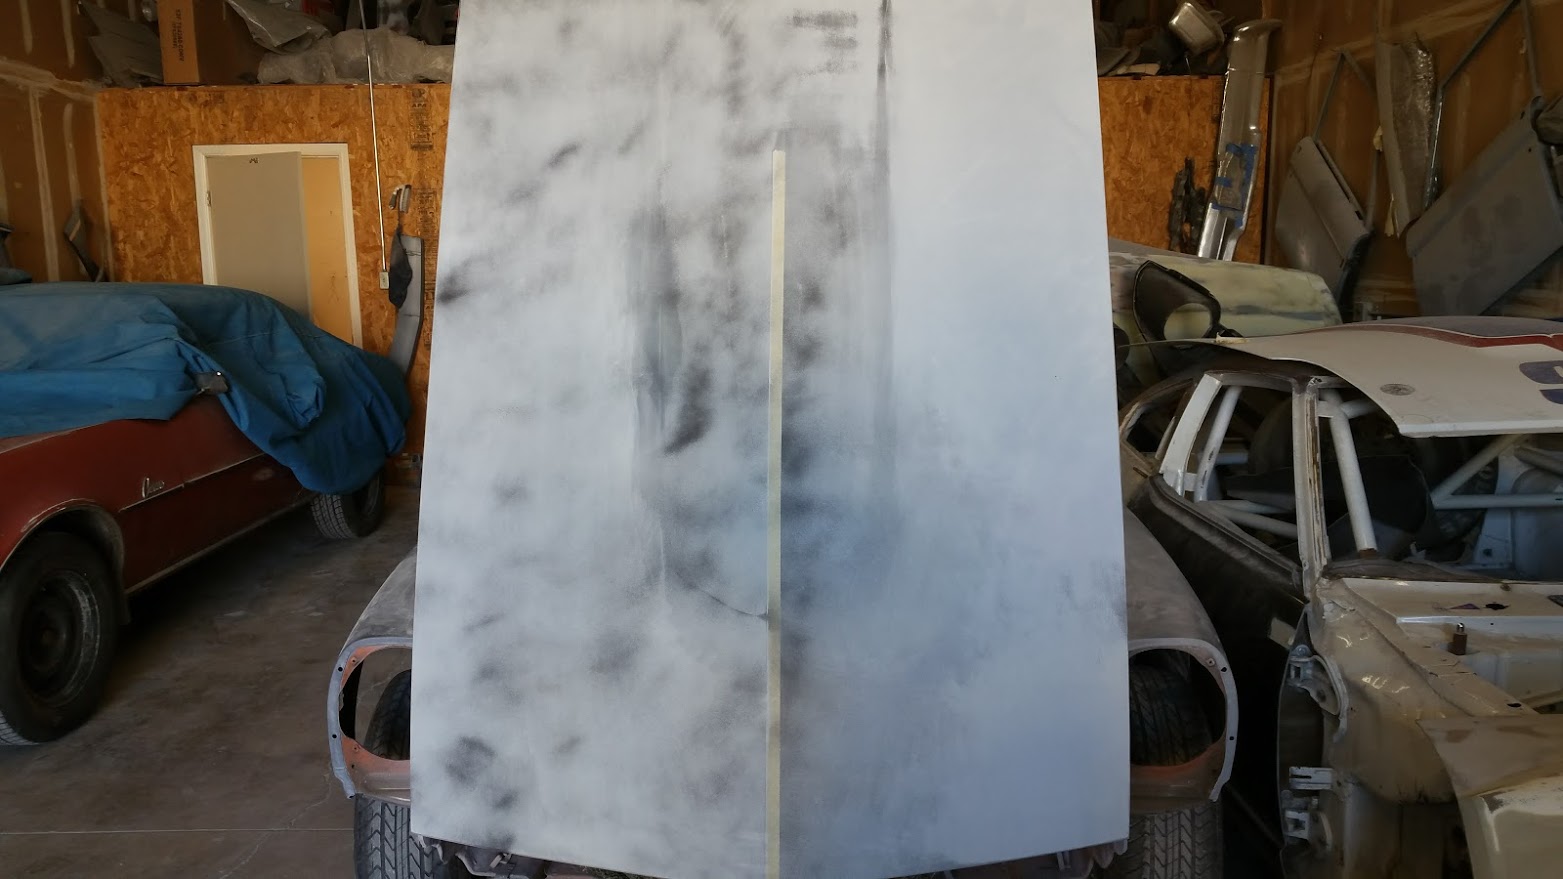
 1 point1 pointA lot of work going on at the body/paint shop. Miguel is pretty much taking everything down to the bare metal and fixing it up correctly. This is really the right way to do the job. In the first pic, everything kind of looks OK, but underneath it's a different story. Bumper attachment has been aligned. New sheet metal installed on the back end, beautiful work.
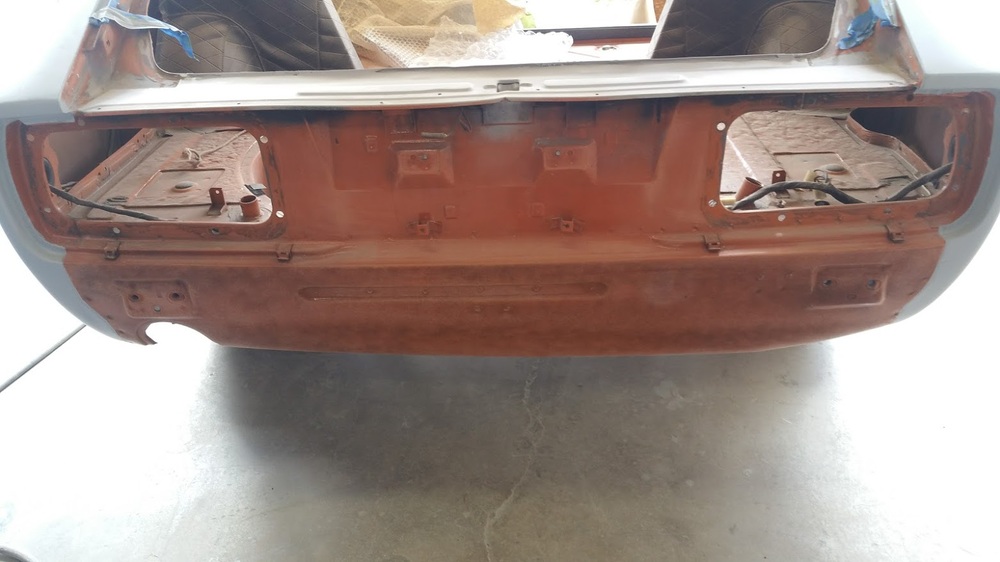


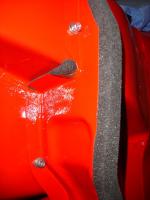
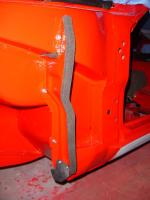
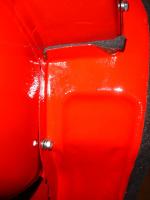
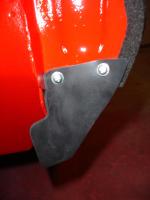
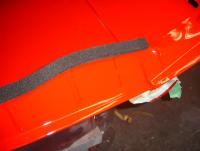
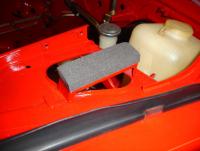
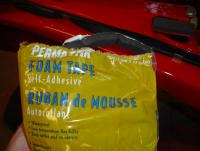
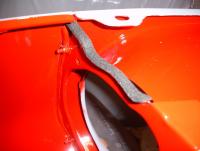
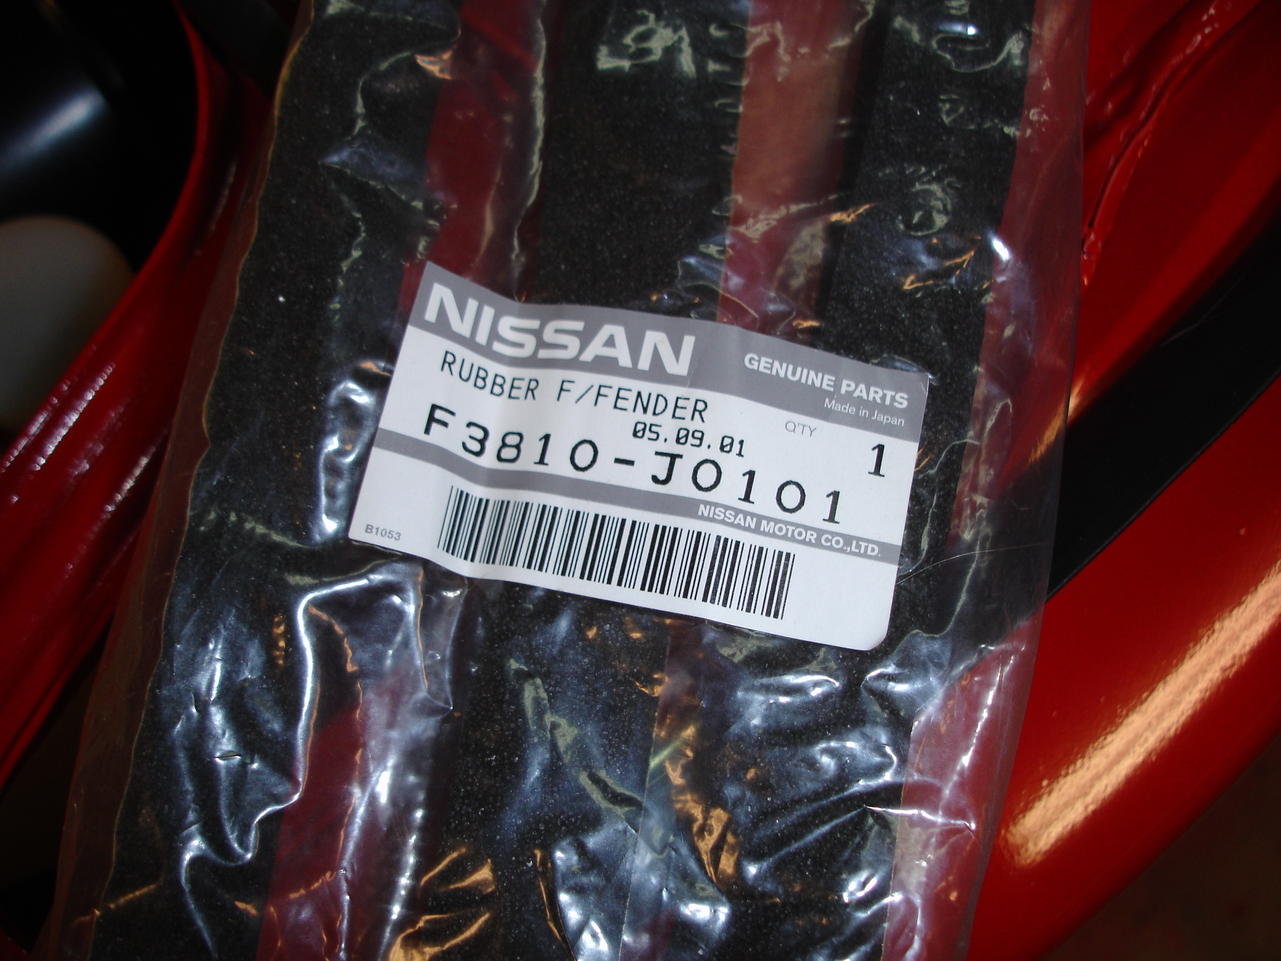
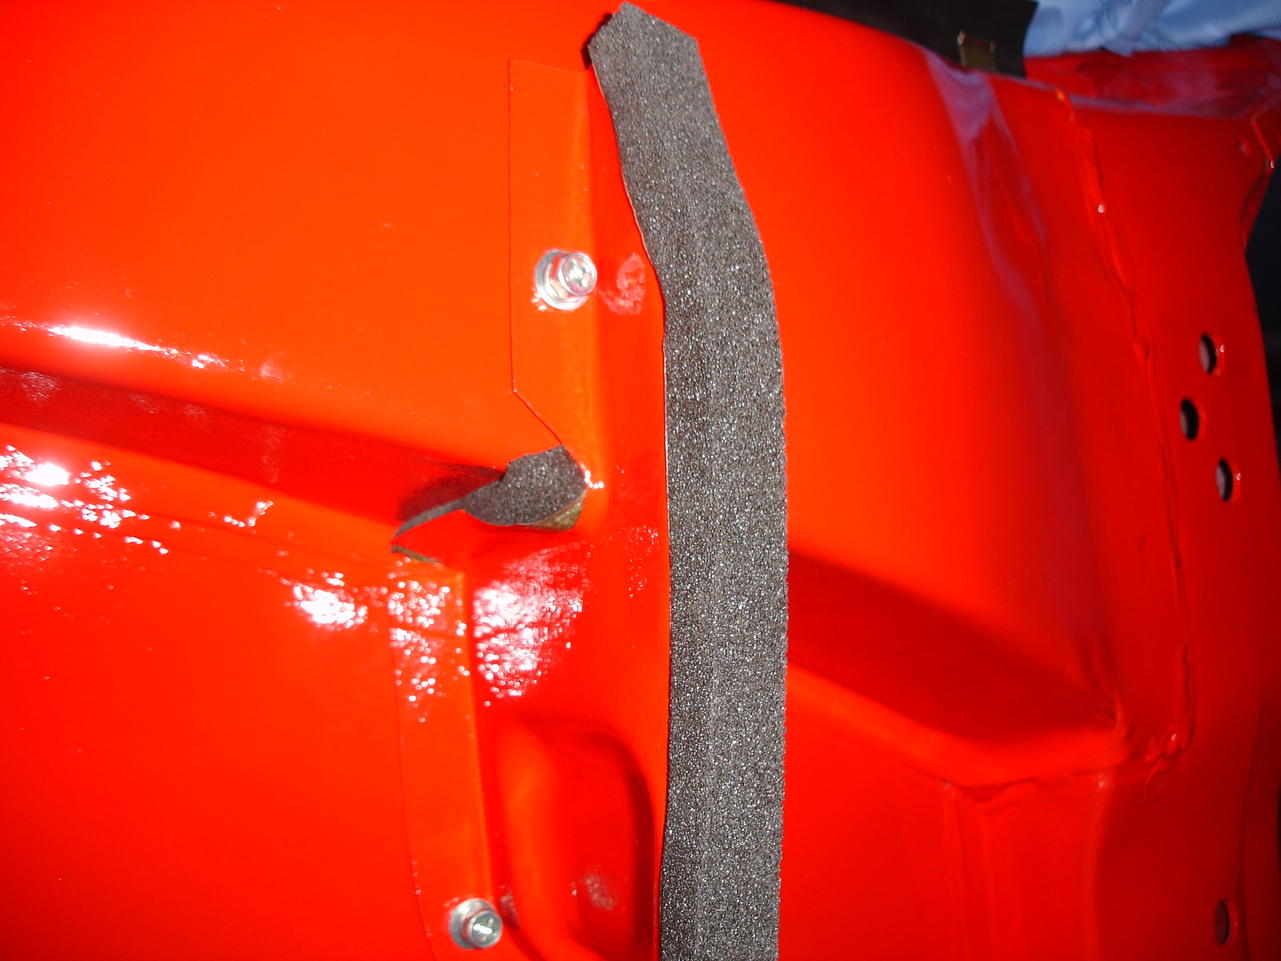
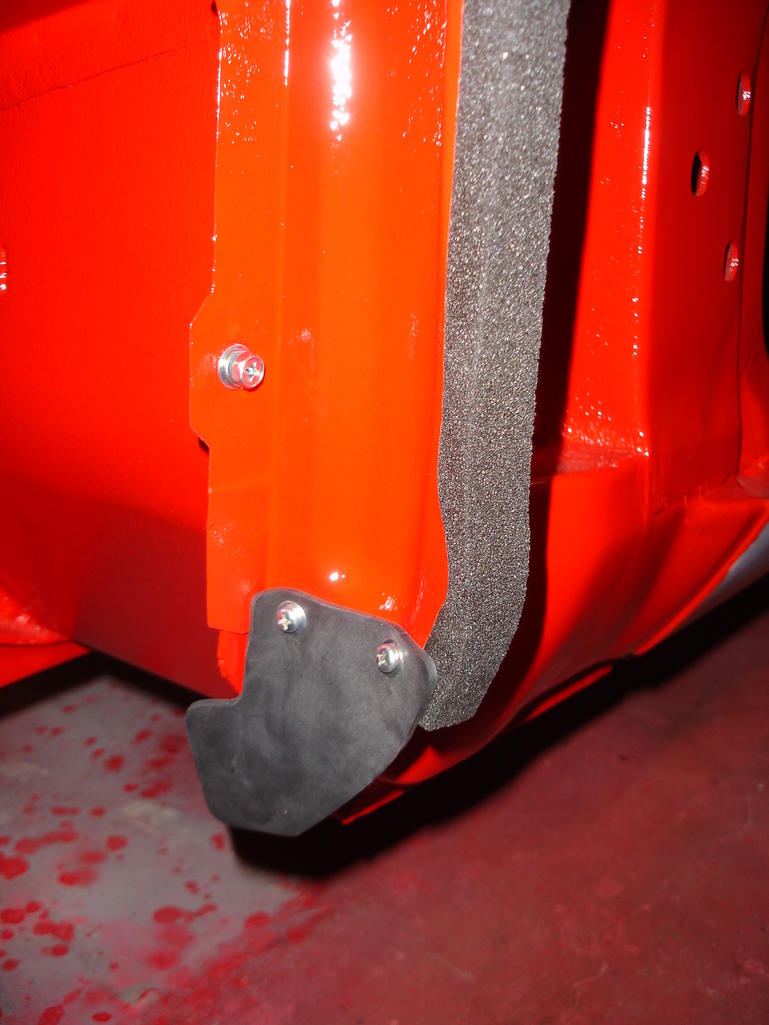
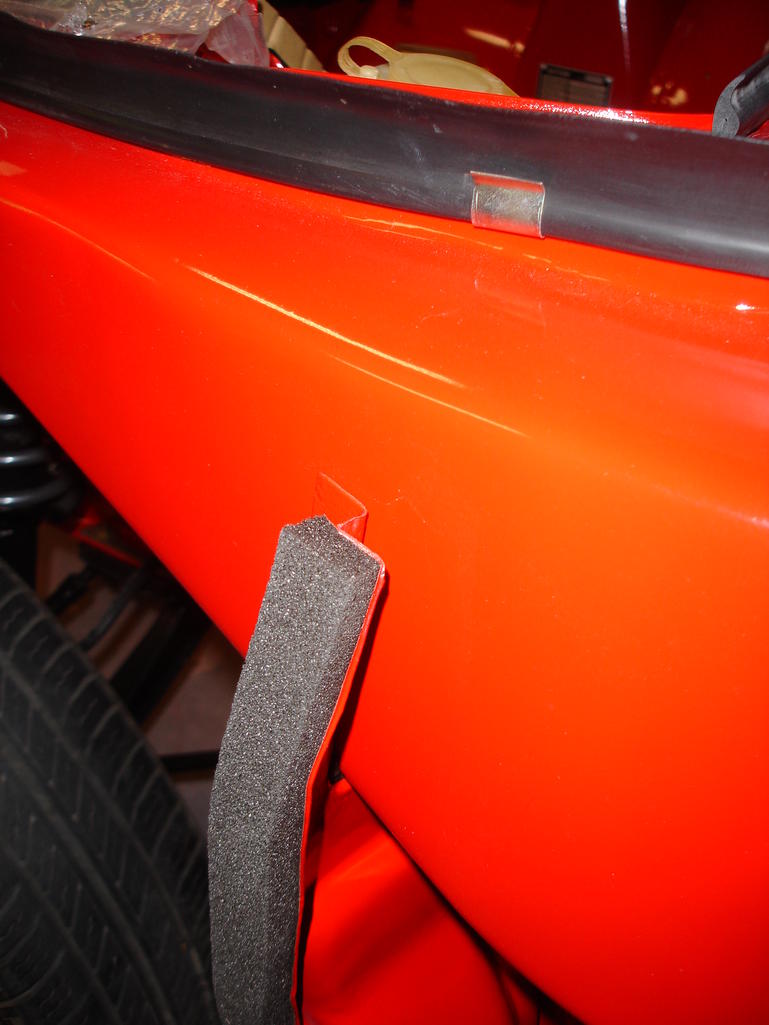
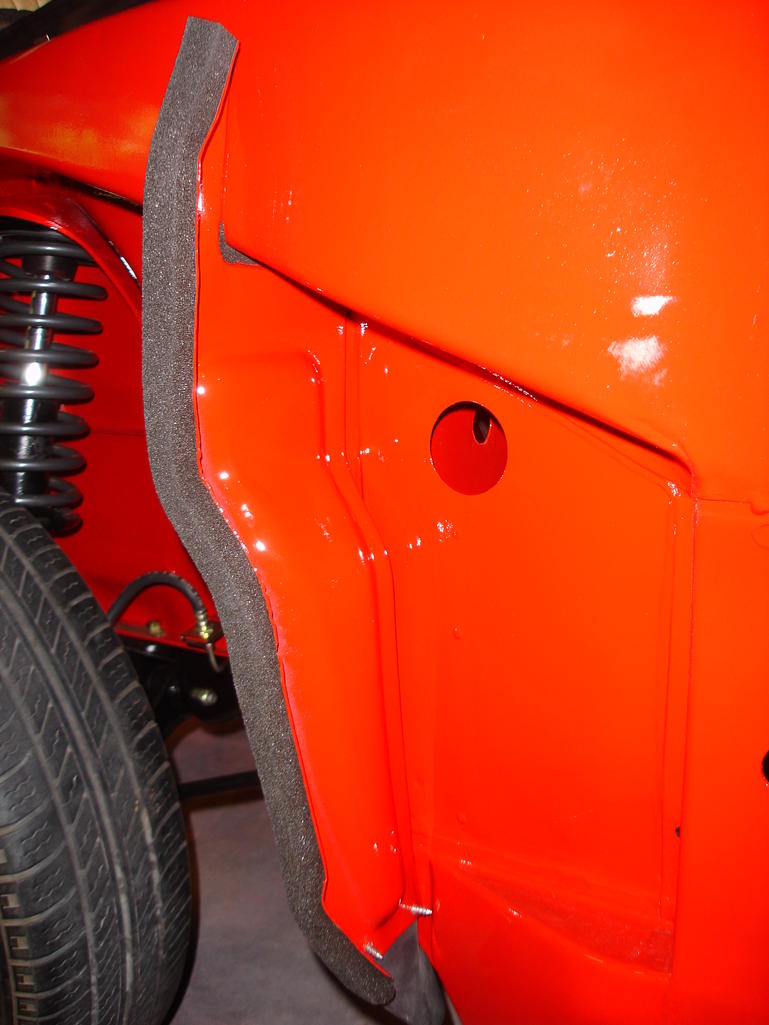
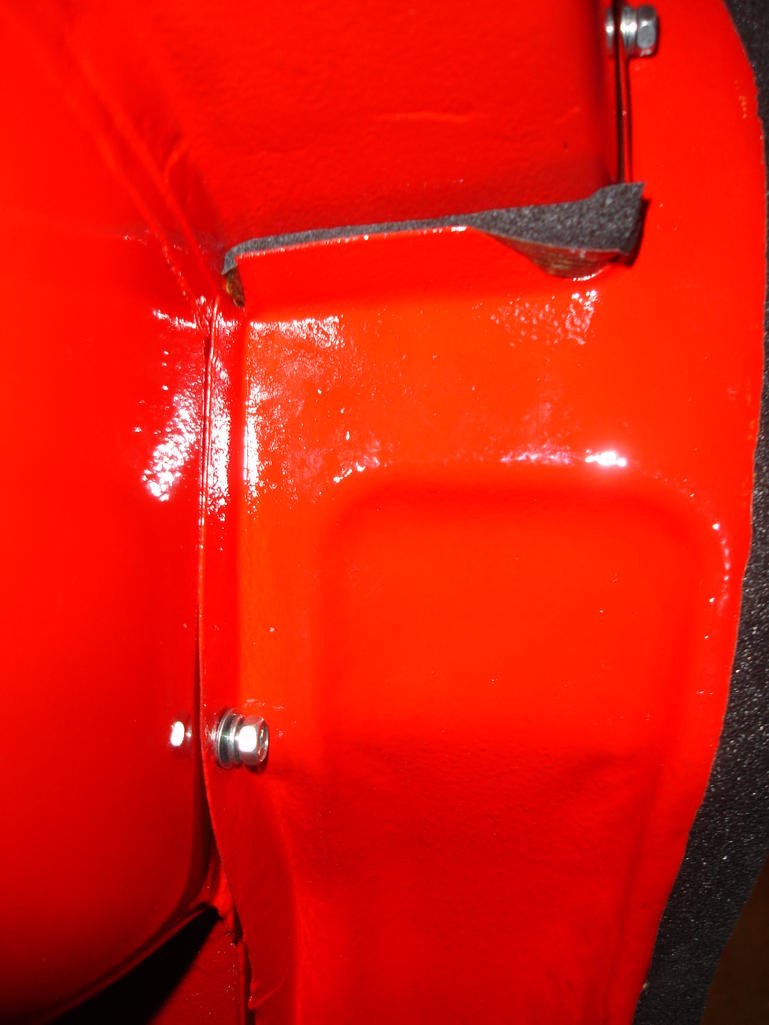
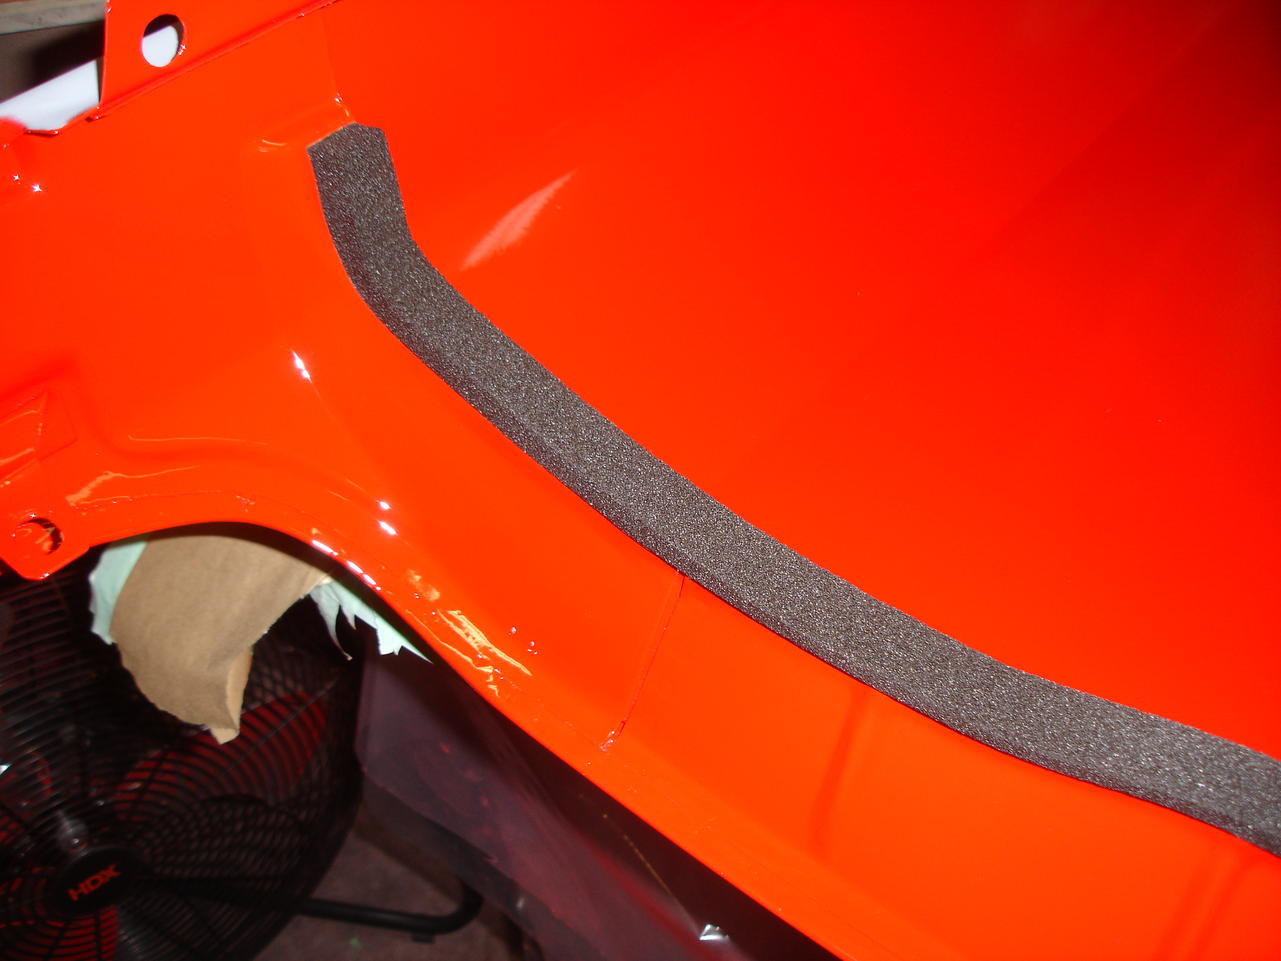
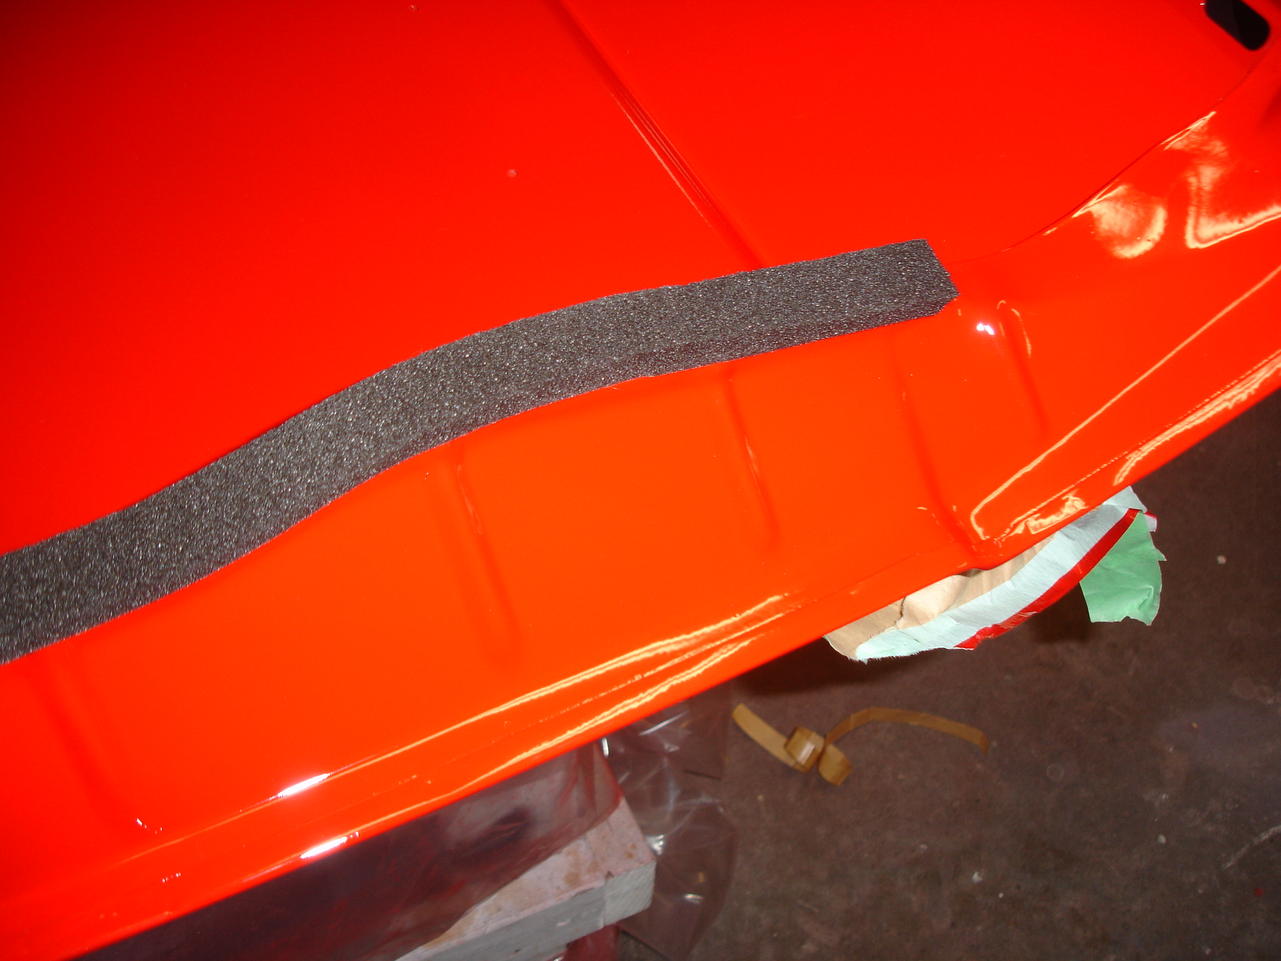
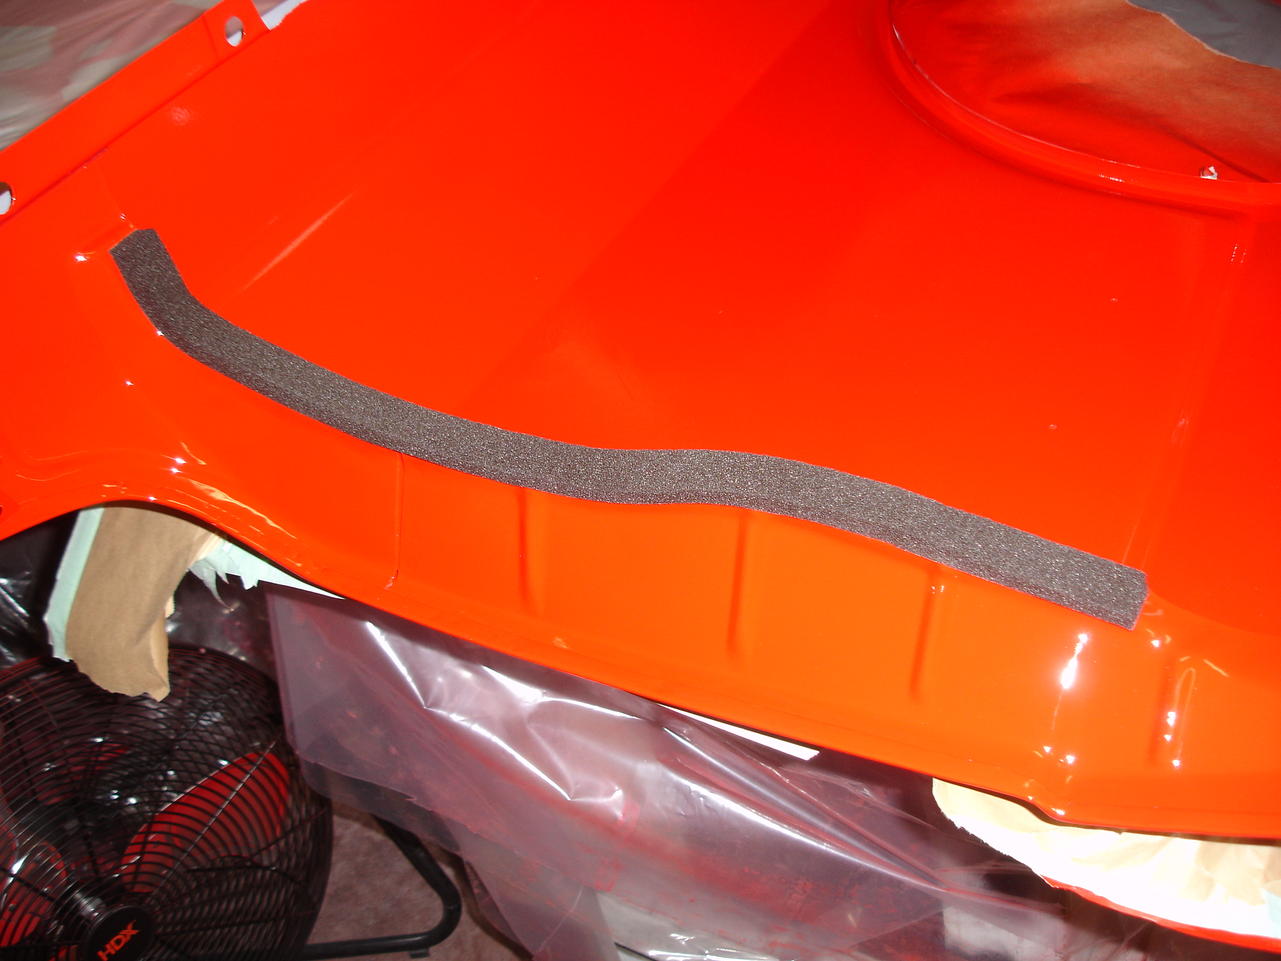
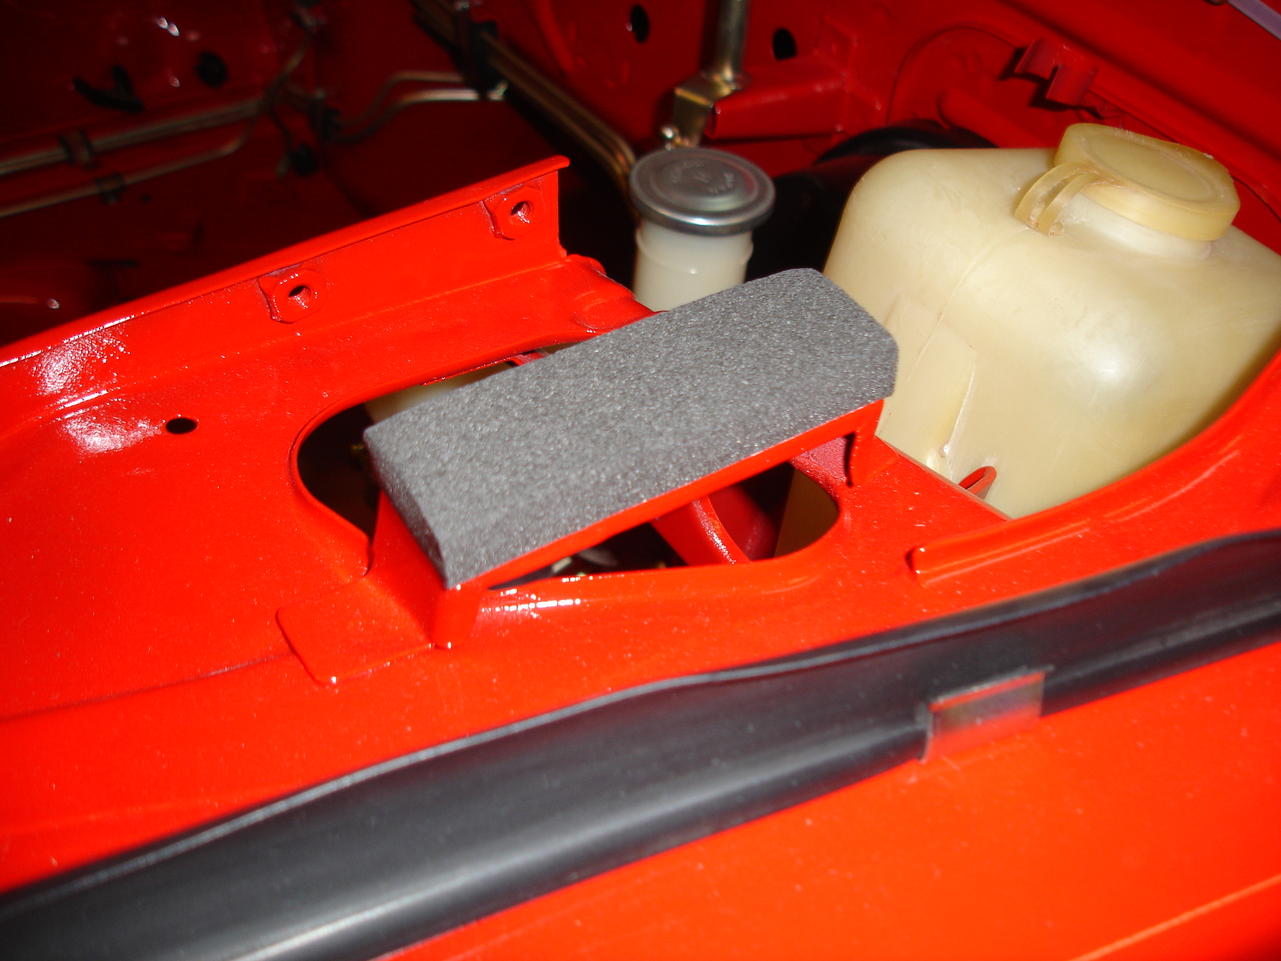
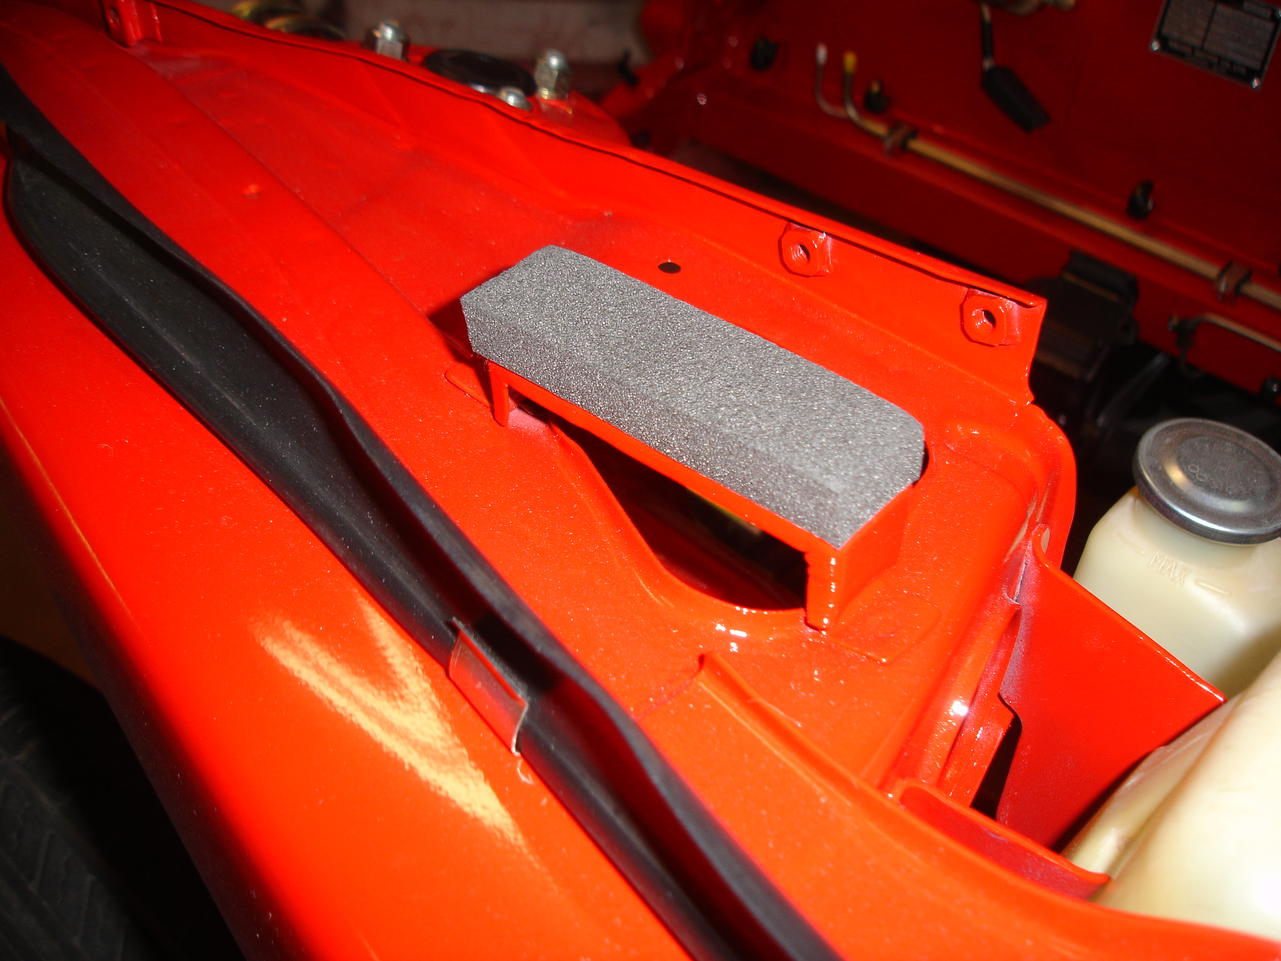
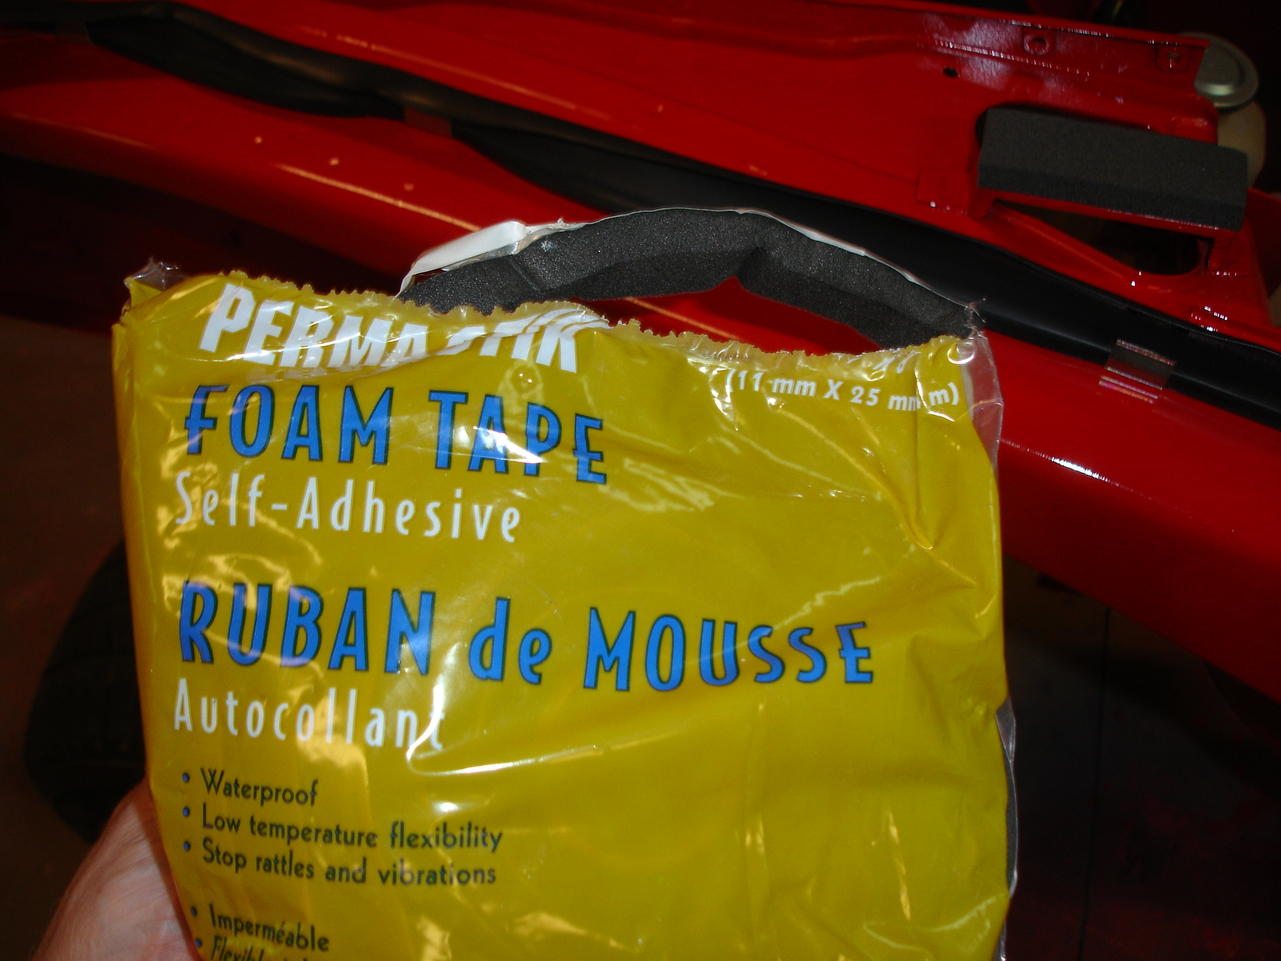
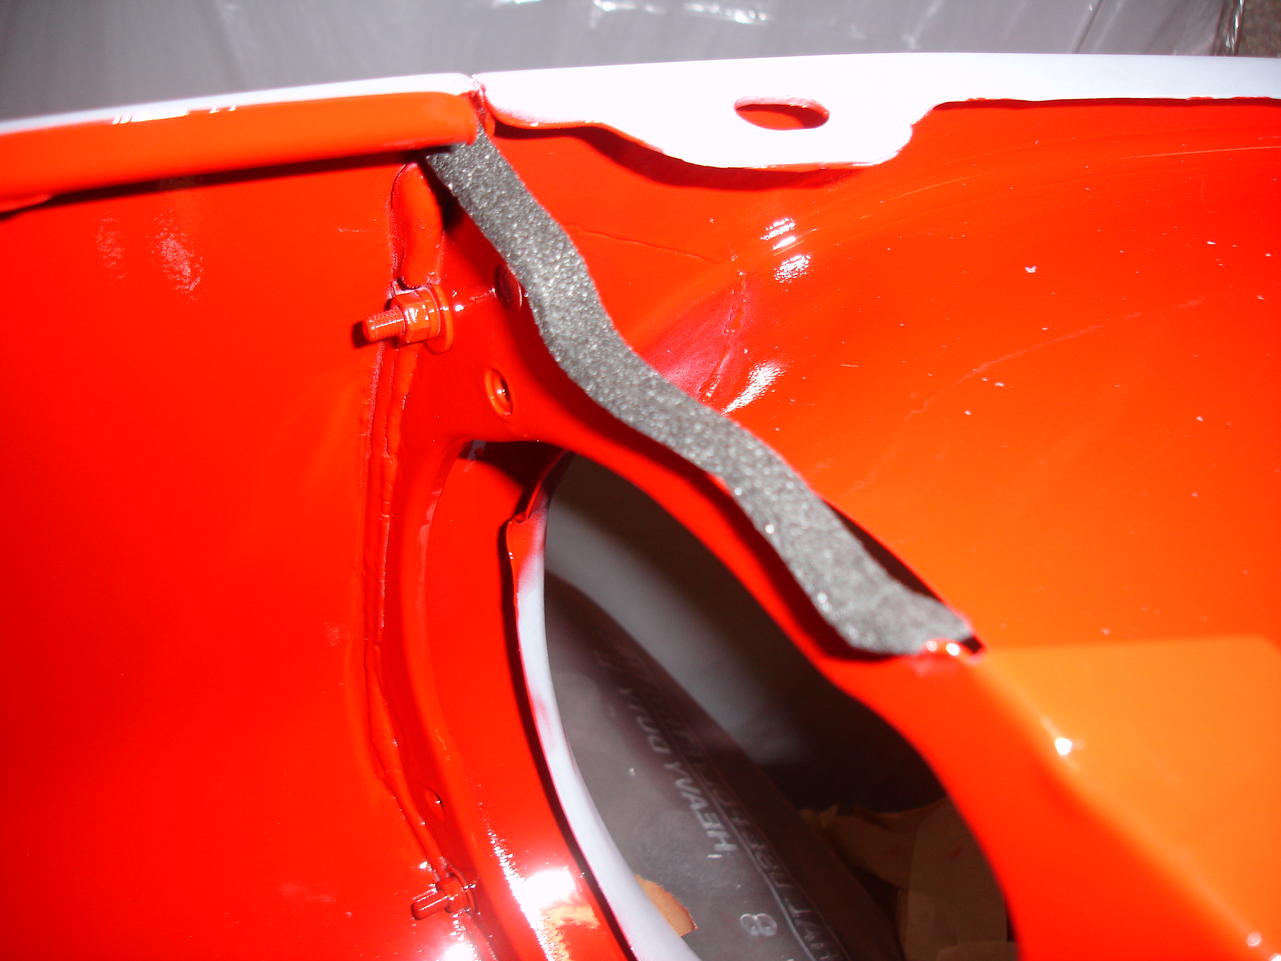
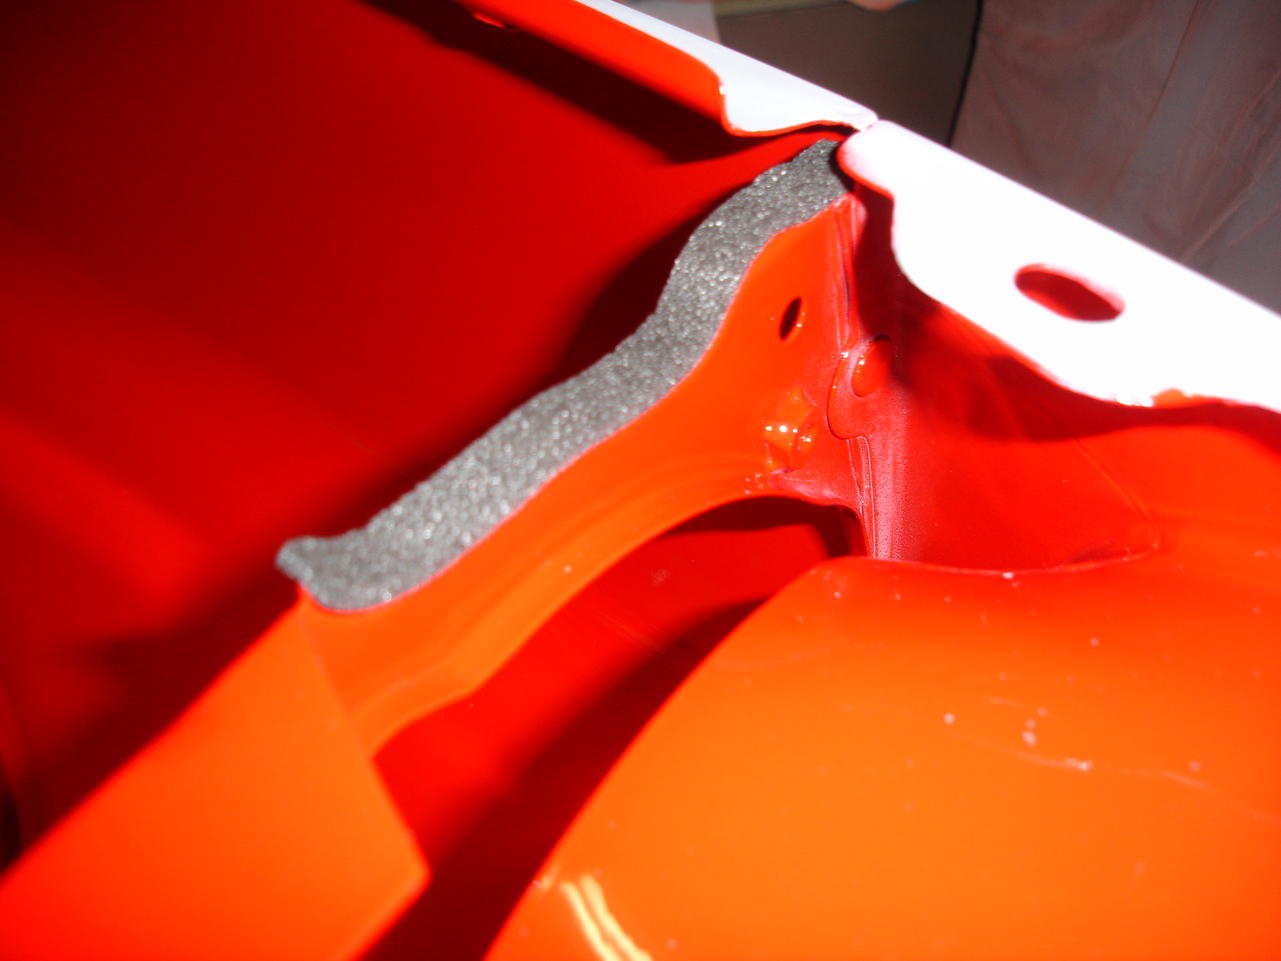
 1 point1 point1 pointWith a little luck I can get them to order me a external regulated alt, With a little luck. I am getting ready to get my z's dialed in, I will be on here more and more. I will post alt outcome. Thanks again Stewart1 point1 pointIf the alternator is not charging, you should check to see that the field coil is getting voltage from the regulator, the FSM covers how to do this, a simple jumper from the Bat to the field coil will fully energize, you just want to make sure you don't rev the engine up (with the field coil un regulated the alt will put out excessive voltage likely damaging the ECU). Monitor the voltage at the battery and if it starts charging with the field jumped then the regulator or wiring to the regulator is at fault.1 point1 pointI located a Genuine Nissan fender seal that is the correct thickness for the Mud Guard flange and the Inner Fender Baffle flange. It is part number F3810-J0101 and is a direct replacement for the 240Z. It measures 20mm (3/4") wide and stands 15mm (5/8" high). It comes longer than what is required so you have to cut with a pair of scissors. It features a really tacky peel and stick backing that is removed before installation. It is very soft and compresses much easier than the closed cell foam tapes out there. Like Dan suggested in the earlier post I too also used the closed cell foam tape for under the rear fender that is a little heavier duty than a standard closed cell weatherstrip and intended for RV and Auto use (see pics). The fact that is a little more dense is welcome to help support the front fender. It is 25mm (1 inch) wide and 11mm (7/16") high for your reference. I also used the same material for the front-most flange and it measures 4mm x 10mm or 5/32" high x 3/8" wide. There is also a rubberized foam tape out there that is a little more expensive, and will not mildew. See pics below for your reference...


 1 point


Important Information
By using this site, you agree to our Privacy Policy and Guidelines. We have placed cookies on your device to help make this website better. You can adjust your cookie settings, otherwise we'll assume you're okay to continue.