Leaderboard
-

siteunseen
Free Member5Points15,073Posts -
Captain Obvious
Free Member4Points10,030Posts -
dmorales-bello
Free Member4Points627Posts -
sweatybetty
Free Member3Points1,119Posts


Popular Content
Showing content with the highest reputation on 05/08/2017 in Posts
-
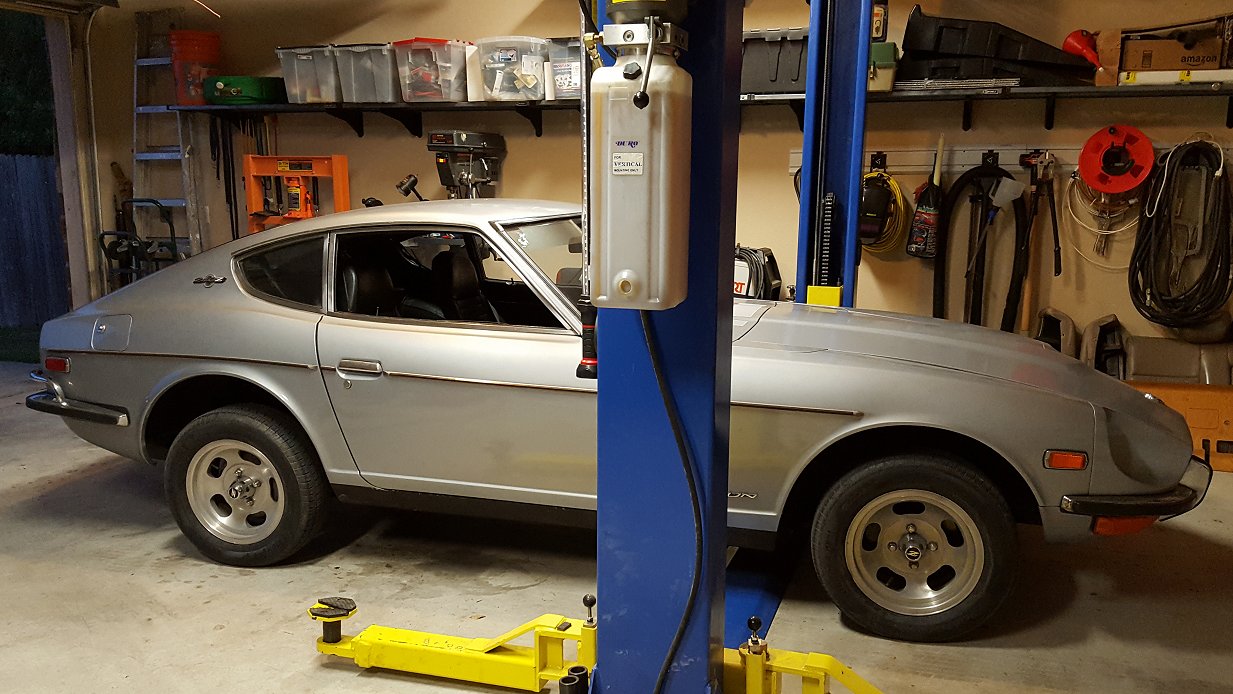
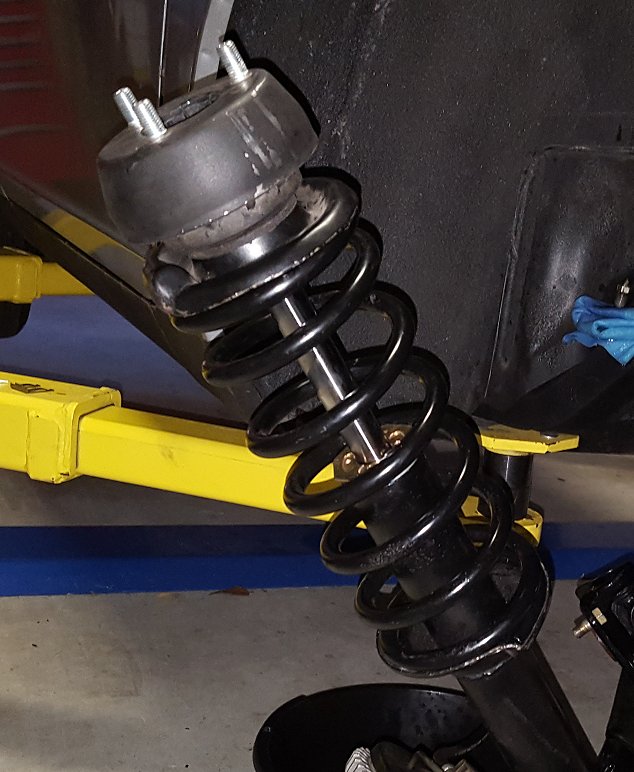
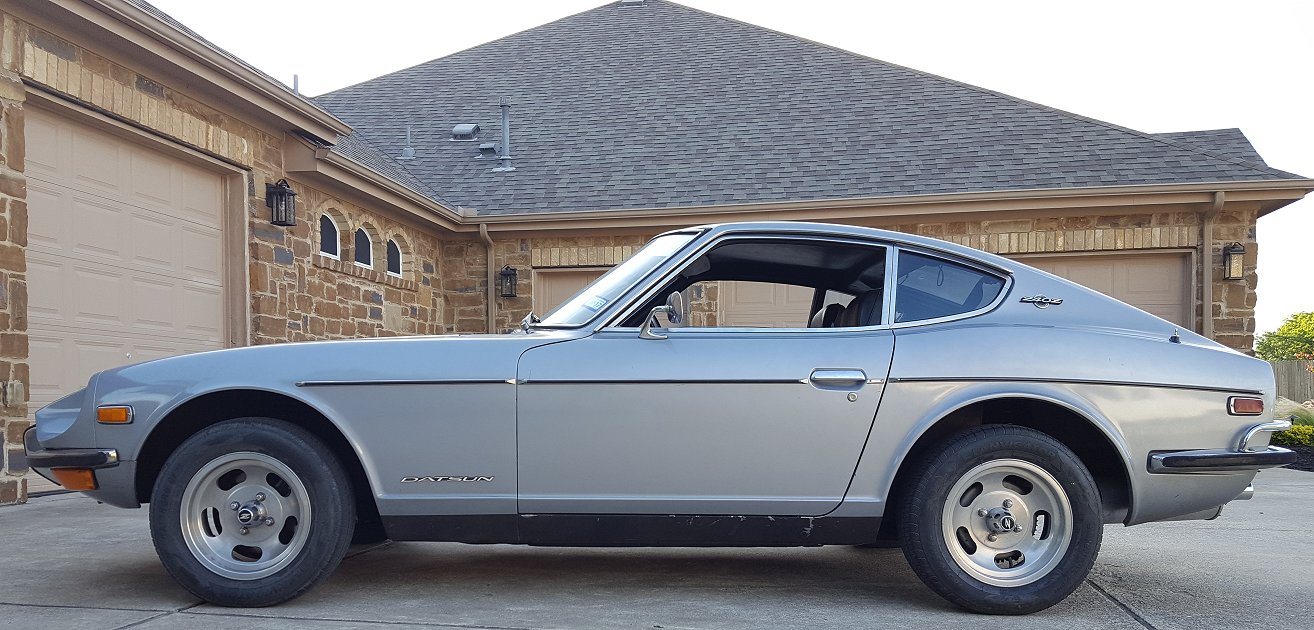
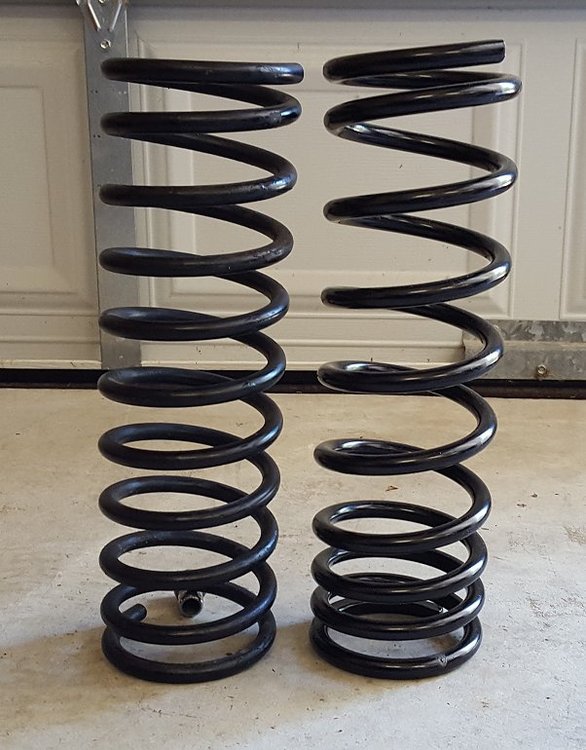
Ever since I bought my '71 240z in June 2014 the rear of the car would squat down at take off but never rebound. I could tell as I was driving down the highway the car was nose high. I witnessed just how bad it was when I had to take the car for its annual inspection watched the inspector drive it. Even sitting still the rear always sat lower than the front of the car. At first I thought the strut inserts were shot (and they were) but even after replacing them there was very little improvement. Seeing that the springs were at least 47 years old I was sure they were fatigued. Not wanting to lower the car with Eibach or Vogtland springs but still wanting a new spring I went on the hunt to find something that matched up. Some of you may remember with my lime green '72 240z I went through a lot of trial and error with a full set of Moog 6558 springs that are designed for a Chevette. In the end they were too stiff and no matter how much they were cut down it was never right. Going back to Moog's giant spring chart and knowing I needed to stay within the inner and outer diameter of the stock springs which is 3.5" ID and 4.5" OD respectively I narrowed it down to the CC223. I placed an order for a pair on Rock Auto which ran less than $50 with shipping. The stock springs have a free height of 14.25" and an installed height of 10.5". The CC223's have a free height of 14.5" and and installed height of 12". The CC223 has a ID 3.5" and a OD of 4 3/8". The stock springs have a wire diameter of 11.46mm and the CC233's wire diameter is 12.56mm. I am unsure of the stock spring pressure but the CC223 is 130 PSI. Here is a picture of the original on the left on and the new CC223 on the right. You will see the CC223 is a variable rate spring while the original is progressive. Personally I did not care as long as it worked so I installed them but installed the variable end on the top. Once both sides were done I put it back on the ground and unfortunately it made the Z look like a shackled up muscle car. It had some compliance as I could push down on it but there was no way I could run it like this. So off they came and through some trial and error I cut three coils out of the variable side and put everything back together. The end result is exactly what I wanted. The car sits level, has good compliance and handling, and has very little rear end squat at take off. Now I just need to get some taller tires and it will be spot on. I welcome any questions or feedback you have. Thanks!


 2 points
 -
2 points
-
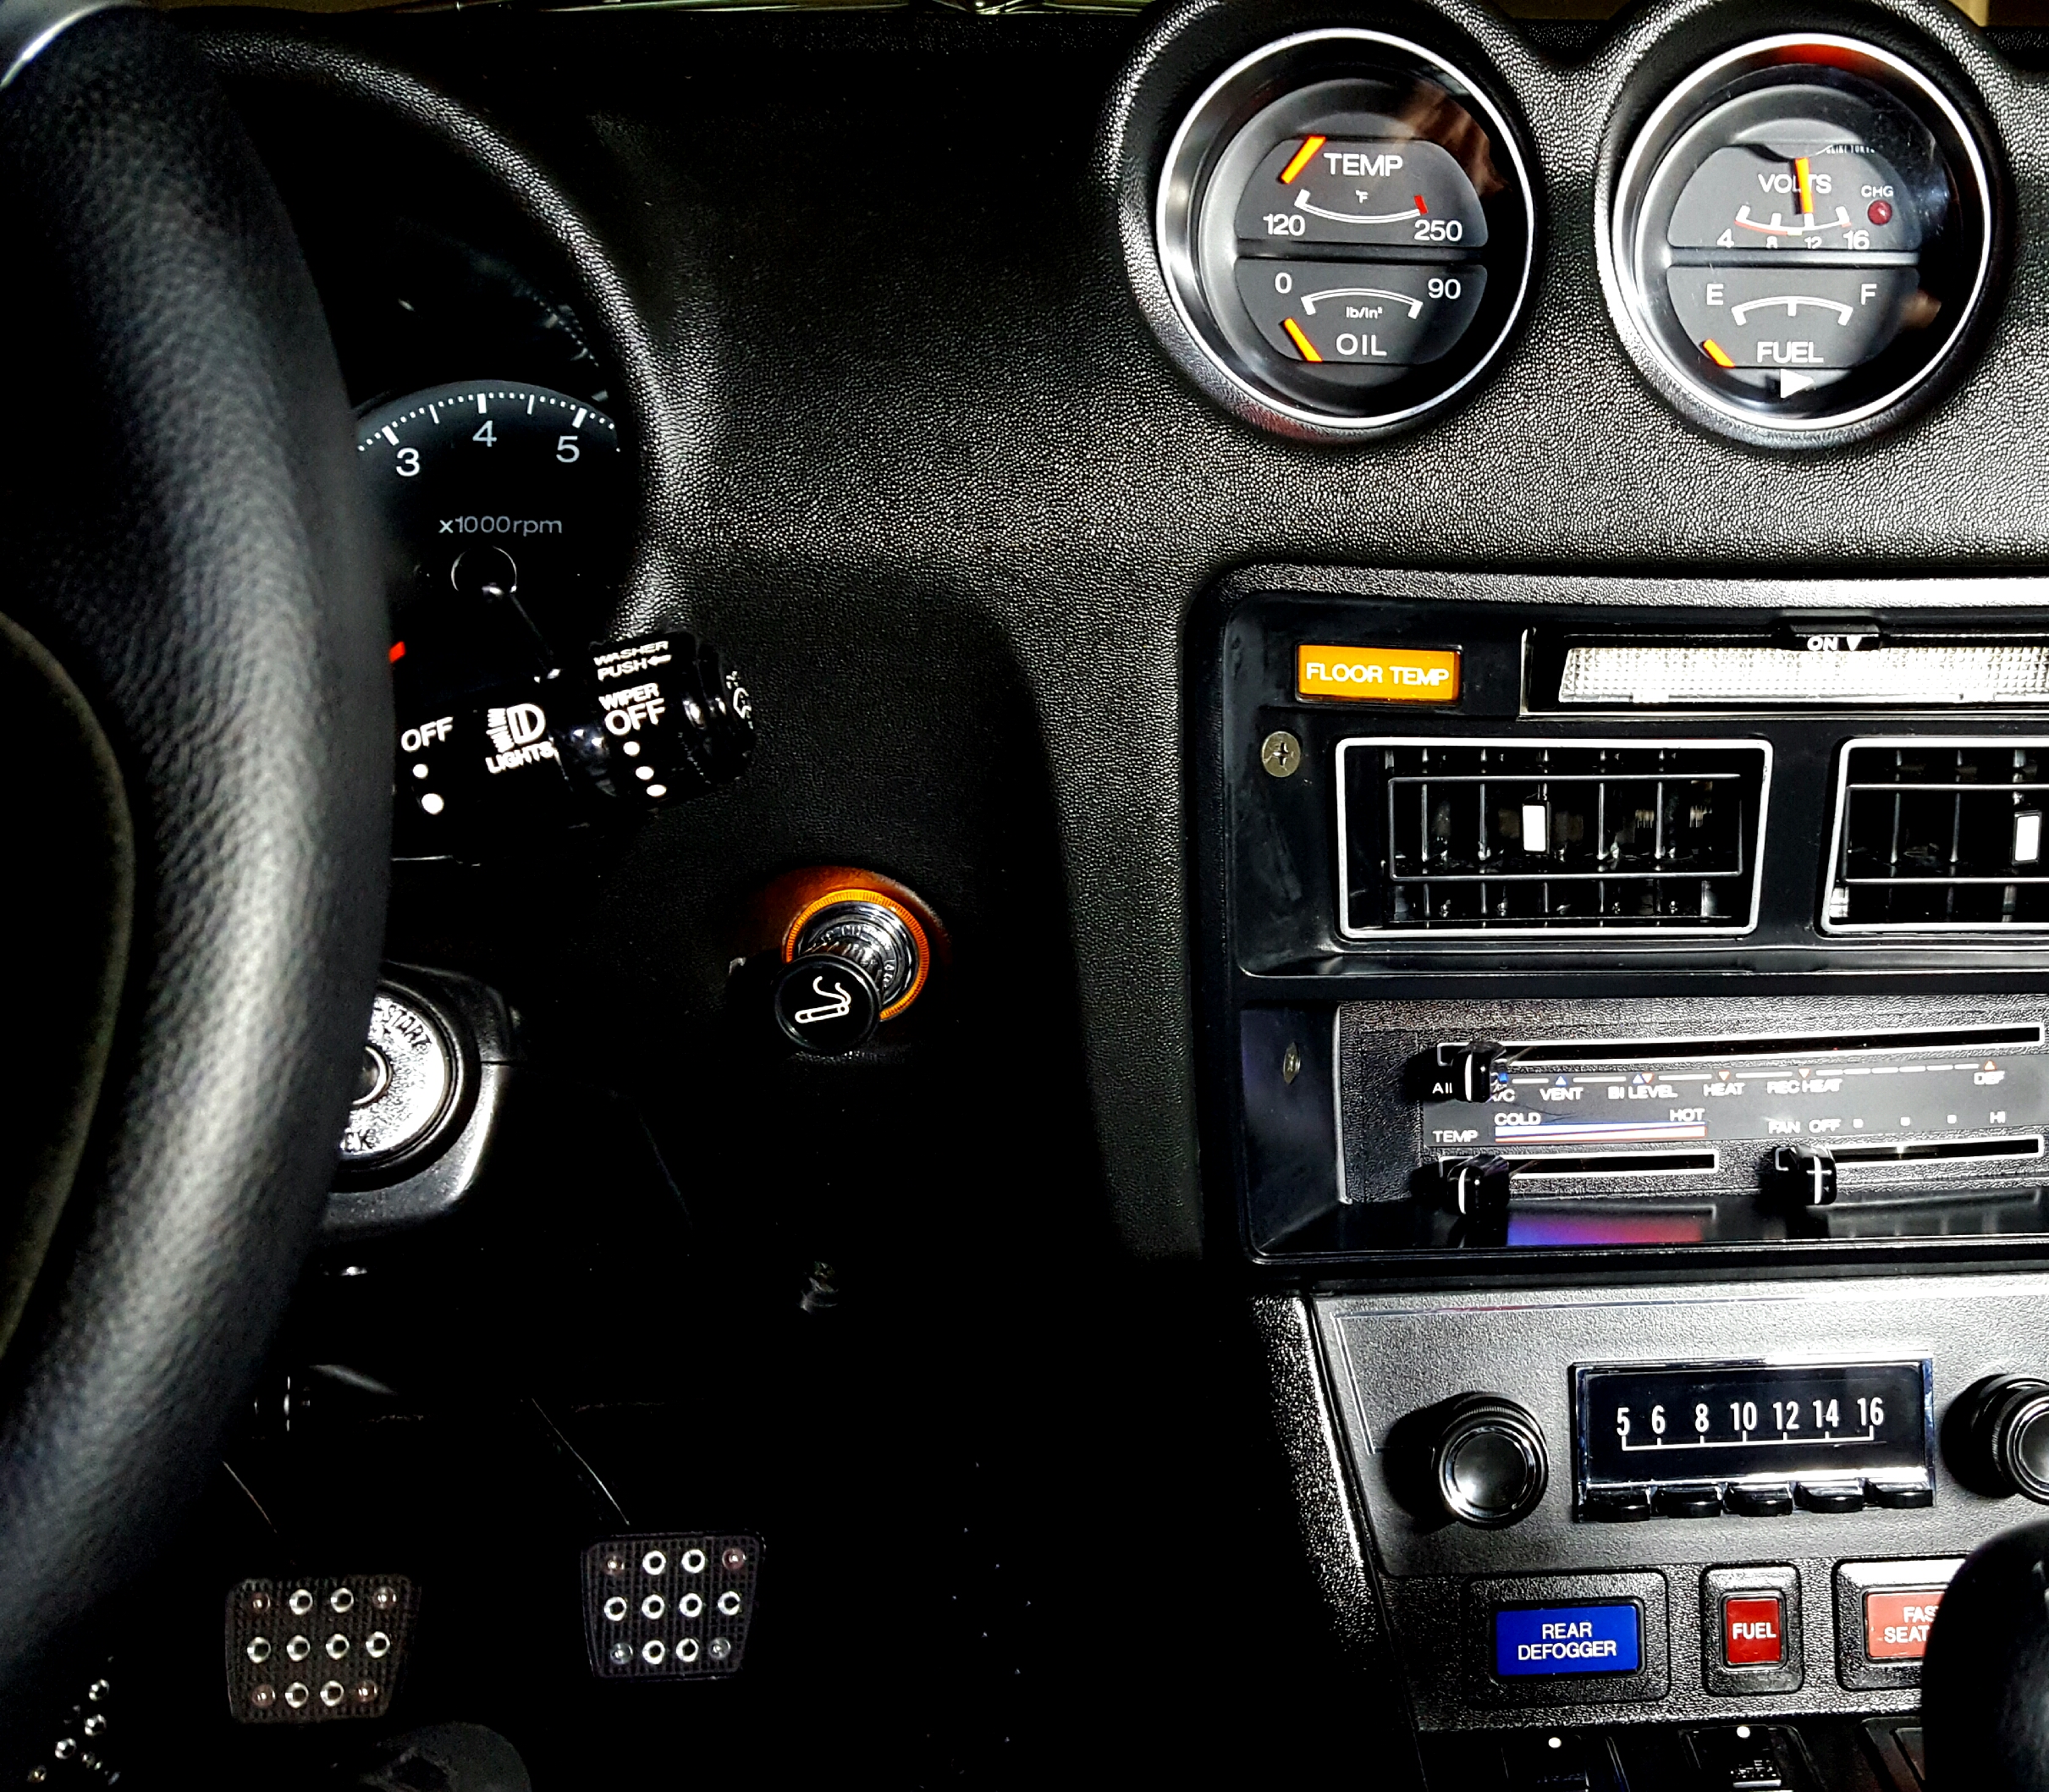
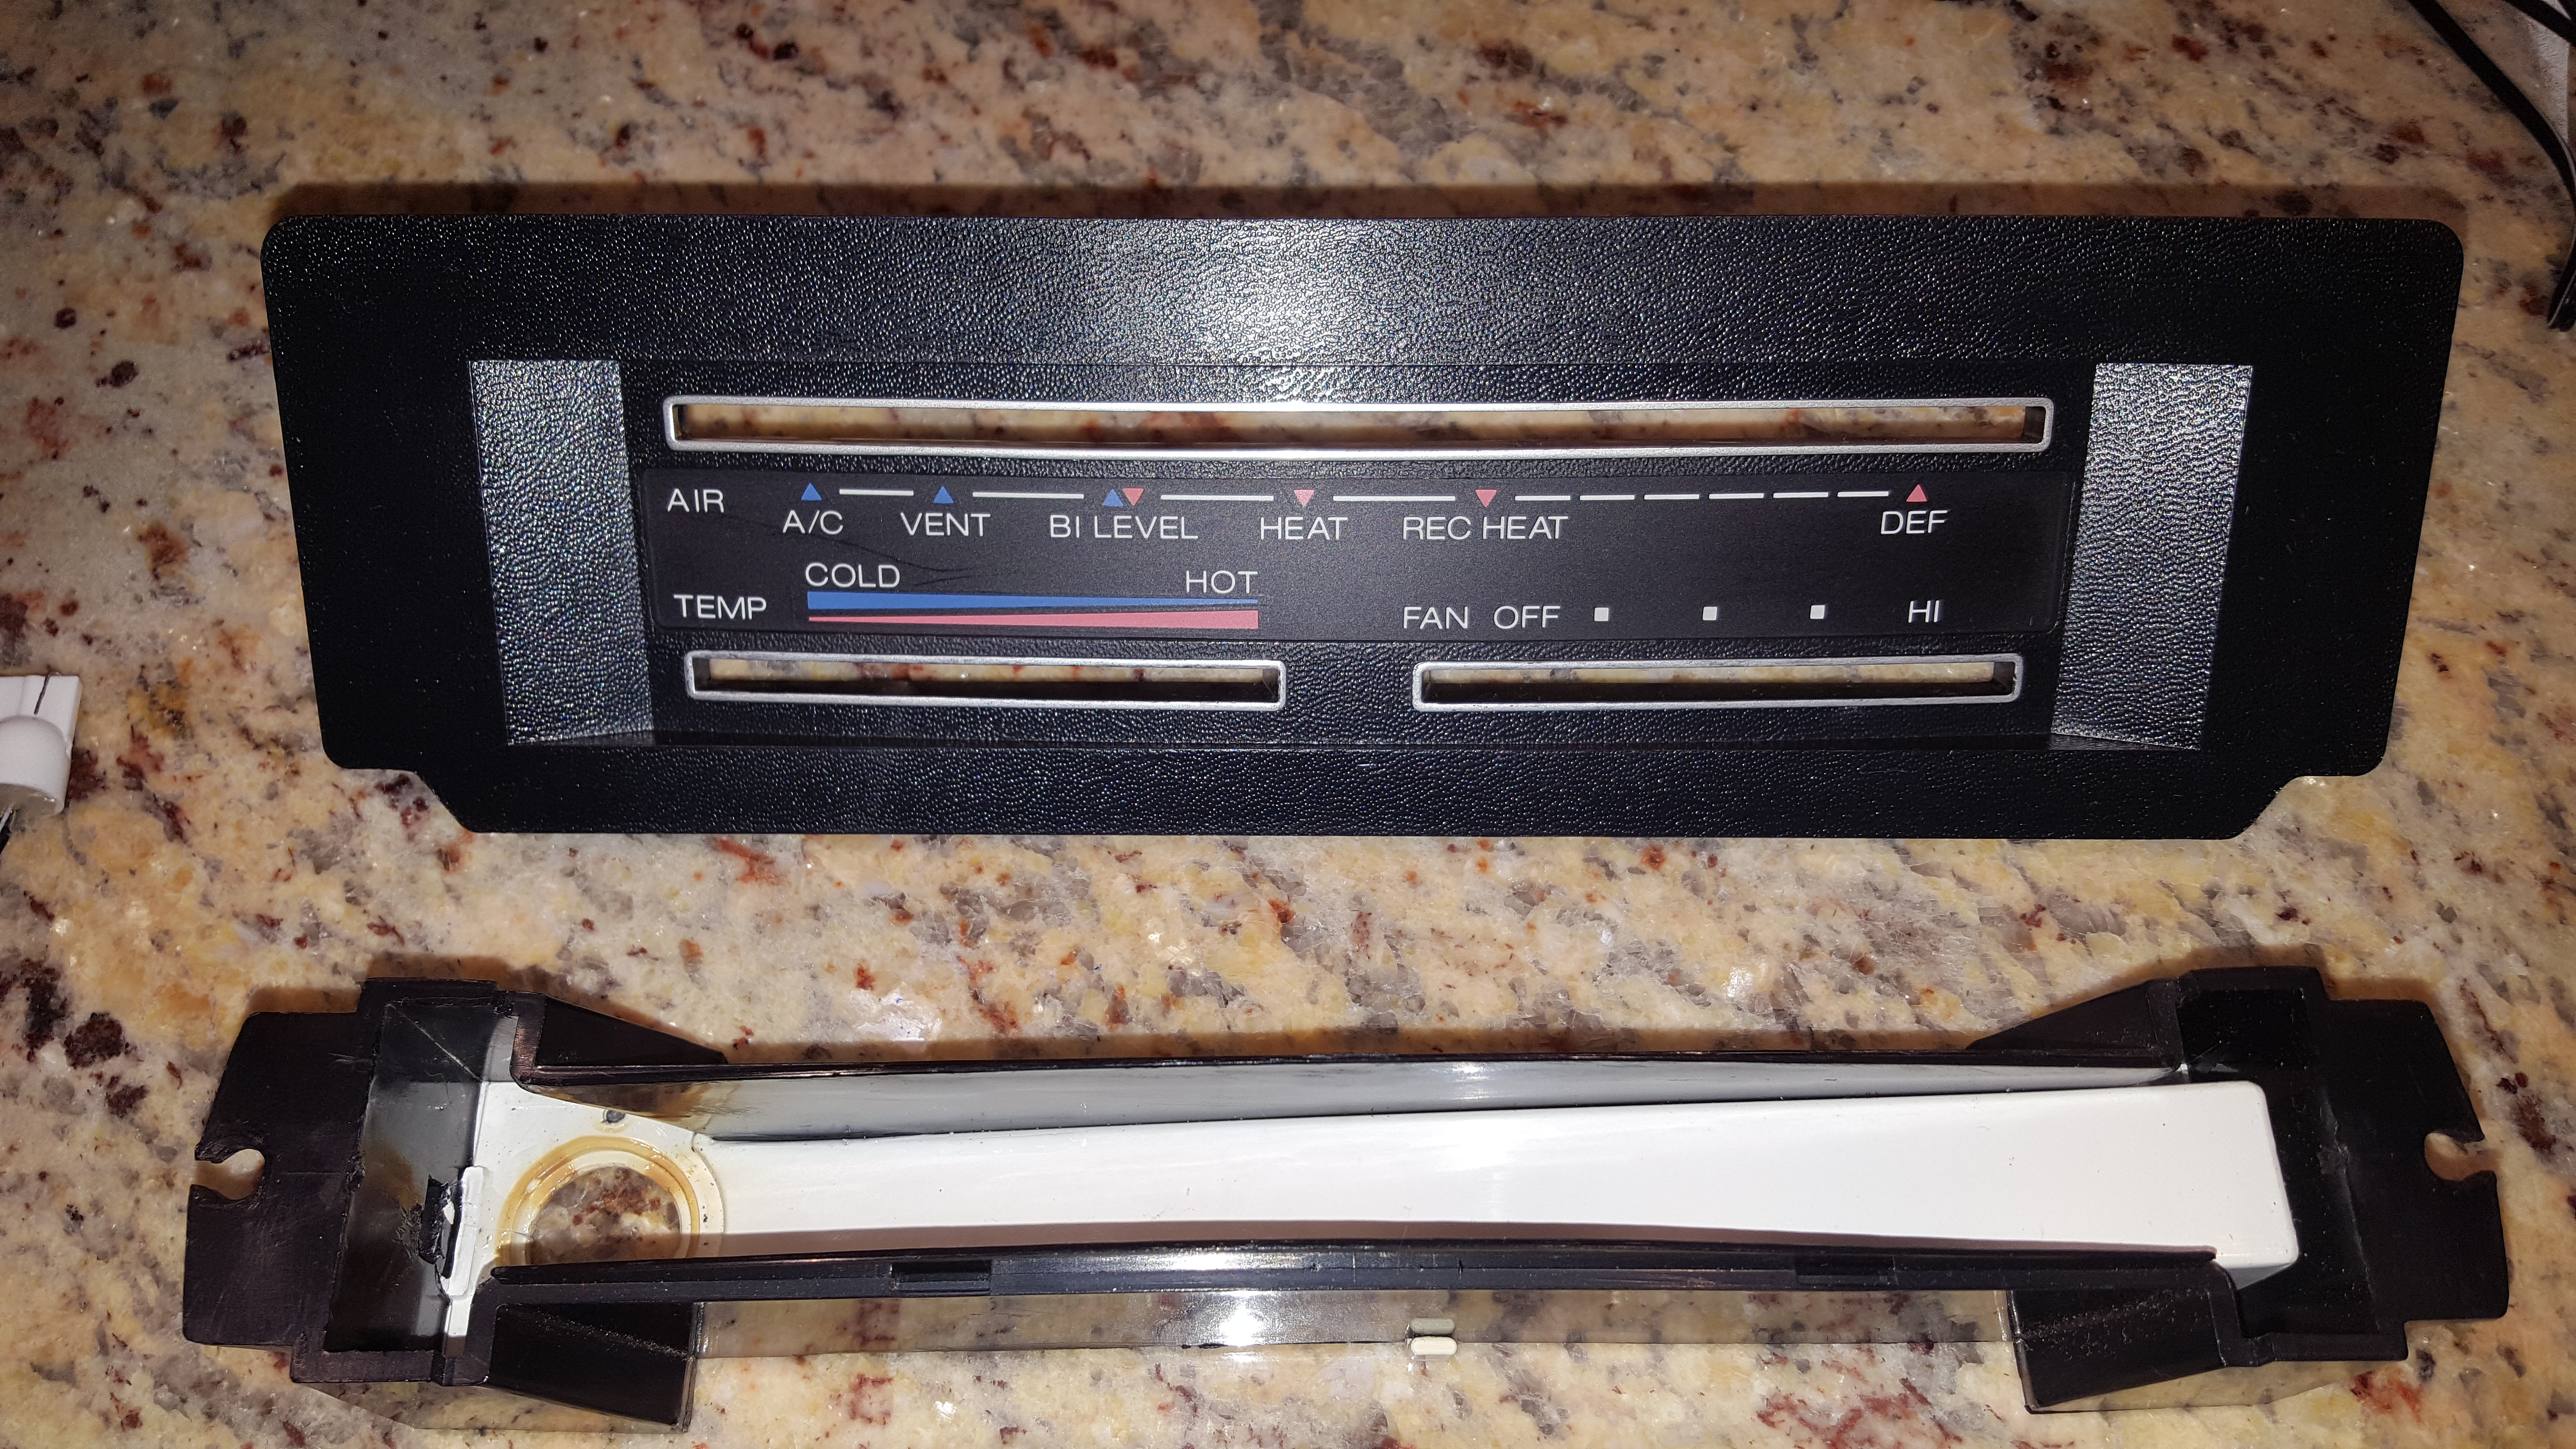
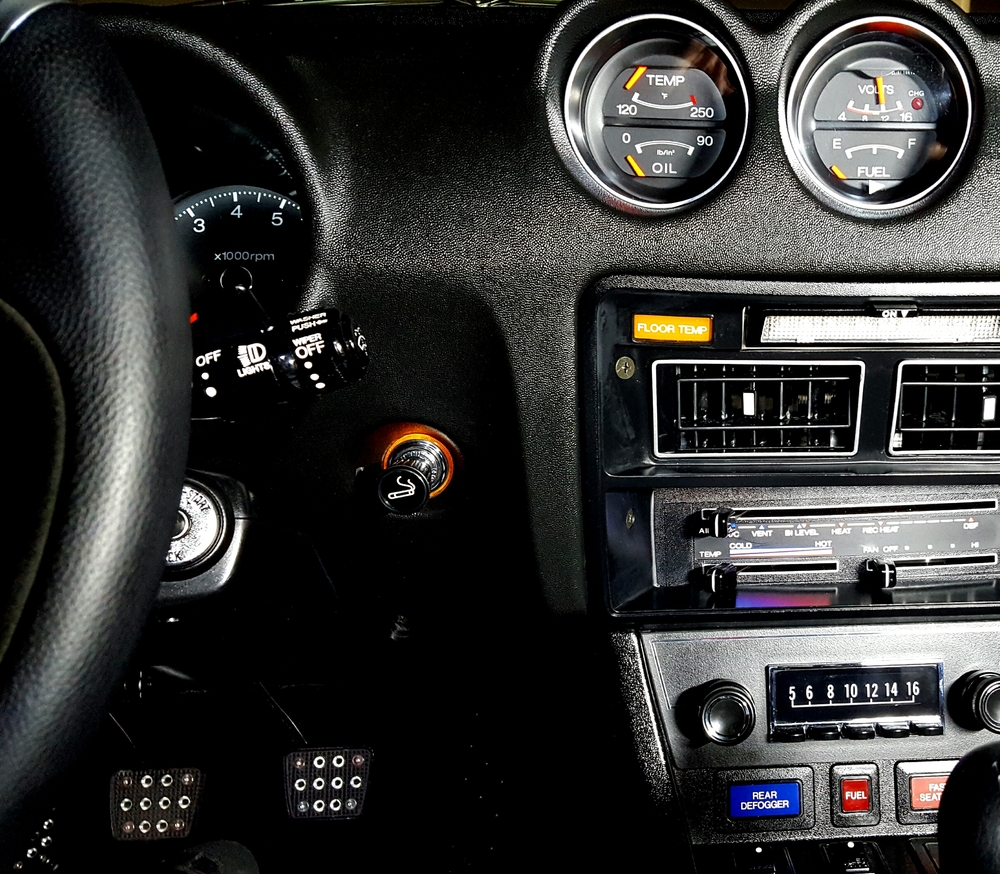
2 pointsI've tried and tried to get good pics of my dash lighting, but I've not had good luck. A variety of issues have prevented me from getting a good representative shot. My idiot-proof camera automatically compensates for the light changes, etc.. I think they look absolutely phenomenal in person, but "just OK" in the pics. I'll post the best I have. They look too dim in the pics. They're not. They look greenish in the pics. They're not. Everything is fuzzy in the pics and that's my camera adjusting for the lack of light. Here's the whole dash at the brightness at which I drive. Most people seem to want way brighter than stock retina burning brightness, but I just wanted "whiter at and a little brighter than stock". This is how I drive, which is about two-thirds brightness. Also note that I've still got a little bit of a hotspot at the bulb end of the HVAC controls: Here's a closeup of the three smaller gauges at my typical 2/3 brightness: Here's those same three gauges at full brightness: And here's the speedo and tach at full bright. Note the third LED in the speedo completely eliminates that 80-90 mph dark spot!!: I'd be happy to have someone who knows what they're really doing with a camera take better shots!!2 points
-
2 pointsThey tied it up with the election in France, which Poot-in lost. Fargin cork soaker.2 points
-
1 pointI haven't tried it yet. I'm not really a big texter but sometimes I get in to the middle of a big textorama and have to try to keep up.1 point
-
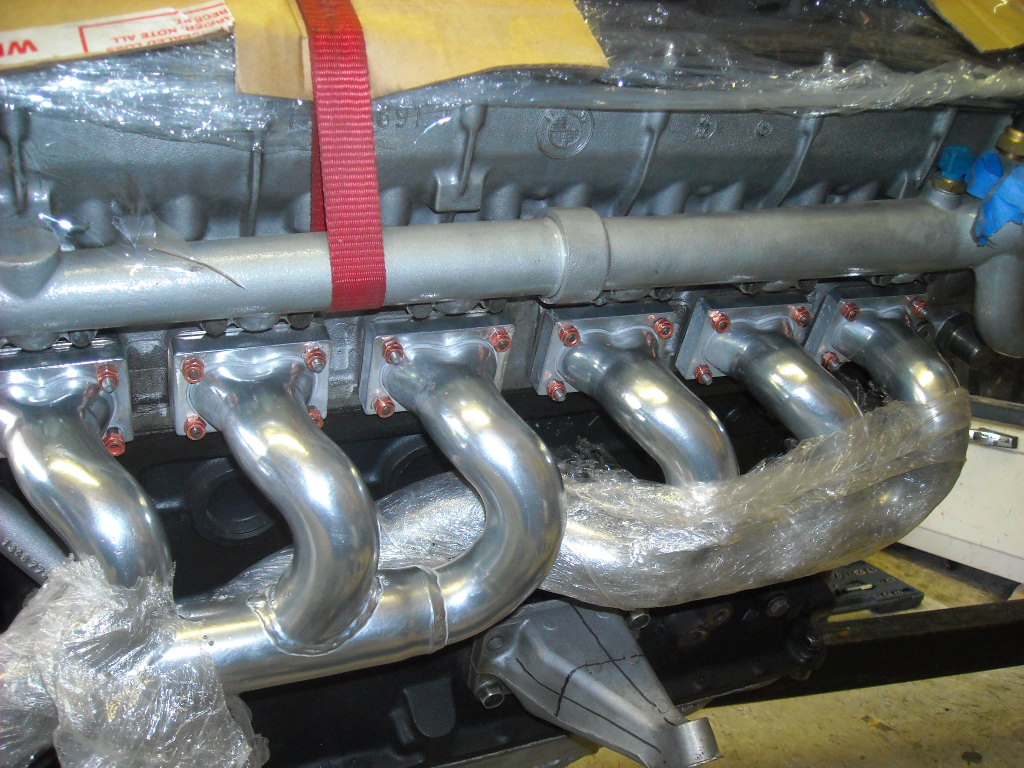
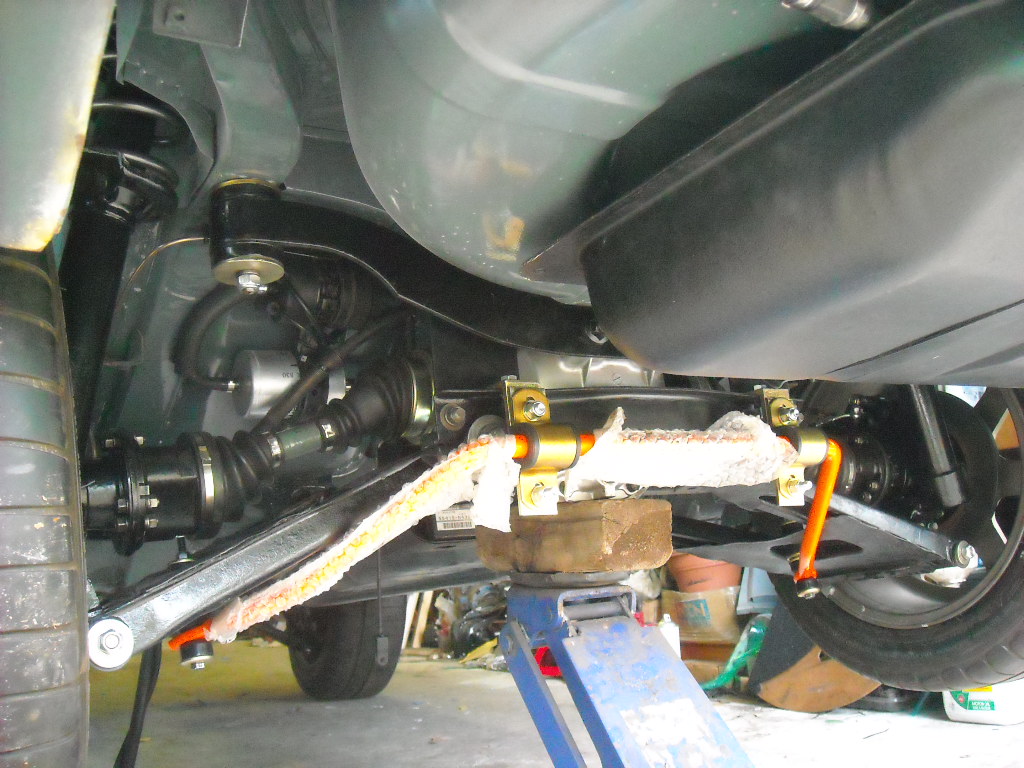
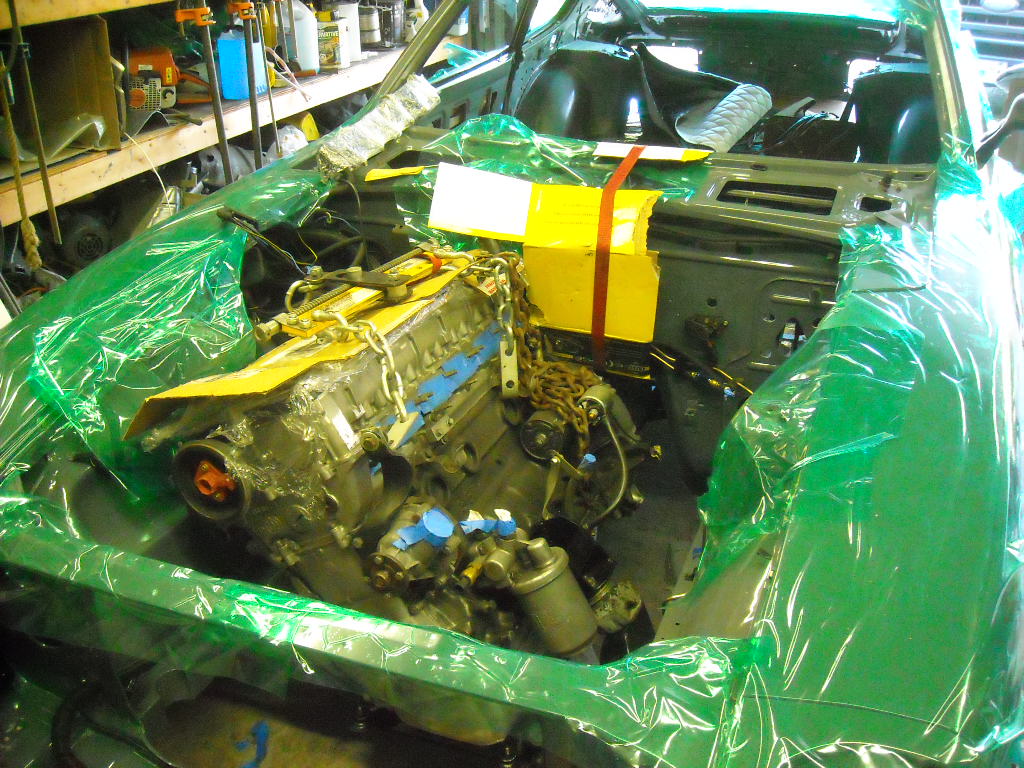
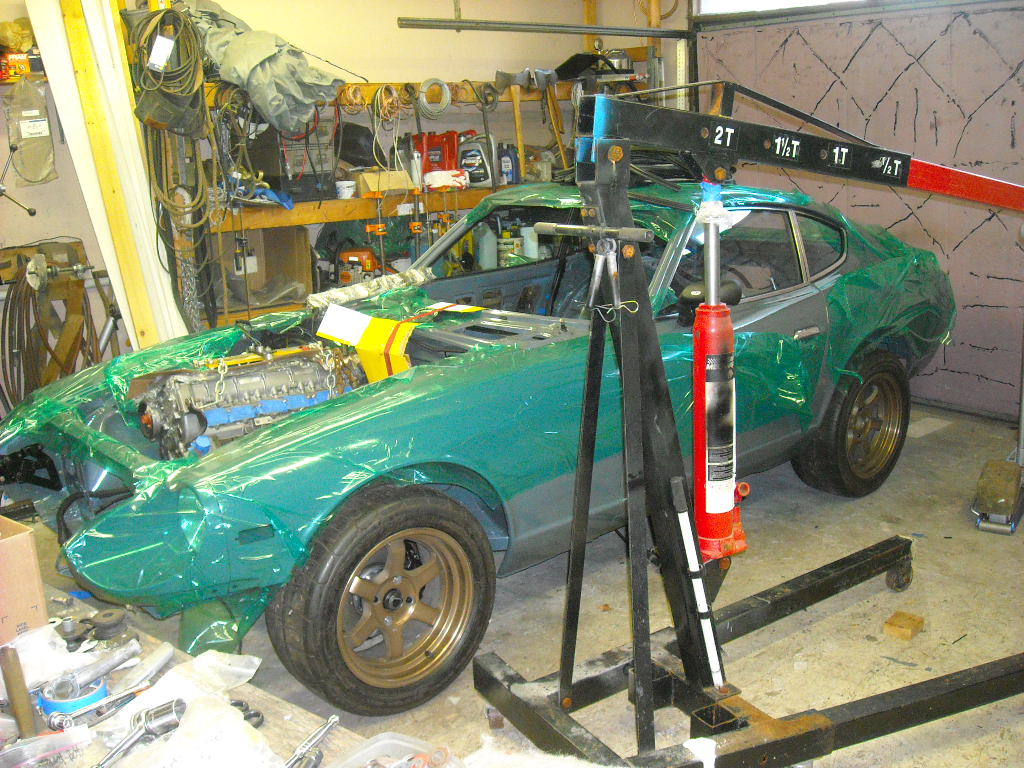
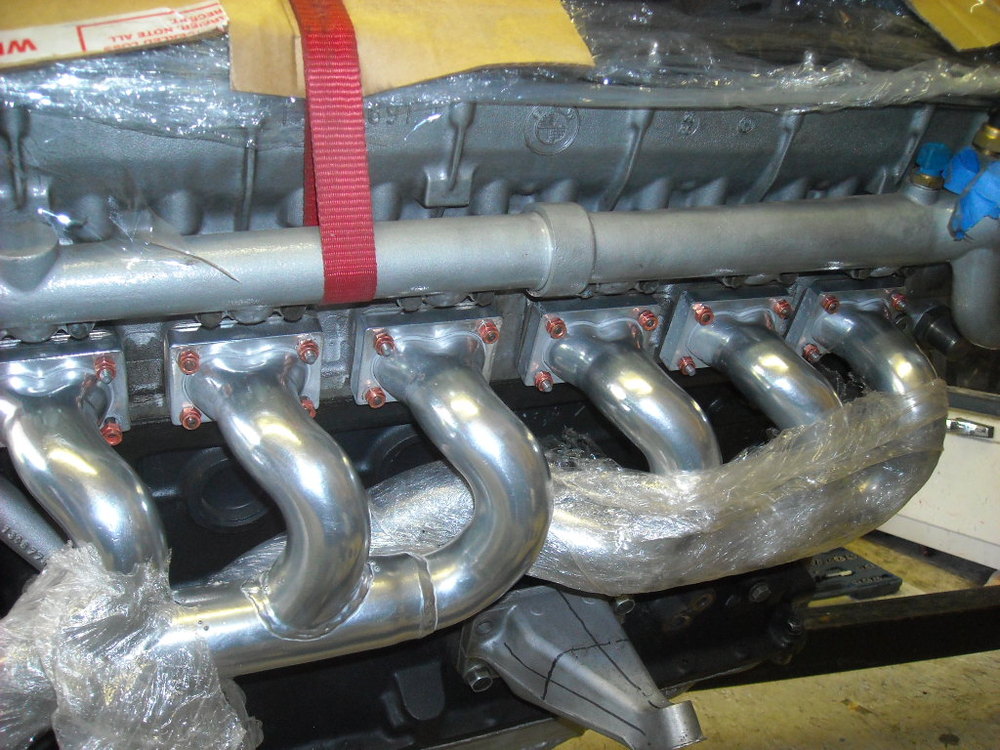
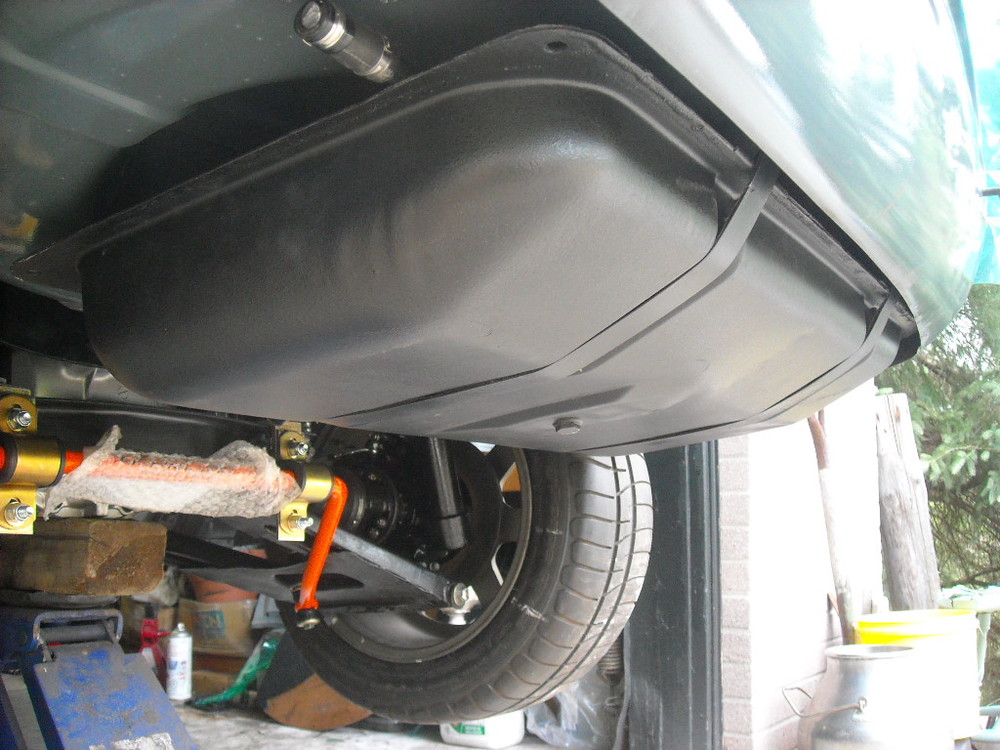
Your right John, the door doesn't really need to be much darker, I'll bet just some more shine will give it a darker appearance. Can't say I like the idea of black shoe polish right next to where my wife will sit with some favorite white top that will be ruined and I'll never hear the end of it. Got home early today so I thought I would get everything prepped for installing the engine later on this week but as it turned out I had just enough time to get it in, not a minute too late, I'm getting too old to be dropping engines in by myself. I'm running out jam. Thought I would take a pic of all this new hardware cause I aint going to see it again once it's in the engine bay, rear end almost finished, just have to fit the exhaust system now,


 1 point
 -
1 pointI've got a couple other camera options and when I get a chance, I'll snap some shots with other cameras. Right now my car is still in pieces. The good weather snuck up on me and I started too many off-season projects this time! About the brightness... Not only did I remove the top LED (which really helped combat hot-spots right next to the bulbs), but I also installed resistors to cut the brightness down even more. I doubt other people would go through that extra work of putting resistors in though. I do recommend removing the top emitter. I don't recommend going through all the effort of putting resistors inside unless you've got a screw loose. I found that installing LED's is easy. The majority of my effort wasn't putting LED's in... It was in getting LED's to look "right". And be brightness matched to each other. And have even light dispersion without hot-spots. And without a haloing ring around the entire gauge because they are so durn bright. Devil is in the details and that's where most of the difficult effort was.1 point
-
1 pointYes, I had some pinging. I pulled the timing back a little and run premium pump gas. No more pinging. I'm sure I've given up a little power with the more conservative timing, but the car is so strong I haven't missed it.1 point
-
1 pointHello Montezuma, Yes. The mechanic in San Pedro has finished his inspection. Should have it later today. There is another fellow that has expressed interest. I have been told by other "Z " folks that 14-16k is about right. Agree? What do you think? Paula1 point
-
1 pointMy roller mechanism is located at the bottom edge of my seat, between the seat and the door frame. Seems like a close quarters to get into. I'll have a look at it later. I'm covered over with things I have let slide and am now just getting to them. Ugh. Thanks to you and Site. Jai1 point
-
1 point
-
1 point
-
1 pointSeriesously!? A series 1 car with a fan shroud? And electric fans? Seriesously?1 point
-
you can get a el-cheapo multimeter at a harbor freight store for el-cheapo.1 point
-
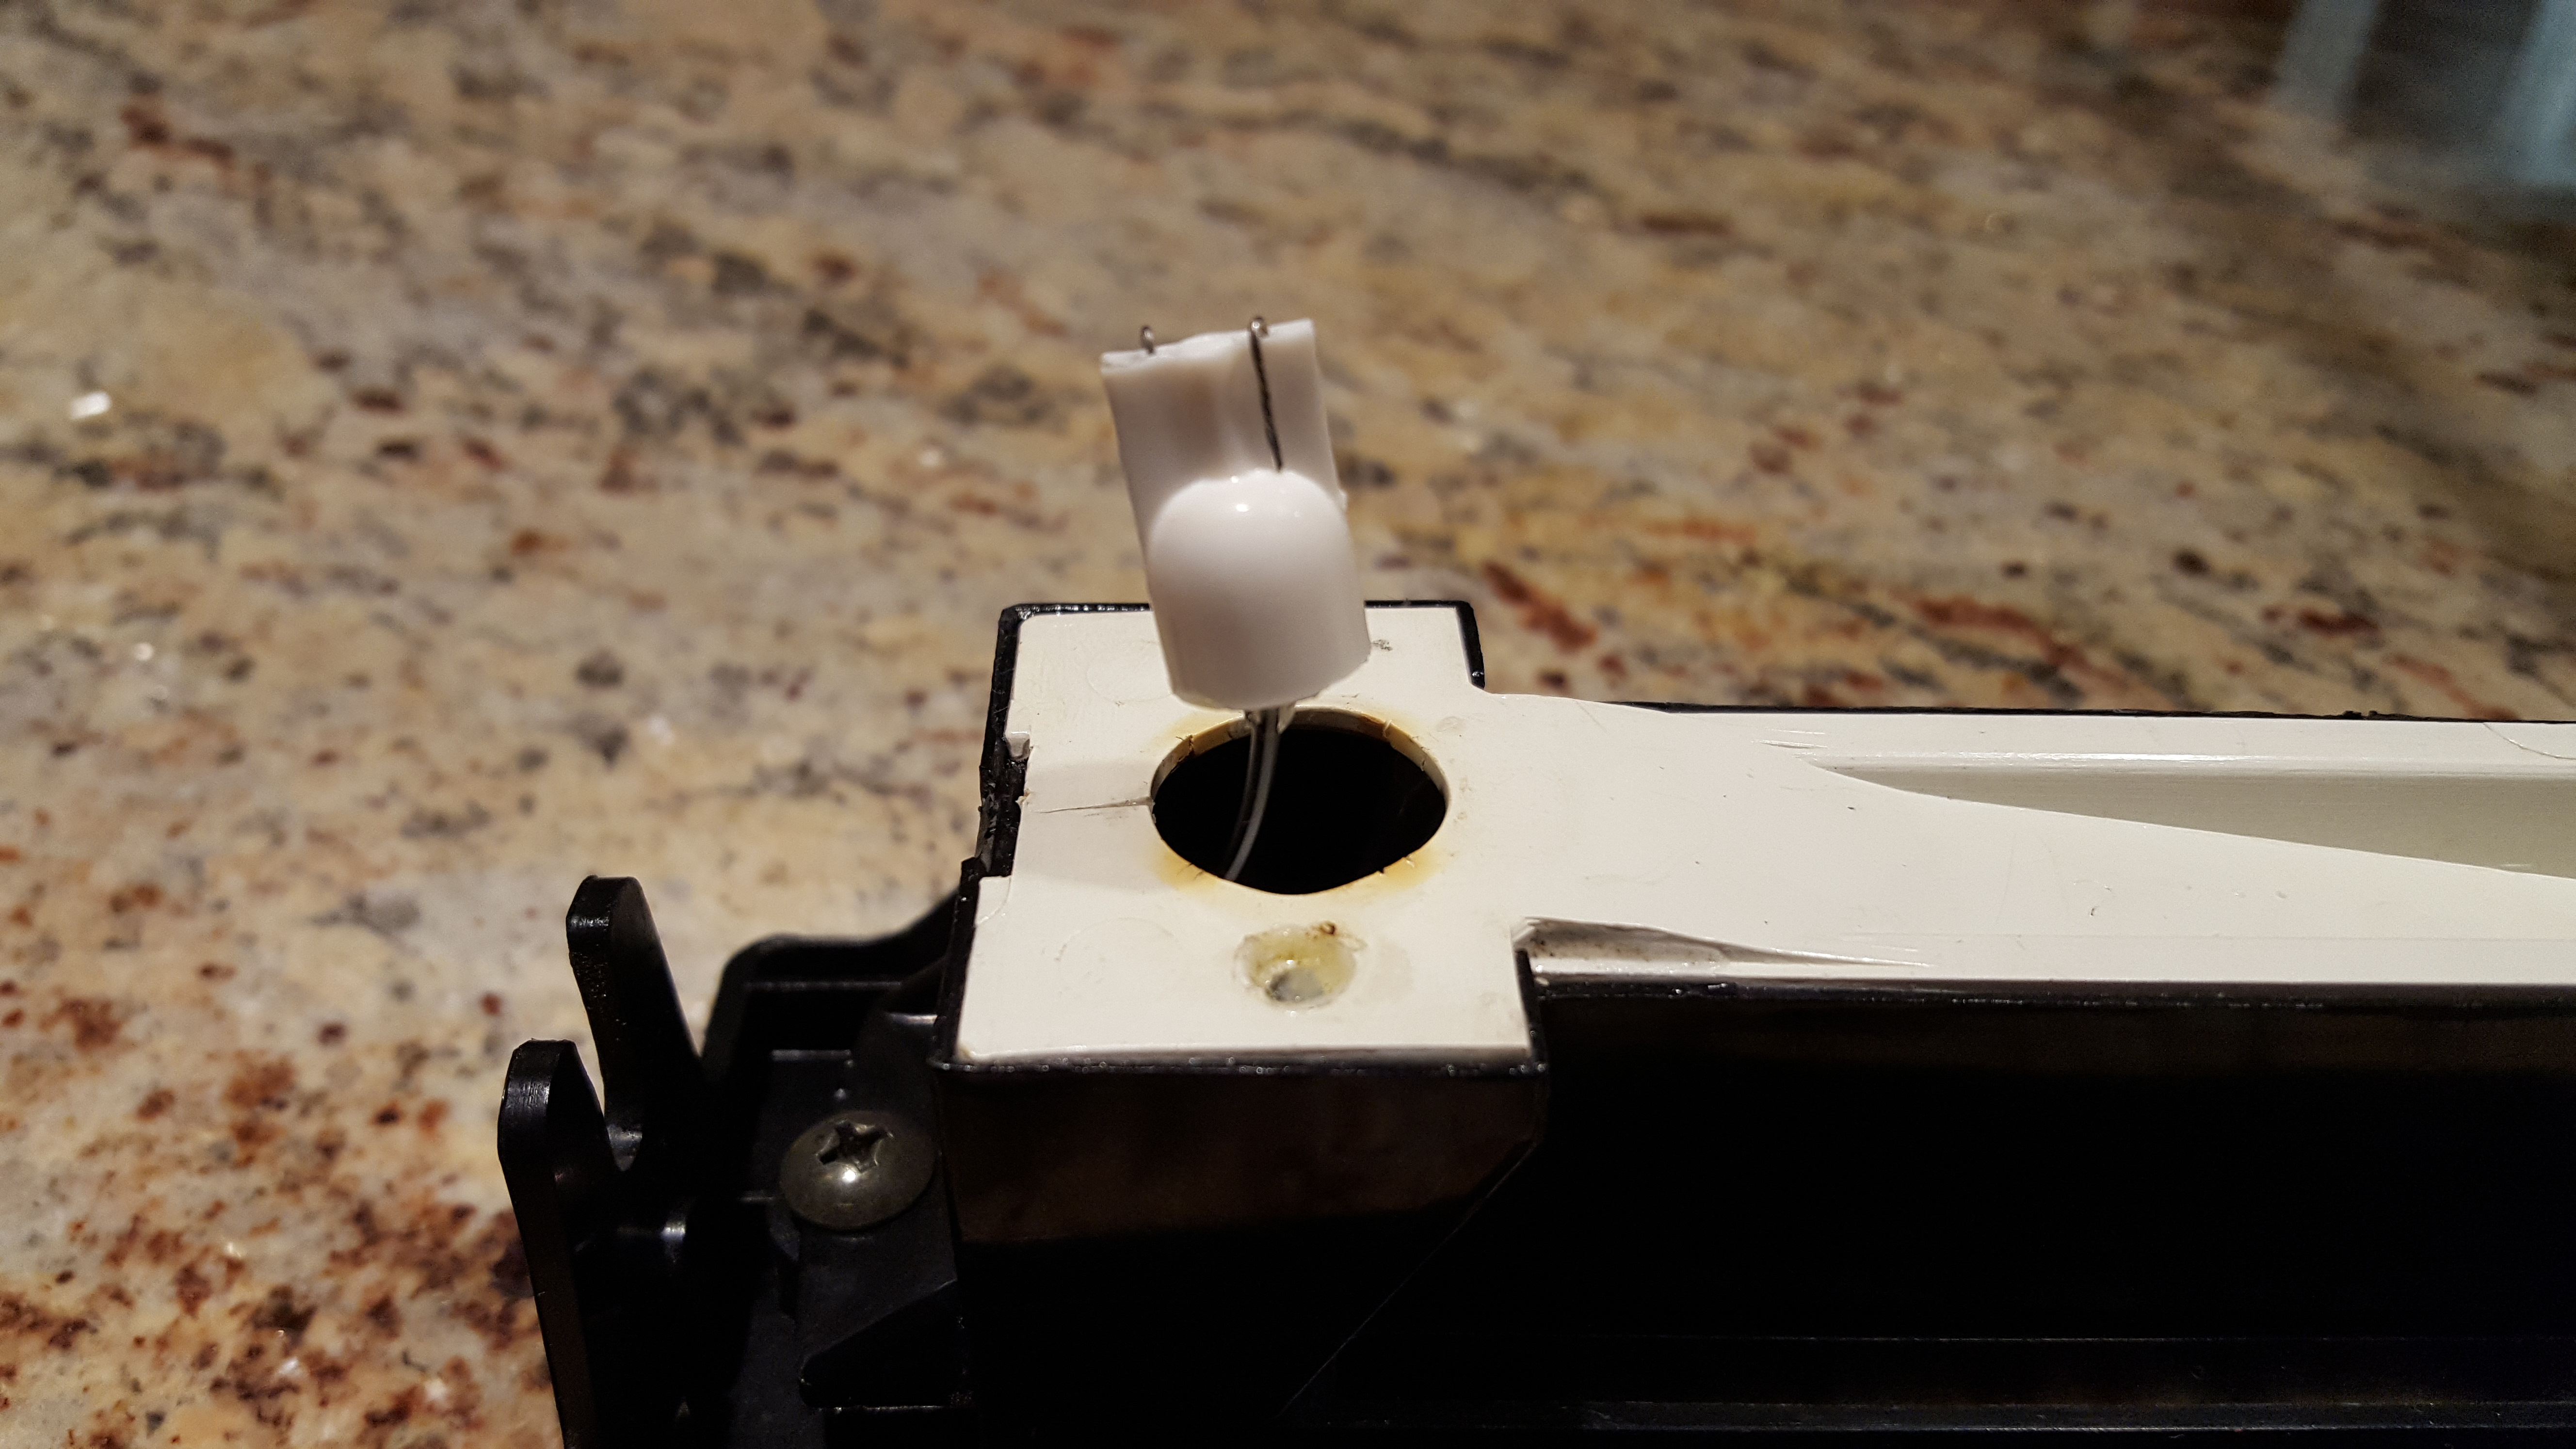
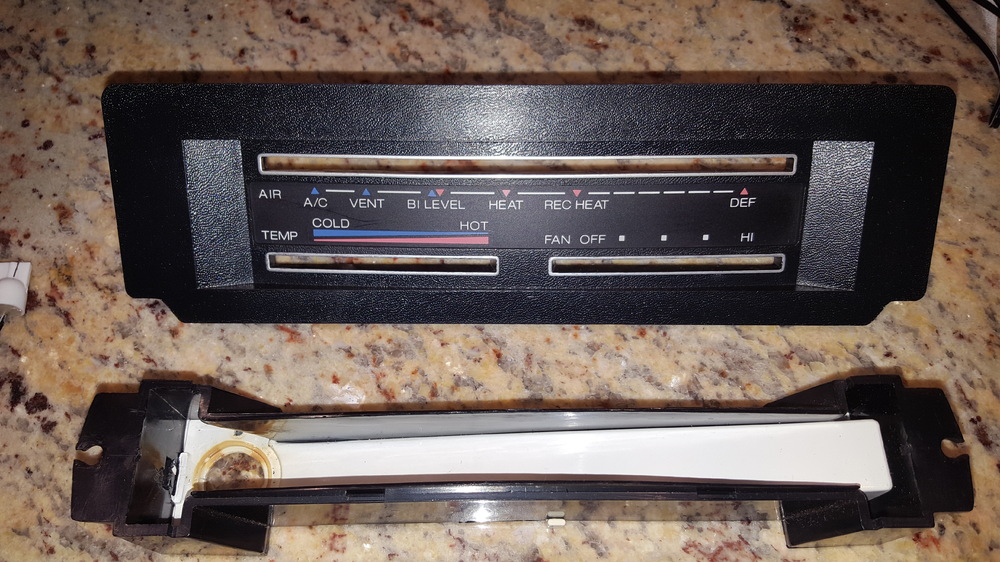
1 pointI used warm white everywhere and I removed all the green lenses. Gauges: I used the 5-emitter tower design with the top emitters removed to improve the light dispersion and reduce hot spots. I also added series resistors to cut the brightness down (240 Ohm for everything except for the clock in which I used a 150 Ohm). I also added a third bulb to the speedo housing to improve the dead spot in the upper right two oclock area. HVAC Panel: I used a paddlewheel design with a 1K series resistor. I also refreshed the interior of the light box with a coat of white paint to clean up the yellowing plastic. I also inserted some aluminum reflective tape inside to improve light dispersion and reduce the hot spot at the bulb end. Dimmer: I installed a PWM dimmer instead of the original rheostat. Works full range of brightness. I'm still running an incandescent in my HAZARD switch, although since I'm running a three wire dimmer module, I could change that out as well without losing dimming function. Here's some summary pics of what I did. Dash bulbs (only seven towers shown because I added the third speedo bulb later) and the HVAC paddlewheel. Additional details on page 5 of this thread: PWM dimmer (additional details here: http://www.classiczcars.com/topic/52446-pulse-width-modulated-pwm-dimmer-control-upgrade/ ): Third speedo bulb. Don't think I ever posted these before. New bulb location near 80 mph: Hole drilled without bulb installed. Note the dark dead spot in the upper right: Bulb installed showing removal of the dead spot in the upper right. It's awesome!!:1 point
-
1 pointA good idea would be to make an assessment of whether or not the chassis is saveable. Just from what you have shown it appears to have been in a bath tub for a few years. This could be a good parts car for one in better shape asthetically. I believe you did say it was being given to you? At a certain point very rarely but sometimes what you have is just not cost effective to throw money and time at. If and when you brought this car back to life you may want to question your sanity. First a complete disassembly to see what needs to be done to the chassis. If you feel it is not worth the investment then you have parts that could be sold with the money going towards a car that needs a lot less work. There are plenty 240Z's around that are a much better platform to begin with. Think about it!1 point
-
1 pointWhat siteunseen suggests might be a lot easier since you wouldn't have to take the cover off (definitely try it that way first) but if that doesn't work you'll have to remove the cover. The mechanism on my '78 is on top of the rear strut tower and the plastic cover comes off by removing 3 (I think) plastic clips by pushing in the pin in the center of each one. I'm not sure if it's exactly the same on your '76.1 point
-
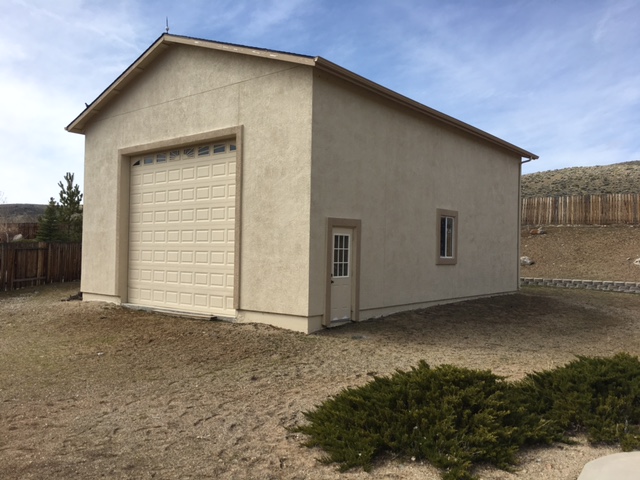
1 pointI agree wholeheartedly. The Alamo is smaller than my detached garage. The River Walk is however spectacular! Restaurants making guacamole table side. You will remember that guacamole your whole life. Alamo? Roughly the size of a two car garage. My shop/garage? 2000sf!
 1 point
 -
1 pointCarefully use the red straw to the sides, don't get wd-40 on the belt if you can help it or you'll have oily stains on your Sunday/sunny dresses. I did it to my 240s bottom one. Good luck!1 point
-
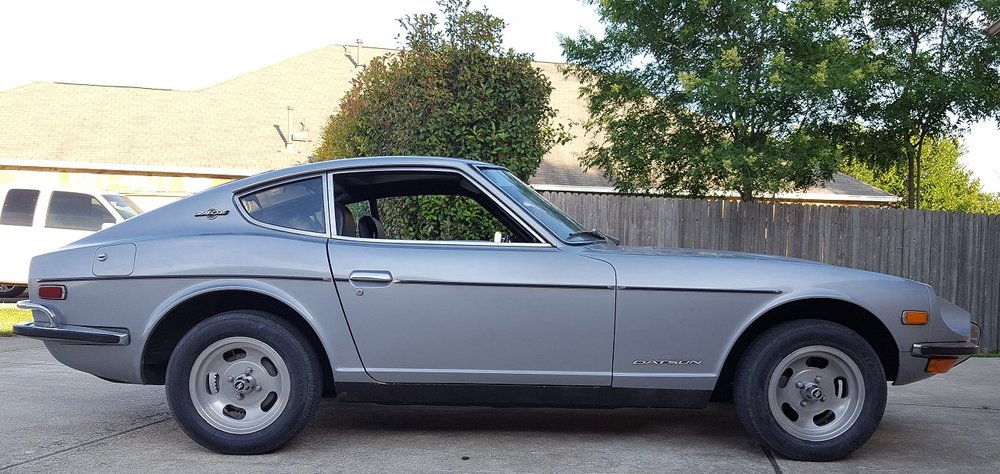
1 pointWell done! Your's looks great, all over. I have a '77 thats still original but for the motor. I deleted a bunch of stuff for pollution, we don't have the inspection here, yet. That's next, I want it for my daily driver but I want it nice but can't afford the price at this time.1 point
-
1 pointHi Jai, You're almost in the clear! If you uncover the seatbelt retractor mechanism, a couple of shots of WD40 and a little wiggling around will probably free the jam.1 point
-
1 point
-
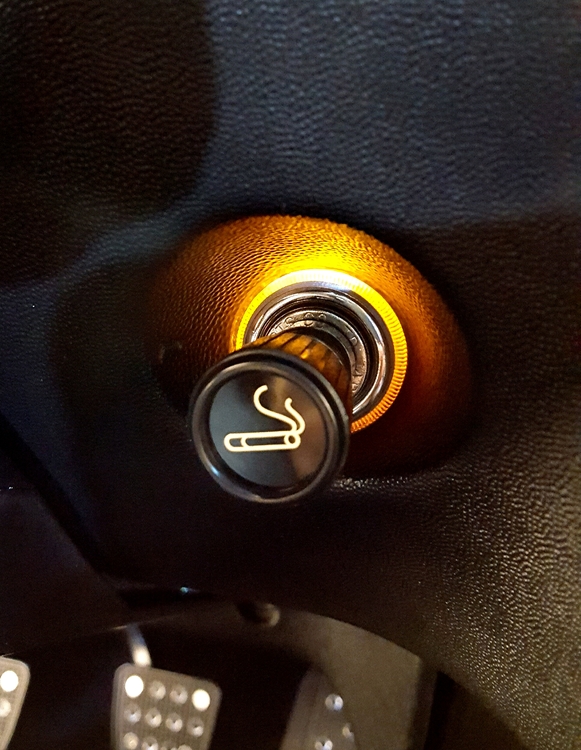
1 pointOnce all those LEDs were in the dash, I realized the illumination from the HVAC control and cigarrete lighter were almost invisible. I had a BAS9 five LED bulb in the HVAC control already so I bought some LED strips and a BAS9 adapter socket, lined the HVAC housing with aluminum tape and got it to light up nicely to match the rest of the instrument panel in intensity. I had neglected the cigarette lighter. I found a vintage identical replacement with an illuminated trim ring but still used the original lighter element, swapped it's incandescent bulb for another BAS9 LED and added a bit of flair to it as well. Dave

 1 point