


All Activity
- Past hour
-
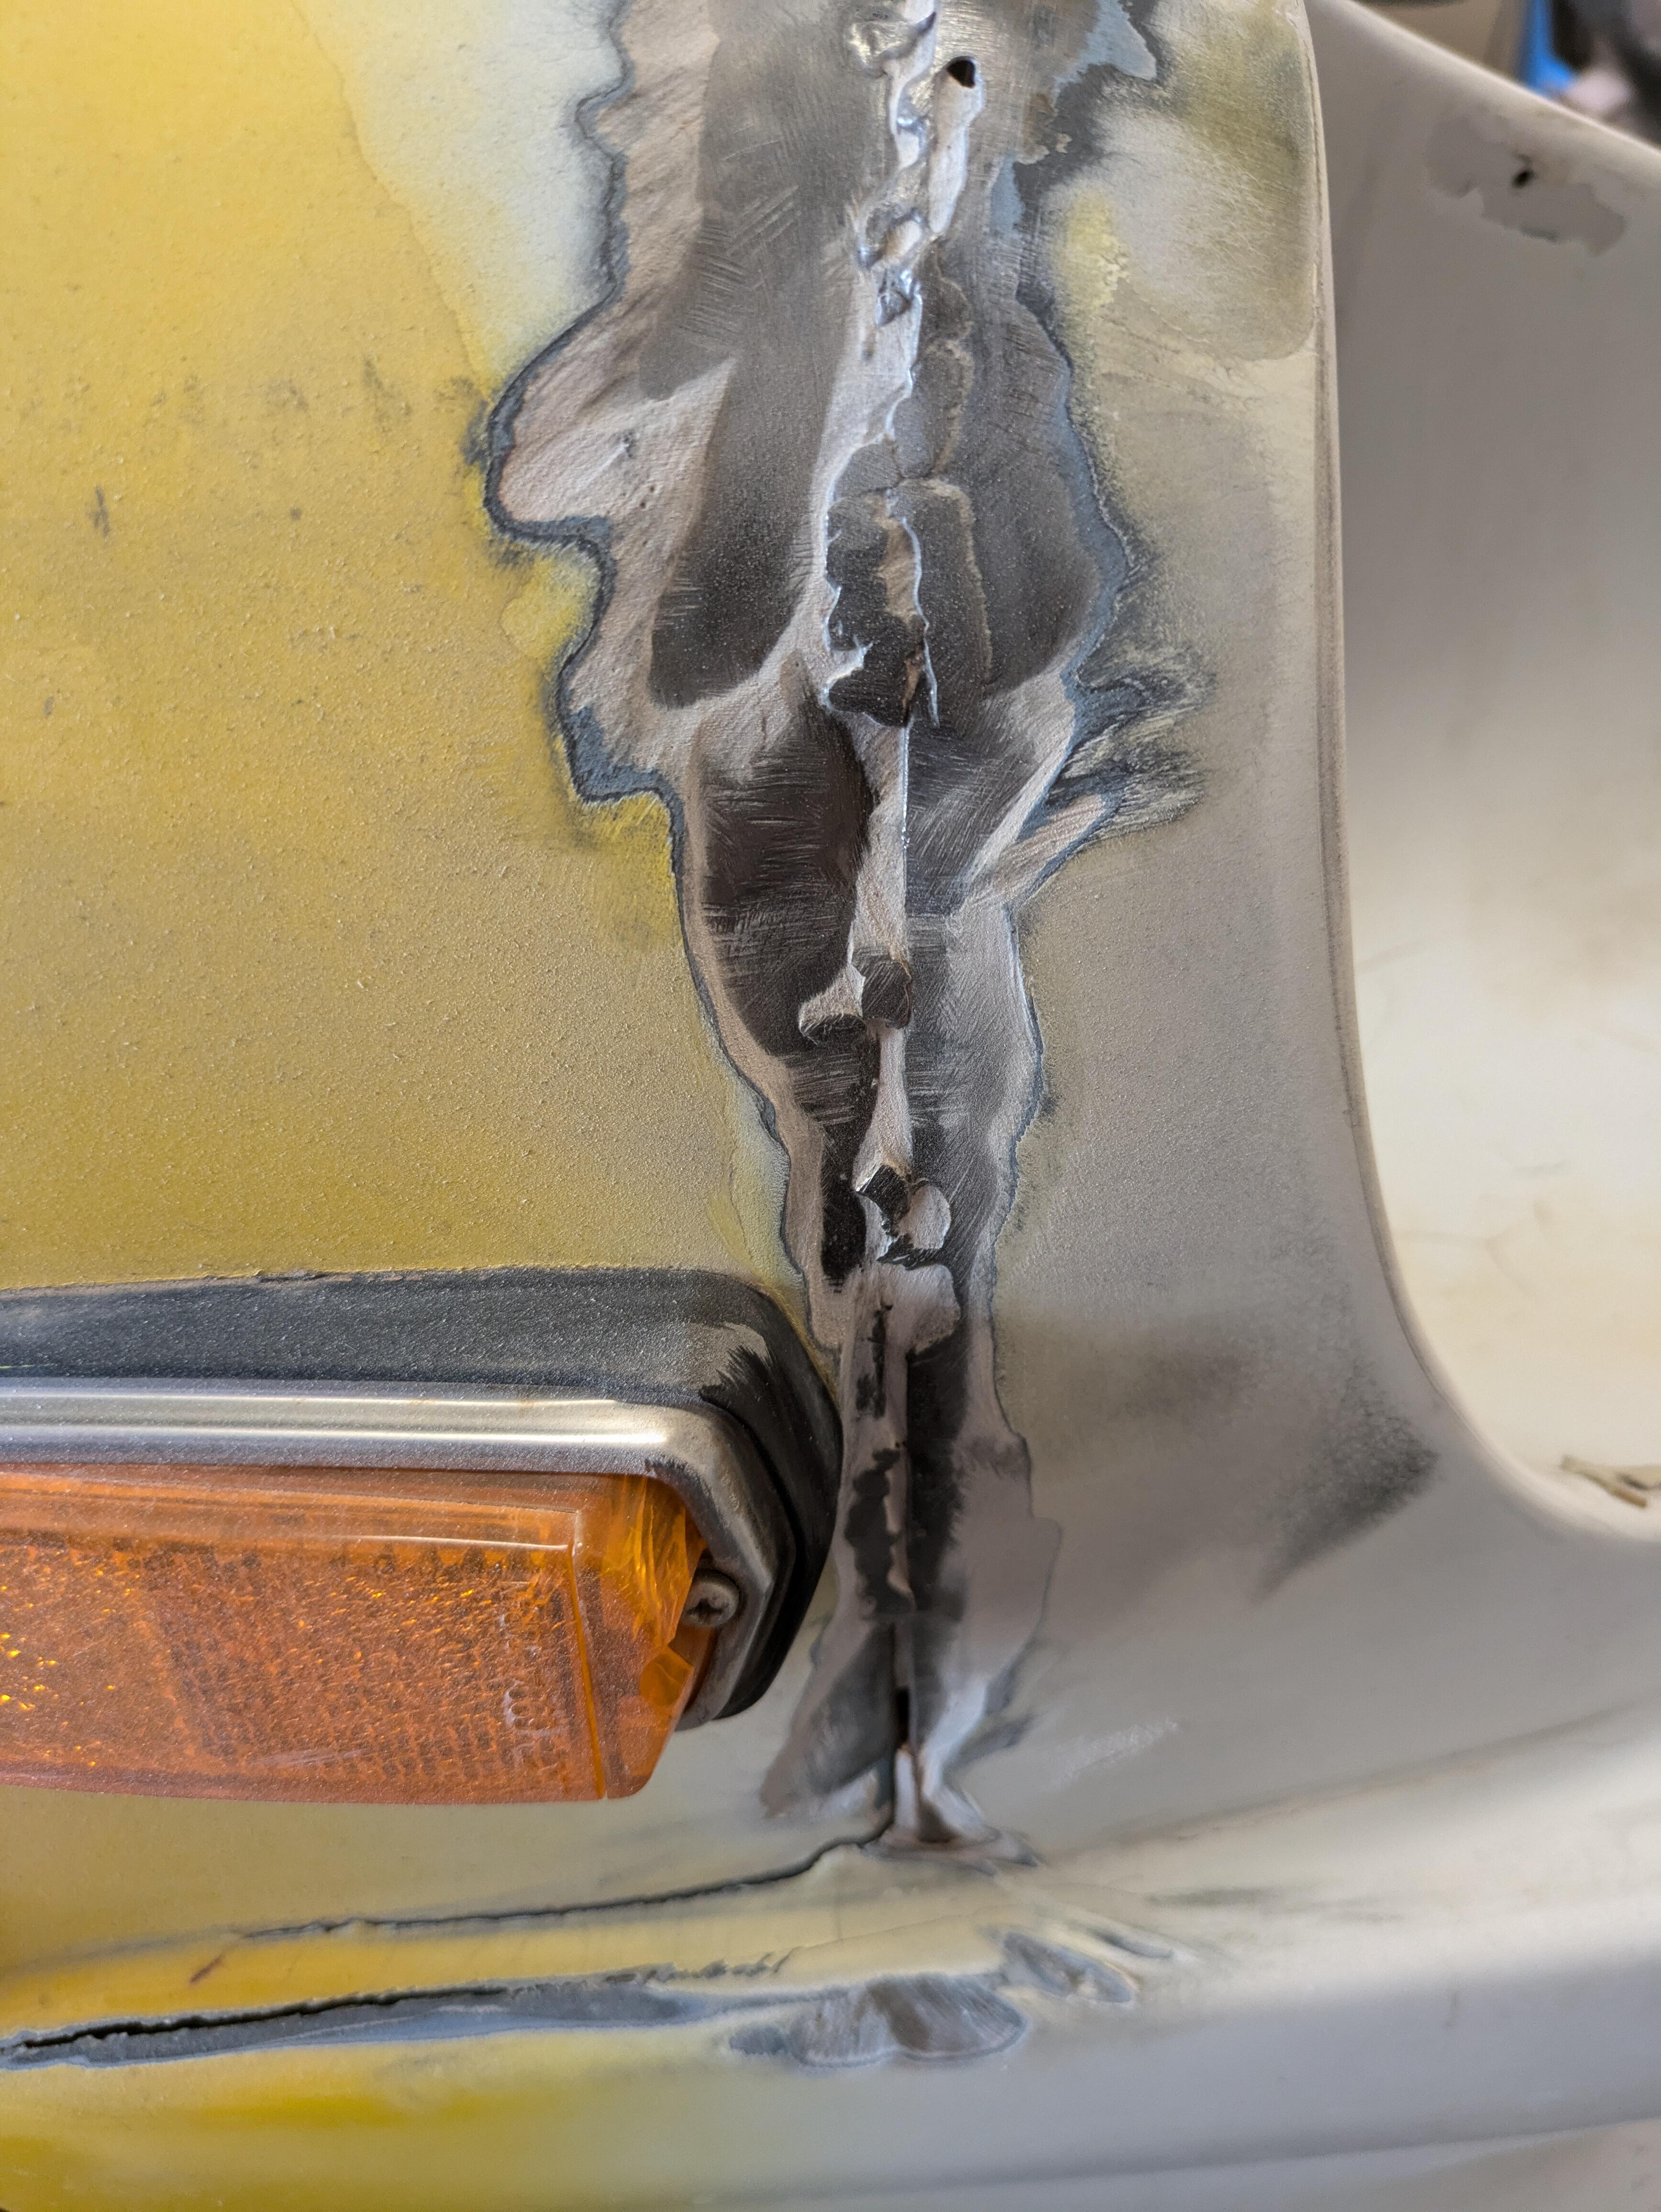
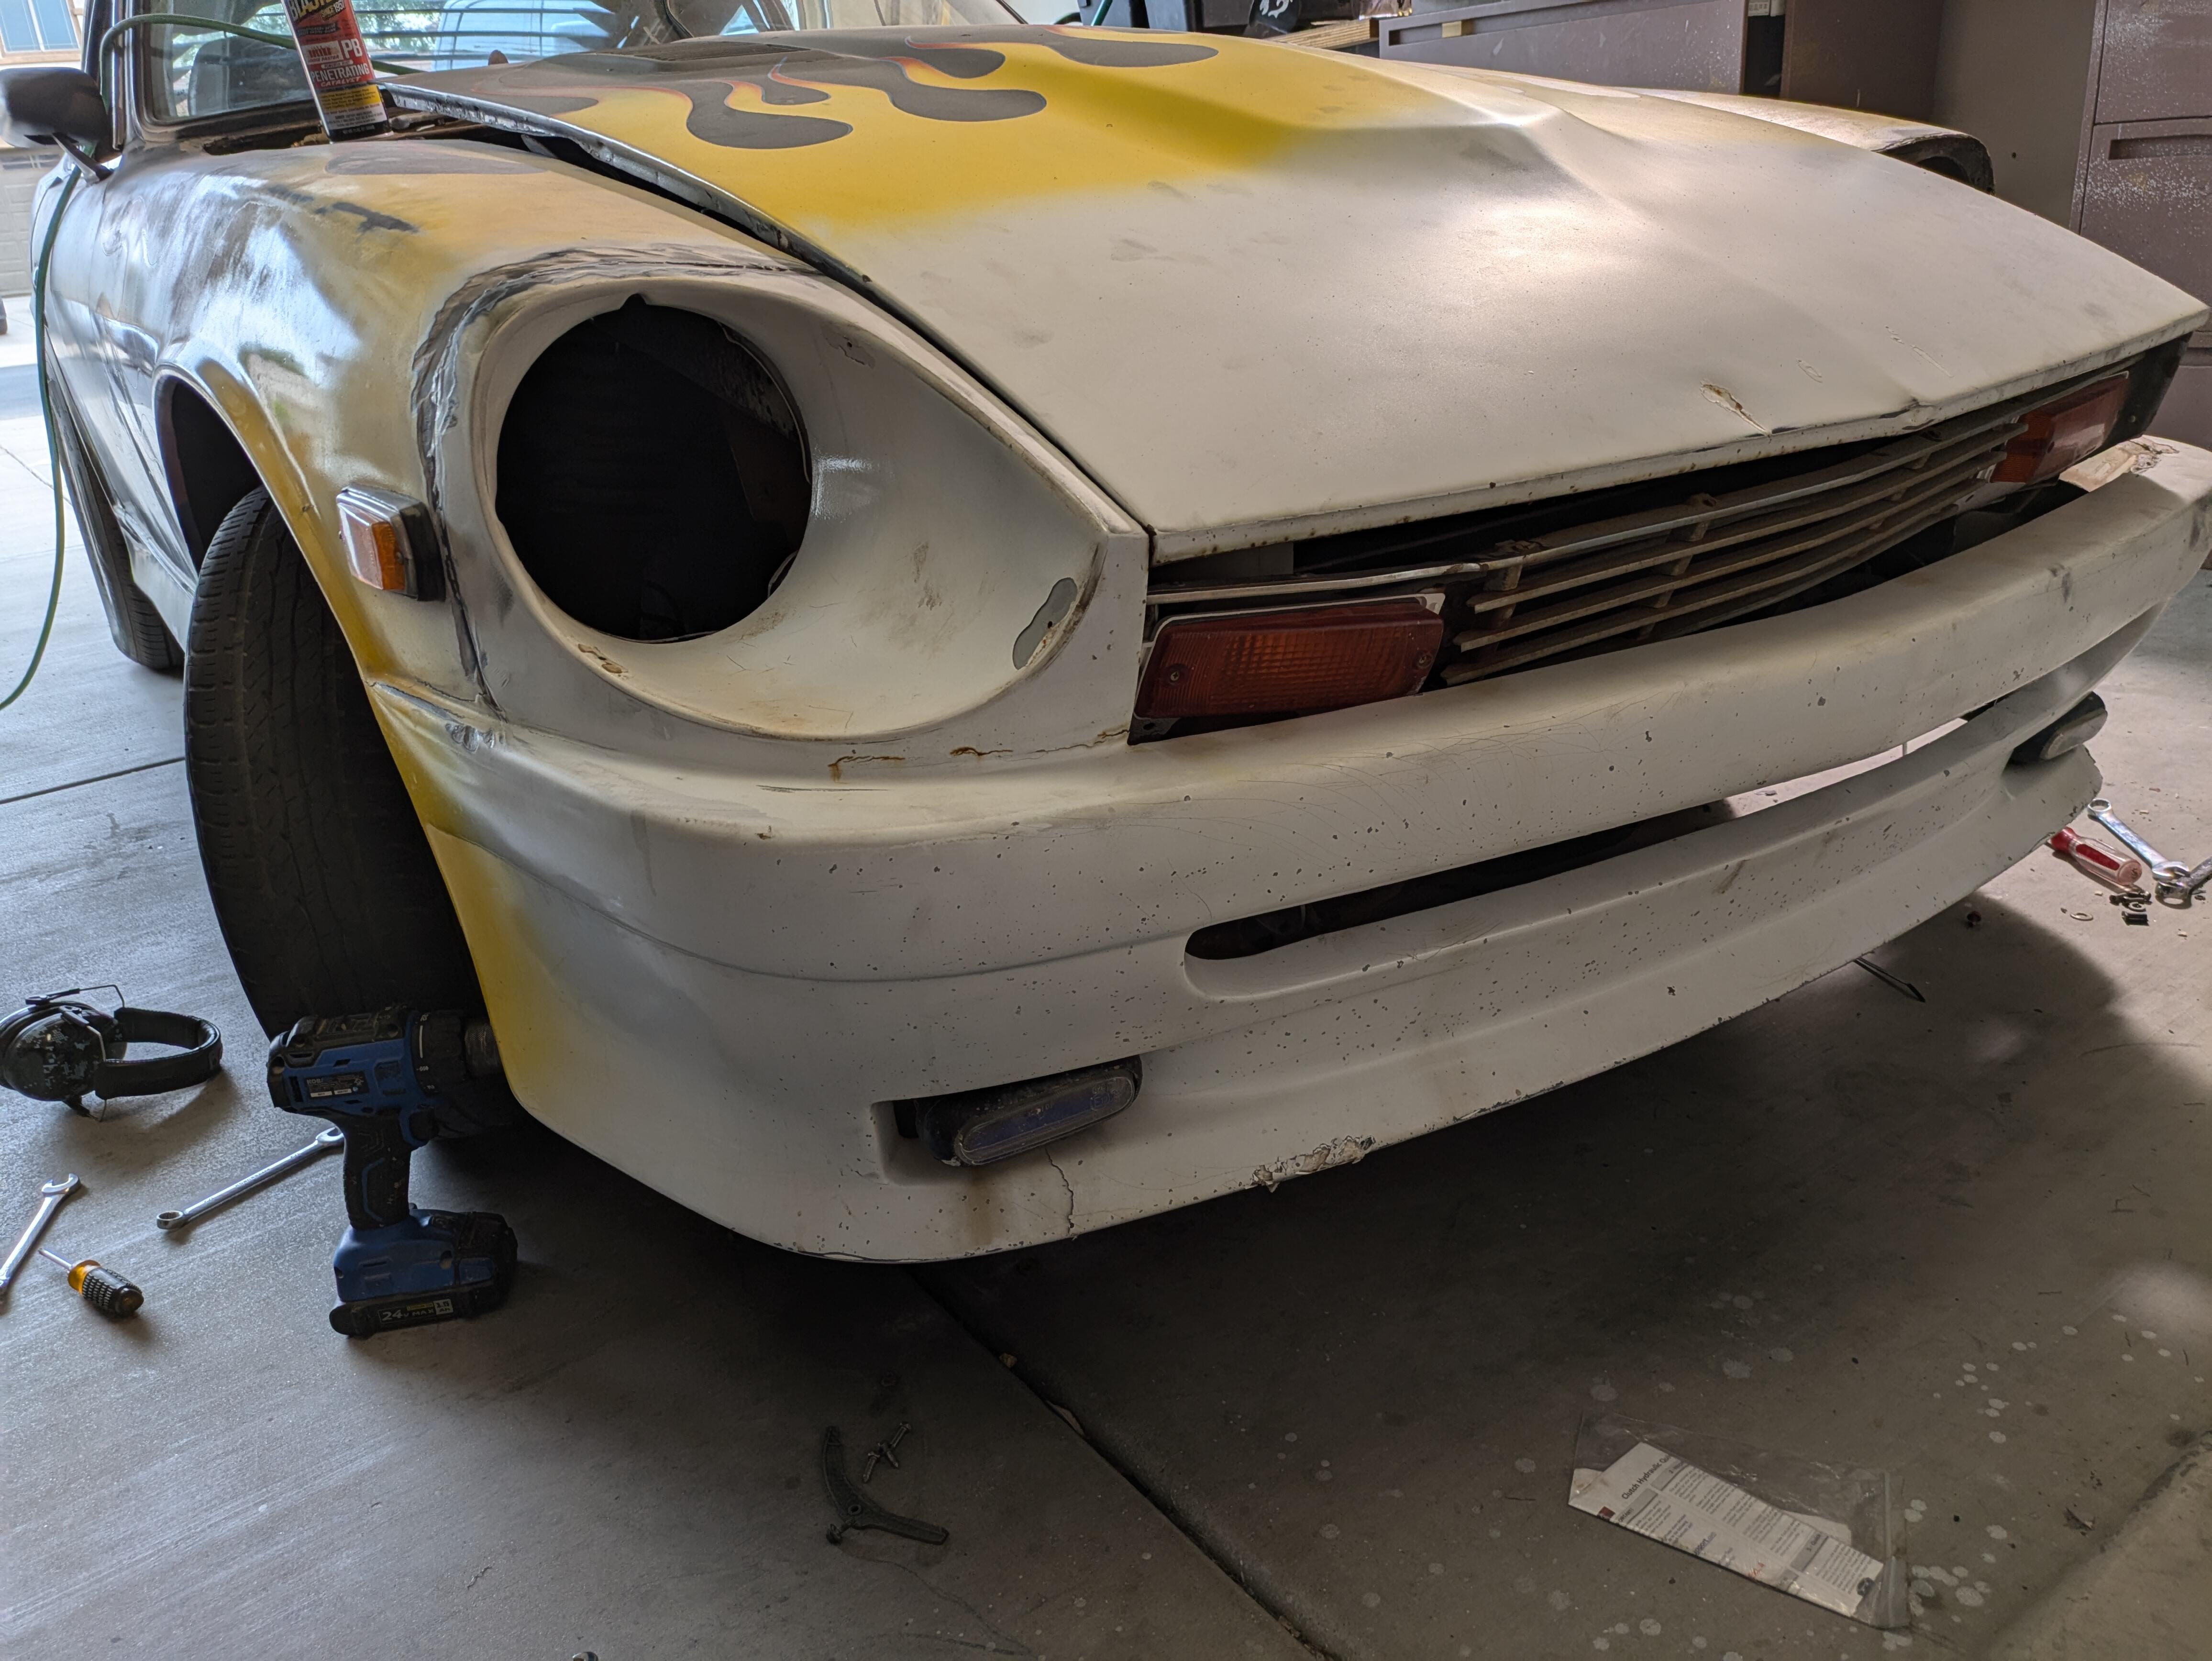
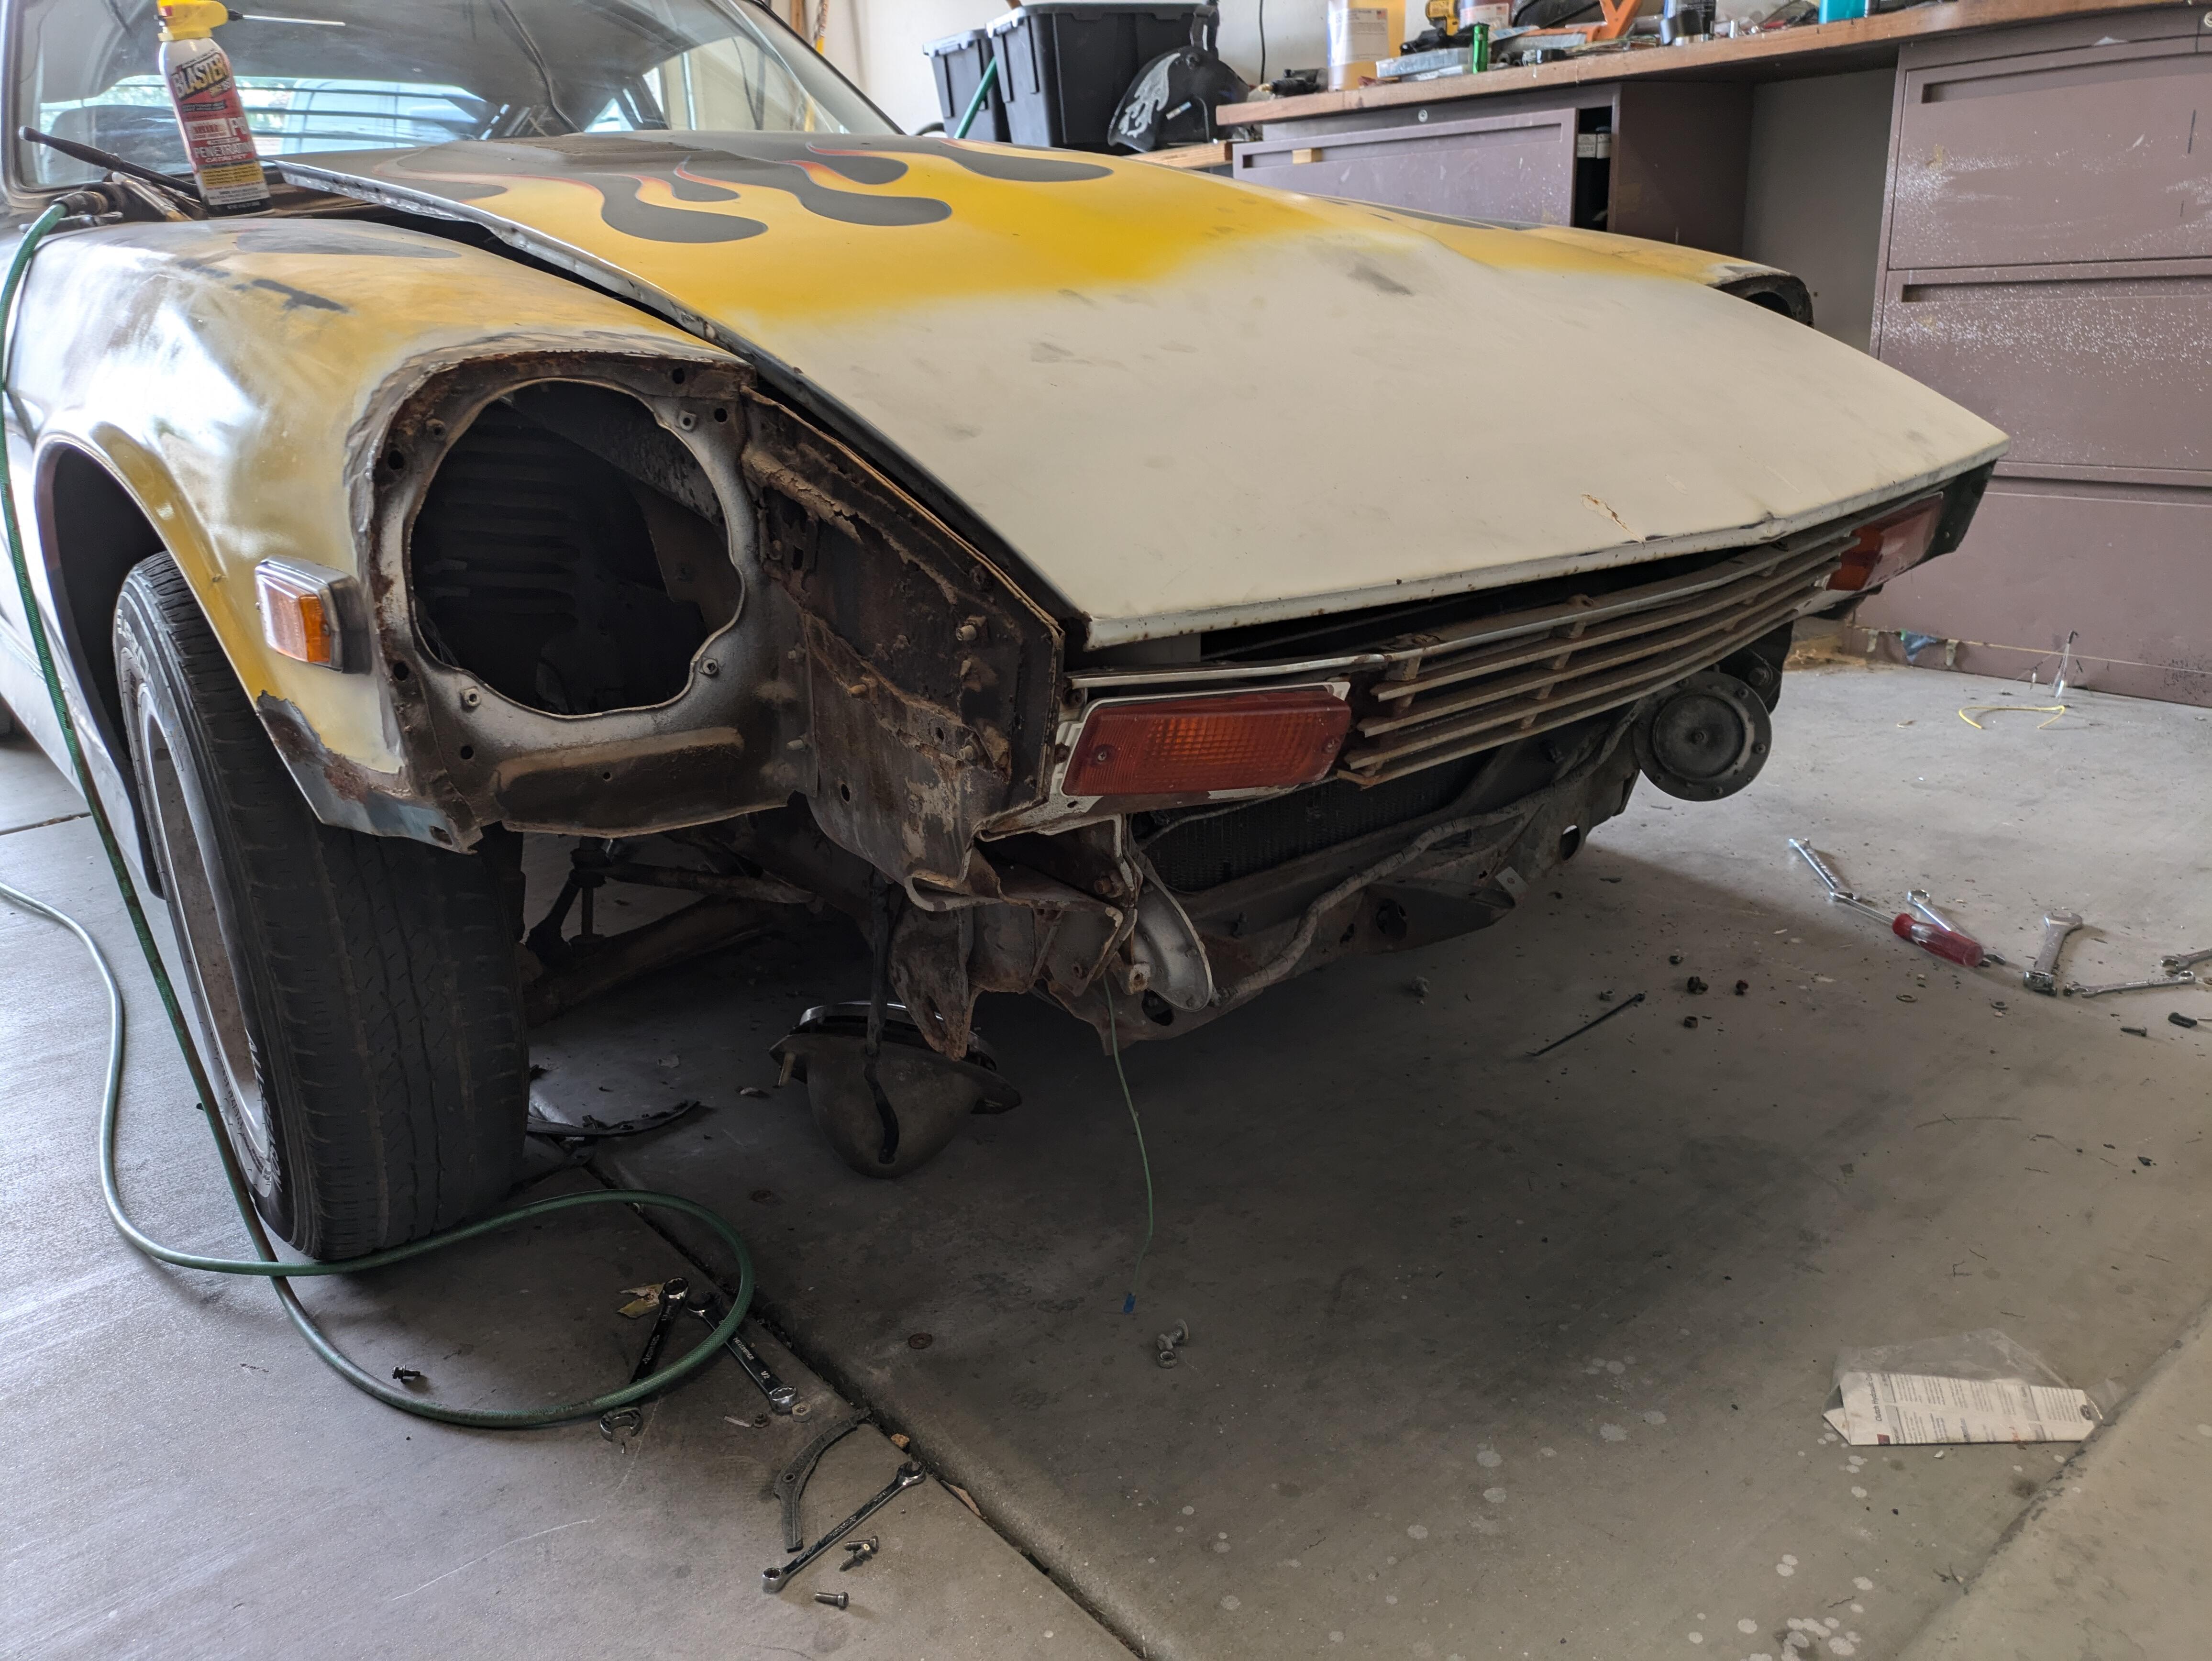
 Hey! If you remove the screws that indicator light can be removed. Unless the PO glued it on. I get nervous just looking at that picture.
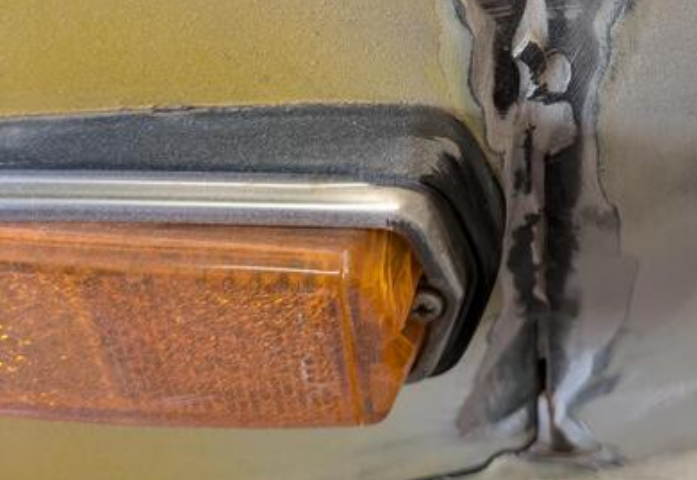
-
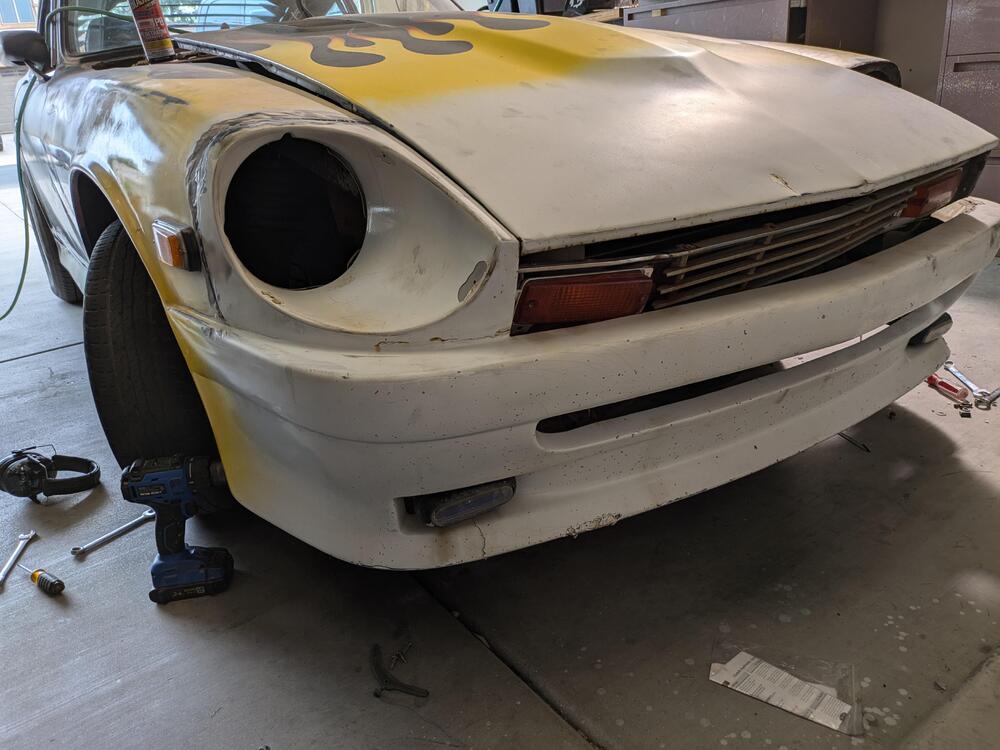
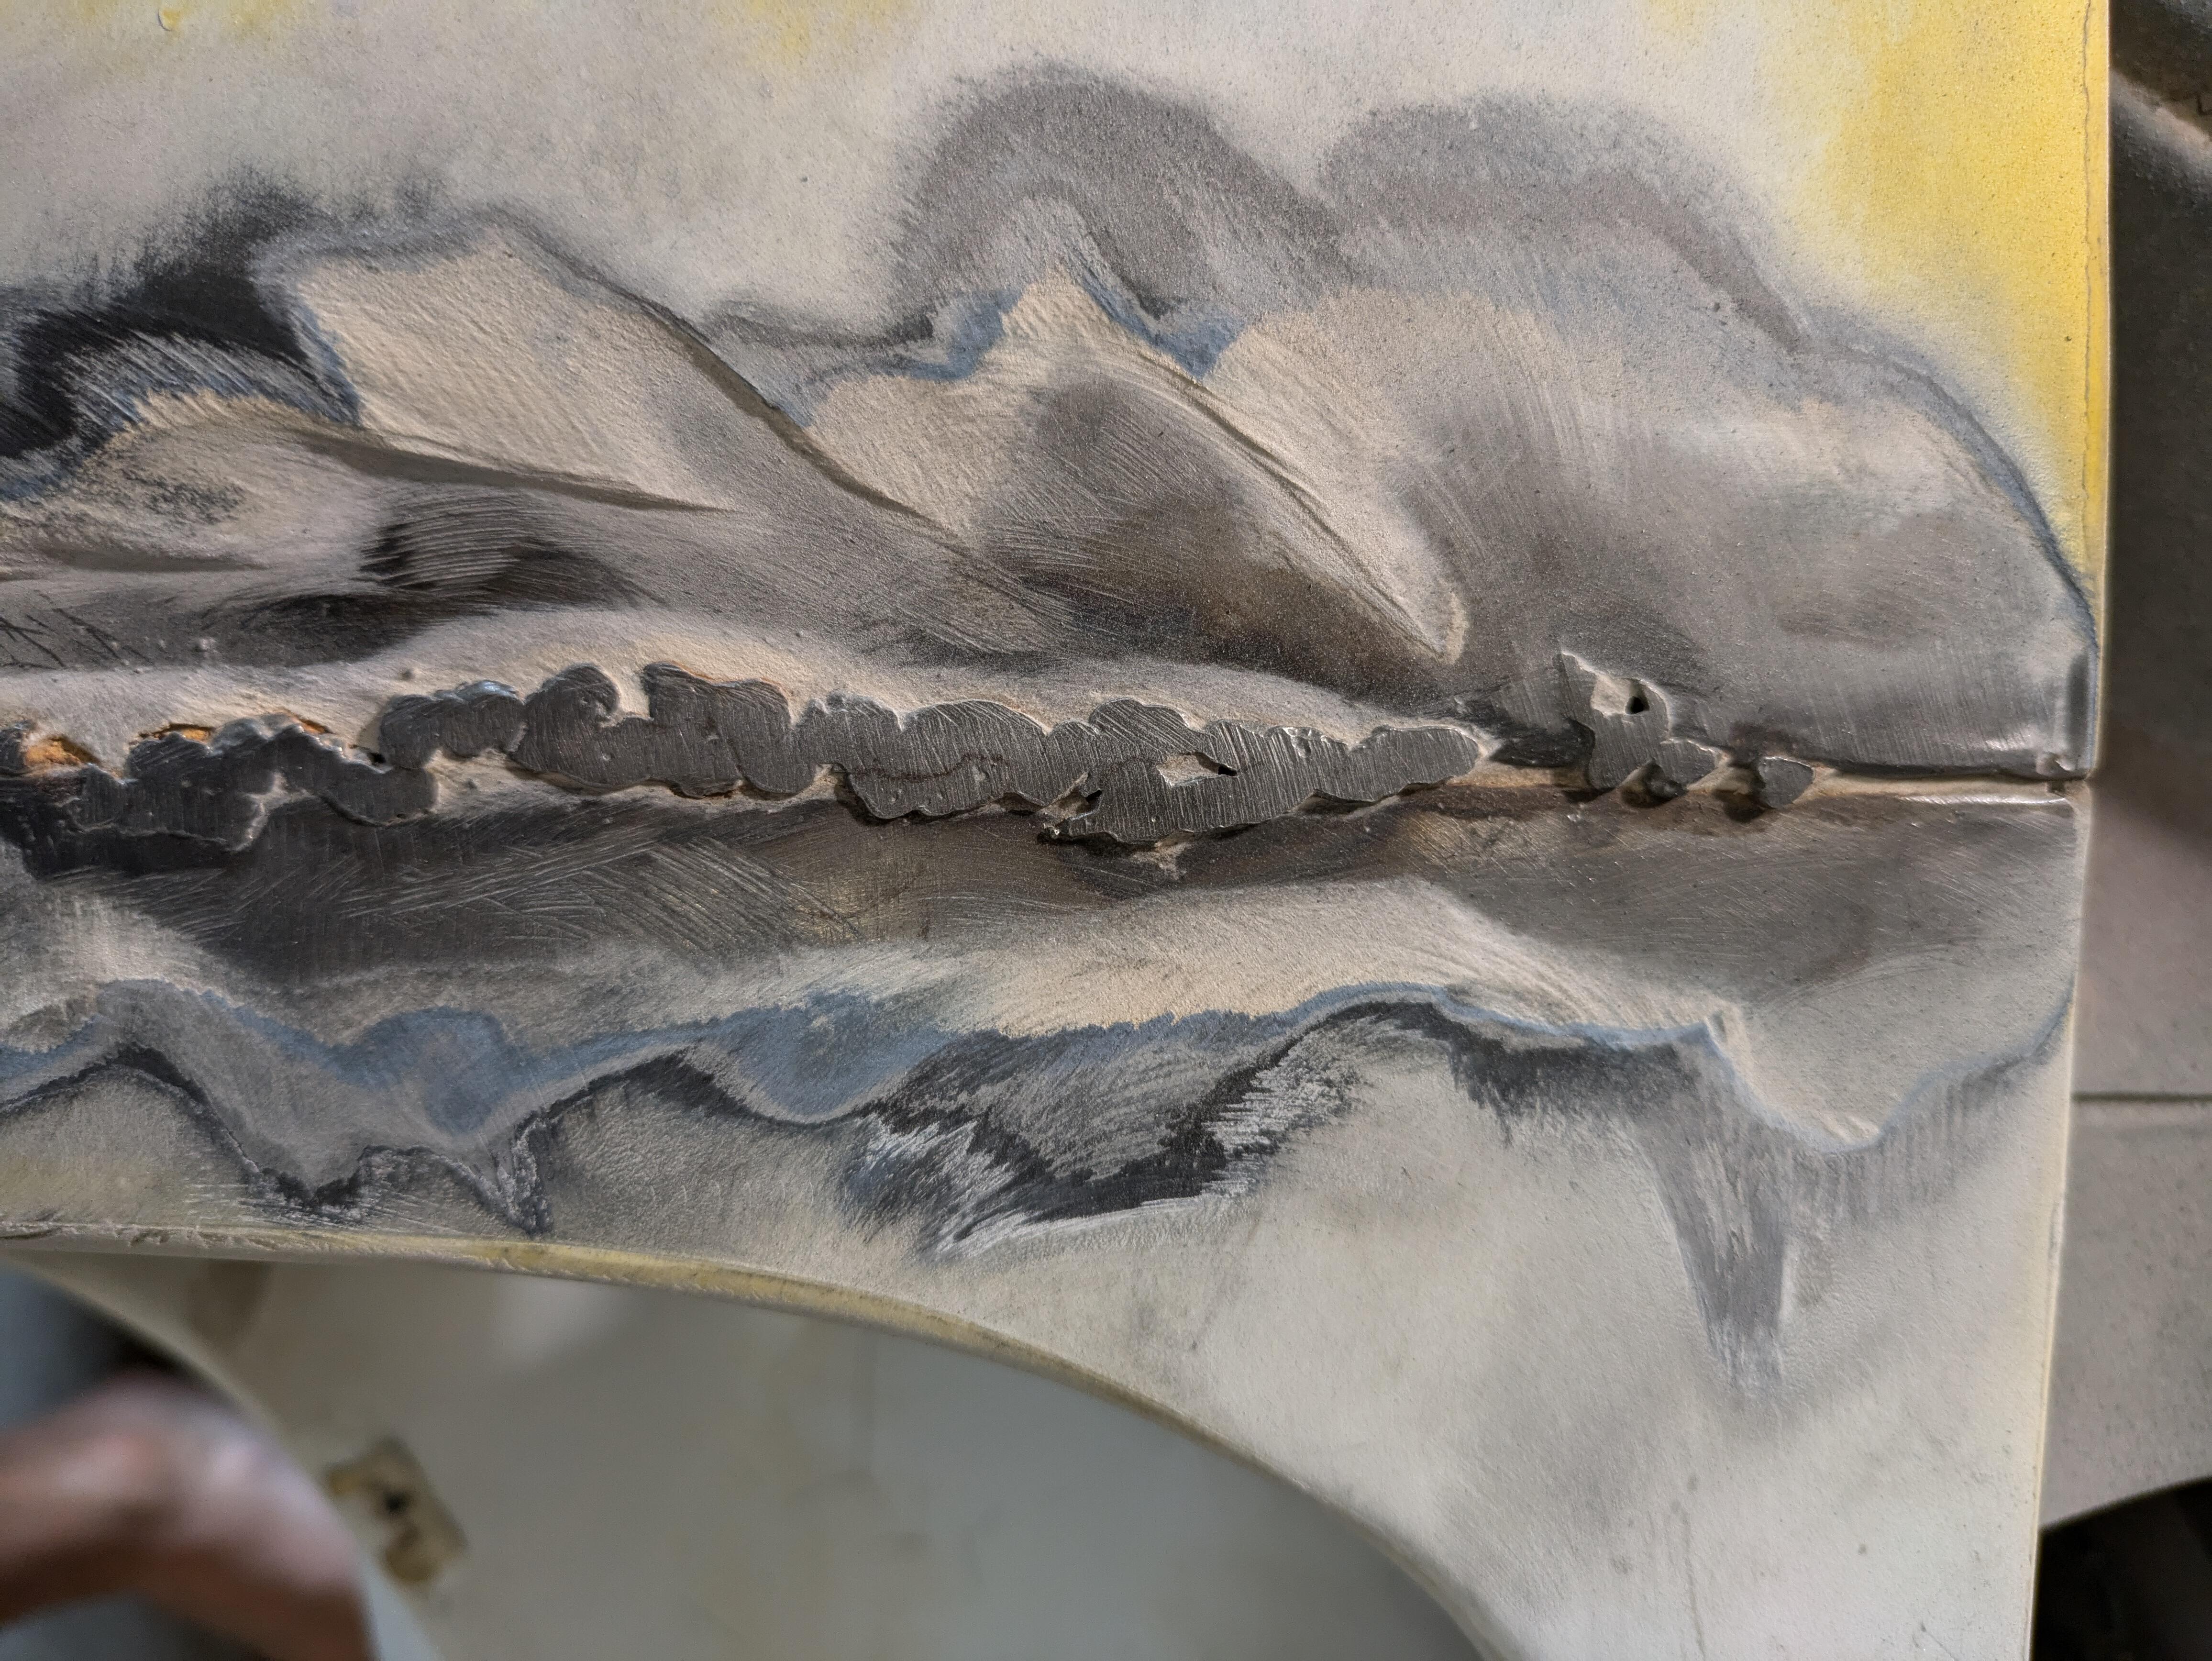
 Man this guy wasnt a good welder. Instead of cleaning up the welds he just added 1/2 inch of bondo to smooth over it. Luckily 70% of the welds didn't even penetrate so they were easy to cut off


-
- Today
Corrosion/rust. If the fuel didn't crystalize, what do you think caused the fuel pump to seize after it sitting that long? The wires were hot to the touch and the pump didn't spin until I smacked it, so something was keeping it from working.
 And therein lies the problem and why history ends up getting lost. In the larger scheme of things it probably doesn't matter how our cars are built and the details will be lost to time. Time to close this thread.
Looks like it's another old name sucked up in to a conglomerate. Gold EagleSTA-BIL®STA-BIL®
The Project Farm guy just put out a video about fuel stabilizers. Very interesting. (Let's see if it attracts any bots.) TLDW - Sta-bil was the best.
Gasoline doesn't crystallize. I'd drain some fuel in to a clear container and get a better look at it. Not "clear" what you mean by fouling.
Looks like it still has an engine. Says it's a turbo. Row521982 Datsun 280ZX at PICK-n-PULL Portland South JN1CZ04S1CX623964
And therein lies the problem and why history ends up getting lost. In the larger scheme of things it probably doesn't matter how our cars are built and the details will be lost to time. Time to close this thread.
Looks like it's another old name sucked up in to a conglomerate. Gold EagleSTA-BIL®STA-BIL®
The Project Farm guy just put out a video about fuel stabilizers. Very interesting. (Let's see if it attracts any bots.) TLDW - Sta-bil was the best.
Gasoline doesn't crystallize. I'd drain some fuel in to a clear container and get a better look at it. Not "clear" what you mean by fouling.
Looks like it still has an engine. Says it's a turbo. Row521982 Datsun 280ZX at PICK-n-PULL Portland South JN1CZ04S1CX623964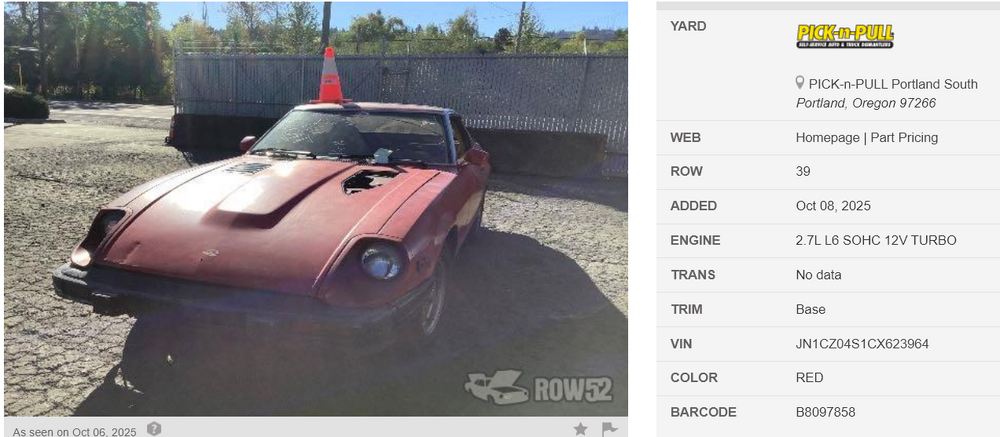
 My factory floor covers the groove and its filled with black goo
 None that I'd break a promise and post here.
 Which plastic piece?
Like most car companies parts are made in different locations and shipped in for final assembly, in the case of the S30 model this was Nissan Shatai. From what you have said the engines were built in Yokohama, were the gearbox and other mechanicals done there as well. What parts were made at Shatai, the main body pressings? What were the other major sub assemblies and where did they come from? Do you have any photos of the Shatai assembly line and factory? What I have posted so far in this thread are from what was previously posted on these forums. Is there a document that details the procedure for the build. We know from looking at our cars that the bodies were welded together, then the sound deadening applied, gray primered, chip seal of the underside and then front wings, doors and cowling along with bonnet and hatch fitted before final paint. Interior and glass along with electrics fitted before the mechanical parts were then added on the assembly line. Is this the correct sequence?
Which plastic piece?
Like most car companies parts are made in different locations and shipped in for final assembly, in the case of the S30 model this was Nissan Shatai. From what you have said the engines were built in Yokohama, were the gearbox and other mechanicals done there as well. What parts were made at Shatai, the main body pressings? What were the other major sub assemblies and where did they come from? Do you have any photos of the Shatai assembly line and factory? What I have posted so far in this thread are from what was previously posted on these forums. Is there a document that details the procedure for the build. We know from looking at our cars that the bodies were welded together, then the sound deadening applied, gray primered, chip seal of the underside and then front wings, doors and cowling along with bonnet and hatch fitted before final paint. Interior and glass along with electrics fitted before the mechanical parts were then added on the assembly line. Is this the correct sequence? Thanks for the info. The drivers side does not have that plastic piece. Assuming it broke off at some point in time. Is that going to be an issue. The passenger side seems intact.
Nissan's L24 engines were put together in the same place as the S30 L20A engines, the aforementioned main Yokohama plant. They have a Nissan Engine Museum in one of the original 1930s buildings still standing, adjacent to the main plant in Takara Cho. Recommended for a visit. The point being you are asking for photos of the "240Z assembly line" but showing a photo a photo of a quite different location. Many of the component parts and sub-assemblies of 'our' cars were made in plants elsewhere, then put together at Nissan Shatai Koki's facility in Hiratsuka.
Thanks for the info. The drivers side does not have that plastic piece. Assuming it broke off at some point in time. Is that going to be an issue. The passenger side seems intact.
Nissan's L24 engines were put together in the same place as the S30 L20A engines, the aforementioned main Yokohama plant. They have a Nissan Engine Museum in one of the original 1930s buildings still standing, adjacent to the main plant in Takara Cho. Recommended for a visit. The point being you are asking for photos of the "240Z assembly line" but showing a photo a photo of a quite different location. Many of the component parts and sub-assemblies of 'our' cars were made in plants elsewhere, then put together at Nissan Shatai Koki's facility in Hiratsuka. With what happened to your fuel pump you shouldn't trust the accuracy of the (in tank) fuel sending unit. They get crusted up to. If the gauge goes to different spots when the key is on maybe it's okay. Don't want you running out of gas.
 They may have sprayed clear over it.
I've reached out to @kats to see if he has more details but he seems to be MIA at the moment. Also trying to contact Mr. Miyazaki to see if he has any photos or videos of the assembly line; he used to visit it on a regular basis according to some notes @kats made in another thread.
Where were the S30 L24 engines built up and fired-up tested then?
They may have sprayed clear over it.
I've reached out to @kats to see if he has more details but he seems to be MIA at the moment. Also trying to contact Mr. Miyazaki to see if he has any photos or videos of the assembly line; he used to visit it on a regular basis according to some notes @kats made in another thread.
Where were the S30 L24 engines built up and fired-up tested then? Would have loved to go for a ride when we were at Zcon. If I had been feeling better we could have changed a radiator and then gone for a rip!
Woof. Glad you can salvage that! Yuck.
Would have loved to go for a ride when we were at Zcon. If I had been feeling better we could have changed a radiator and then gone for a rip!
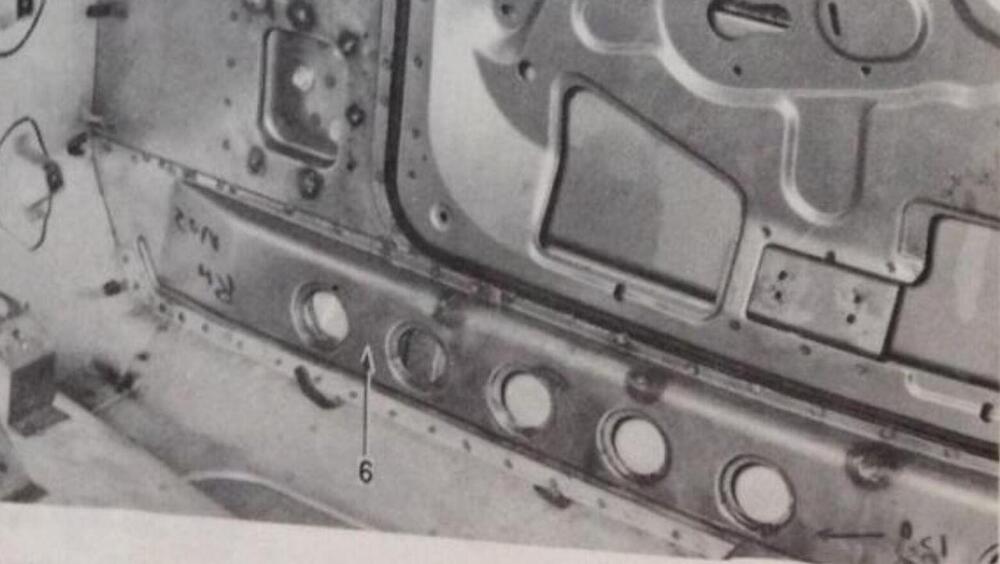
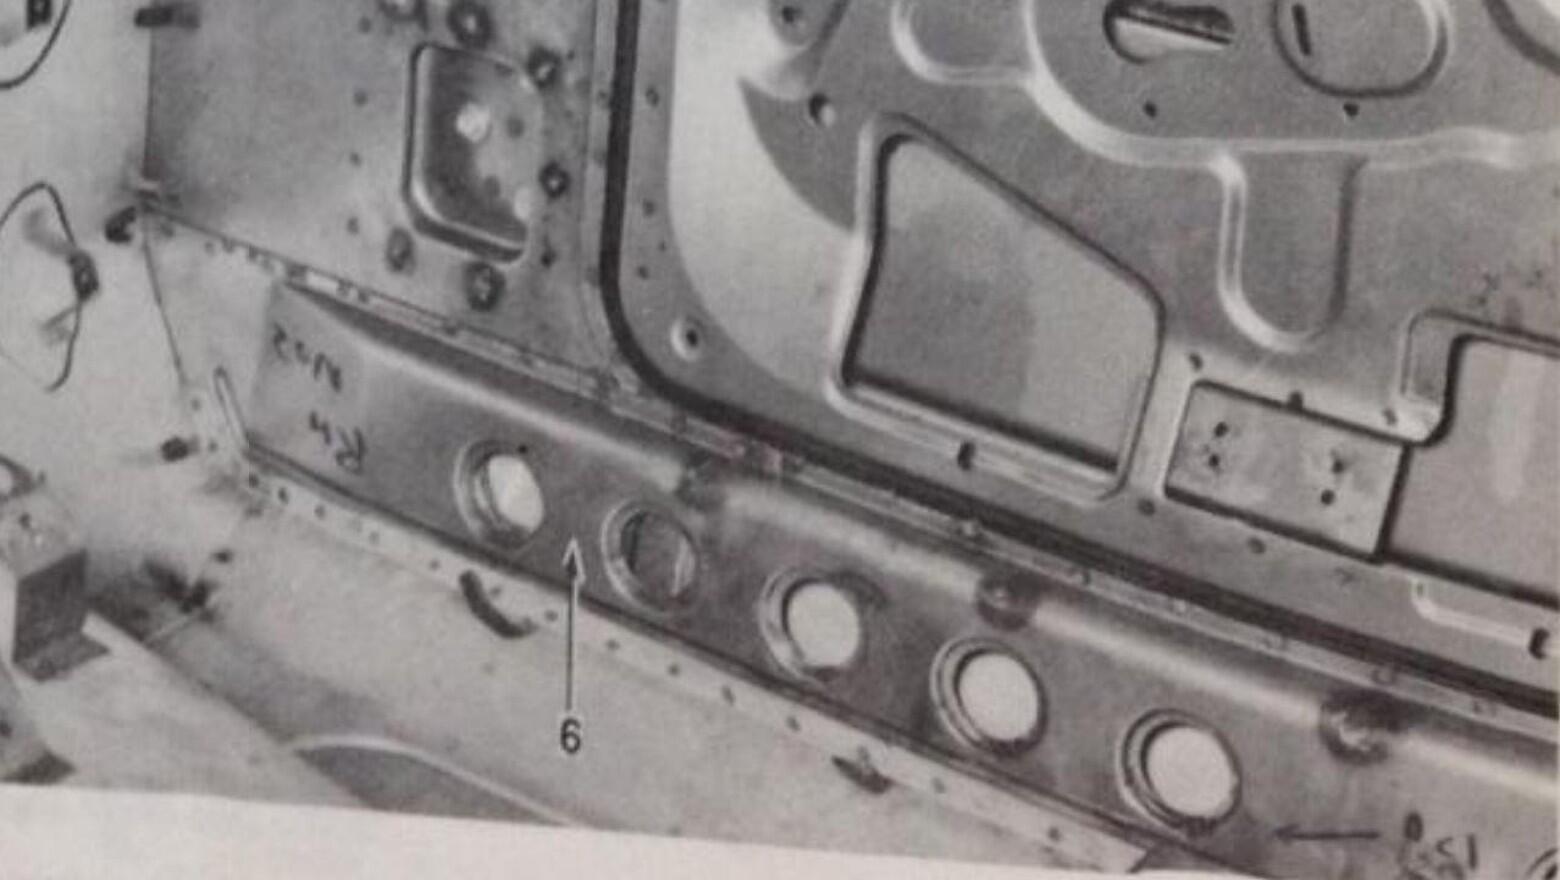
Woof. Glad you can salvage that! Yuck. Refer to the figure below (taken from the FSM), which shows how the inner and outer rockers and the floor pan come together. The arrow on the outboard flange of the floor pan shows how the flange aligns with the inner rocker. Note the horizontal rib (with the 'hockey stick' shape at the forward end) that's pressed into Inner Rocker ('Inner Sill). The top of the Floor Pan's outboard flange (designated in the figure by the small black circle) should align with the lower edge of the rib. The line of spot welds that joins floor pan to inner rocker sits about halfway up the floor pan's outboard flange (see photo).
.jpg.f37b355fb0f6aaf74a4462f4b0712165.jpg)
 That's not one of my paint color # decals - too shiny.
 Thanks for reminding me, Alan.


Important Information
By using this site, you agree to our Privacy Policy and Guidelines. We have placed cookies on your device to help make this website better. You can adjust your cookie settings, otherwise we'll assume you're okay to continue.