All Activity
- Past hour
-
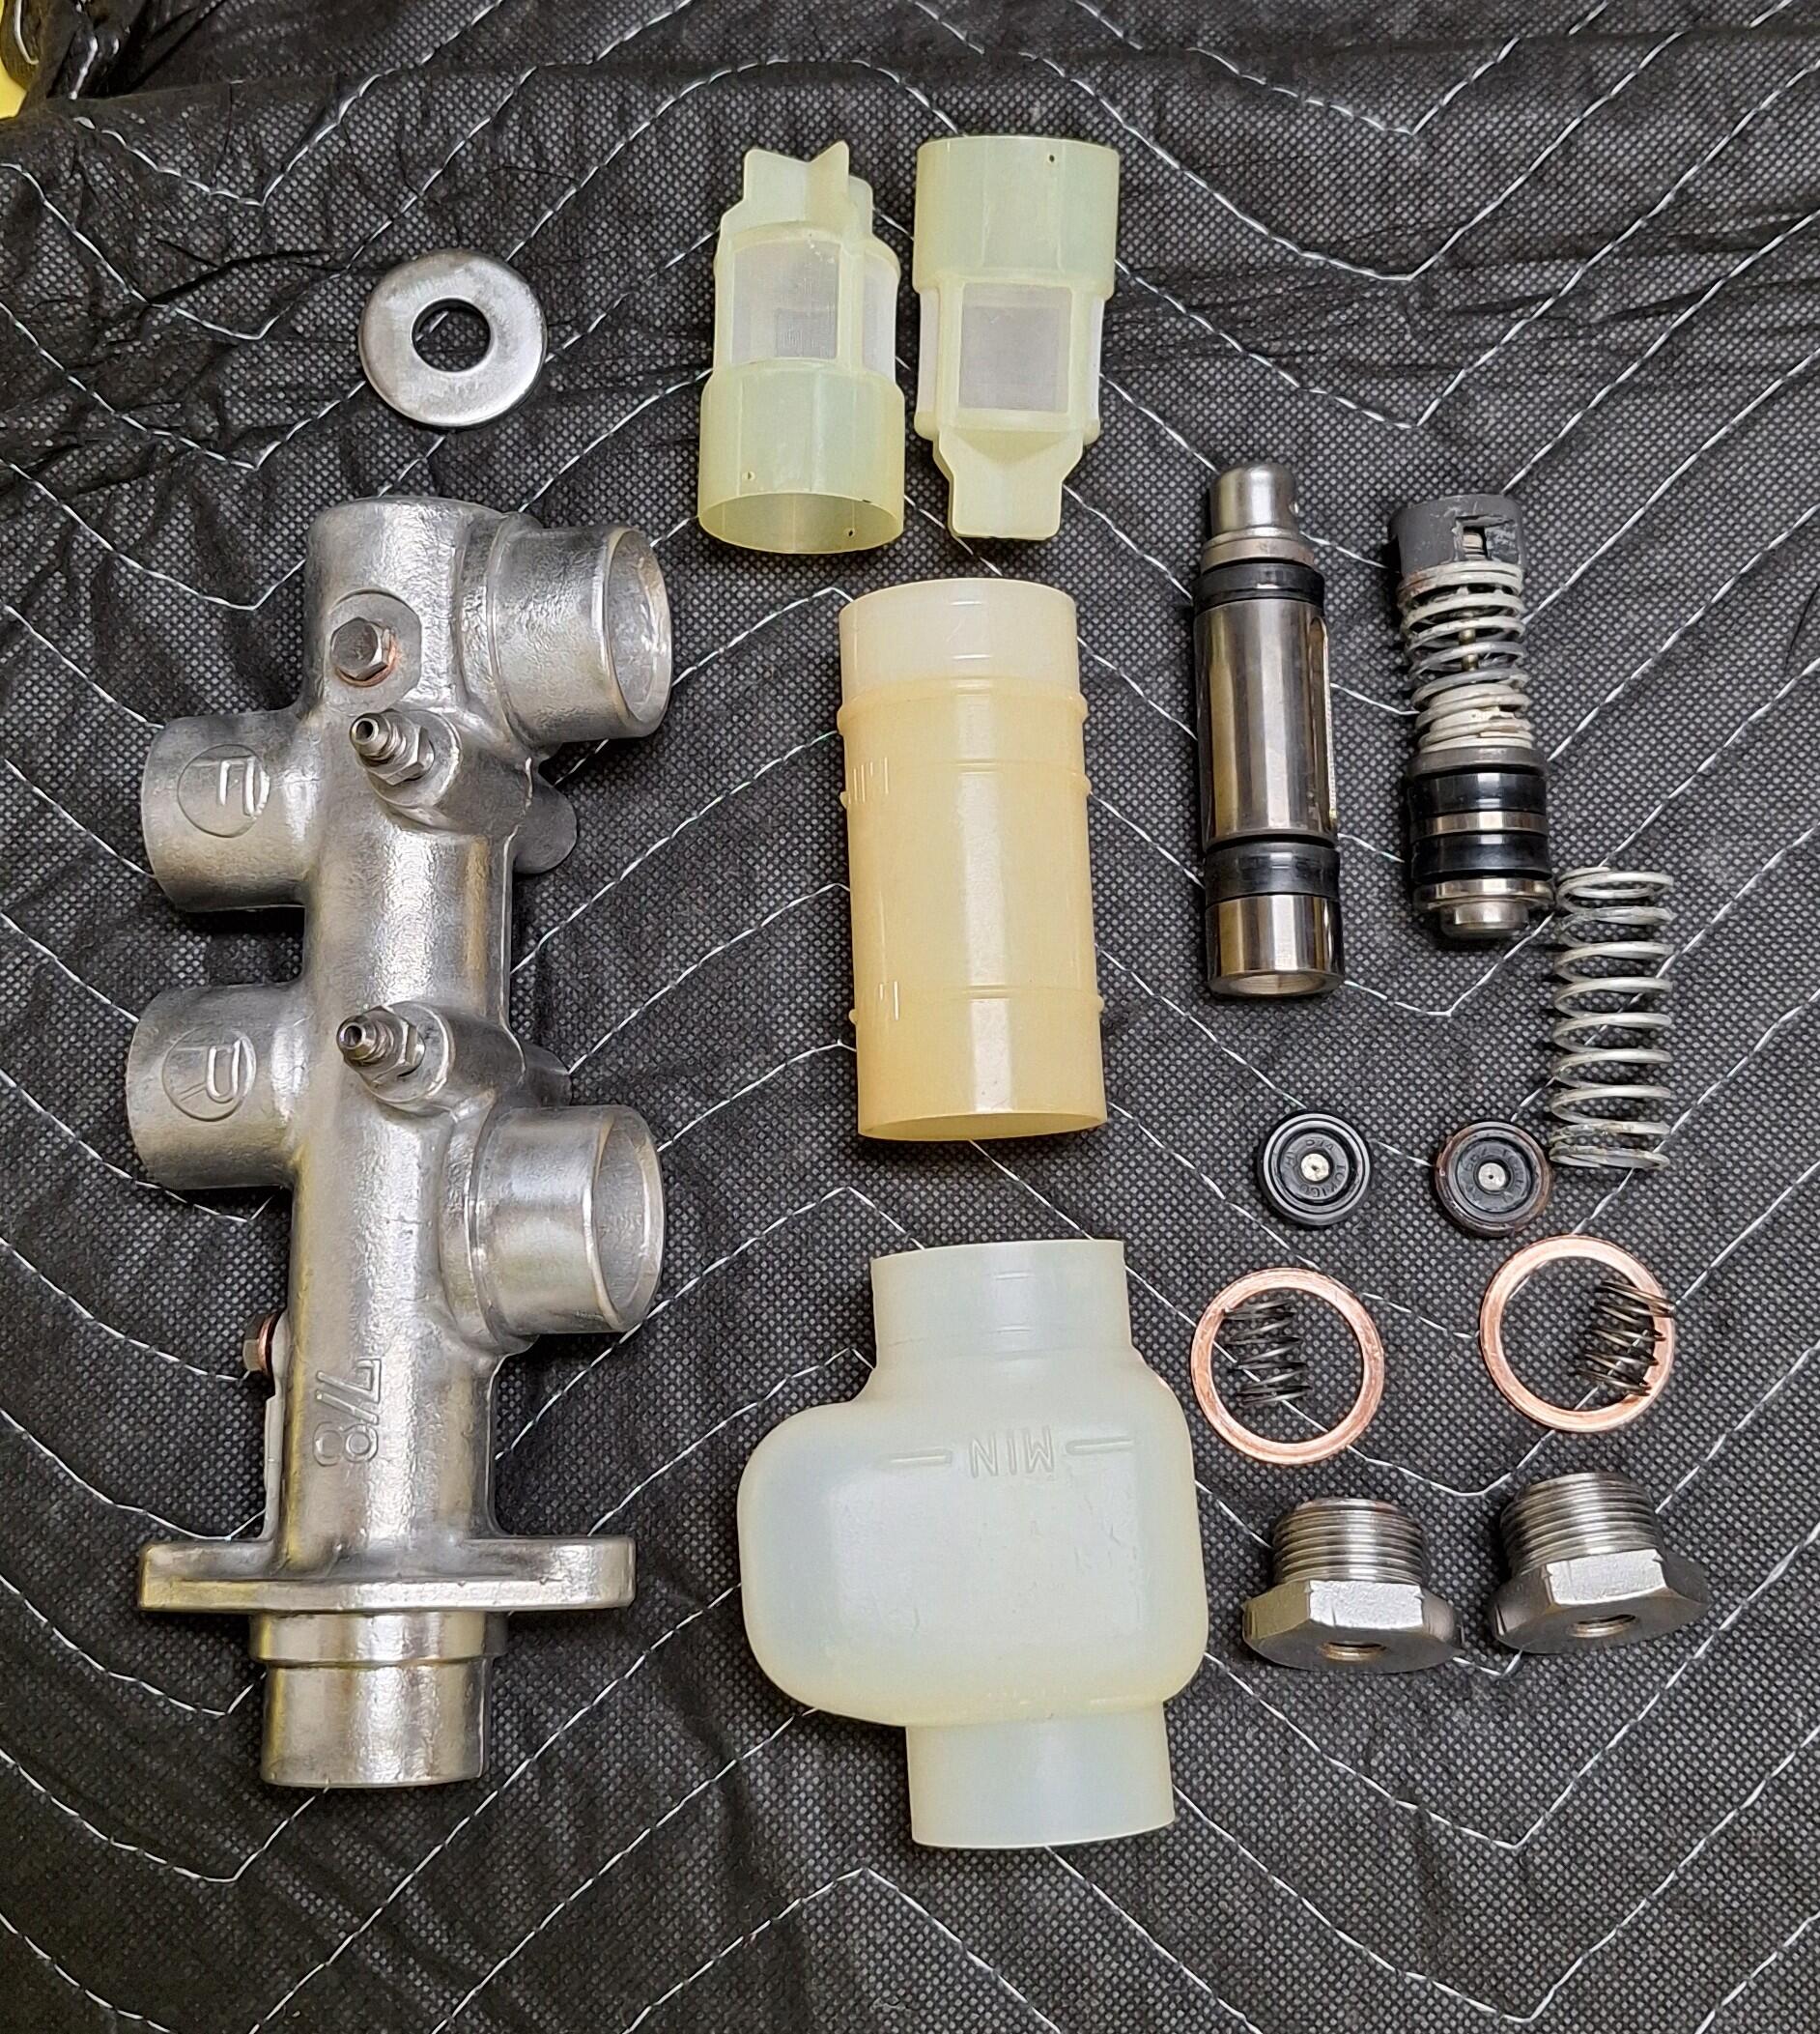
 An original early brake master cylinder was also sourced for the restoration. The ultrasonic cleaned it up nicely and I've disassembled it and replaced all the seals with original Nissan/Tokico parts. I just need to bleach the plastic reservoirs so they are nice and white. It should look like this once complete.
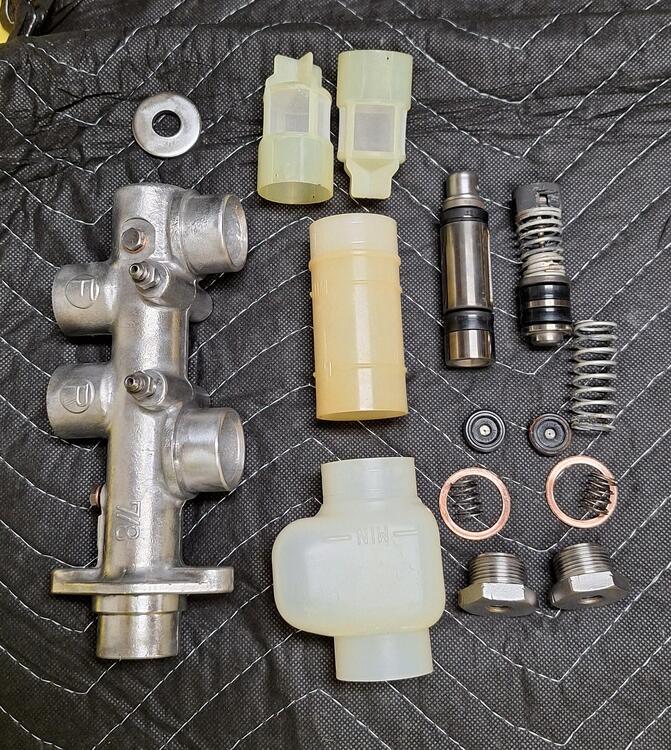
.thumb.jpg.87eb9fd21aedde67e10d3655830517b3.jpg)
-
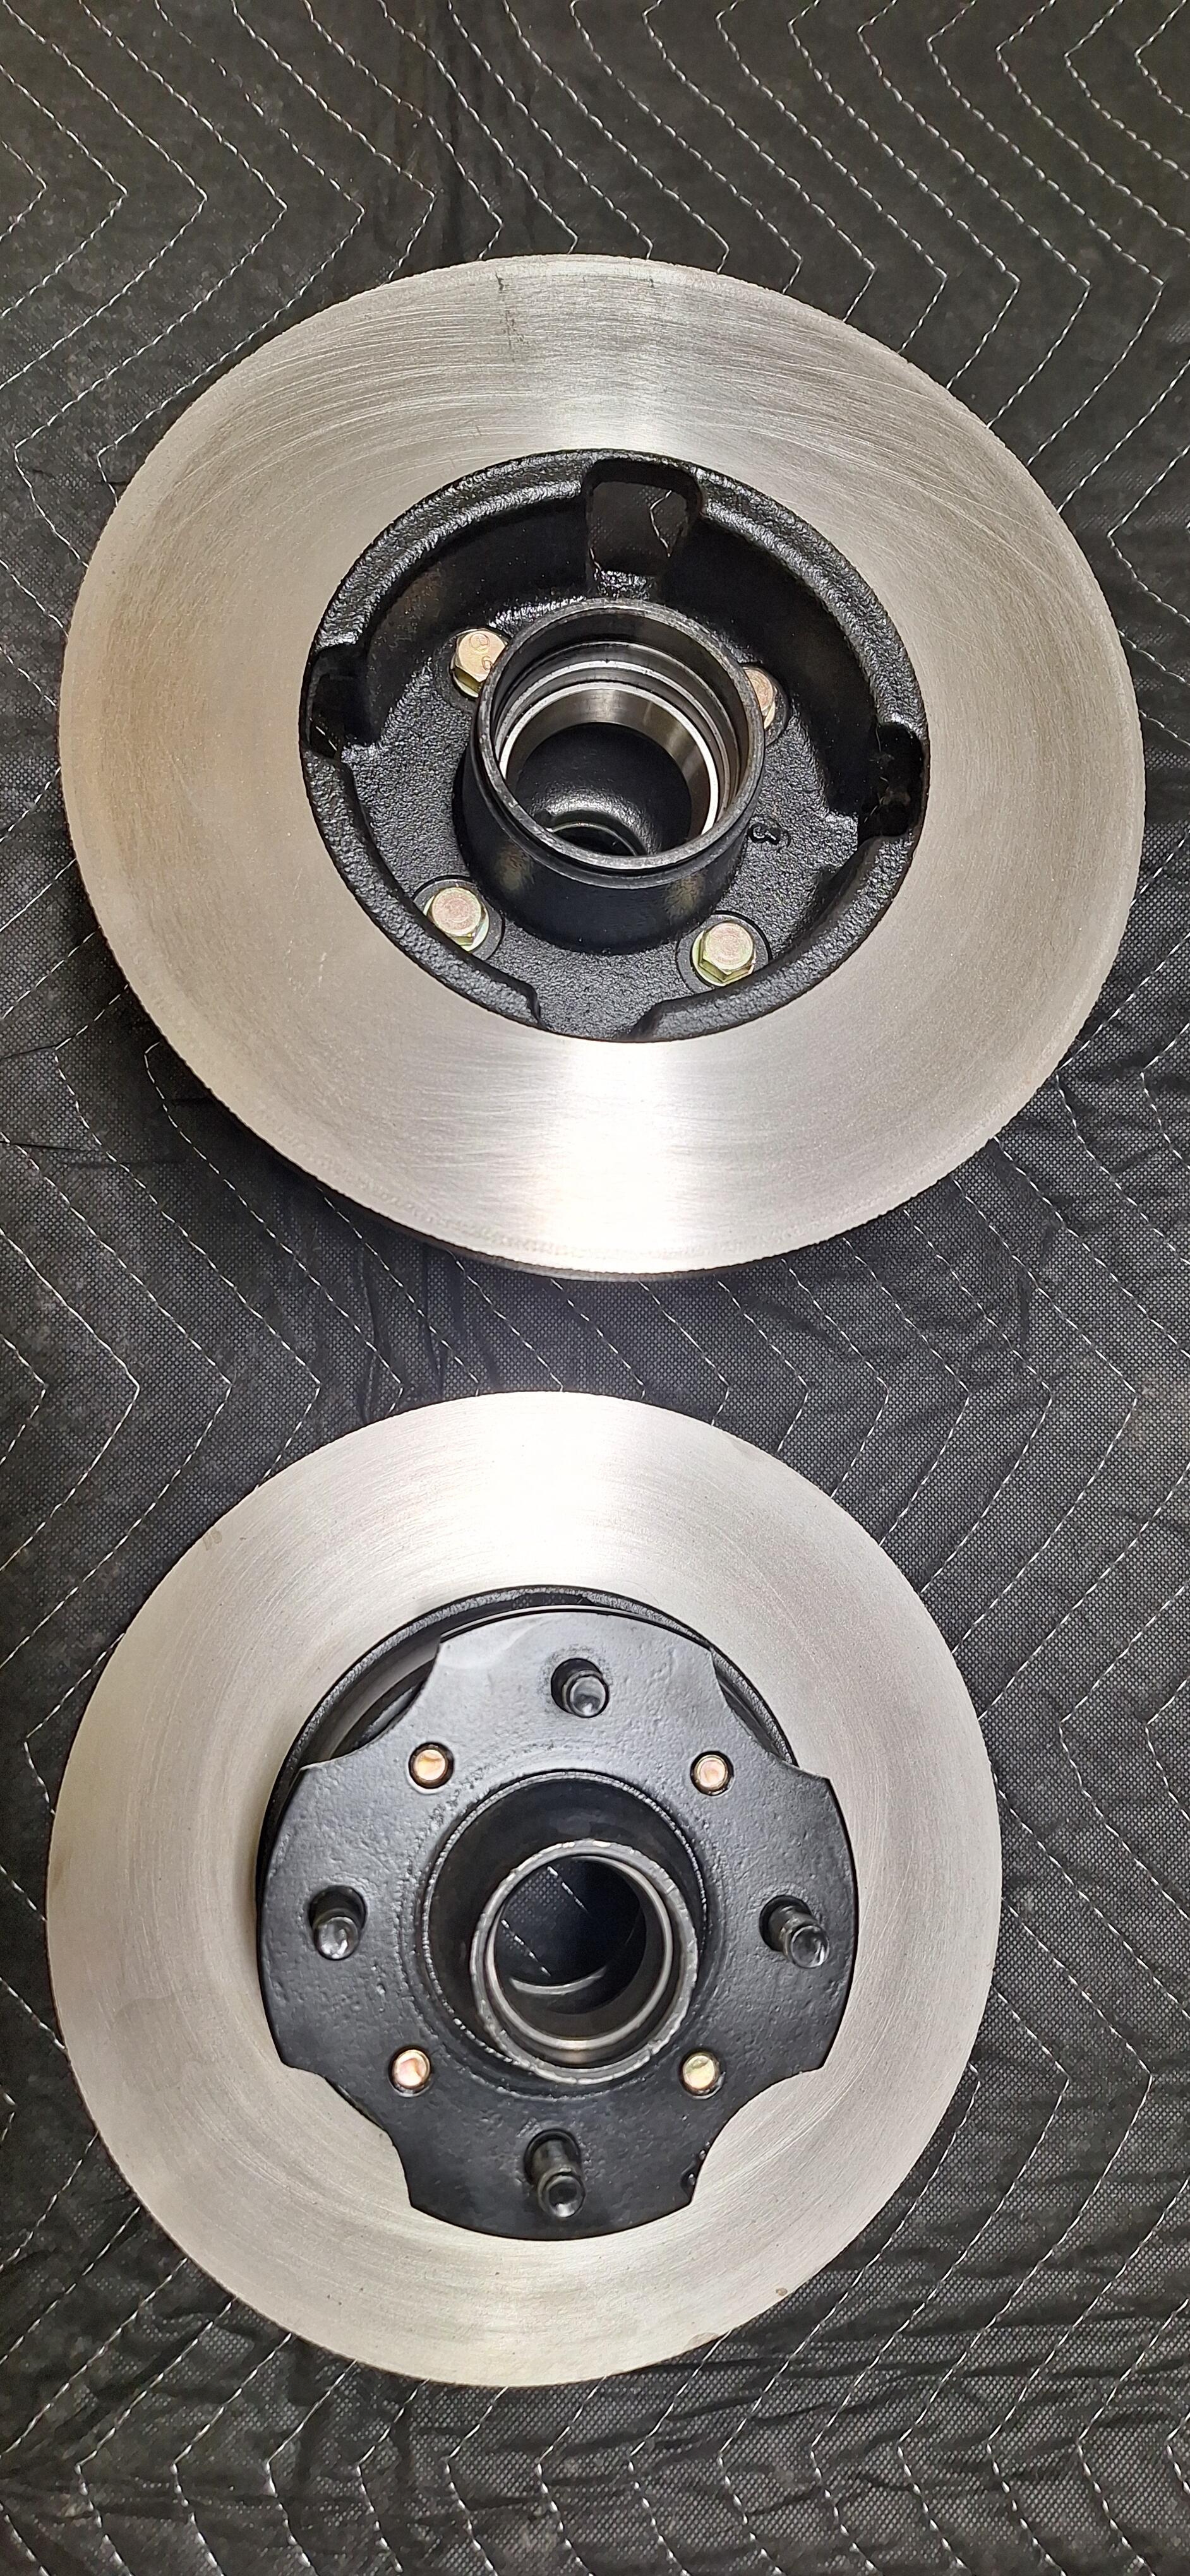
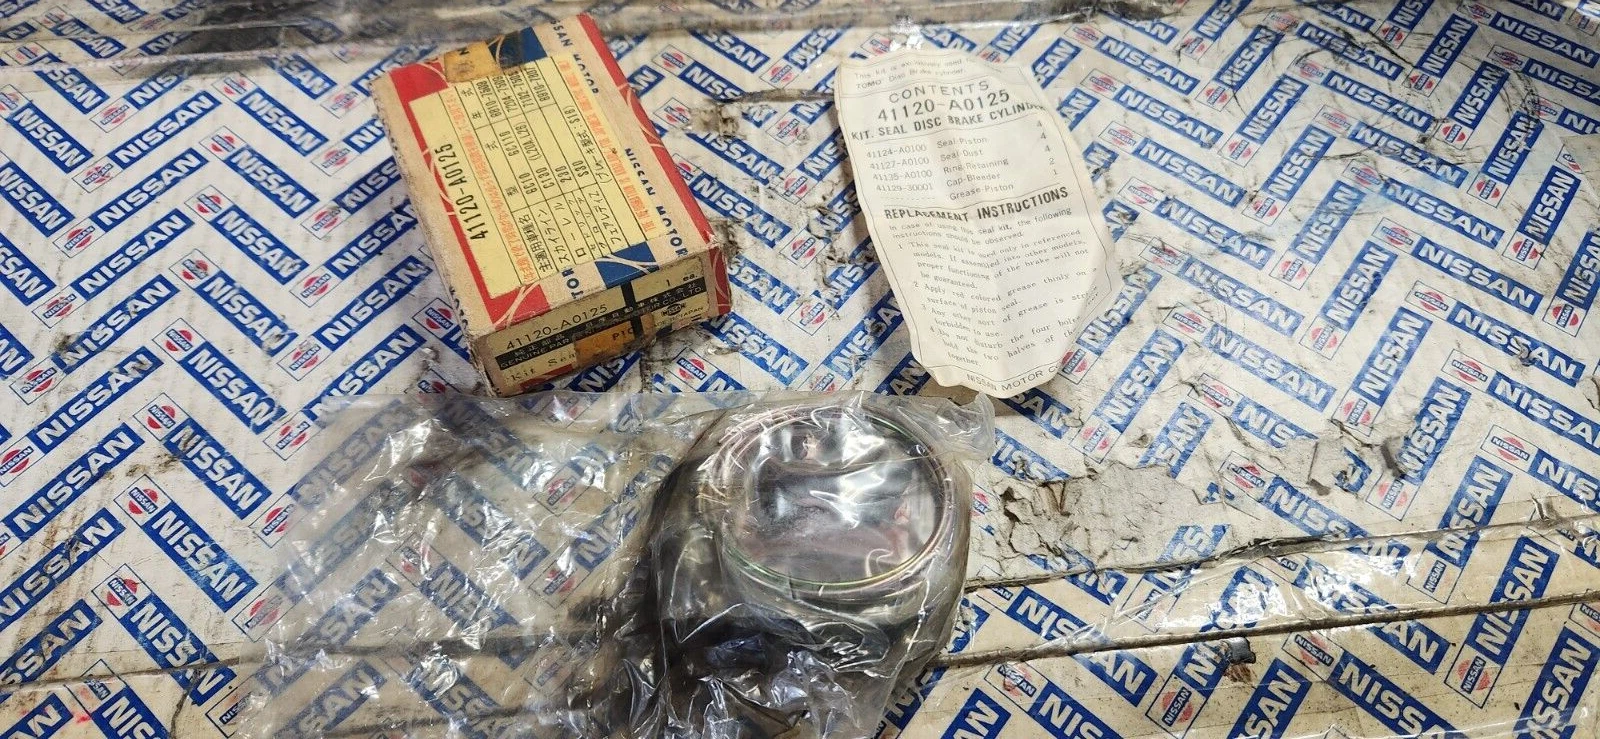
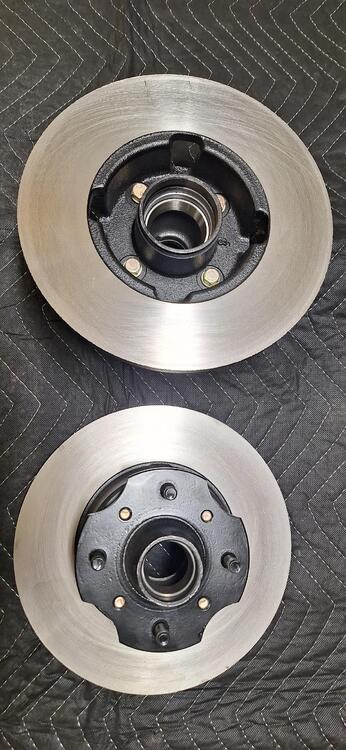
Continuing on from rebuilding all the original suspension components, brakes are next in line. Fortunately my May 1970 240Z came with the early brake rotors. I have derusted them, machined to tolerances and painted them to original spec. The hubs are cleaned and painted and I have NOS OEM bearings for them. A set of original Nissan brake pads have also been sourced. The brake calipers are the correct date coded set for 1970. I have degreased them in the ultrasonic, cleaned off all the corrosion using a acid solution. A light sandblasting and high temp satin clear finish give them the factory new look. A NOS OEM Nissan caliper seal kit is used to finish the build. All bolts and fittings are re-zinc plated. My goal is to use all original/OEM parts in my restoration.

-
What a load of rubbish, there's no way the ball can wear out that much! The Japanese engineers that designed that part knew enough about metallurgy to design the part so that never happens. The cheap stuff now coming out of some countries may be a different case, but not the originals.
- Today
-
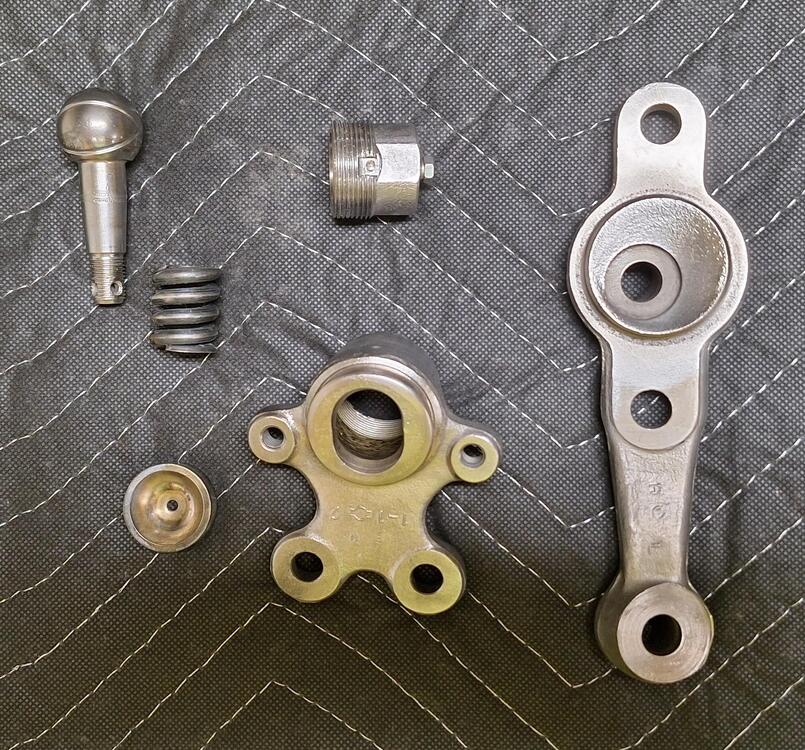
G'day @26th-Z , easiest way to check if you have the 11mm 40160-78500 or 14mm 40160-A8610 is by the diameter of the thread on the ball shaft. The early ones measure 11mm. The early steering arms 40052-E4101 R and 40053-E4101 L also have the smaller diameter tapered hole to match the 11mm shaft. The original ball joint is peened on the body to lock the lower cap into position. Careful grinding away of the peen allows the lower section to unscrew without damaging the threads. The parts are then degreased in the ultrasonic cleaner followed by corrosion removal in the cleaner. A brass wire wheel is then used to polish them up. The ball is lapped into the housing and bushing using valve grinding paste. I've managed to find four of the early 11mm ball joints and steering arms in my parts stash and have rebuilt them all. Everything is cleaned, re-greased and assembled. The tolerances and loading are checked per the data in the service manual. Once it passes, it's then painted in VHT satin black, a new dustcap fitted, the grease nipple removed and a OEM filler plug 40189-7300 fitted. They are now ready for fitting back to the car. The beauty of many of the parts on the early 240Z is that they were designed to be serviced or rebuilt rather than discarded and replaced. I've been fortunate to find many new old stock parts to rebuild my May 1970 240Z with.
-
 I love the claims about patents considering that design is very common.
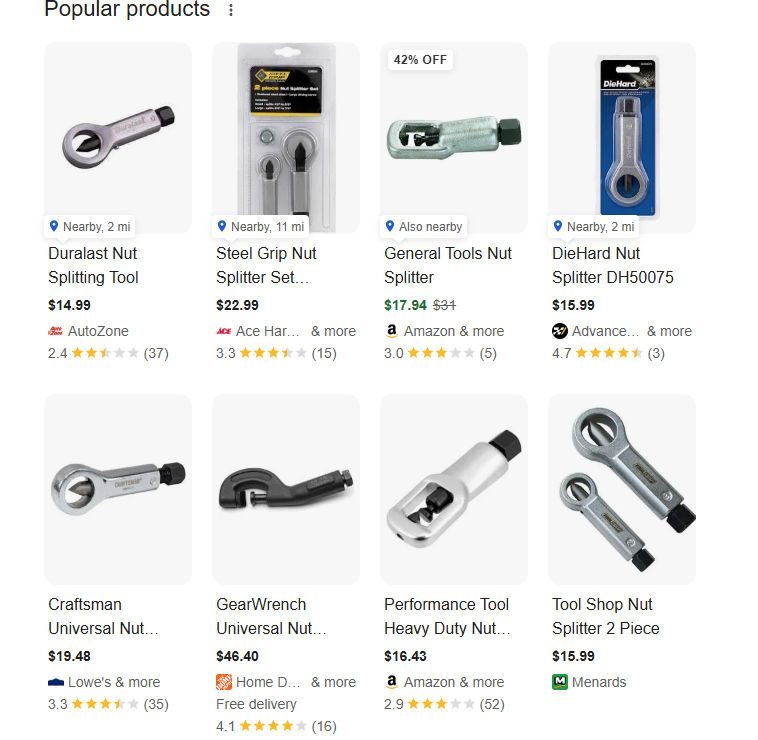
-
 What do you measure to determine if they are 11mm or 14mm?
 -
 Your hard starting issue sounds like a problem with the fuel mix not being rich enough. Are you using the choke when you start it? Make sure both jet tubes under the carb get pulled down all the way when you pull the choke handle back all the way. Check that the fuel mixture nuts under the carbs are turned down 2.5 turns at least, and that the float levels are correct.
 -
 I've had one of those in my toolbox for years and, yes, it does work. However, if the base of the nut is flush with face of the part it secures, the chisel point will tend to climb up the side of the nut when you start applying torque to the drive bolt. That means that part of the upper part of the nut gets split first, while the lower part hasn't quite separated. If you're lucky the nut will pop, even though it hasn't been completely split. Remember that you'll need adequate clearance in all directions to make the splitter fit, as well as enough room to get a wrench or socket on the drive bolt. That makes the splitter useless for recessed or restricted-access nuts. For example, it'll work great on the top nut on the front anti-roll bar link, but it won't work for the nuts used in some locations to secure the intake/exhaust manifold.
 -
Just make sure that the block-off strategy (whatever it might be) used at the Y-connection on the other side of the engine is sound and secure. For example...

-

-
 If the ball wears out it can come out of the sleeve and make the car completely uncontrollable, never seen that happen in reality? Over here in the Netherlands we have strict rules about them, over 1mm play (around that) means new baljoints! It's just for safety.. but hey in the Usa.. no problem offcourse..
 -
 Alex Kay joined the community
 -
 Location and price of the turbo engine
 -
rabrooks1028 joined the community
- Yesterday
-
 Hi SpeedRoo Please post some photos when you are done so we can see how they turn out.
 -
 Nut breaker if it attracts wives or girlfriends? Imagnaryto🔥Last Day 49% OFF - 🛠️Nut Breaker Pliers - 9-12 mm❤️TIPS: All goods are authentic, with genuine patents, counterfeit must be investigated! Customers, please identify our products! SHIPPING WORLDWIDE. 💯Payments Via PayPal® and CreditCard.⭐F...
 -
 Awesome, thank you!
 -
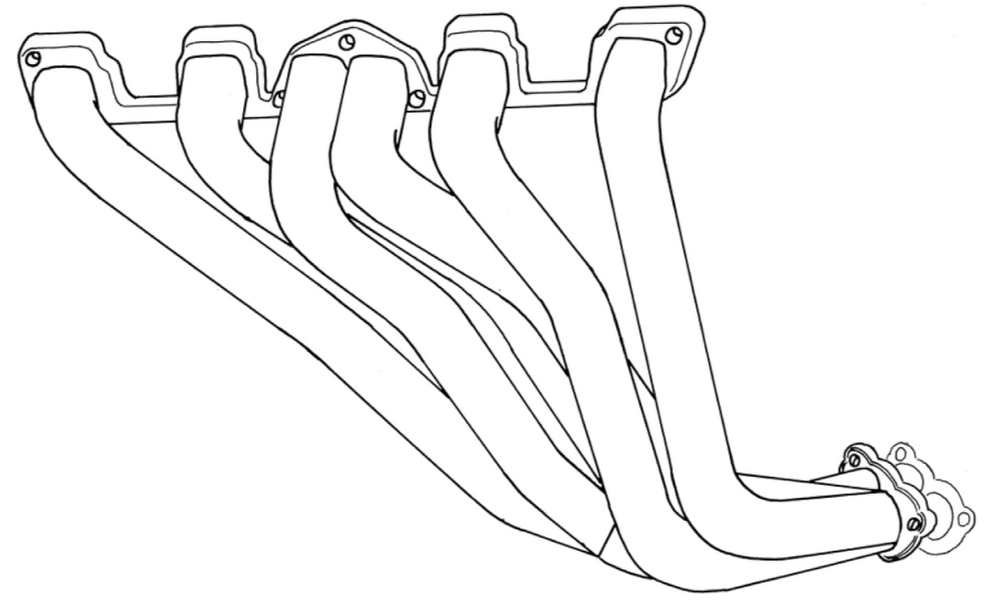
 Perfect thank you guys for confirming that for me. Just on the topic of "new" systems and "old" systems I'm currently limited to the Legalis R exhaust pipes product number 750-15414 from fujitsubo themselves and the super Ex headers (510-15037) just to make sure these are the ones that would fit as I didn't know there were older or newer version of the exhaust. see the images for reference
-
 jasonjordan joined the community
 -
Still don't know what's wrong with it? ;-) Every (good) carparts shop has them!
-
 That was me that posted that photo to show him how a cracked or broken guide could cause an oil problem on one cylinder.
 -
 You just previously posted a pic of what you think is a valve guide.
 -
Thanks @Patcon and @Zed Head for answering. I have stripped both joints down, they are the early 11mm type. I have lapped in the ball section to the parts it mates with using valve grinding paste, polished everything up with a brass wire wheel and reassembled. Will paint it in black satin as per original and grease up before removing the grease nipple and fitting the original plug @zspert mentioned should be in place.
-
 I would say yes, if it's not sloppy
 - Last week
-
 I didnt posted any guide. Lets do a leak down test first.
 -
I’m not sure that’s a pic of a valve guide you posted.
-
I apologize to @Sean Dezart You had bad contact information.
-
Or...don't get in traffic jams. I don't with my '72 just early morning weekend drives on the side streets. This 240z is surely not your daily driver. You still have that Volkswagen you had on pelicanparts.com?
.jpg.9e31a279c45b30b776172e97c43ec927.jpg)