All Activity
- Past hour
-
EFI Fuel Tank Restoration
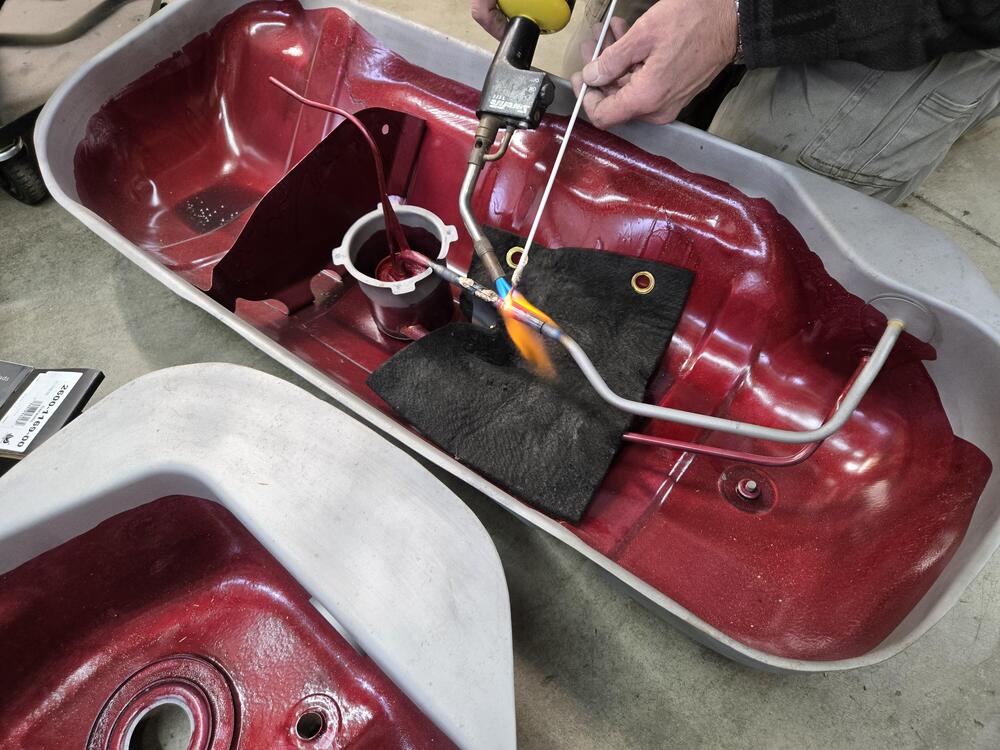
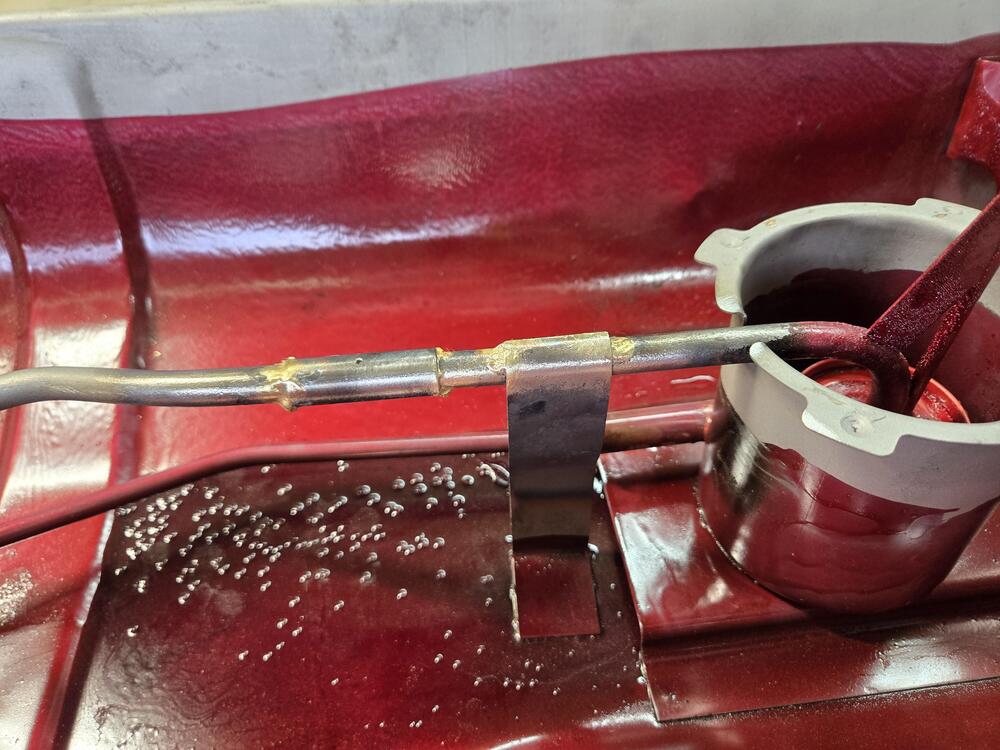
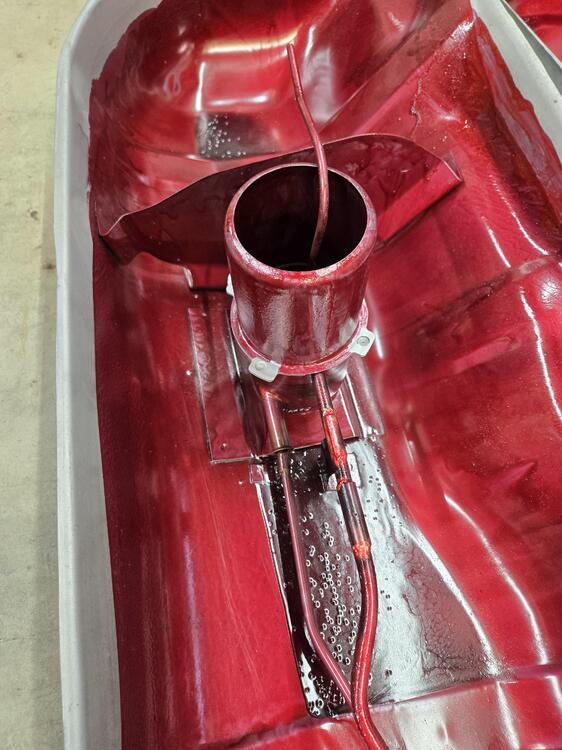
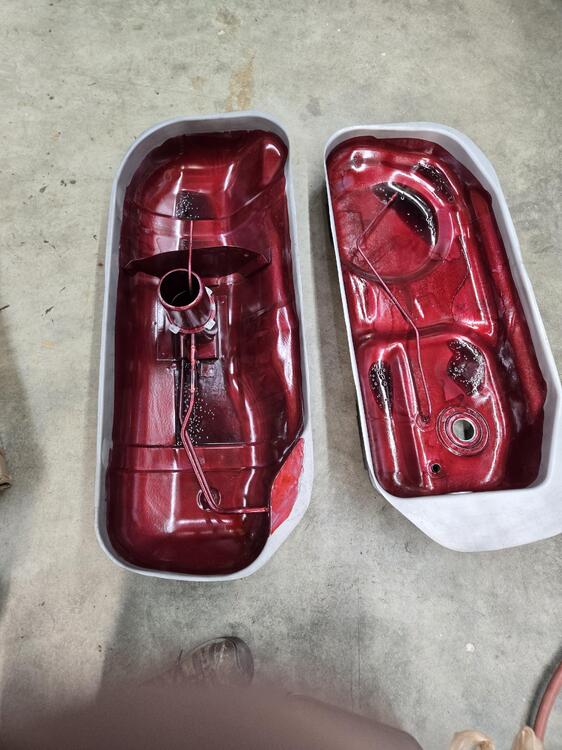
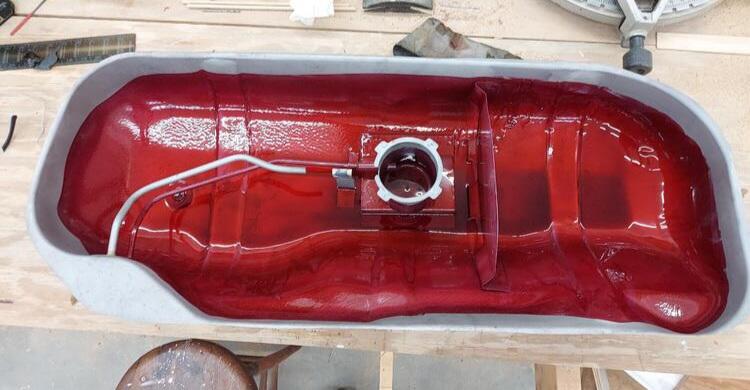
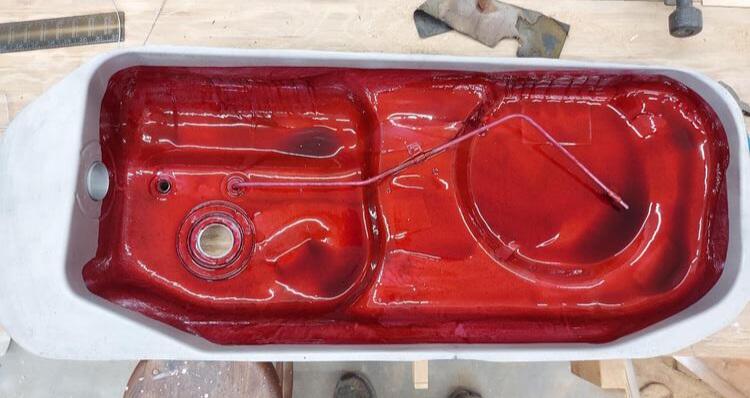
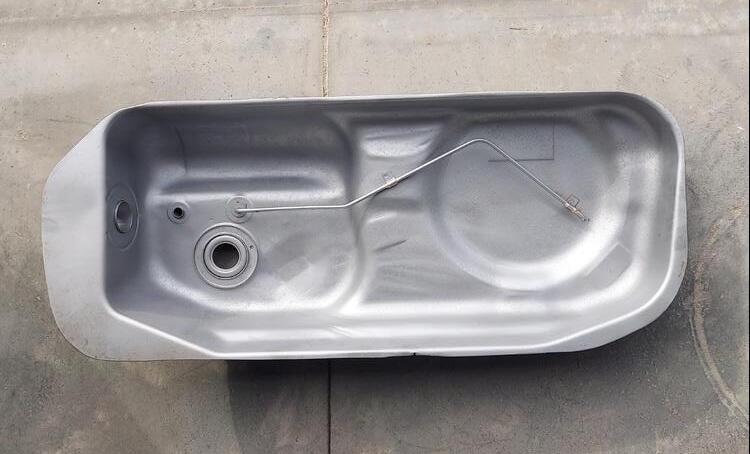
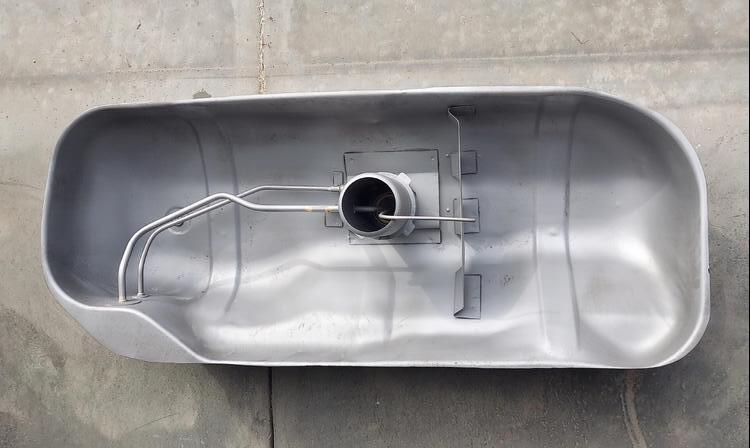
Now for the rust-preventative coating. I knew that if I hand-coated the parts, I'd have to leave an uncoated area near the seam for welding, and then slosh more coating in the tank afterward to cover the seam. I reached out to the manufacturers of several tank coatings. Knowing I would end up with two layers of coating in parts of the tank, I asked for their recommendations. Most advised against it. One supplier, Red Kote, specifically says in its literature that it can be recoated. A phone call confirmed that it would be fine. So that's what I used. I used a brush to coat the halves, leaving bare metal where they would be welded together. The stuff is thick, like molasses, and thickens in minutes. So I had to work quickly to get an even coating. Then we could reinstall the pickup tube (also coated), minus the screen. I made a sleeve from a scrap of stainless tubing and got a friend to braise it together. Then I tackled welded the top half of the canister back on. I touched up each joint after allowing it to cool and giving it a good cleaning. Red Kote smells and acts like PVC pipe cement. It puts off some serious fumes. Acetone is the recommended solvent for thinning it. So I used that to clean each surface immediately before coating.
-
EFI Fuel Tank Restoration
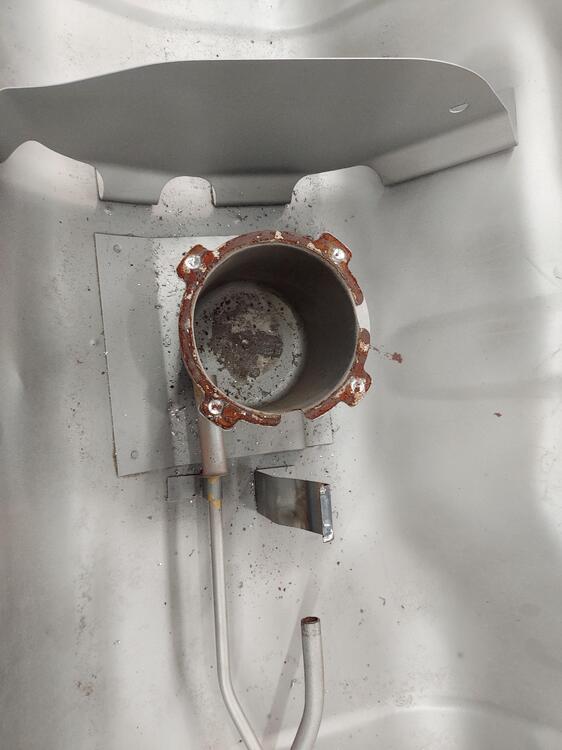
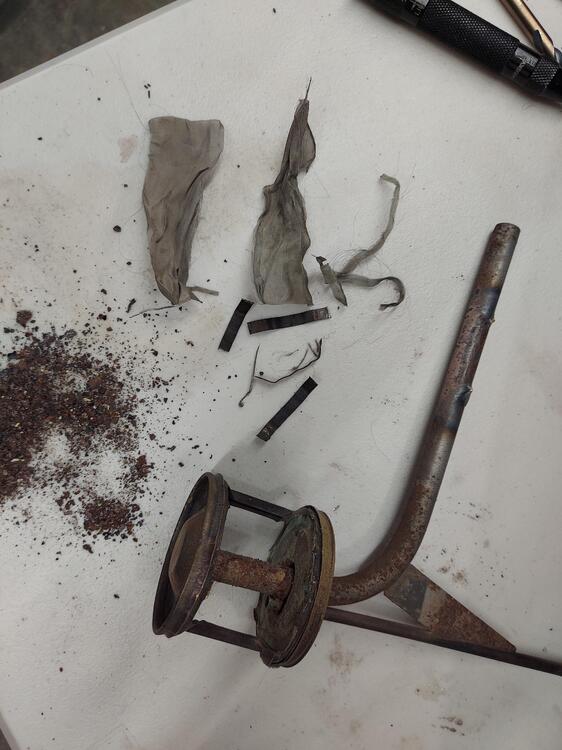
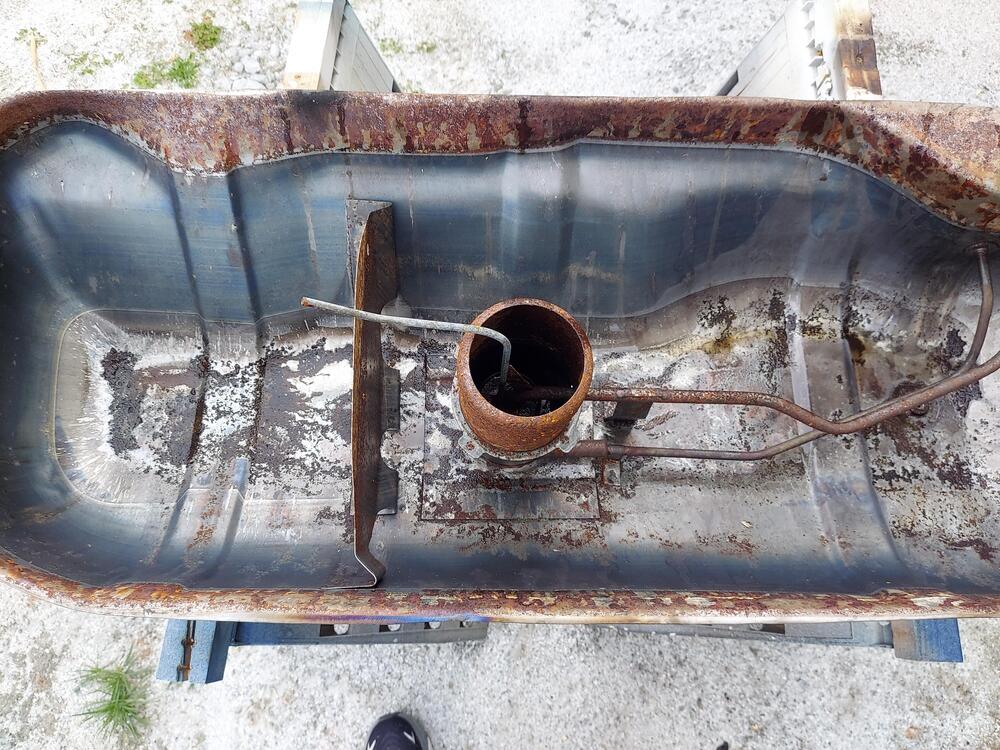
With the majority of it cleaned up, I tackled the screen. I drilled out the spot welds to separate the canister and cut the suction pipe to remove the screen. The screen was almost completely clogged with fine particles of rust. No wonder fuel wasn't getting out. I carefully cut the screen out.
-
EFI Fuel Tank Restoration
Ultimately I gave up on chemical rust removal. For one thing, it didn't fully remove the rust. And as you can see, unless i built a tank and fully submerged the parts, there were sections of baffle that couldn't be treated. I tried soaking rags and other things. But I wasn't happy with the result. Lastly, I read that the coating I chose would adhere better if there was some surface roughness. So I bead blasted the tank halves.
- Today
-
EFI Fuel Tank Restoration
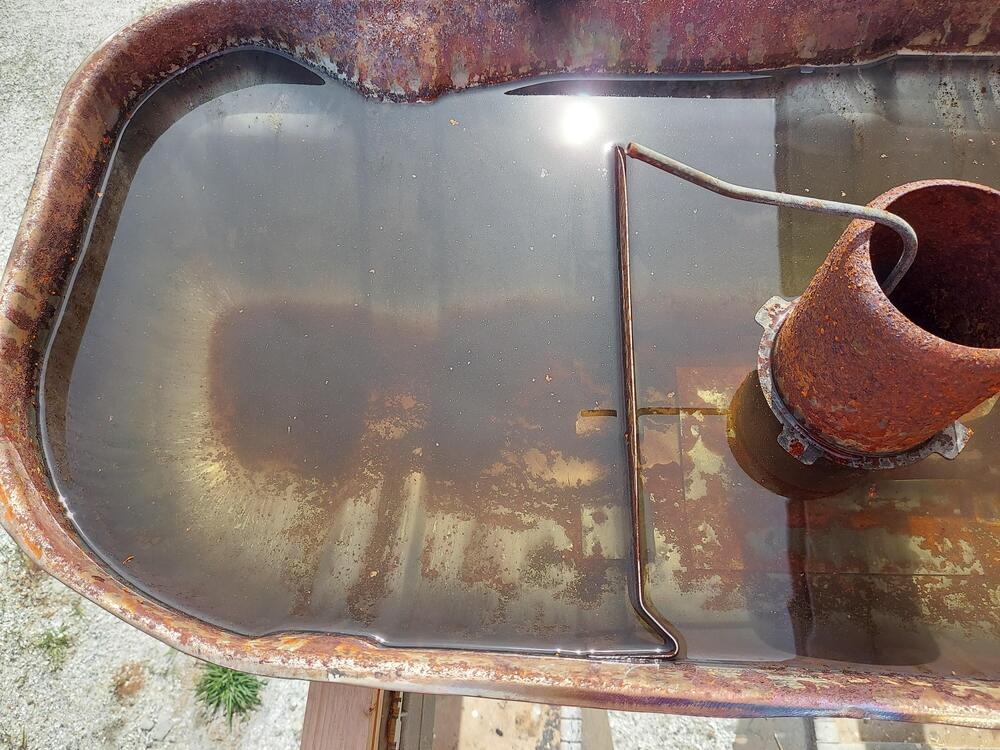
I ended up using a product called Rust911 to attempt to chemically remove the rust. It comes as a concentrated liquid that you add to distilled water to make a chelating solution like Evap-O-Rust. At $95 for enough to make 16 gallons, it was a little more cost effective. During: After Not perfect. But it removed most of it. FWIW, it appears to be just as effective as Evap-O-Rust at about 1/4 the cost when you factor in buying the distilled water.
- Yesterday
-
Engine rough running - at wits end
Huge thanks to Charles for coming over and helping me get the tank back in. It feels indescribably good for her to run under her own power with a complete fuel system. I'll circle back to my fuel tank restoration thread with an update. But in brief: cut tank open, bead blast clean, drill spot welds for screen canister, cut suction pipe to access screen, remove screen, Red Kote everything, reassemble, slosh more Red Kote around seam, bead blast outside, paint. Easy, lol.
-
Engine rough running - at wits end
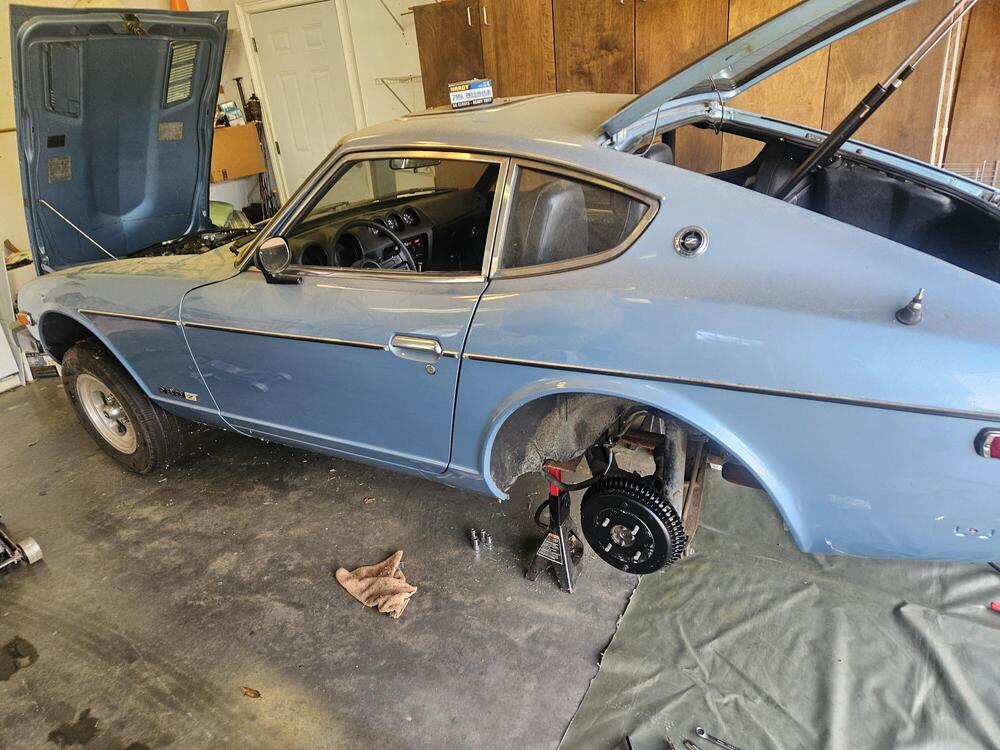
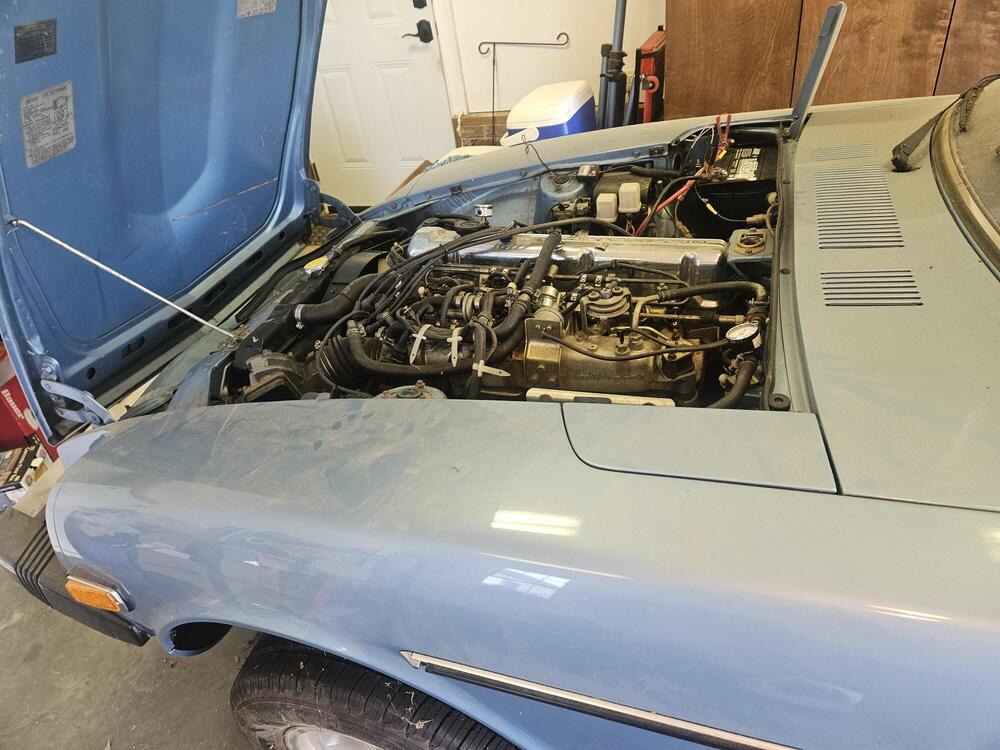
So we worked on the 280z some more yesterday. Put the restored tank back in it and added some fuel. Fuel pressure came up after cranking but wouldn't come up in the "On" position. Cranked up first time. Bolted some wheels on and went for a quick spin!! 20250613_194943.mp4Don't know how to add a video...??
-
w3wilkes started following 1973 240z Custom Wiring From Scratch
-
1973 240z Custom Wiring From Scratch
I'm all LED except for the dash. I used a couple of these from Amazon for blinkers and emergency flashers and they've worked just fine since I installed them back in 2017. Amazon.com: VOFONO 2-Pin Electric Flasher Relay, 12V Heavy Duty 2 Pin Compatible Automobile Motorcycle Bike Scooter Fix Turn Signal Bulbs Fast Hyper Flash,Two Prong Round : Automotive
-
Loss of acceleration when hitting gas hard
Haven’t solved it yet. Having work done on the house and can’t get my car out of the garage. Hoping in a few weeks I can look at it again
-
Do you like the hybrid view or the traditional forum view?
YES!! Glad to have you back :)
-
-
Took some pics of my 240z side-by-side with my 2025 400z
Wow! 😝
-
Loss of acceleration when hitting gas hard
I’m not sure, maybe you’ve worked this out while I’ve been in exile. I have to assume stock L-Jetronic EFI? If so, open the air flow meter and tighten the spring a bit.
-
Do you like the hybrid view or the traditional forum view?
Miss me Steve?
- Series I is more hesitant to Start
- Series I is more hesitant to Start
- Last week
- Z Parts For Sale.
-
Z Parts For Sale.
- Z Parts For Sale.
brenan318 joined the communityTerrapin Z started following Z Parts For Sale.- Z Parts For Sale.
- Black panel on floor?
Got it, I'll give it a look. Thanks!- Black panel on floor?
I mean both, but better to remove wipers and pull cover. I had this exactly problem. We welded a patch in the floorboard at that spot to repair it. Also repaired the holes in the cowl around the air intake. So the water was leaking down the inside under the carpet so you couldn't really see it.- Black panel on floor?
Do you mean pull the cowl plate off and look or looking up from the passenger footwell?bpilati started following Black panel on floor?- Black panel on floor?
Check the area under the cowl cover where the wiper motor is. The air intake tends to rust out under there allowing was to run down the firewall to the very spot where your rust hole is. If that is rusted through you'll need to repair that as well.greene_rache joined the communityinline6 started following Parts Wanted: Wanted: 71 240z front left bumperette rubber and Hubcap spinning on wheel- Parts Wanted: Wanted: 71 240z front left bumperette rubber
Some options to investigate: https://upgarageusa.com/pages/nos-parts-we-have-instock-for-1969-1995-z-cars https://vintagerubber.com/datsun-240z-260z-front-bumper-guard-over-rider-strip-kit-69-72/ https://jdm-car-parts.com/products/front-bumper-over-rider-vertical-strip-set-for-datsun-240z I believe I have a spare set of aftermarket ones as well - I think of decent quality. Let me know if you would like to see some pics of them.- 1973 240z Custom Wiring From Scratch
I just switched to OEM flasher relays and tried it with the LEDs still installed. No change. The lights come on but don’t flash. Then I pulled the LEDs and put incandescent bulbs in, which totally fixed it. So it’s the flashers and/or the LEDs and not the wiring. I am going to try swapping the wires over the weekend and putting the LEDs back in (no time right now. Work deadlines). If that fixes it I’ll just leave it like that until I get around to buying new relays.- 1973 240z Custom Wiring From Scratch
I used the two prong electronic flashers for a while after converting to LEDs. I found that some of them had spotty performance. After that I switched to 3 prong flashers and grounded the third prong. That has provided reliable performance for years.
Important Information
By using this site, you agree to our Privacy Policy and Guidelines. We have placed cookies on your device to help make this website better. You can adjust your cookie settings, otherwise we'll assume you're okay to continue.


