All Activity
- Today
-
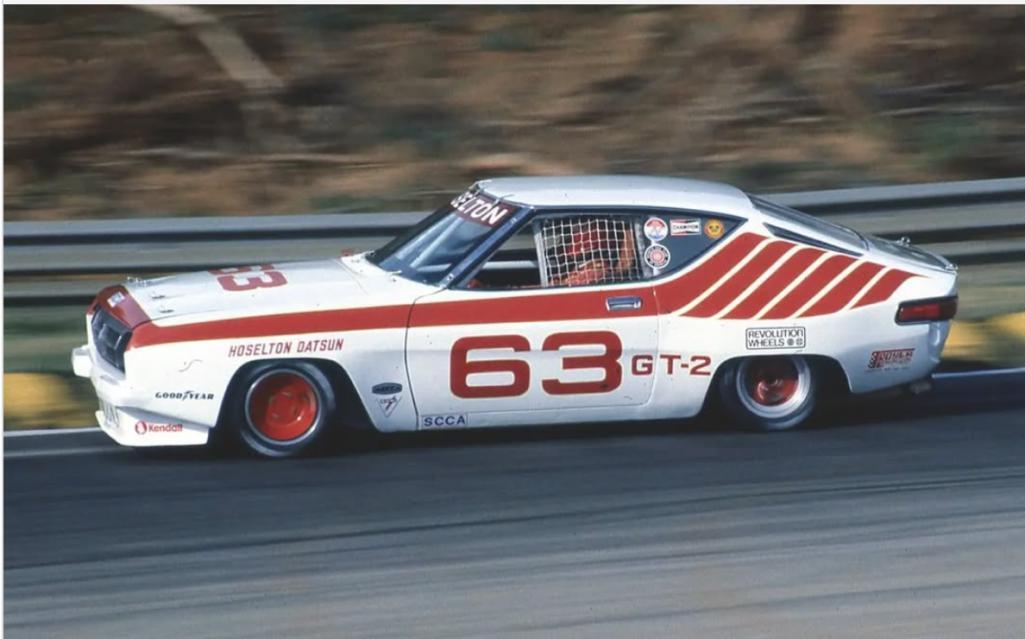
 Sedan racing
-
 Sticky pistons on 4-screw round tops. Not ideal. About the only things that would account for that would be a) severely misaligned nozzles underneath or b) mismatched domes/pistons. You can check for the mismatching between the domes and pistons by taking the domes off, pulling the pistons out of the carbs and then sliding the pistons into the domes and see if they move smooth and free (while the dome and piston are in your hand, not mounted to the carb body). And you can check for misaligned nozzles/needles by either removing the needles out of the pistons, or by loosening up the nozzle alignment nuts on the under sides the carbs and seeing if the pistons move free while the nozzles are way loose.
 -
 I have also used a plumb laser to do frame measurements on my Z. I began by taping together a bunch of poster board sheets to form a single big rectangular sheet that was long enough to go from bumper to bumper and wide enough to just fit between the inner sidewalls of the tires. Once I had it in position under the car, I taped it to the garage floor so that it wouldn't shift while I was lying on top of it taking sightings on the various targets. Once I got the laser aligned with a target, I used a Sharpee to make an 'X' mark on the sheet (along with a little note to record what target it was for). After I had marks for all of the targets, I pulled the sheet from under the car and laid it out on my workshop floor so that I could make the various target-to-target measurements with a tape measure. This system works pretty well for most the undercar measurements. The car can be sitting on its tires, but it needs to be elevated a bit (I used wheel dollies) so that you'll have enough room to slide underneath. However, it won't help you with the fore-aft locations of the shock towers unless you remove the struts and sight the laser down through the hole in the centre of each shock tower cap (the procedure for this is to put a piece of wide masking tape across the hole, trace the hole outline with a pencil, mark two intersecting centrelines, and then poke a small hole at the centre point for the laser to shine through). You'll also need to set up some kind of the platform above the shock towers (I used a length of 1 x 6 lumber) to give you a perch for the laser to sit on. Additional requirements: You'll need to get the car up on axle stands. Don't do any of your measurements until the car is up on the axle stands. You'll need to get the lower control arms out of the way b/c they'll block the laser beam from reaching the floor. This isn't too hard to do at the front (the LCA's can be folded up to a near-vertical position after the struts have been removed). I'm not sure whether this can be accomplished quite so conveniently at the rear (I didn't try). It might be necessary to actually remove the lower control arm from the car ☹️.
 -
 I’m rebuilding my round top SU carbs on my 1971 240z and after everything was cleaned and put back together one of the pistons keeps binding in the dash pot when the top is screwed down. I’ve switched tops and the same thing happens. The jet and needle don’t bind at all and the piston slides freely with the top not screwed down. I’ve tried tightening the screws gradually and making sure the piston slides freely as I go but every time the screws are fully tightened the piston gets stuck and won’t fully drop. Any suggestions? Do the screws need to be fully tightened for the carb to function or can they be snug without causing issue? The carbs are 4 screw tops.
 - Yesterday
-
 Hi cgsheen1! Thanks for the recommendations. I am running the latest version of Microsquirt, 440cc Bosch injectors, Spartan 3 v2, crank 36-1 wheel with HALL sensor, LM7 truck coils with batch firing, AZC oil pan. I will try making Microsquirt work with the turbo (no sequential ignition). I have only one output left (relay) which I can use for an electric fan, for ex. I was aiming for 8-10 lbs of boost to play it safe and keeping my stock rear diff/half-shafts alive. I looked up some parts from rockauto and here is a list if it works? EXEDY 06030 clutch kit, 1975 2+2 Flywheel: AMS AUTOMOTIVE / RHINOPAC 167304, for 2+2 model Throwout bearing, WJB / INMOTION PARTS WRDNE01576C (any manufacturer preference?) Hopefully, if the car parts are for 2+2 model, I am not going to run into any issues with the fitment/clutch fork throw. I just installed a brand new master and slave clutch cylinders (for my 280z 1976 model). Will this create a problem? (I checked the part numbers, they are the same for 76 and 75, I think I should be good here). I started a thread here on hybridz dealing with my project: https://forums.hybridz.org/topic/136053-76-280z-microsquirt-project/ Thanks! Den
 -
 Yup. Most of the pertinent info on Hybrid will be from 10-15 years ago. And probably most of the picture links won't be there anymore. I used to post a lot there but haven't been on in years... A 225mm flywheel and clutch package won't hold the torque of a turbo engine. I originally used the 260Z stock clutch and transmission (and R180) and realized after one drive the clutch wasn't going to do it - and that was at factory boost. I've been using an Exidy 240mm clutch and flywheel package for 12 years or more (well, 2009... How many is that?). I've been running 10-12 pounds of boost for quite some time. (You control boost with your RIGHT FOOT and even when you're driving hard, you're not always at full boost. Most of your driving time time is not in boost at all and if you're sized and tuned correctly, you're in and out of boost fluidly - turbo lag becomes a myth) If you're going turbo DO NOT go with a LIGHTENED flywheel! You need the spinning mass IMO.
 -
 I have no idea if I did or not, but feel free to copy it over there, or maybe @Mike can duplicate the post there.
 -
Even though you put a ton of work into fixing up your old garage, I guess it wasn't too difficult to leave it behind in return for a clean, modern garage already equipped with a good floor, good lighting and three bays (not to mention a separate, two-level barn for storing panels and parts. 👍
-
 They have a hinge mount plate on the inside that will fall when the bolts are removed.
-
Actually, because of safety, some organizing bodies forbid chest straps without something to hold the shoulder belts from slipping out.
-
 Pictures would be good. You can probably get a view from inside the open door, towards the front. If they bolt from the outside in, the fenders will need to come off unless you don't value your paint...
 -
 No as far as I know with the introduction of fuel injection they switched from inside to outside as they where in the way of the ECU and fuse panel.
 -
Namerow got me searching... You can buy trammel point on Amazon pretty cheap. Add a 1x2 thats long enough and you should be good to go... https://www.amazon.com/s?k=trammel+points&crid=K19KM88E6XBD&sprefix=tammel+heads%2Caps%2C343&ref=nb_sb_ss_p13n-pd-dpltr-ranker_1_13 My frame man uses them alot to make sure the car is square and even. You set it for one side or one diagonal and the mirror side should be identical
-
Do they not bolt from the inside out?
-
 I appreciate the explanation and truly feel your pain doing this in the vehicle.
 -
@Matthew Man, Coming in late here. Decided to go through unread topics I missed and ran across your post. Any chance you posted this to the resource guide for future reference?
-
Yarb, it is the gasket I found at Rockauto. I think it is a cork type. Steve from AZC recommended to use the RightStuff gasket maker. I used it in the past, it seals well, and is a major pain in the neck to deal with if you want to remove stuff. Steve mentions it in his note with his oil pan that the best way to install the oil pan is with the engine out of the car :-) I wish it was my case. With an oil pan installation, the clearance on the 280z is tight already. The oil pickup on the AZC pan creates an issue trying to install the pan without jacking up the engine to give more room. If I use an RTV like RightStuff, I would swear that stuff all over while trying to install it. It would be a mess. What I did is to put a thin layer of black permatex onto the AZC pan and glue the cork gasket to it. Give it a few hours before the final installation. Now I can move the oil pan around the oil pickup with all my bolt holes nicely lined up etc. The gasket wouldn't move it I bump it against something. Apply some black permatex in 4 areas the FSM talks about, and you are all set. I don't think it would matter if it was a cork type gasket or a rubber one. I just need some material to seal the oil pan against the engine. I am sure some other guys have a different way to deal with it. If my engine was out of the car, flipped over, I would be happy to lay a nice bead of the RightStuff and carefully place the AZC oil pan on top of it. I am sure there would be no leaks since this stuff truly seals.
-
I do have a question out of curiosity, Why do you choose to use a cork gasket. I am definitely not a resource on gasket types used but I personally have not seen an old cork gasket that they used in the 70’s era on a Datsun. I realize I’m opening myself up to criticism.
- Last week
-
 Fast2go joined the community
 -
I installed the AZC pan, very nice piece. No leaks yet - I used a cork gasket with a few small blobs of black RTV in the areas suggested by the FSM. It might be in my head, but the engine noise had quietened down since the pan installation.
-
Thanks, Yarb. I am on hybridz too, I joined it when I started exploring the Megasquirt/turbo upgrade (I was getting fed up with the AFM/running lean etc lol). There is less traffic now as it used to be.
-
@Zed Head I was merely stating that most folks here haven’t gone that route and trying to be helpful of pointing him in that direction if needed.
-
 @cgsheen1 has turbo experience. darom is already on Hybridz anyway.
 -
Going with the turbo will probably result in getting most of your answers from Hybrid Z’s site. Not a lot of folks here have gone that route.
-
Hi Zed, unfortunately I didn't take a picture of the back side of the PP. I did inspect it, it looked like a brand new brake rotor, no scratches, smooth surface. No discoloration. Appreciate you checking it out for me. I took the car for a test drive - the shifts were fine, no slipping. Re: the turbo - I am looking at the Protunerz turbo kit. A larger flywheel (240mm) is probably what I am going to end up with. I am sure I will have questions for you guys here on this forum later on :-)
-
 Glad to see you back.