Topics Last Week
Showing topics, images, events and files posted in for the last 7 days.
- Today
-
 There's nothing stopping the fluid flow when bleeding, that's why the pedal drops to the floor. The fact that the pedal is hard after bleeding shows the bleeding was effective. All of the air was removed. Before, when you were pumping the pedal you were comnpressing air in the hydraulic lines. Brake fluid is not very compressible, air is. Overall, really, what you're describing just sounds like a booster that's not boosting. No vacuum source or a mechanical problem internally. The system is designed for the force amplification of the vacuum booster. A simple test for a bad booster is to press the pedal with the engine off and note the distance, then compare it to a press with the engine on. The pedal should sink more with the engine on. You changed several parts at the same time so it can be hard to figure out which part had which effect. I would first confirm that you have vacuum to the booster. Do the test above or just start the engine and remove the hose from the booster. The engine should rev higher or die. If it does, you have a booster problem. If it doesn't yoor vacuum hose is blocked.
 -
 May have to bring back the card catalog. I remember one too. I will check my bookmarks
 - Yesterday
-
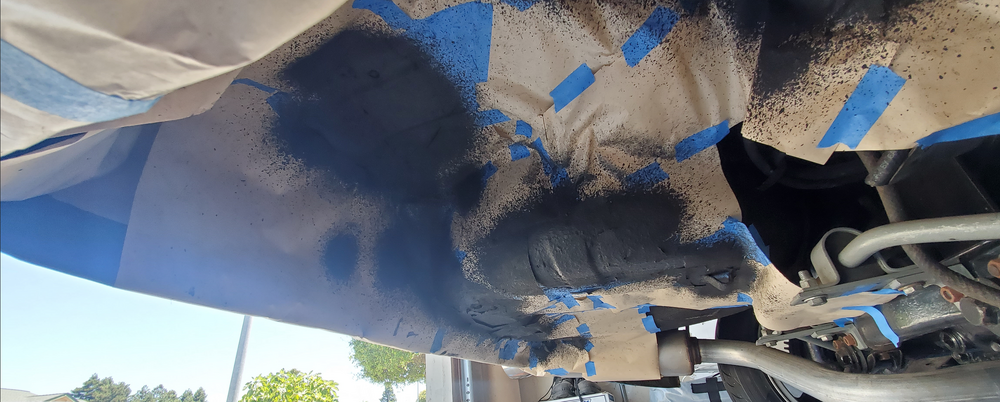
 Circling back as I just wrapped this up. My air compressor was having some issues and wasn't very consistent, so I had to do some repair work on that. After getting that fixed, spraying a few more test shots it looked a lot better. Ended up taping up the underside of the car and plugged the frame rail fuel hose pass-through with a piece of fuel hose with some tape wrapped around it to block the holes. Ended up spraying 3 coats, waiting about 10 minutes between each coat and I'm very happy with the results. It ended up being quite close compared to what was there.
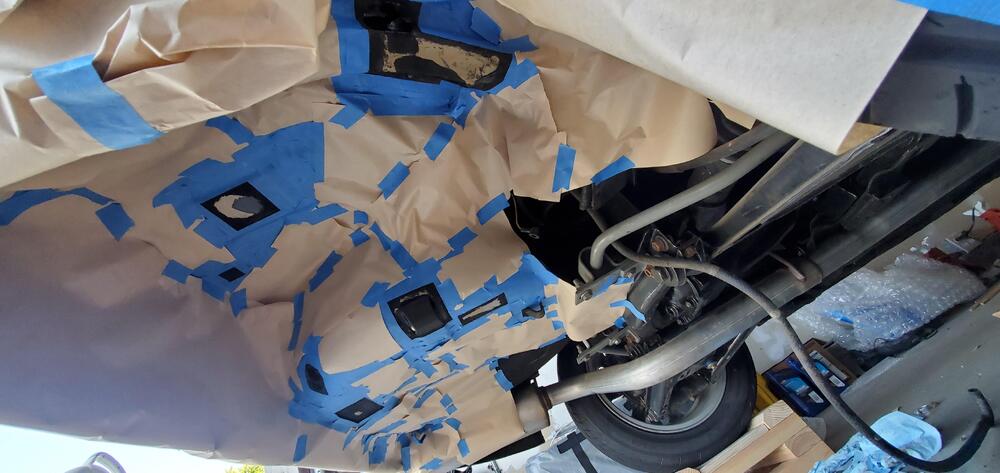

-
 It’s possible to make them. We’ll just need the original OEM parts to create the molds.
 -
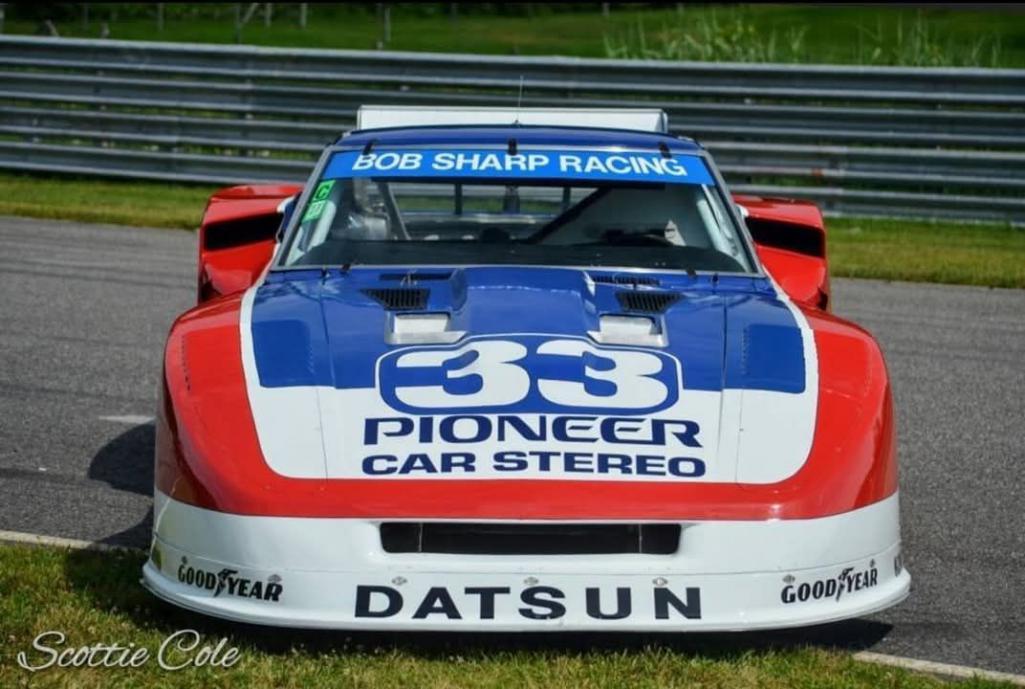
 33
33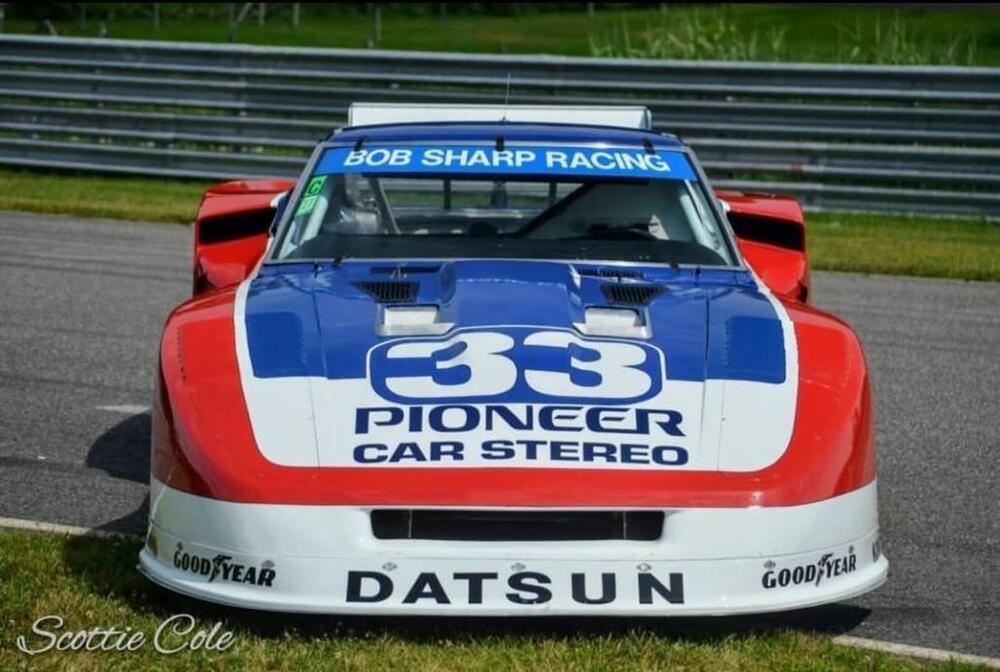
-
 Thanks for sharing the PDF with the Datsun Torque Specifications. It'll come in handy for me.
 -
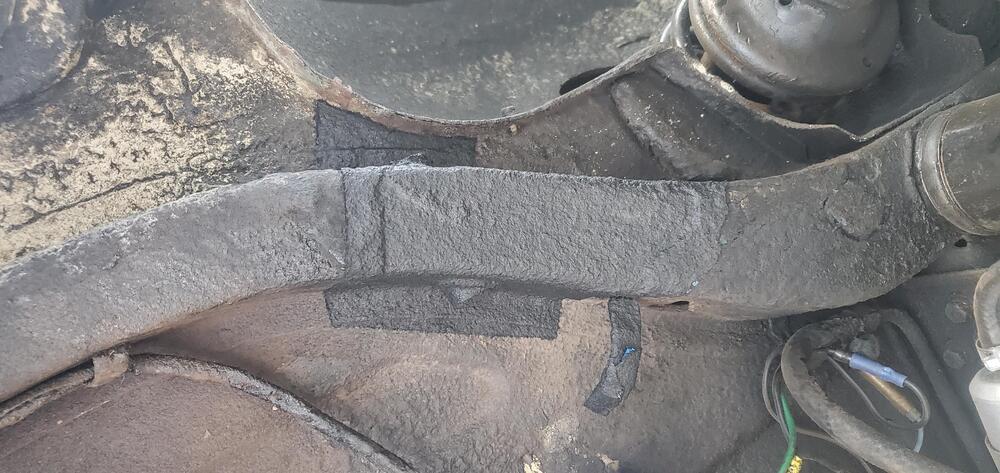
Some noise.
-
-
 Hazard switch test: Remove the hazard switch. Use the ohmmeter function on the meter. (I hope it's not just a voltmeter.) Look at which pins correspond to the green/blue, green/red, and green black wires. Turn the hazard switch on. Measure the resistance between the pins that line up to the green/blue and green/red wires on the dash harness. (Note, the switch may have wires with different colors.) Record the result. Measure the resistance between the pins that line up to the green/blue and green/black wires on the dash harness. Record the result. Report the results of this test. Turn signal test: Put your meter on DC voltage. Reinstall the hazard switch and ensure it is off. Turn the key to ON. You don't need to start the car. Find the flasher relay that has a green/yellow wire and white wire running to it. Disconnect the flasher relay. Measure voltage to ground at the green/yellow wire. Record the result and report your reading.
 - Last week
-
 A true beast, so very well thought out. Awesome work! Safari Gold rules!!!
 -
 Hi @HusseinHolland! Any updates on this project? Curious, if you finished the 350z tranny adaptation in your 1st gen.
 -

-
 There's also a keyway cut into the body. It was exposed once you took out the retaining bolt and the piece of metal that holds it in place. If you have a non-ZX transmission it sucks that it's on the top but you said you could turn it. It is a place that you could try prying... Honestly, I've never seen one stuck that bad - and we've seen a lot of transmissions over the years - even series one monkey shifters.
 -
You are correct… That pan is thick aluminum and the baffles inside are just amazing. Not sure I will make it to the track. It’s a stage 4 build from Datsun Spirit. Eiji did an amazing job.
-
 Wow! Thank you. I don't think I'll get a PDF unfortunately, but will get a Kindle version which is good... thank you so much.
 -
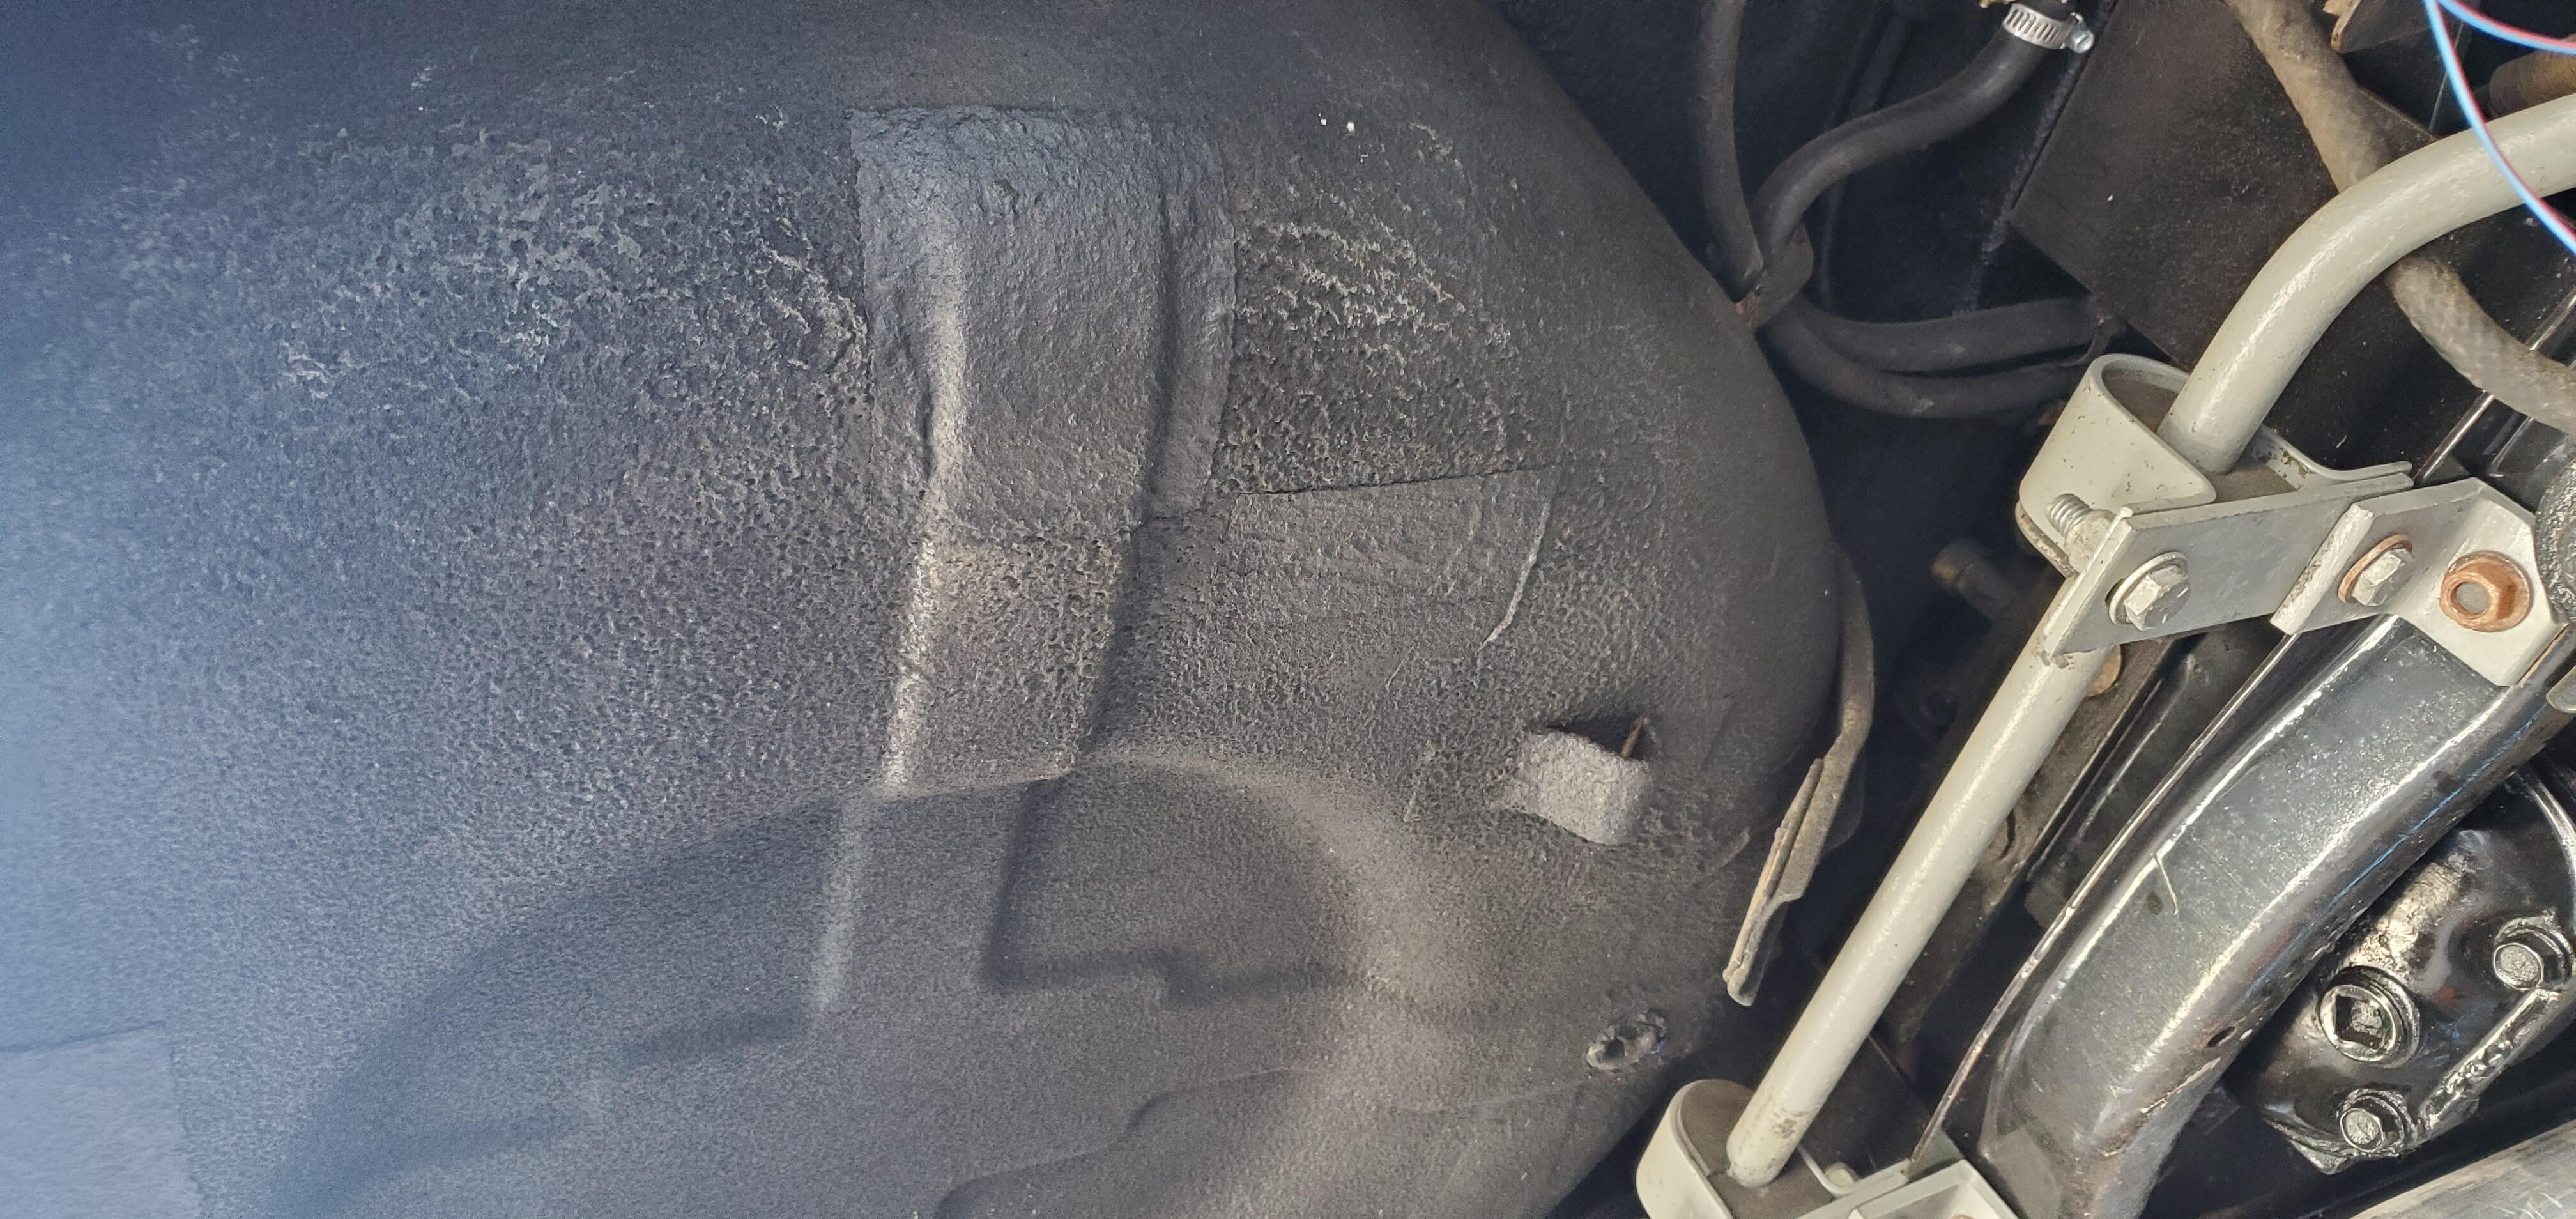
 I have dealt with dust boots on master cylinders like that in other applications and have sometimes had troubles getting them to fit through the hole in the firewall. Not sure if that's because they had swelled over time or if they were poor fitting aftermarket items. Bottom line? Maybe measure the hole in the firewall and see if you even have room for a boot in there before you scour the universe looking for one?
 -
 This topic has already been pretty thoroughly discussed by CZCC members. Here's a good place to start...
 -
 http://www.zcarblog.com/wp-content/uploads/2025/07/IMG_6508.jpeg James’ 1972 S30 is back on the road. At the heart of this beast is a turbocharged L-series managed by Haltech. Chassis upgrades include custom full-length subframe connectors, CD009a 6-speed transmission, KW Suspension, ZCG CV Axles and Big-Brake Kit (328mm) behind RS-8 wheels restored by Love20bee. Inside, a stack instrument cluster was integrated into the gauge pod, viewed from leather Recaro Pole Position seats: http://www.zcarblog.com/wp-content/uploads/2022/03/IMG_6841-1024x768.jpeghttp://www.zcarblog.com/wp-content/uploads/2022/03/IMG_6859-1024x768.jpeg http://www.zcarblog.com/wp-content/uploads/2021/10/IMG_8391-1024x768.jpeg Enjoy the video of this boosted S30: View the full article