HusseinHolland
Community Member
-
Joined
-
Last visited
Everything posted by HusseinHolland
-
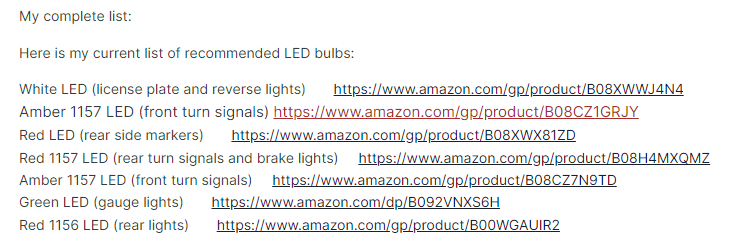
Thanks Steve - I'm am confused about the side markers - the link is for 1156's - I thought the side markers were a smaller base? I have not dismantled them yet. Tail lamp uses 2 or 4 (total) 1156's? Front side markers would also use 1157 in amber assuming they are also directionals - I've not paid any attention honestly - one of the two Amber listings should say front side markers? EDIT - went out to the car (75 280Z), I have: 4 small bulbs for side markers, single filament. 2 amber 1157 front signal/park. 2 1157 rear signal + tail. 2 small base park. 2 1156 brake lights
-
Doing a quick google search I'm not coming up with a reference list of suitable LED bulbs to replace the side markers, parking & taillamp bulbs. The Instruments I already swapped out for LED, except the tach due to the reversed polarity. Is this something you have already documented? I also noticed in your video your car doesn't have the wheel arch liner & forward splash shielding I had to remove to get to the bucket. Would have been easier if I had removed the wheels, but I was being stubborn 🤪
-
Thanks Steve - I actually need it for the drive to work 🙂 - I teach high school, so I'm out the door by 6am.
-
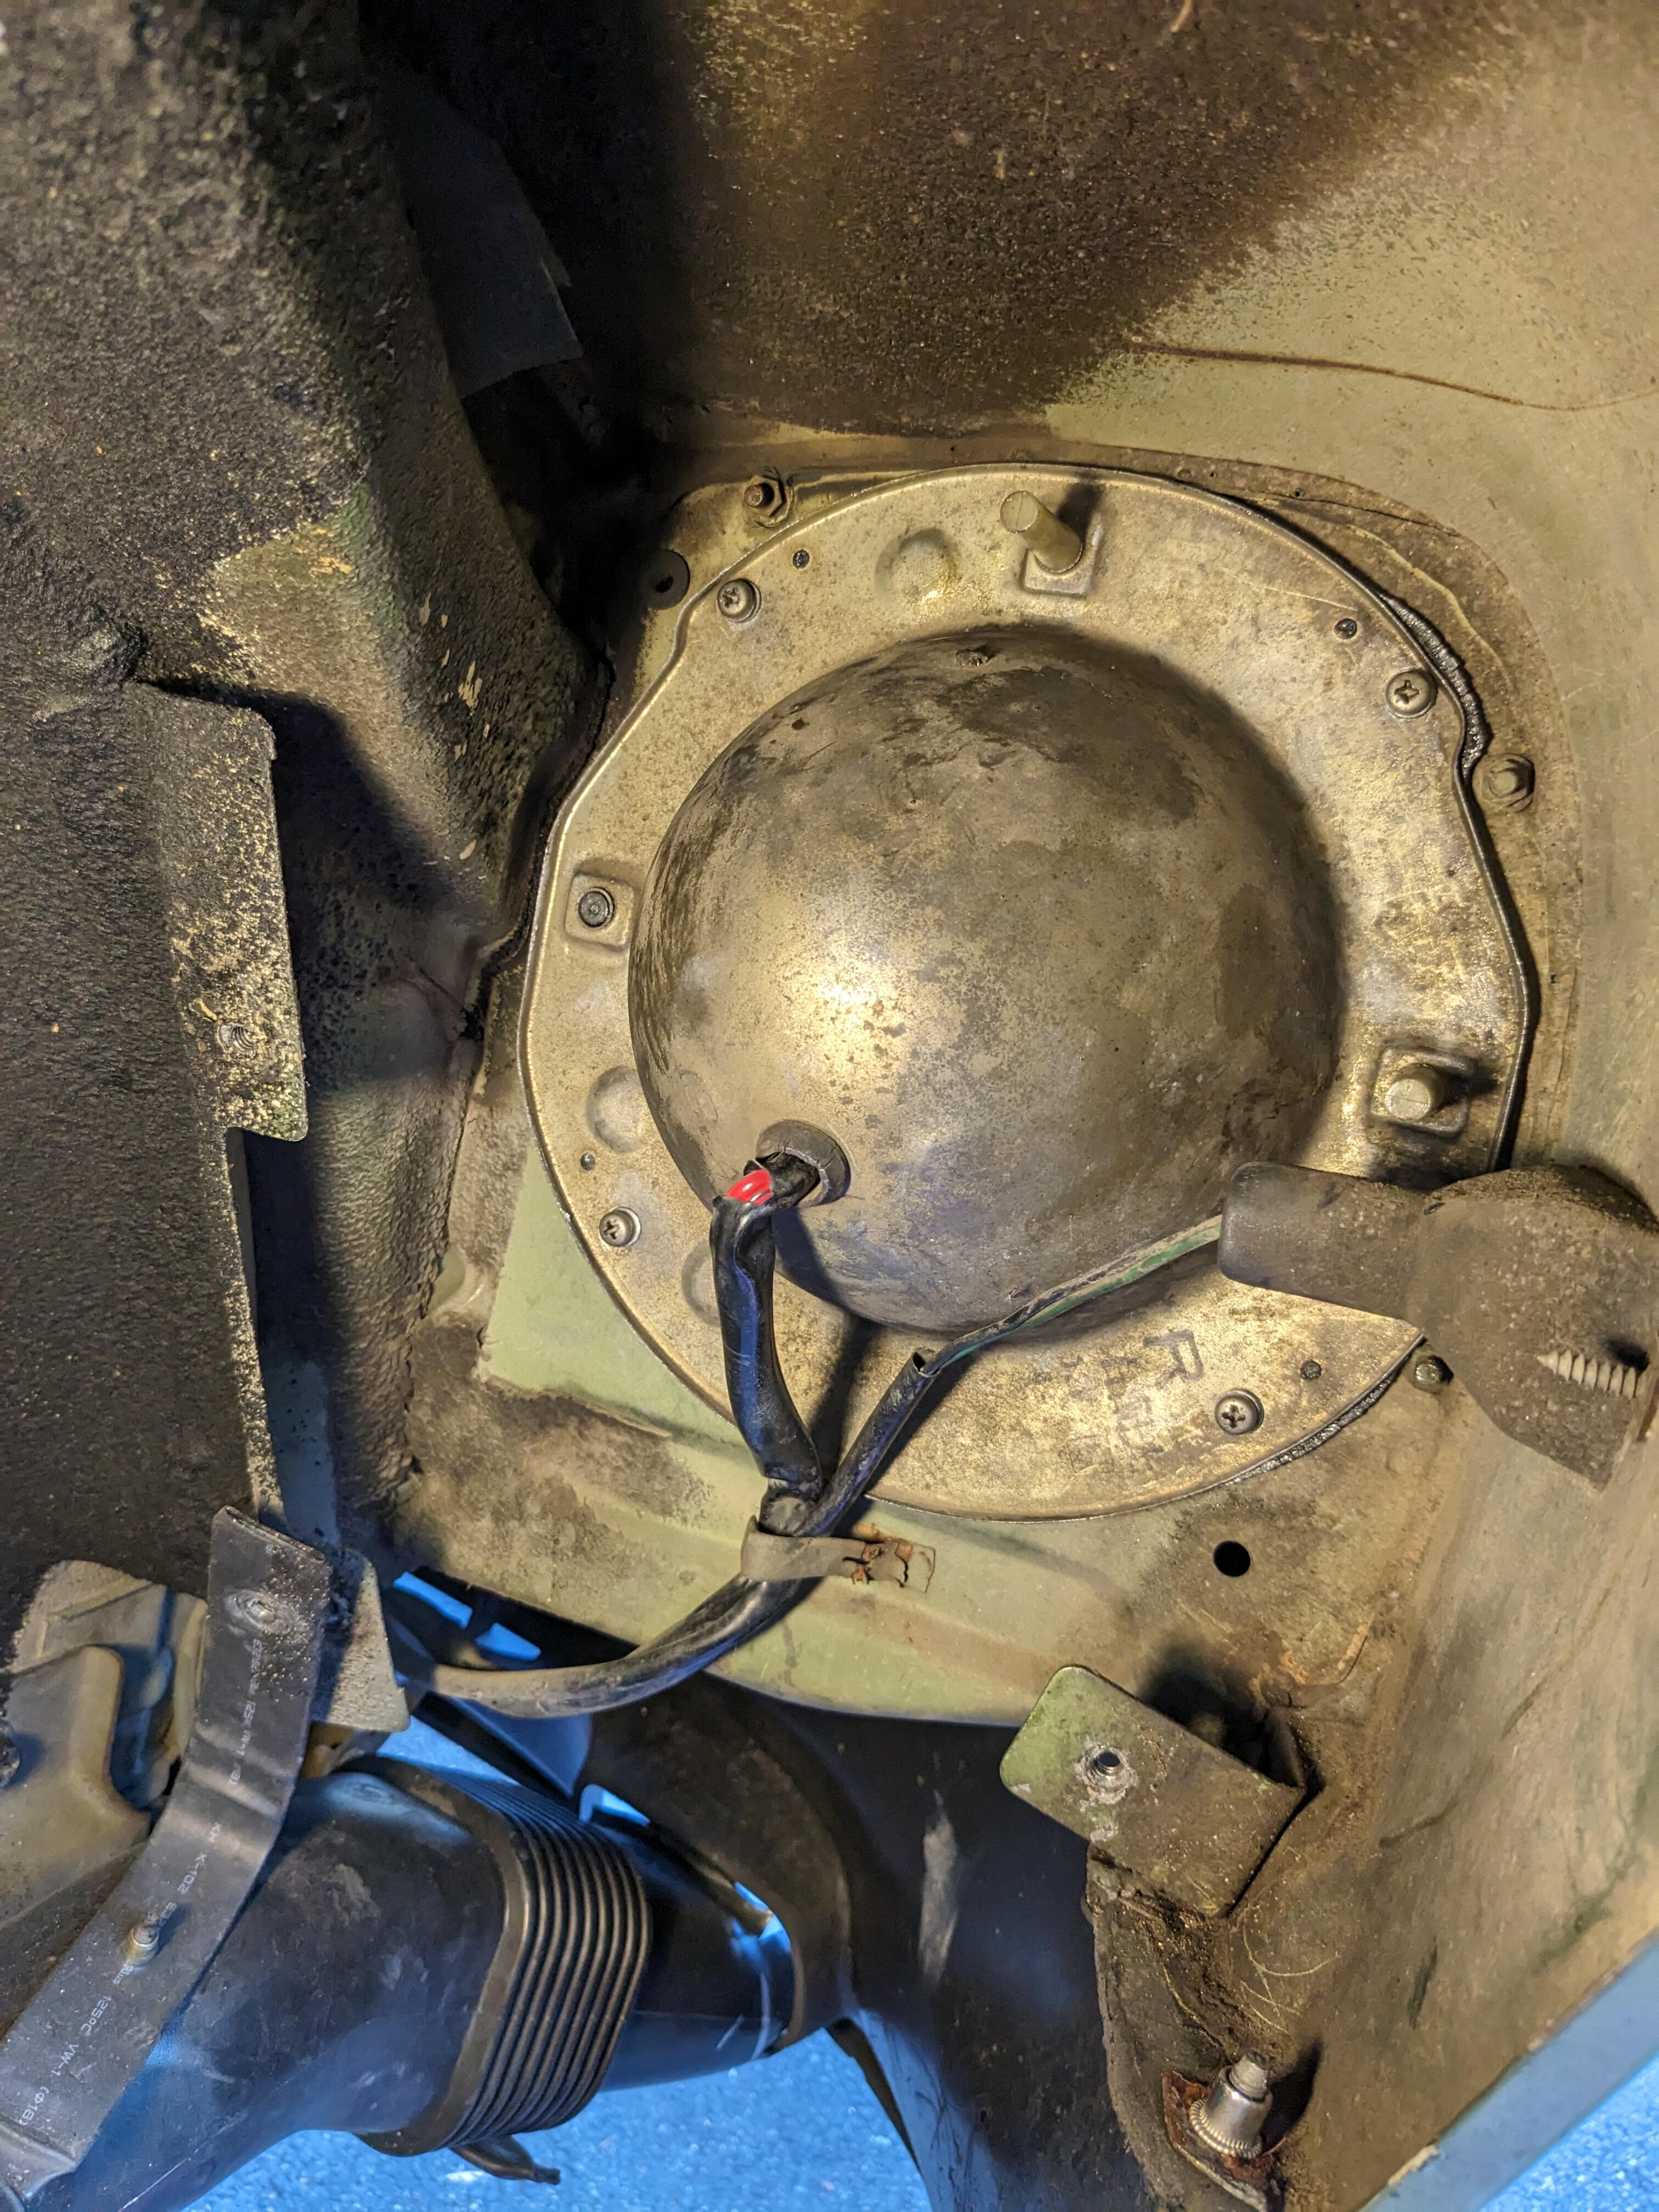
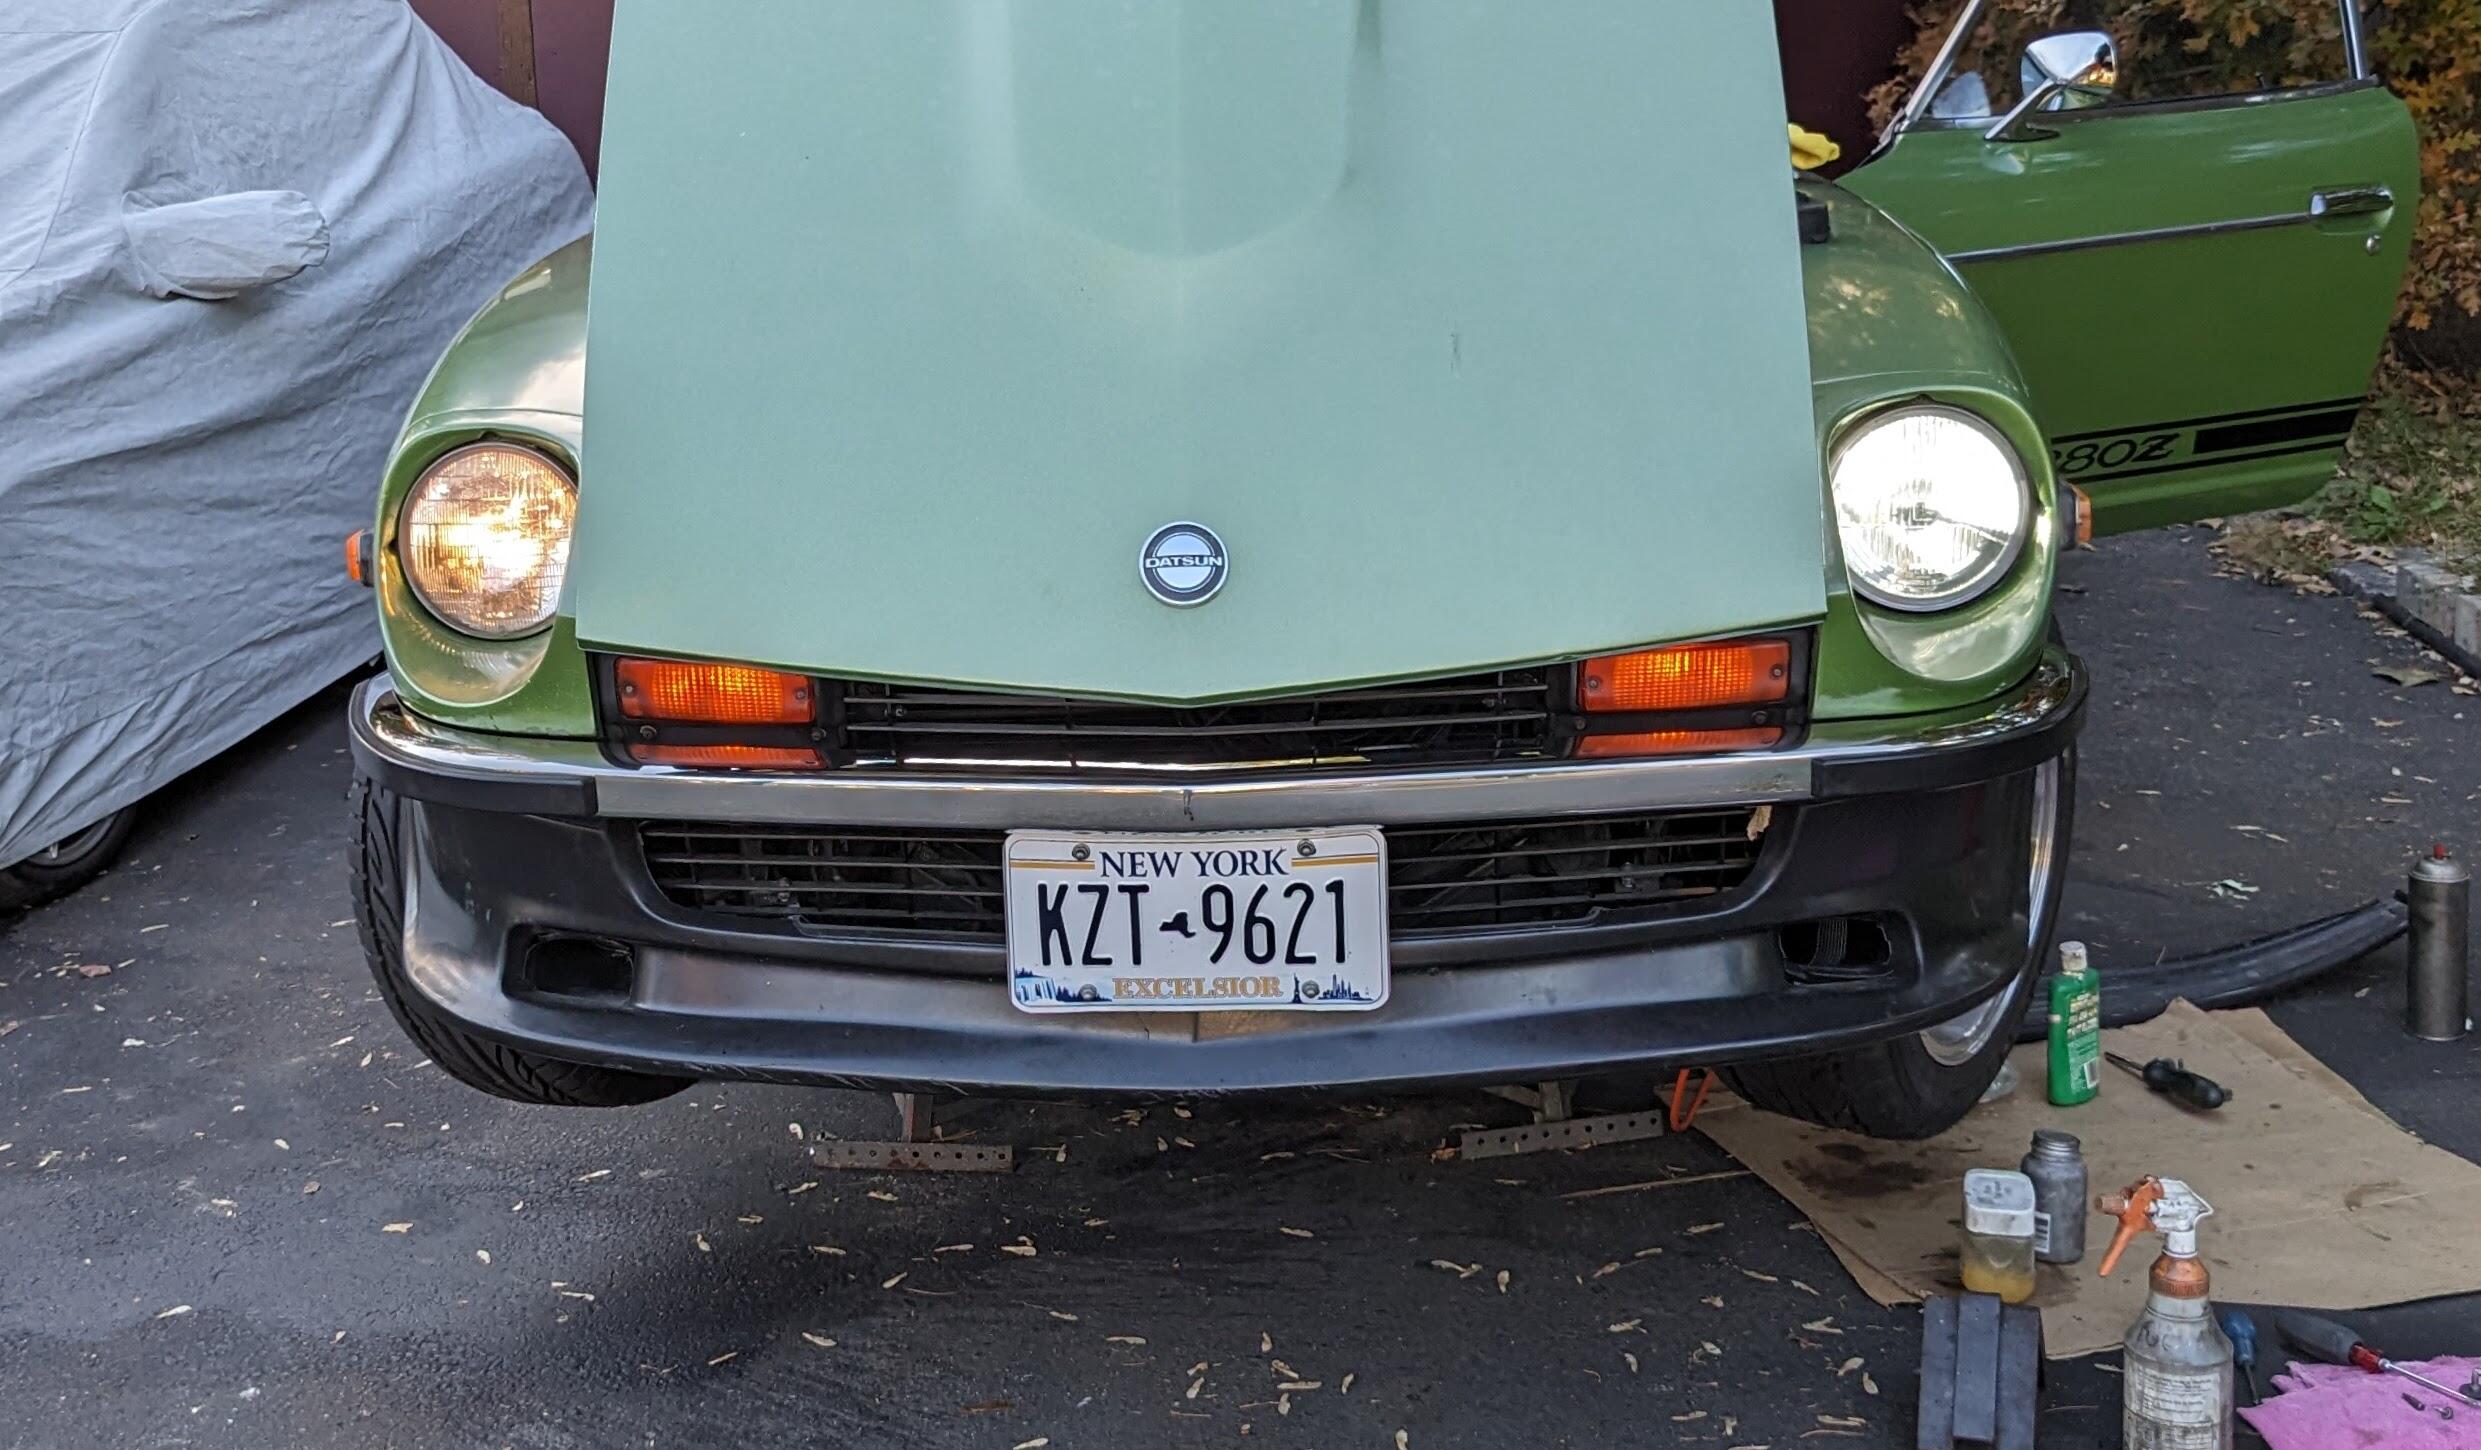
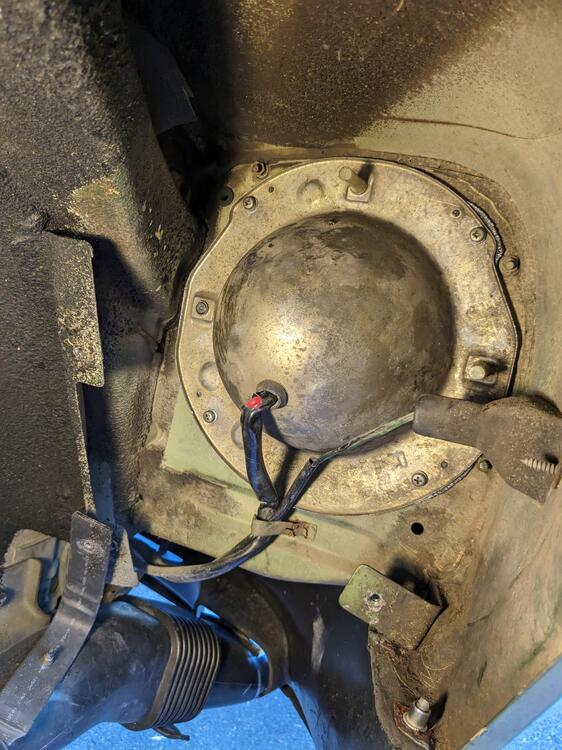
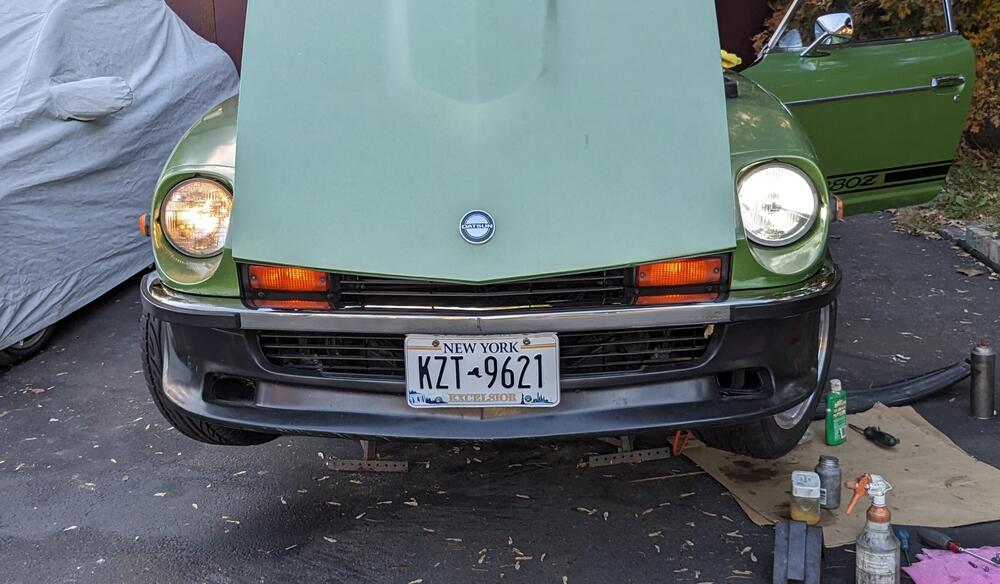
I put in my old Hella H4's (from the X1/9) with the LED bulbs Steve recommended. One of them has water damage, so I ordered the Kioto H4 housings while they are still available, at such a good price. housings came out smoothly, no snapped or stripped hardware. I didn't order new gaskets, so I cleaned & lubricated them for reinstall Comparison of sealed (low) beam to LED
-
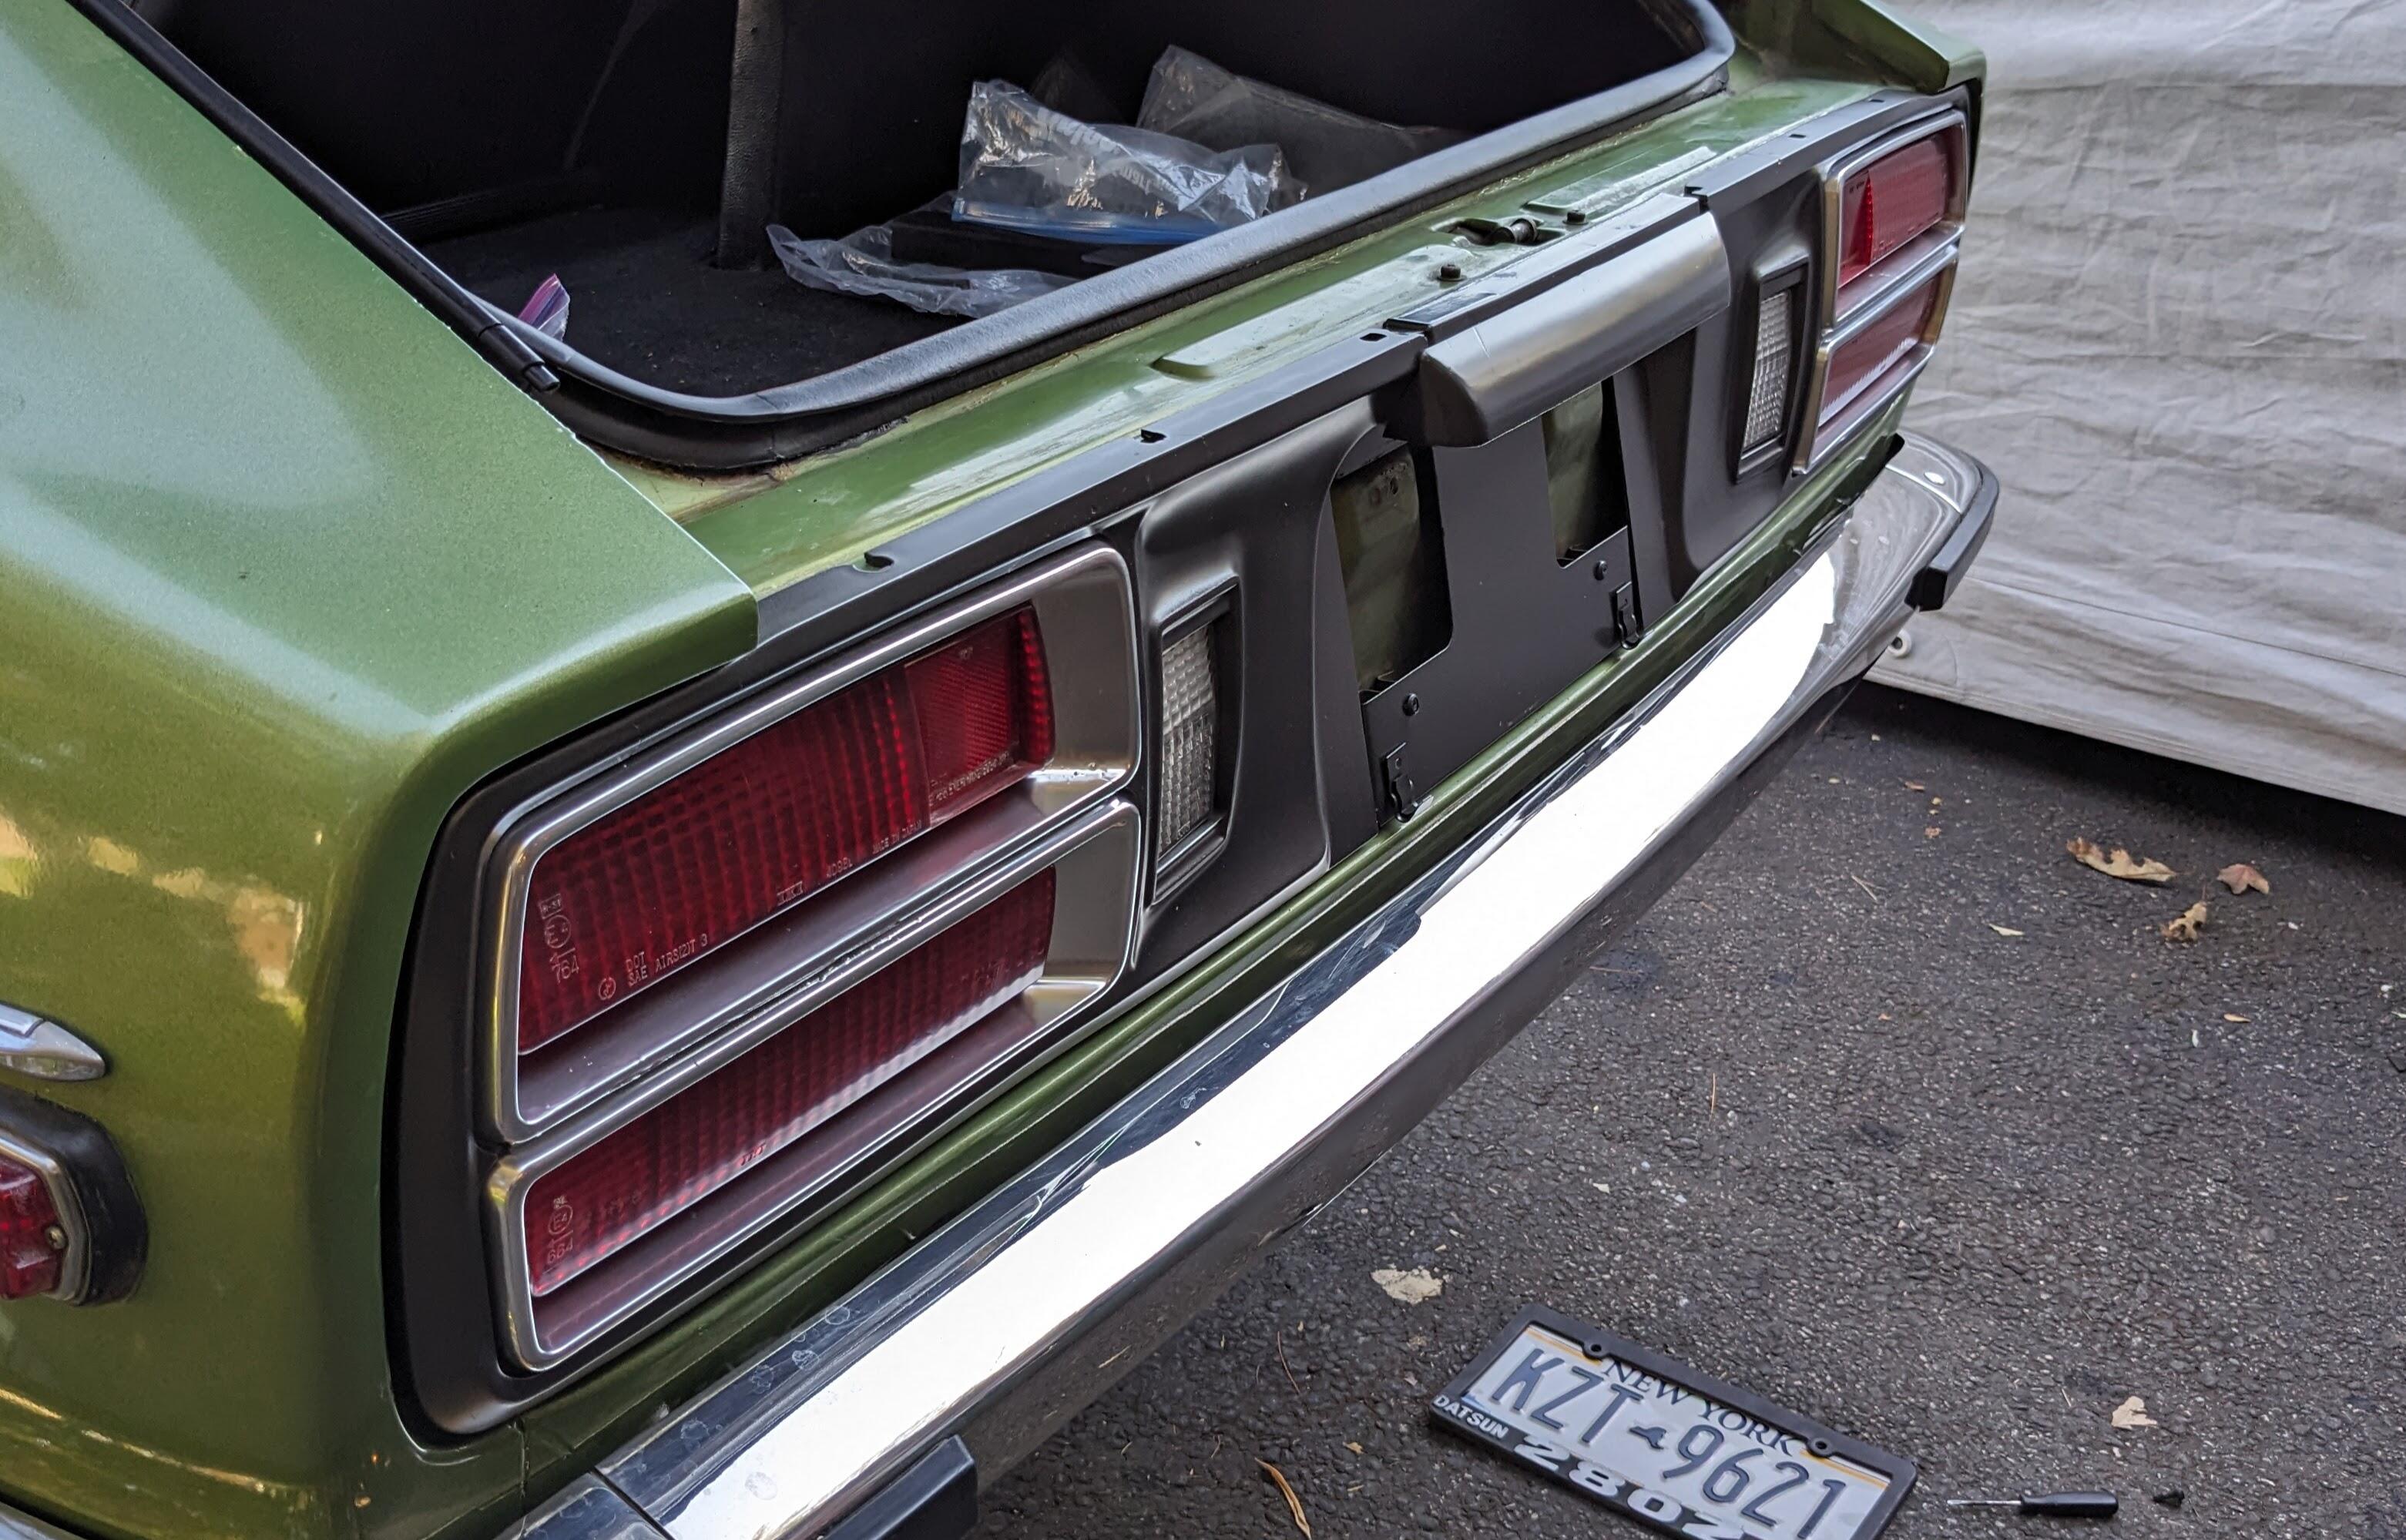
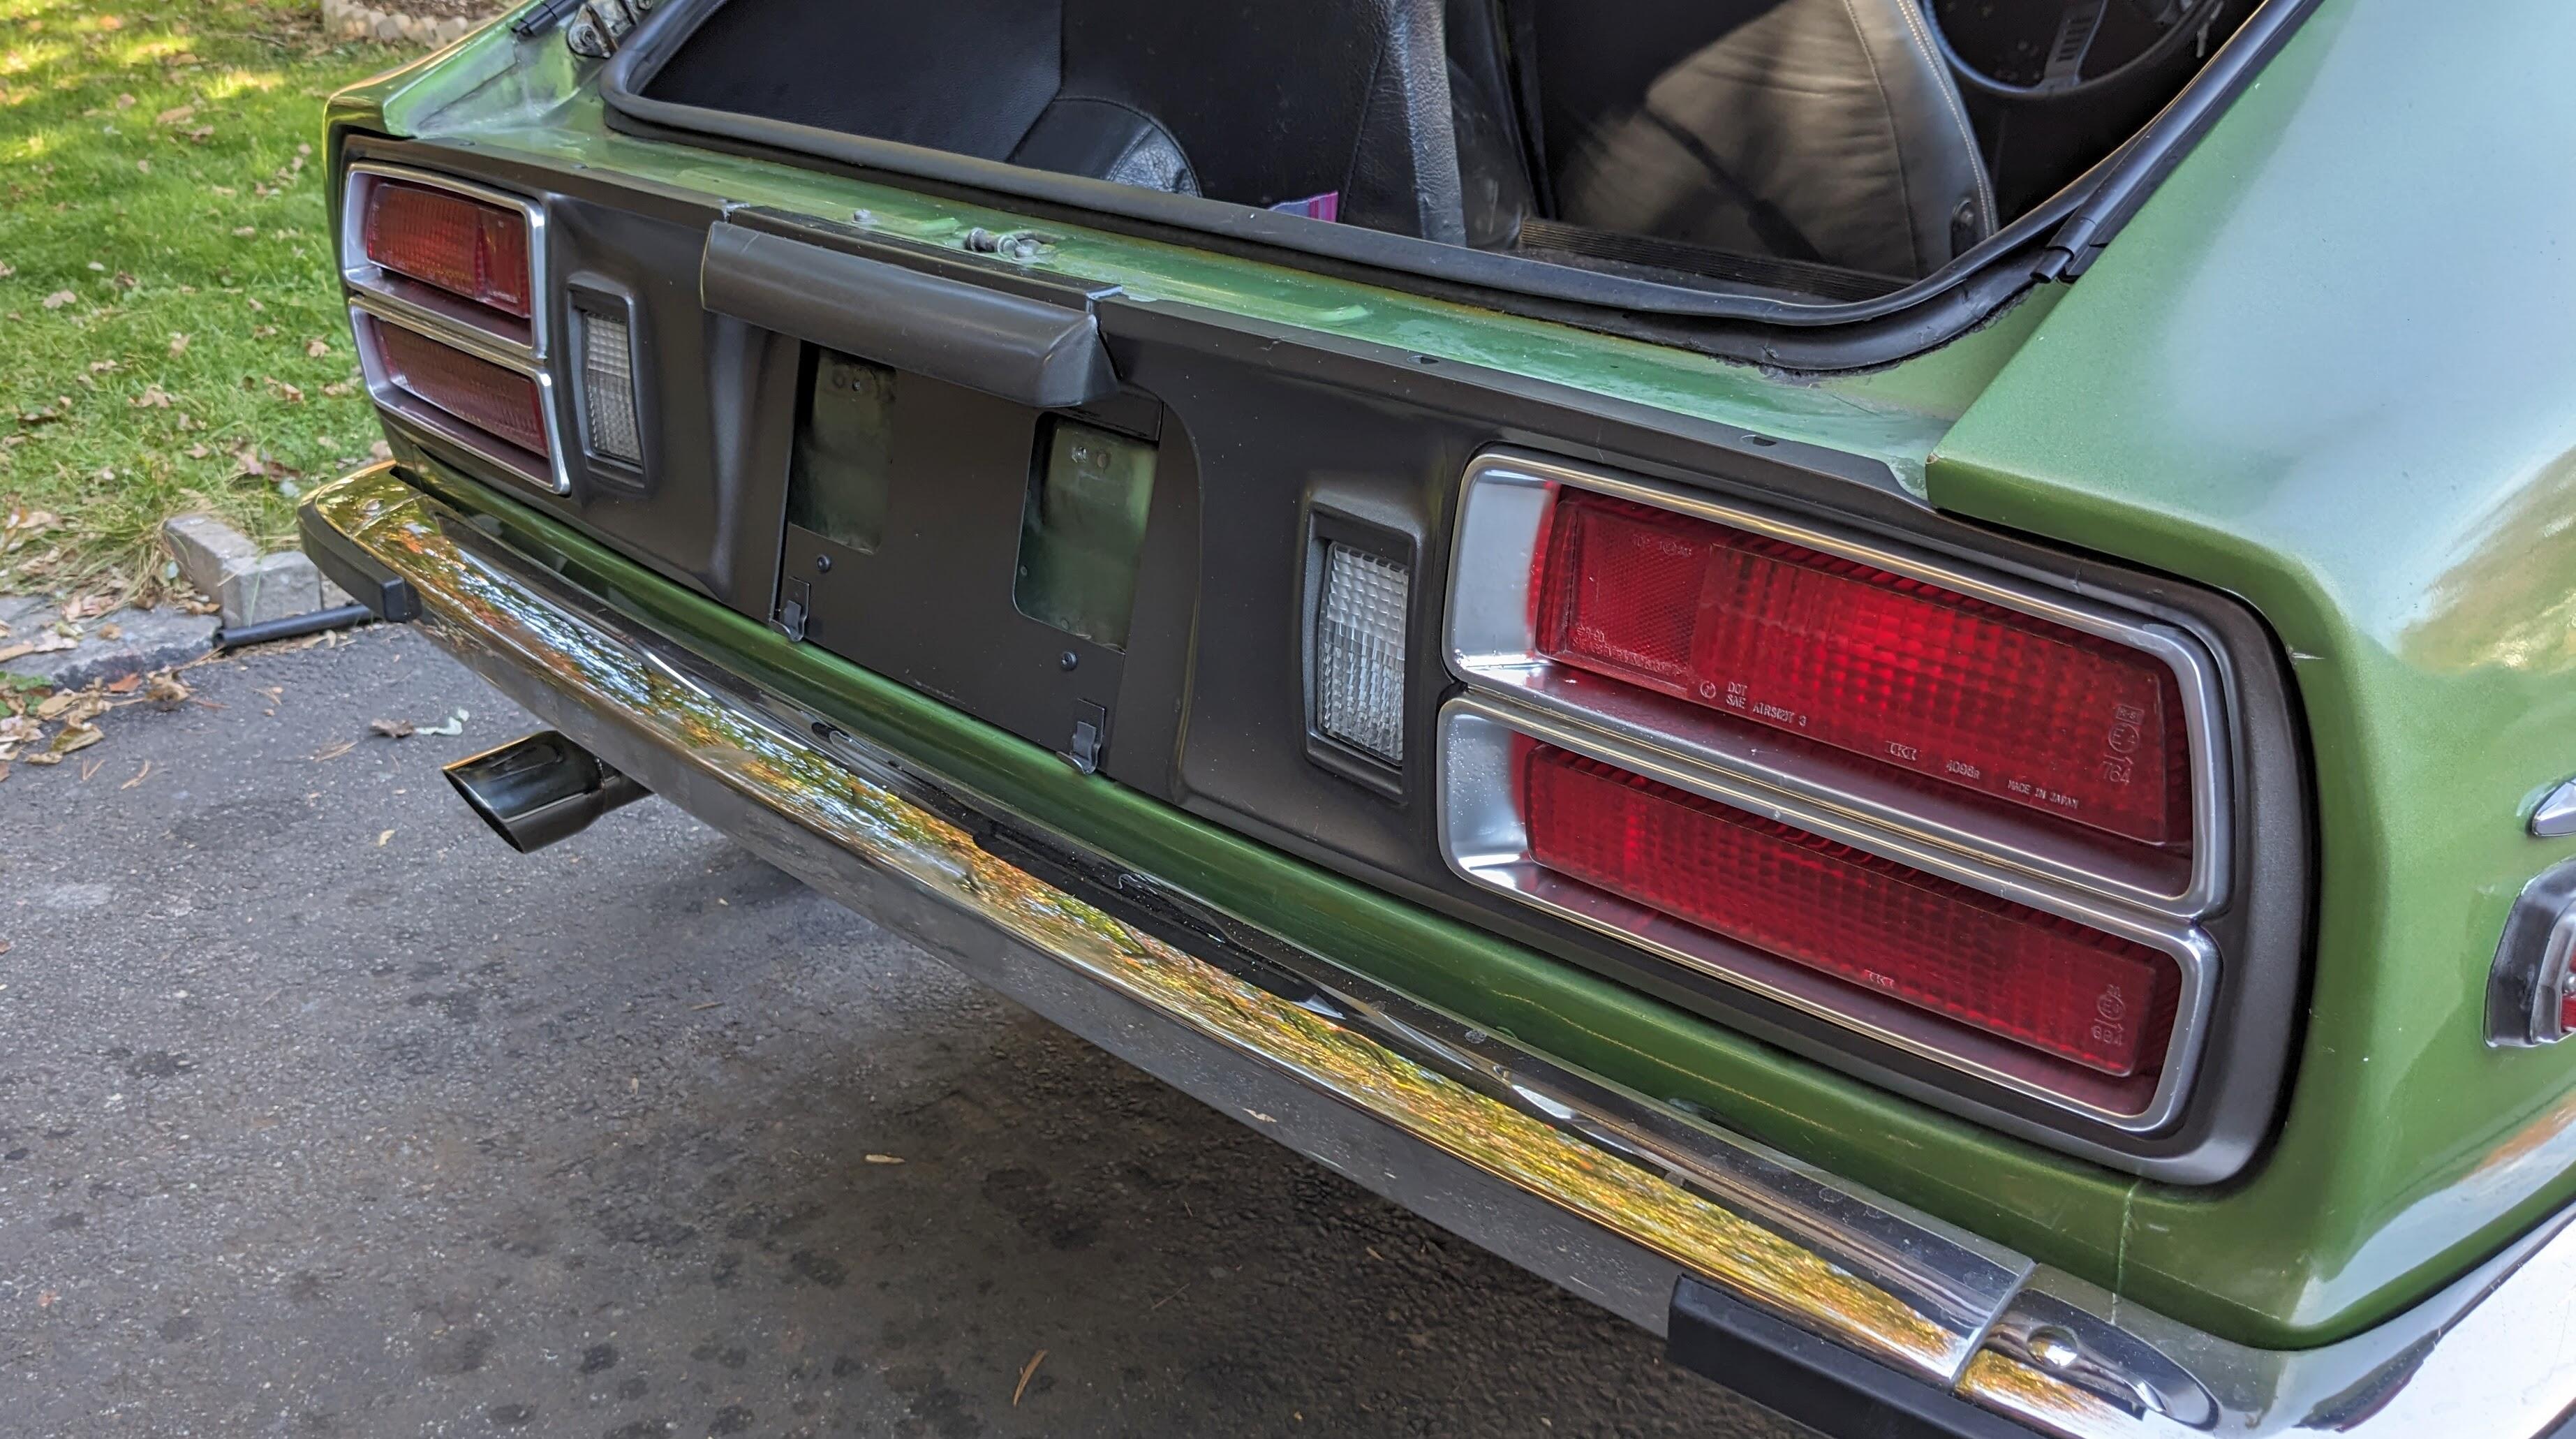
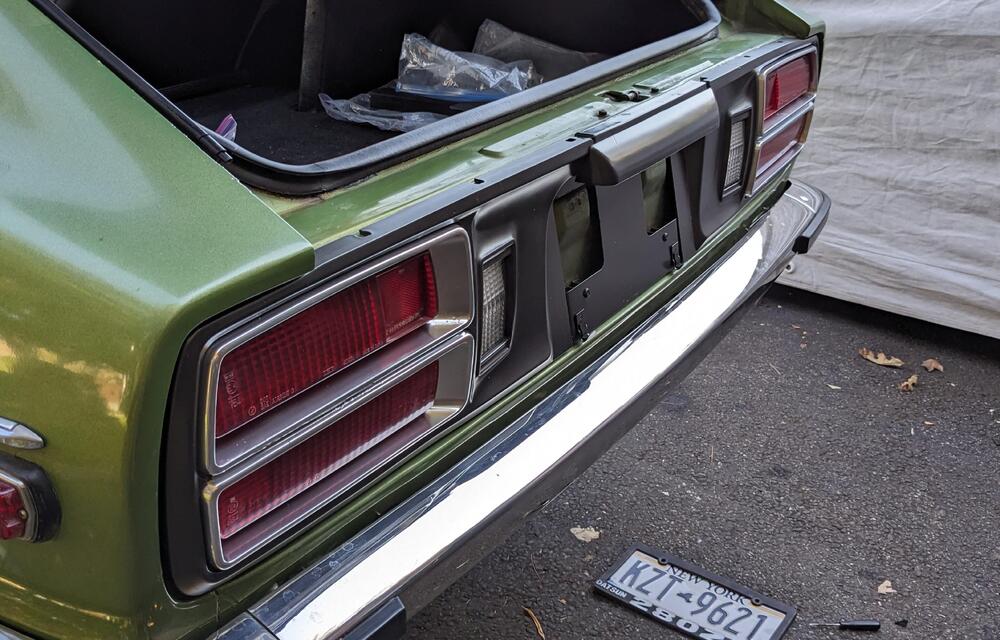
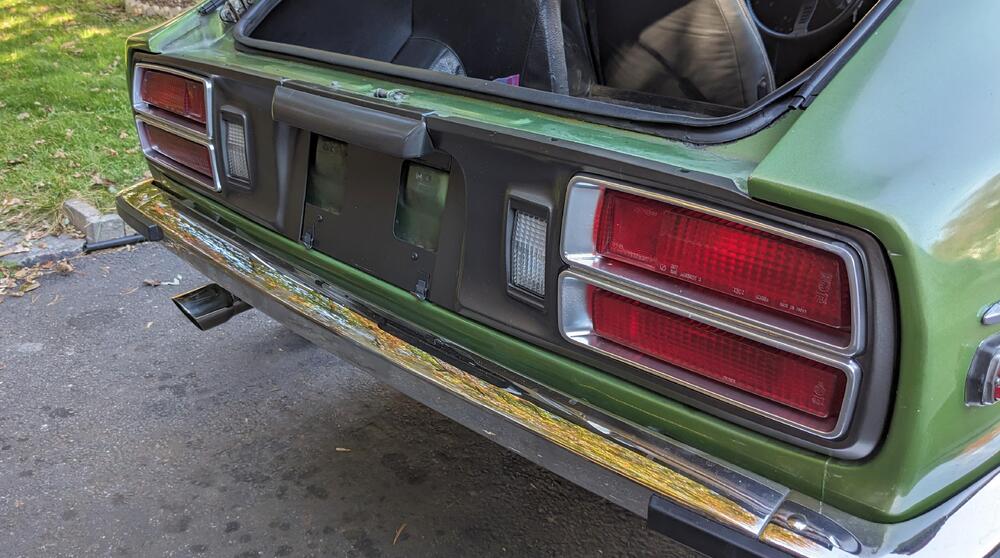
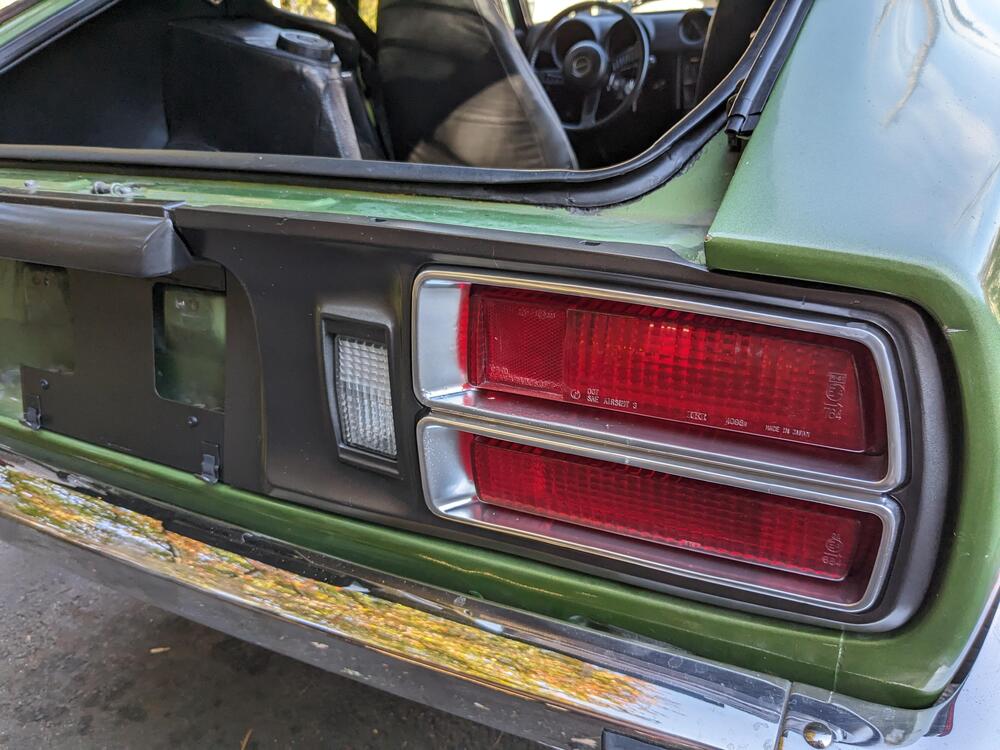
Test fitted the panels - still waiting for the gaskets before I actually install them. They (the chrome areas) look pretty rough up close. Still better than they were.
-
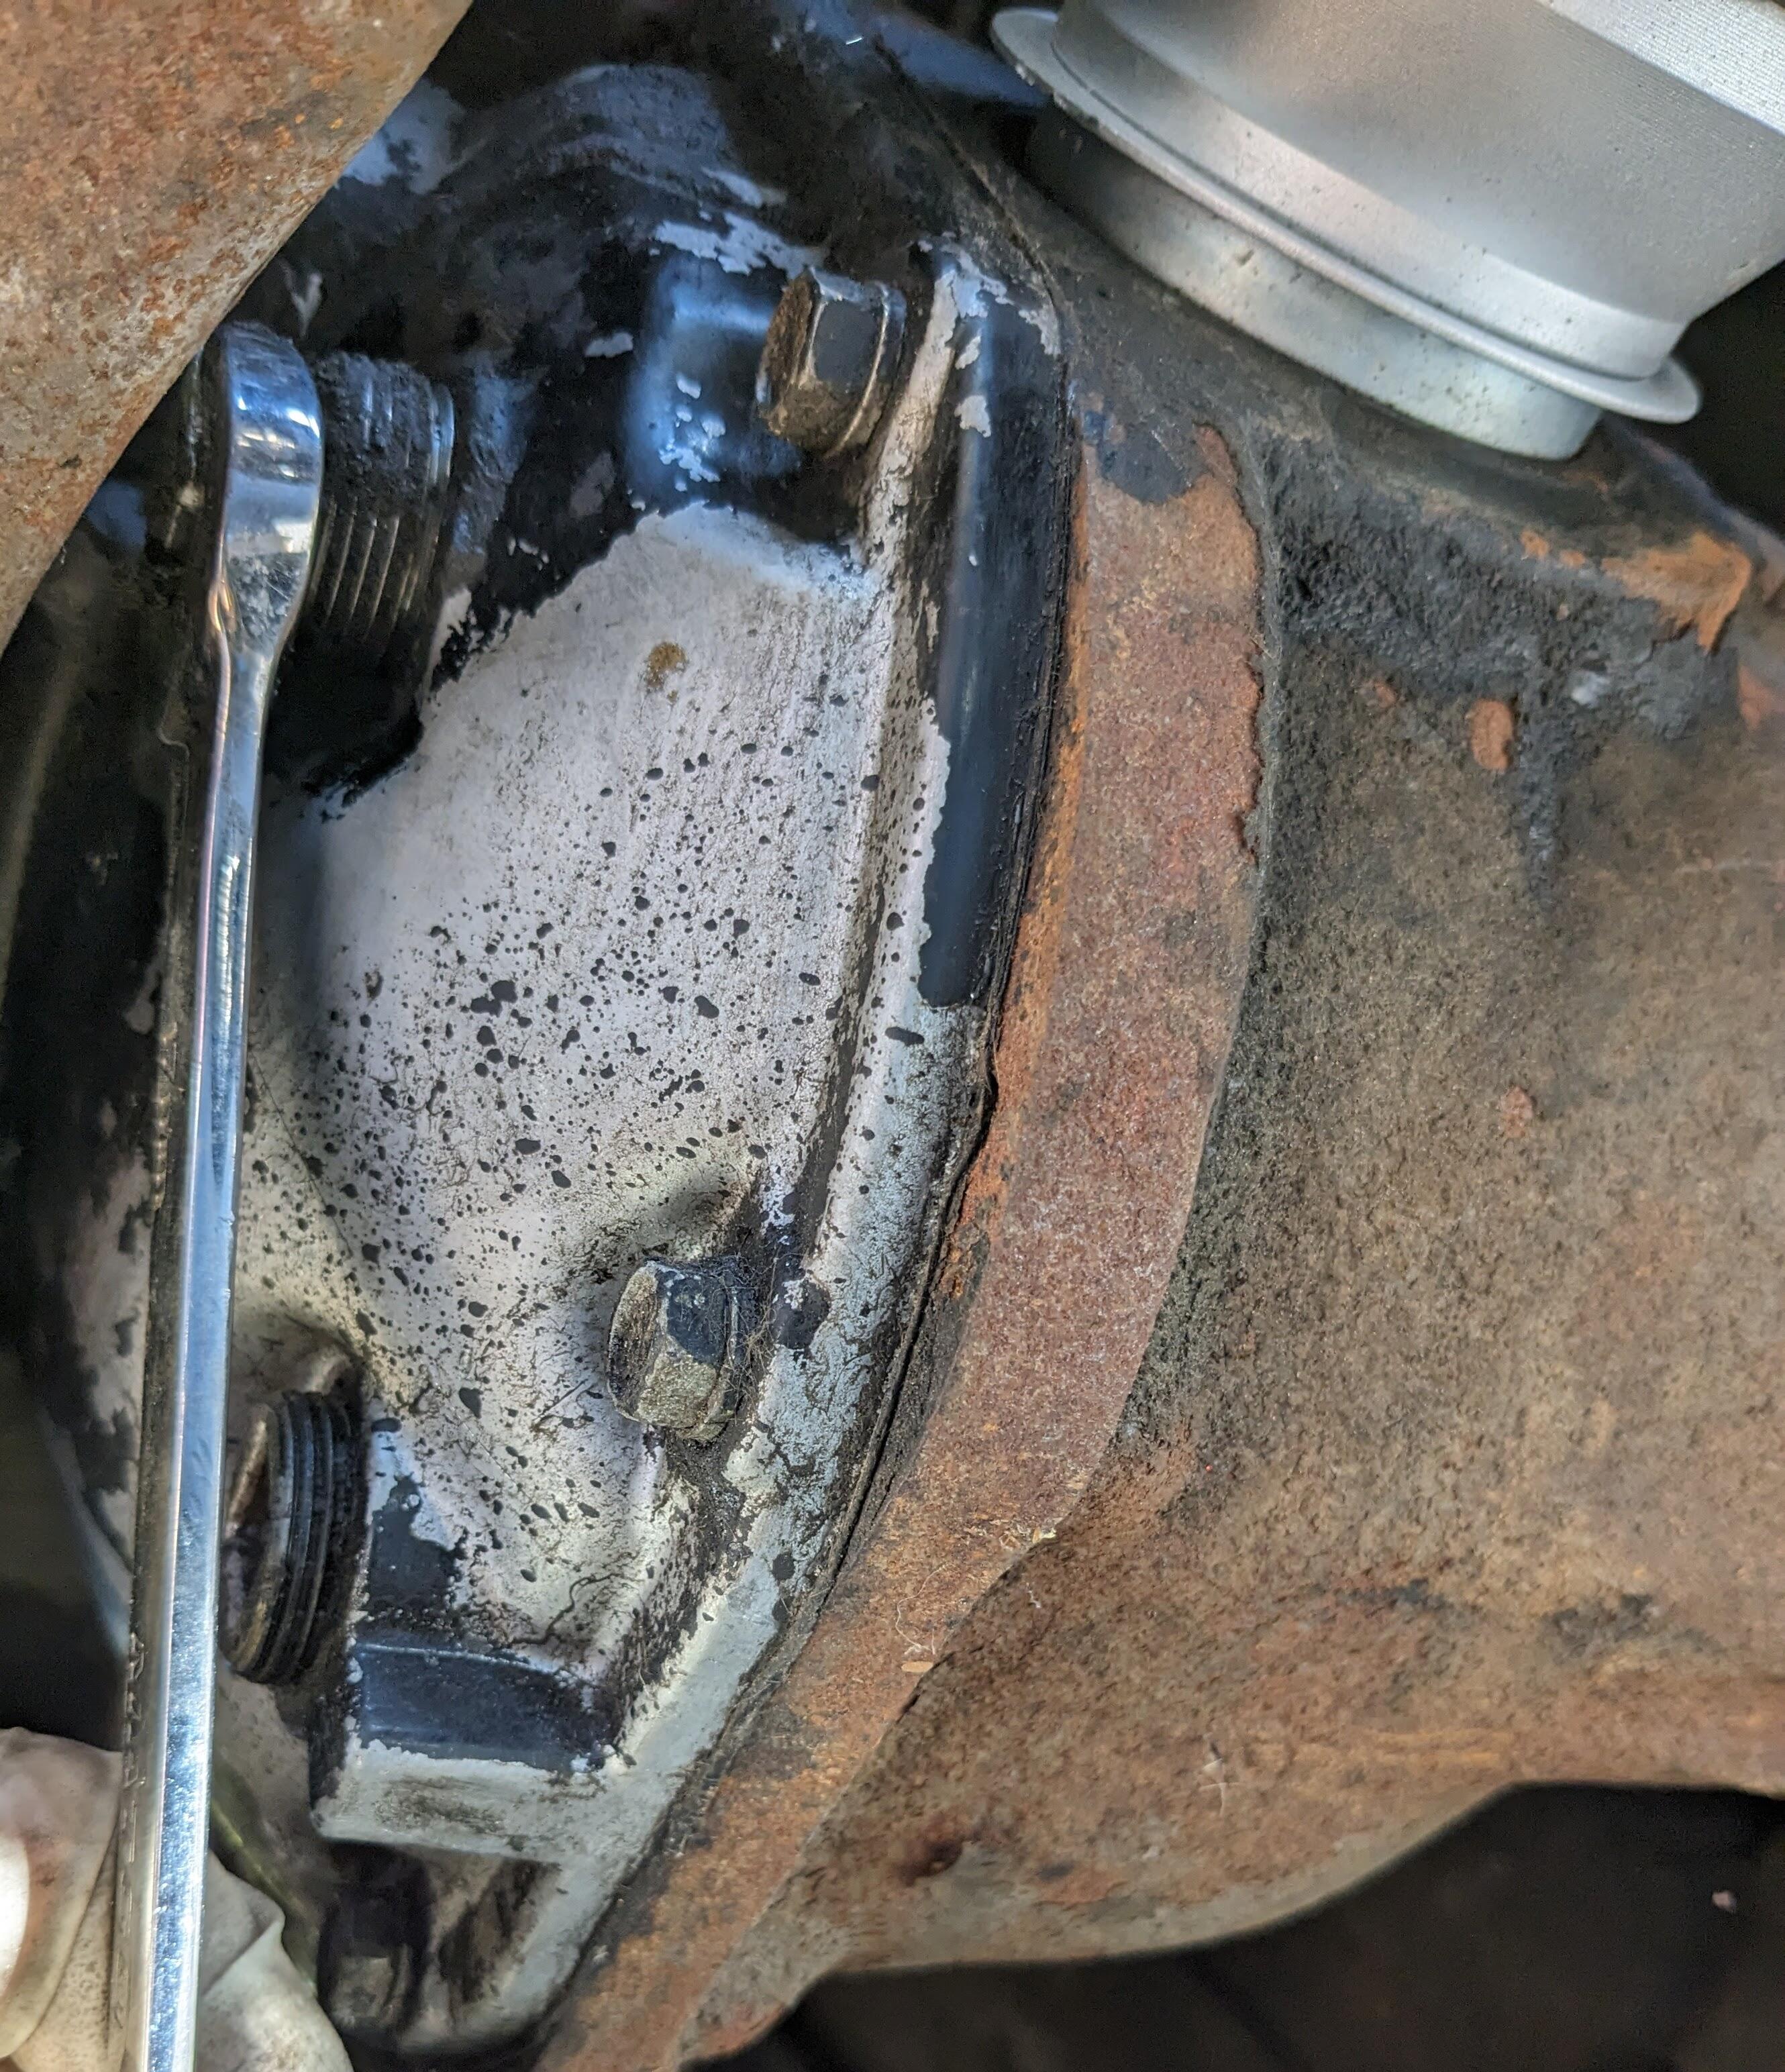
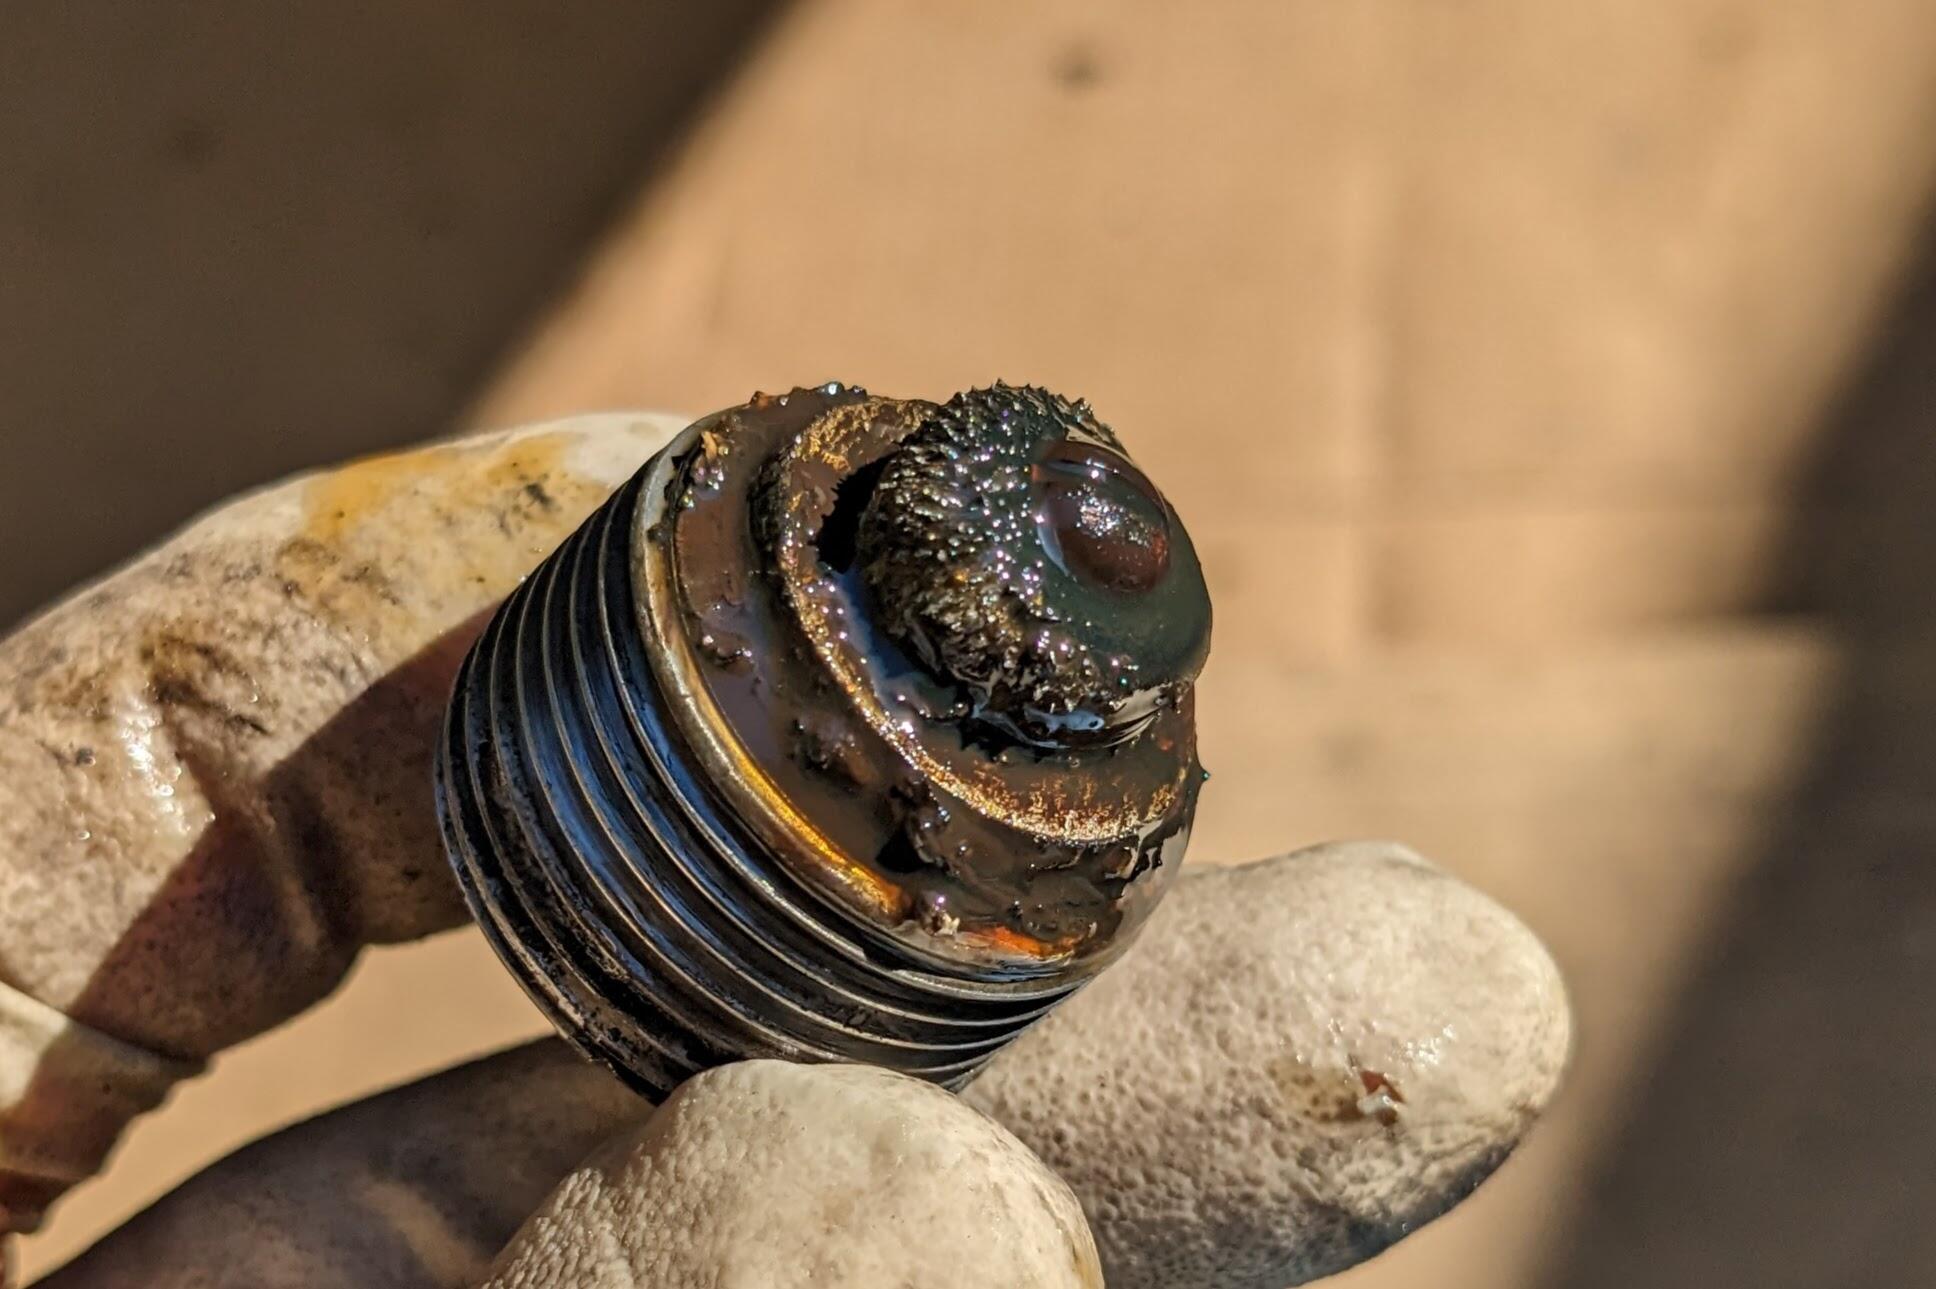
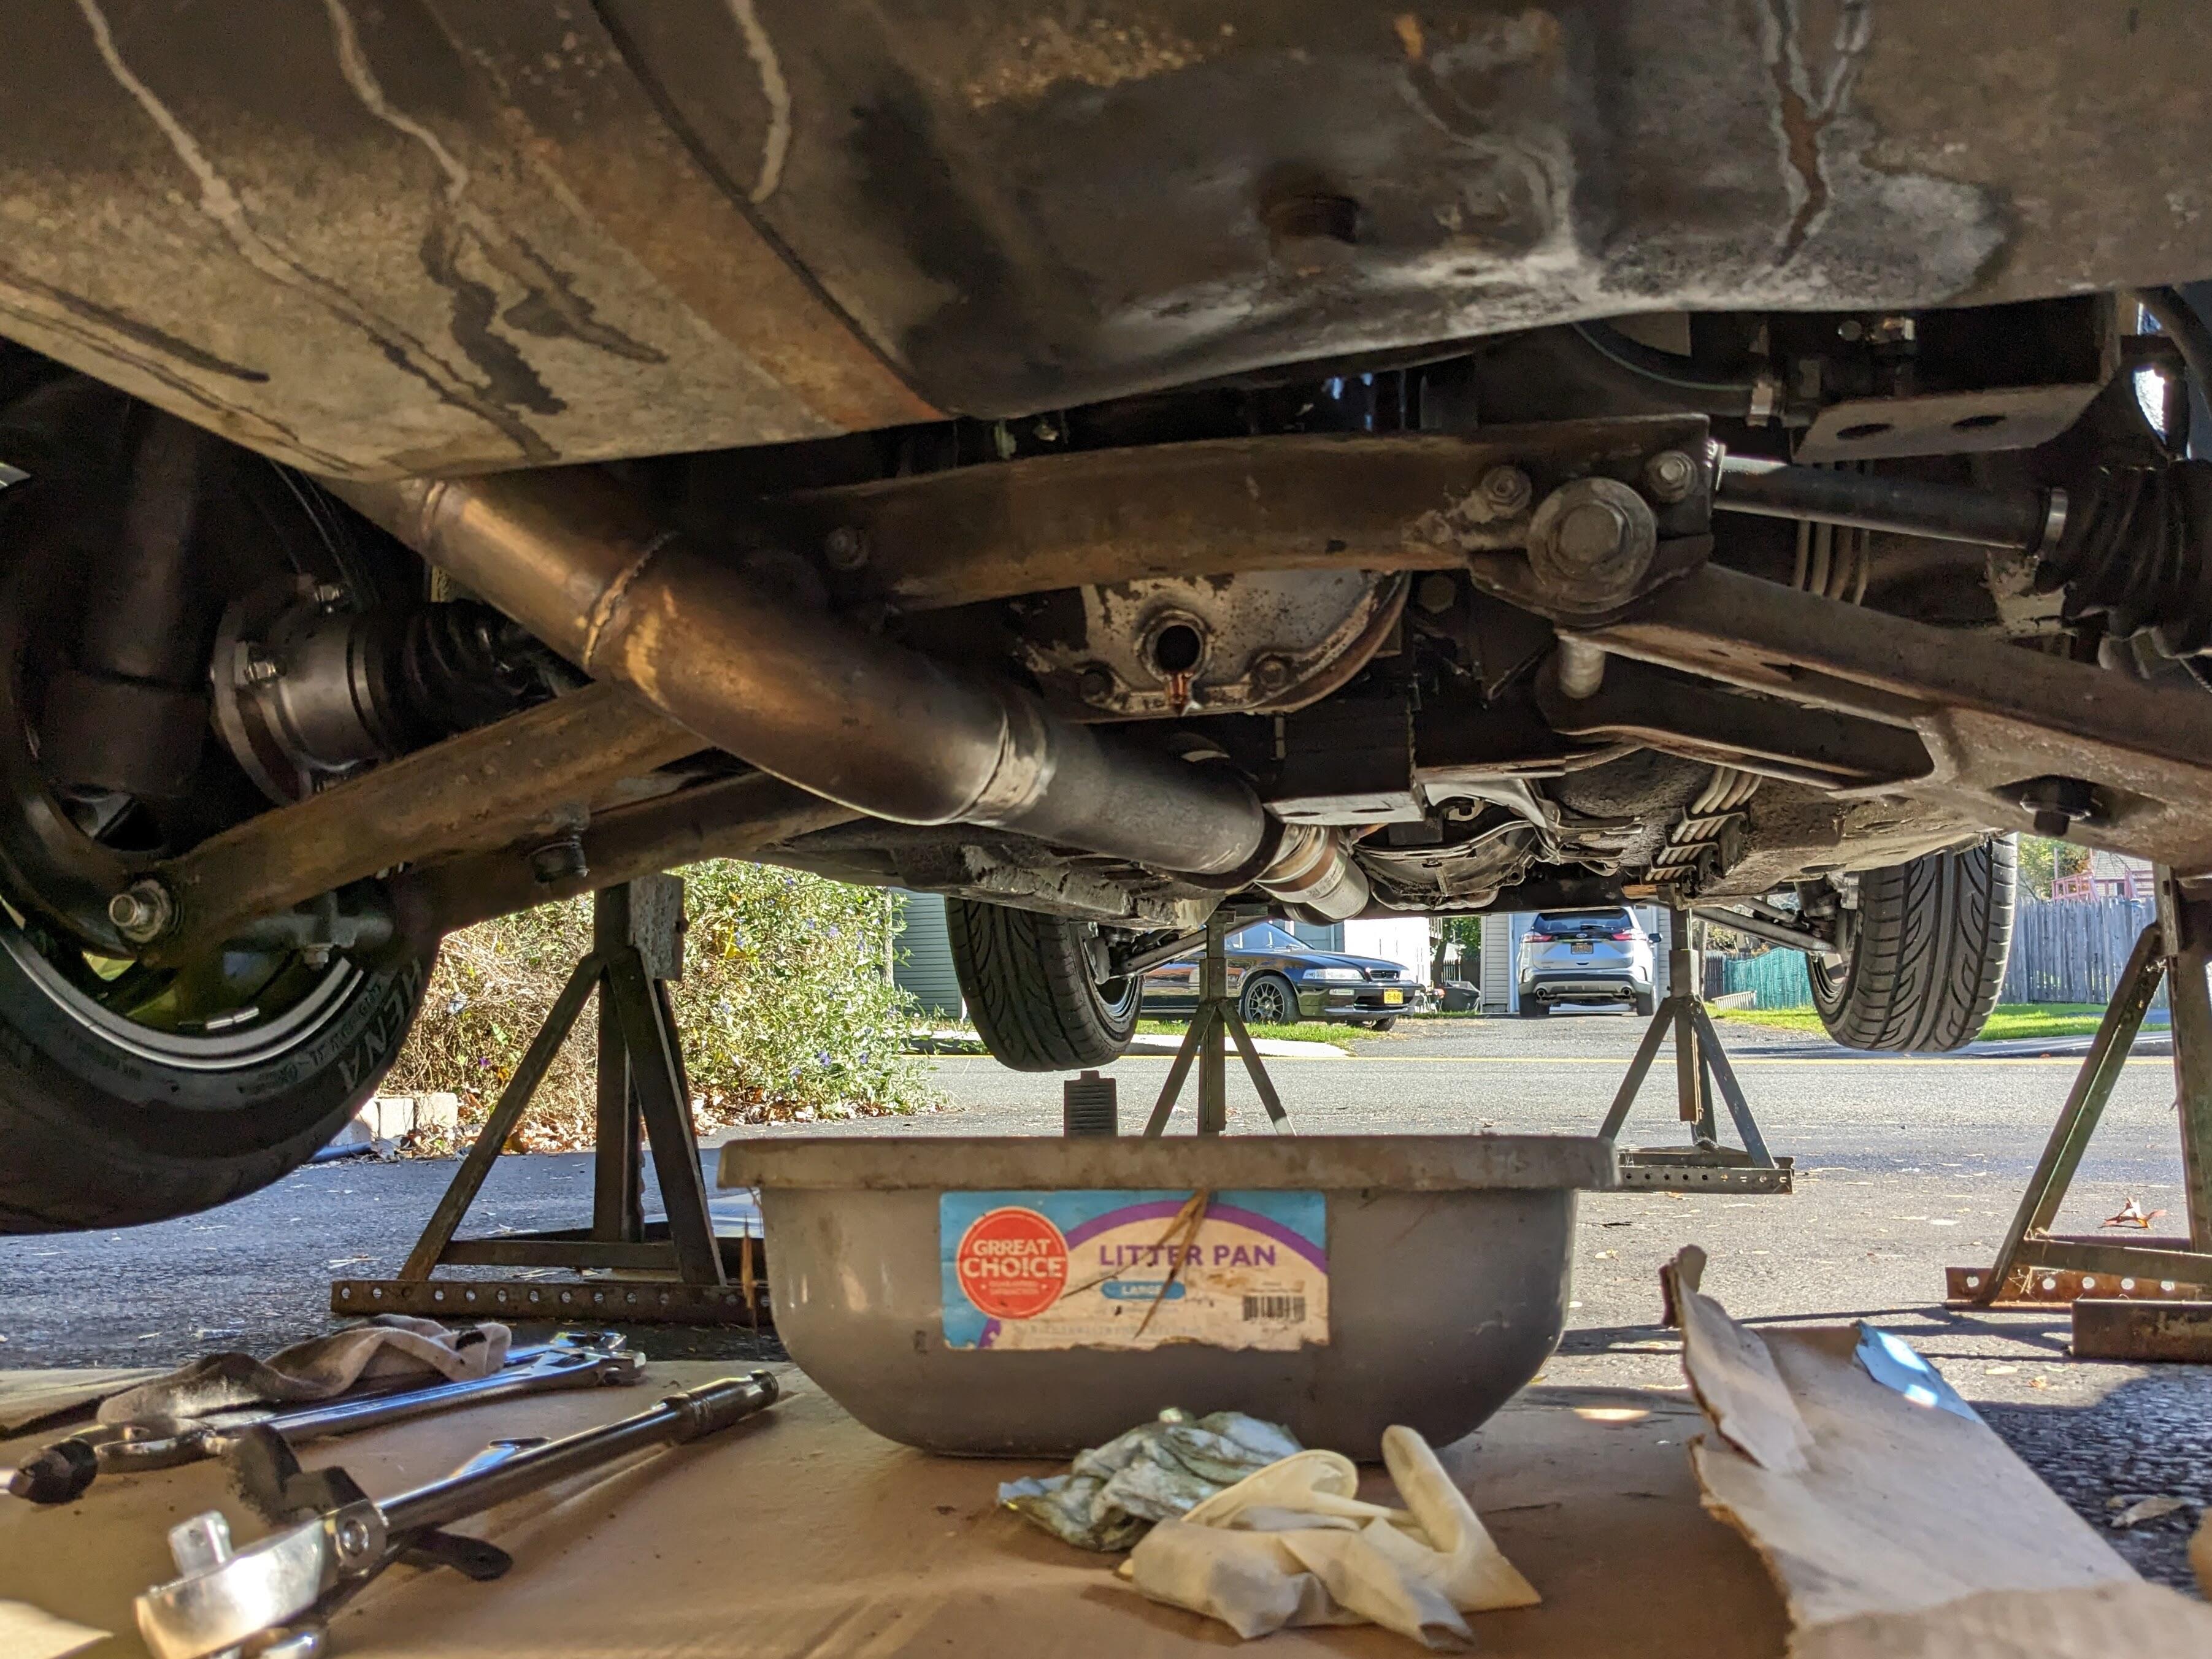
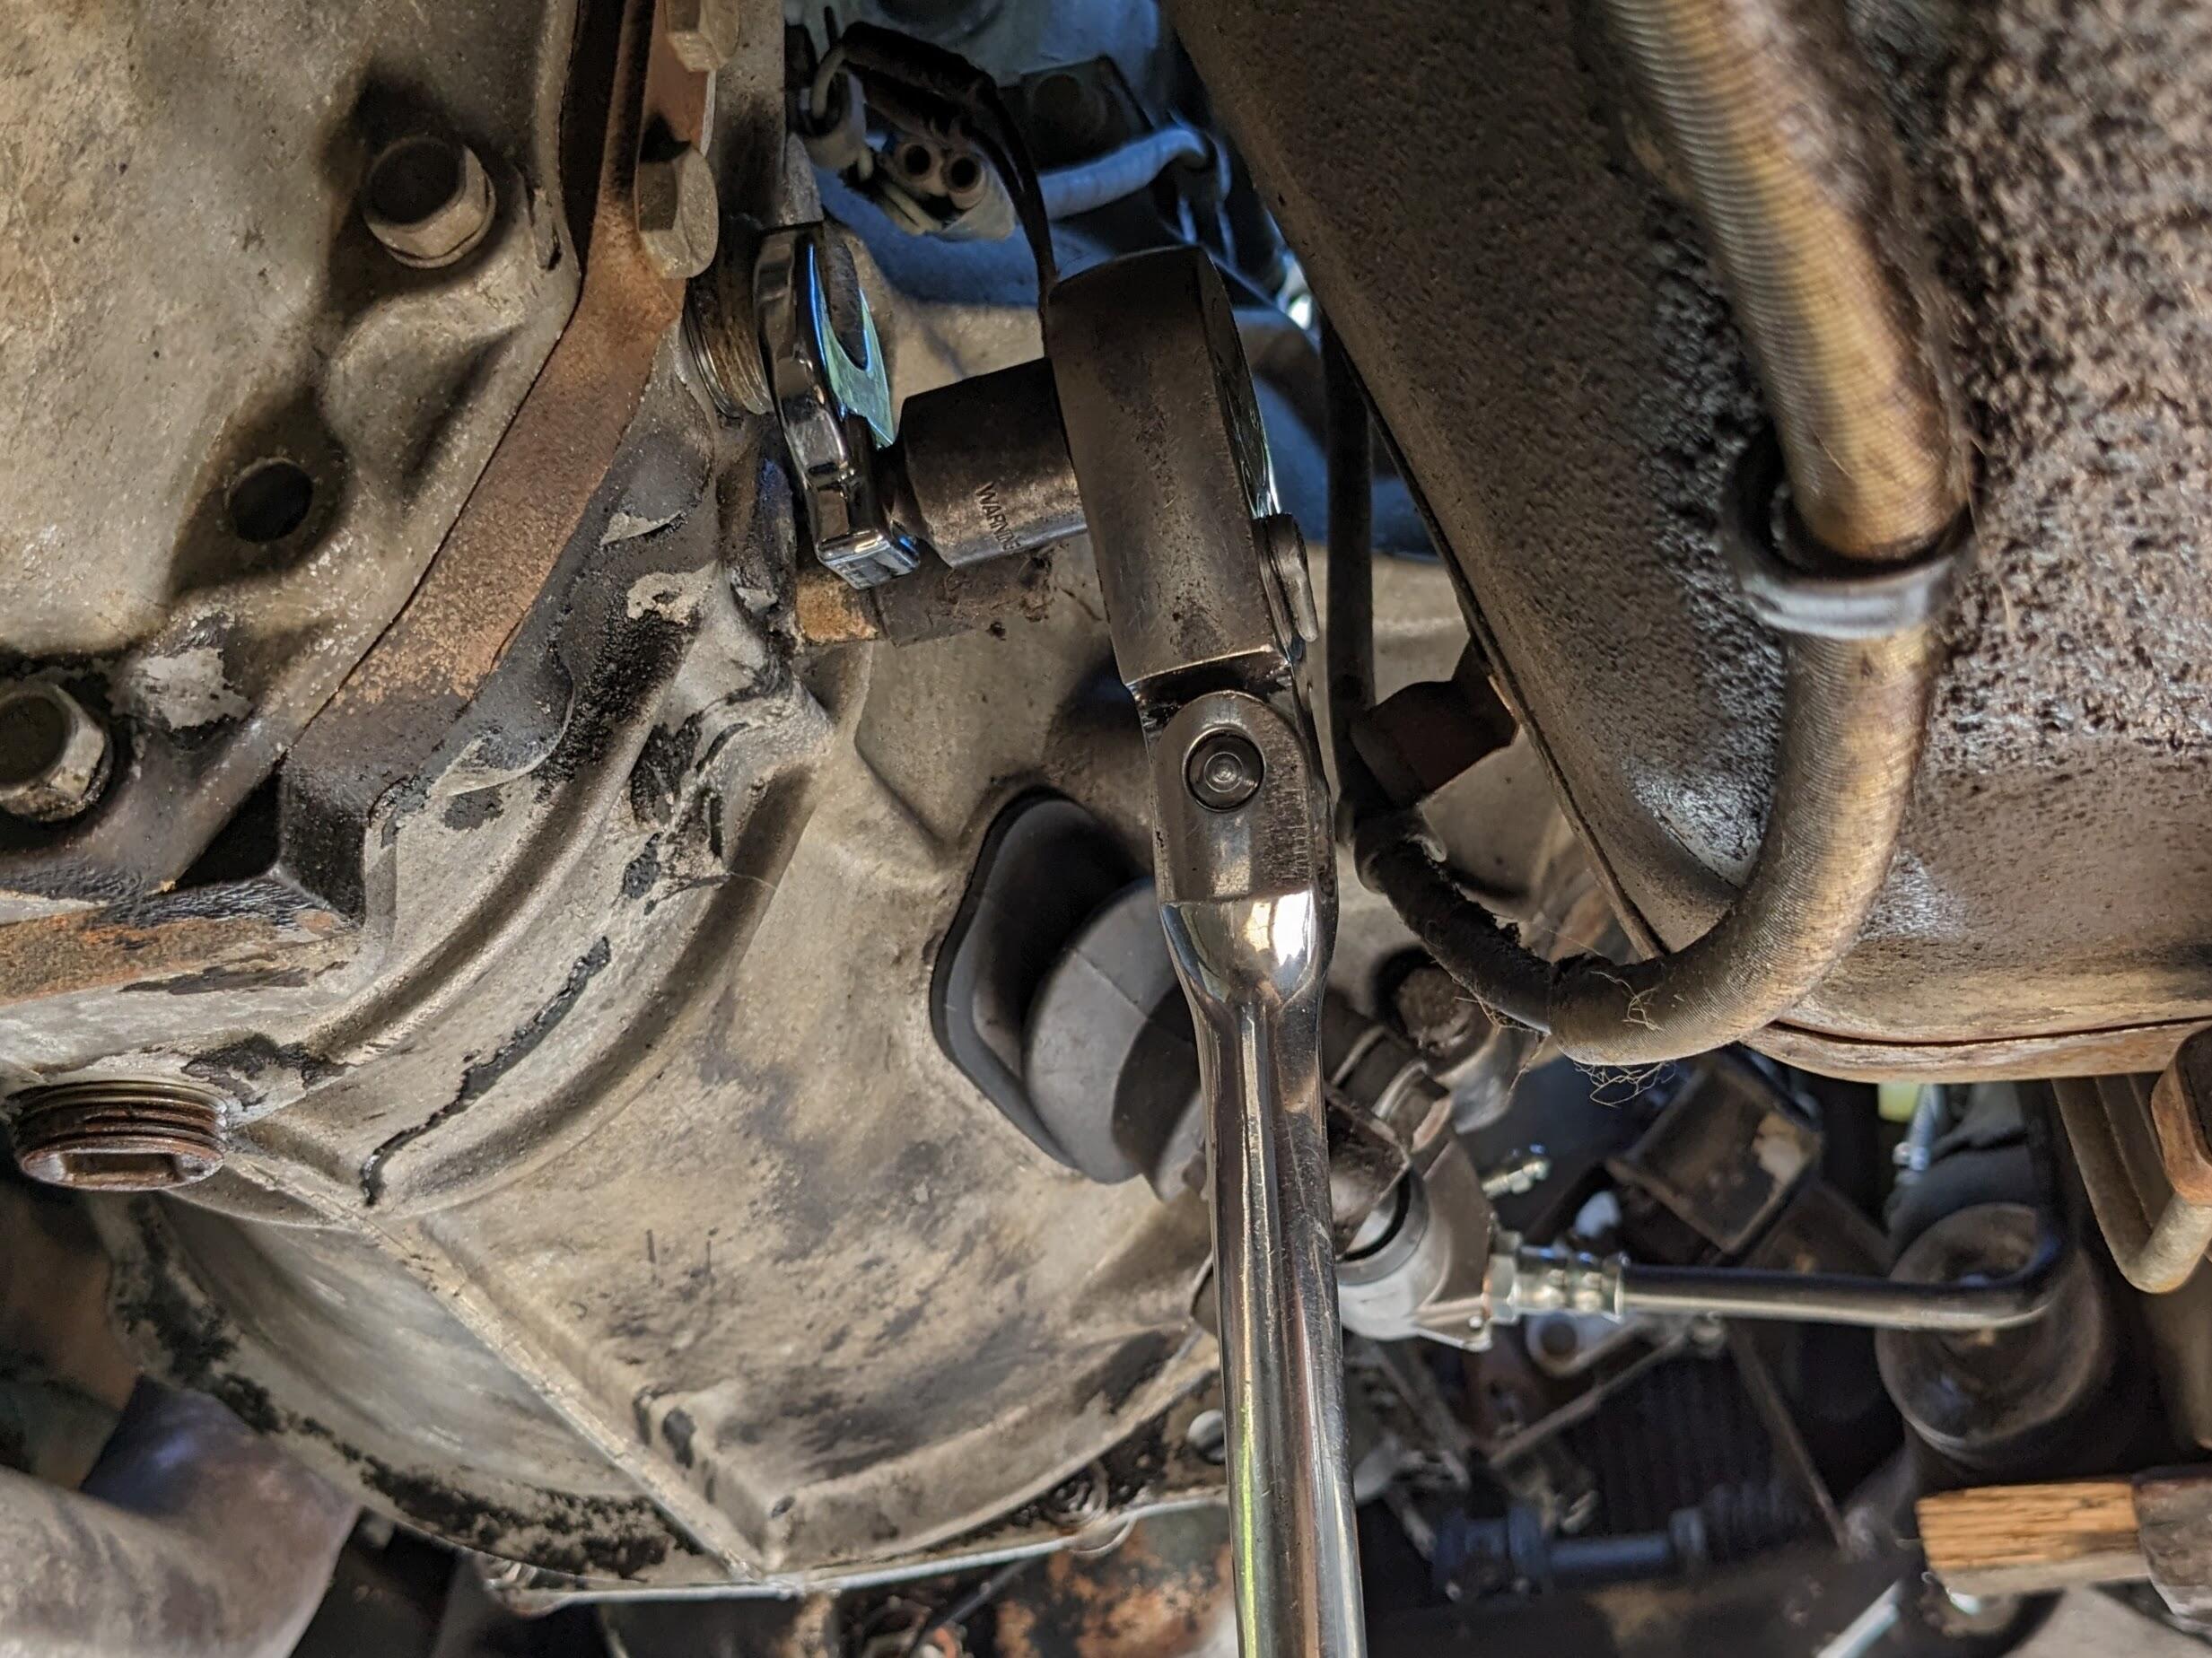
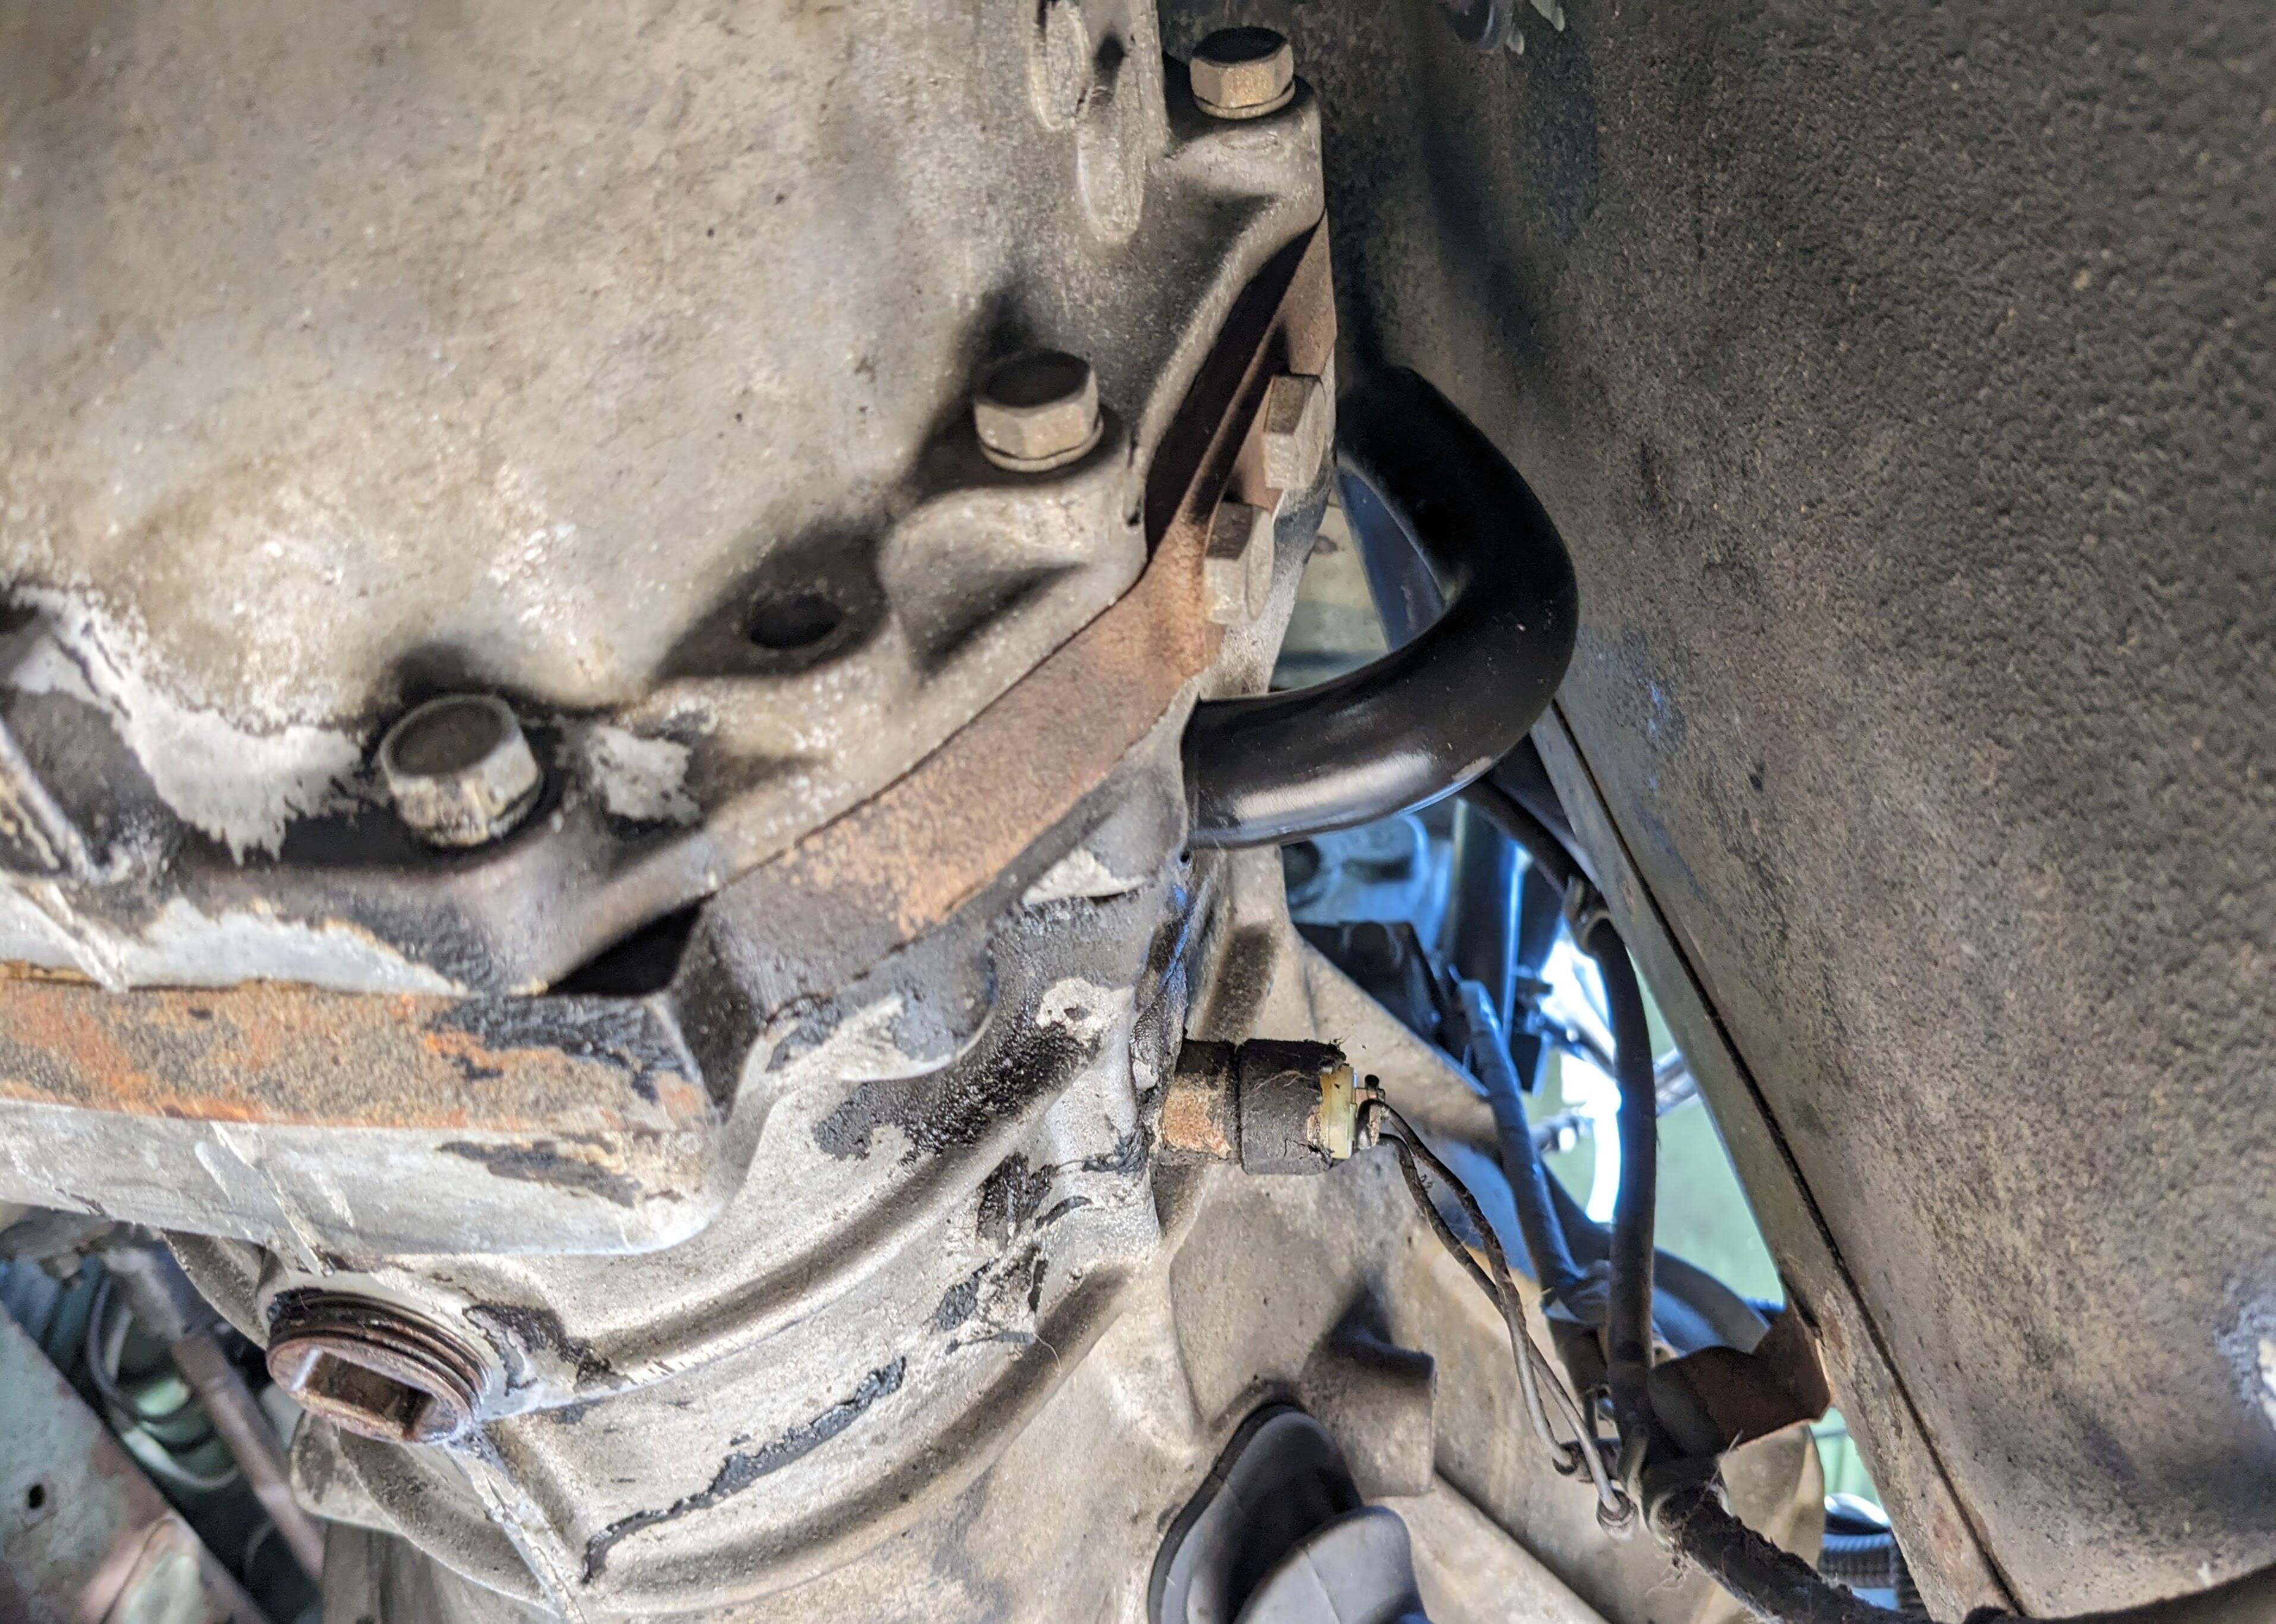
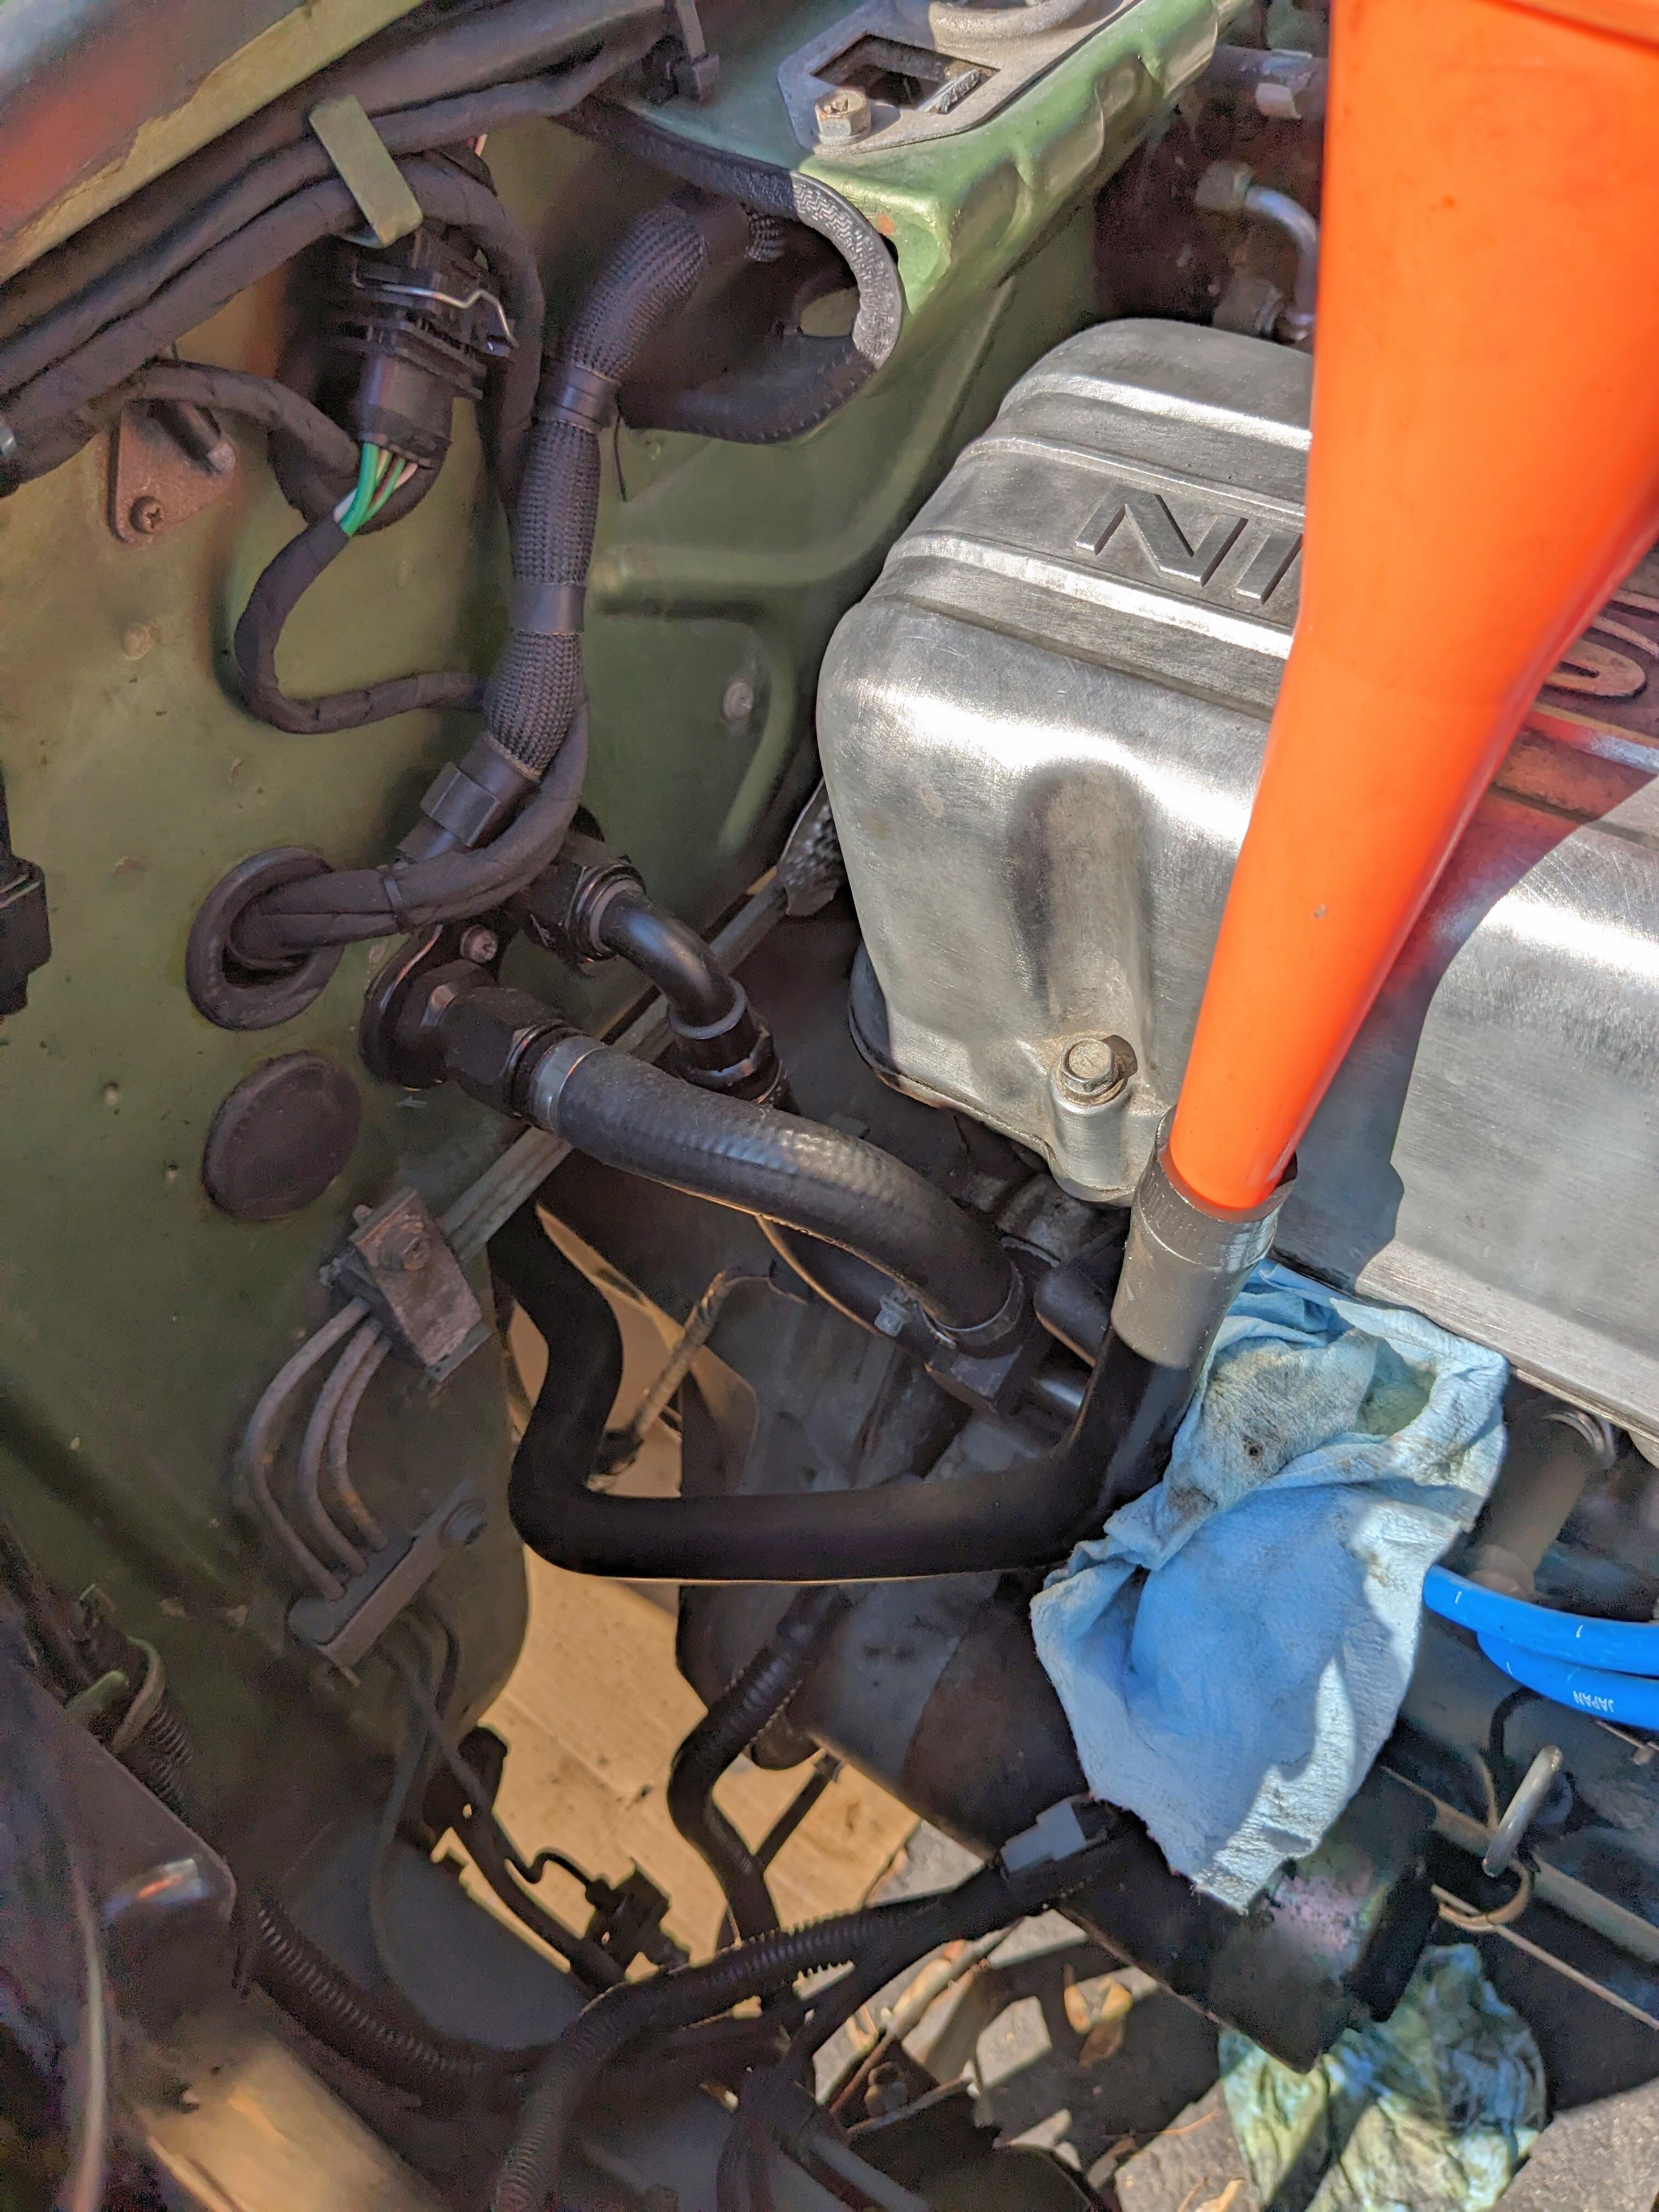
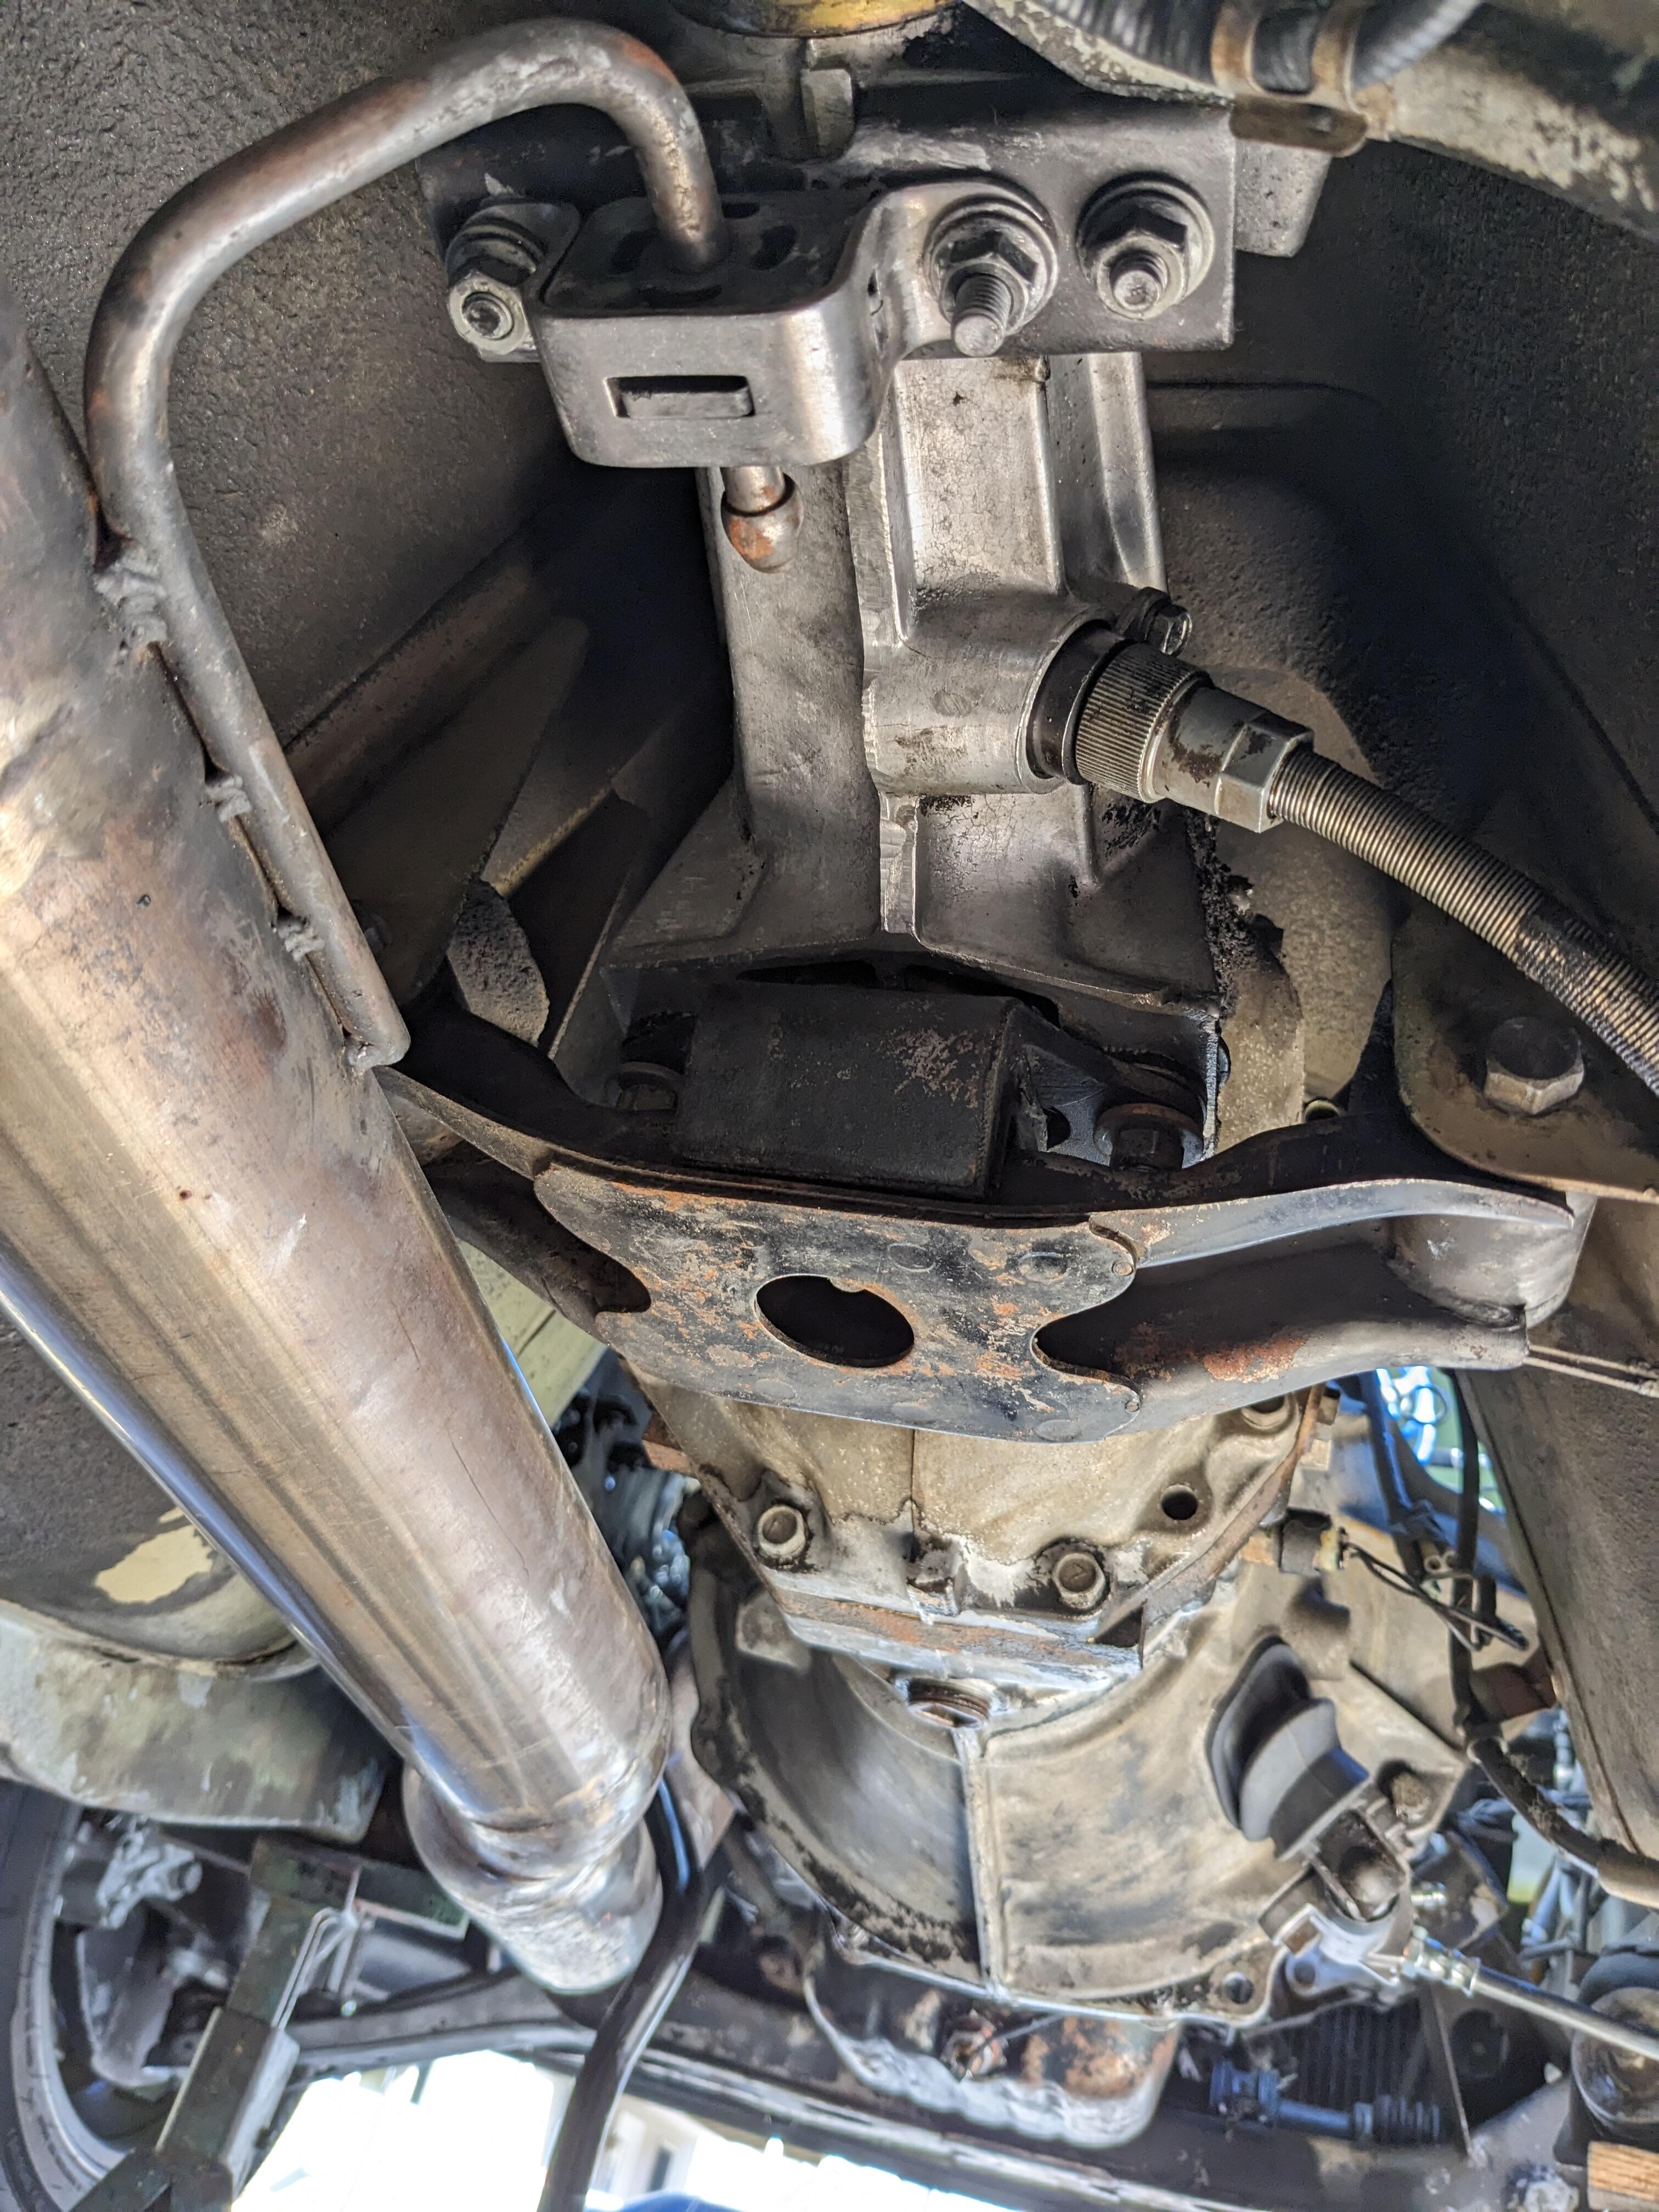
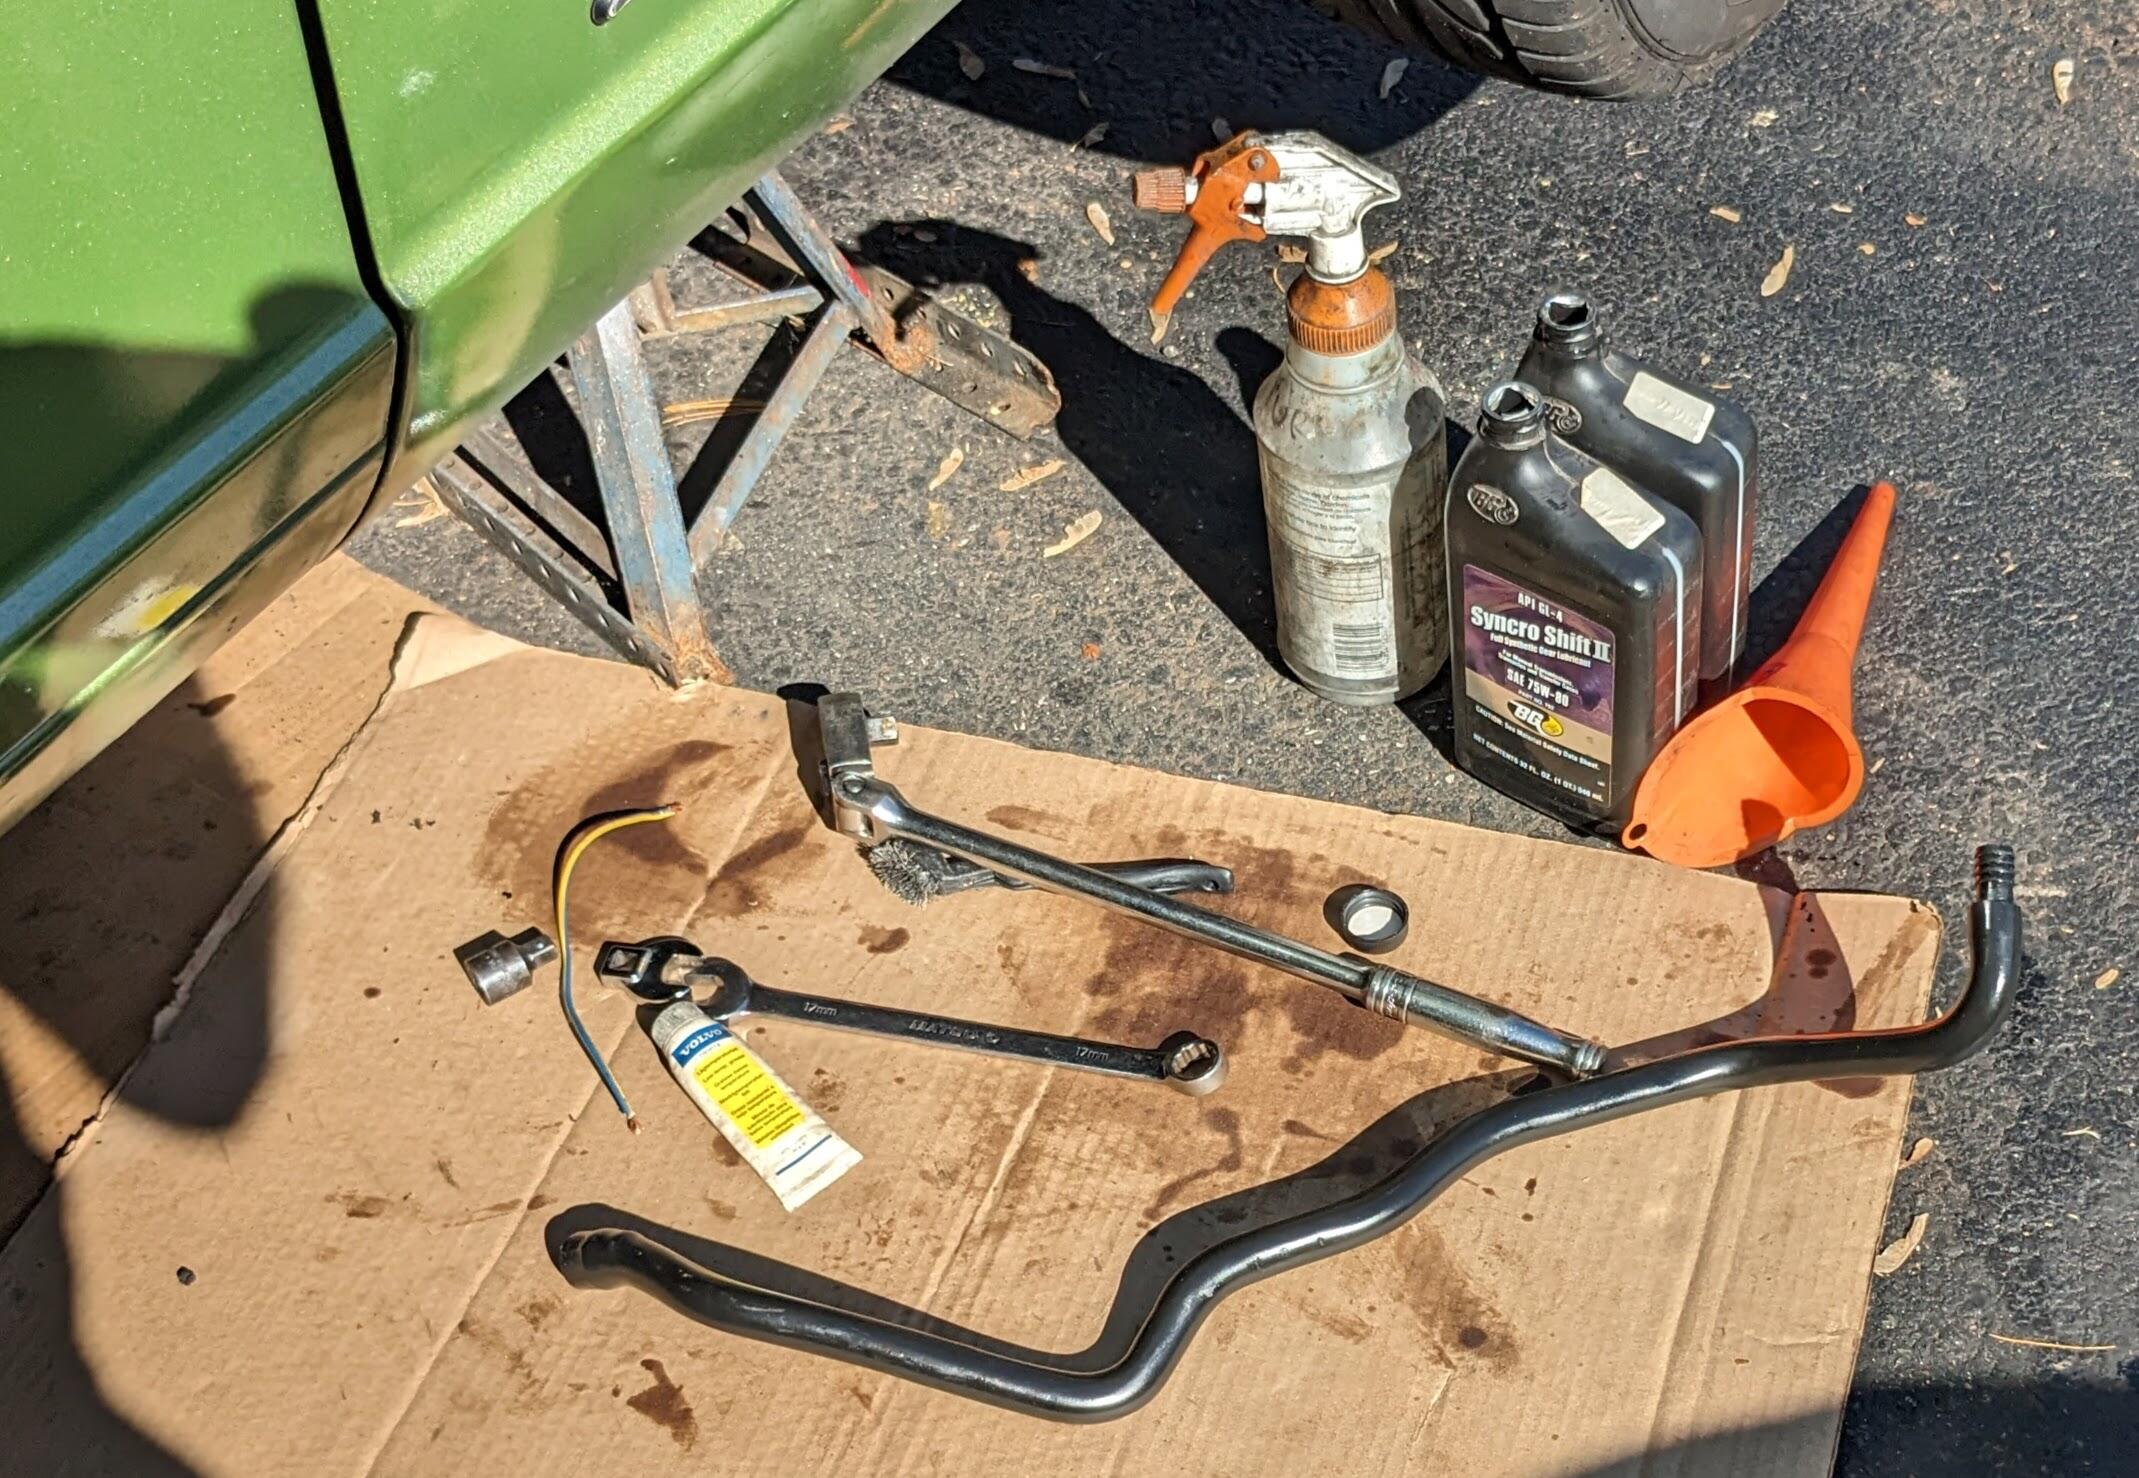
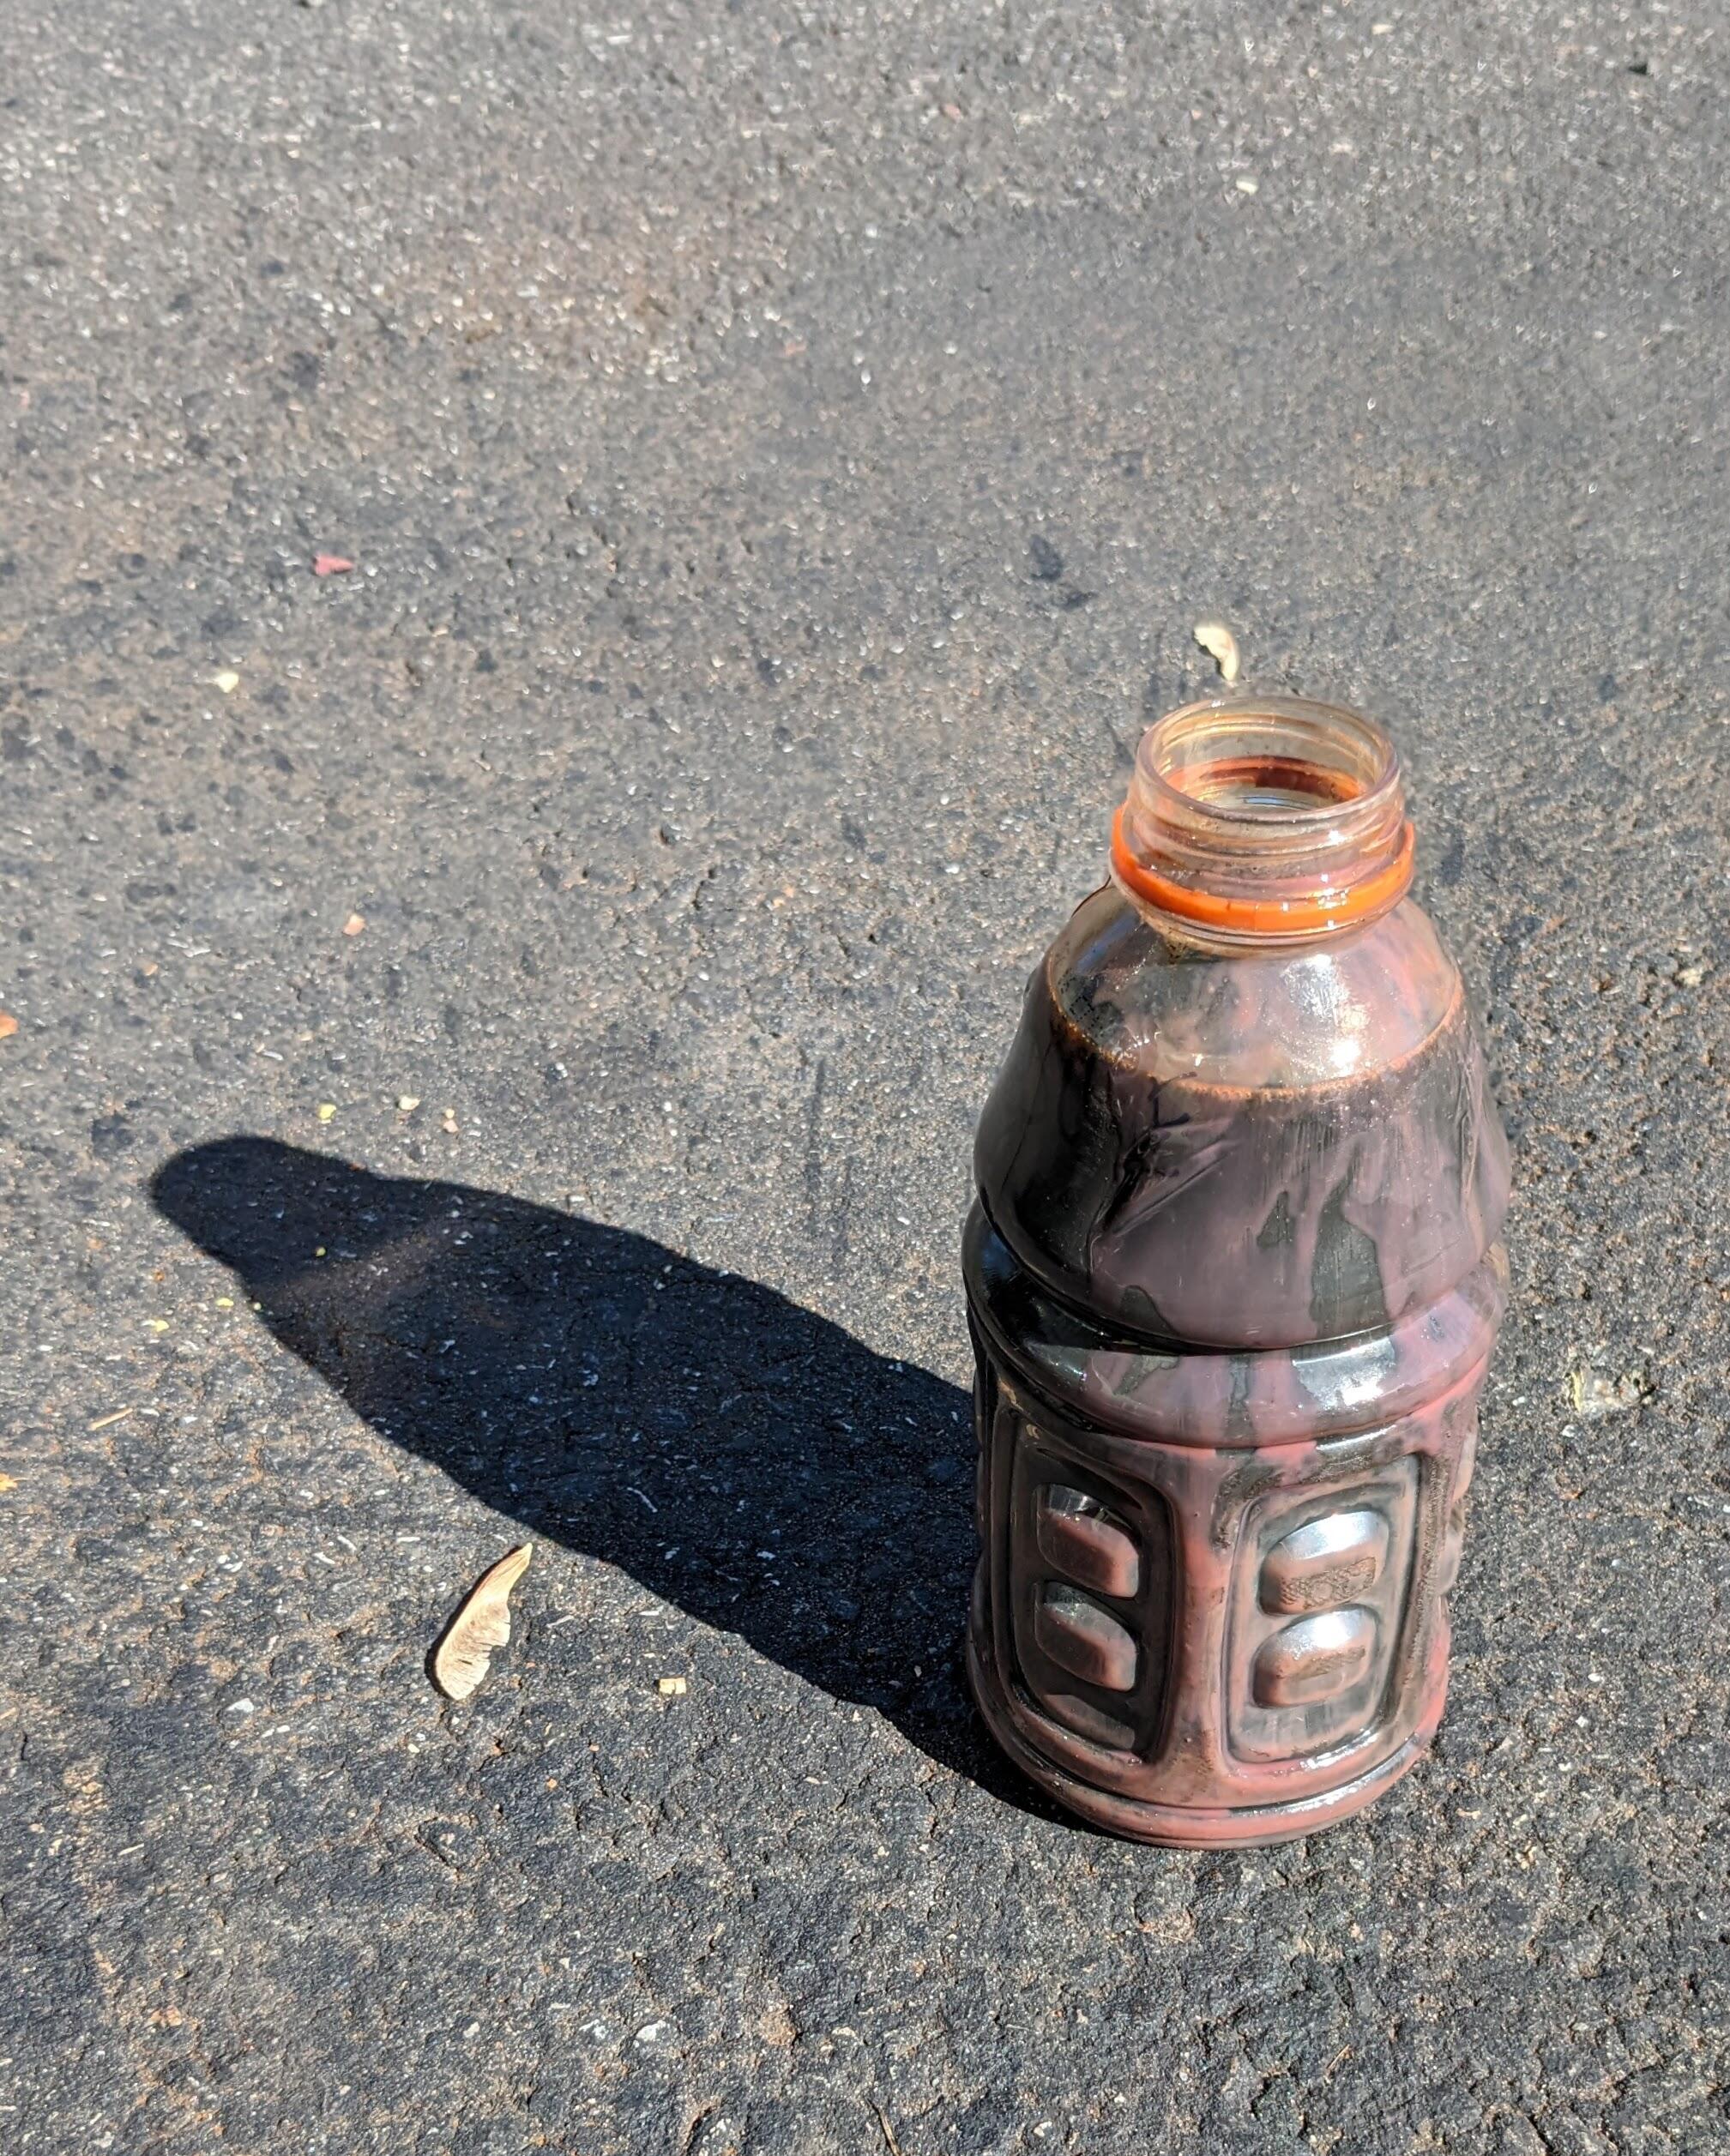
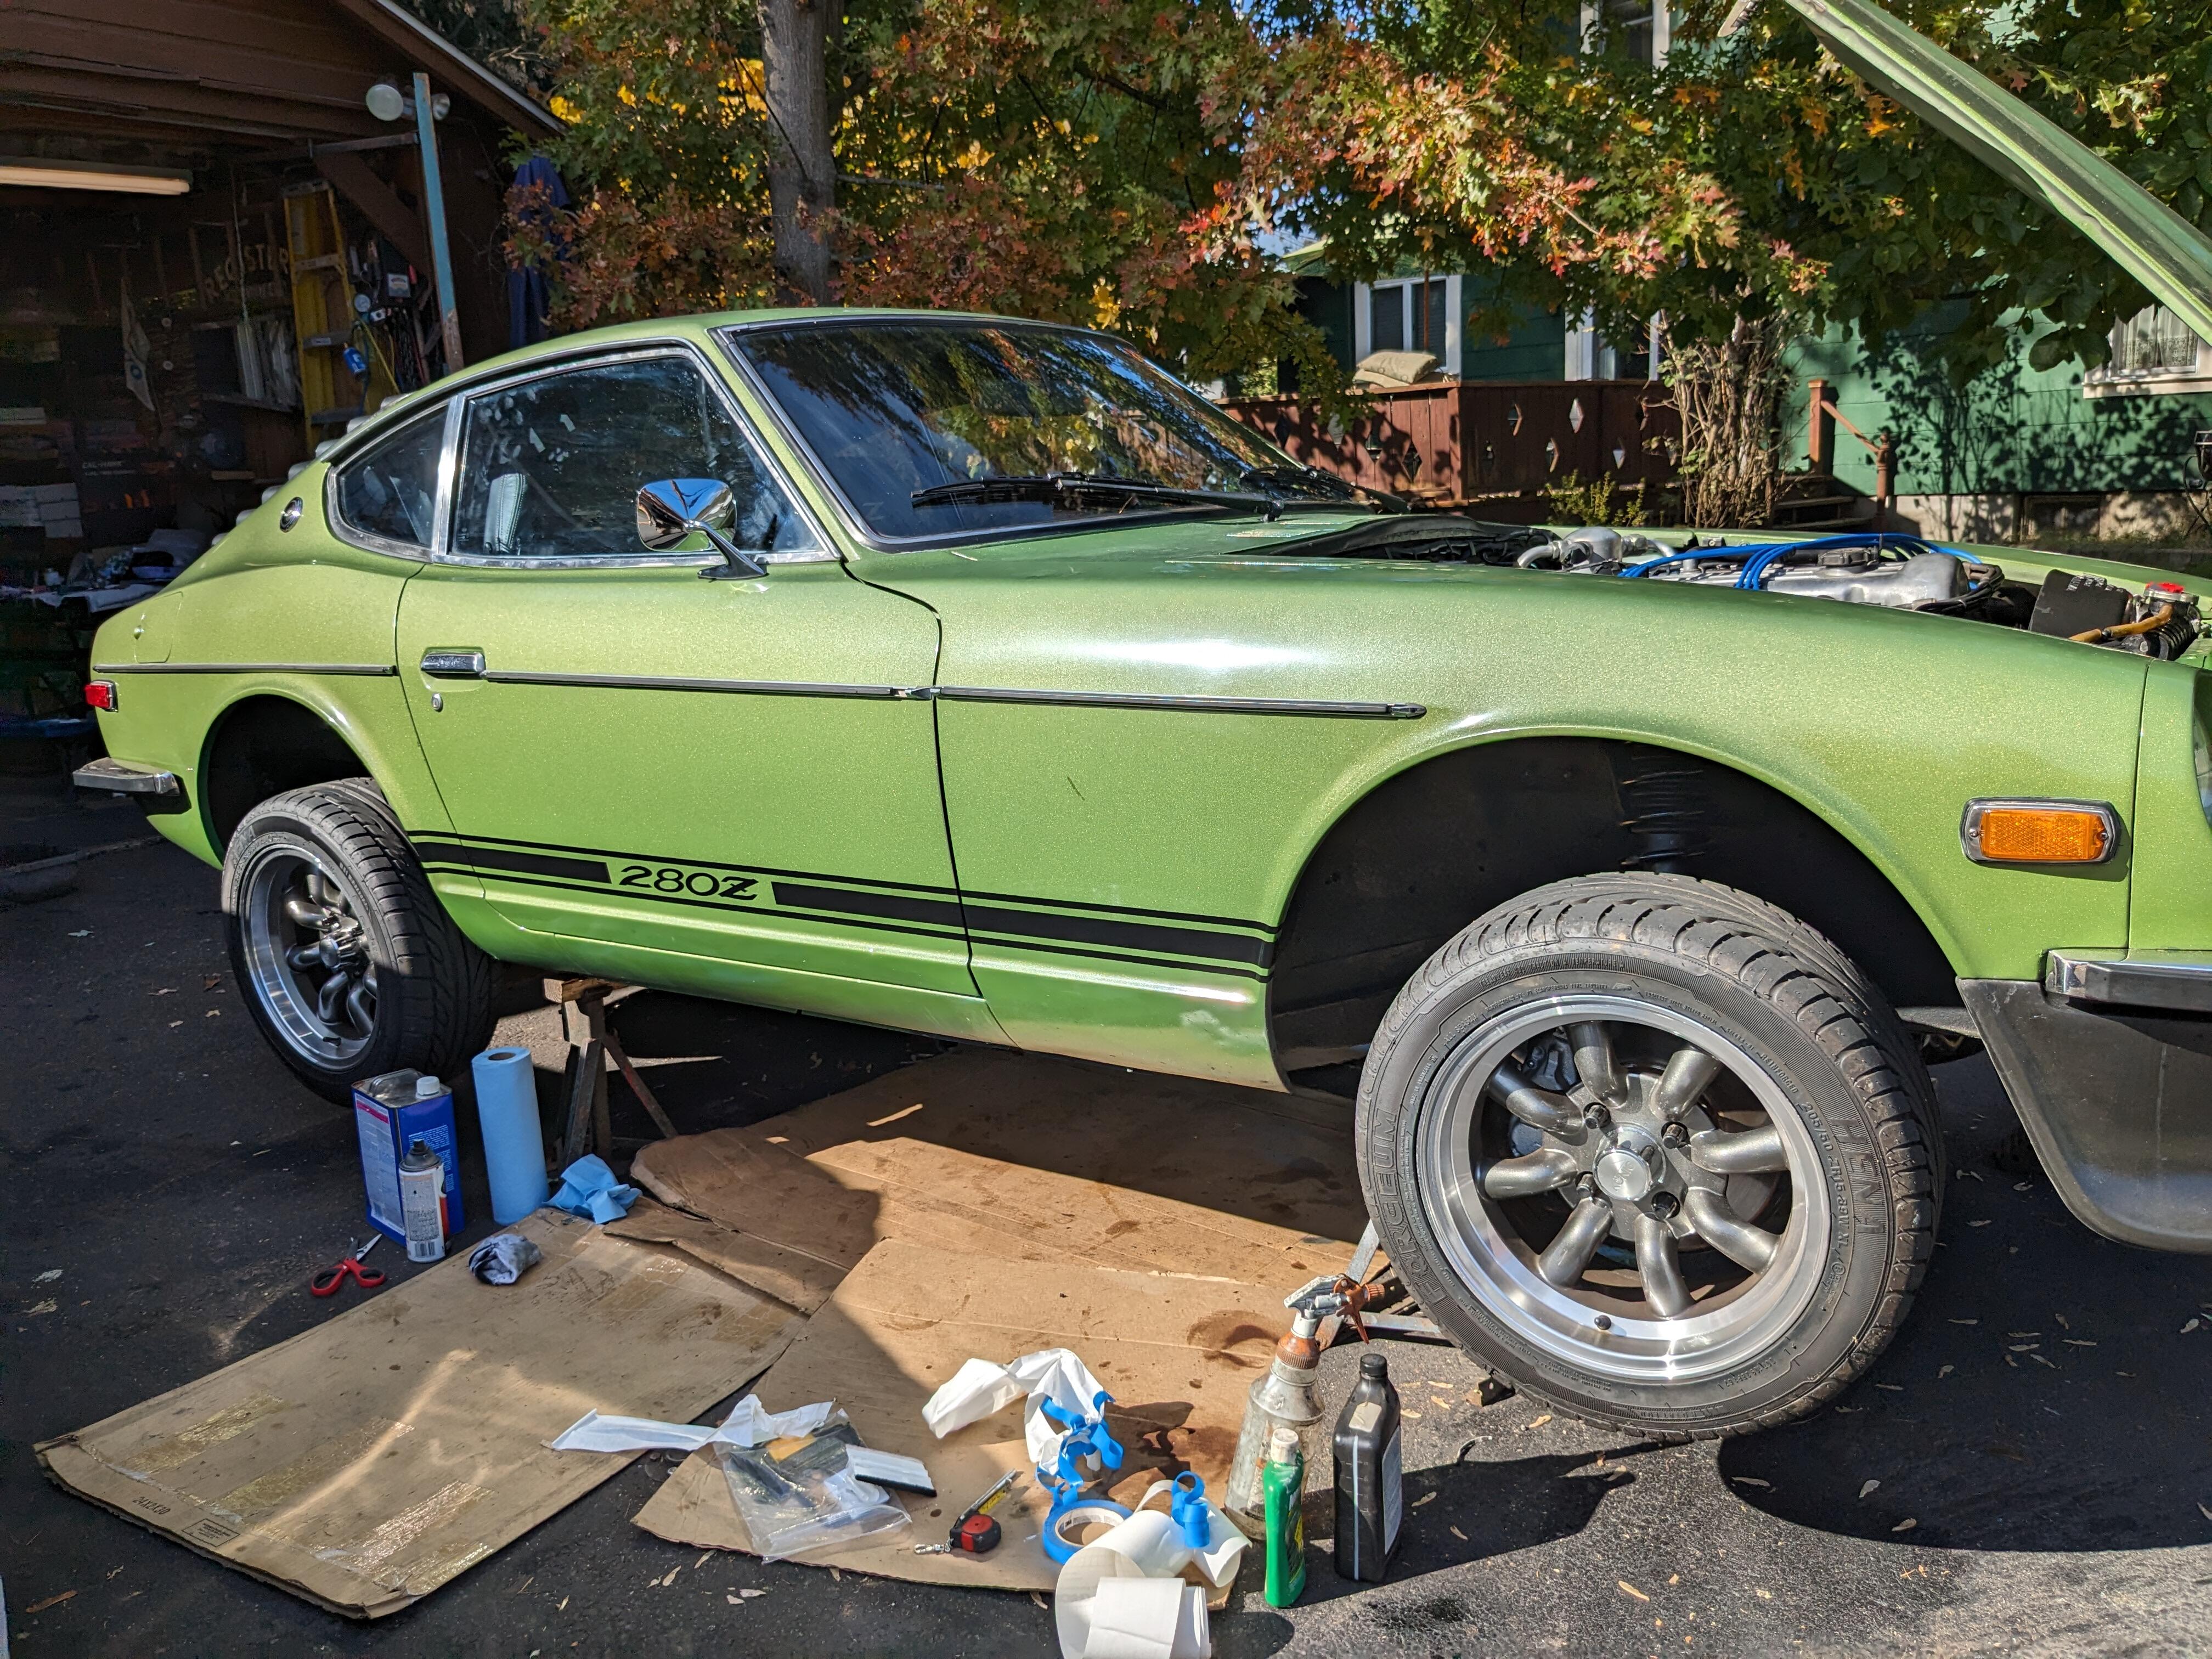
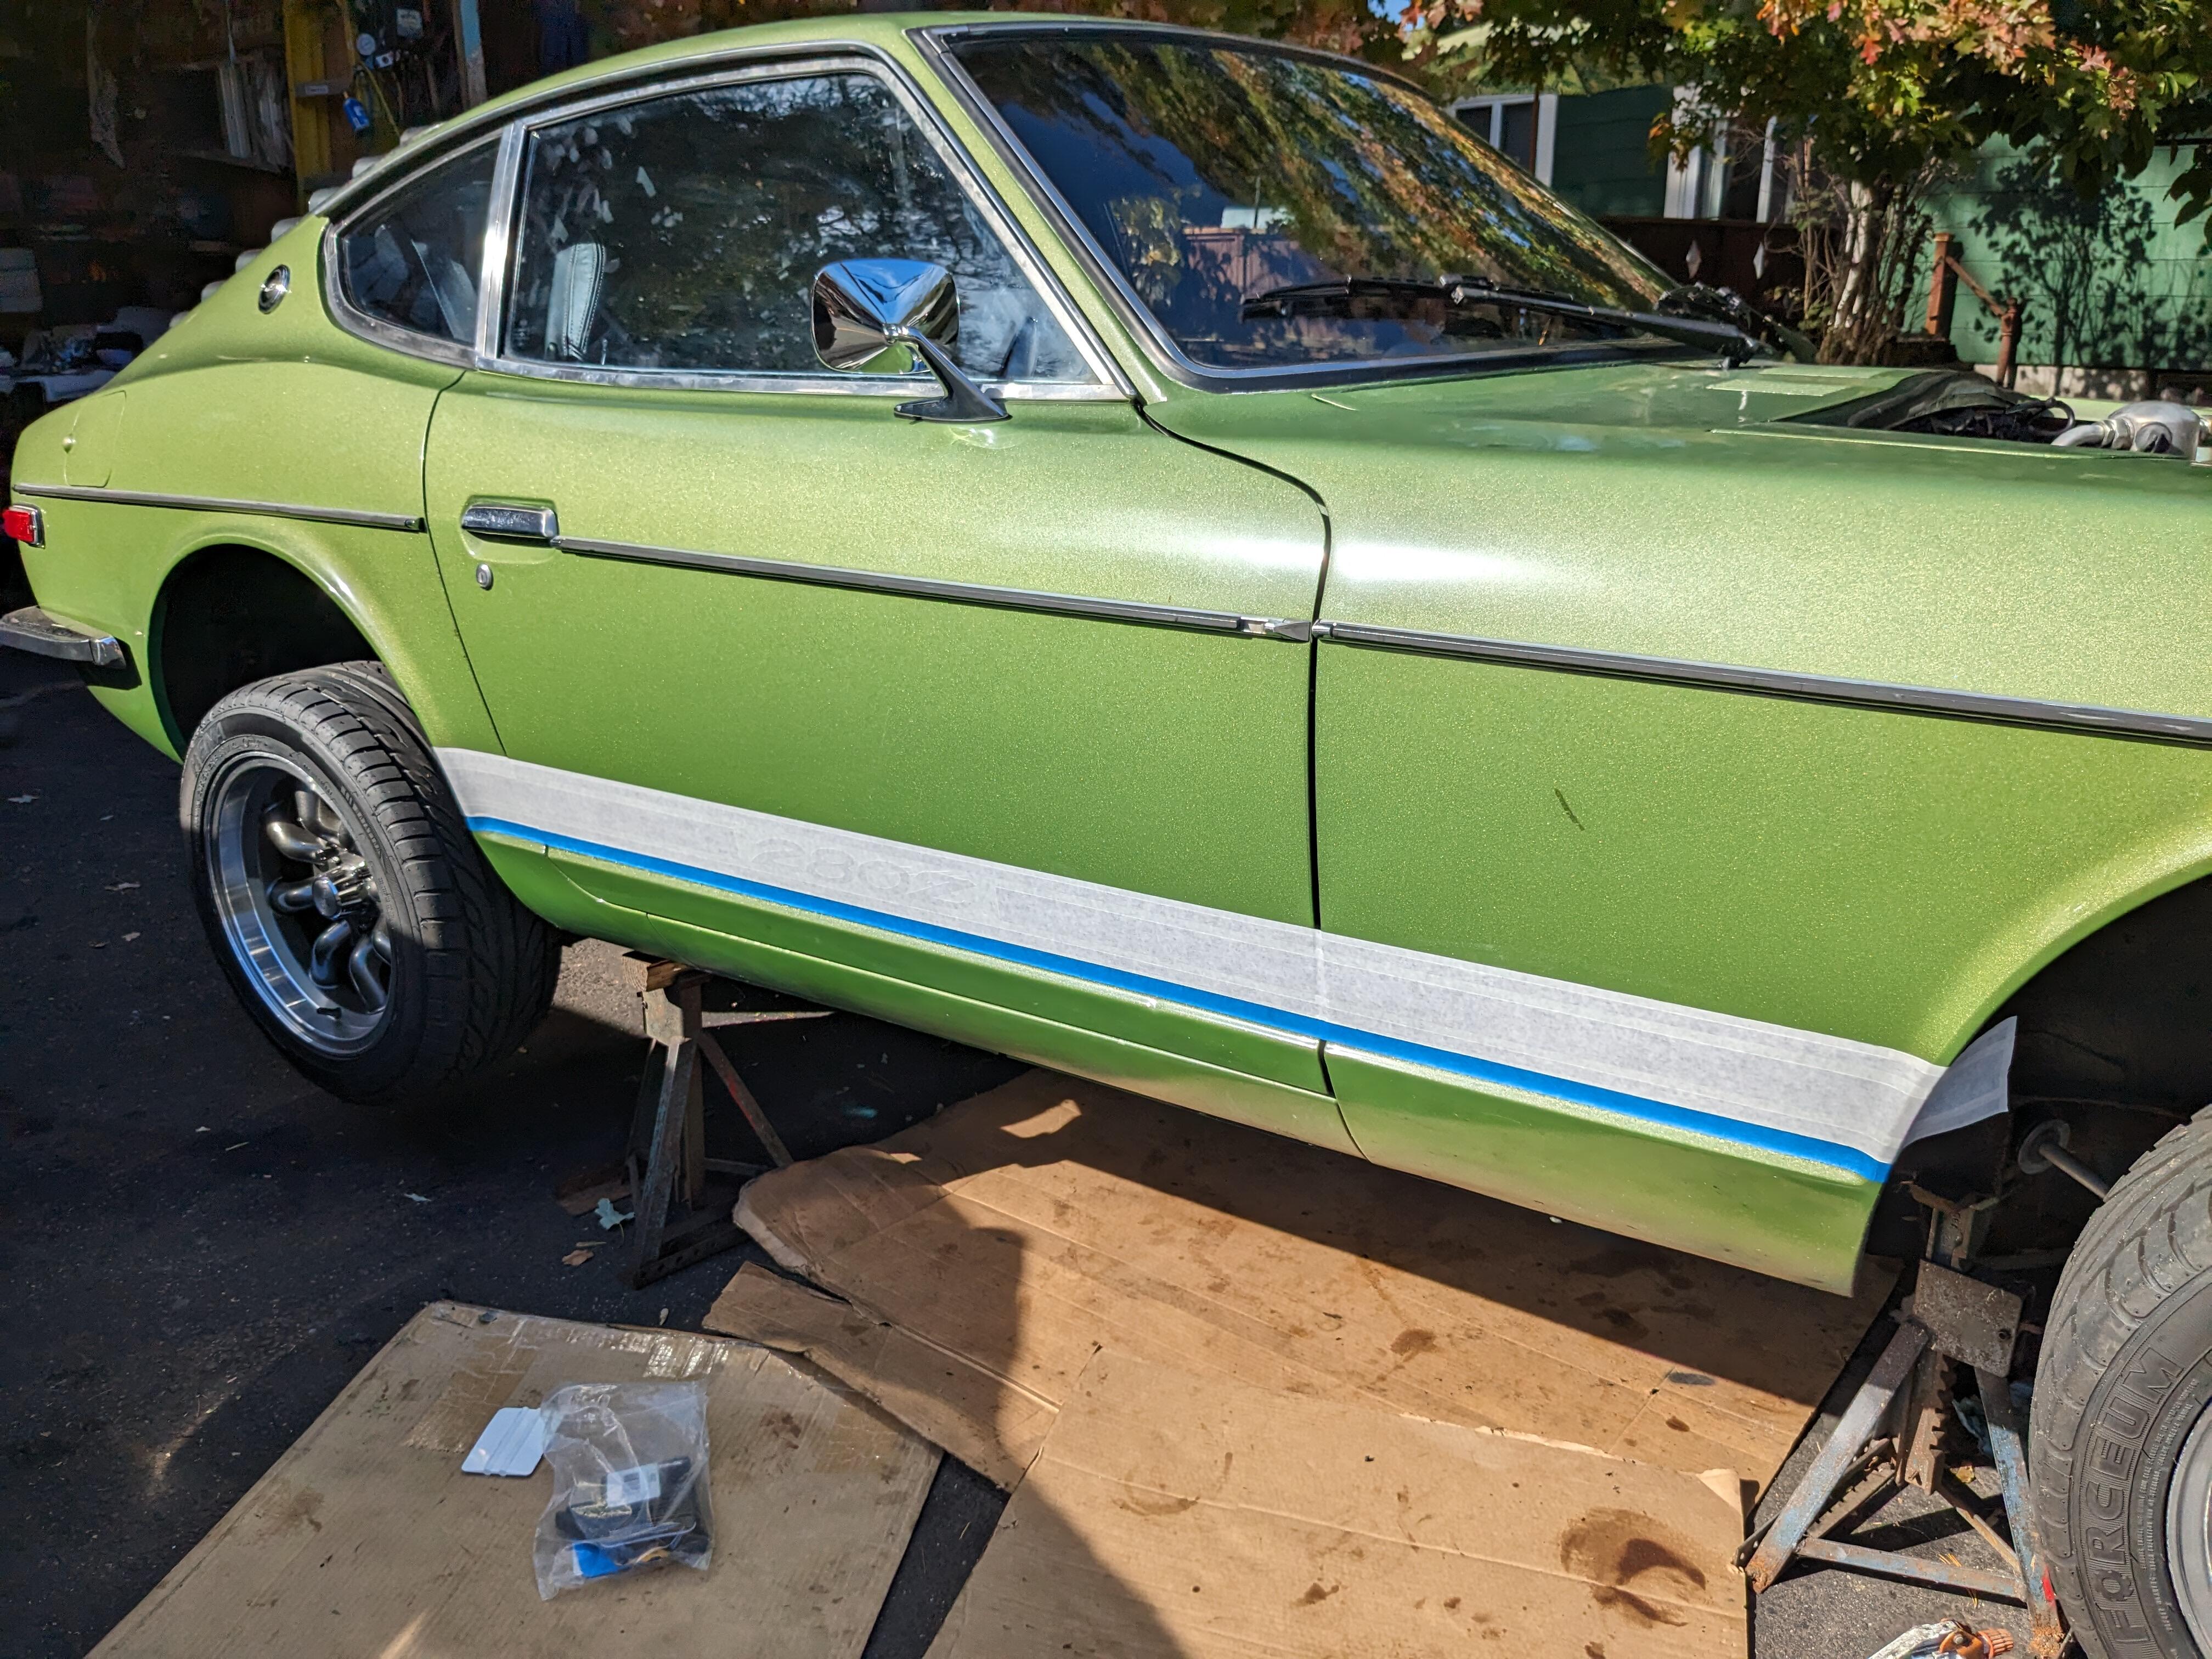
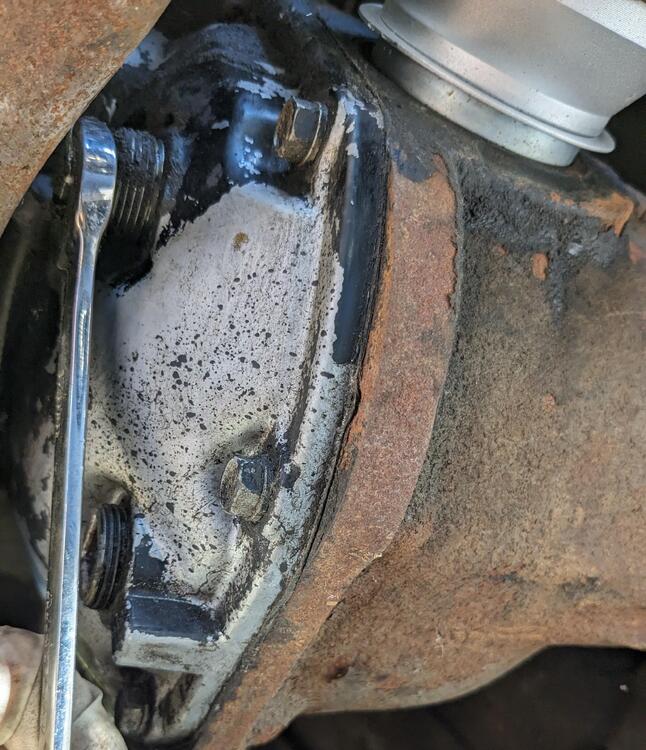
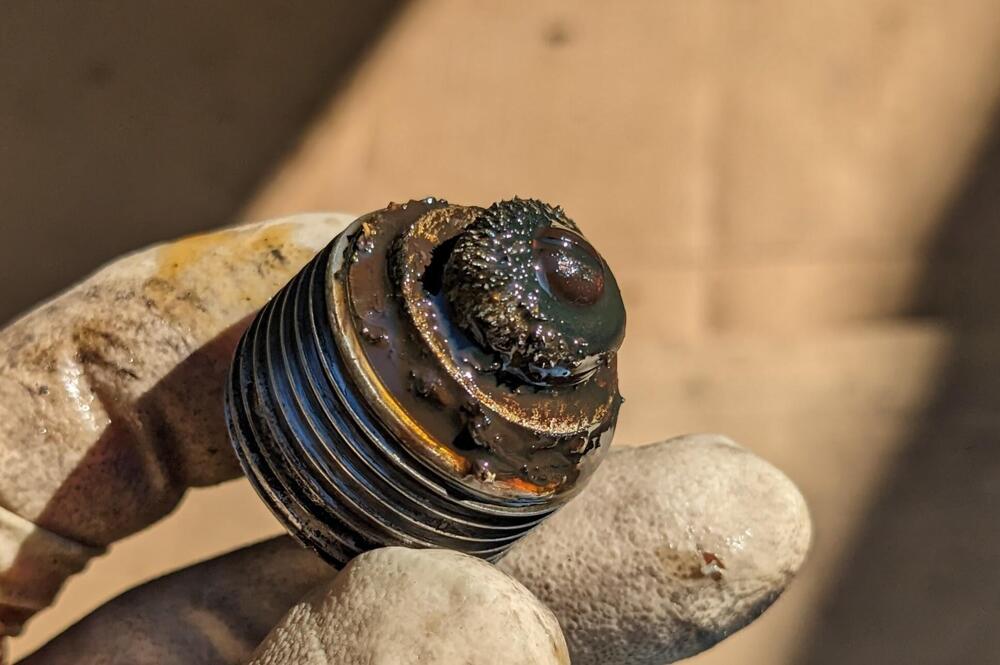
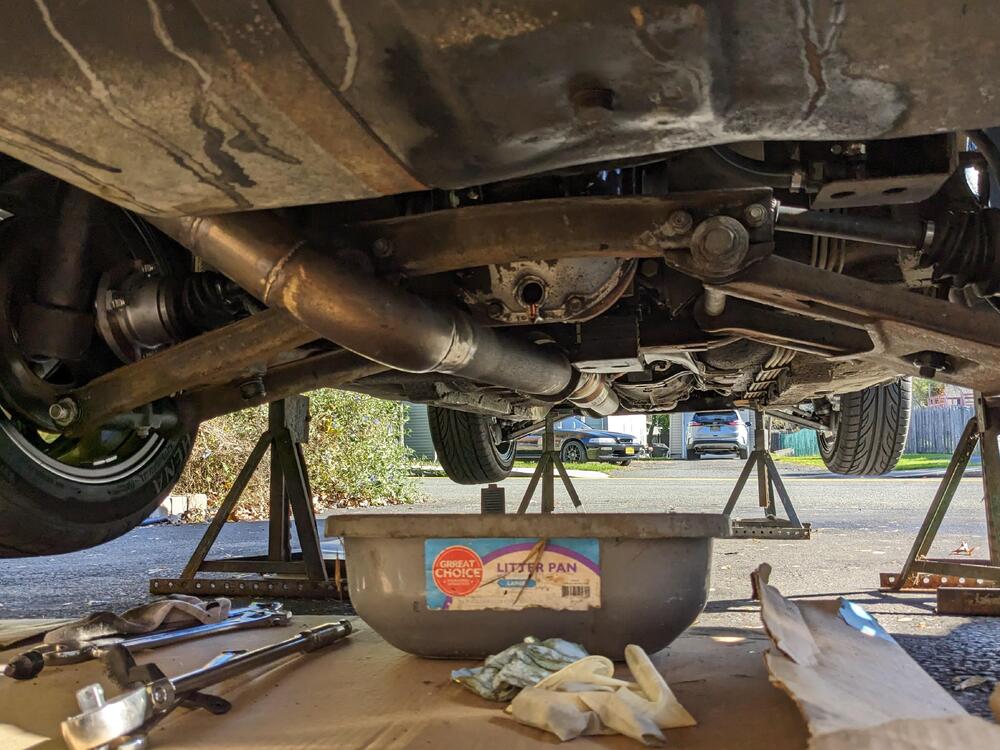
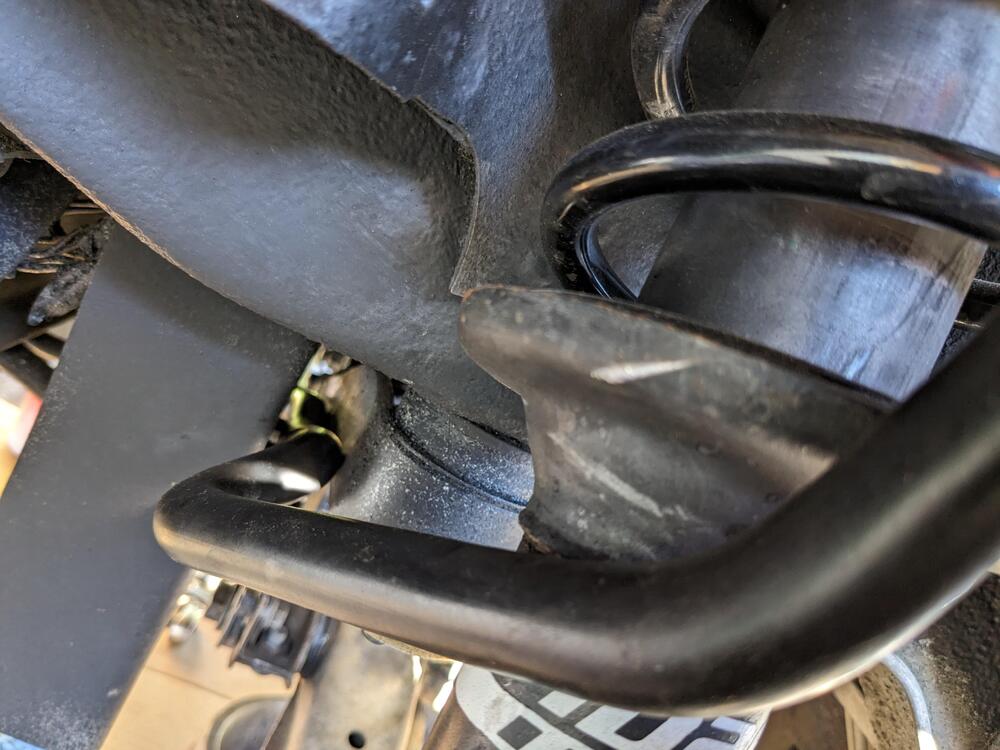
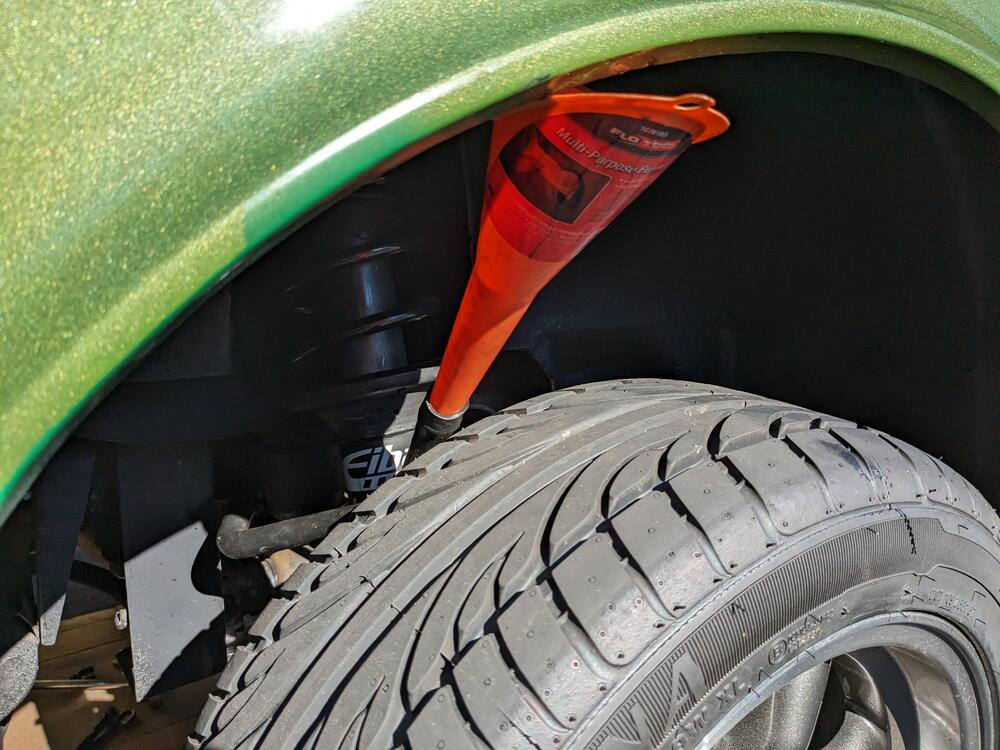
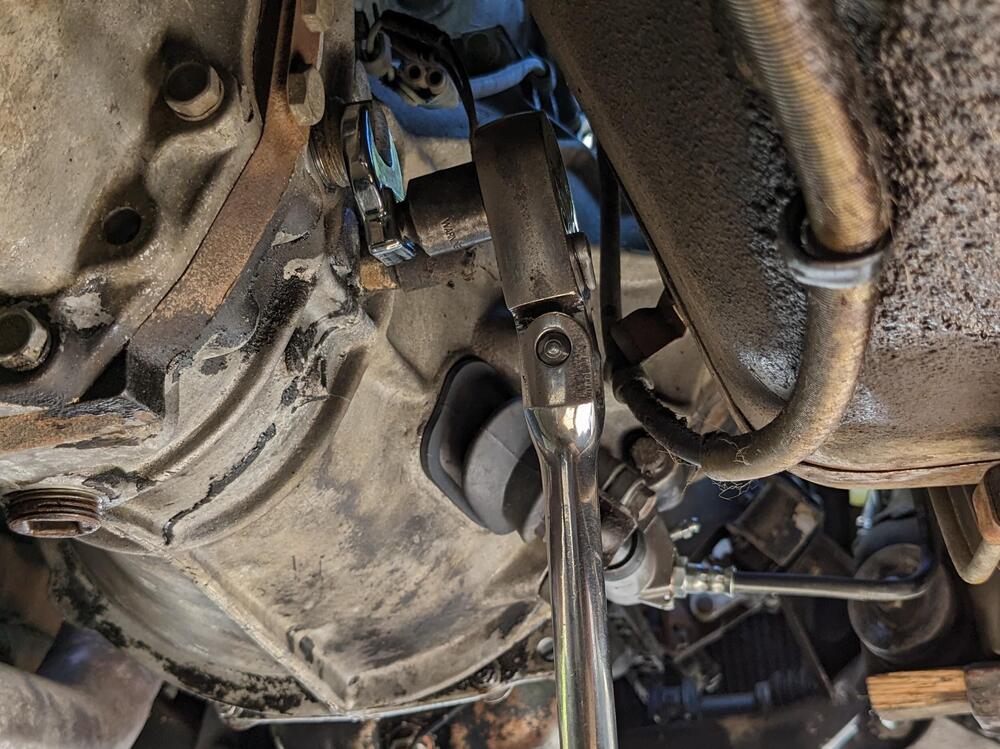
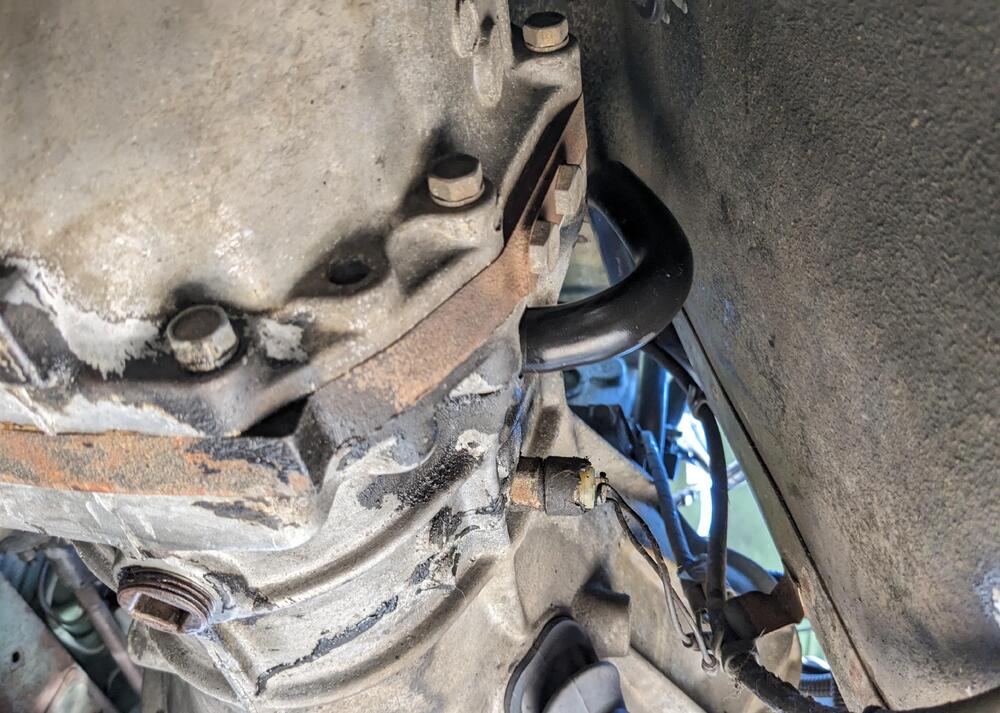
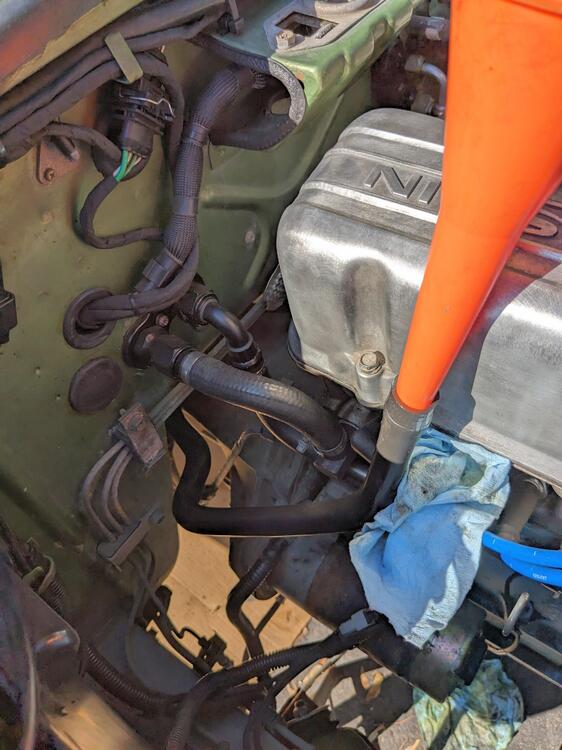
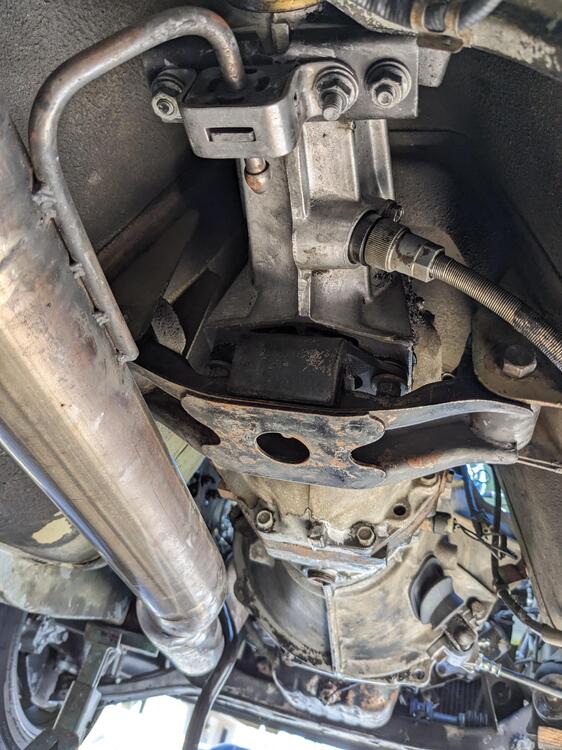
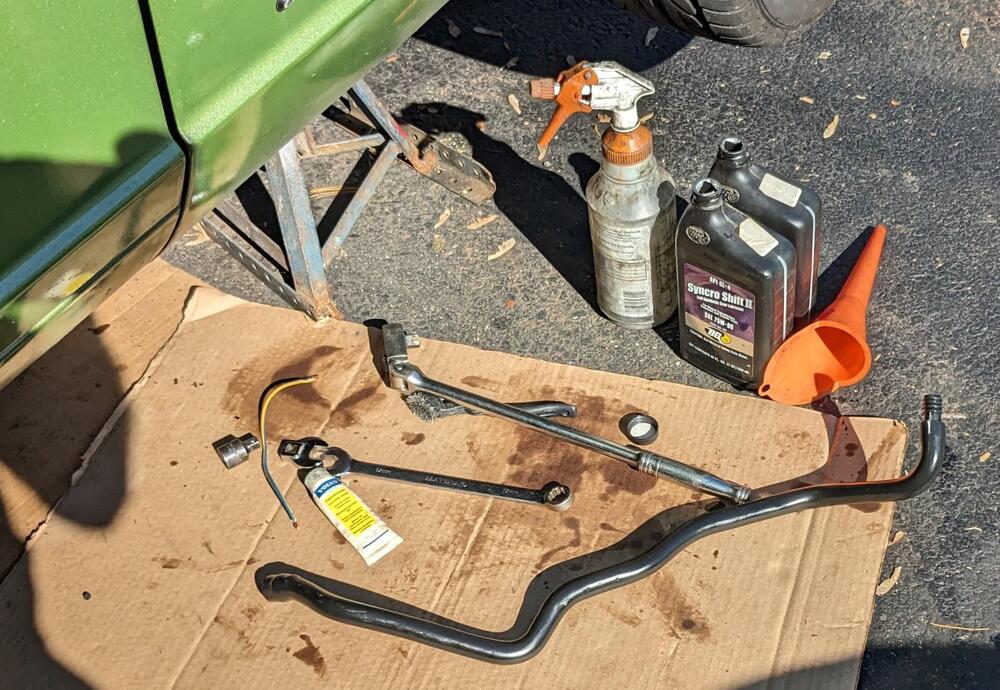
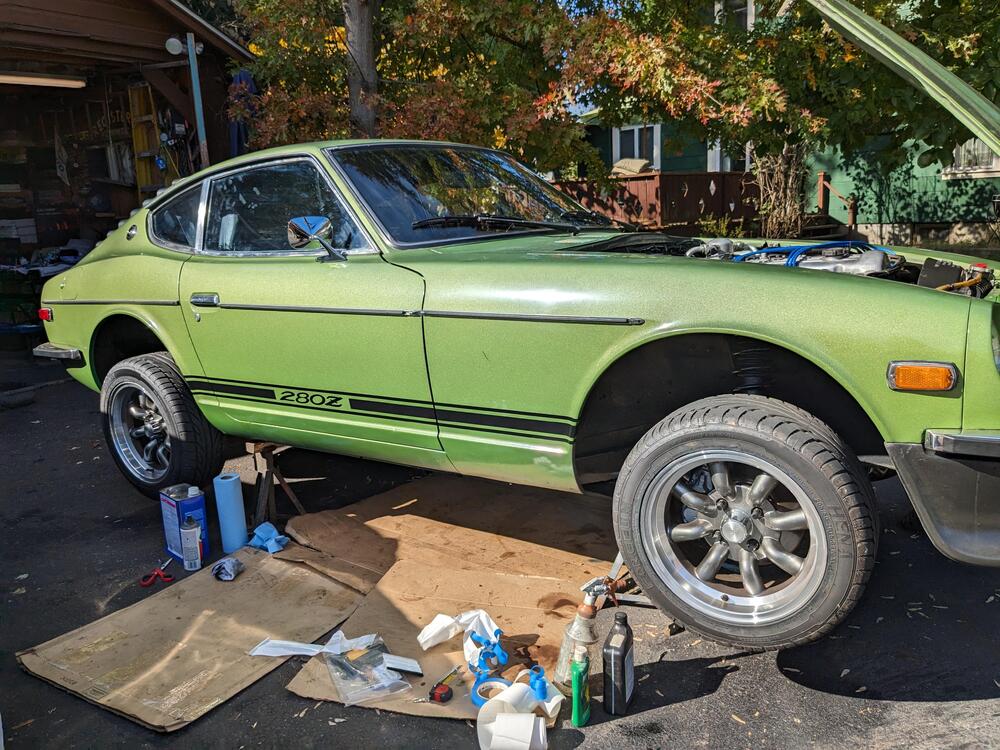
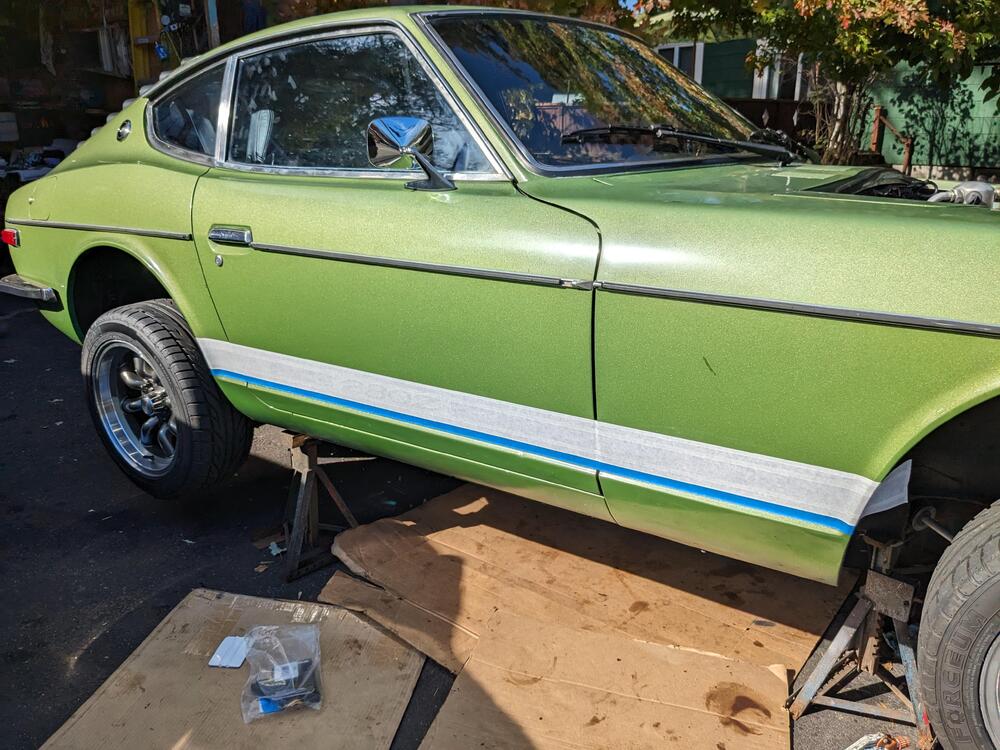
I was nervous about doing this today - given the posts talking about difficulty of removing the plugs. I used a 17mm crow foot w/the 1/2 drive ratchet on the trans, 17mm wrench with another wrench hooked over it for leverage. Both came out without any real drama. diff drain - some metal particles I used my trusty transaxle fill tube- it's a crankcase breather hose from a 90's Volvo Diff took about 1.2 quarts (GL-5) before it started coming out the fill plug trans Trans took 2 quarts (Gl-4) - just started dripping out the fill plug with that only got one quart out of the trans Found that the reverse light switch is dead - easy to test since I had it in the air While I had the car in the air, and the temps are back in the 70º range, I got the side decals on.
-
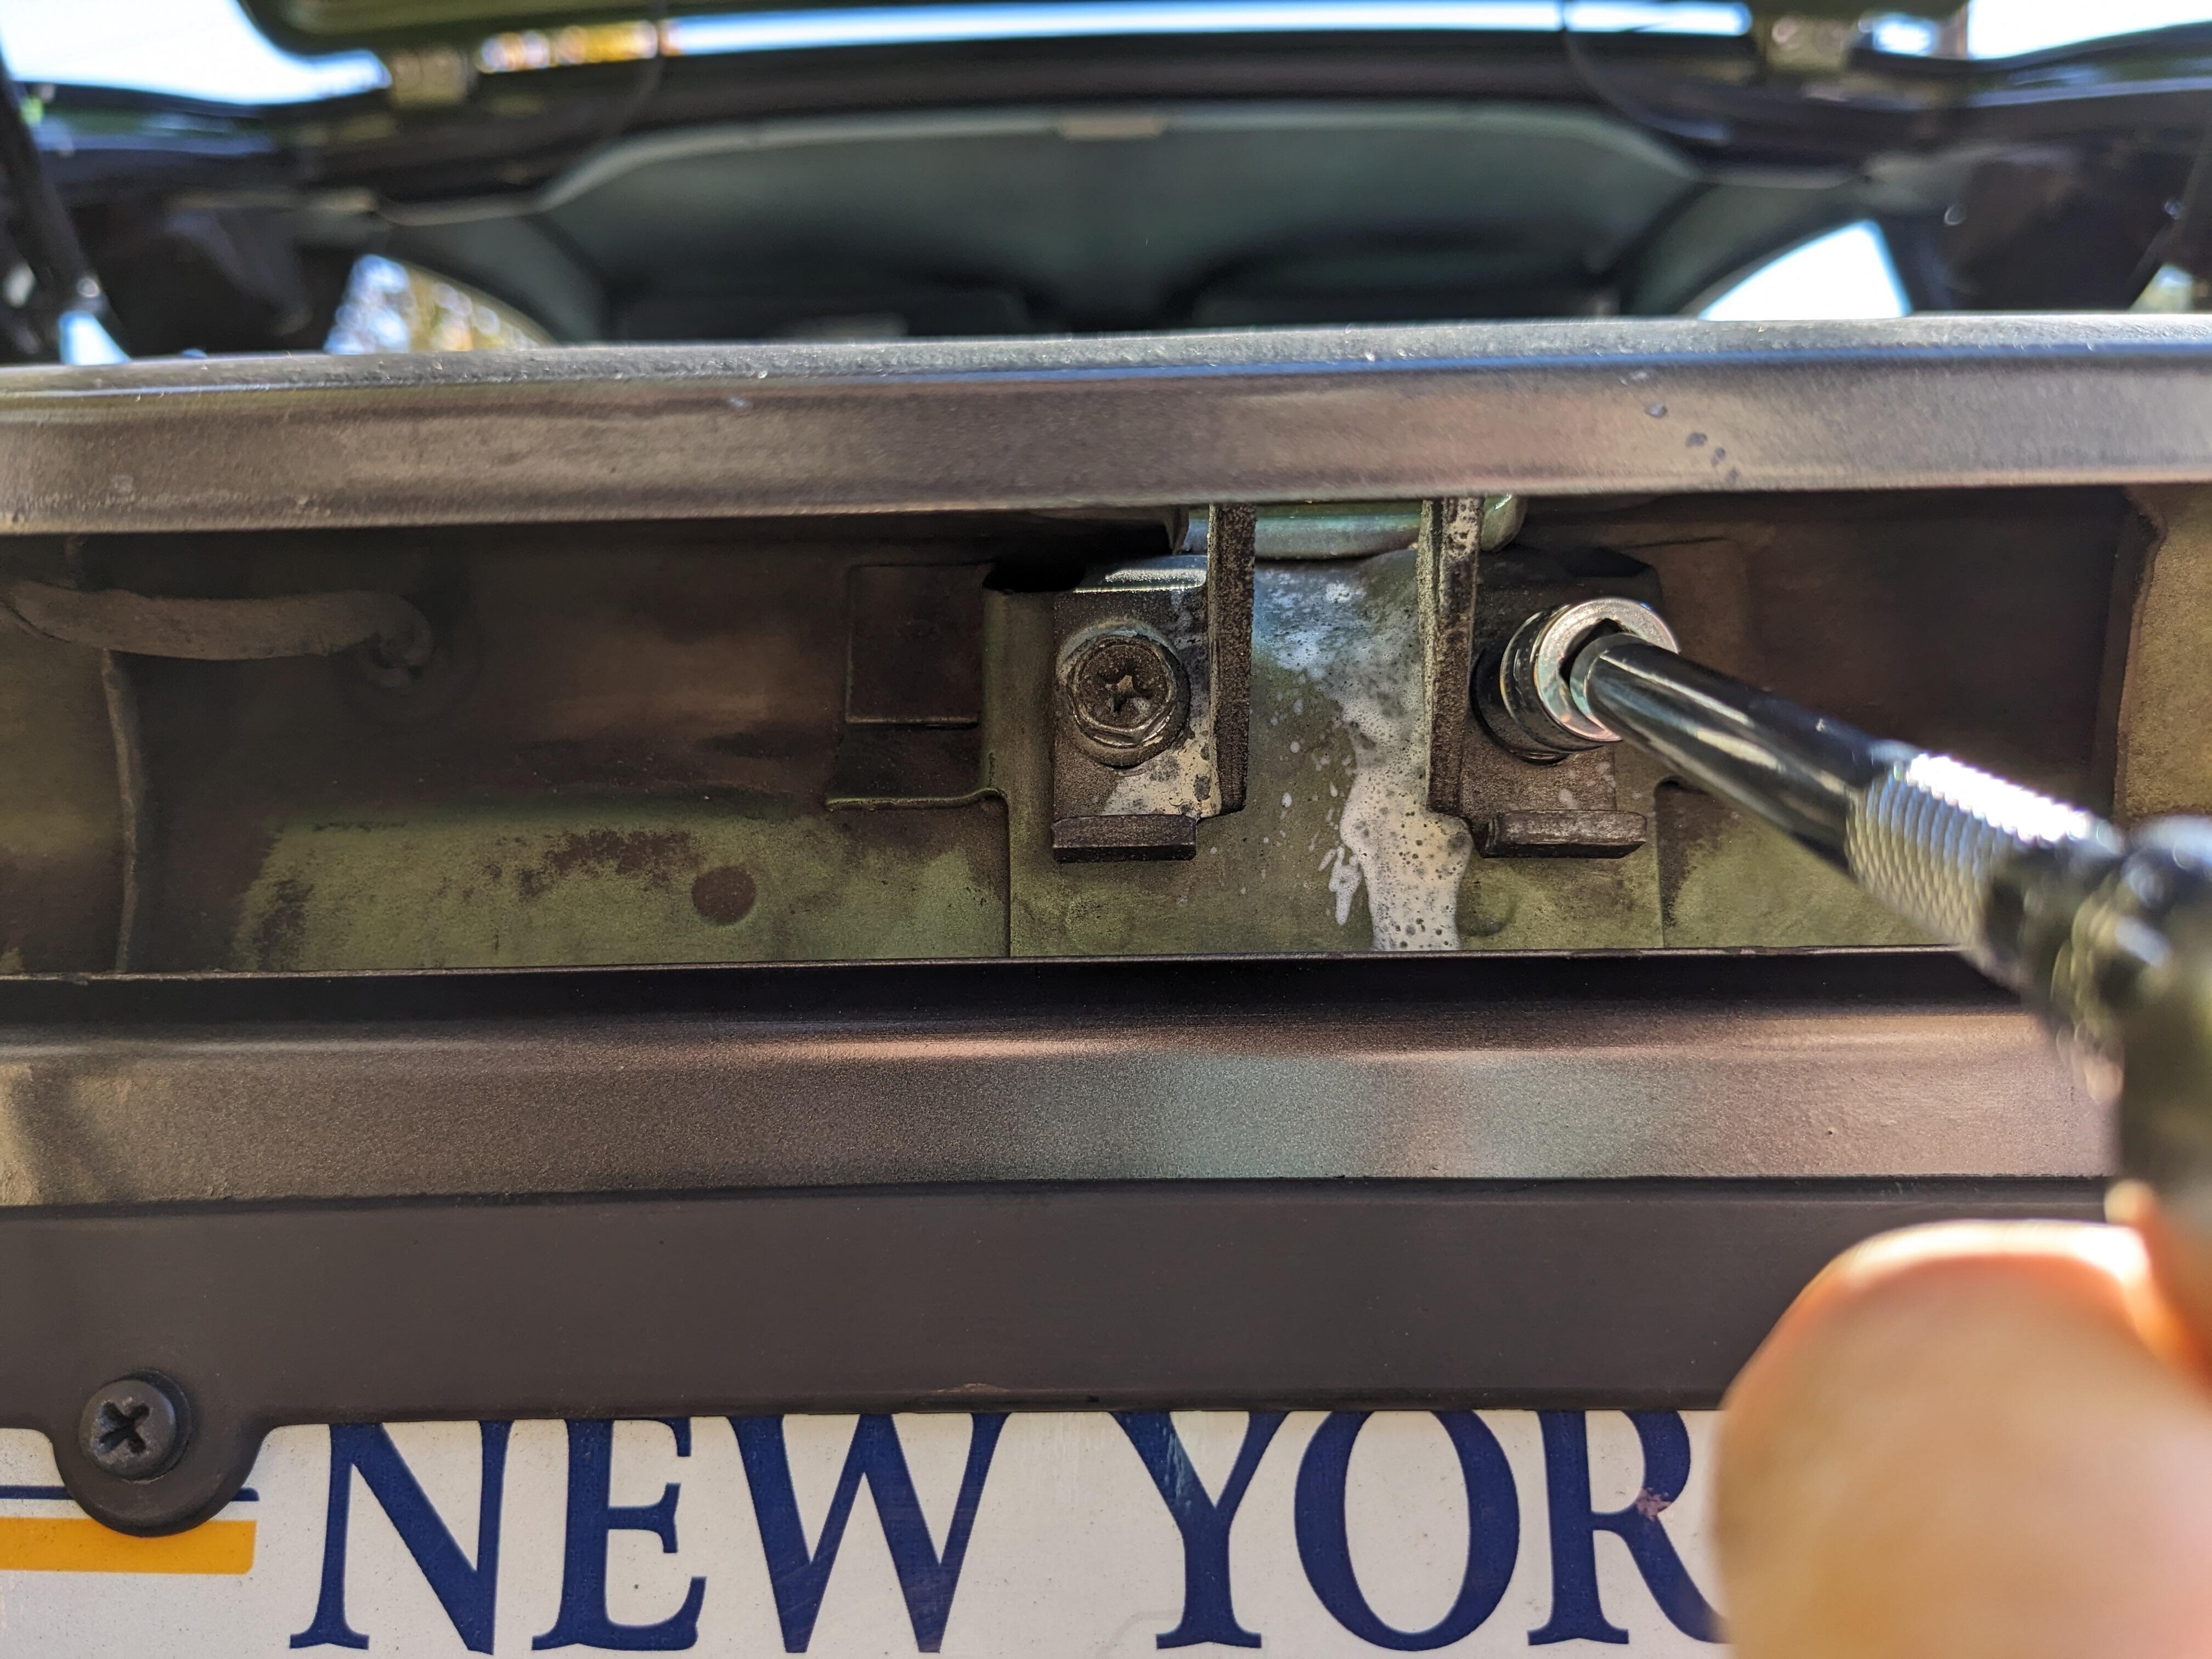
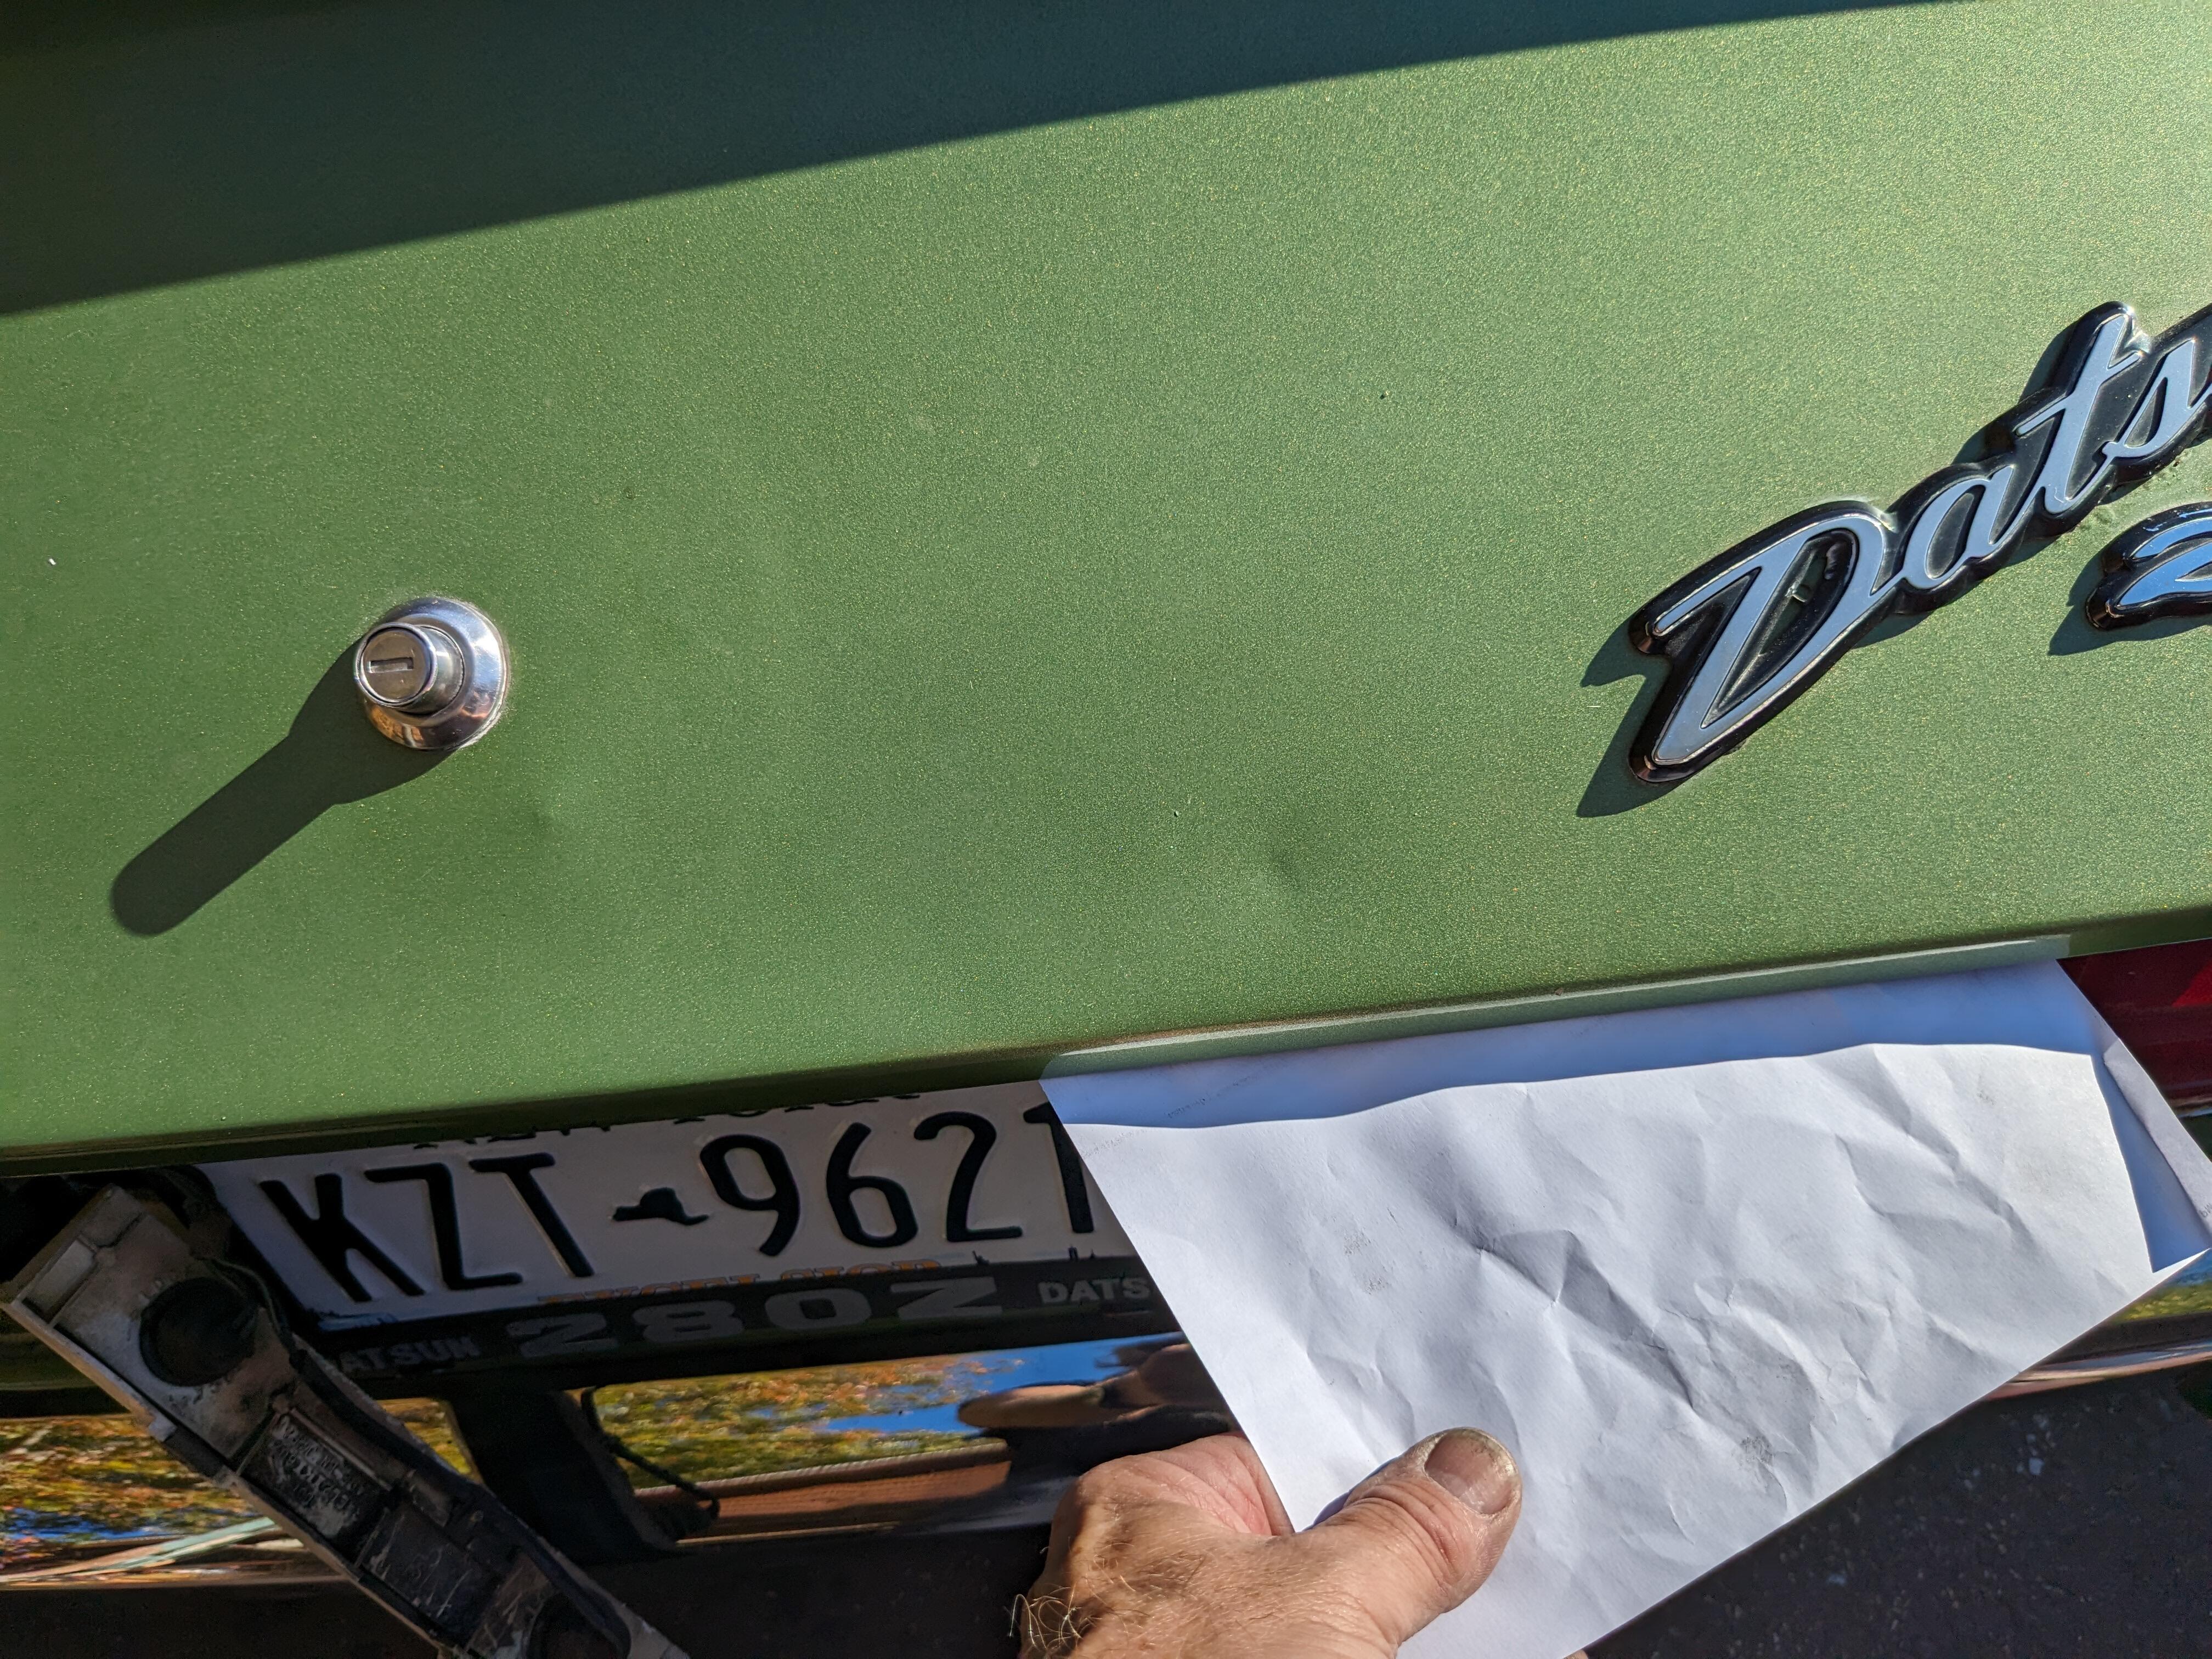
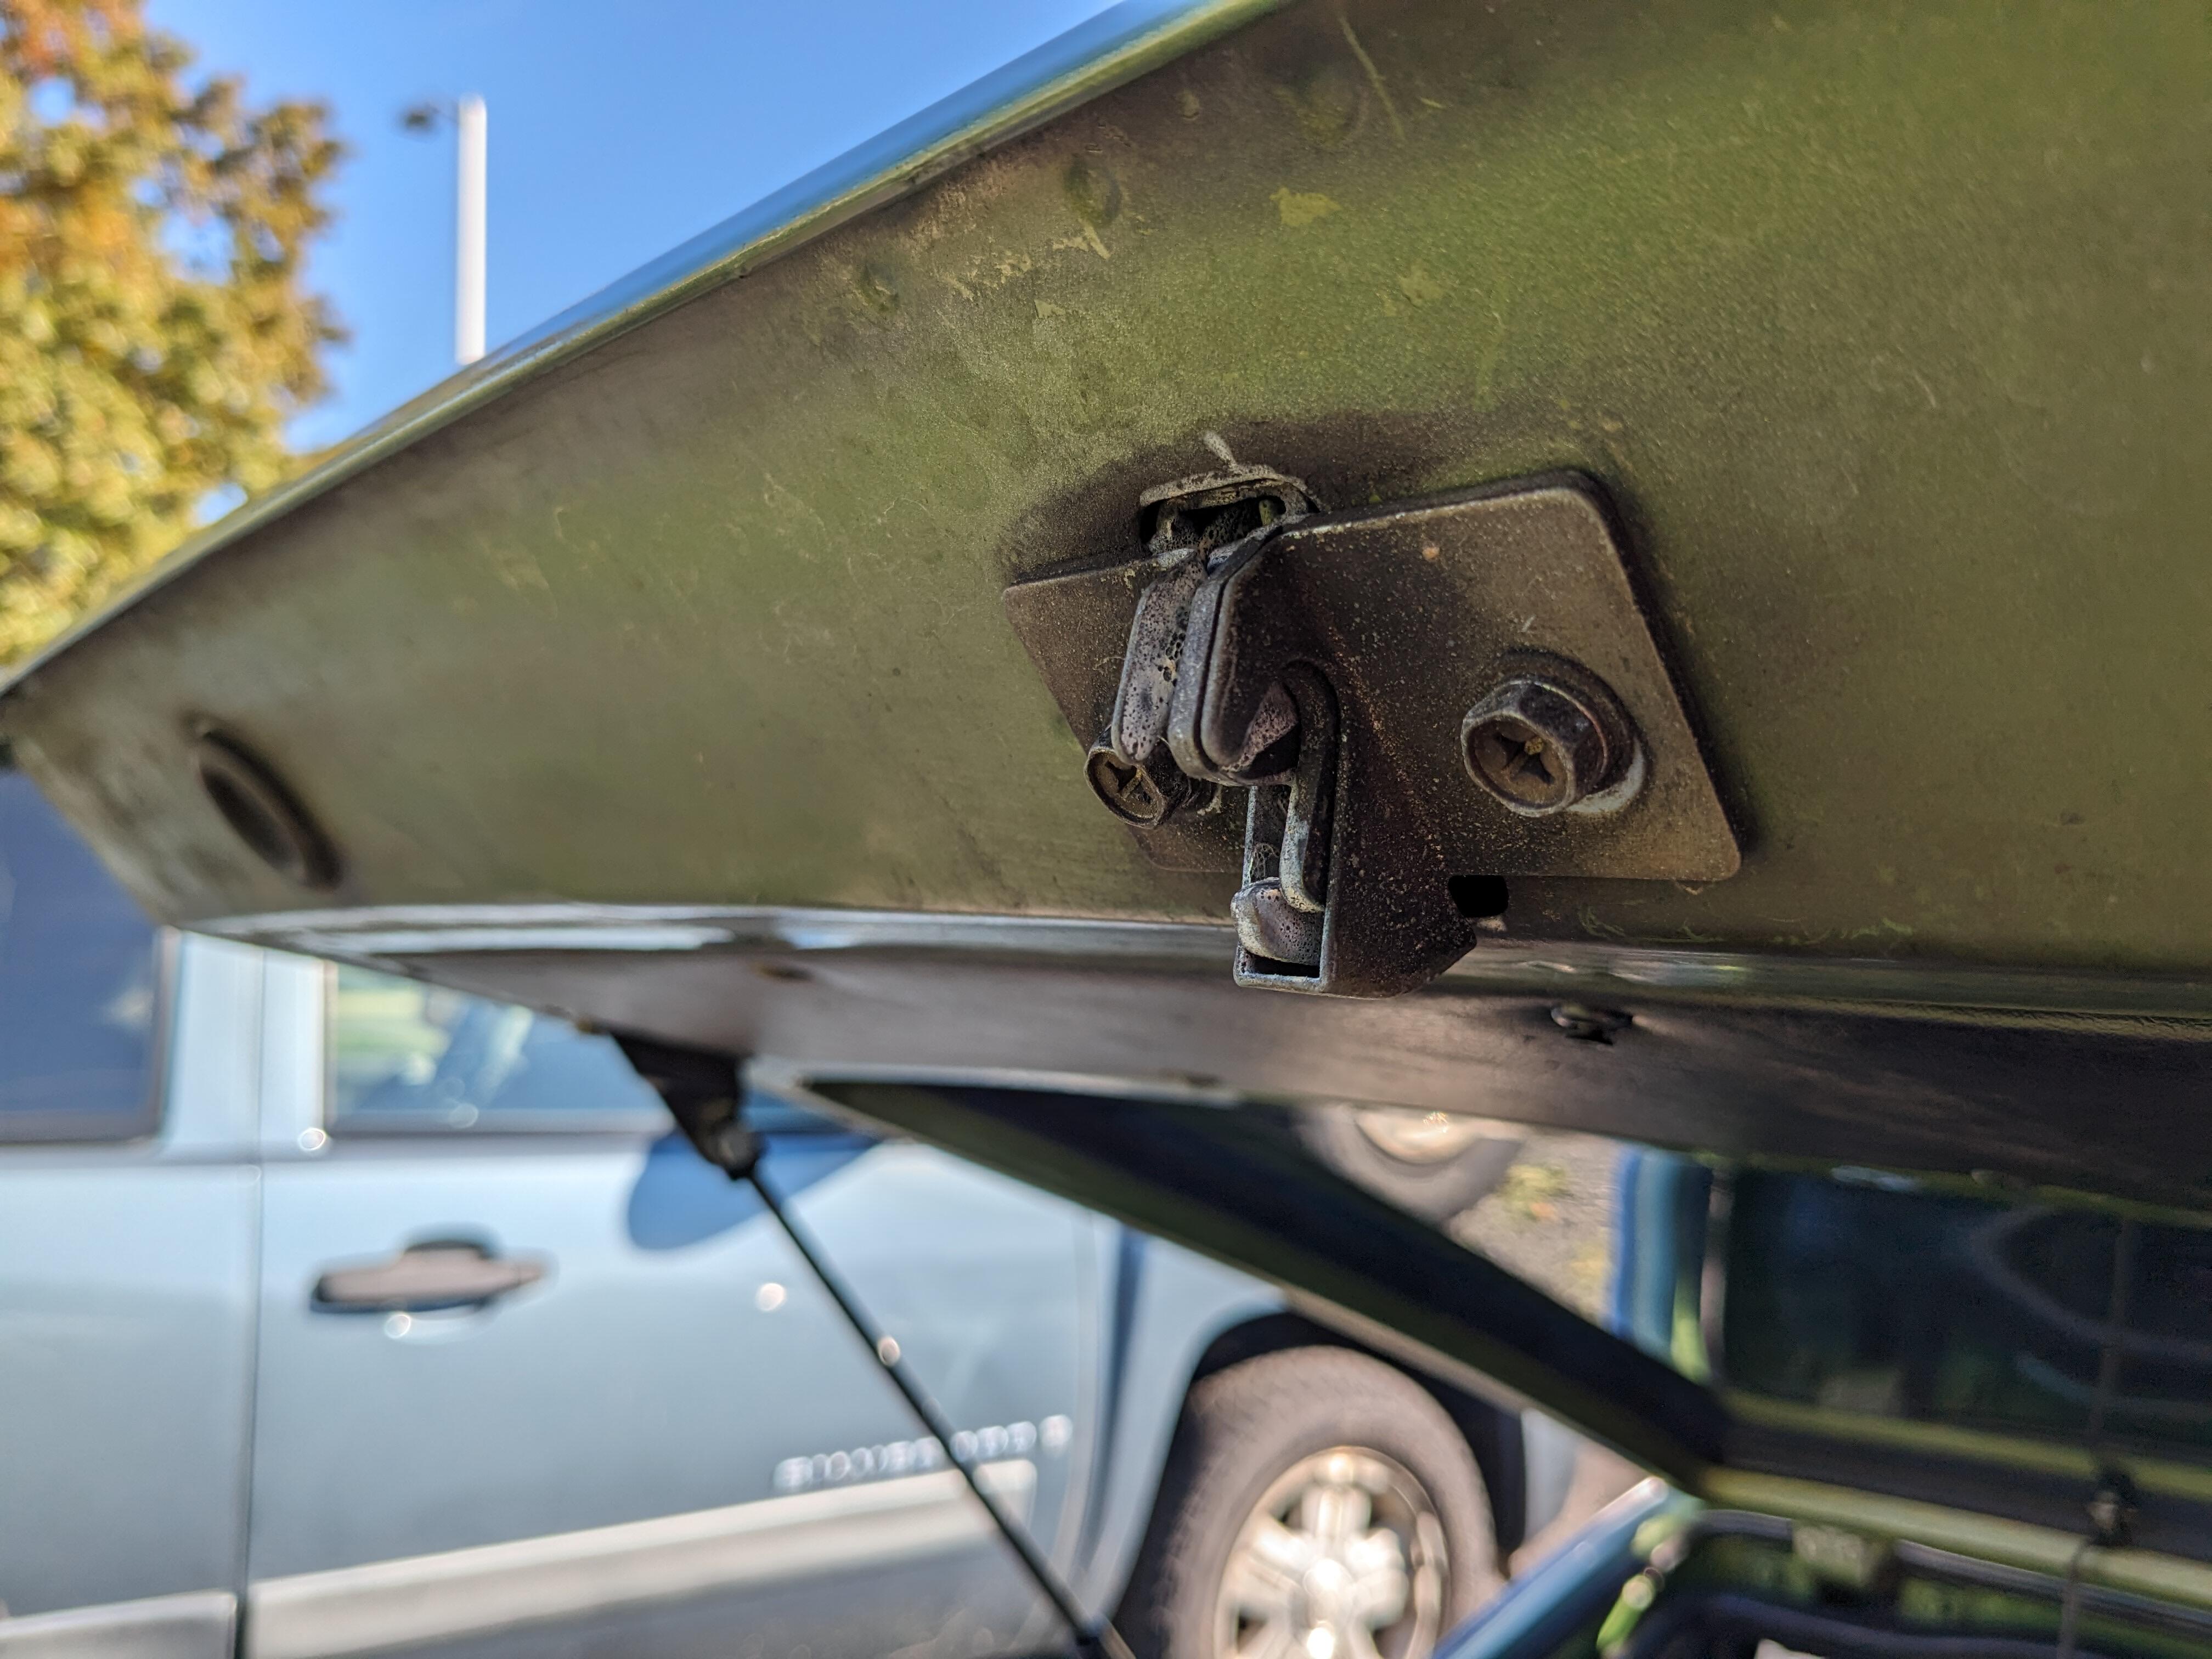
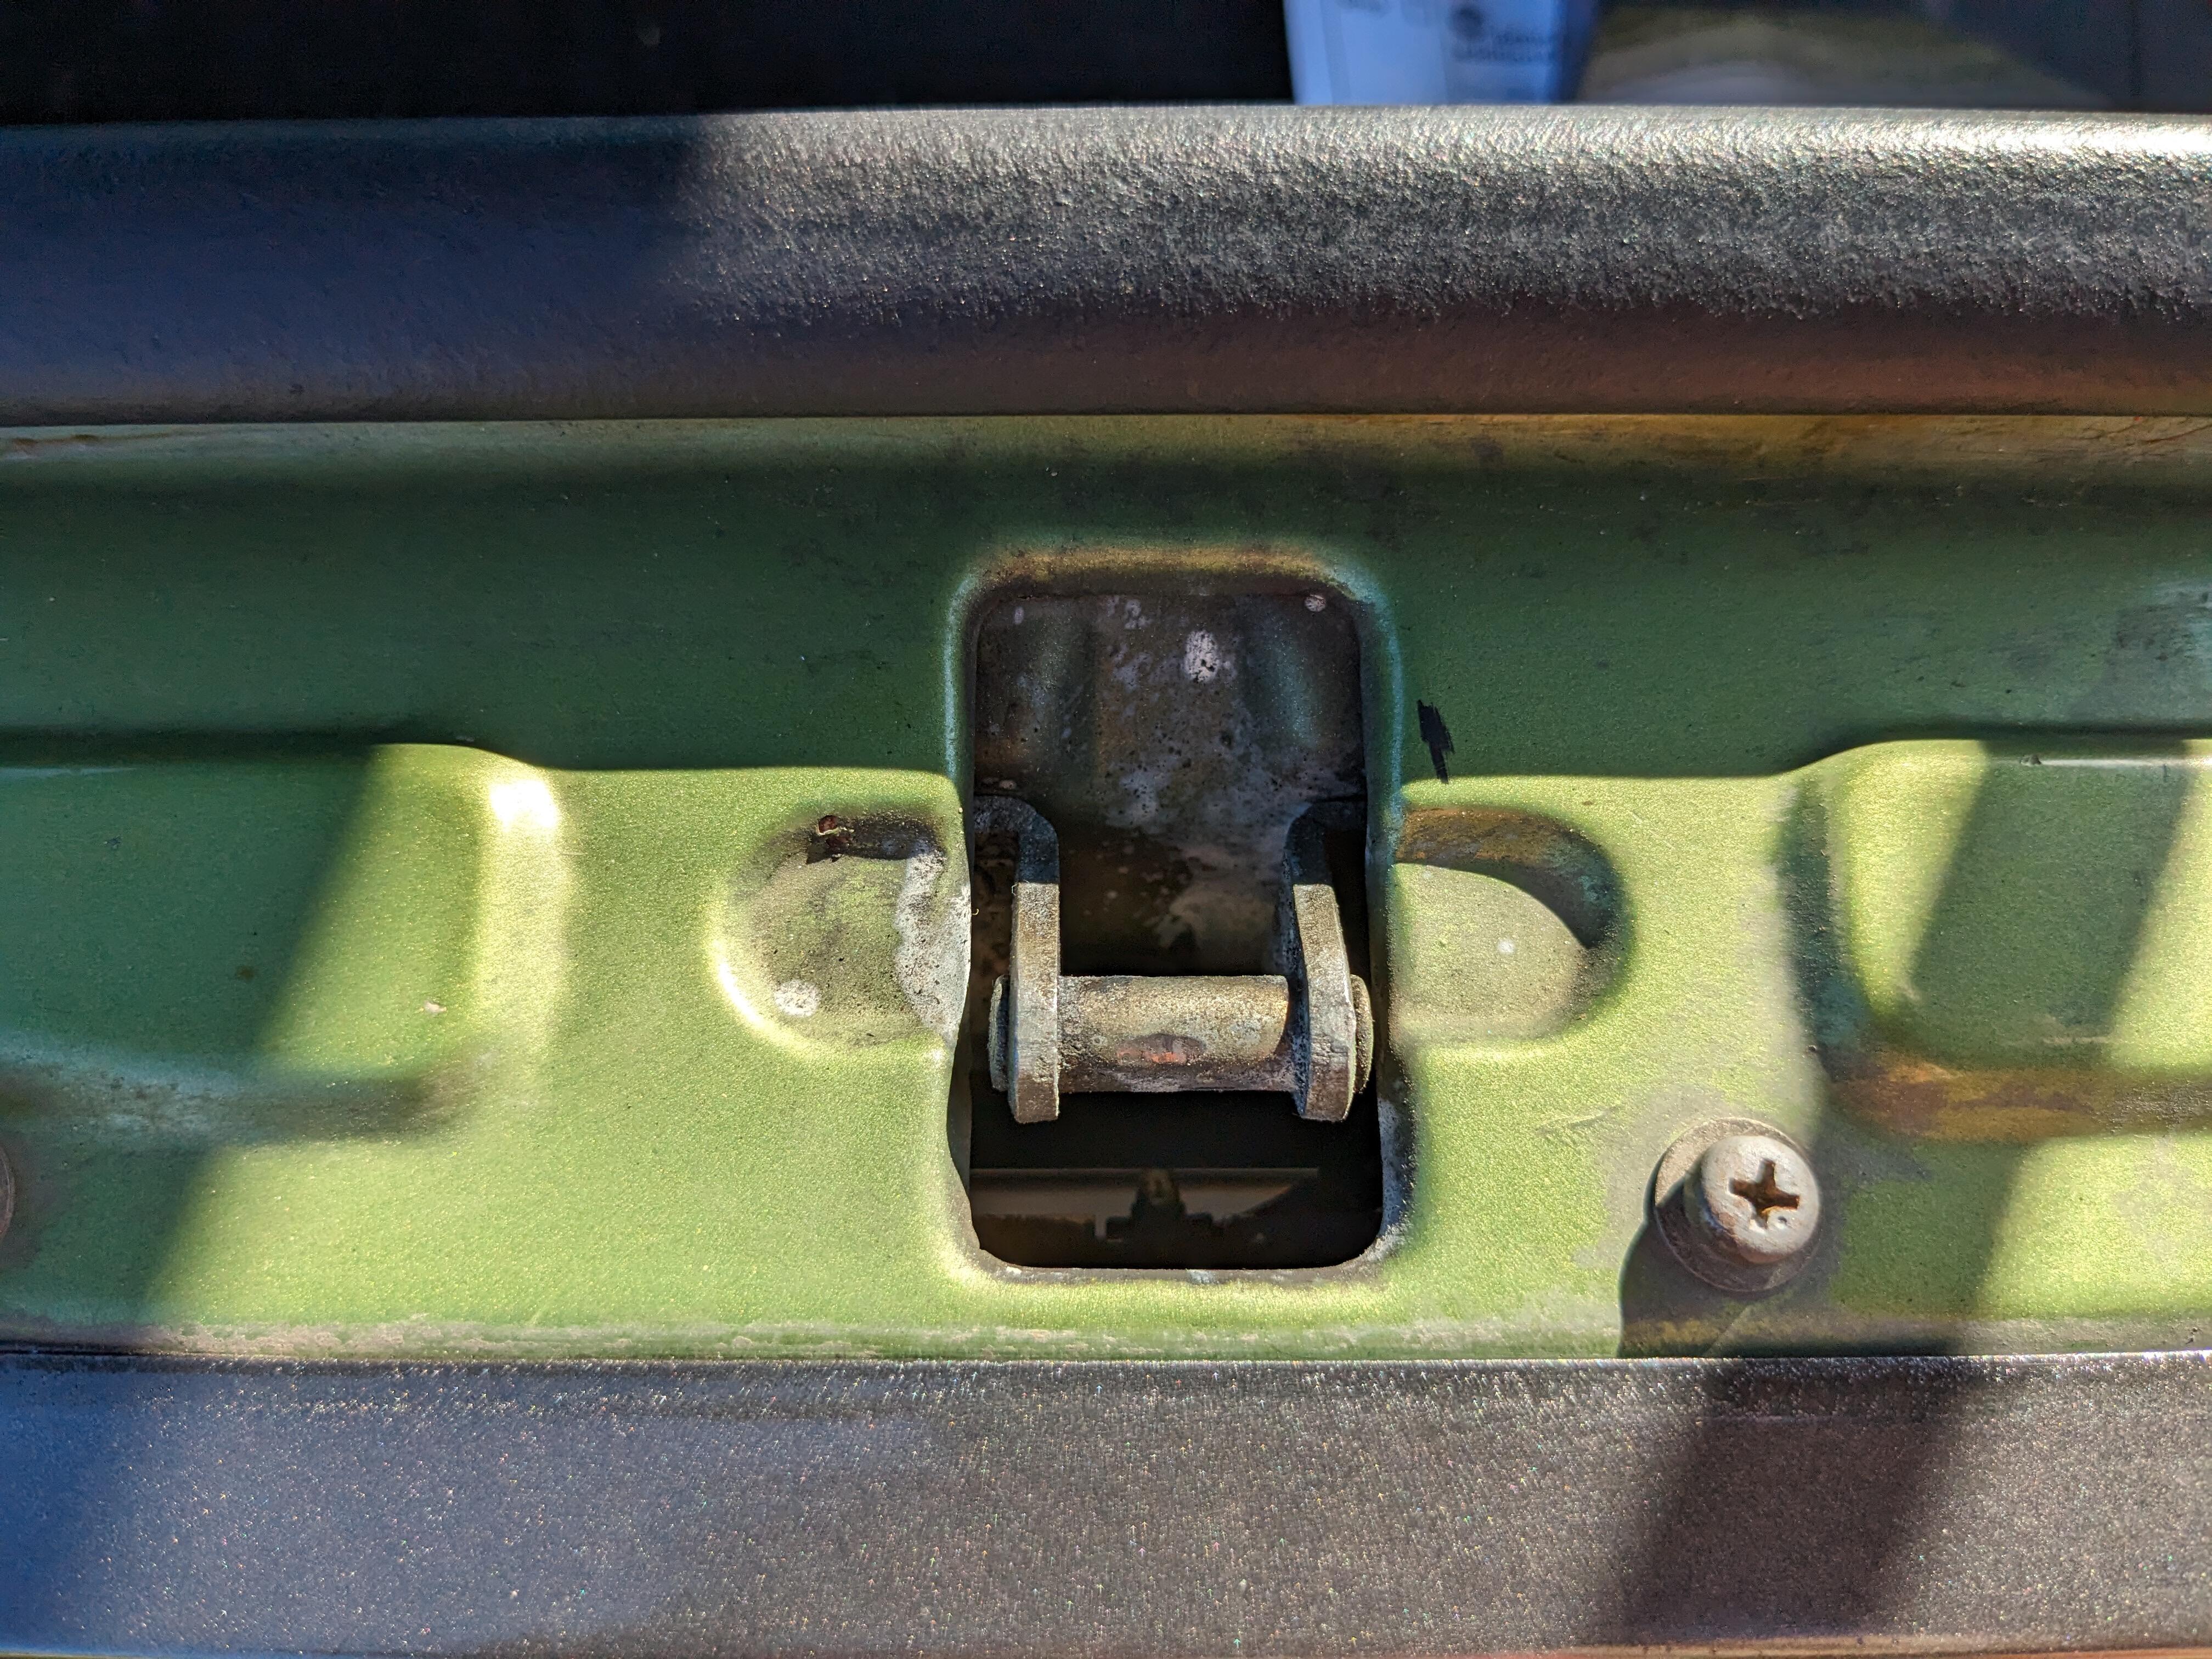
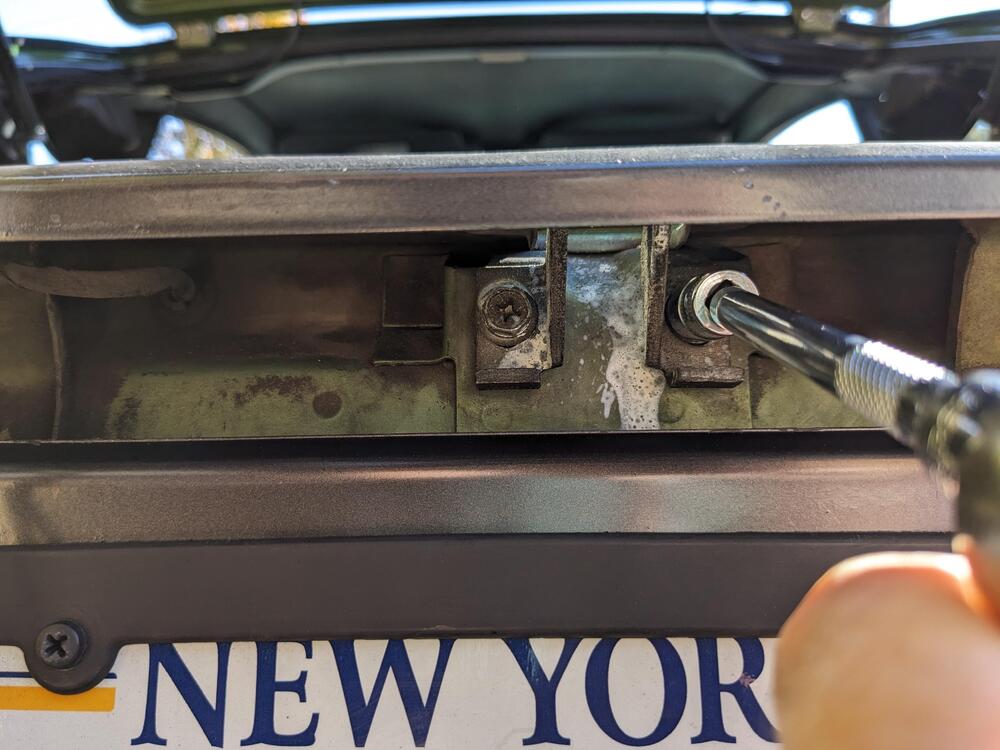
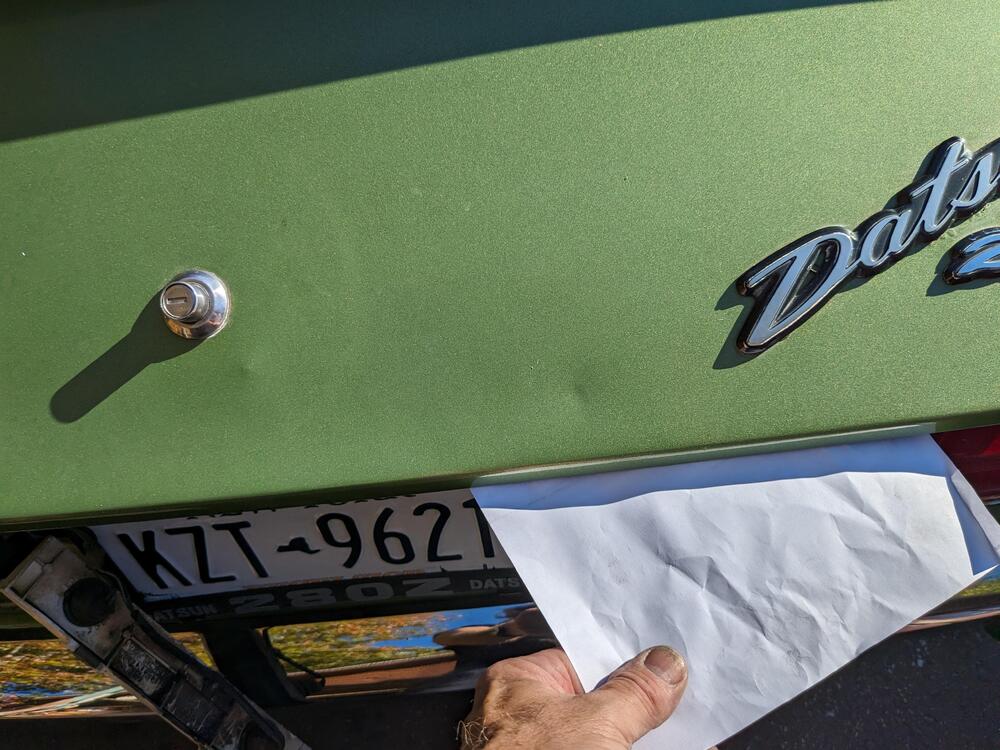
Followed grannyknot's directions - much better now, no more slamming required. I did have to make it a touch tighter than I wanted, to make sure the horizontal seal was snug against the hatch - don't want any fumes sucking in. Paper pull test to check
-
That would make sense, wouldn't it? I ordered 50 of each male/female, so I have them.
-
Thank you, Steve - those are indeed the ones! Of course, that site doesn't actually tell you the make of the terminals. I don't need the housings. 😄 It's probably safer the way I have it now, through a larger surface area bullet terminal.
-
One would think so, however searching through Amp/TE/Tyco I'm not having any luck
-
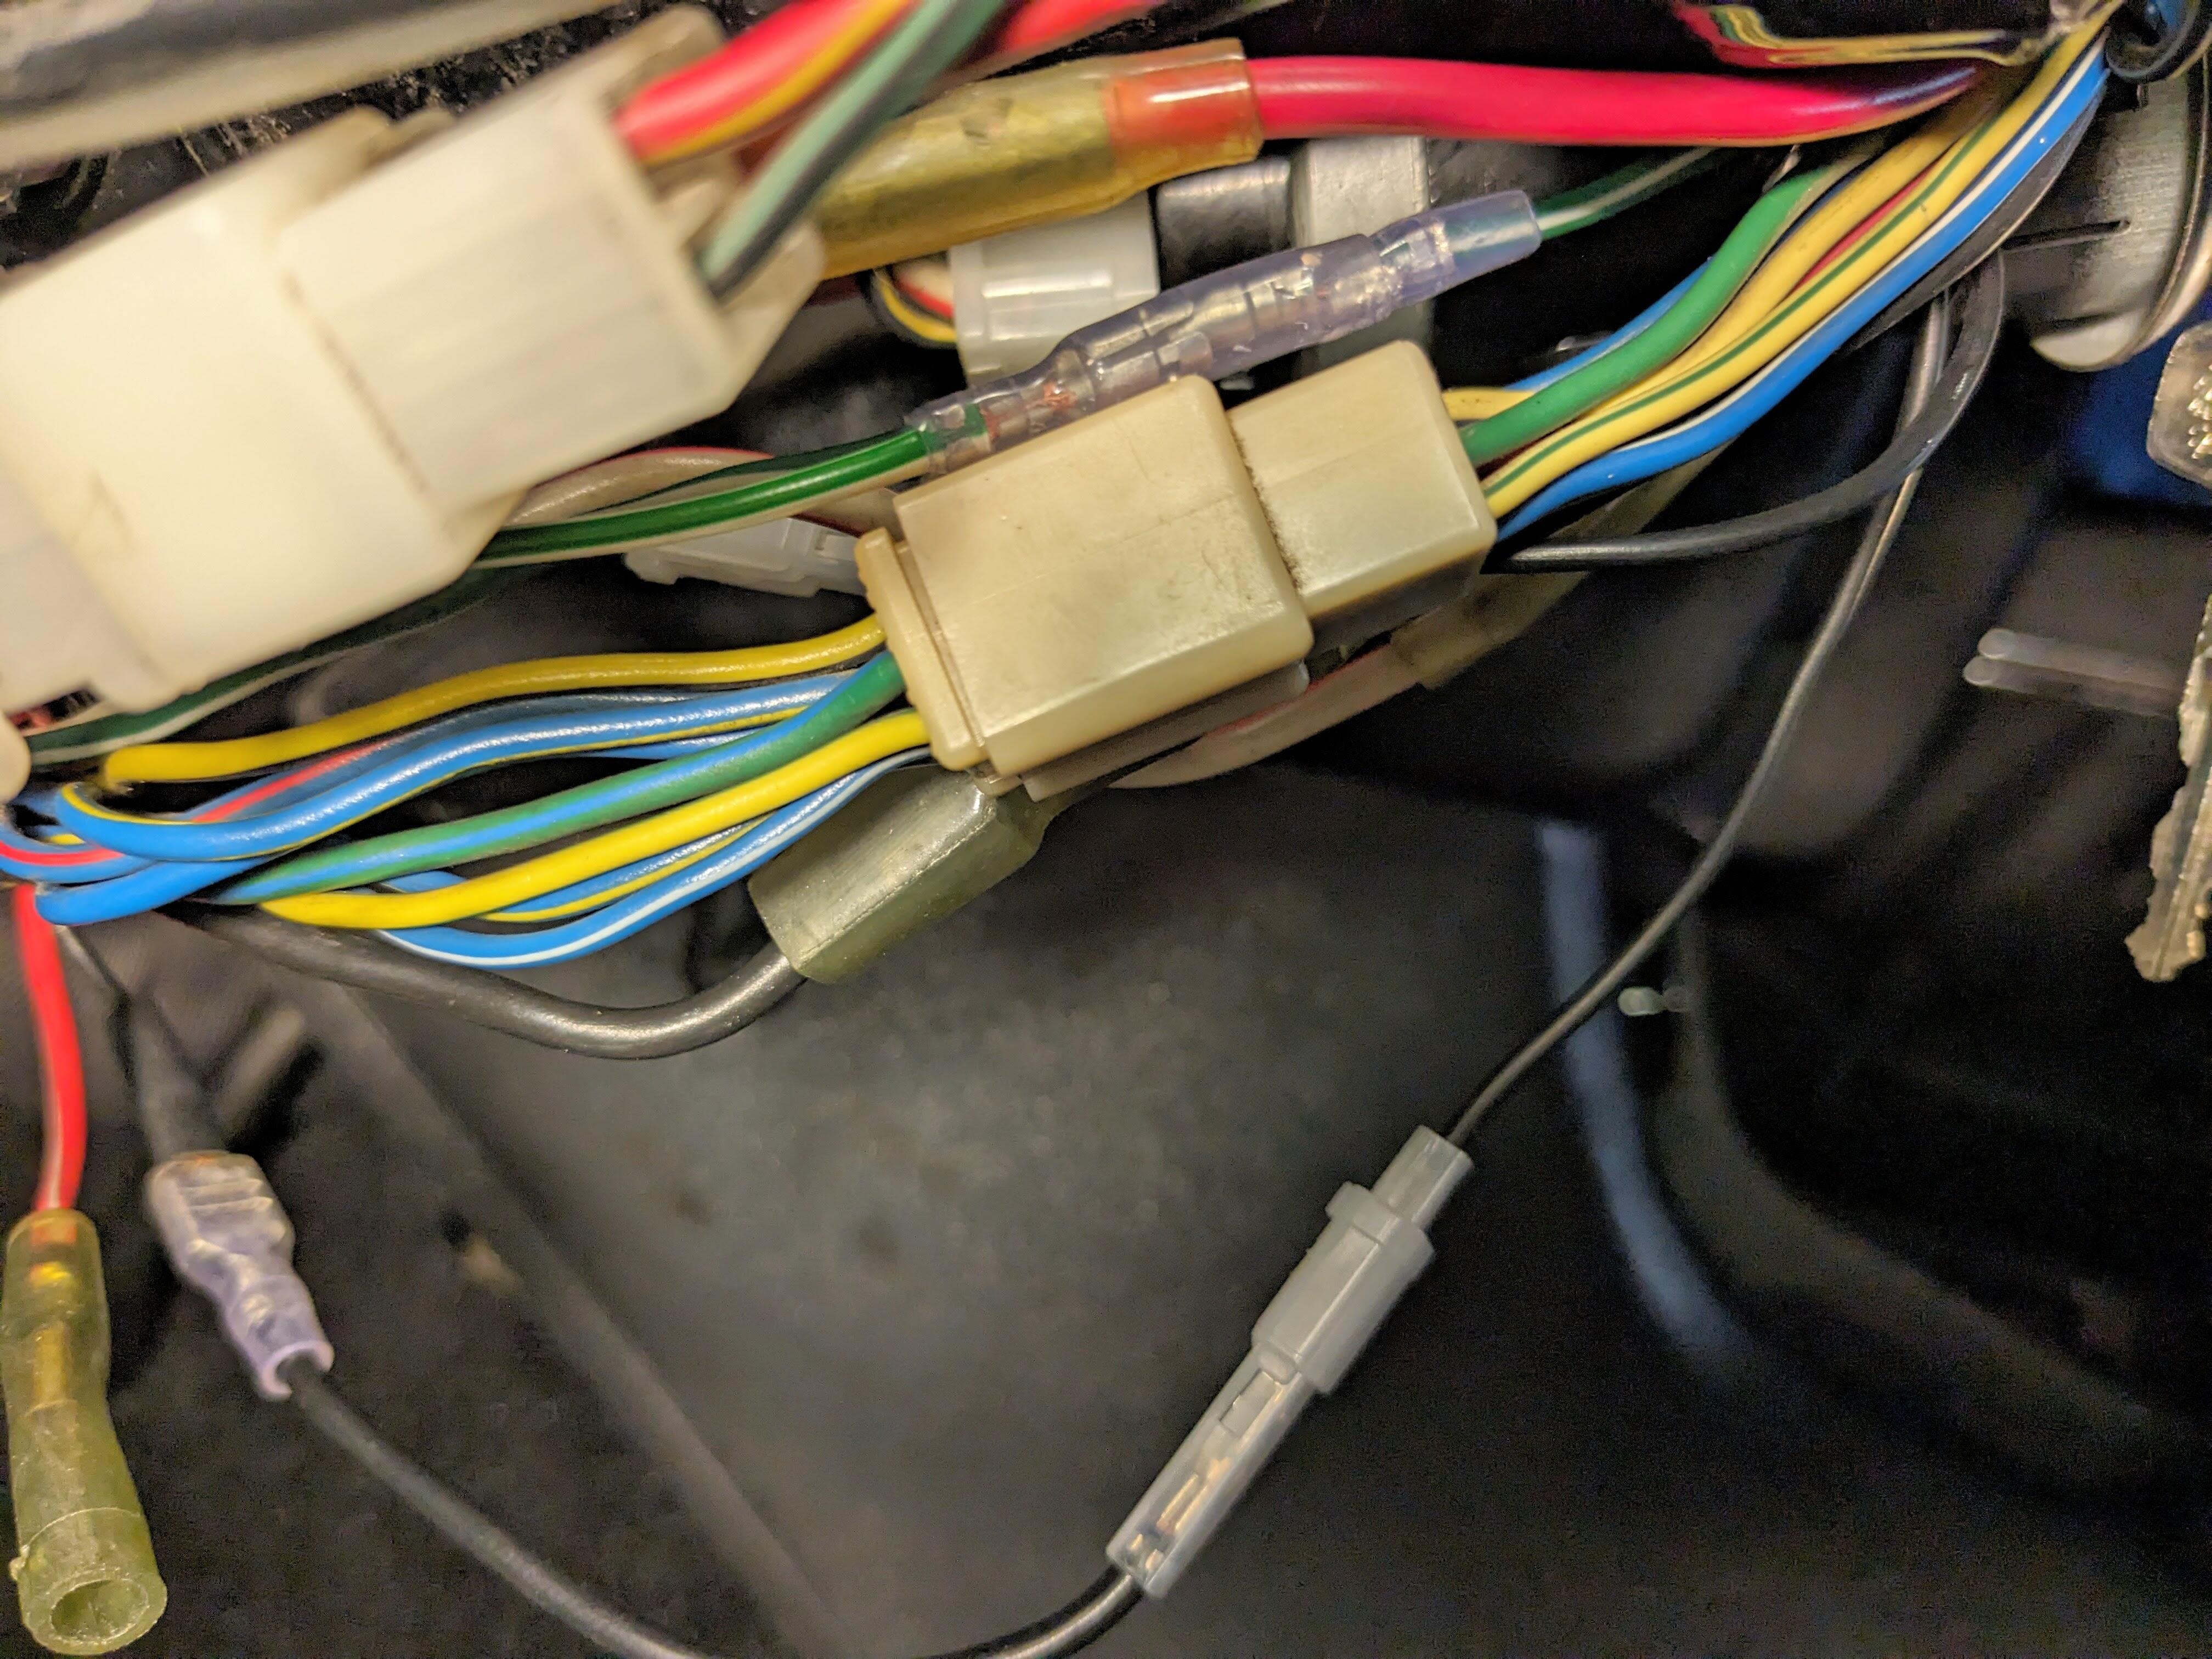
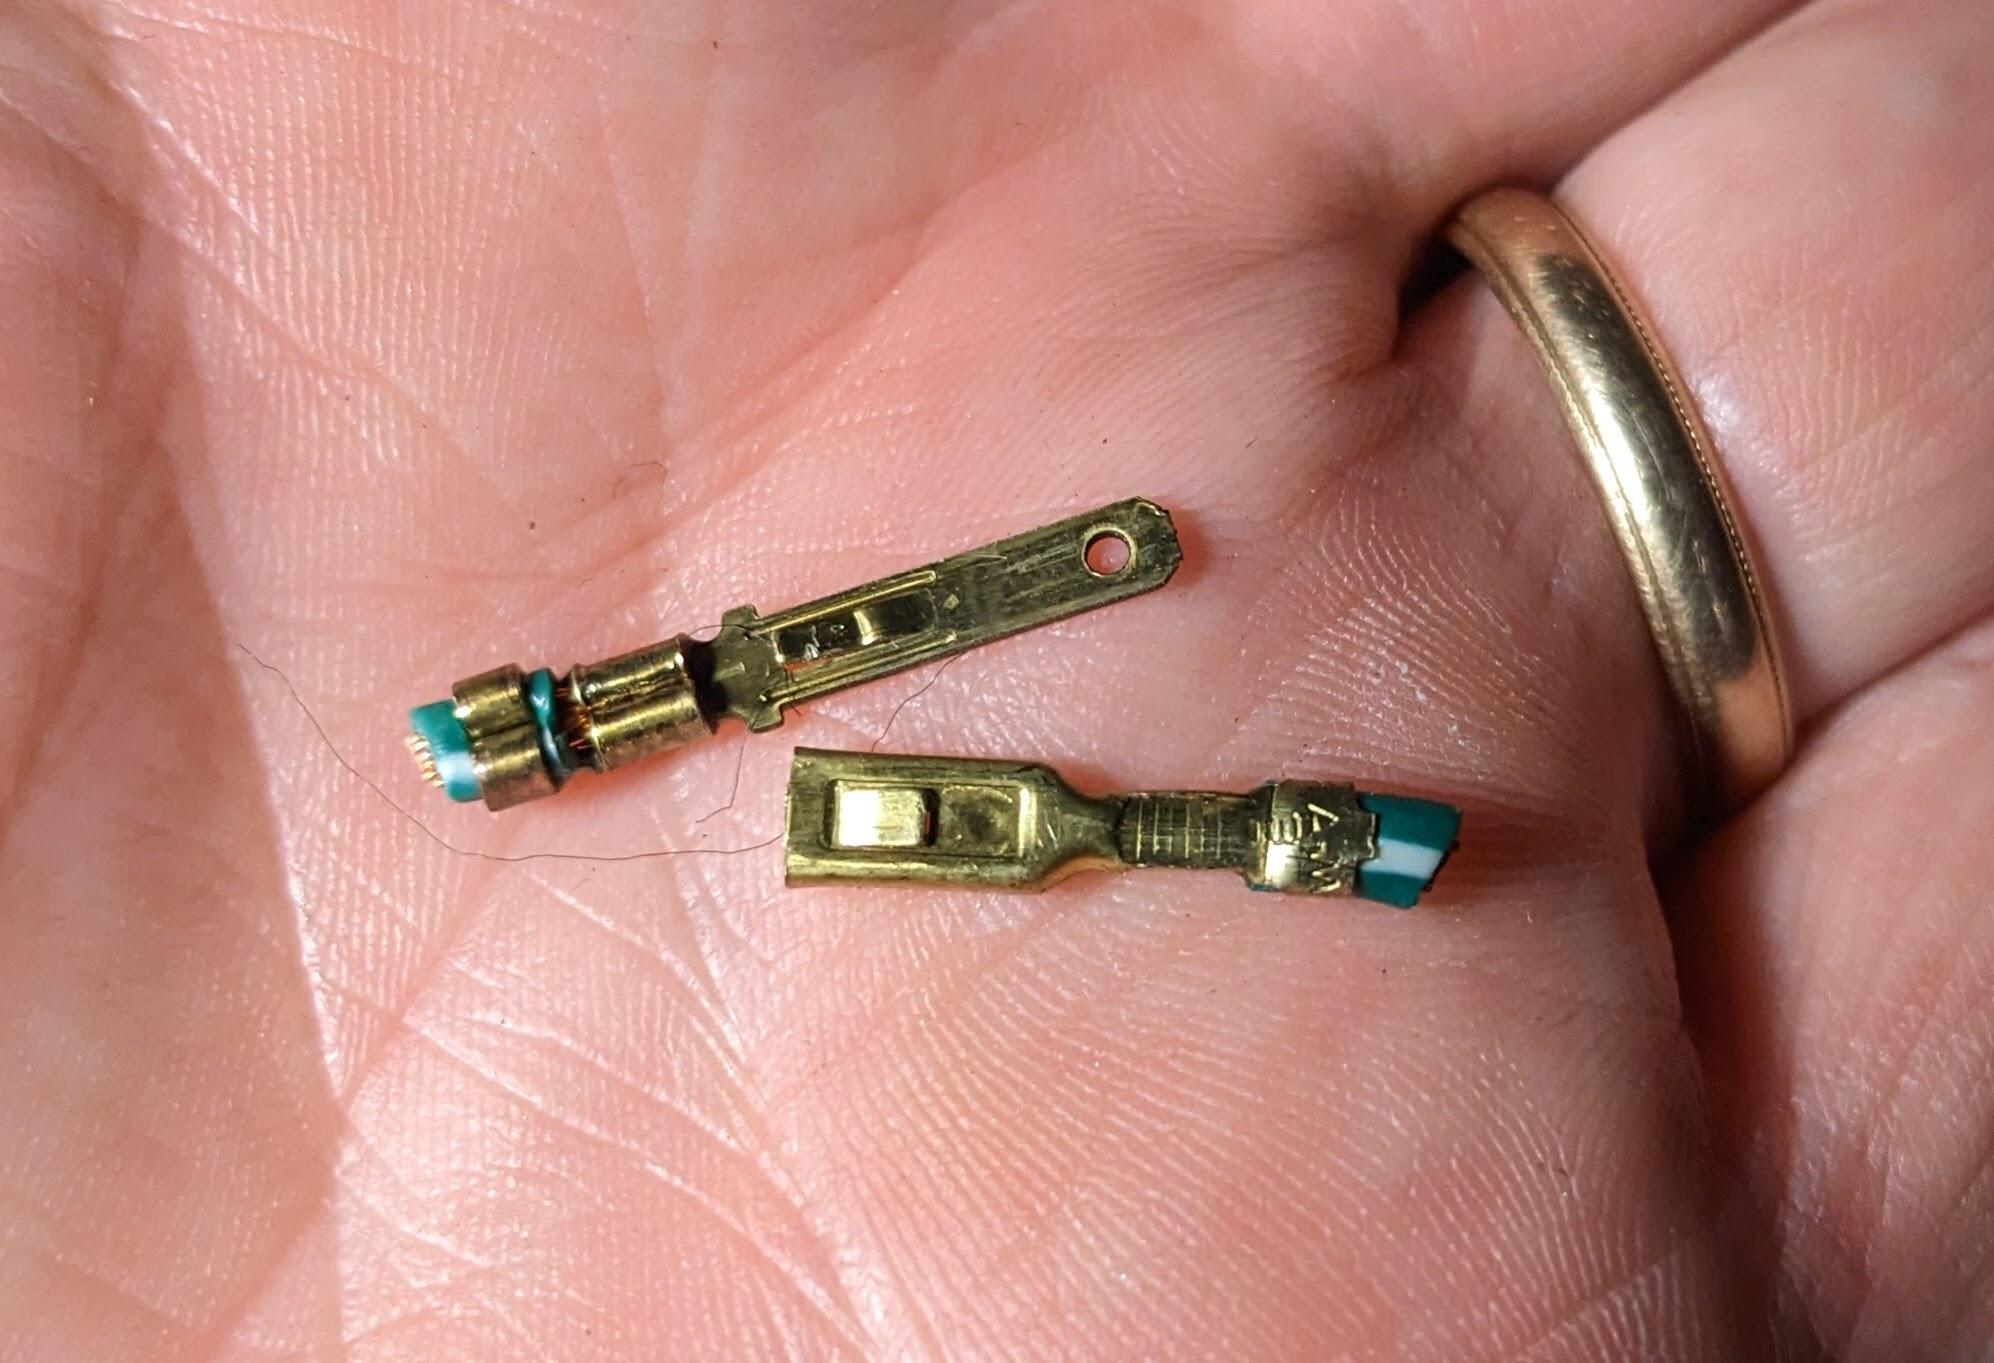
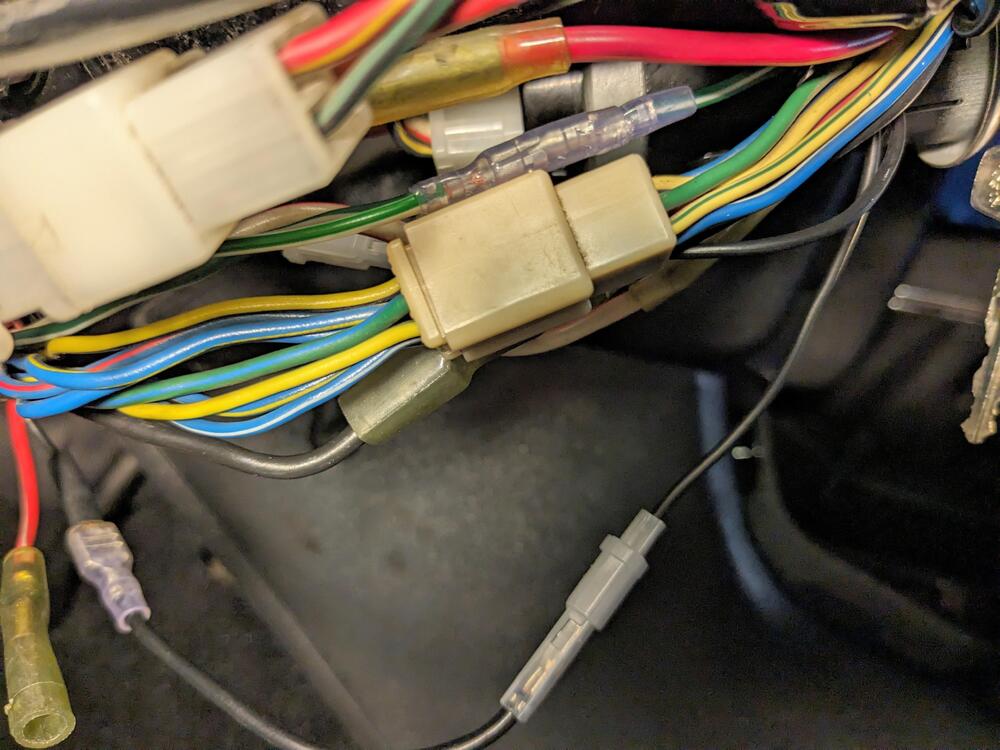
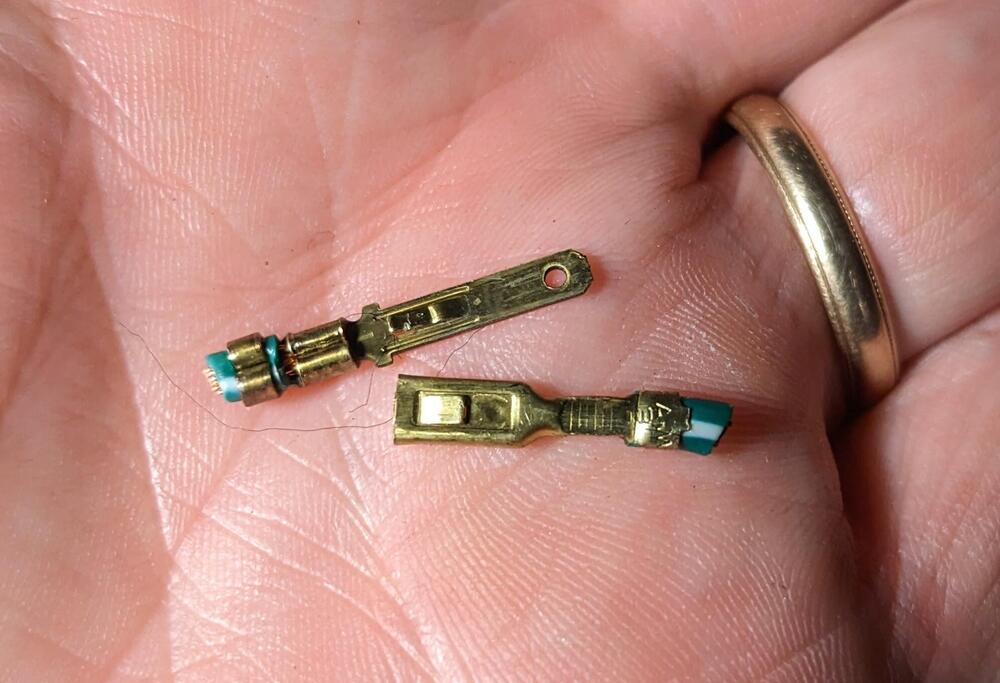
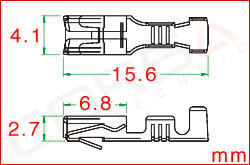
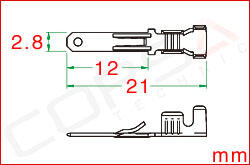
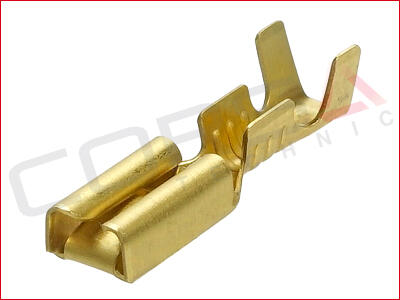
Hmm... I was hoping this including documentation on the connector & terminal identification on the combination switch assembly. I can't determine the manufacturer & type of spade used in the 9 pin housing, I've checked on Cycle Terminal & Eastern Beaver, not finding a match. I think it's the same as the radio connector? I bypassed the housing for the parking light circuit, when I added the bridge to tie it to the warning buzzer. I thought I had the correct female spade, however the ones I have are the wrong form factor EDIT - the Sumitomo MTW 110 (called Hitachi) series 'look' right - however the depth of the female spade is excessive & will not lock into the housing. I'll add a pic of the female if I can find where I dropped it in the garage. The difference is that it does not have that inner folded contact tang, it's a plain spade. images taken from CorsaTechnic
-
Those help - thank you - I can see it runs the length of the trough - that's what I wasn't sure of.
-
Many Thanks! I didn't realize the lower catch was adjustable. I'll take care of that tomorrow. 😁
-
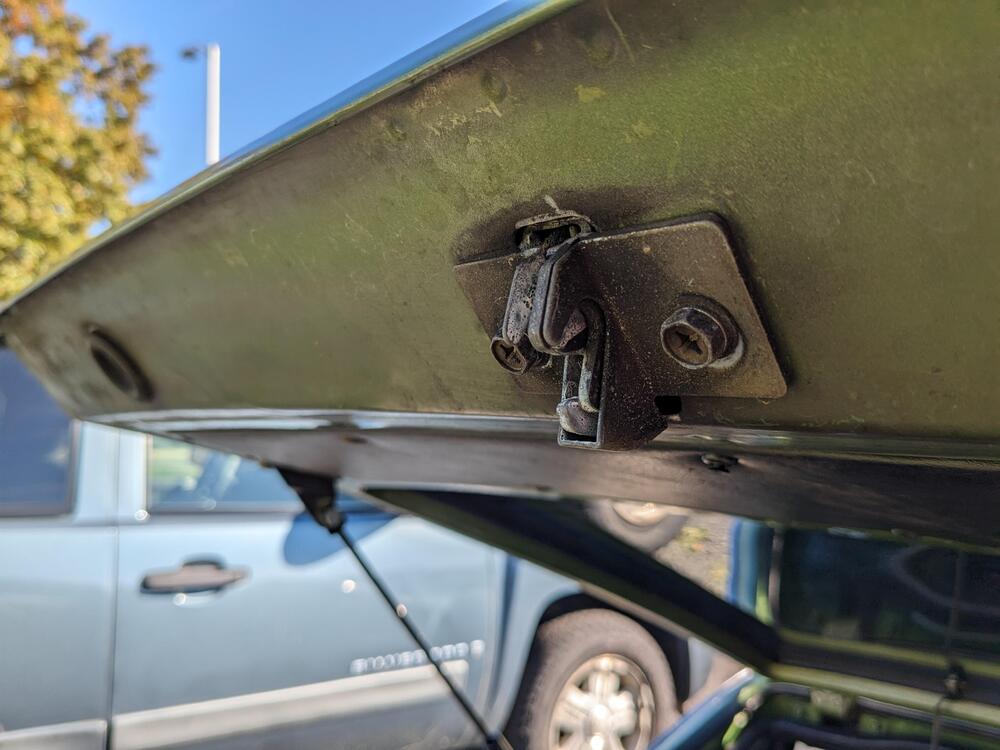
The other opening - related issue is the hatch will pop open on occasion. Typically when the body is flexed over bumps or uneven roadway. Very annoying. I'll have to try readjusting the latch - I had to move it after doing the hatch seals, however it takes way too much effort to close it.

-
Many thanks for taking the time. I would also like a pic of the top of the frame showing where the top seal is located, if possible. I'll add reference pics of my door for comparison. Looks like the leading edge is the same, the rear inner, mine also has a dogleg anchor. I've ordered a pair of the later upper frames (not the inner rear lower channel) - the creeping surface rust on the inner face of mine is transferring to the new rubber seals, and I know that at a certain point, it will no longer wipe off the seals. I can't live with that. I know I will have to chop off the rear inner section of my channel to attach to the later upper. I'll figure that out. I can always cut the mount brackets off my frame & transfer as needed to the later frames, I have a TIG & stainless rod. I now need to find the channel seals I bought inadvertently, I don't know now where I stashed them.
-
Starting is so much better across the board, cranking speed is significantly faster. I hadn't realized just how reduced the rpm was, even under the 'normal' conditions. Looking forward to putting in the gear reduction though, less strain on the battery at the very least.
-
I assumed that was what you meant. I'll use the park light circuit, that covers any exterior lighting.
-
Going to change the trans & diff oil shortly - both whine, the trans moreso in 3rd, the diff most of the time. The Redline 75W90 got rid of the whine - not because the fluid was low? Just curious mine looks like it's been seeping for years. Should have done it when the rear suspension was apart - would have had easy access to the fill plug back then. I have a couple quarts BG shift II GL-4, so I'll use that for the trans, and I have Redline Shockproof HD, so I'll use that for the diff.
-
I prefer to drive with at least the parking lights on, so same deal - I have left the lights on by accident several times already, including today when I went out for coffee on my "lunch" break (10:30am - I'm a high school art teacher). I'll replace the feed to the buzzer switch with a tap from the parking light feed at the combination switch.
-
Now I have to wonder if that was part of the issue with the HEI module slow cranking. It starts so much better now. I'll see how it goes with the AM cold start.
-
I swapped the earlier starter back in, and this one cranks very nicely, regardless of starting after a short sitting period. I'll send the defective one back to RockAuto
-
75 has 3 wires - at least my 4/75 does
-
Found a new construction 280ZX gear reduction starter on RockAuto, WAN Global - I've used that brand before with my Honda K24 swap, so I have some faith in it lasting. I'll just swap it out when it gets here next week.
-
Going OT - that is a very good idea. Do you recall offhand how you wired it? Buzzes when key removed w/parking light circuit?
-
Now that I've driven the car for days in row, commute to work, local & mixed highway driving - I have found that there is what I would call a heat soak issue. When restarting a hot / normal op temp engine after a few minutes of sitting (after getting coffee, for example), it will crank REALLY slowly for a couple of revolutions, then pickup to normal cranking speed. Having redone the wiring with suitable gauge cables, added the starter relay to offload the switch, and changed the breaker on the starter leg of the battery cable to a higher amperage, I can't see what else it could be besides the starter itself. I did replace the one that was in there with a reman (RockAuto - Remy 16209) in June of this year. I'll have to see if I can measure the draw from the starter, duplicating the symptom when I have equipment available to test it is the trick. Maybe I'll just swap out the starter for the reman that was in there. A gear-reduction version would be nice, but I'm not sure I want to splurge since it only needs to be in there for a year or so. On the other hand, this is a real PITA to deal with, so maybe it's worth it, if one is available