HusseinHolland
Community Member
-
Joined
-
Last visited
Everything posted by HusseinHolland
-
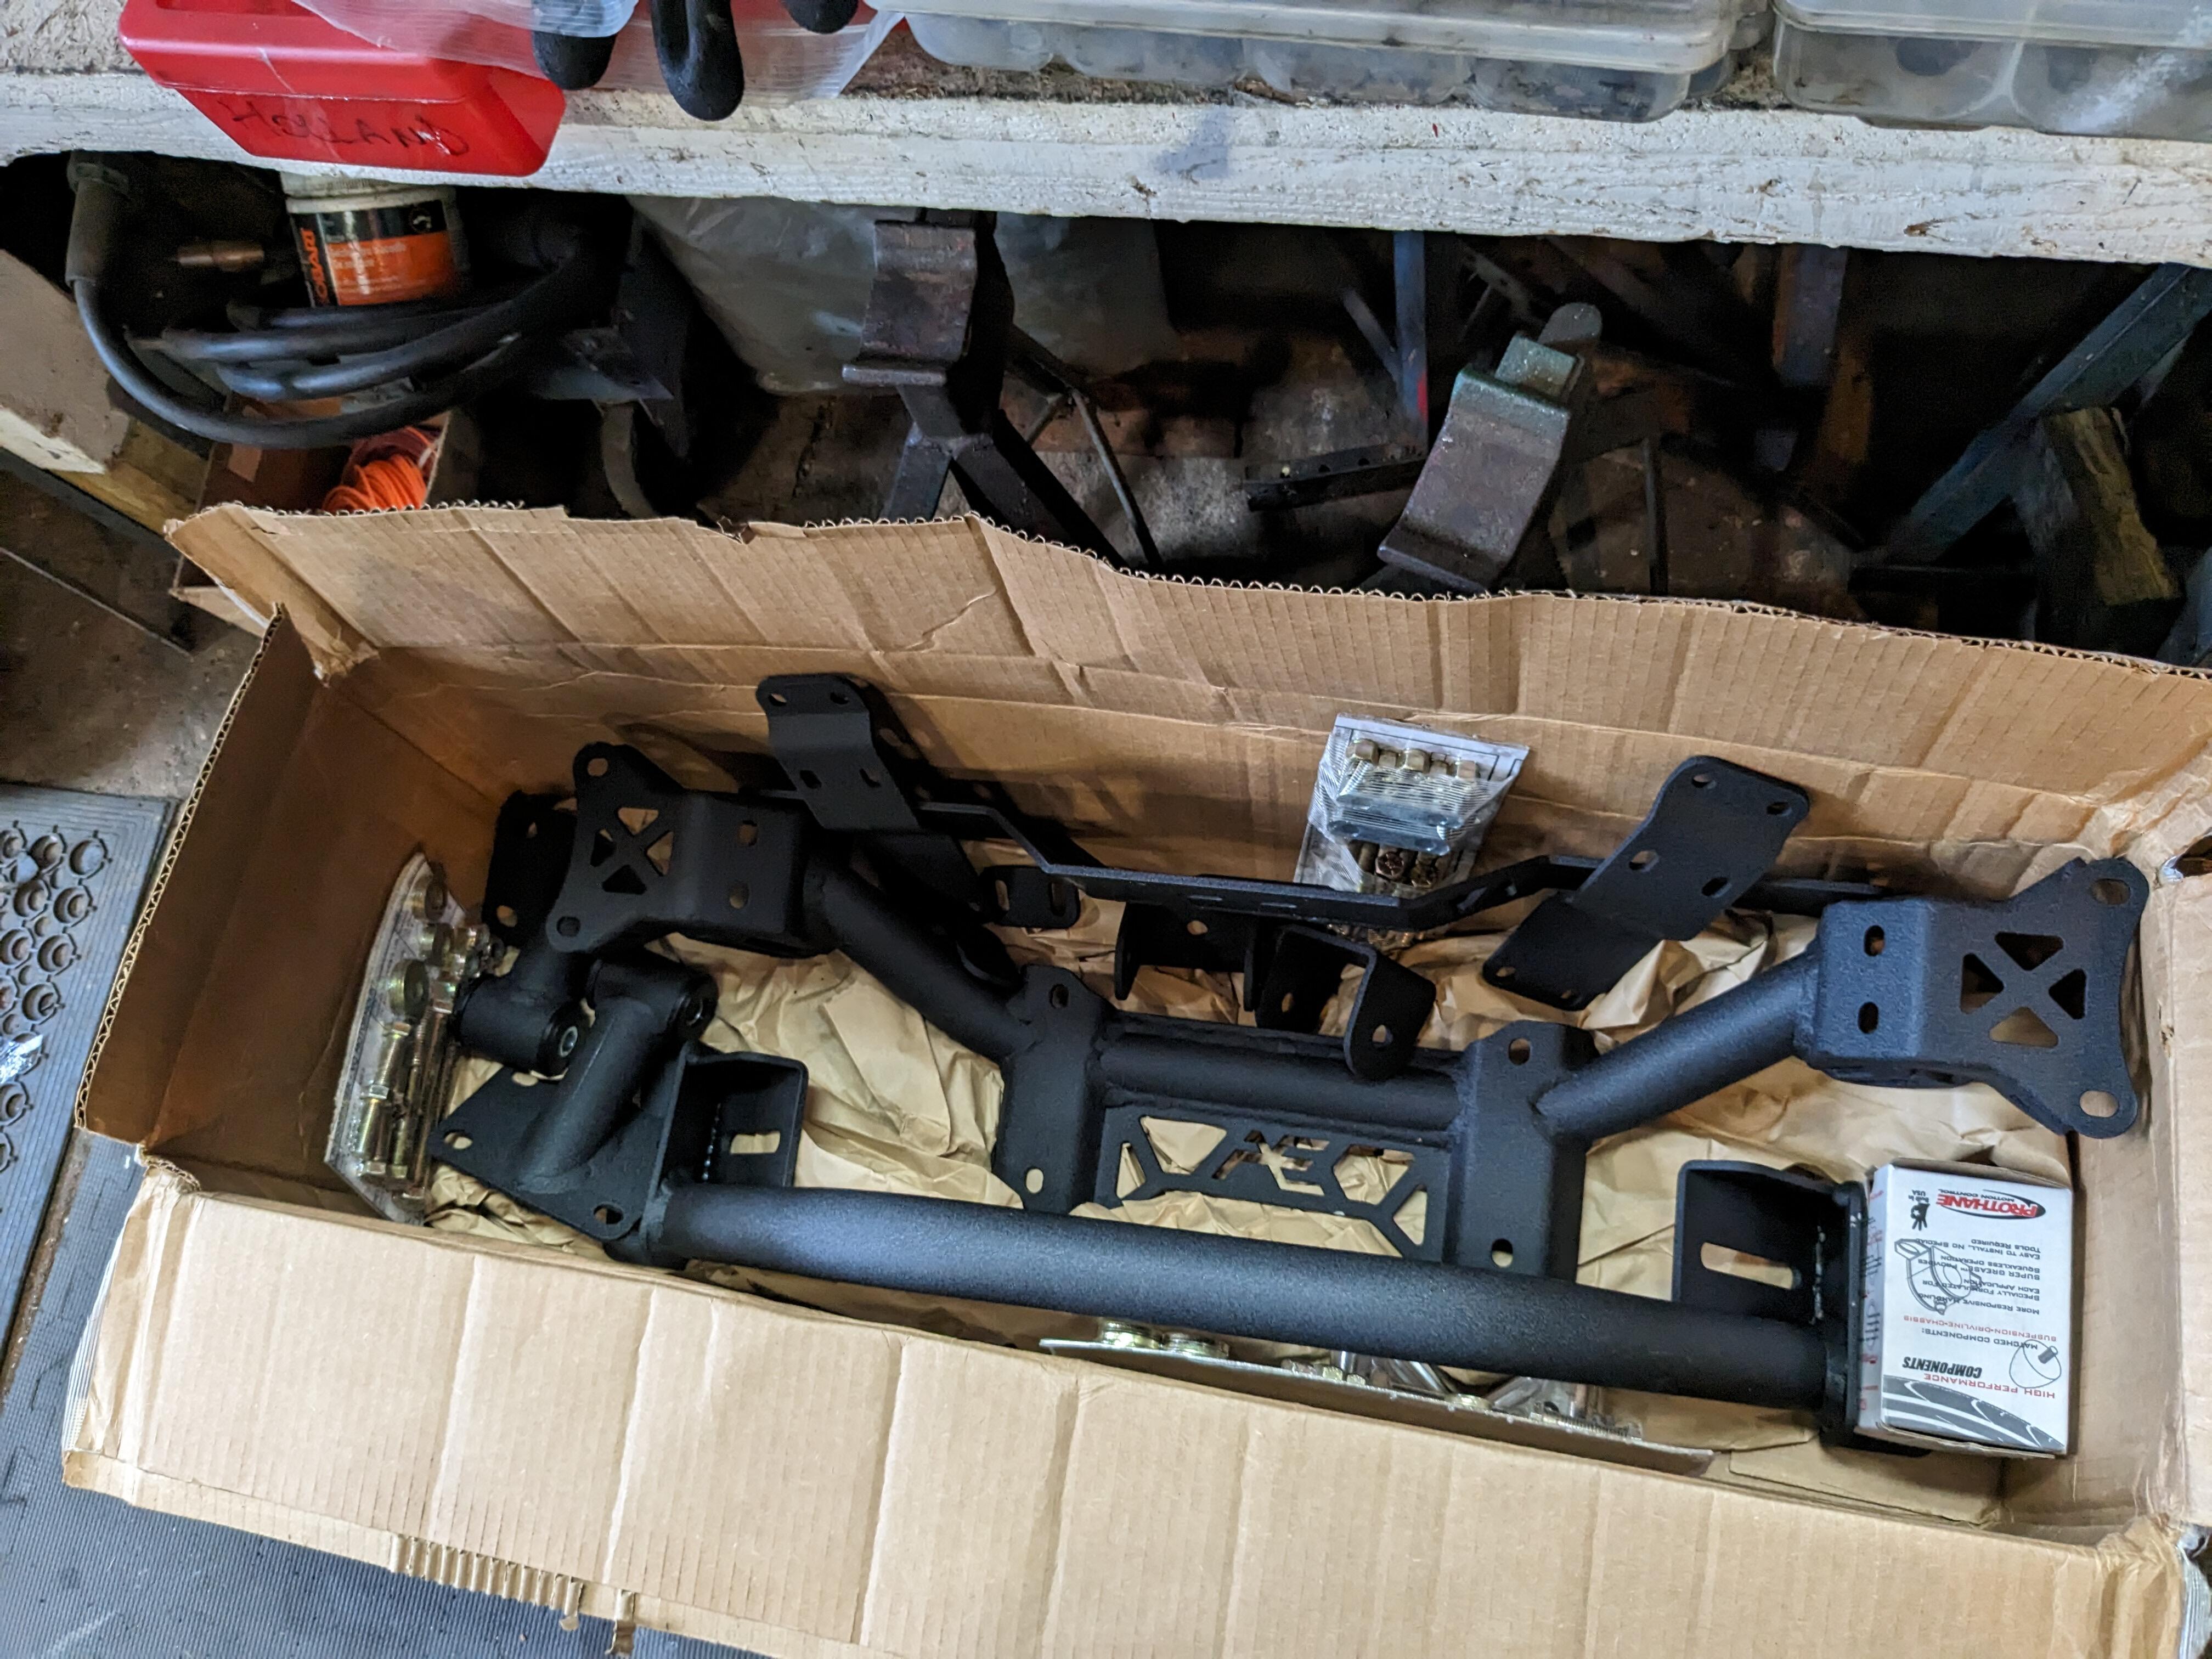
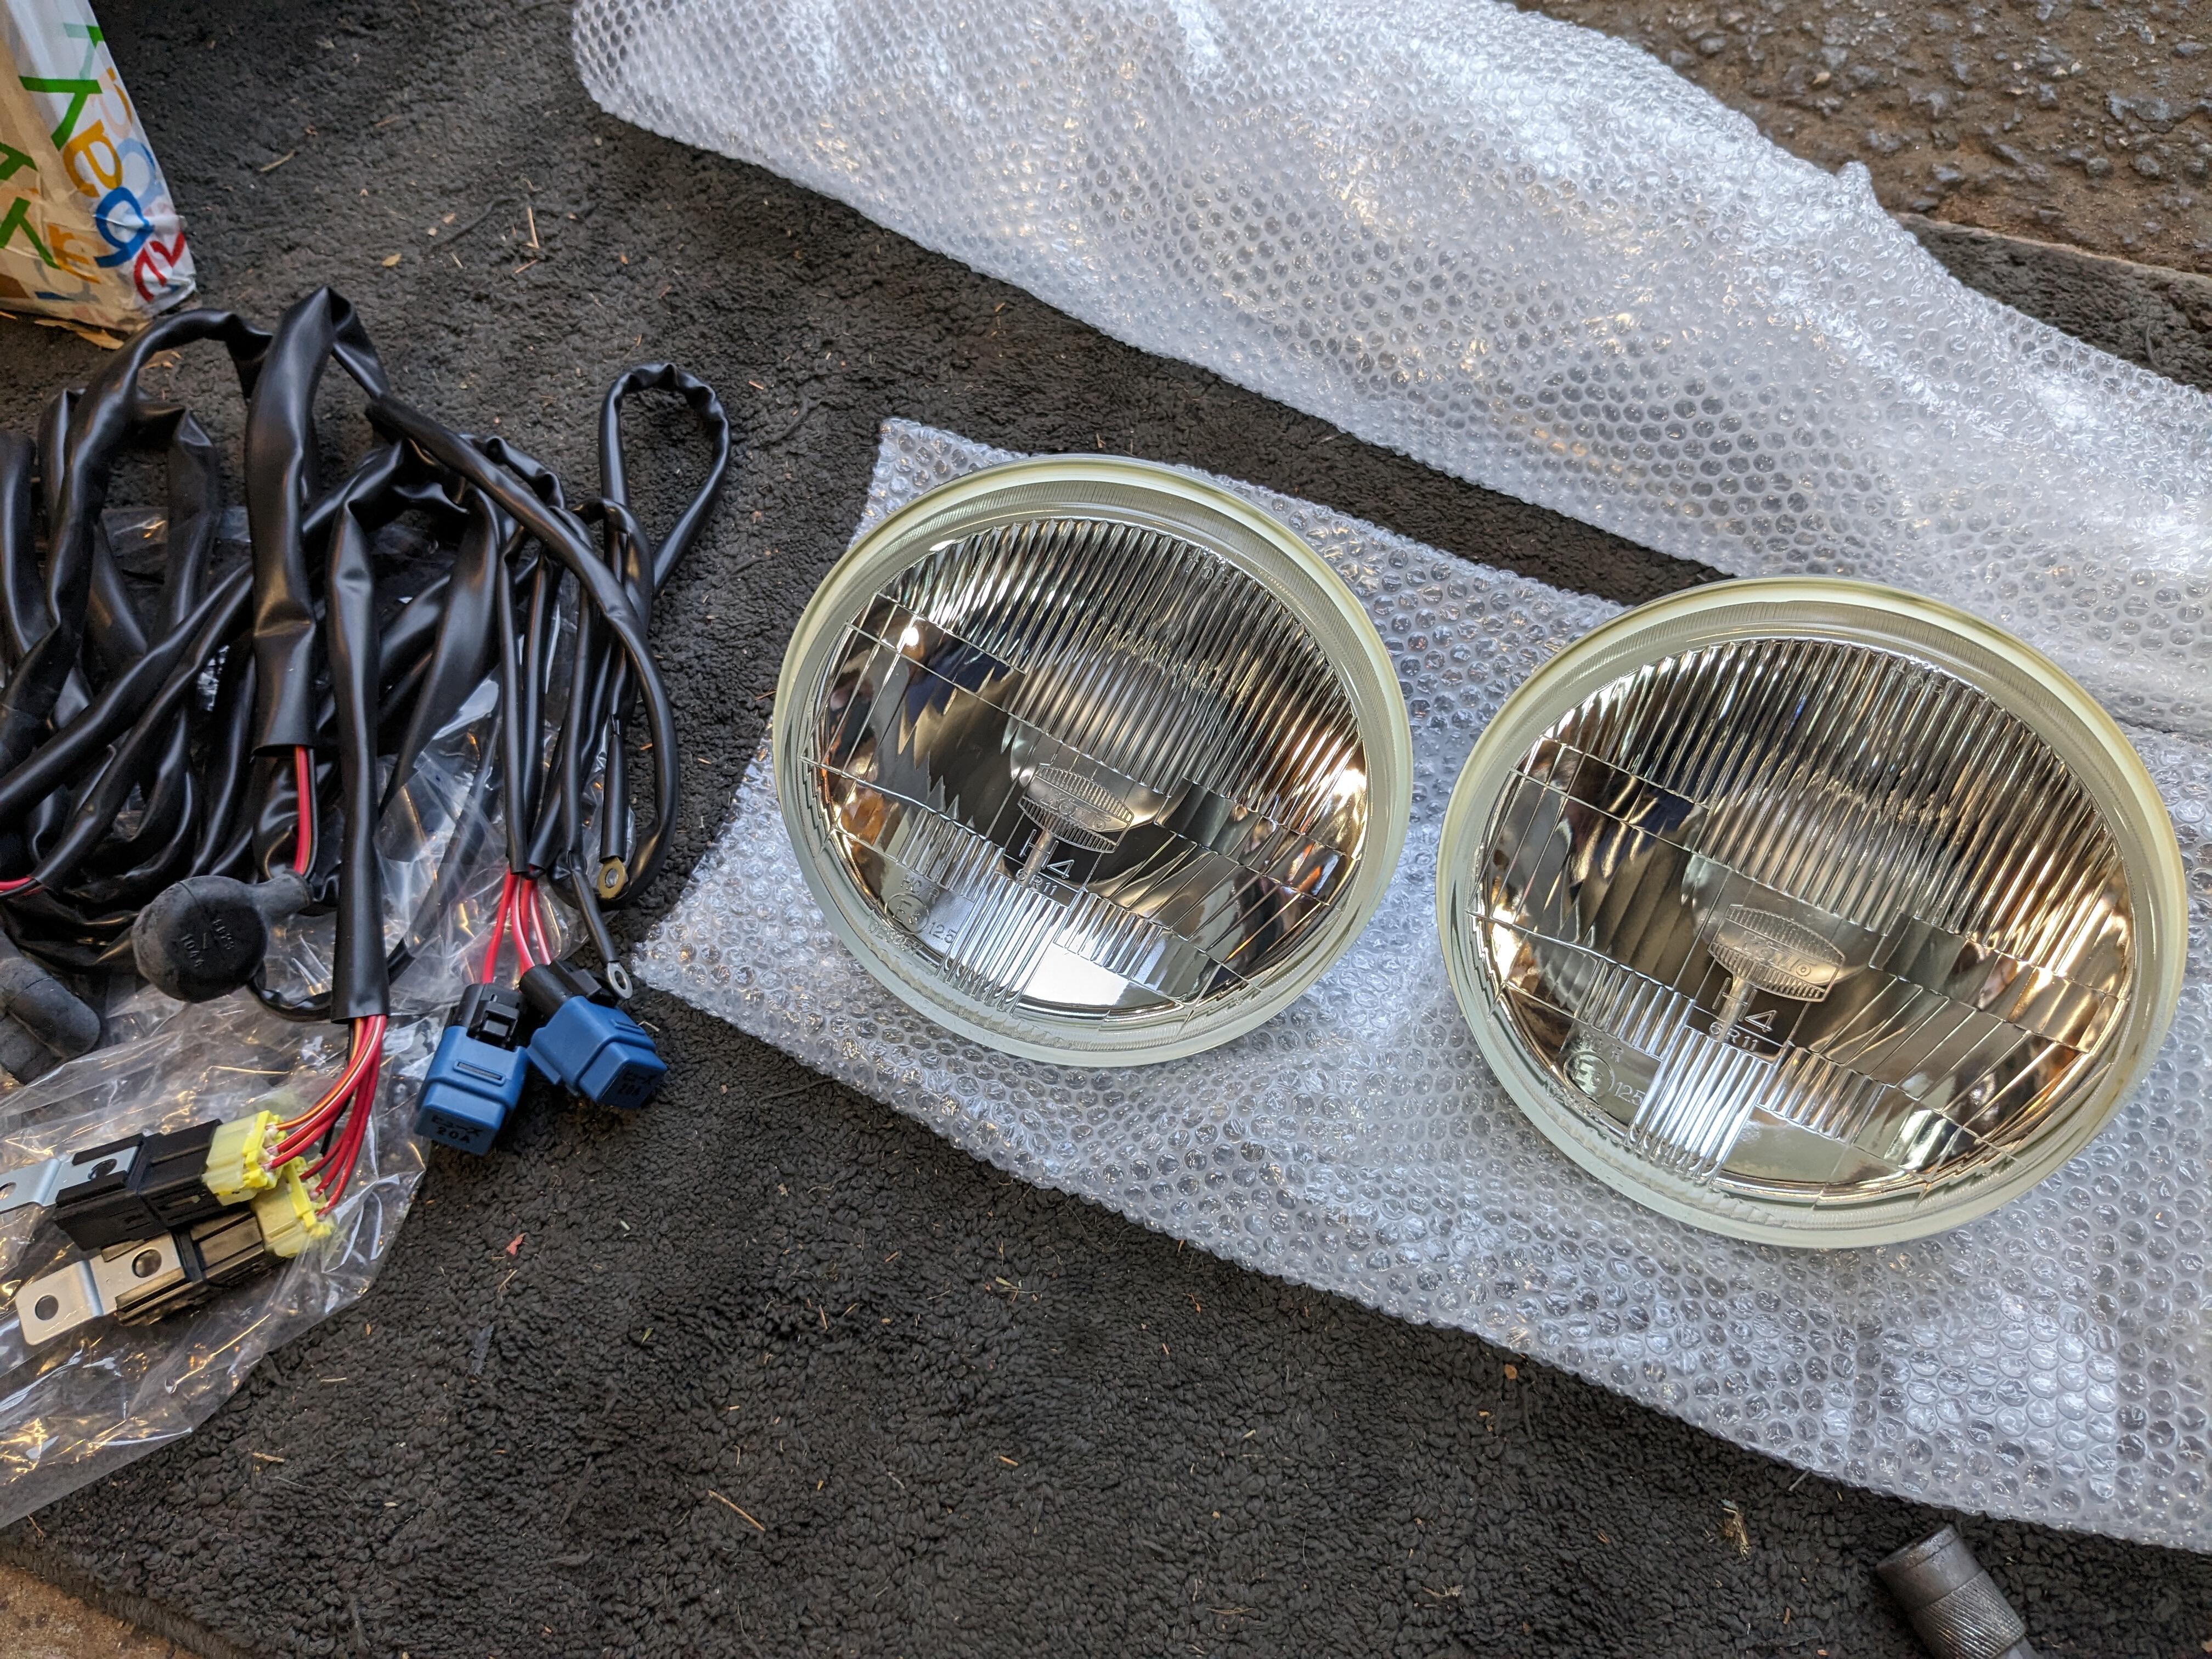
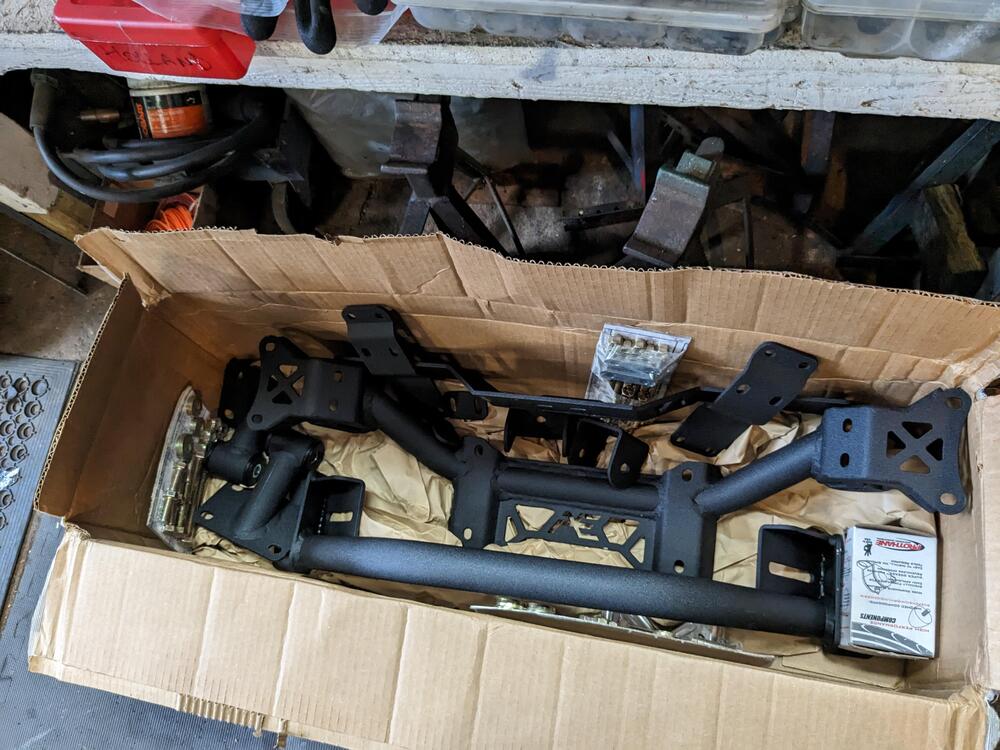
Notes - 2006 VQ35DE is the "revup" motor. Need to figure out how to increase plenum volume - stock plenum is tapered to fit under the cross brace. Forgot to post this some time back. Apex Engineered VQ35DE crossmember, Engine mounts, Trans crossmember & subframe kit 370Z aftermarket (cheap) header - has to be modded, however apparently this version is a better base to work off
-
Nice! I know the front's don't heat up - the headlamp covers I added had some frost on them when I left for work (6am) one day last week (forget which), and it was still there after the 20min drive.
-
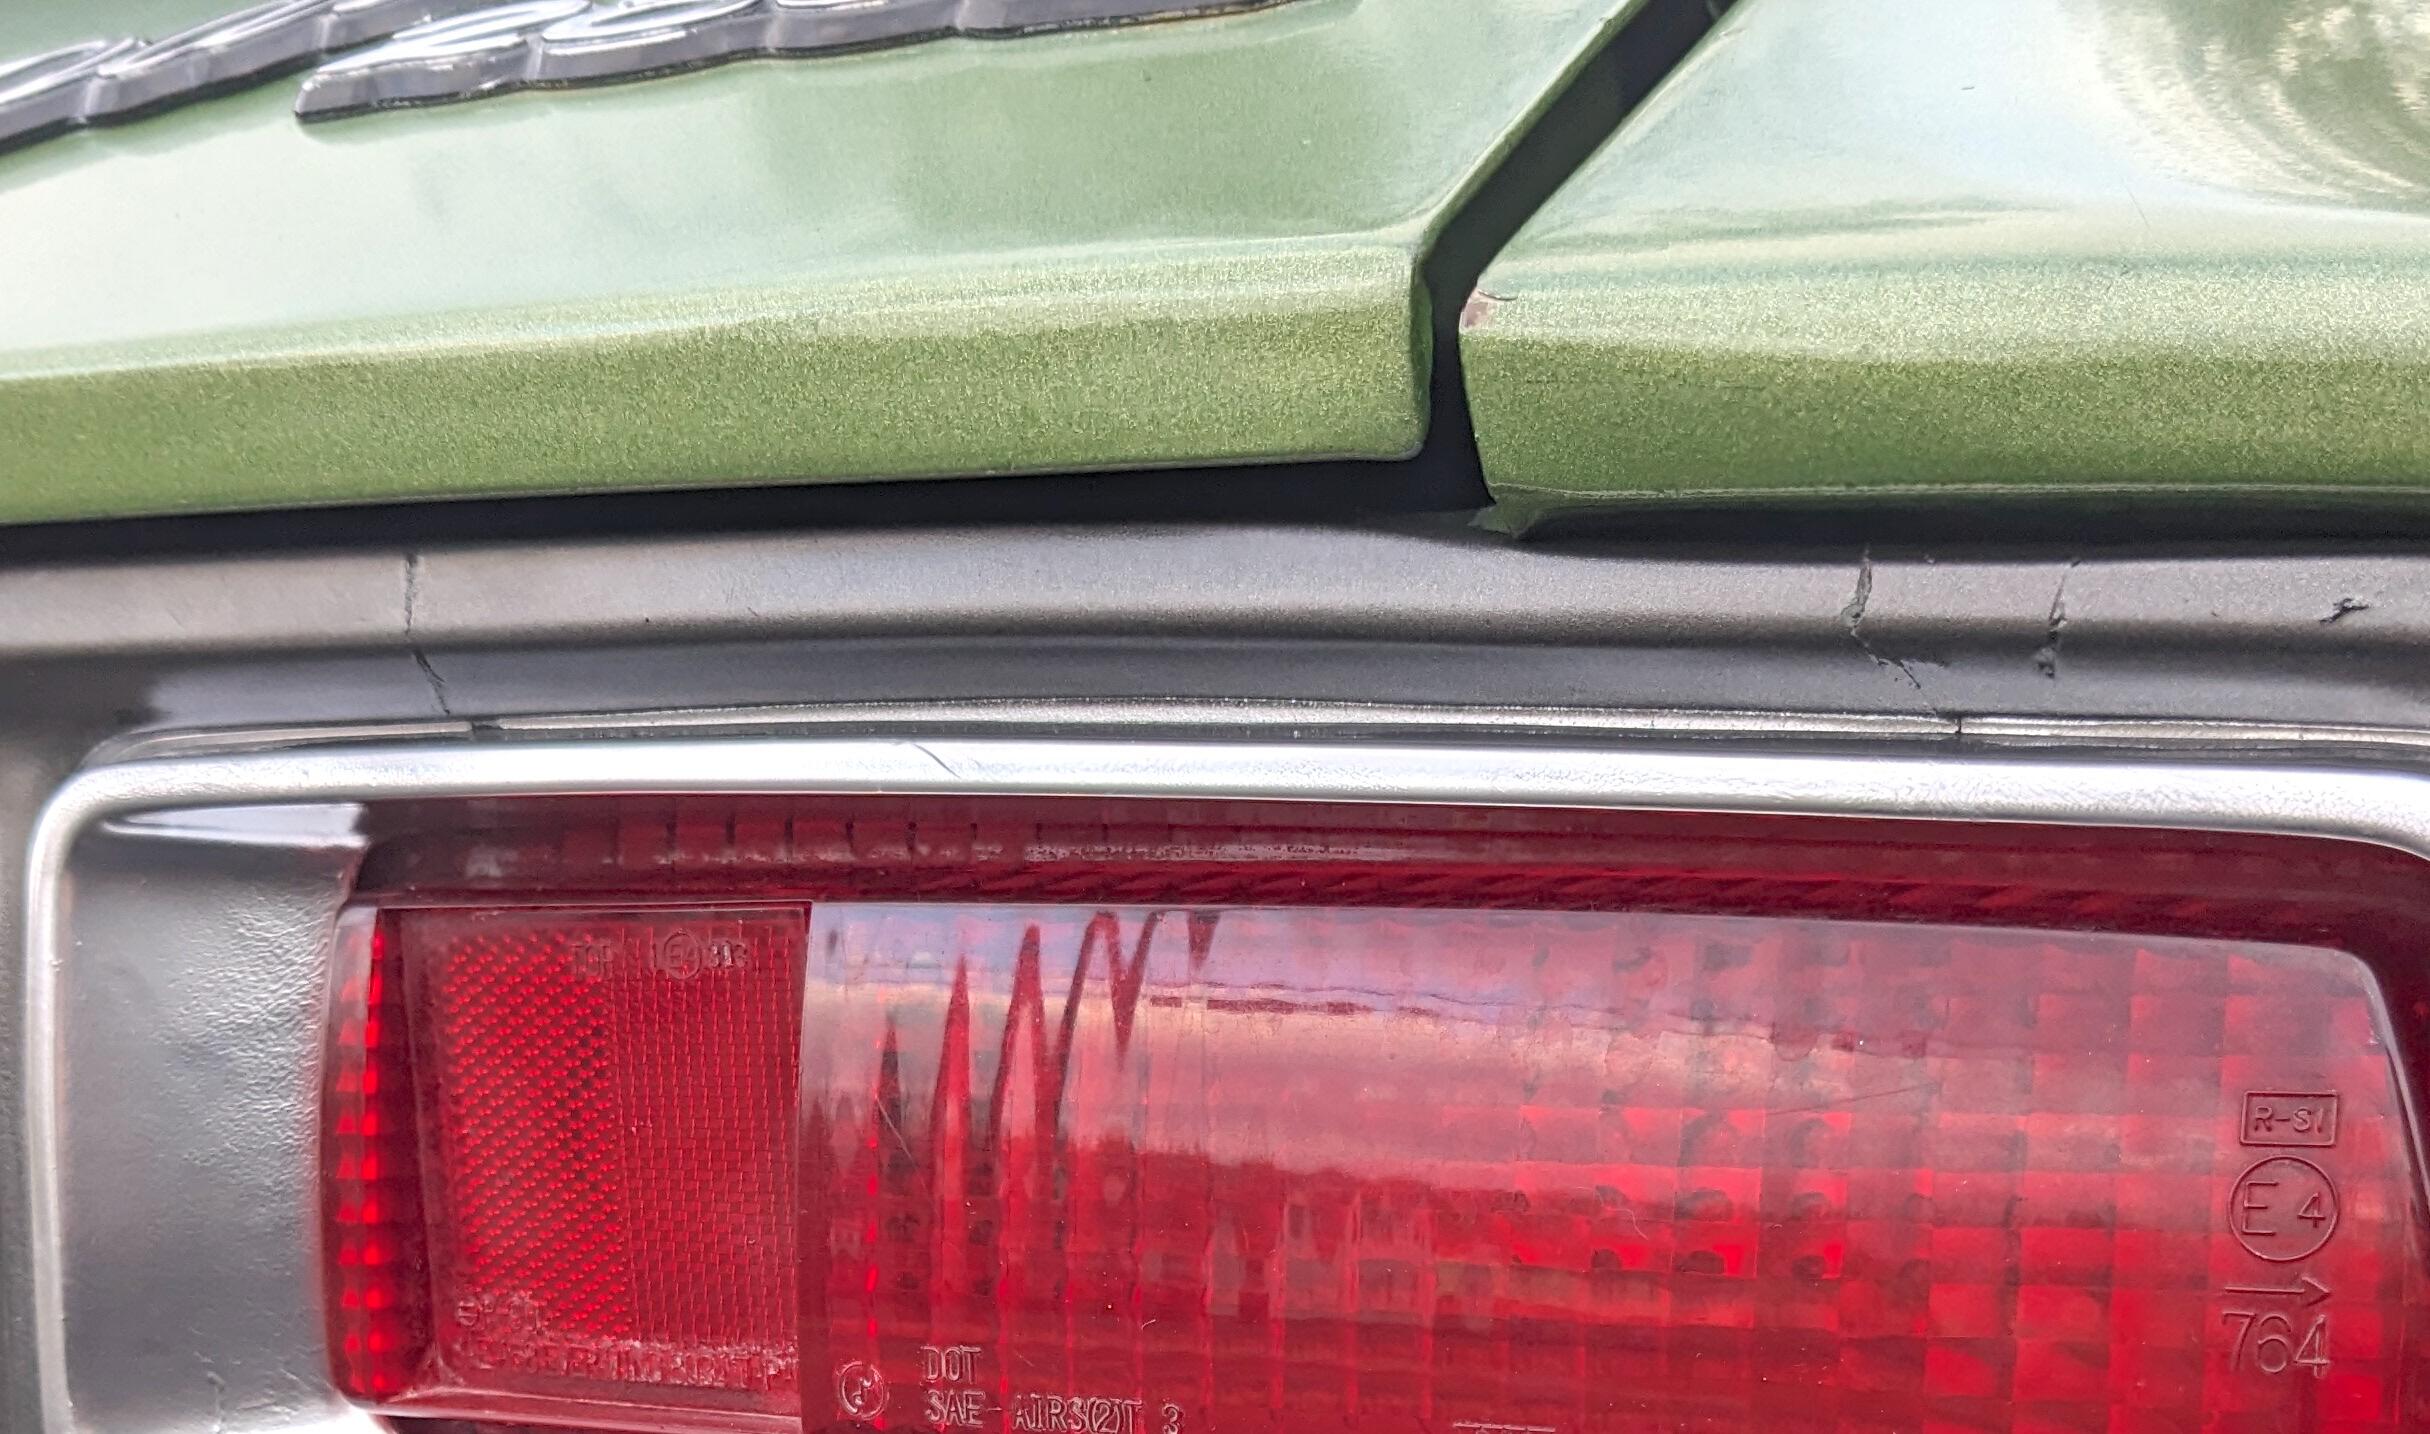
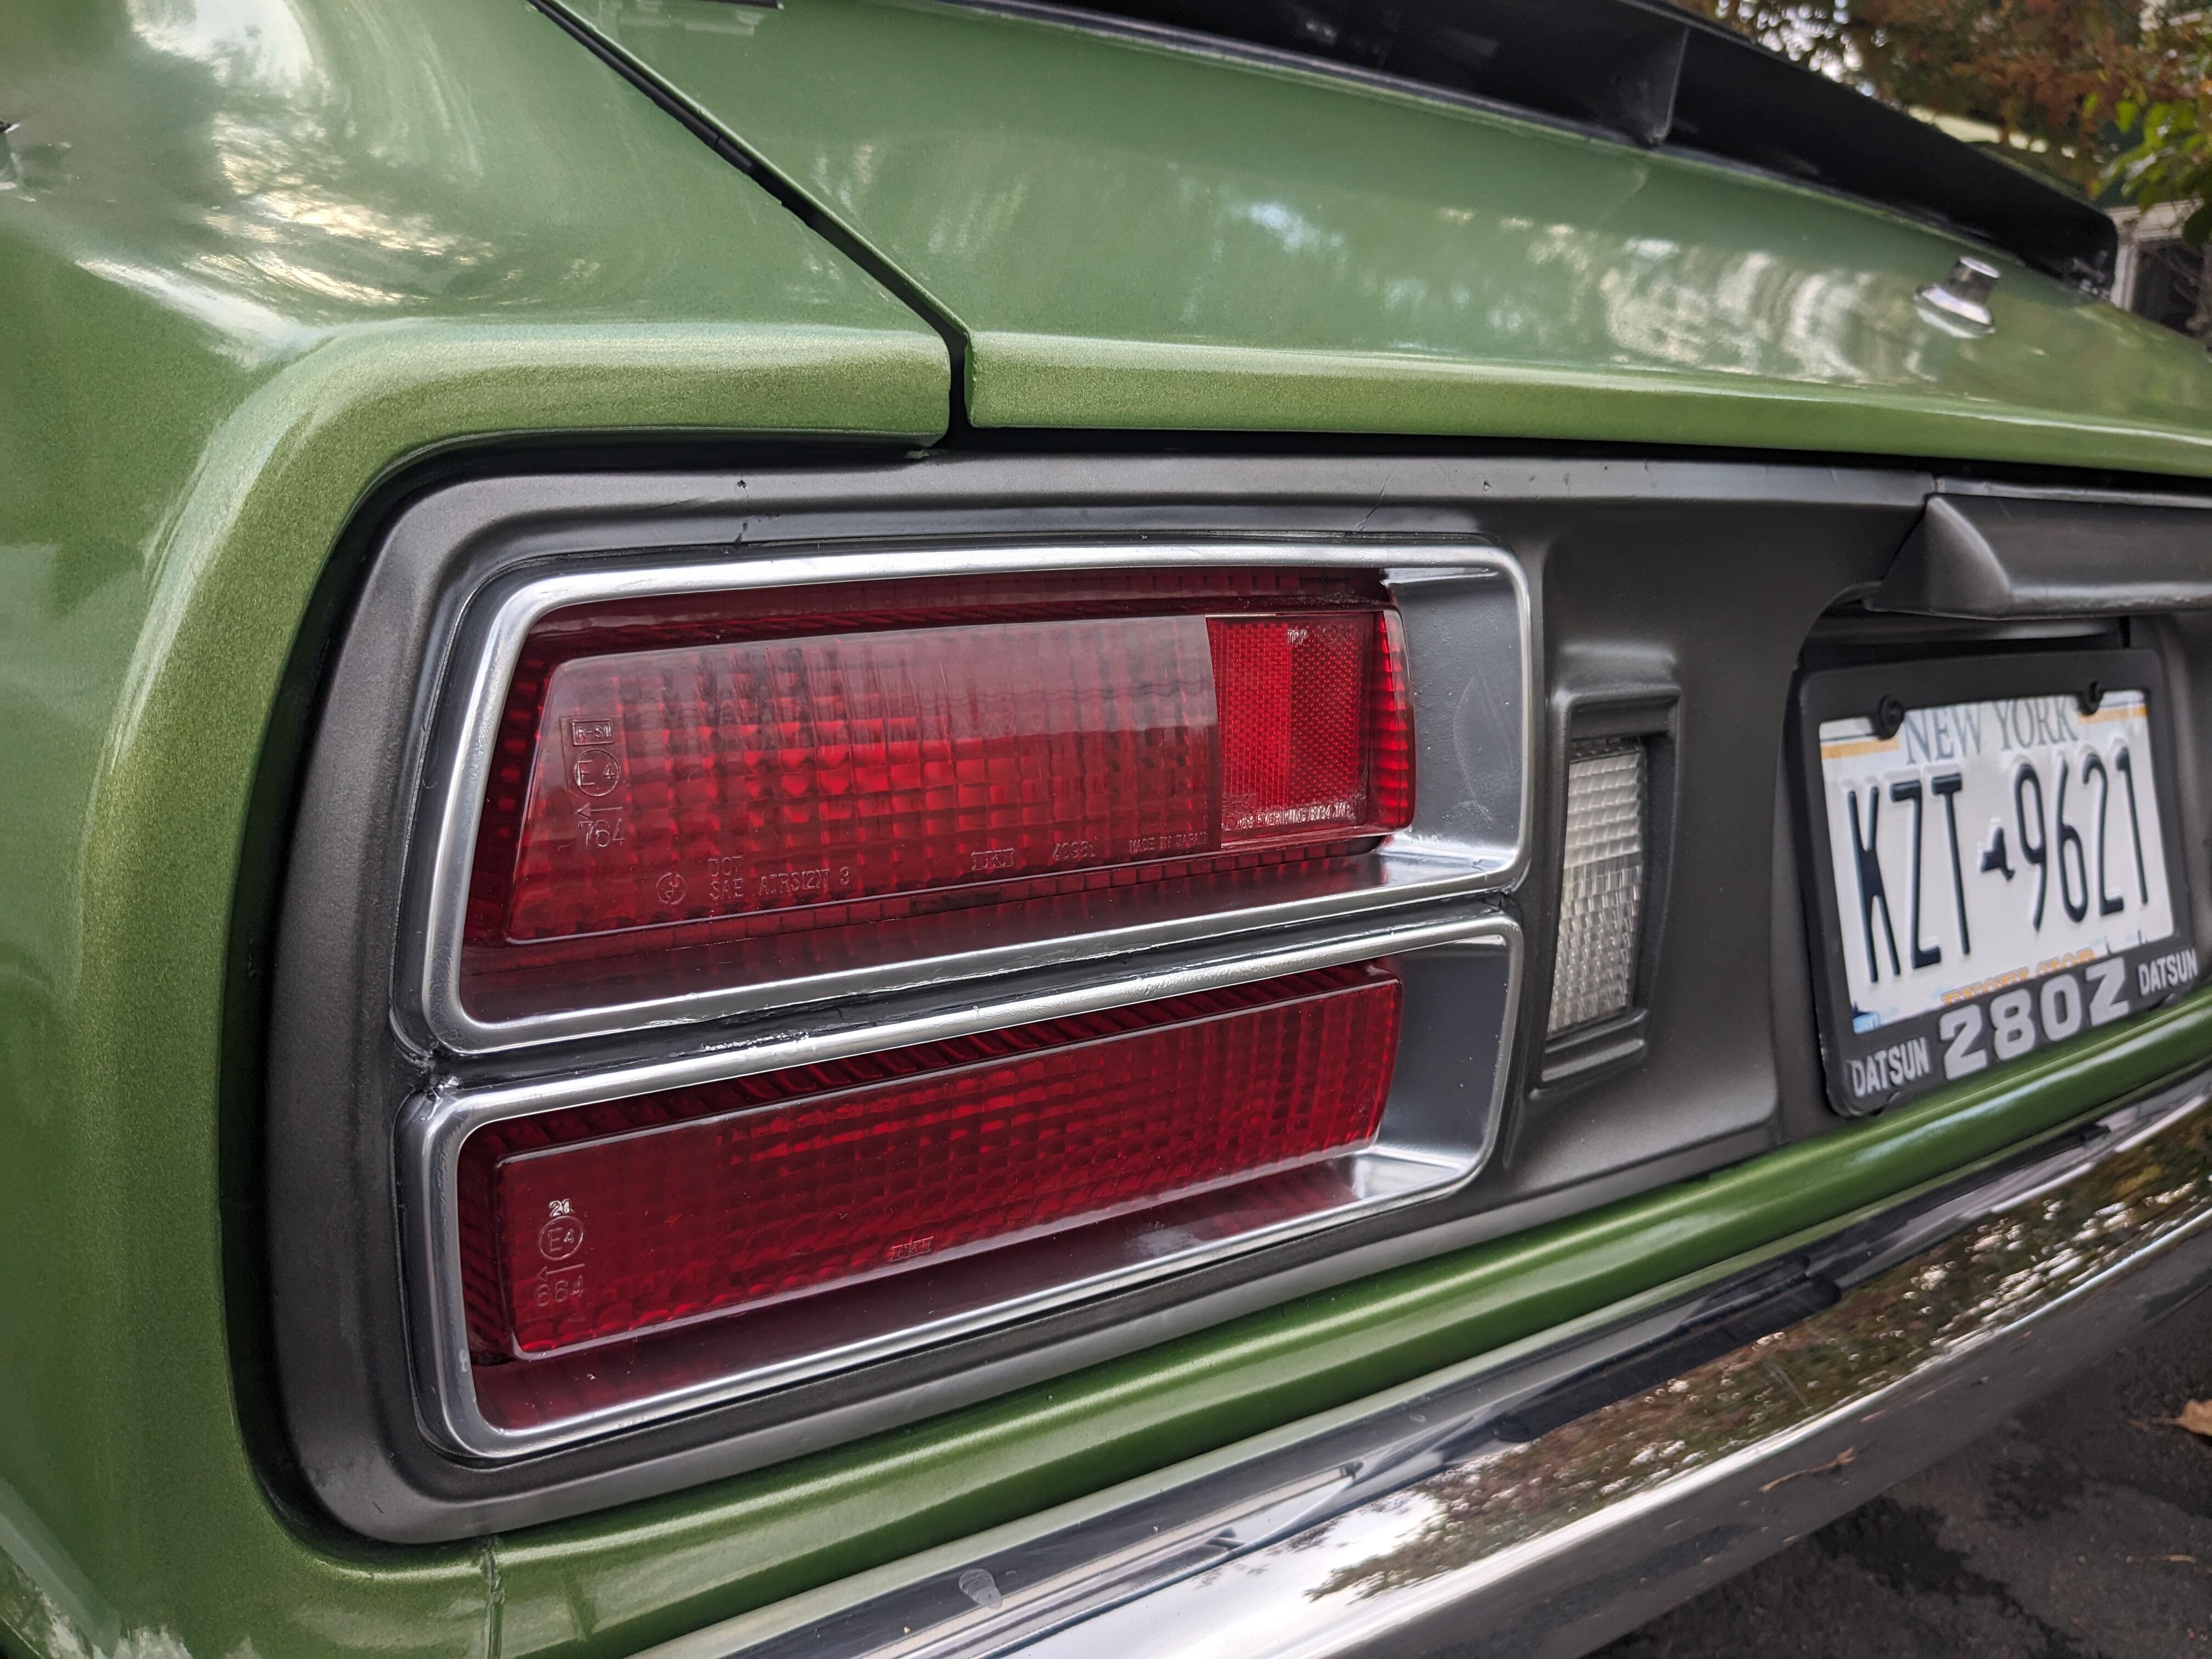
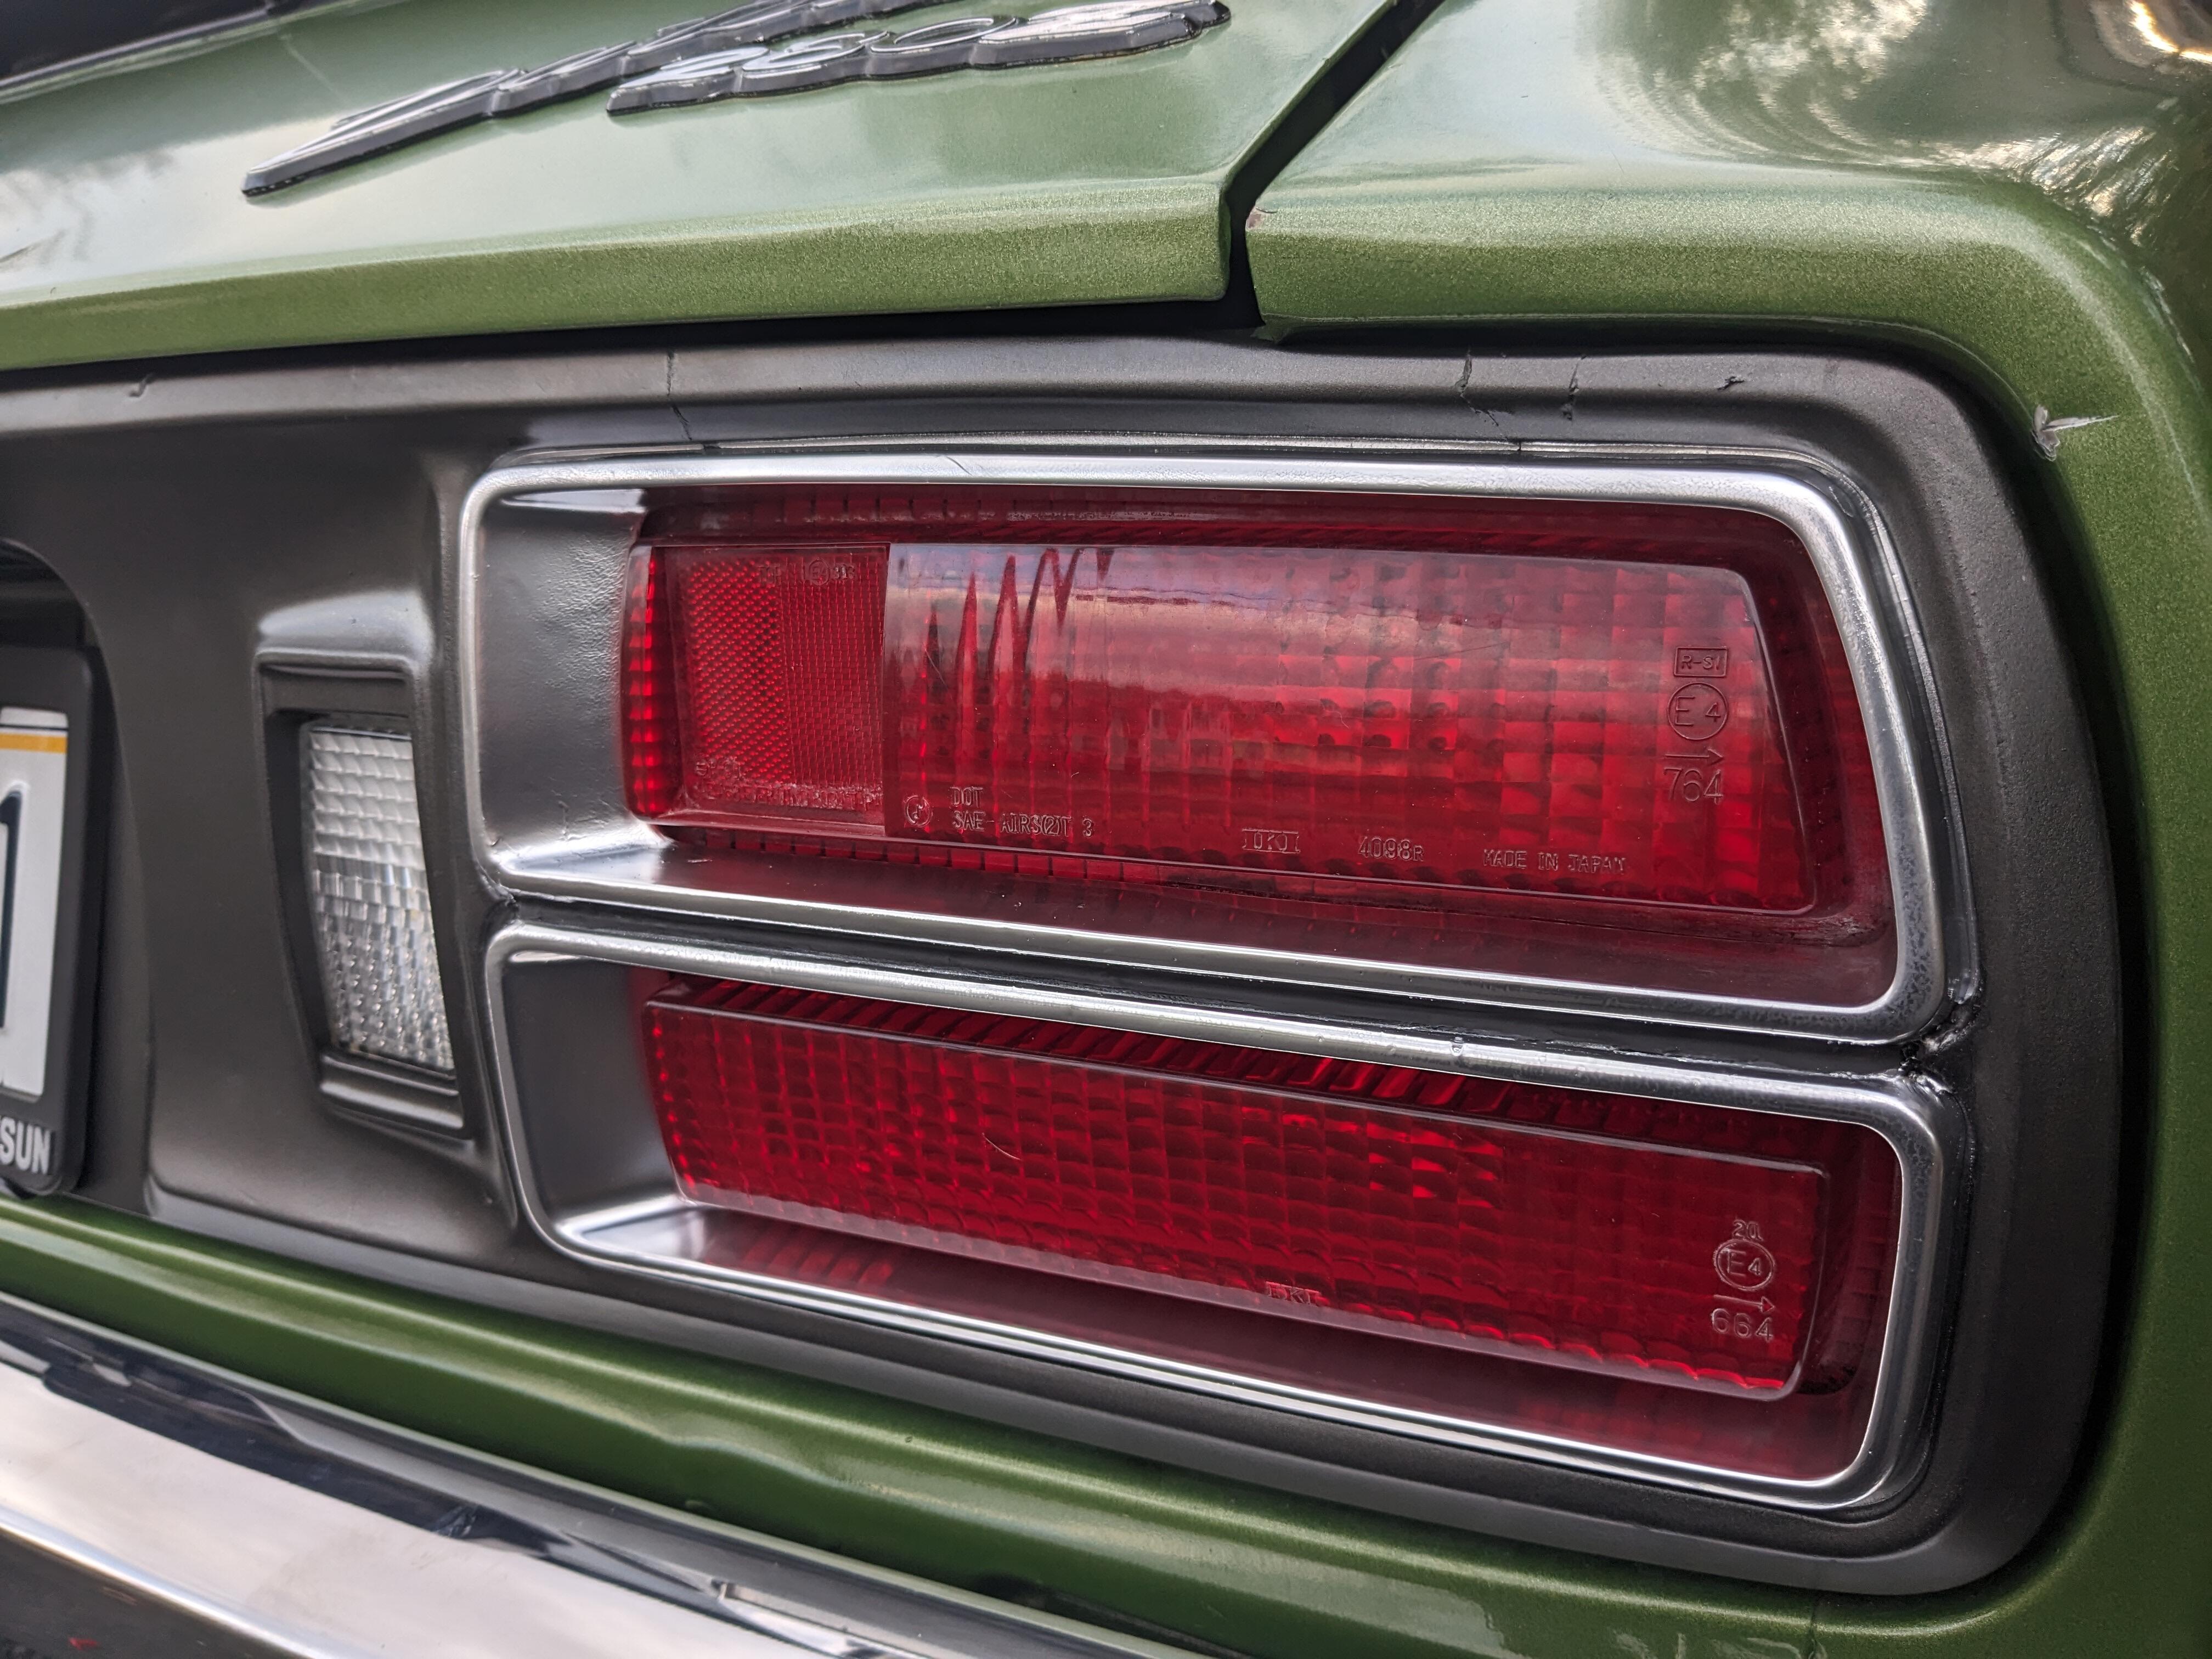
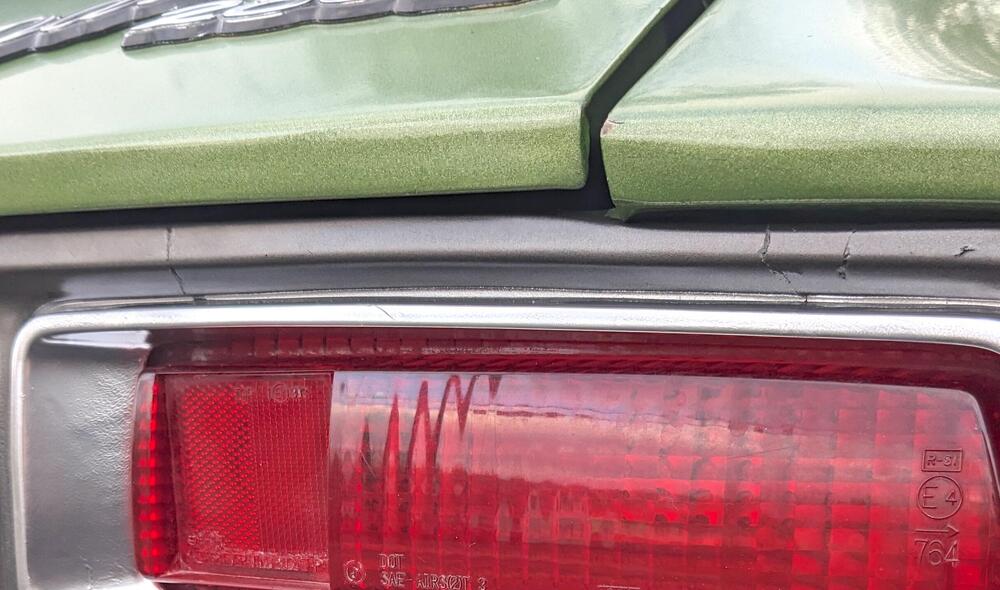
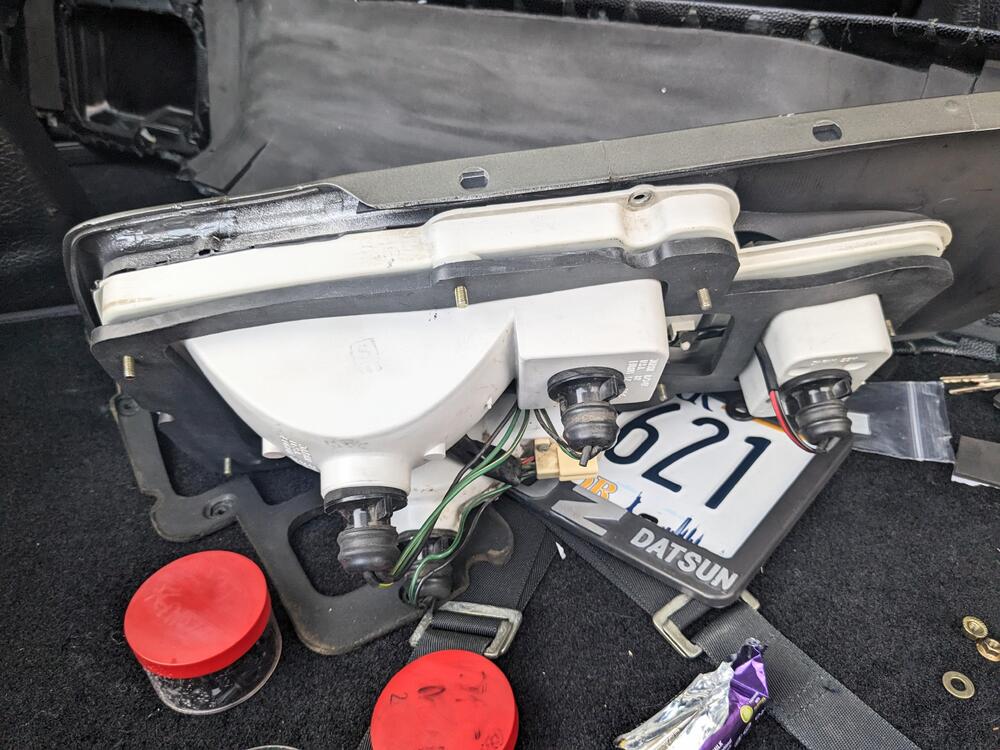
Thanks for the tip Richie. I should have clarified - the tail lamp mounts to body are perfect - on the 280Z the trim panel is secured to the tail lamp first, then the assembly is bolted to the body. The trim panel has short hollow cylinders that the panel screws locate in - those are all gone. I tried reinforcing them with JB weld, all that happened was the panel cracked outside of the epoxy instead. The entire panel is brittle, any flexing (which happened when I made the mistake of picking one up with one hand) and entire sections of the panel snap off. The last piece that I super-glued back is the top section of the right panel - you can see the vertical breaks here:
-
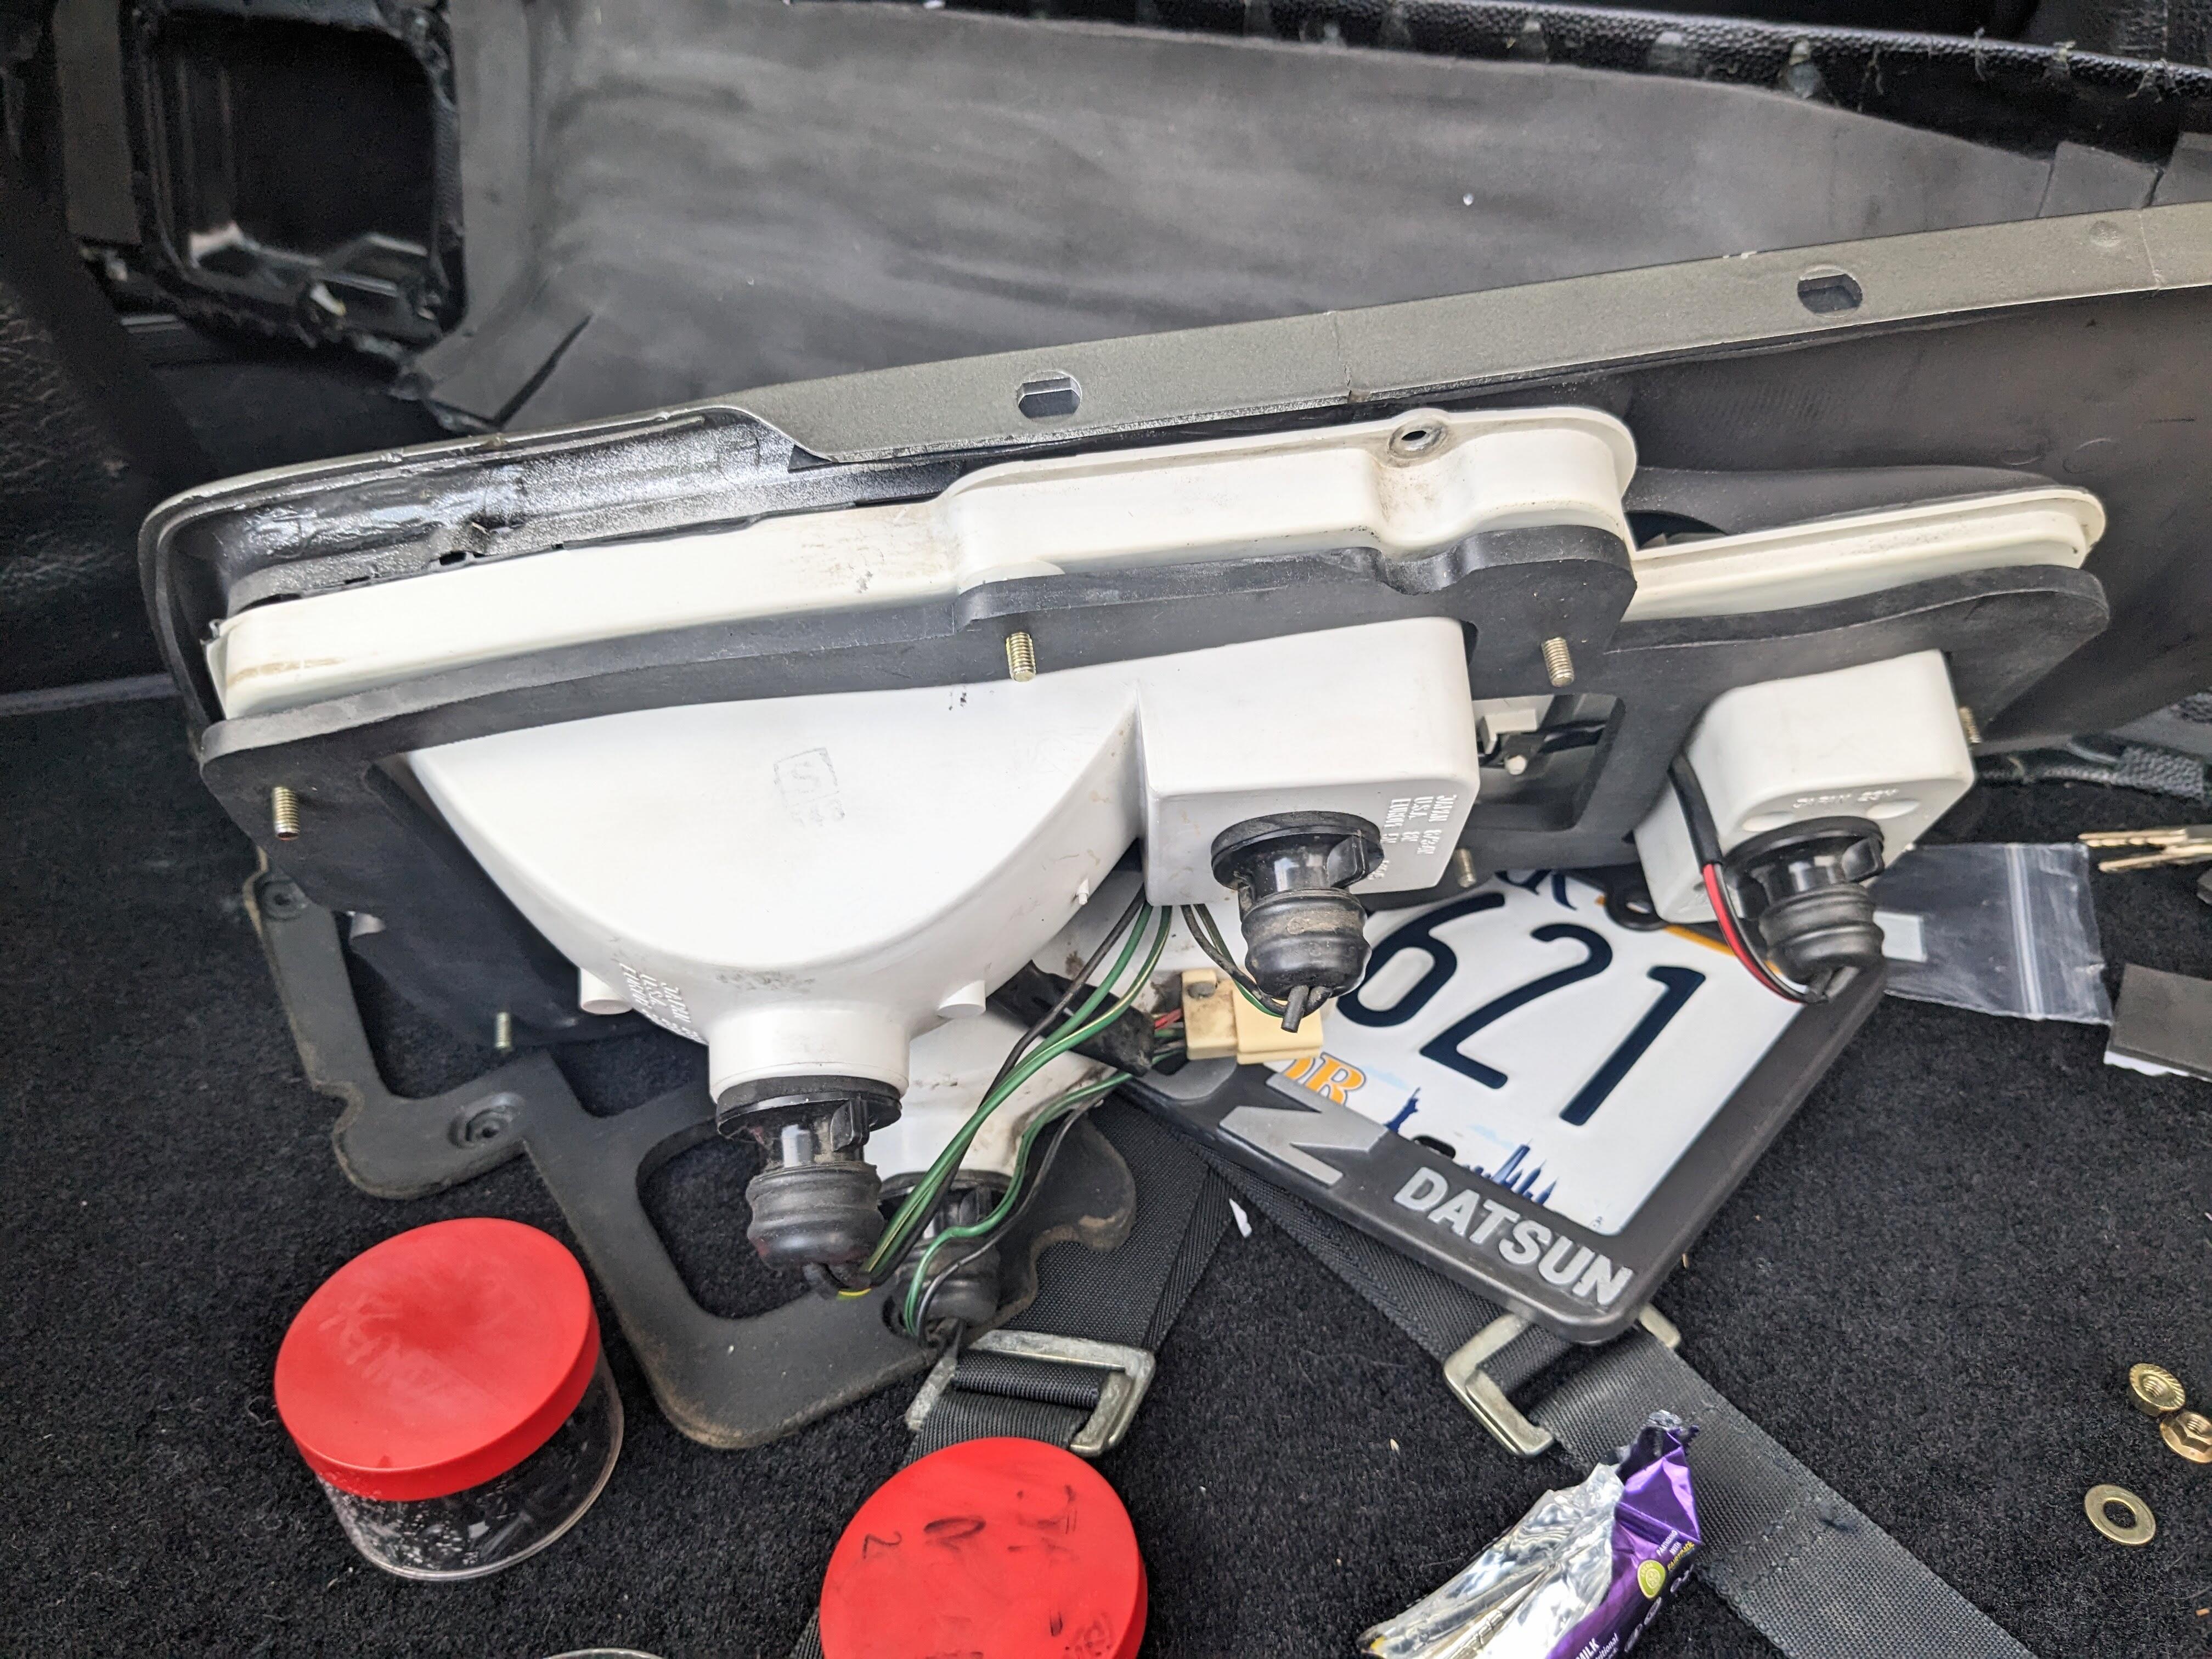
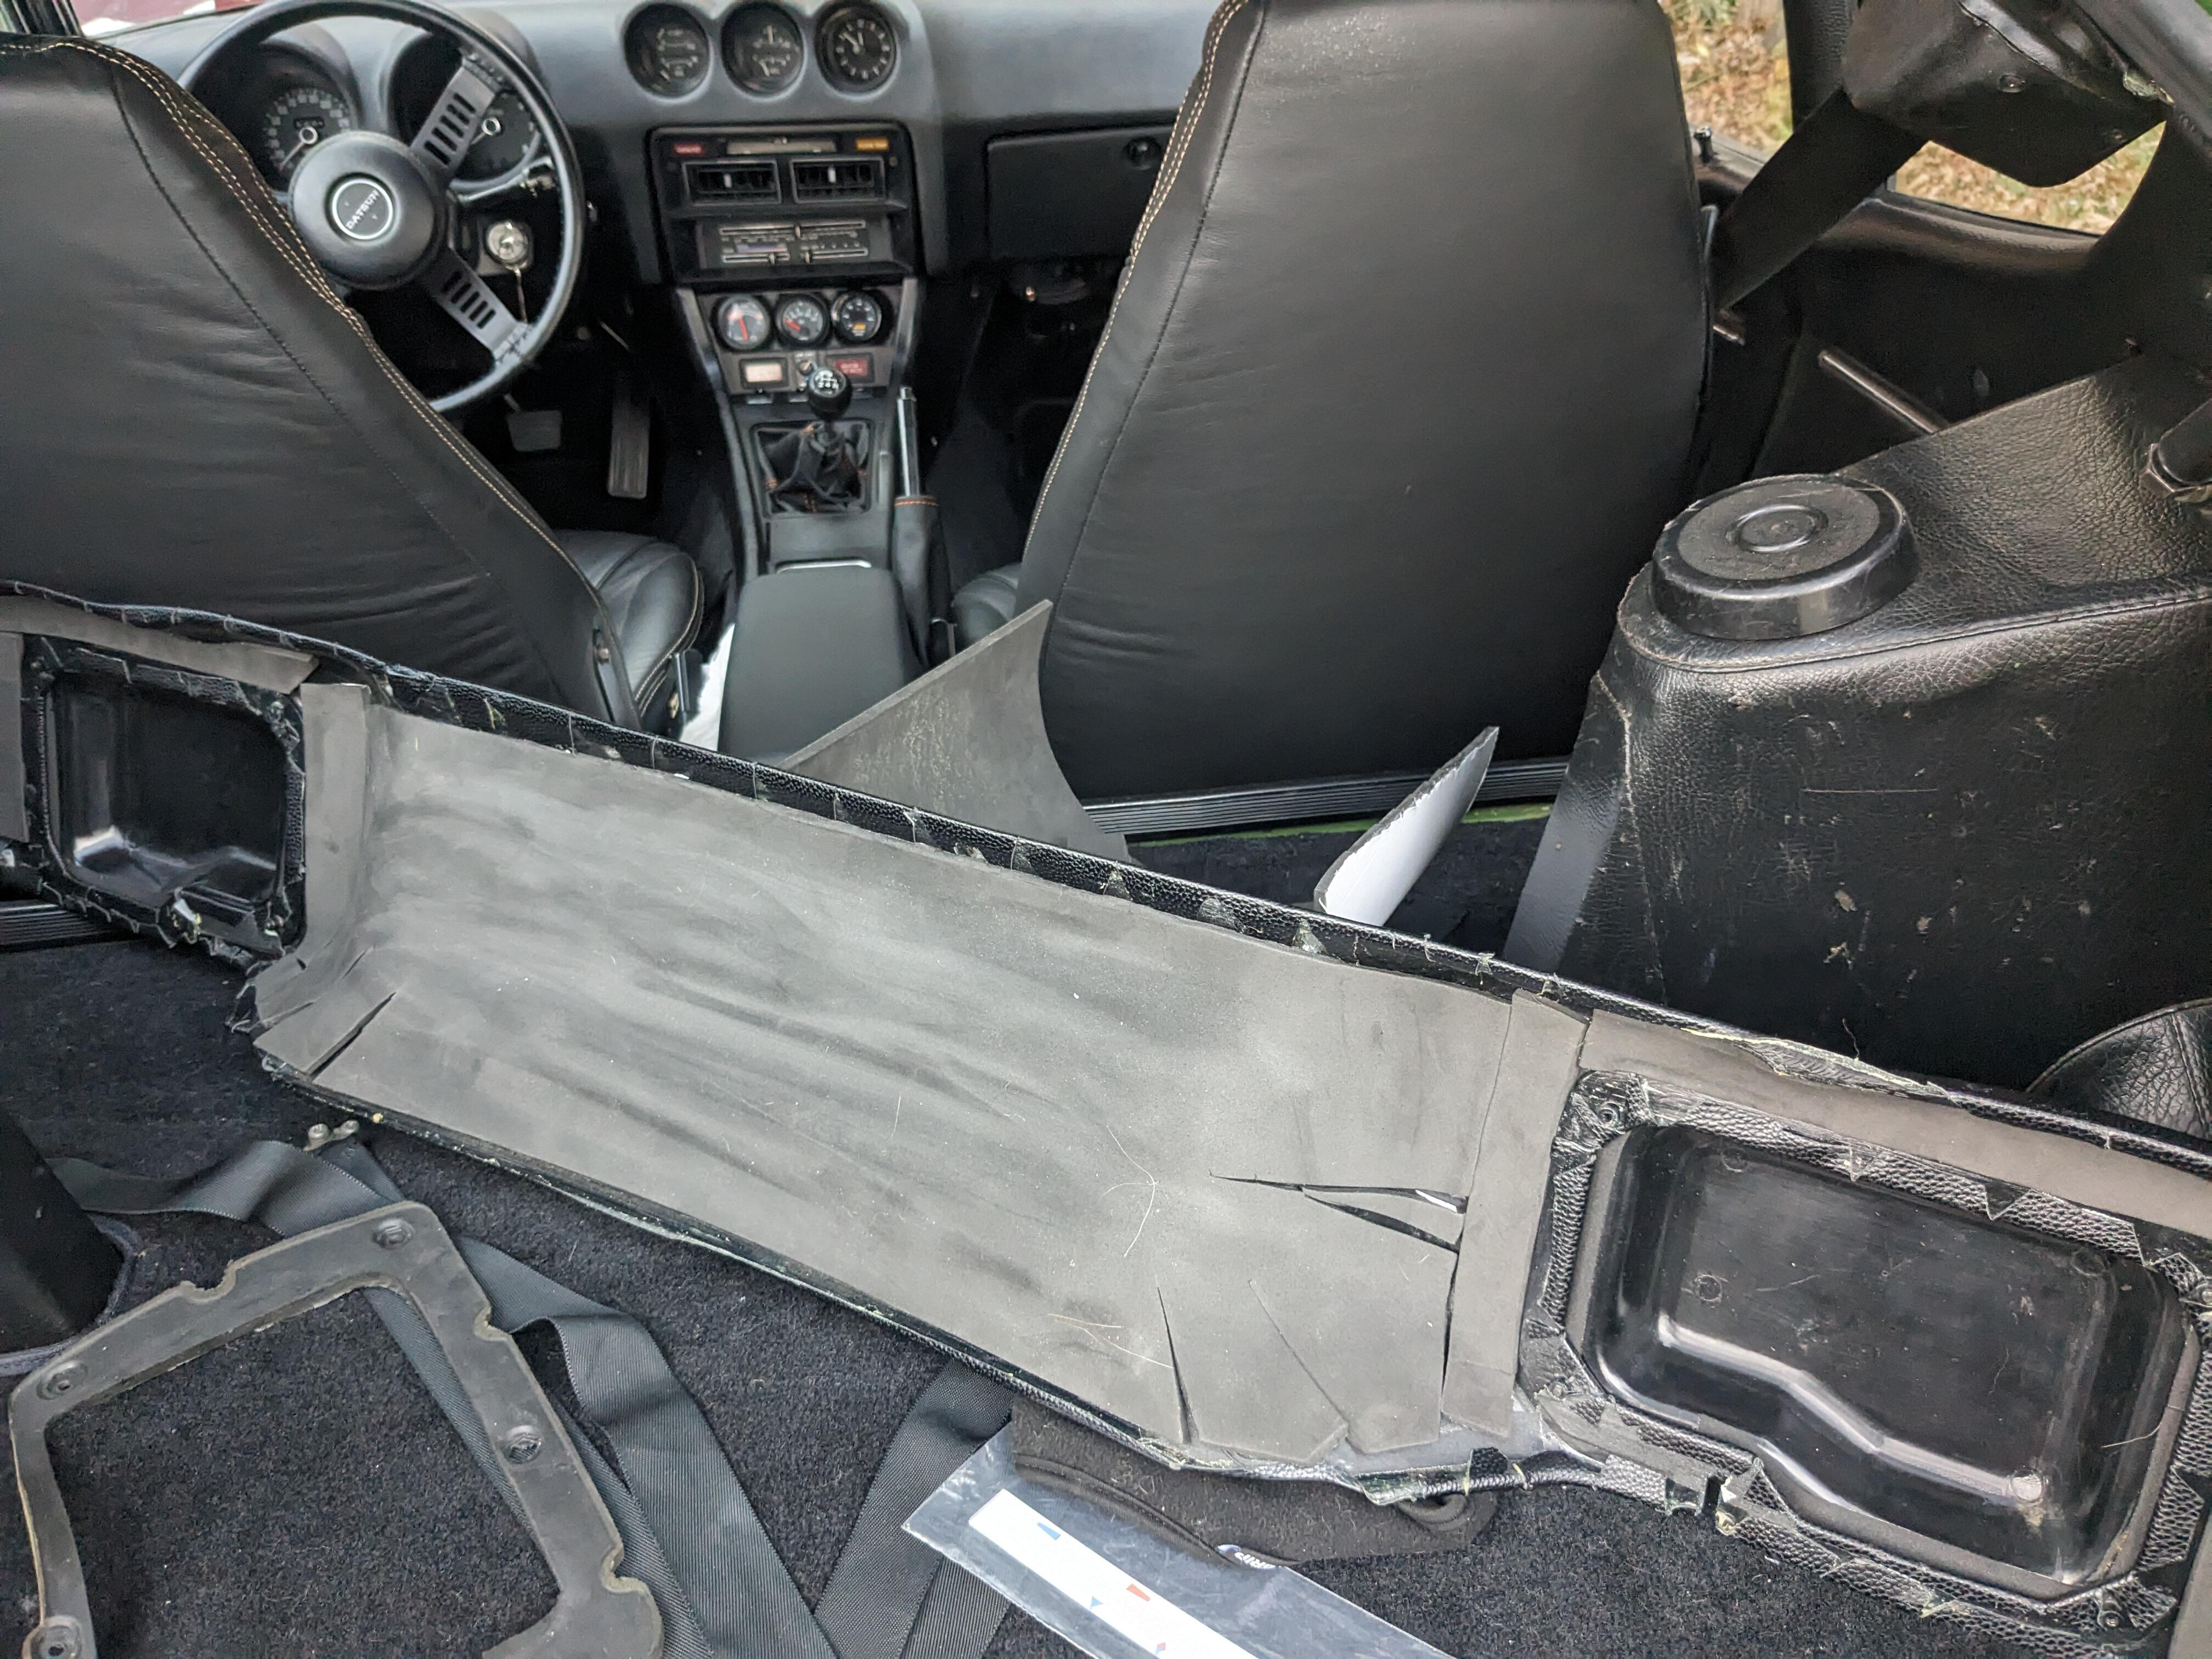
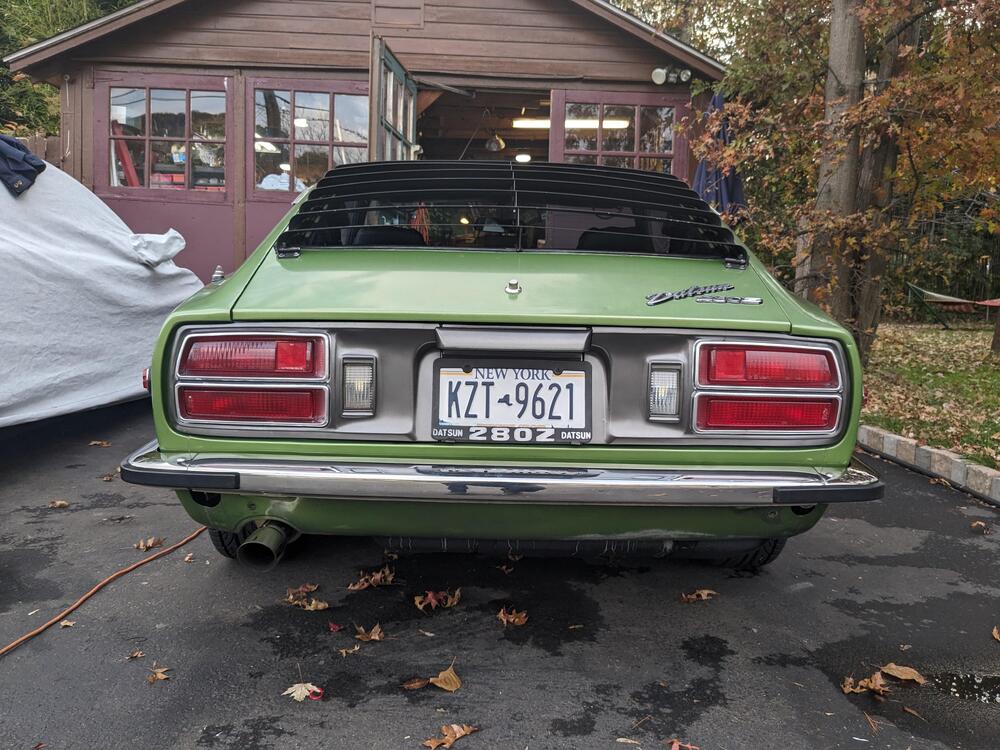
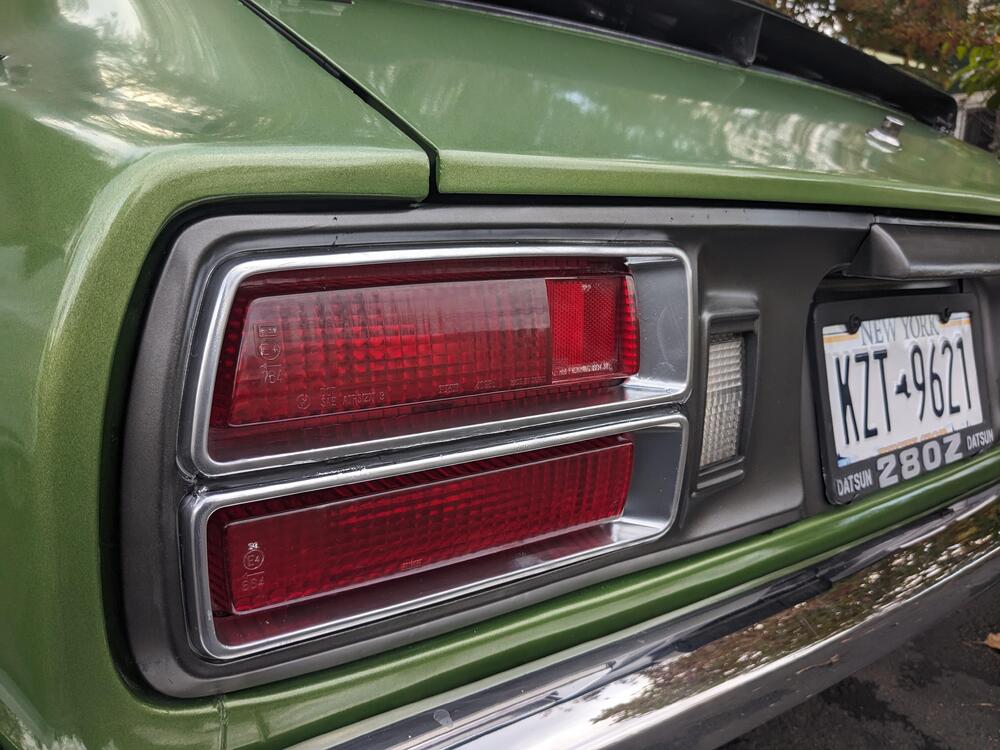
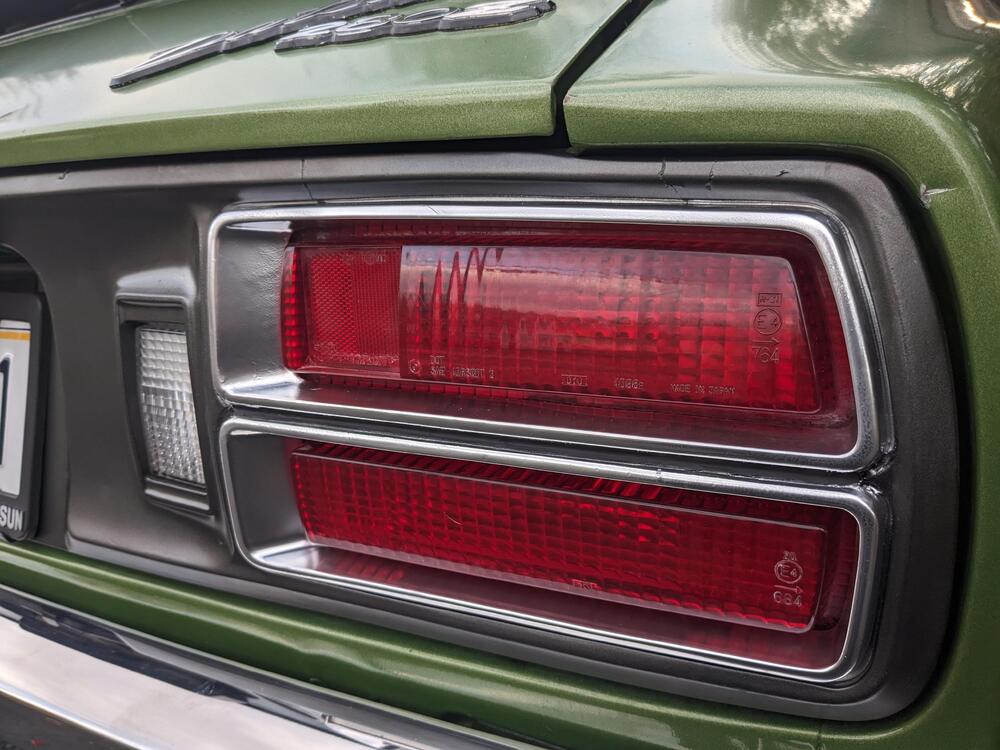
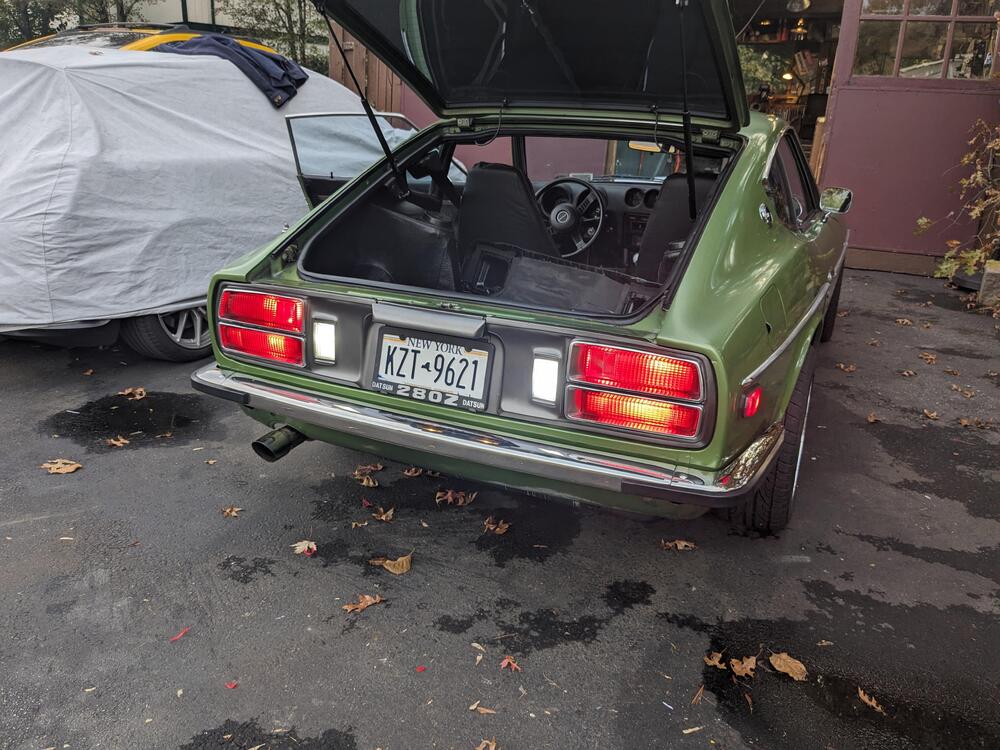
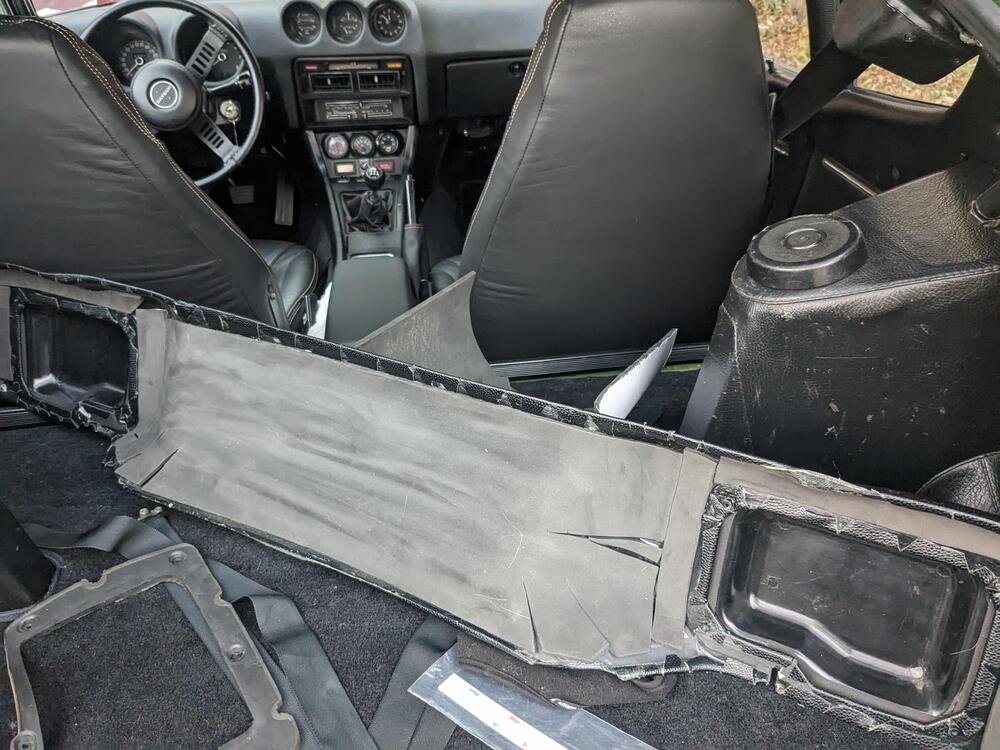
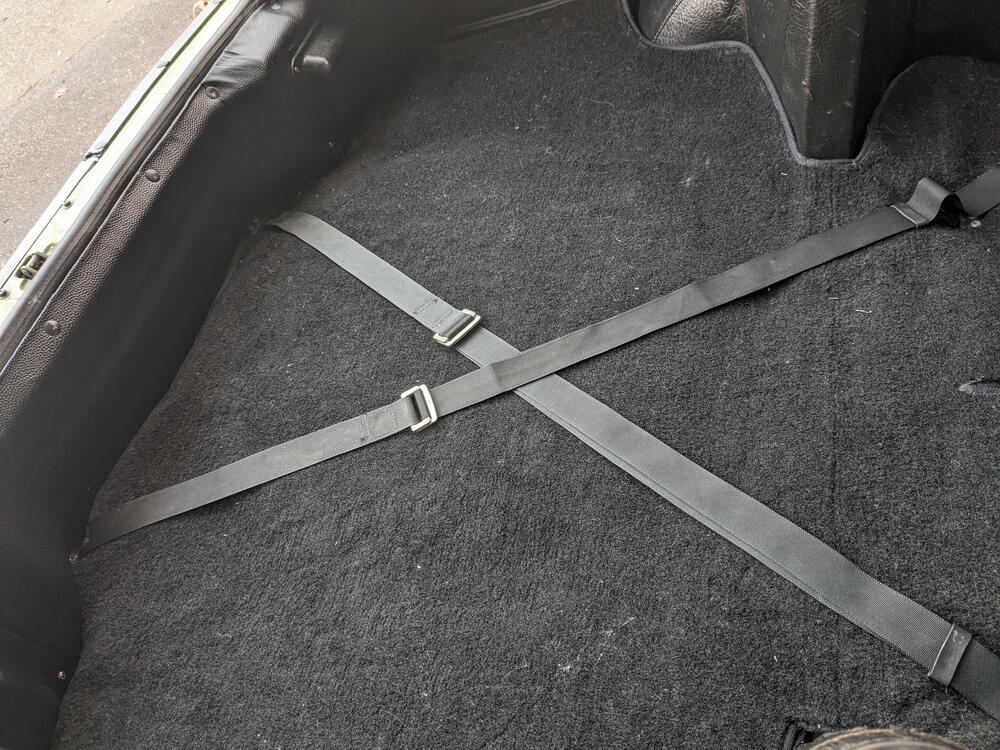
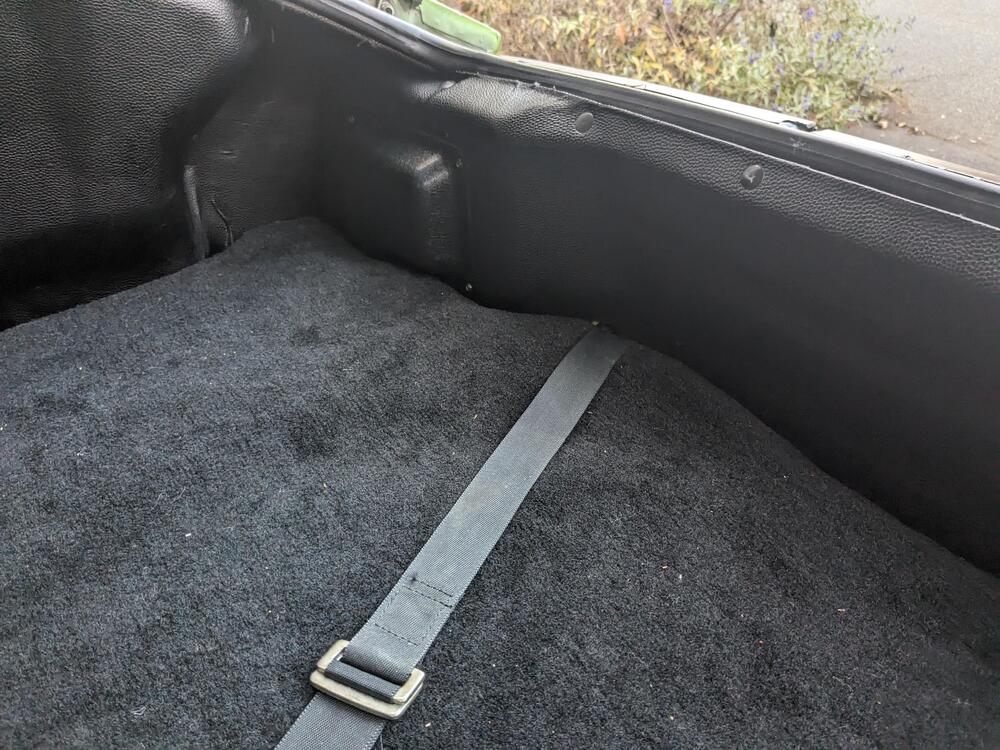
New lamp gaskets finally arrived, so I reinstalled my tail light panels. I will need to source new ones DTR, they are so brittle, they keep cracking when I handle them. Also had to use 3M VHB tape to glue the panels the lamps, as most of the screw mount posts are so brittle they snapped & crumbled when I tried to reinstall them. with those installed, I was able to put the rear panel back in. I added closed cell foam to give some more density .
-
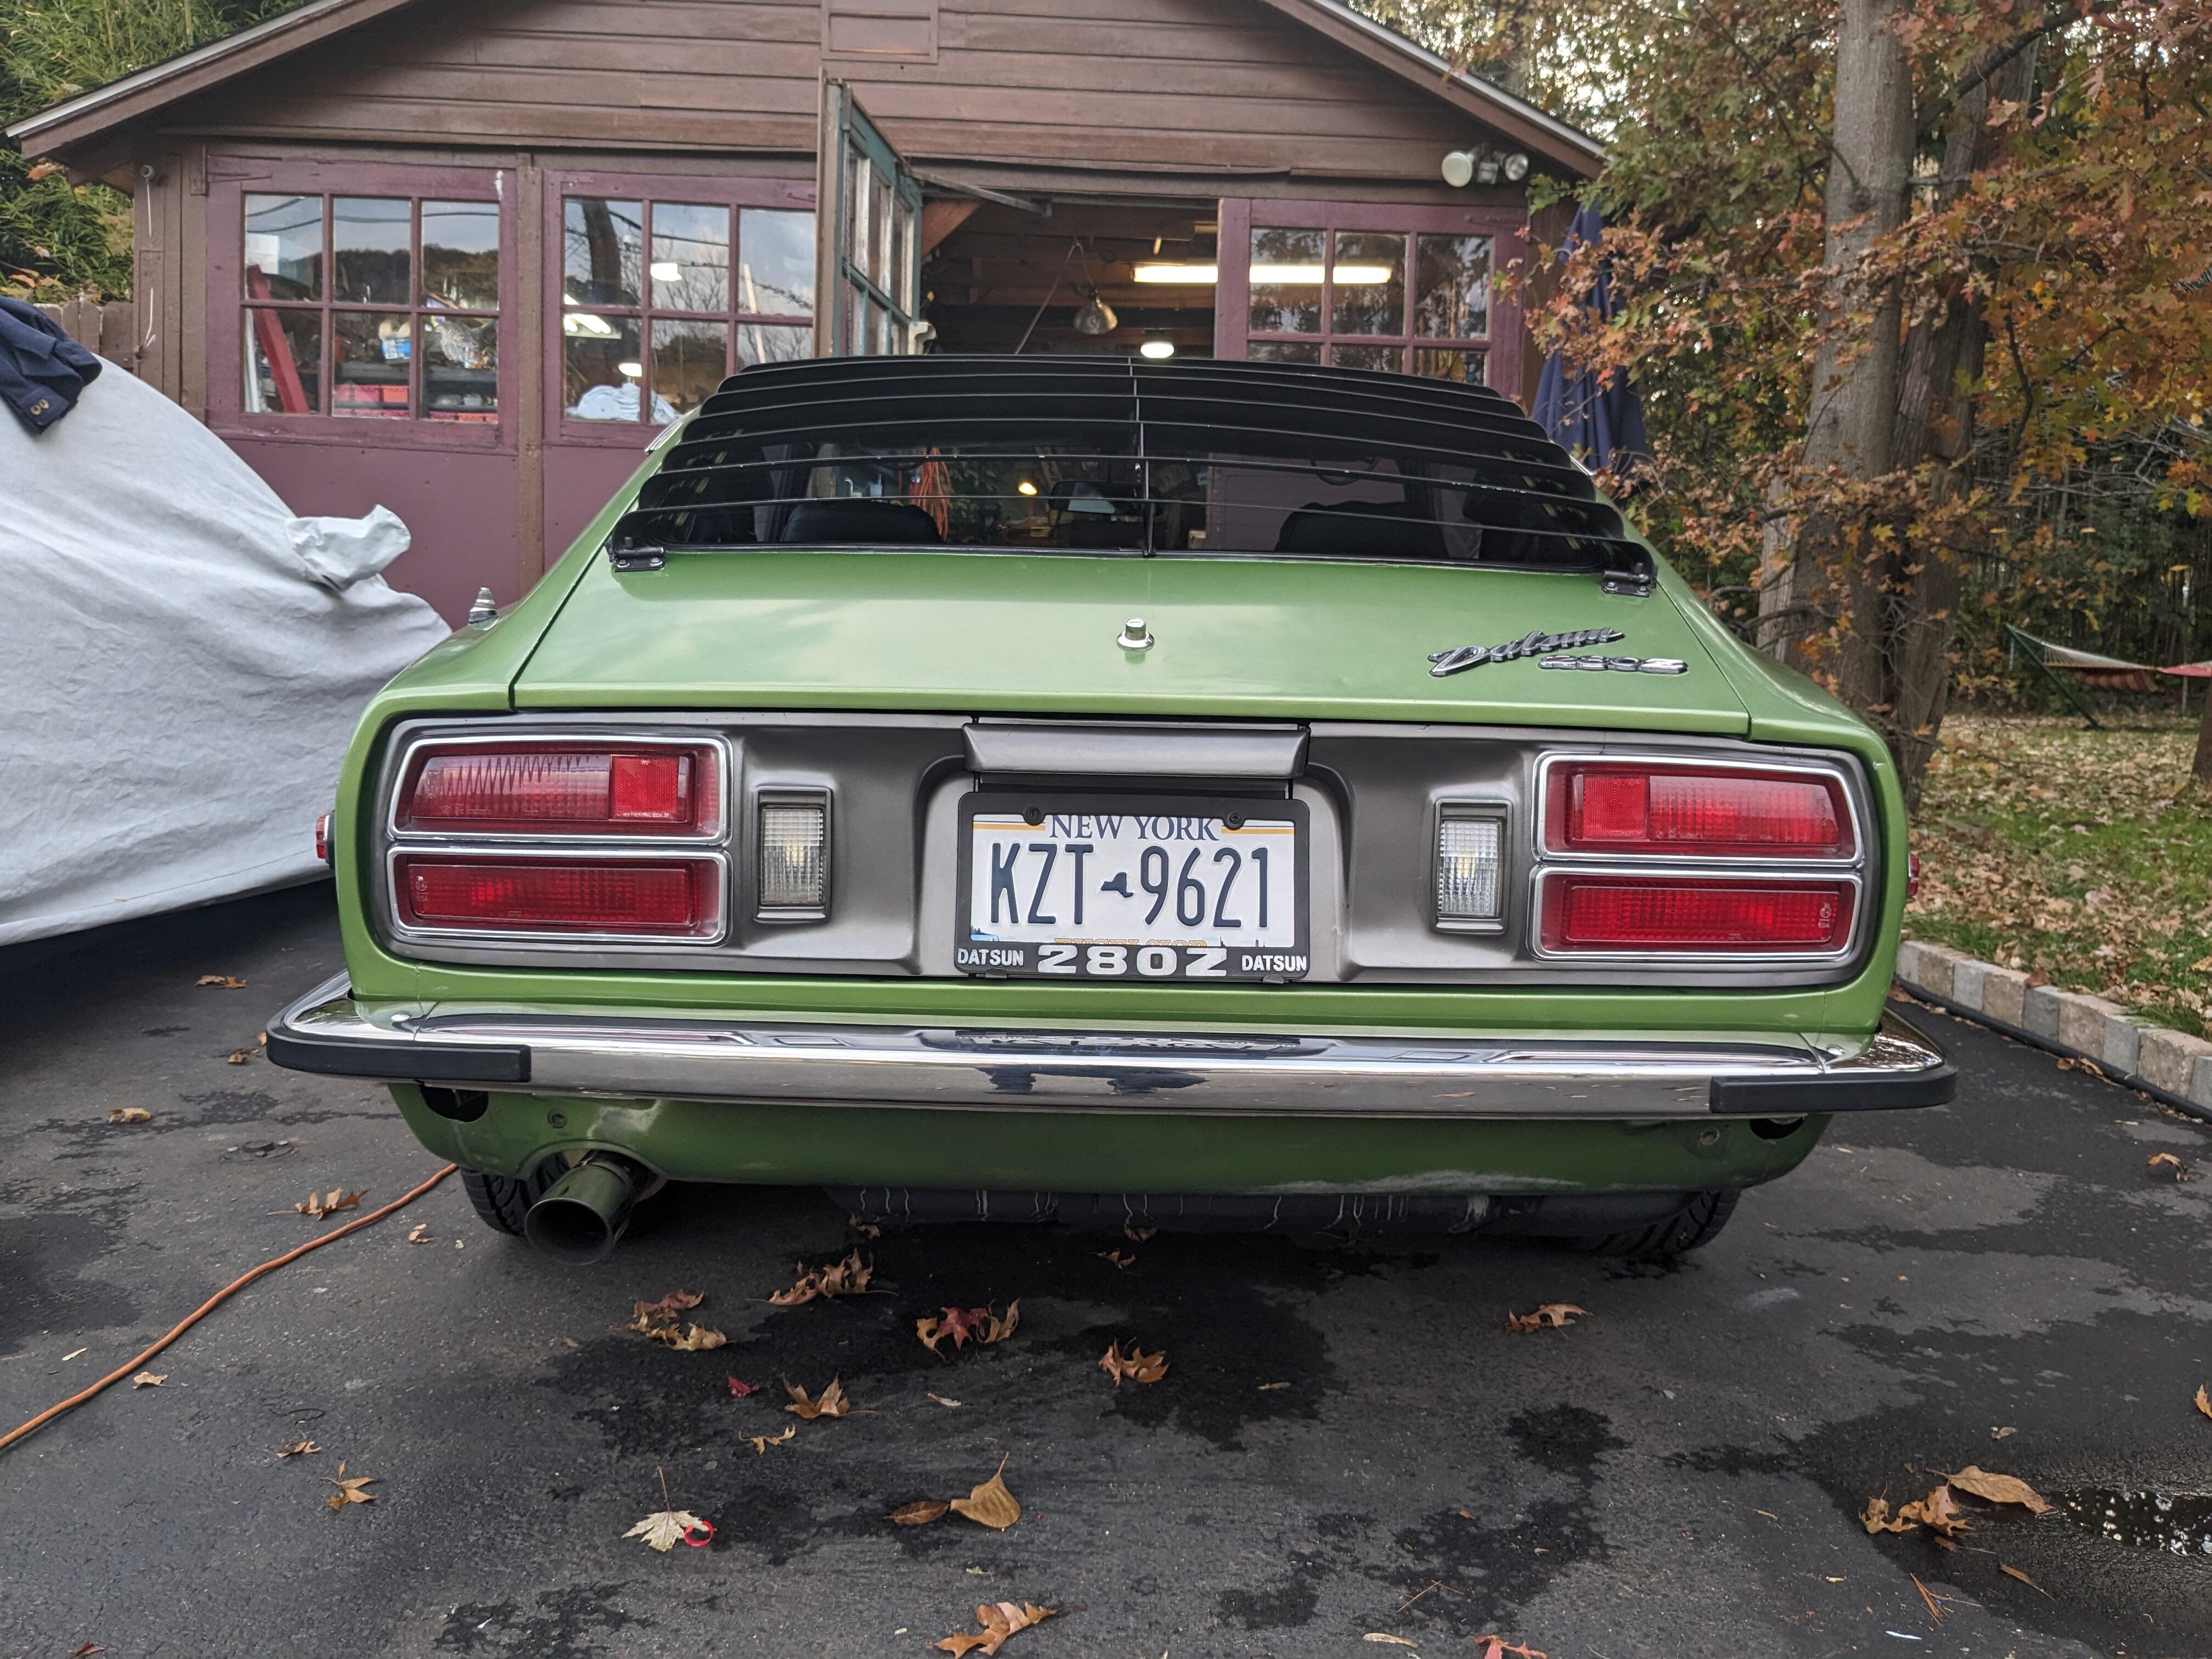
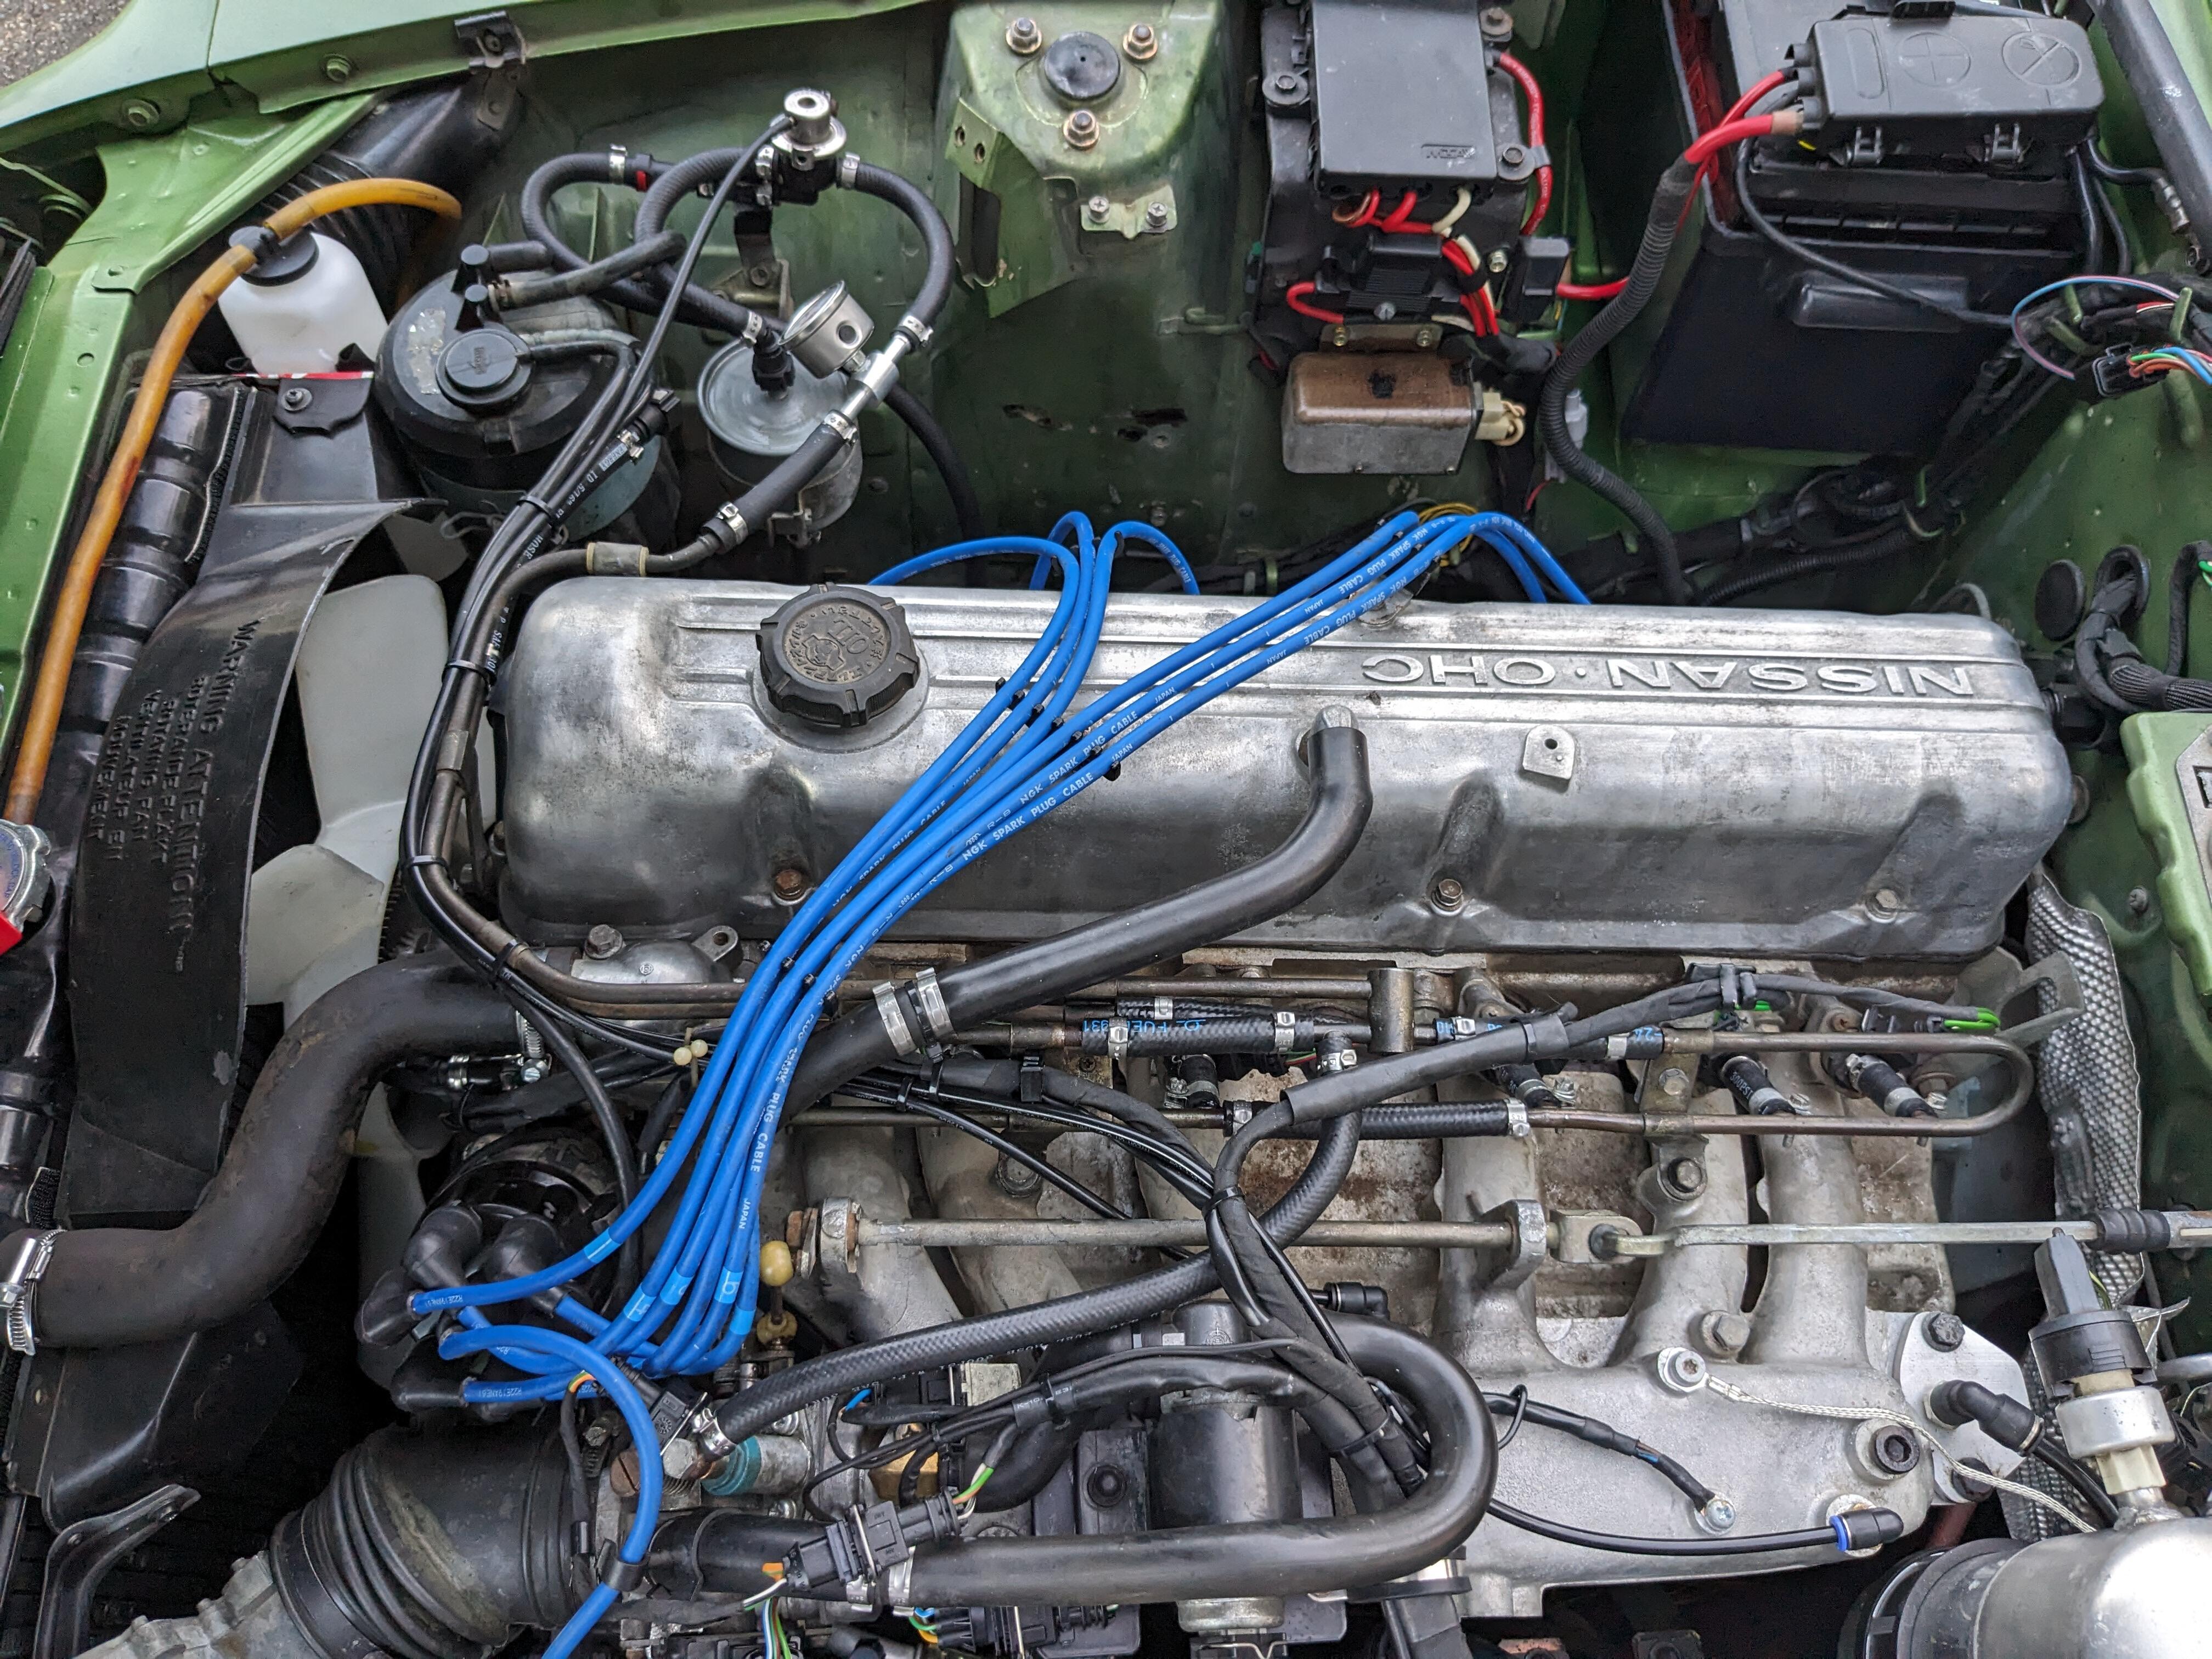
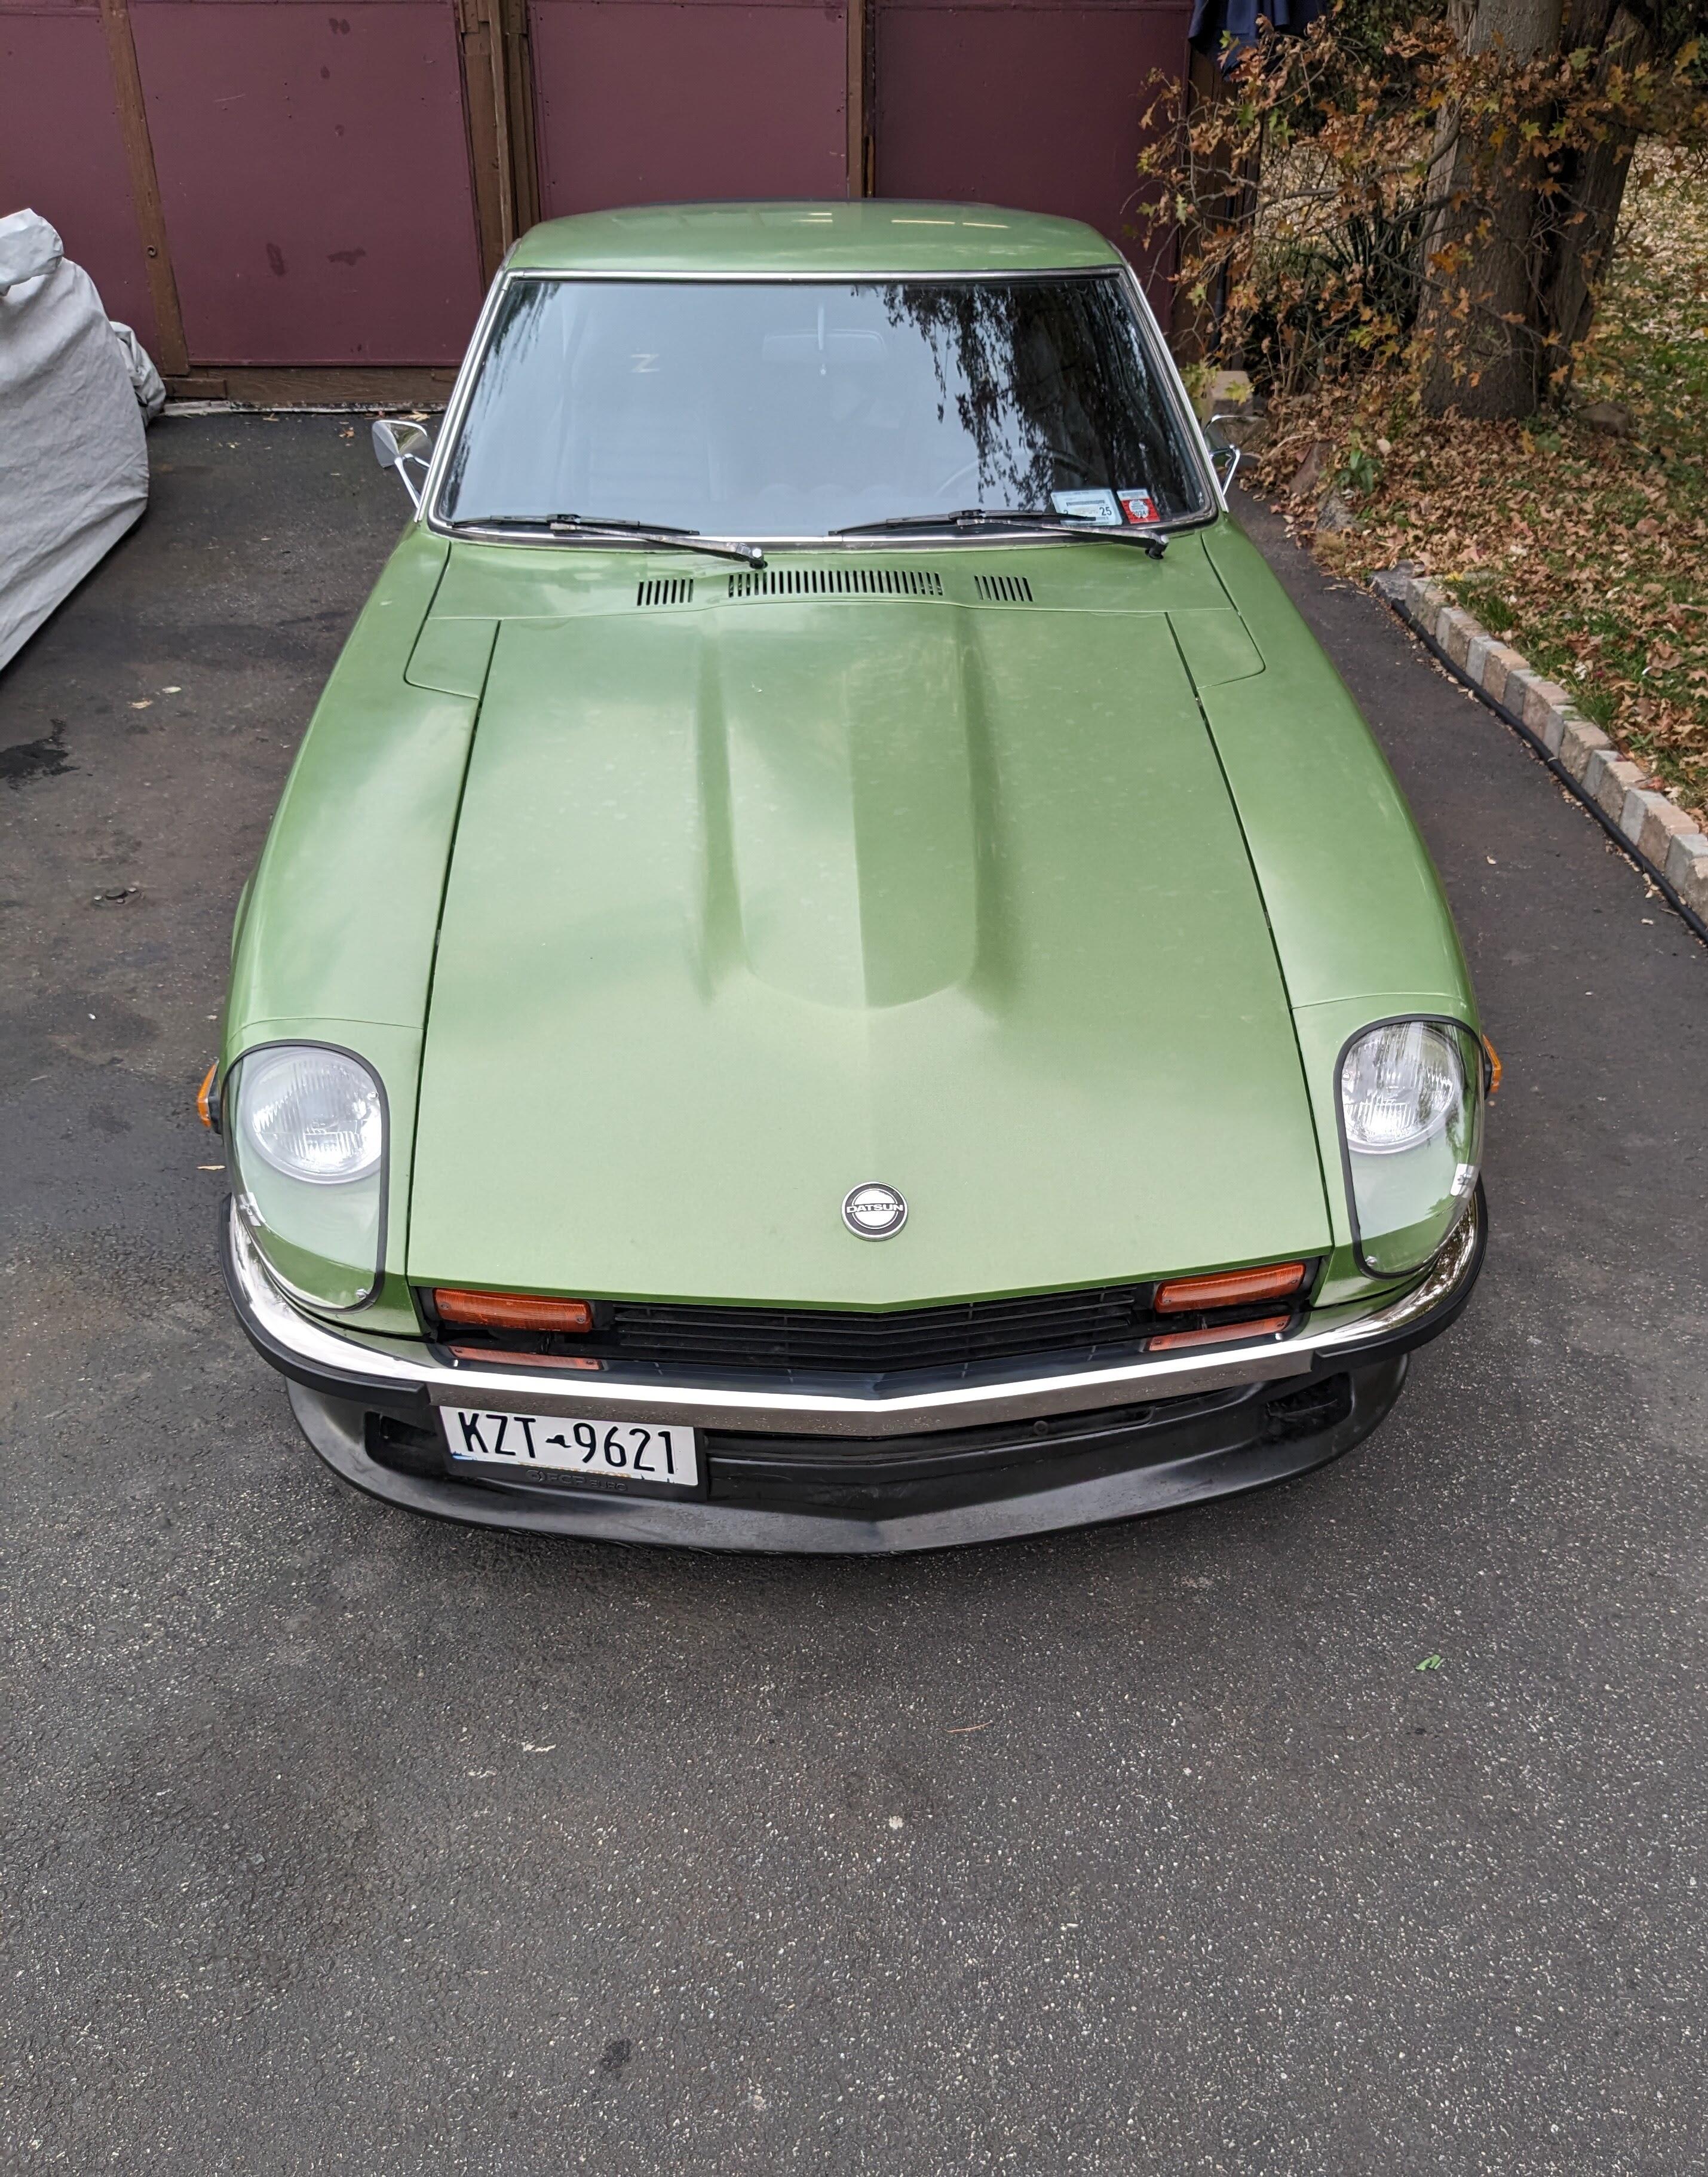
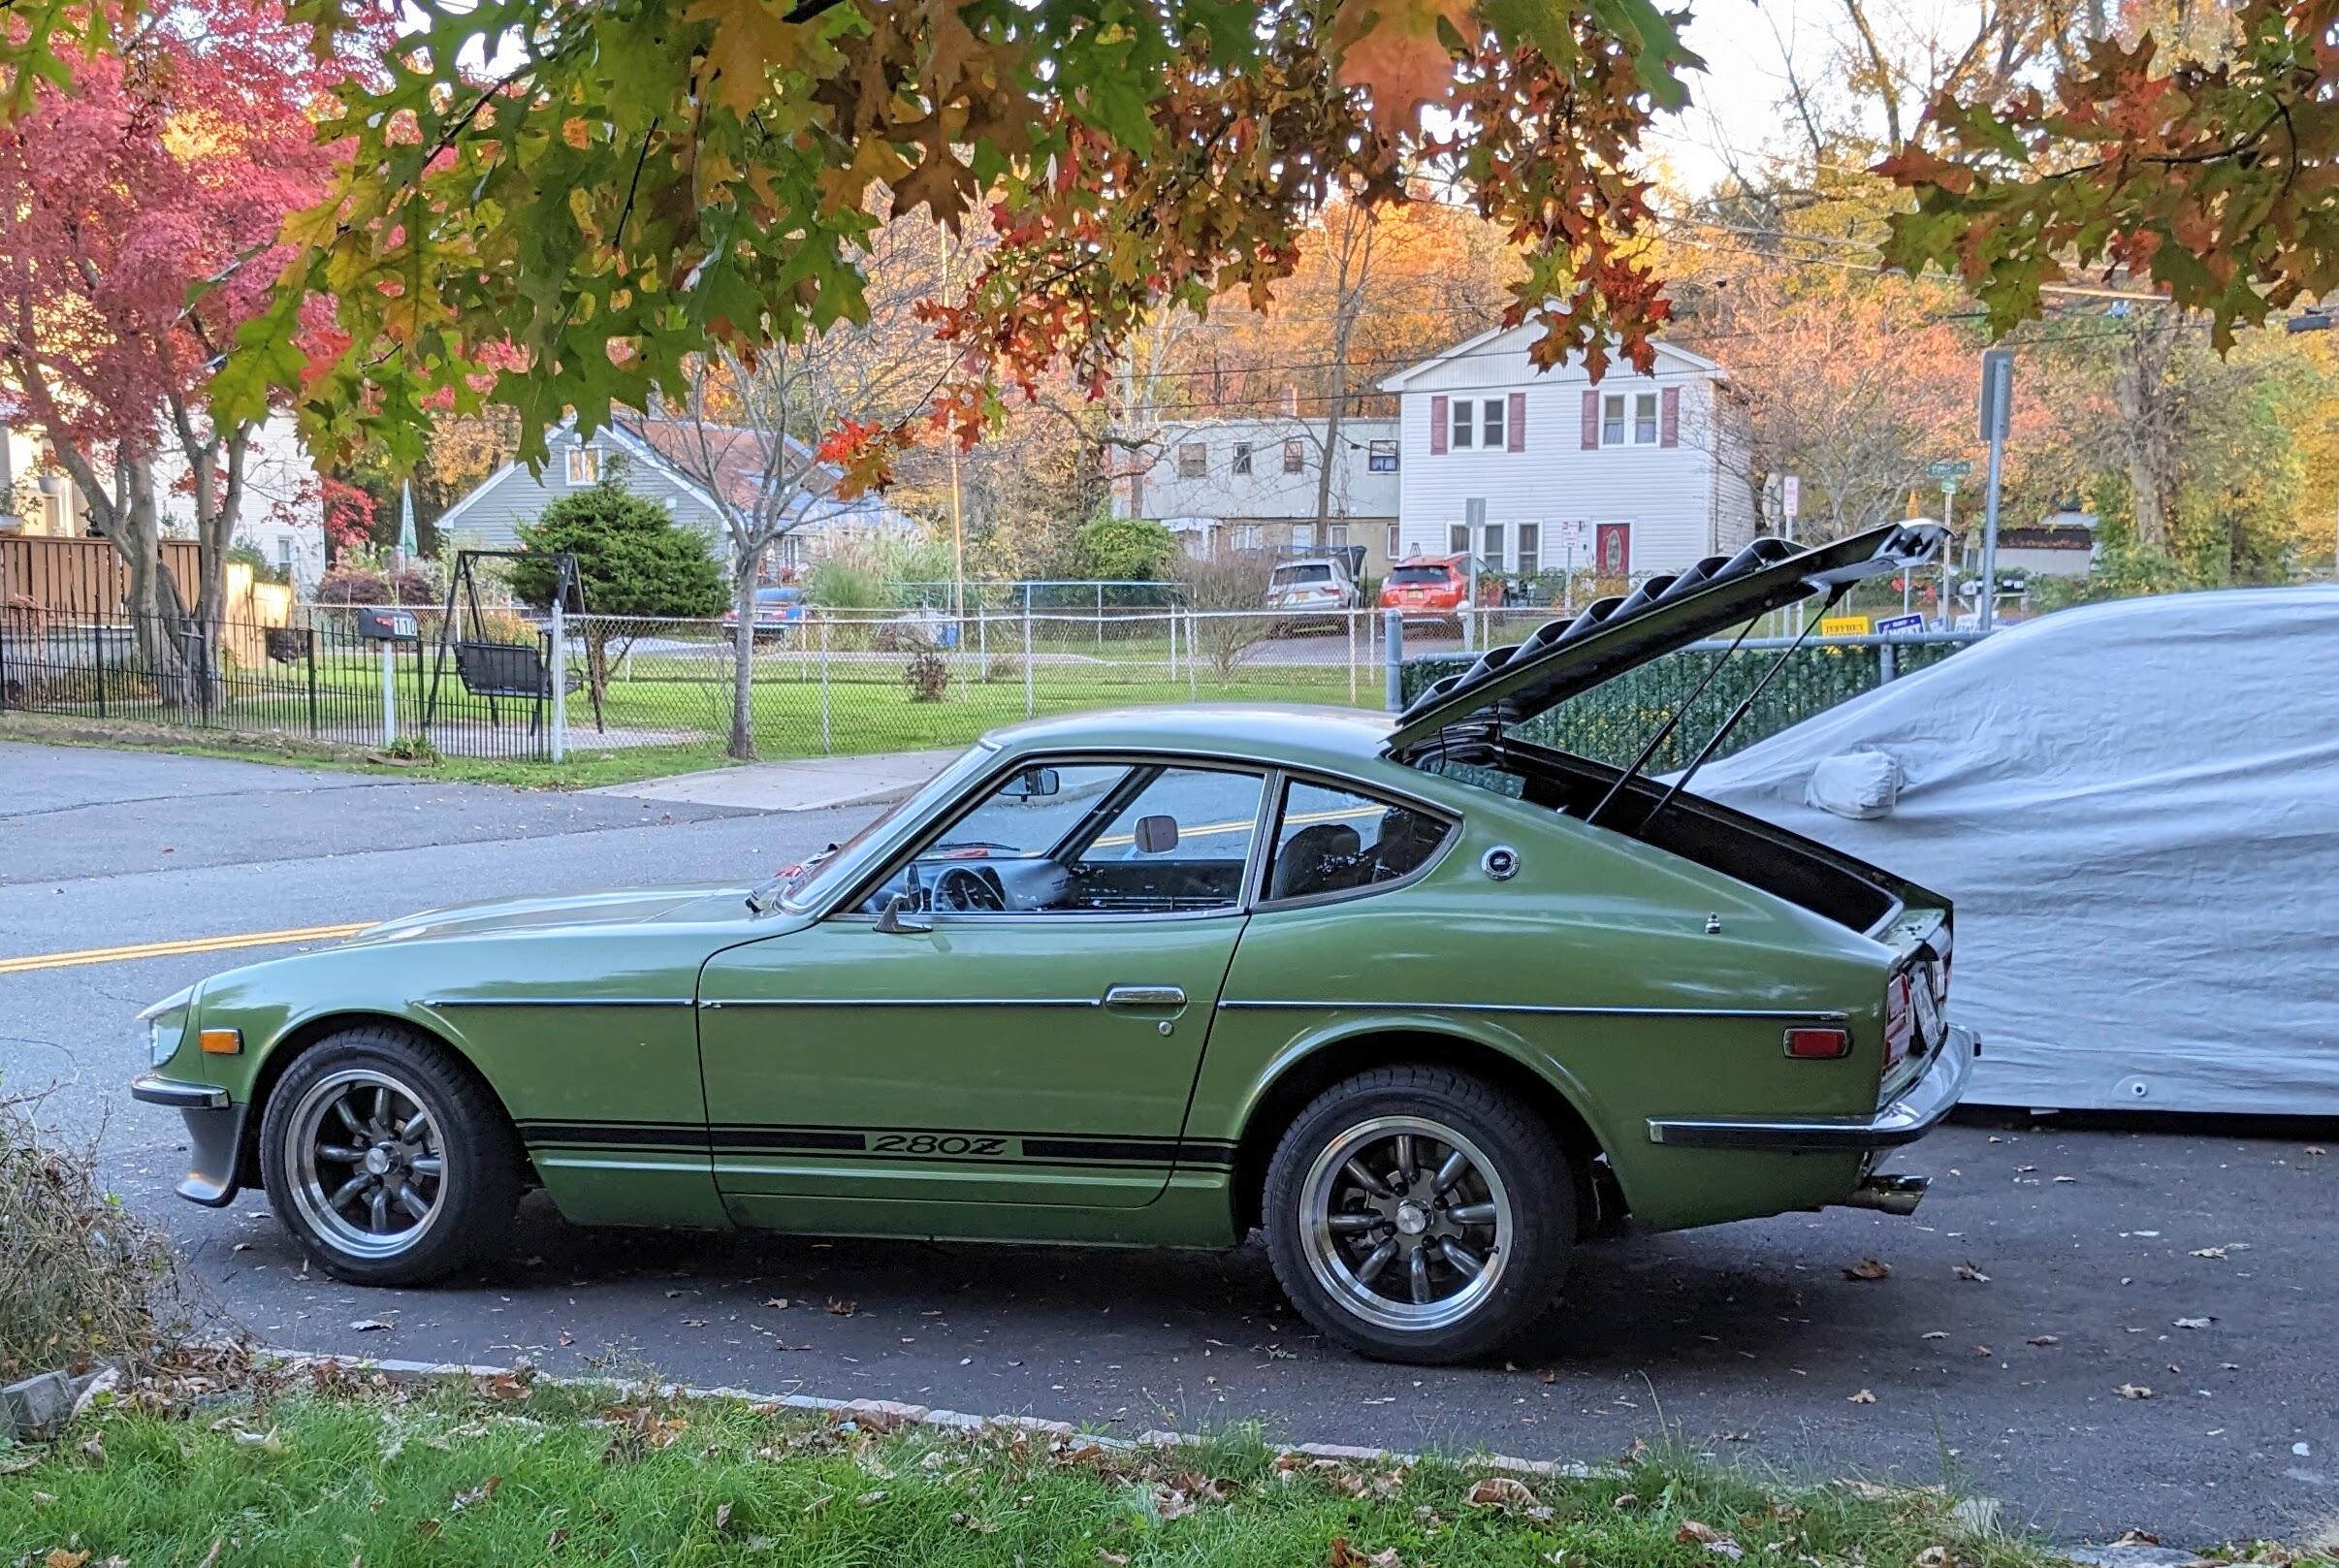
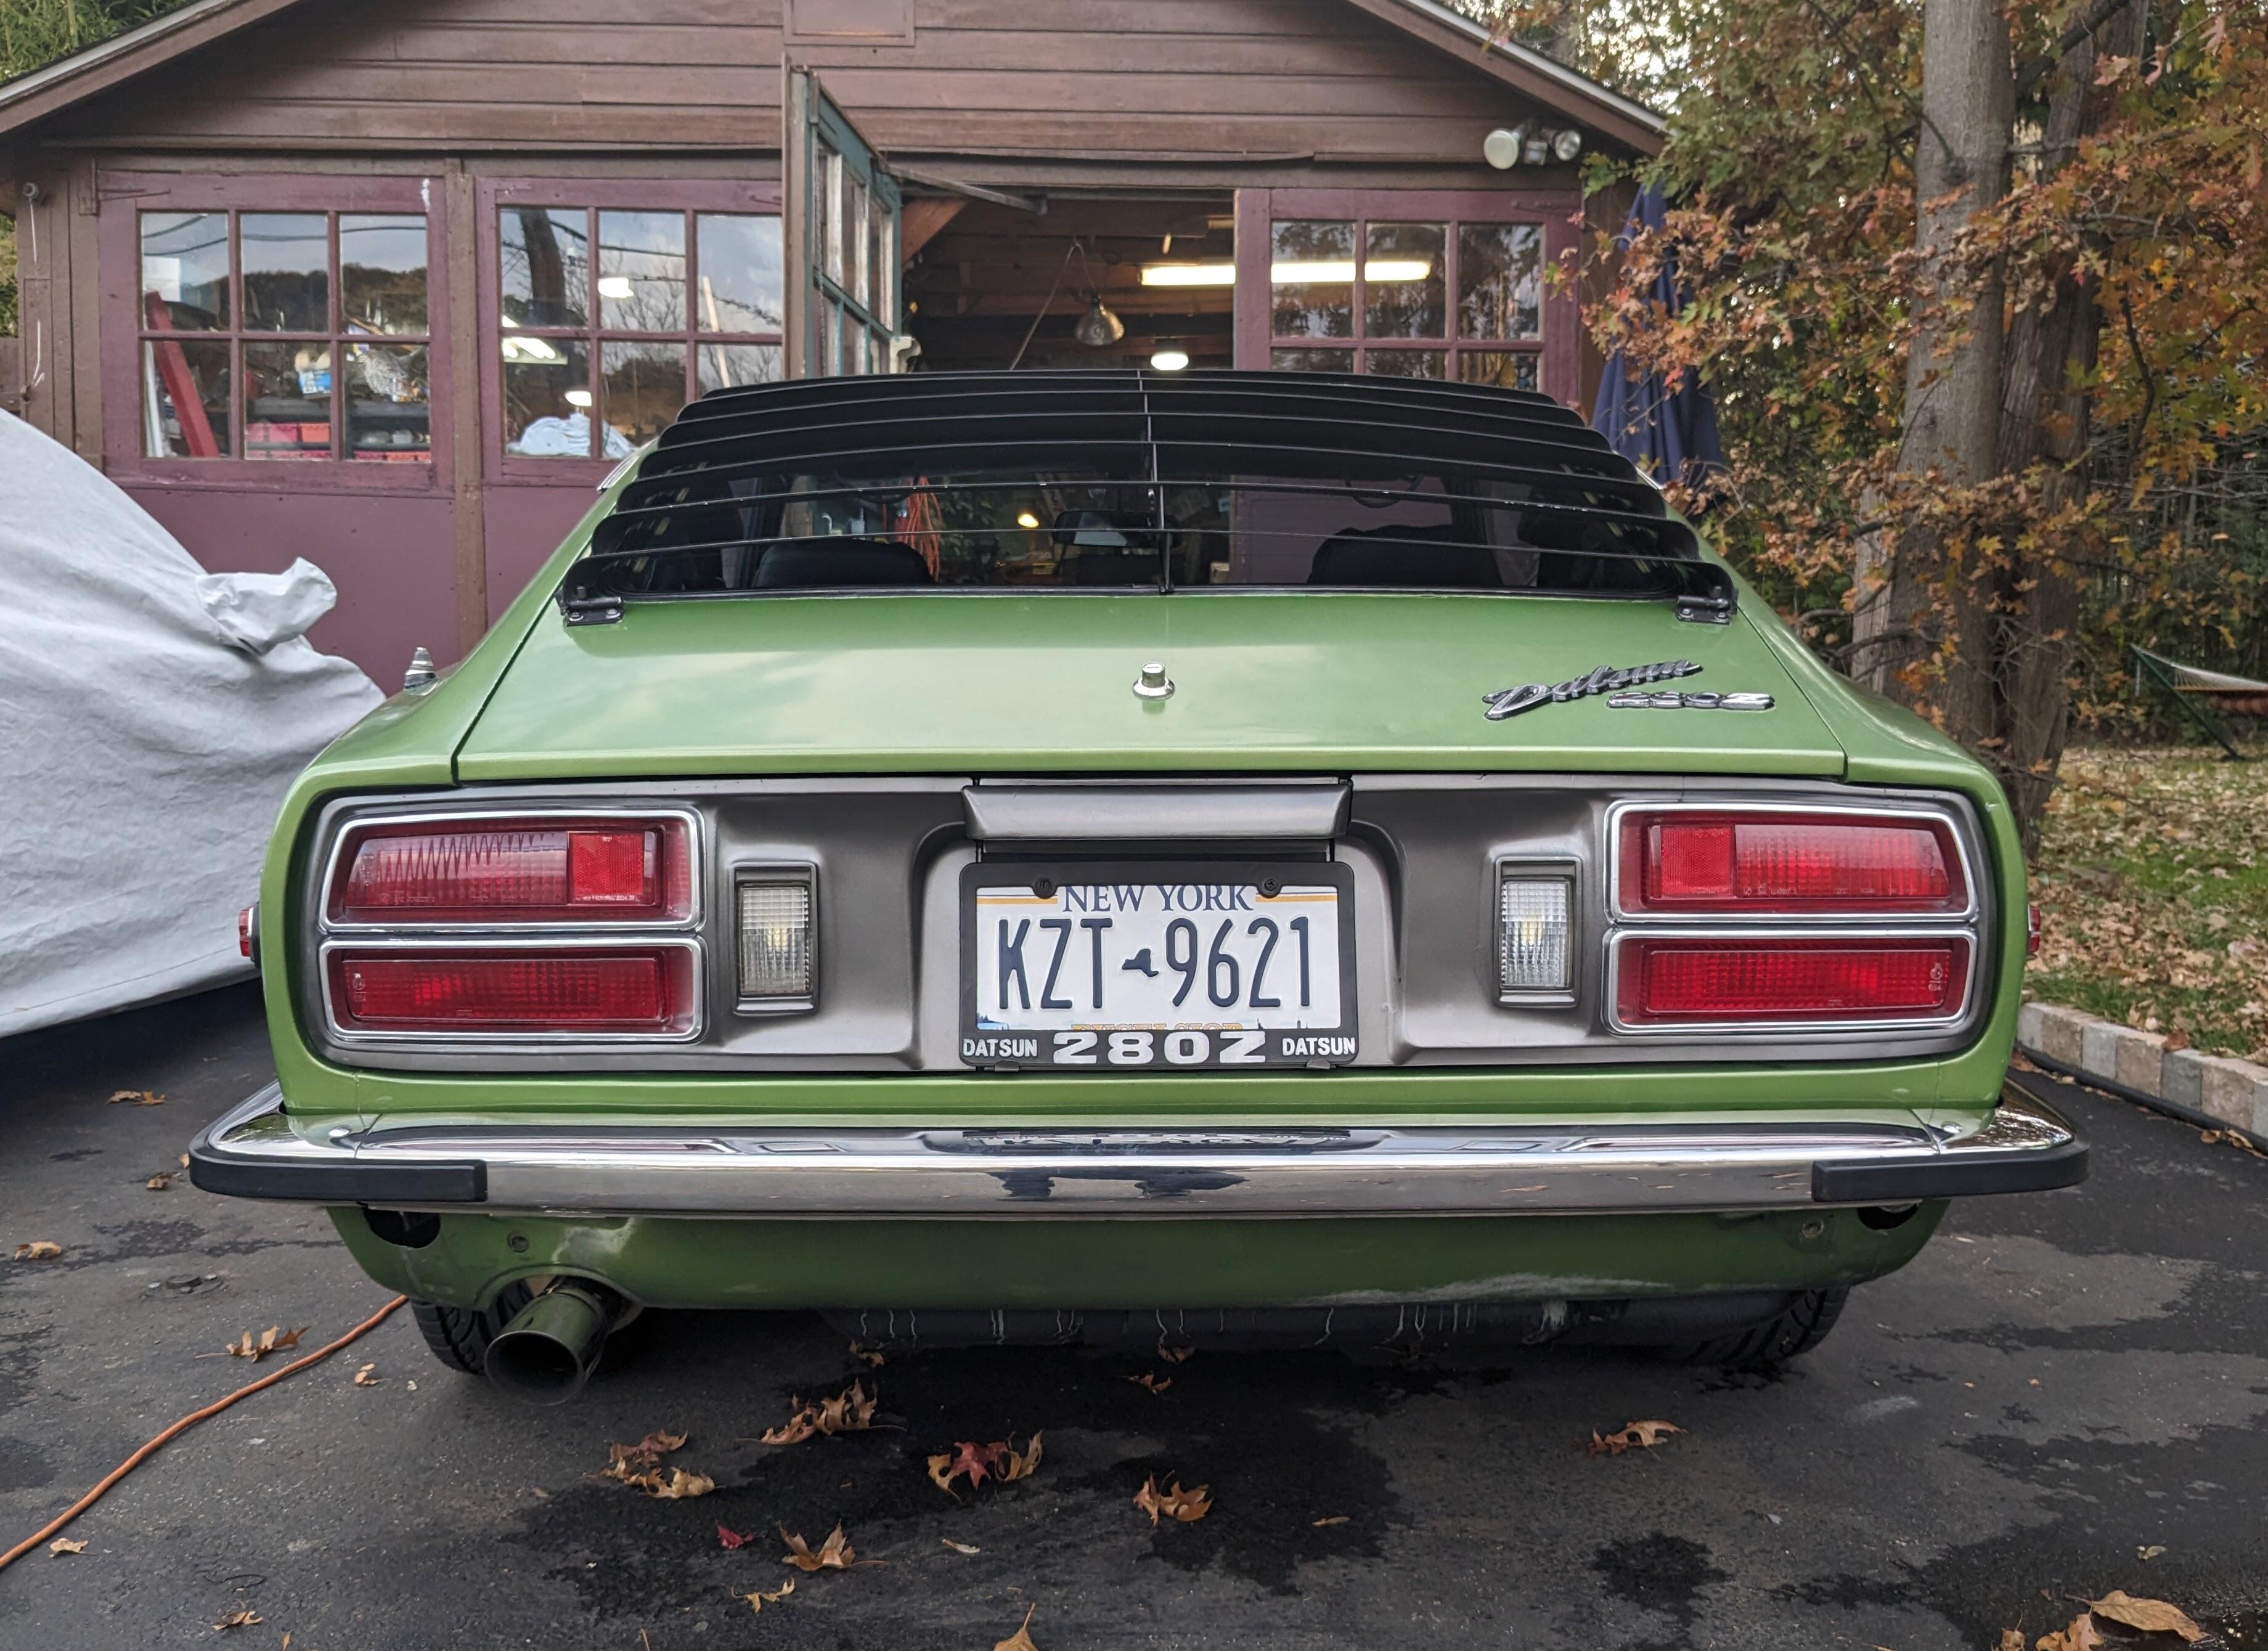
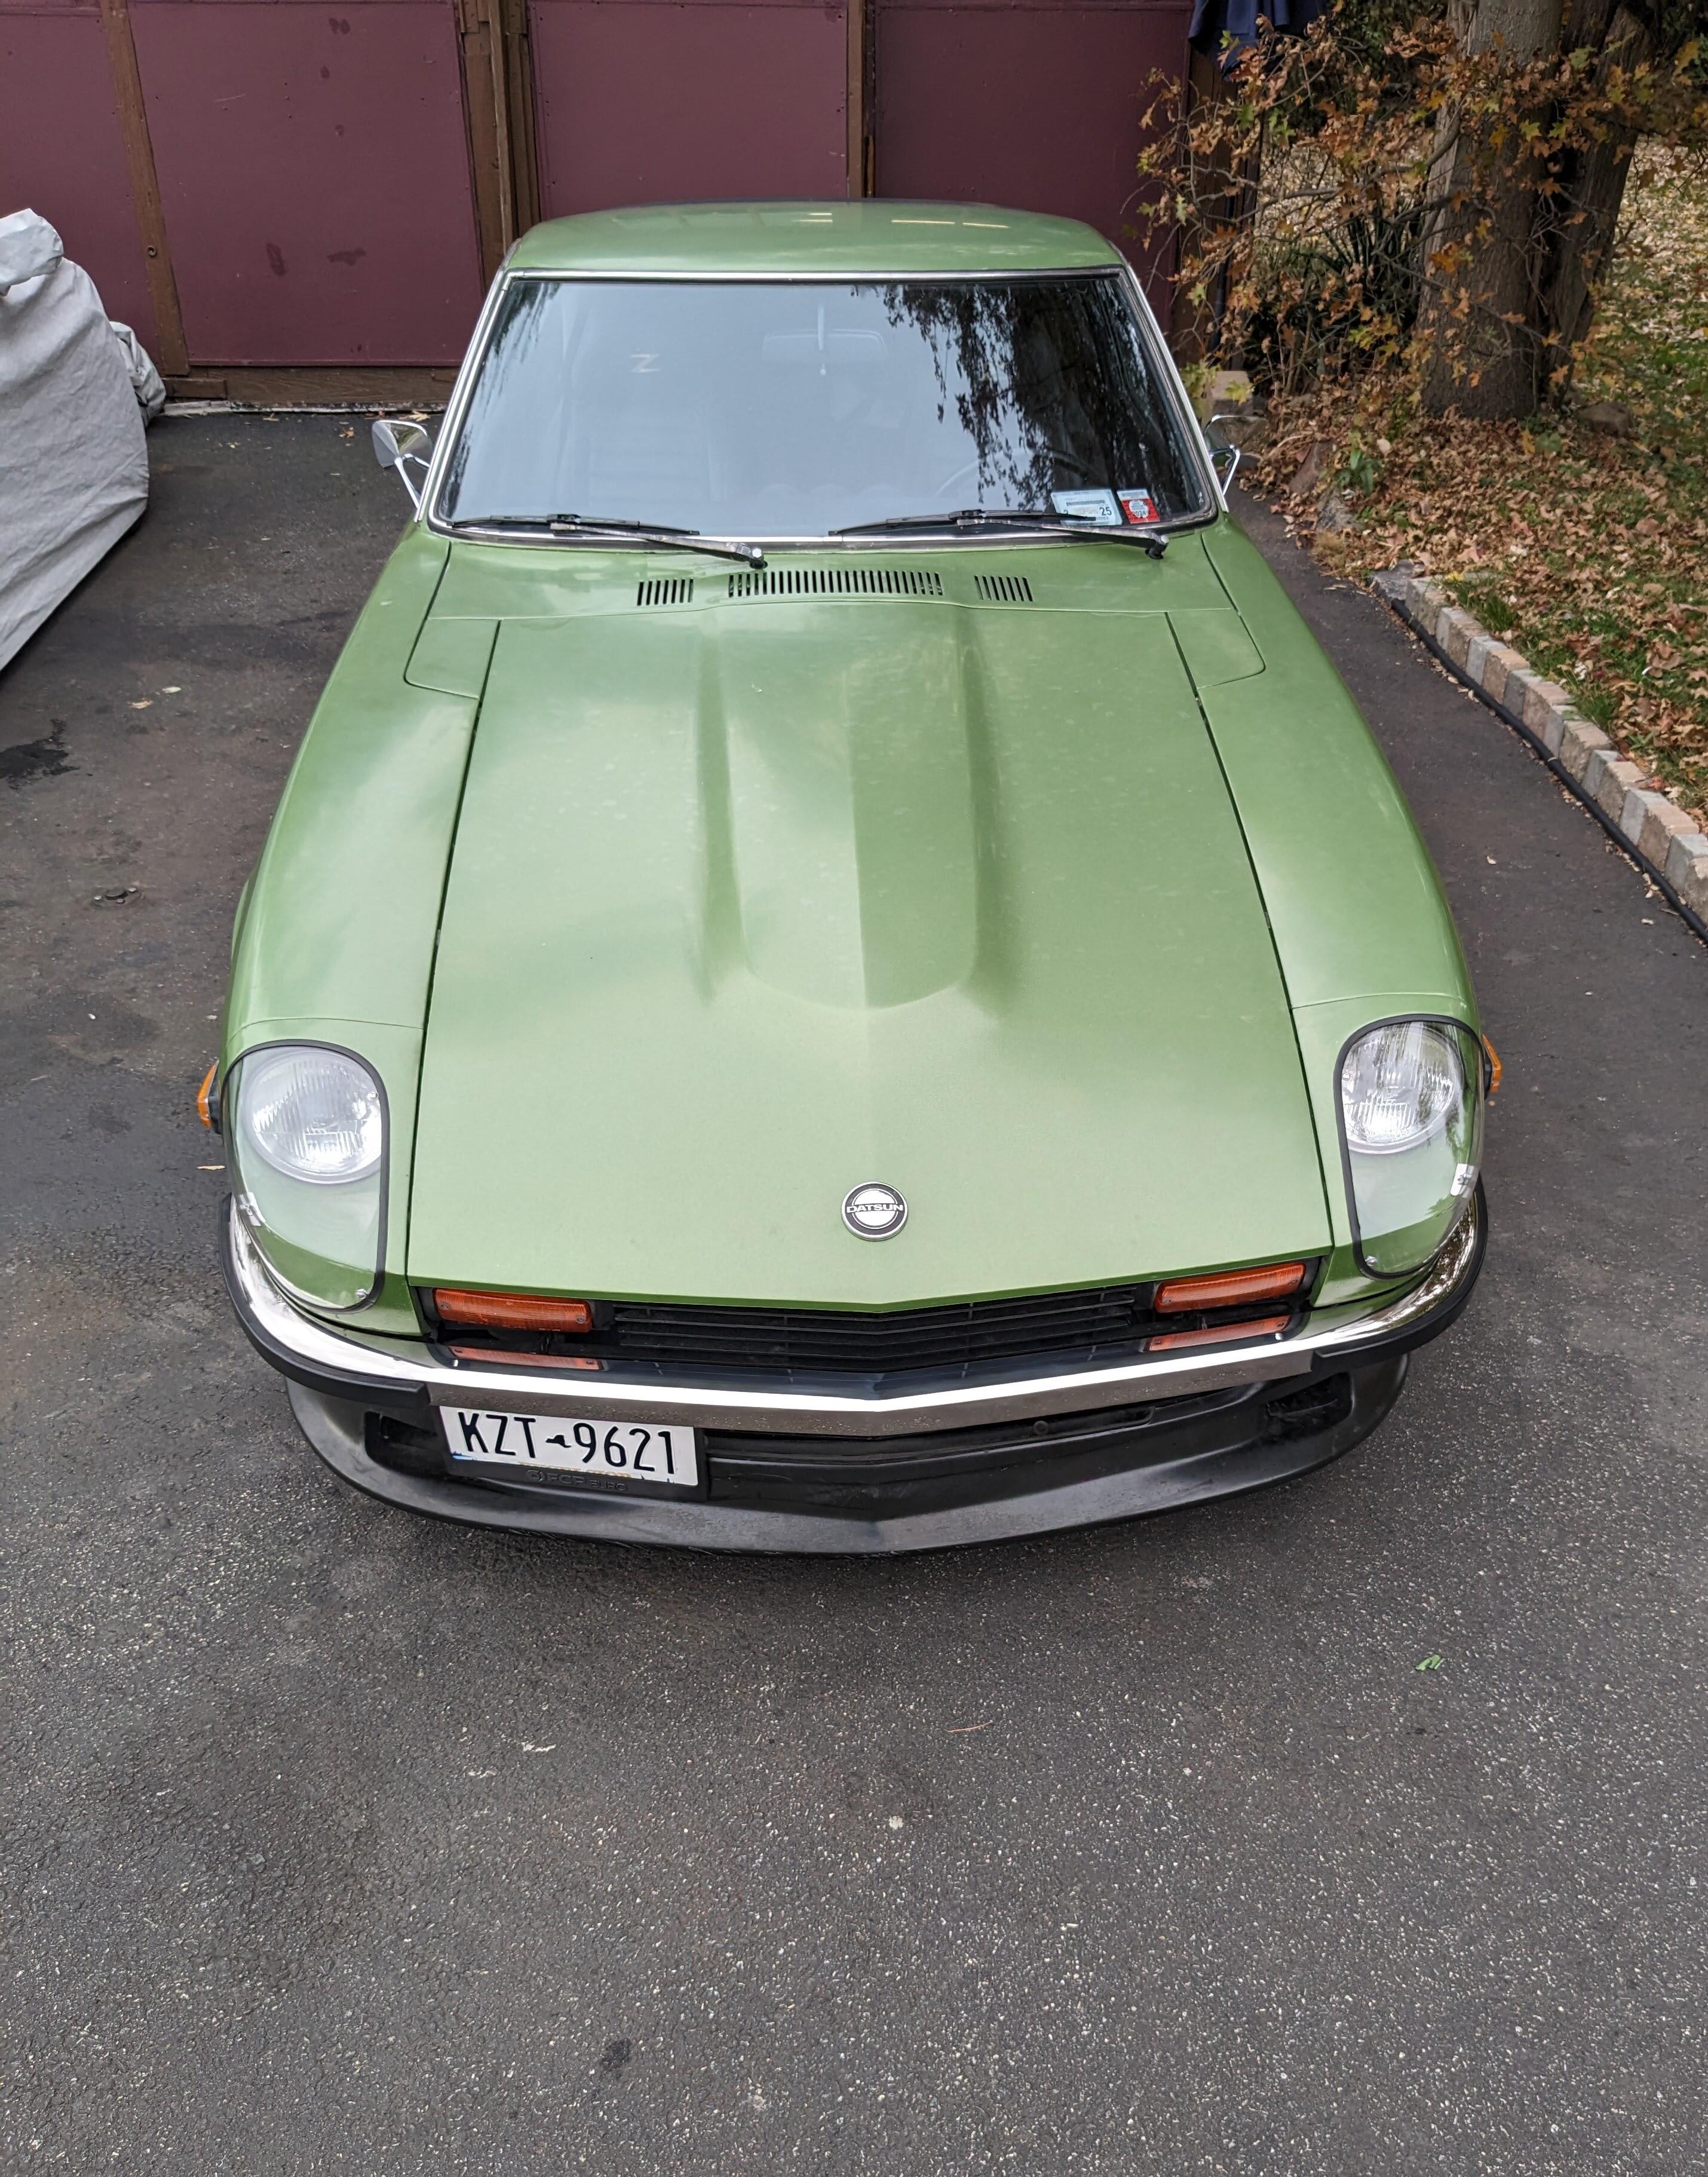
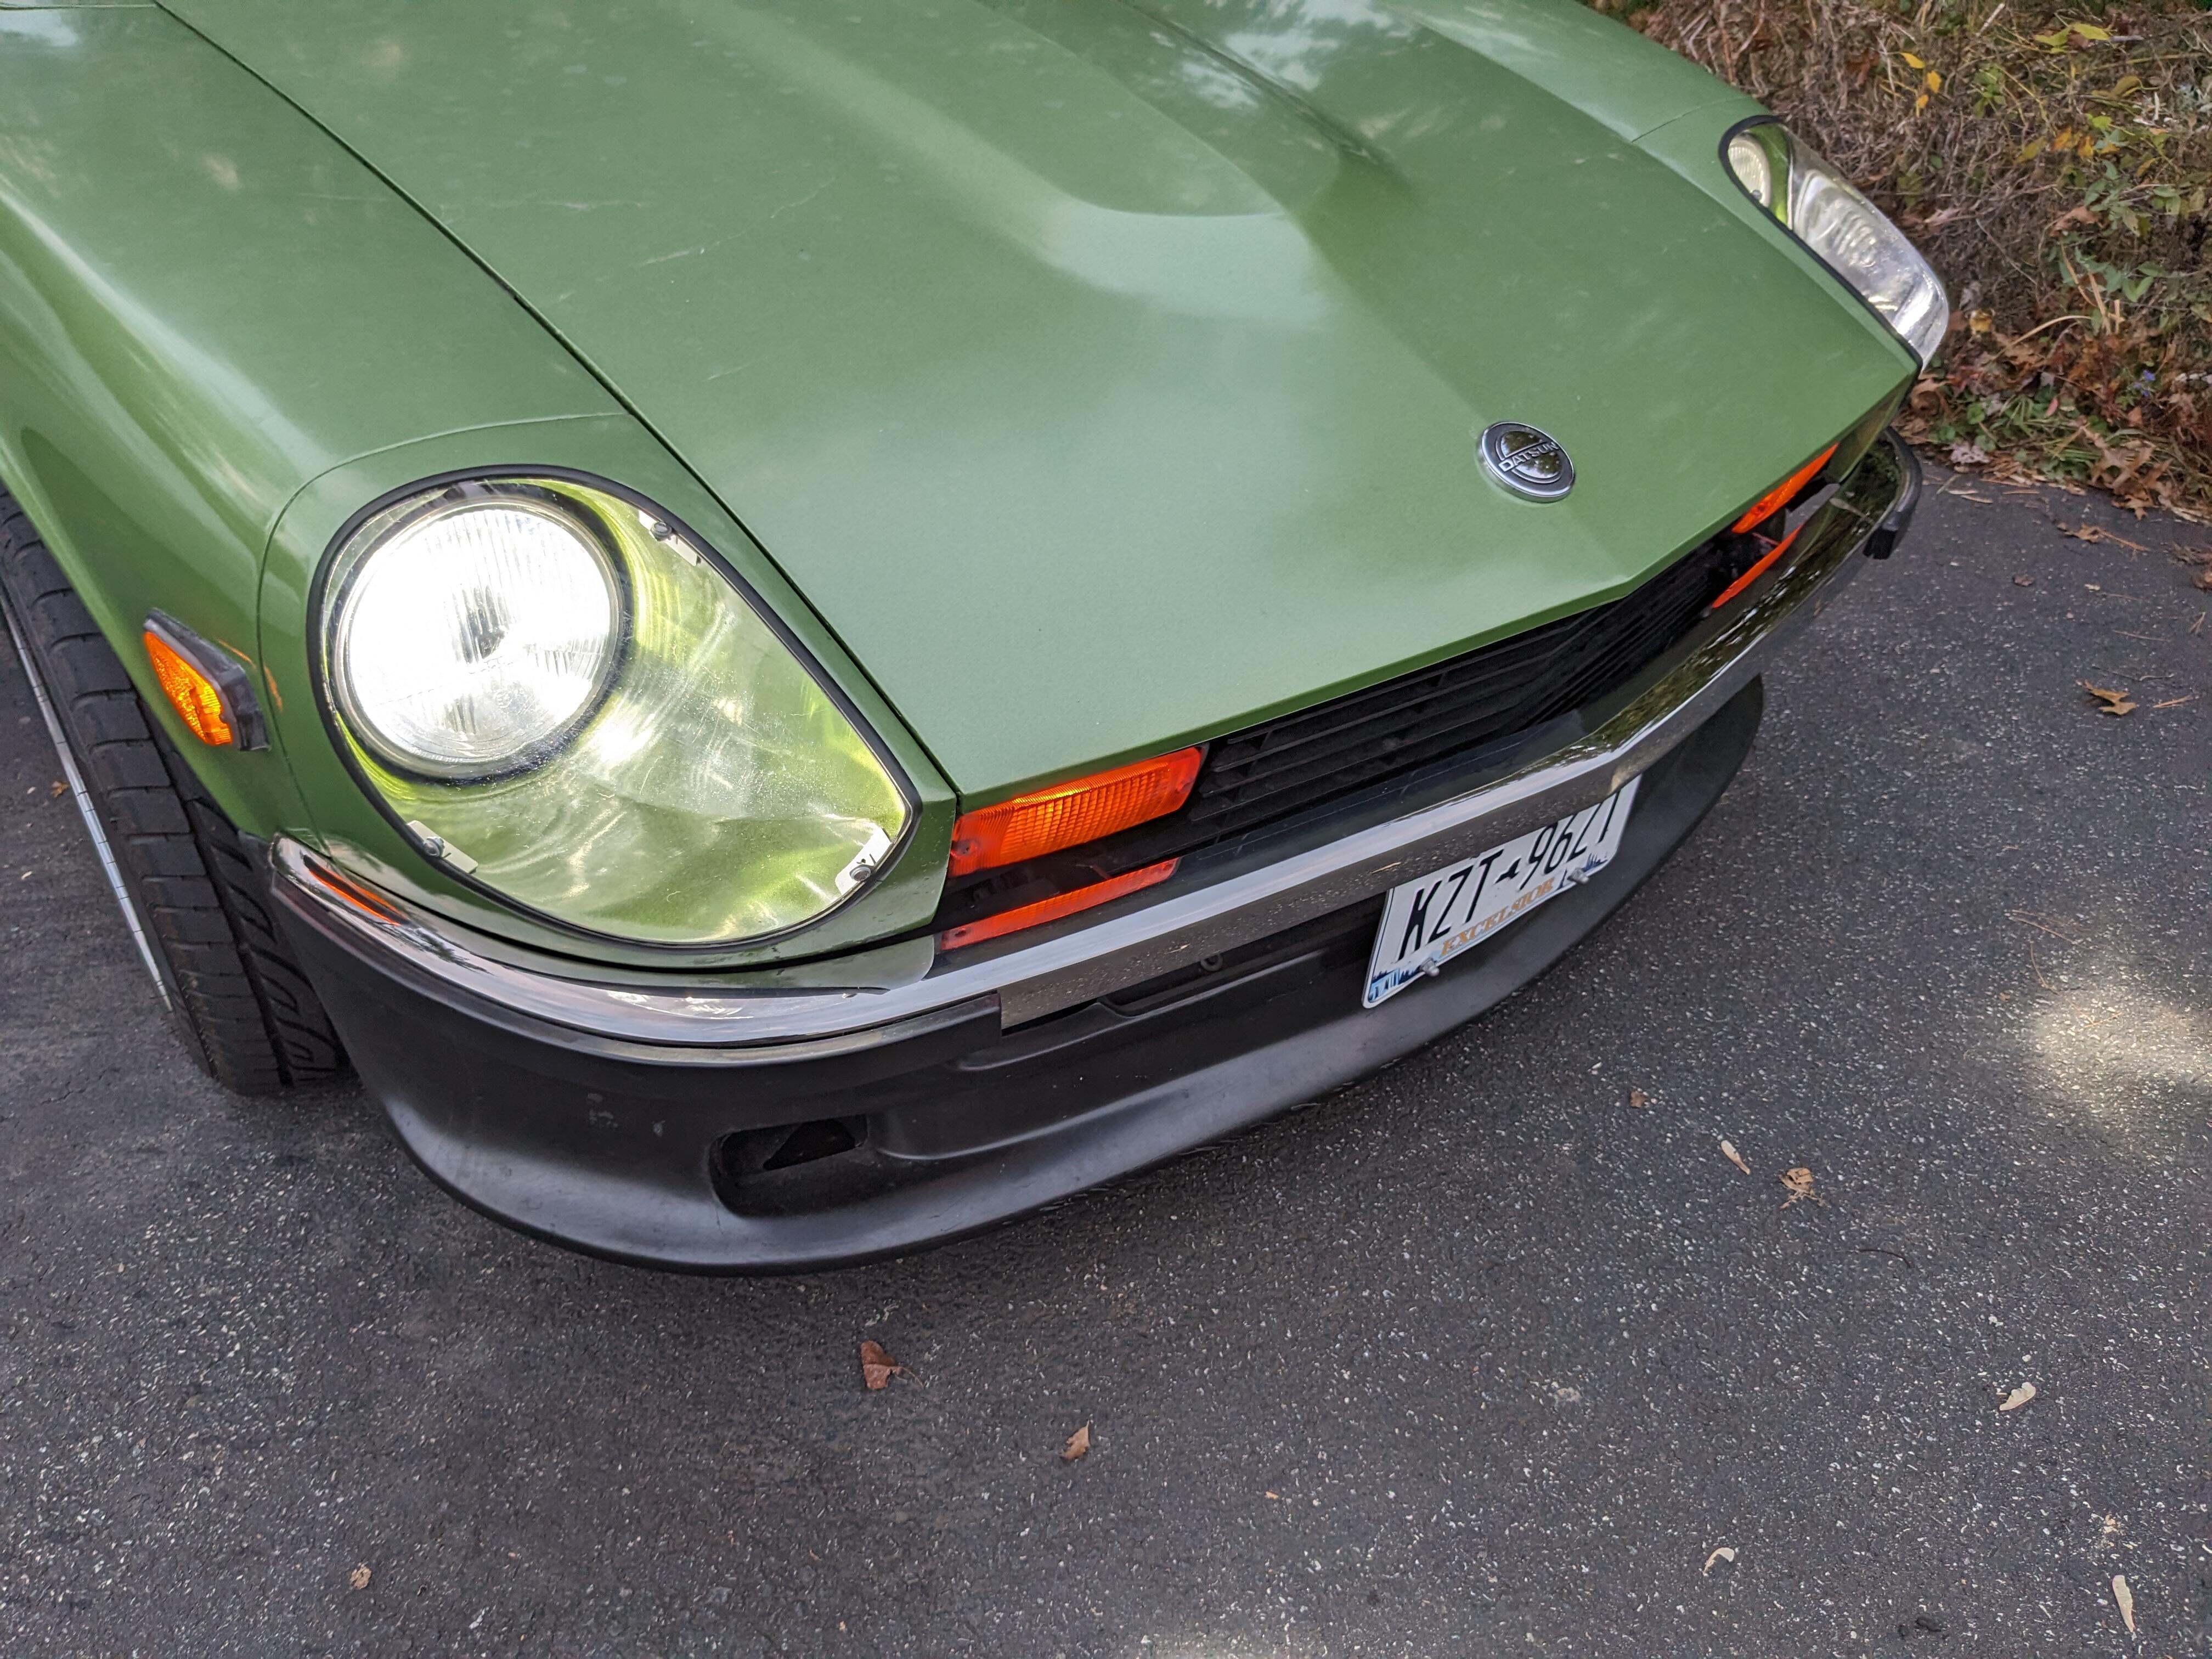
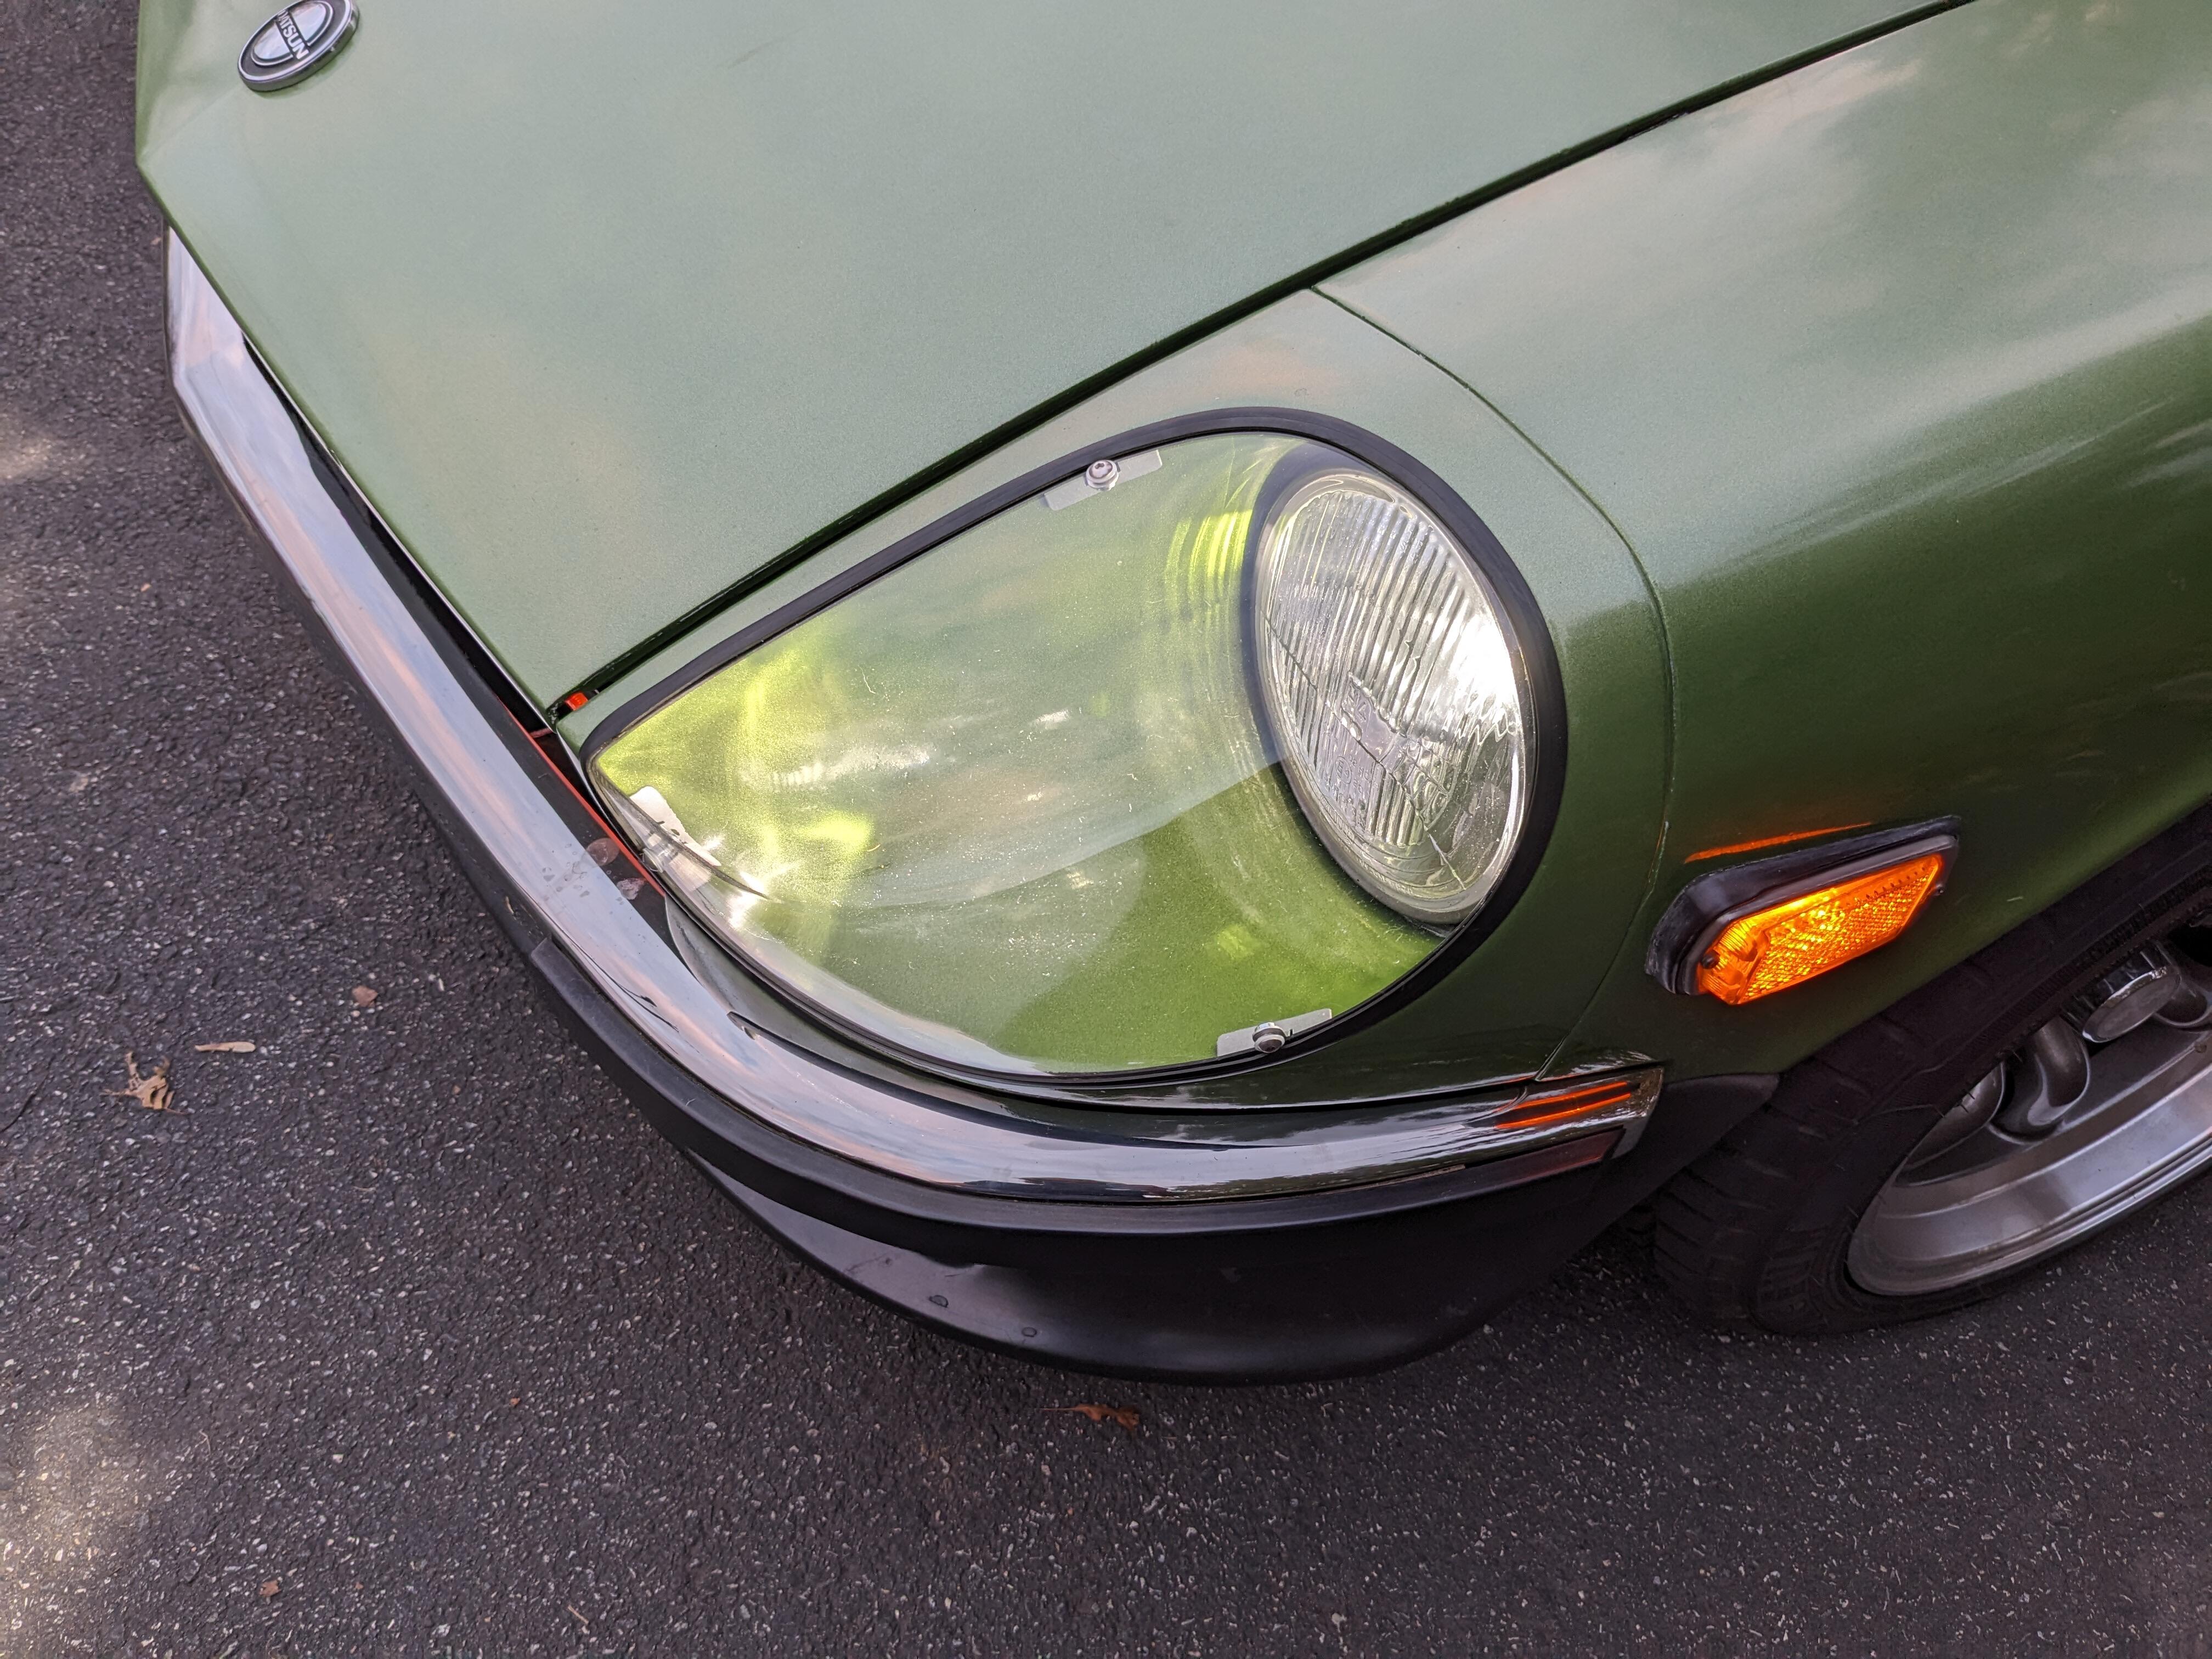
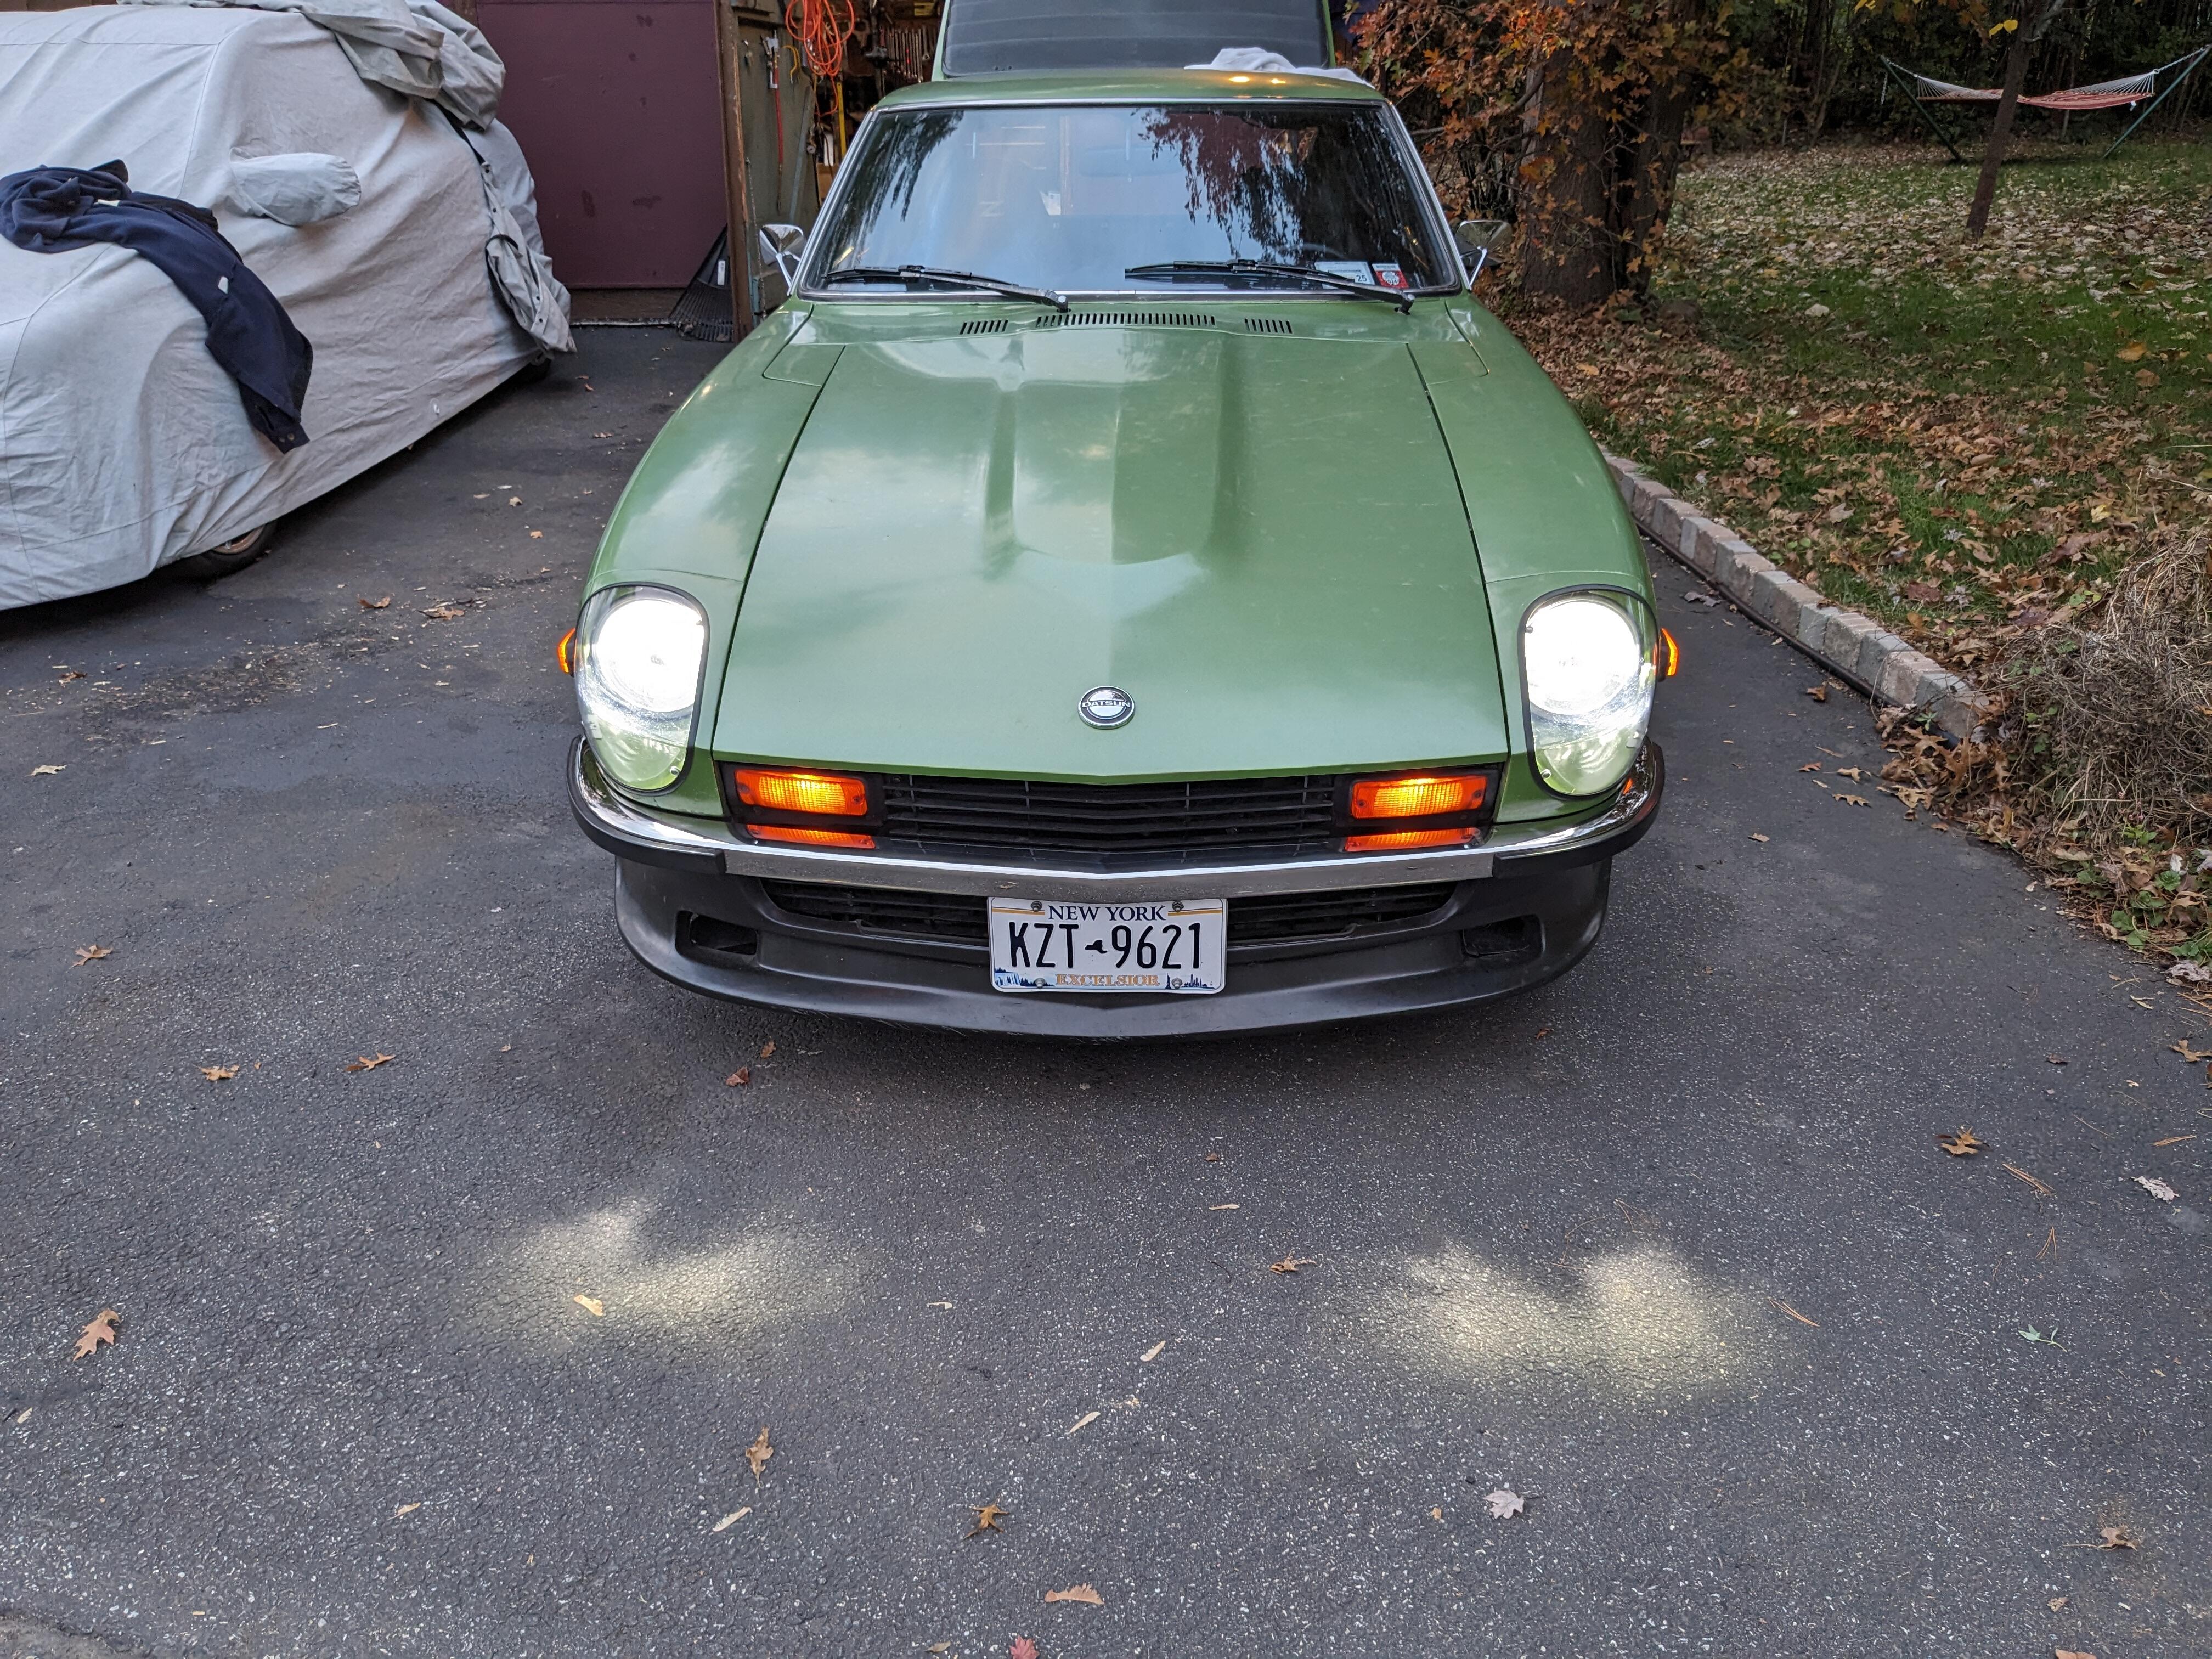
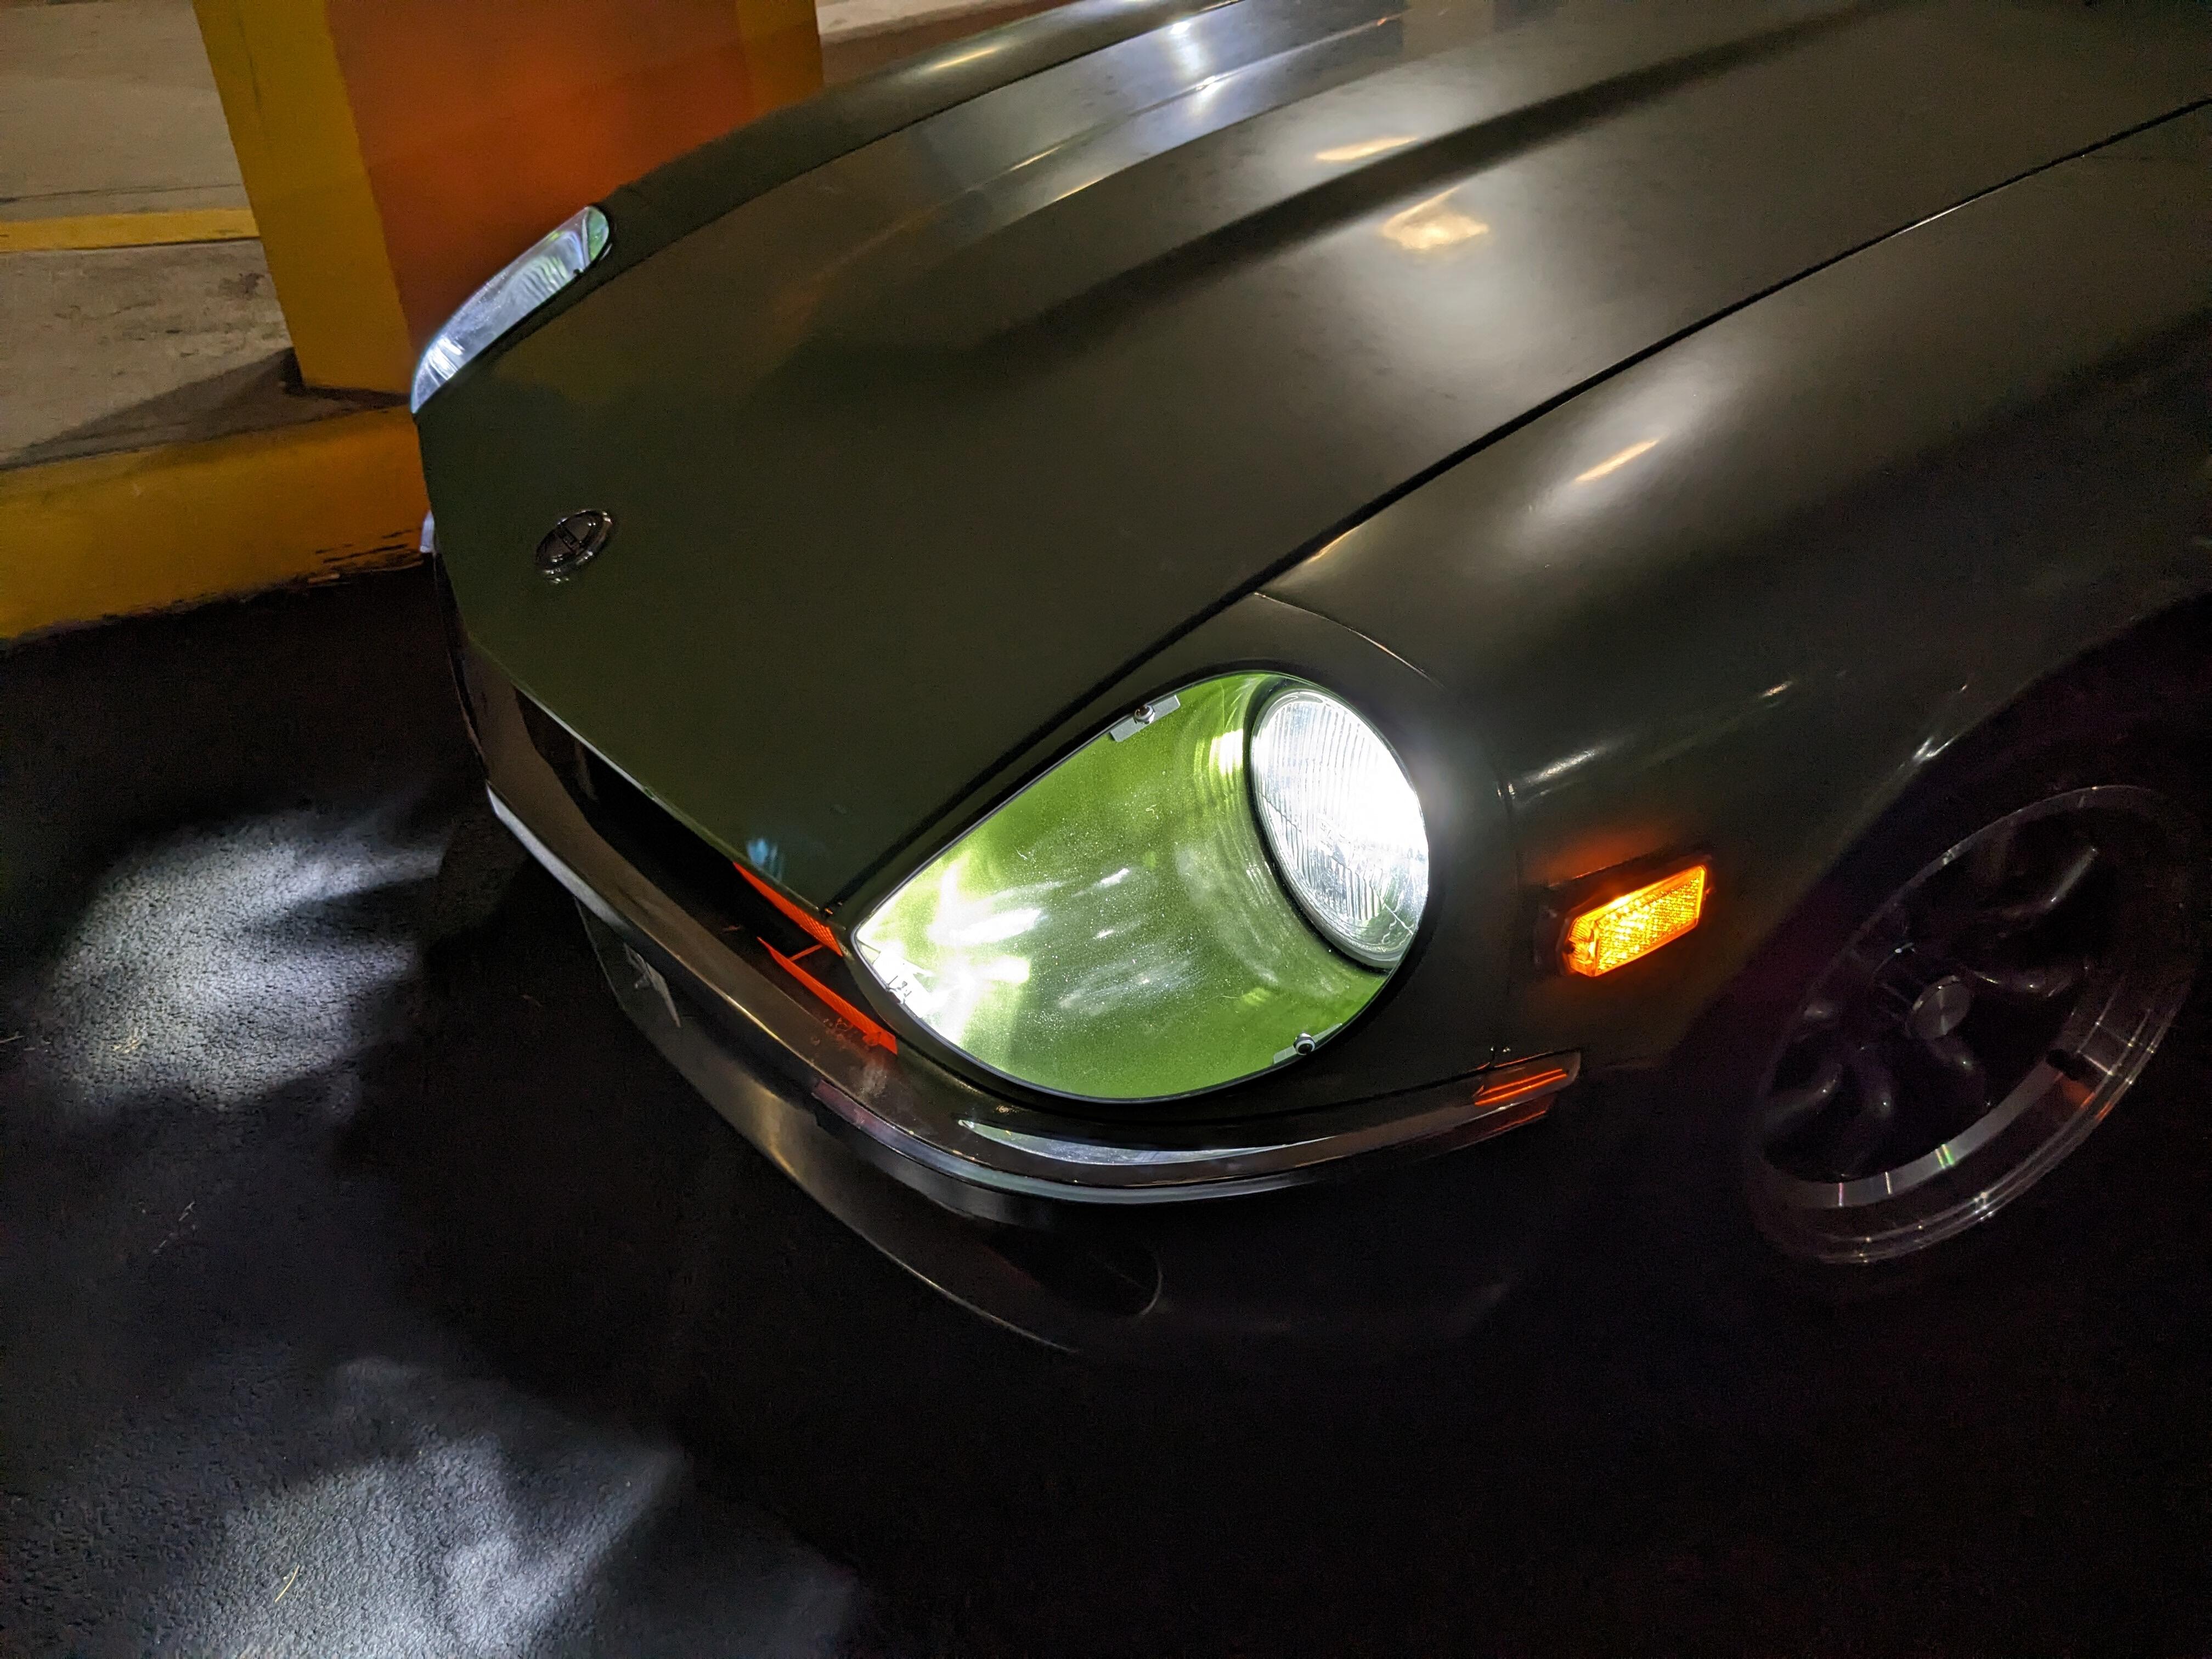
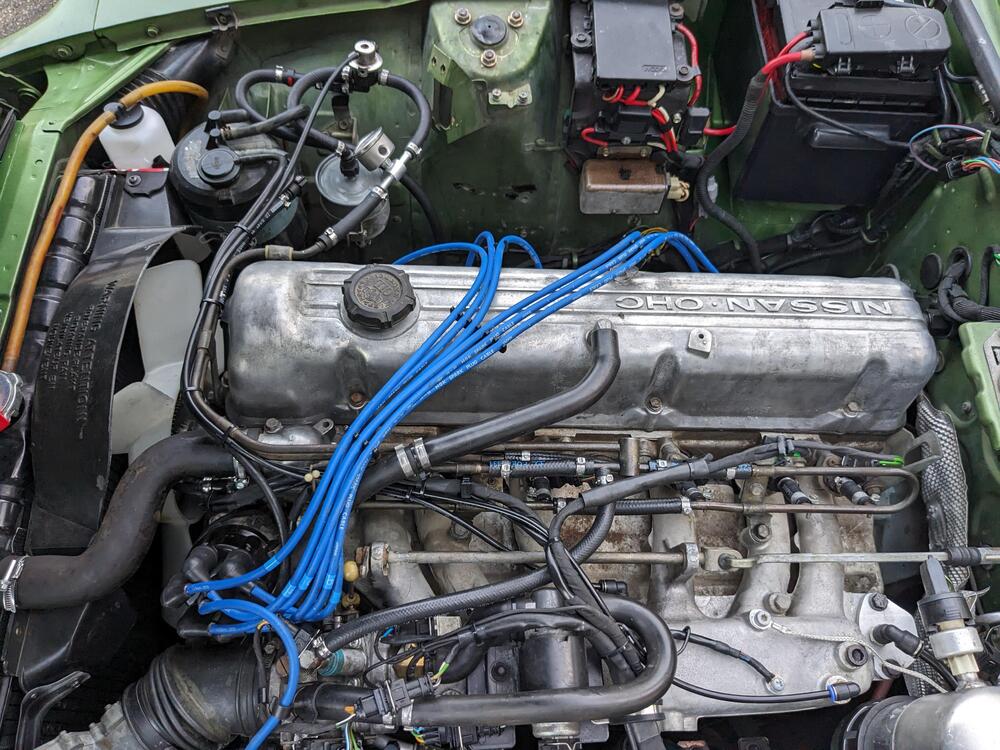
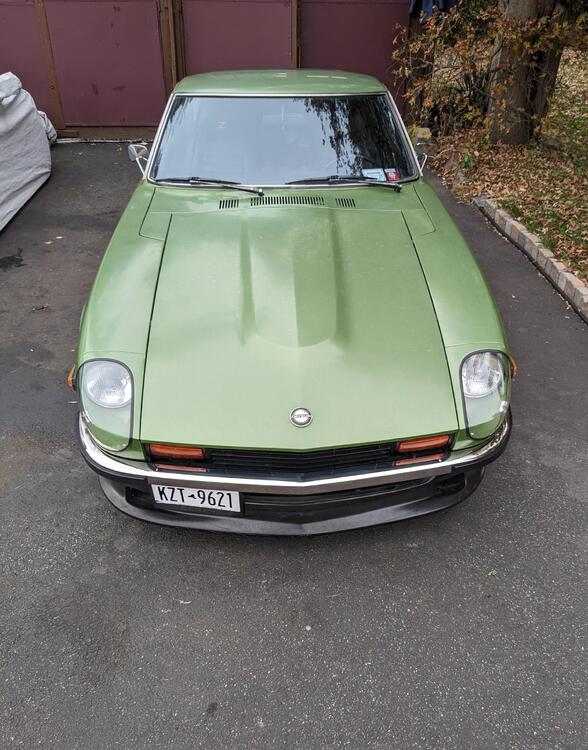
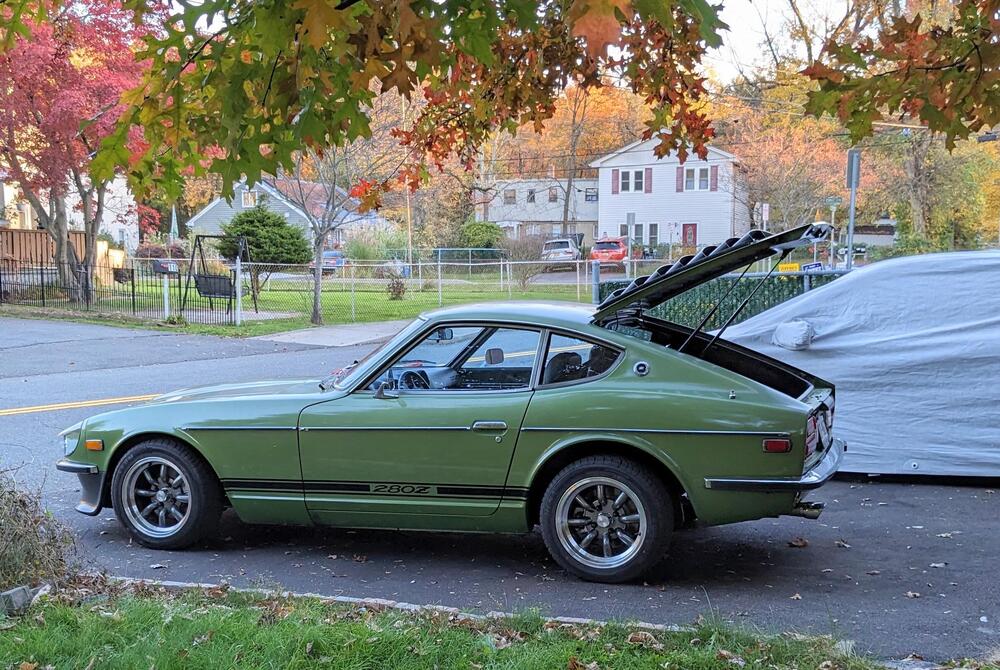
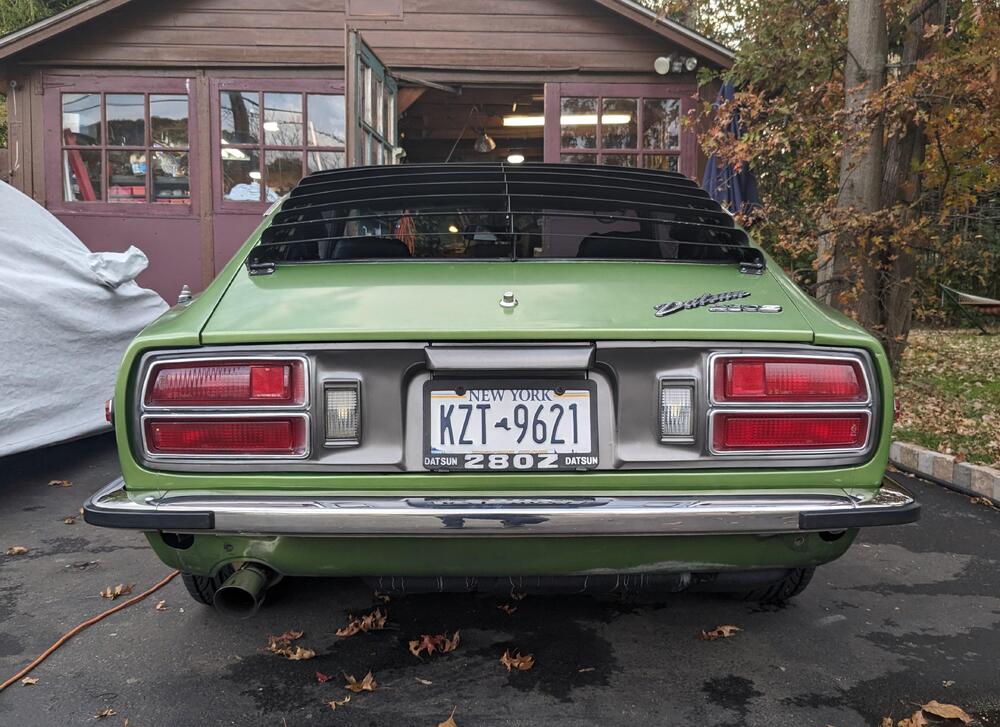
I have already posted all over the forum, so I will add links to work I've already done as much as possible to avoid double-posting. This will be to consolidate the work. Should have done this from the start back in the Spring, for whatever reason I didn't notice the Build Thread section back then. My "toy" car has been a Bertone / Fiat X1/9 (mid engine) since around 2007. That car evolved over the years. The last major revisions were a Dallara replica wide body conversion (2016-2018), and then a Honda K24/AST5M drivetrain conversion (2018-2020). I do all my own work. Now that is essentially 'done' (not in need of major changes or constant fiddling) & really only needs to be driven, I needed a new long term project to keep me busy. In one thread on the X1/9 forum, a member brought up the Datsun 240Z, can't remember what the topic was, but anyway, I have loved the styling of the Z since I was a kid in Malaysia during the mid 70's, where I bought one of the Tamiya FairLady Z model kits. I decided to focus on looking for a 280Z after seeing just how much the 240Z's were going for, and knowing that this would not be a stock build. I'm not one who cares about keeping or using original parts just because. Settled on this 75 280Z from inland CA based on price & overall condition of the sheet metal & one owner. Bought back in early Spring. At this point, I've installed or modded, not in order (I'll convert the list below to hyperlinks): Note- many, many thanks to all the ppl on here whose existing threads/work I have tapped for ideas and ongoing assistance 😊 Front & rear skinny bumpers. Installed a Skillard grille, Xenon front spoiler, fixed the louvre mounting system. New seat foam & Upholstery, w/heated seat grids. Honda seat belt shoulder guides Honda wiper motor conversion, Cowl refresh (actual paint), Replaced all opening/glass seals. Repaired the driver's door panel, glass winder mechanism & inner release mechanism. Replaced exterior rear view mirrors. Rebuilt the entire front & rear suspension, Rear Strut Brace updated the Front & Rear brakes, Modified Steering wheel, Front & Rear wheel well liners & stone guard & undercoat refresh, converted the rear axles, replaced trans & diff fluid replaced the dash, console & carpeting, rebuilt the AC system, Ford Heater Core Install, SS heater pipe, AN bulkhead fitting Kia Blower Motor Install Water Pump, Front crank seal 3" SS Exhaust, custom DP Replaced Fuel pump & bay fuel Ines, ProTunerZ fuel rail + High imp. Bosch Inj. added a Bosch Idle Control System, replaced the EFI harness on the engine, Added 2.2K Pot for ECT circuit enrichment Replaced the fusible links with 2 fused power supplies in the engine bay, replaced the fusebox with a ATC fuse & relay panel, added auxiliary relay panel & power/ground expansion panels. Added a starter relay. Converted to HEI ignition module. Added the Headlight Relays. H4/LED headlamps. Converted to LED exterior lighting. Repaired rear tail panels, replacing light gaskets. Headlamp covers. Volvo horns. Reverse light relay. Lights On Buzzer. Voltage Regulator Adj. Clock Repair Bunch of odds & ends I can't recall right now that only got posted in my Fiat forum thread, because I didn't make on here 🤪 - I'll try to add some of that as time goes by. First long term project on this will be the drivetrain conversion. With this chassis, I wanted to keep it Nissan. I already did one major conversion with the X1/9, and am doing a Chevy V8 conversion with my '91 Volvo pickup, so I don't need that kind of extra flavor on this project. I settled on the VQ35DE/CD009 after doing some research on the various older drivetrains commonly used - RB series, etc., most of which if available are $$$$, and not so easy to find parts for moving forward, given that I want this to be reliable for DD fair weather use. The 350Z drivetrain uses readily available service parts & can be modded if I choose to go that route. Stock, it has around 300BHP, so using the stock 350Z EMS the car should be more than enough performance wise. I may change my mind about that DTR, however I've done an excessive horsepower build in the past, so I really don't need to do that again. I'm going to be driving it 'stock' for the next year or so, until that V8 conversion is done. 350Z Drivetrain Conversion Thread Work I still need to address to make it complete (not necessarily in this order): Deal with heat soak / fuel vaporization issue (installed billet fuel rail & composite injectors) 3-5 sec fuel pump primer circuit Replace L& R door panels, fix pass outer handle release rod, get door adjustment so they don't need to be slammed so hard Drop the gas tank address the vapor system (leaks if filled) Install Xenon rear spoiler (maybe painted first, haven't decided whether I prefer body-color for F&R spoilers or keep the contrast) Additional floor / rear tub sound damping Replace L & R door 'sashes' w/ later channeled versions Install 350Z leather seats (reference HybridZ thread) Add/incorproate switch for fan speed 1 (using Volvo 5 speed resistor, Datsun 3 speed fan switch ) New console lid has really annoying squeak if you use it as armrest - need to address Go over whole body to address surface rust areas (no pitting or perforated concerns at it stands) Then & Now pics more recent
-
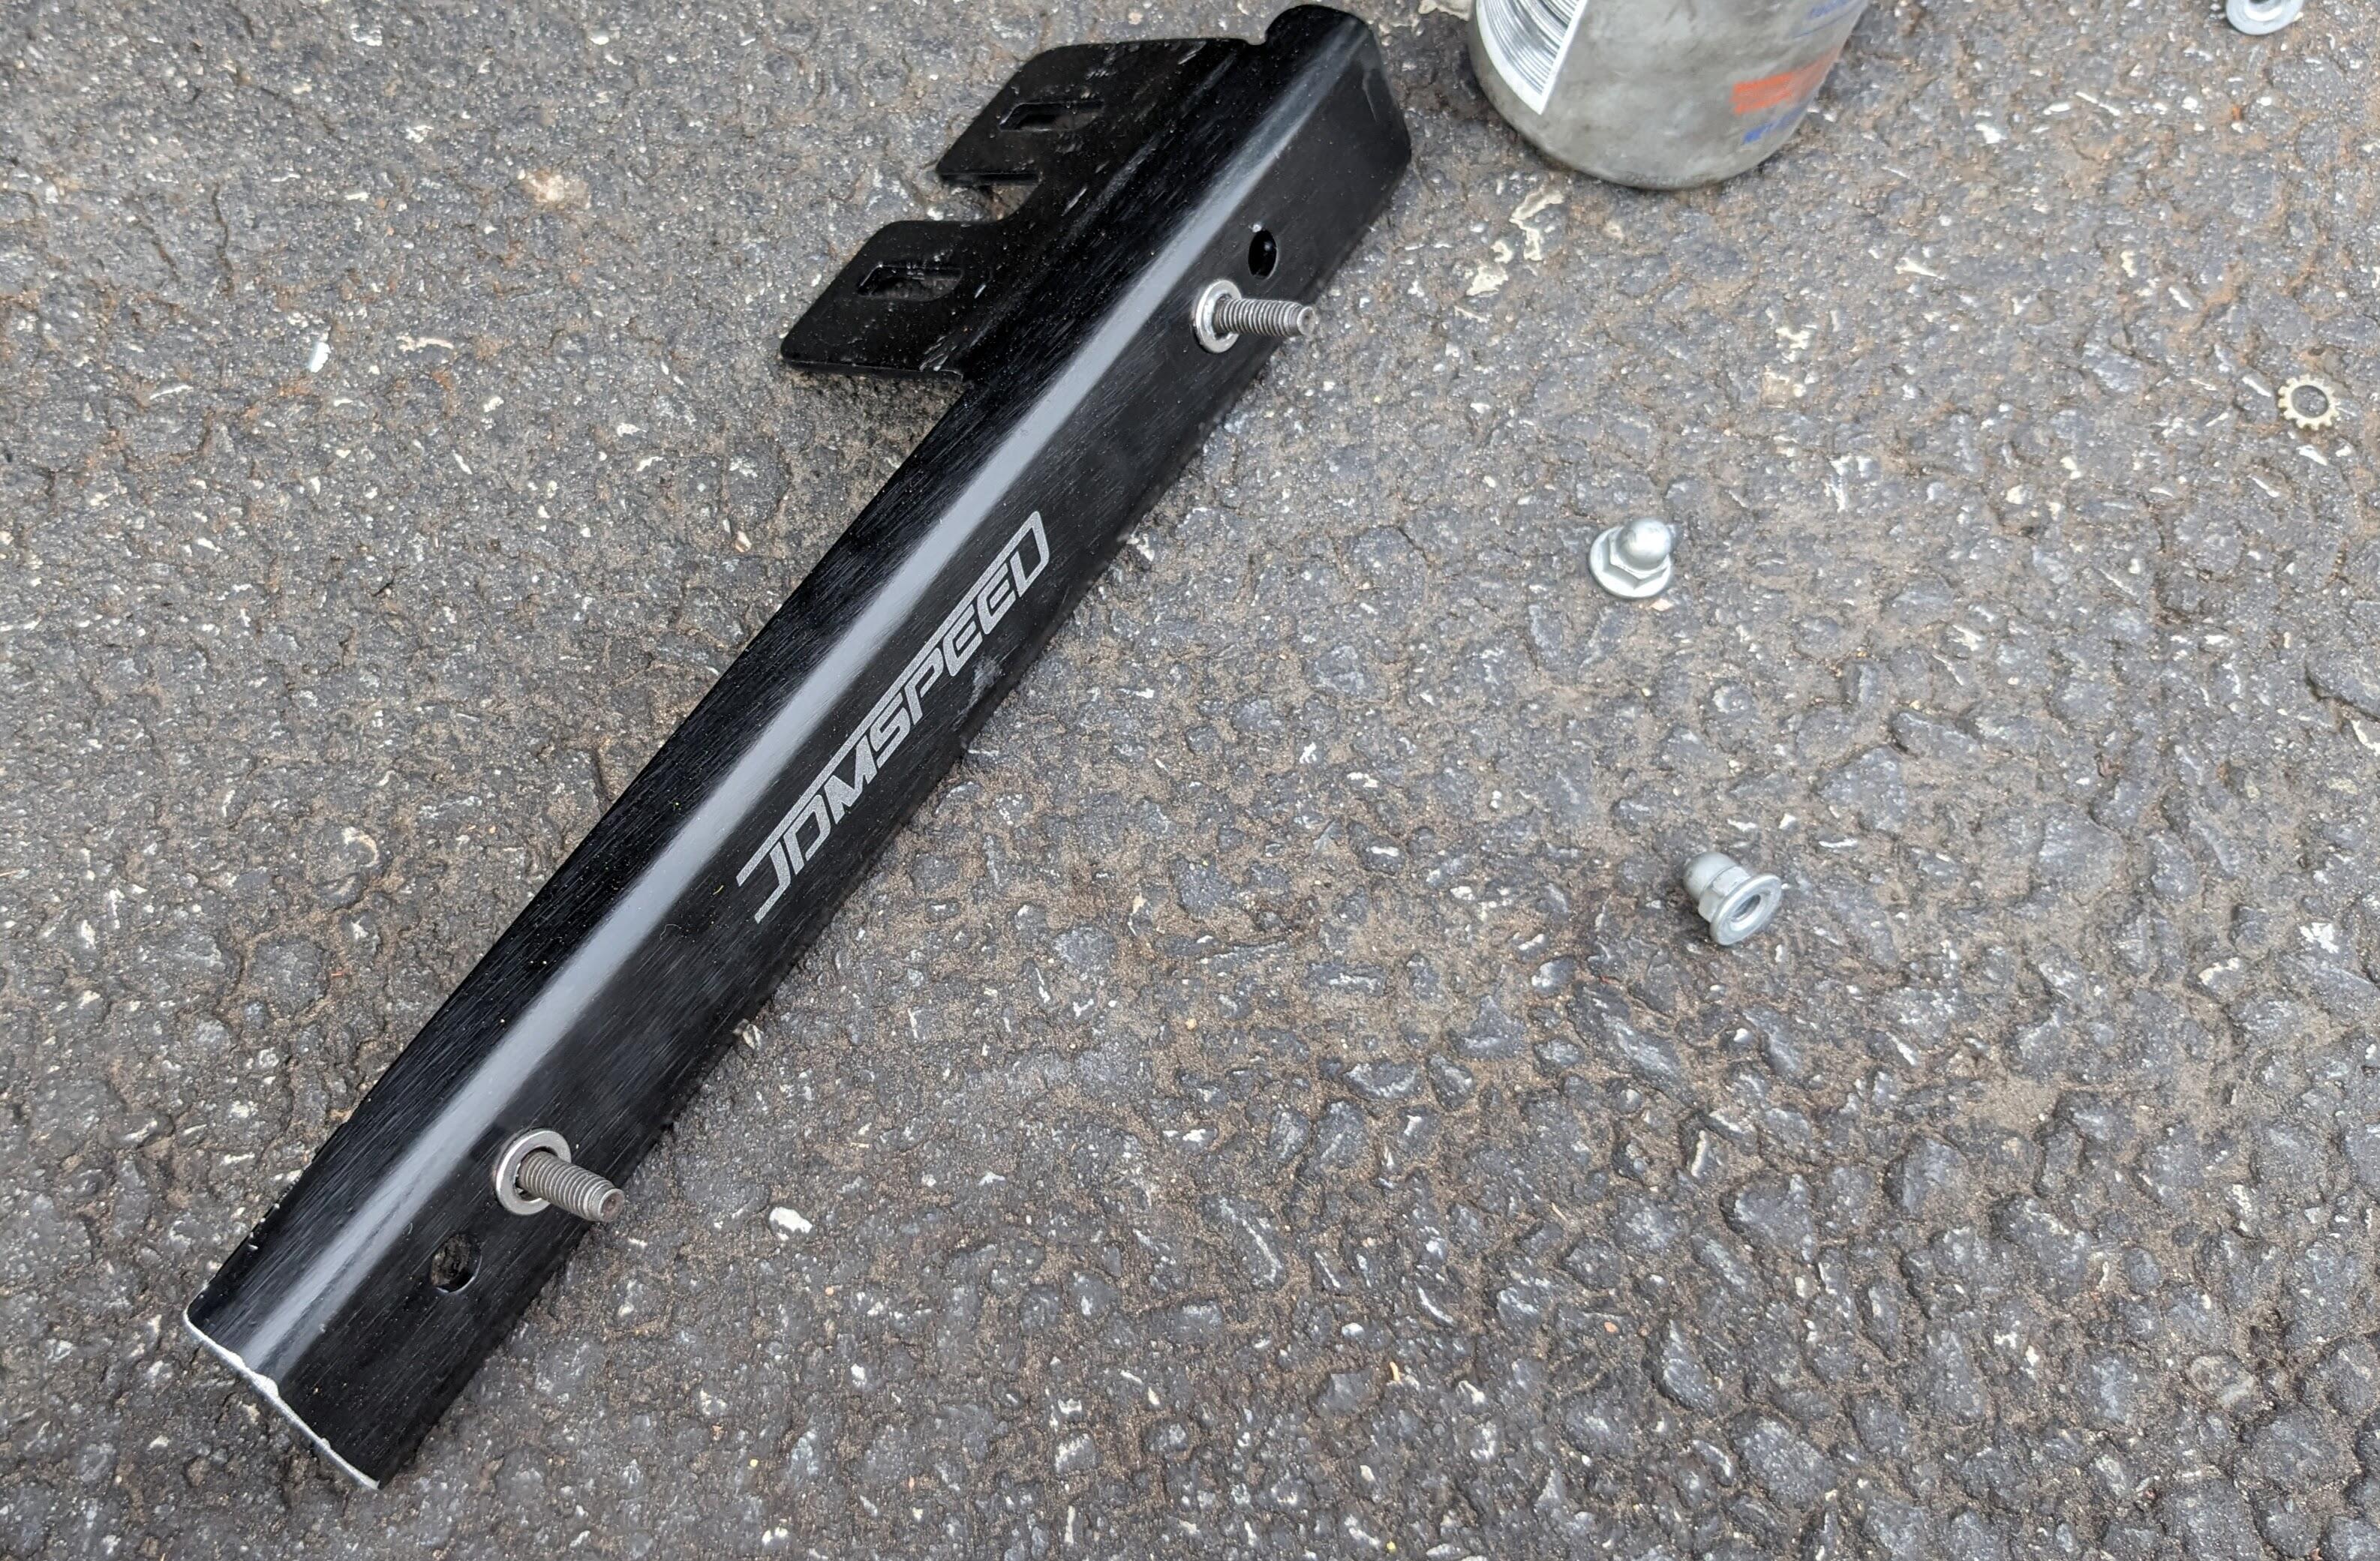
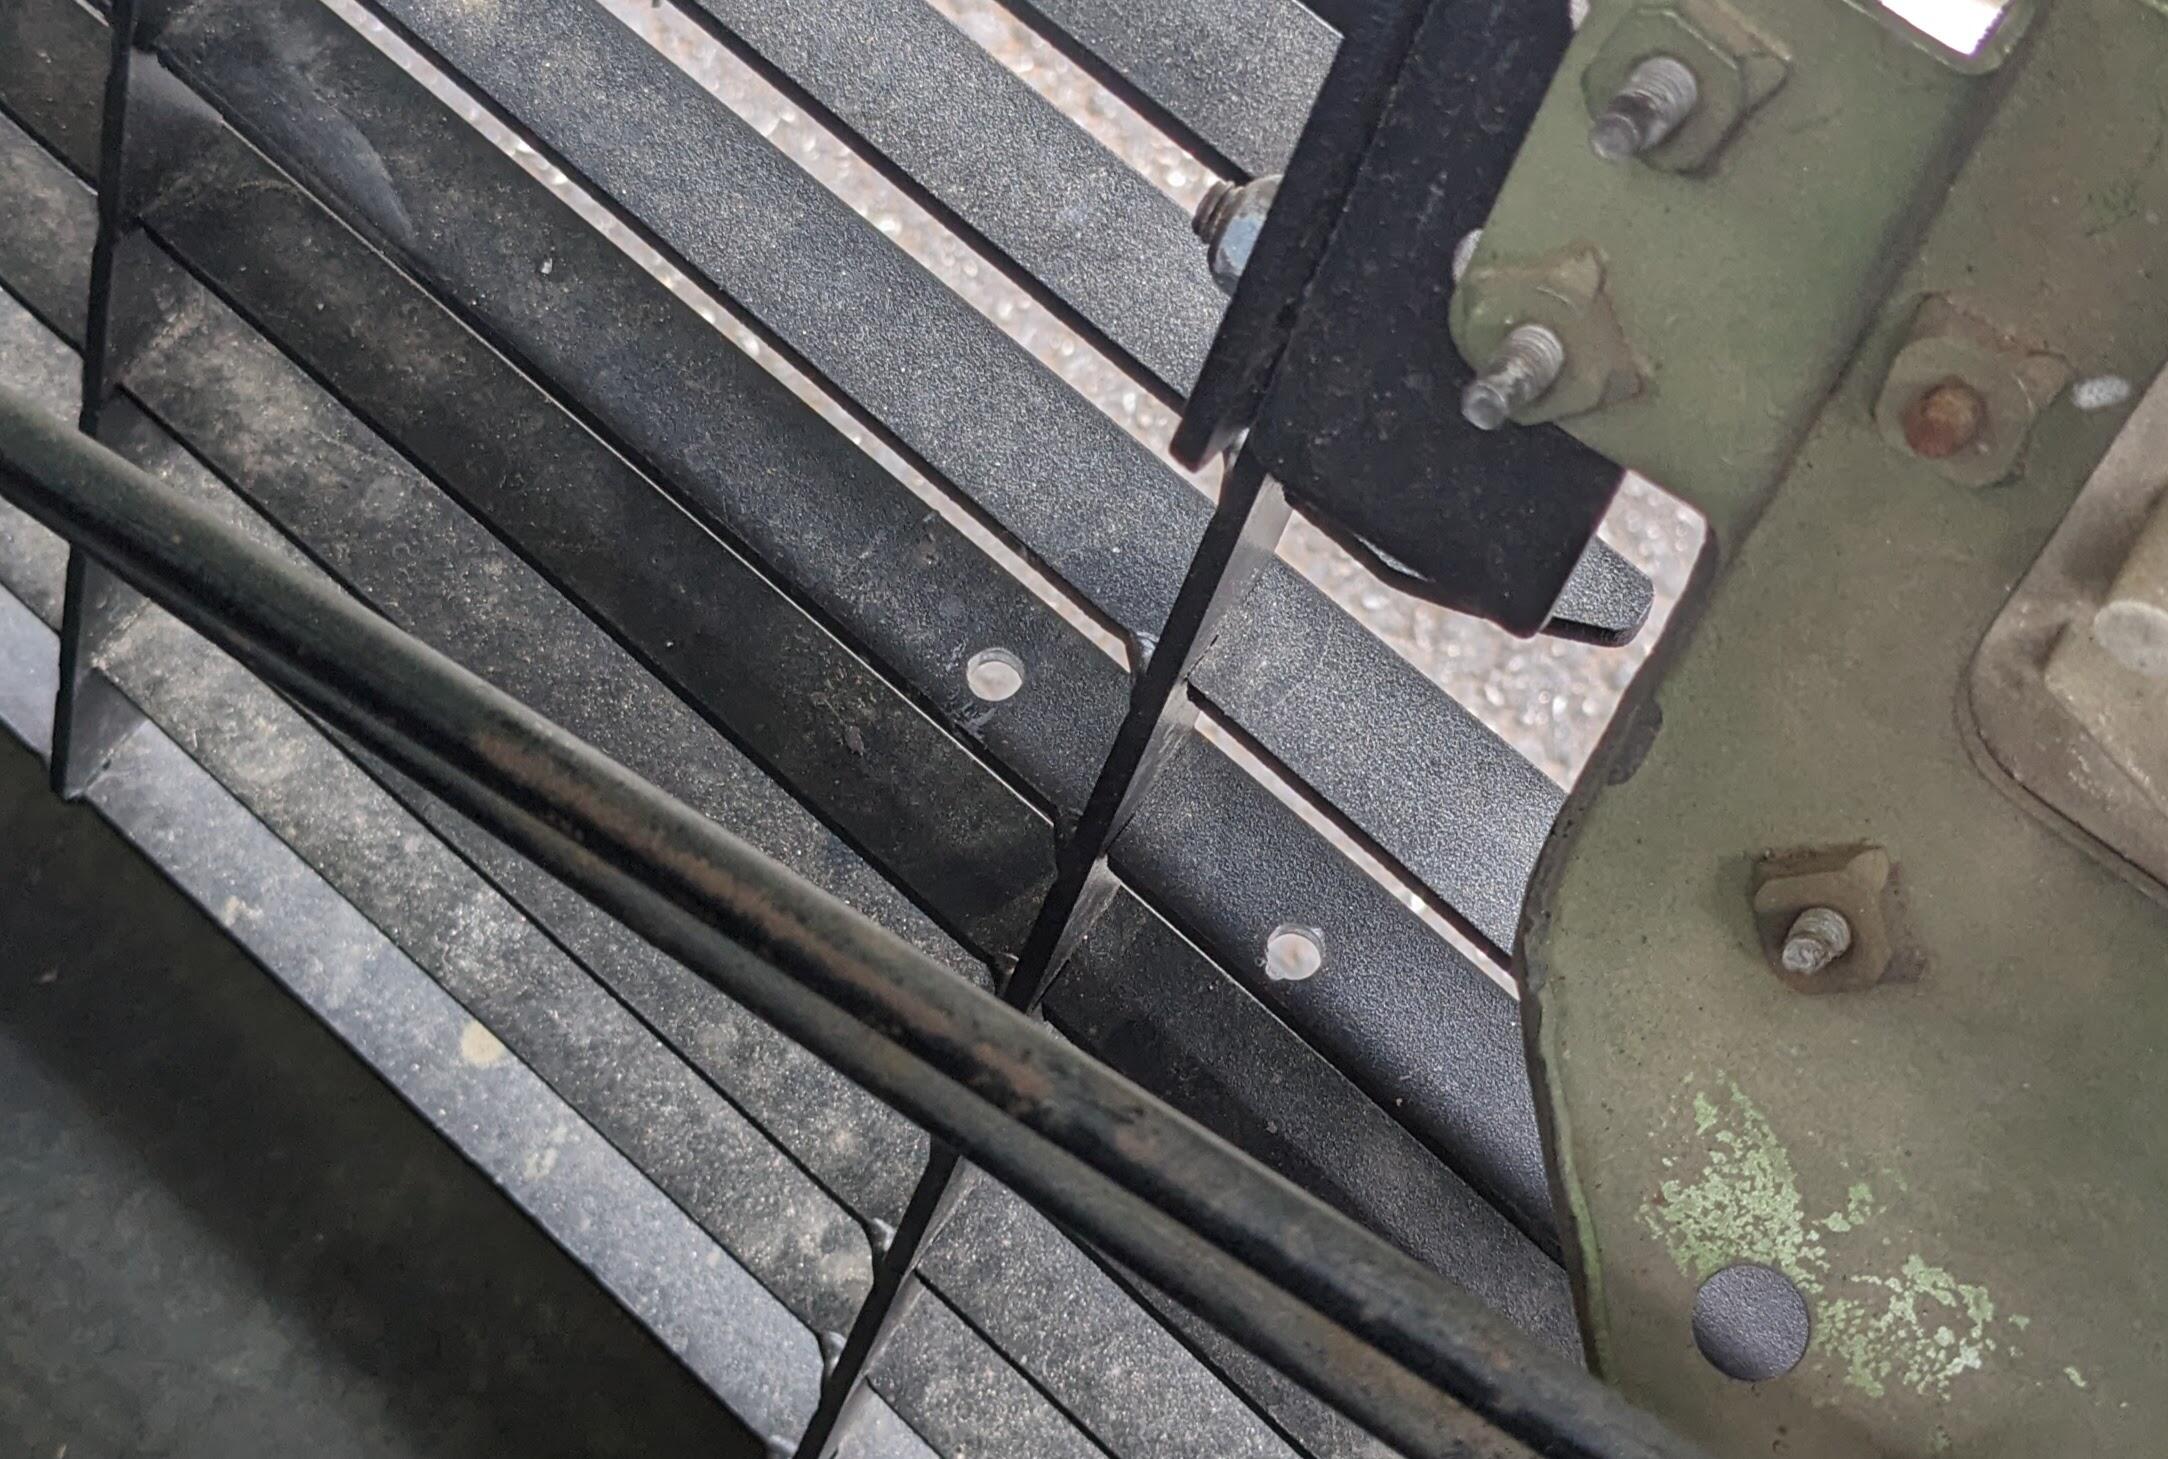
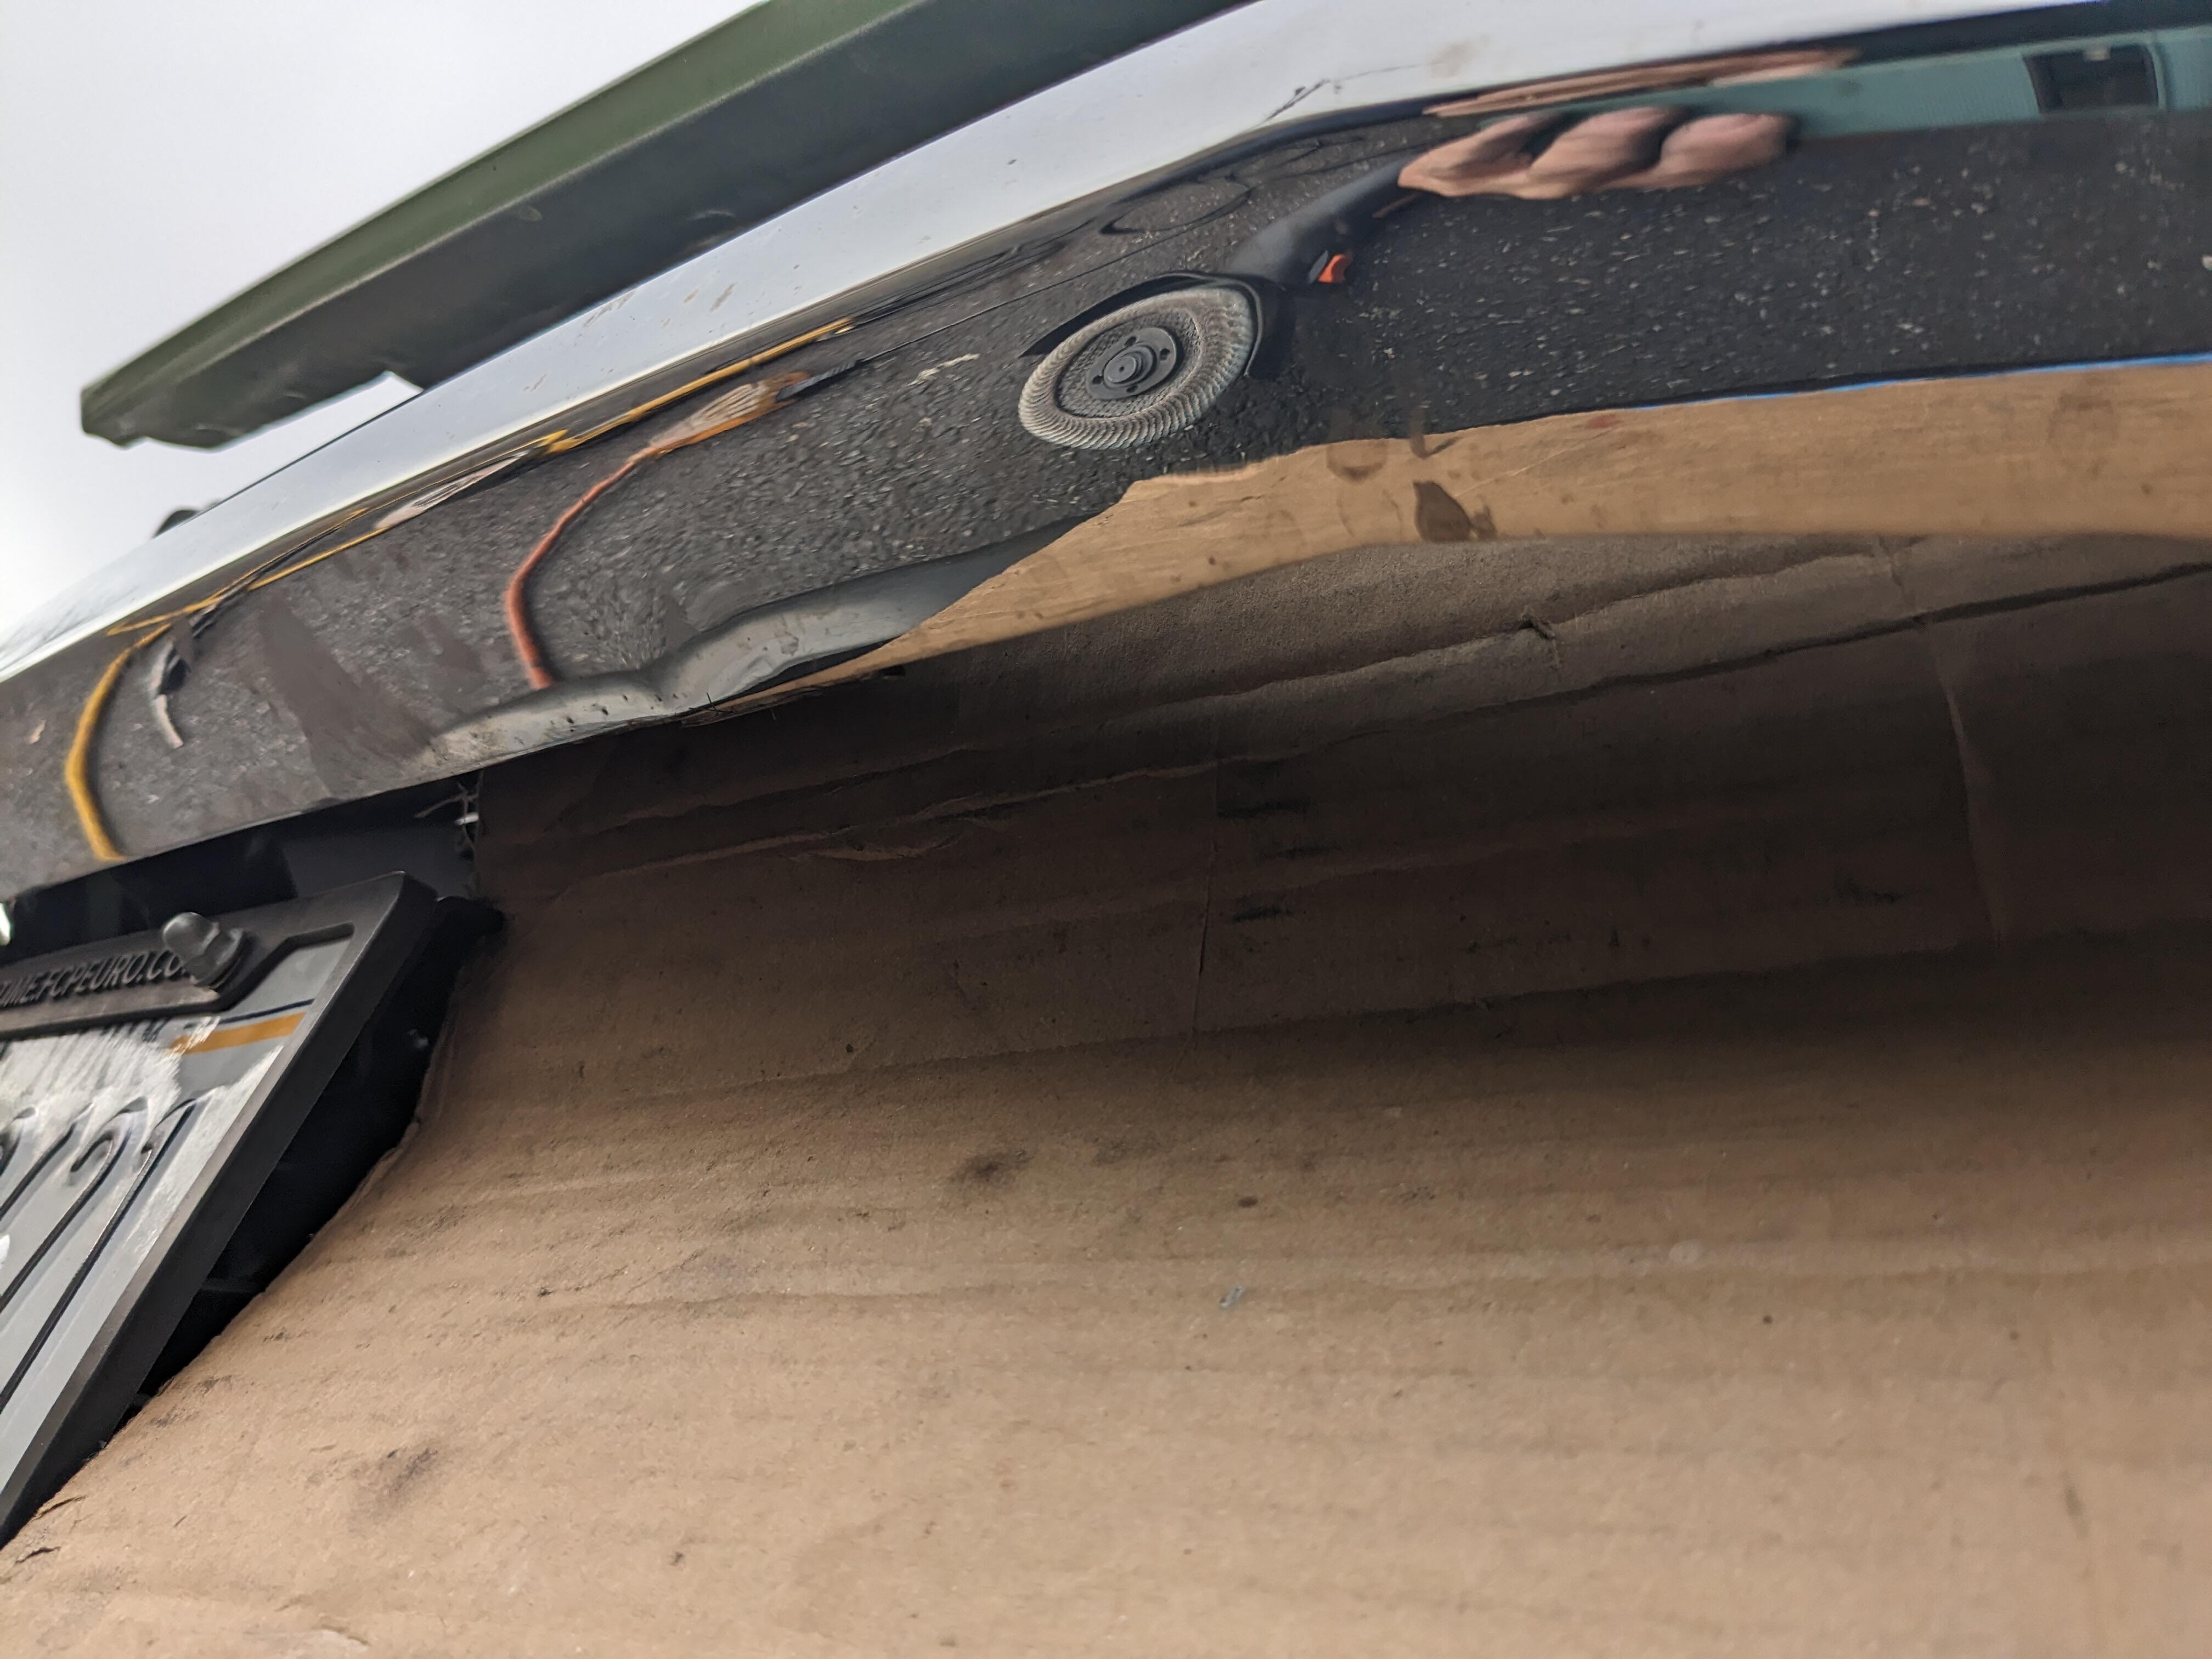
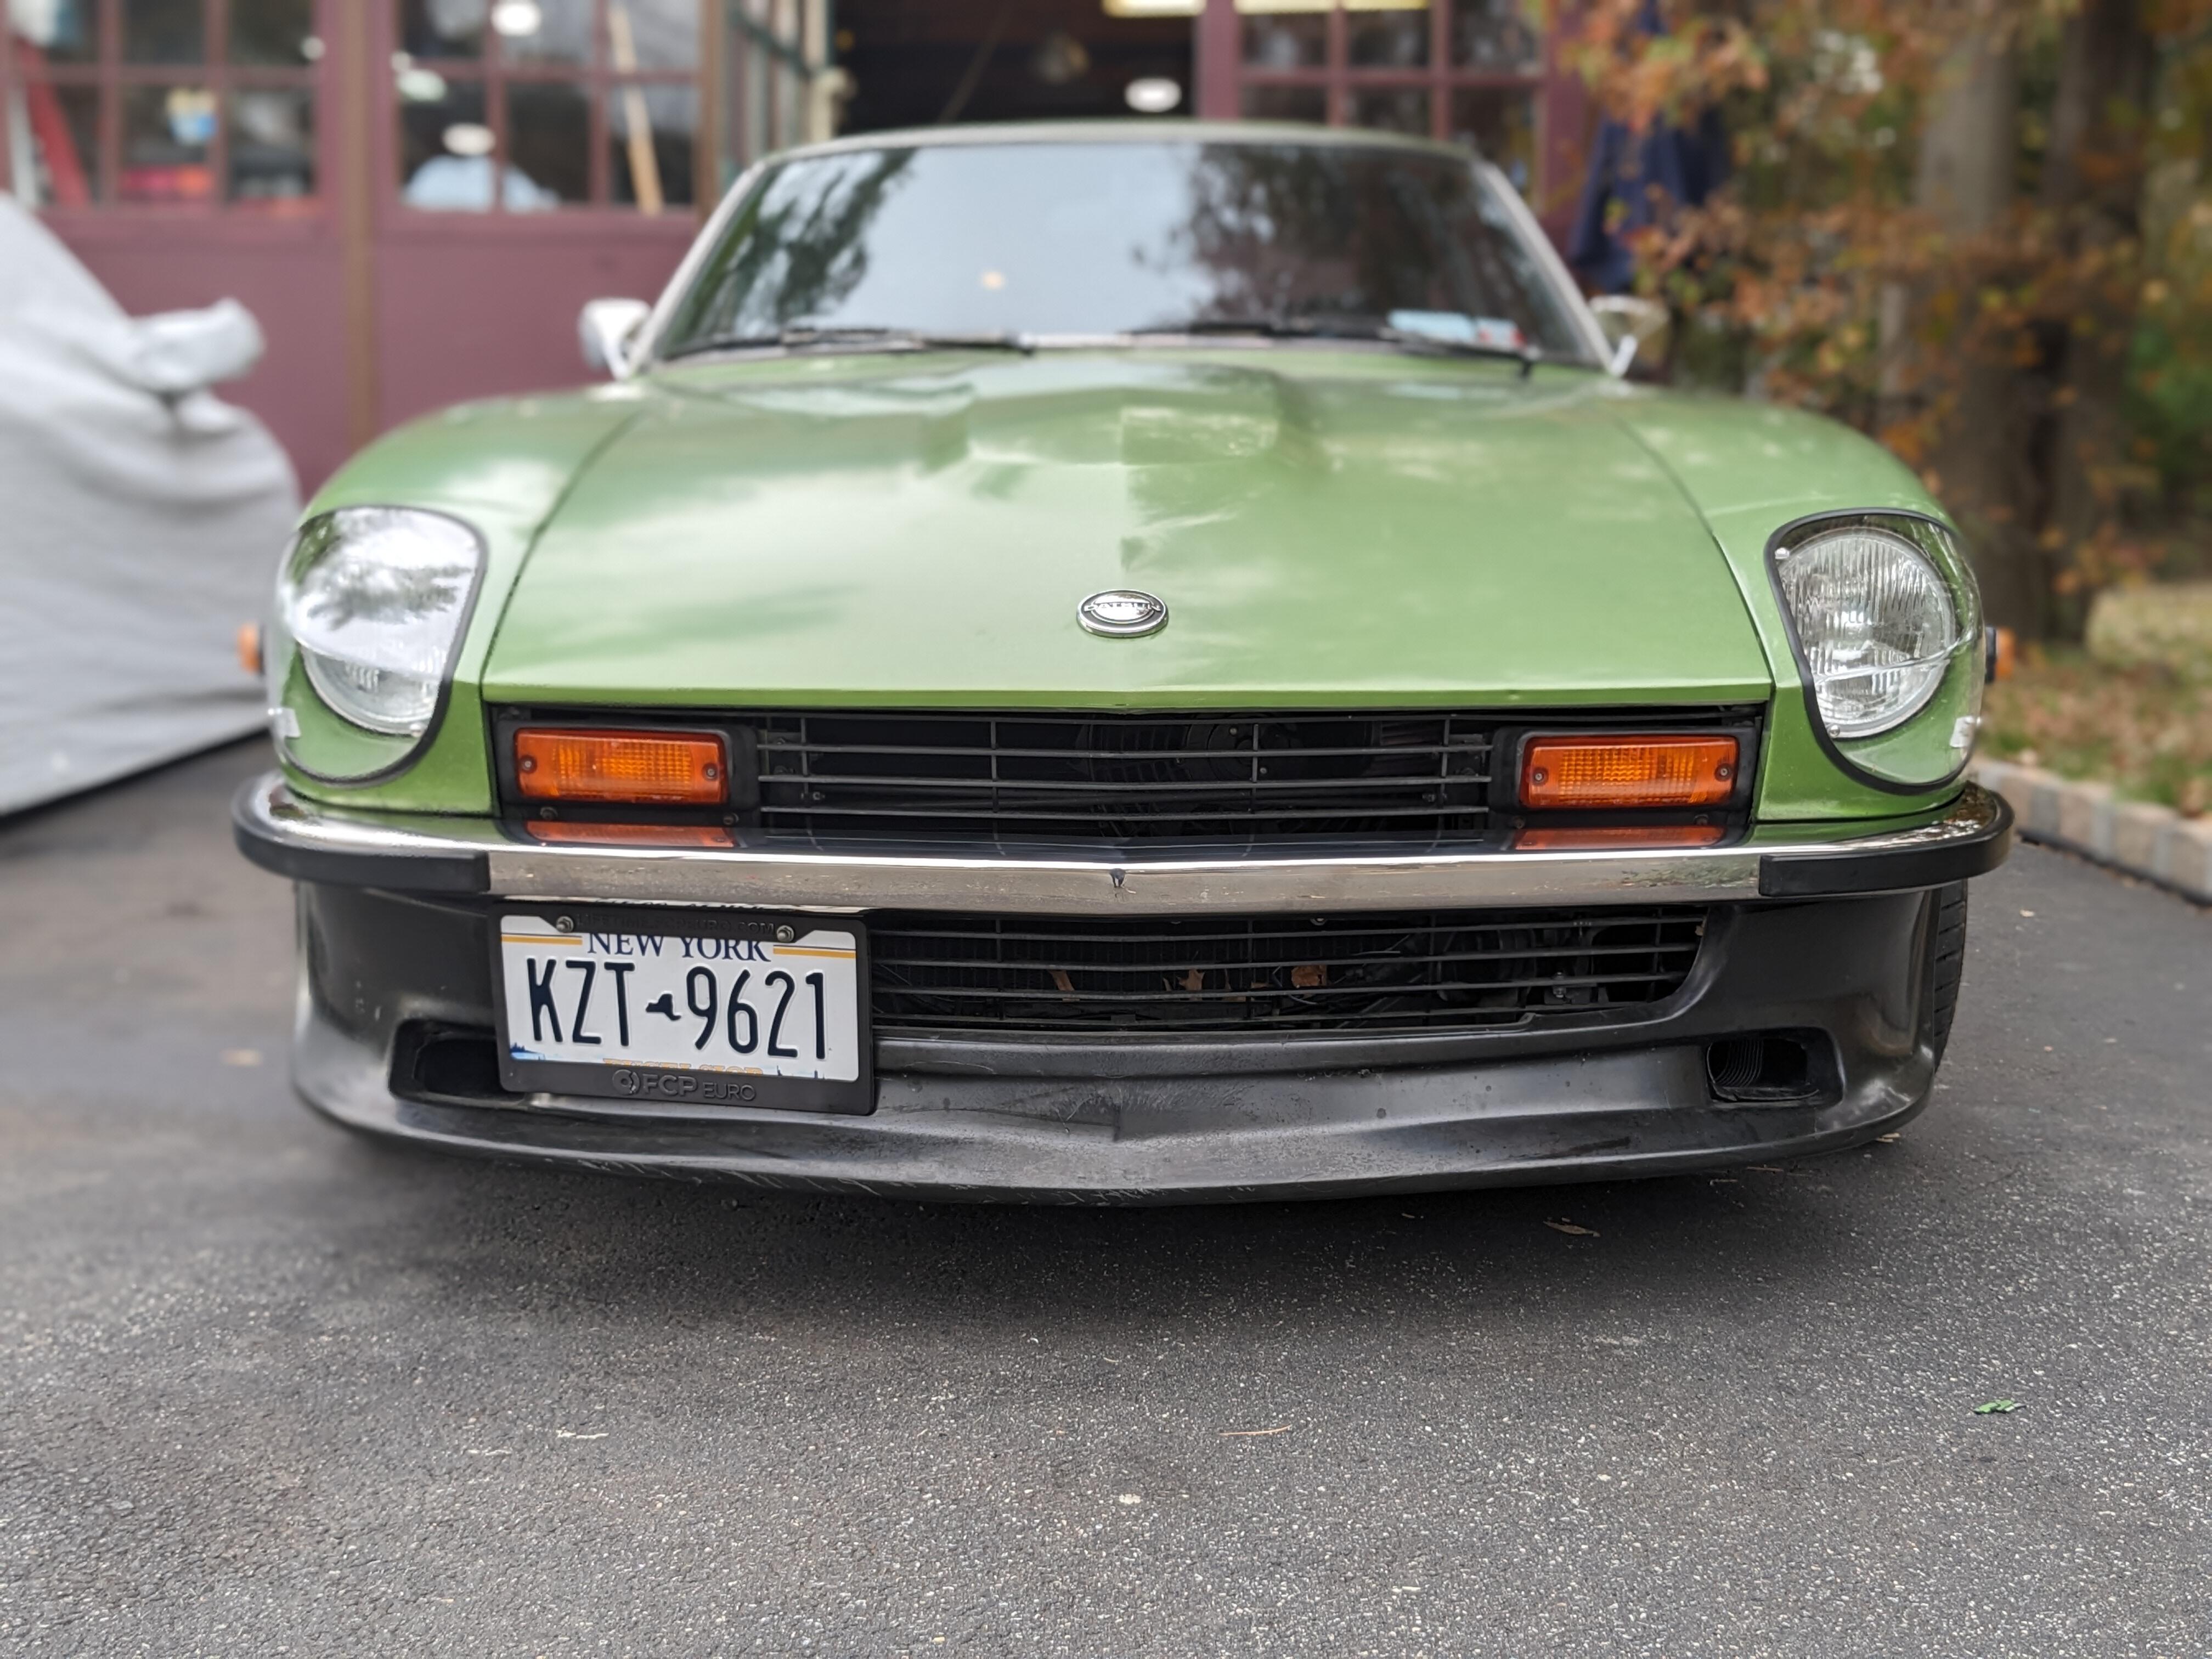
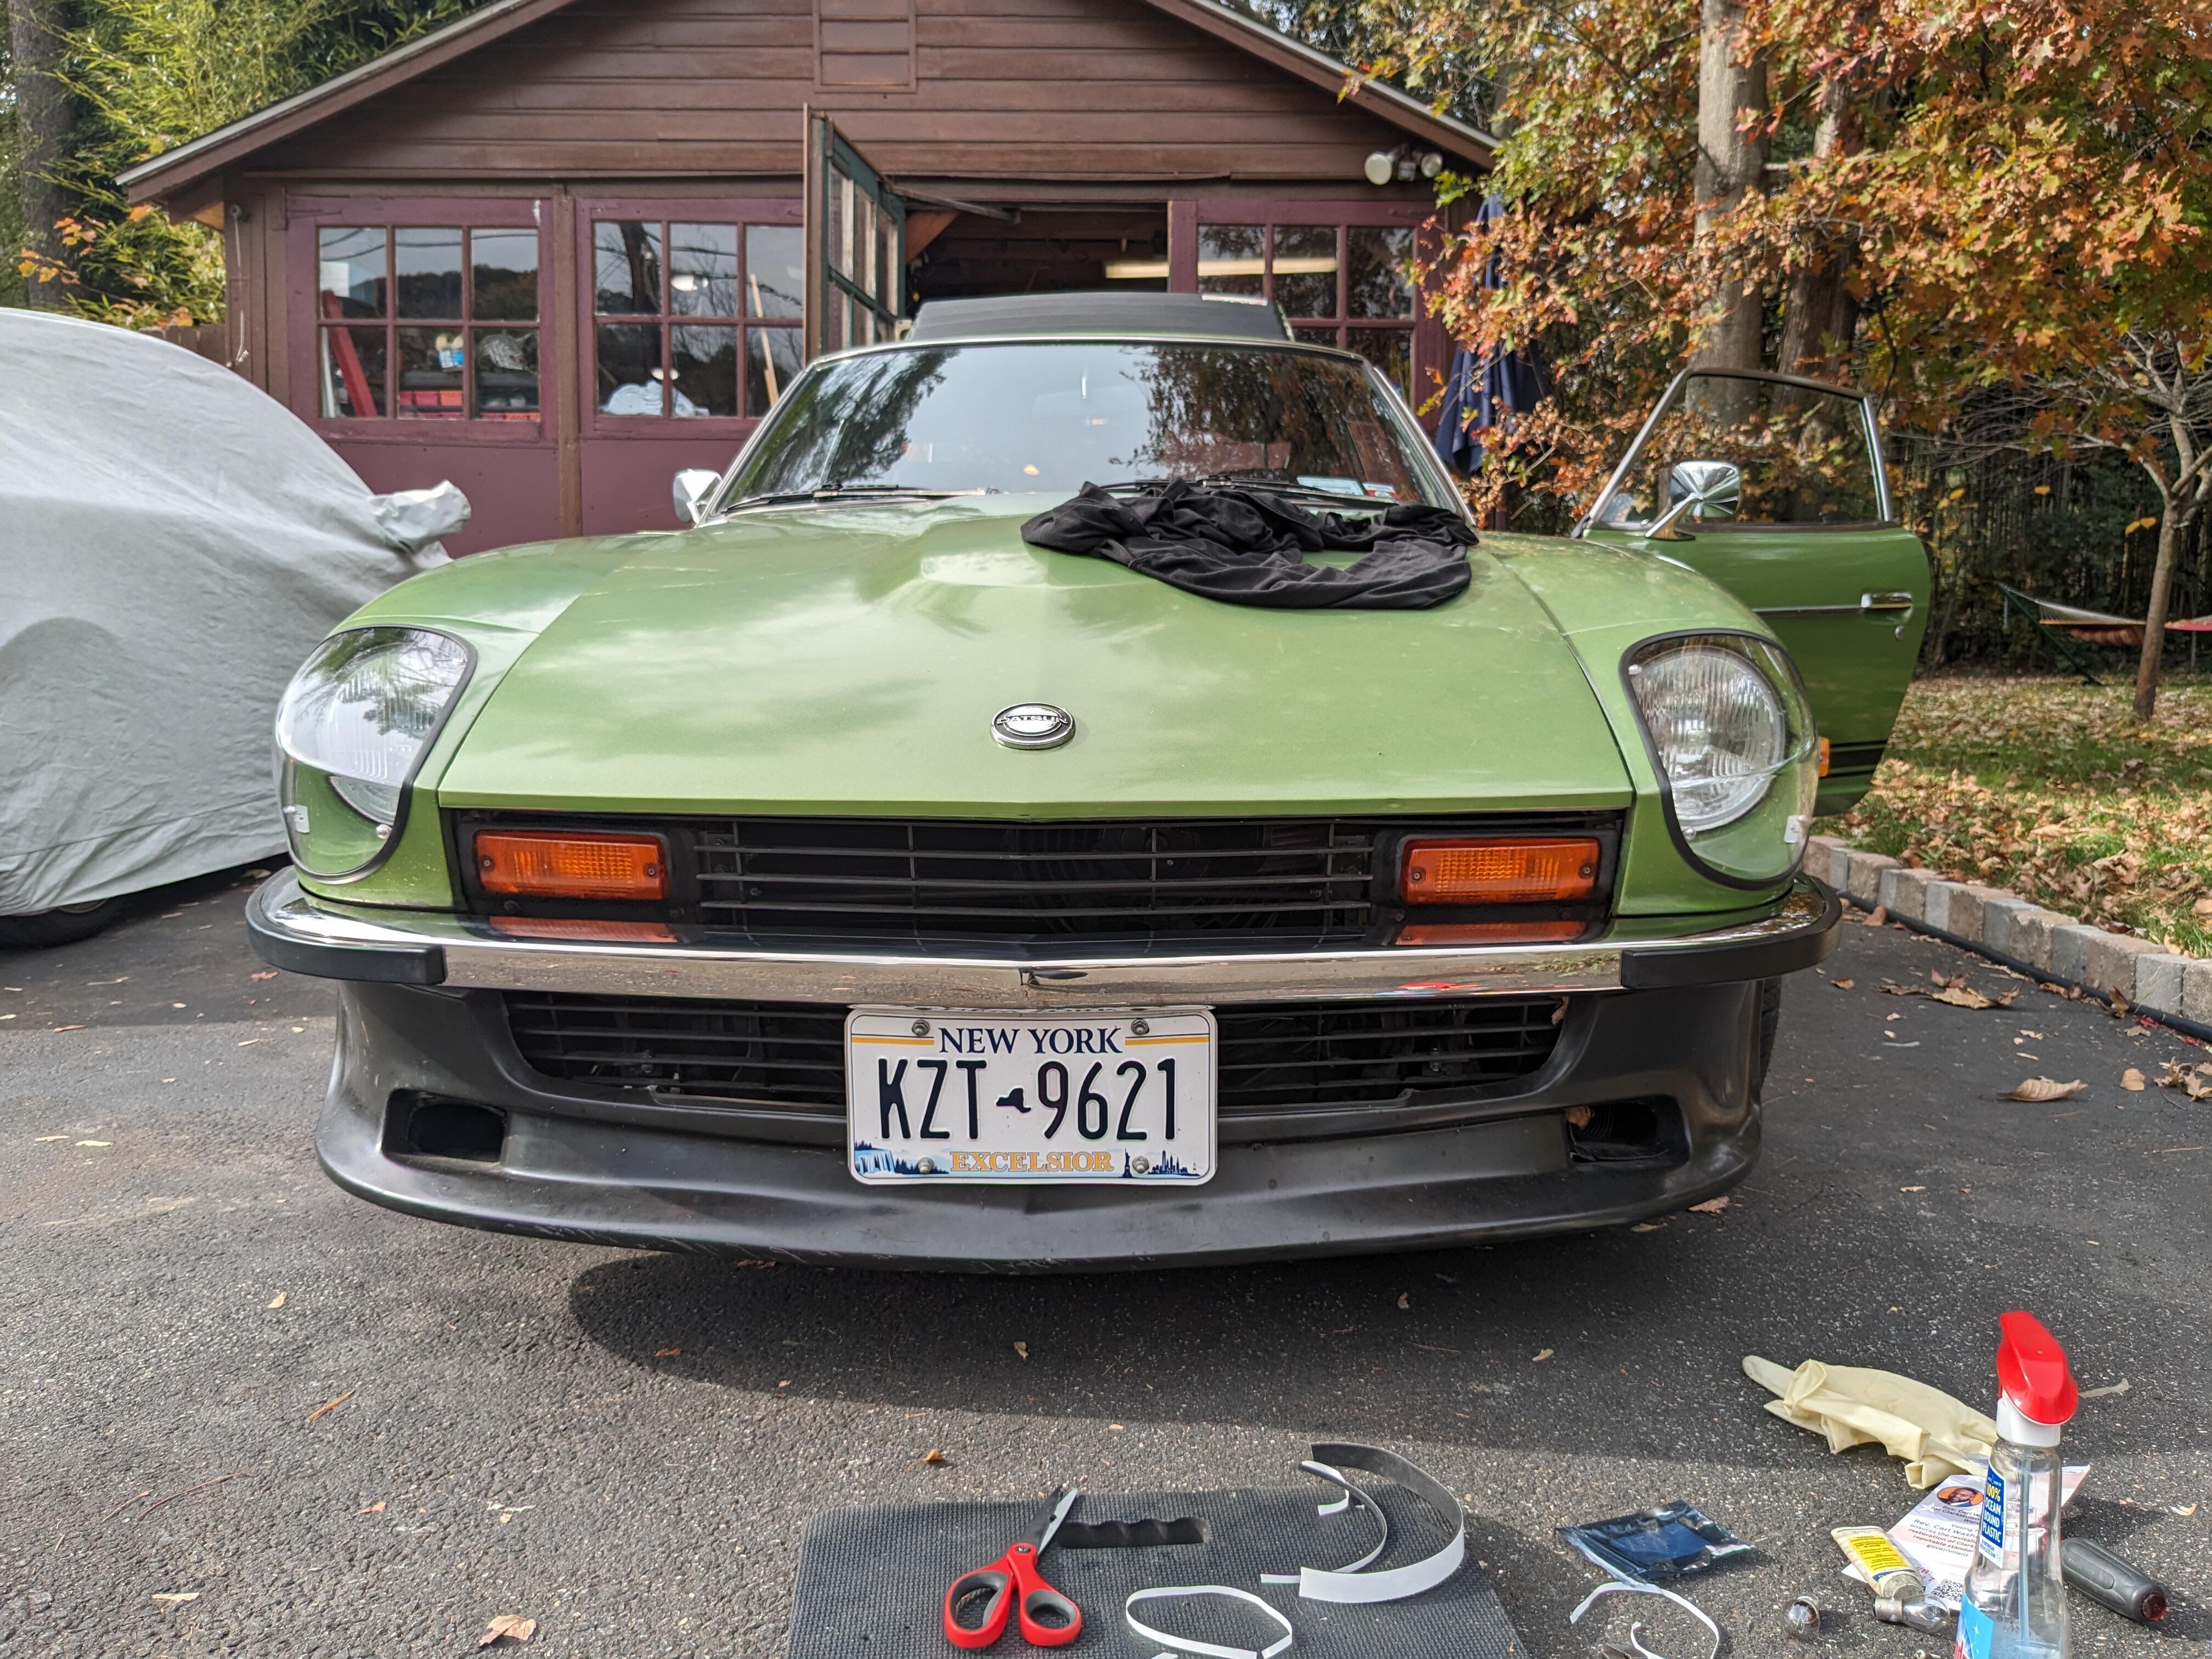
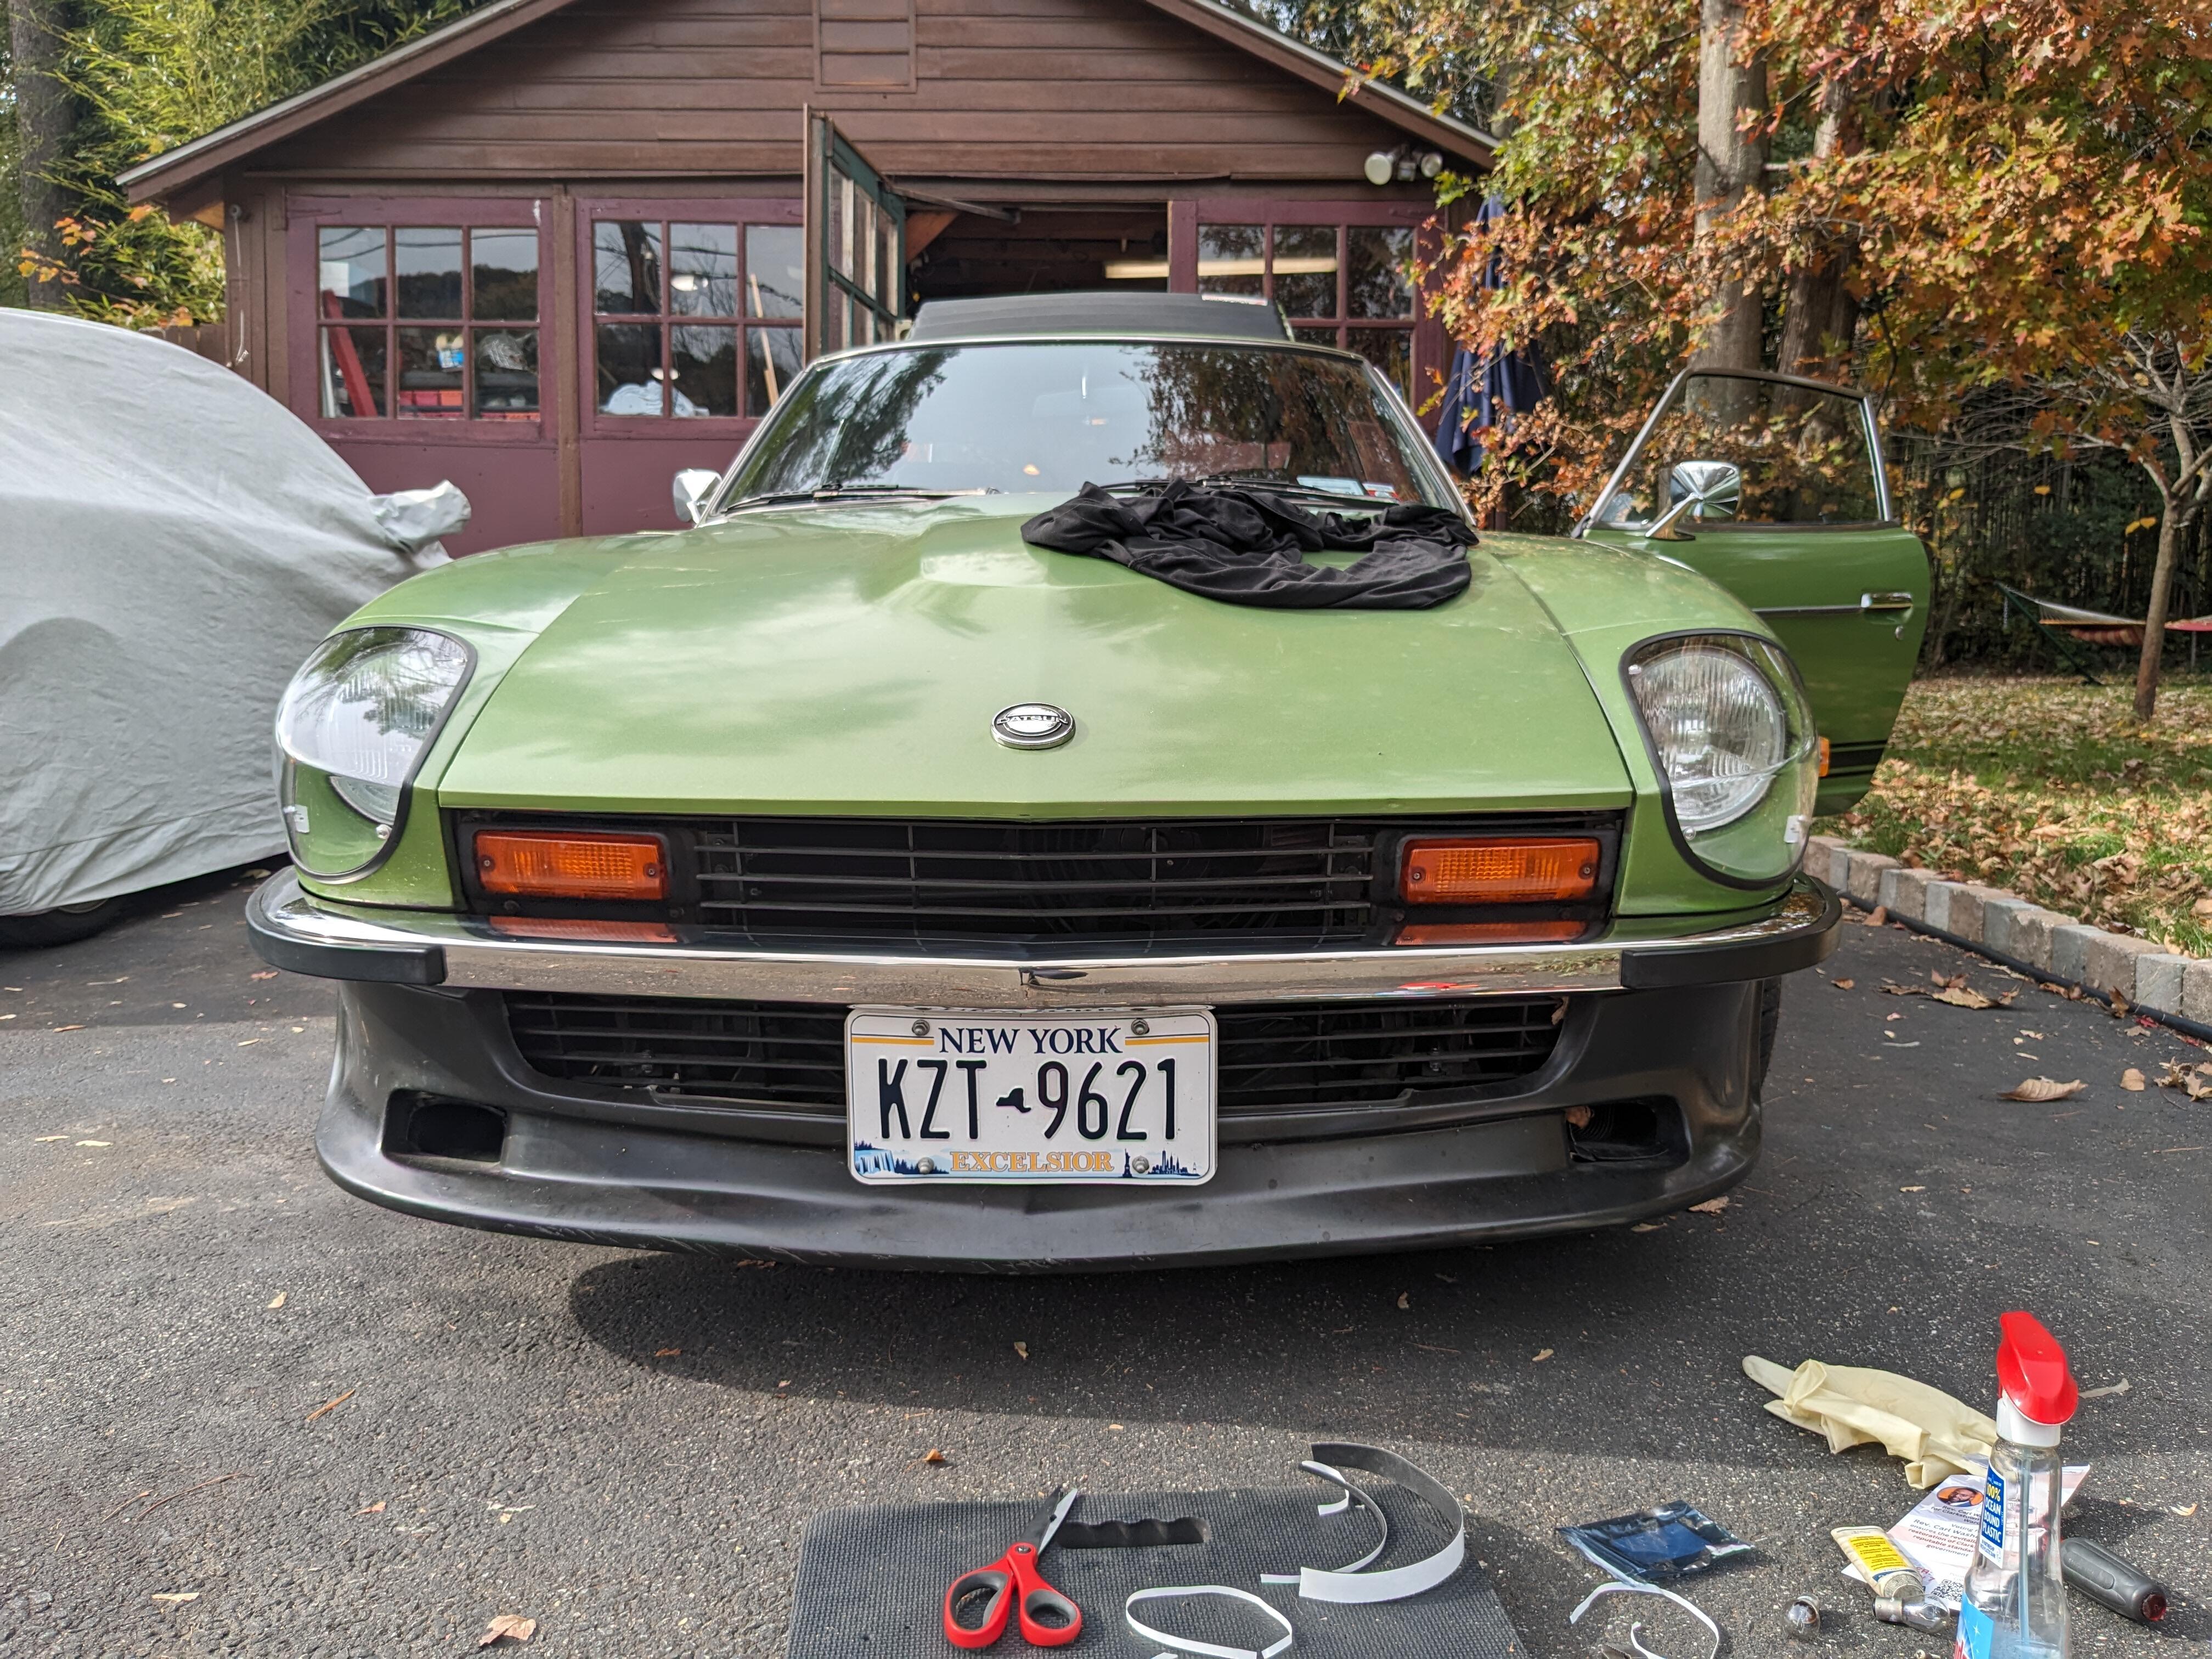
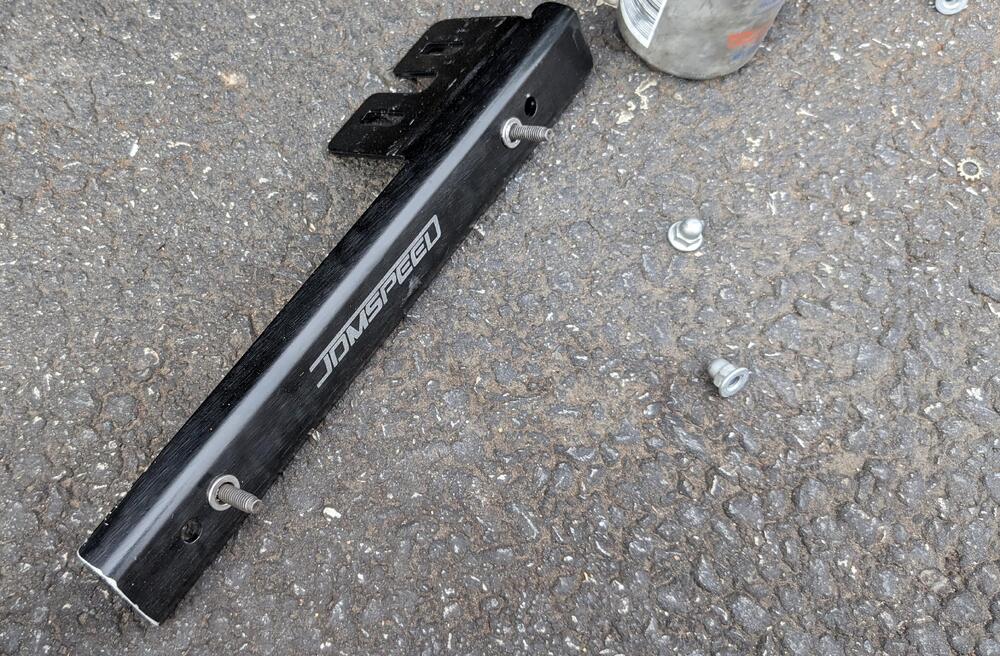
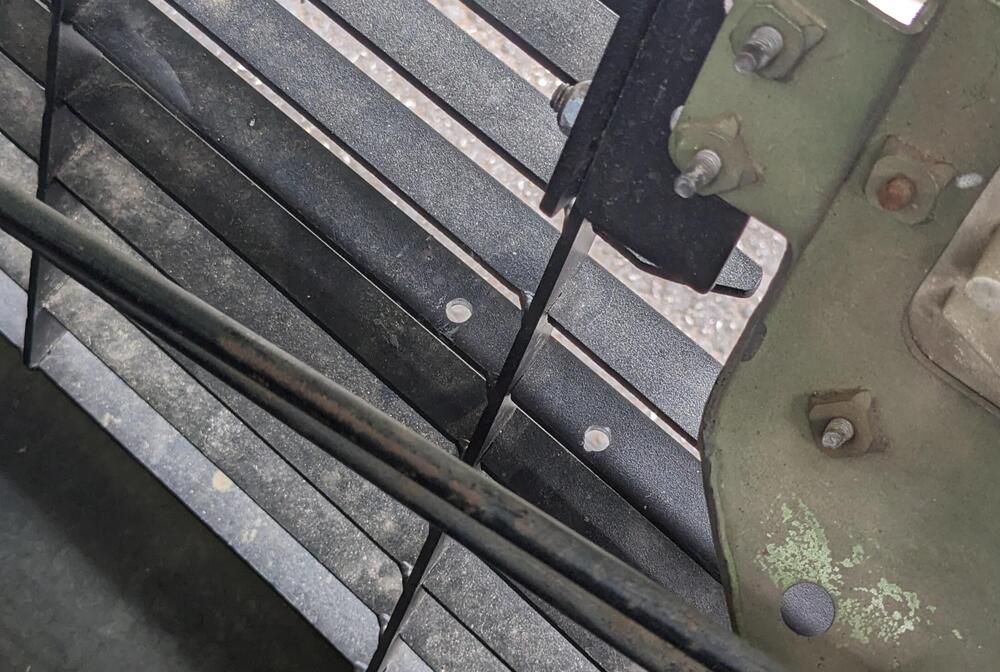
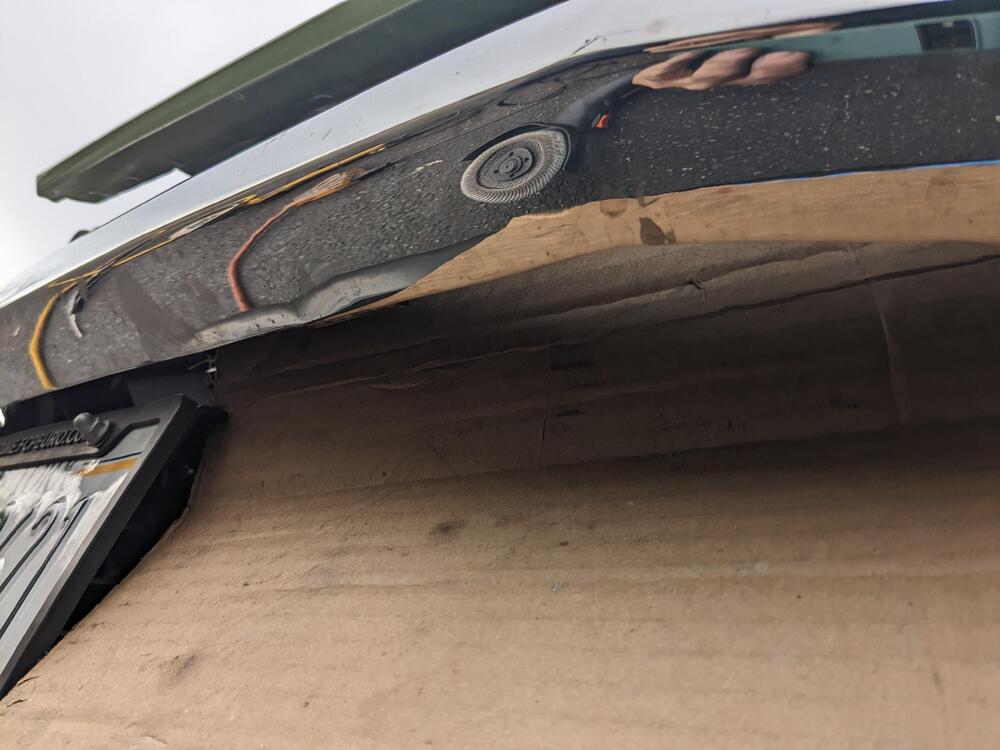
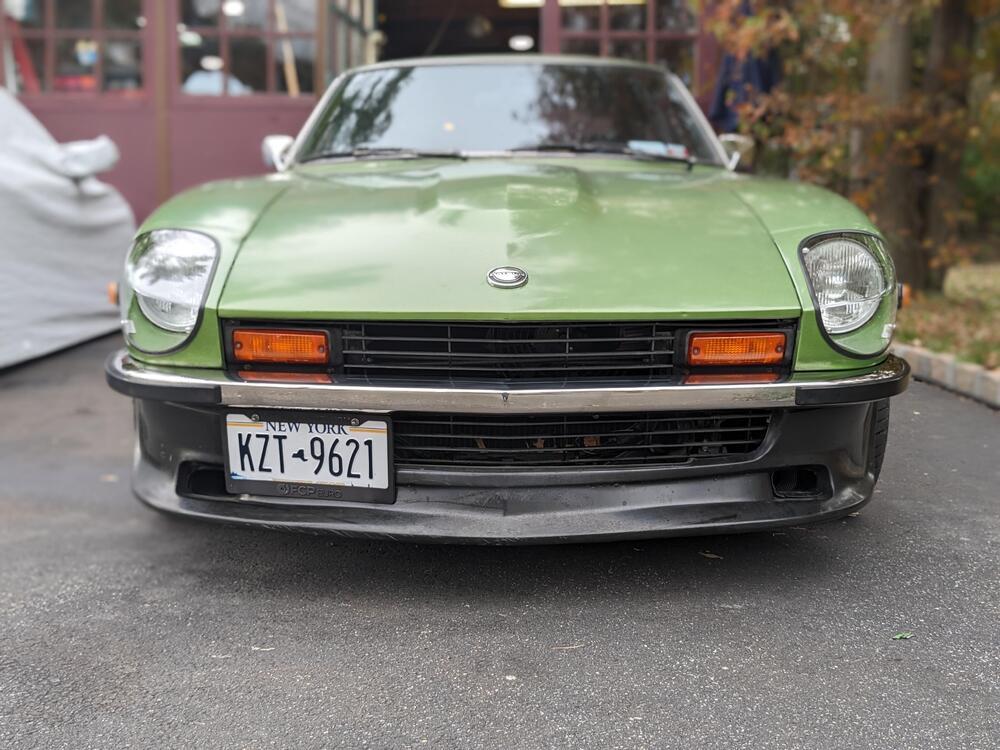
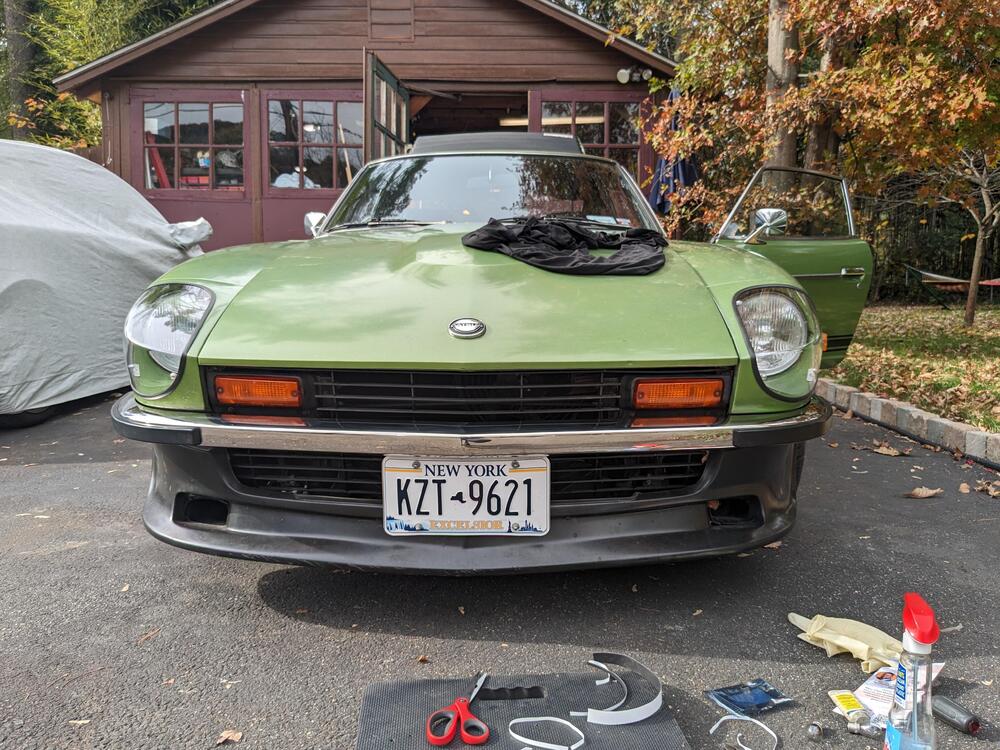
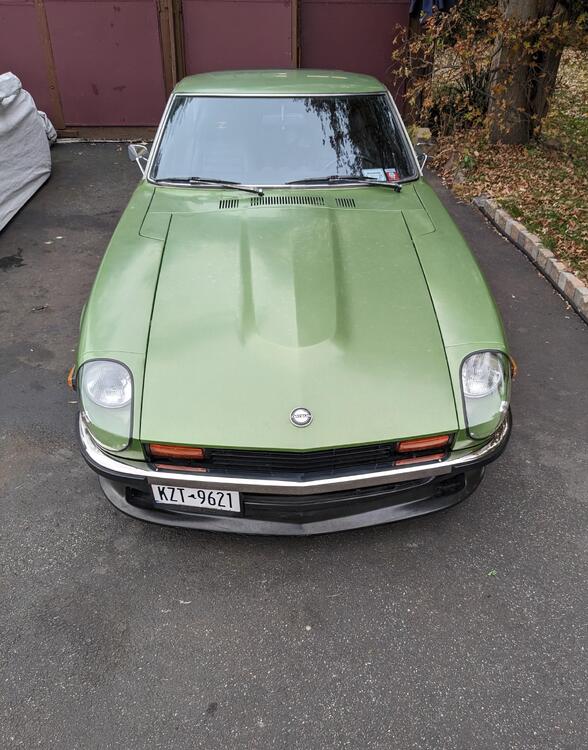
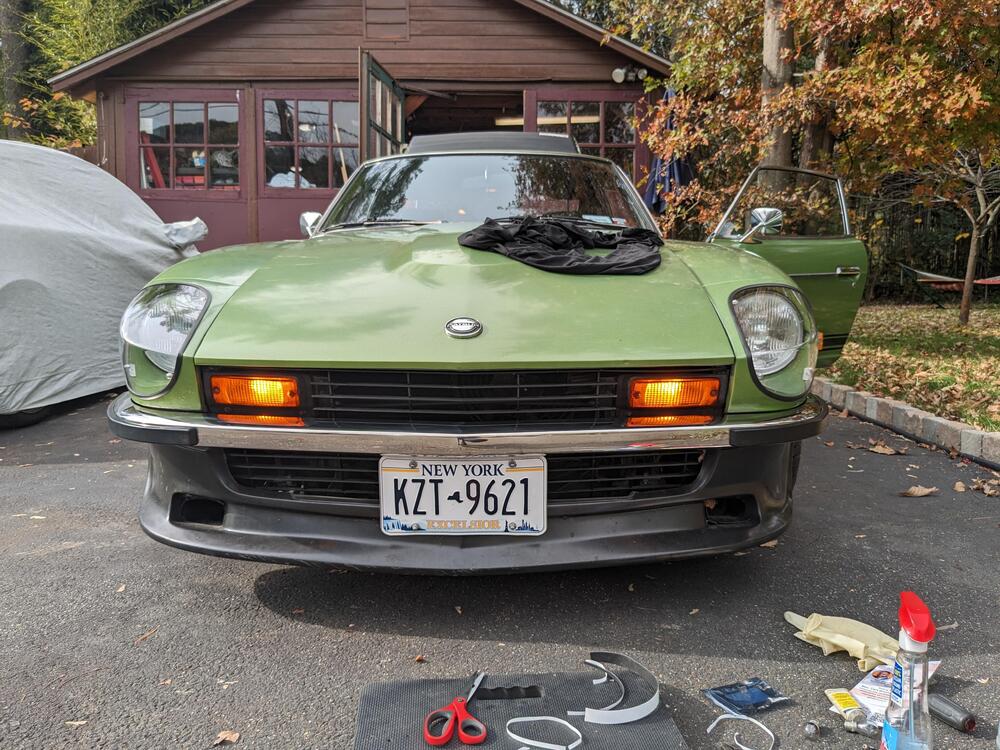
While I was working on the front directional cleanup & LED conversion, I decided to take care of relocating the front plate. I bought a cheap aluminum bracket of Amazon. After playing with placement, I decided the only practical location was to attach the bracket to the Skilled grille. I wanted the plate offset as far right as possible without blocking the spoiler duct, and/or extending to far out where the bumper & fender line starts to run rearward. Added rivnuts and studs to allow me to use acorn head retaining nuts for the plate. Cut some material off the length where it hit the Skilled grille opening, changed the angle of the mount tab to get the plate vertical. drilled mount holes in the grille cut off the stainless tangs welded to the bumper Before & After. Much happier with this. Still blocks some air passage into the radiator, but at least it's not a giant deflector
-
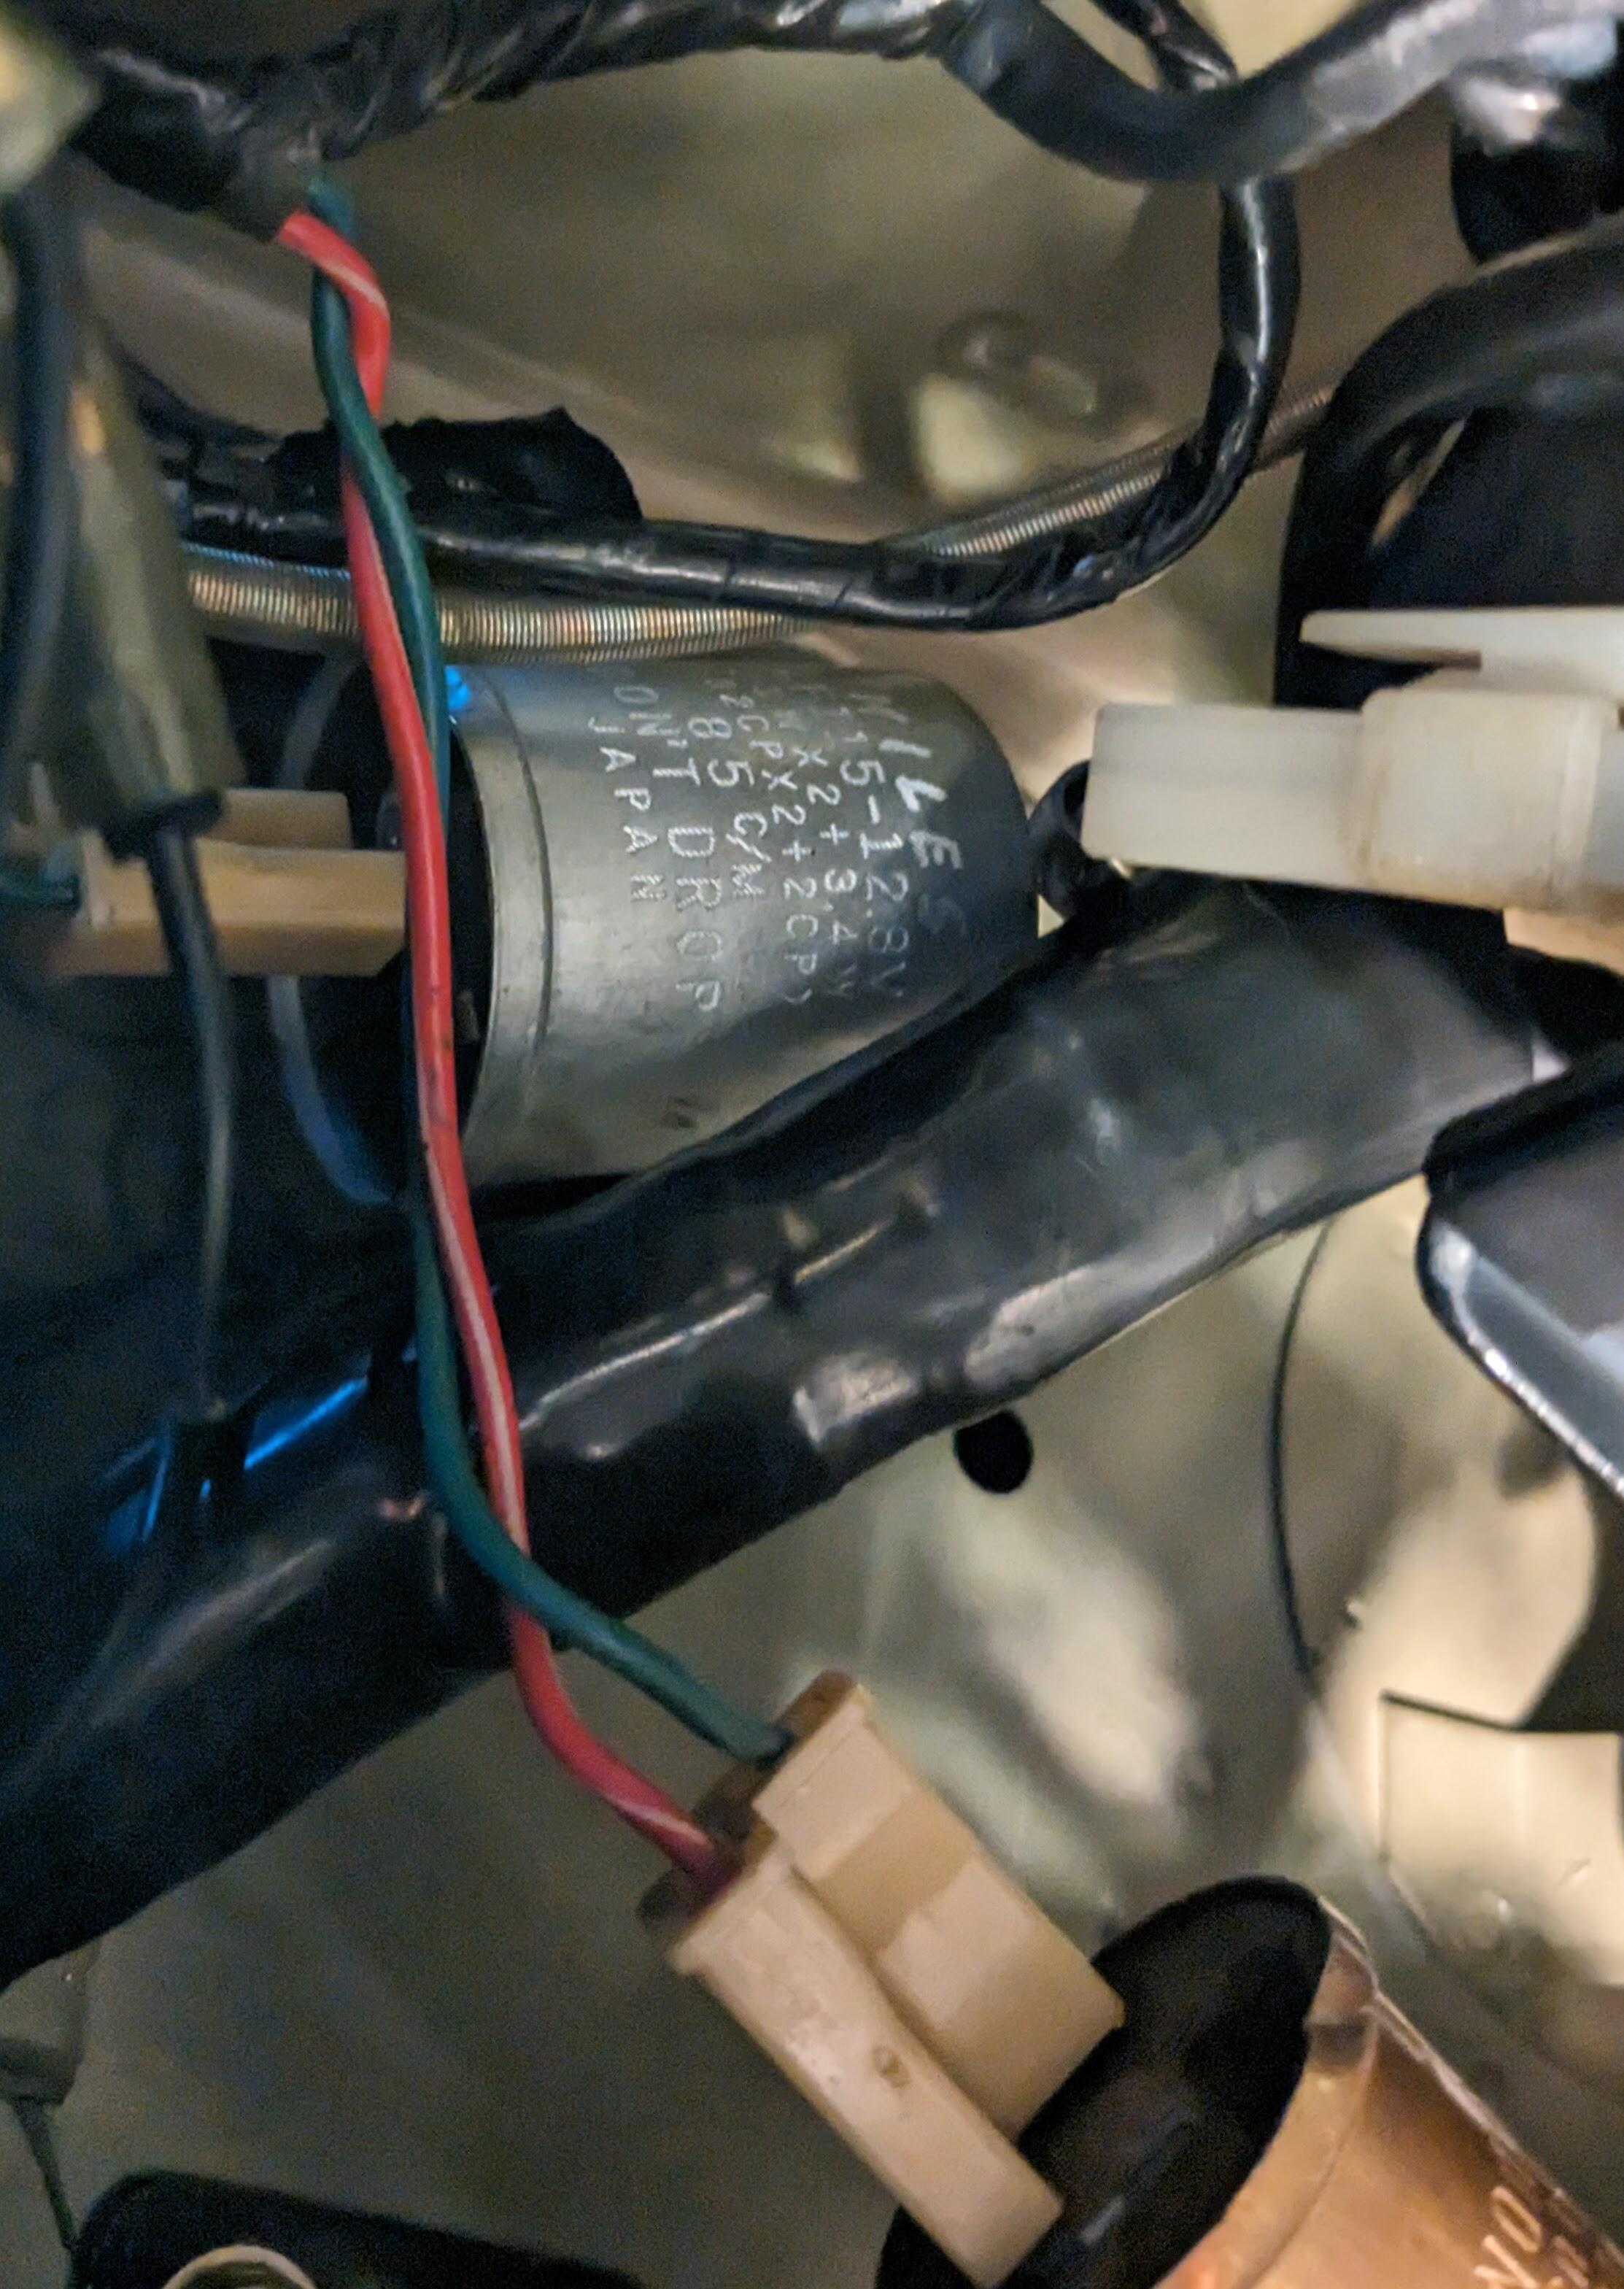
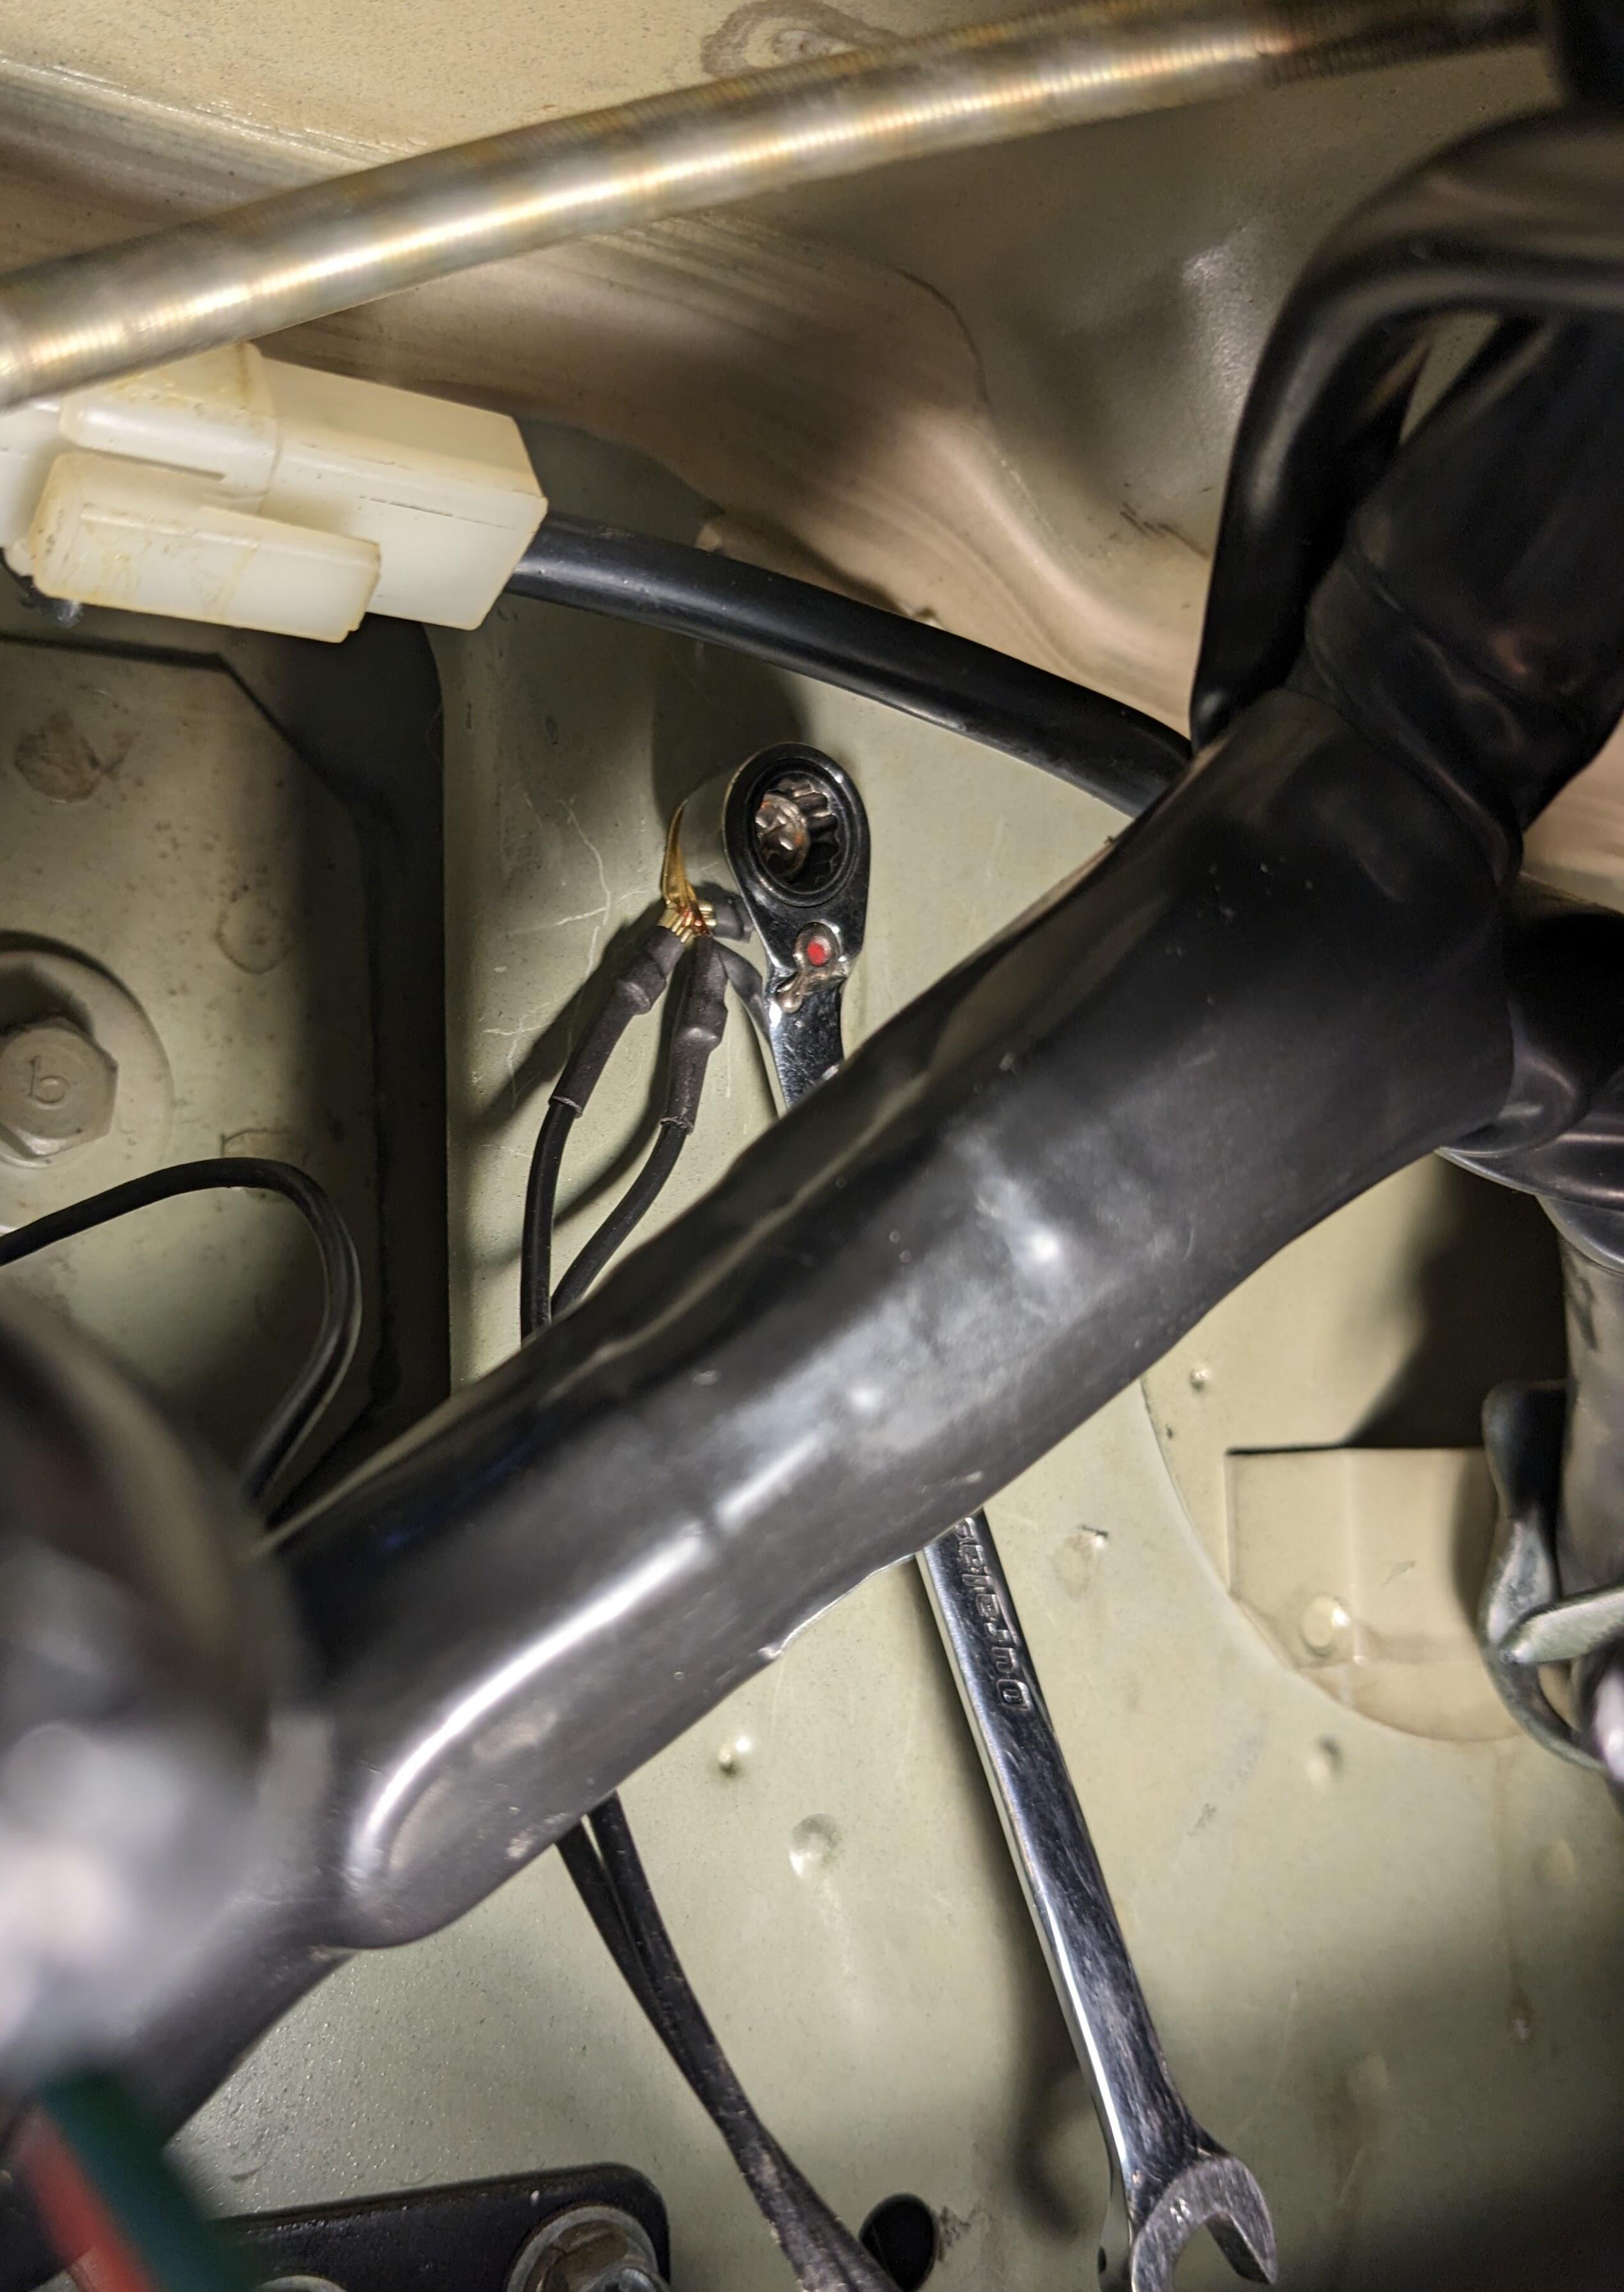
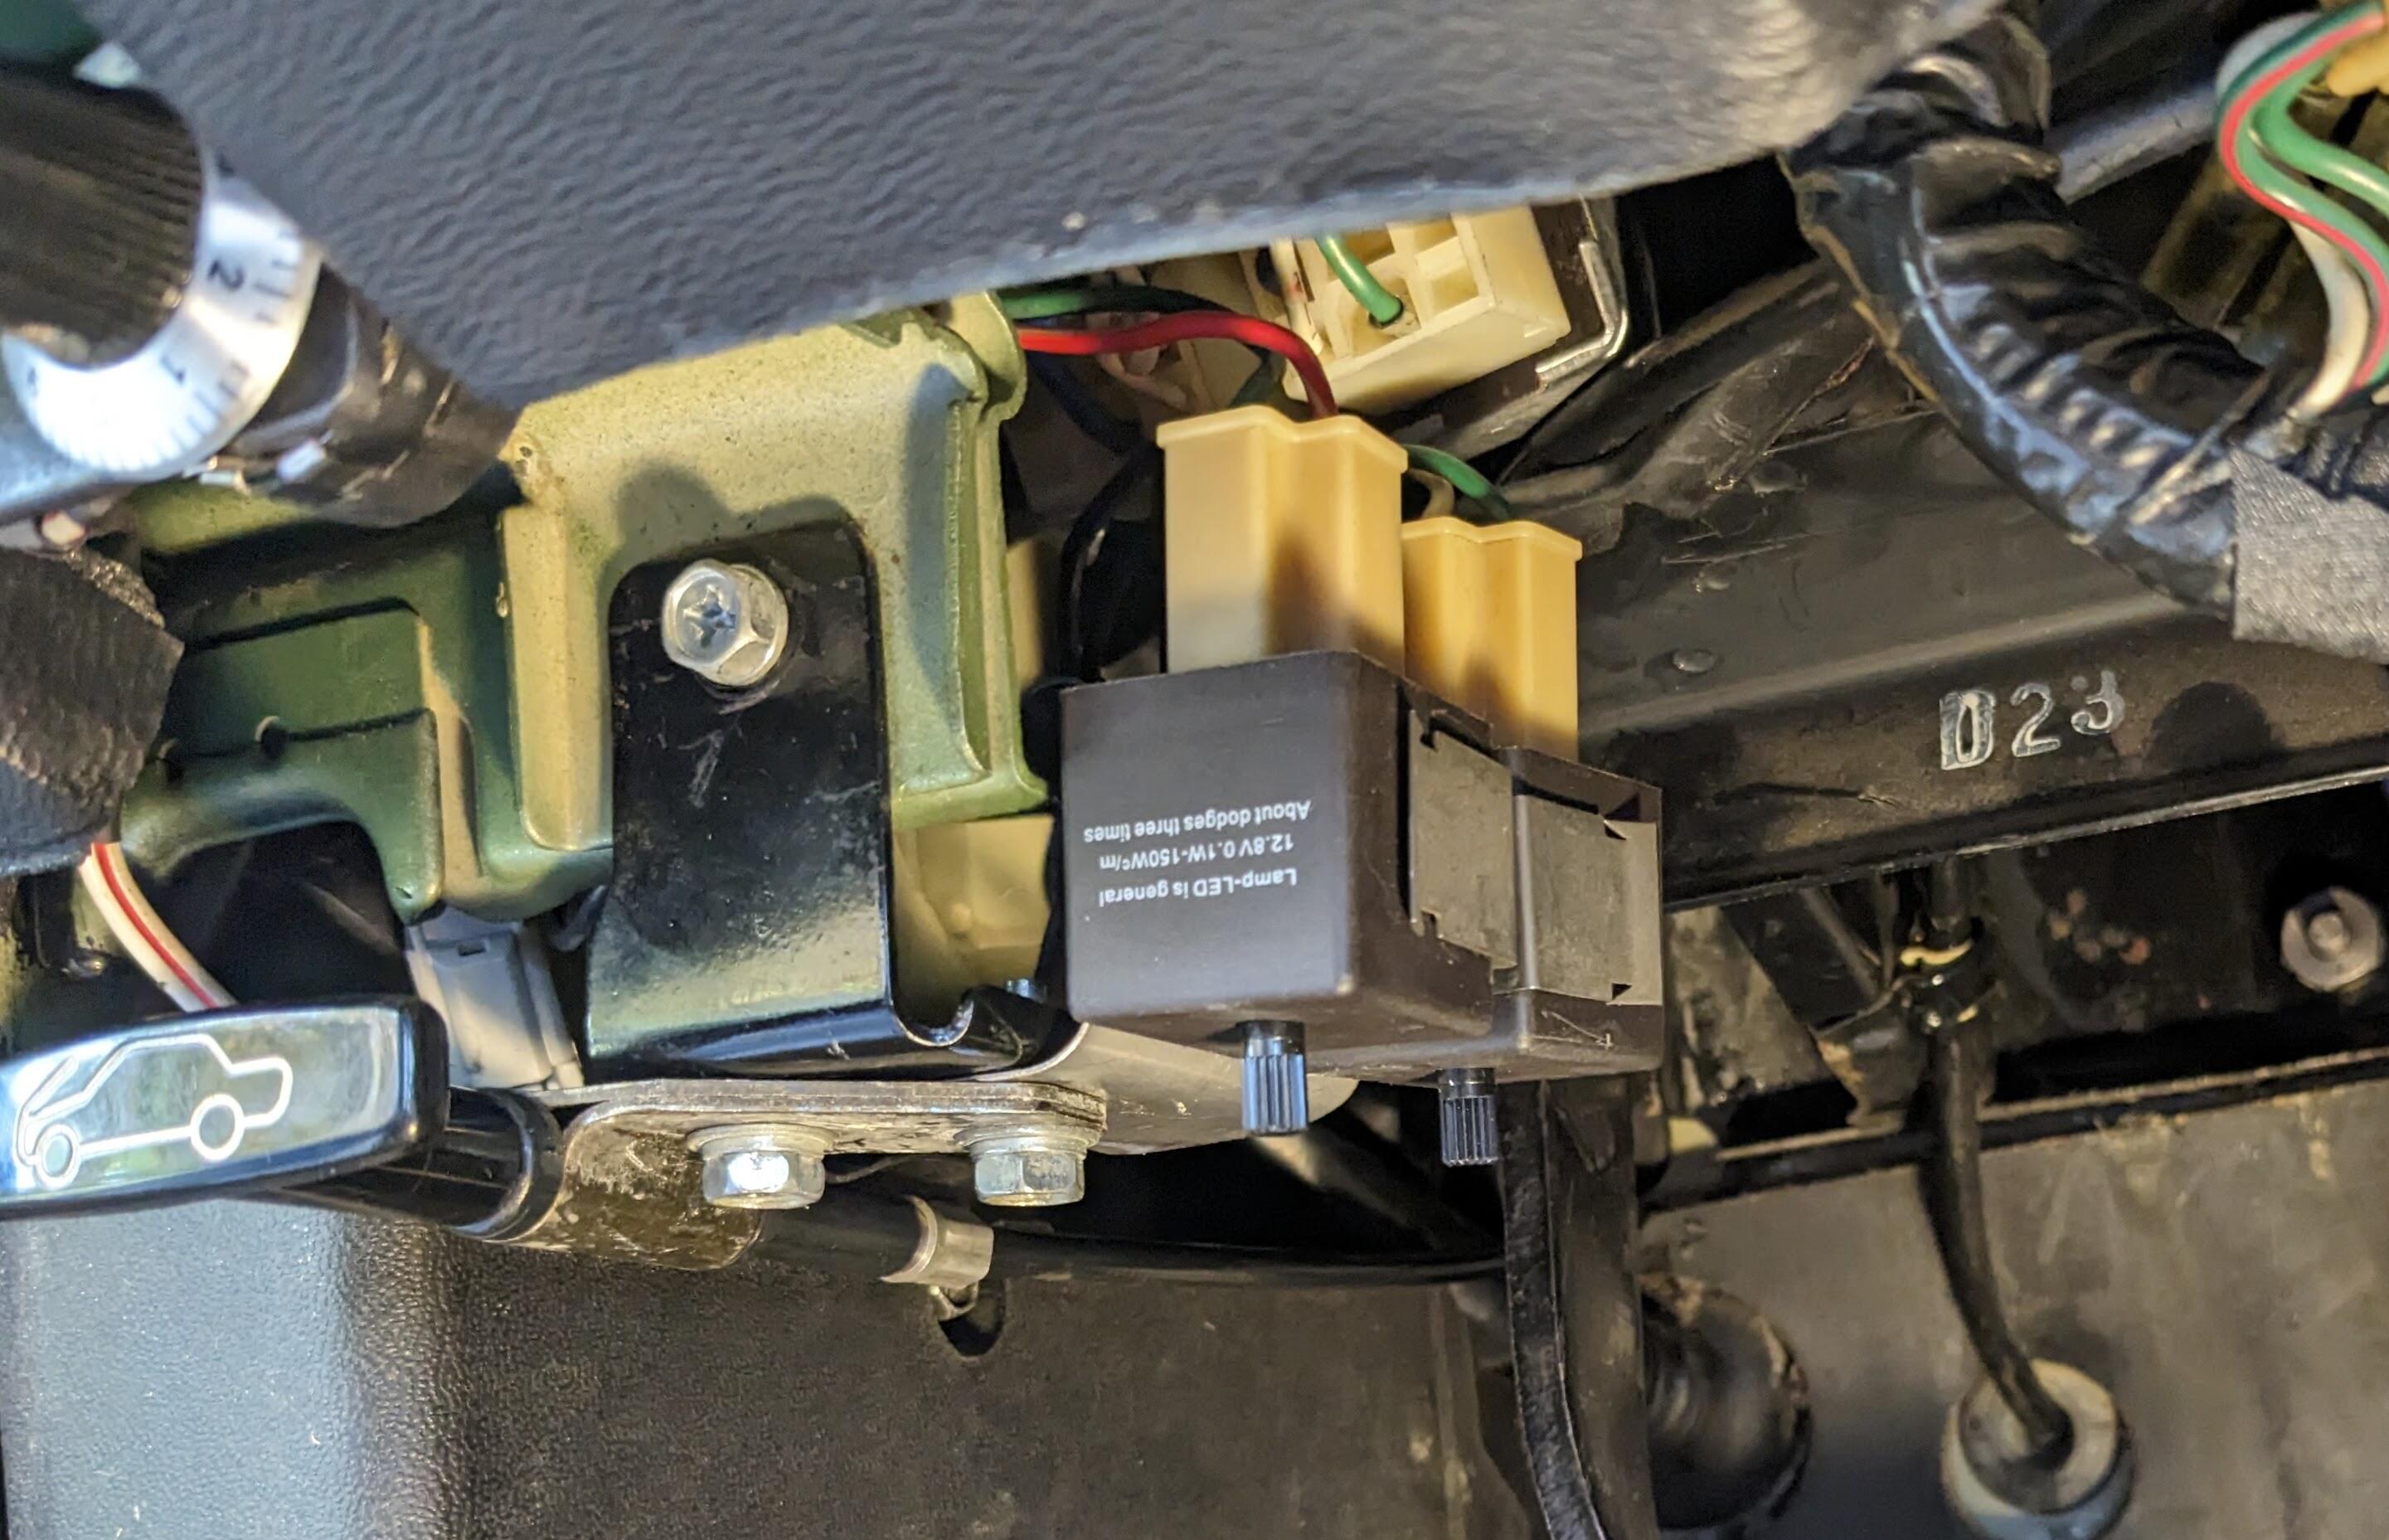
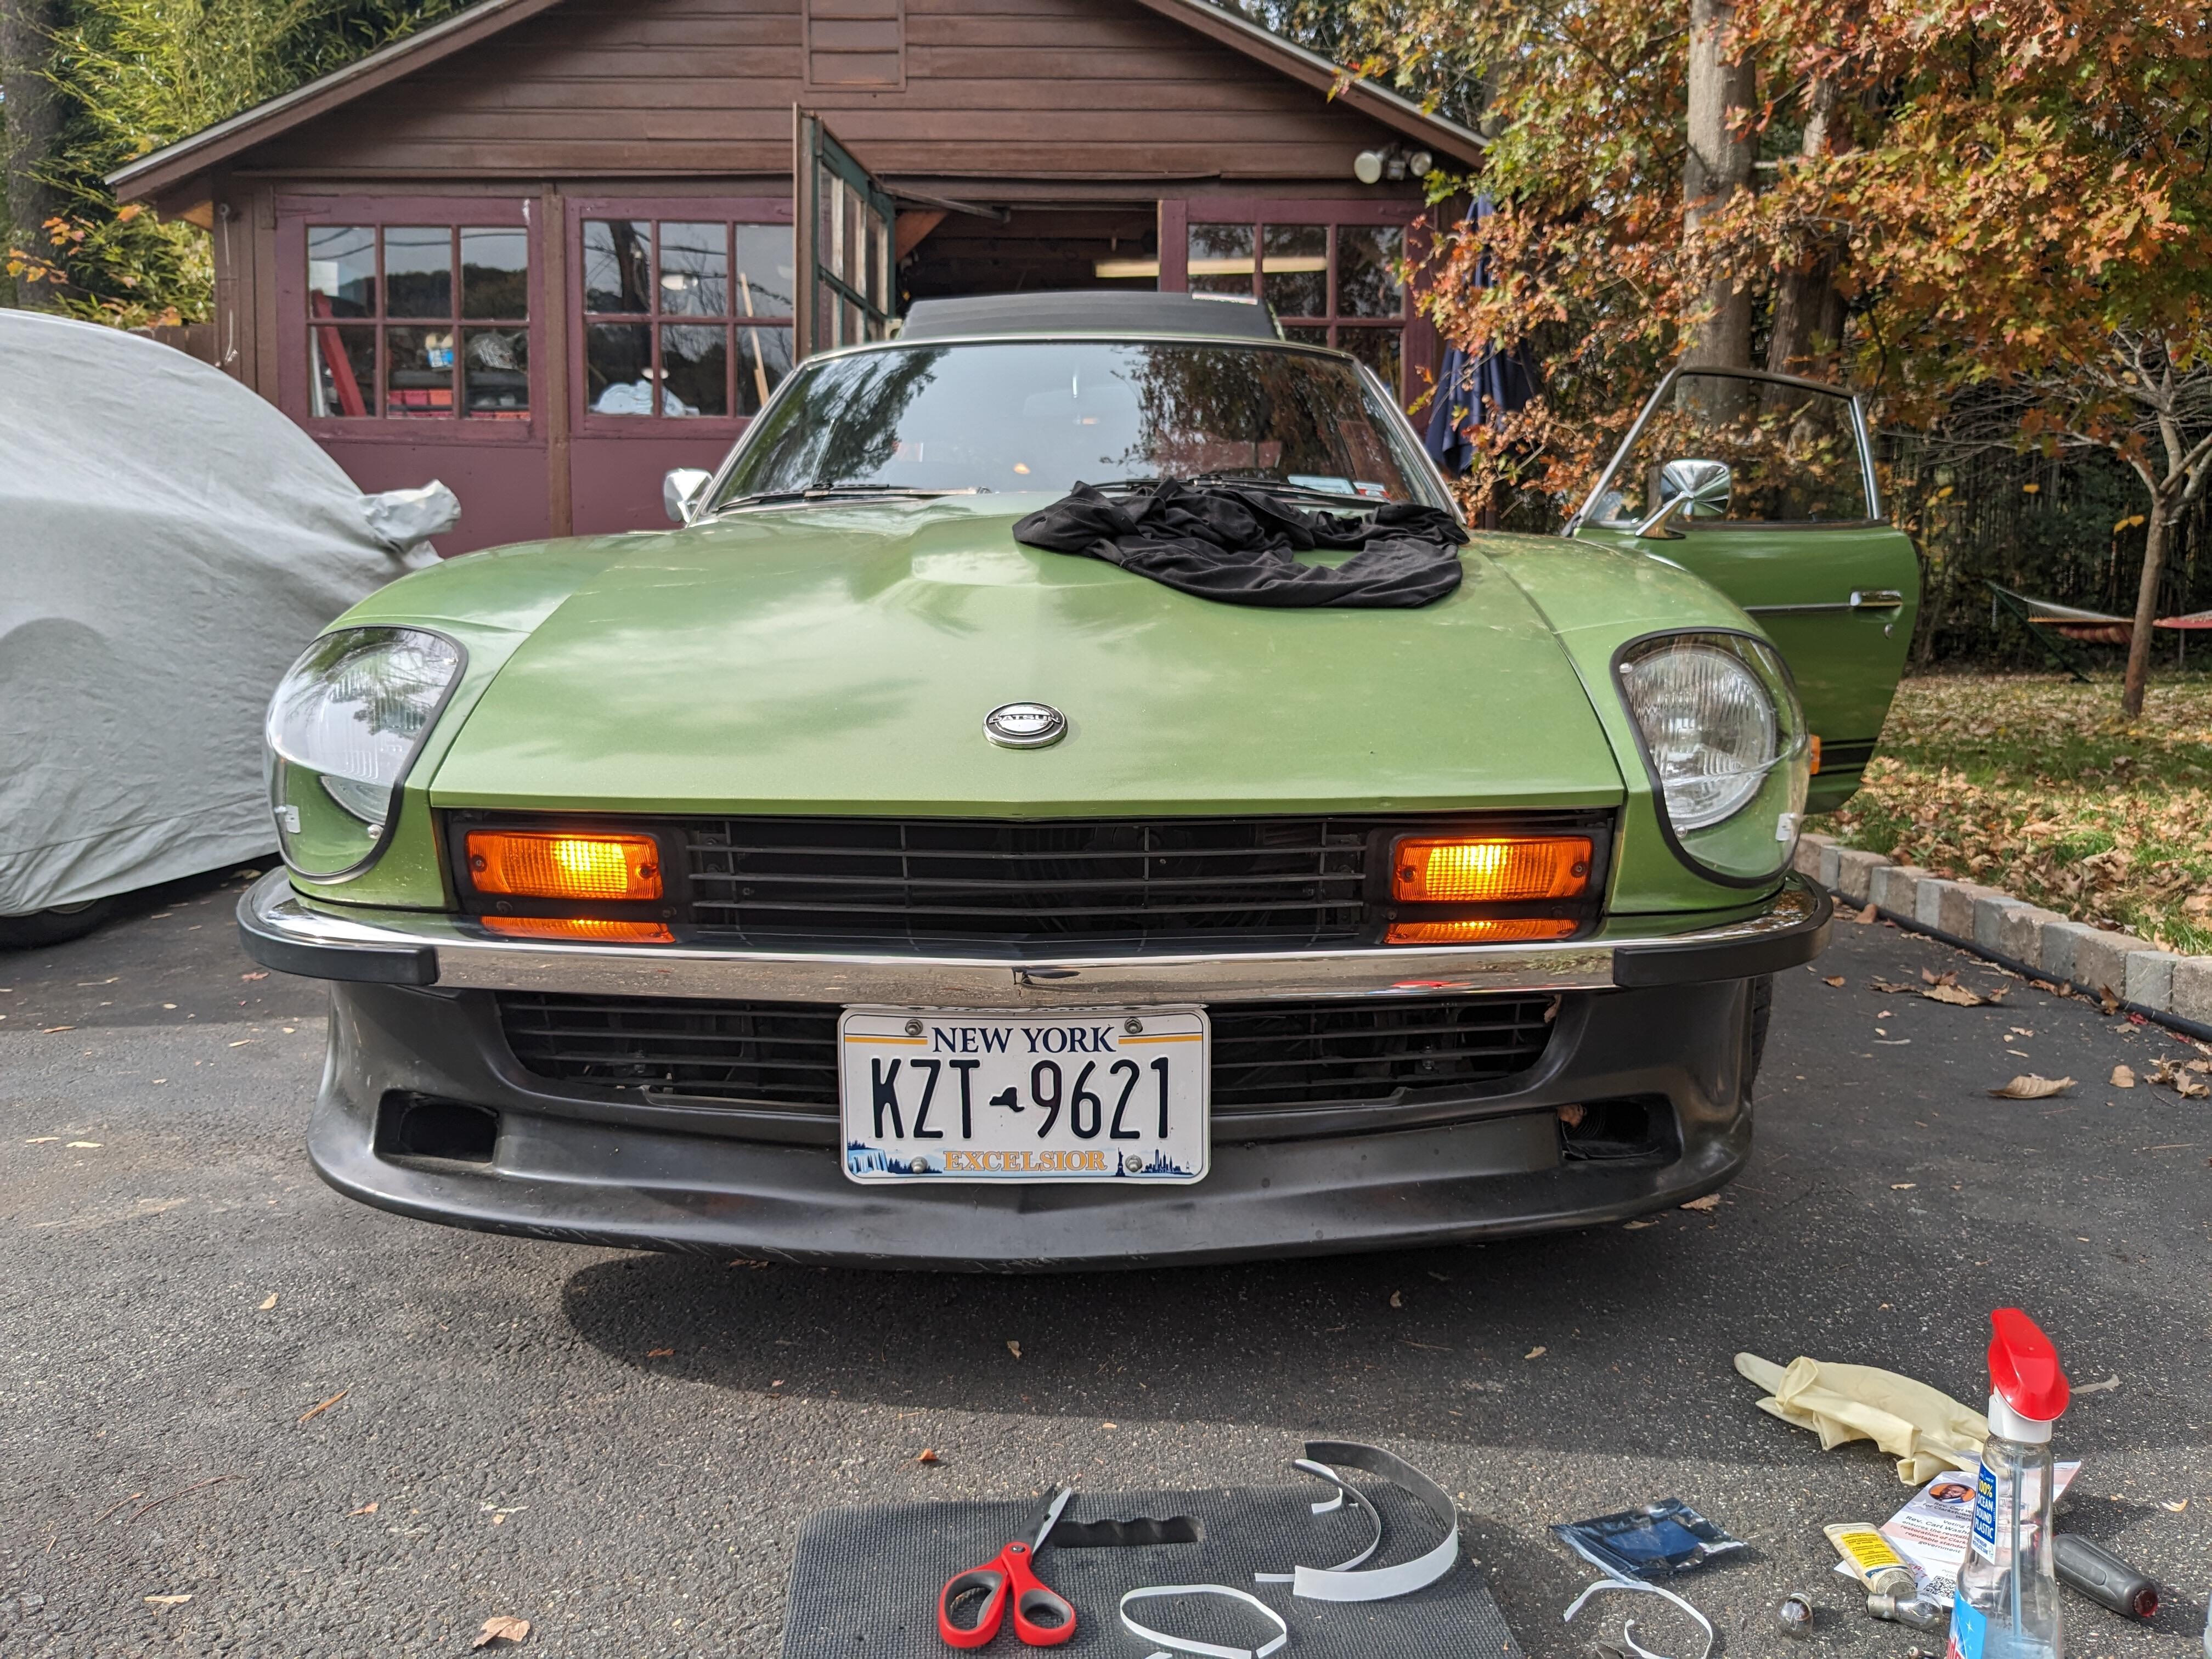
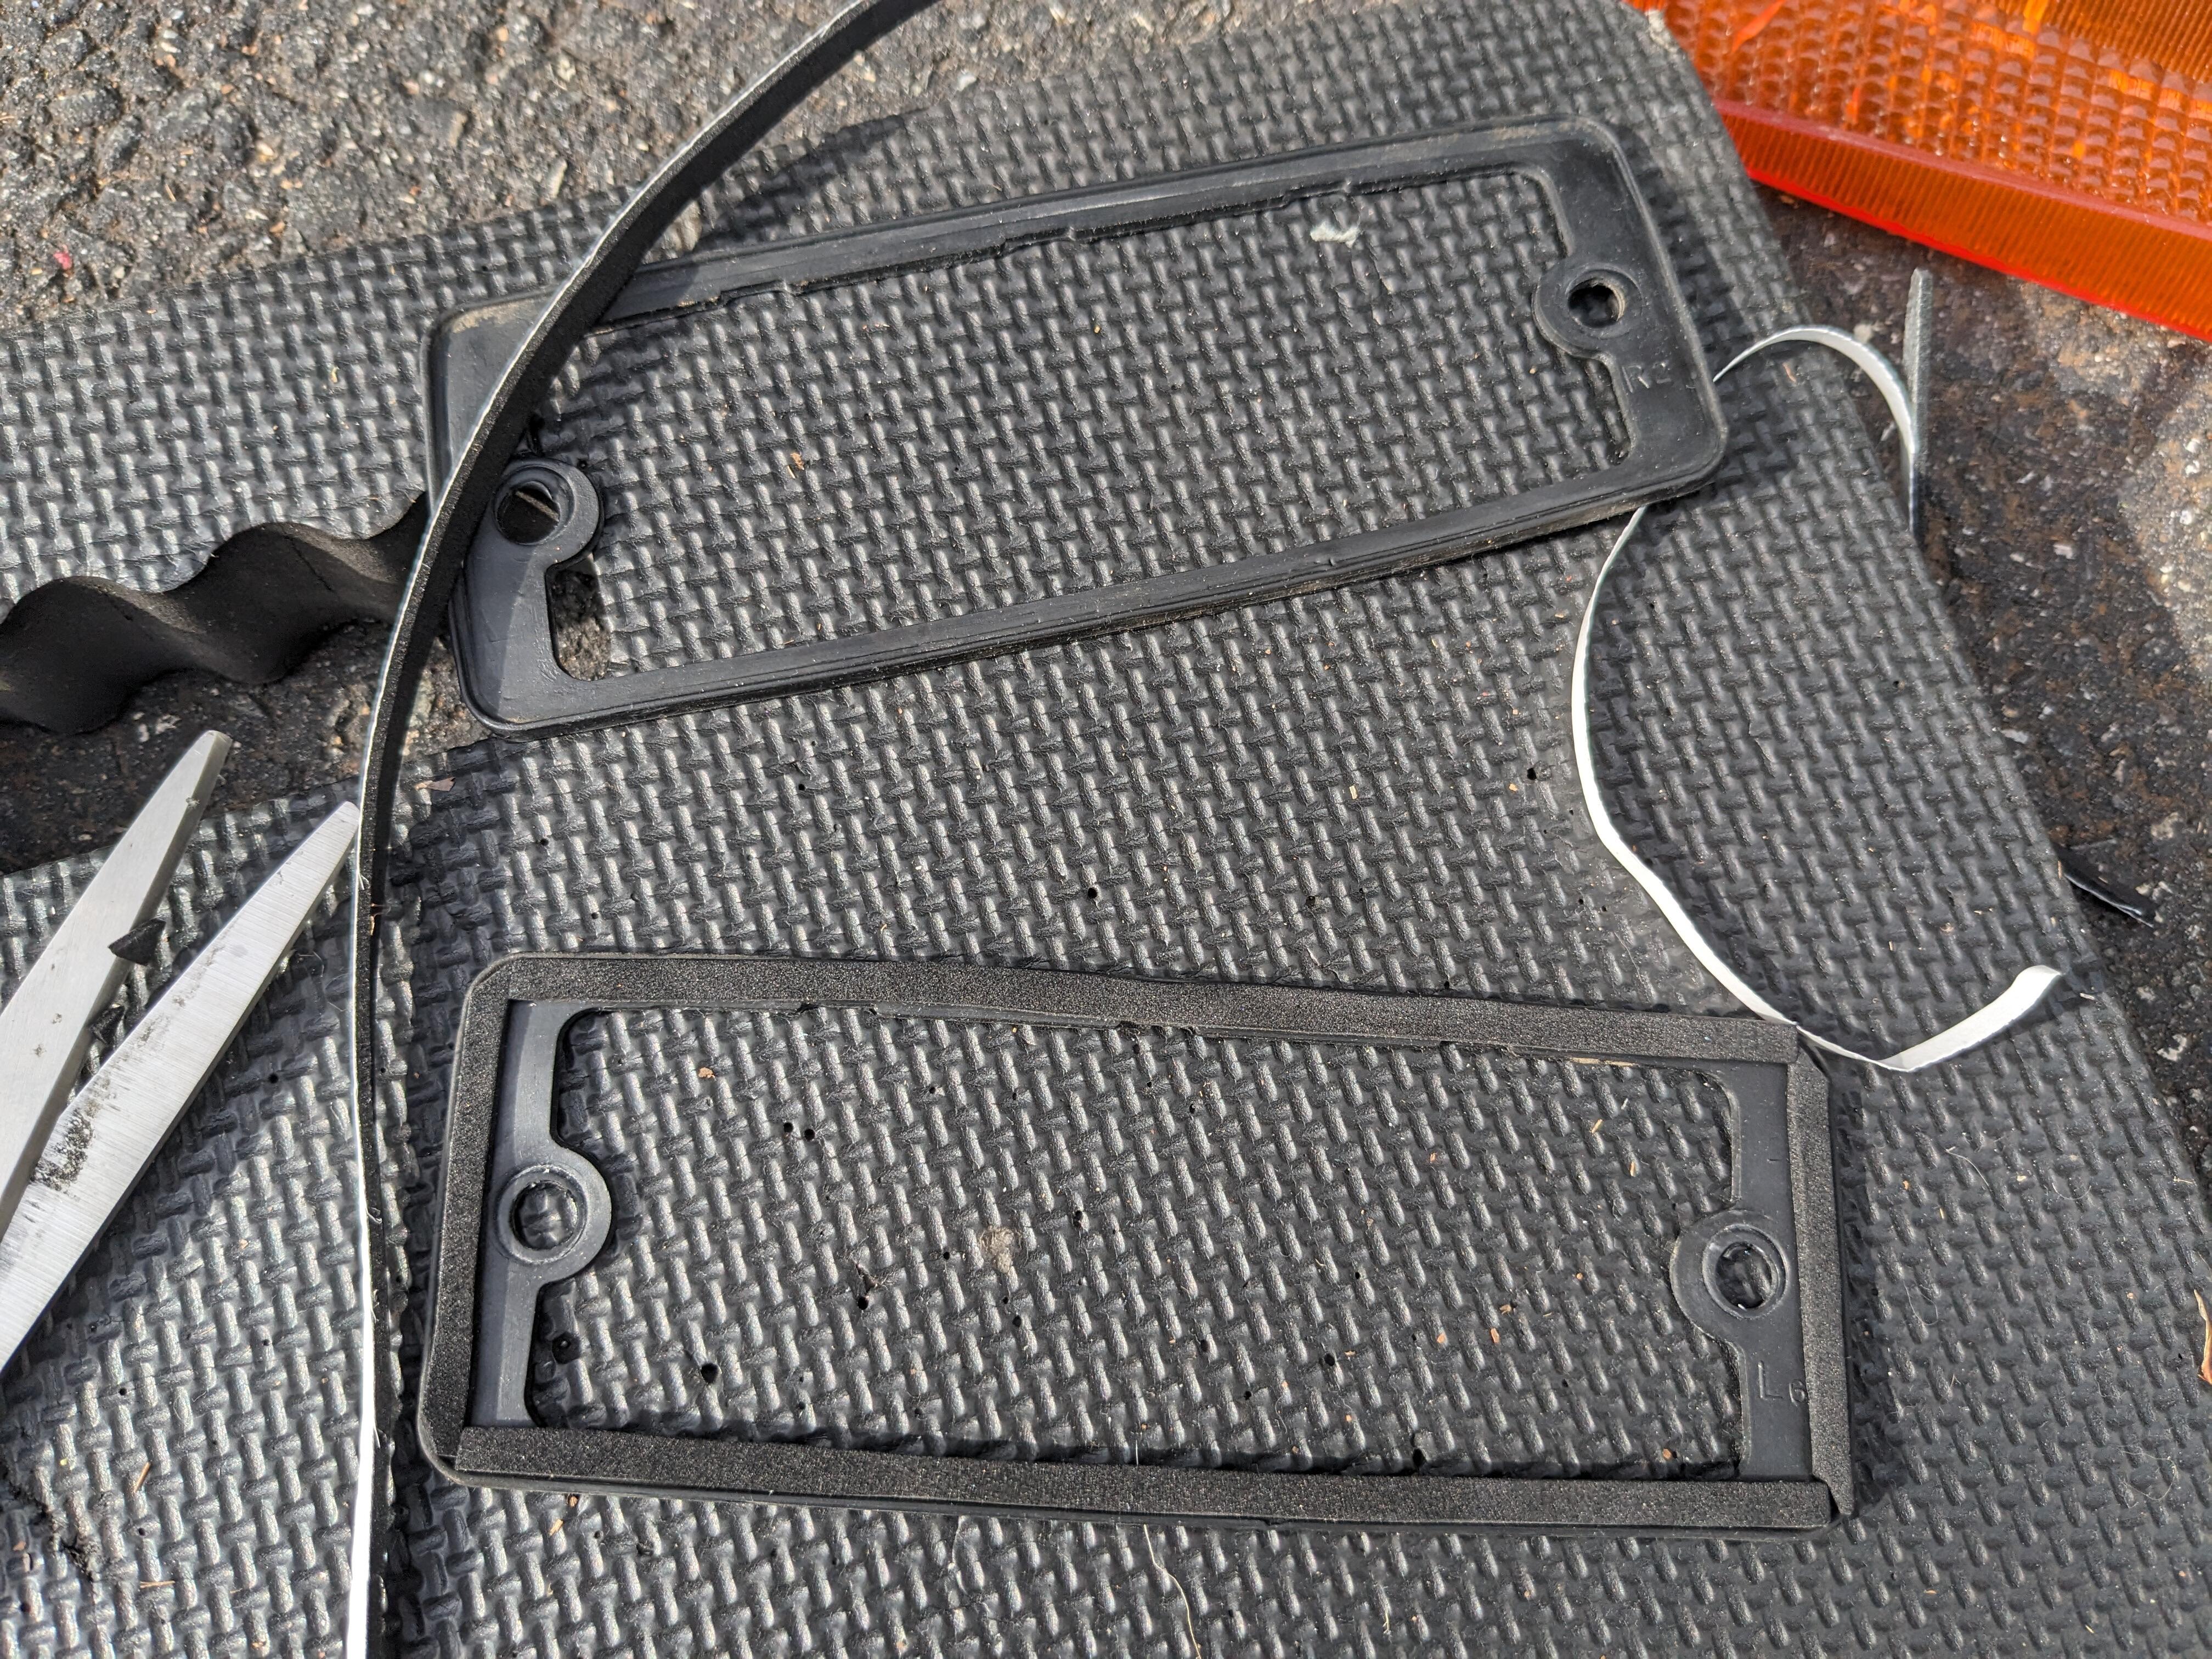
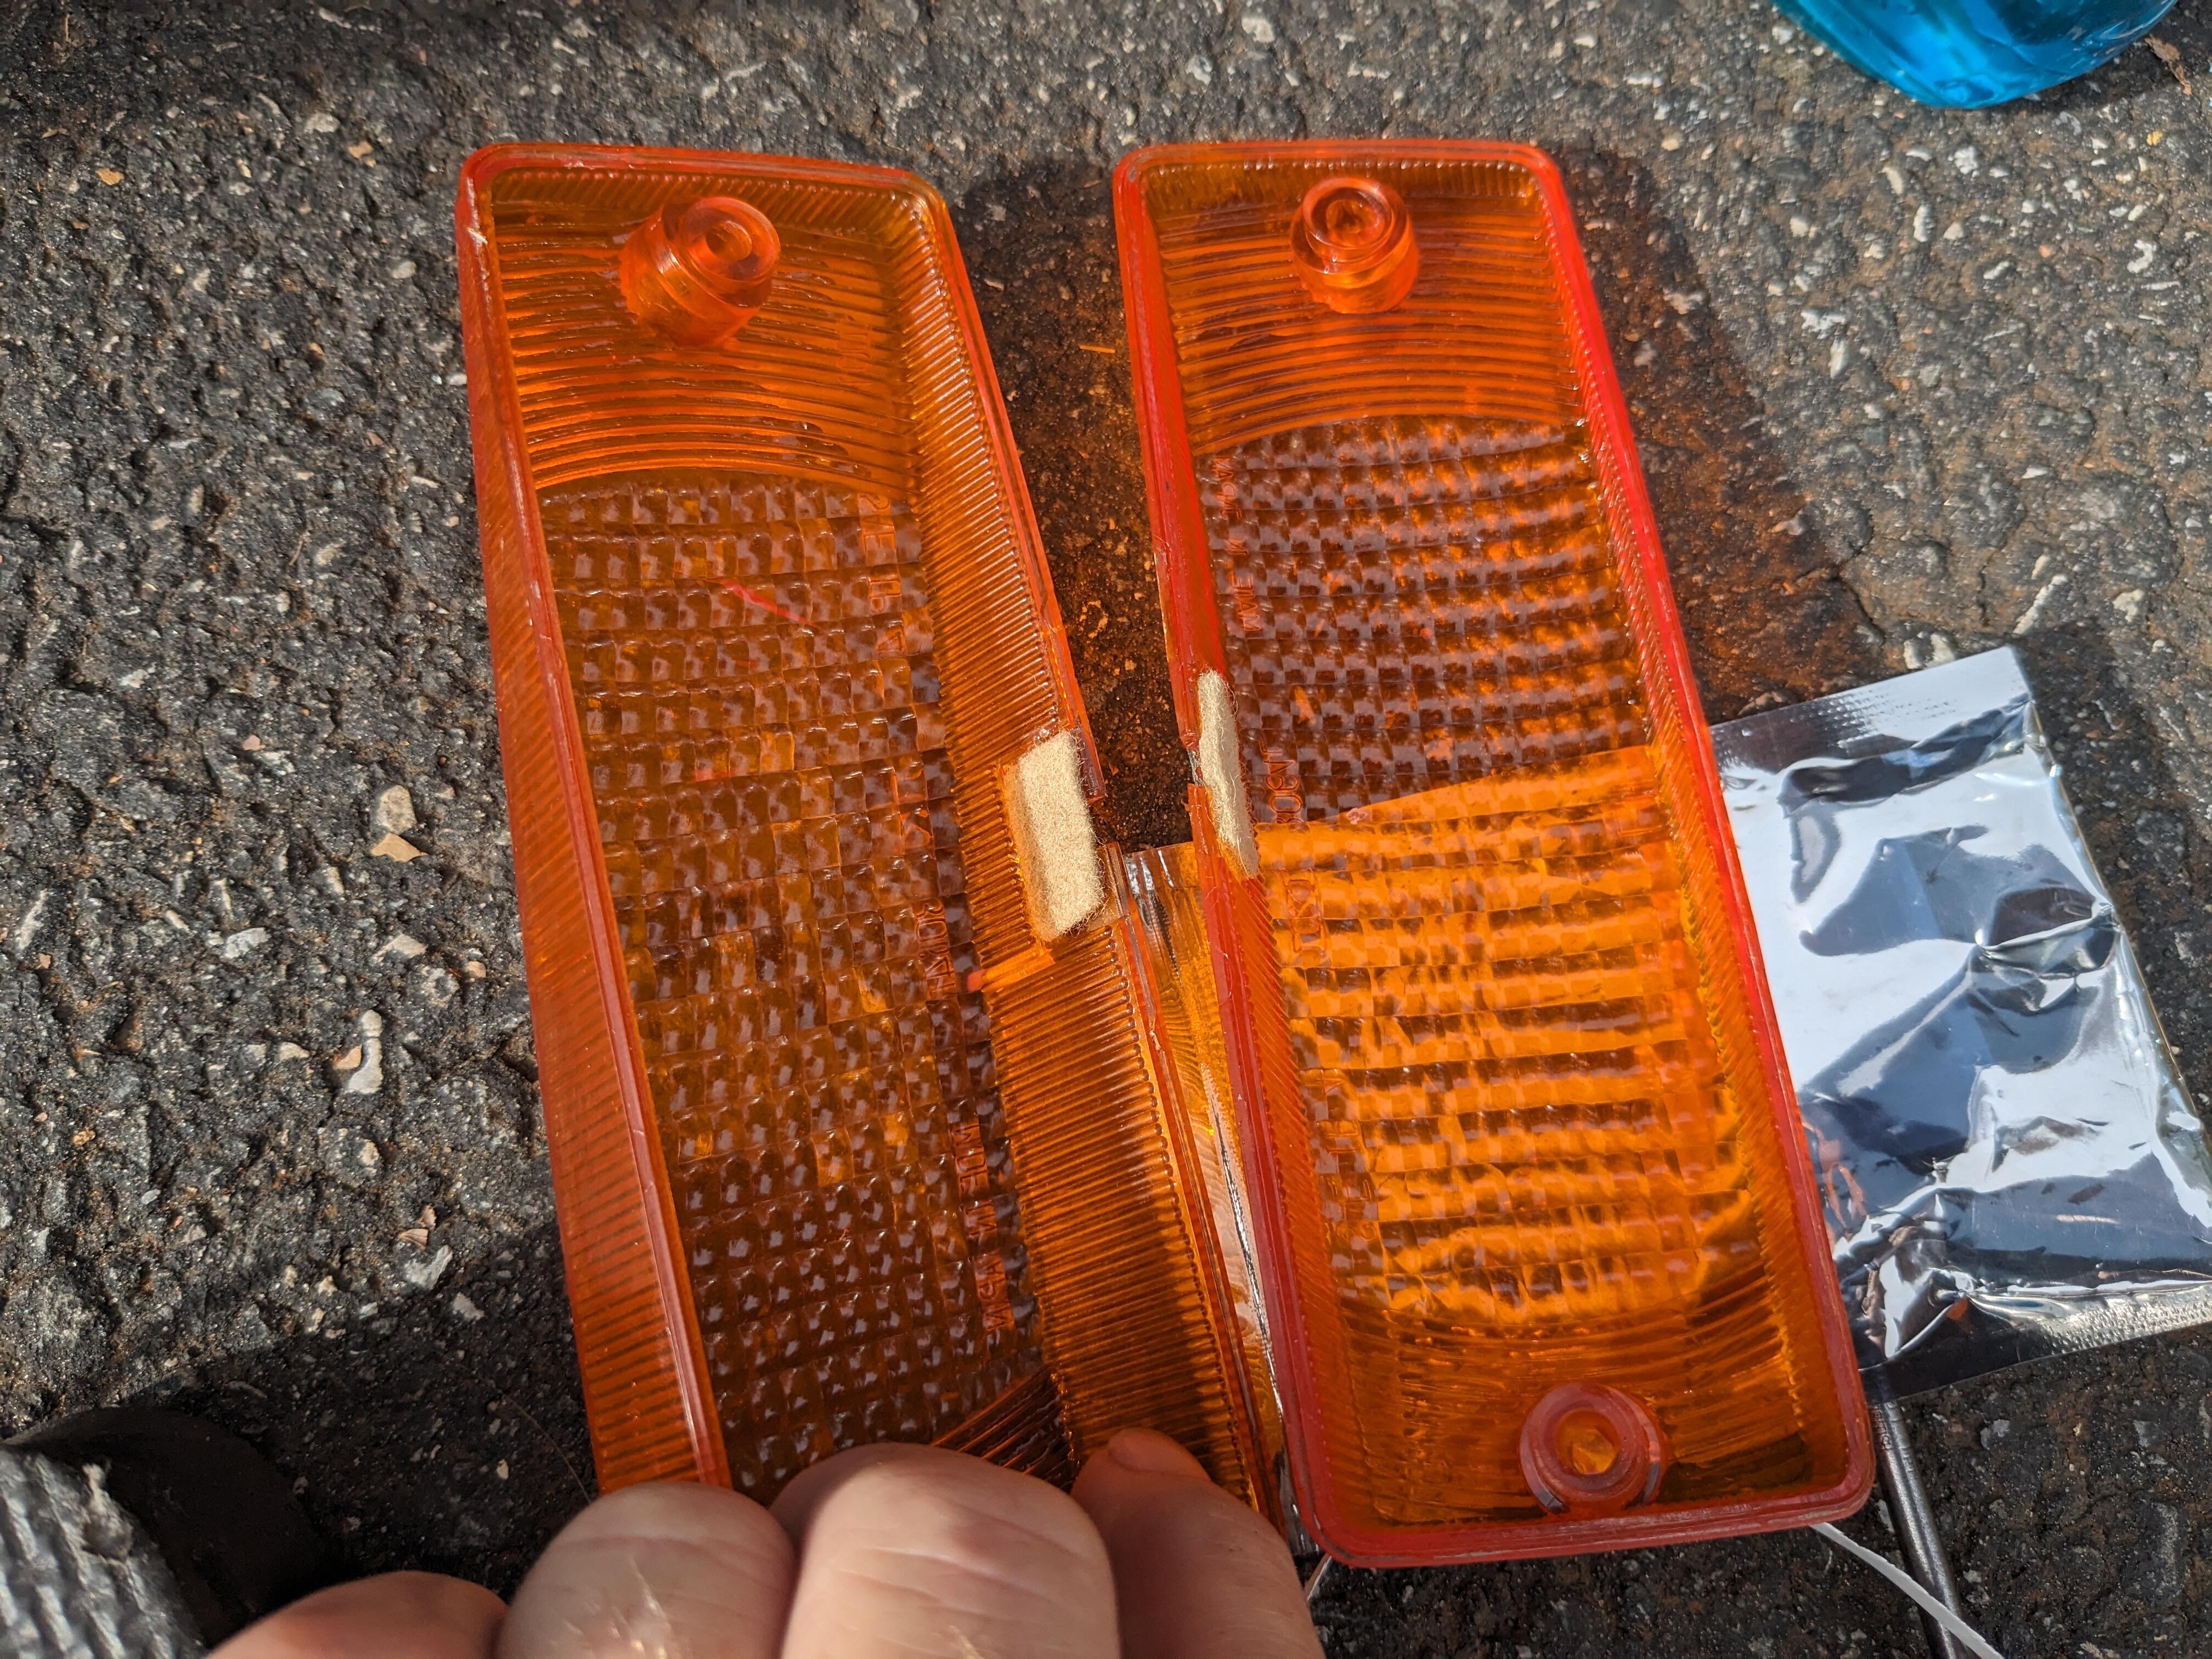
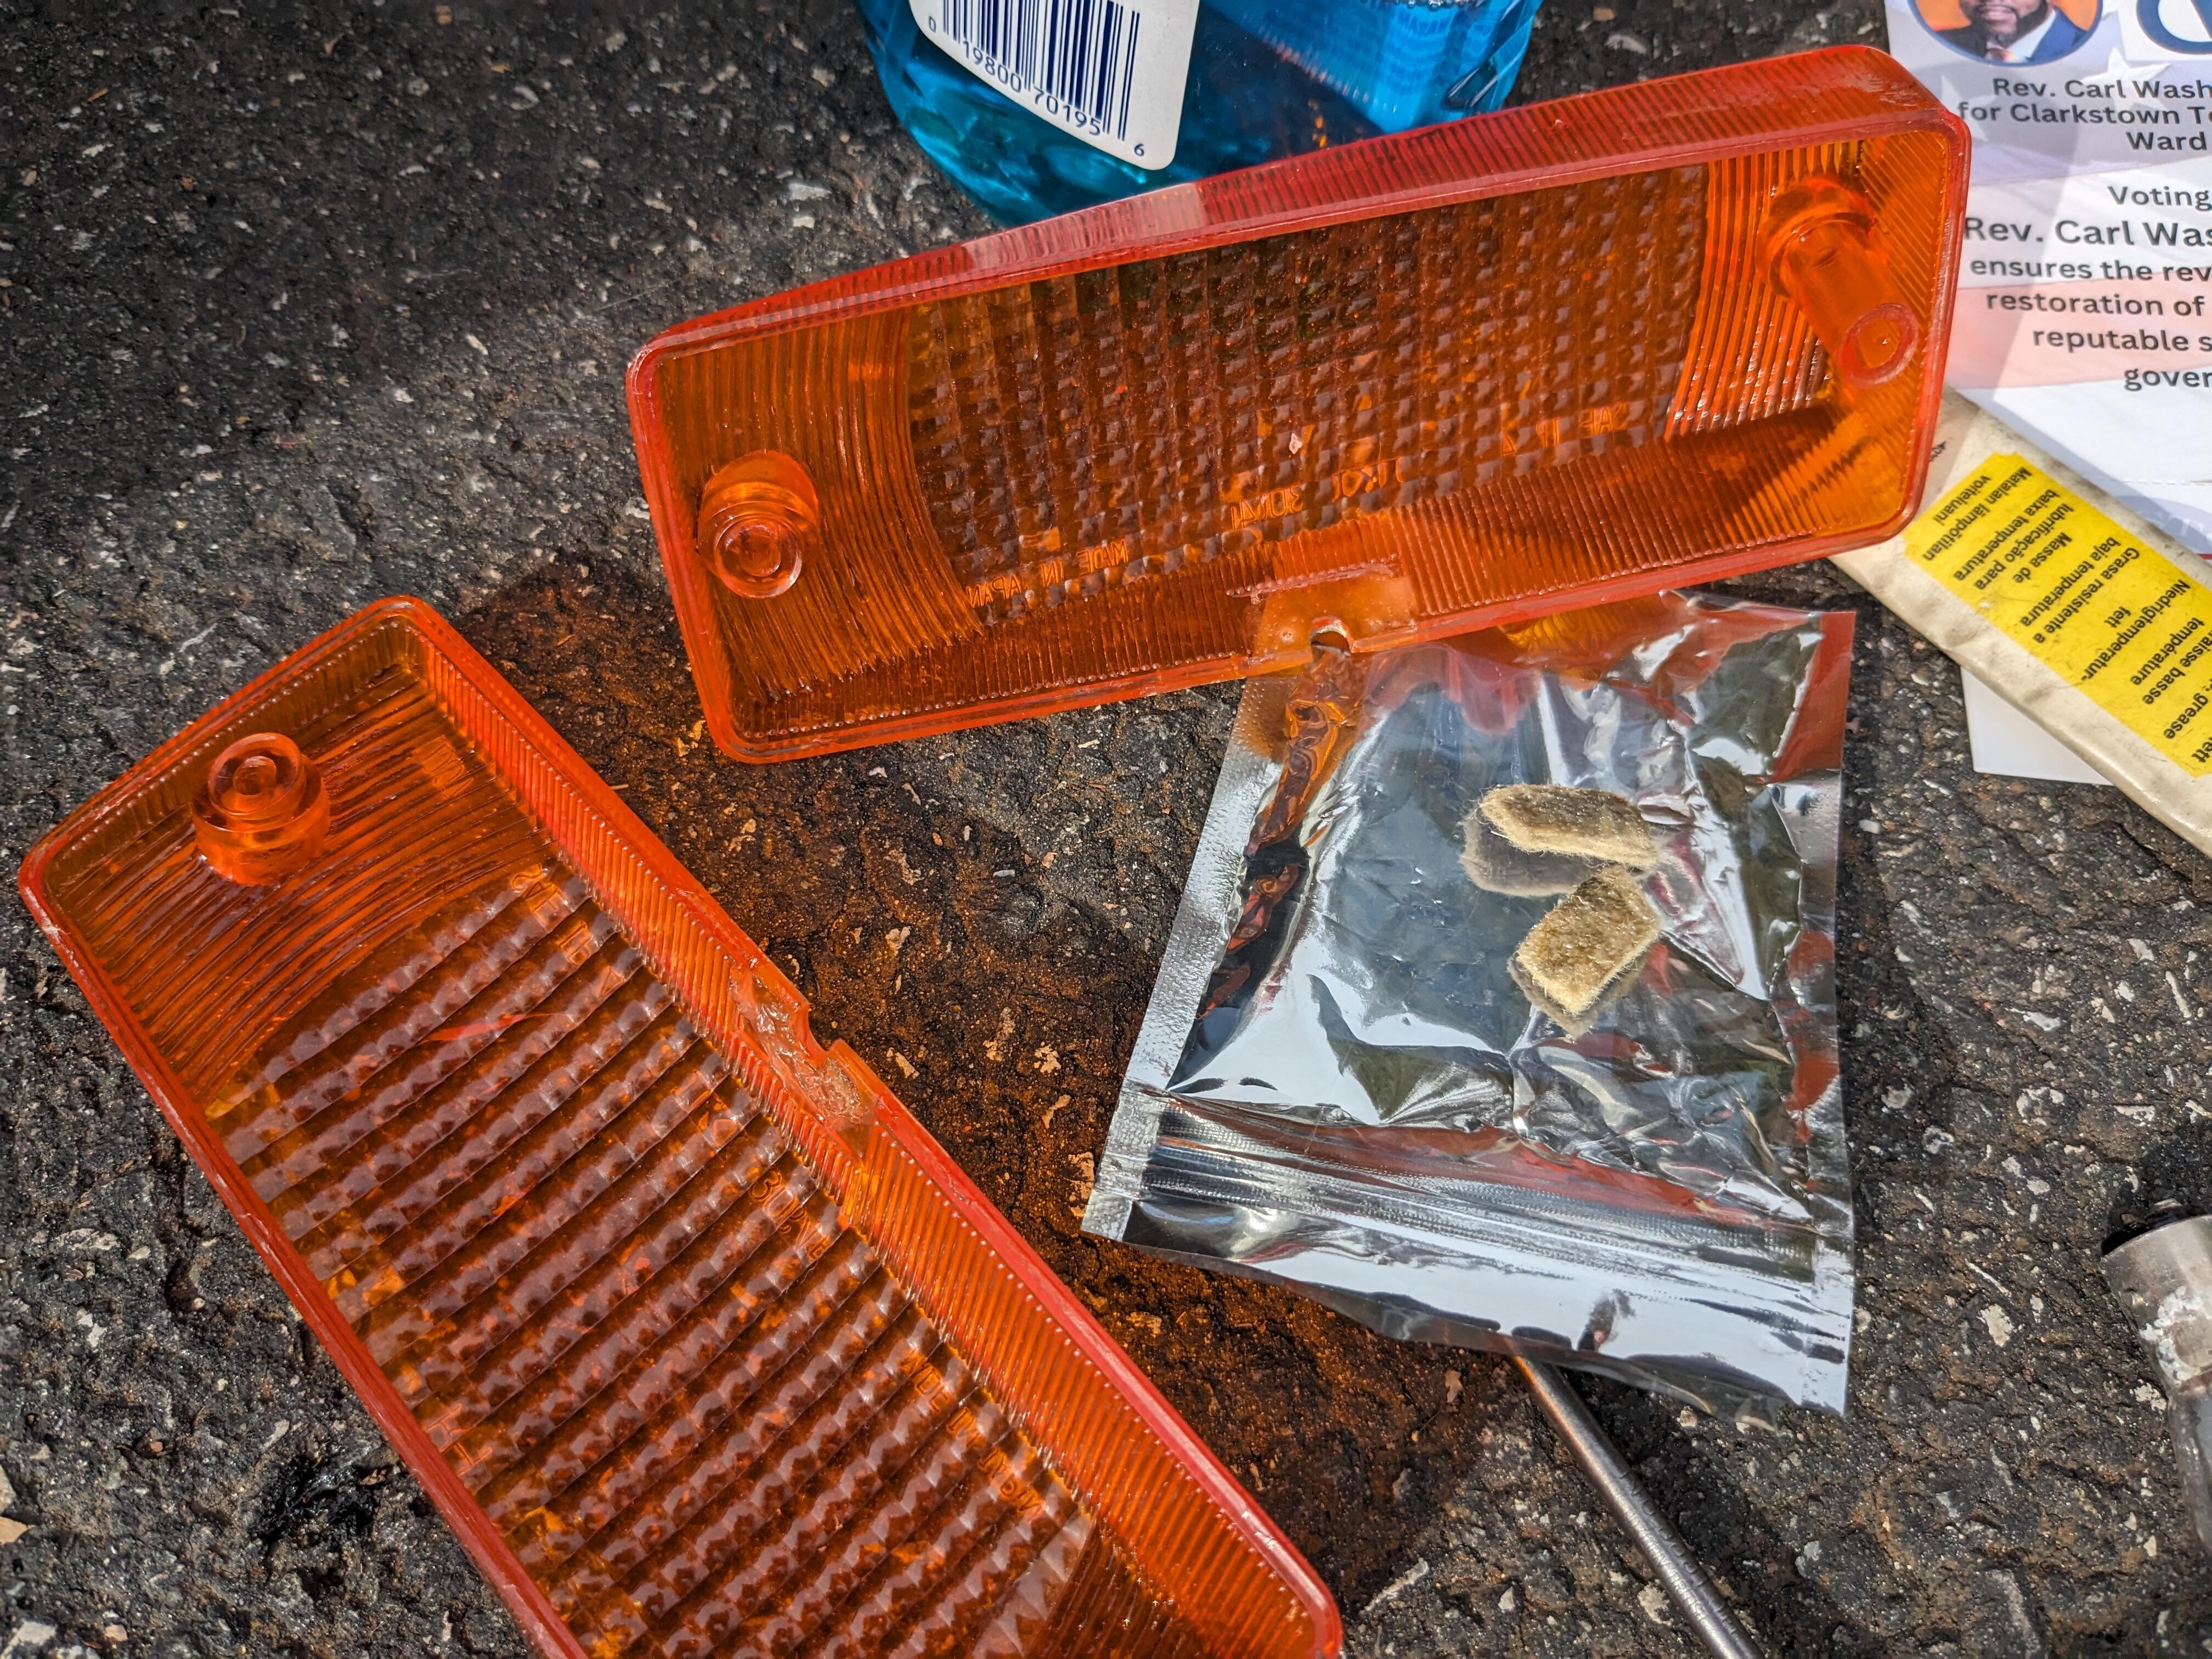
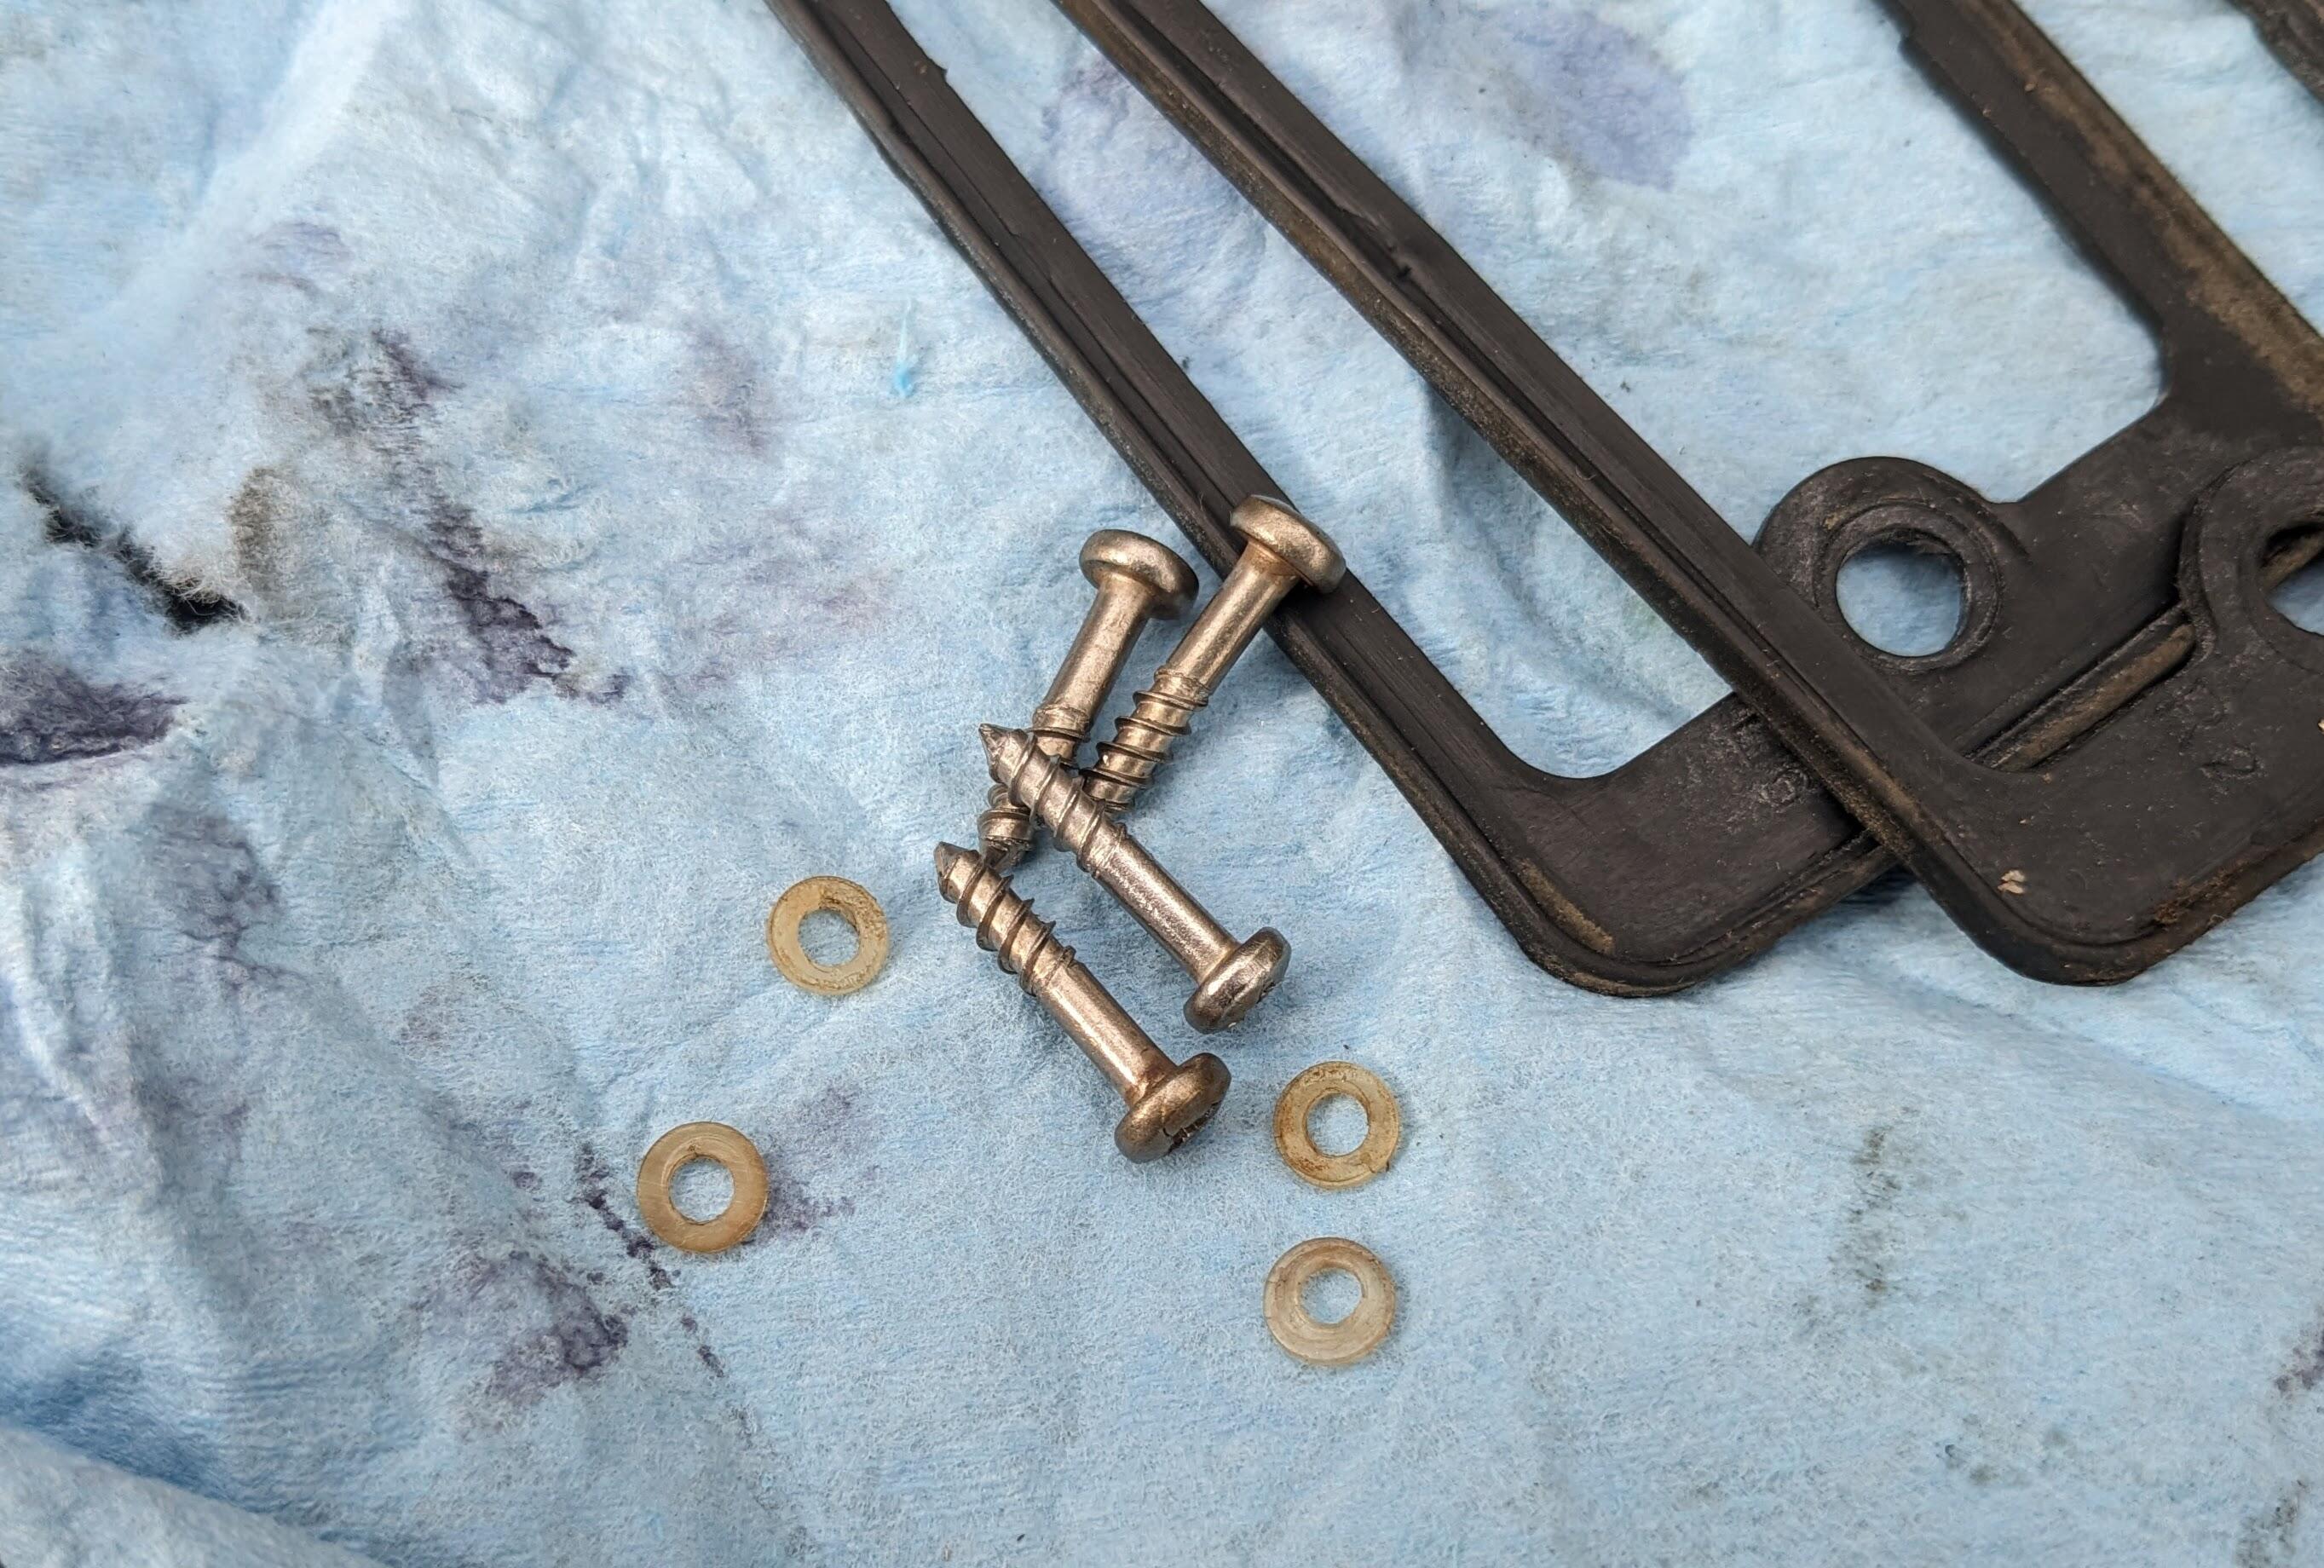
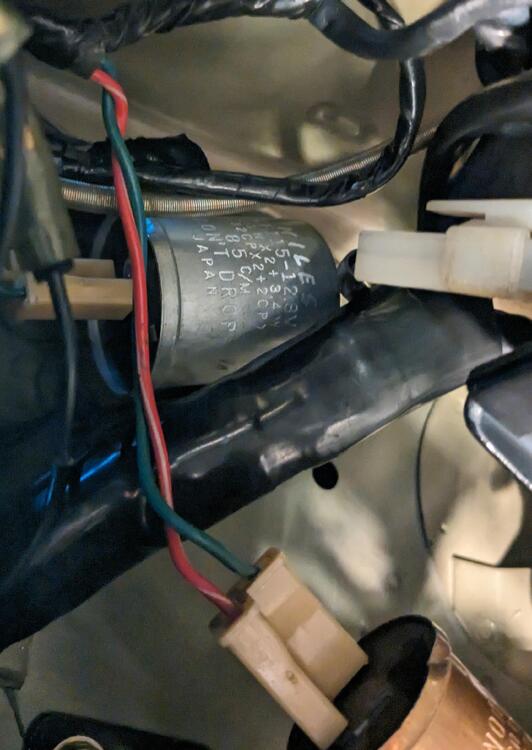
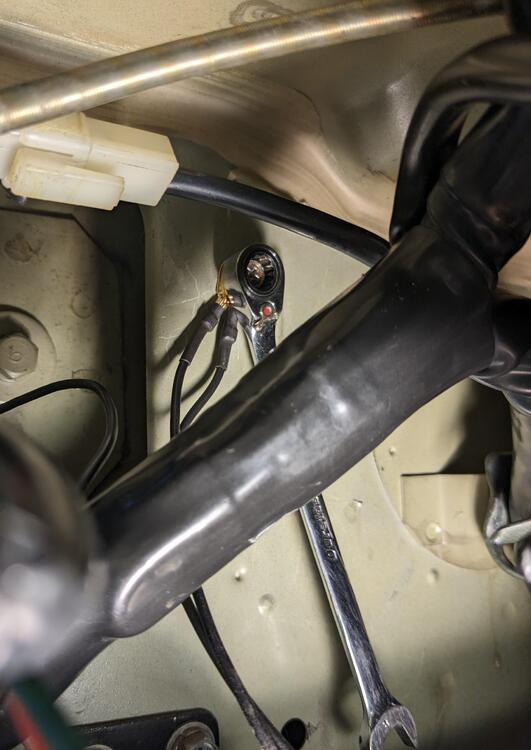
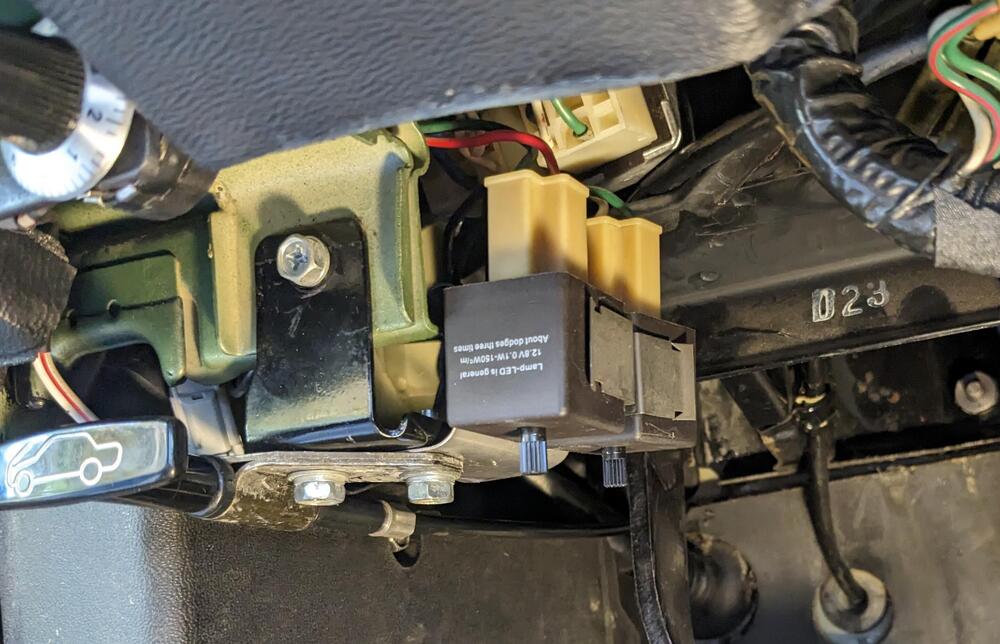
Installed the LED-compatible flasher relays today & switched out the front & rear directional bulbs removed the two factory relays used the flasher relay mount point for the grounds made a stainless bracket to retain the relays. @SteveJ - It is nice to be able to adjust the flasher speed 🙂 Cleaned up the housings, and added a thin strip of closed cell foam to improve the seal. Also Volvo used nylon washers to help seal the screw holes, so I added those. cleaned up the foam moisture pads & re-glued them


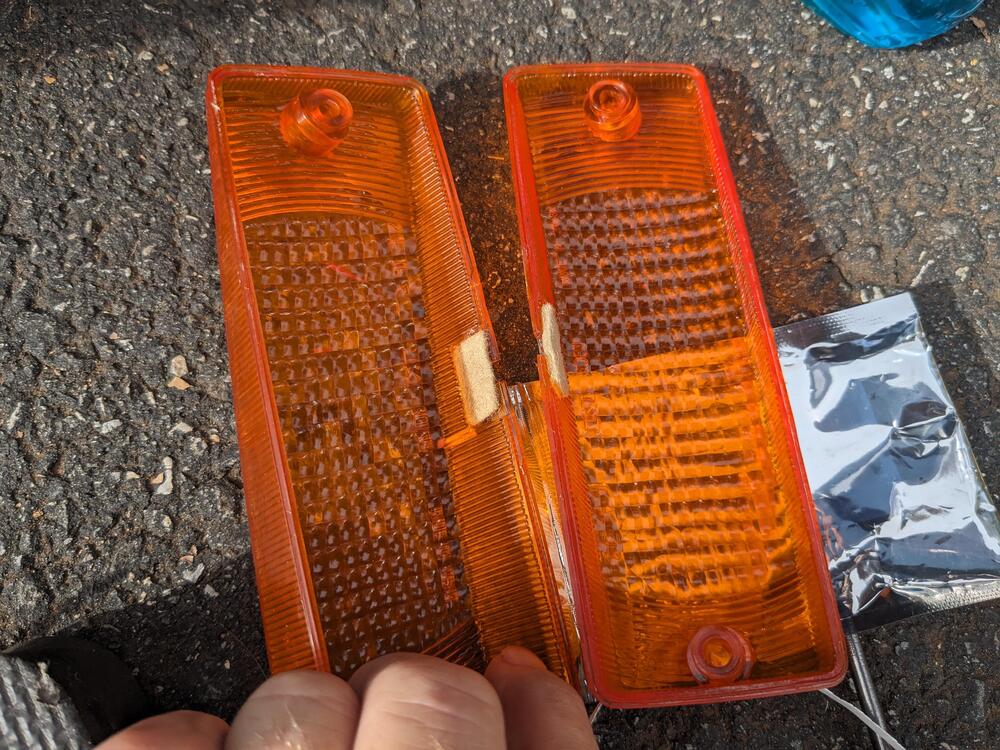

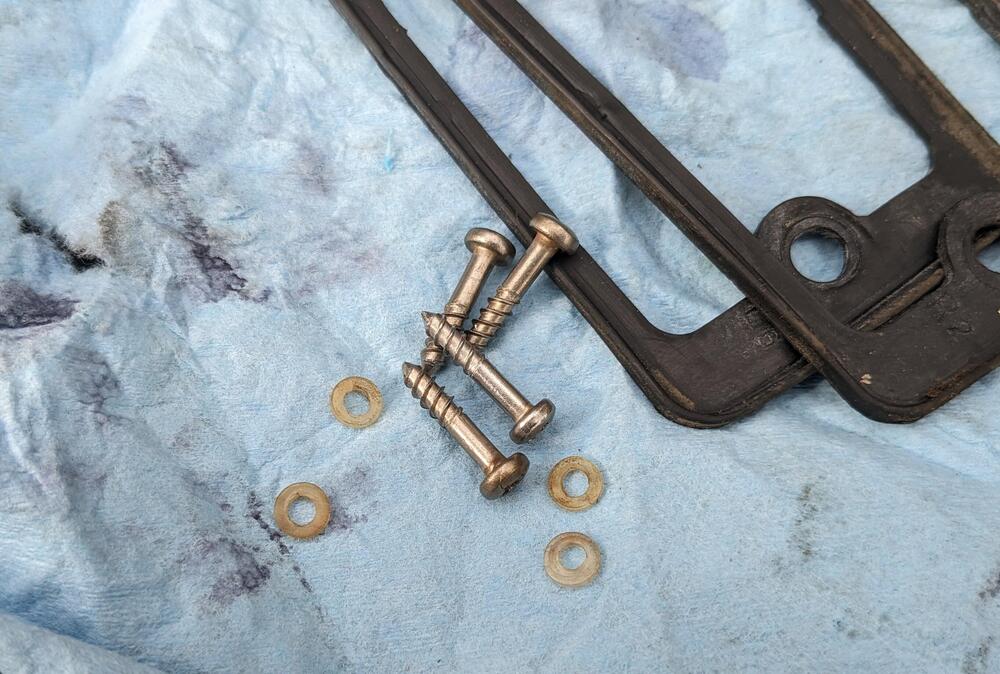
-
I don't recall the tach dropping out, so it's not like the ignition system was altogether dead. I'm assuming it was the non-OEM component, it has not done it once since I swapped it out. I'll know for sure during the week, I'll be driving to work Mon-Wed.
-
I dunno. The light distribution of the Auxito 6500K in the H4 housings is significantly better than the Halogen sealed beams I replaced. Maybe it's different with non-H4 housings, but these have a good cut off pattern that is easy to discern against a wall at the appropriate measurement depth.
-
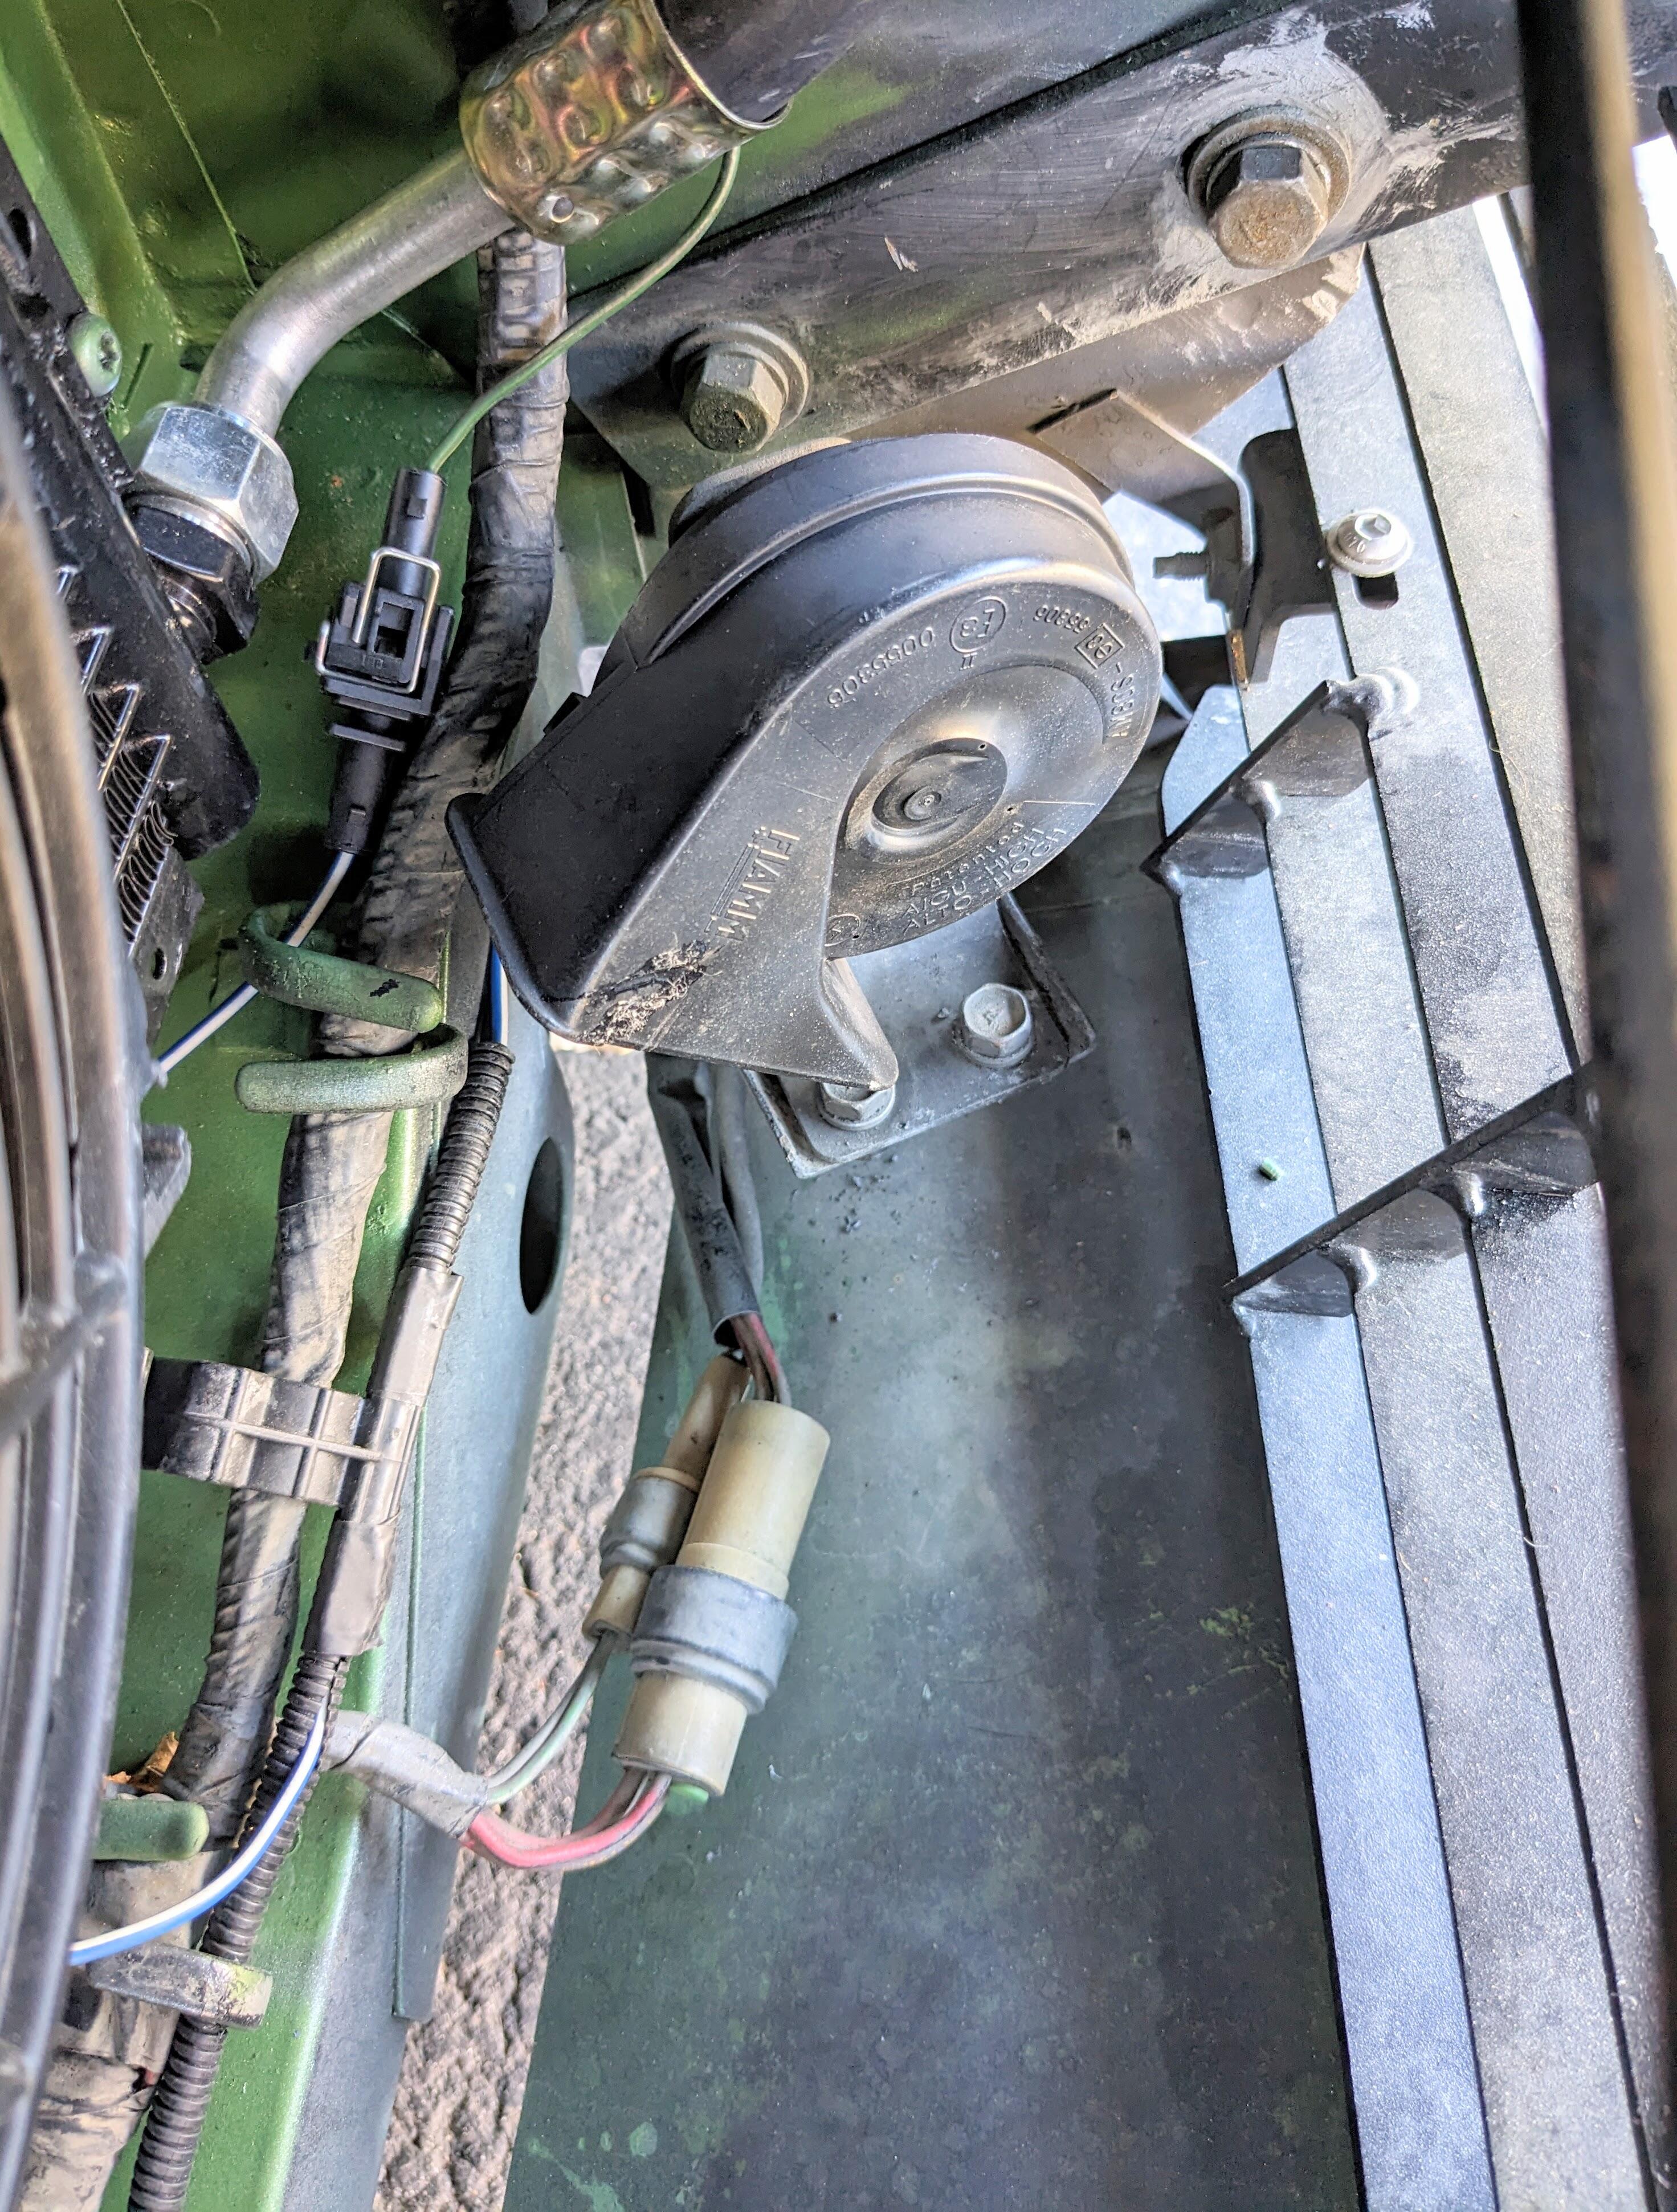
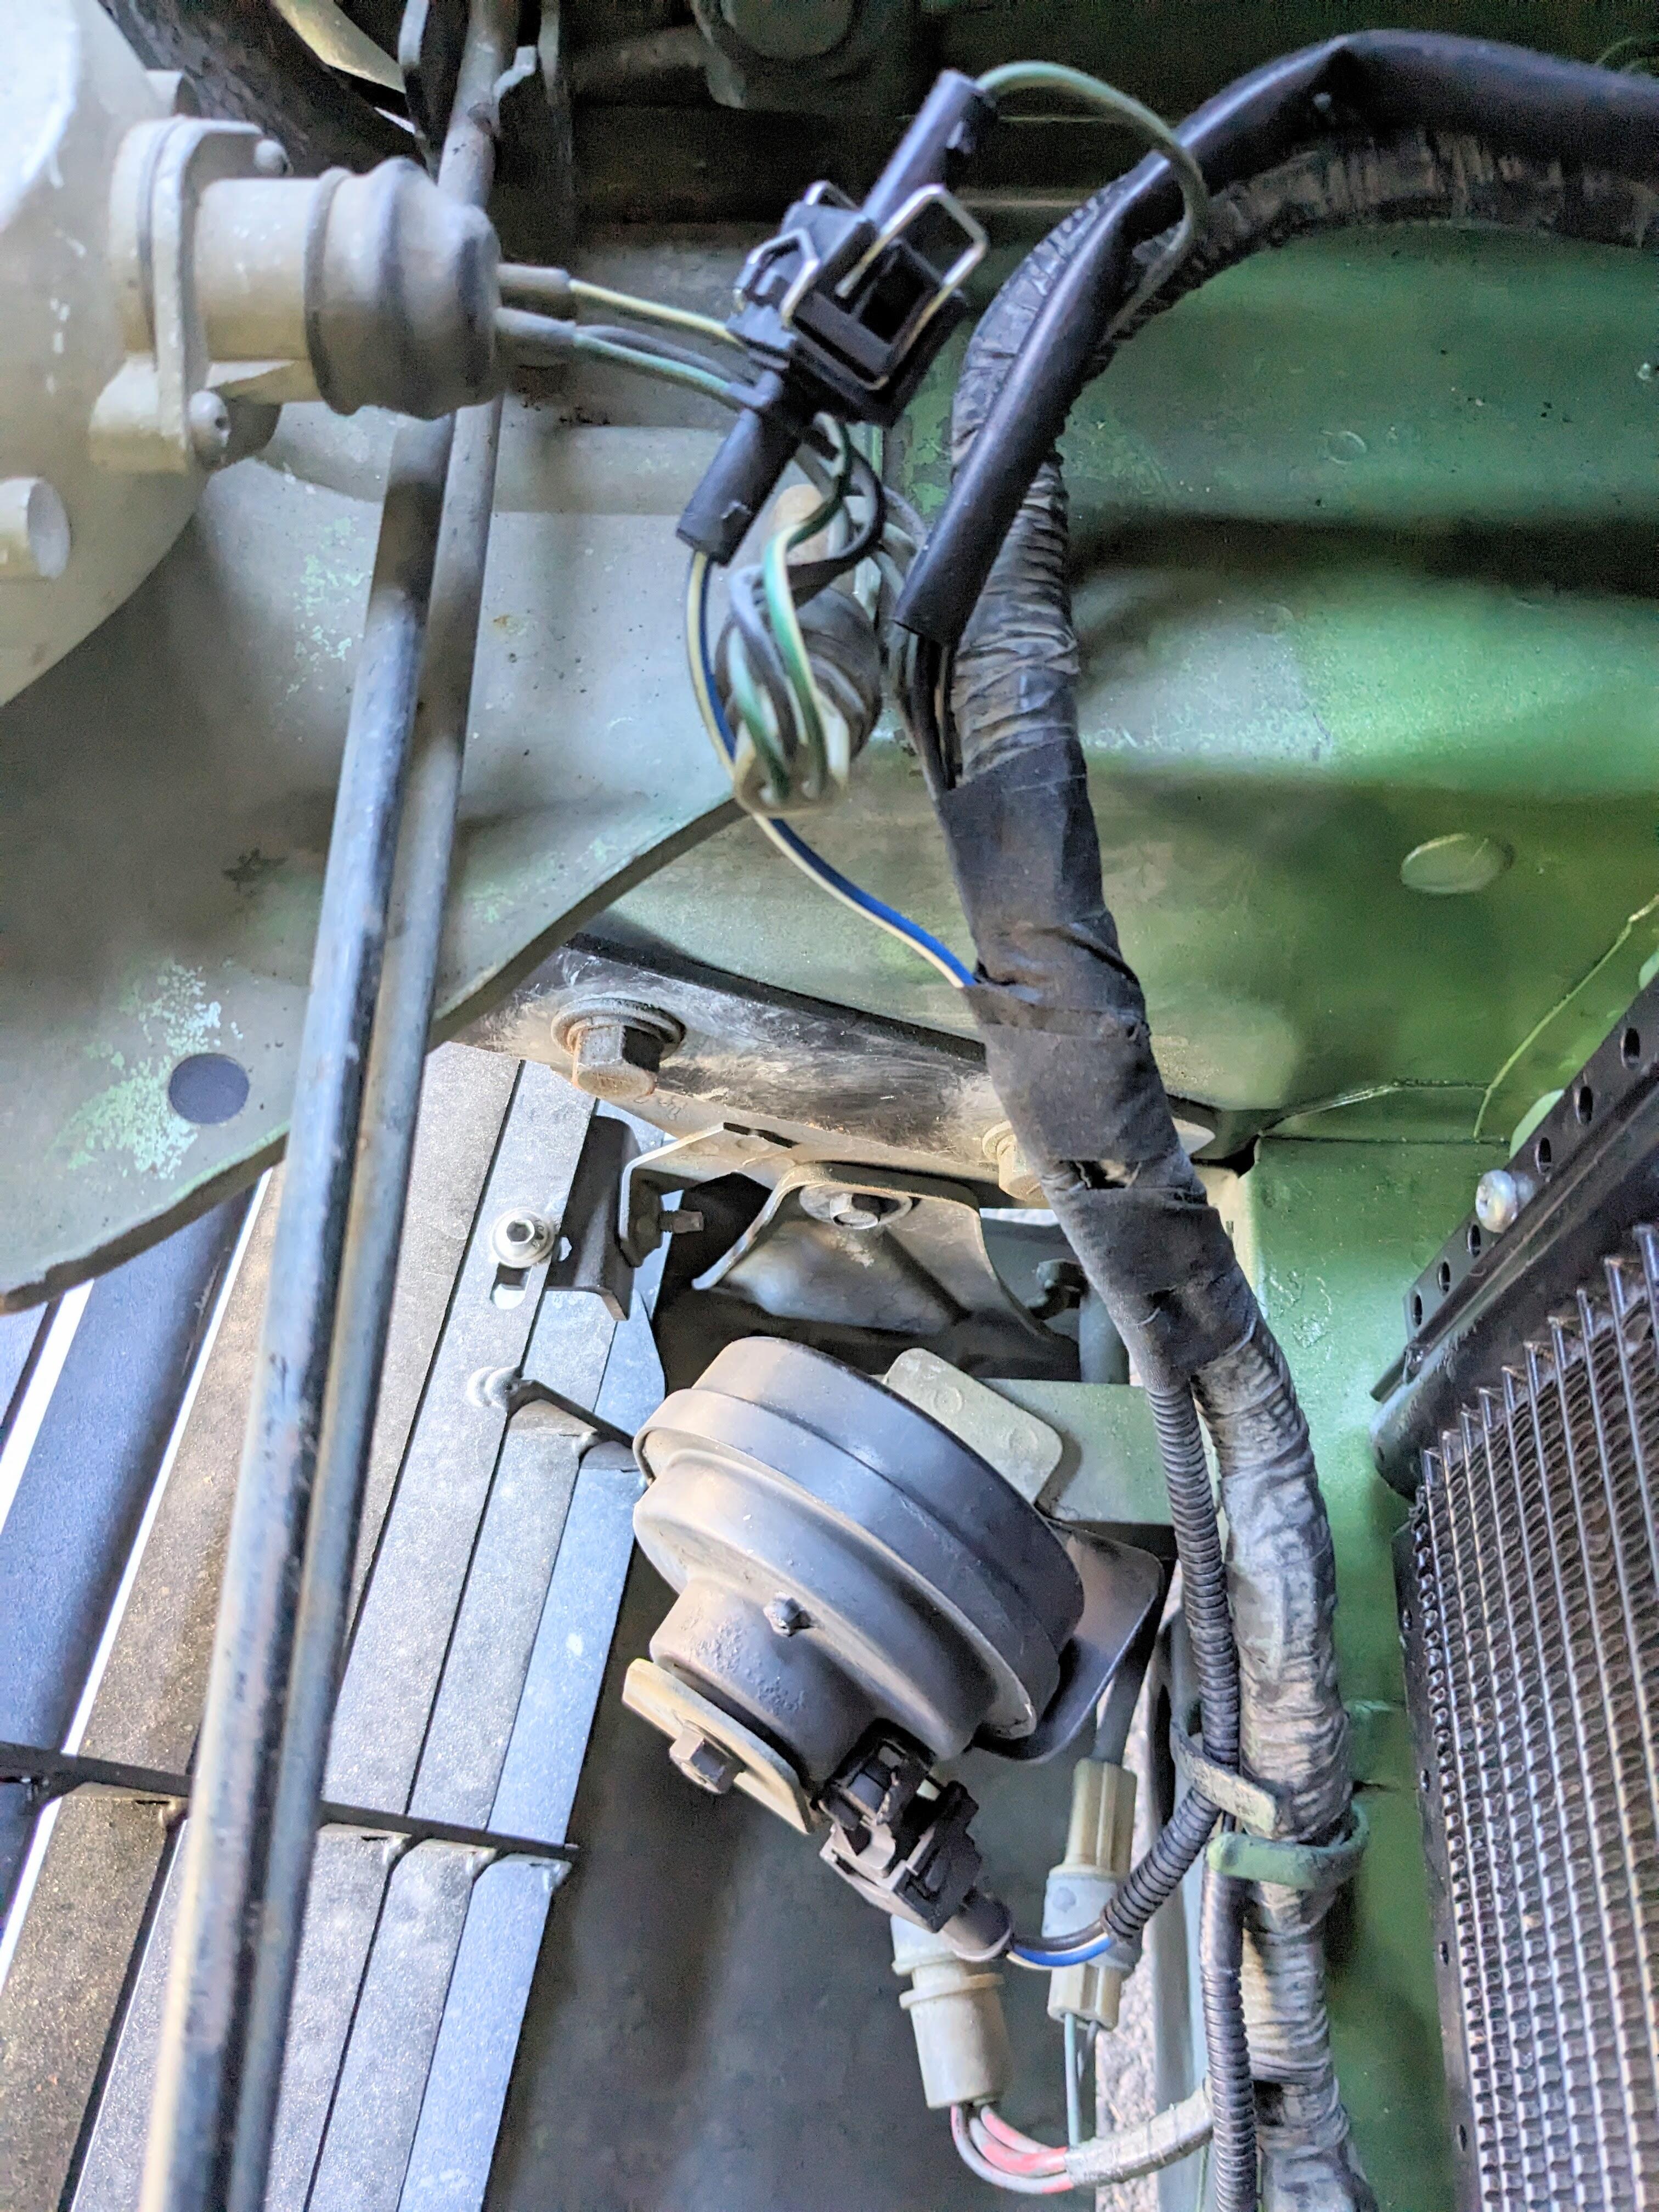
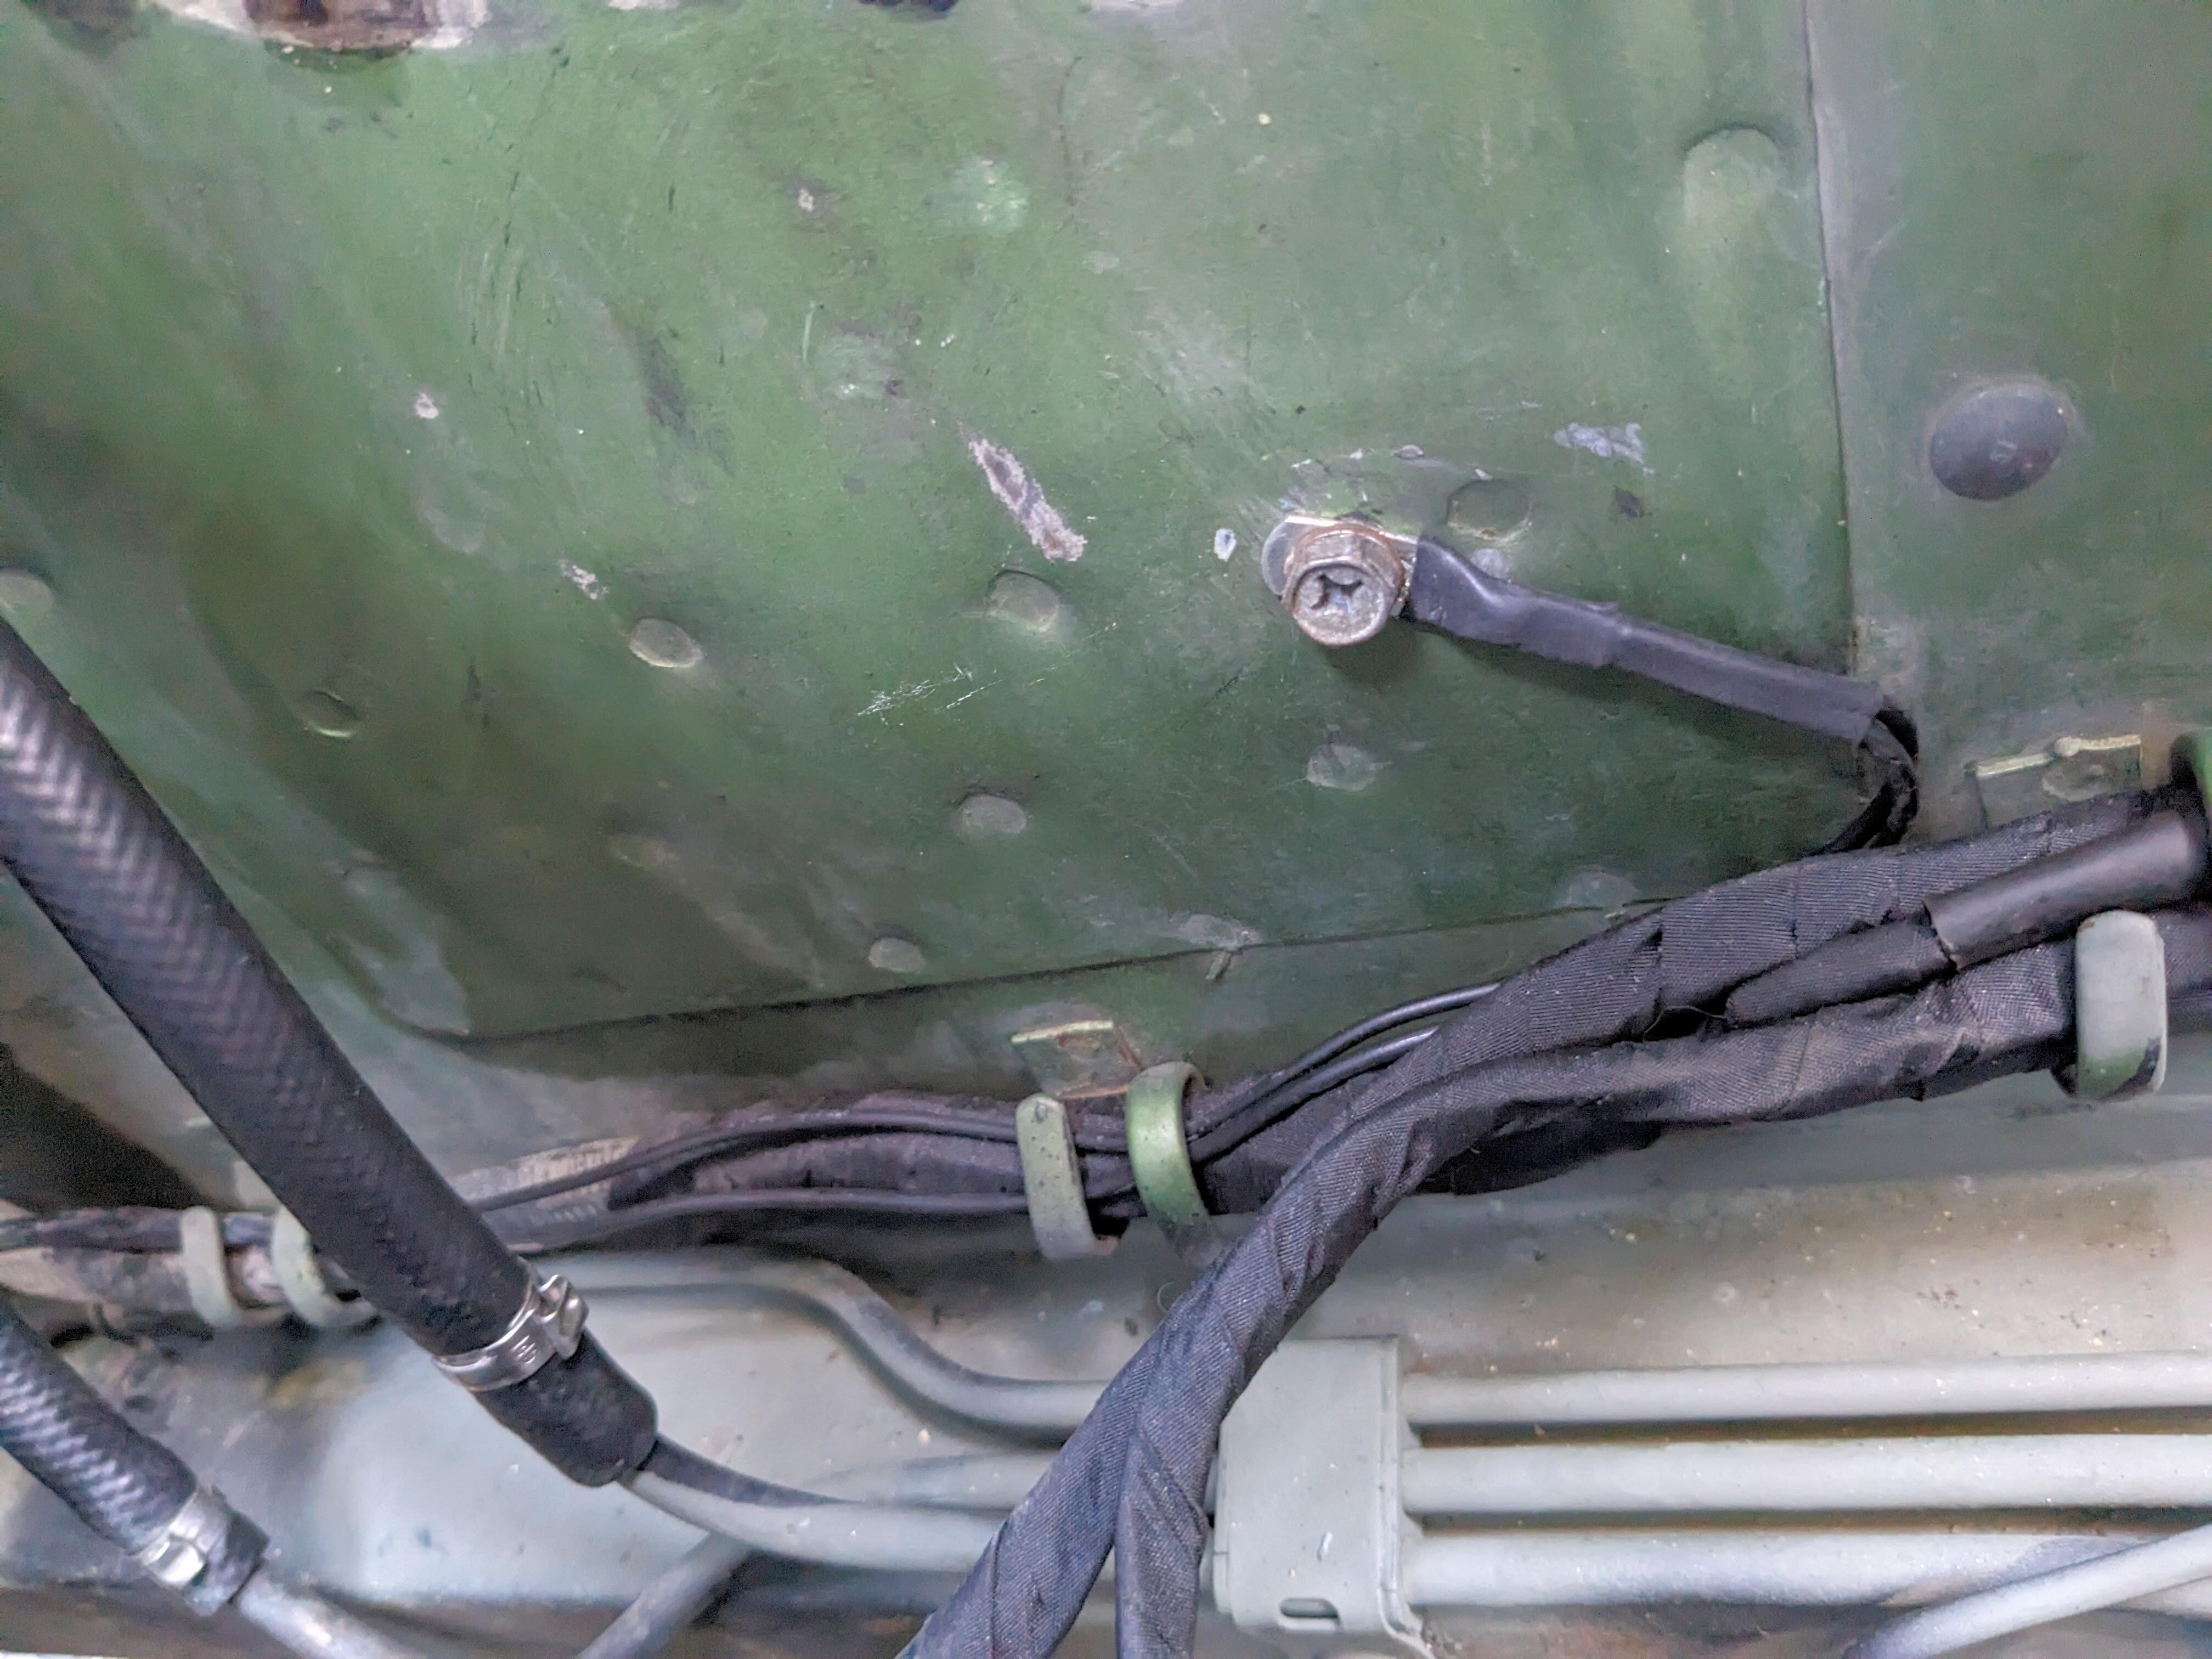
My factory horns were shagged - sounded like an anemic fart at best. I need good horns with all the SUV / flotilla drivers who don't look down before lane changing Added a sub harness with grounds and a single JPT connector replacement for the factory spade, then installed the Volvo/Fiamm horns on the factory brackets Left side Right side grounds on right inner fender
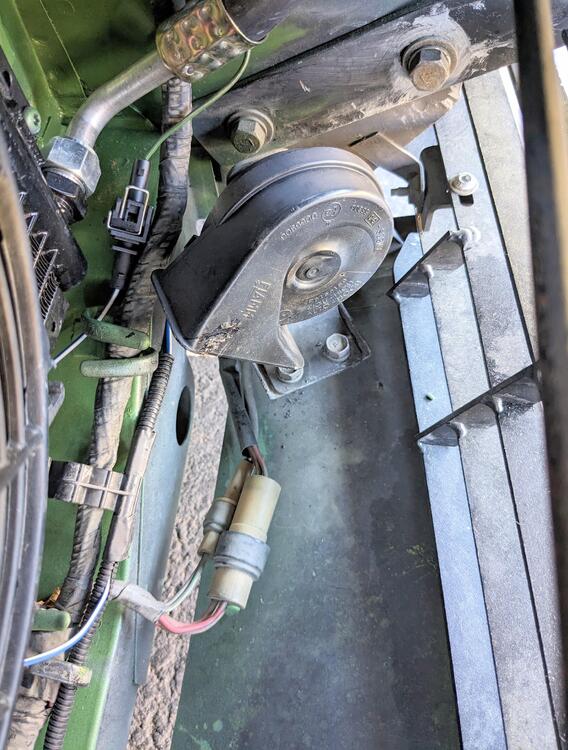
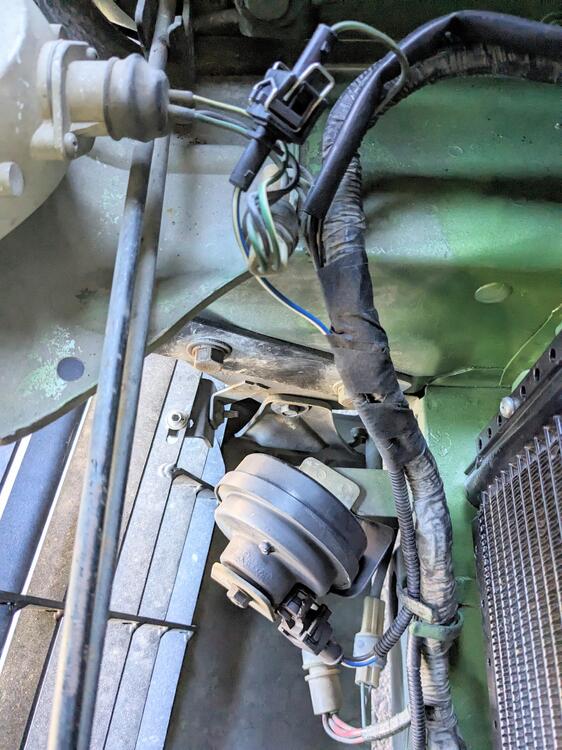
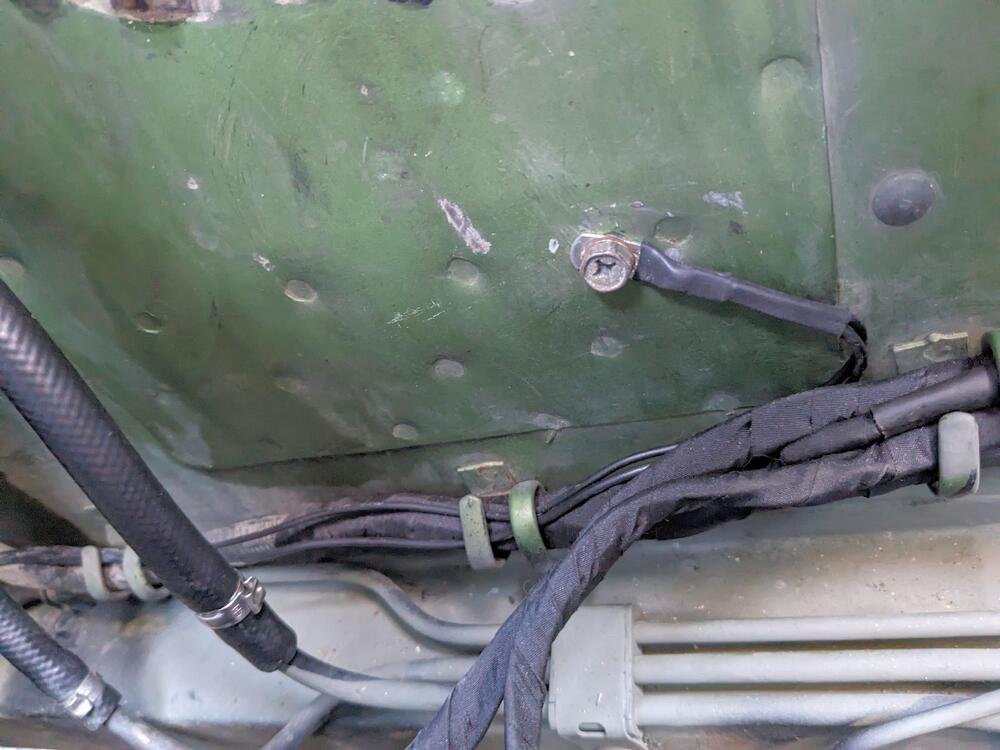
-
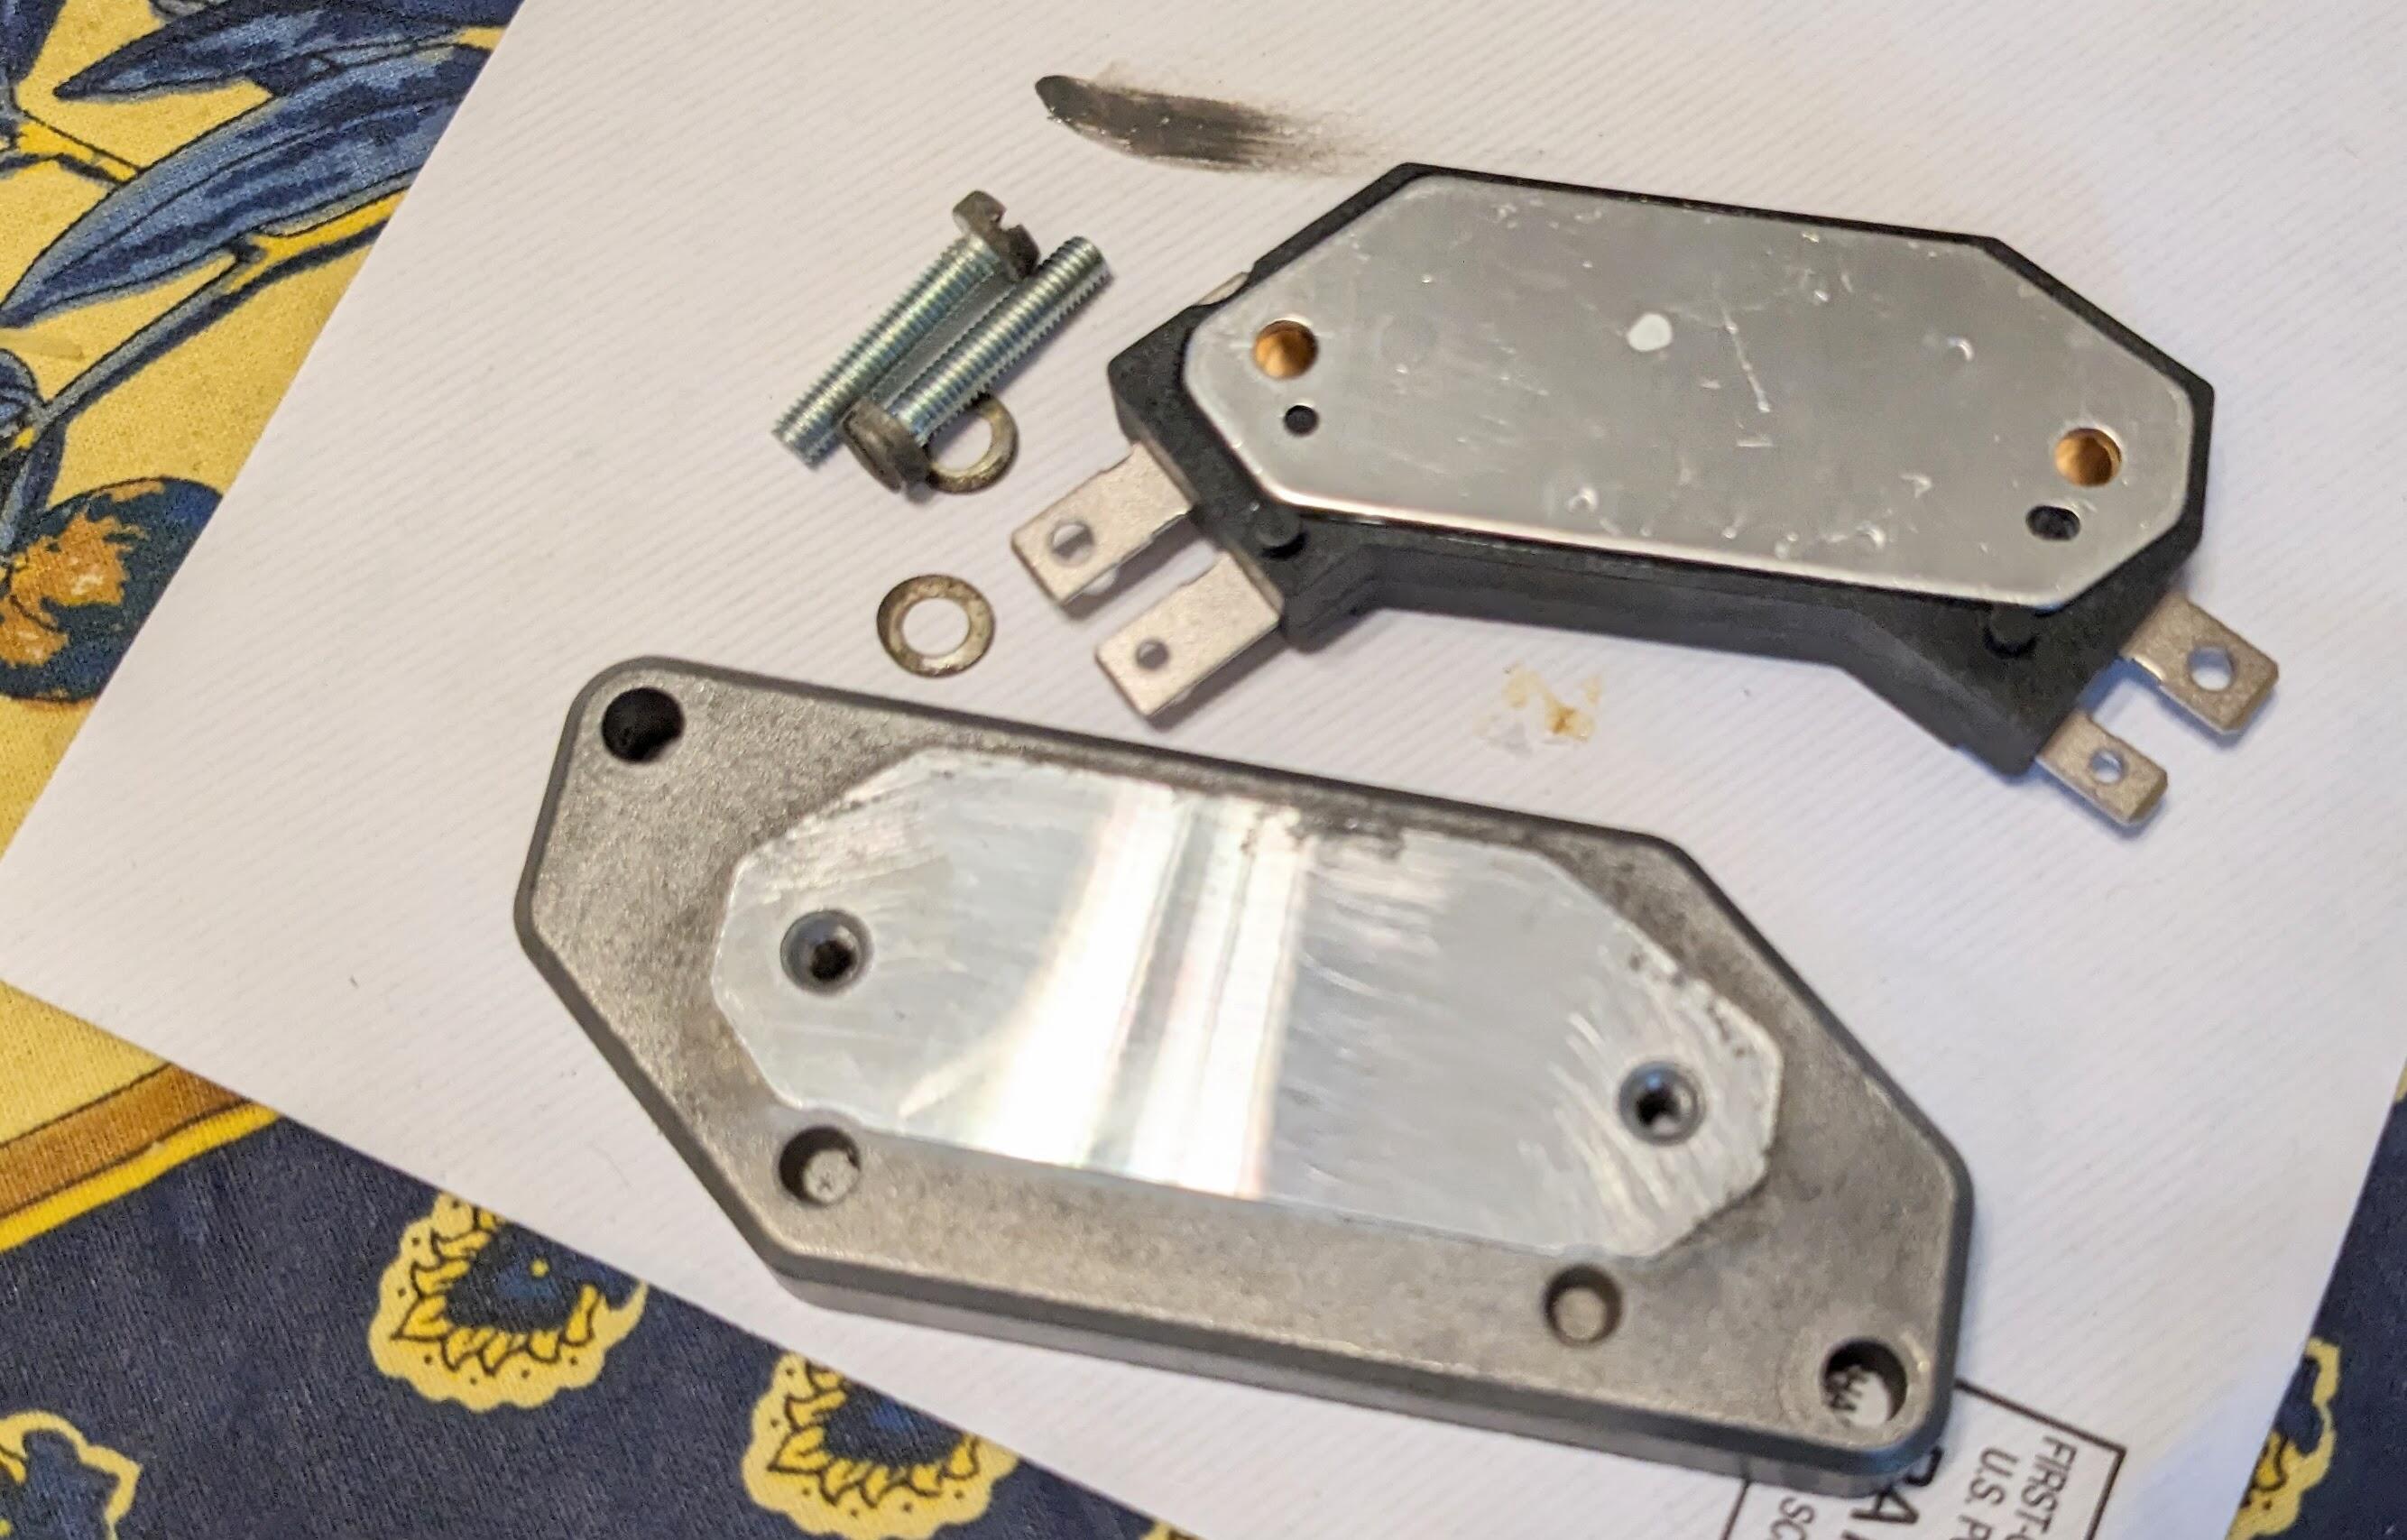
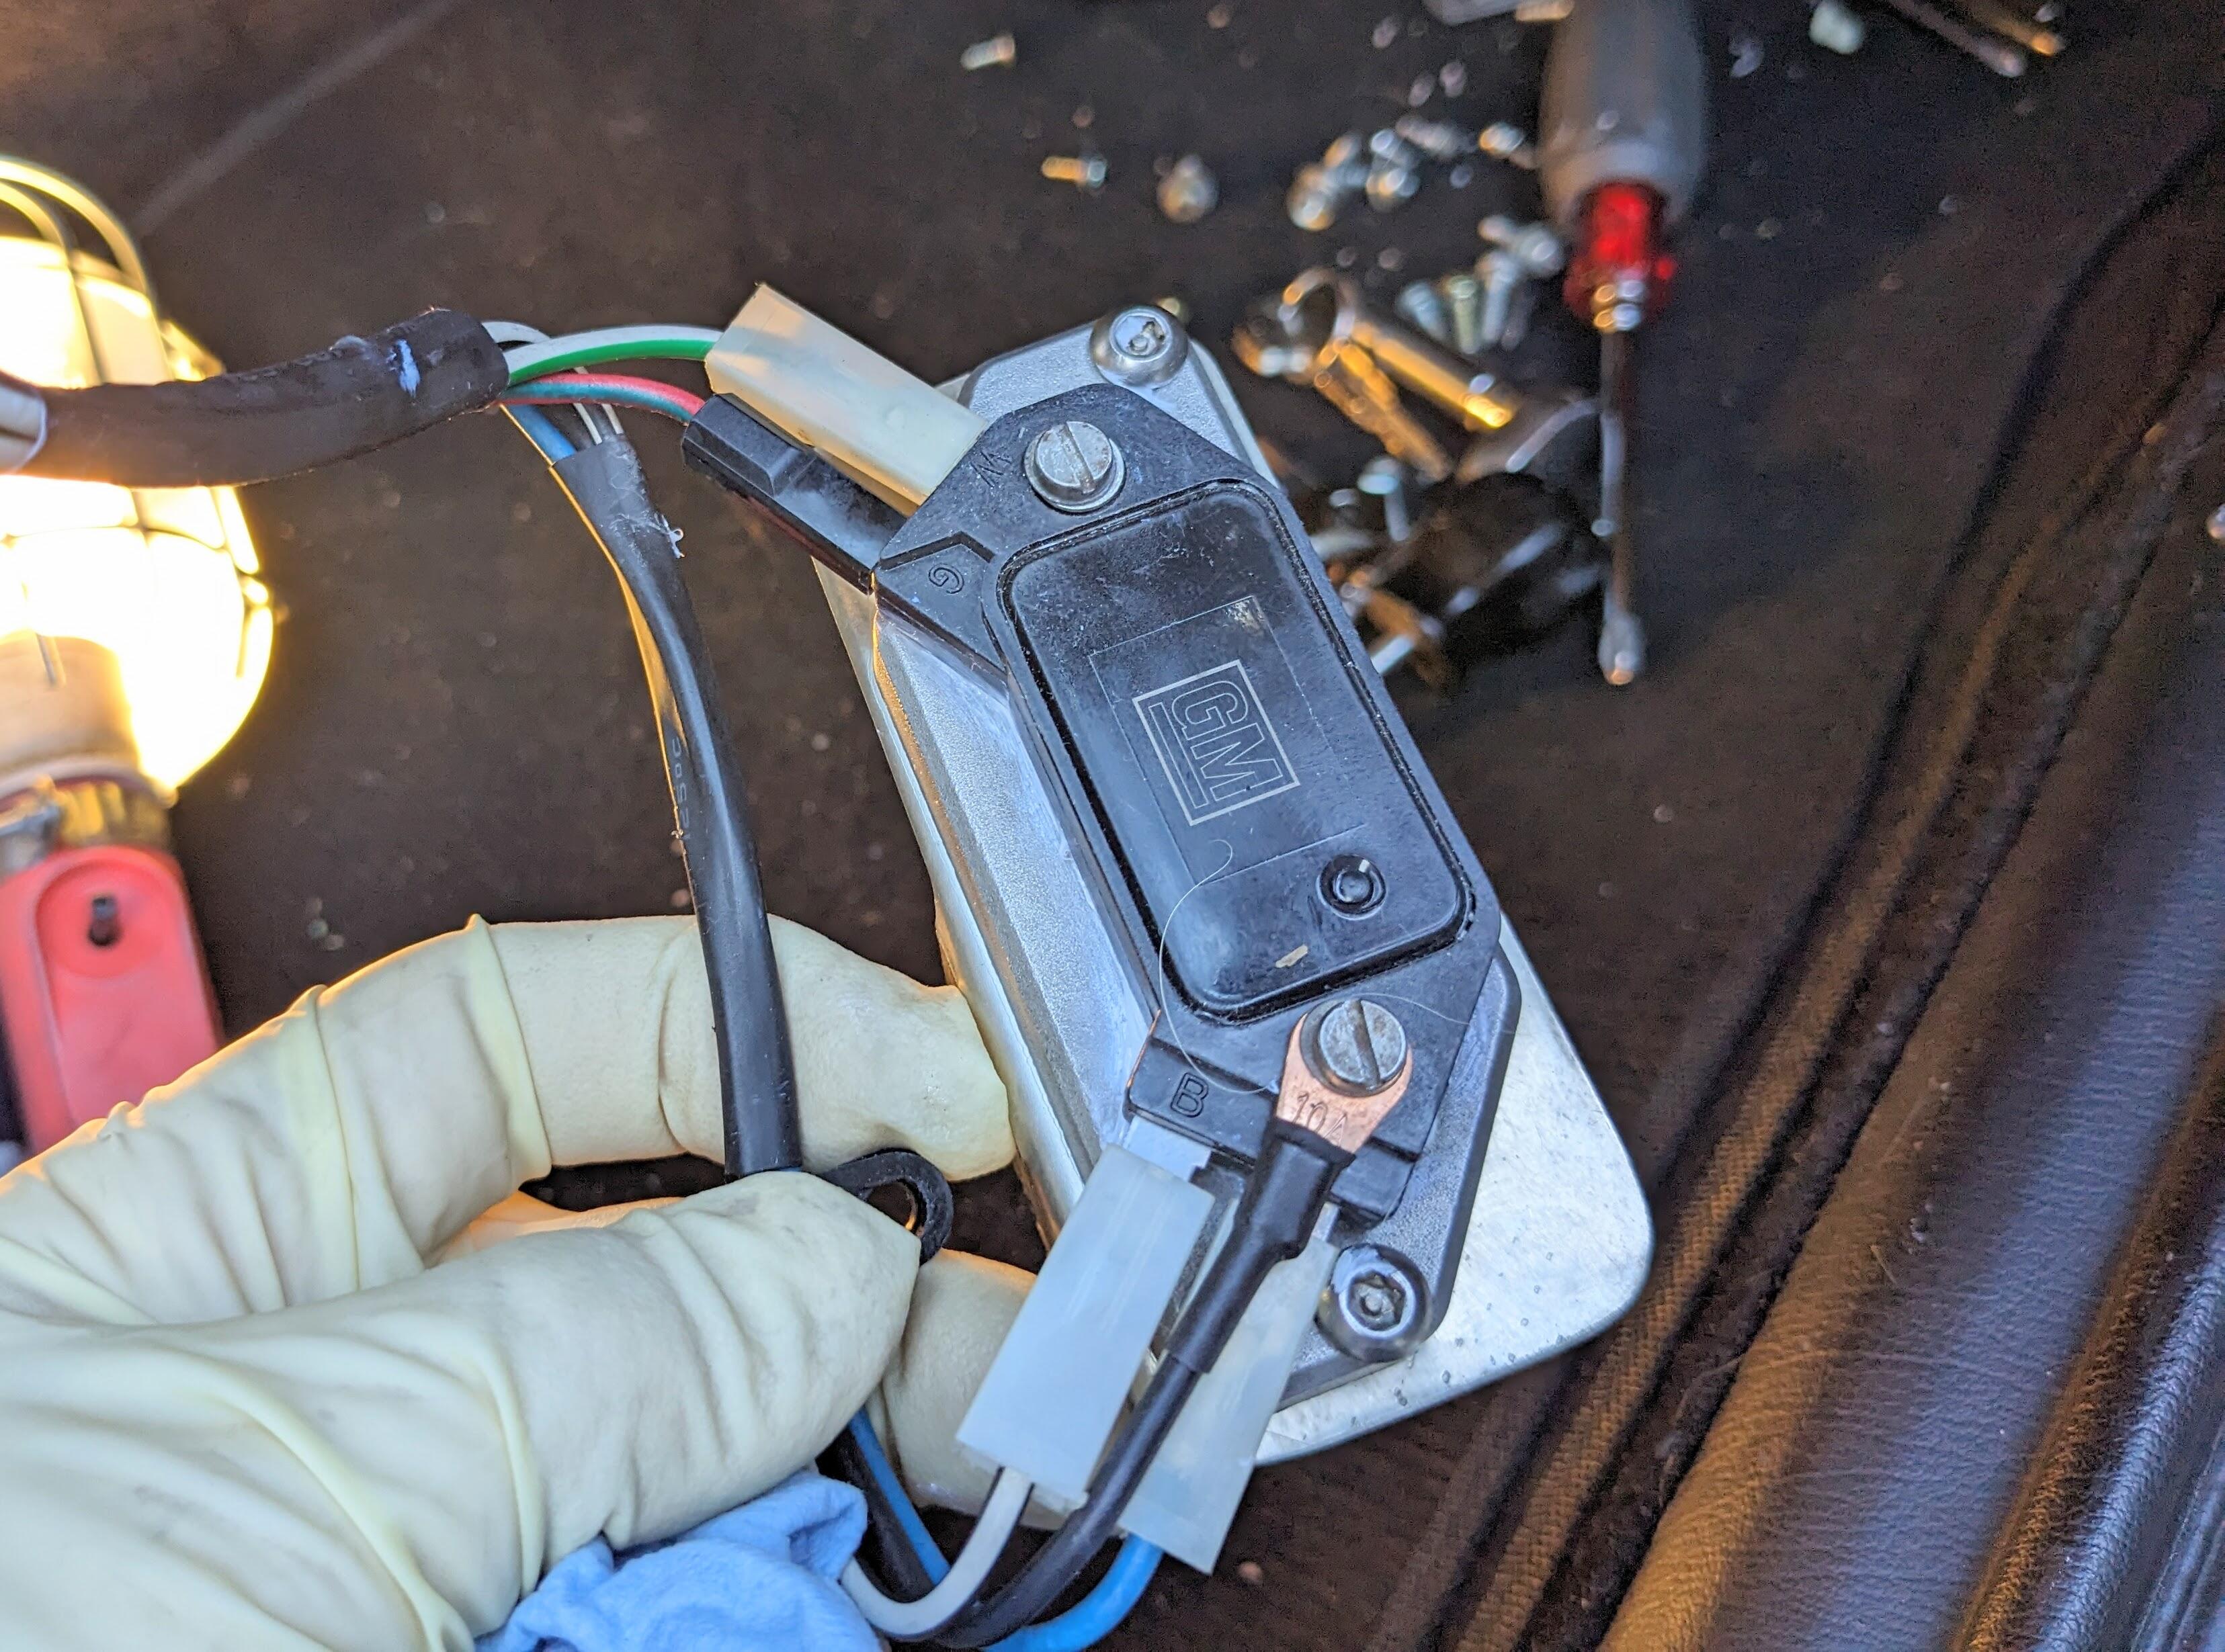
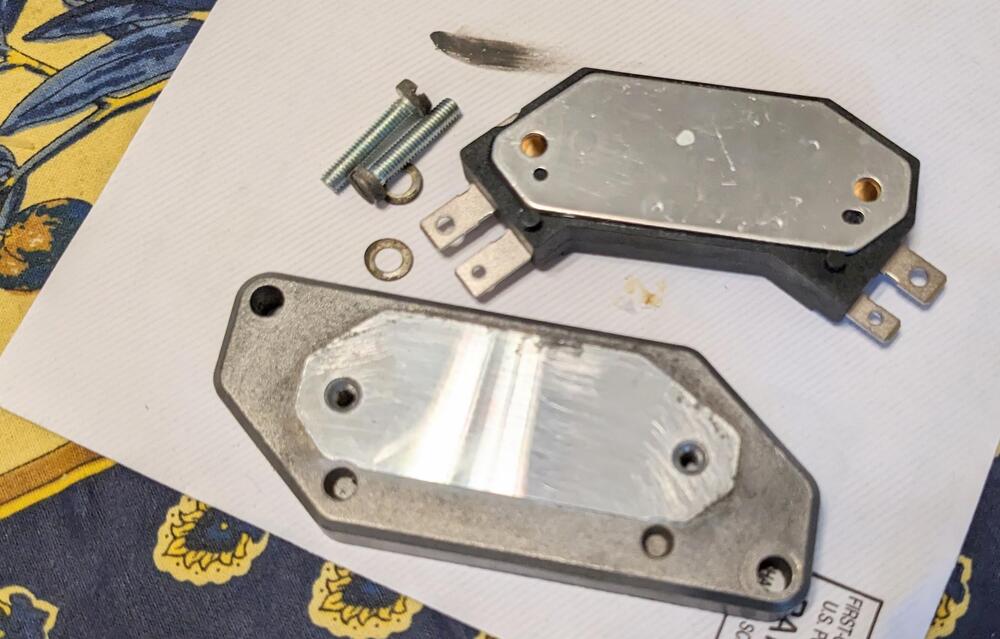
Thank you @SteveJ @Zed Head With the heat sink, I found posts that said a fin had to be cut off the sink for the GM module to fit, and that the aluminum used was extremely soft. The other factor is that the Bosch one has a polished contact area, so no loss of surface area contact as with an unfinished surface. I'll consider replacing it if I seem to have a ongoing issue. Today, there was nary a hiccup. However, traffic was heavier & I did not have an open road to push the car harder. I'll have to check it further. With my 75, the engine started with or without the resistor in line, with the stock ignition and with the HEI, so I can only assume the harness bridge is not after the resistor on mine.
-
Thanks Steve. Good point, however none of those sinks have even half the height of the Bosch heat sink though, so that mass would make a difference. There is however no practical way to check the temp of the module while driving under load, which is when the condition exhibits itself. If the symptom still exists with the GM module, I will get an OEM heat sink for it. My gut feeling is that is not the issue, especially comparing to the sink plate used by the OP, and then encased in the Datsun module casing. I have seen posts cautioning against using generic / offbrand modules due to unreliability. I'm going to hope that's all it is. I'll report back.
-
Absolutely. The heat sink is a Bosch/Volvo unit, same mount footprint as the GM module. Heat Sink Compound was applied
-
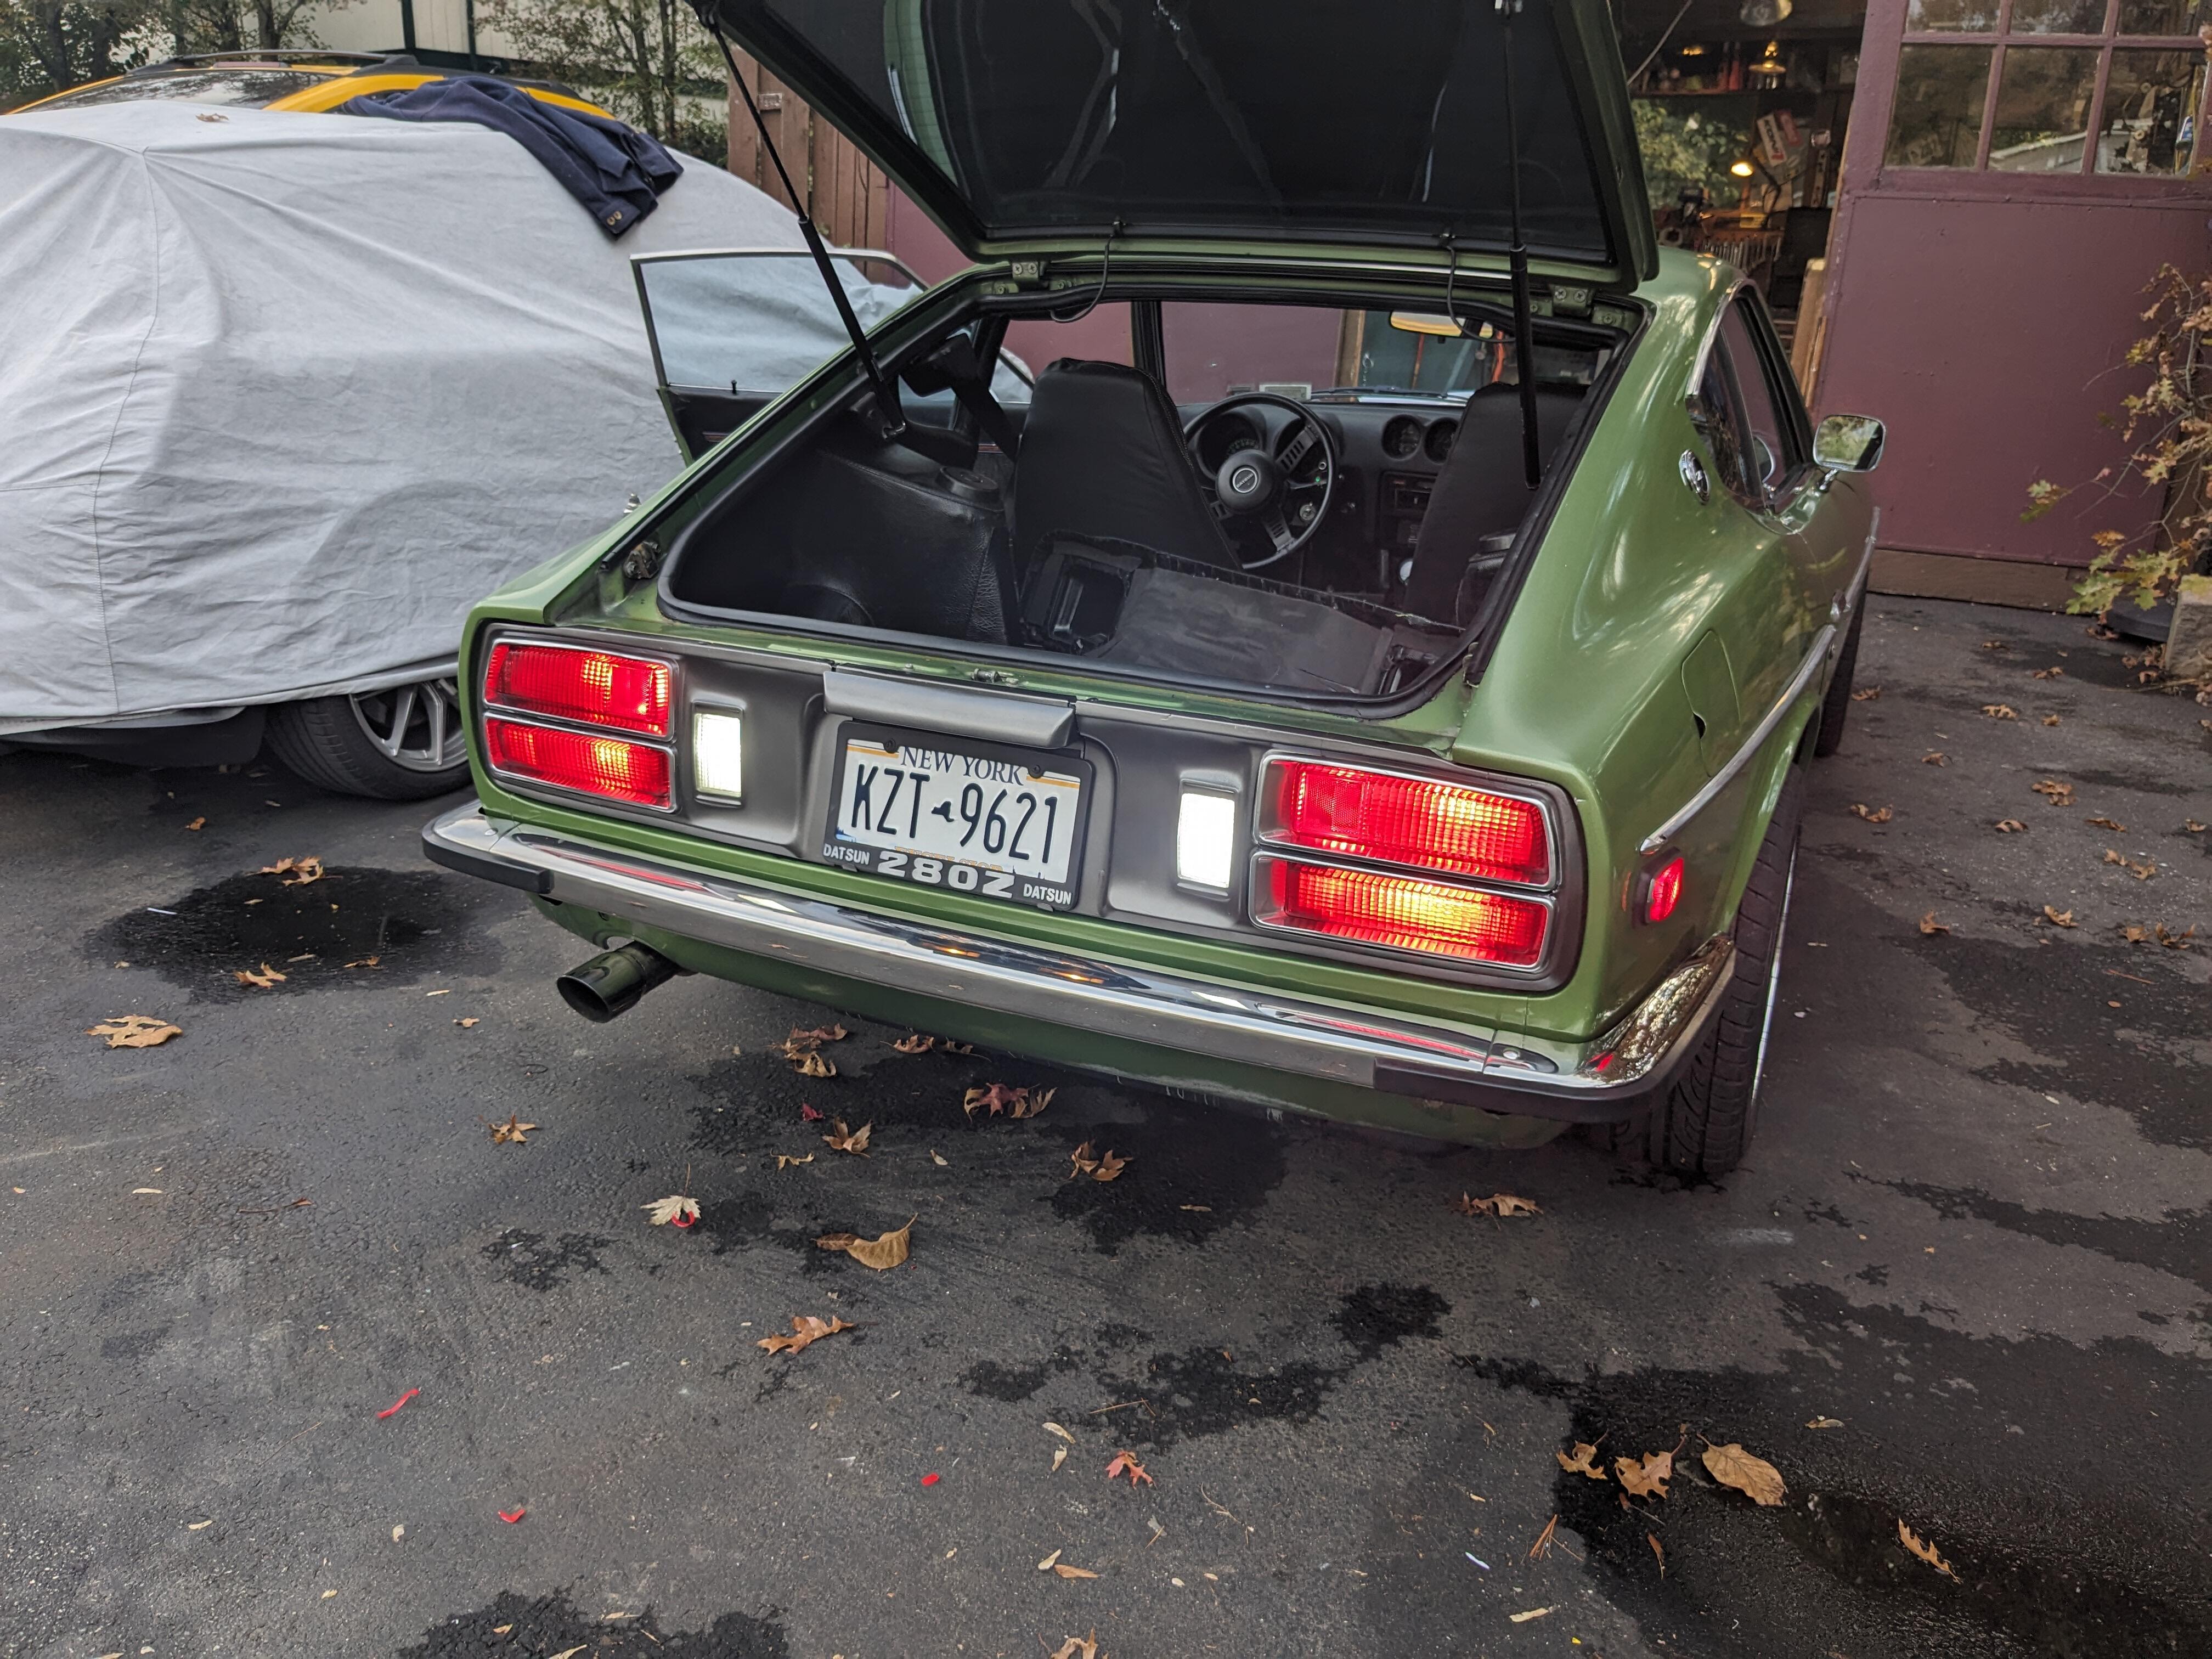
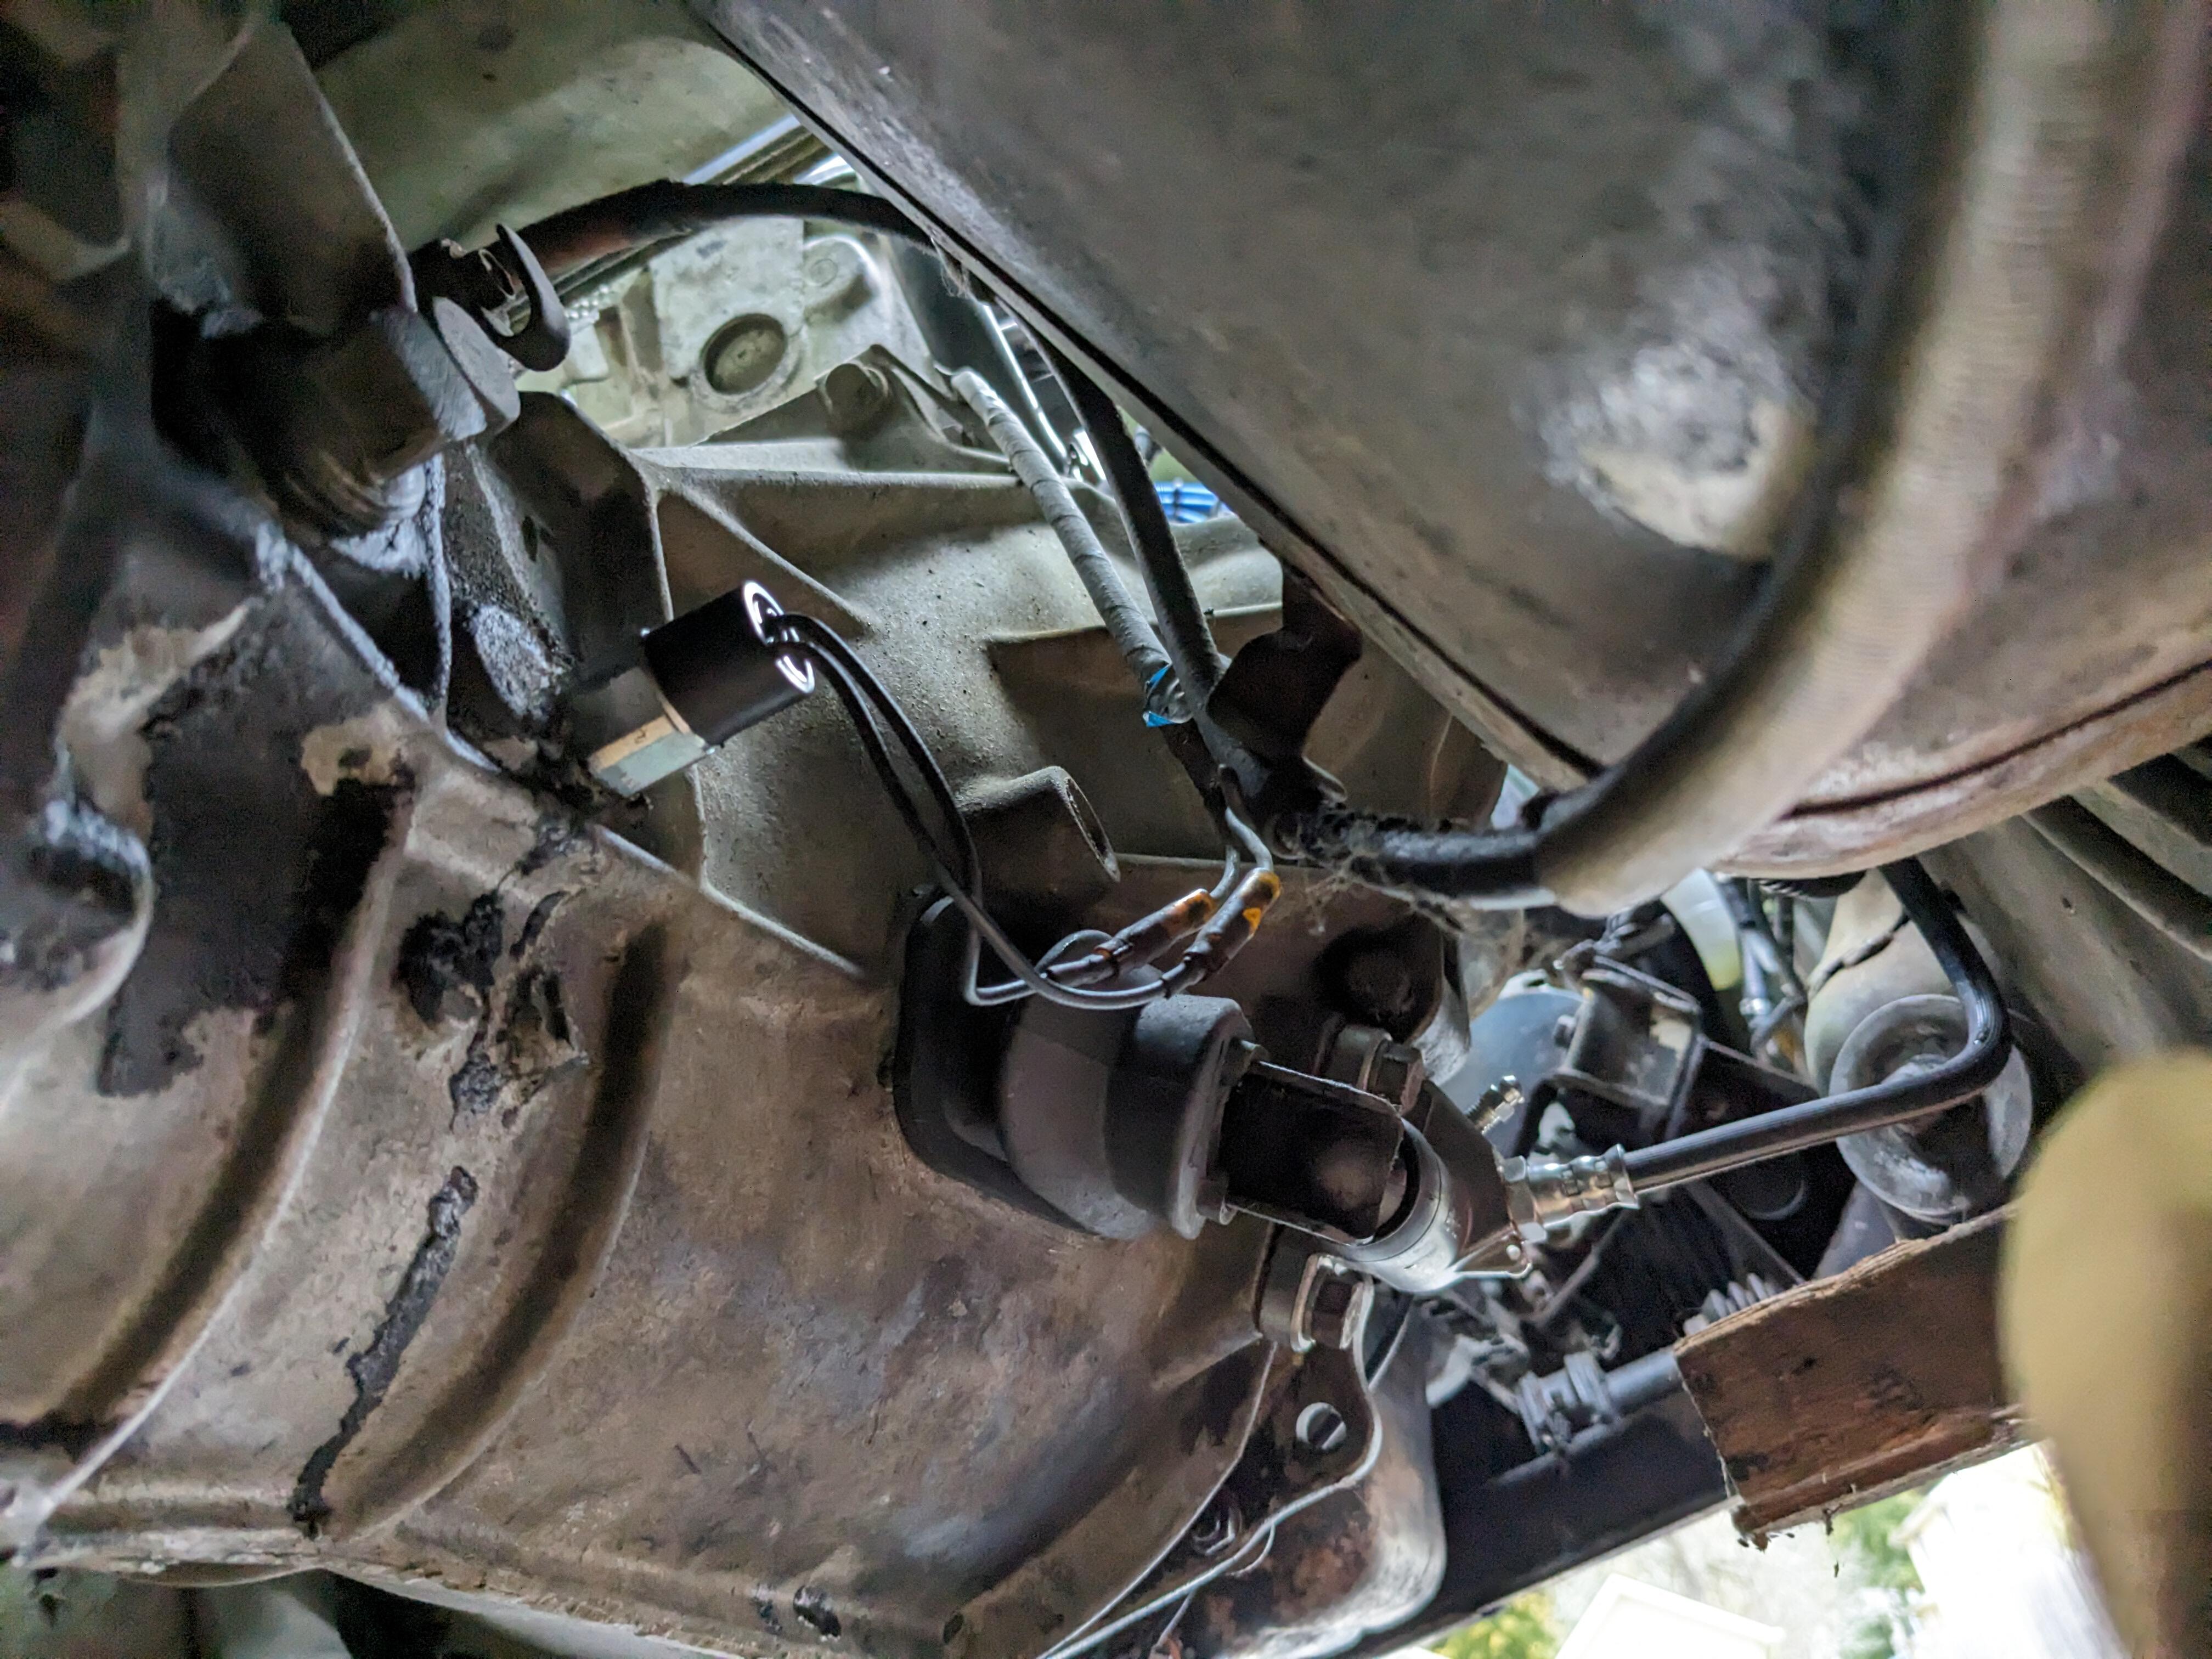
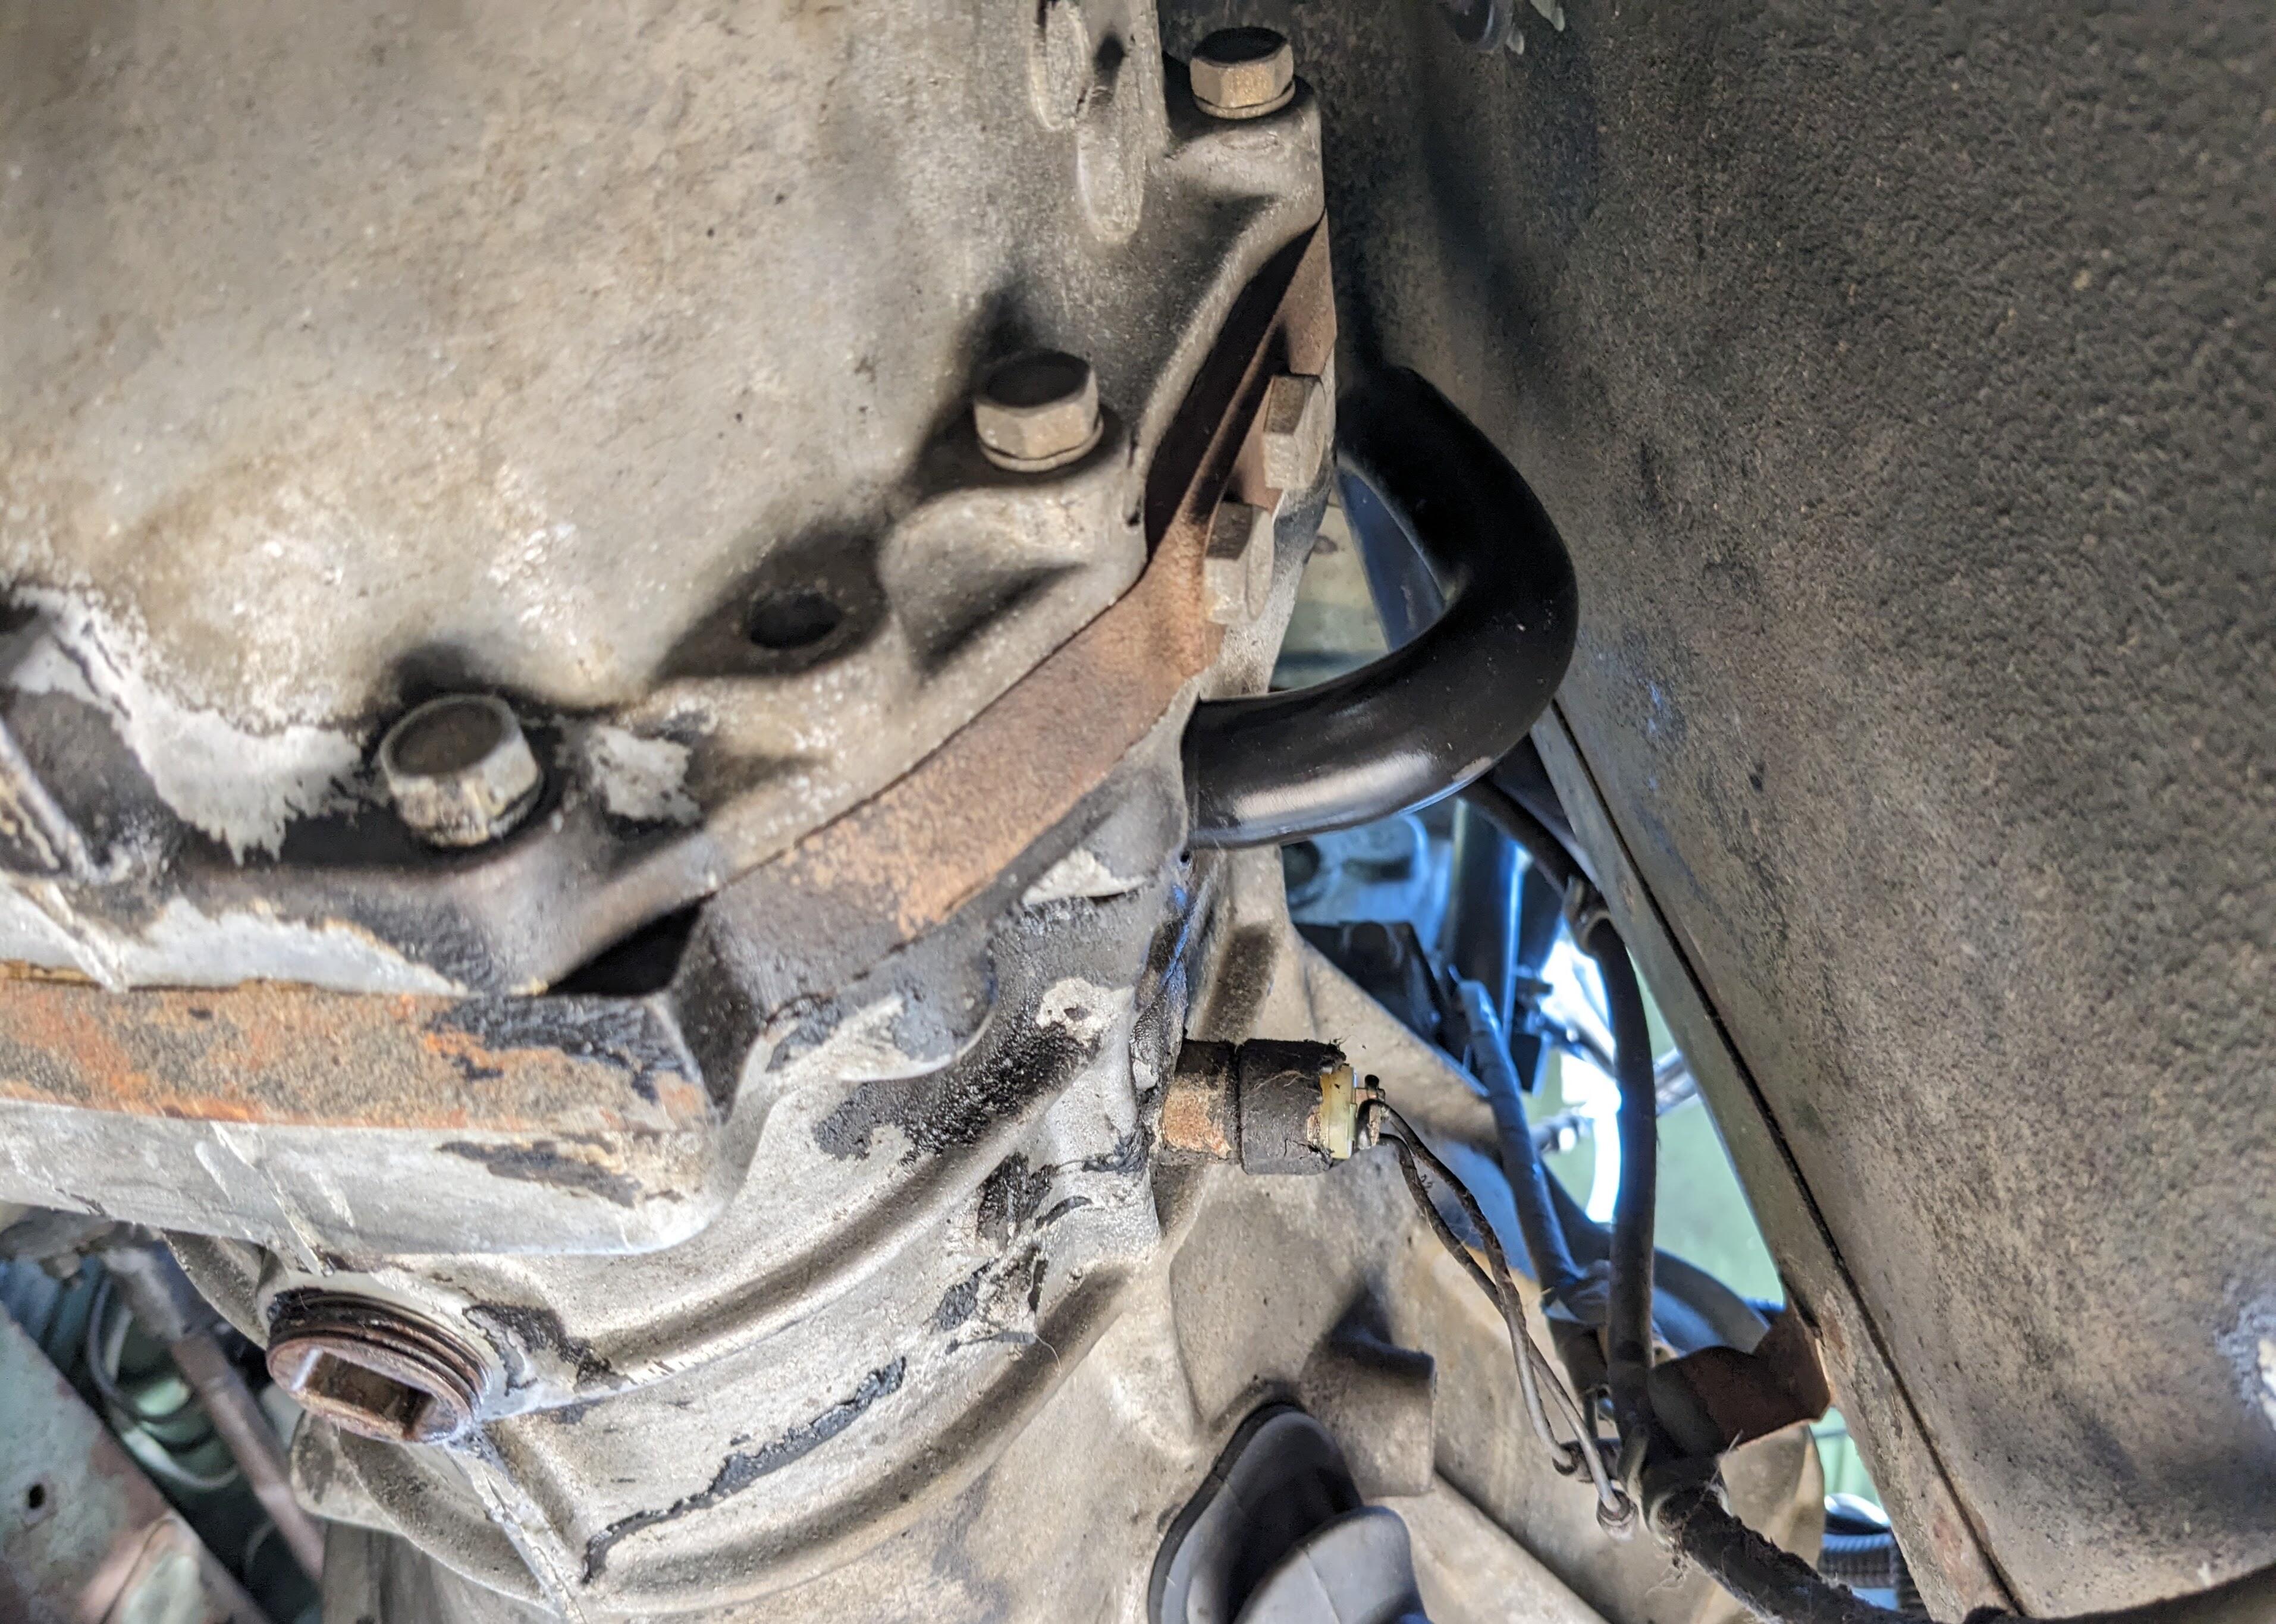
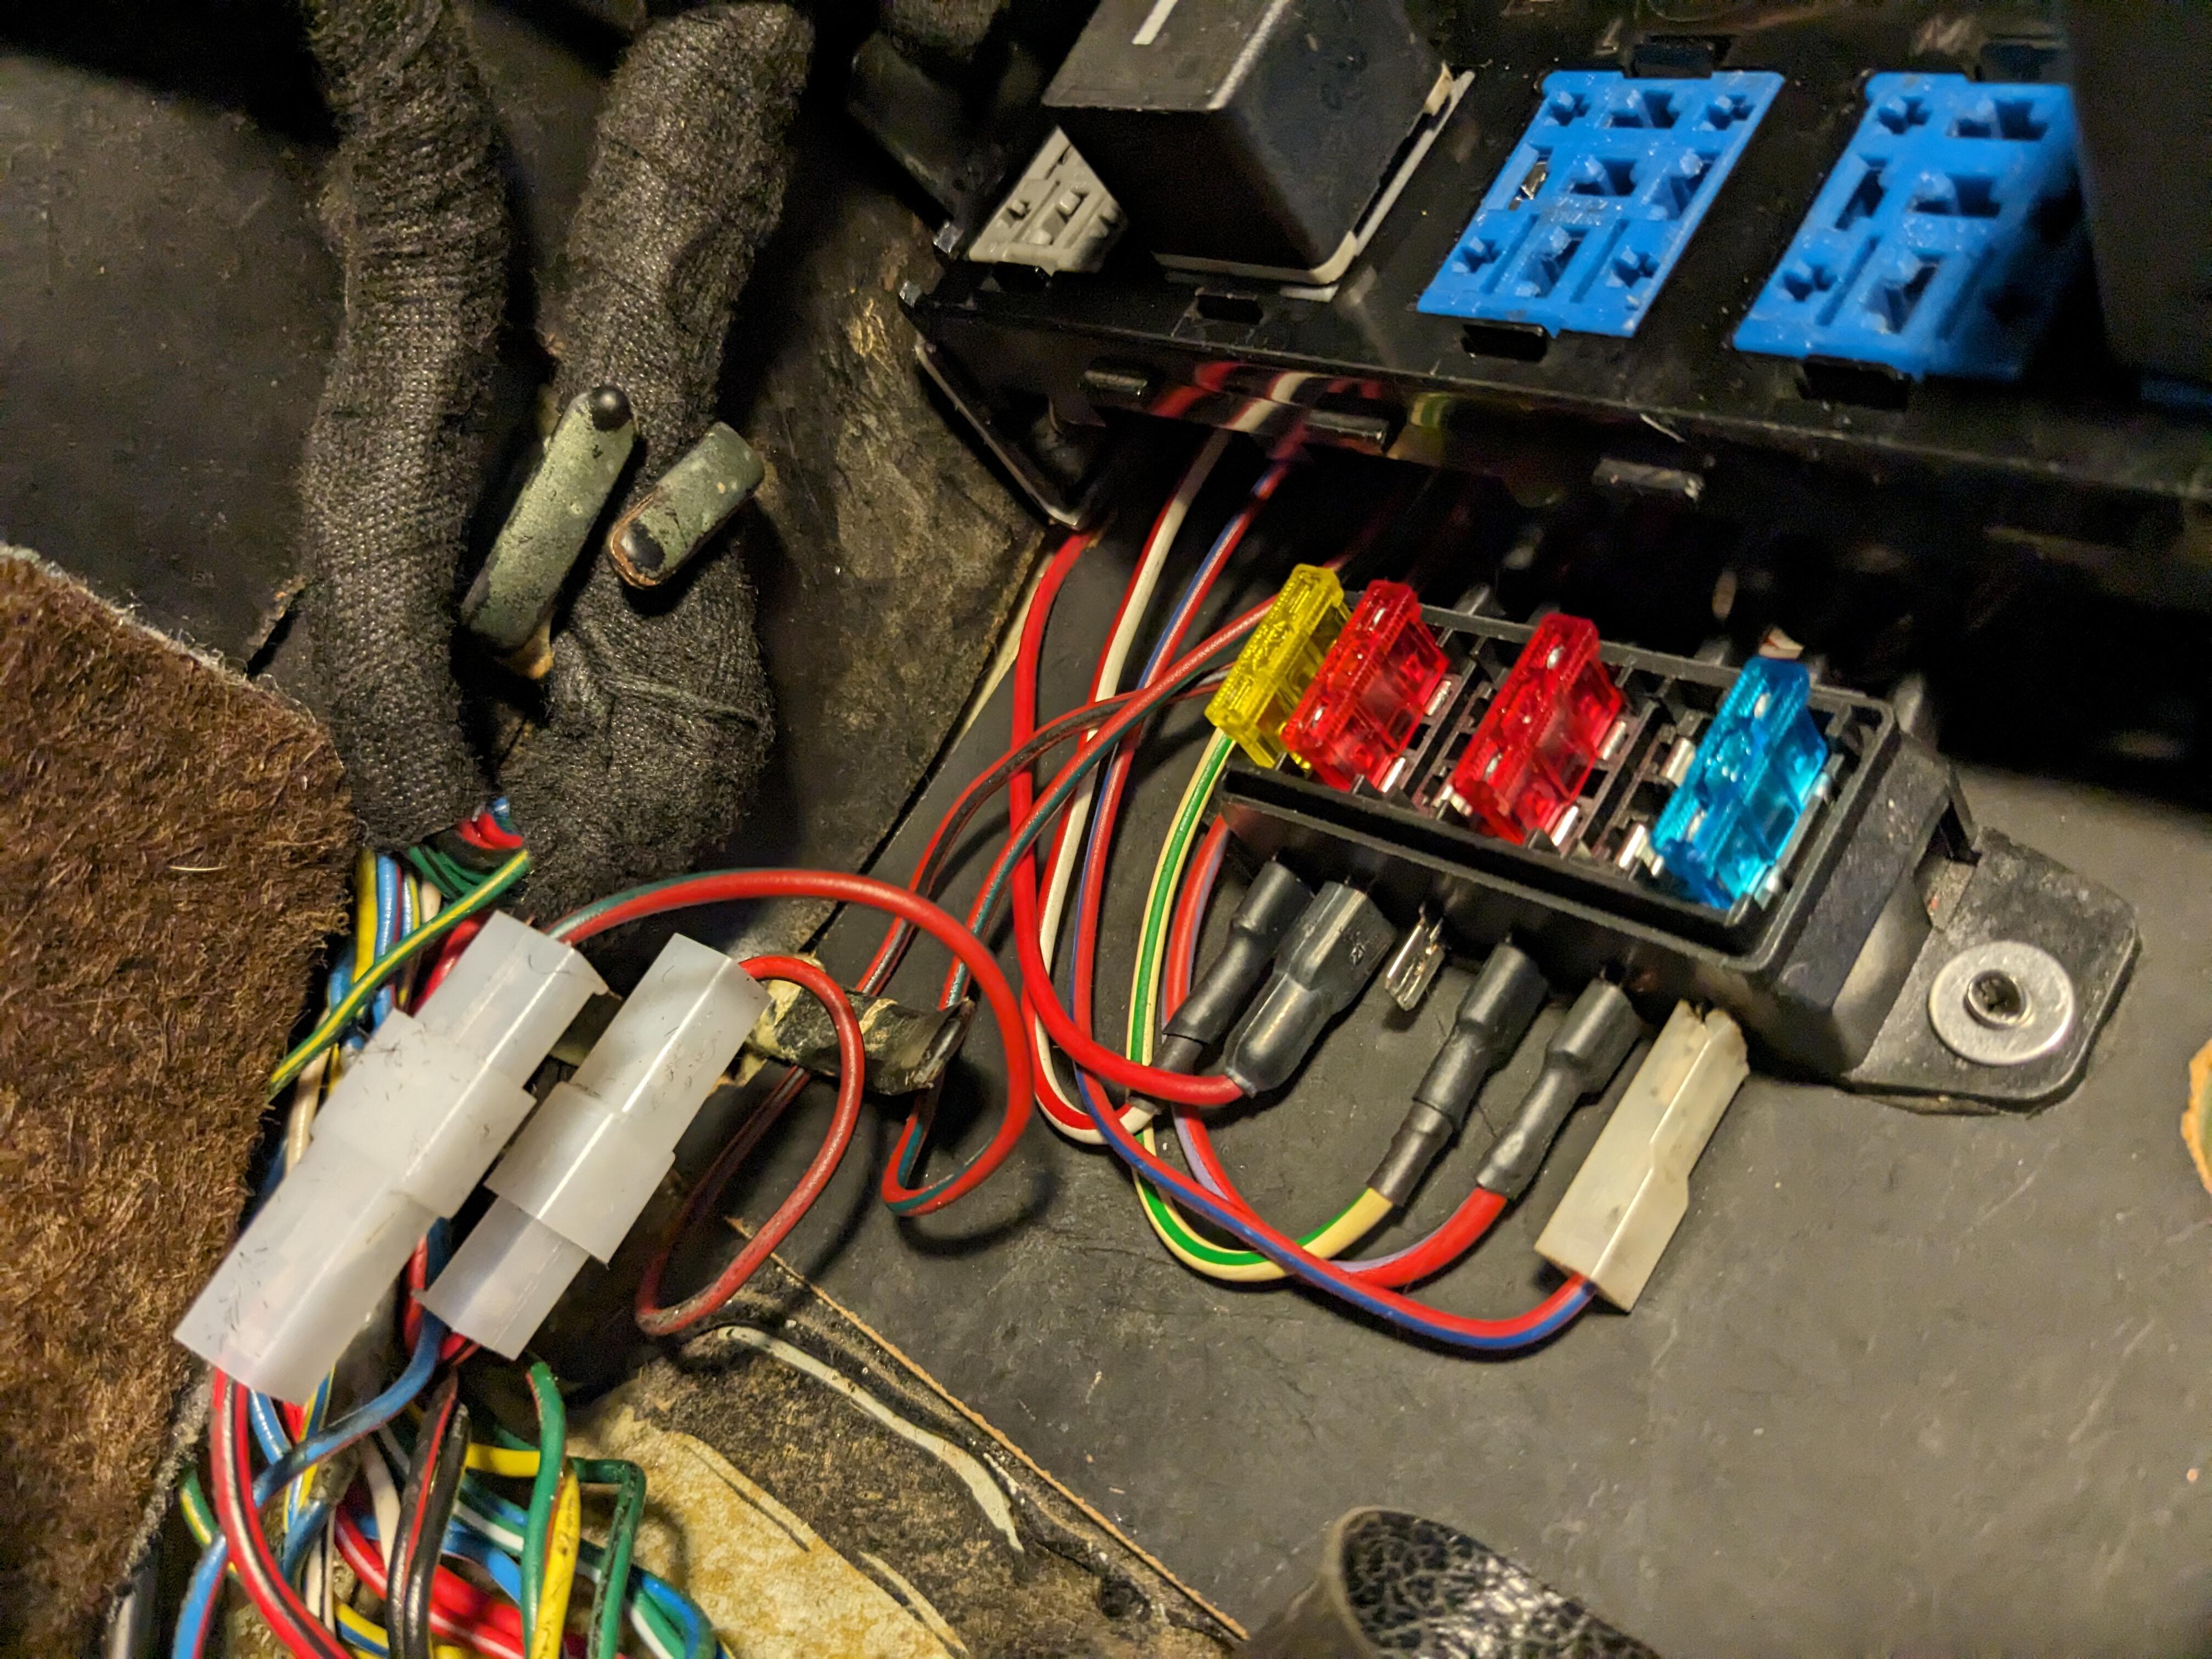
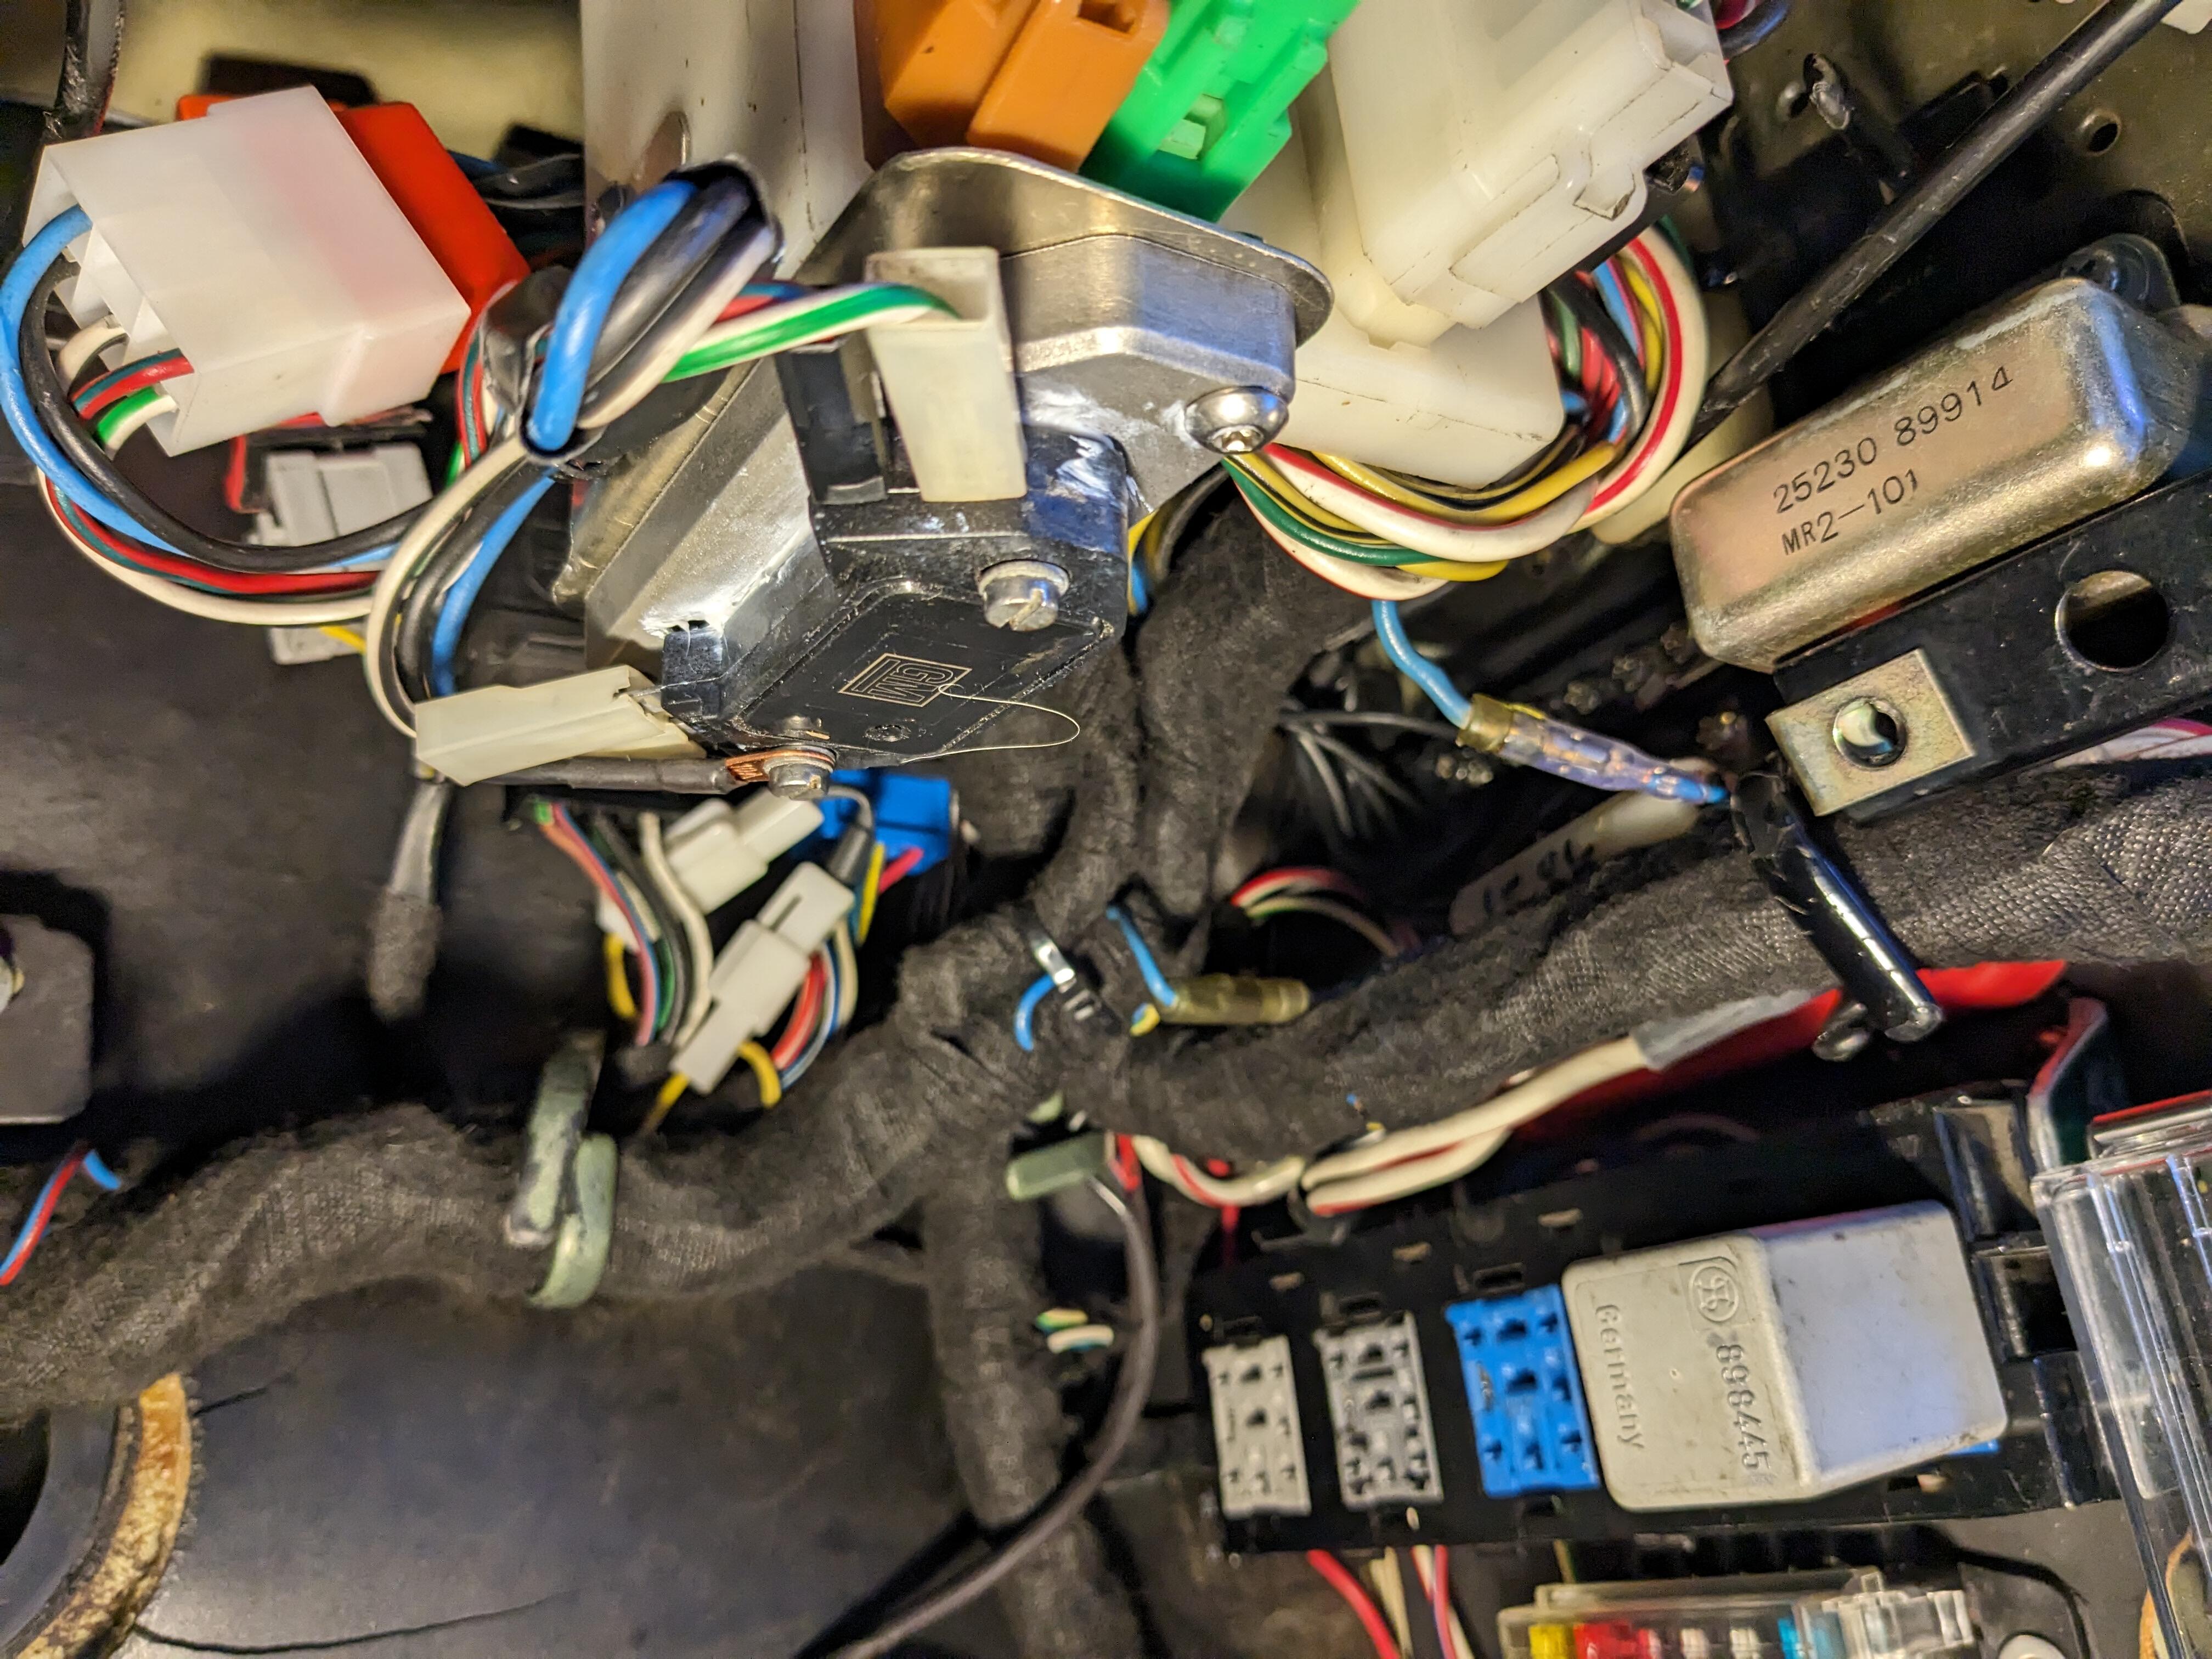
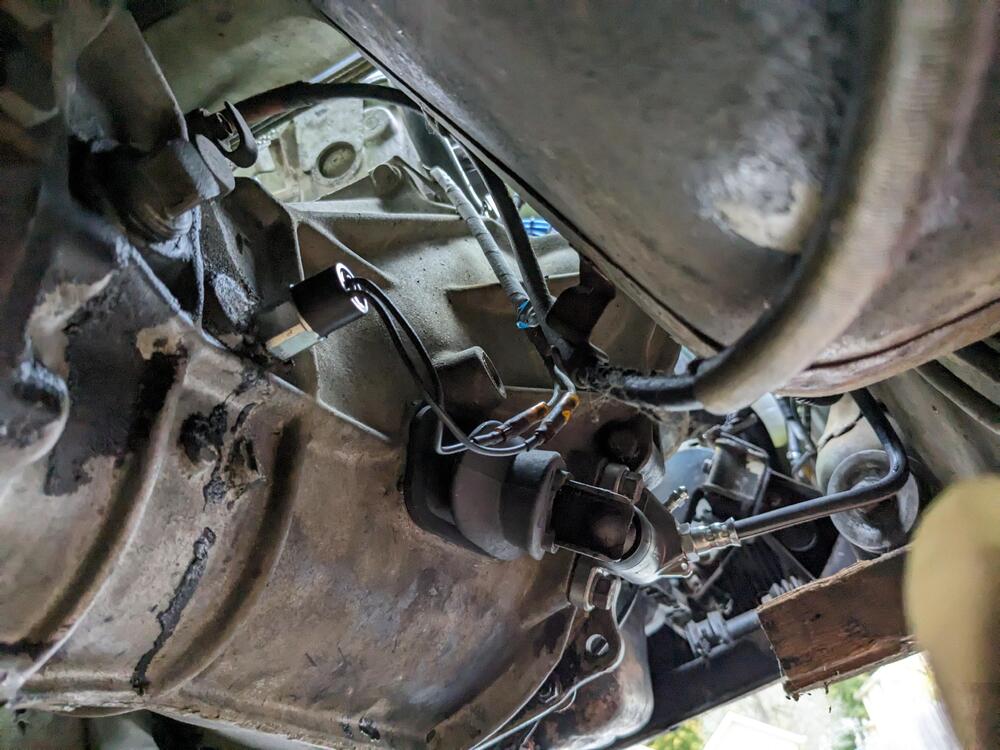
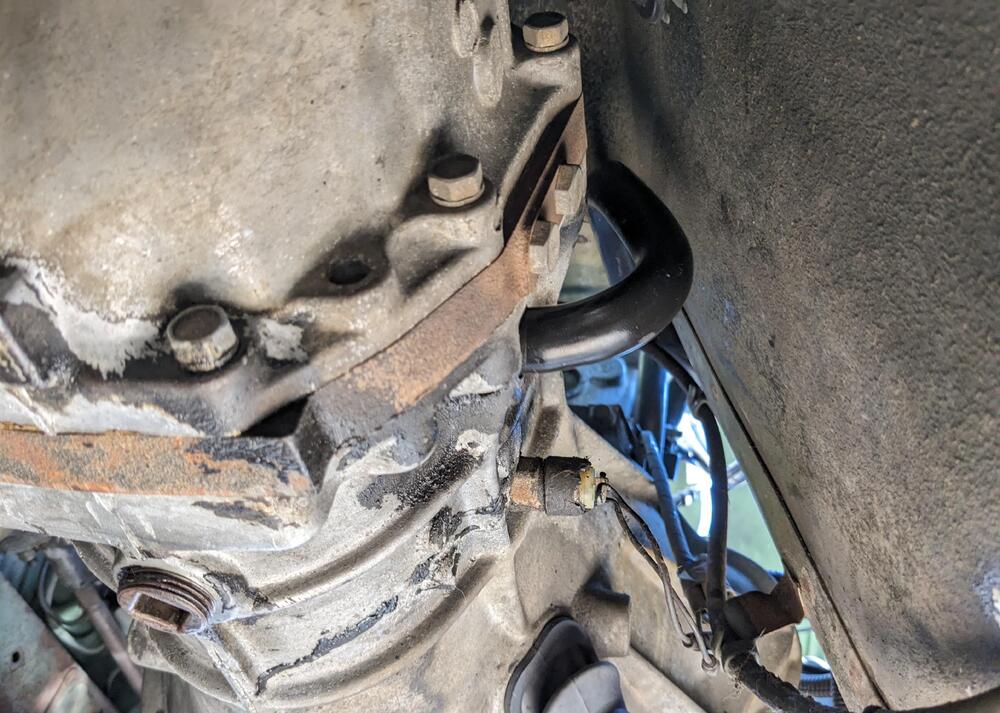
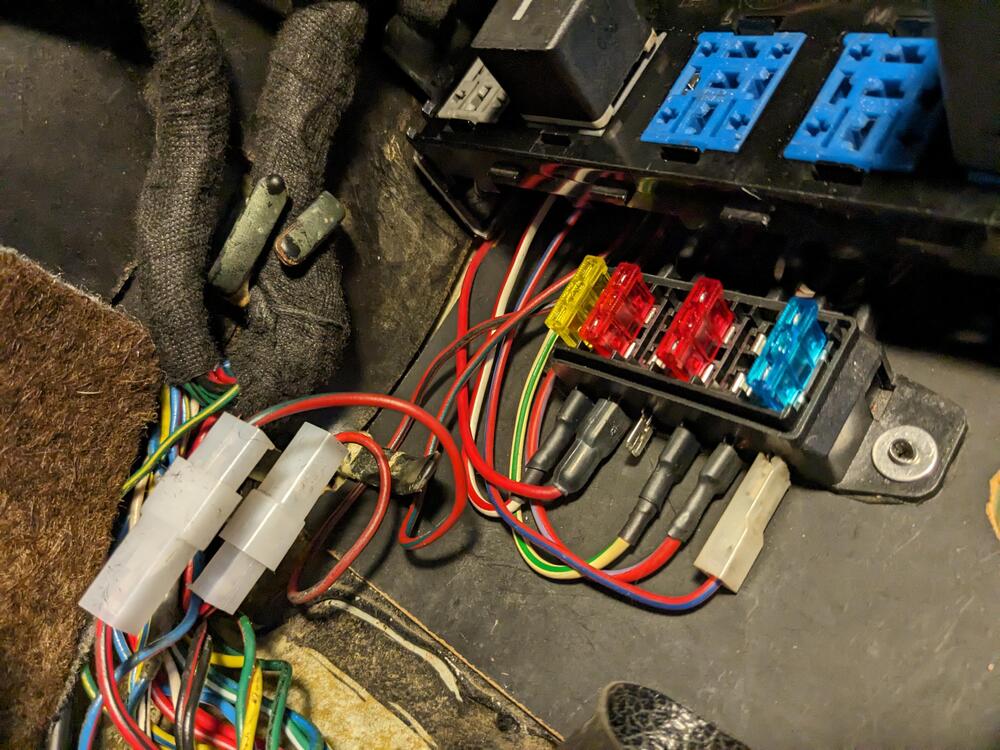
Following SteveJ's suggestion I've been converting all the external bulbs to LED. I found in the process that my reverse light circuit was dead - no continuity through the reverse light switch on the trans. Checked when I was changing the gear oil. New switch in place. One of the Datsun guys on the Old Volvo forum said these switches tend to not last. Since I had the under dash open again for the HEI module swap out, I cut the R/blk feed from the switch to the rear & fed that into a relay as the trigger signal (86). Switched power to the relay is the R/gy wire, 2nd from the right. No fuse in the pic yet. Output from the relay (87) then connected to the R/blk going to the rear lights. Used 6.3mm spades for the harness connections, M/F, so I can bypass the relay if needed for any reason. Maybe it's not as likely to fail with lower draw LEDs anyway.
-
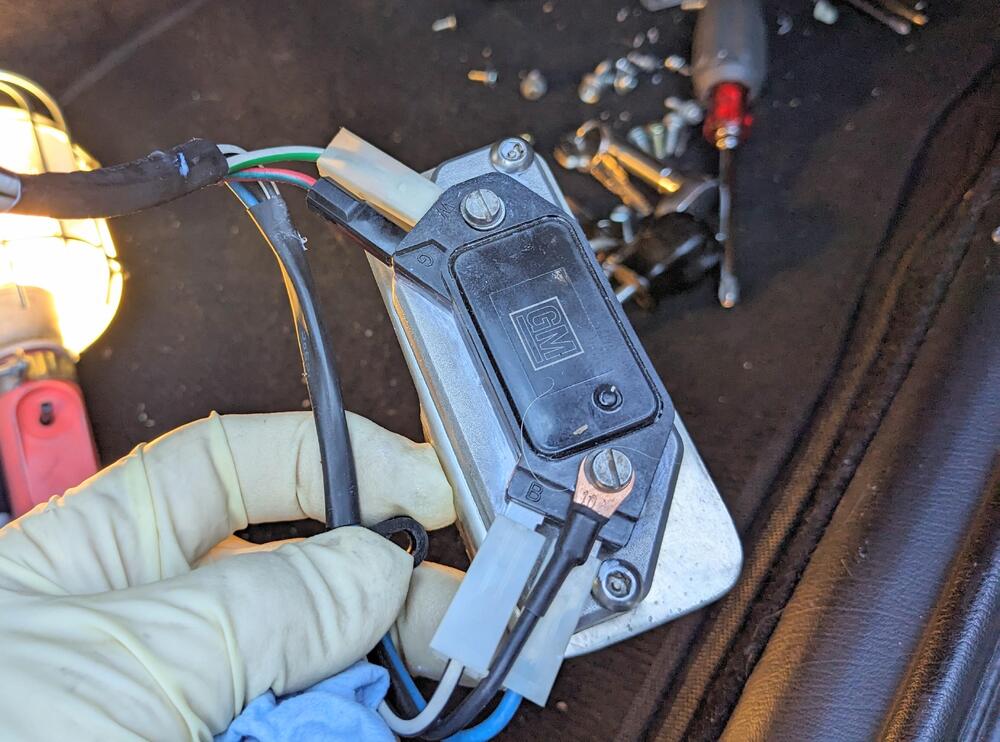
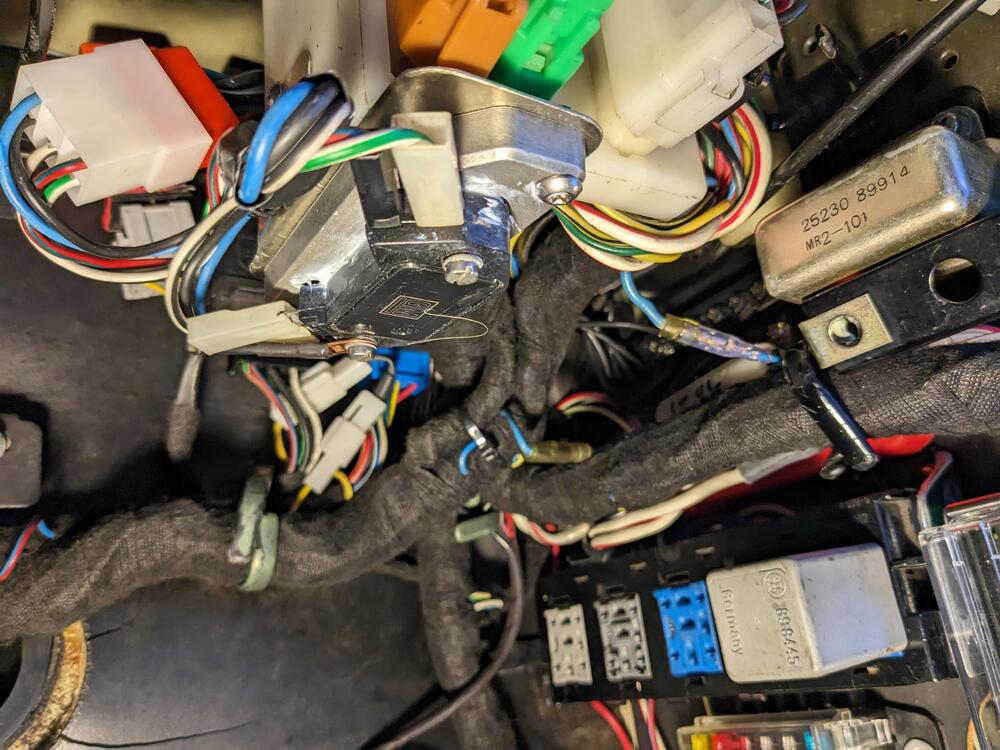
OK - so on the drive home from work this afternoon I drove it pretty hard - higher rpm shifts, kept it in 3rd for longer, and drove at higher speed than normal. The engine does feel more 'crisp' & responsive with the HEI module - BUT - it started breaking up much worse on the last leg of my highway run, had to back off the throttle, and it still kept clipping/dropping out. I'm assuming it's the bootleg brand module, so I took the time to swap it out for the GM one. I found that to access that area of the relay panel, the glovebox had to come out, so I decided to relocate the module where I could access it more readily. If the problem persists, I'll just switch back to the stock ignition system.
-
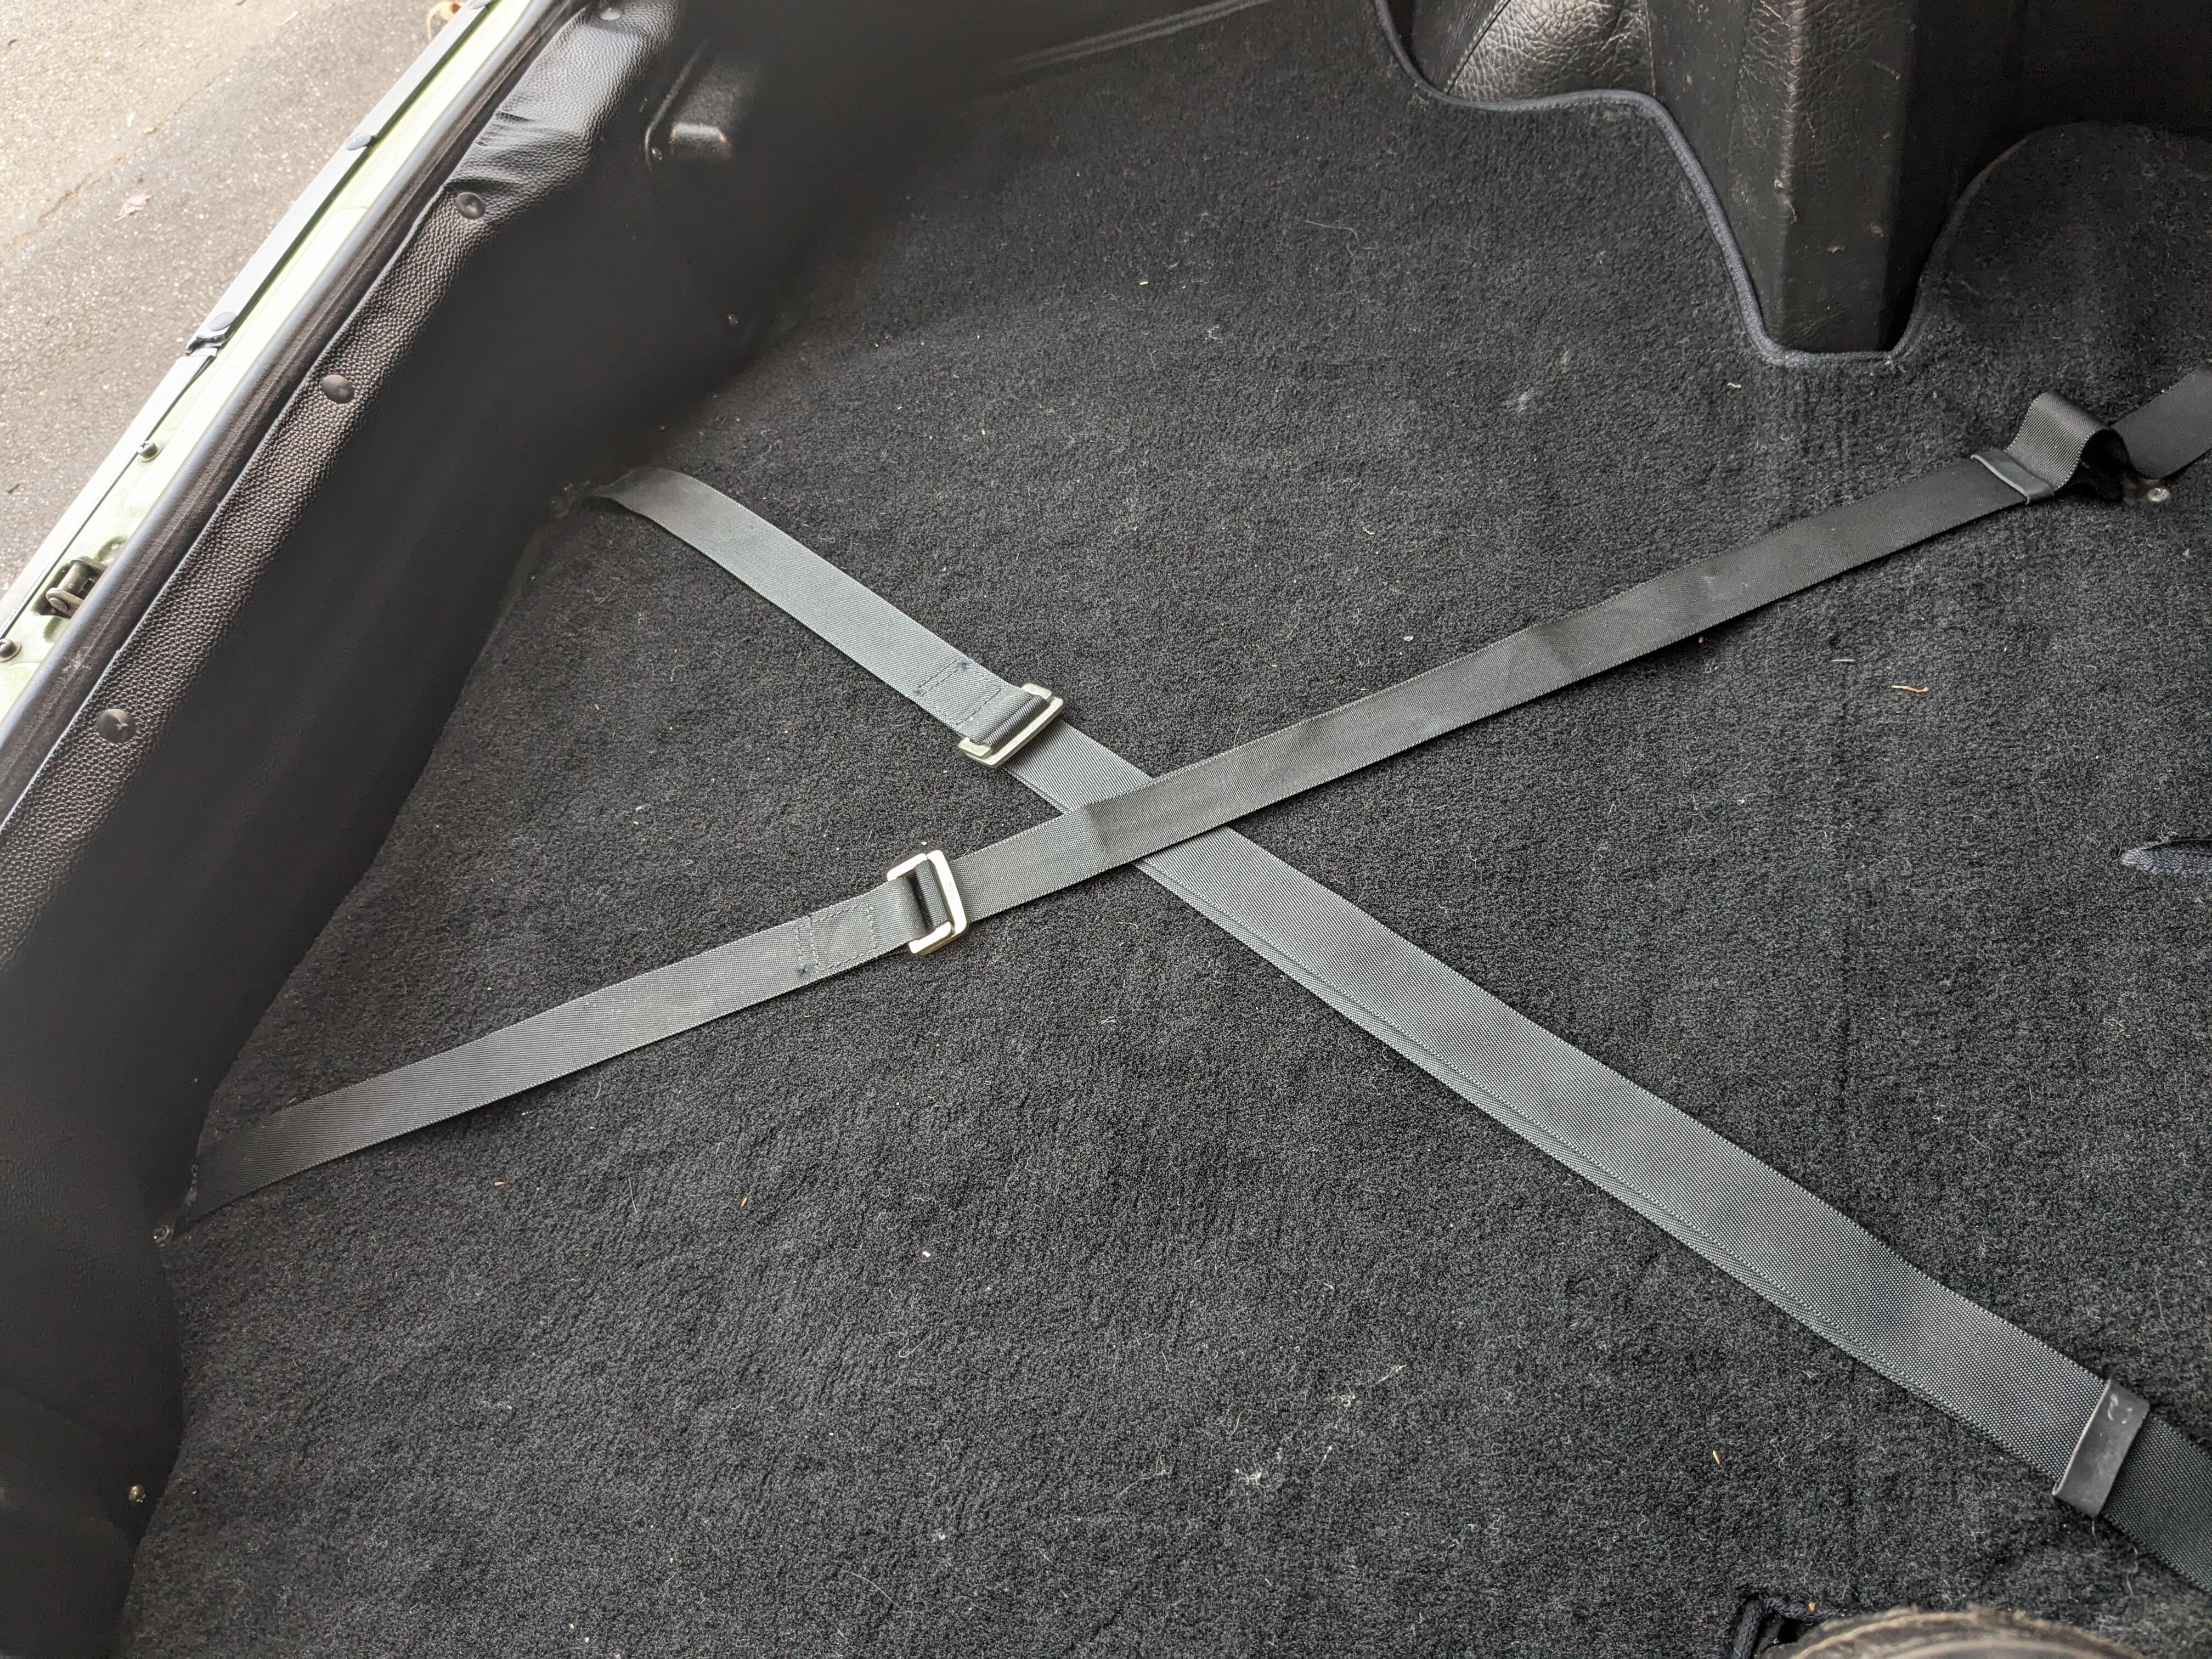
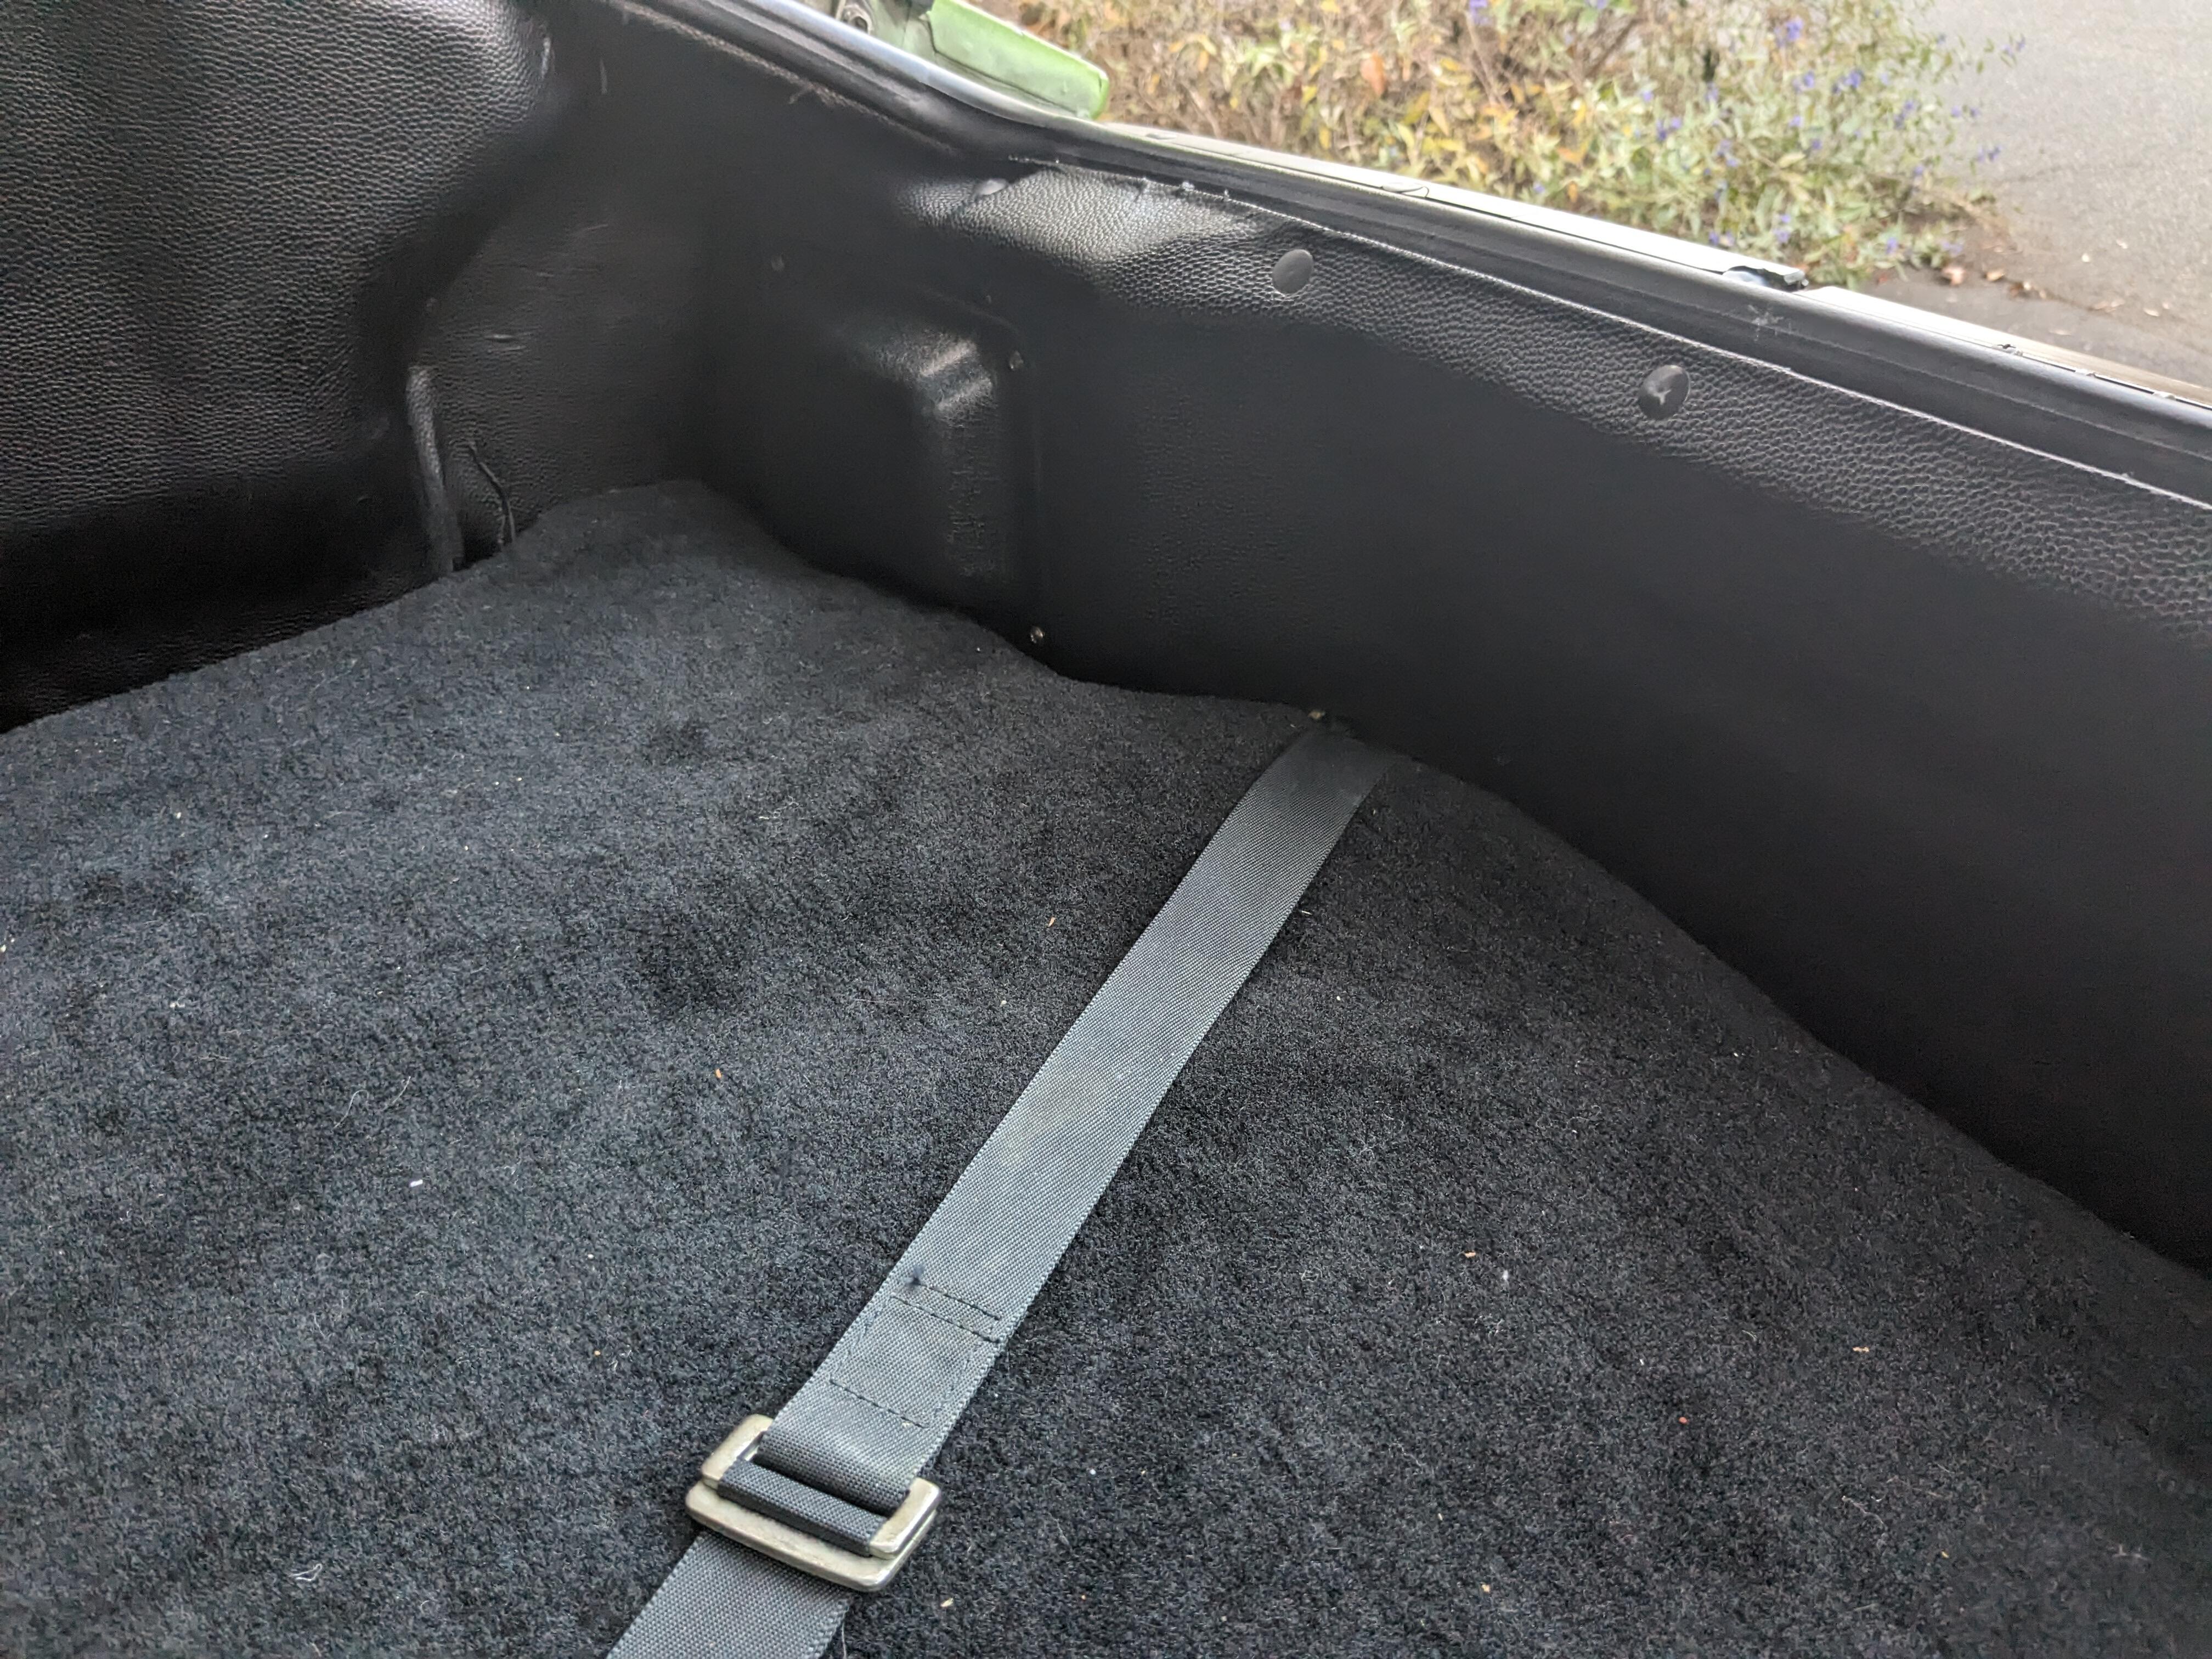
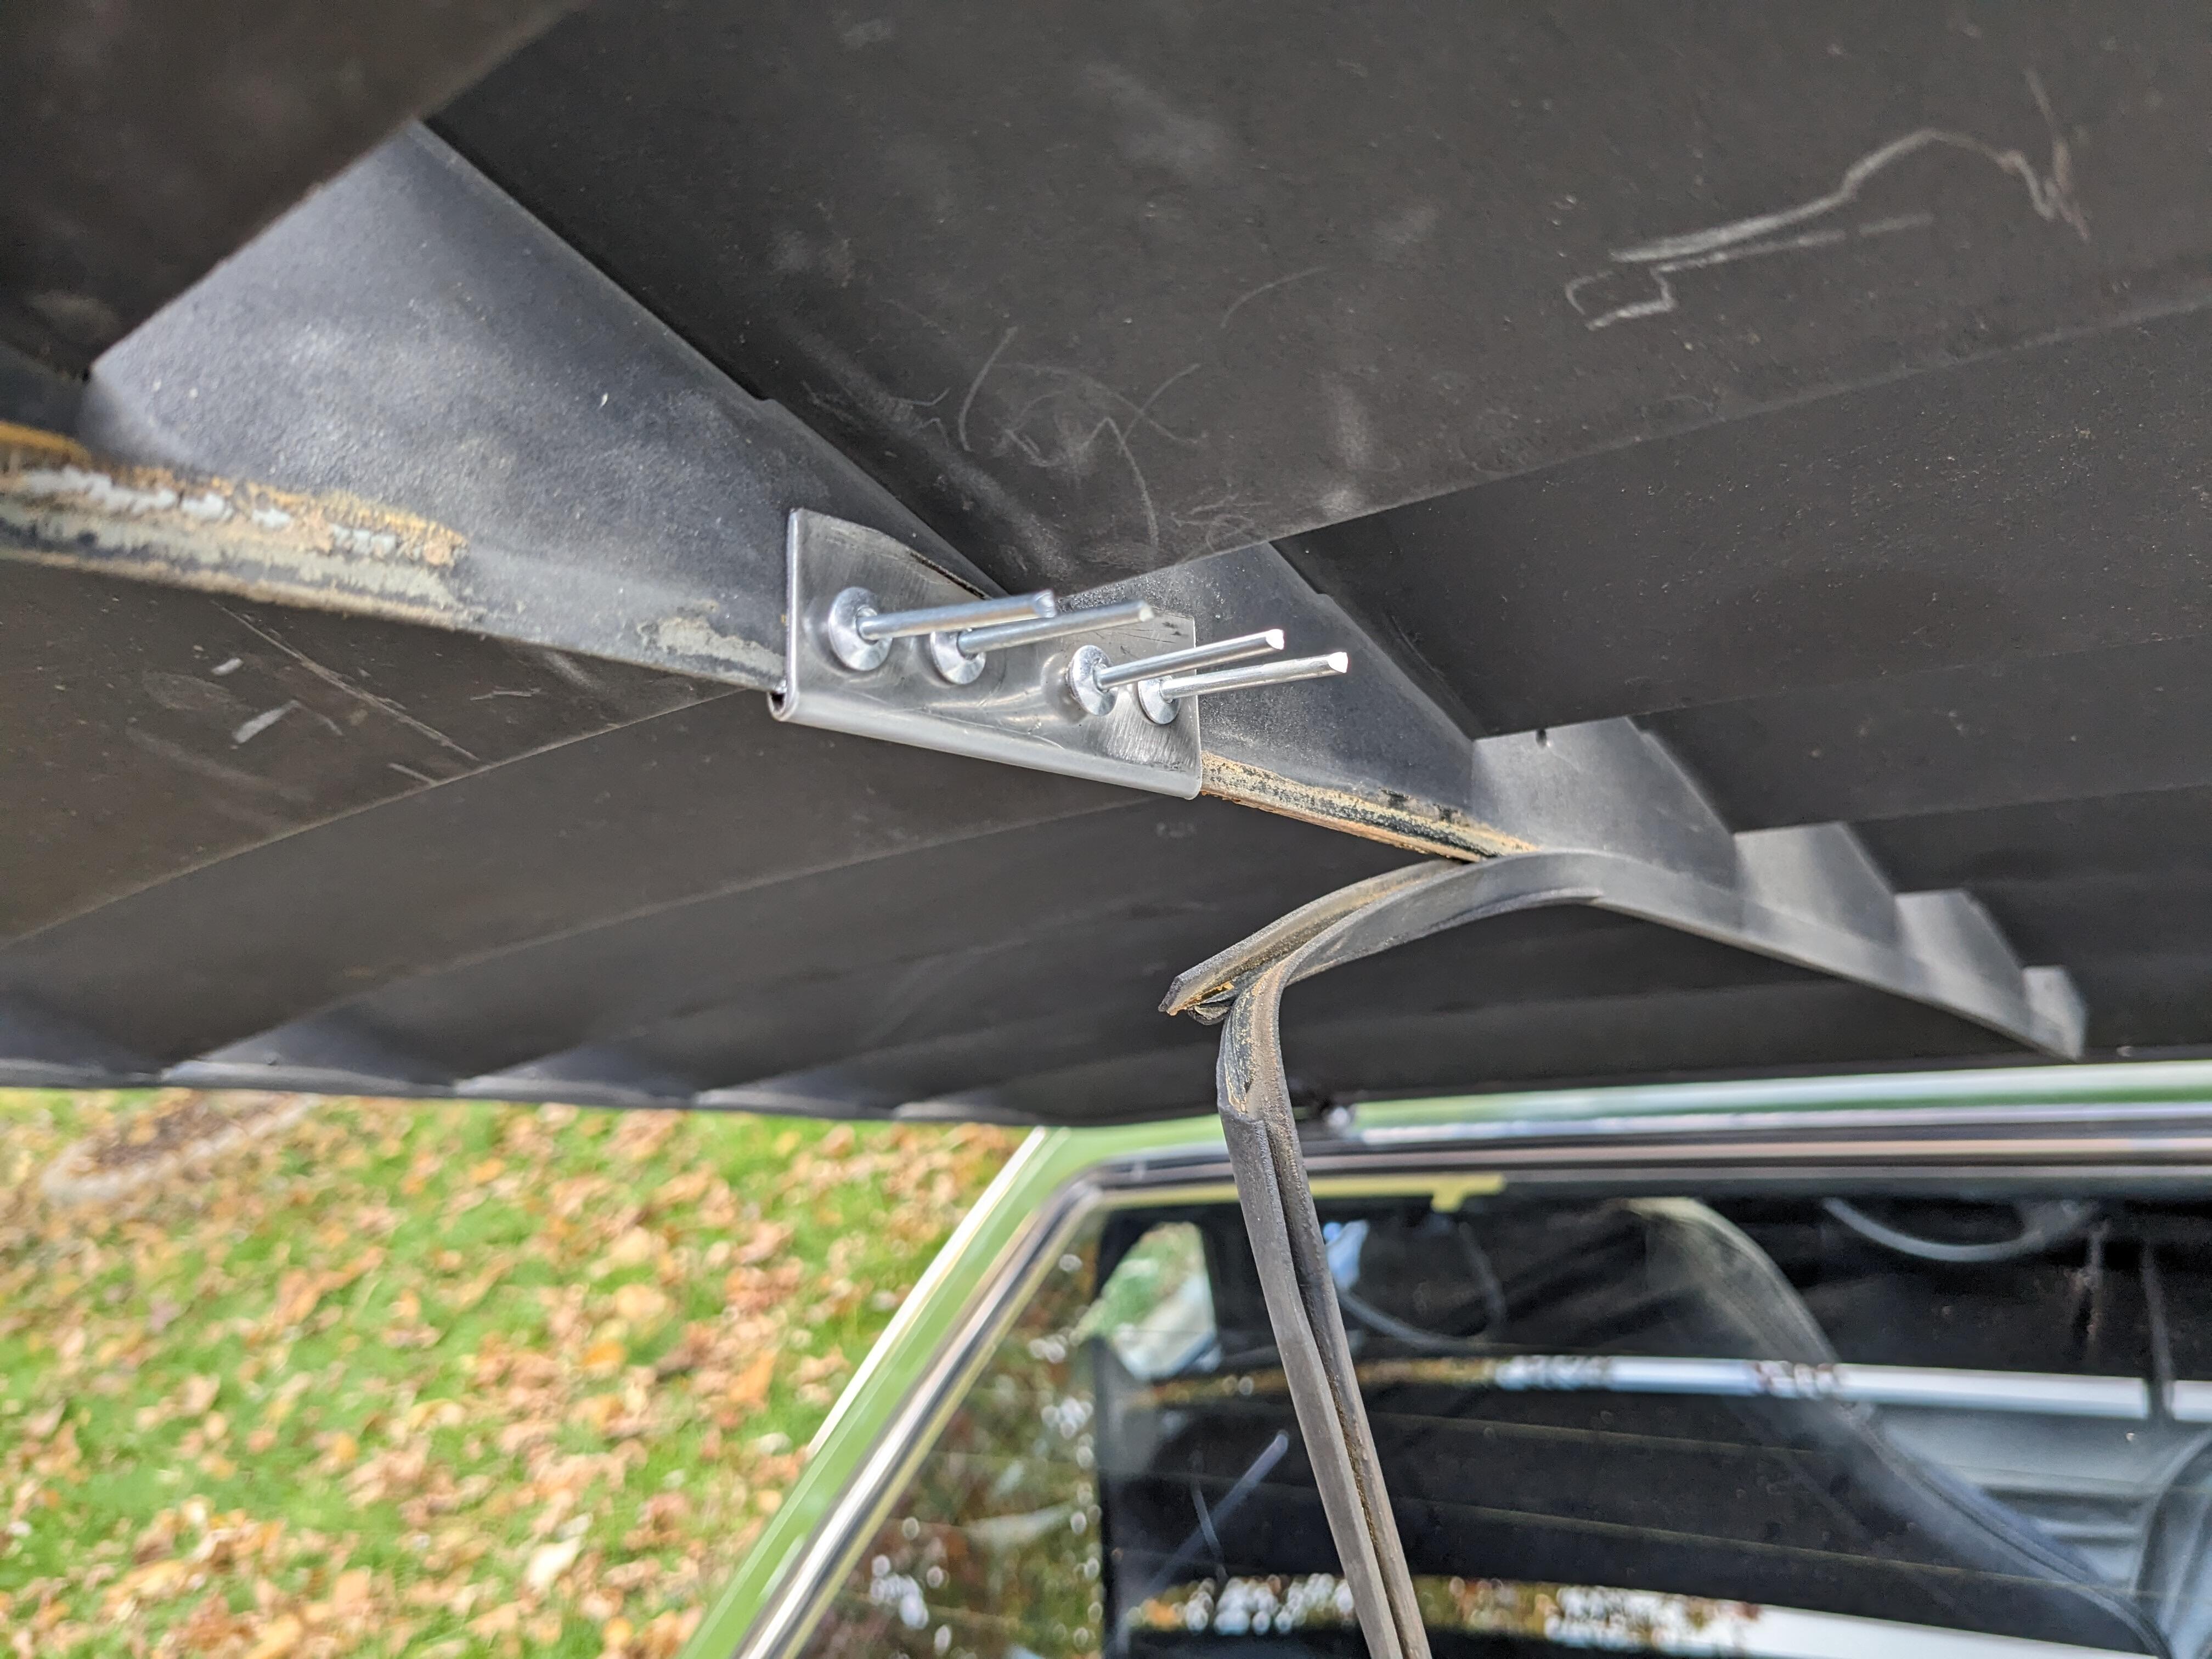
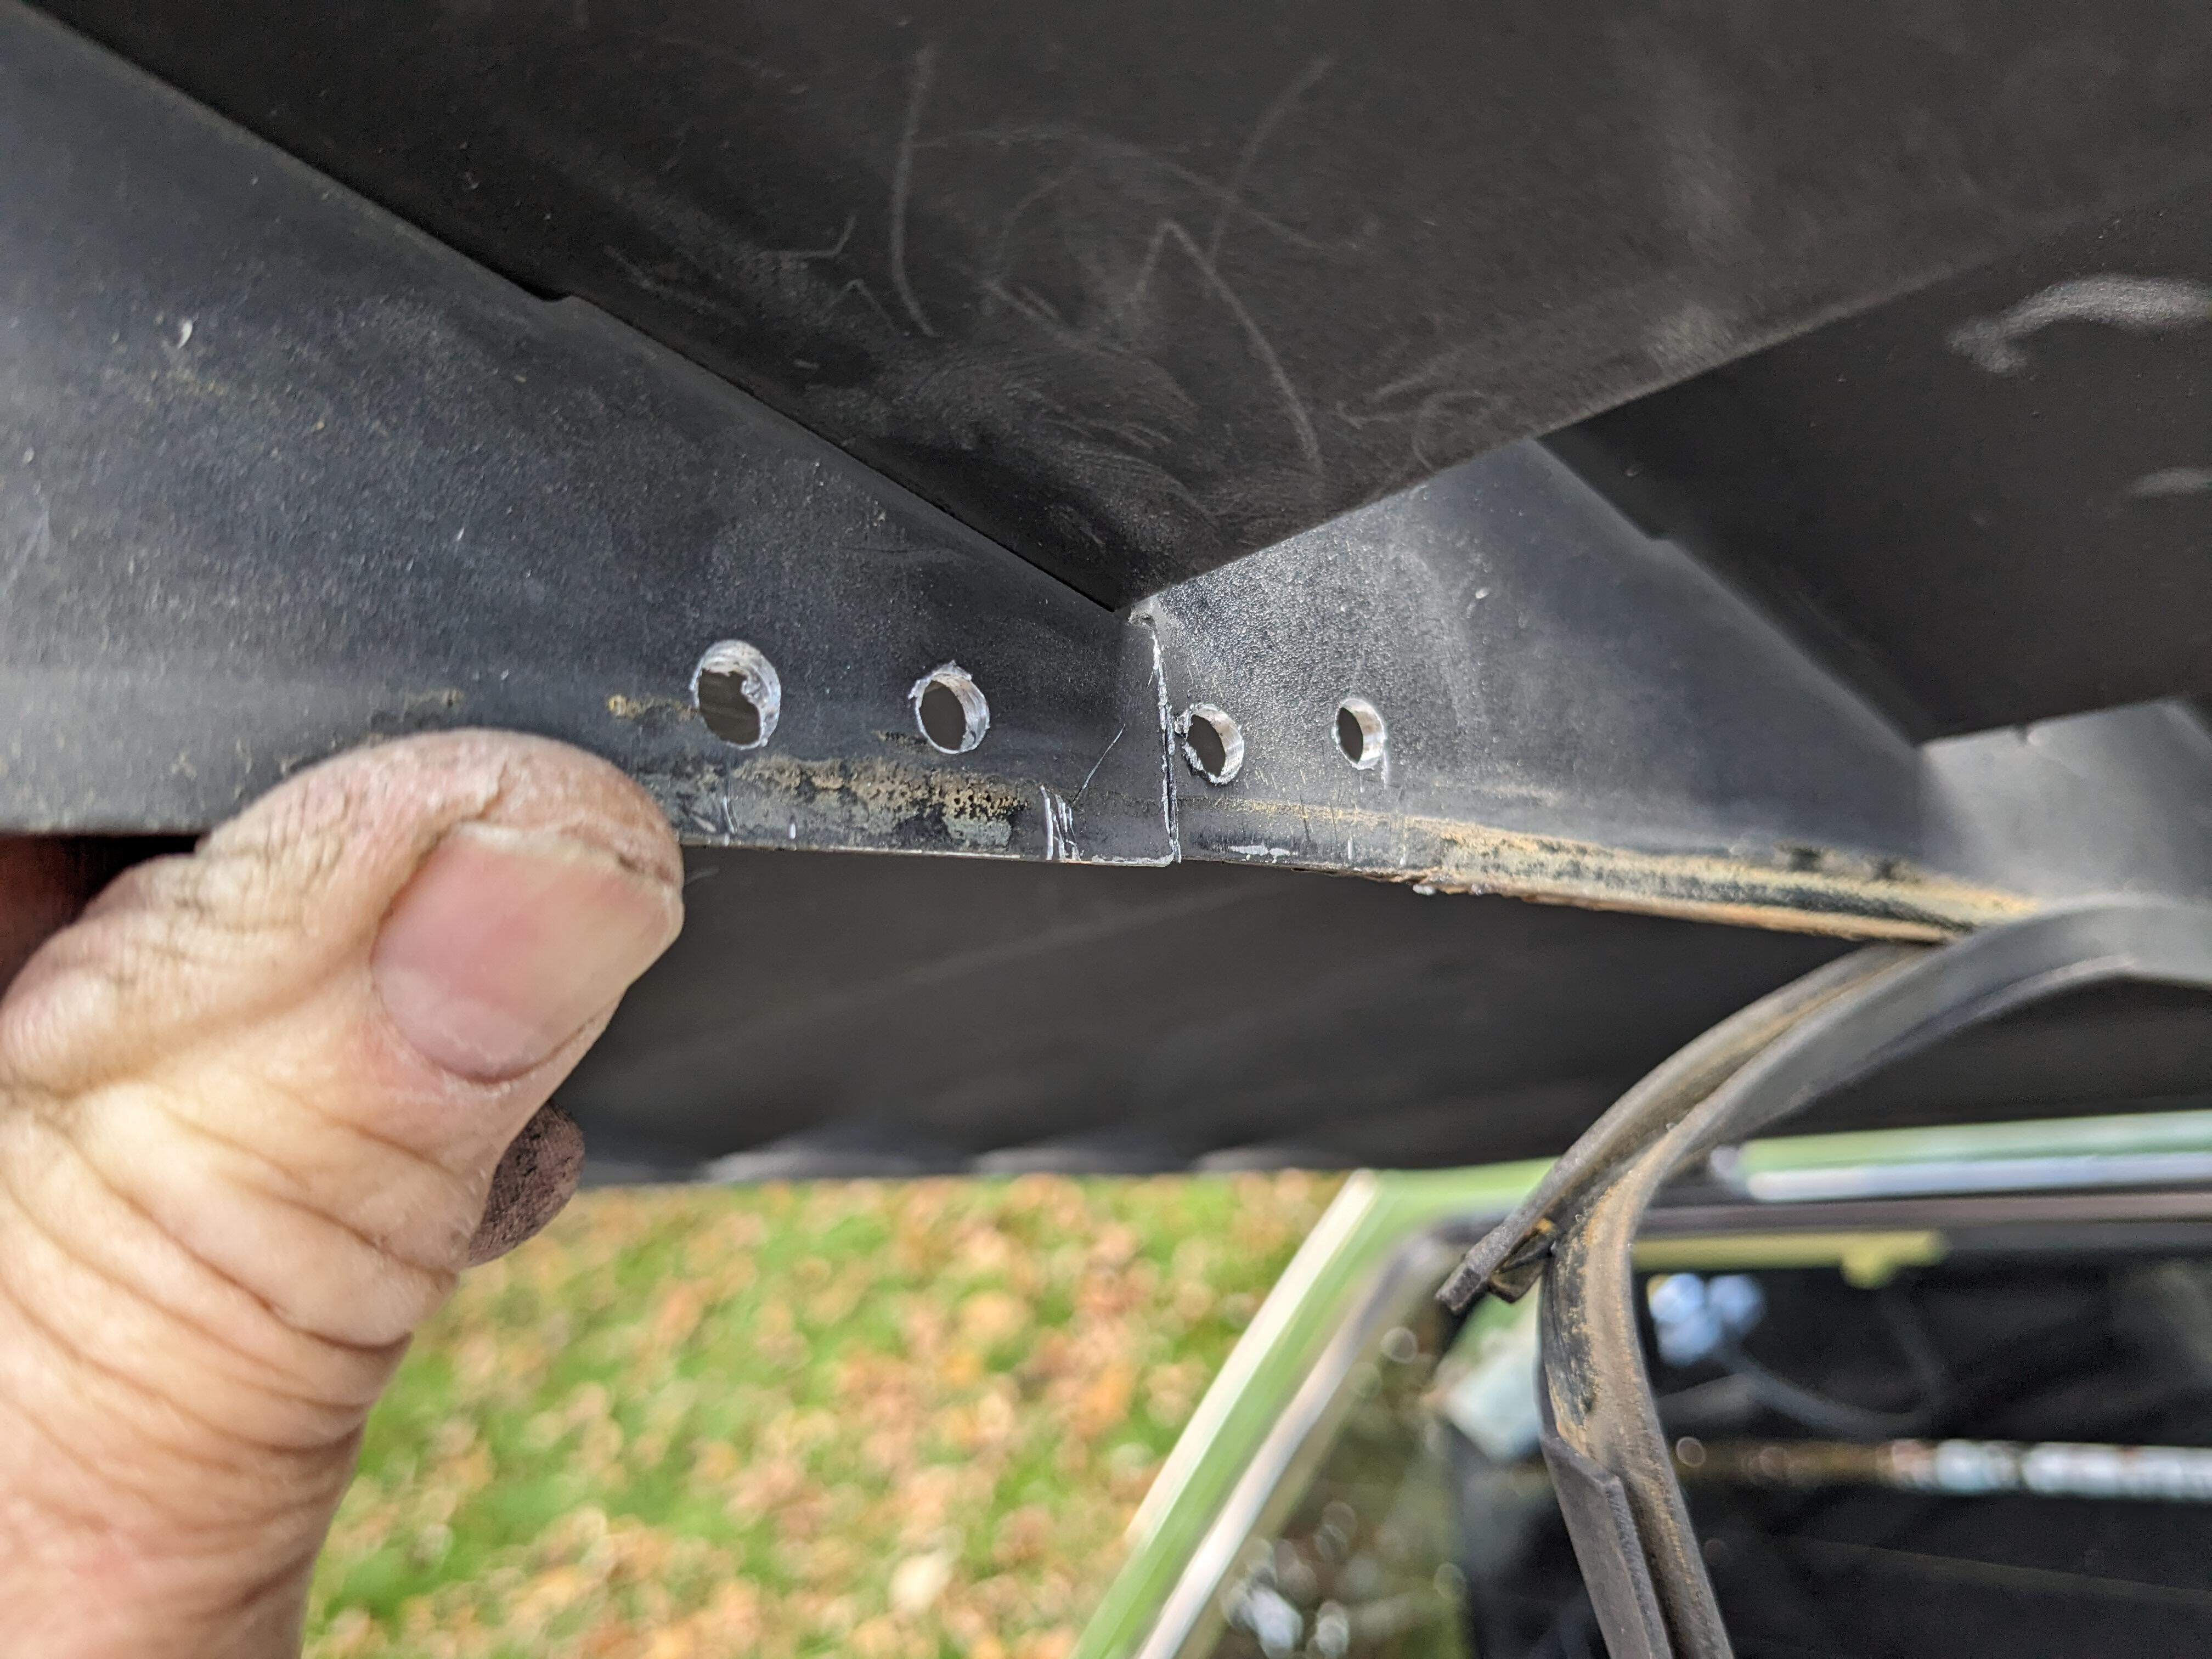
Now that the hatch doesn't need to be slammed shut, I fixed the broken louvre center rib. I made a SS plate U channel to bridge the fracture & riveted it in place. Added channel isolator afterwards to prevent further damage/scratching of the rear glass. One less annoying rattle to listen to. Overall, the car is now much more pleasant to drive. No exhaust fumes unless I drive with the windows open, then typically decel seems to suck them in. It is pretty loud in the cabin, much drivetrain noise coming through the tunnel & rear floor. I may have to add some additional padding behind the cargo hatches.
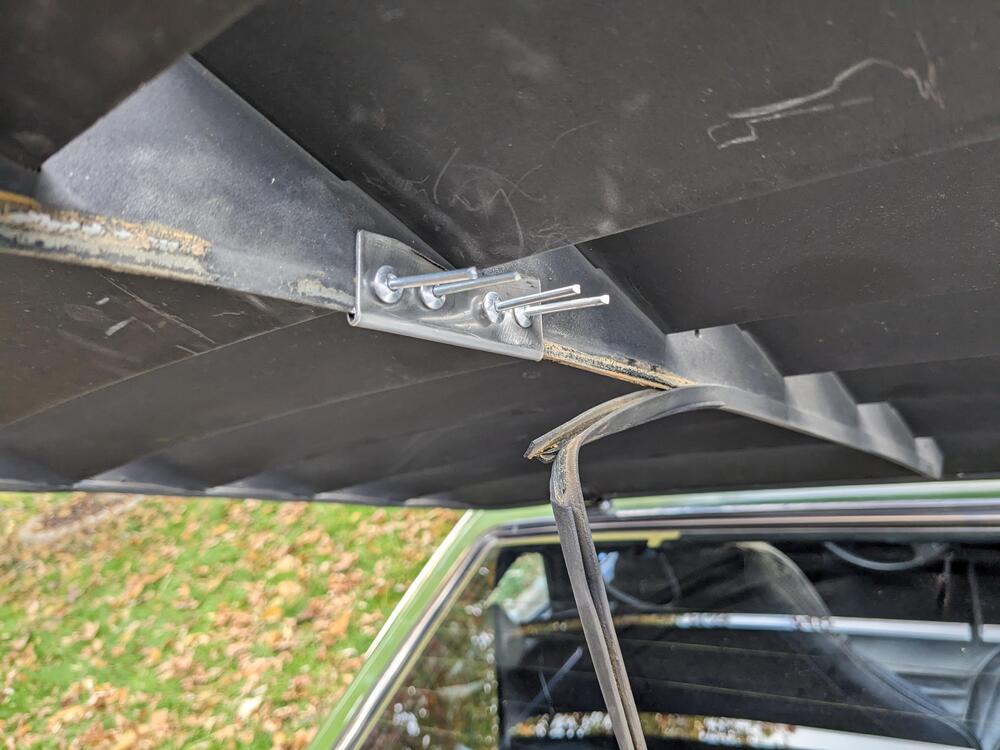
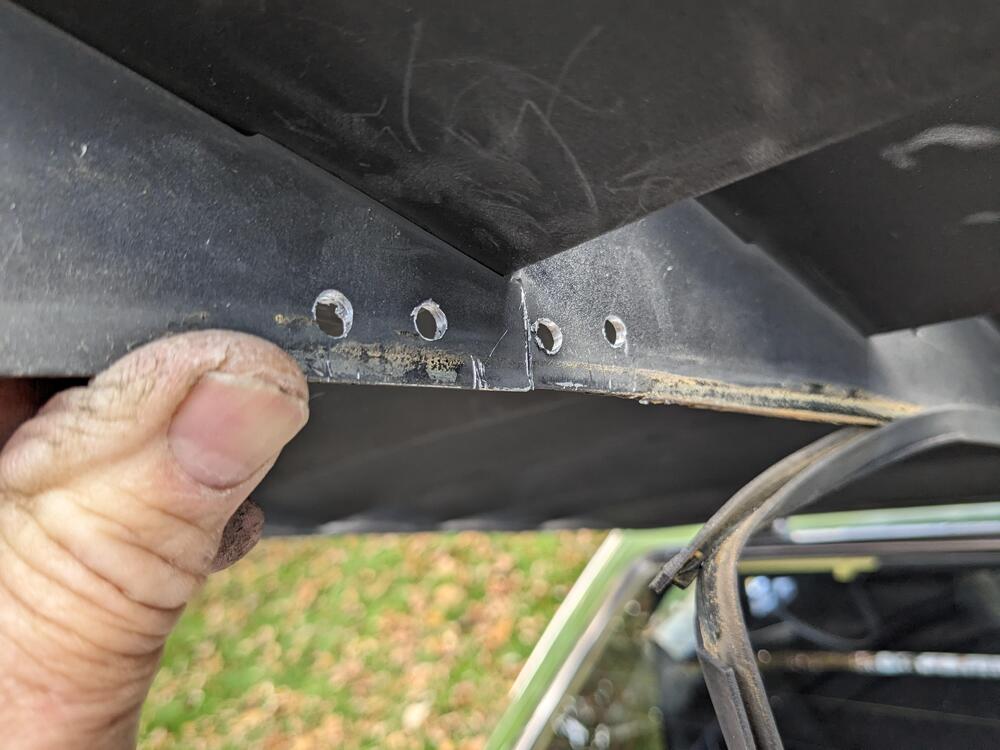
-
I was considering the hose & heat wrap treatment - I think I read FastWoman had put hose over her rail lines & did not experience the heat soak/restart issue. I do have lengths of various DEI wrap, I have used it in the past. I was also considering making heatshields for the injectors, that would sit over where the exhaust flange is exposed. Probably better to start with those before going to new rail/injector setup.
-
No, Factory tach 🙂 I drove the car 15 miles round trip with no tach when I first swapped the HEI module / 12V coil back on Saturday. It was jerky then, I assumed at the time it was because the tank was very low. I don't think it's fuel related, as the symptom does not exist with the stock module & coil setup, it only happened with the HEI setup. It's not a bog, it's definitely a 'cut'. I'll try to observe the wideband controller next time. All ignition connections are firm. The thing is, I did not experience it driving to work an hour ago. I should recheck the ignition timing in case there is a deviation with the HEI, I think someone mentioned that happened for them. What is currently annoying is the heat soak 10-15min restart lean condition, it's still happening even though it's now in the 30-50 degree ambient temp weather. I'm looking at alternative fuel rails, which may mean I want to got to composite injectors with the adaptor bases from Protunerz. Not sure I want to go down that rabbit hole though. Maybe I'll just pop the hood latch to vent it if I know I'm going to be in that situation 🤪
-
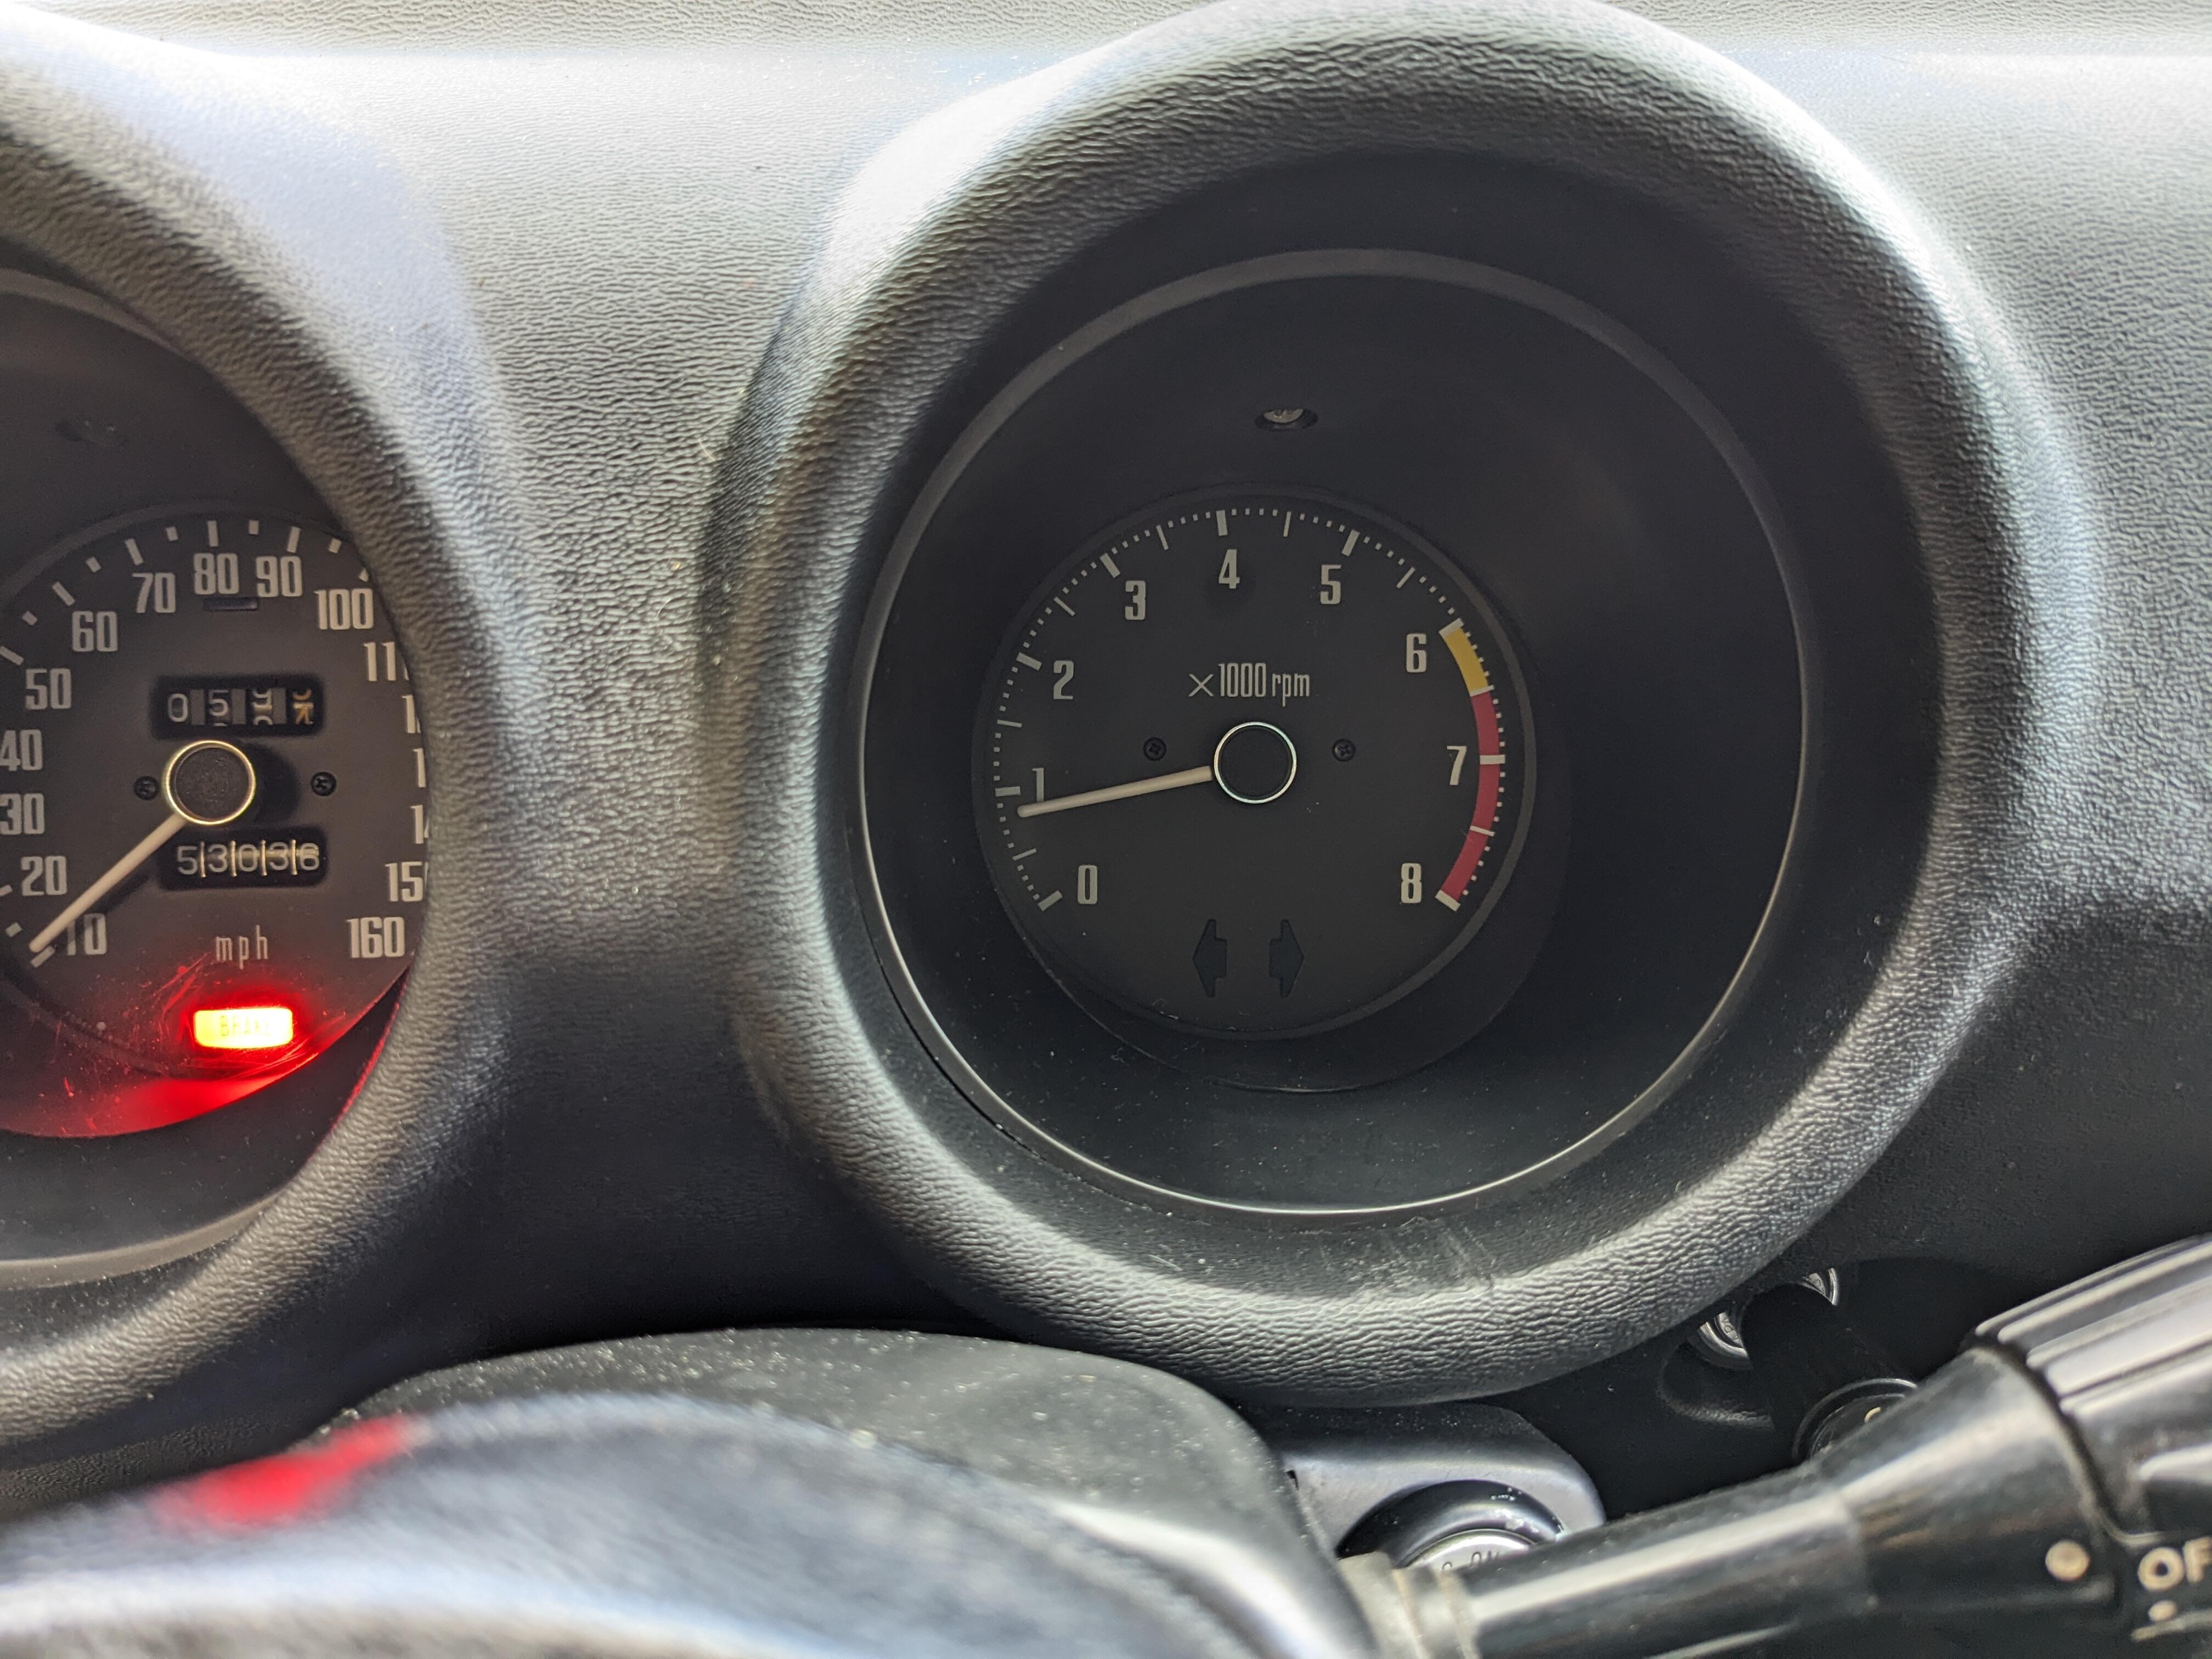
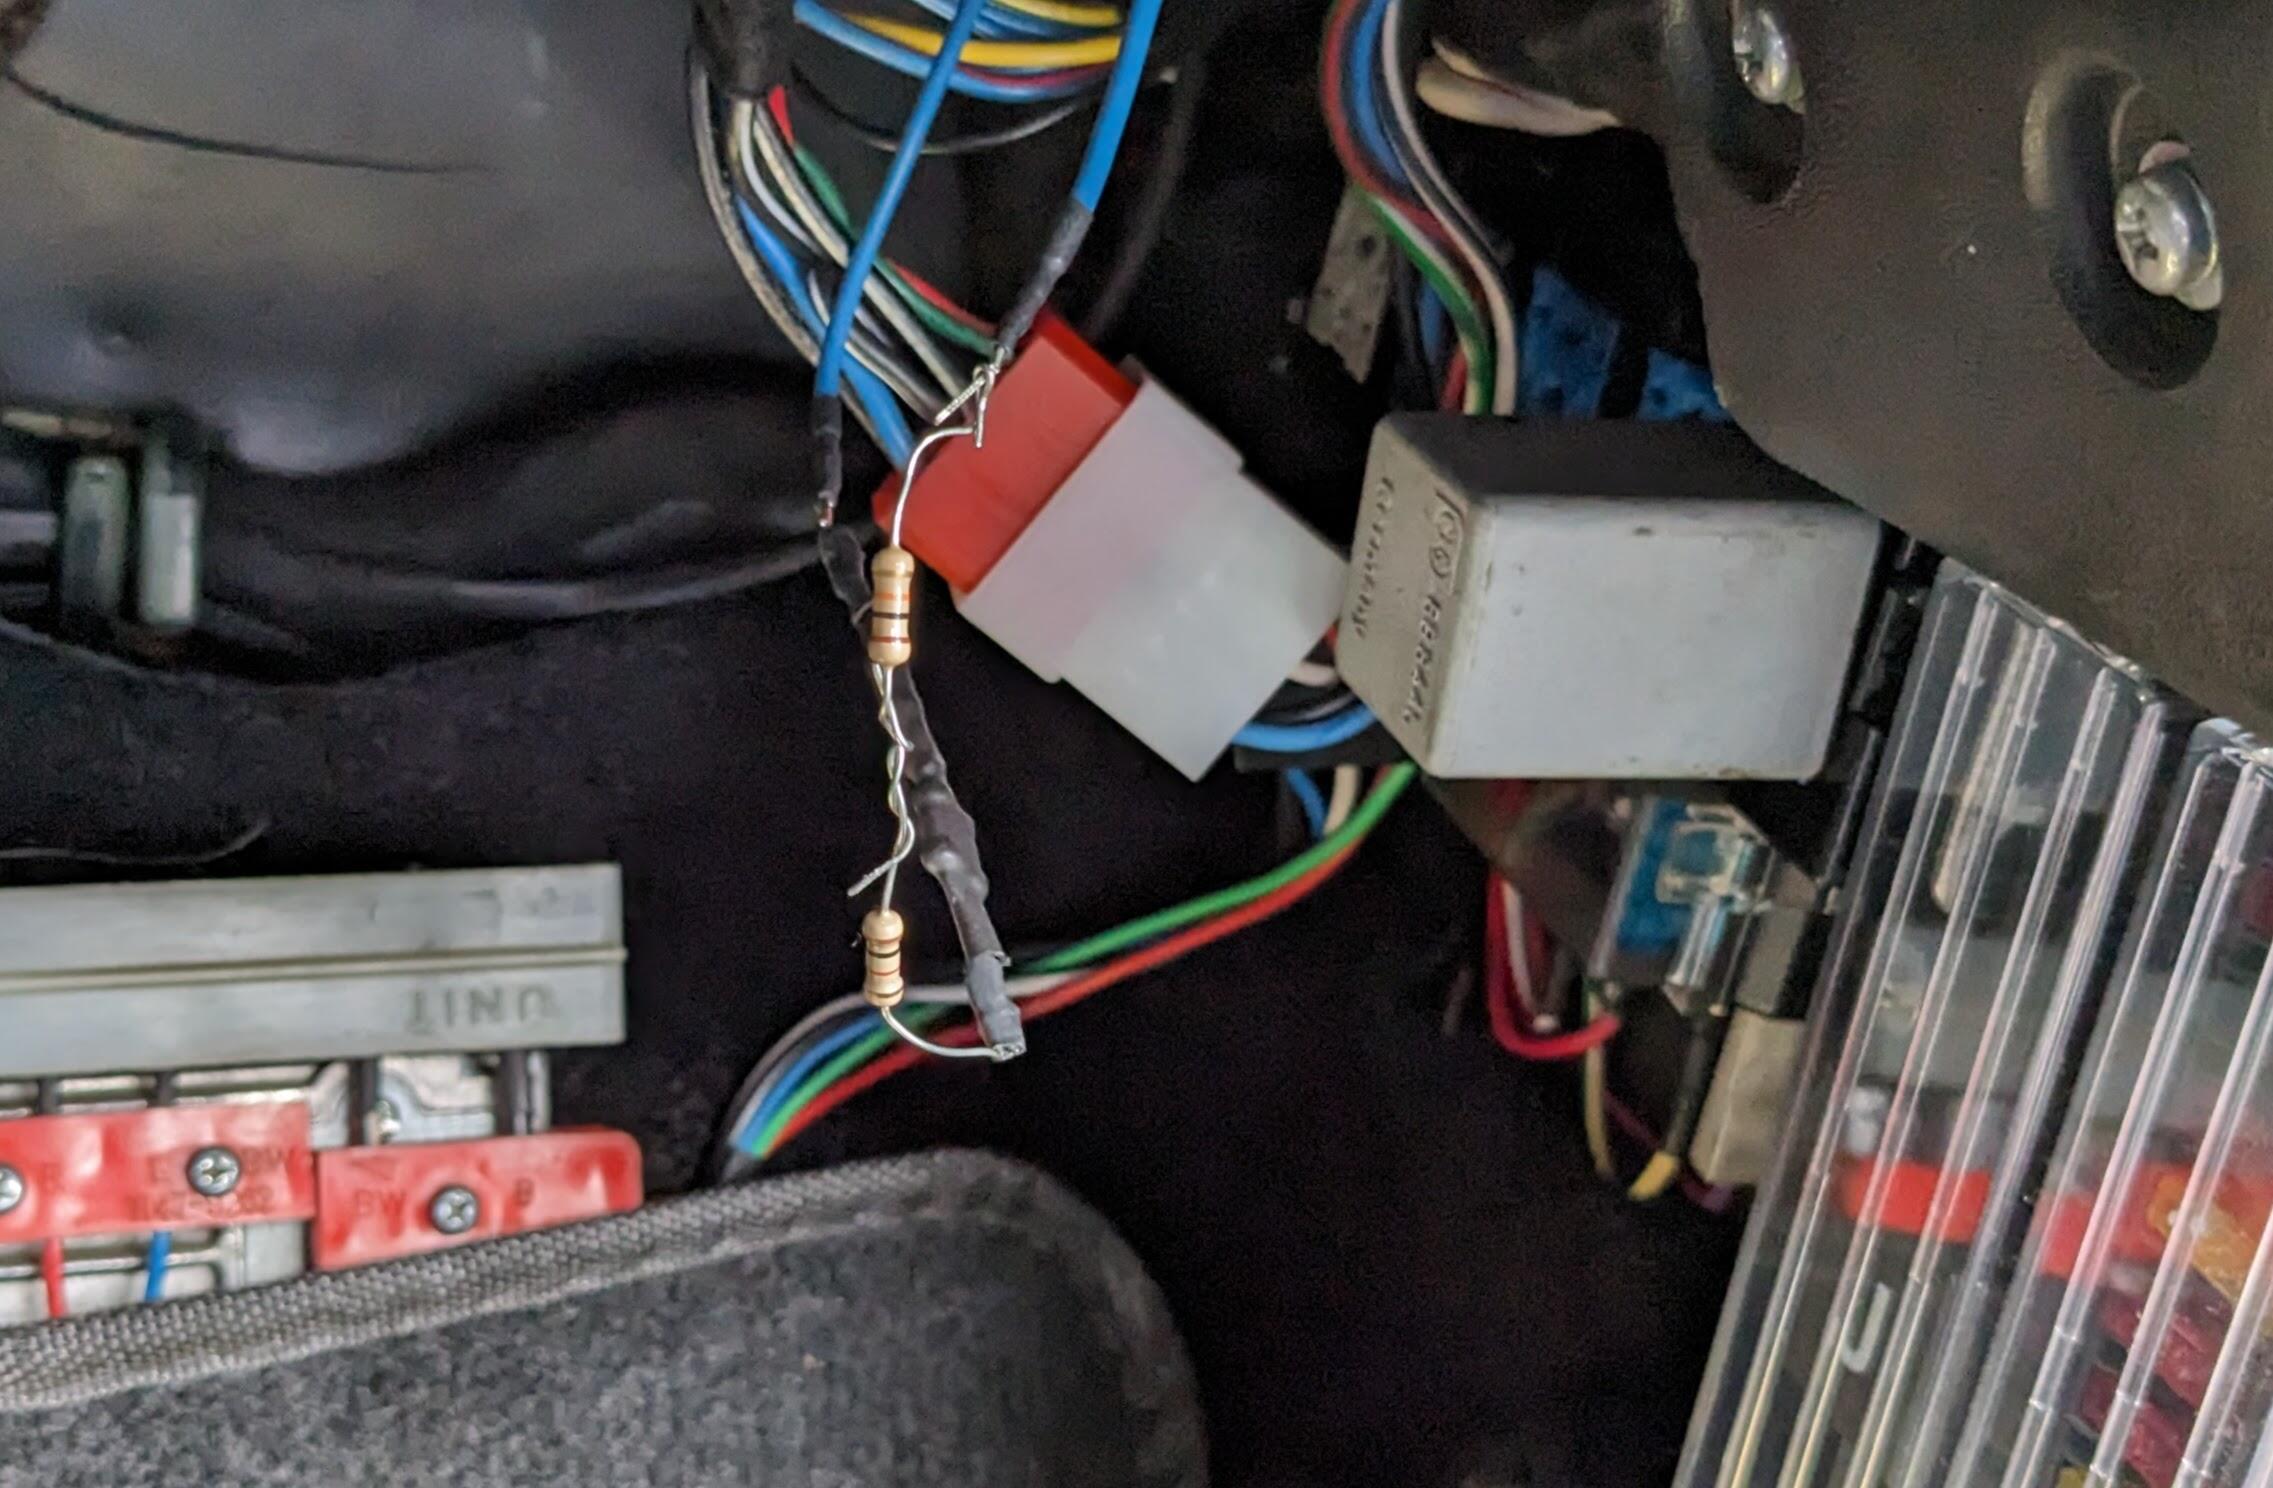
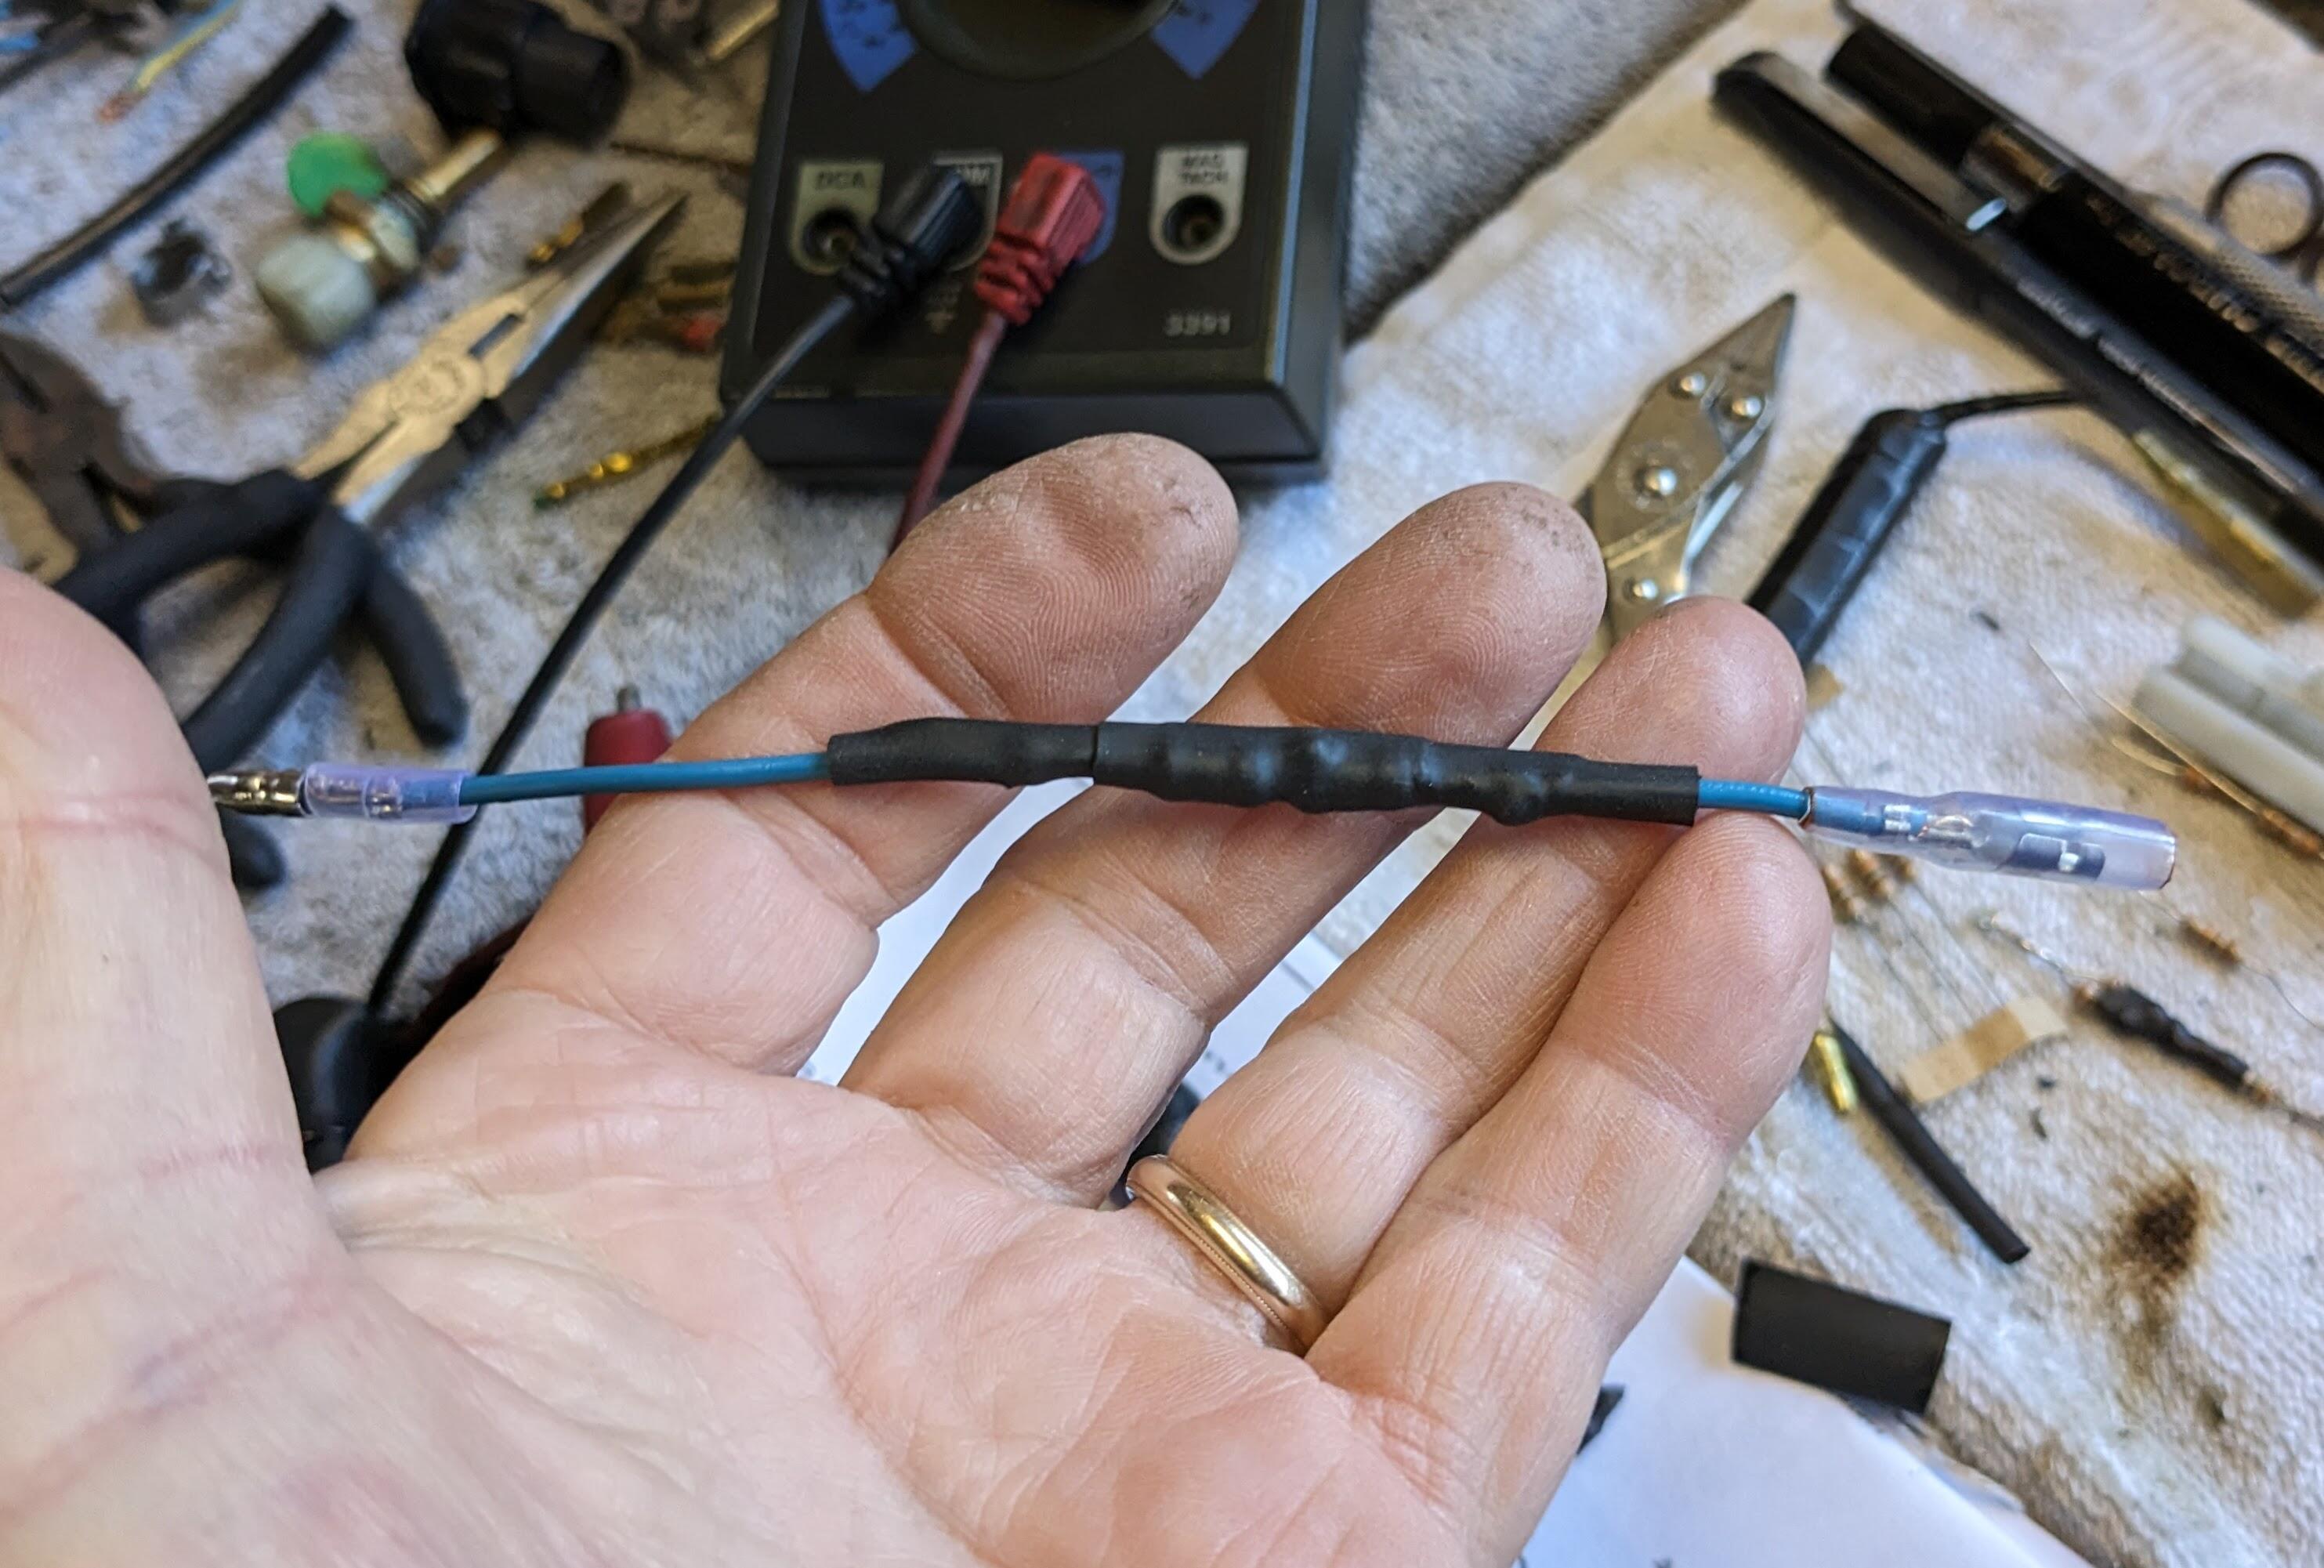
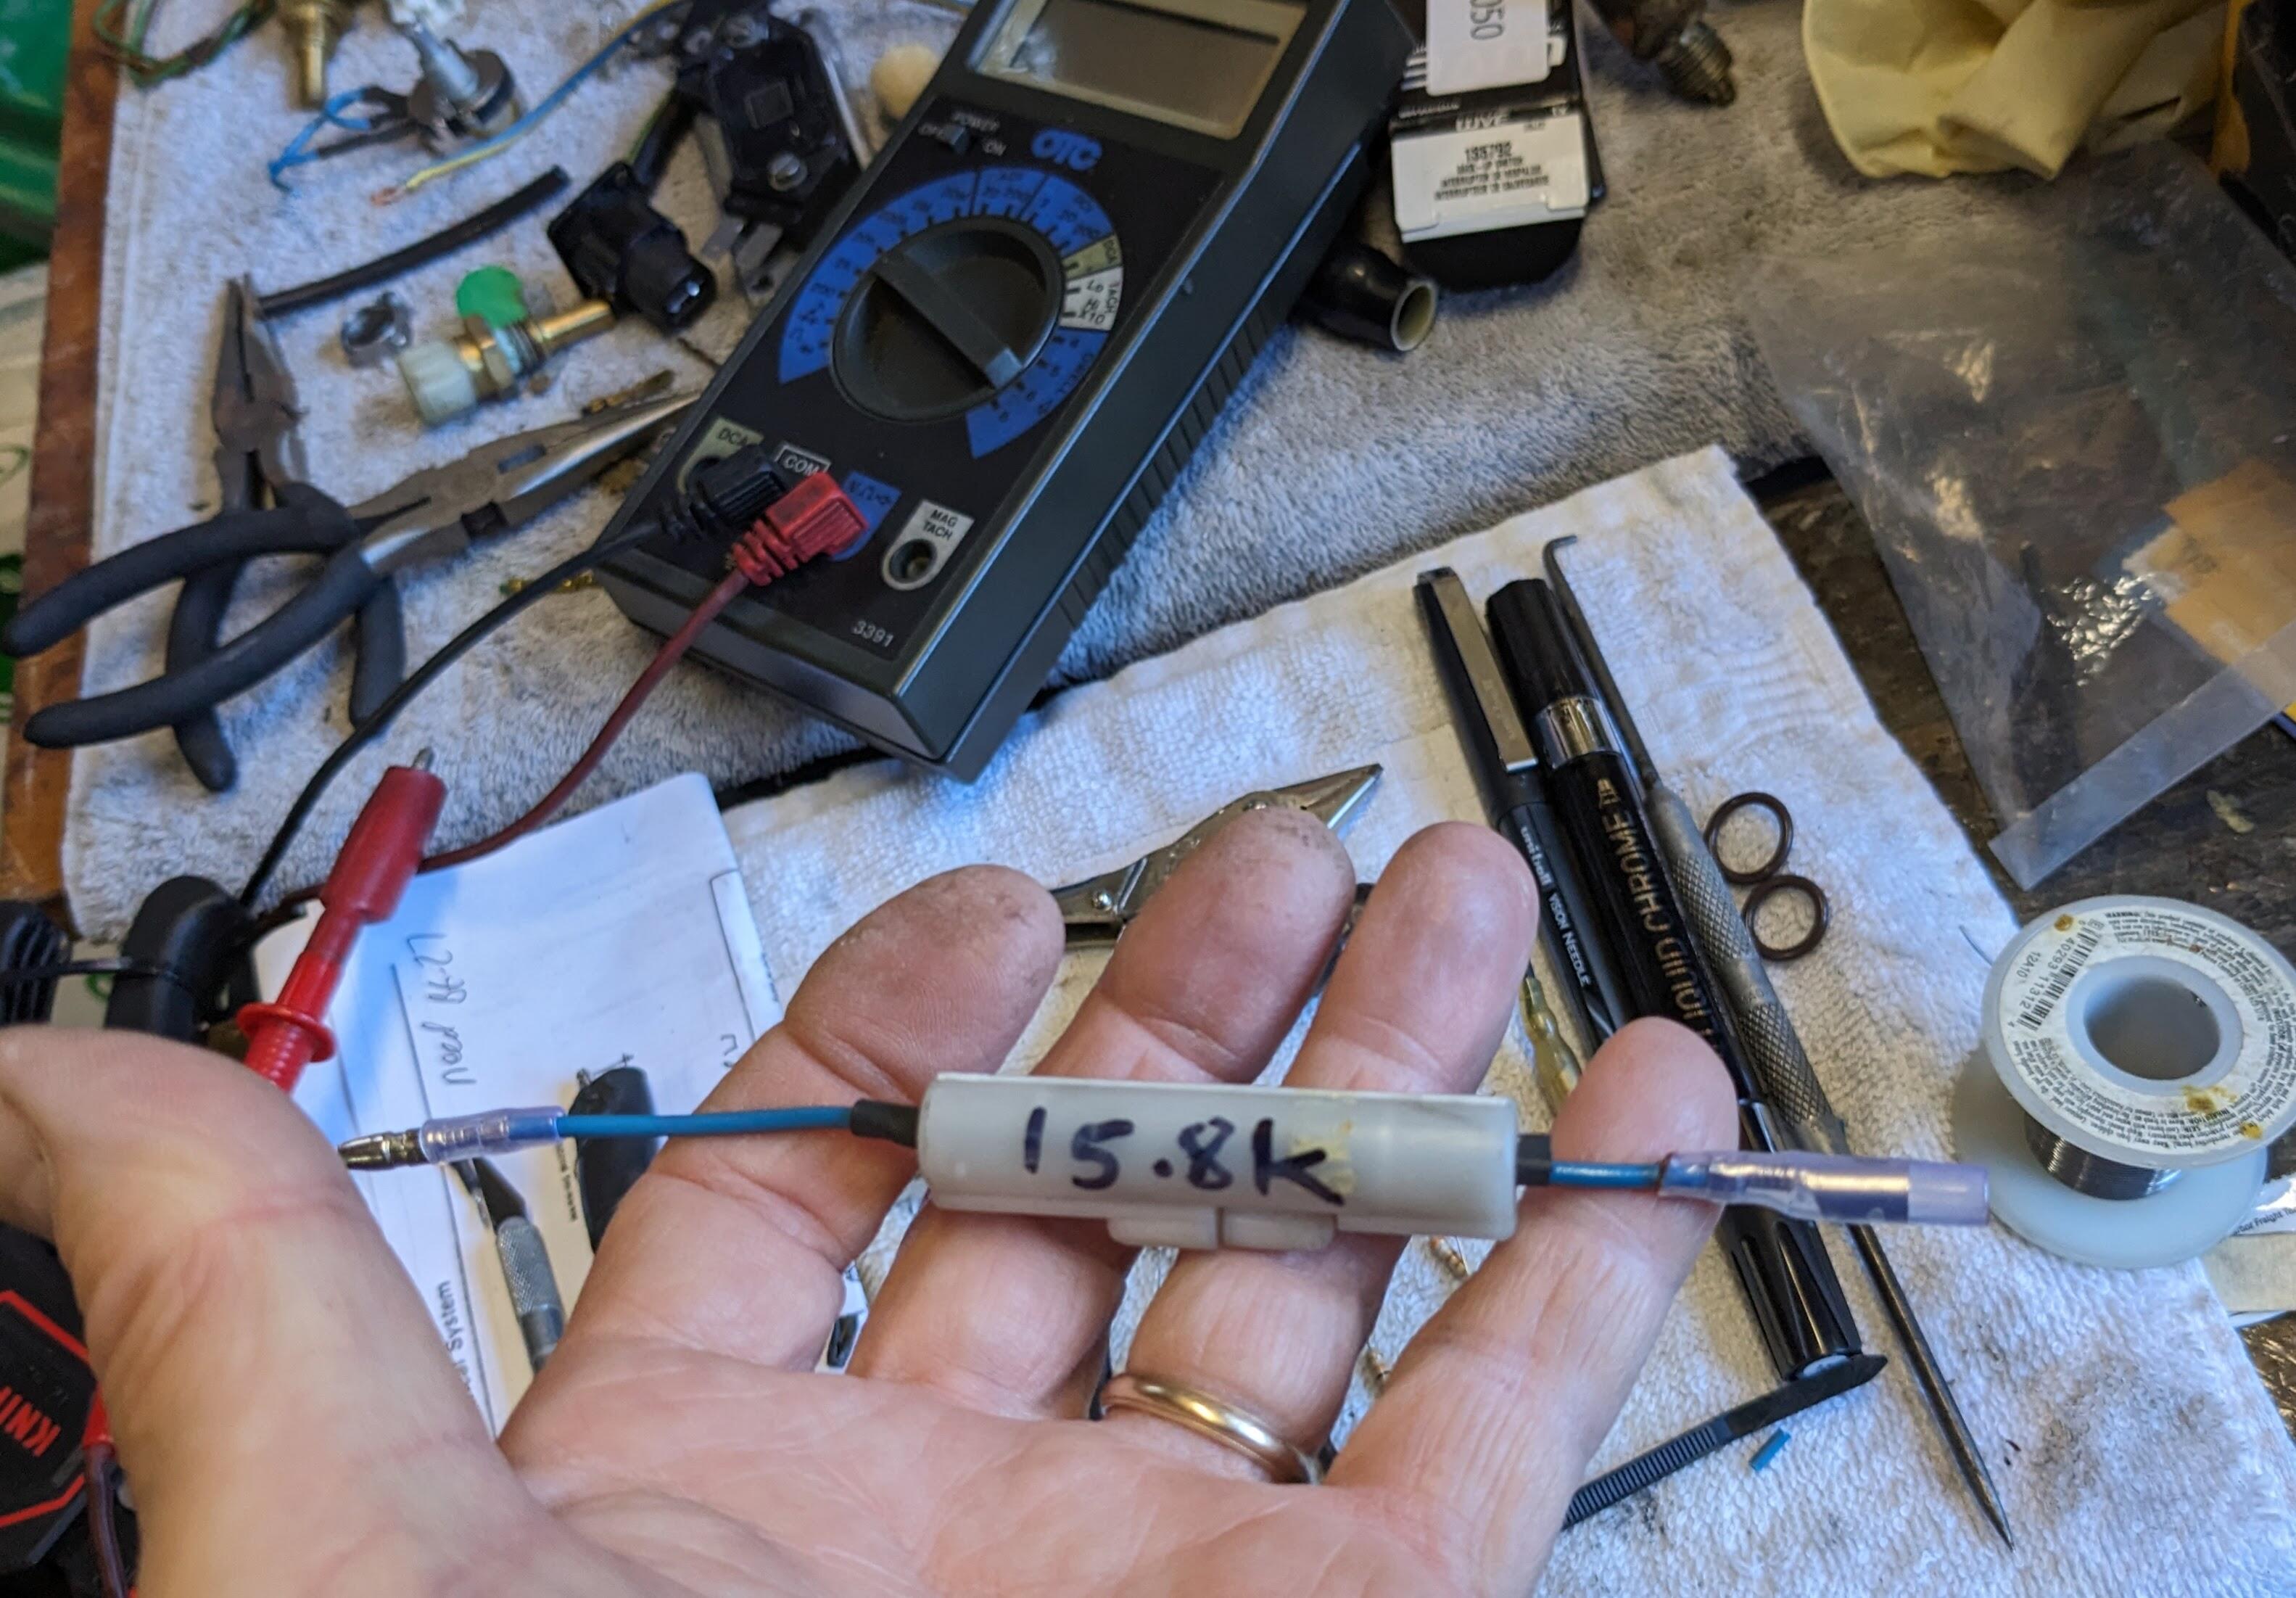
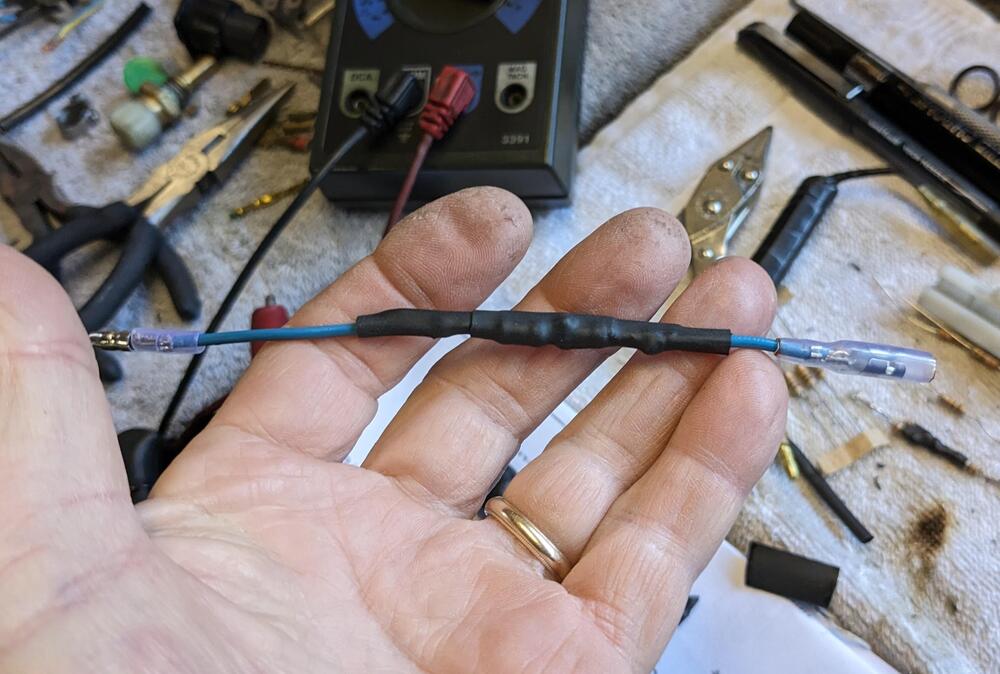
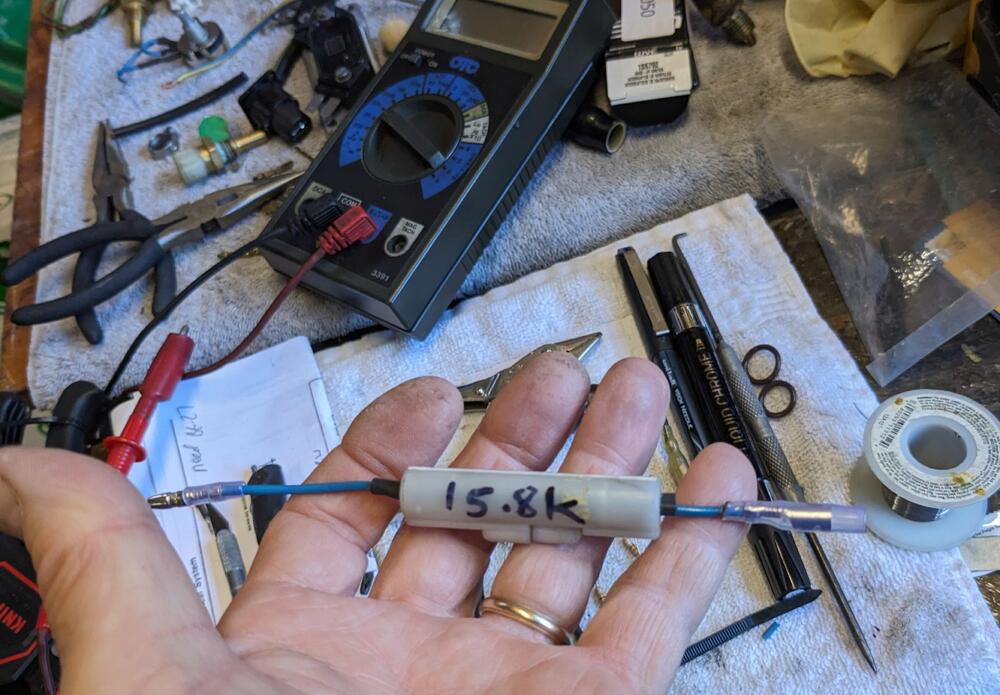
OK - so finally had the time & break in the weather to swap out the coil & module. I did first just plug in the HEI module with the stock coil & ballast, and as expected the tach functioned normally with the stock 2.2K ohm resistor. I swapped out the coil and ballast bridge, and tried the 5K ohm resistor bridge. Tach operated briefly, then dropped. I then added a 1K resistor in series with the 5K, and that was better, but tach was still erratic & dropped out after a bit. Added another 10K (9.8K actual, thought I was adding .5K ohm) and with that, the tach smoothed out, held normal idle rpm & revved freely in time with the engine. So, for me, 15800 ohms is the value required. I drove the car to work this evening for my parent-teacher conferences, and I have noticed that there is a noticeable 'jerkiness' on throttle tip-in that is not present with the stock ignition setup. Not sure why that would be, I'll have to see if it persists. I also have not swapped out the generic Standard Motor Part module for the geniune GM module, so it is possible that is the culprit I suppose. Used a 14.8K & 1K in series for the final resistor.
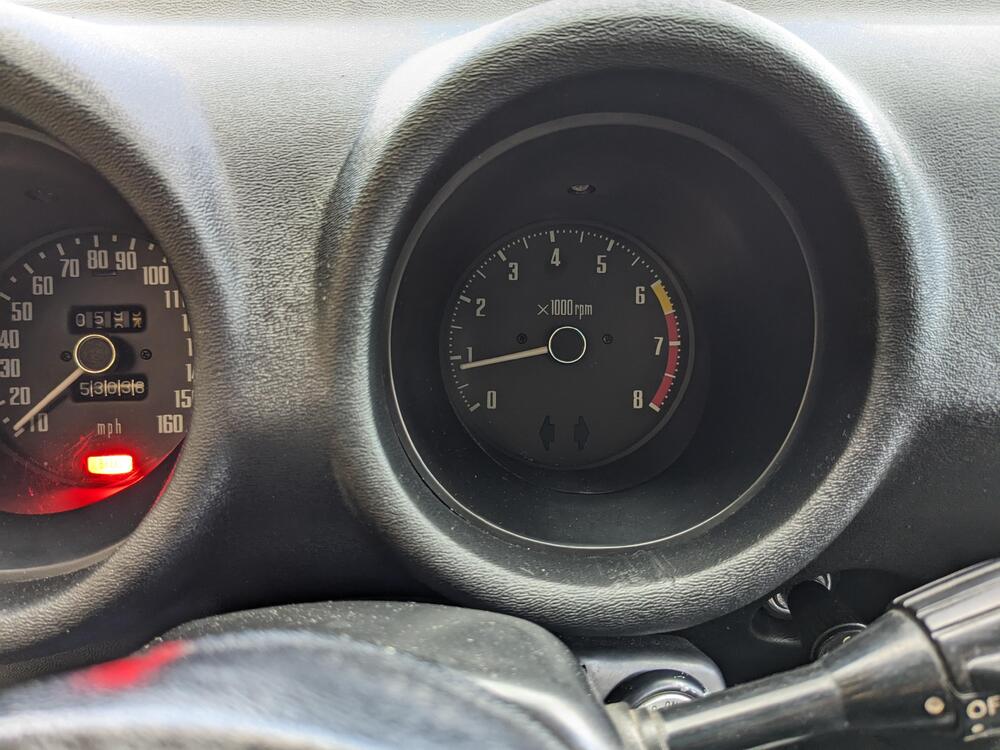
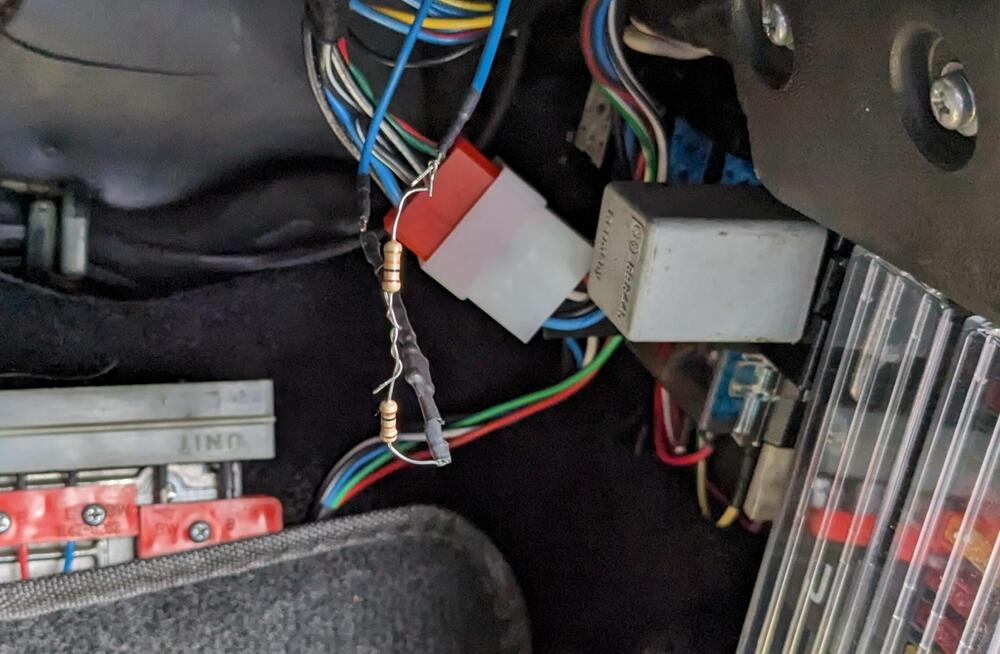
-
One last question Steve - I'm assuming that the (-) terminal on the relay is the one that requires external ground. Can you verify?

-
I'm happy with the improved light over the halogens. I bought another pair of them for my old Volvo 🙂
-
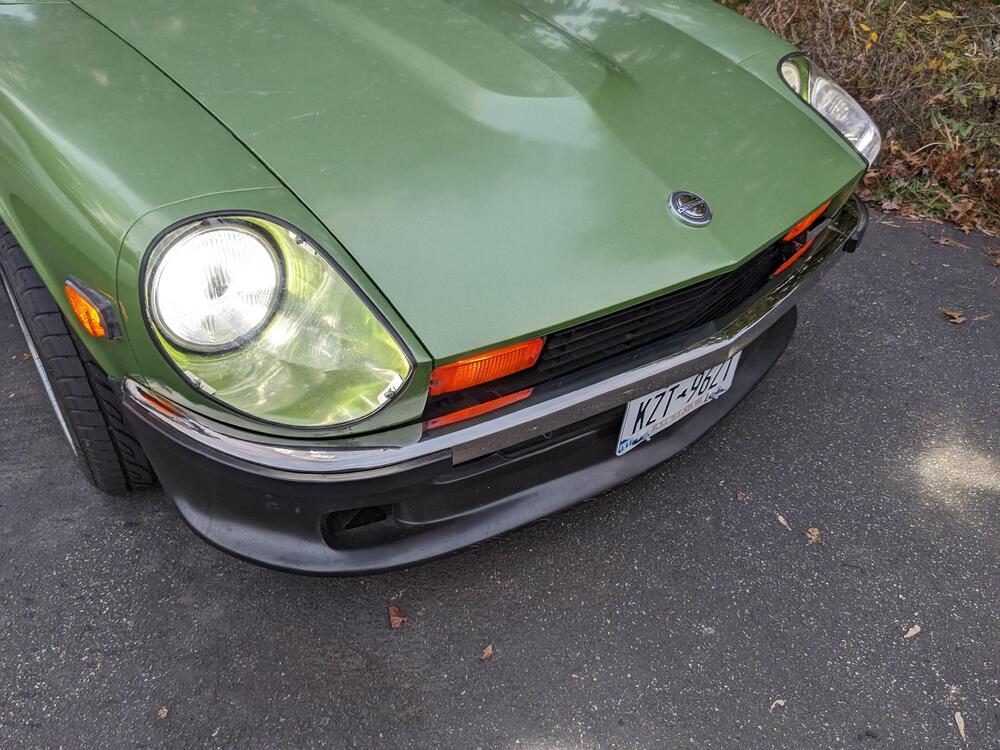
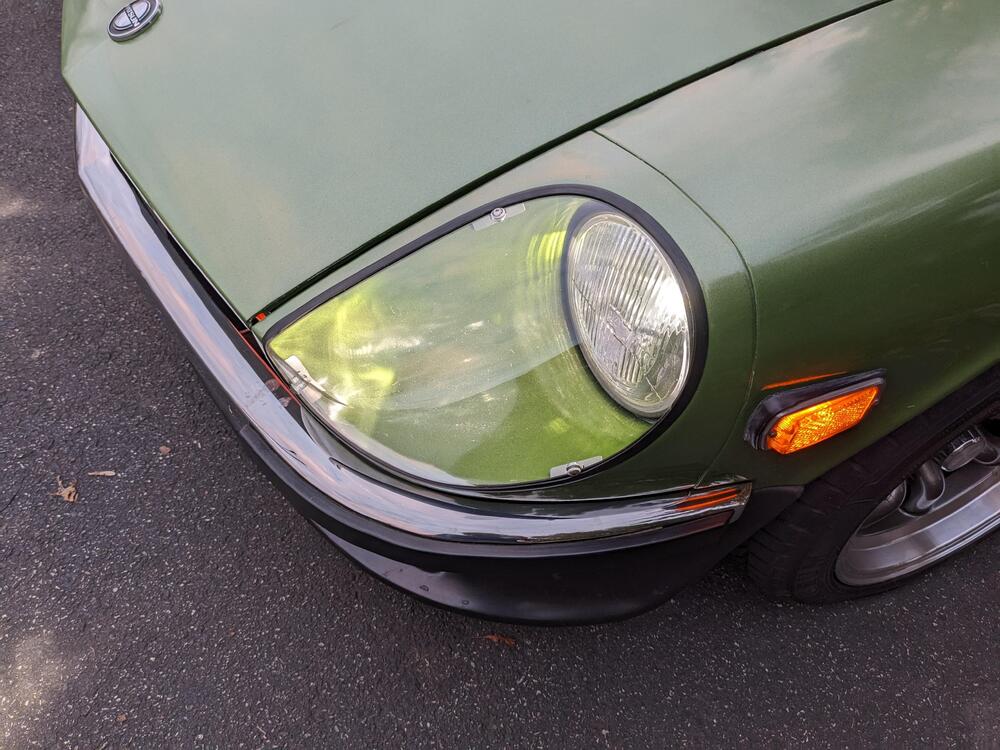
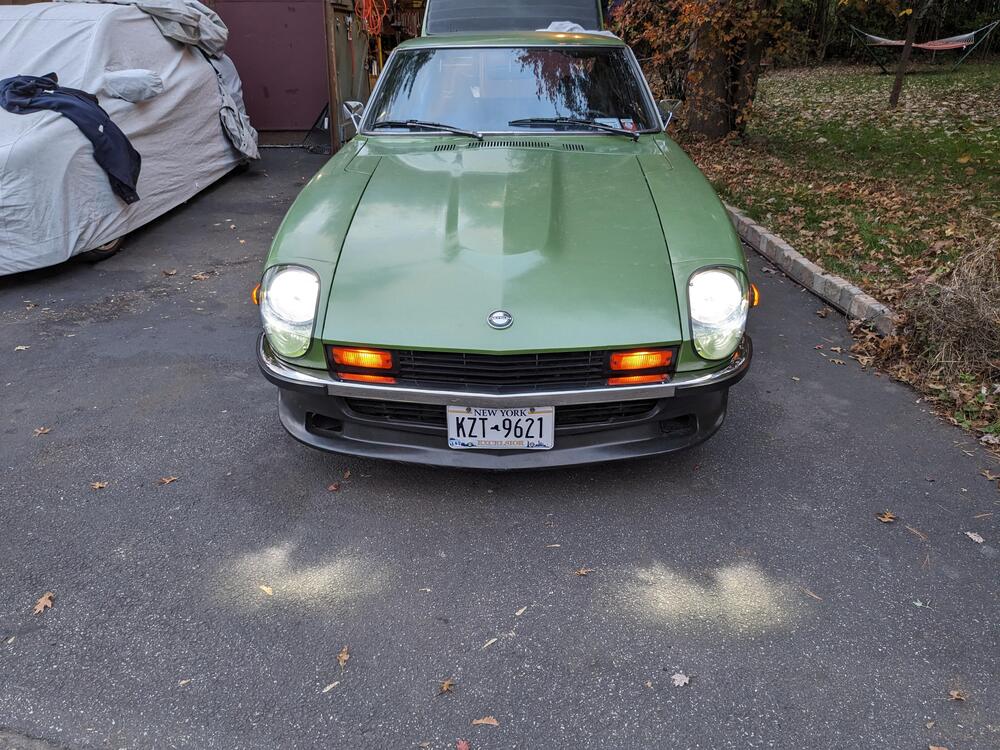
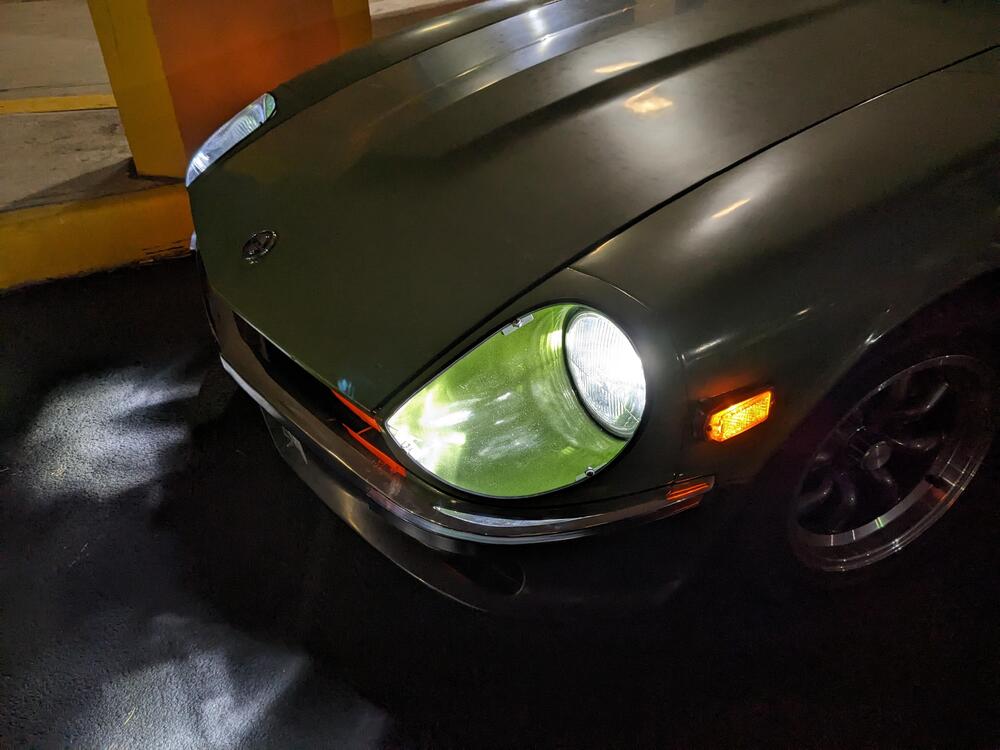
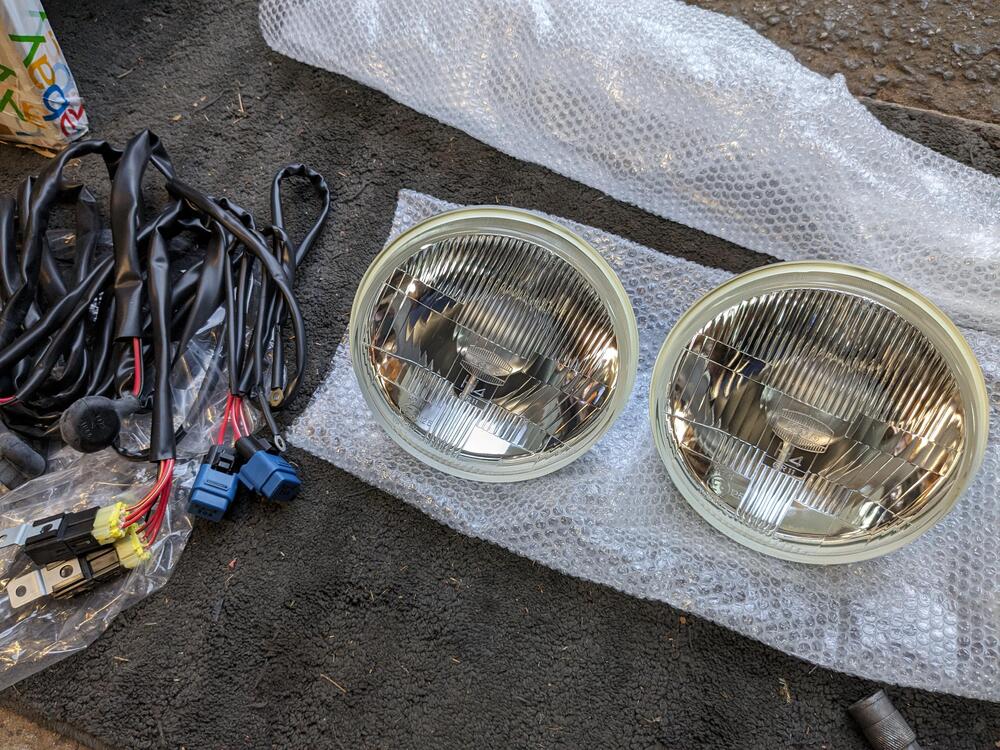
Covers with lights on l Kioto housings arrived, so I have to swap out the Hellas soon.
-
Ah - thanks, Steve. I di don't look down beyond the bulb listing. So, adjustable is required, or do the non-adjustable in the listings also work?
-
Problem - with LEDs in the directionals, they don't flash. The Hazard flasher still worked with just the two rear bulbs, that's how I was testing them. As soon as I added the two front, I had no hazard either. I didn't see any mention of issues with the two relays. ....
-
Thanks for the response. I can check the factory cap. Understood, there are permutations & variances with the tachometers. My resistor is 2.23K ohms, the other poster got his to work using 5K ohm range values, which was my guide. Hopefully the rain will stop at some point today, and I can try this tomorrow after work :)