HusseinHolland
Community Member
-
Joined
-
Last visited
Everything posted by HusseinHolland
-
Thanks for the input - I do see what you mean in your pics - I wish I'd seen it earlier before I spent $35 + on the other color 😞 Did you mean Rustoleum brand? When I search 261413 carbon mist comes up under that brand? EDIT - I scrolled further through your post, and see that you did mean Rustoleum Brand I don't get the flat top comment, unless that indicates you can be contrary? 😄
-
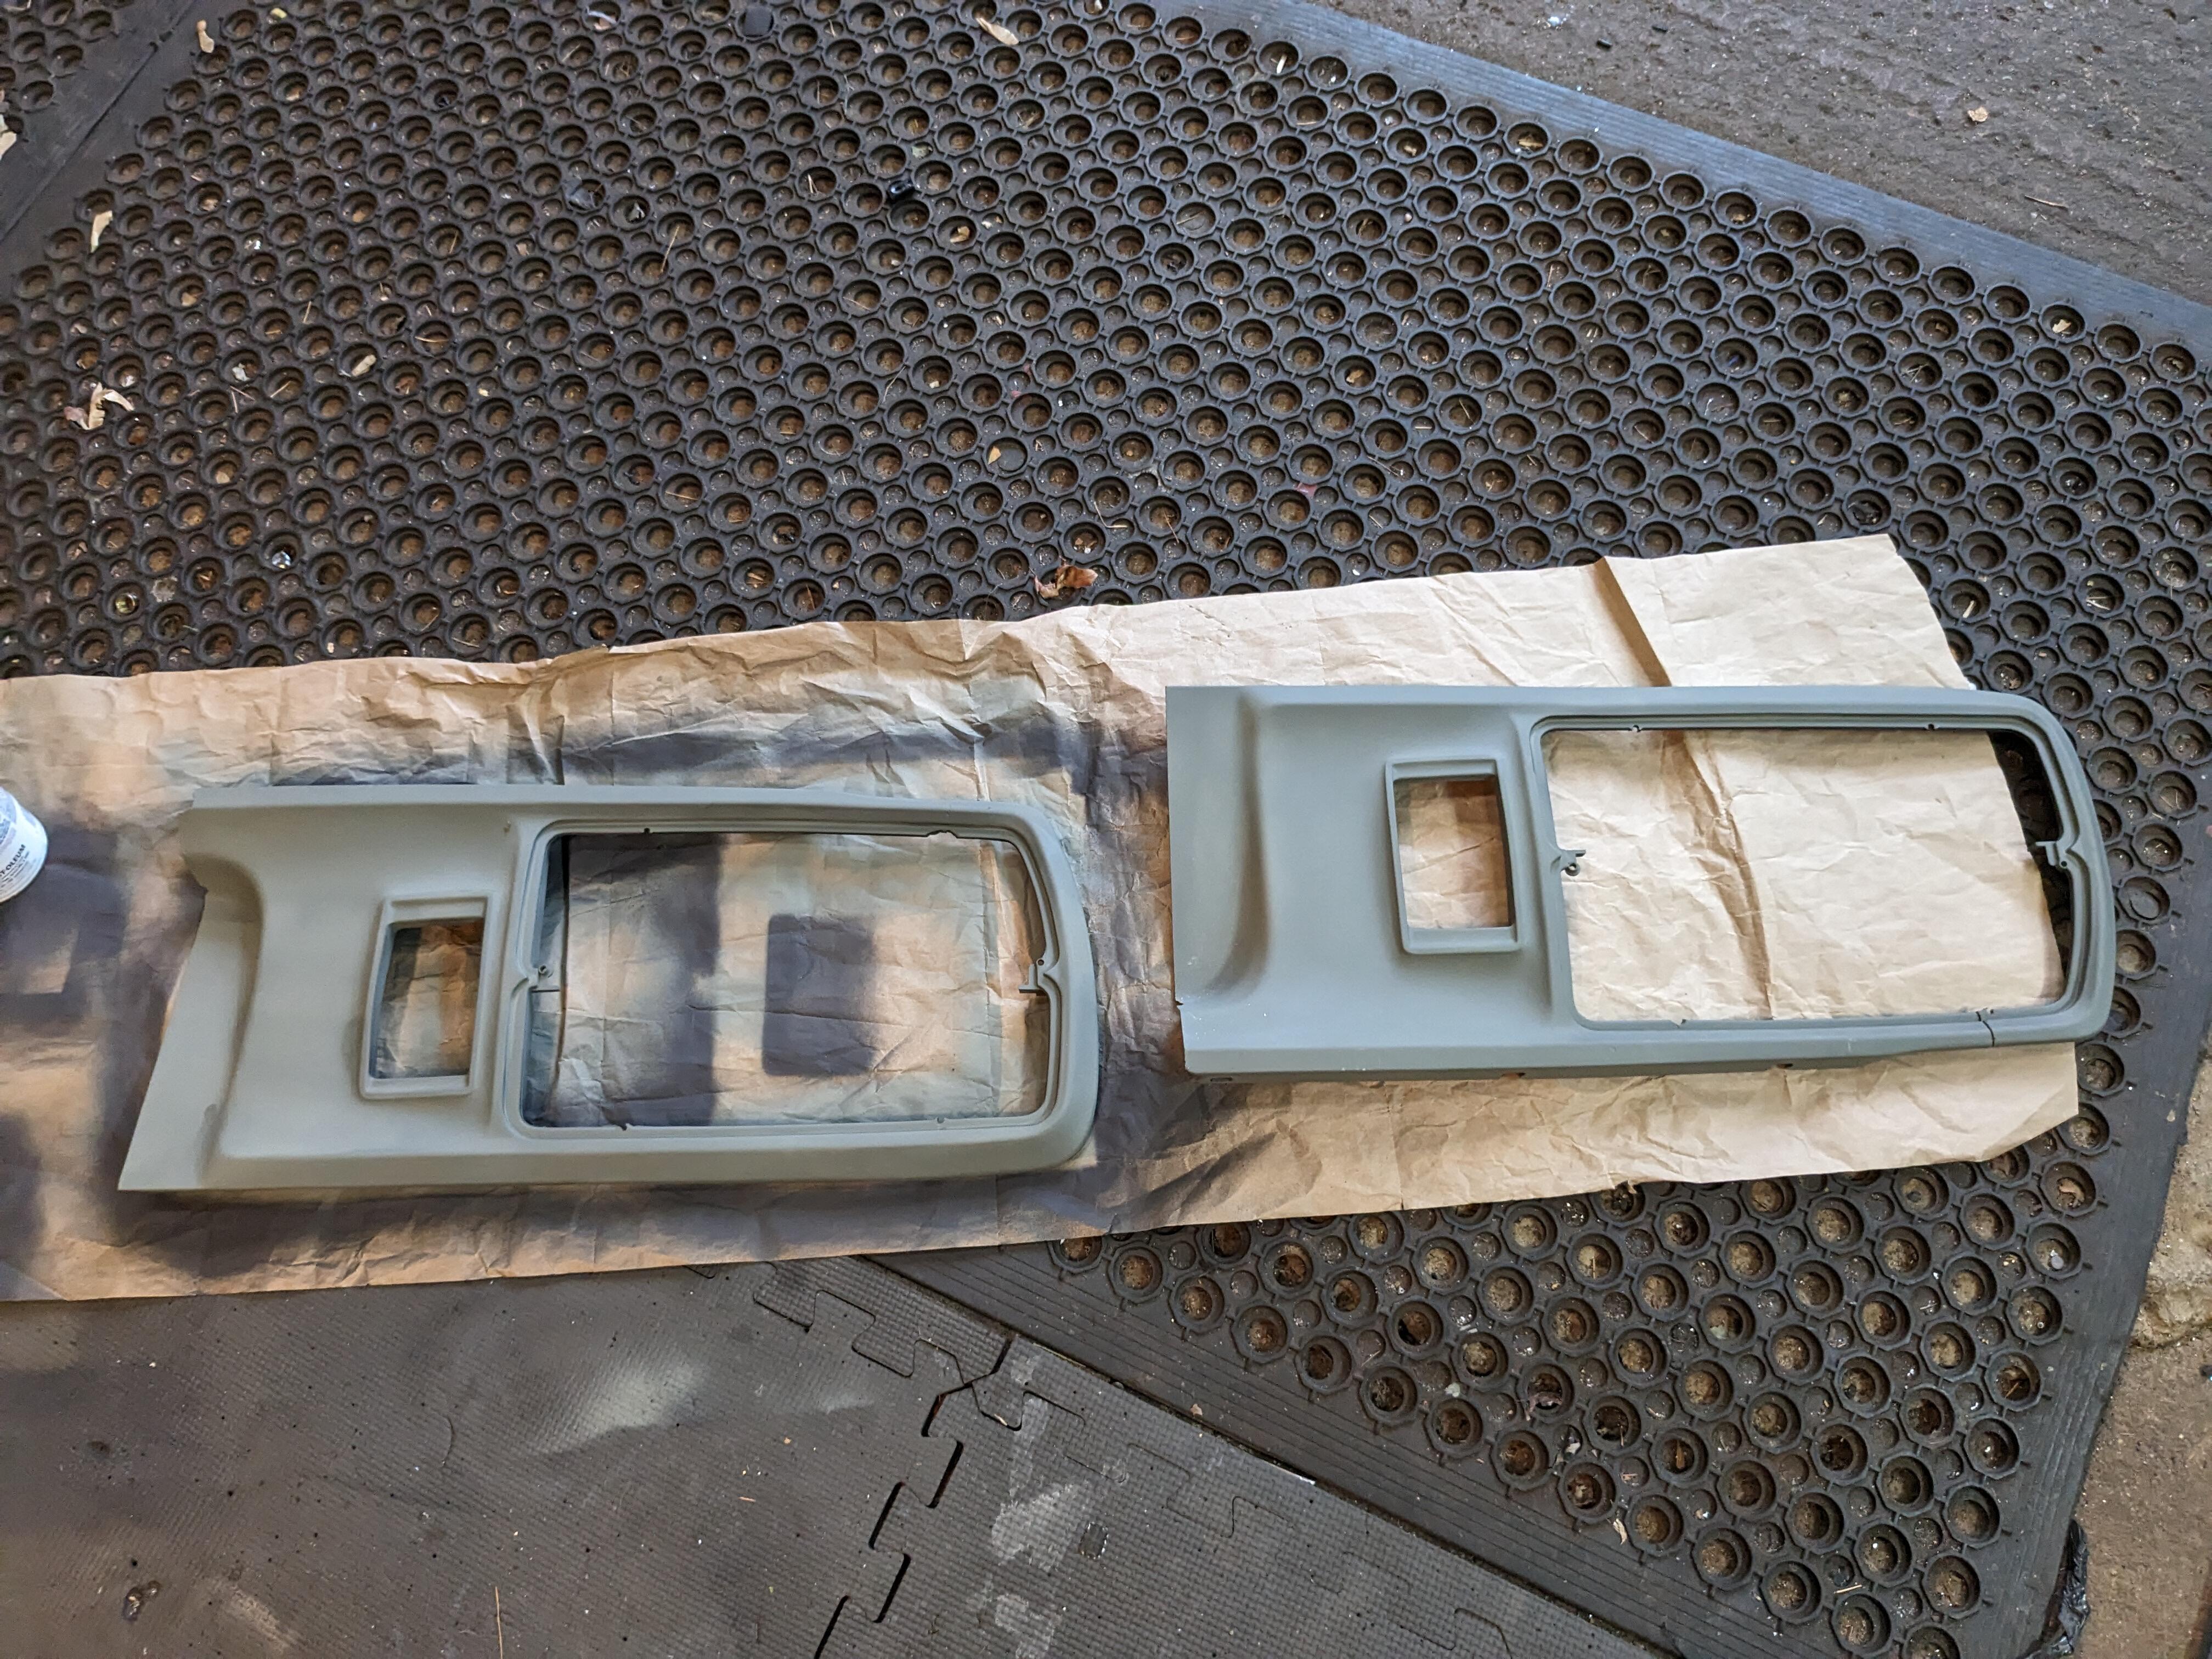
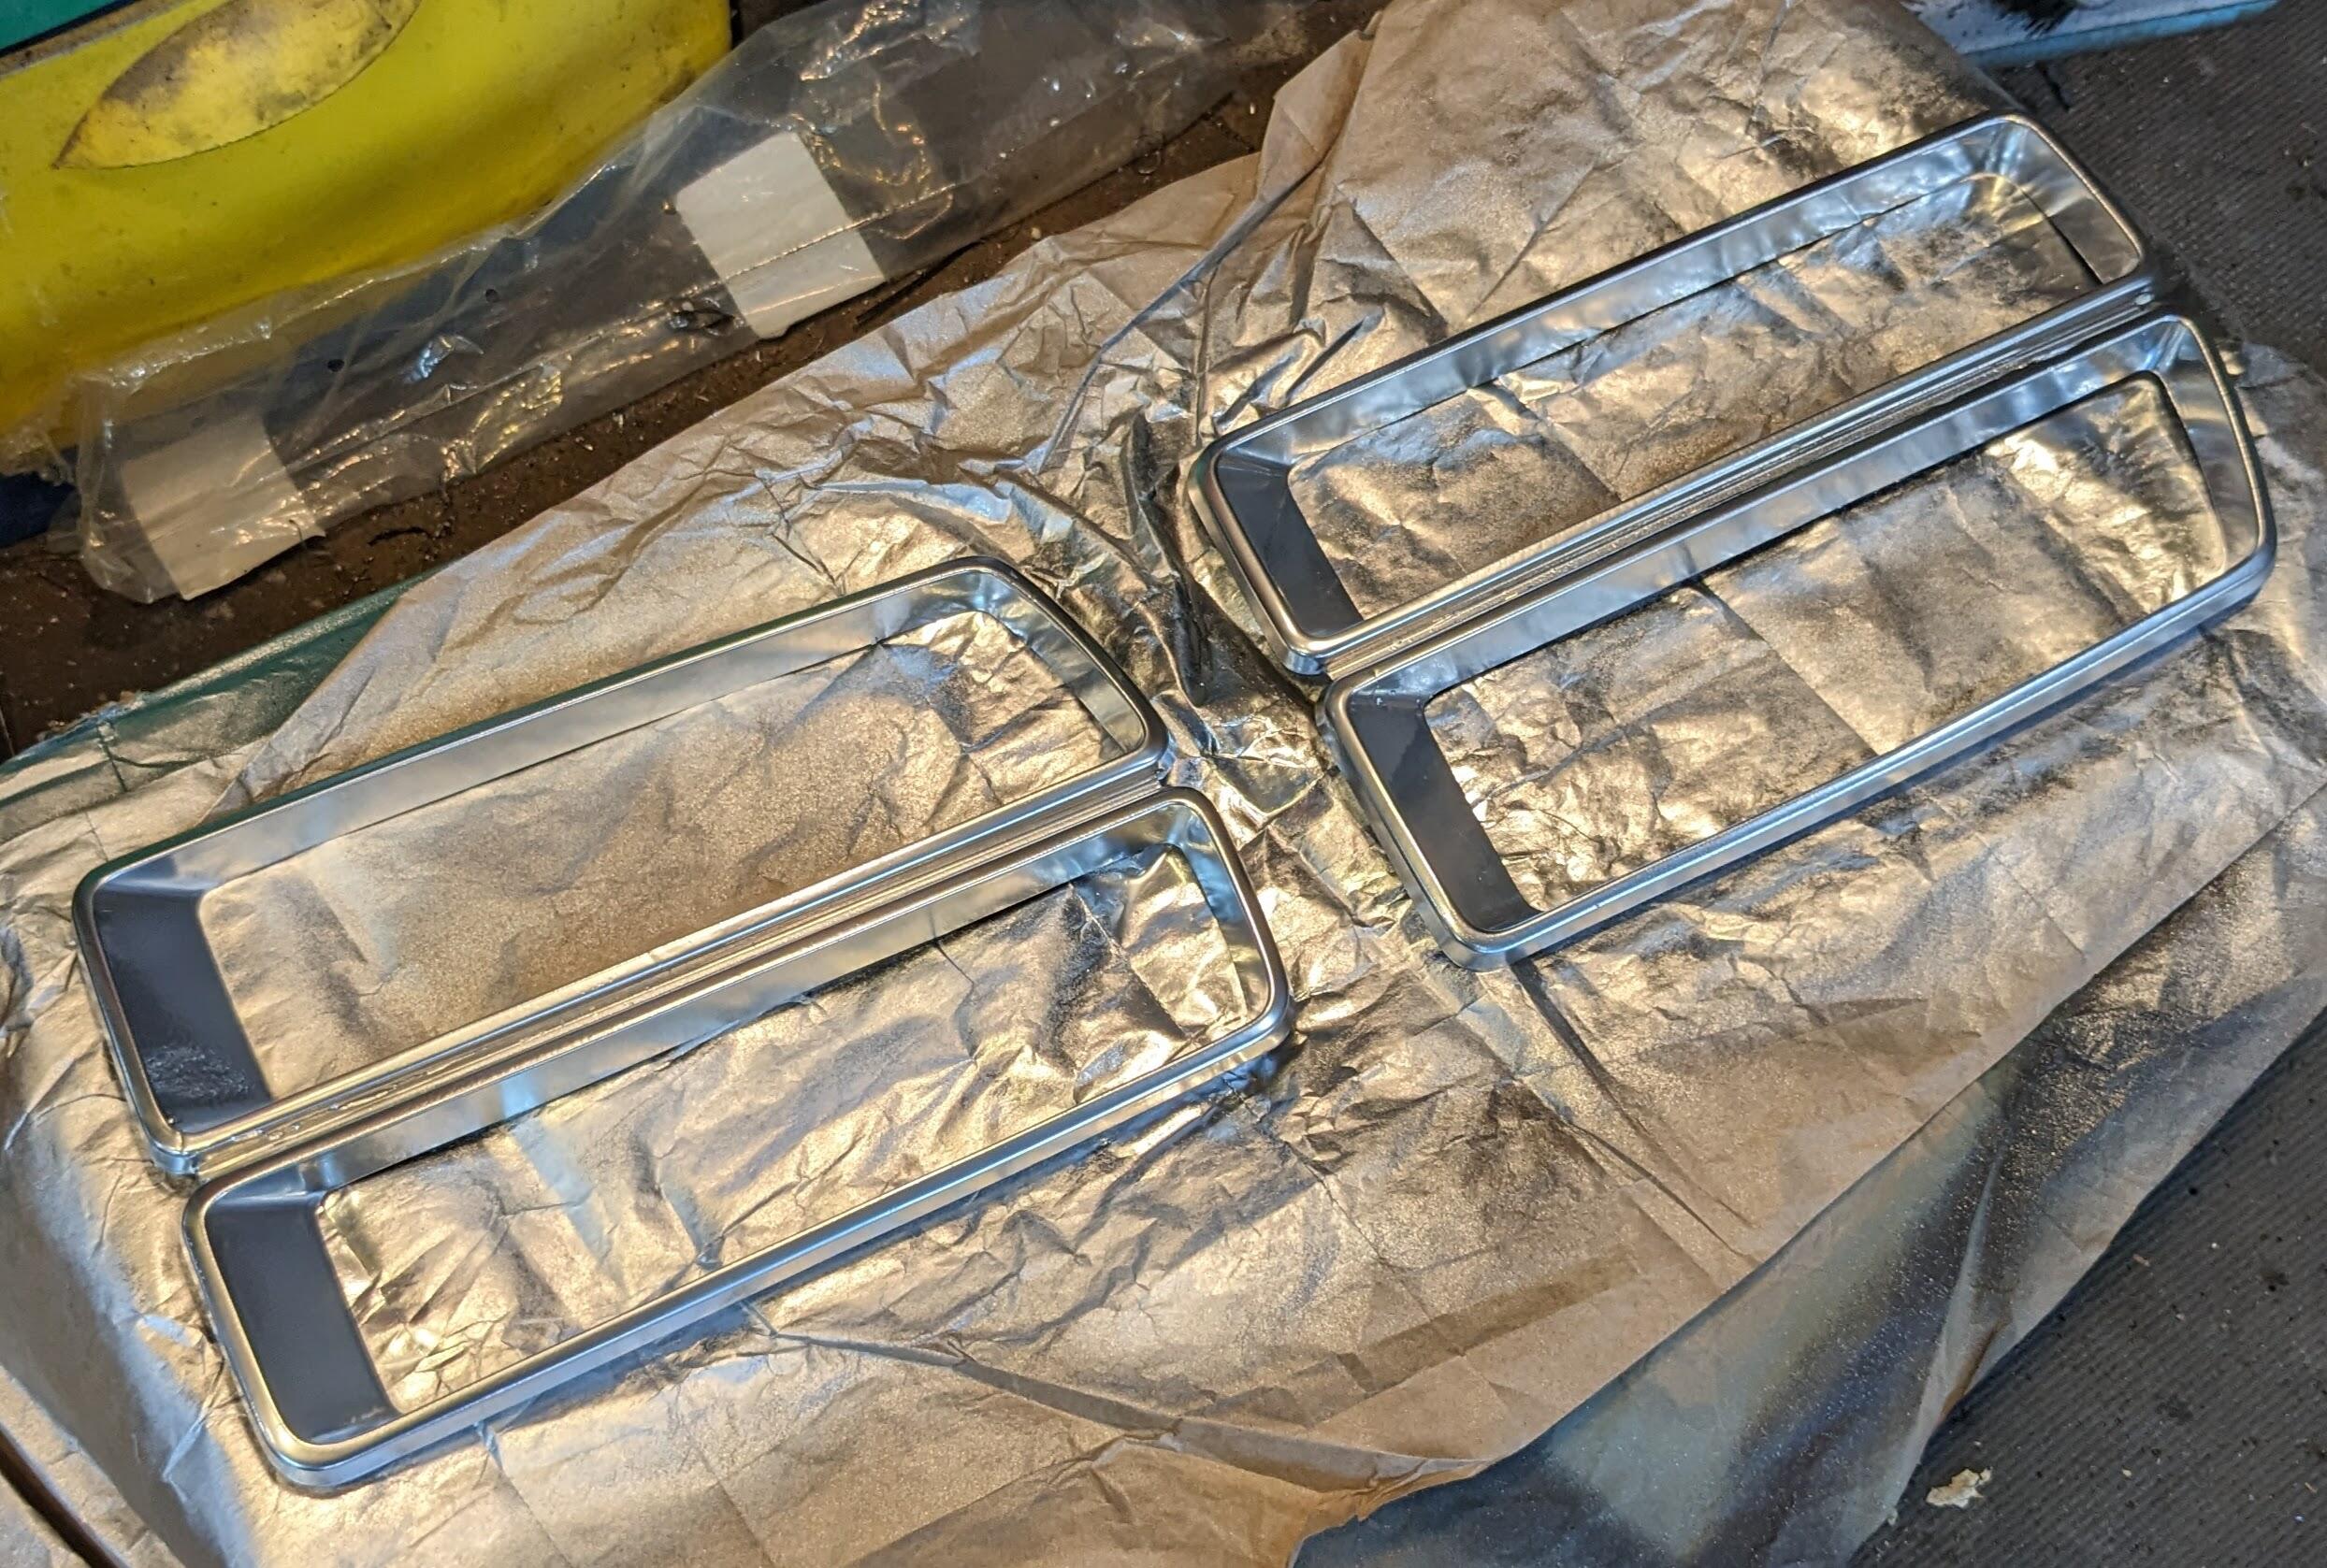
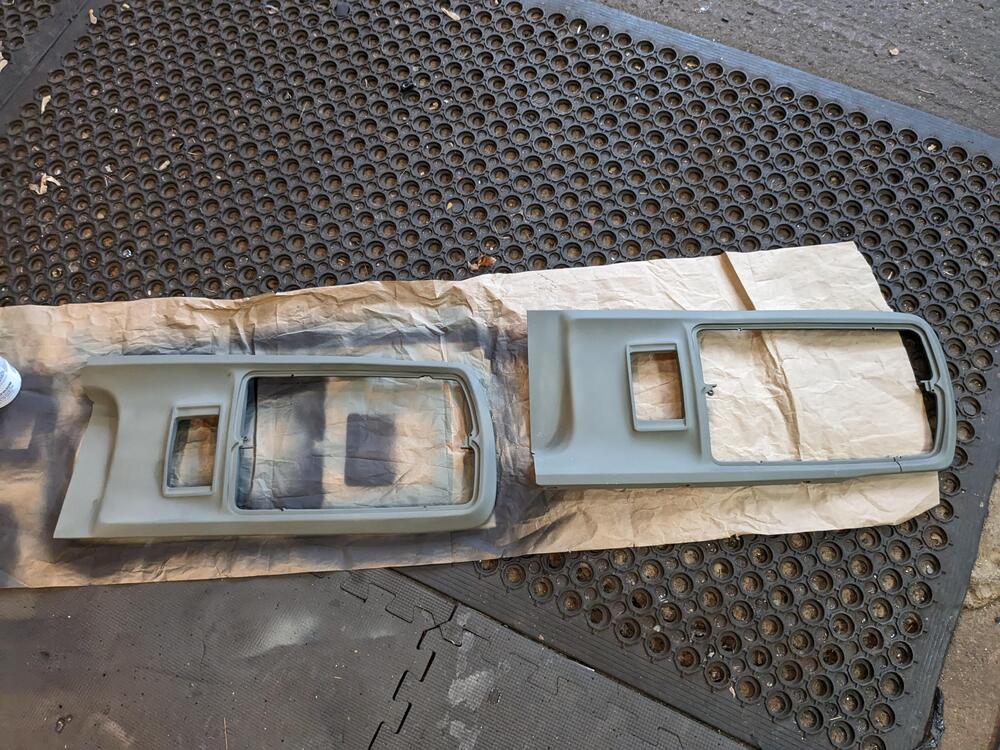
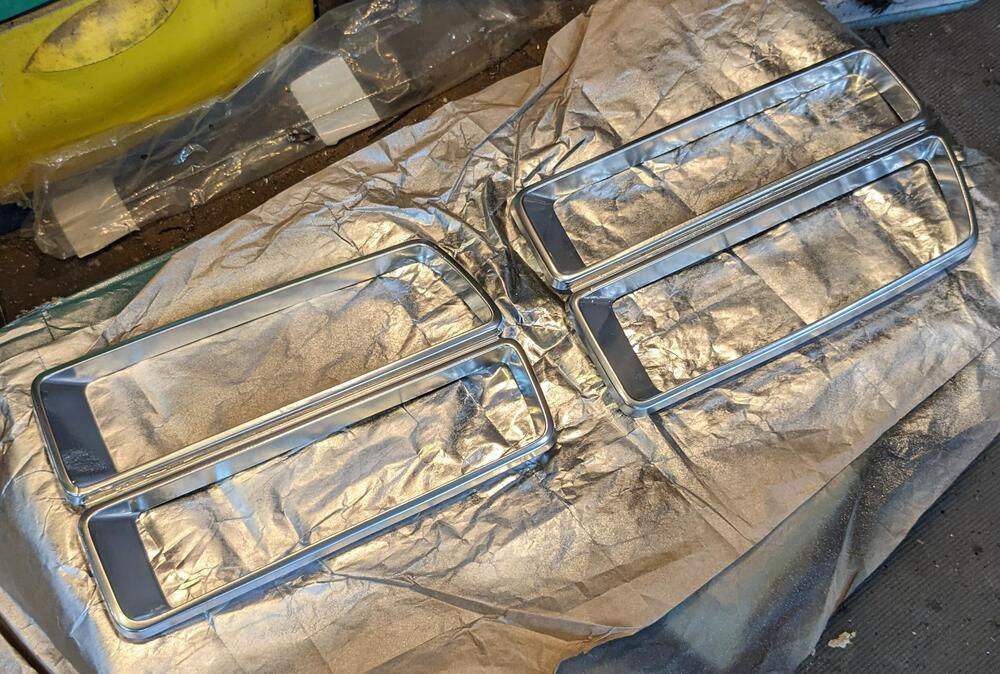
Thanks for posting this info - I'm in the process of reworking my 75 tail panels, so I bought the paint you have recommended. Mine are only primed at this point, and also need a crack repair, I just noticed... Have to redo the 'chrome' as well - mine had a bunch of wrinkles
-
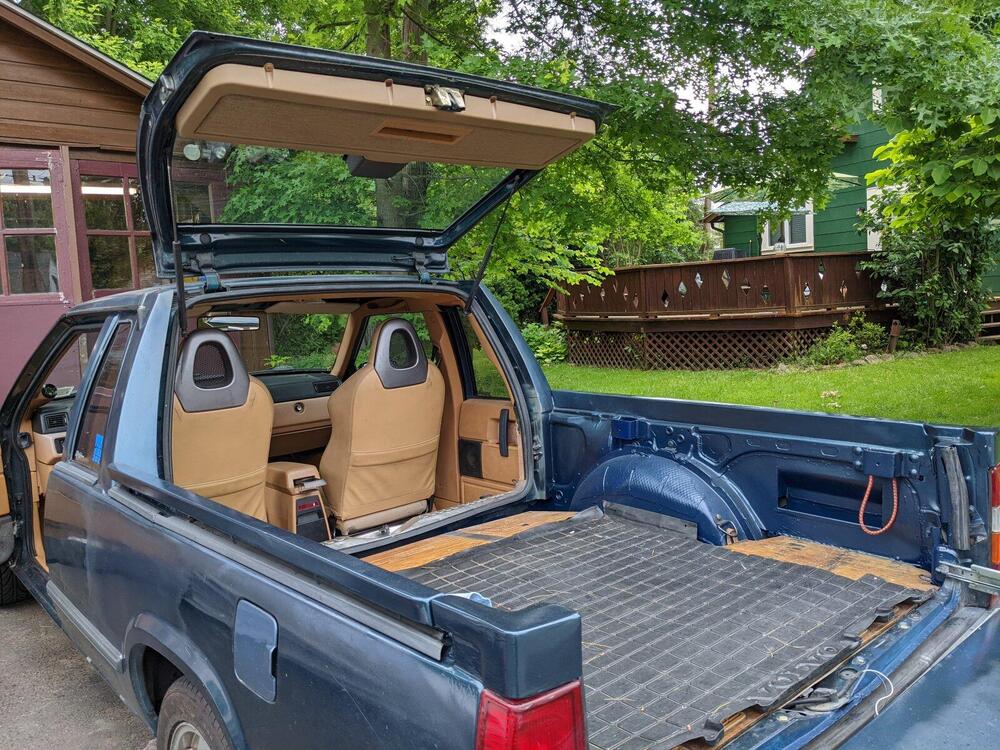
Finally figured out a solution for the annoying seat belts in the Z - I've been mulling over a way to deal with the fact that the seat belts suck - for both Ann & I, the shoulder belt rides into our necks. I guess they are meant for ppl with taller torsos. I tried making a guide bracket that uses a hidden 12mm welded nut below the 1/4 glass, couldn't make that work. In any event, I realized the S2000 seats I put in my Volvo pickup, have seat-mounted belt guides and I don't need them there, since the Volvo belts don't have this issue. drilled 2 holes into the seat frame/tub
-
Thank you for the caution Steve! I have H4 7" housings from my X1/9 original pop up headlamps. So, I would just need to get the Auxito H4 LED bulbs to make this happen 🙂 - Any chance you have a pic of the lighting?
-
Nice sleuthing! Having not removed headlamps on a Z yet - based on your post, it all removes from the wheel well with the splash guard removed, obviously. I'm looking at Holley 7" 'retrobright' style LED lamps. Not a fan of LED's at all, however an acquaintance has them on his Fiat Spider, and they look good and project well. Having reduced current draw compared to converting to H4 80W's makes sense.
-
Put the new GM HEI module on a heatsink with heat sink compound, and made a strip to bypass the ballast coil. I'll test it out soon. Trying to get the interior back together at the moment .
-
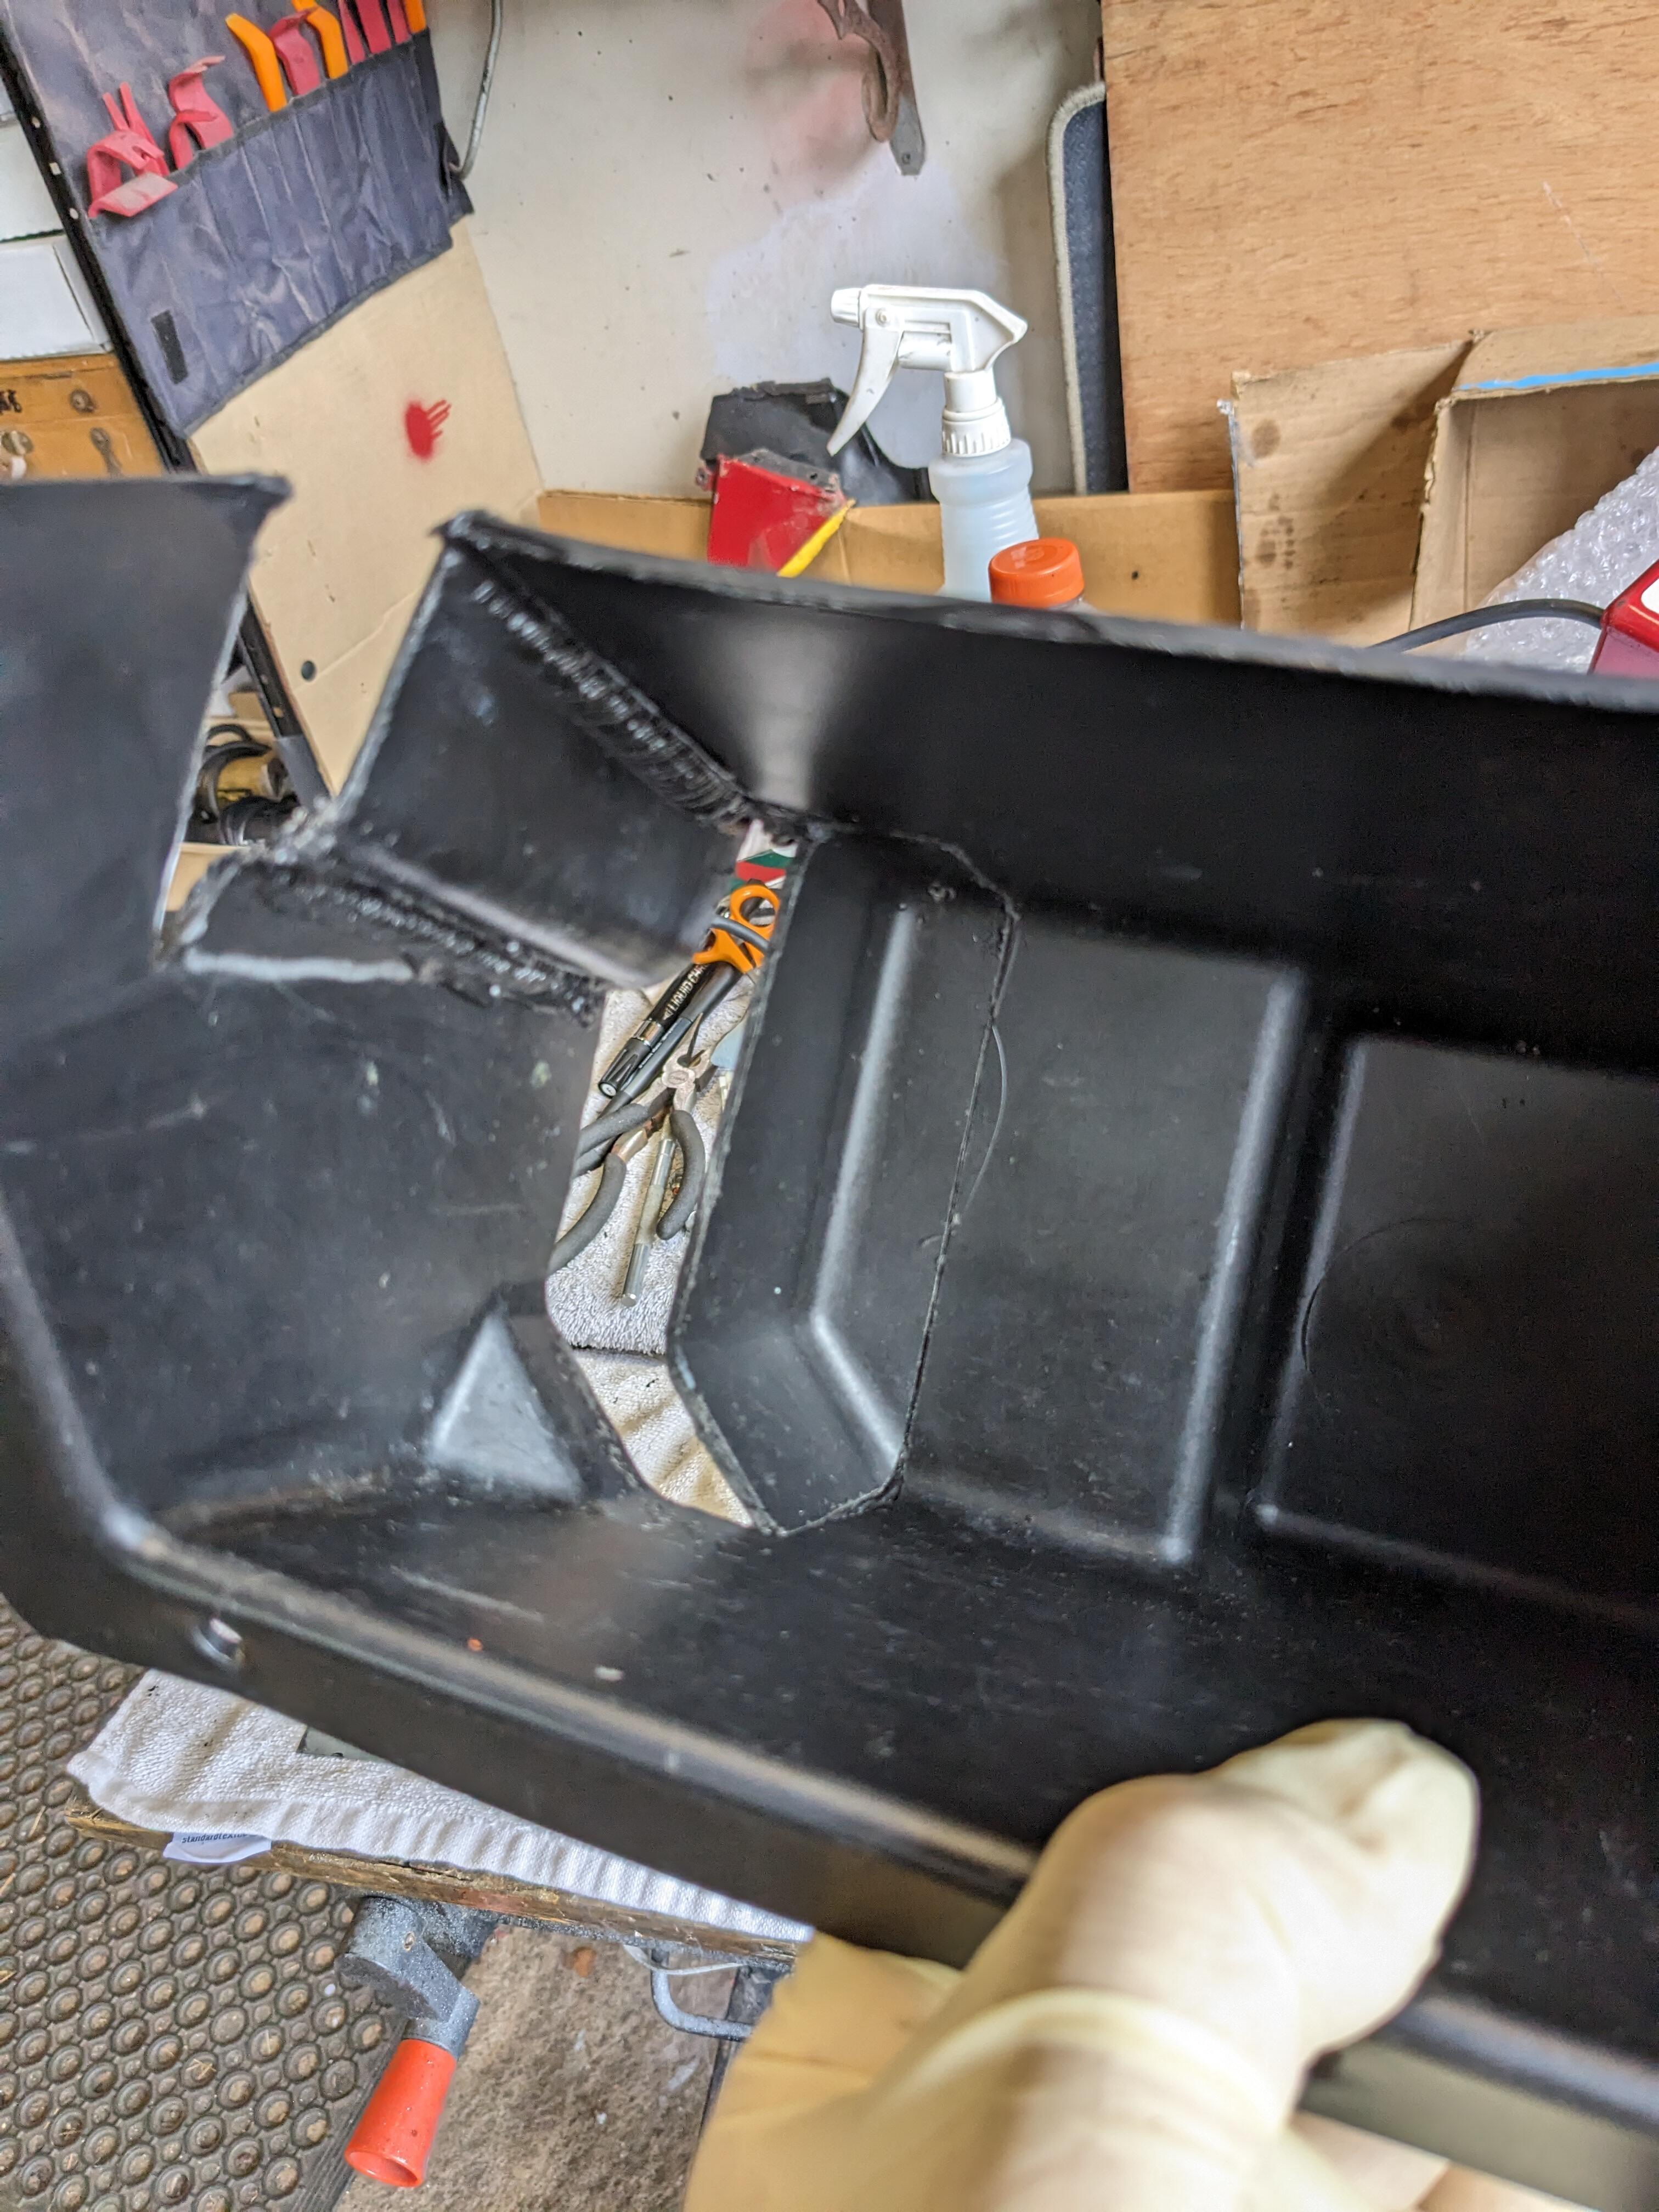
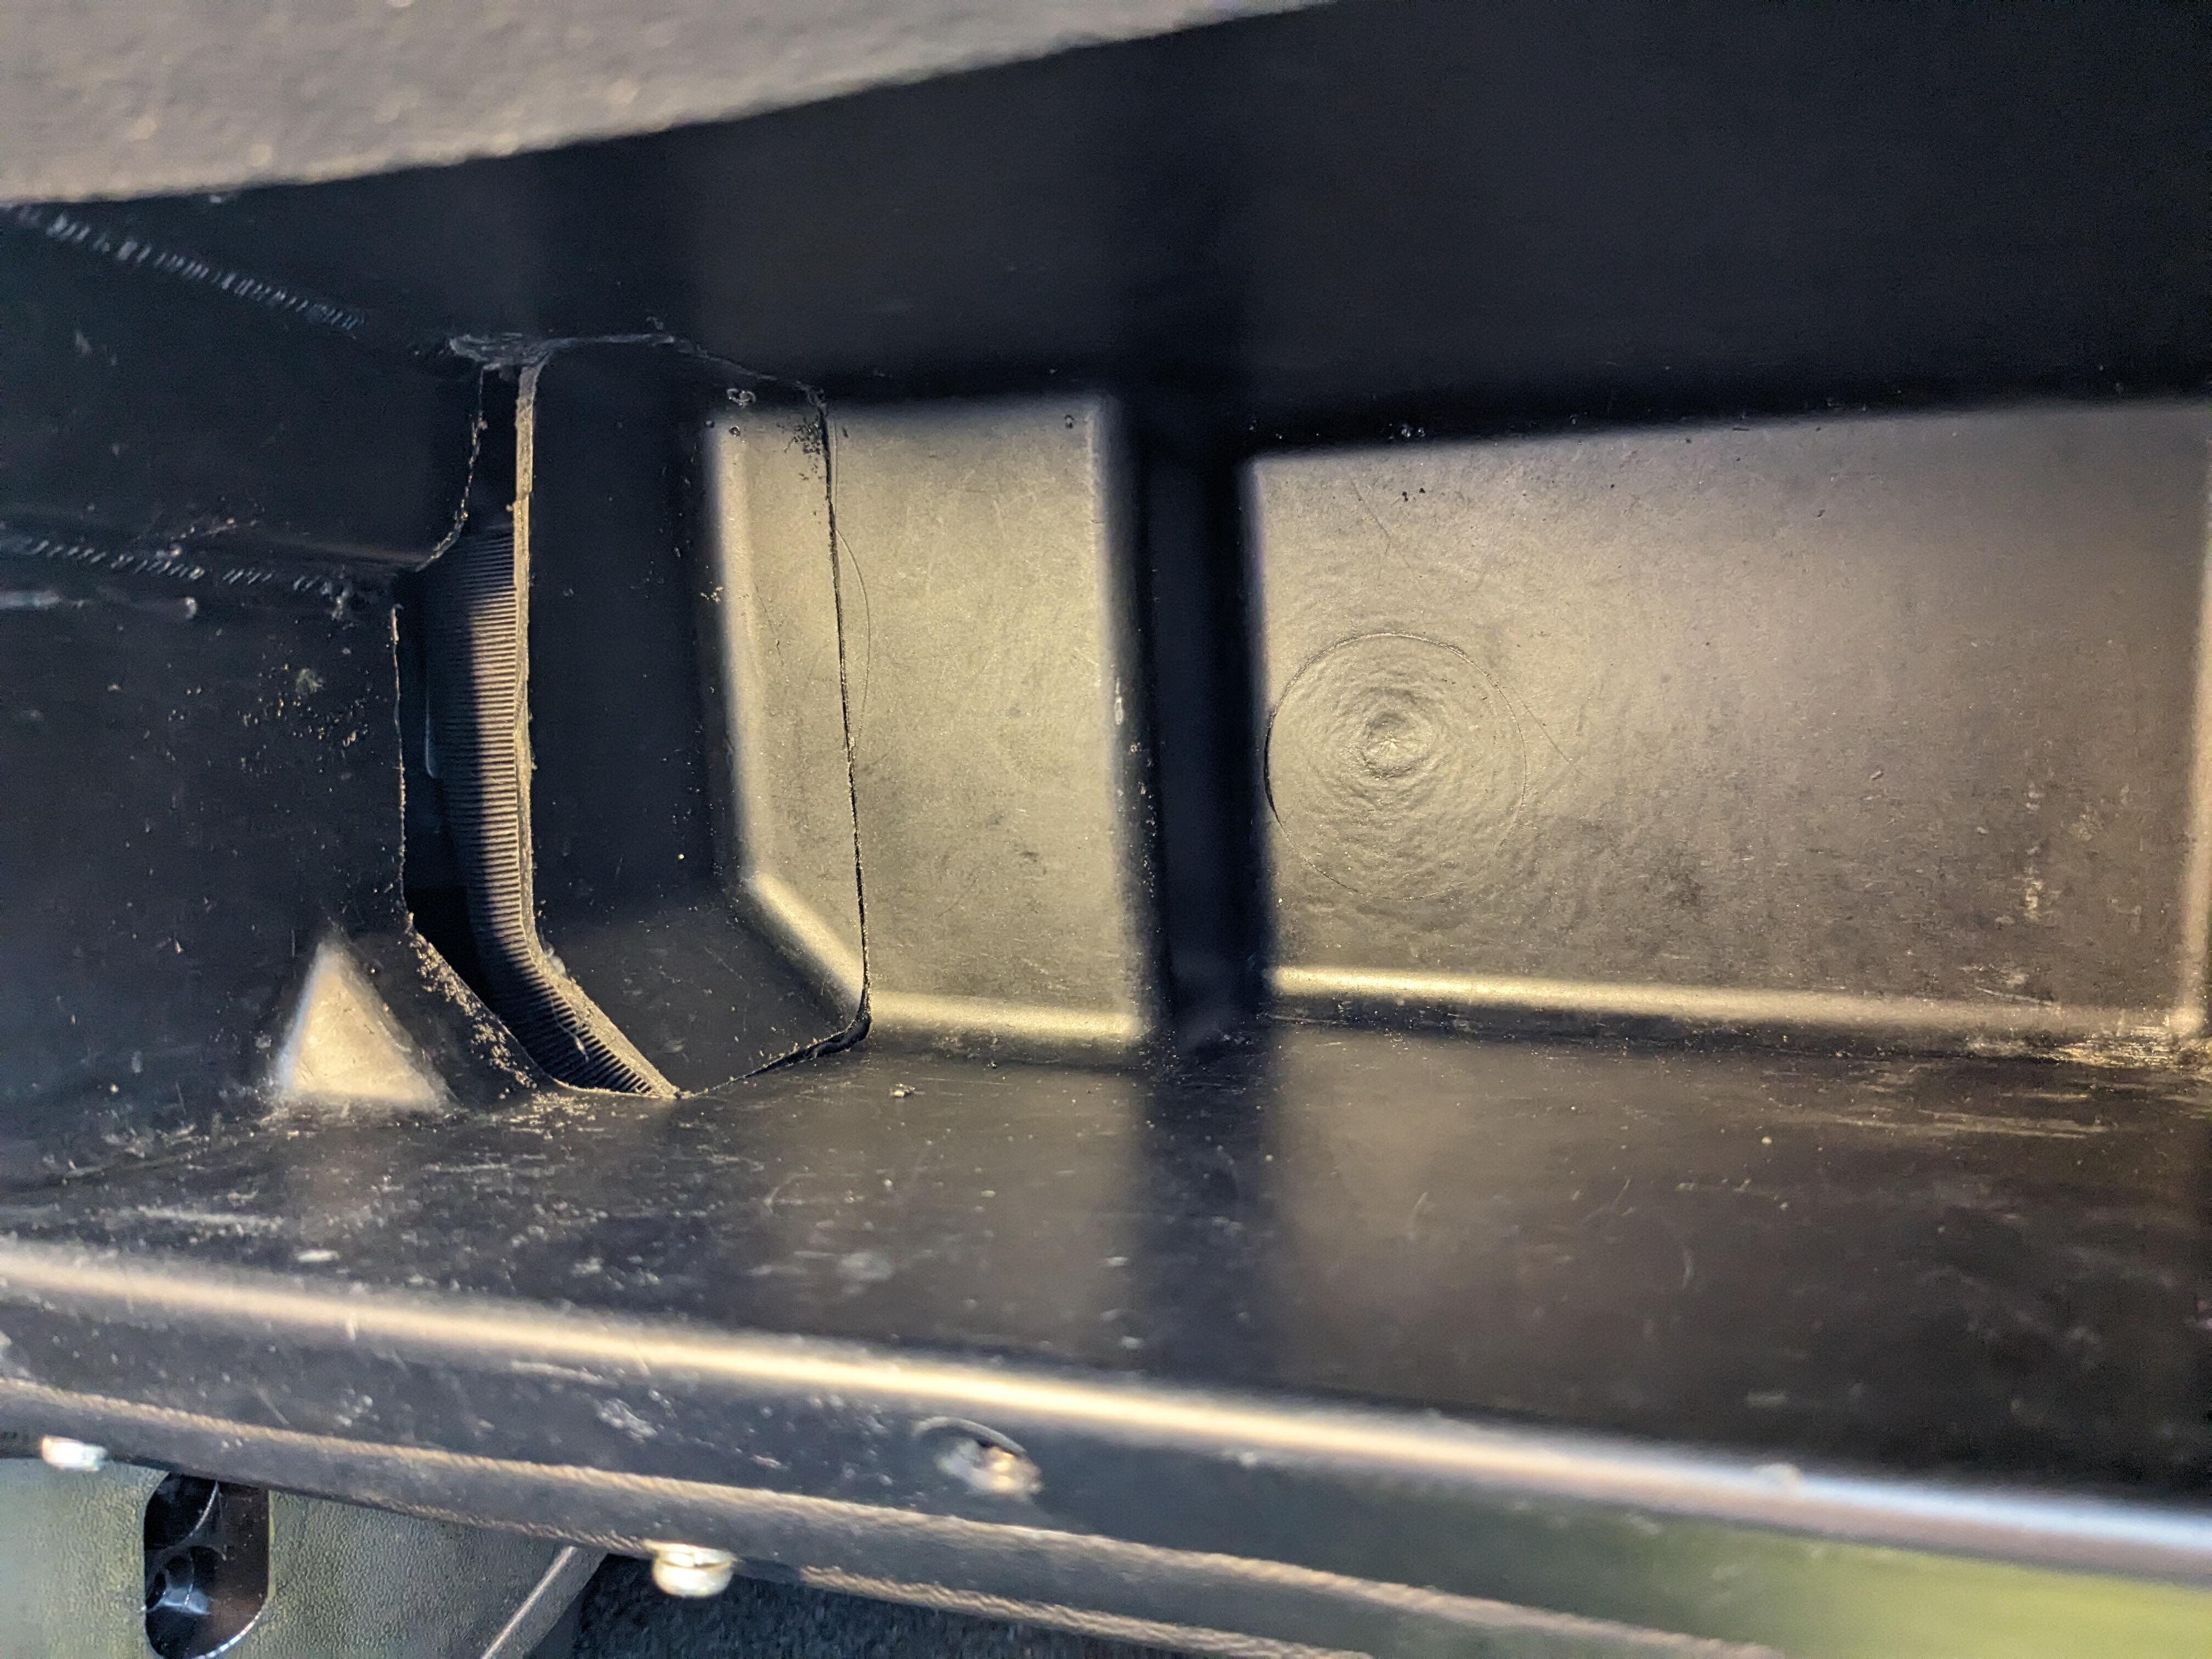
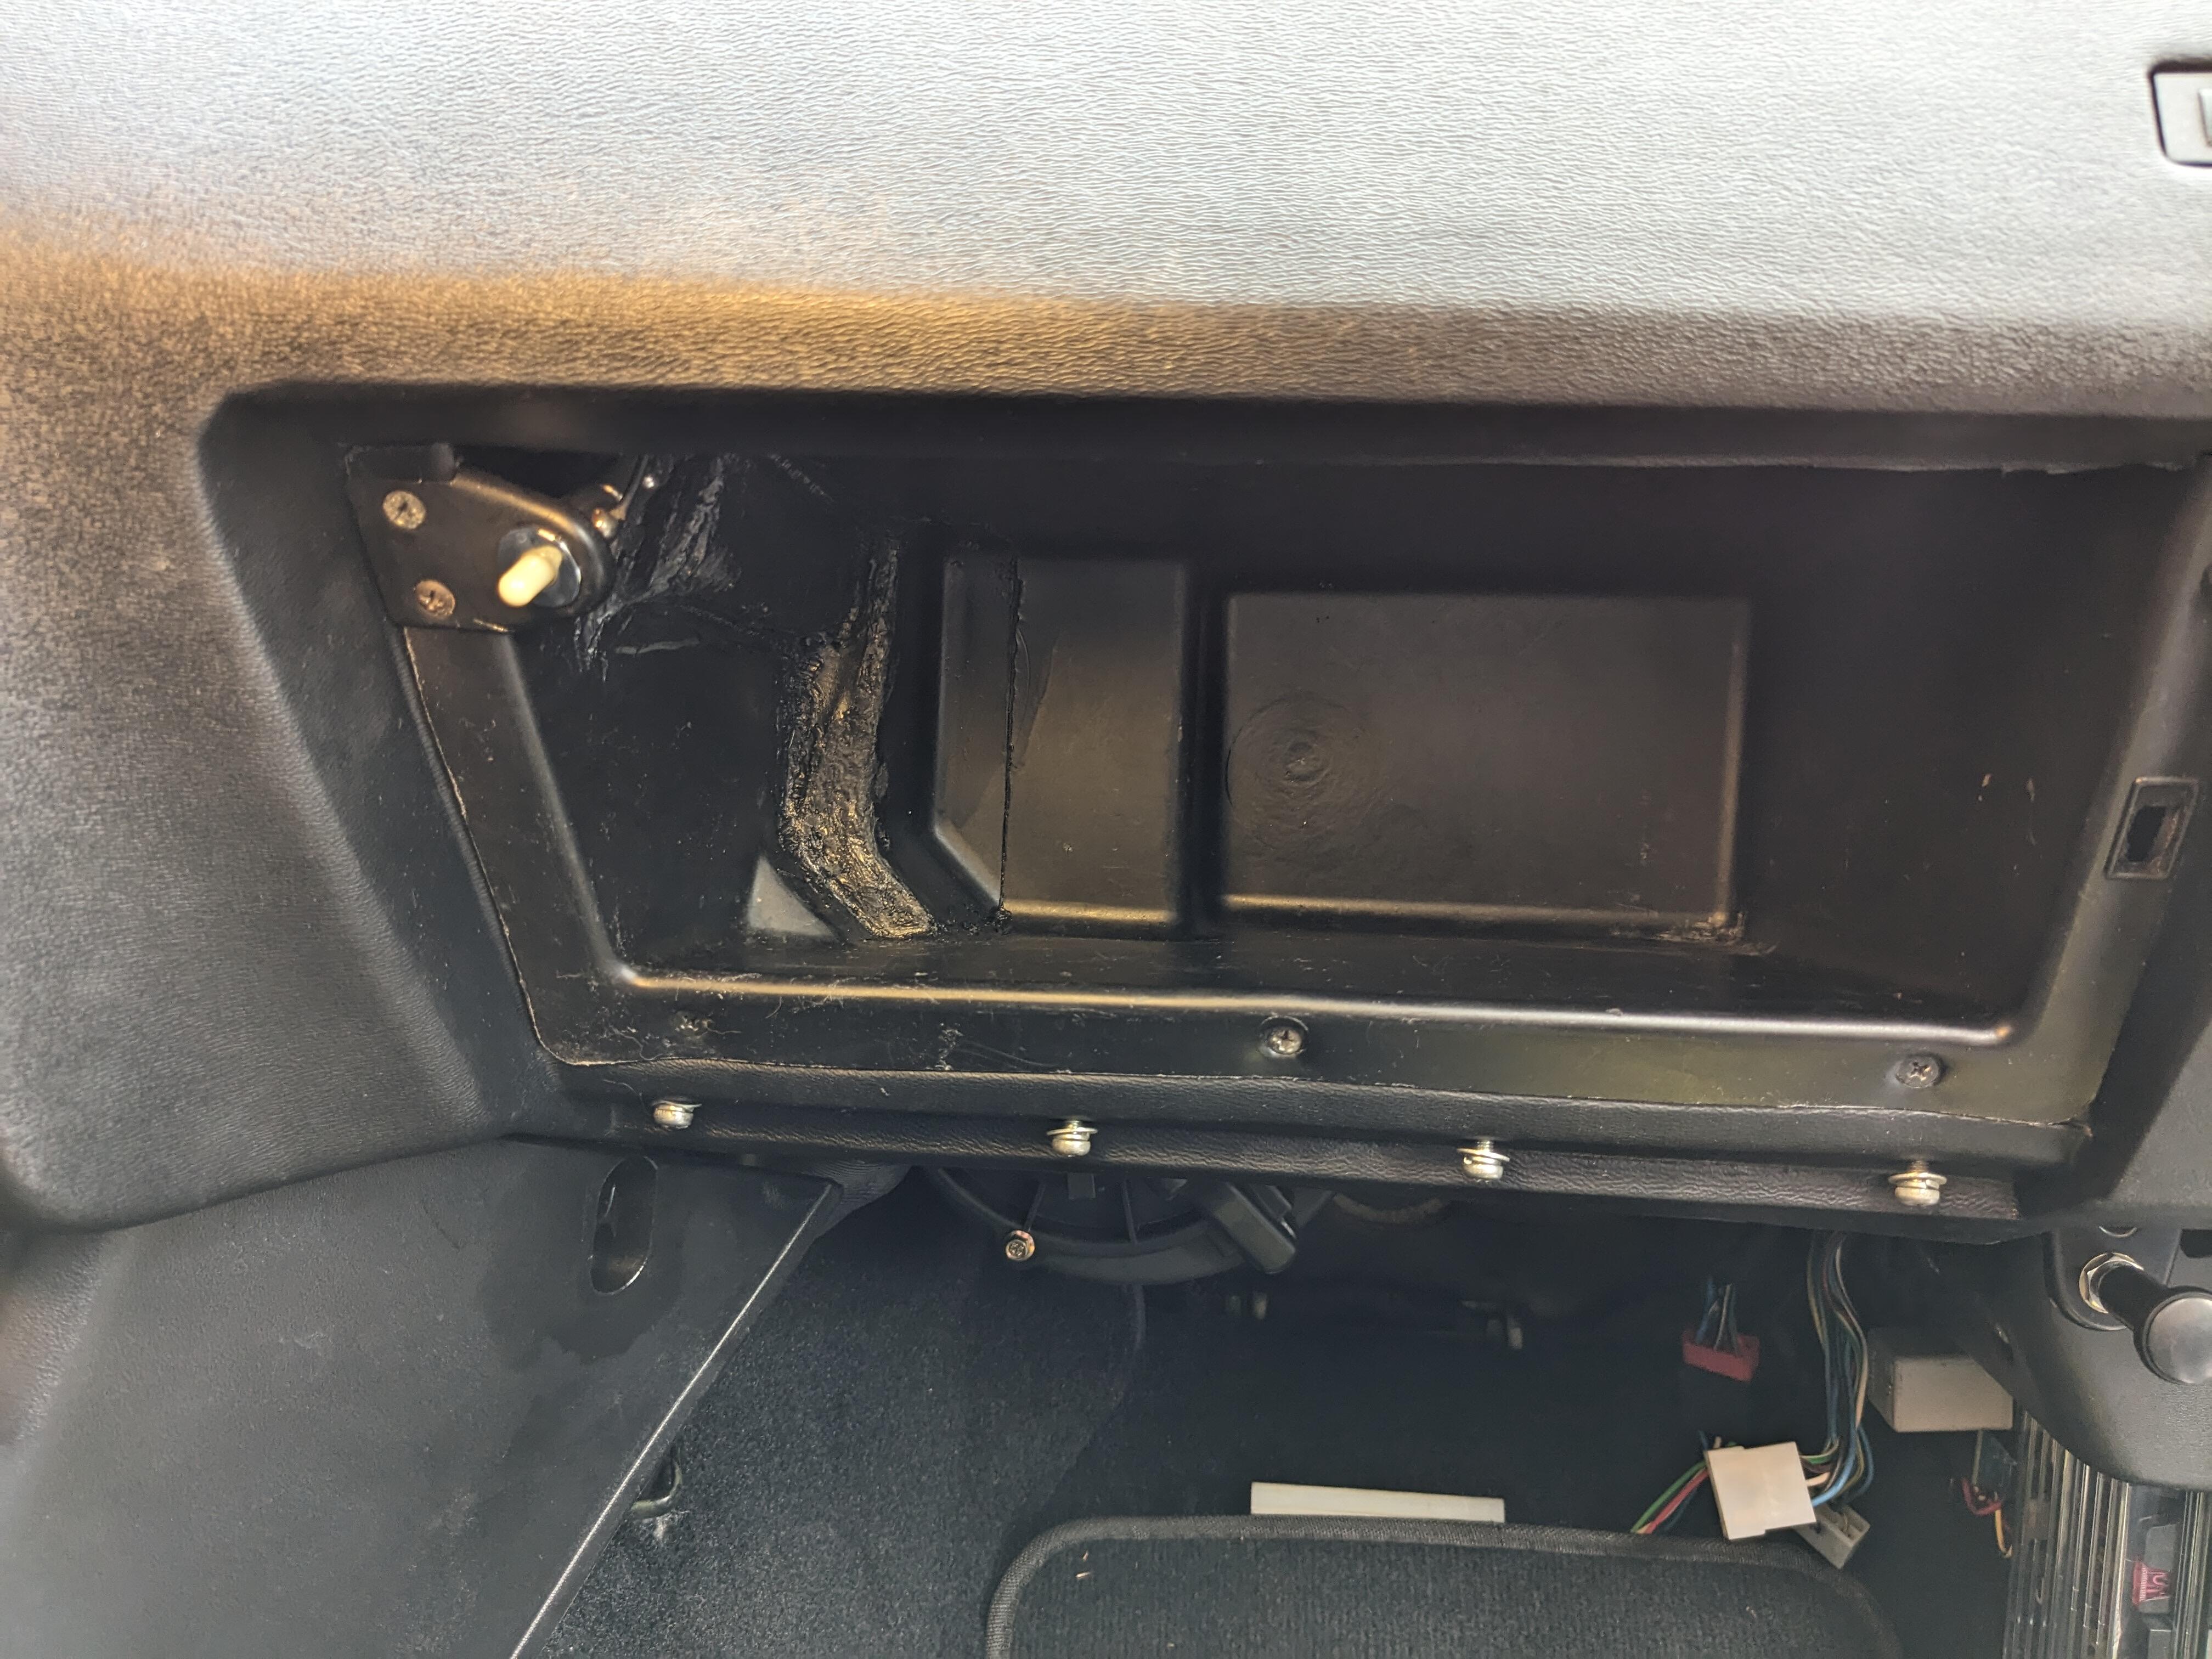
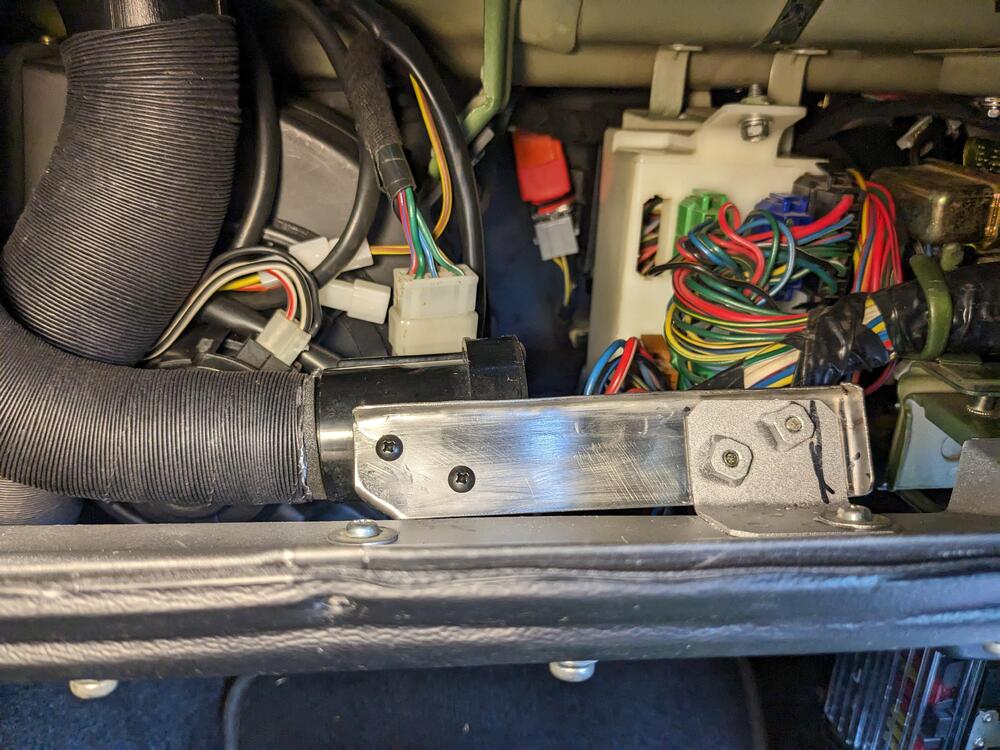
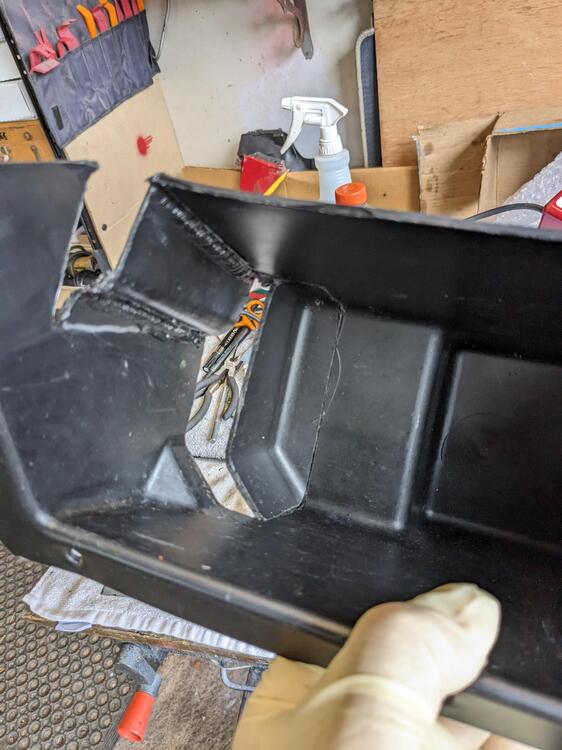
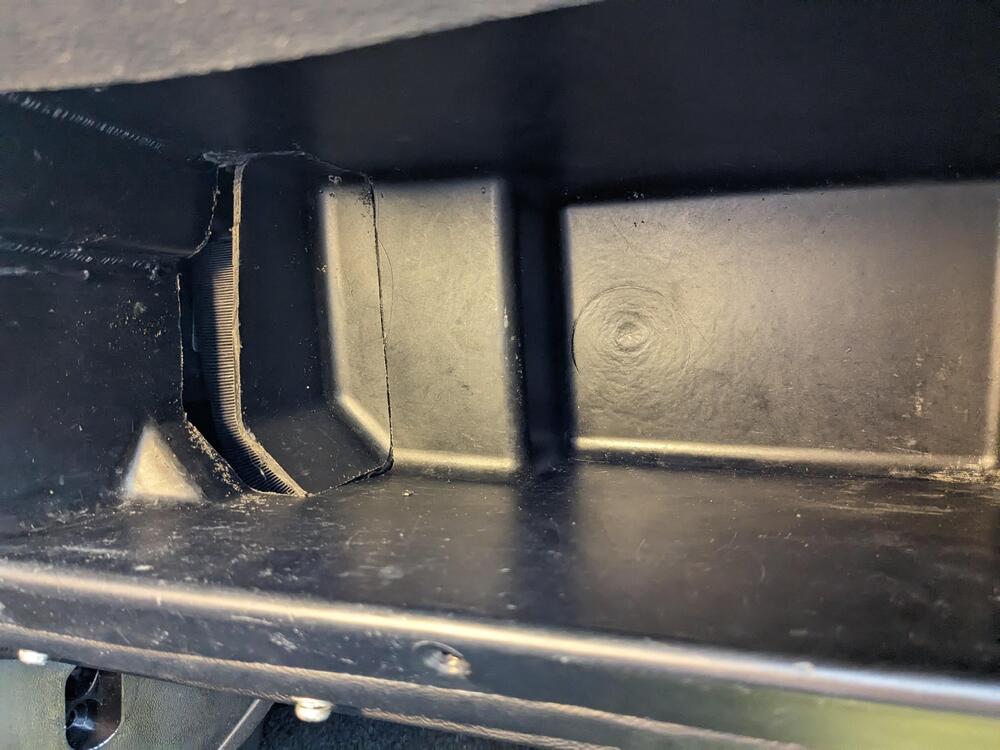
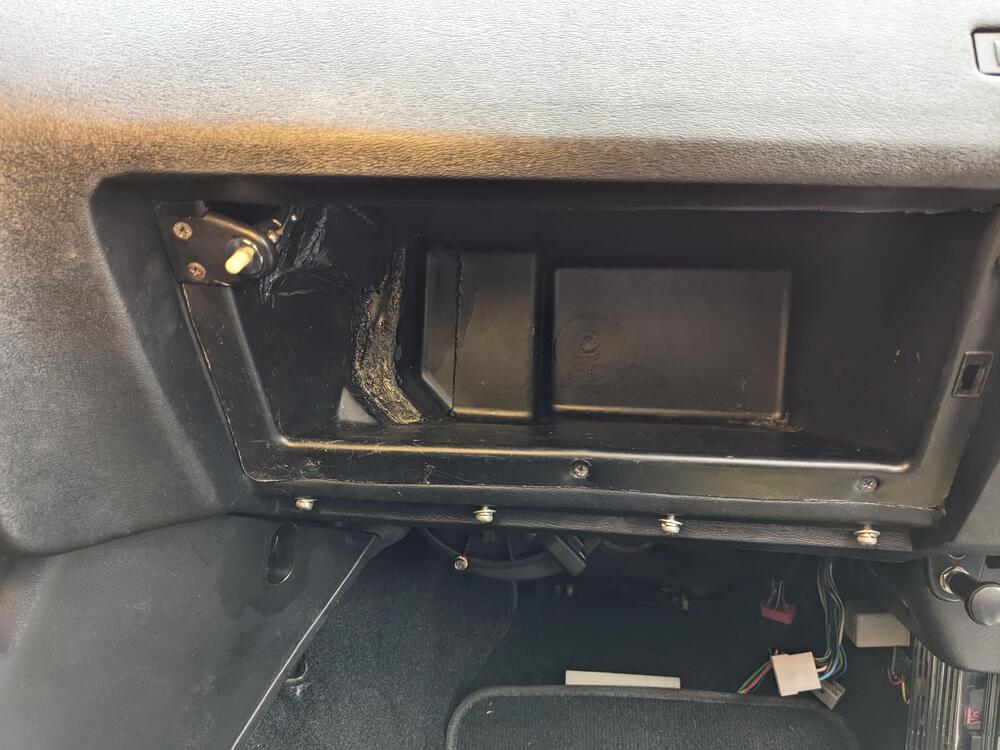
Installed the vent, and cut & welded the glovebox. Not perfect by any means, but functional repurpose the cut sections to clear the ducting test fit to check clearance before adding additional fill section
-
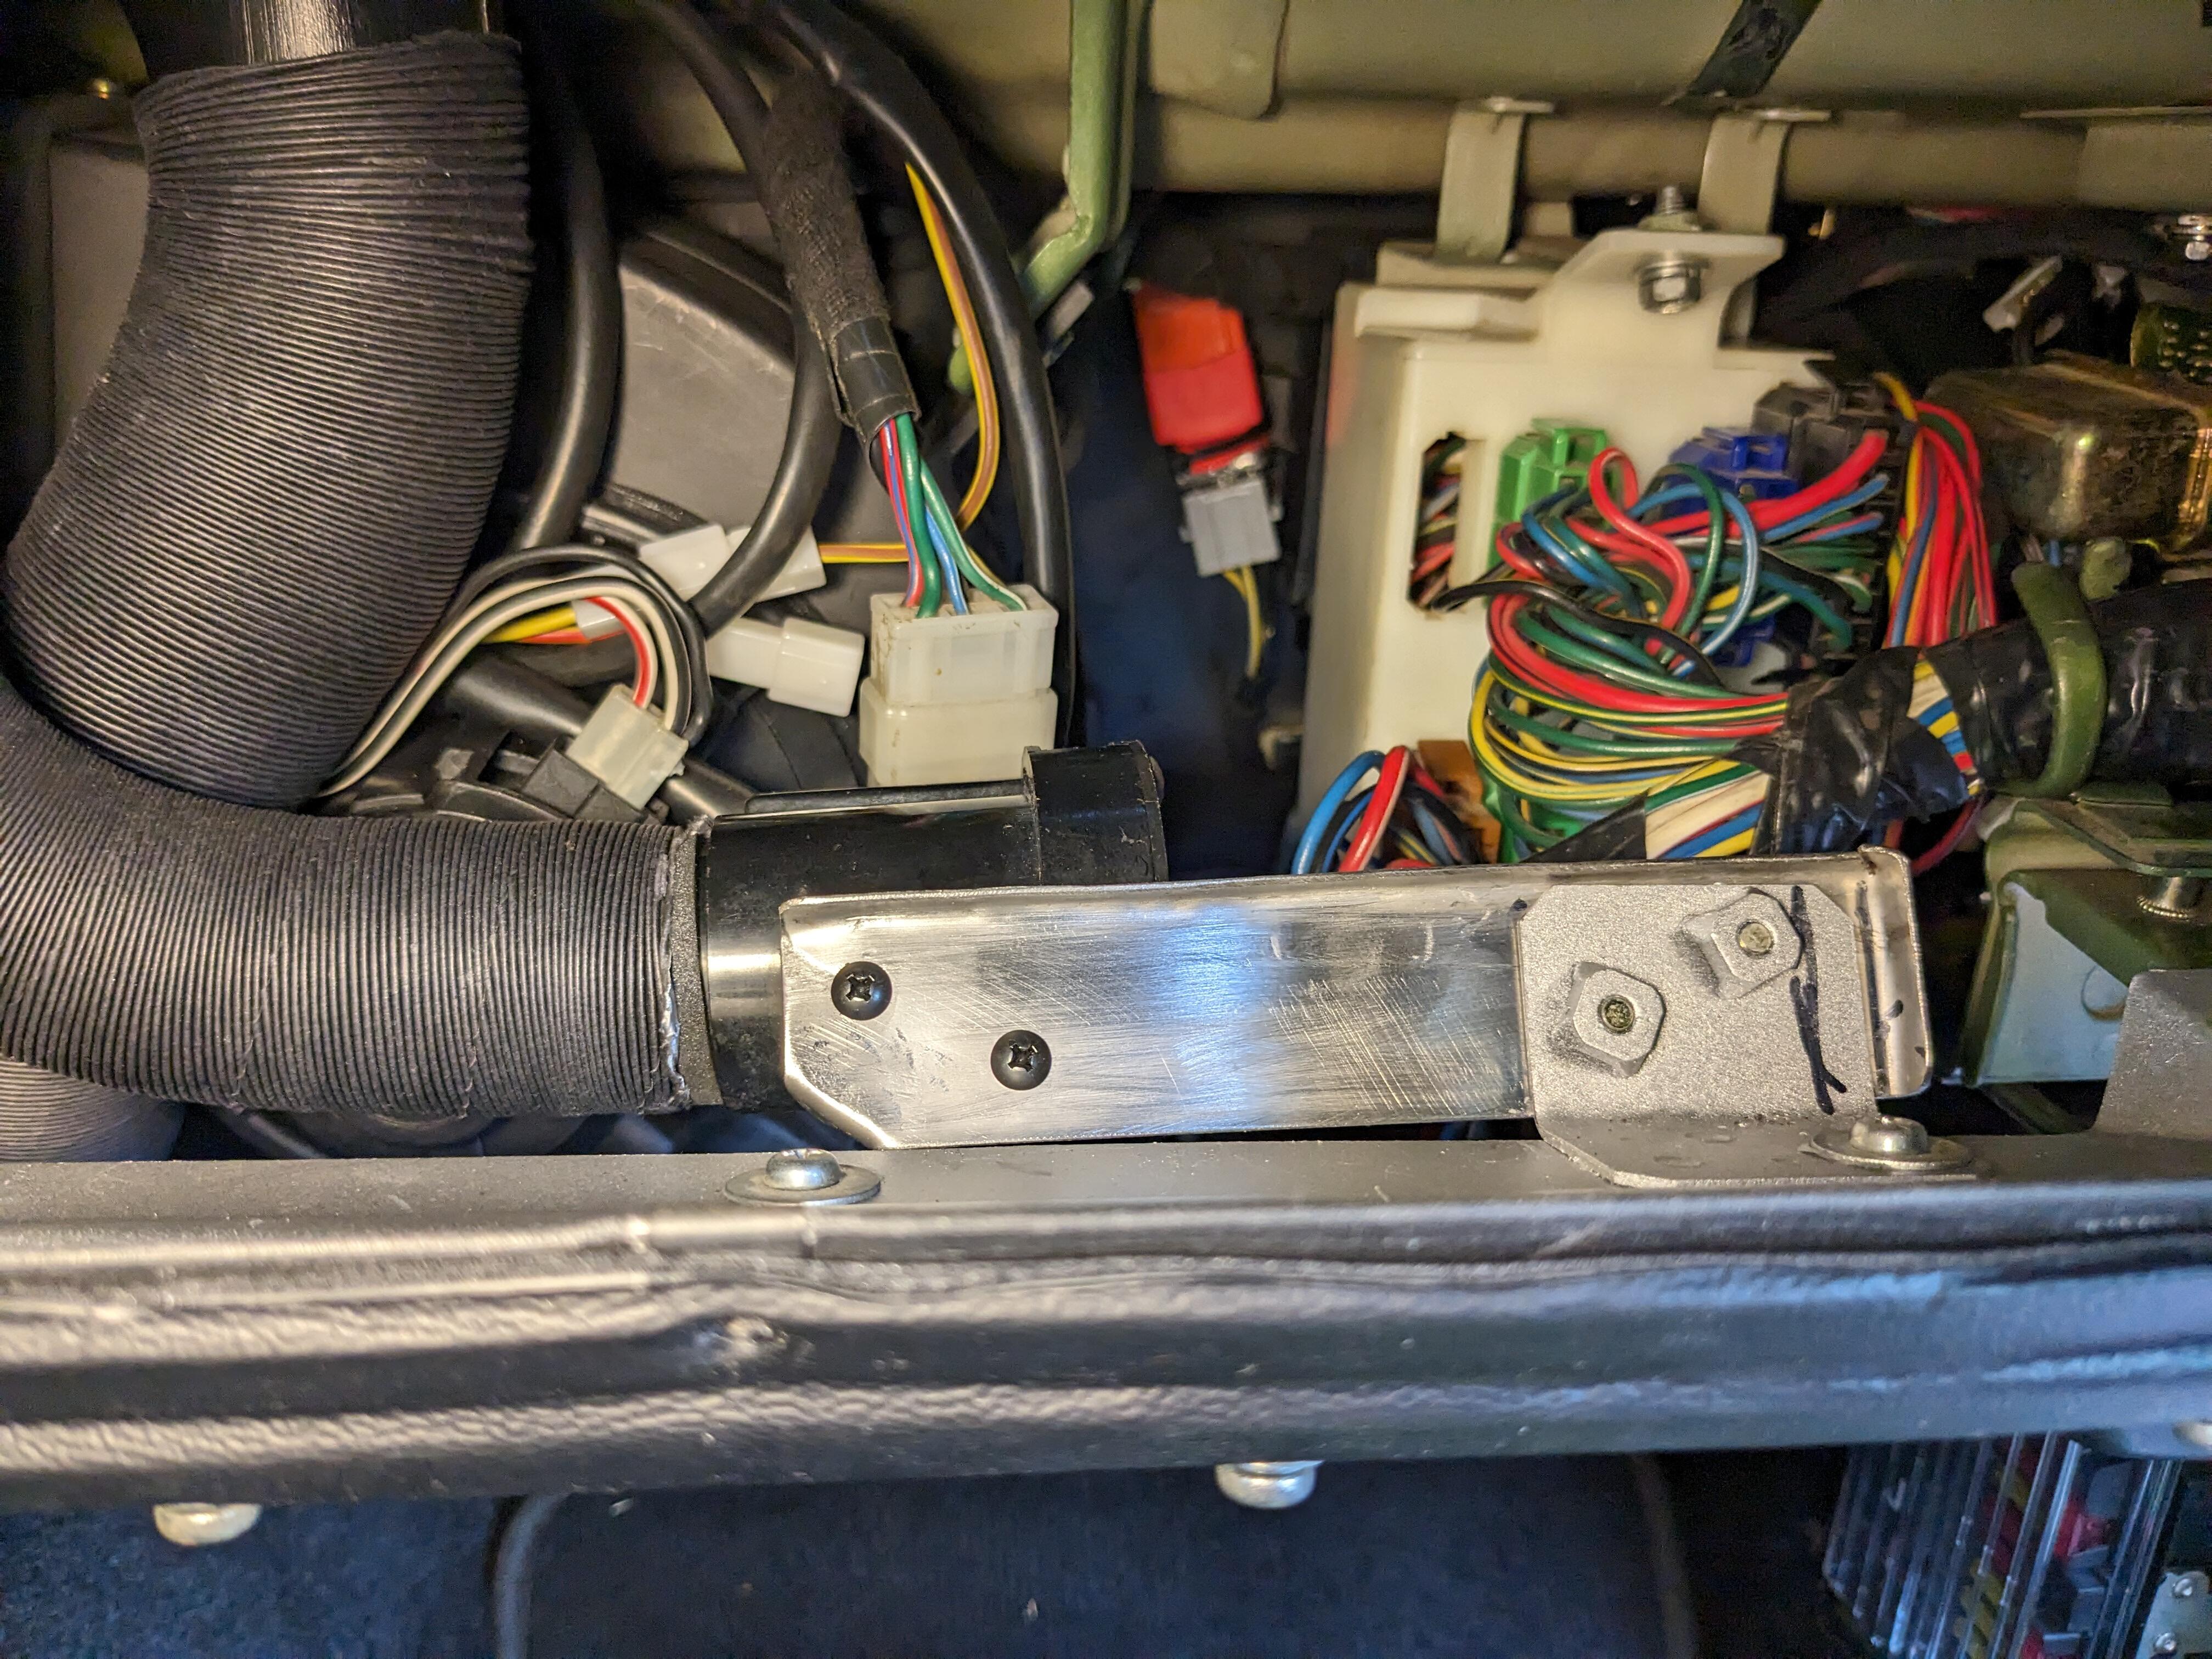
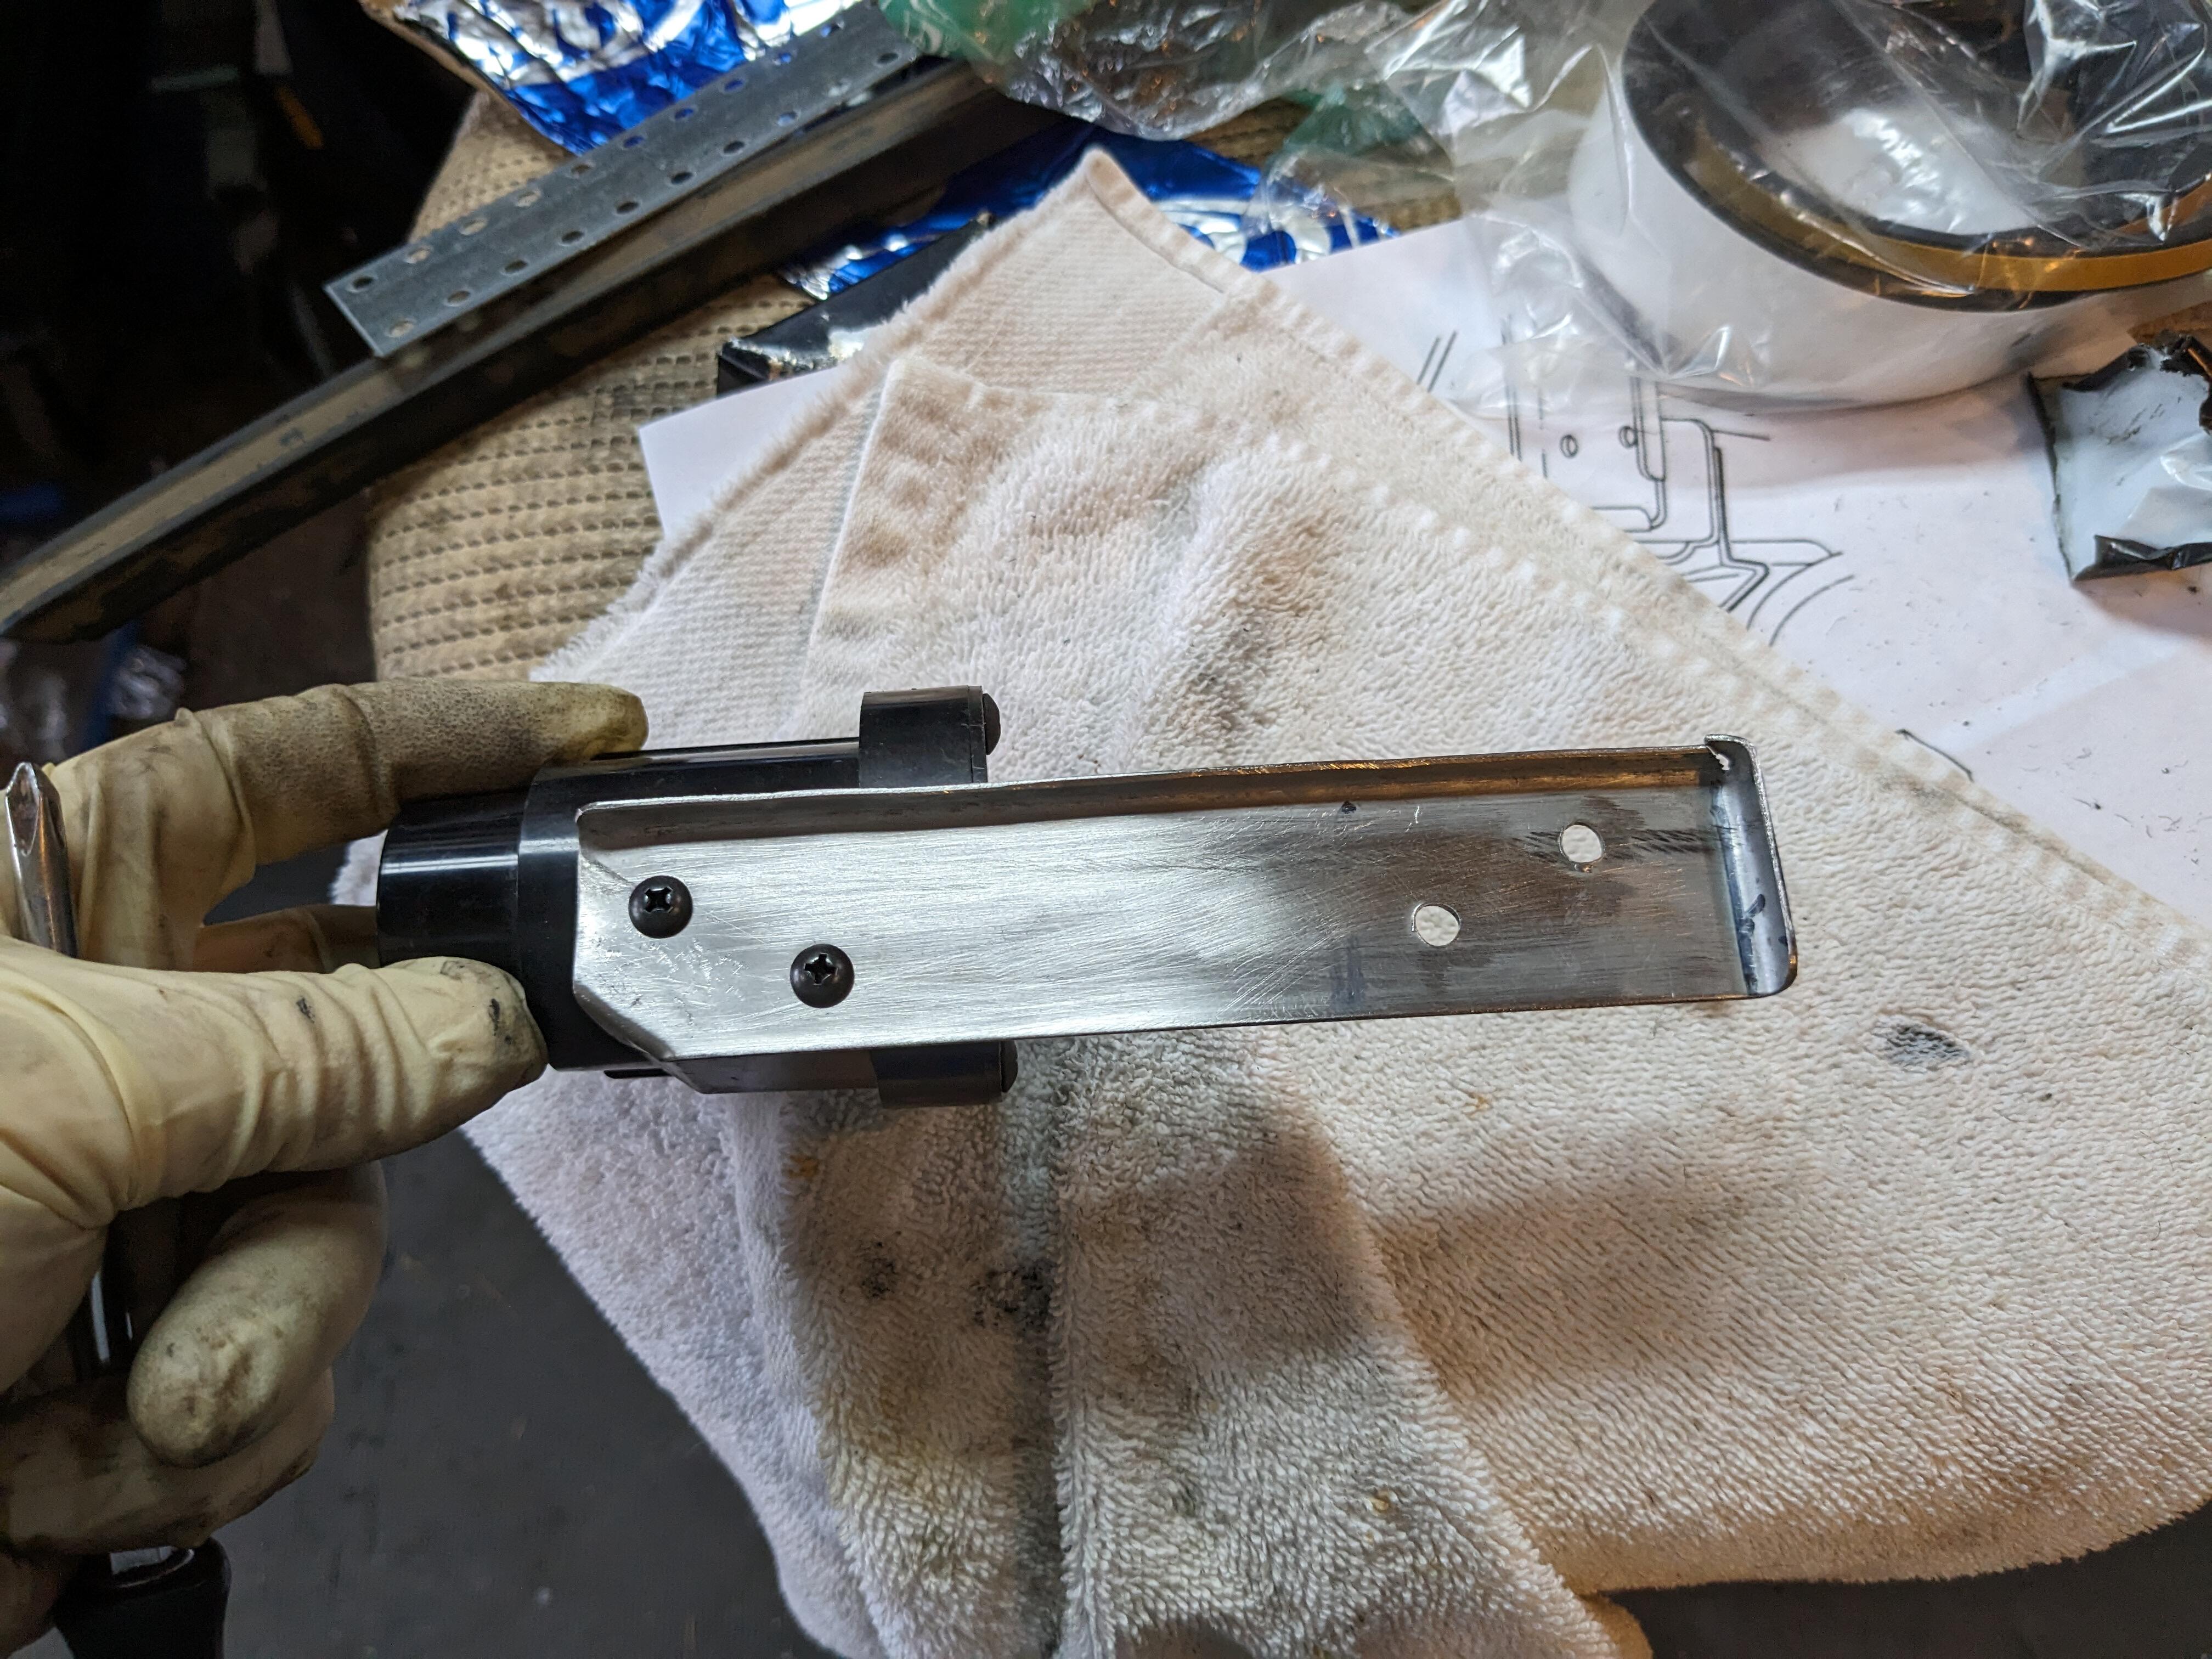
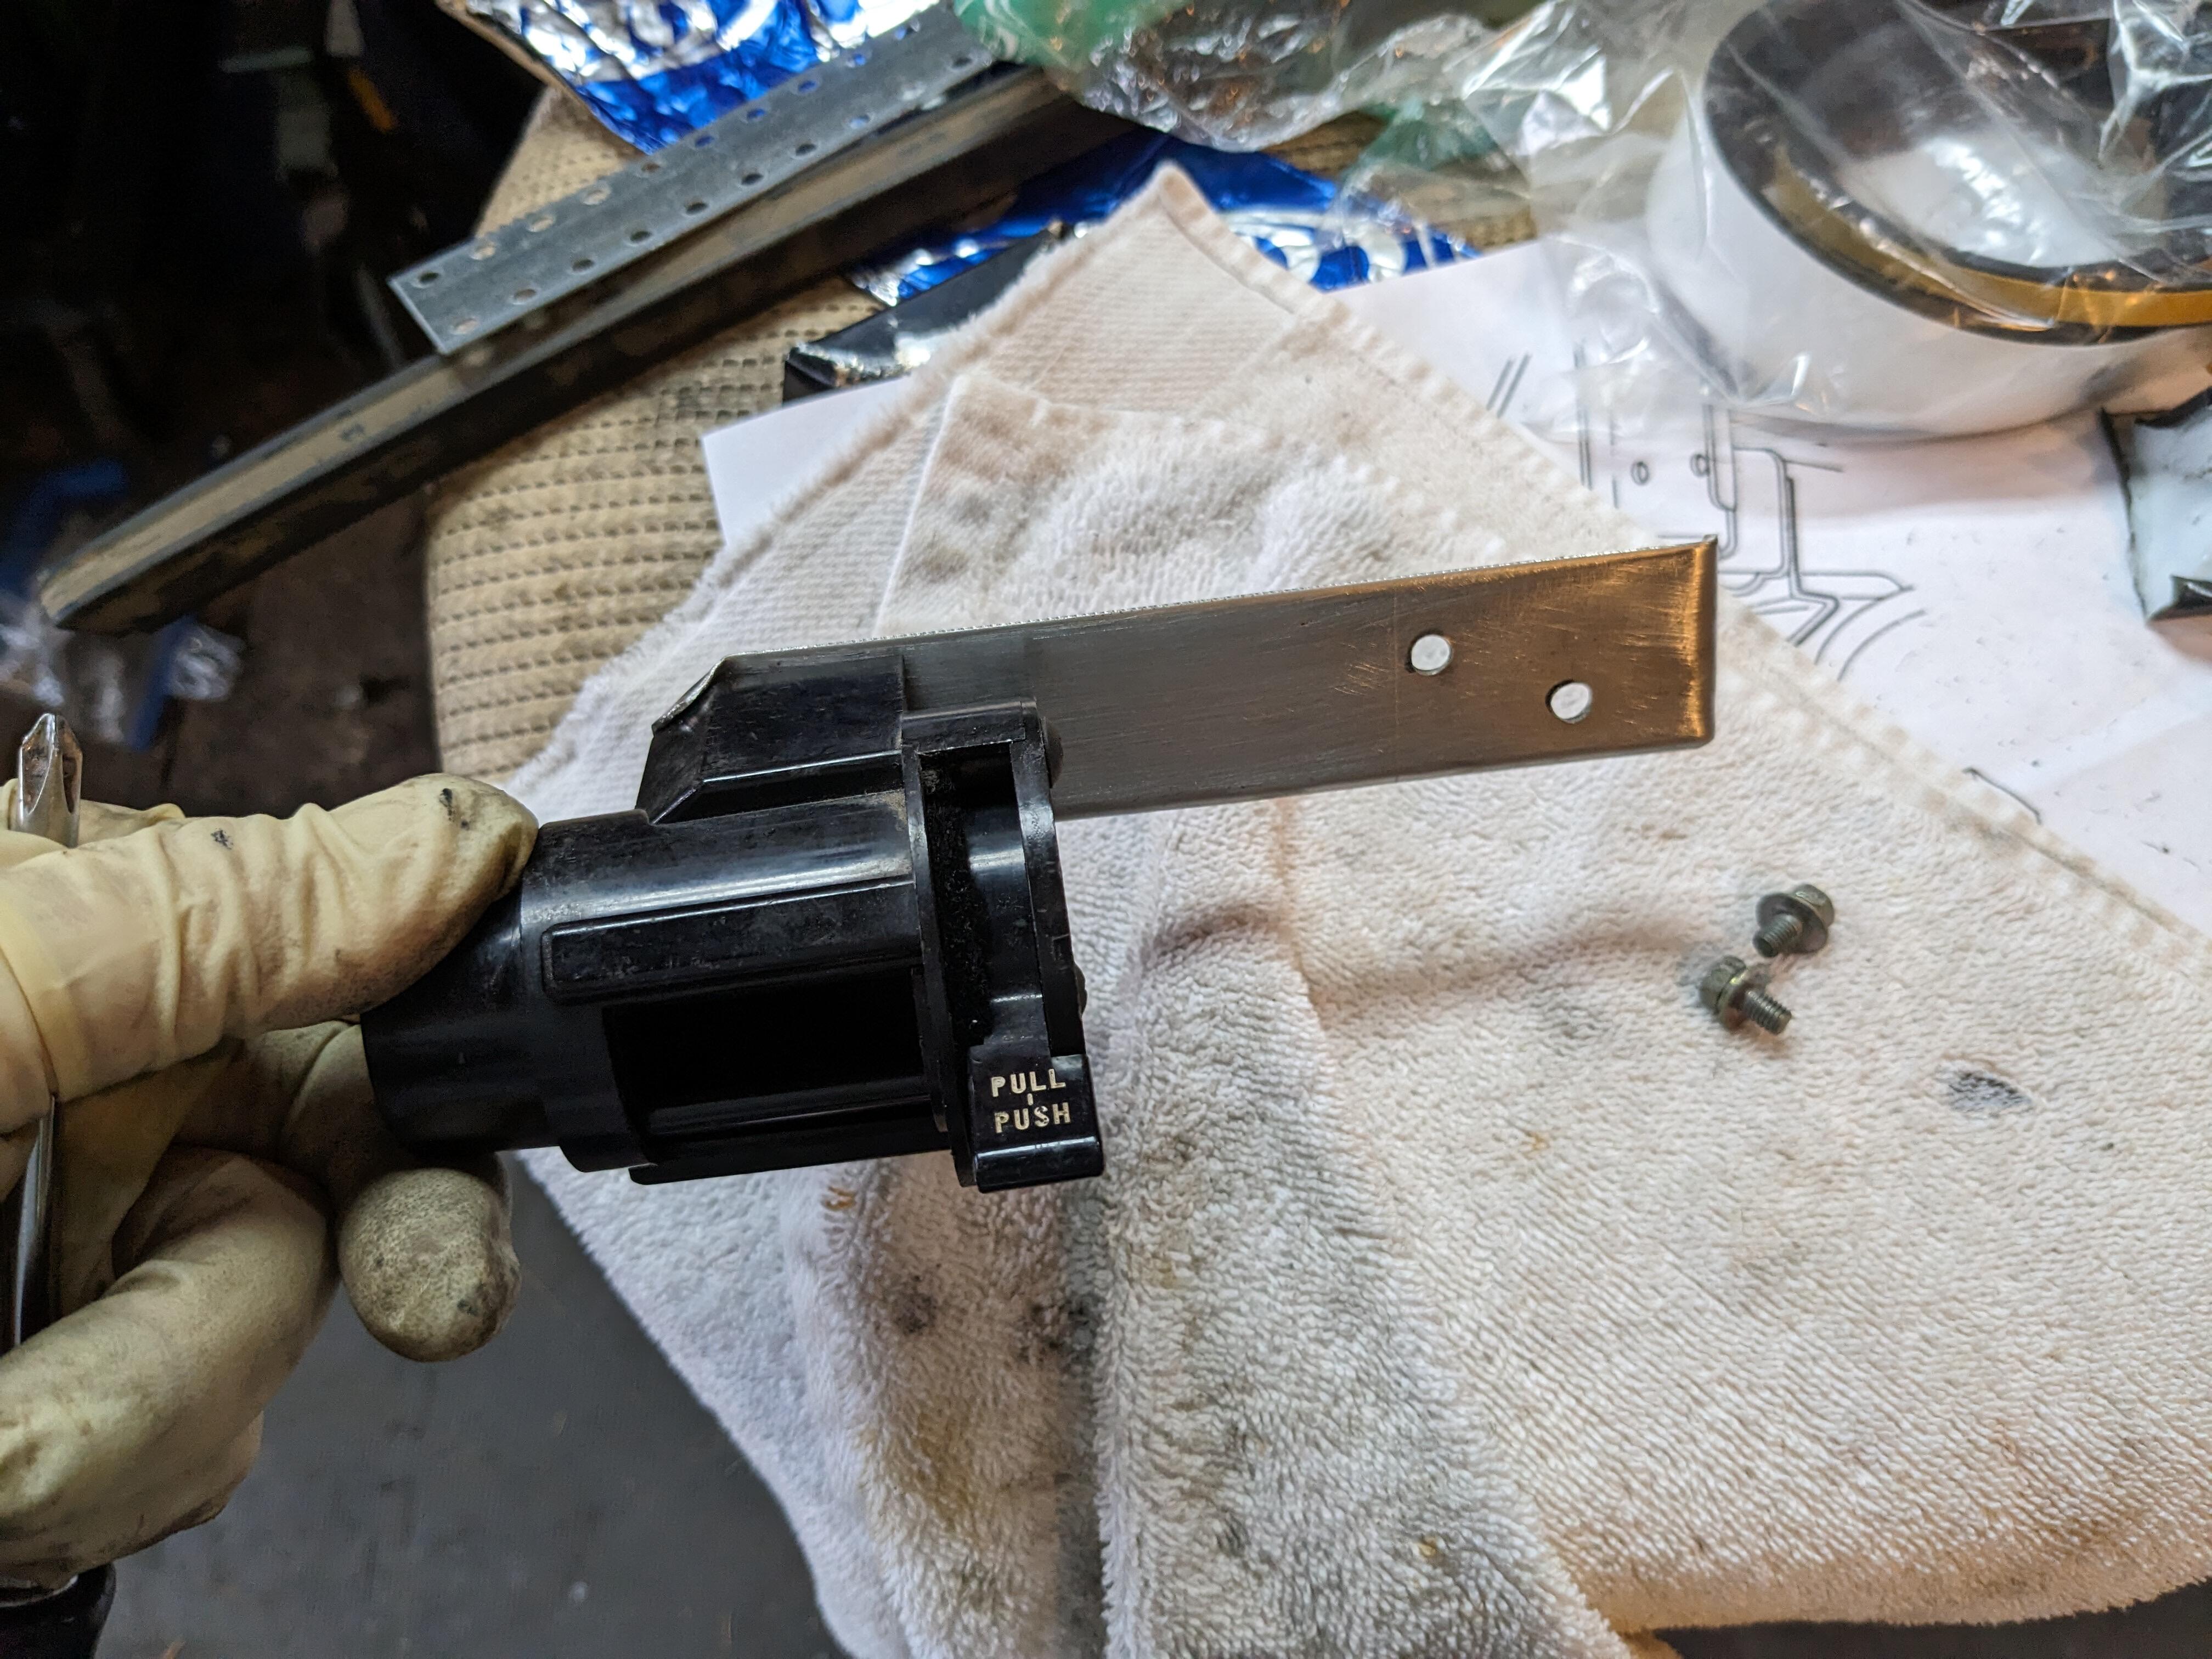
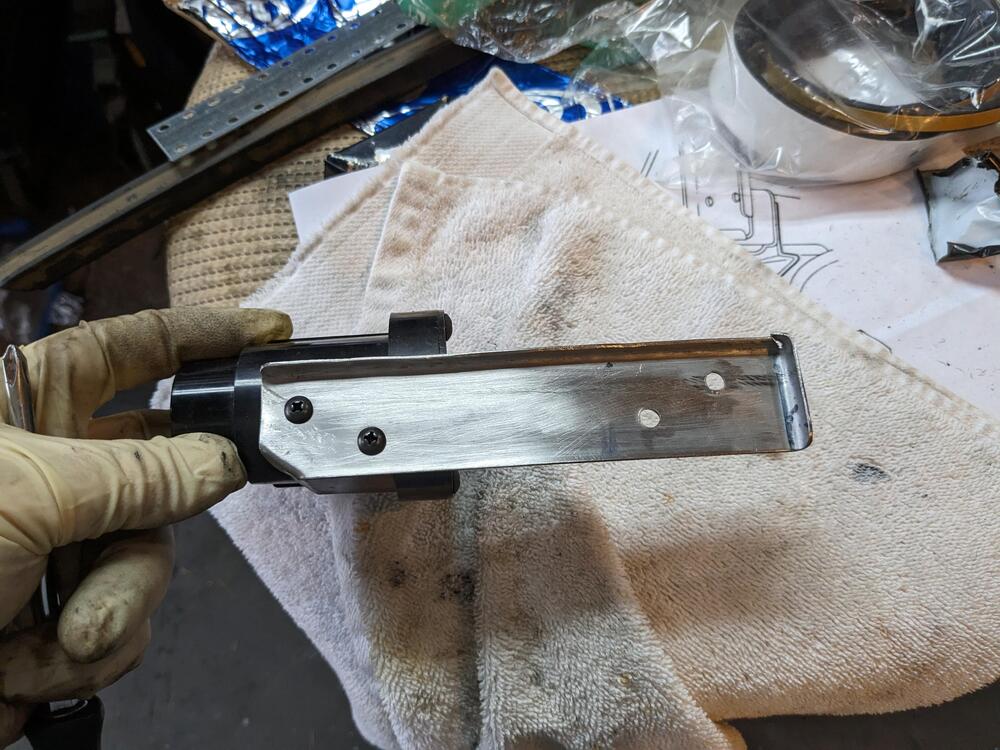
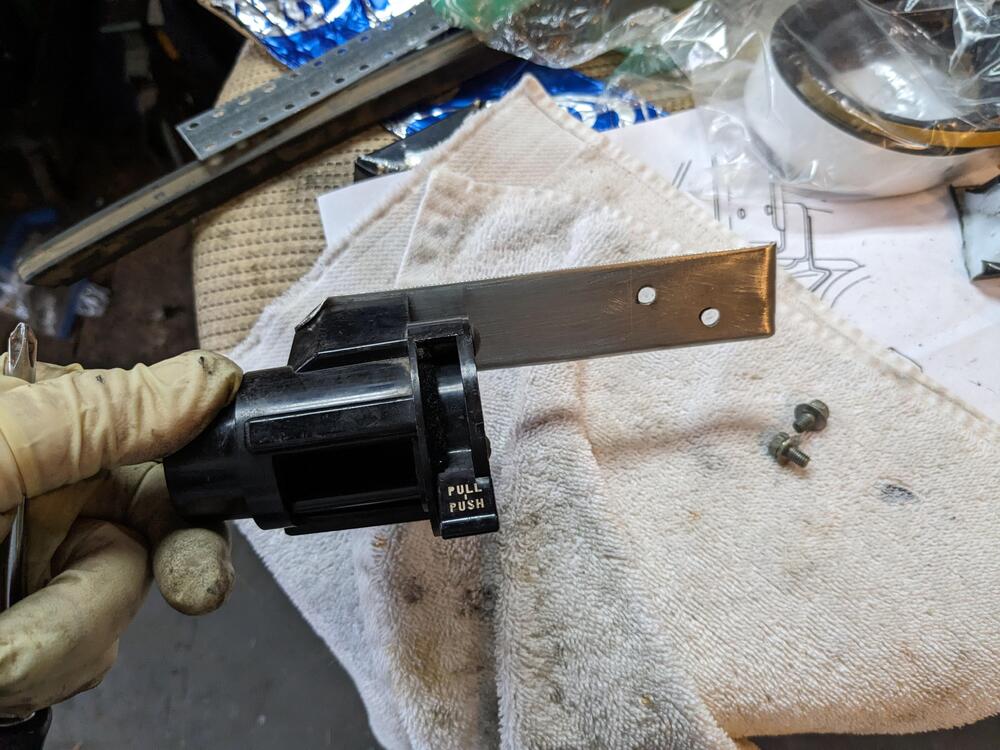
Rainy days. I made a bracket for the right AC under dash vent. Not sure why the factory one has an angle bend, I made mine flat & long enough to put the vent somewhat centered under the glovebox. Used relatively heavy gauge SS sheet metal, that way I don't have to paint it folded one edge for rigidity, like the factory bracket Hopefully the rain gives over later today to I can install it, and then get the glovebox modded to clear the AC ducting, and installed. When I put the DS duct elbow in, I dislodged one of the tach illumination bulb holders, so that has to come back out so I can access the bulb holder, or I can pull the tach out. Problem with that is the lower ridge of the tach body is scraping the vinyl of the dash opening 😞
-
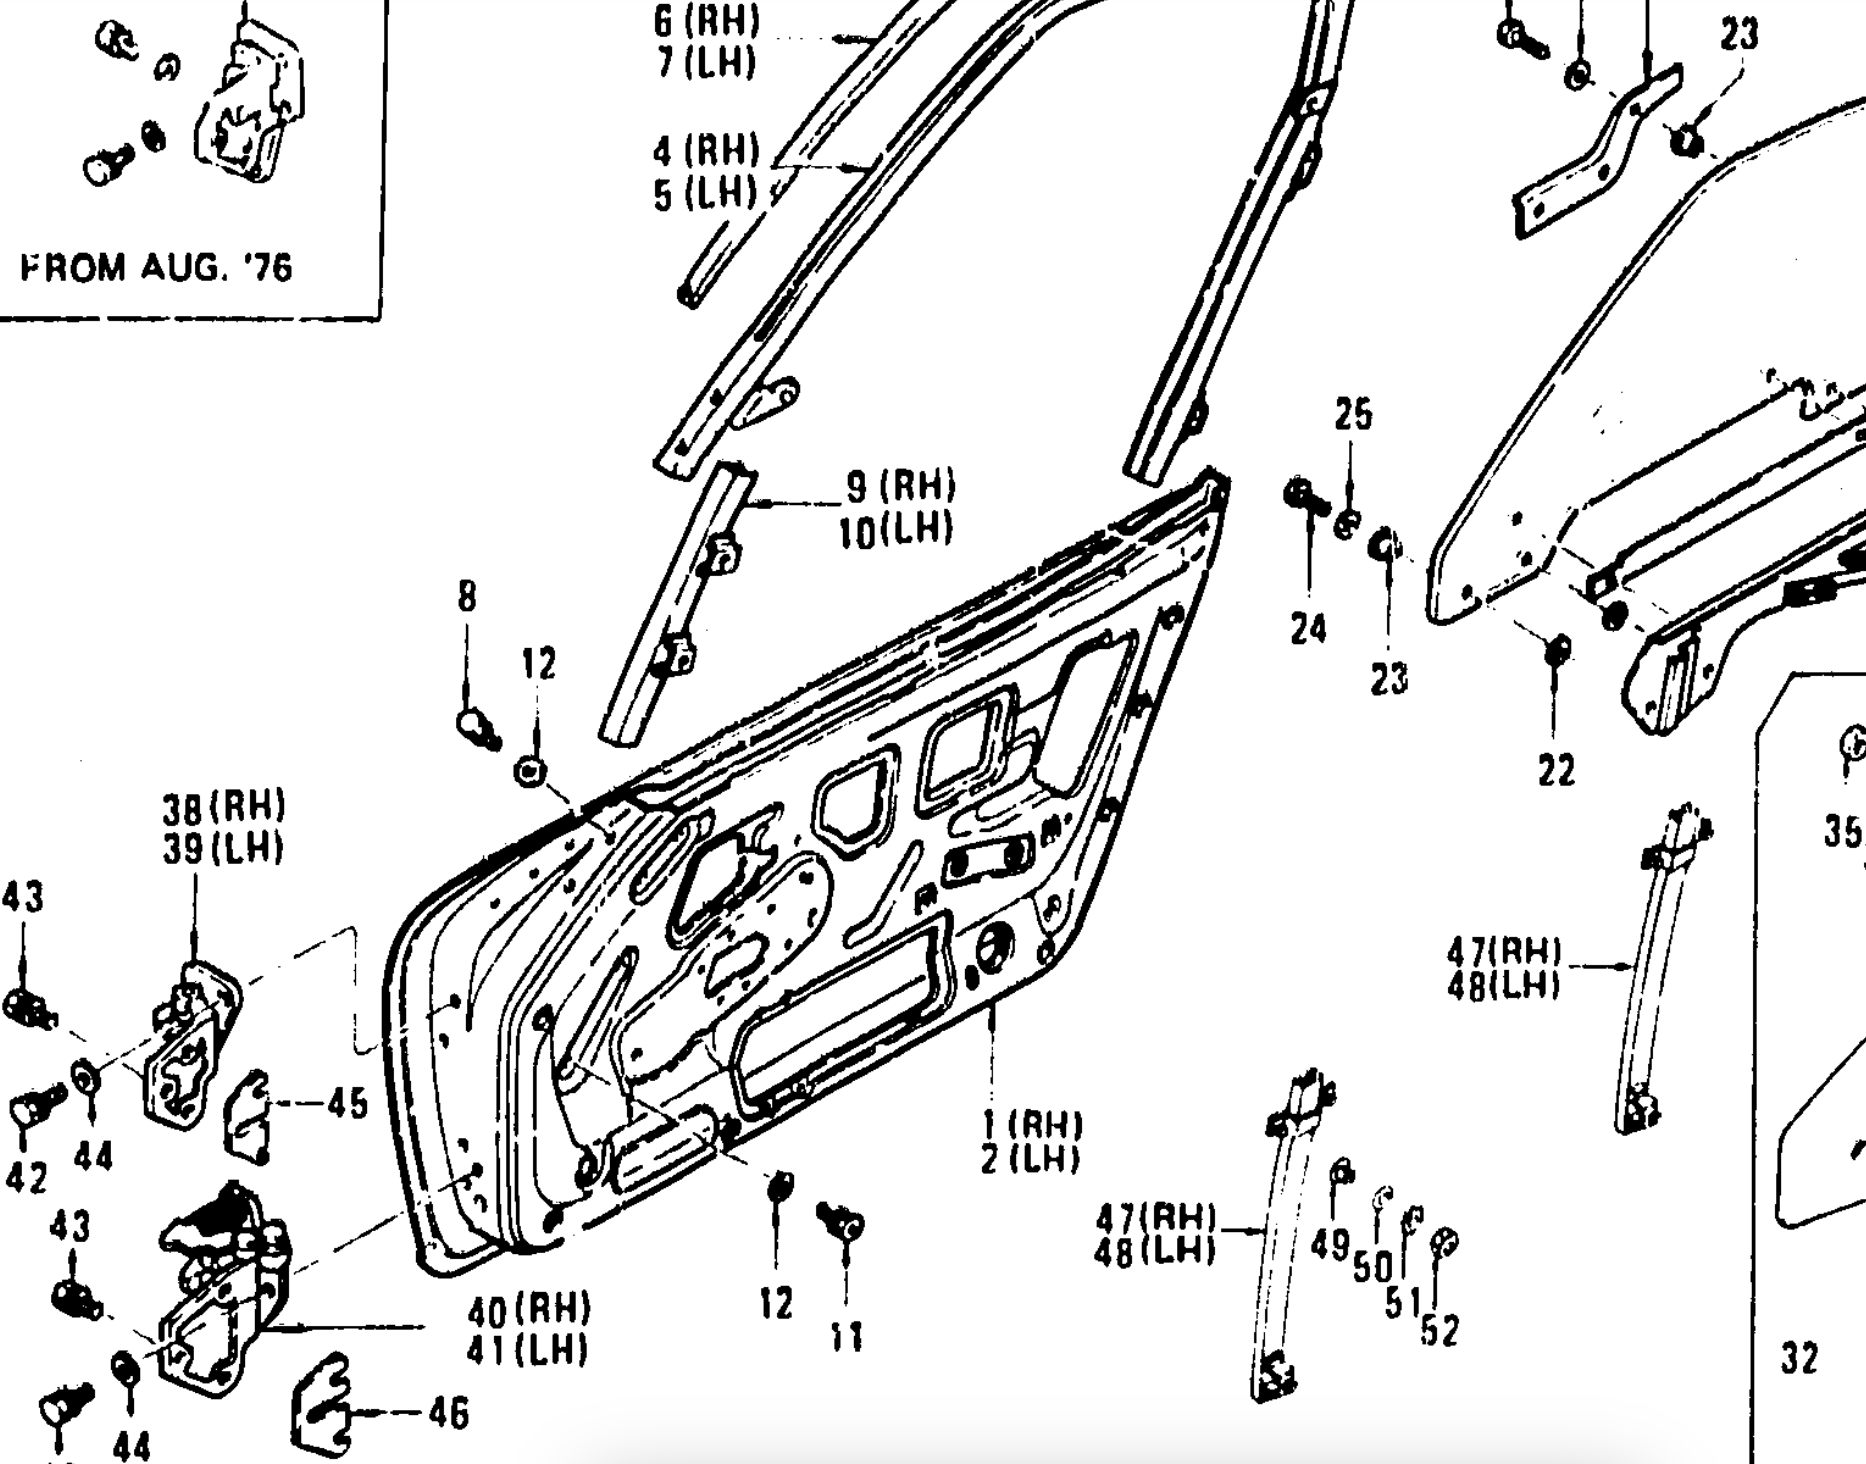
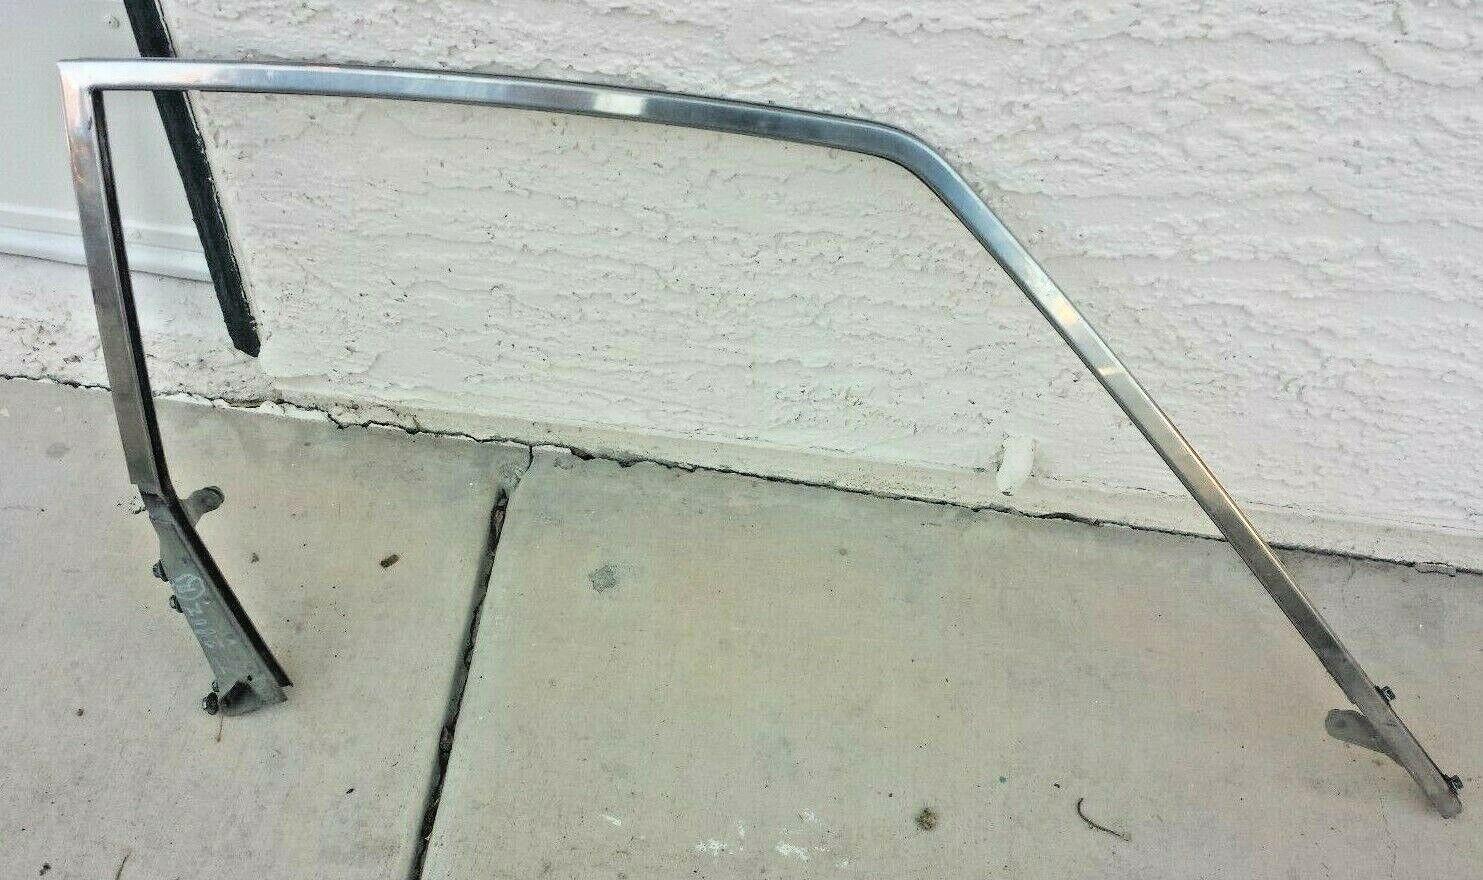
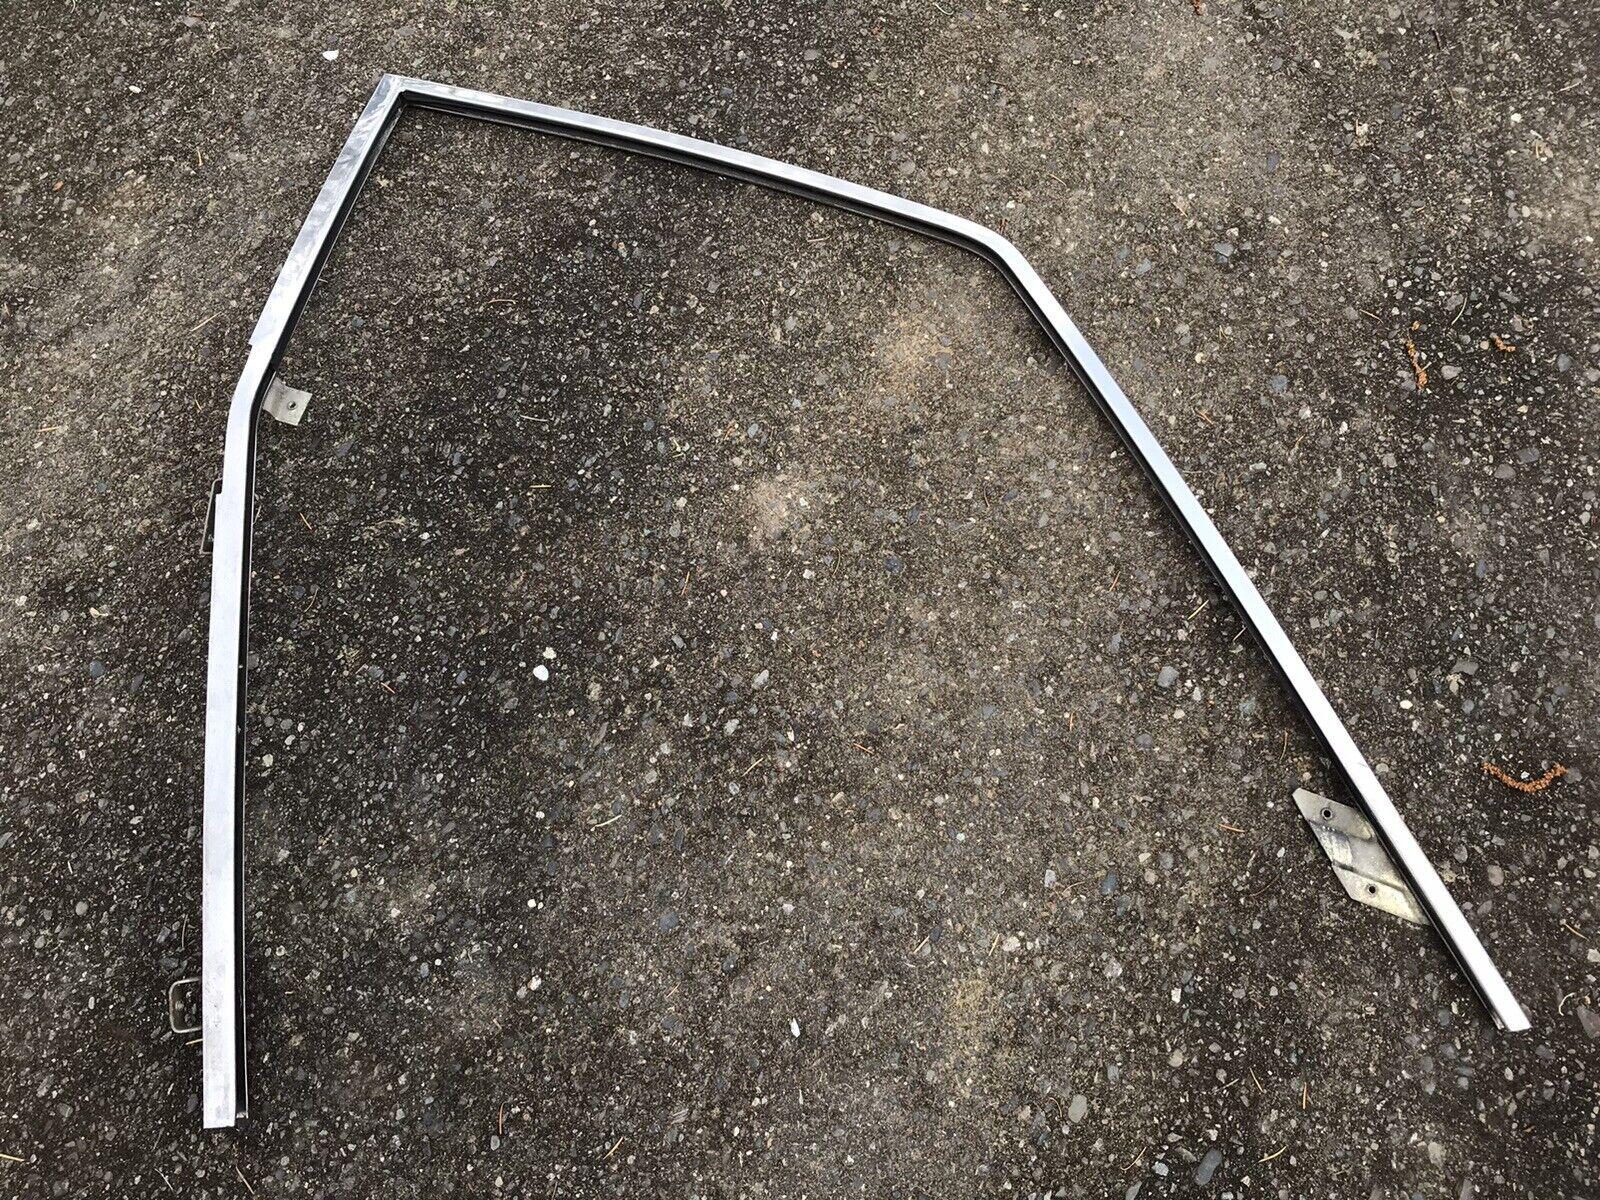
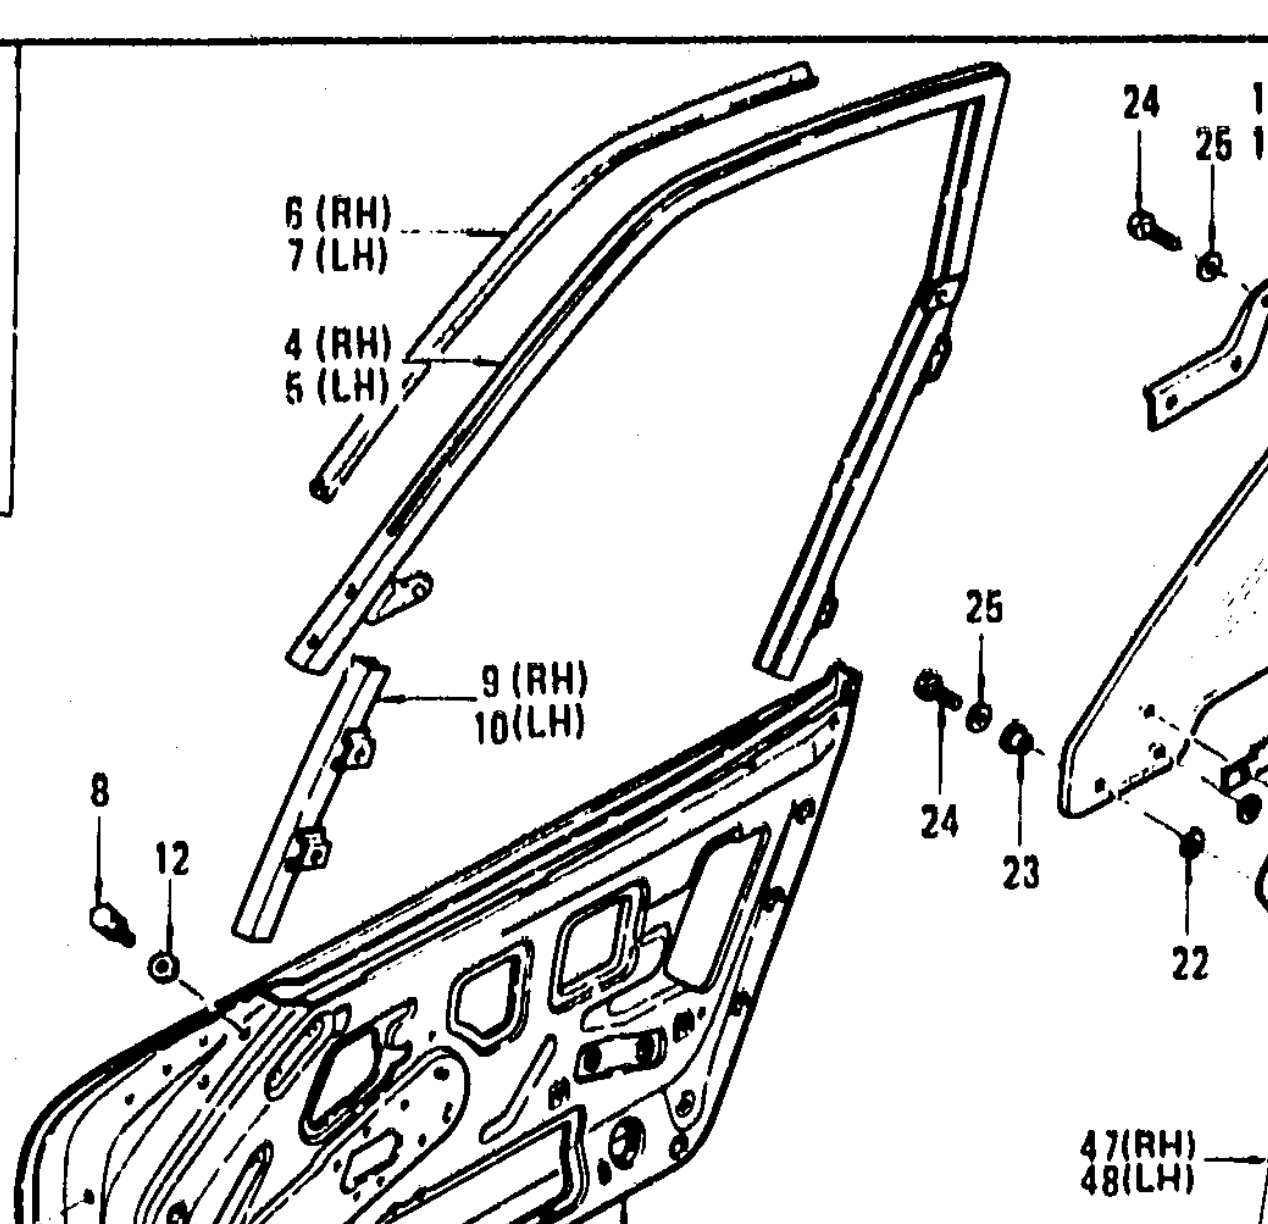
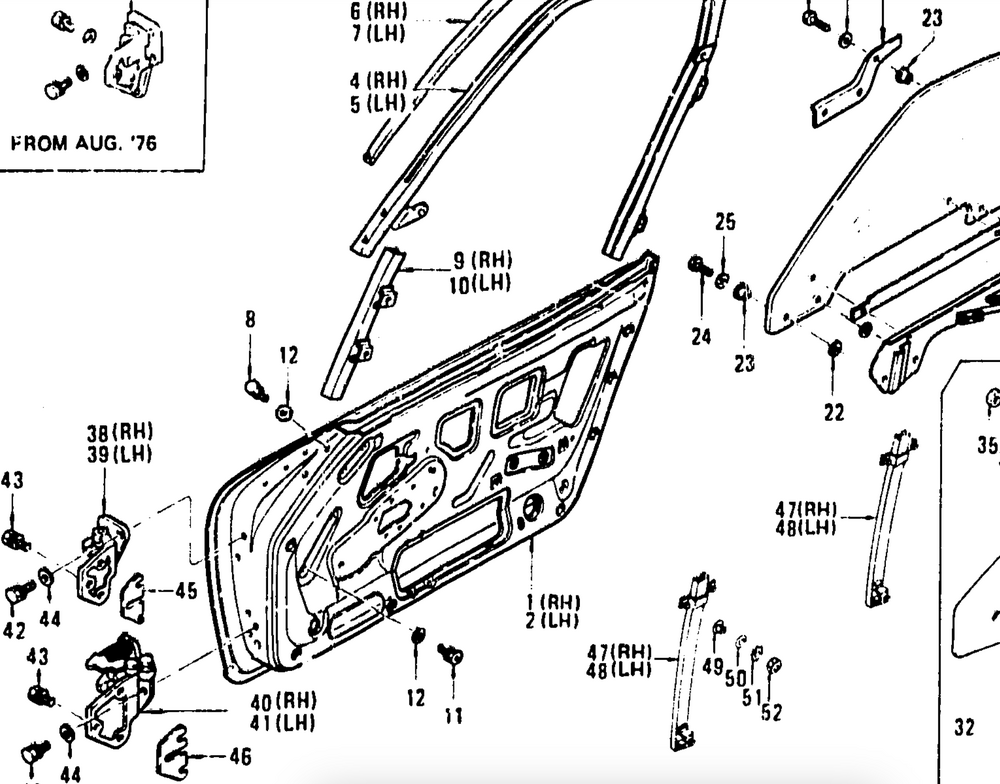
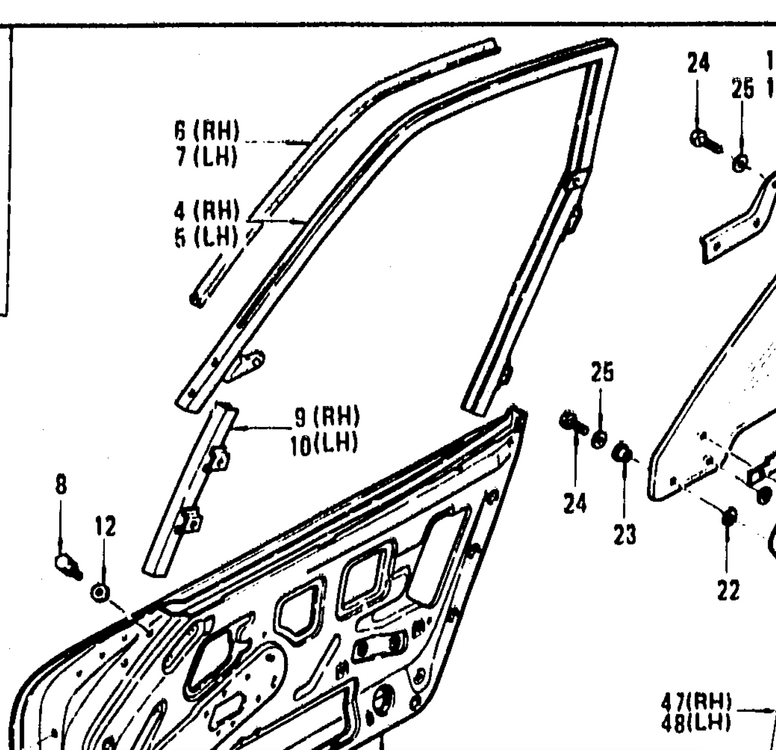
Do you have pics of your frame with the outer seal? I'd still like to see how it goes. Which piece is the 'sash"? EDIT - never mind, I went & looked at the catalog - that's what they call the frame. 47 & 48 are called door window rail/guide As far as the lower section goes, If I can find pics of how the separate lower section combines with the upper, I would expect it will assist in figuring it out. Presumably the lower section was altered due to the lock/latch changes.

-
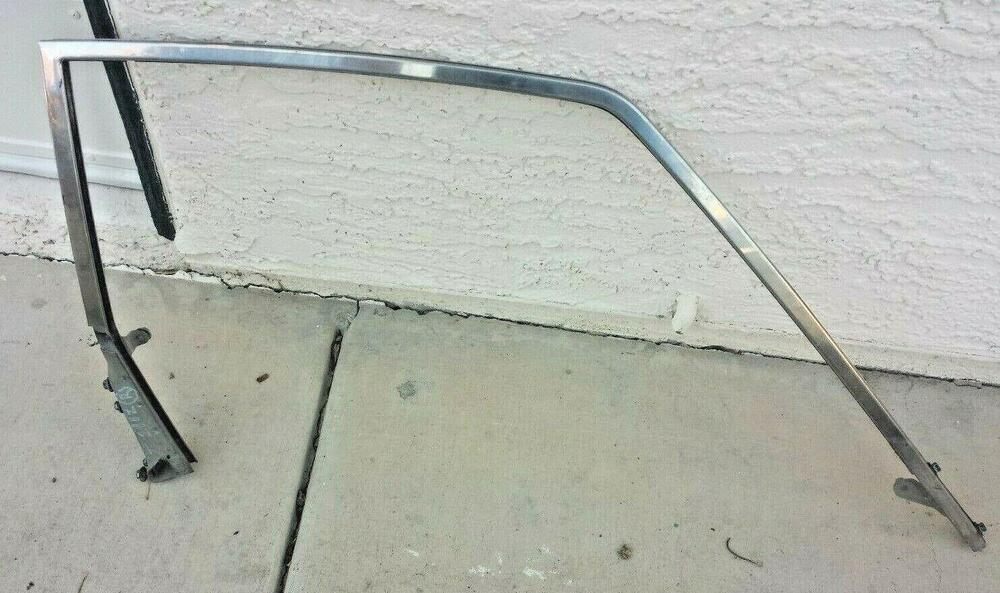
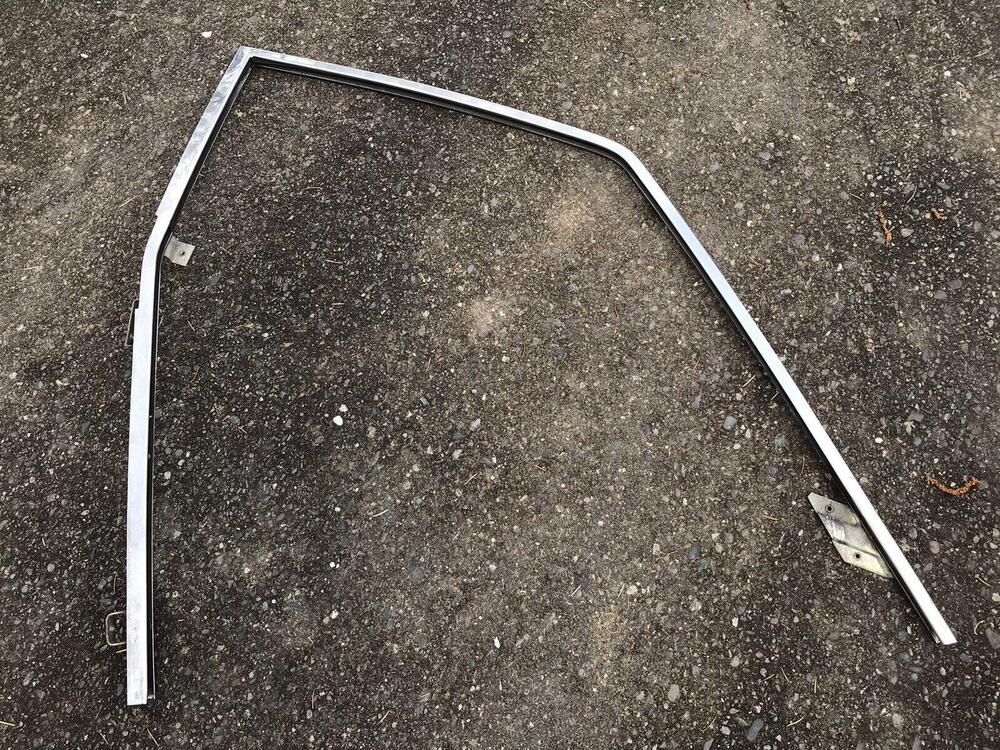
OK - looking at pics of a 77-78 frame and the earlier frame - the later frame has a separate lower section #47 & #48 in the catalog Only one bolt at the front inner instead of two on the earlier style. Rear ends a few inches below the 2 vertical mounts that likely align with the 2 on mine, and has two additional horizontal bolt points. If I can get the later lower guide channels maybe I can make it work
-
So, having driven the car to work Tues-Thurs, the starting time is not that bad. It's really only the cold start in 40ºF temps that is somewhat lengthy. I think I maybe being a little picky for an almost 50 year old drivetrain. I dunno. It's pouring rain today, and forecast the same for tomorrow, so Sunday I'll get back to it. Thank you Zed Head The primer kit I knew about, as some Volvo PPL have used it. Personally, $70 for that is way too much, plus it's bulky (and tacky) 🤪 - so, I'll figure out a more discreet primer some way shape or form.
-
Thank you. Unless the door inner skin/structure was also substantially altered and/or the glass shape also changed, I can't see how it couldn't be made to work. I just can't find any detail pics, besides the threads where the discussion revolves around fitting later doors to to a 240Z Not sure that matters, unless you mean perhaps the 76 version would be more likely to fit a 75 door? I'll have to look again in the parts catalog, I would expect there is a chassis break listed for the frame change
-
Got the last window seal done today - passenger 1/4 glass & frame seals. Cleaned up & painted the bracket weld areas on the frame as with the DS
-
Question - will the later frames fit the 75 door? Same attachment bracketry built in the the frame? (4 mount points at the front, 3 at the back vertical, 1 facing inward top rear of door skin) I'd just as soon update mine to the later version, especially since the coating on mine is compromised & has surface rust. If the frame with physically fit the door, and it's just the brackets that are different, I could always cut them off the old frames. Also, if you have a pic that shows the channel w/seal - can't tell from the part manual exactly where it goes. The seals I bought don't appear to be long enough to go the full length
-
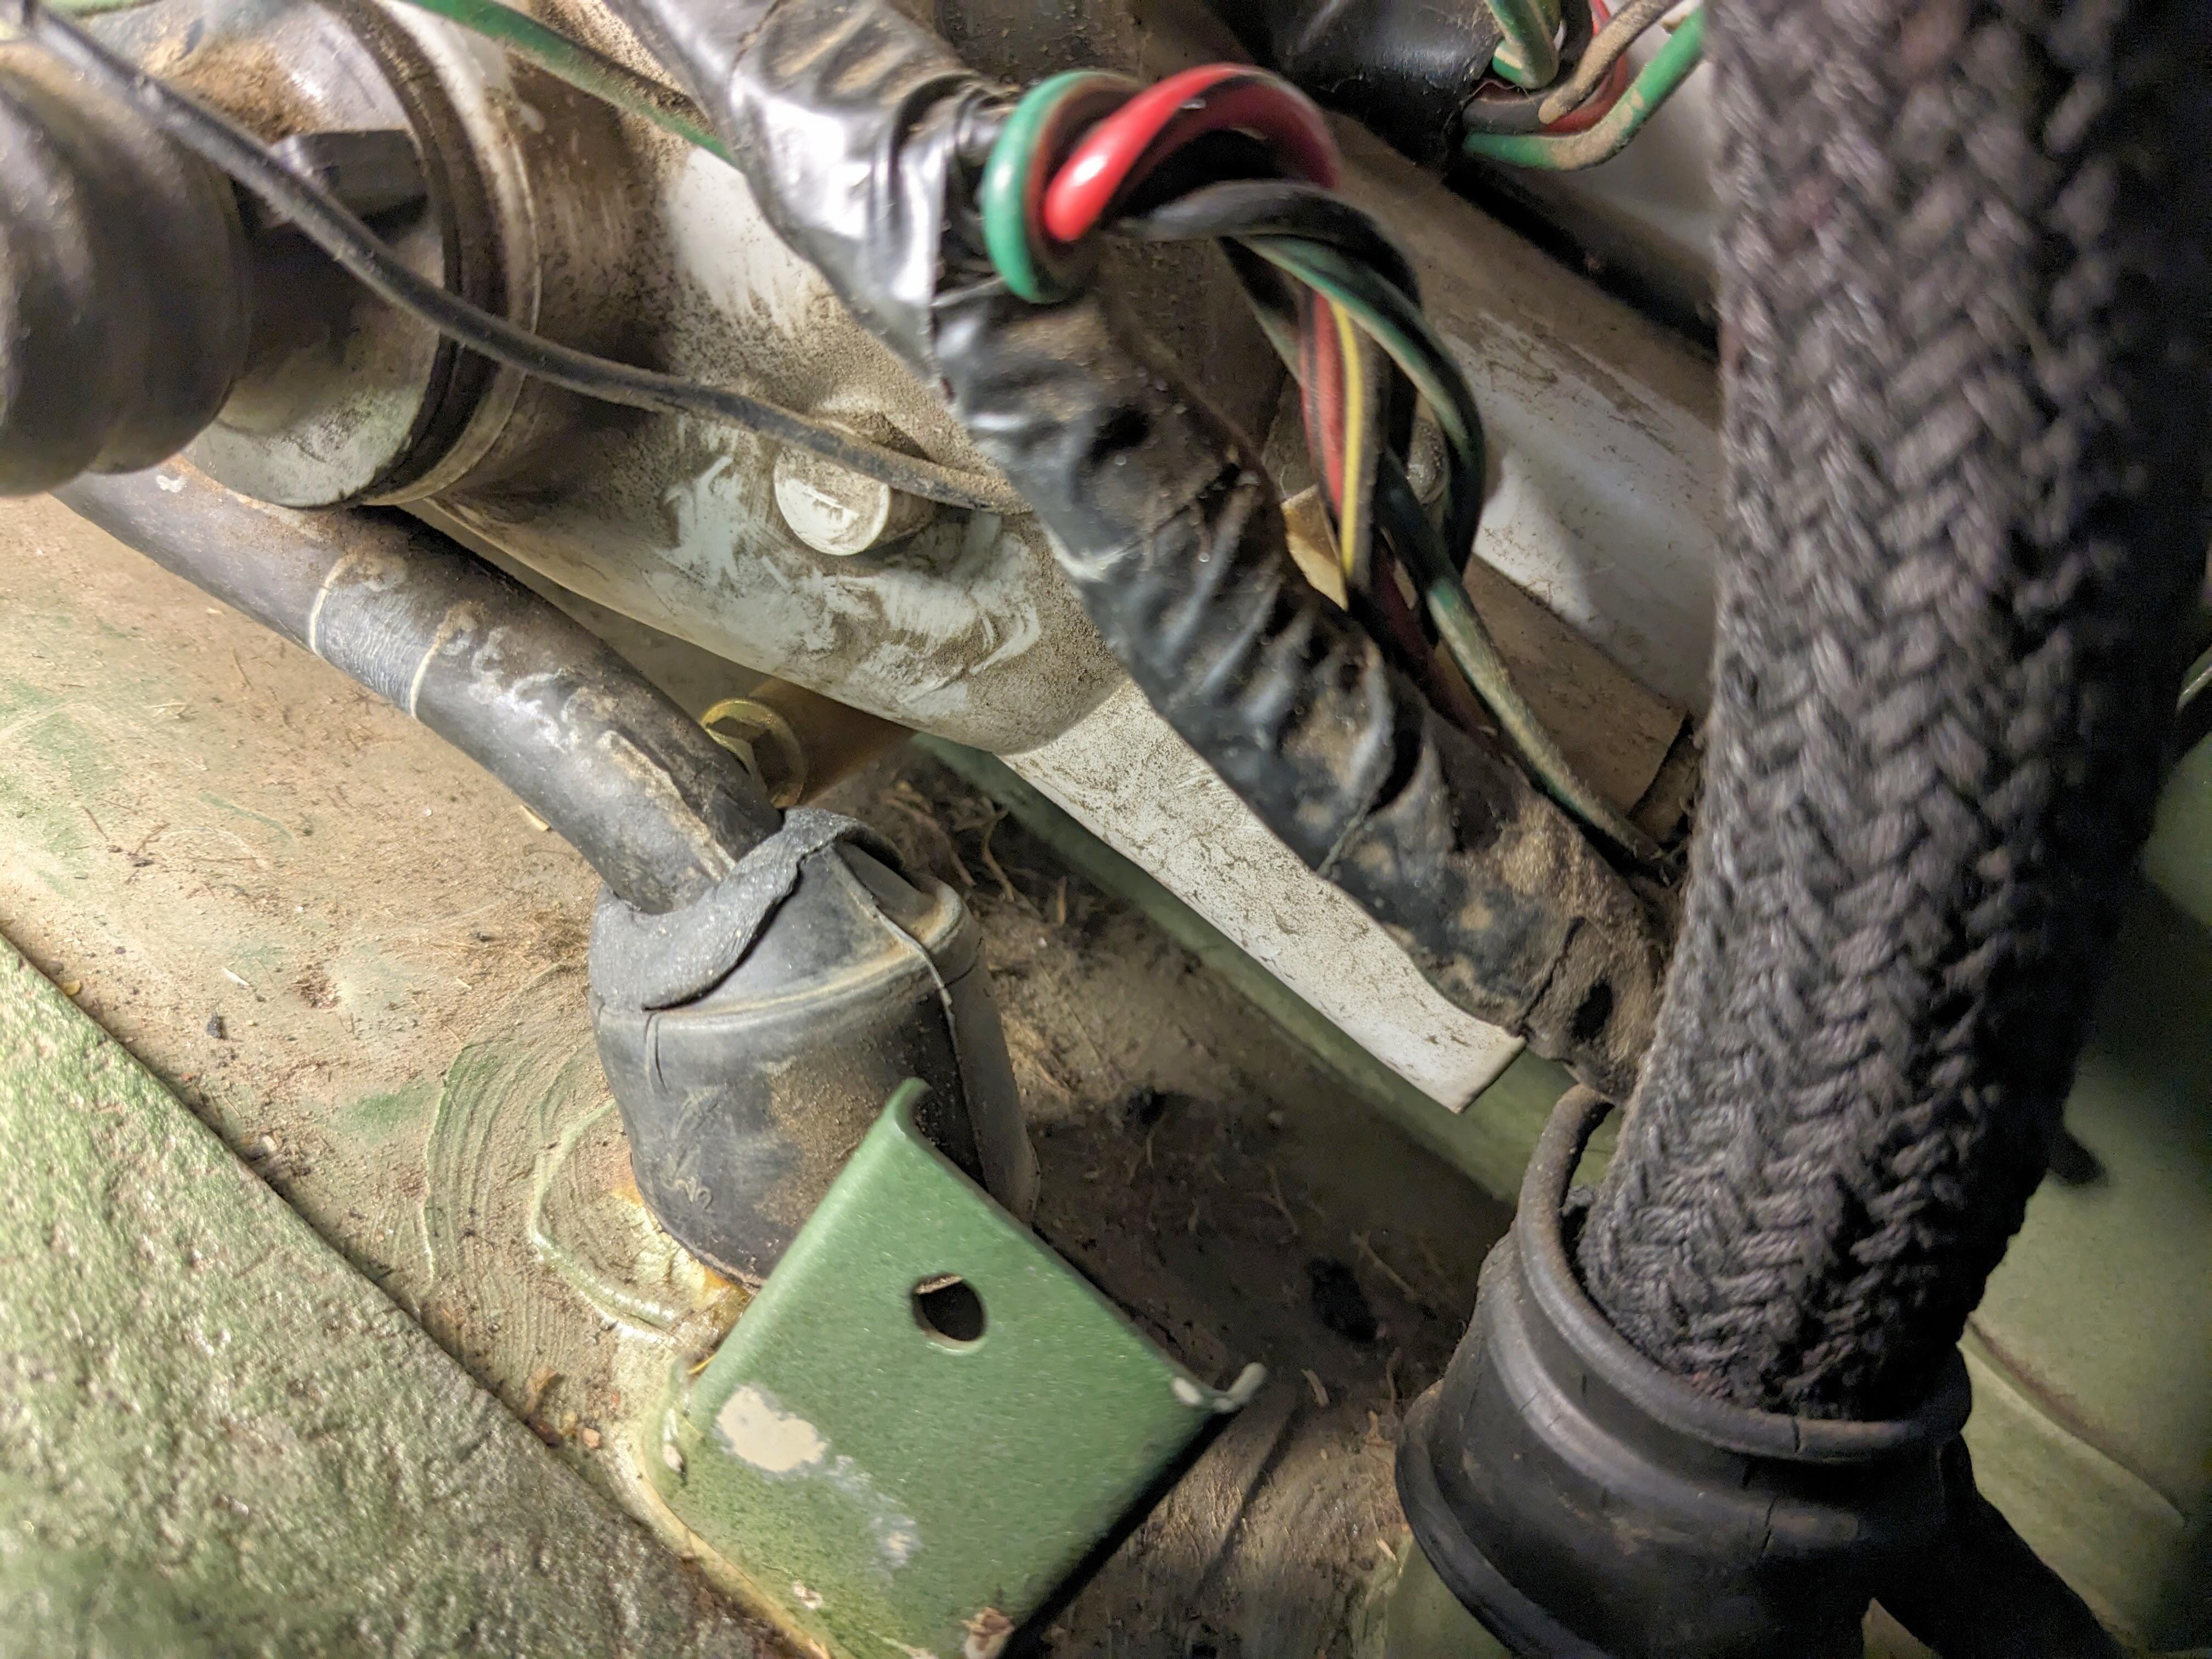
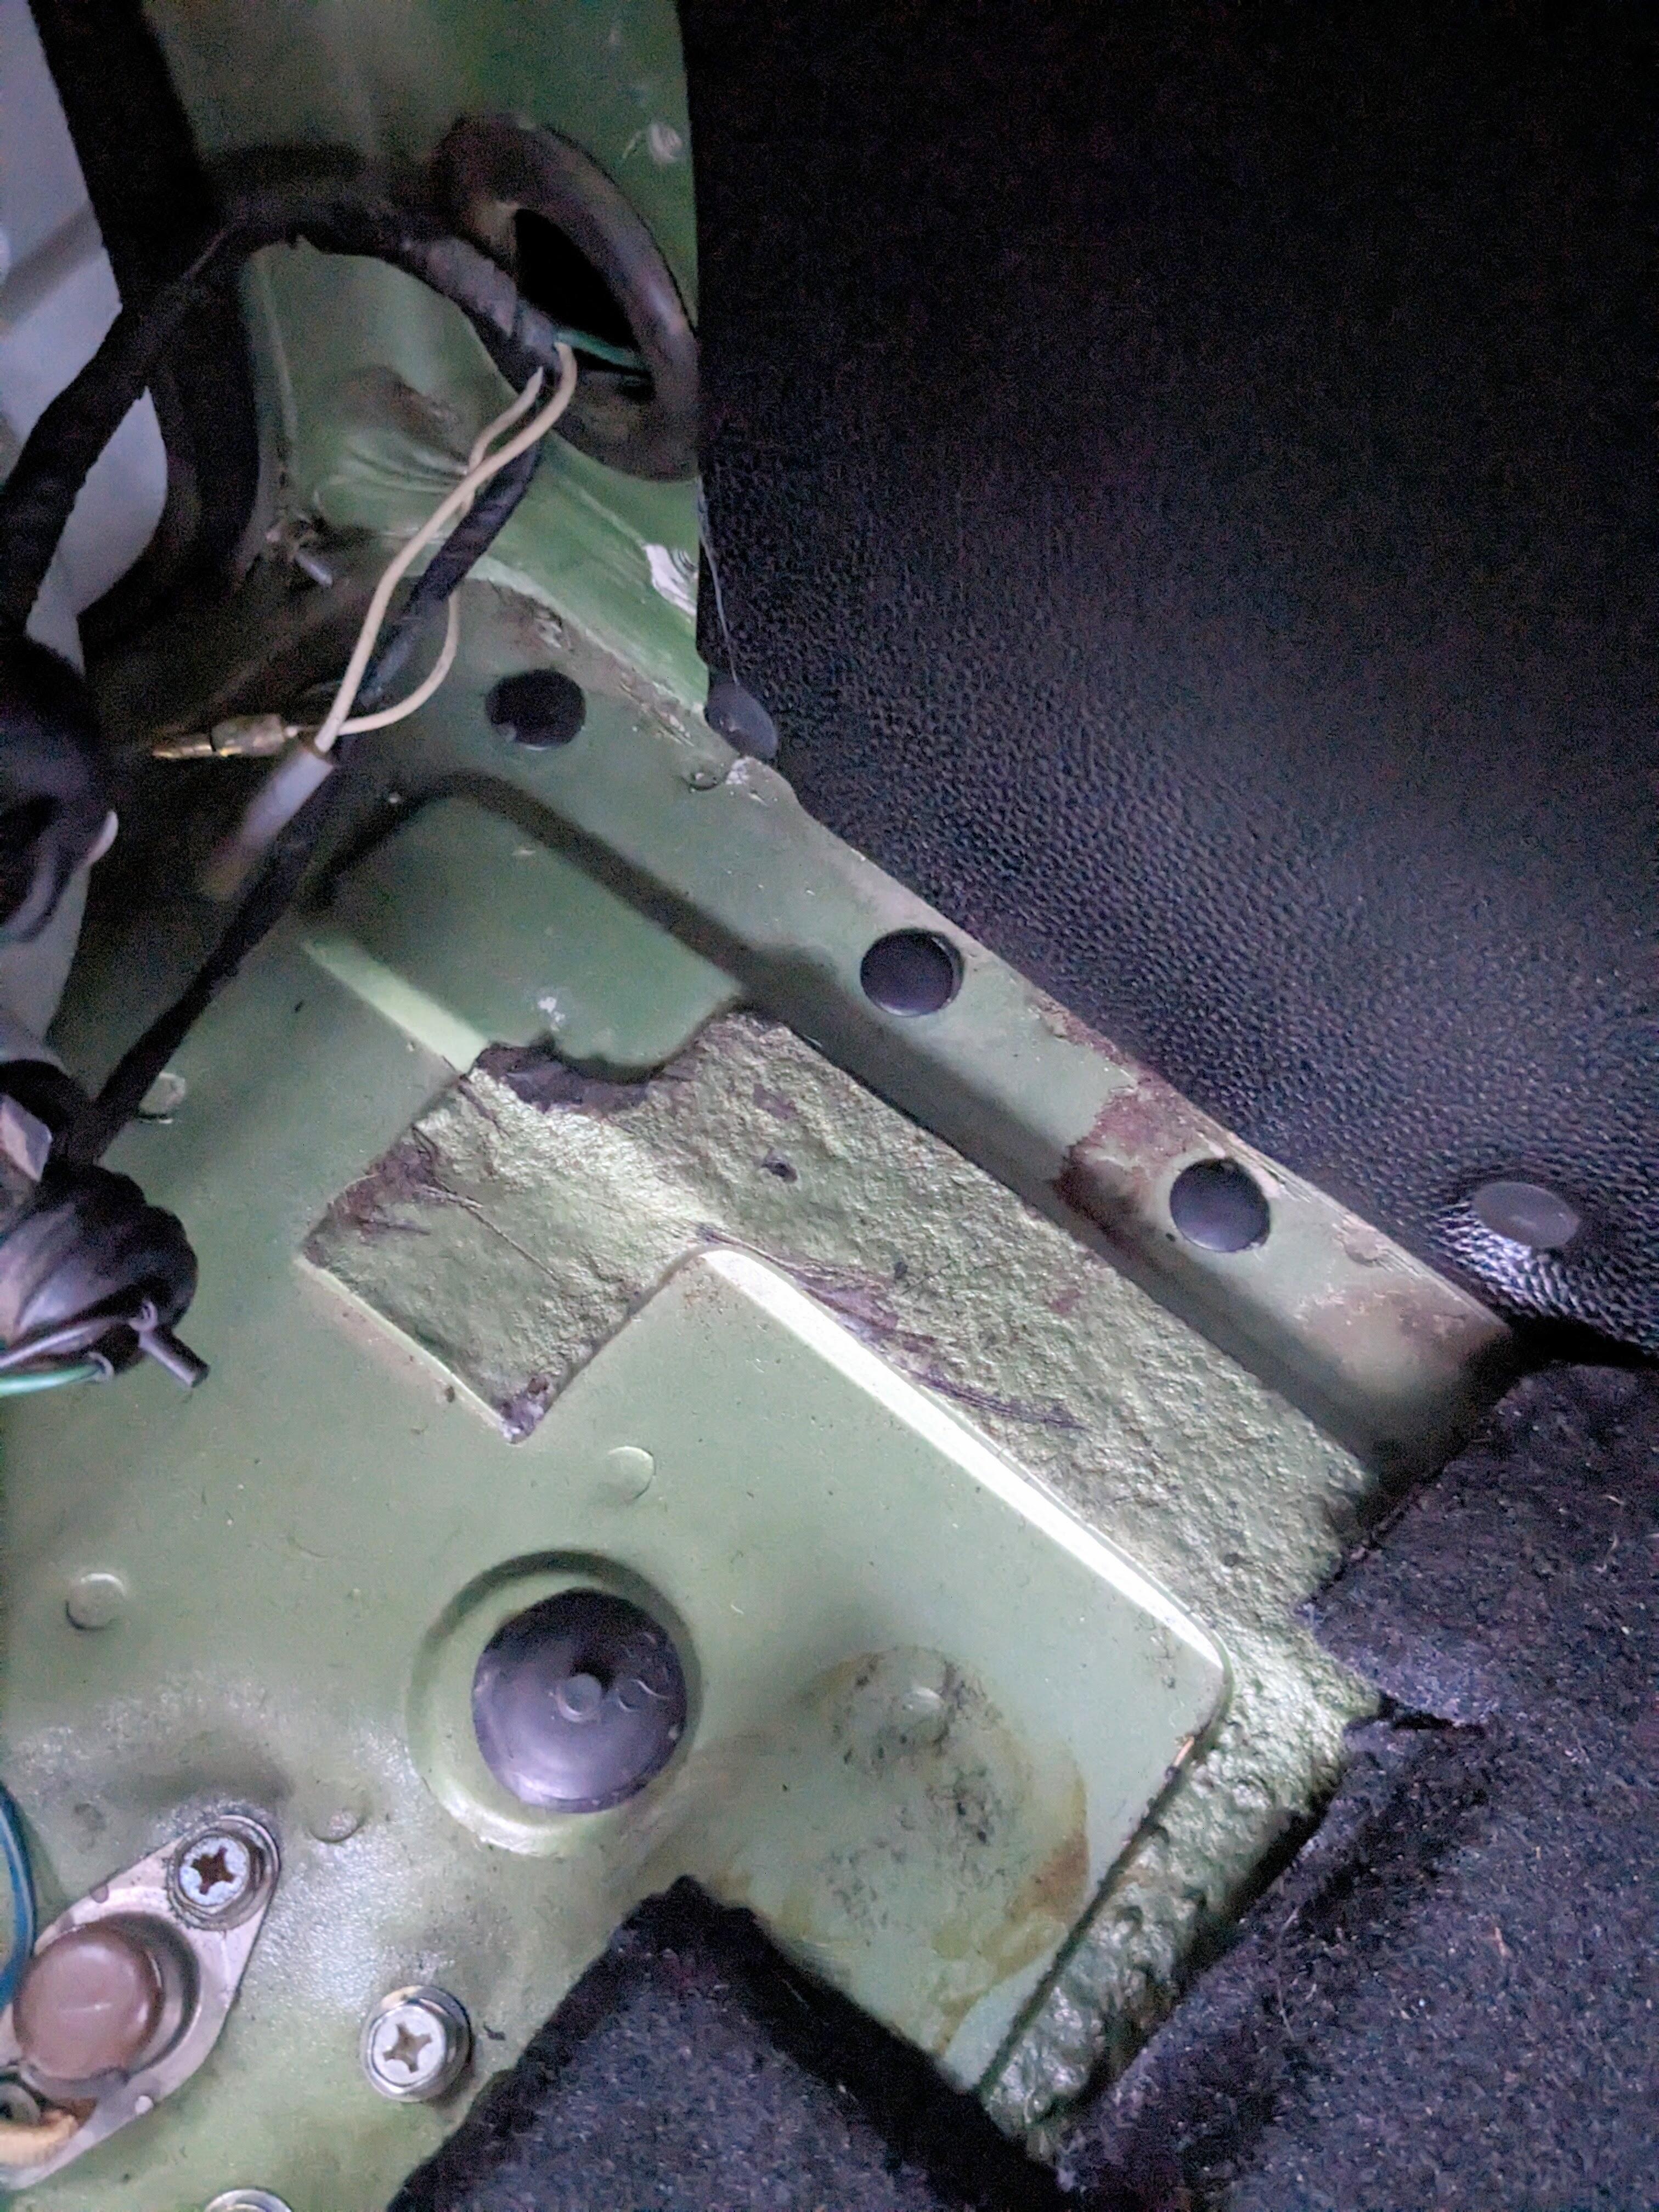
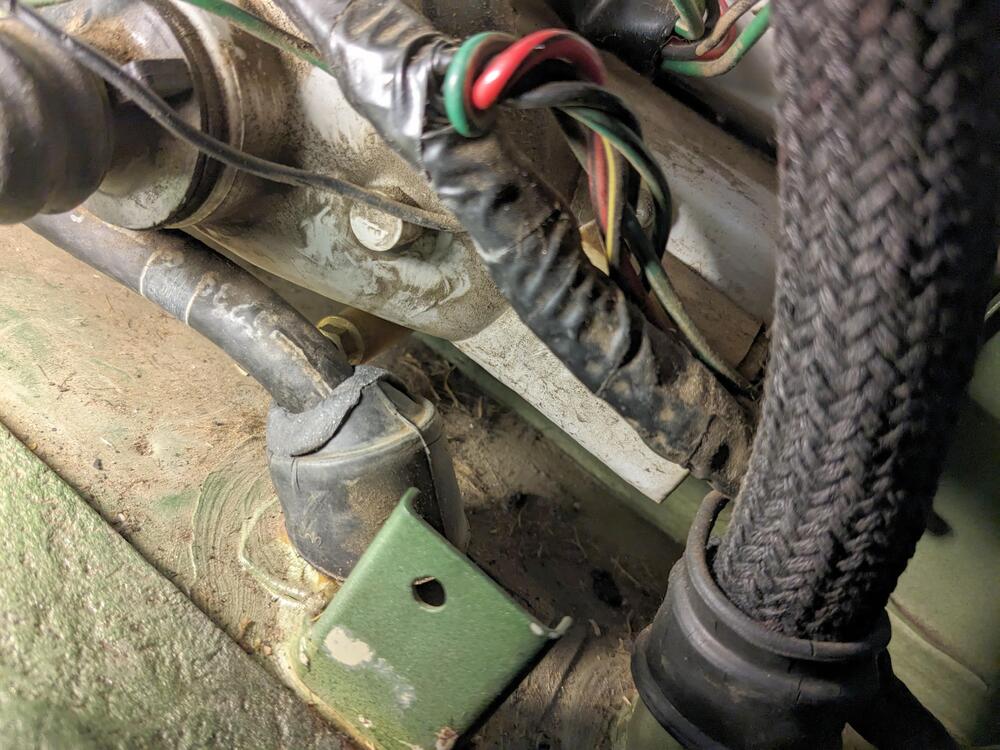
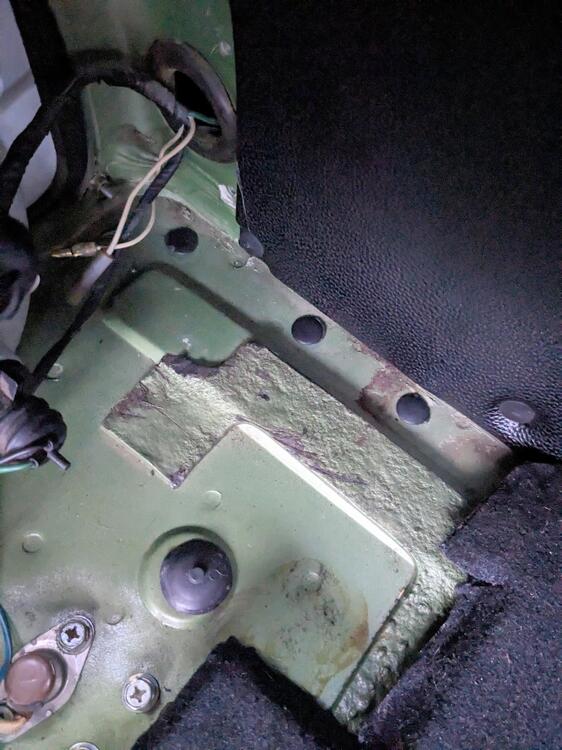
I did find that the smaller vent hose grommet was torn - so I sealed that for the time being Also, I had removed the bumper shock & bracket on the DS, that left 3 holes that fed directly into the muffler cavity. Filled them with sealed plugs
-
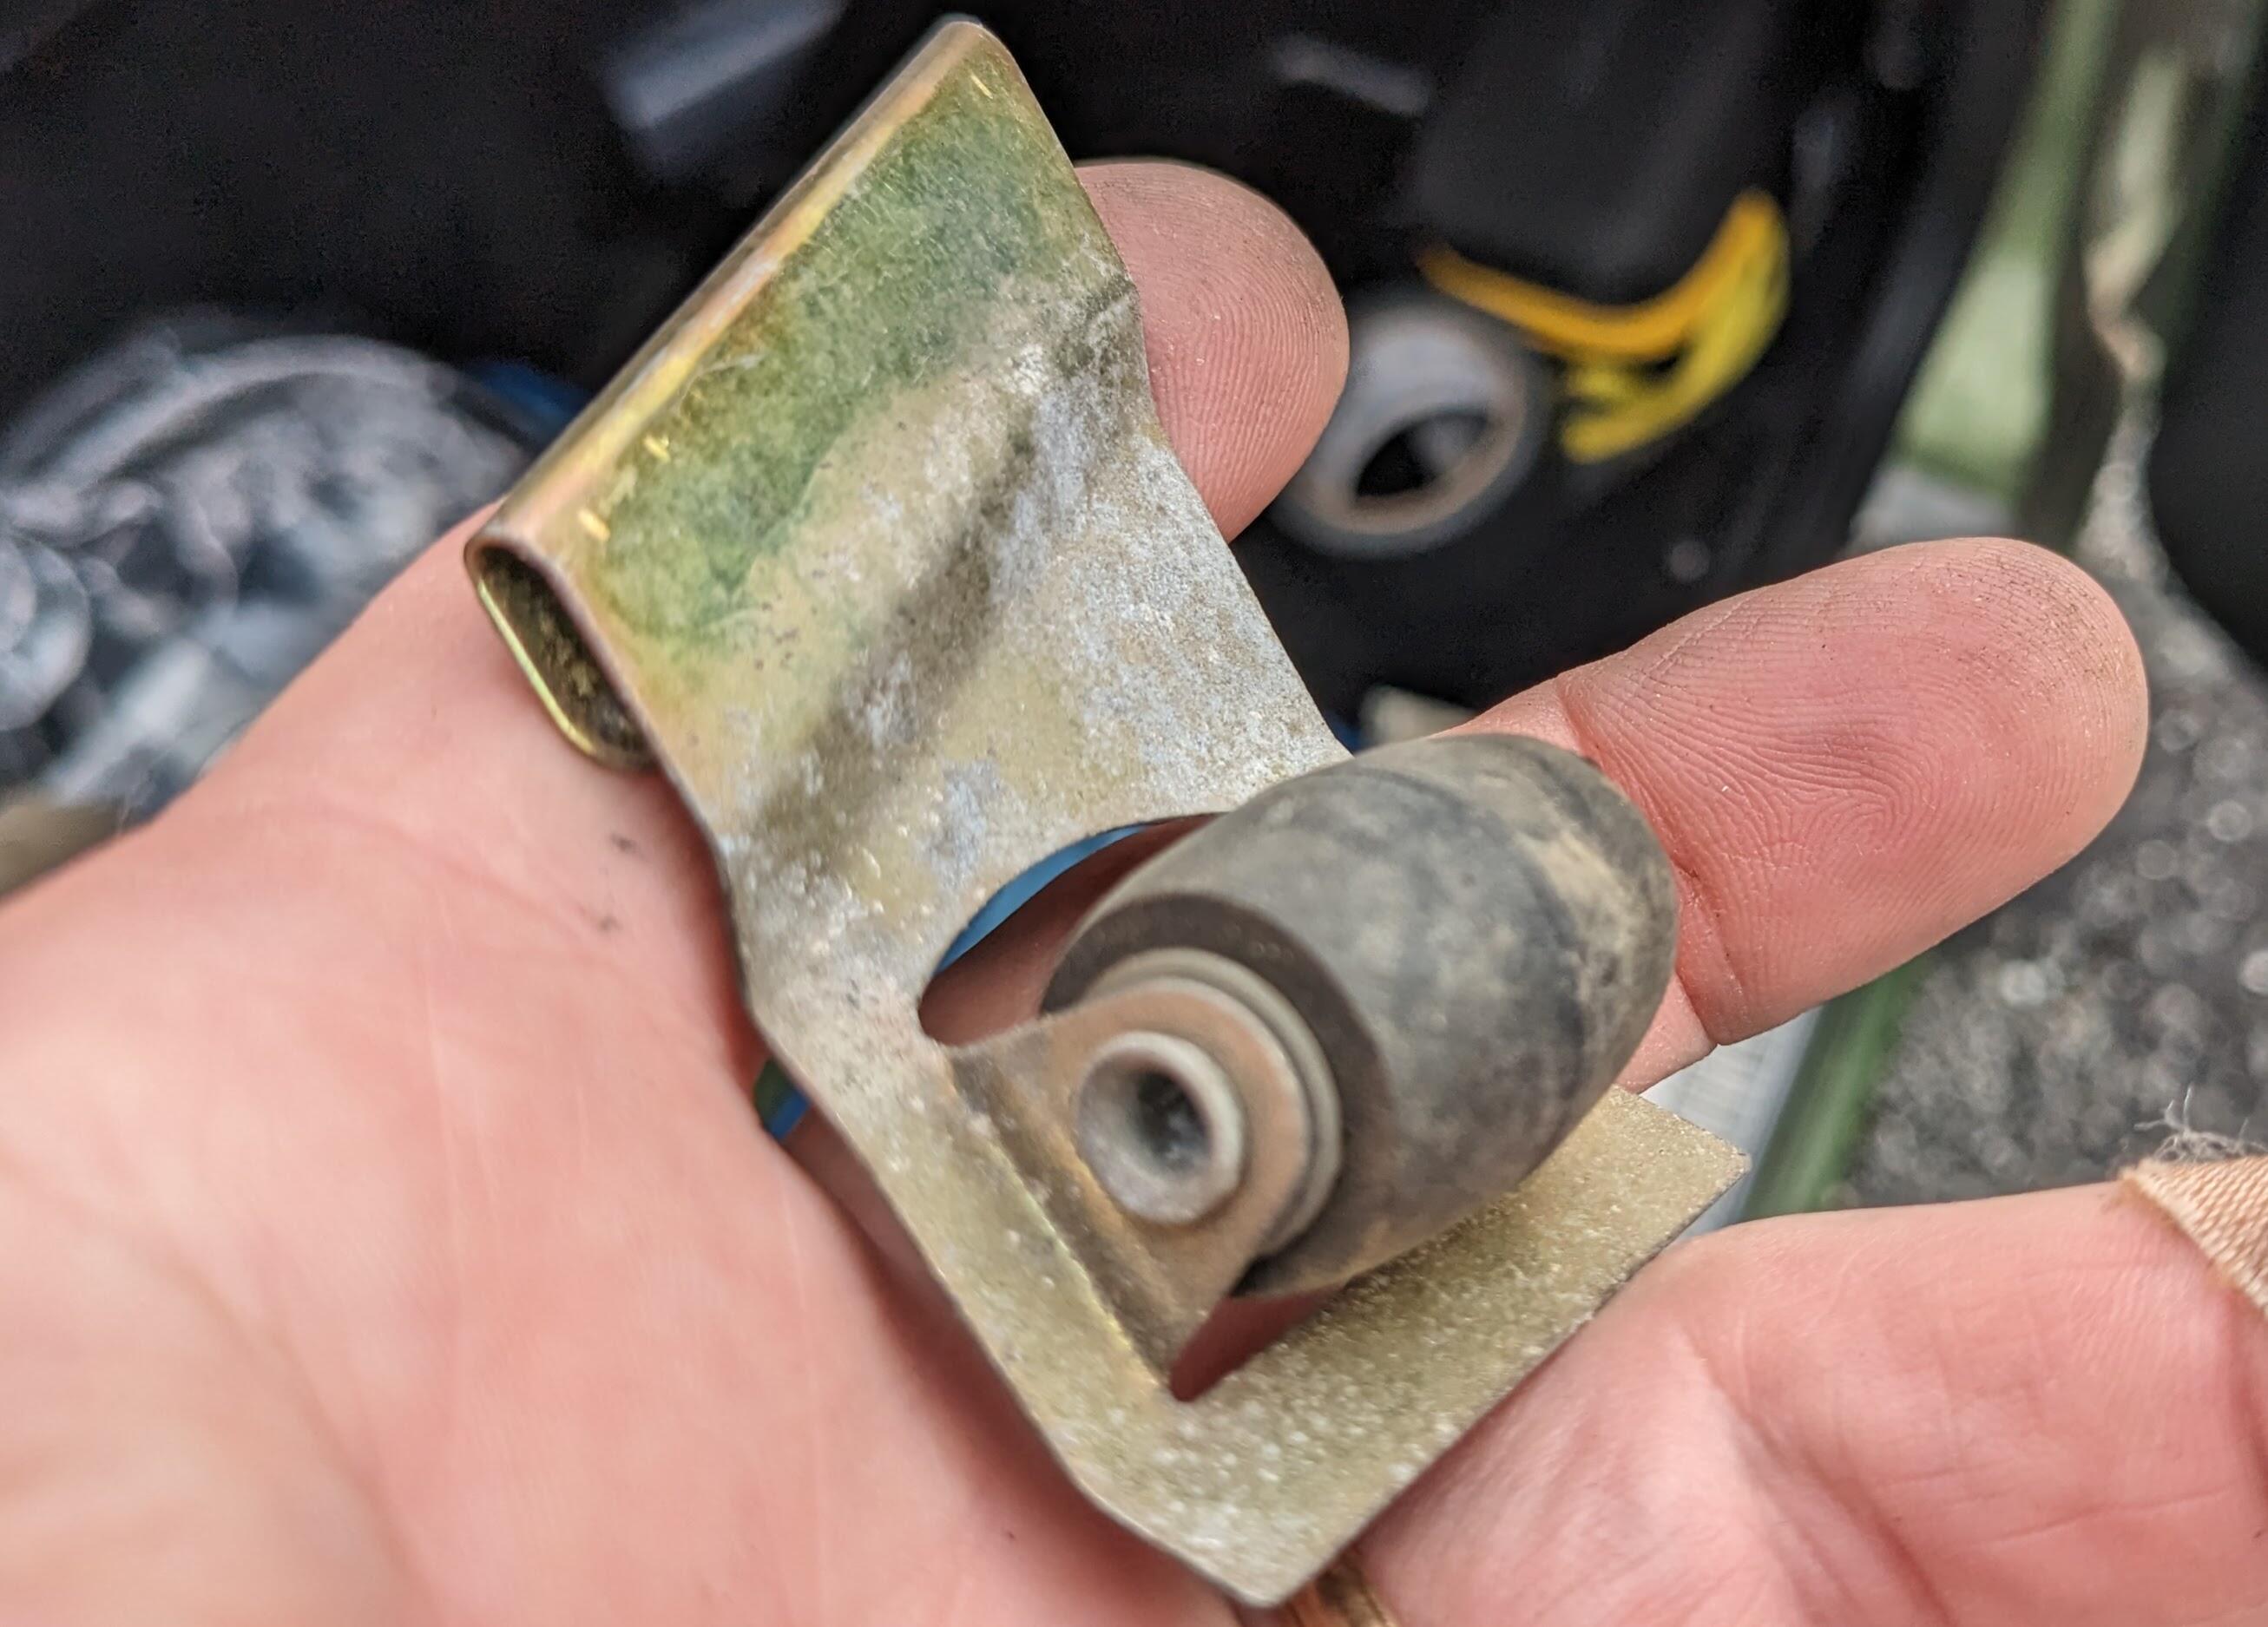
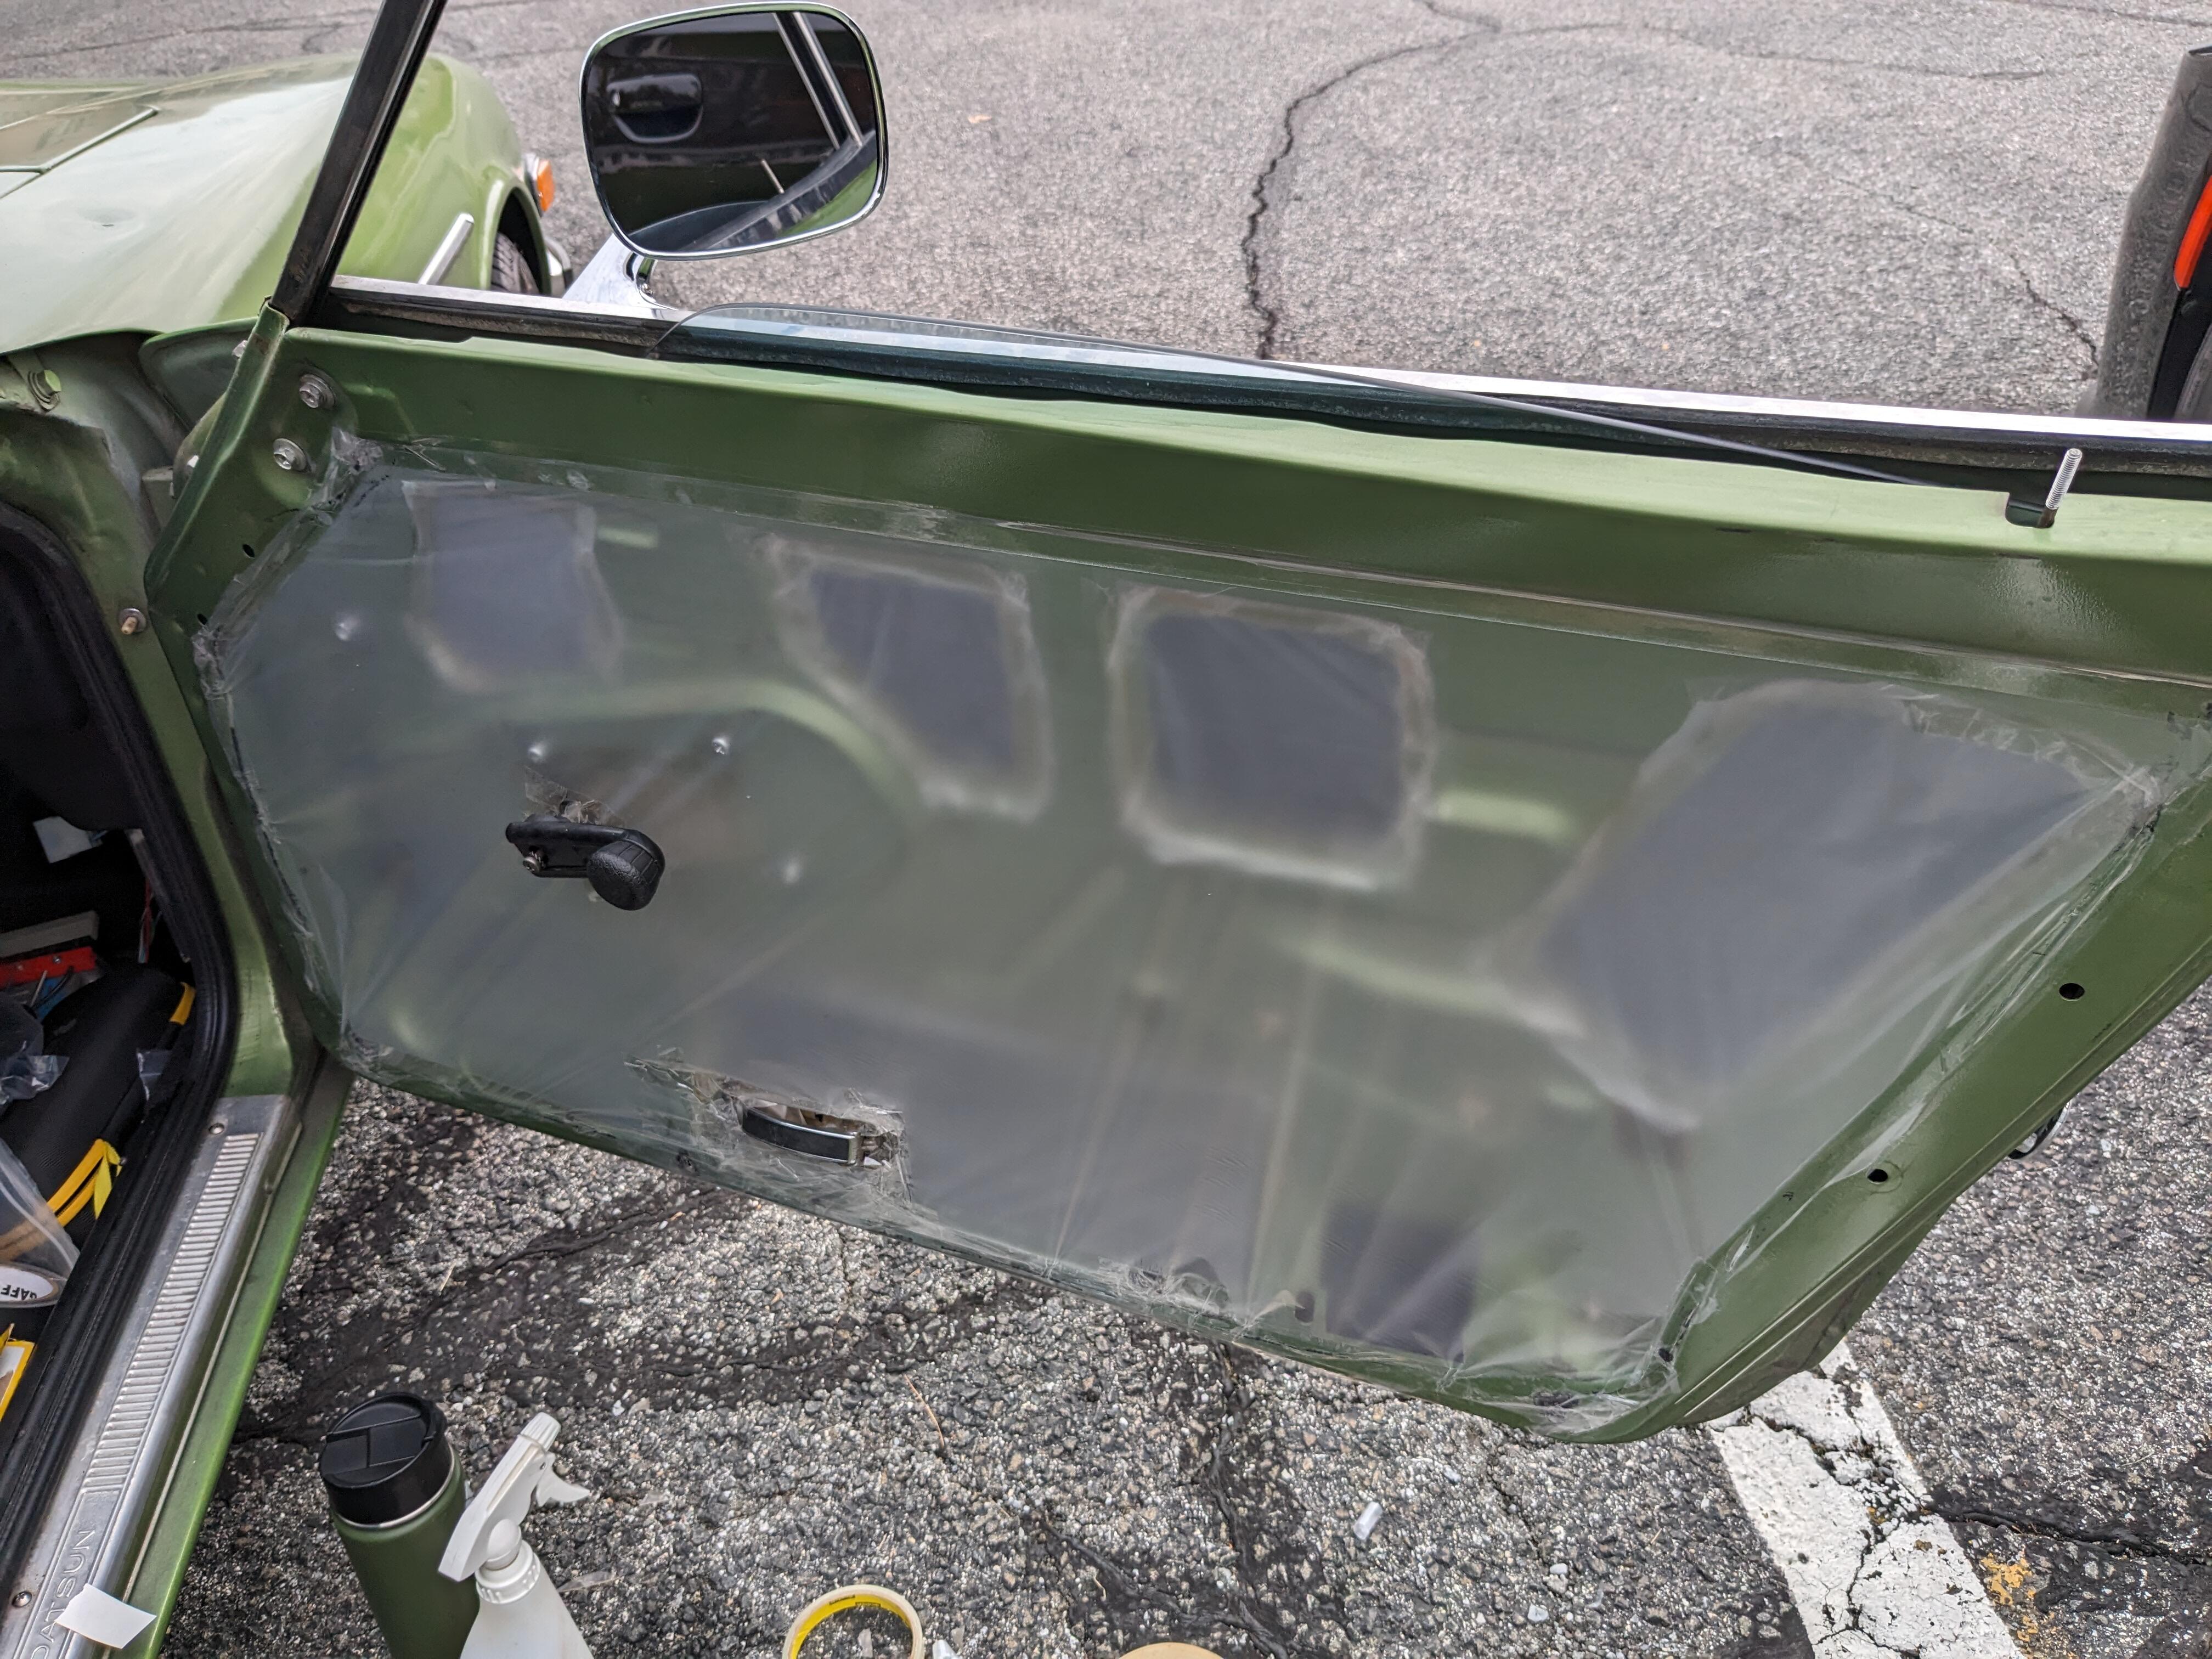
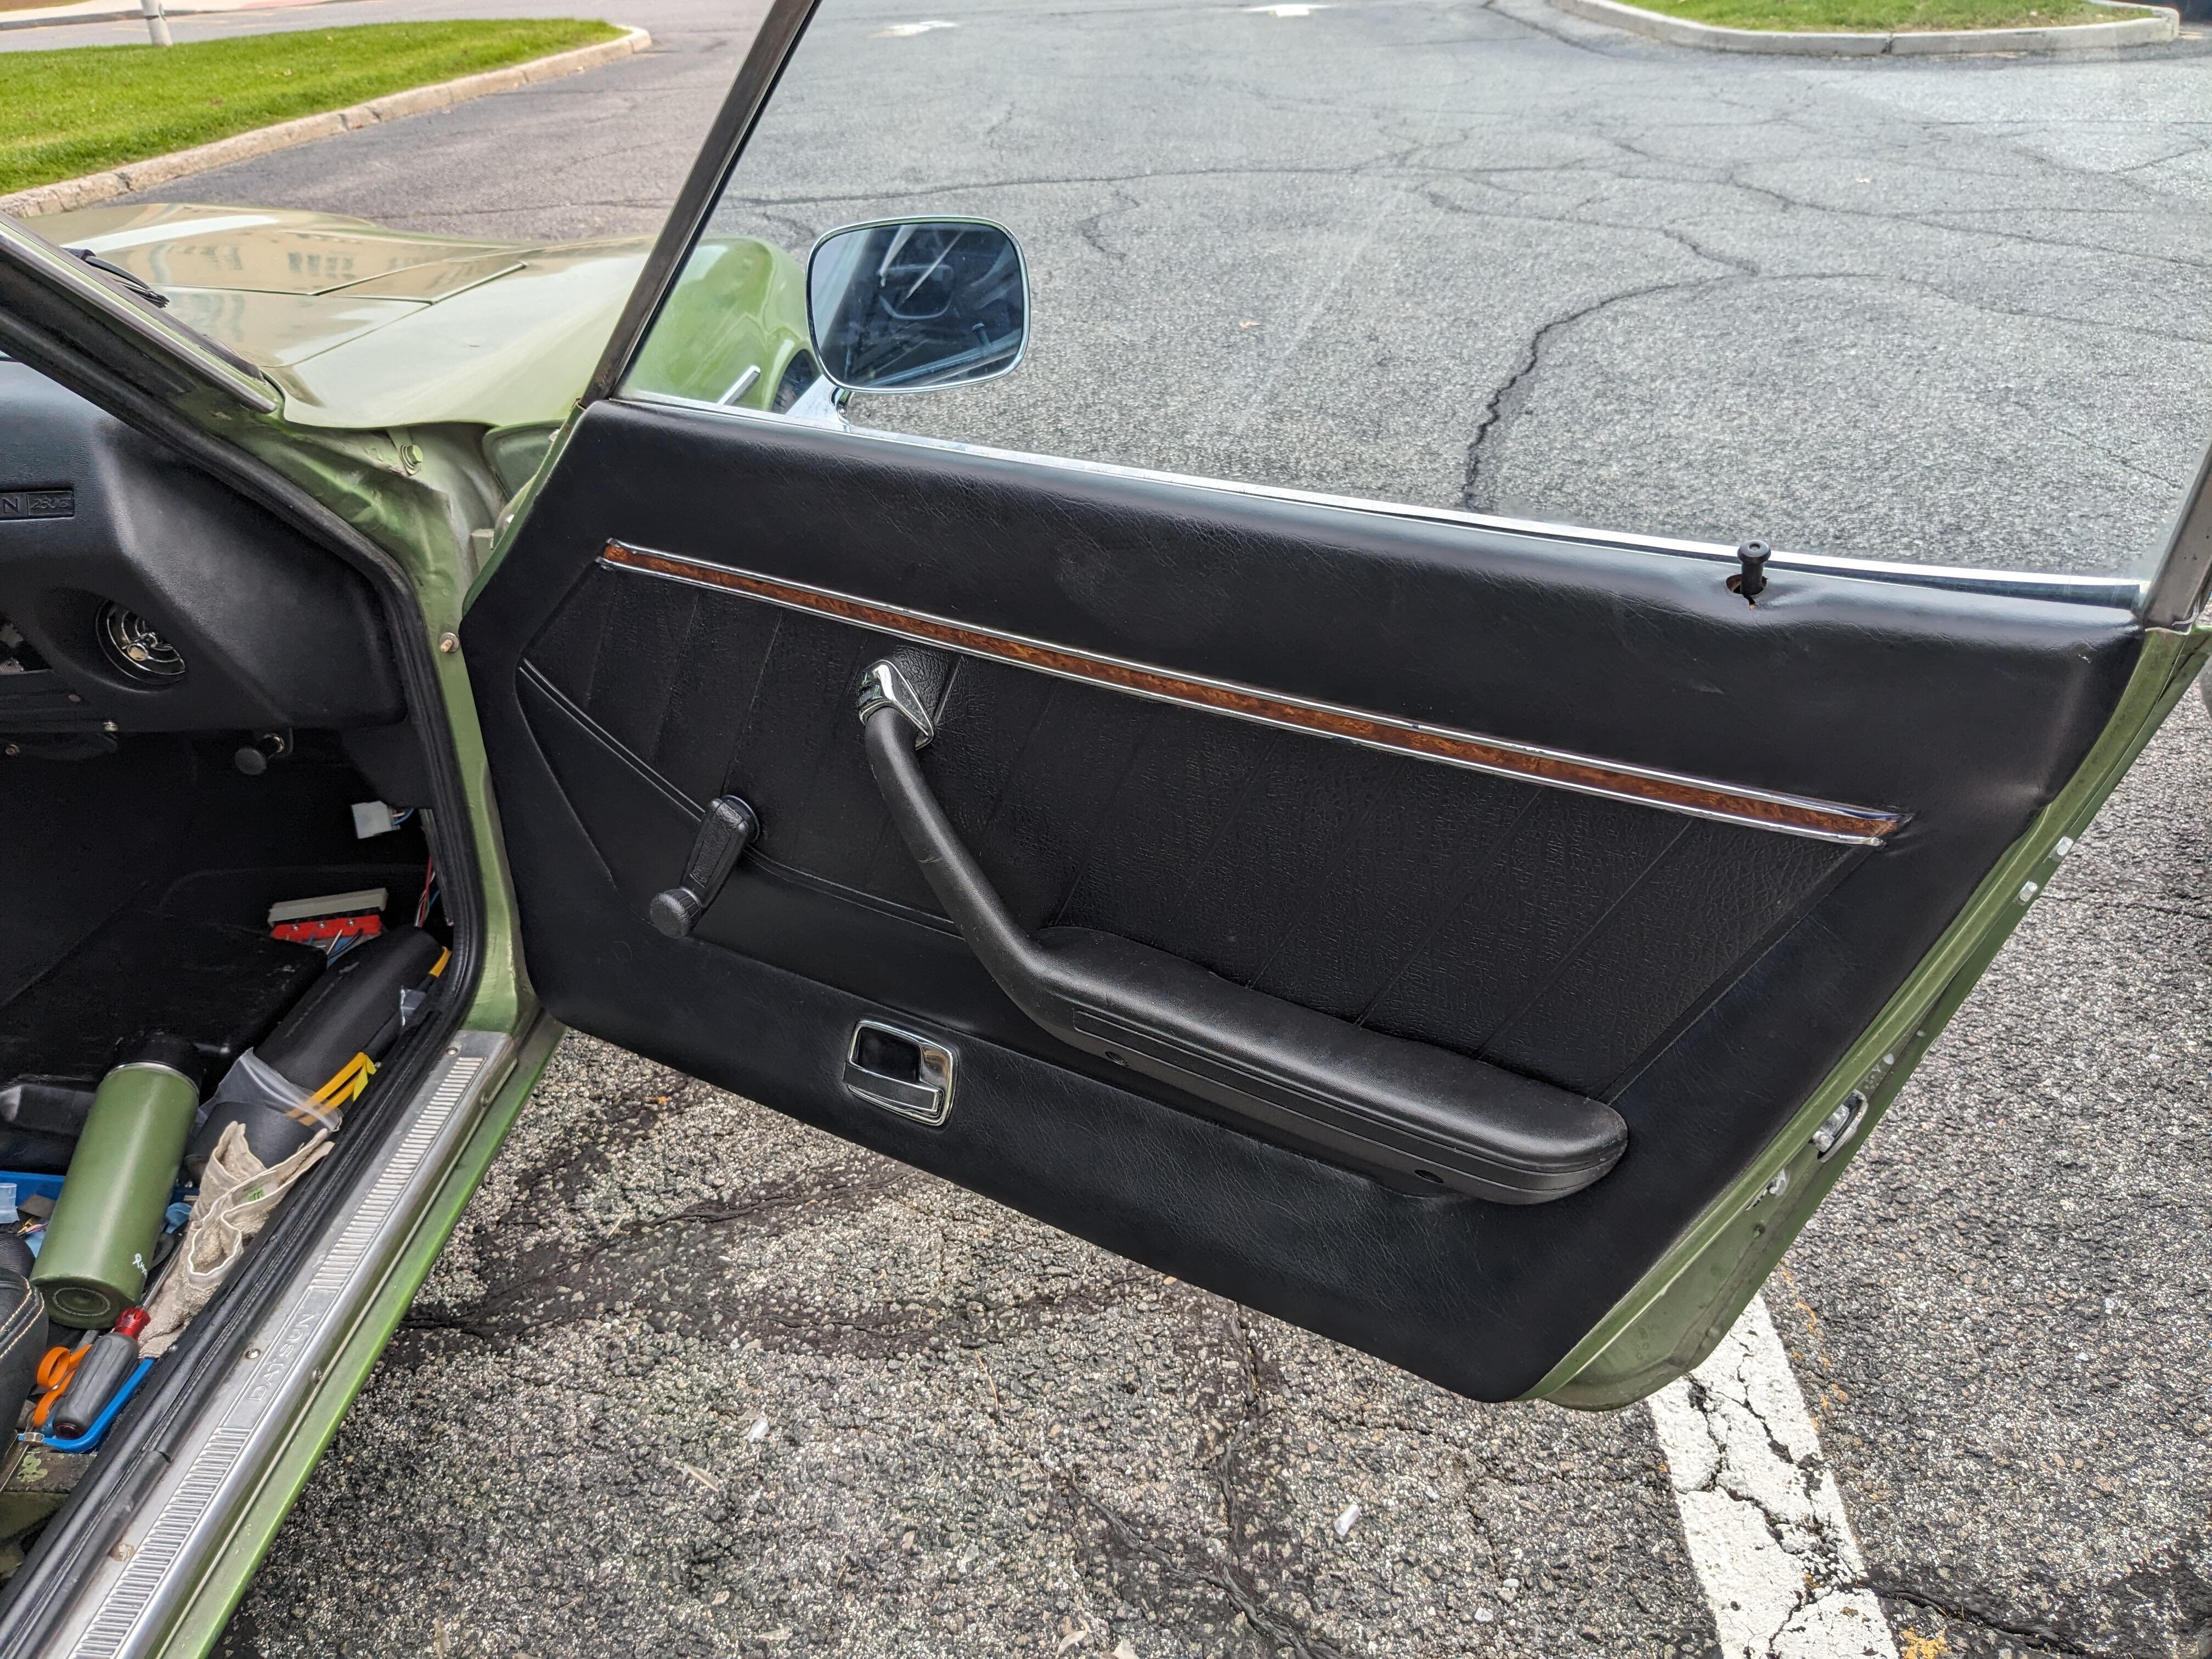
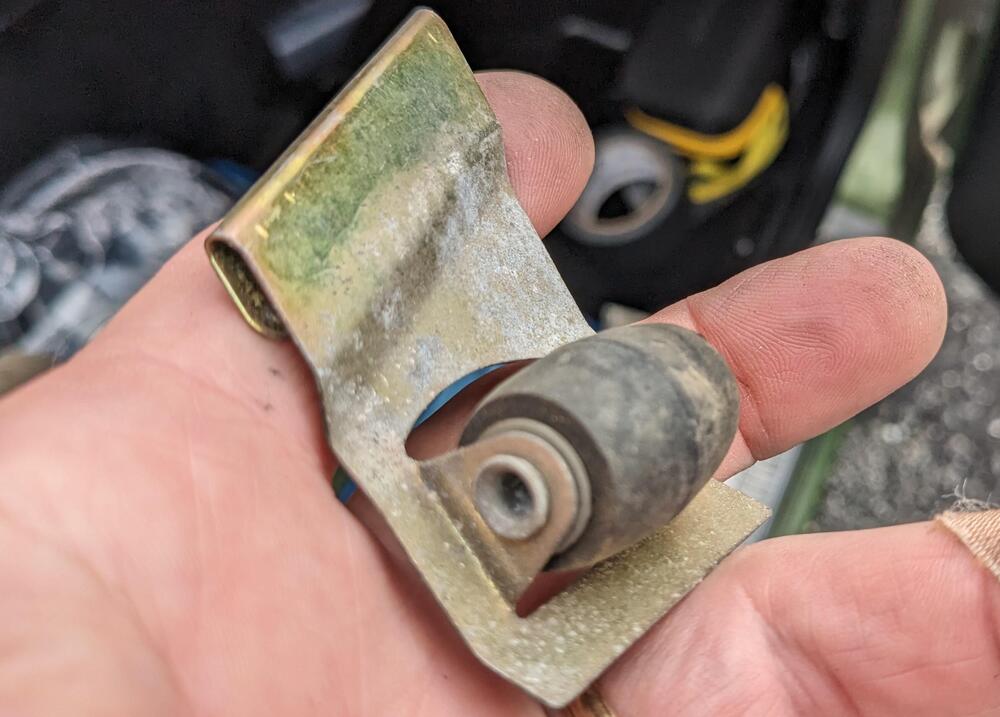
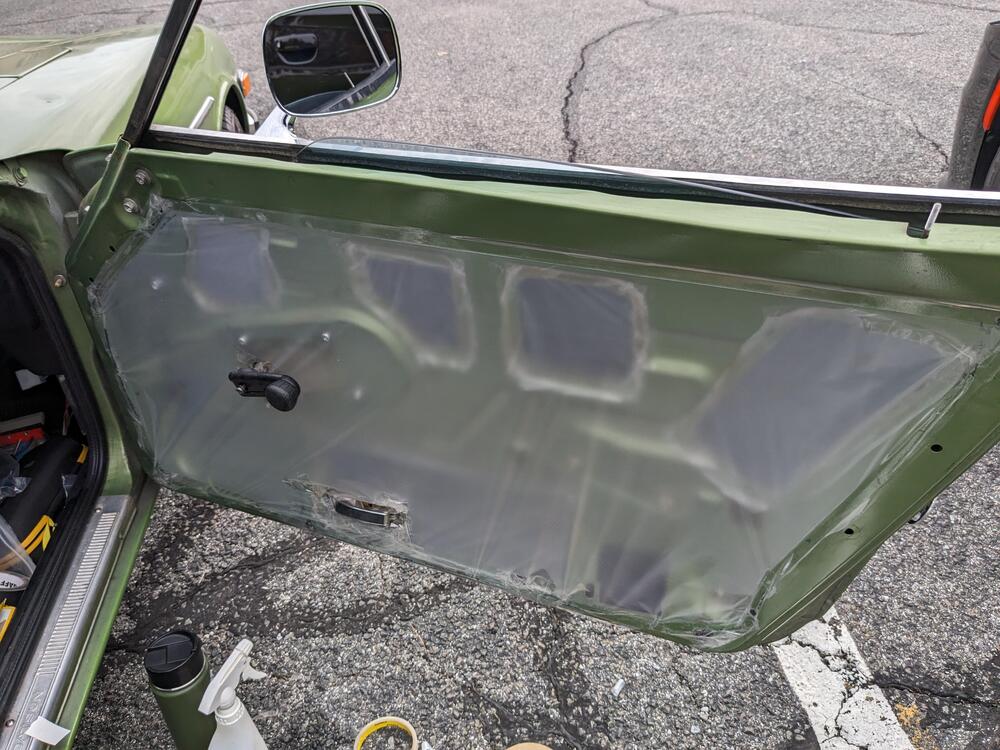
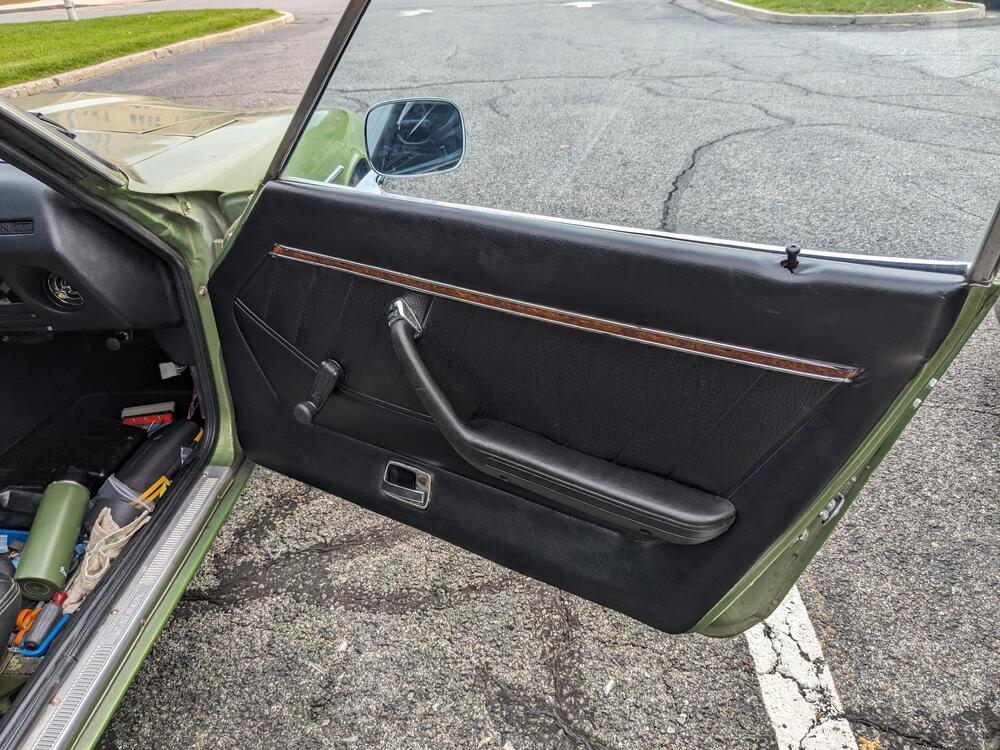
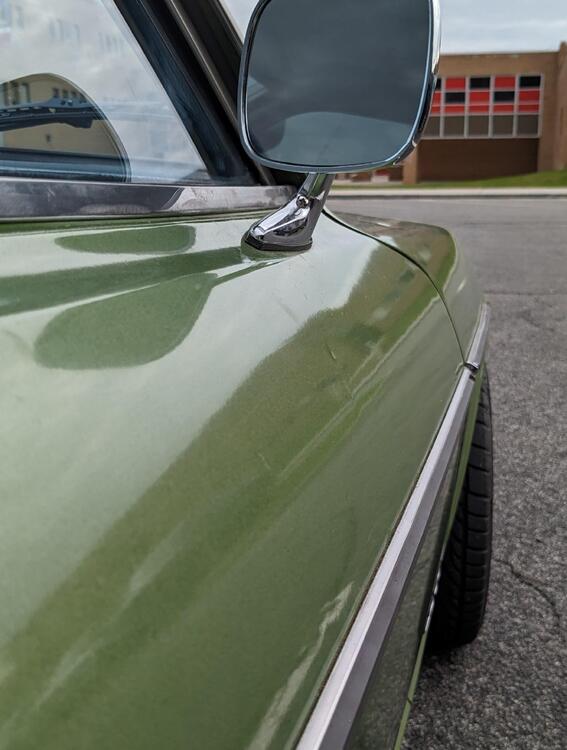
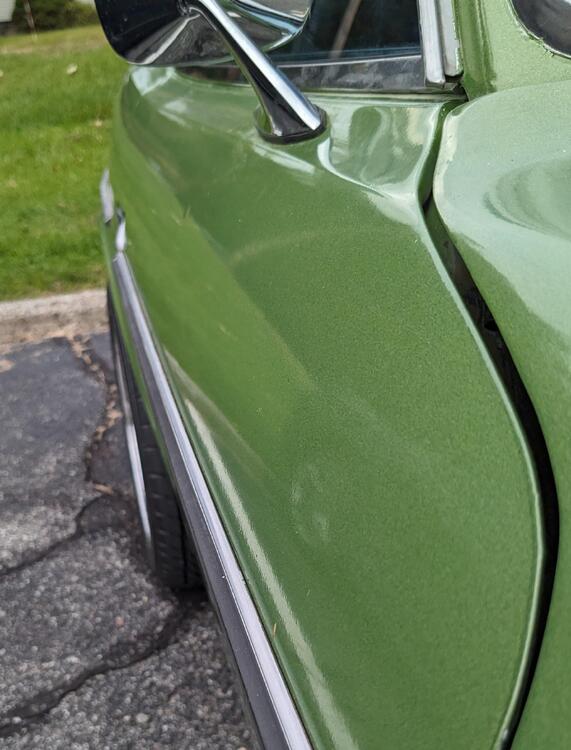
Thank you - the antenna drain I plugged sometime ago, the PO put in a manual antenna mast. I'll look at where the EVAP lines come through the floor, and the harness grommet. T/light gaskets are coming... Today I got the door sealed back up & put the door card back on. I need to find a grommet for the lock button Found this in the bottom of the door yesterday - the tab has no tension anymore, so just as well I bought complete new ones Before I put the door all back together I massaged the two dents as best possible, used a heat gun on the outside & a screwdriver handle to work the metal from the inside. Lower dent was between the visible dot & the belt molding Fitted the Volvo 240 crank handle, and a replacement armrest - this one I found in black, so I didn't have to paint it/
-
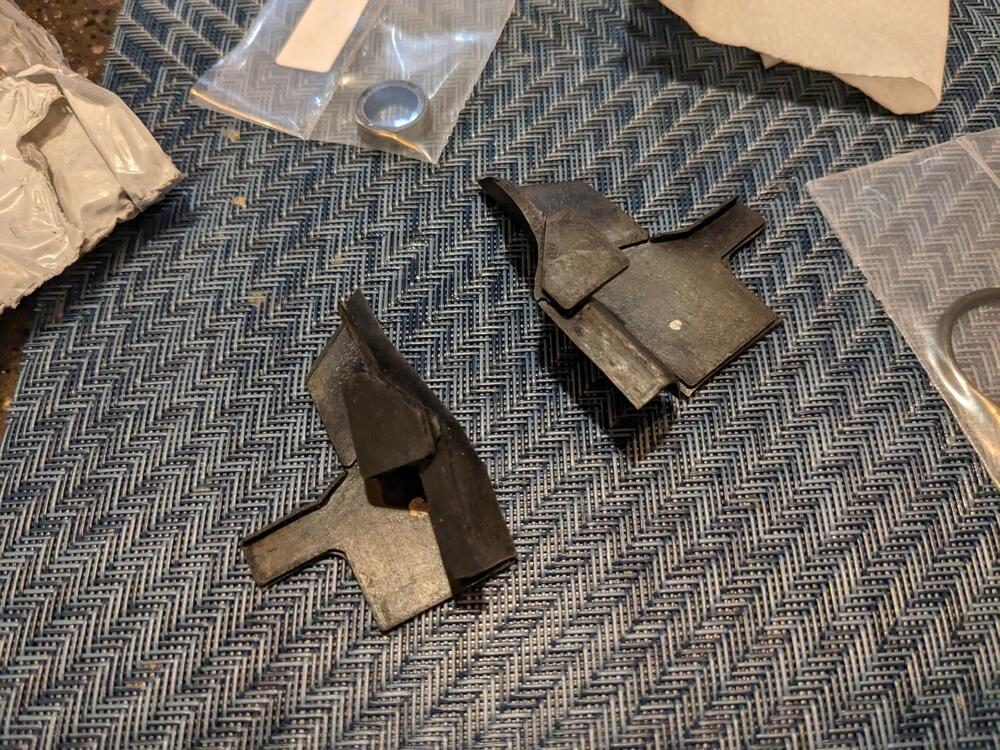
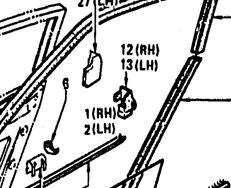
OK - so the one (of several) annoying things about driving this is that is smells like exhaust in the cabin. When I drove it earlier in the year, I just left the windows wide open to negate it somewhat. I've already replaced the main door seals & hatch seals, and the driver's window channel seal. I hadn't replaced the passenger door channel seal, so I did that late this afternoon. I'll find out tomorrow if that helps at all. Besides that, the only other thing that I can find info on that can cause it is the tail light gaskets. Apparently fumes will get sucked in past those. I ordered new ones, I need to remove the rear panel & lights anyway to redo the chrome & grey metallic on the panel, so I'll do that when the gaskets arrive . Took the passenger door apart. Didn't have time to document much on this side, it took me about 2 hours, and the Mrs was getting testy Have to put the interior panelling back together tomorrow also drilled & tapped the window winder M5 x.8 to accept the Volvo 240 crank handle. The Volvo shaft has twice as many splines, but it fits snugly on the shaft, so I'm not going to have to cut & weld as I did with the DS EDIT - I did shove the rear molding in place between the frame & door - but I couldn't tell from the form factor exactly how it was supposed to fit. Any chance someone has a pic with theirs in place?
-
Trans is definitely whiny - but it does have 250K on it. I only have to deal with it for a year or so, after that I'm doing a 350Z drivetrain conversion with the 6 speed. Should be all good after that.
-
The motor feels strong as it is. One reason I changed the TPS WOT setting was I could see the AFR's get really fat just revving the motor in the driveway. After driving around & coming to work today, about 20min local & highway- the enrichment values seem pretty good under load. I reduced the ECT resistance value a touch as the cruise AFR was a touch rich. Now I have the wideband I do see that the system goes kinda rich right off idle before it levels out, but my old Volvo does much the same. I think I should just put in the 250A breaker, as the first couple revolutions hot cranking with the 125A seemed slightly sluggish before it blew, and less so with the 175a, so perhaps the initial starter draw is high enough to strain the lower amp breaker, and actually induce the slow crank, I dunno. It just seems to crank better now than yesterday. (EDIT - excessive draw was due to faulty rebuilt starter, replaced) I do still need to redo the compression test, as the one I did back in the Spring prior to any valve adjustments had one cylinder well over 10% deviation - 140ish vs. 165 range on the others. Valves were very tight on that one. Overall engine feels pretty darn smooth now it doesn't have a lean condition, for sure.
-
It has varied. With the nylon fuel tubing on the rail & the stock FPR, It held pressure (close to 30psi) for a day or so. After I took it apart again to look for debris, I switched back to standard (Volvo) 7mm fuel hose for the rail junctions & added the Volvo FPR pod. With this setup, pressure typically drops to around 20psi within 4 hours or so, and overnight is down to no registered pressure.
-
That's impressive. Since many vehicles have a prime feature (for example, my newer Volvo does), I would still say long term residual rest pressure is not expected.
-
Got the replacement clutch slave installed, and wheel I had the car jacked up, I took care of the speedo drive inner & outer shaft seals. No pics. I drove the car around, went to Harbor Freight & Home Depot to get some extra dot 3 brake fluid & regular antifreeze. Once the engine is hot then parked, it seems that it cranks slower. When I got home, I shut it down, then realized I didn't pull up far enough in the driveway, so went to restart it. Blew the 125Amp breaker on the starter cable again. I've replaced it with a 175Amp breaker. See how that goes, I'm going to drive it to work tomorrow. It's done much idling in the driveway while I worked the kinks out, so it's definitely. due to have the snot beaten out of it. One drivability issue is that I keep trying to upshift into (non-existent) fifth when I get up around 65-70 when accelerating.
-
that search actually just brings up my new thread & few presumably related to fuel pressure issues. In any event, I'm likely going to add a momentary contact switch for the time being. As it stands, I only need it for cold starts. Though, having said that, it is likely to change 😞
-
Fuel pressure will always leak down overnight - I don't know how long it is designed to hold, however I've never seen any 'old' EFI maintain rest pressure for more than a couple hours, if that. I put fuel pressure gauges on all my old cars, so I know from personal observation that even with new fuel pumps, regulators, injectors, etc., long term rest pressure is not part of the design.
-
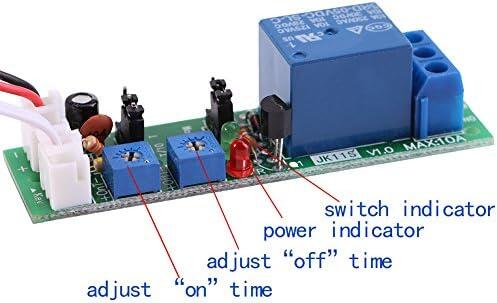
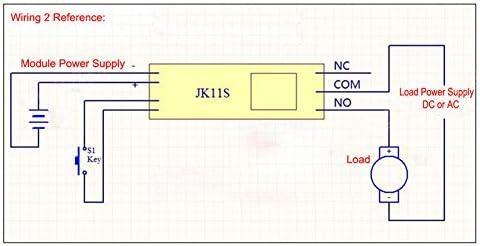
Wondering if anyone has done this. I found a thread on HyridZ where the main suggestion was to simply bridge 36/39 w/key on to engage the fuel pump. That appears to be a viable approach, if it comes to that. I need to do this as cold start definitely is impeded by lack of system prime. Hot or warm starts are pretty rapid in terms of cranking time What I was thinking was more along the lines of a timer/delay circuit that would run the pump for 3-5sec when the key is turned, anywhere in ACC or On, so that no additional input is required. I've found a range of timer relay/circuit boards that would possibly do the trick, the issue seems to be making it only run once with the key on signal & not cycle. Couldn't find anything on here, but maybe it's hidden like the AFM/Pot thread. Example: