HusseinHolland
Community Member
-
Joined
-
Last visited
Everything posted by HusseinHolland
-
There is no return on the motor, so it's not getting radiant heating as the stock system does. It's the same unit I put on my 91 Volvo pickup, which had a regulator & return on the manifold previously. Volvo started using the pod style (also used by VAG) in around 93 with the 850 series Bosch M4.3/4 EMS
-
I think you guys misunderstand the Volvo FPR - it's not deadheaded as in the examples given in your link - it's still bypass with the return off the bottom of the regulator pod. The difference is that you don't have the return gas heating in the return section of the rail as with the stock setup. It's not going to make any difference to vaporization, since that issue is on the feed side of the stock system, not after the FPR, since that fuel is not part of the feed side equation I put pics of them in the FPR thread
-
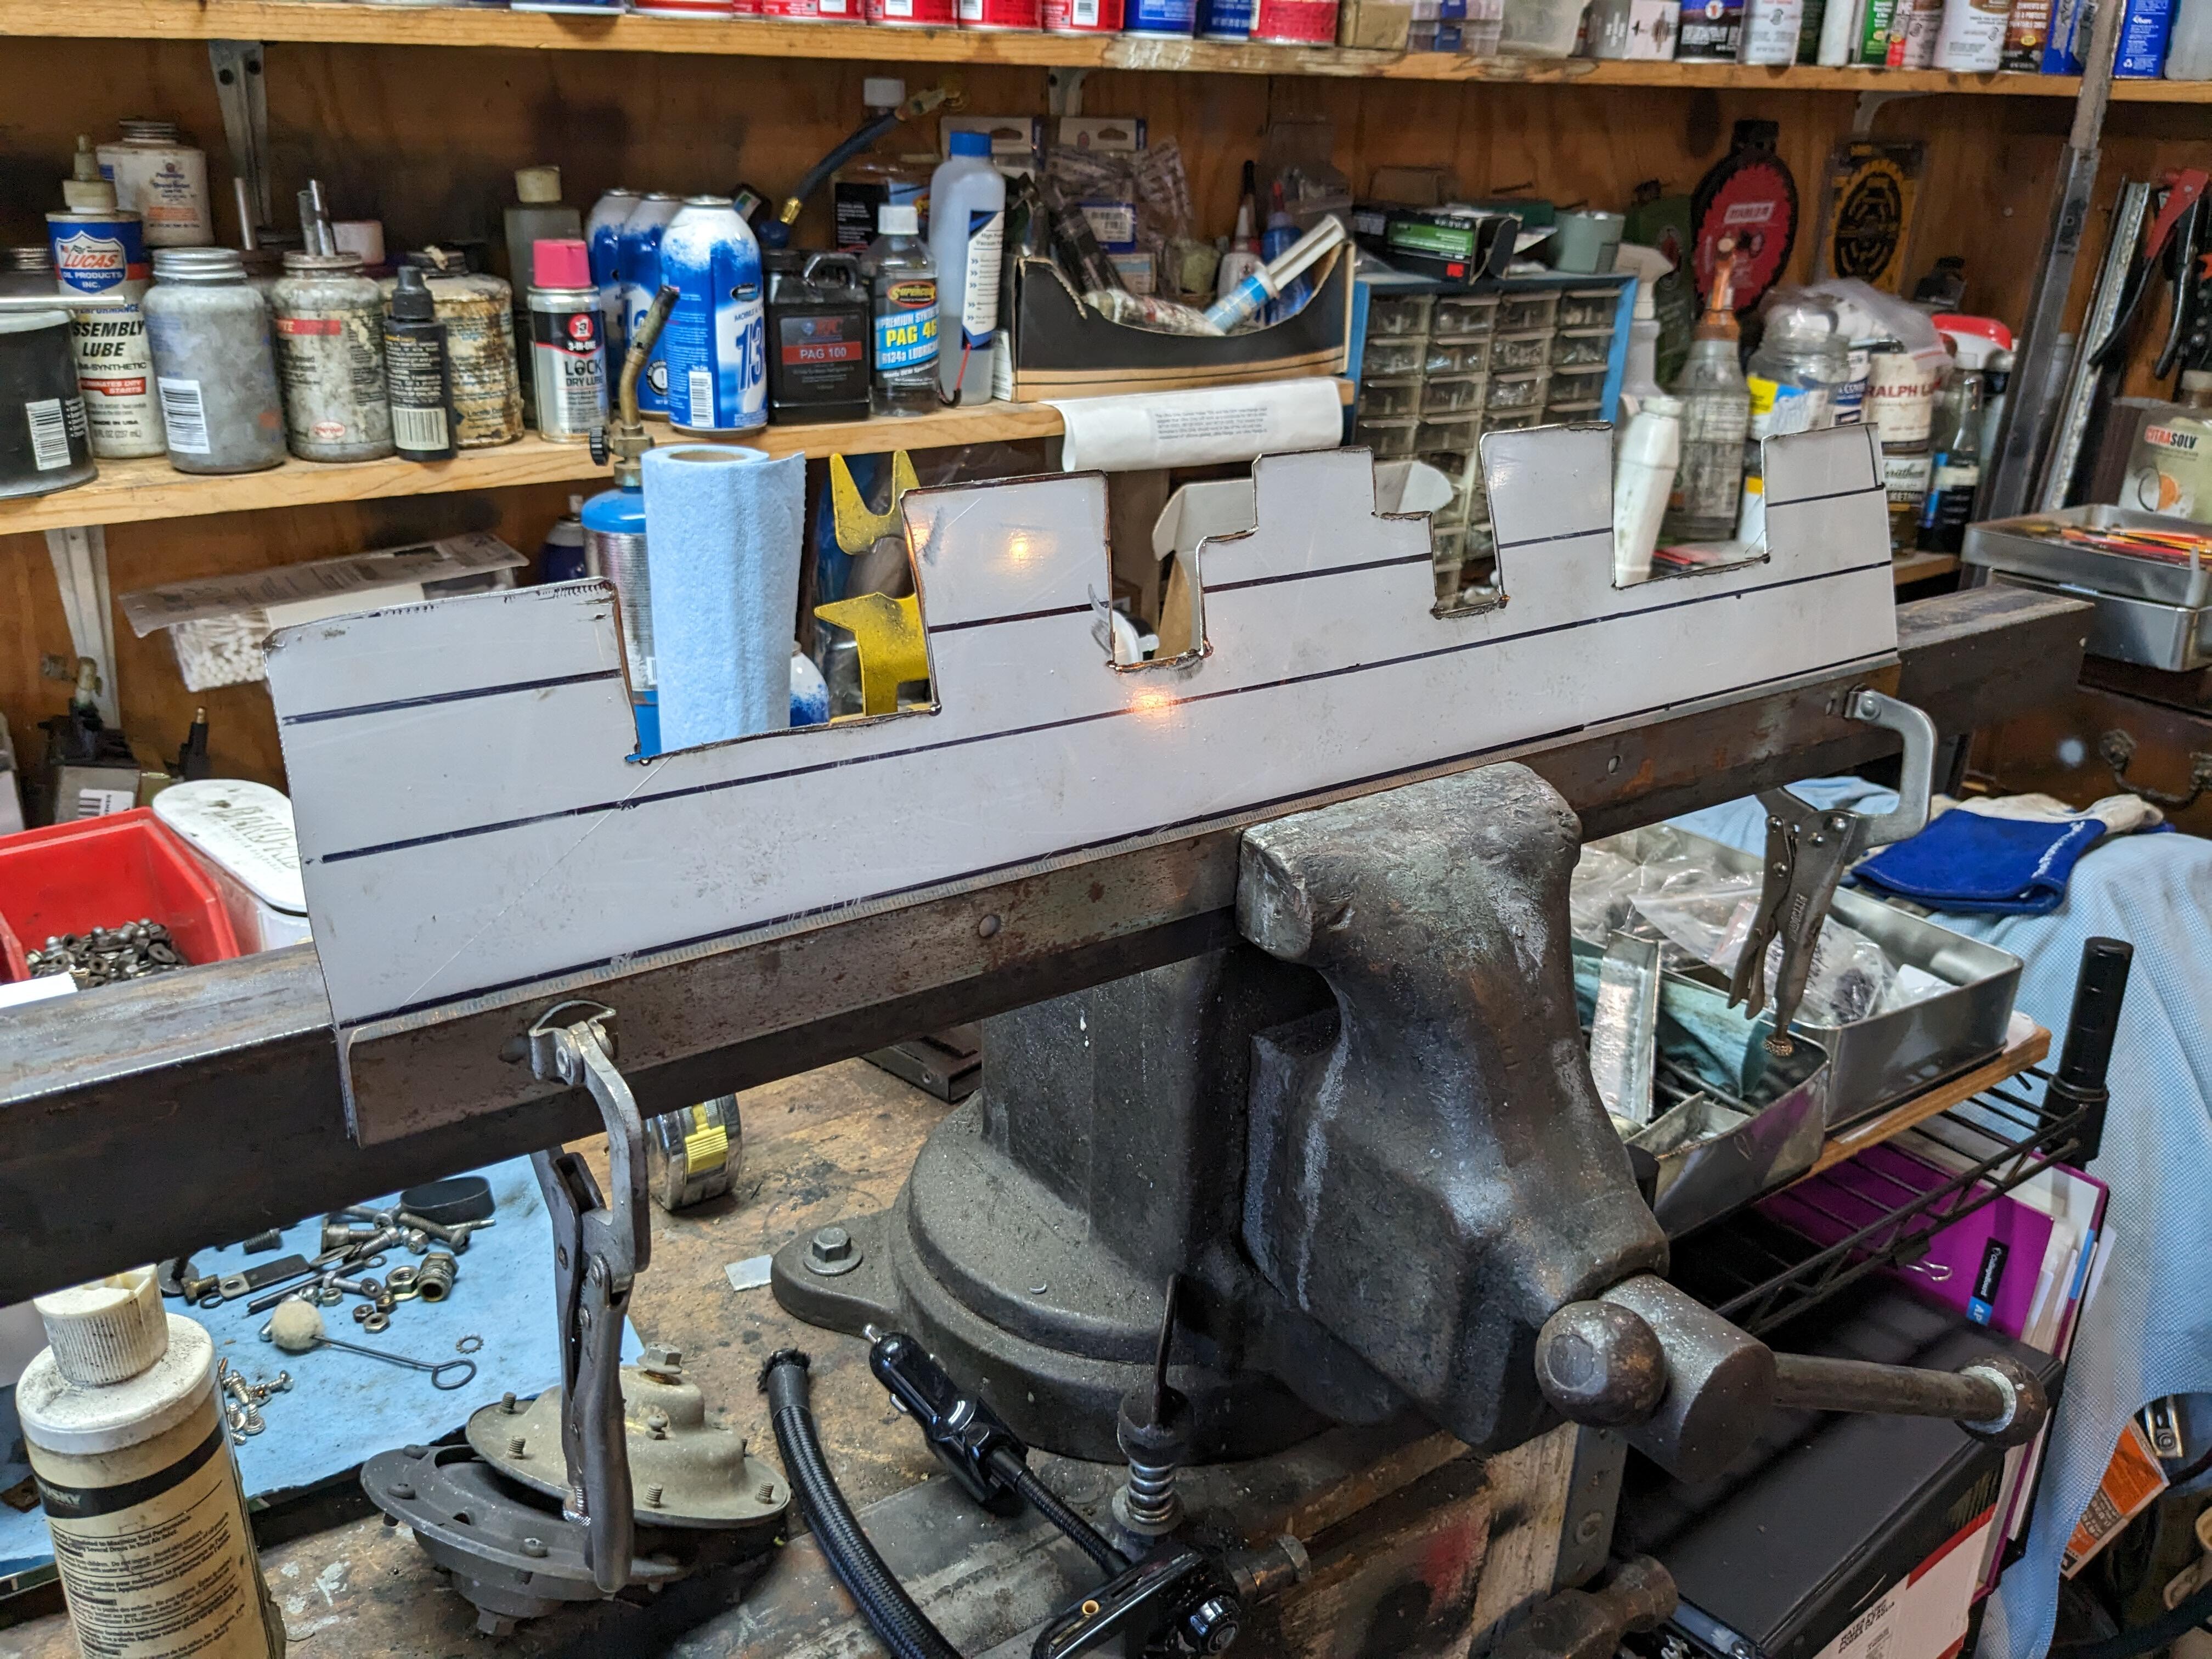
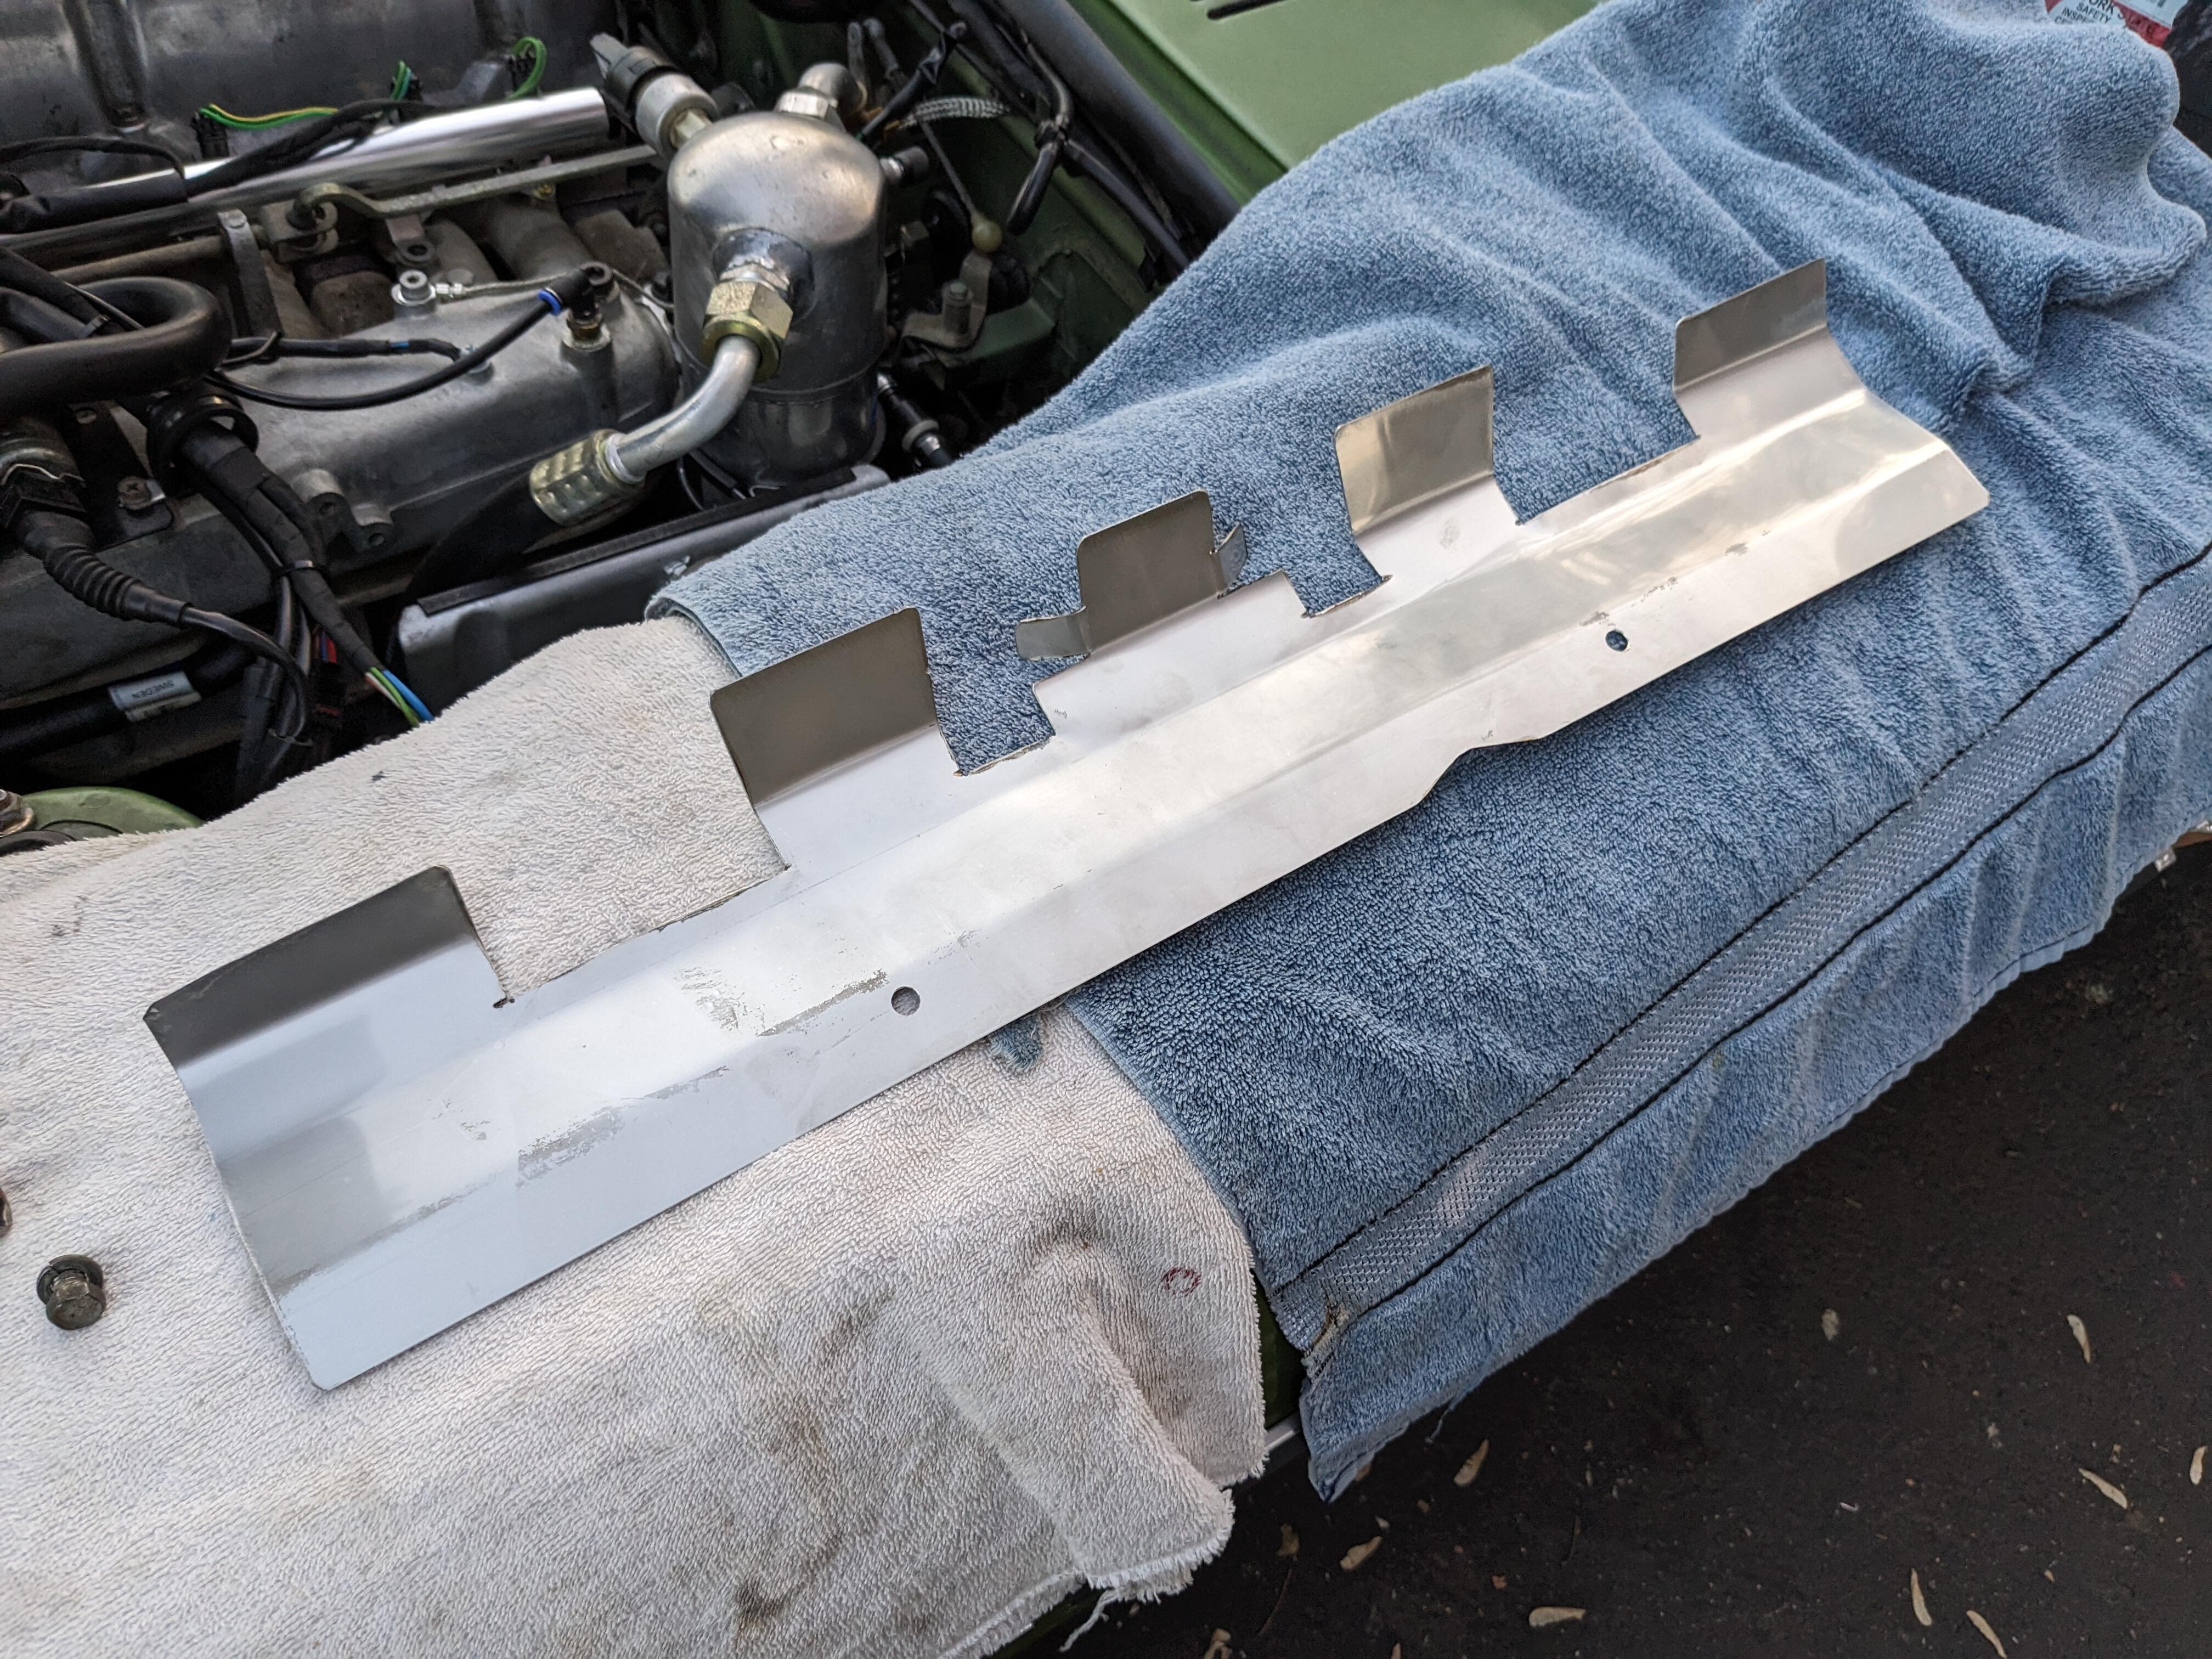
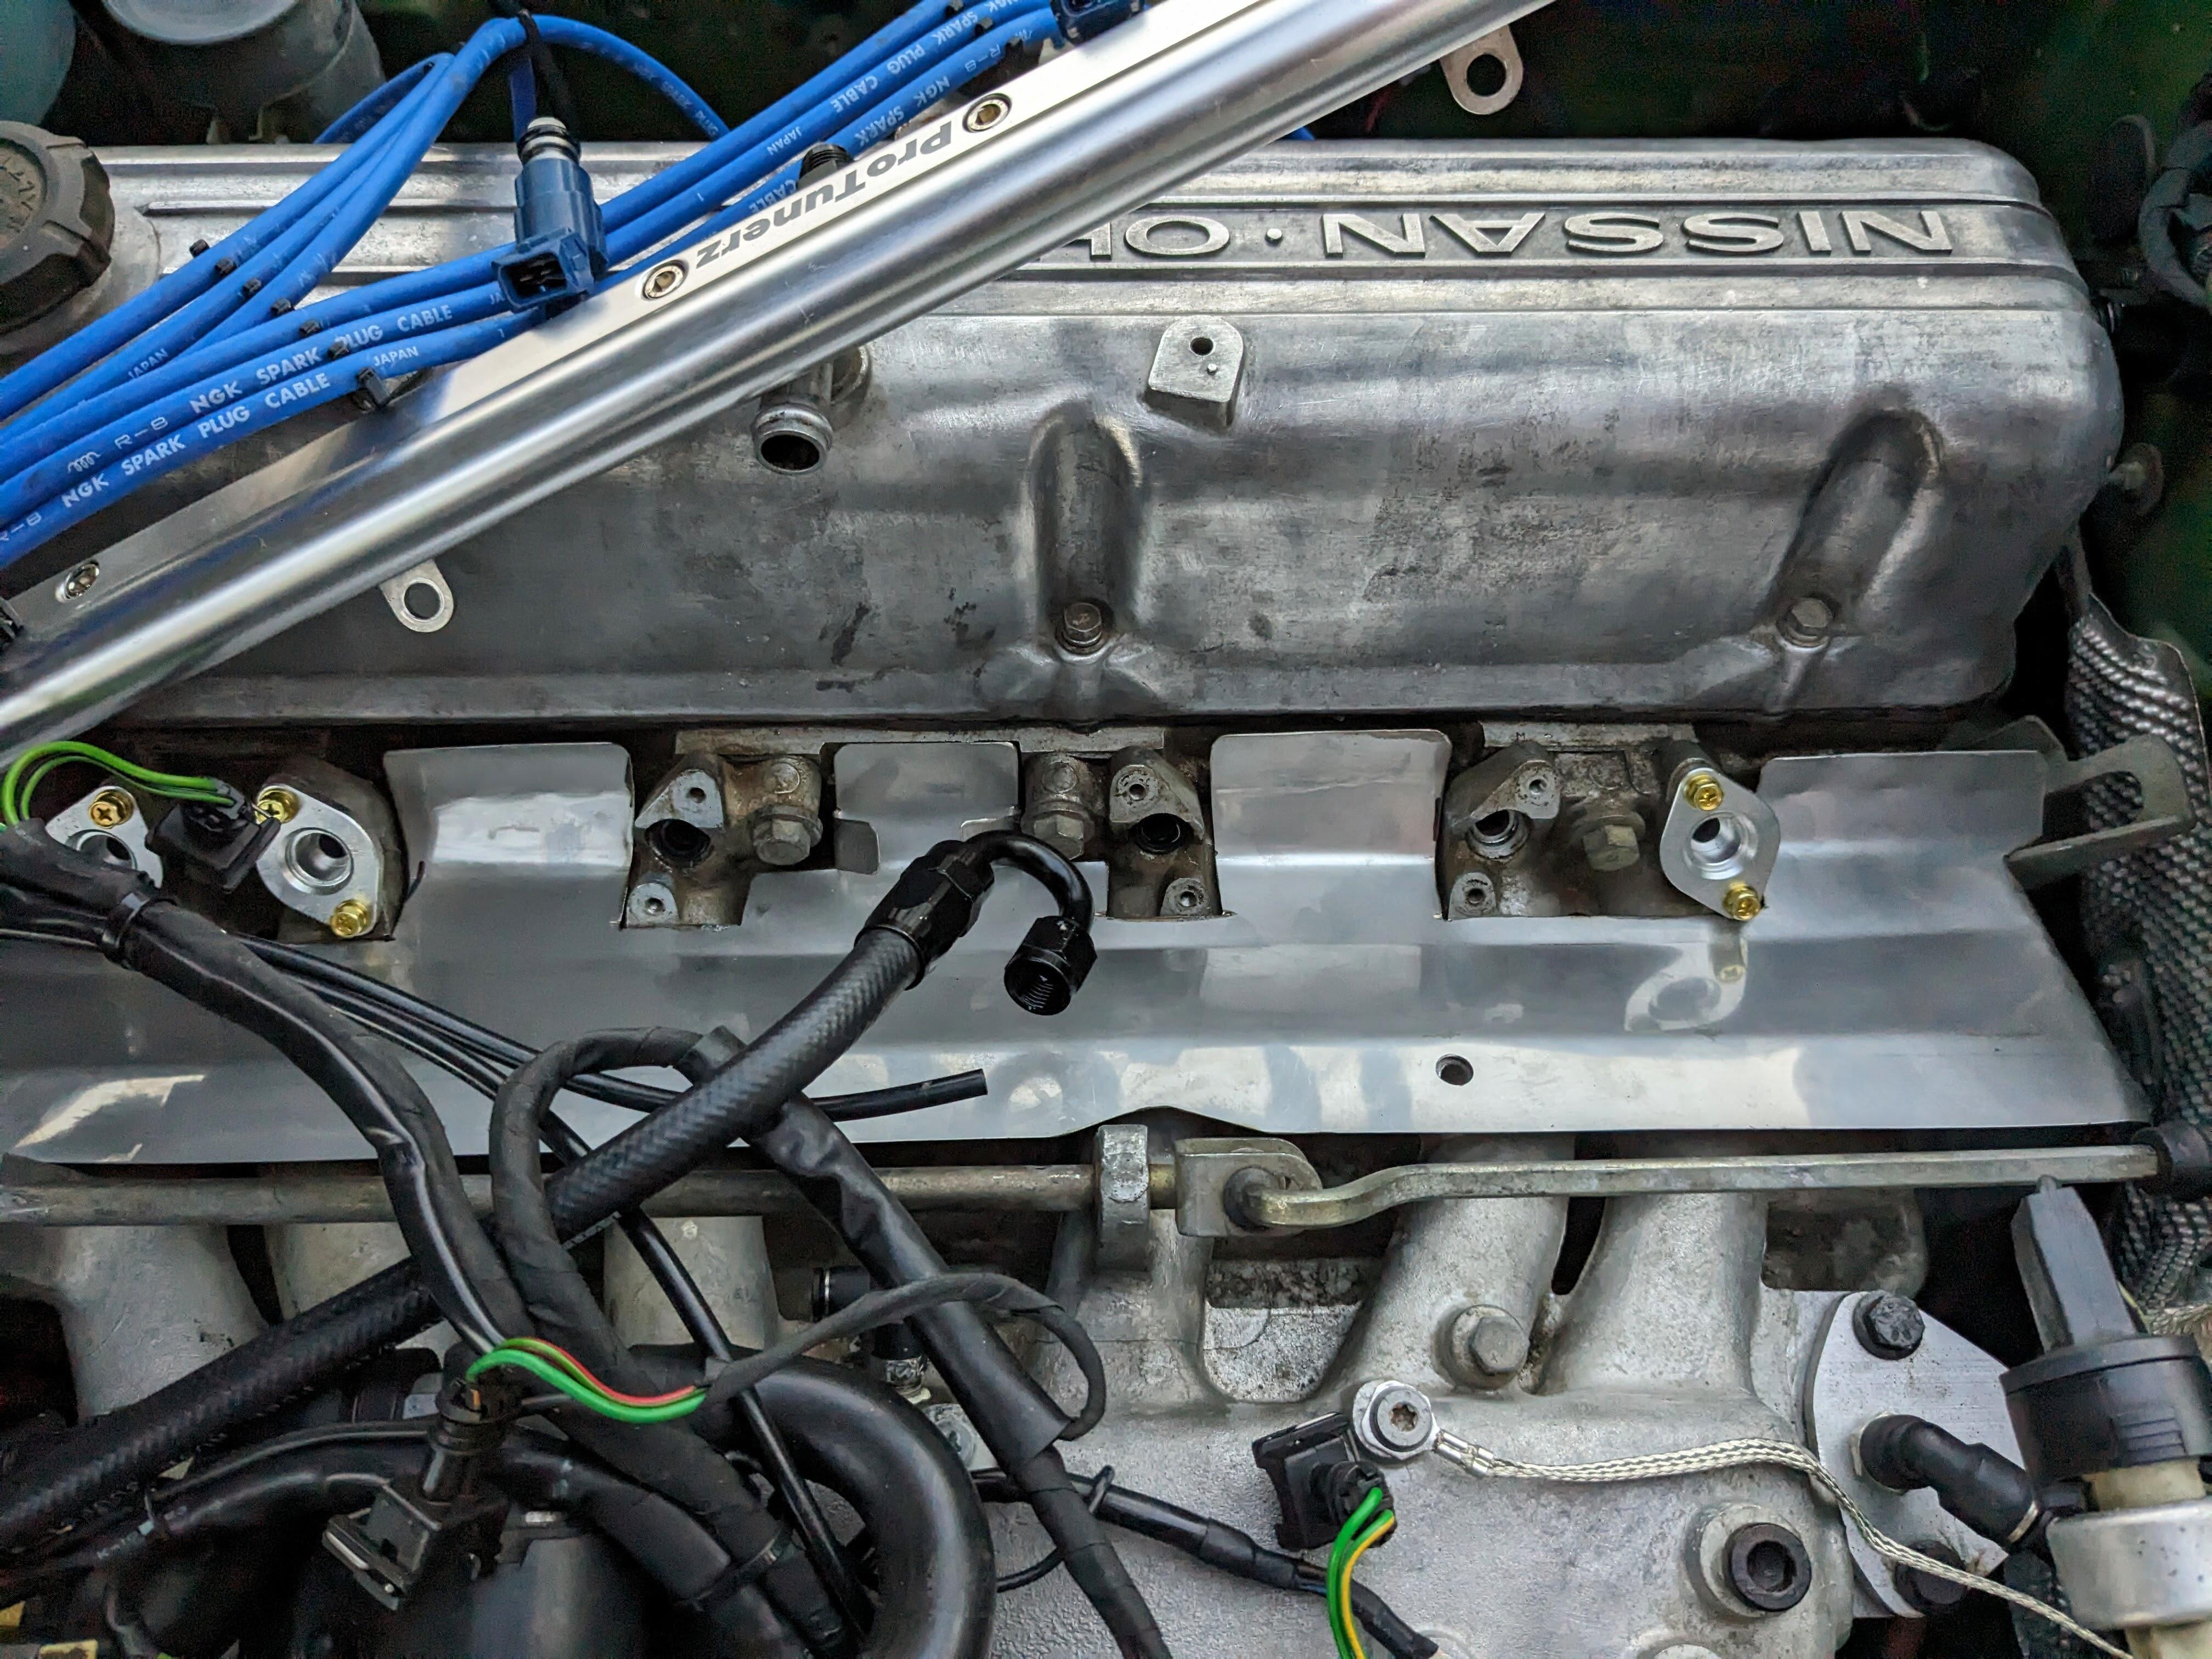
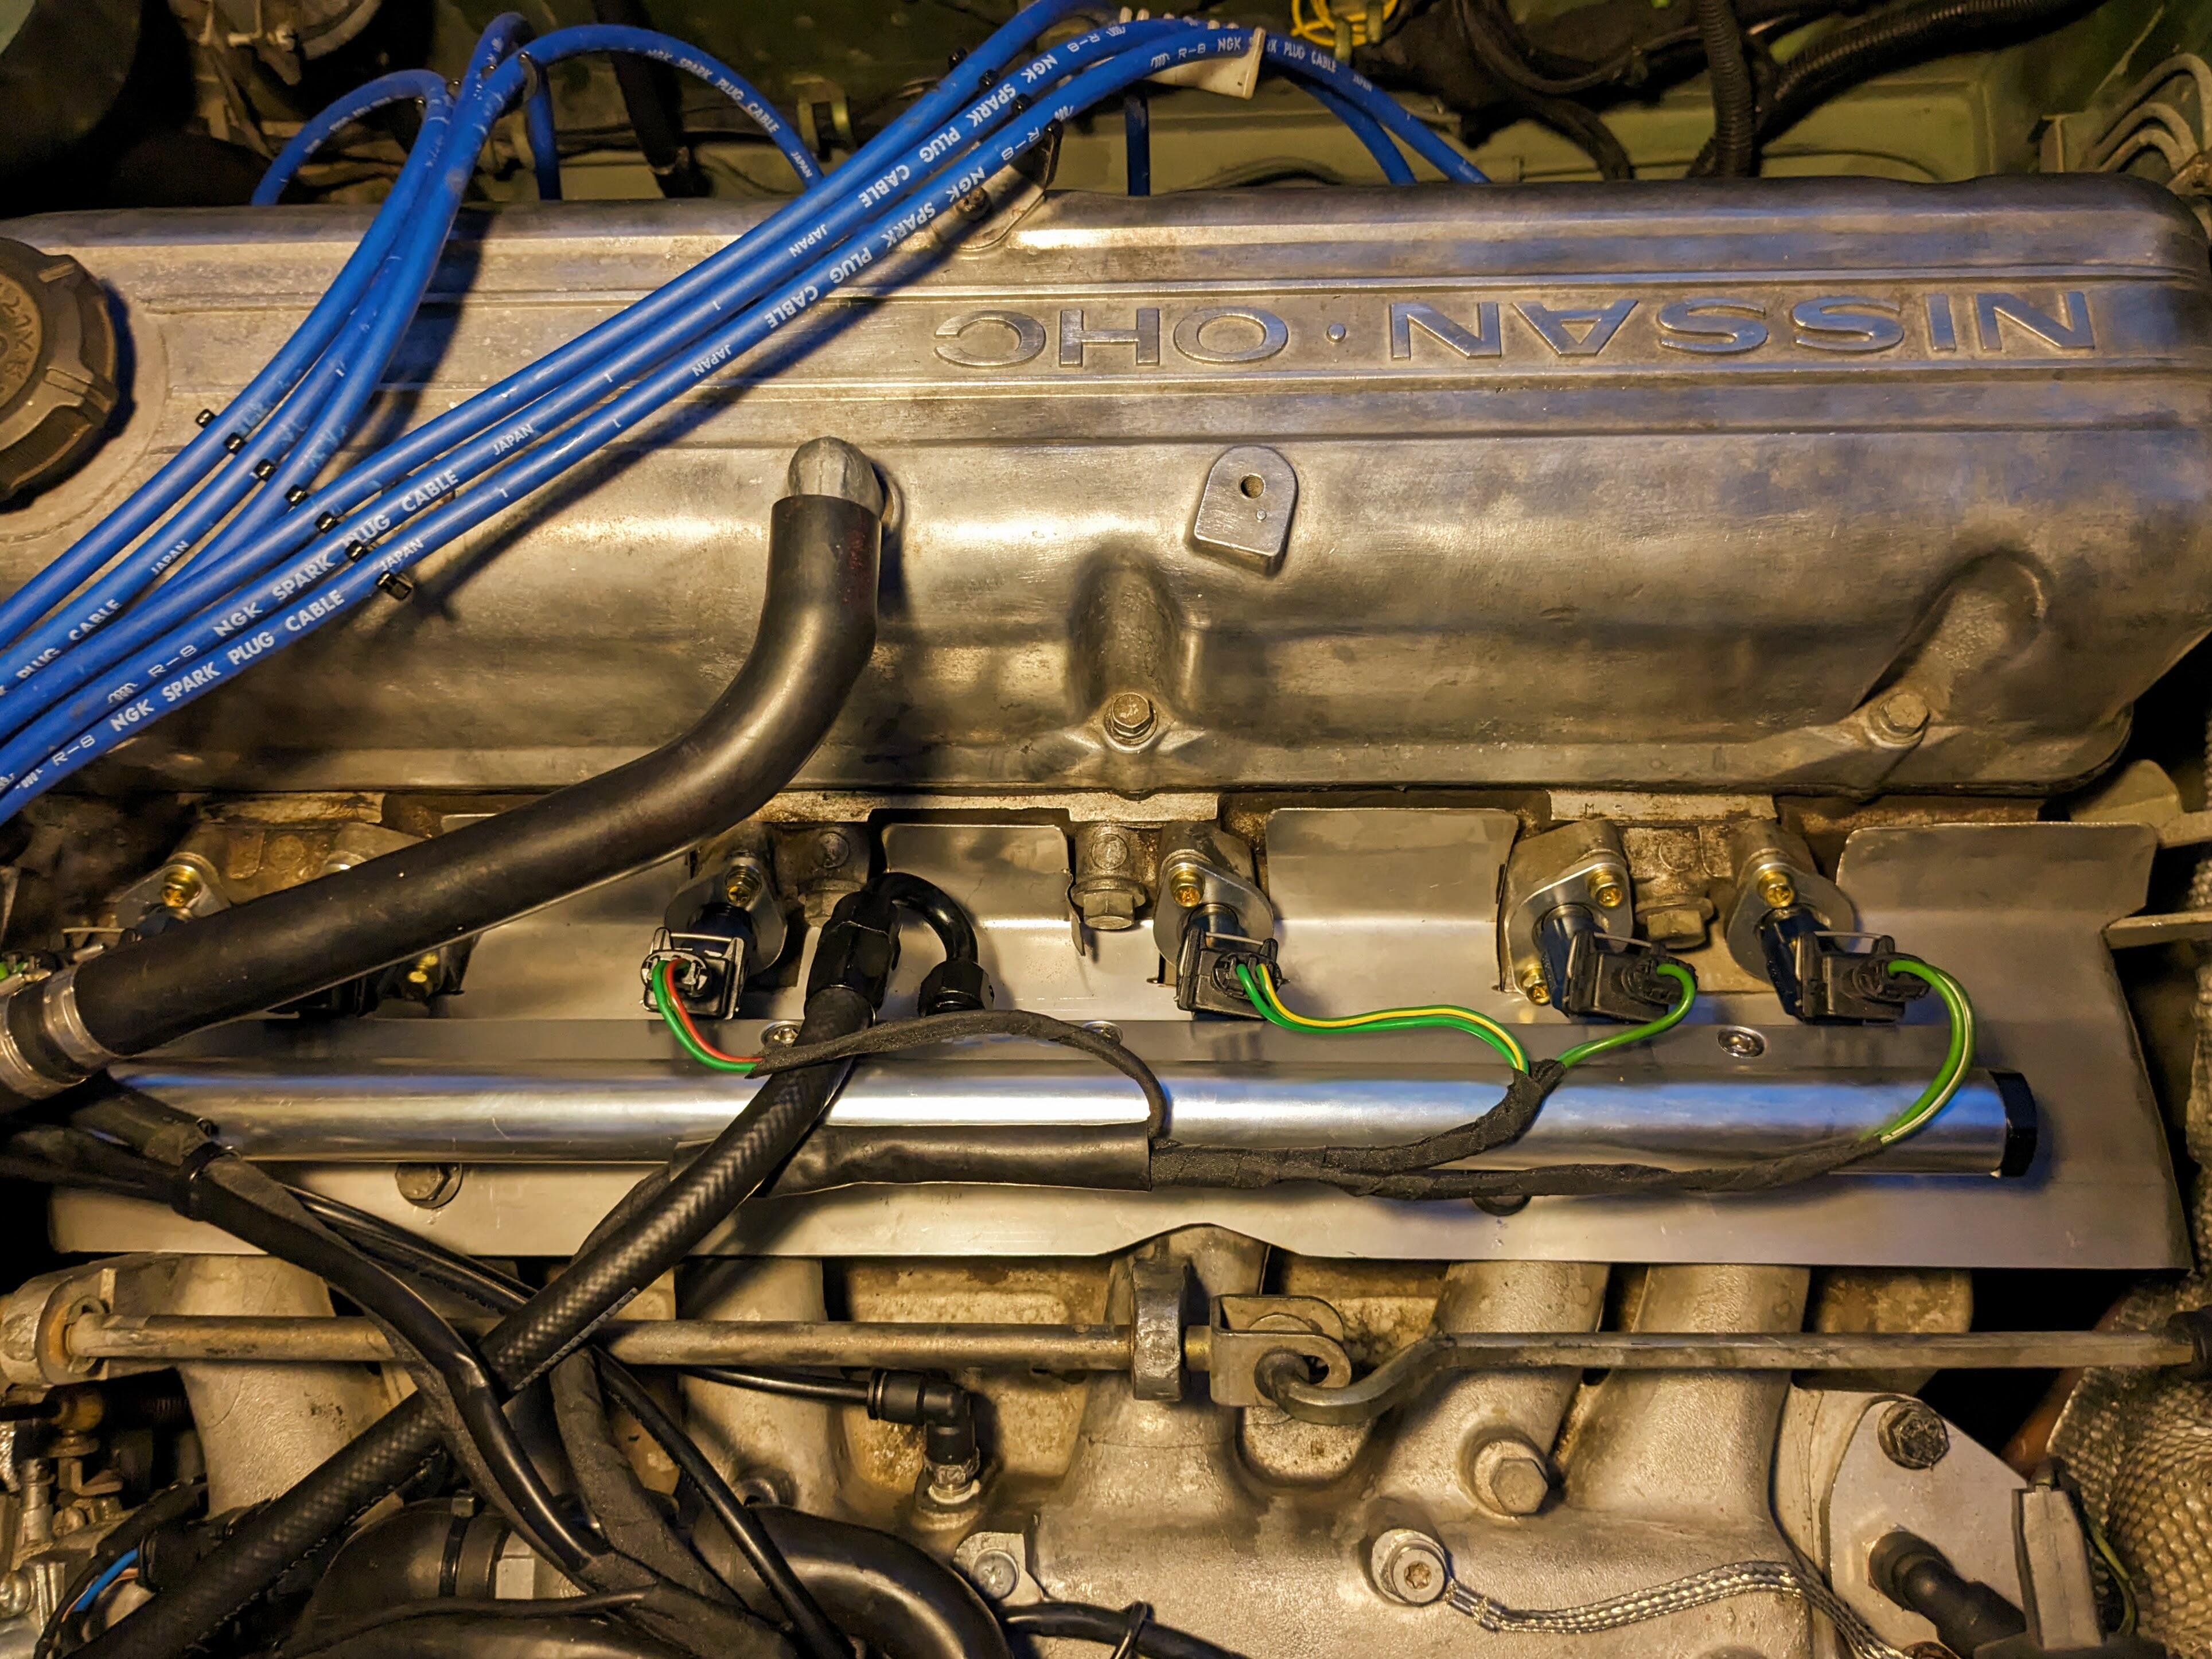
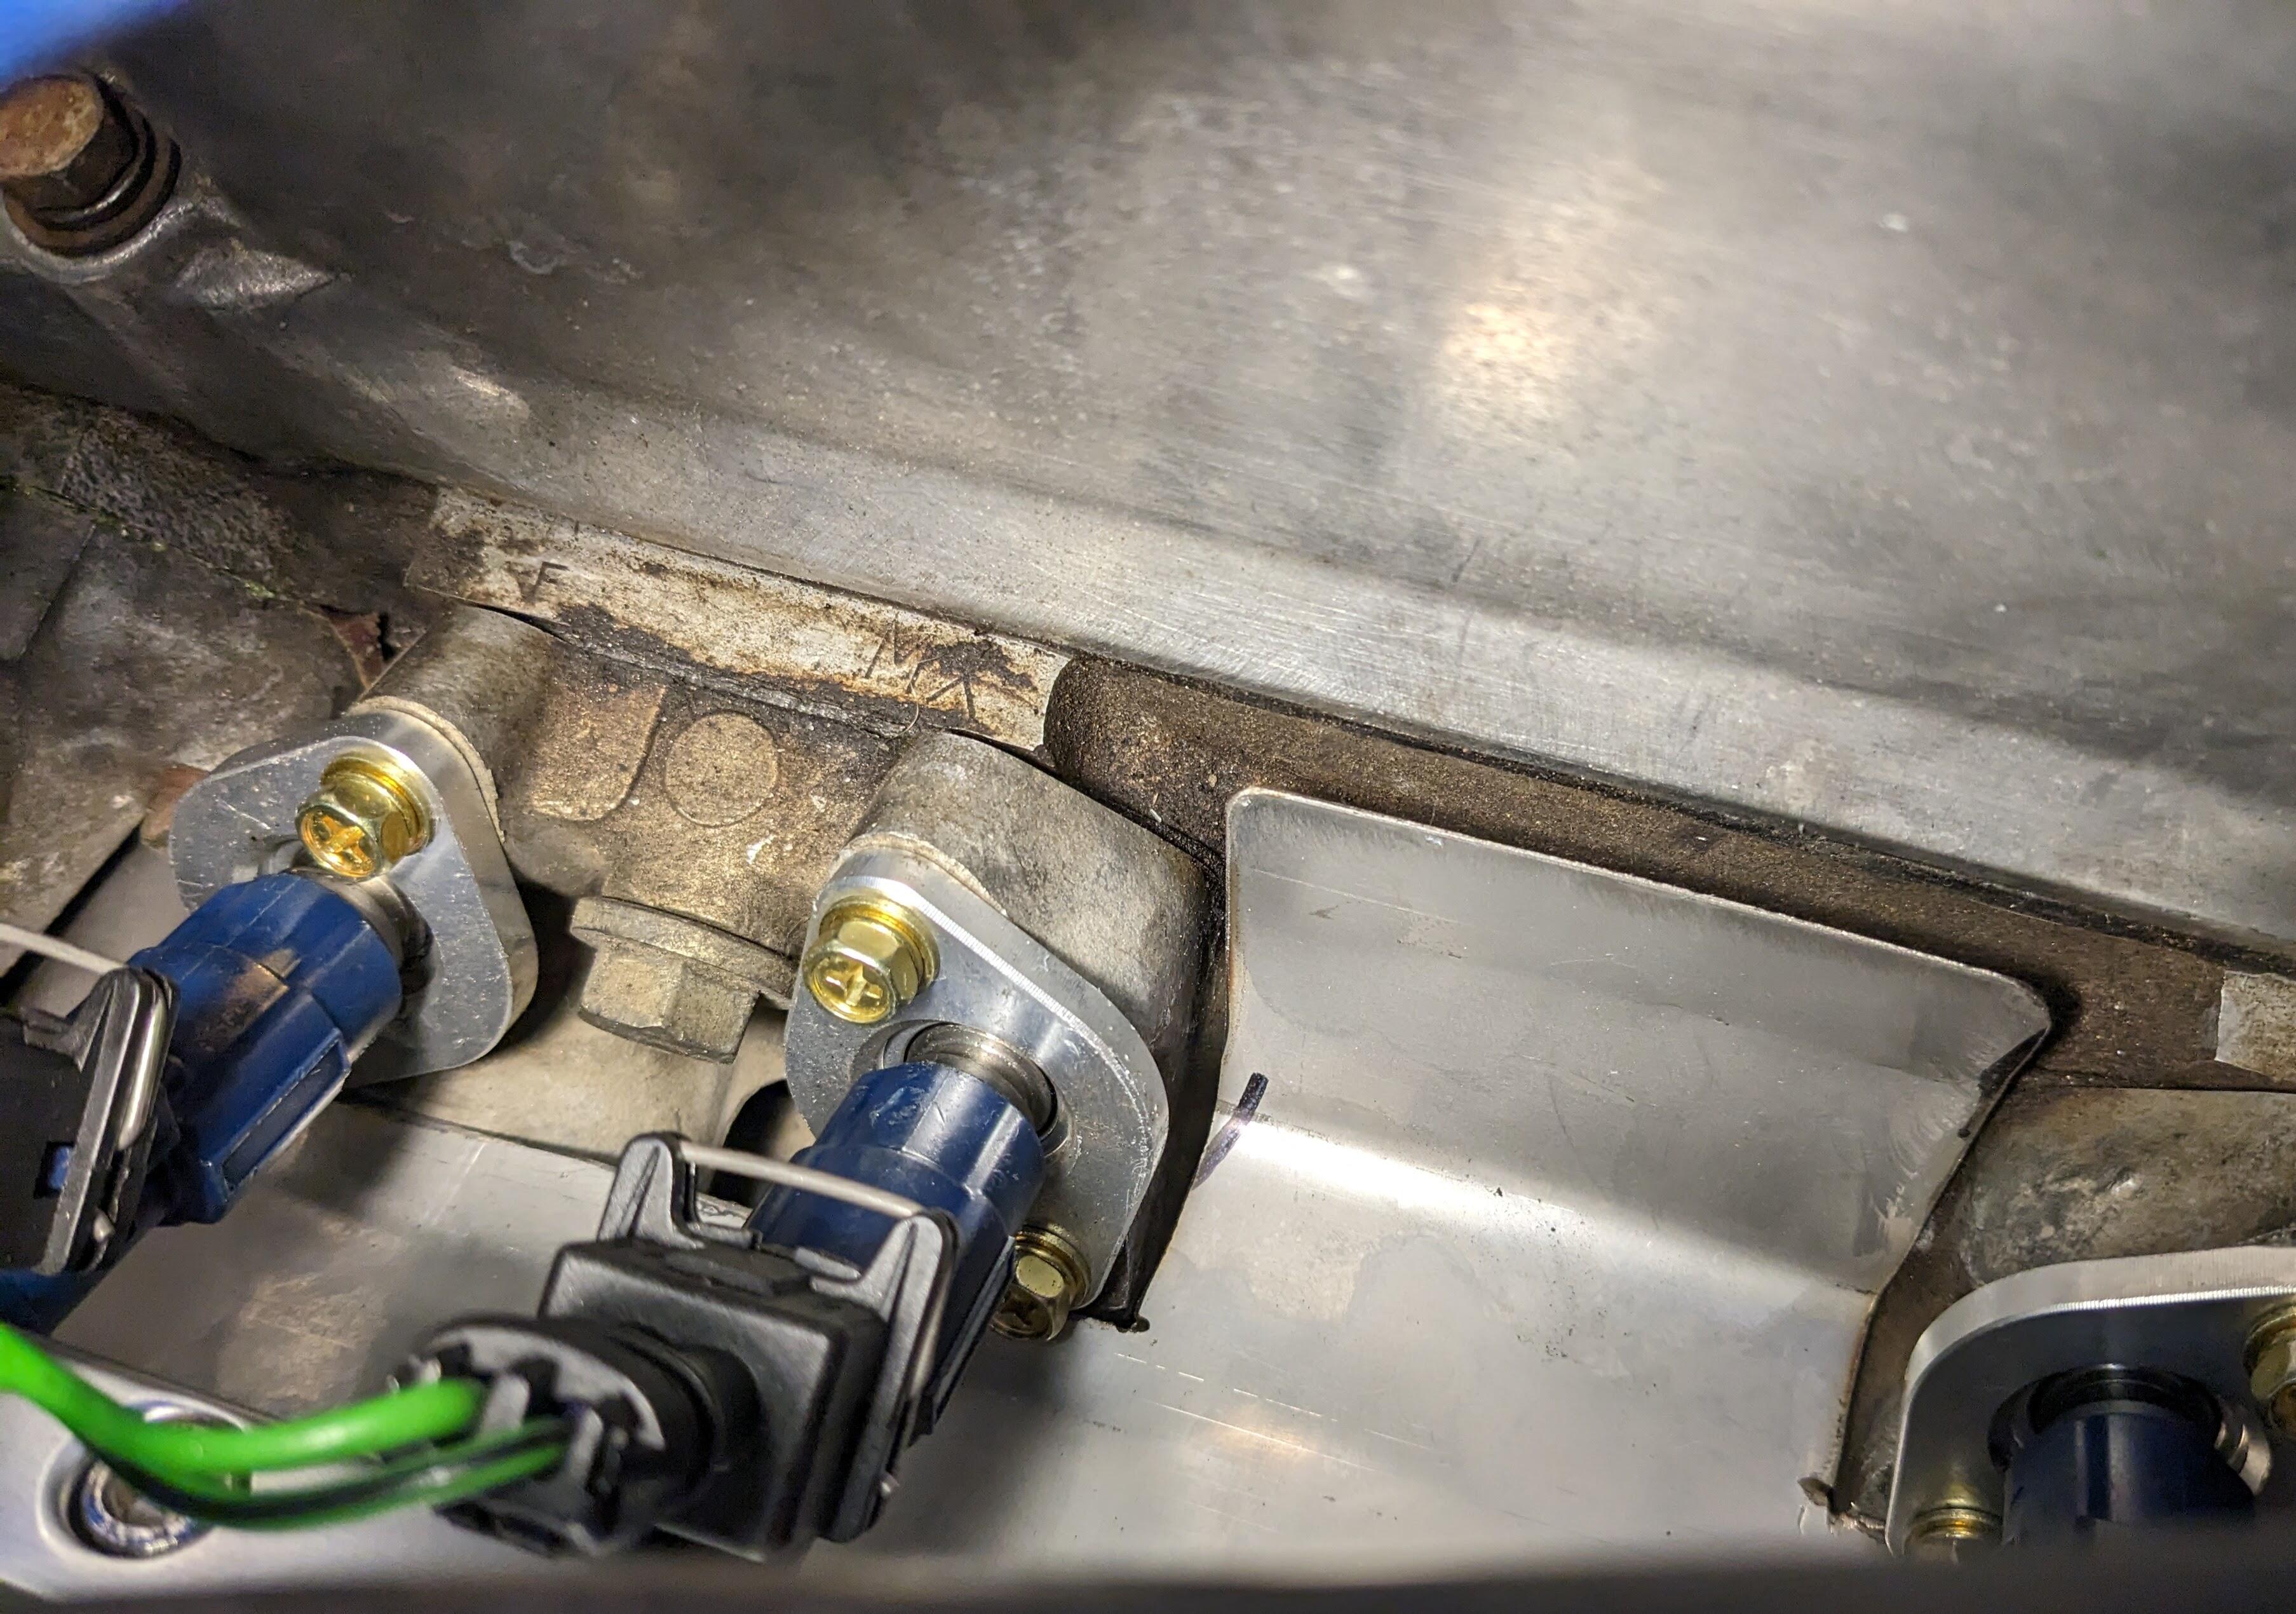
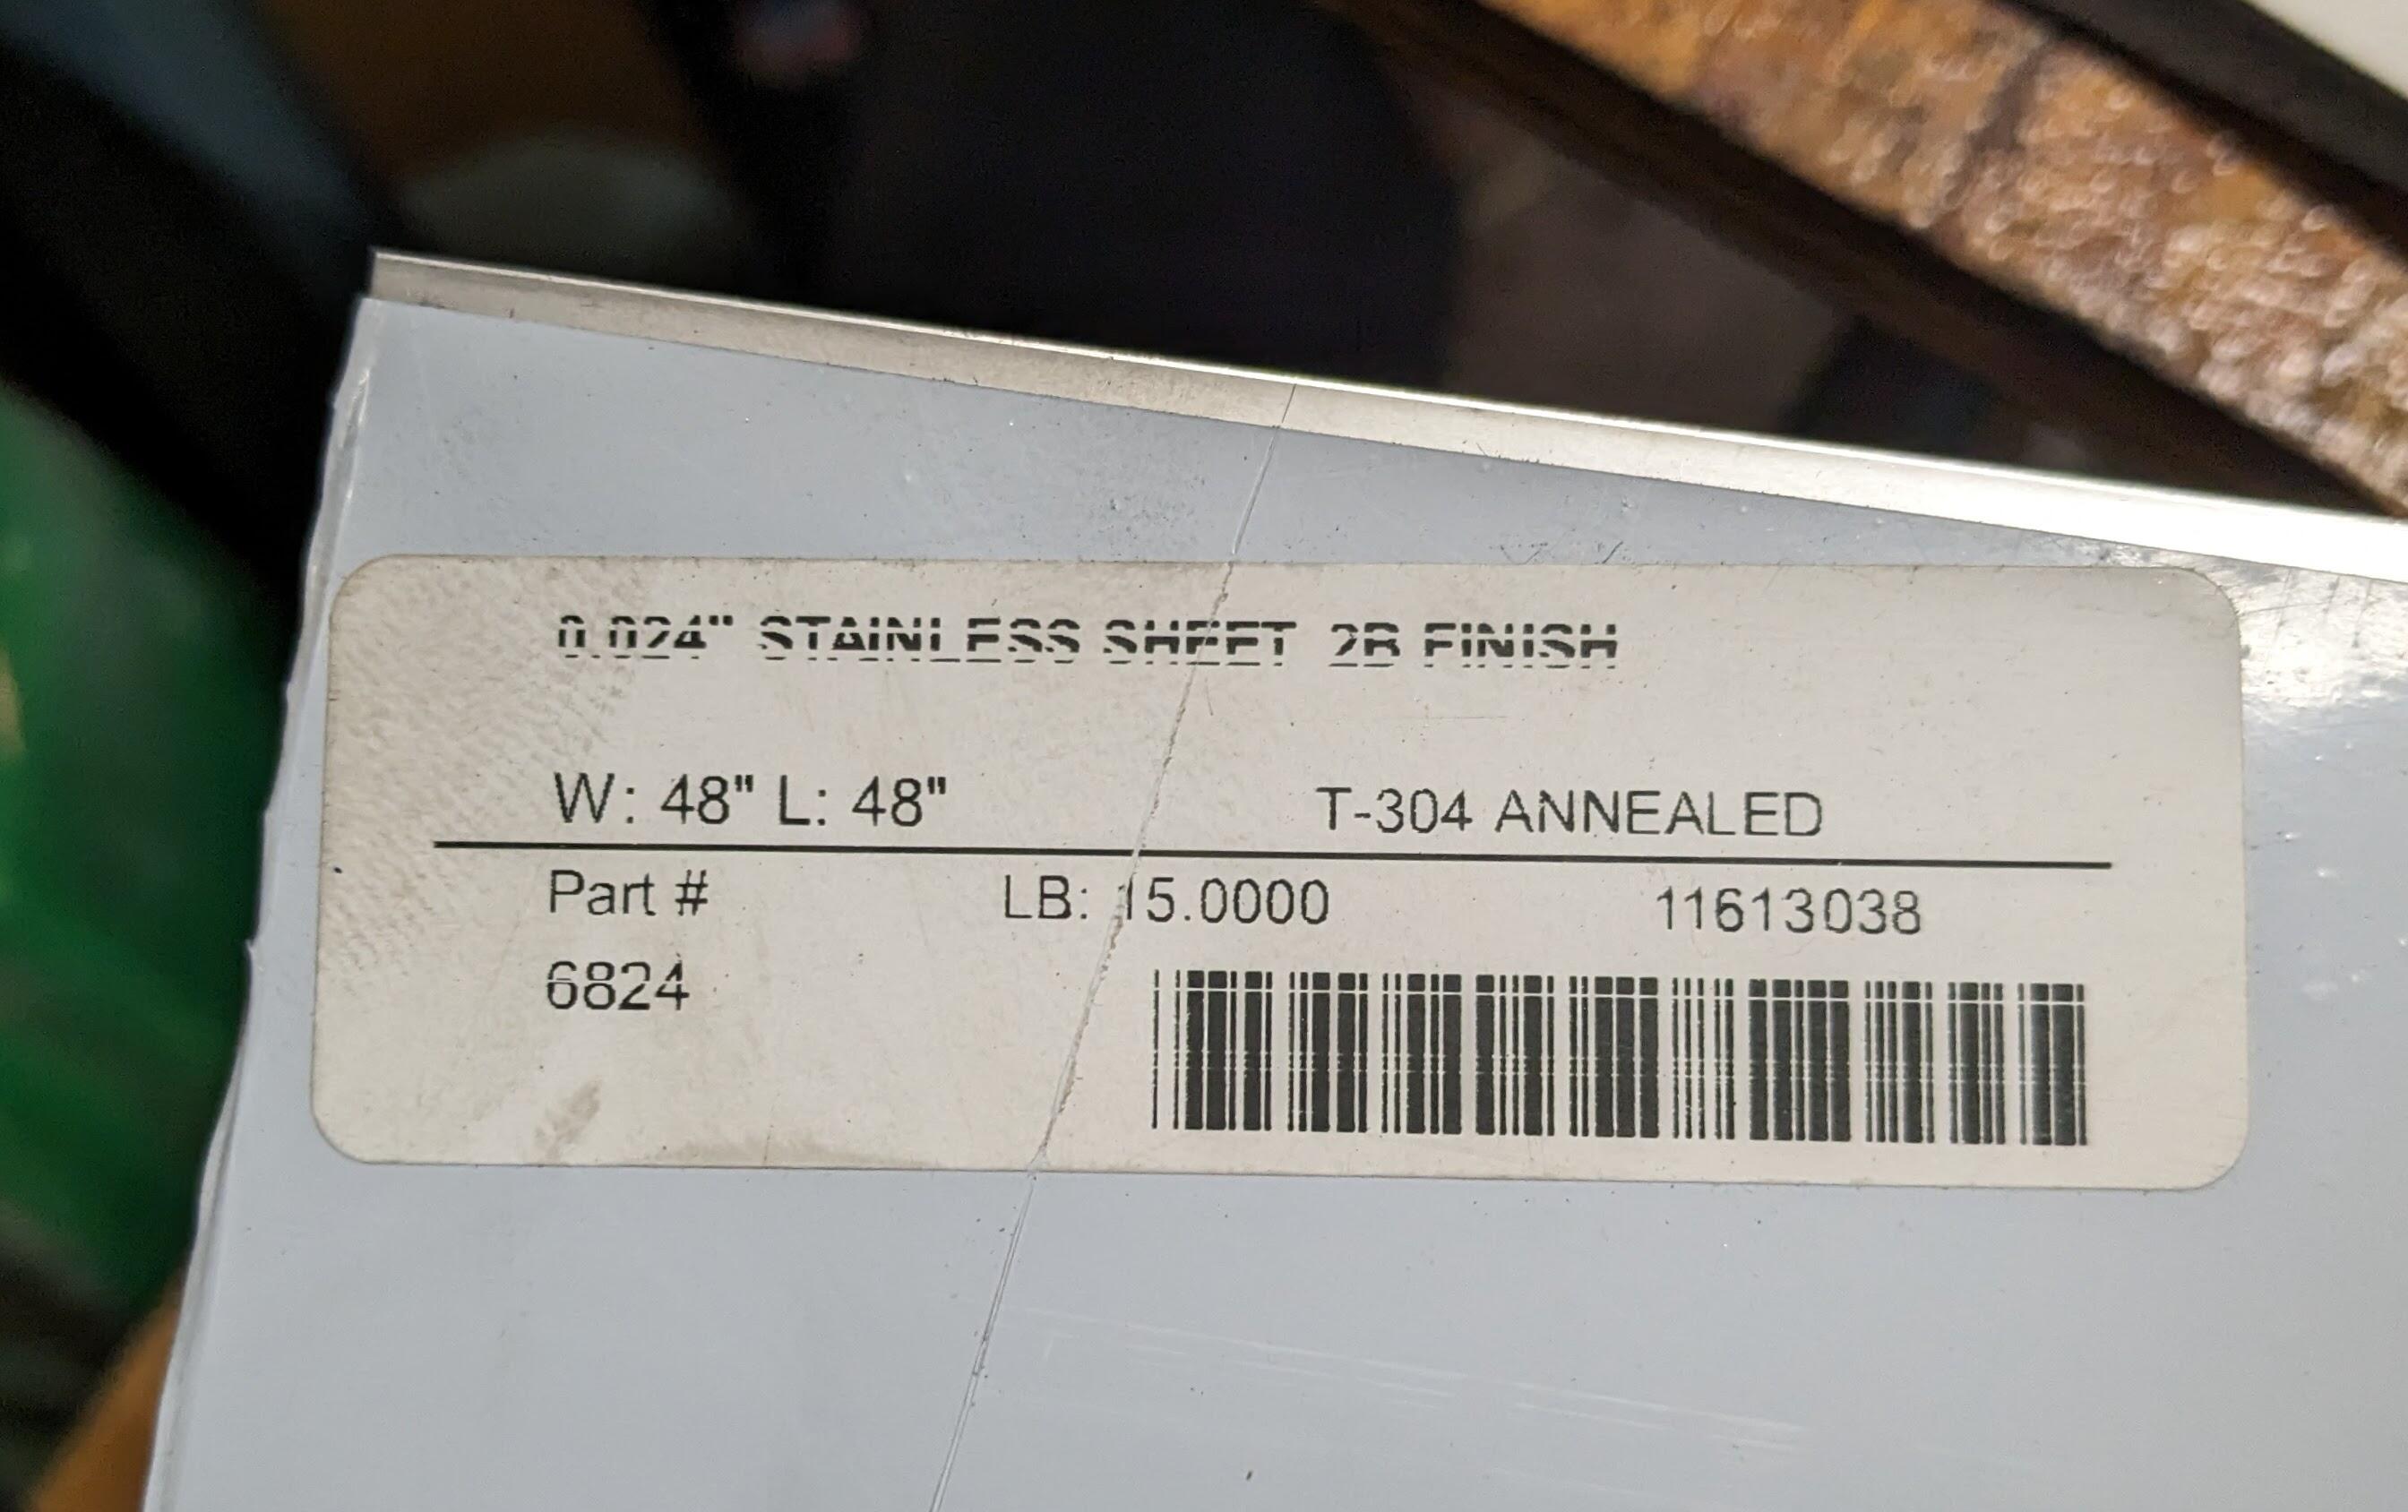
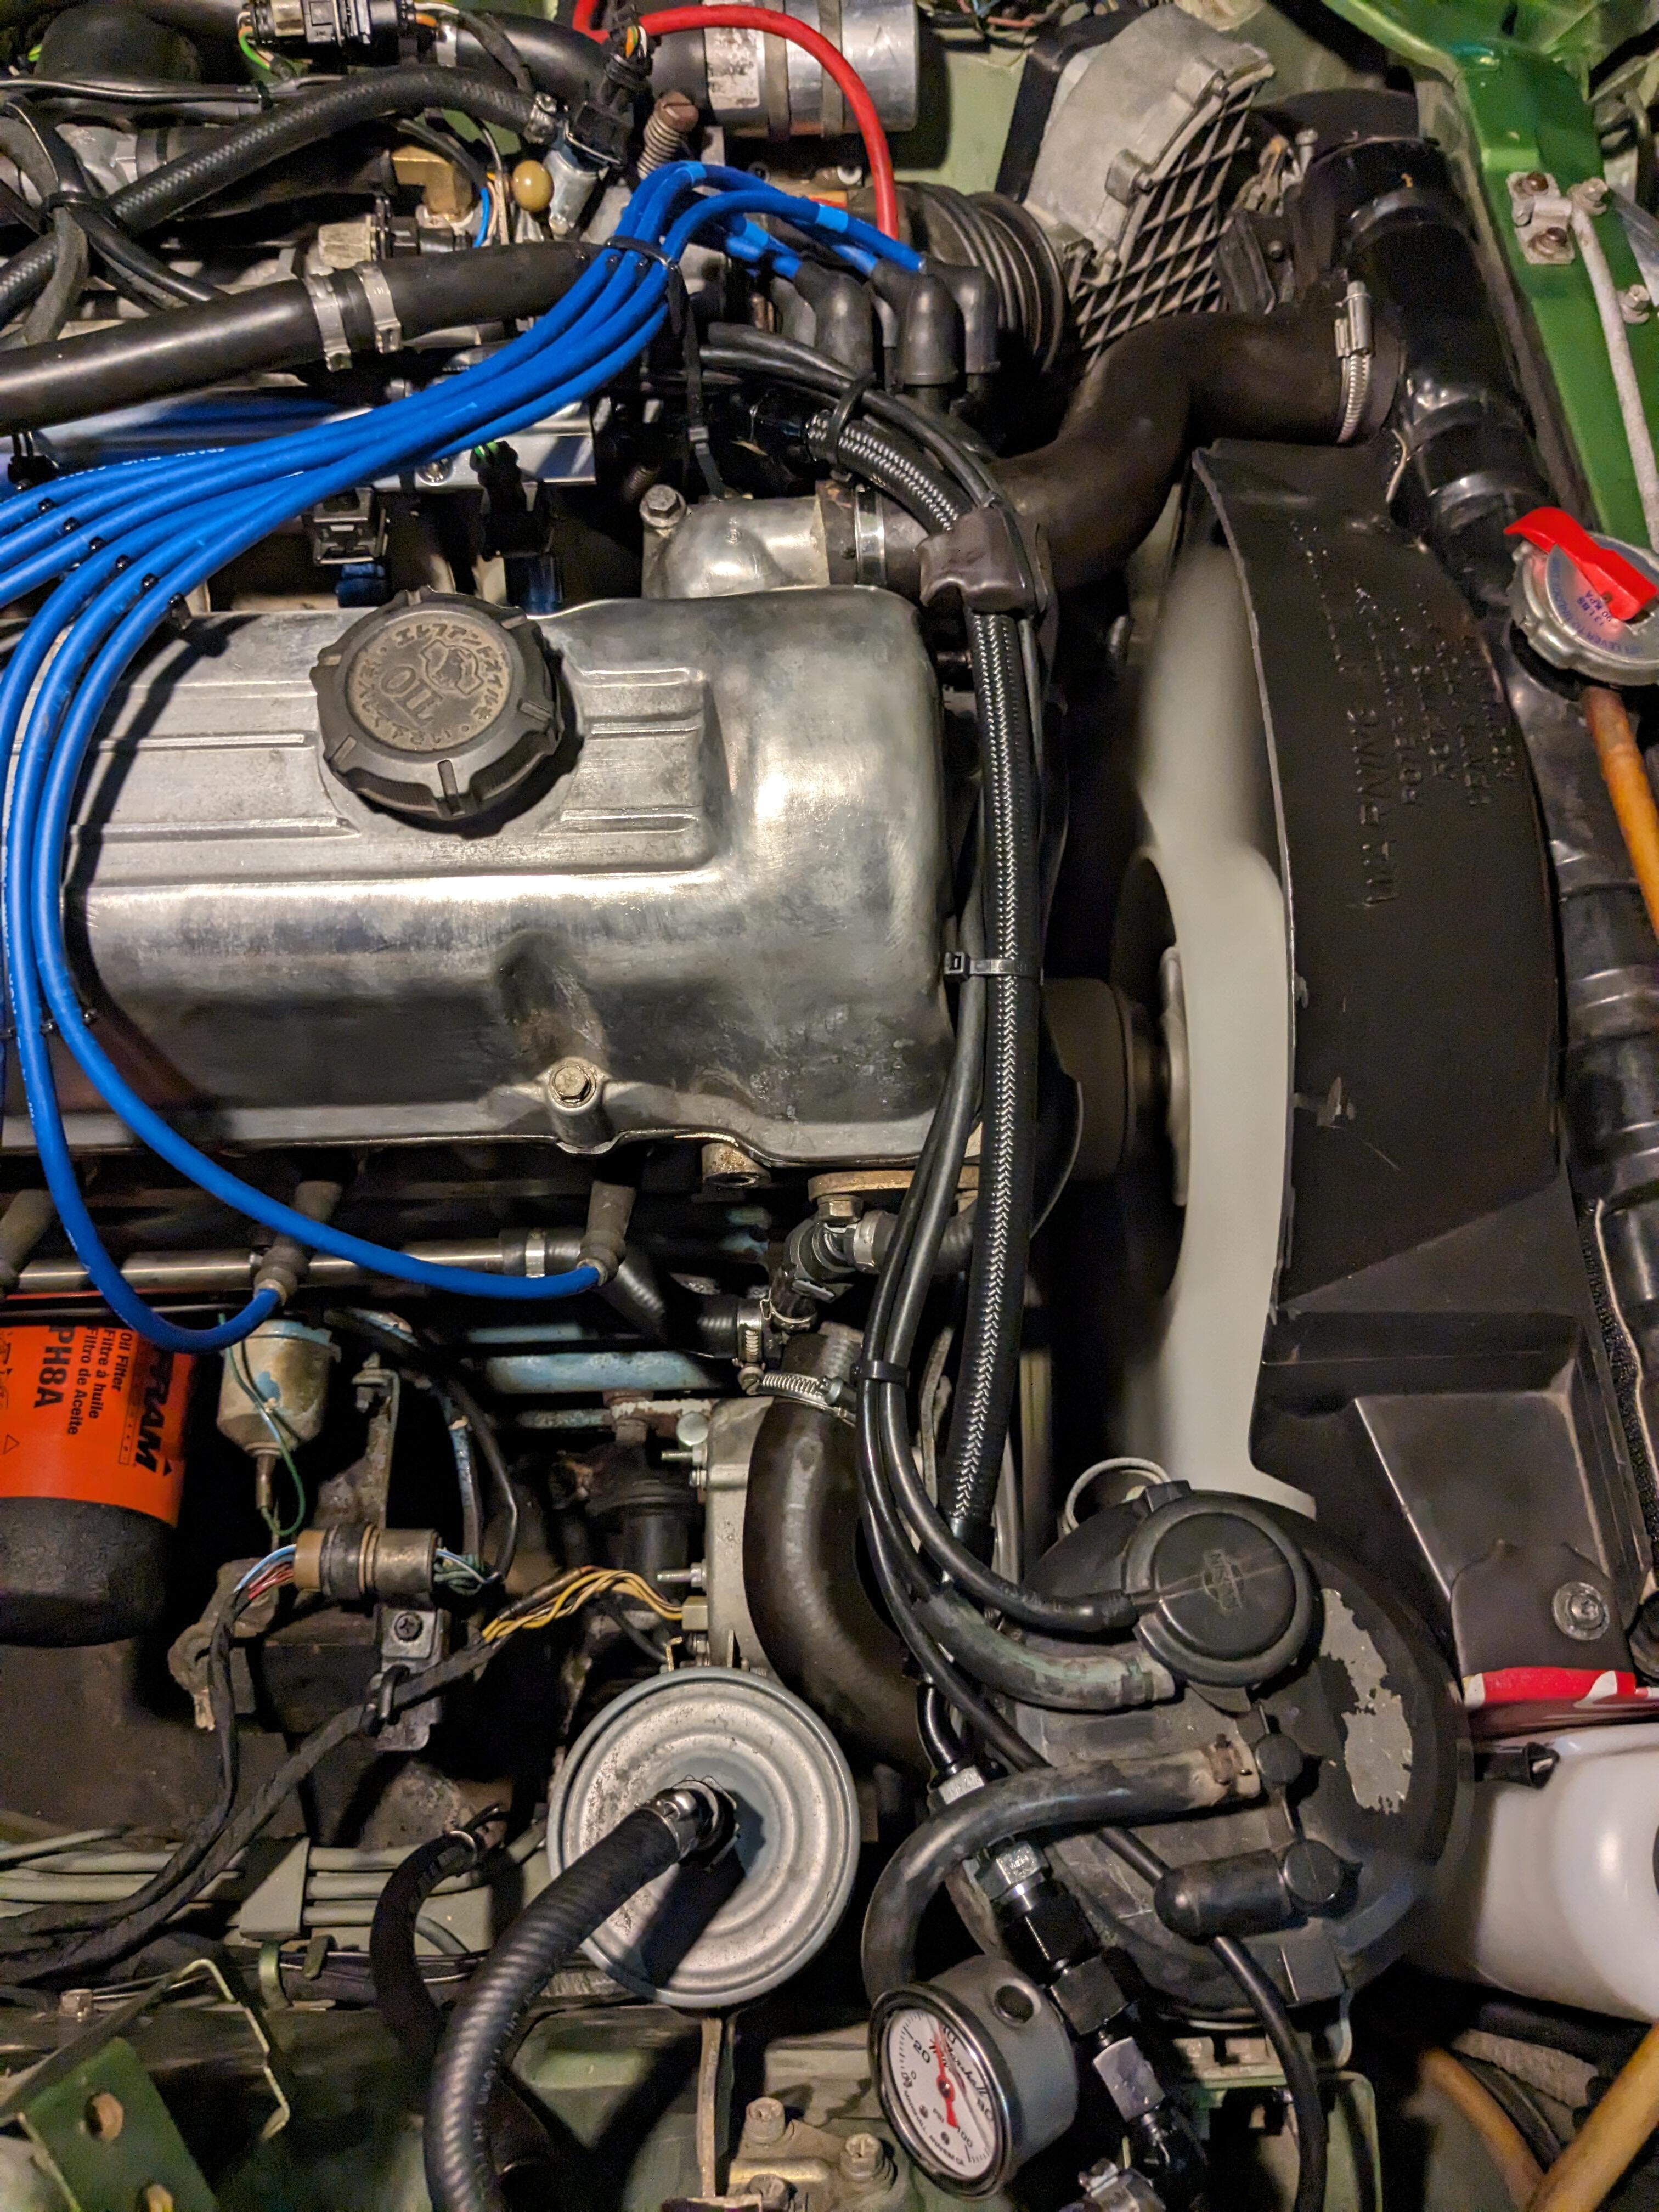
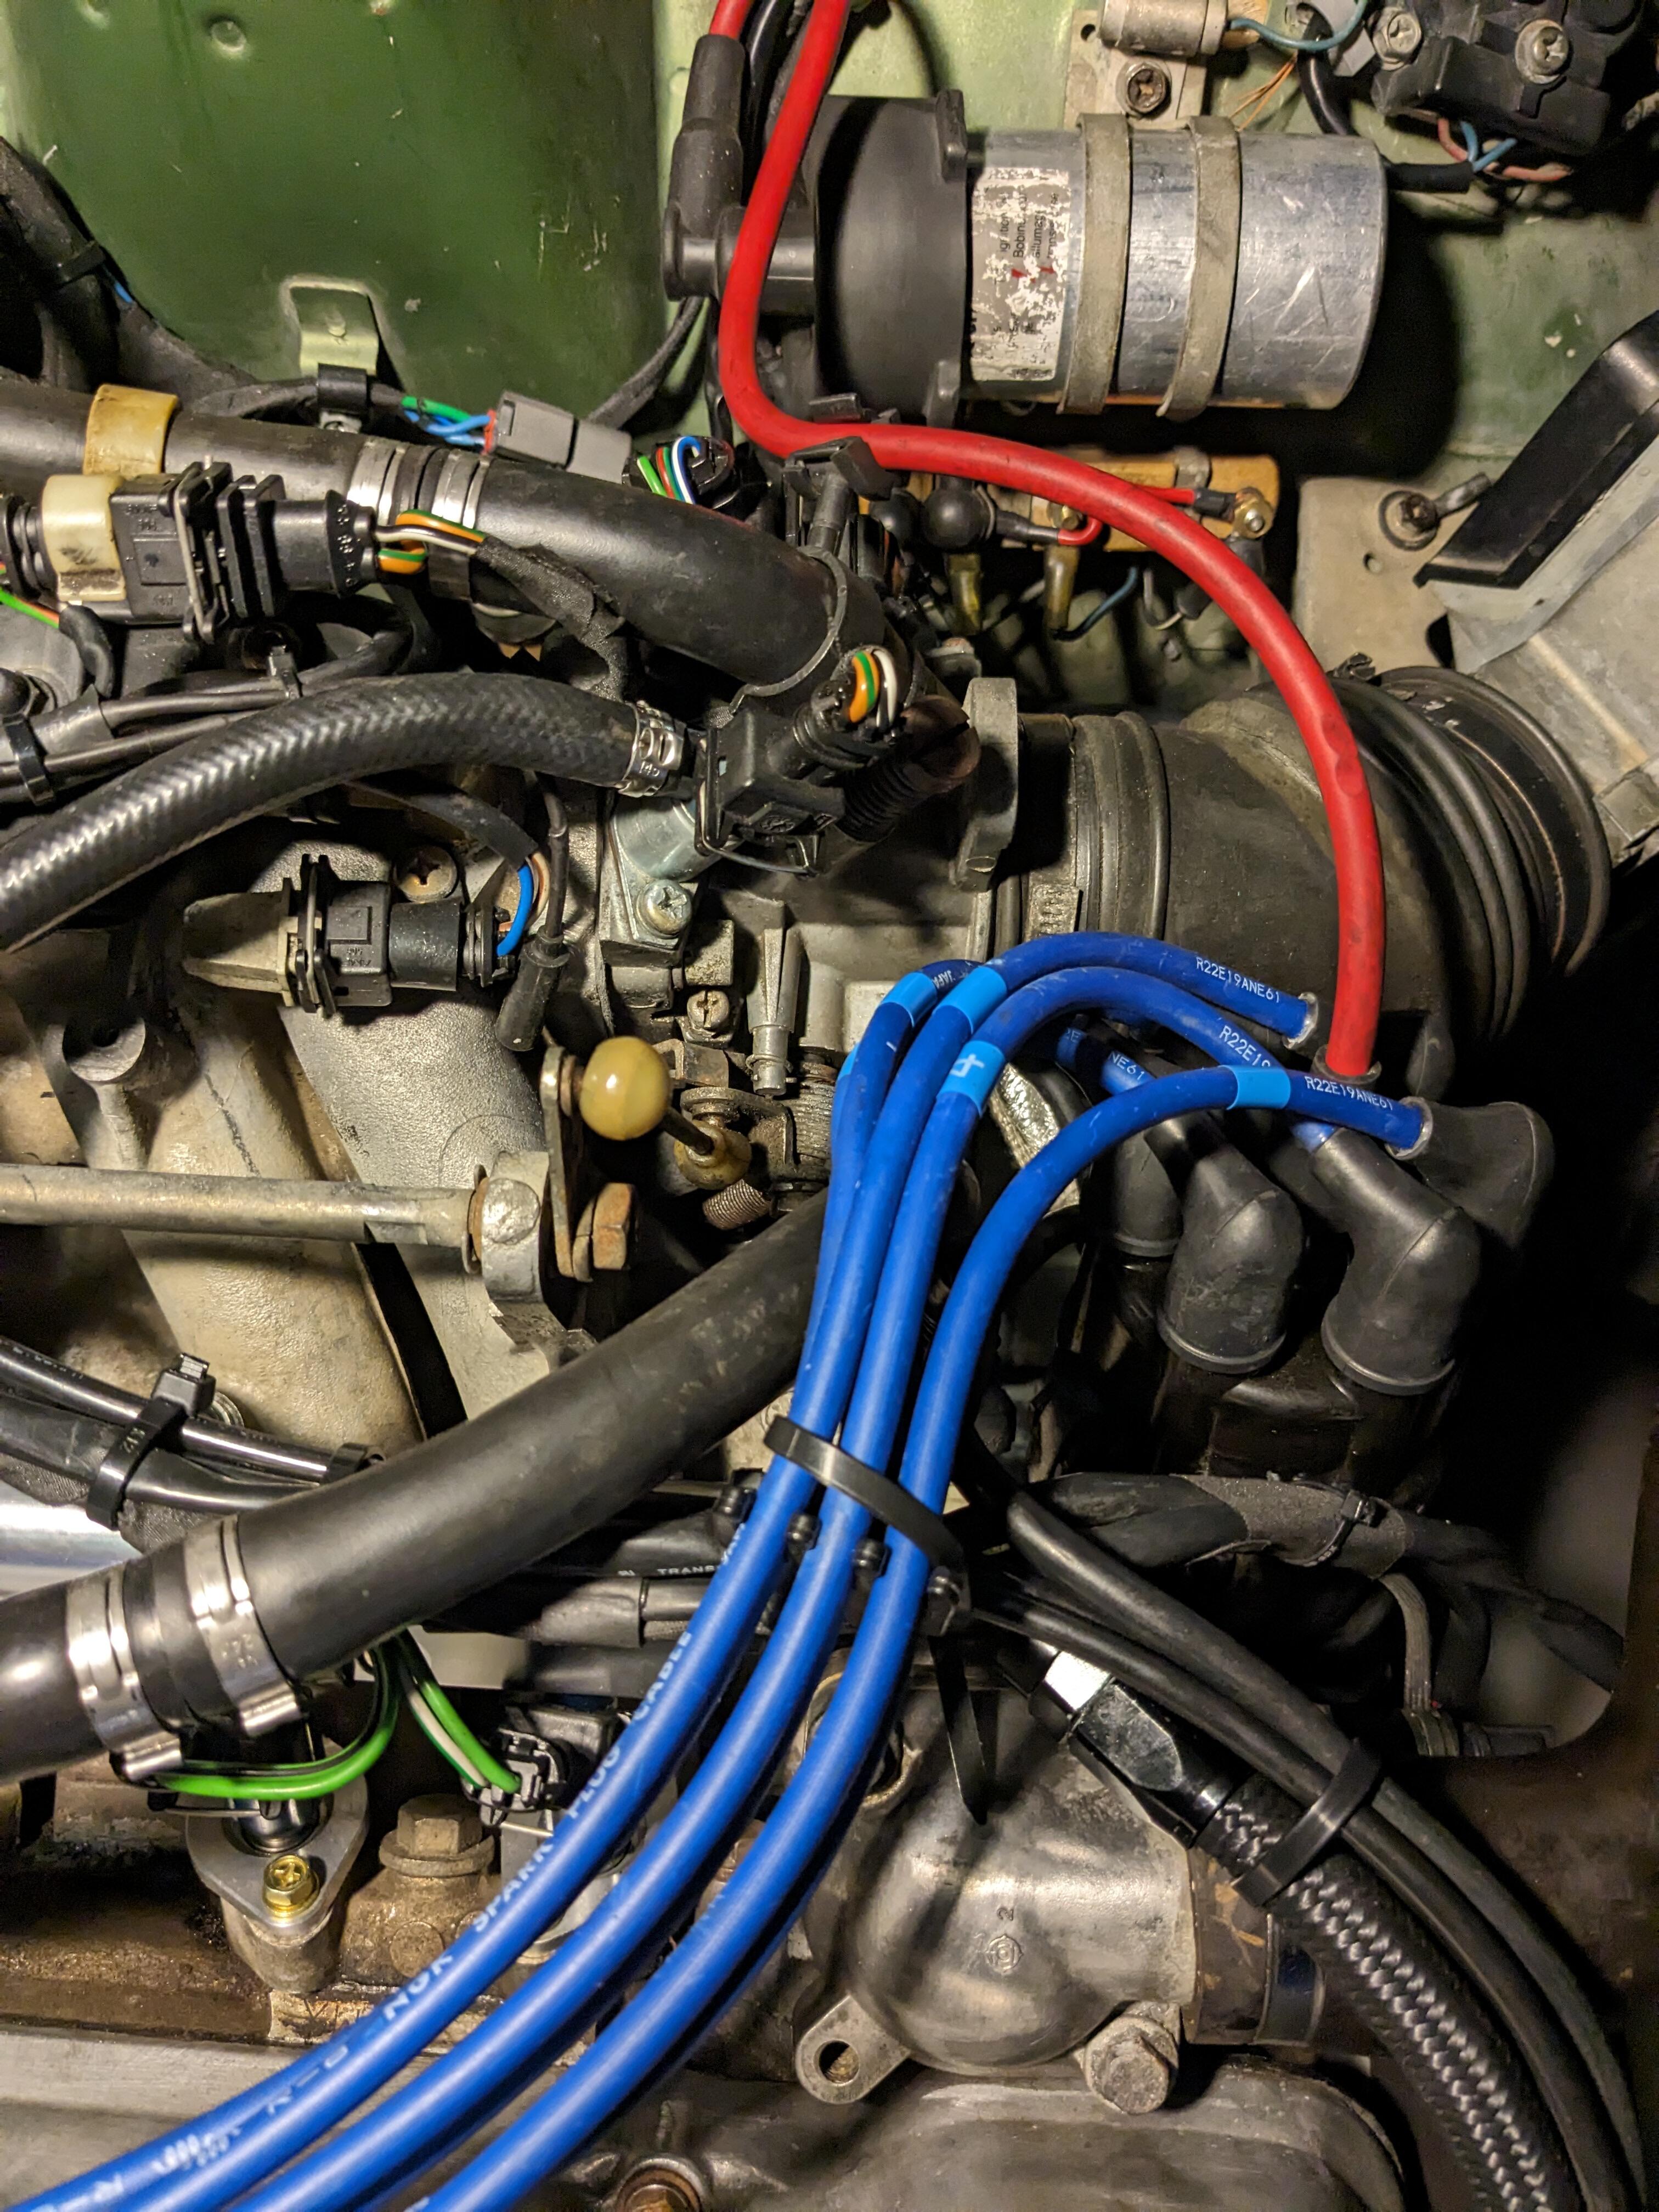
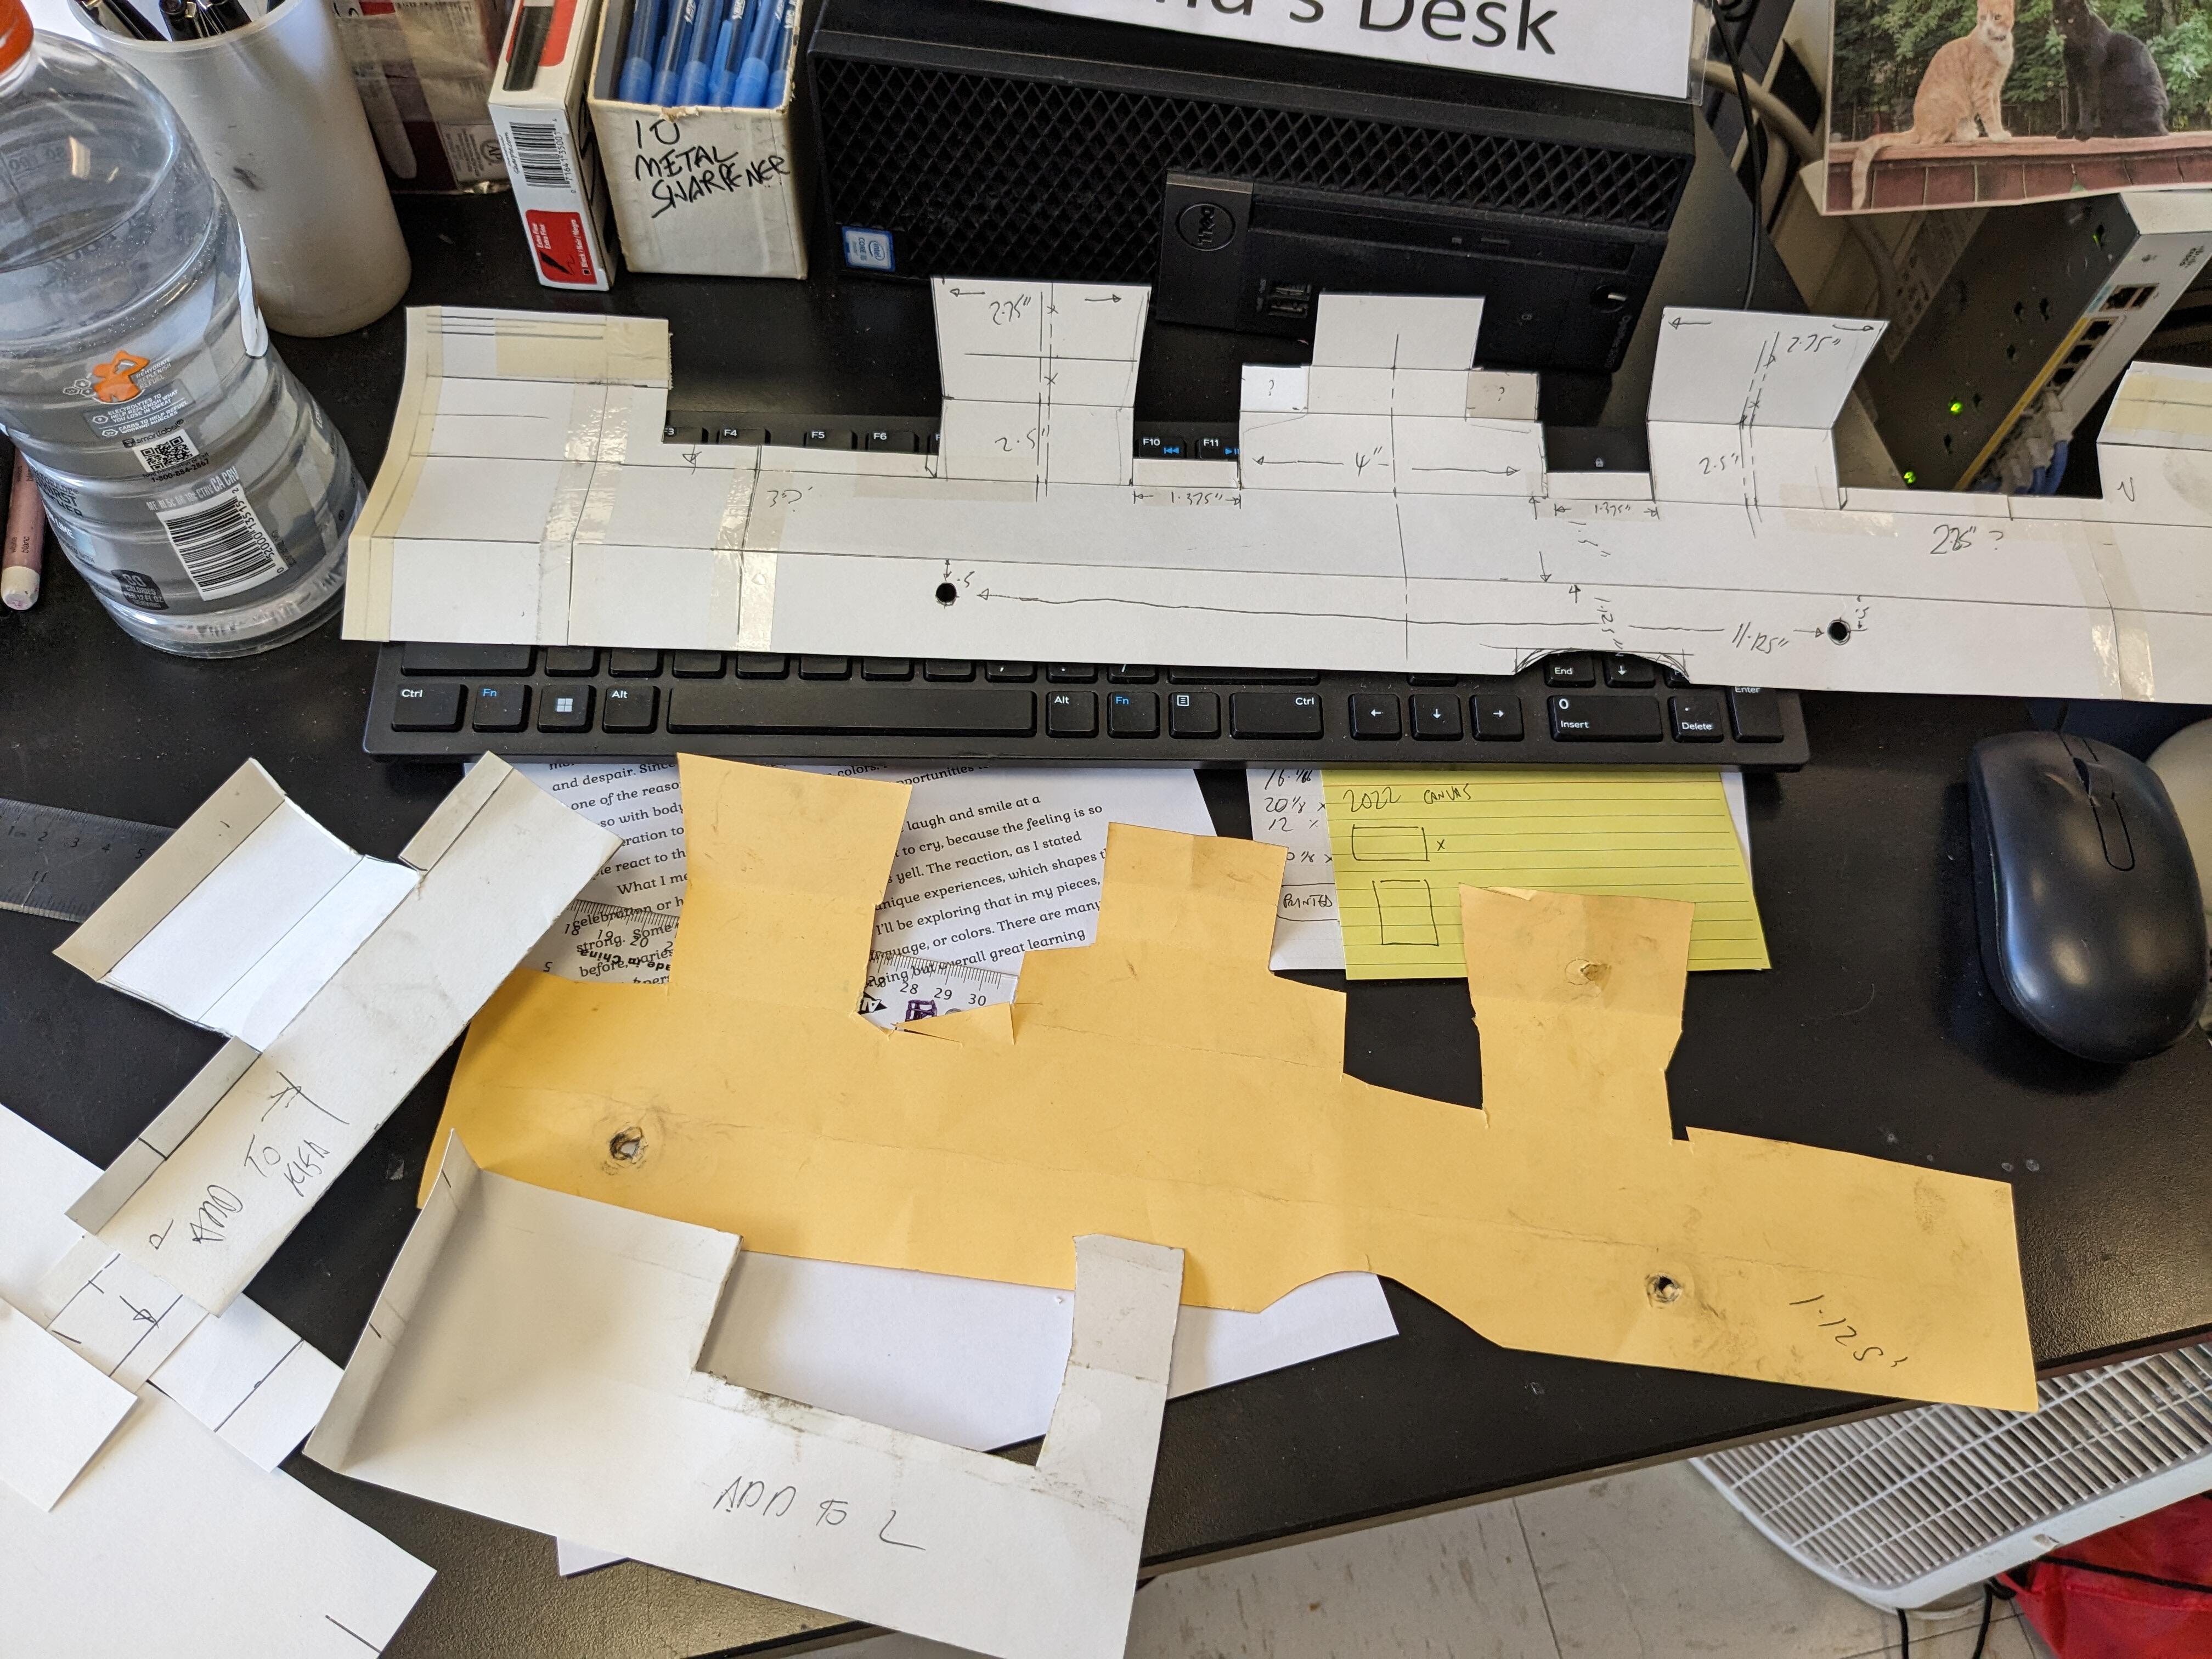
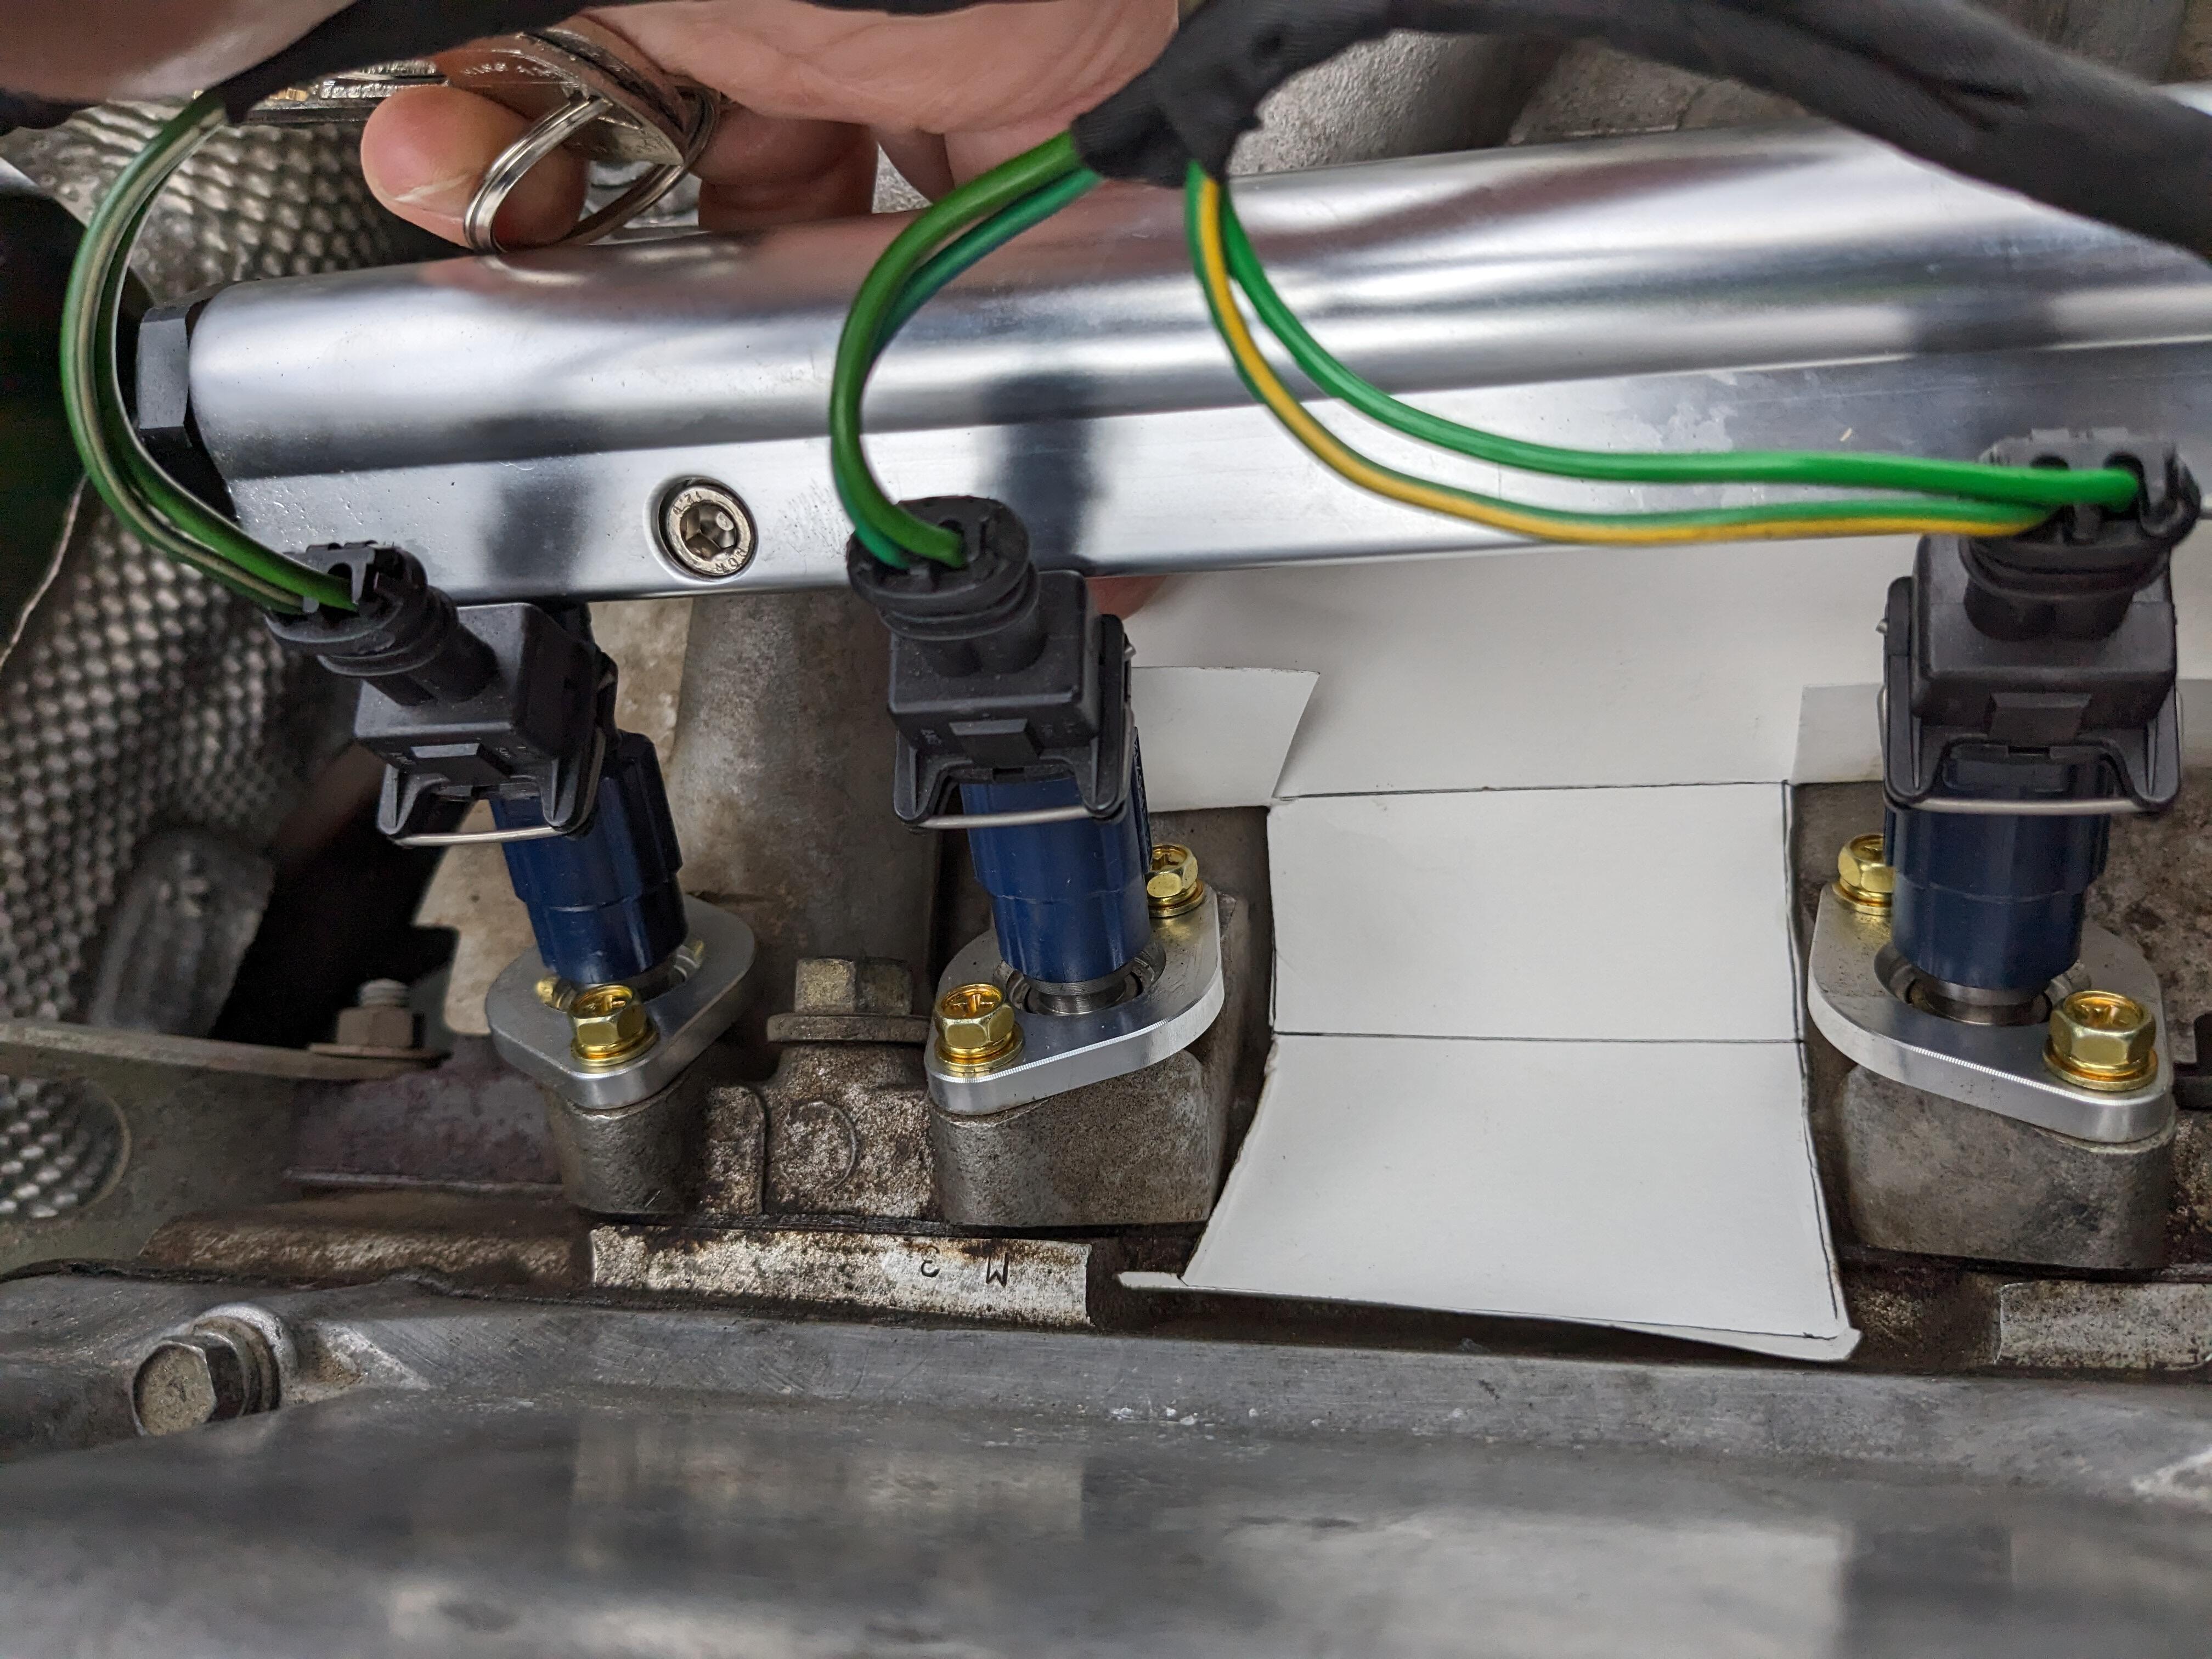
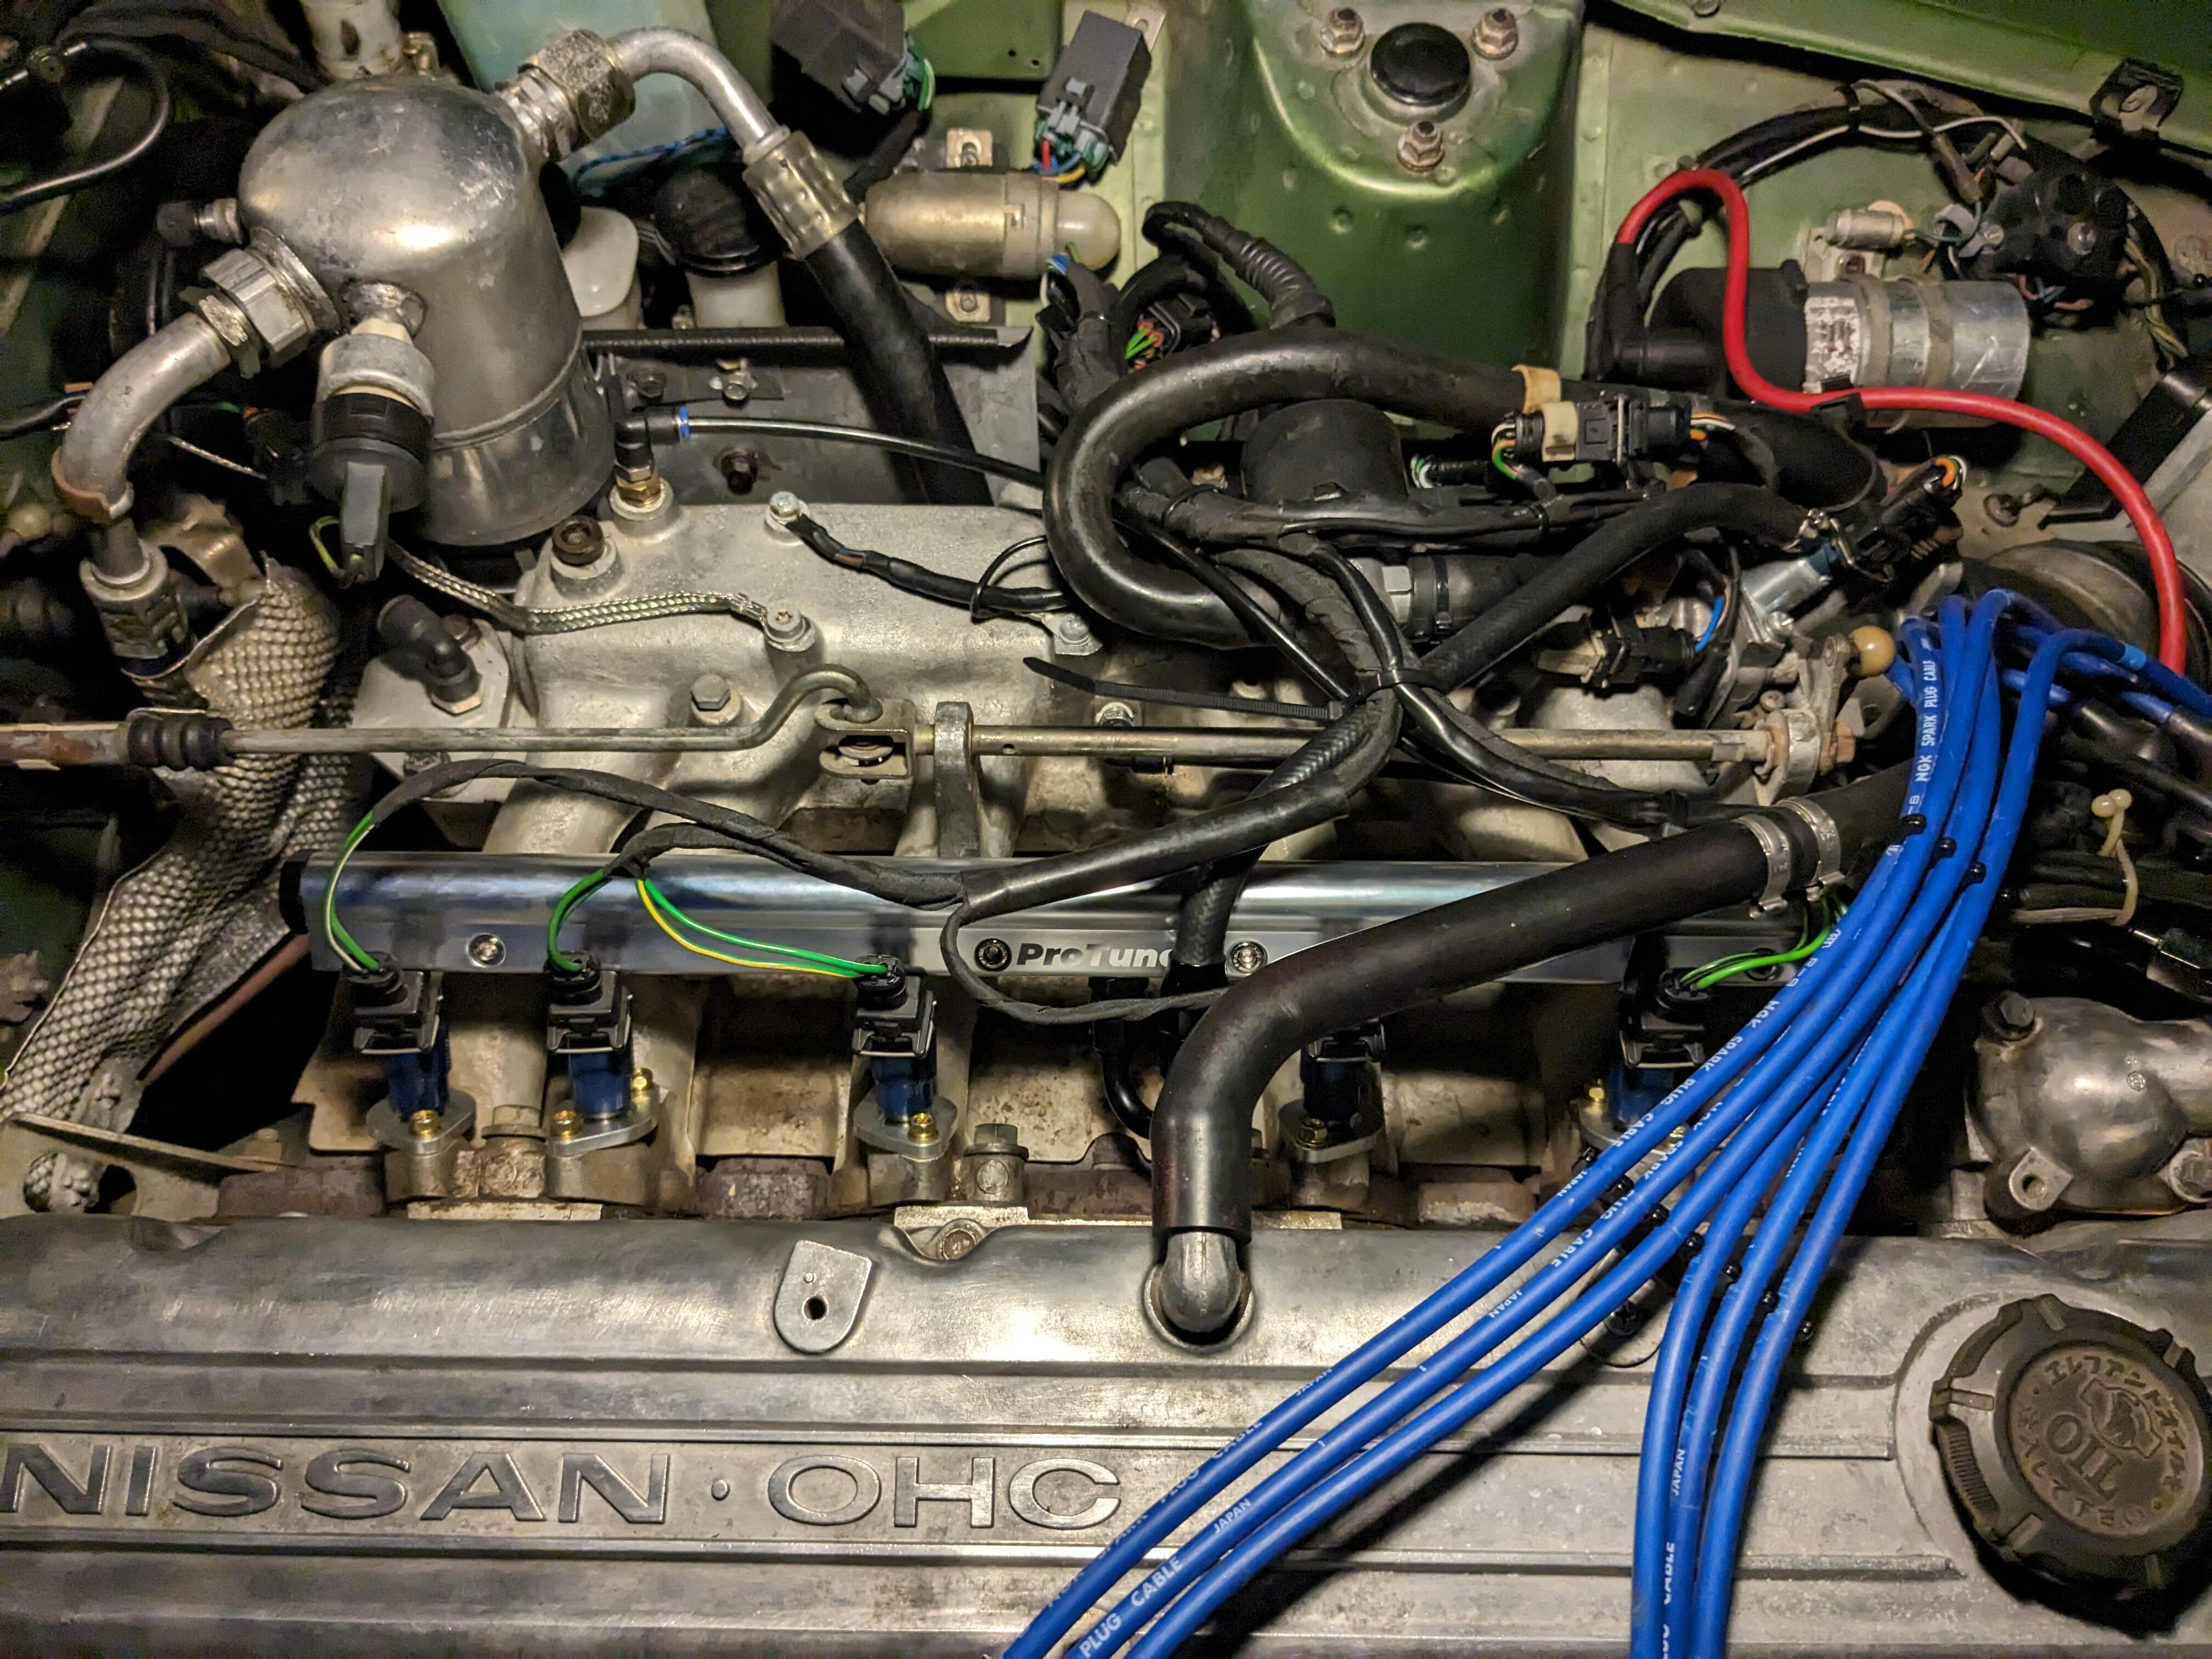
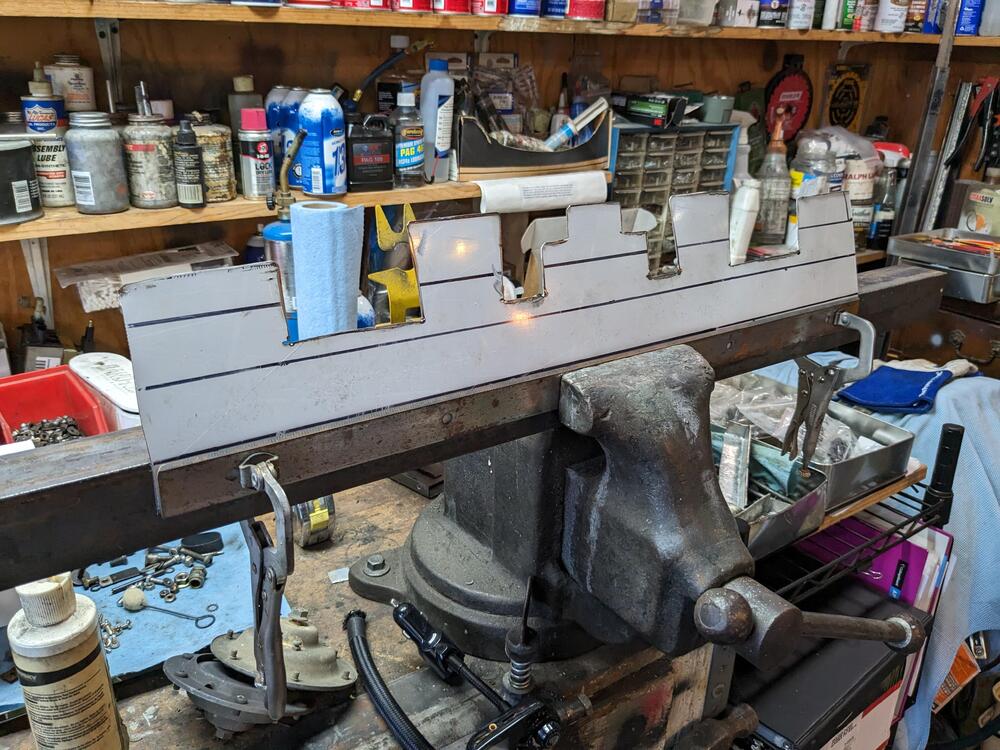
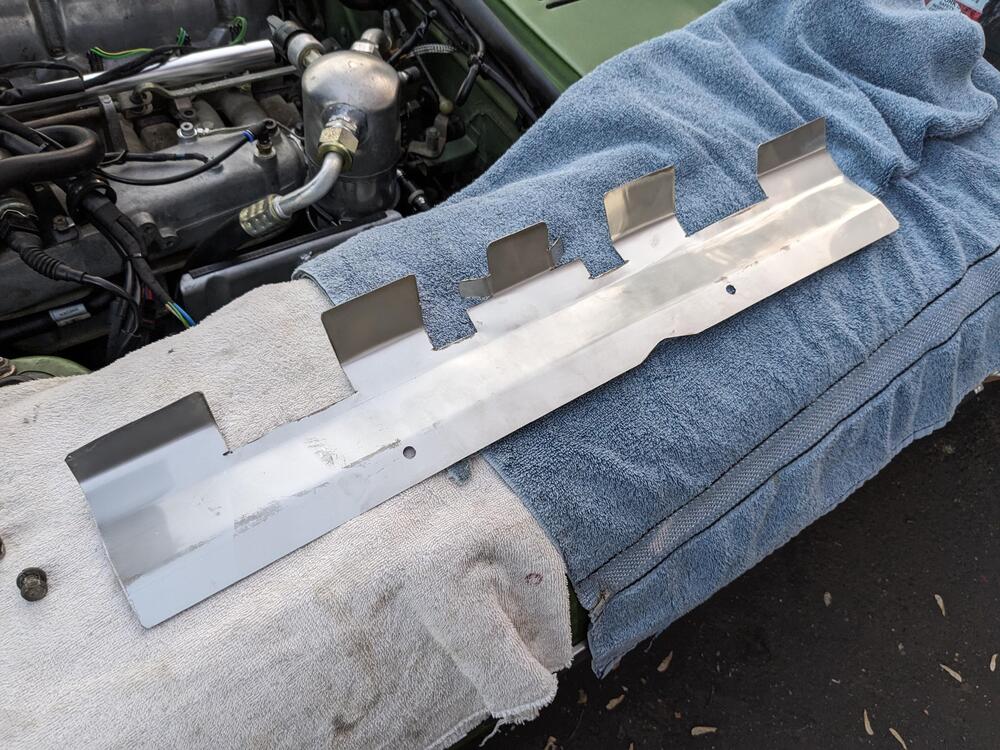
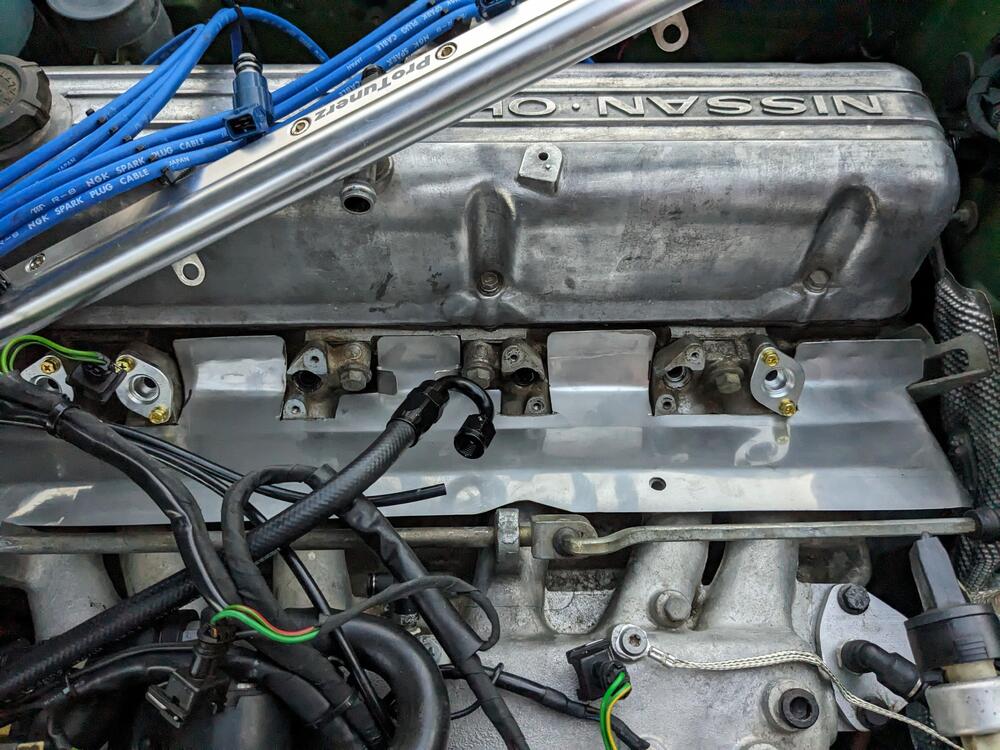
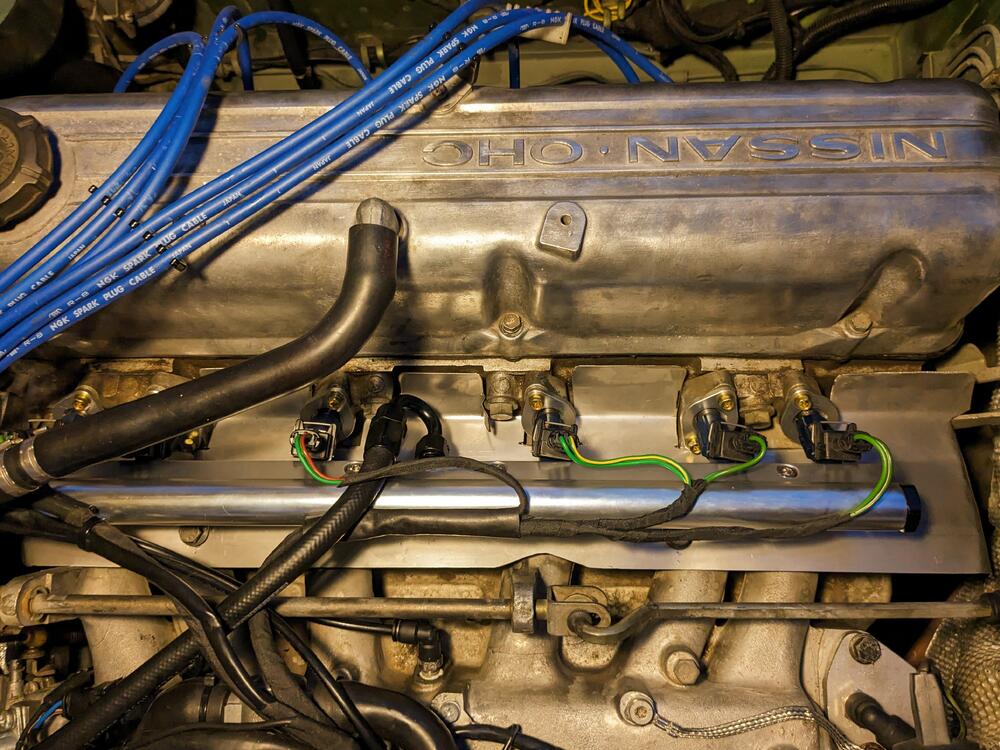
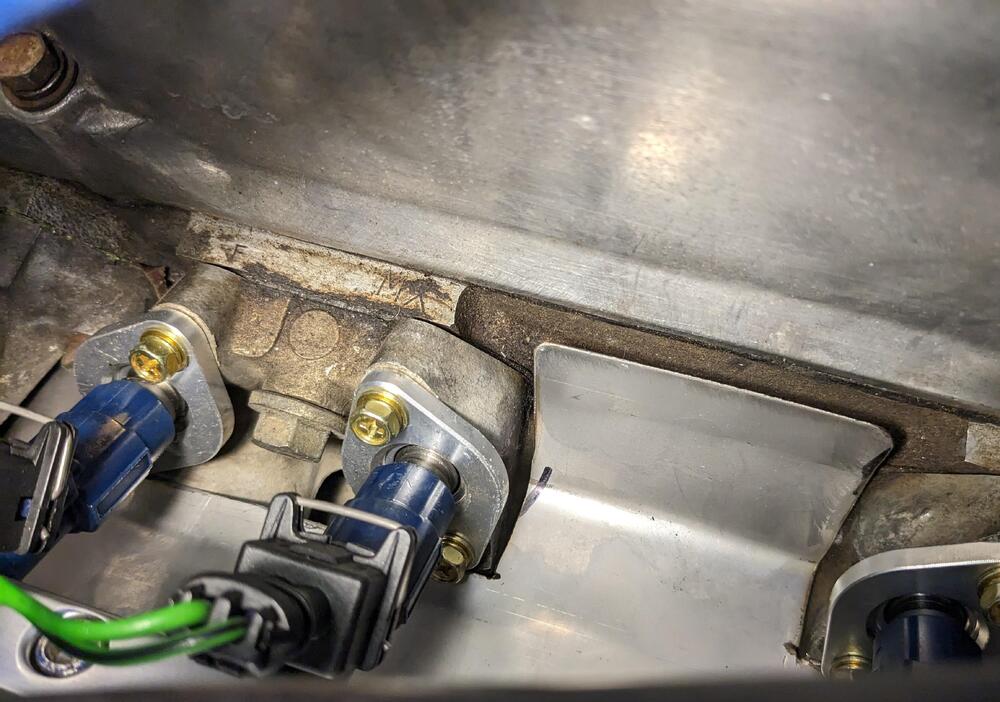
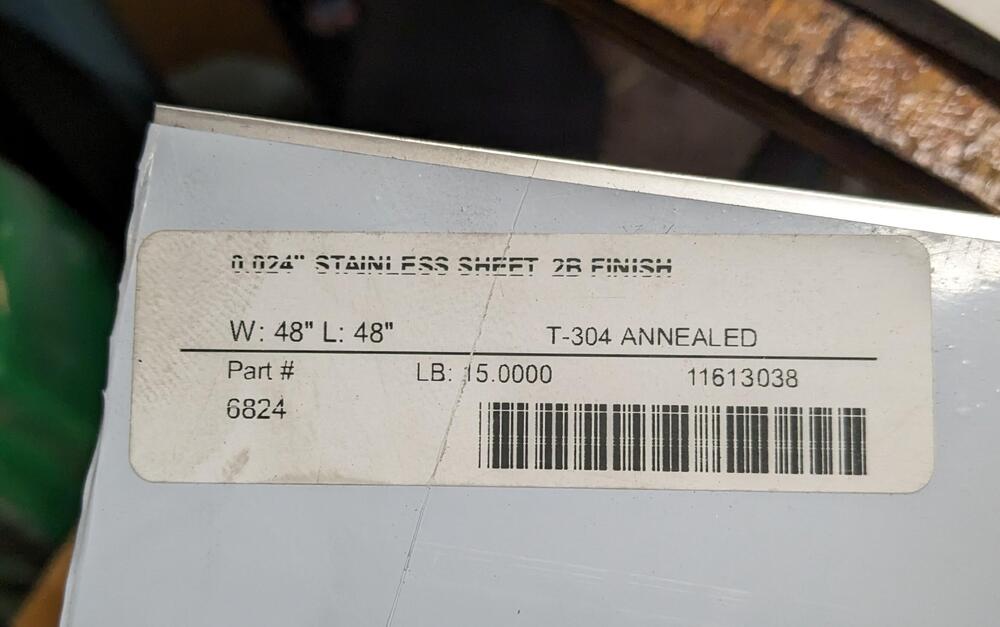
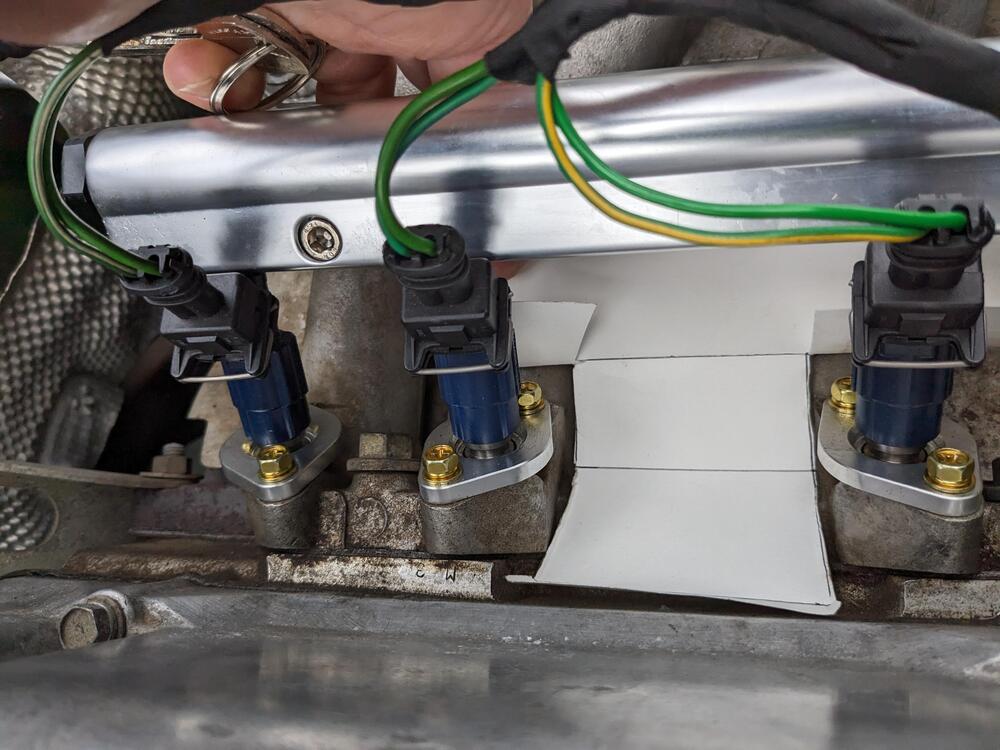
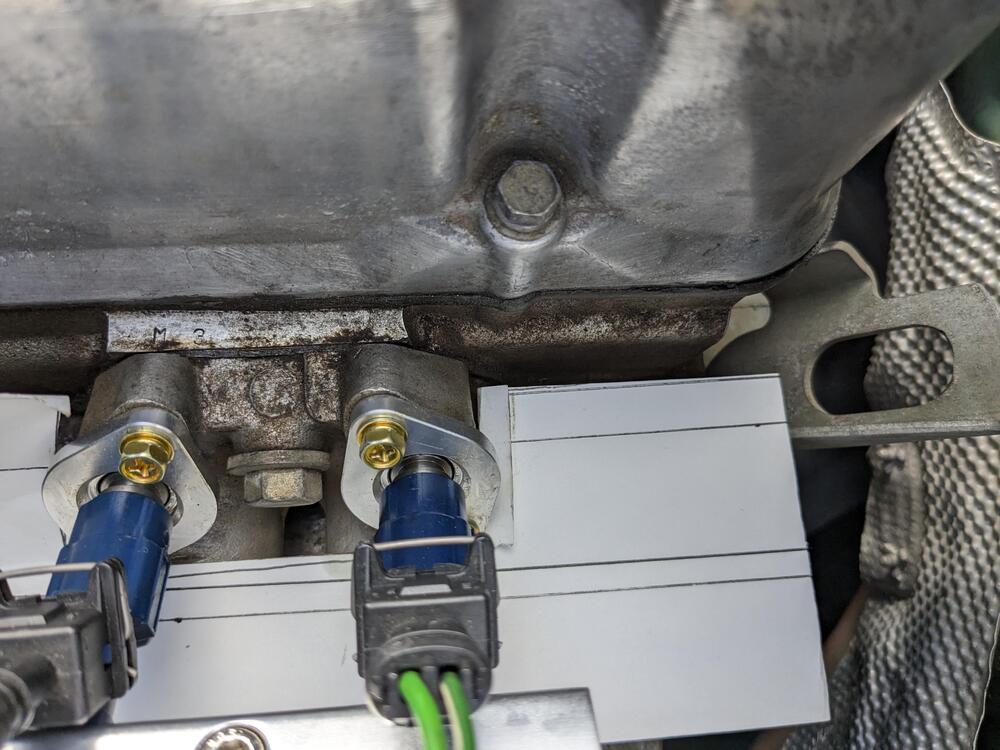
It's the same as any of the 90's-2K gen systems used before they went to entirely returnless in tank modules. Return is moved from the rail to the regulator, so only regulated pressure enters the feed and rail. Works as expected, and no additional heating of the returning fuel. Did you mean it may aggravate the hot start condition when used with a stock rail? That is conceivable. In any event, using the larger volume Billet rail seems to have removed the issue. I expect the extra material and volume within is what did the trick. Besides that, I still made the heat shield today, off the previous template. I used some left over T-304 sheet I had bought pre-covid, when the prices were still reasonable Had to chop 3" off the left end, I miscalculated that. Several in/outs to get the fitment right between the injector holders EDIT - going to have to re-wrap the injector harness to align with the new rail - not happy with the way it looks now 🙄
-
Good thoughts there. I can easily measure the two sets of injectors & note the resistance values. As with the Clock thread, I always get ker-fuddled when doing the math on resistance values, although in this case it would simply be addition, since the ballast & injector are in series, not parallel. Then use Ohm's Law to figure out the Voltage or Current passing? EDIT -I was just looking in the service manual, it doesn't actually give a test value for the resistor, just whether there is a voltage continuity in each individual injector circuit.
-
Thanks for the input - I do actually see a little leaner idle once the engine is fully warmed (15.7 range instead of 14.7) when idling after a drive. I can always adjust the potentiometer to compensate, but then it's not a hands-free system. I guess I will make a jumper for the two connectors & see if it changes that aspect. Otherwise, I don't see any reason to alter it, it feels much smoother overall, and as mentioned, the hot or cold crank times are MUCH better with this setup than the old.
-
@Zed Head - just to revisit this - you left the injector ballast pack in place, and ran with high imp. injectors for an extended period? Can't find any definitive on line info on leaving the system this way. I don't want to run into issues down the road due to the reduced current to the injectors. It certainly starts (shorter crank time) & runs much better with this setup. No sign of heat soak, however I'm still going to make an additional heat shield to protect the composite injectors. The only reason I am reticent to touch them is potential need for re-wiring that end of the harness due to the age & exposure of the terminals/housings (if it ain't broke, don't fix it)
-
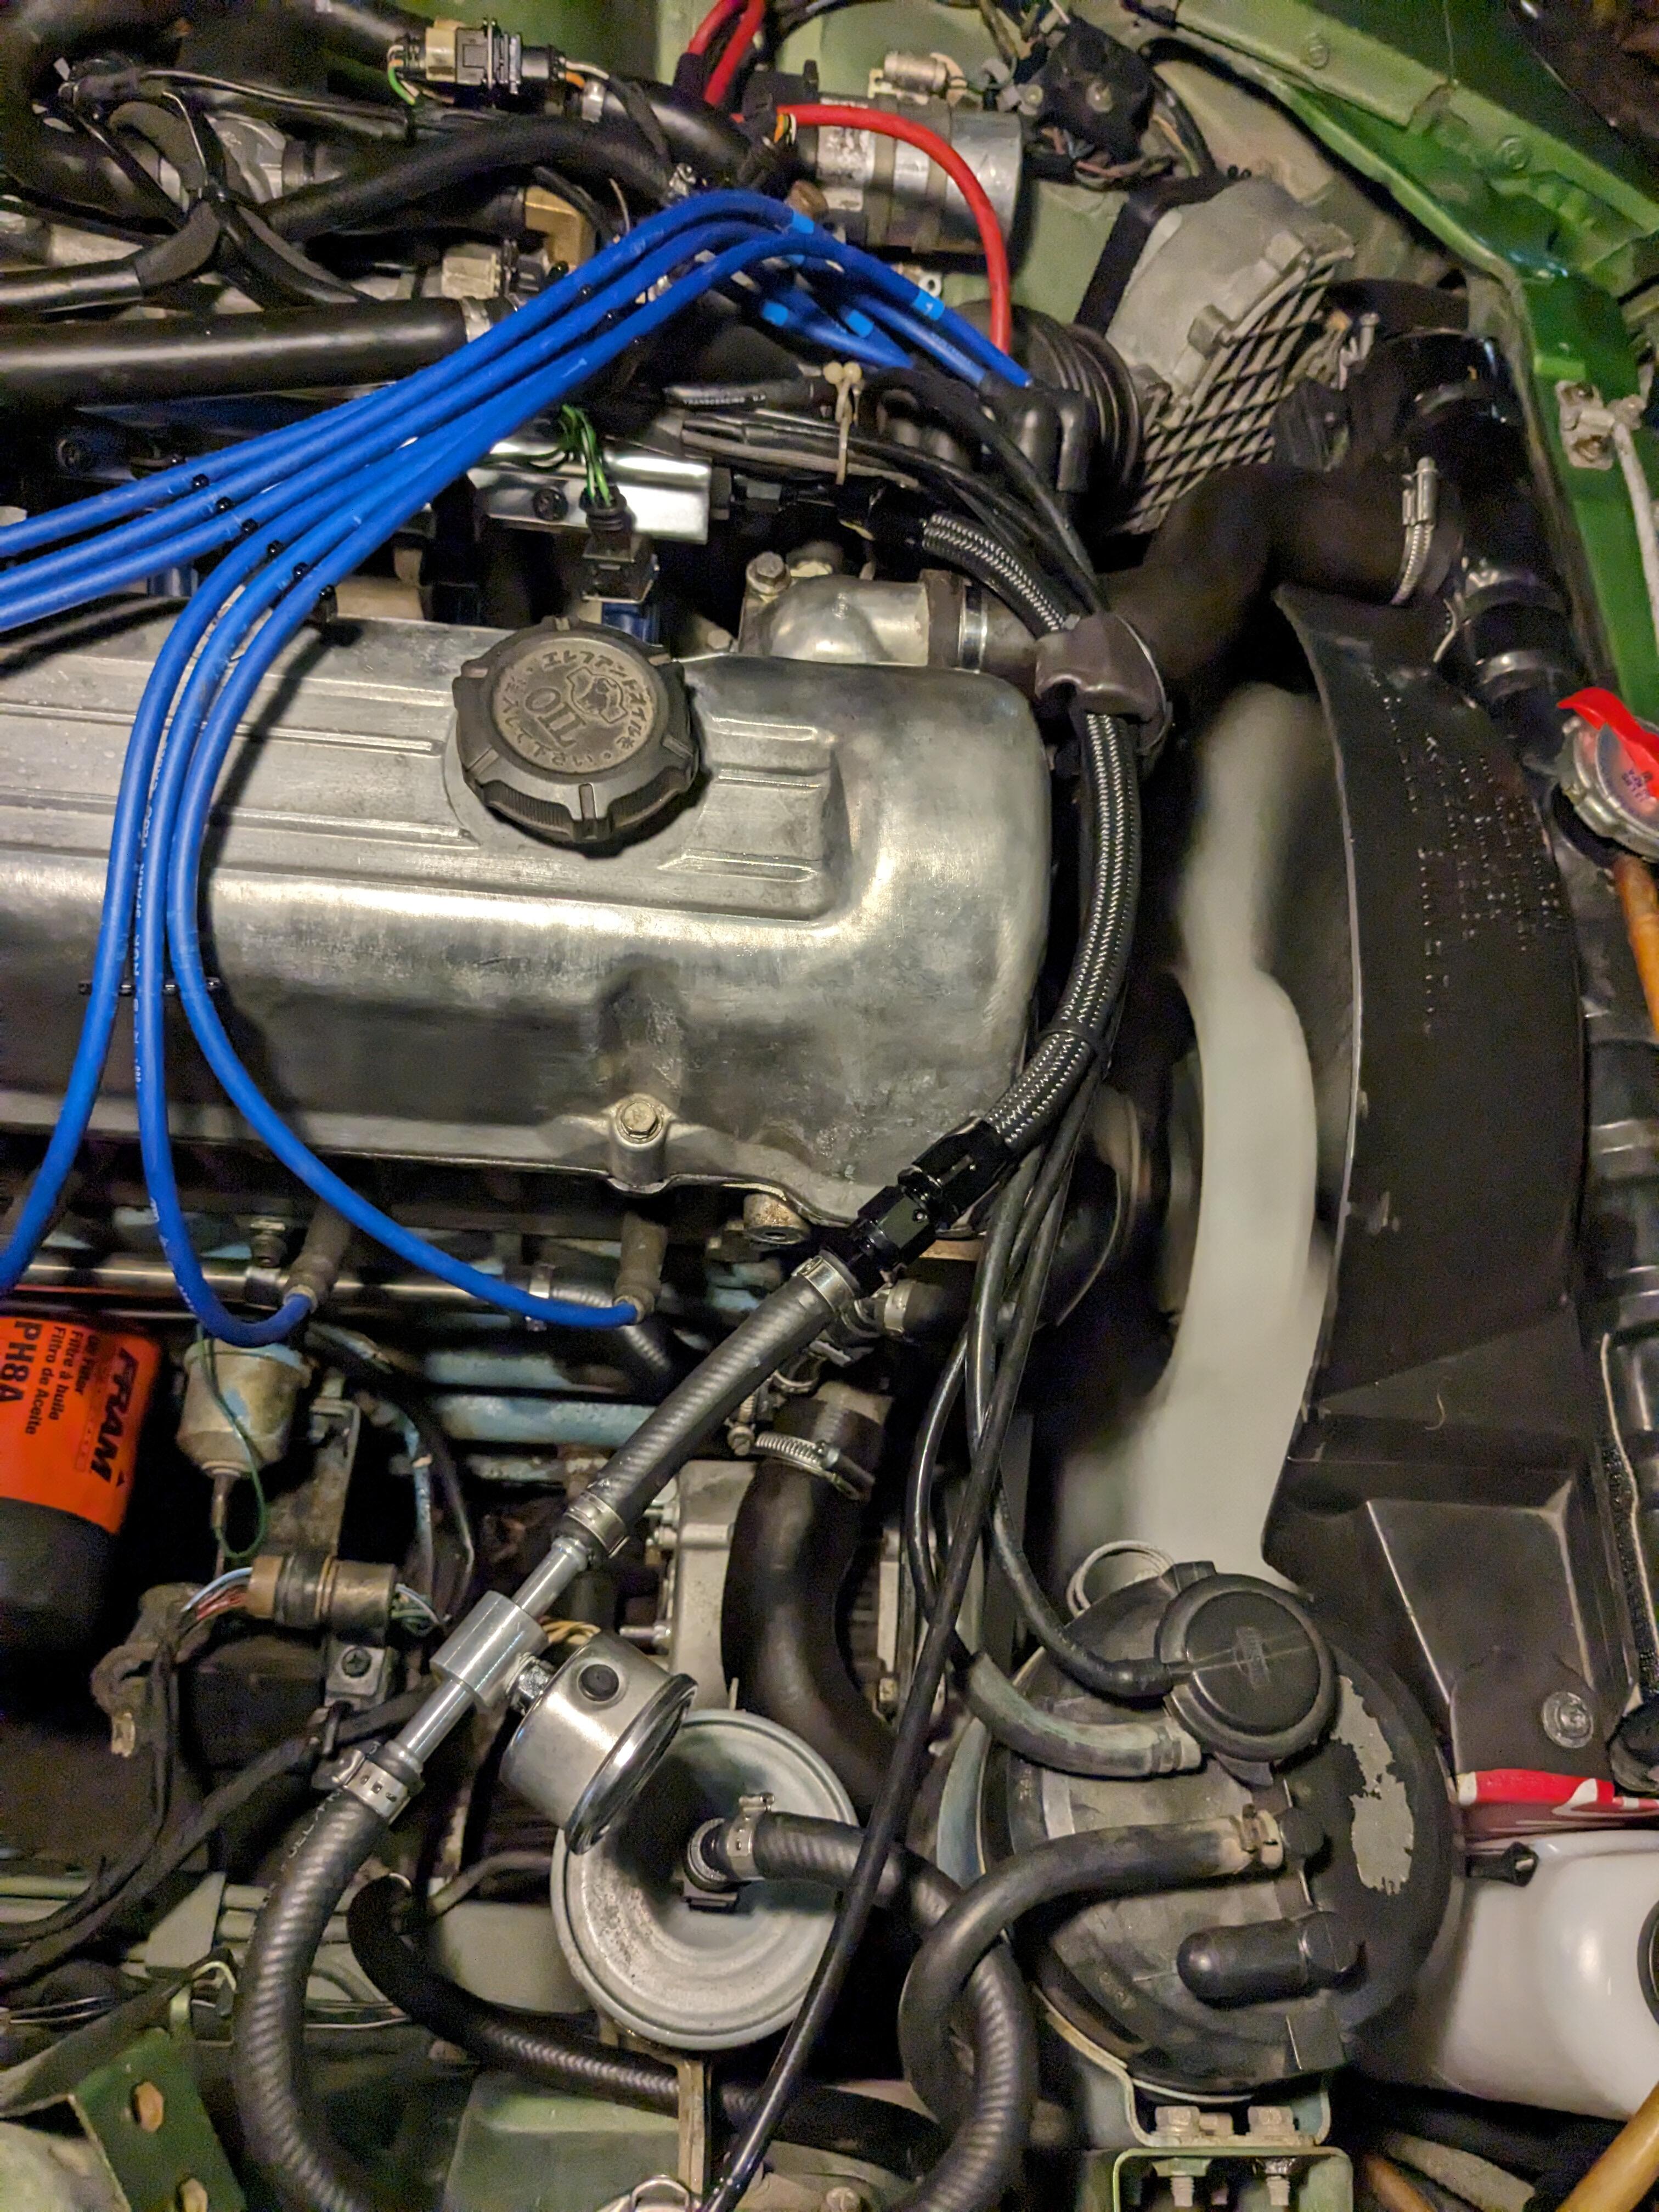
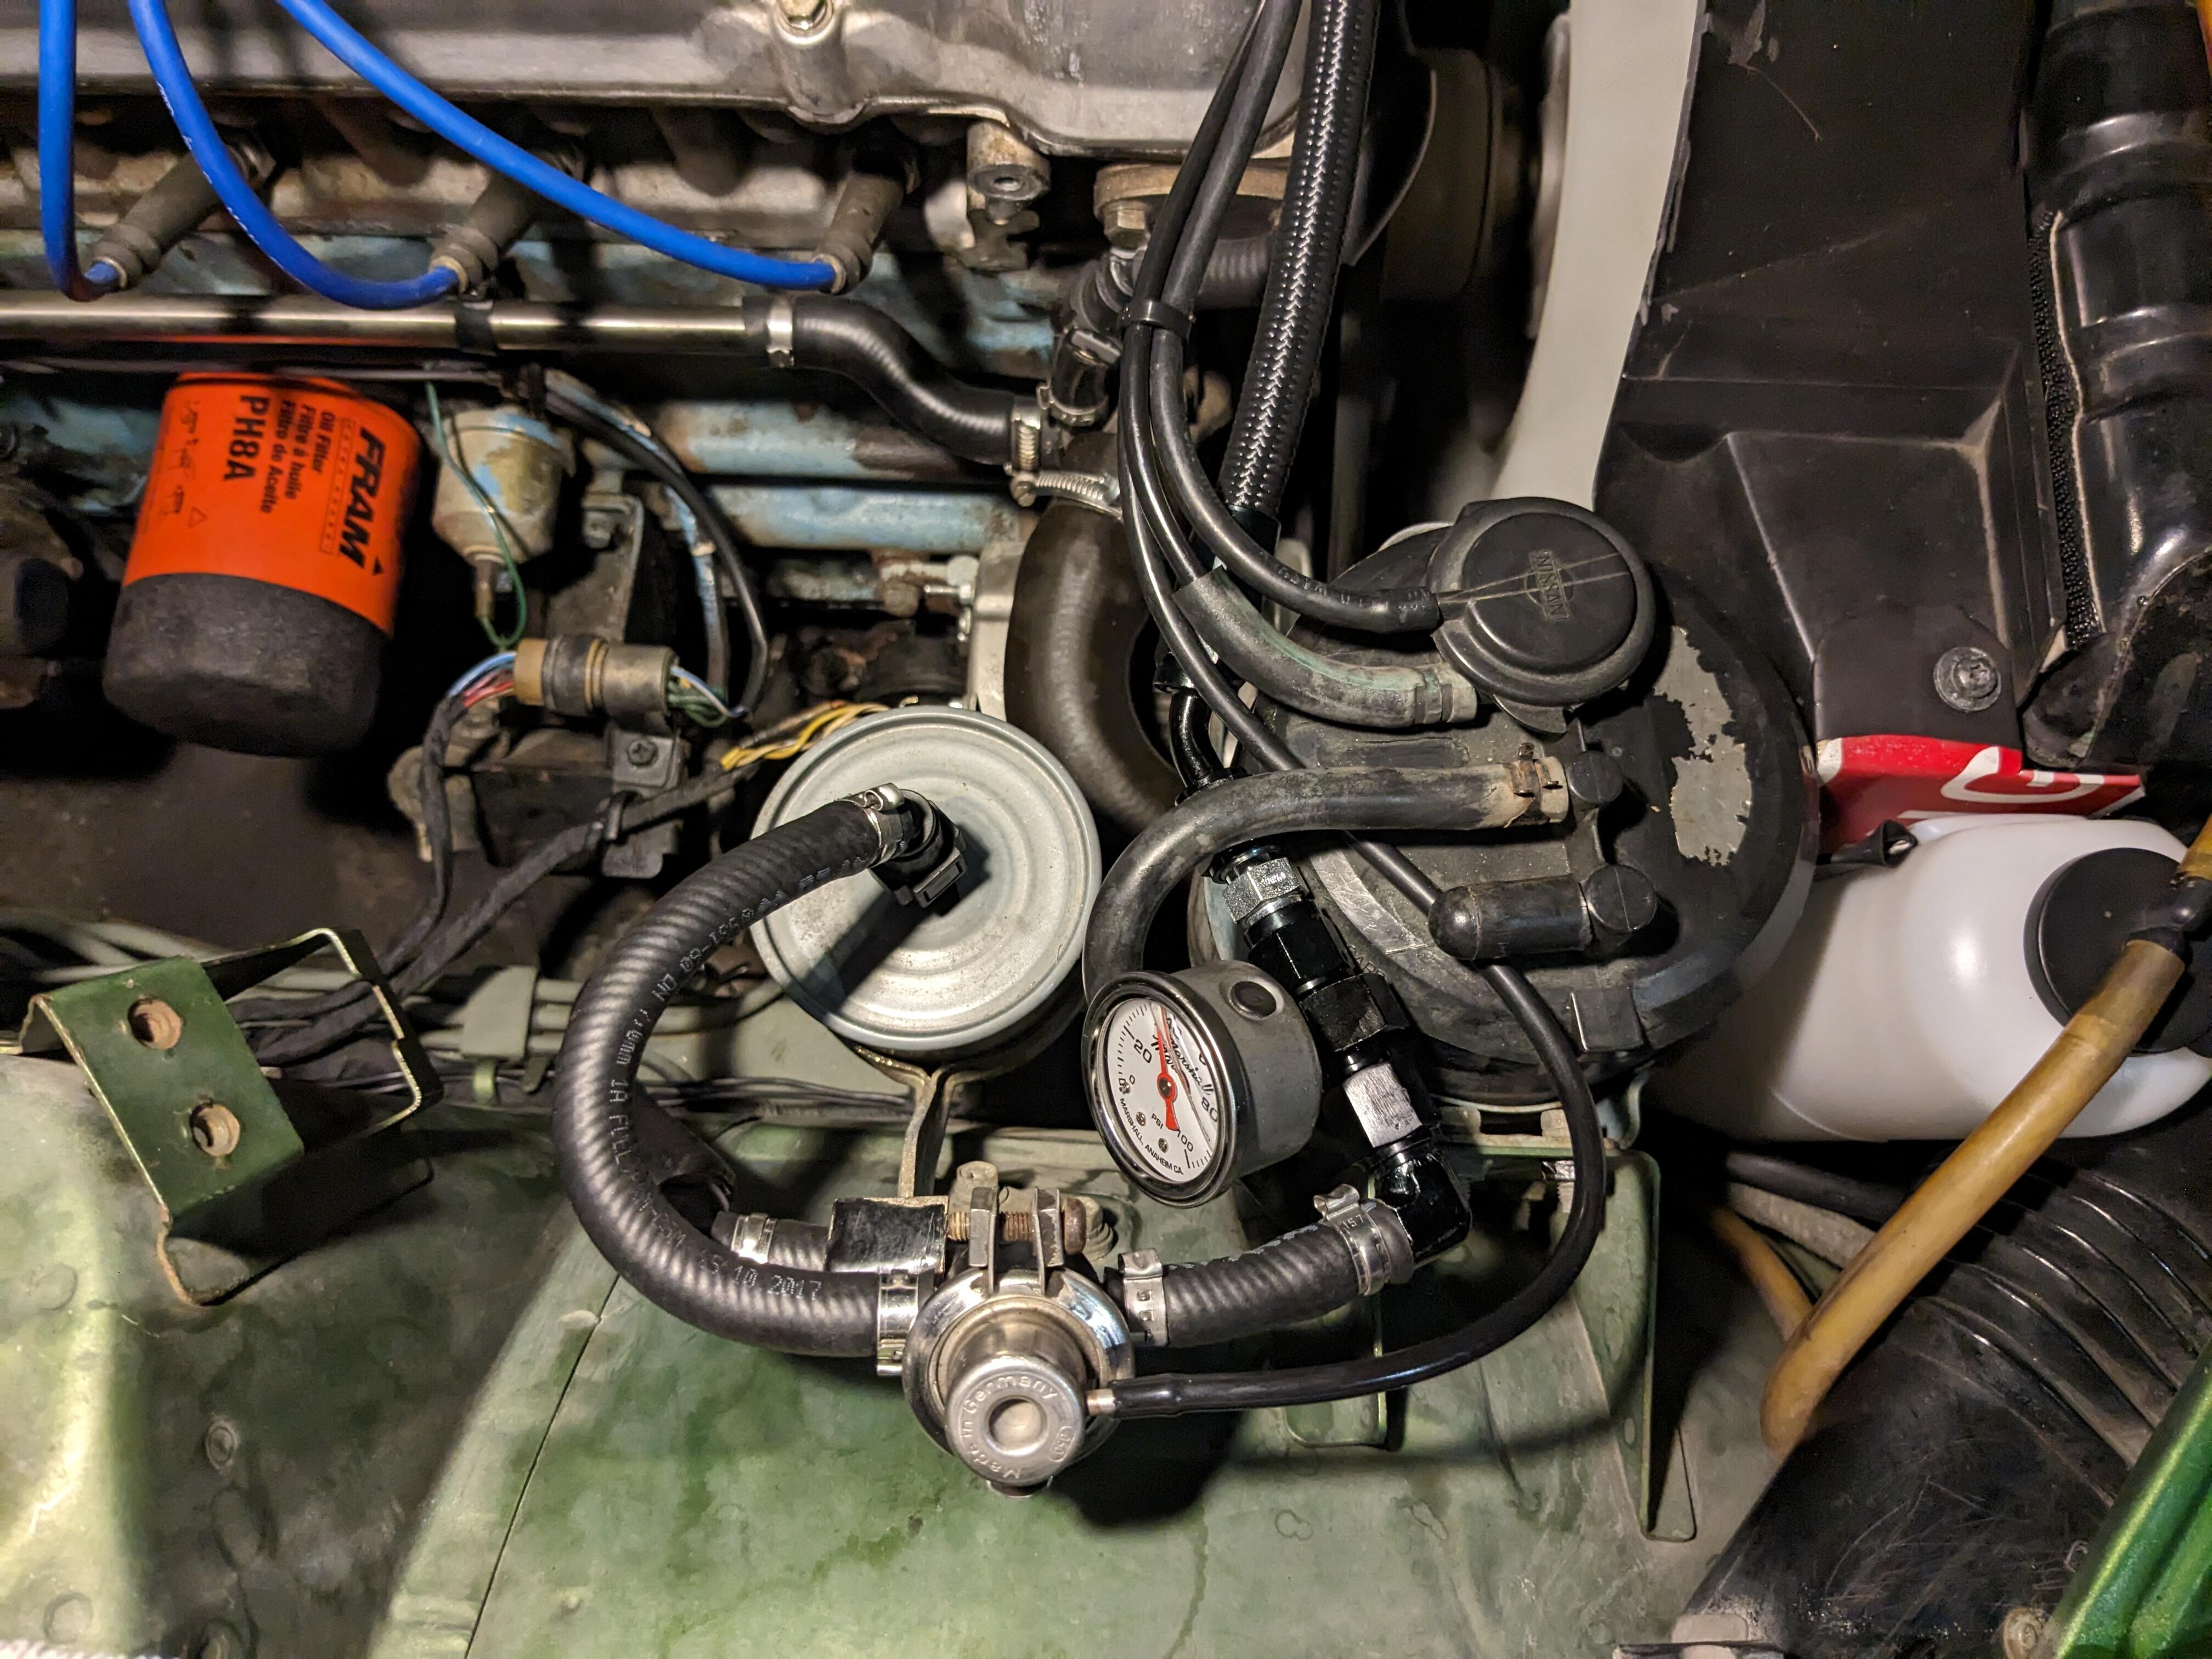
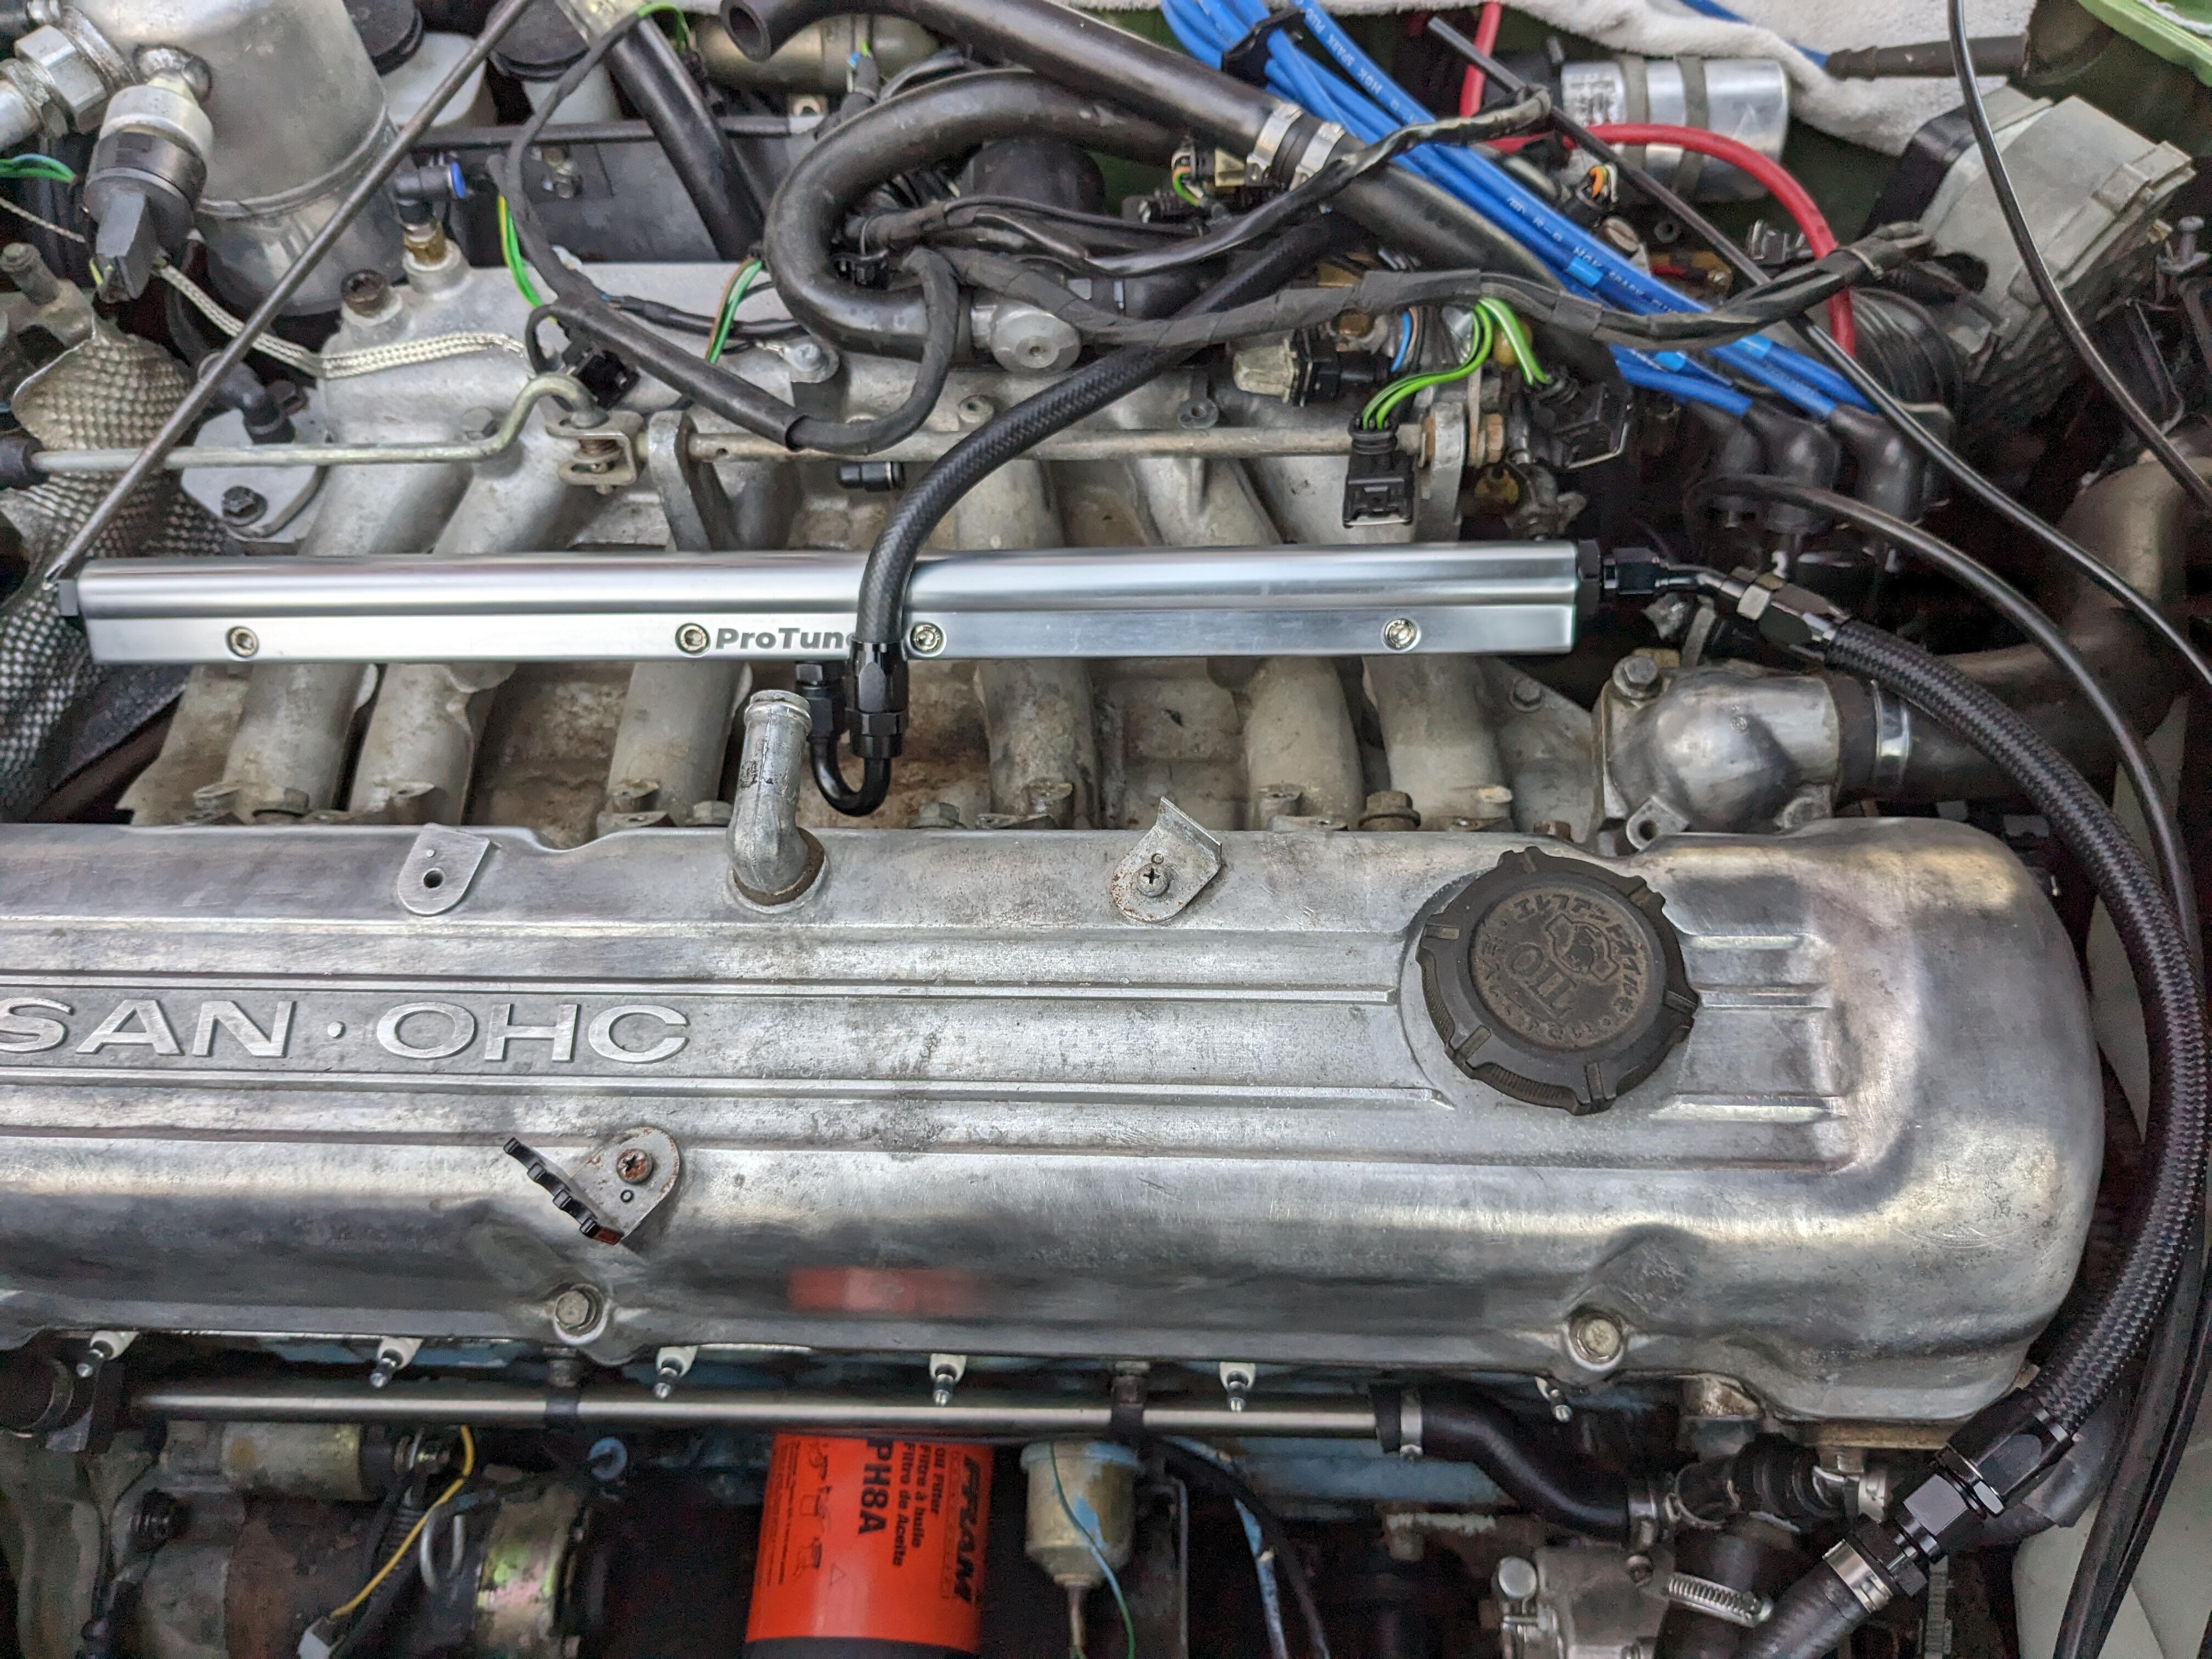
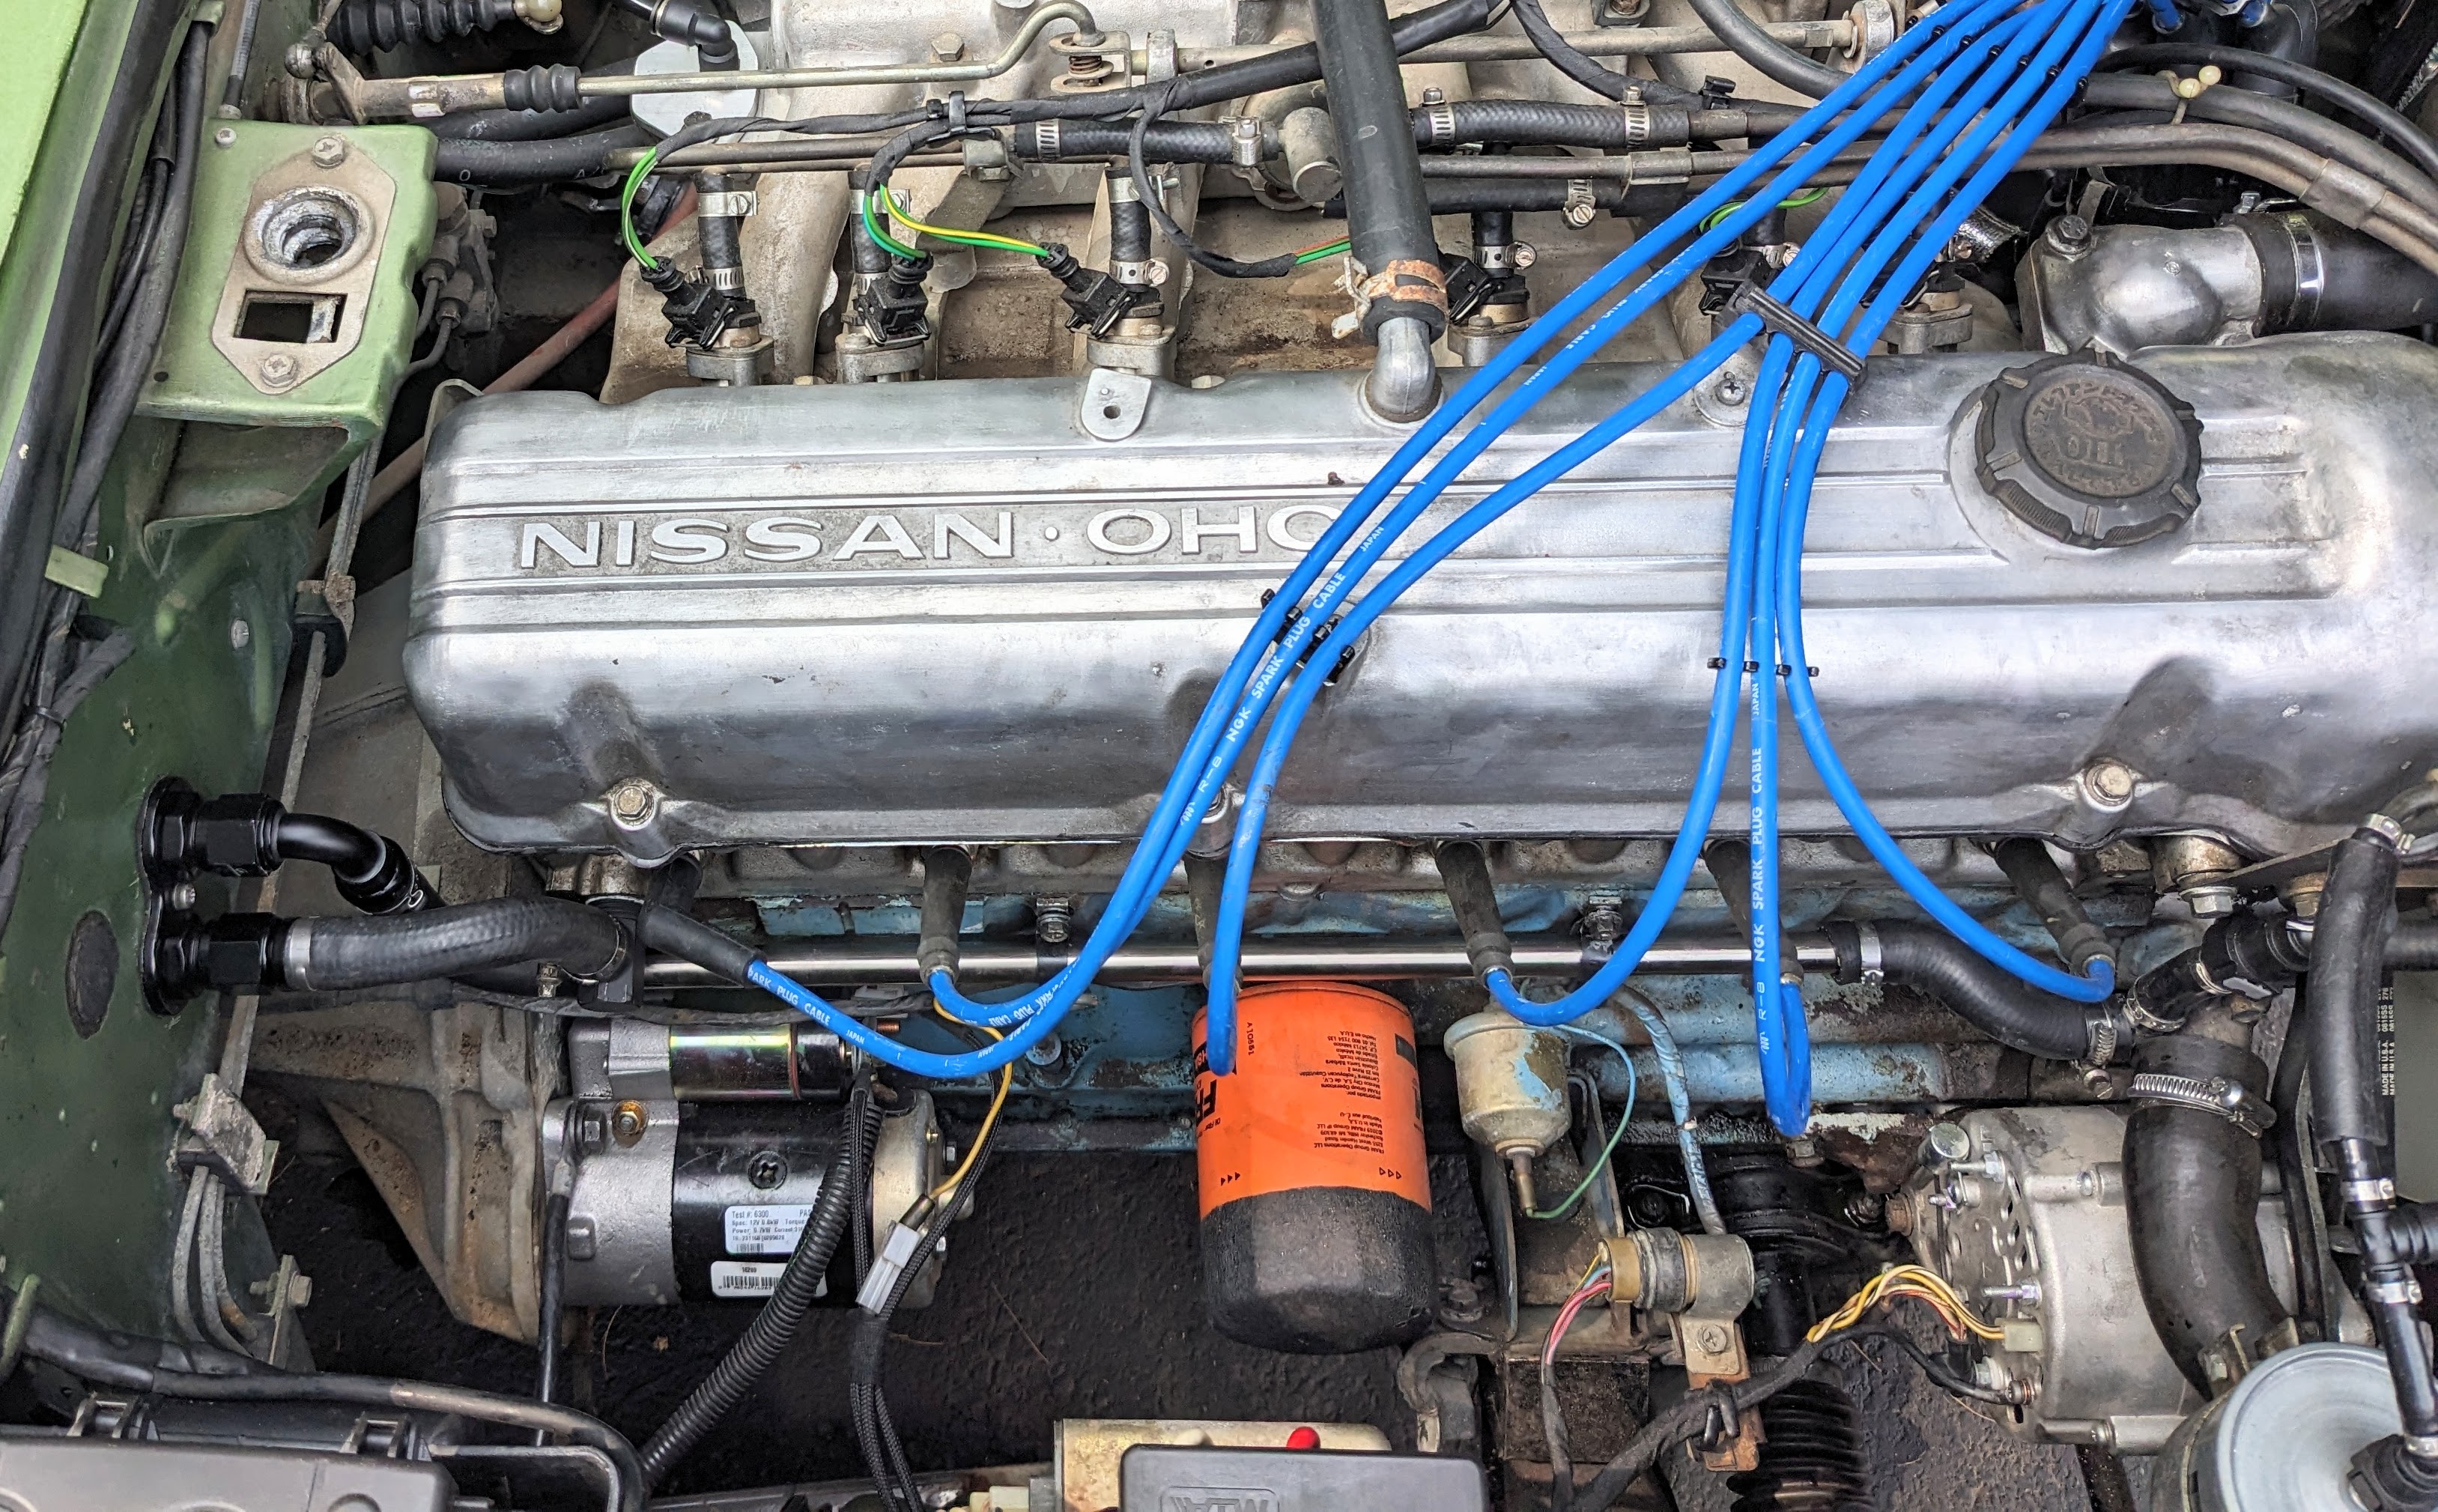
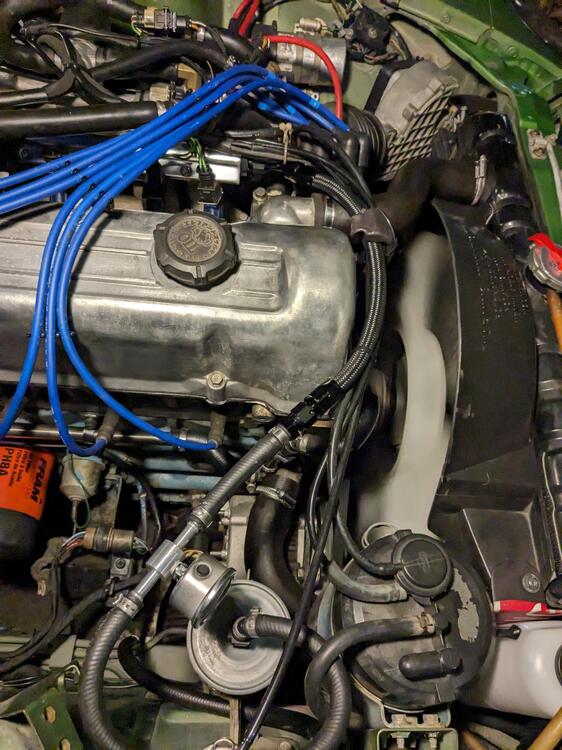
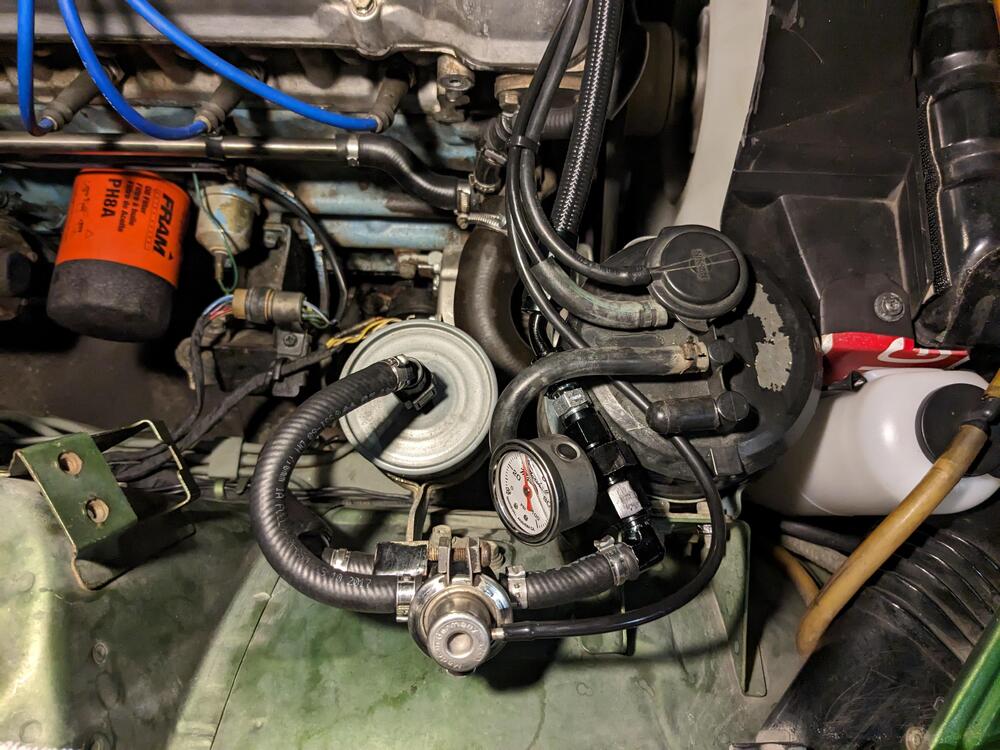
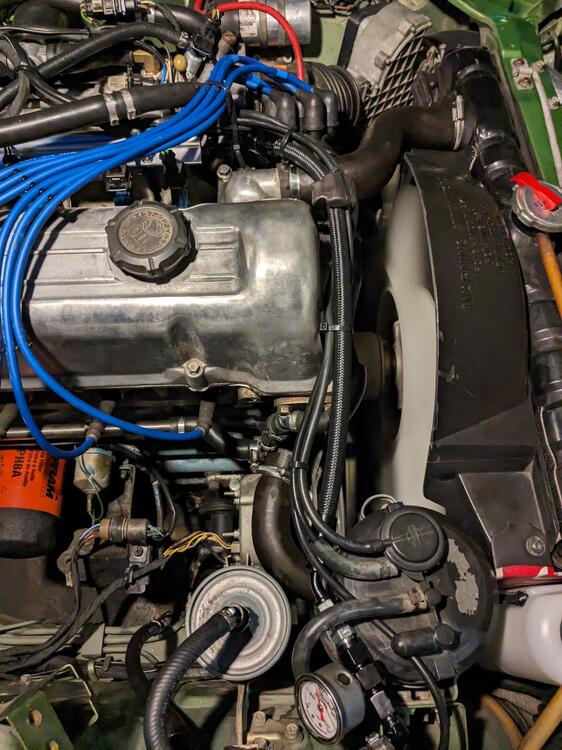
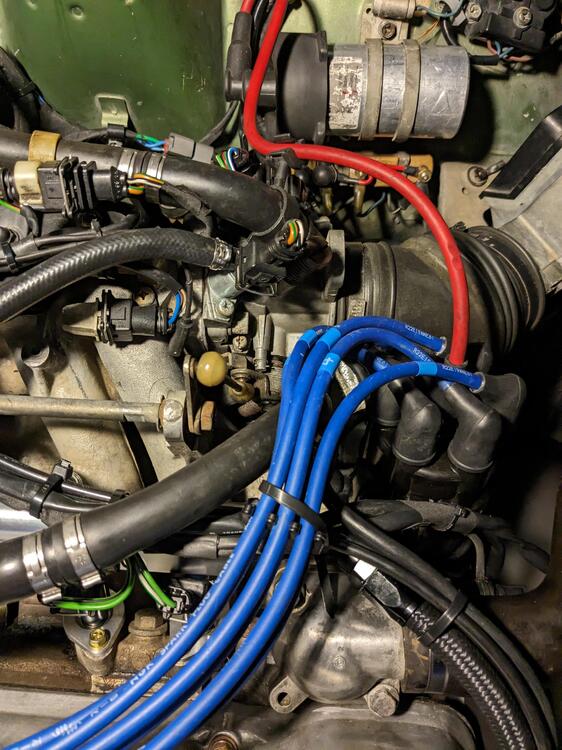
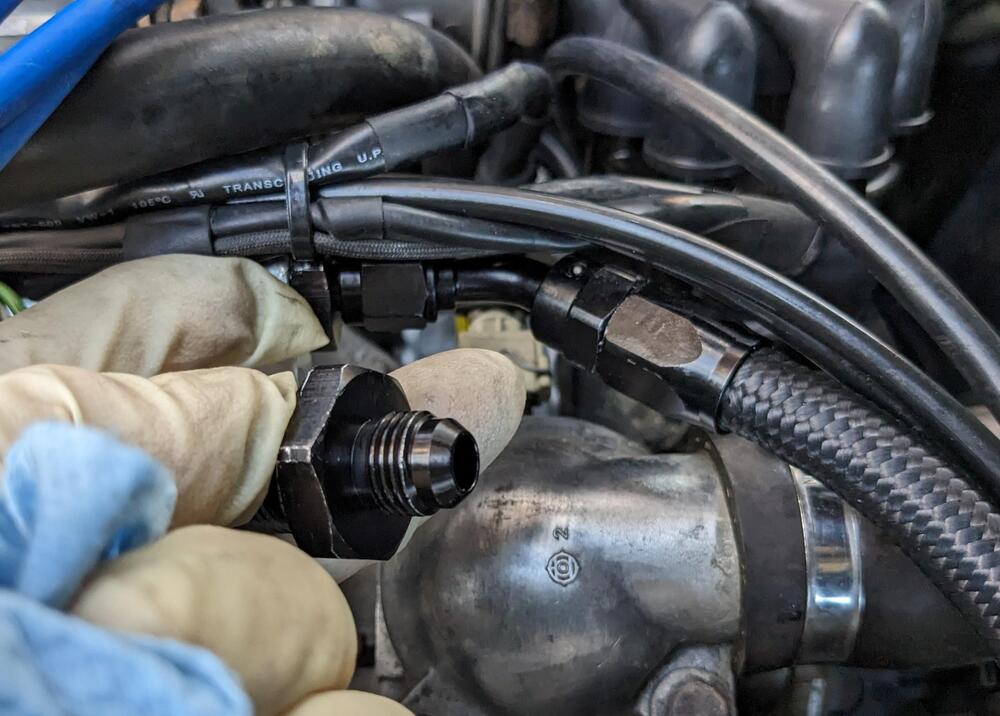
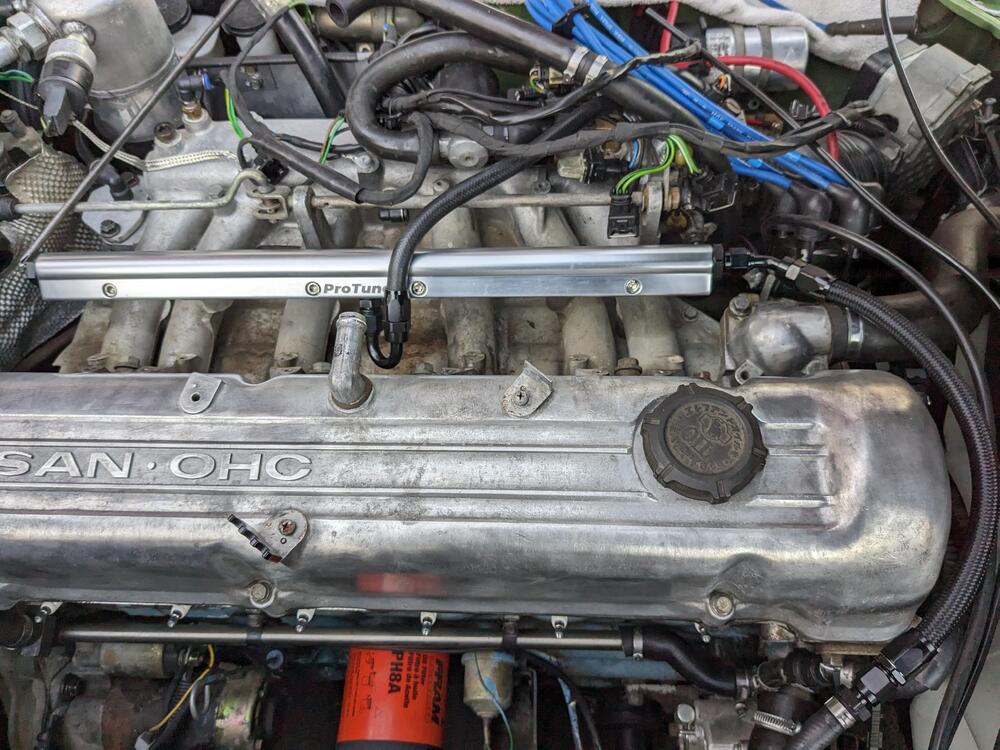
Forgot to add here - I had removed the Datsun FPR, and installed a Volvo FPR pod that incorporates the return, so no return on the motor I subsequently replaced the fuel rail & injectors, which meant modding the feed line I didn't care for the transition from the AN braided, and the barbed FPR port hanging out, so I reworked the feed side to tidy it up. Single 6AN braided hose from the rail to the fitting for the fuel gauge, then barbed 6AN 90º elbow into the FPR outlet hose. Not a huge fan of 90º fittings for the fuel supply, however it is all larger ID than the stock setup, and a smooth arc would have sent the line way to far forward Ignition wires need a new standoff, now the one on the stock rail is gone - I have a tie wrap holding them down so they don't rub on the underside of the hood
-
One of my sisters lives in Tunbridge Wells - so you are about 1/2 way between the two
-
I'm actually running the system setup at higher fuel pressure (3bar, w/vacuum reference), and higher ECT values (900ohm increase) to get it richer - with stock pressure & injectors my system was markedly lean - noted once I had the WBO2 in place to monitor AFR's.
-
Yes - I haven't experienced it today, but I didn't drive it under the conditions that previously instigated the heat soak. See what happens over the next couple days. I'm going to make the additional heat shield anyway.
-
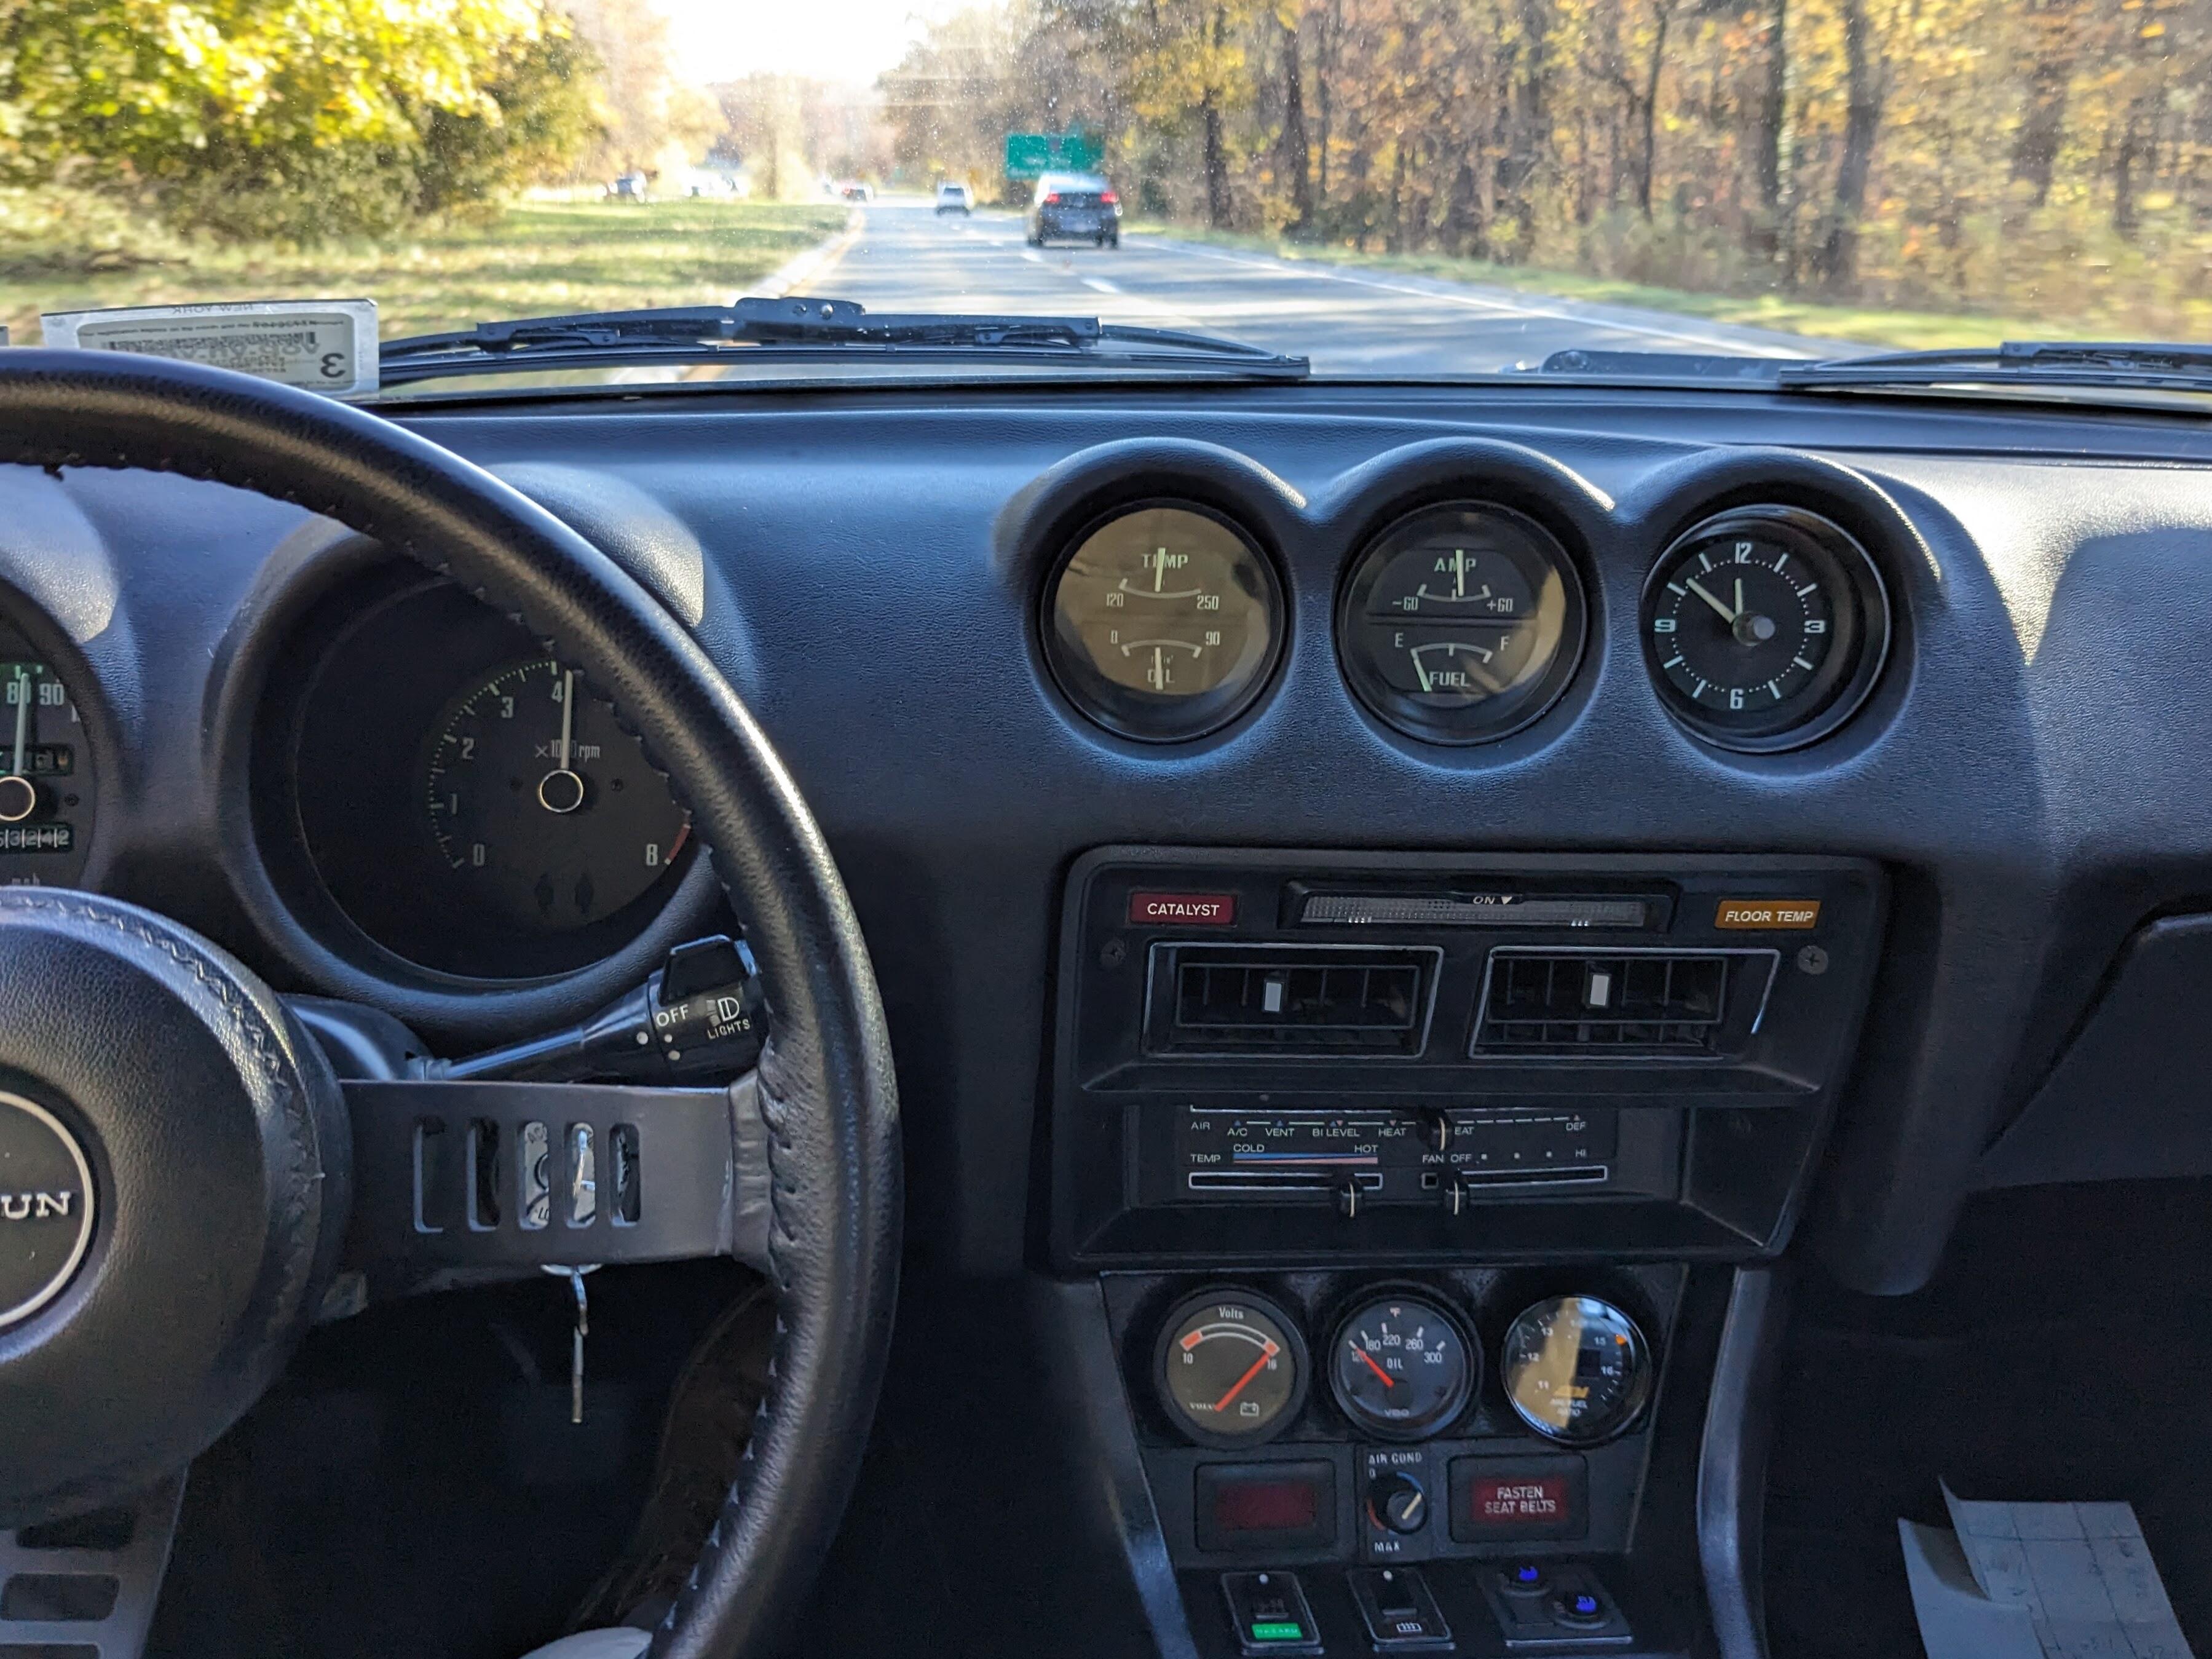
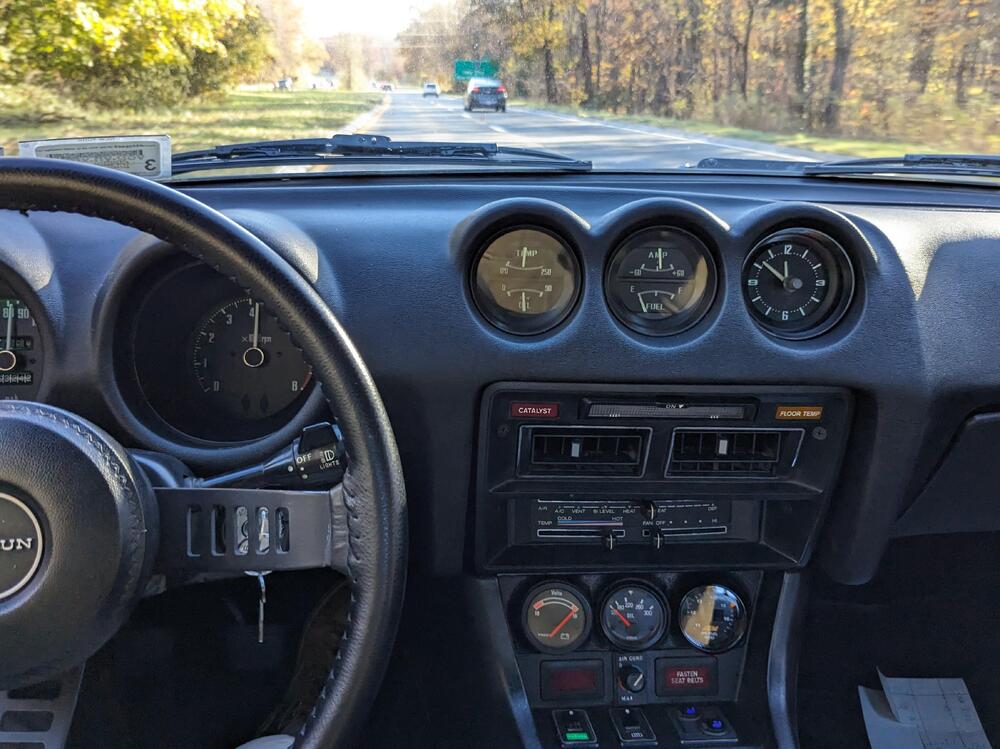
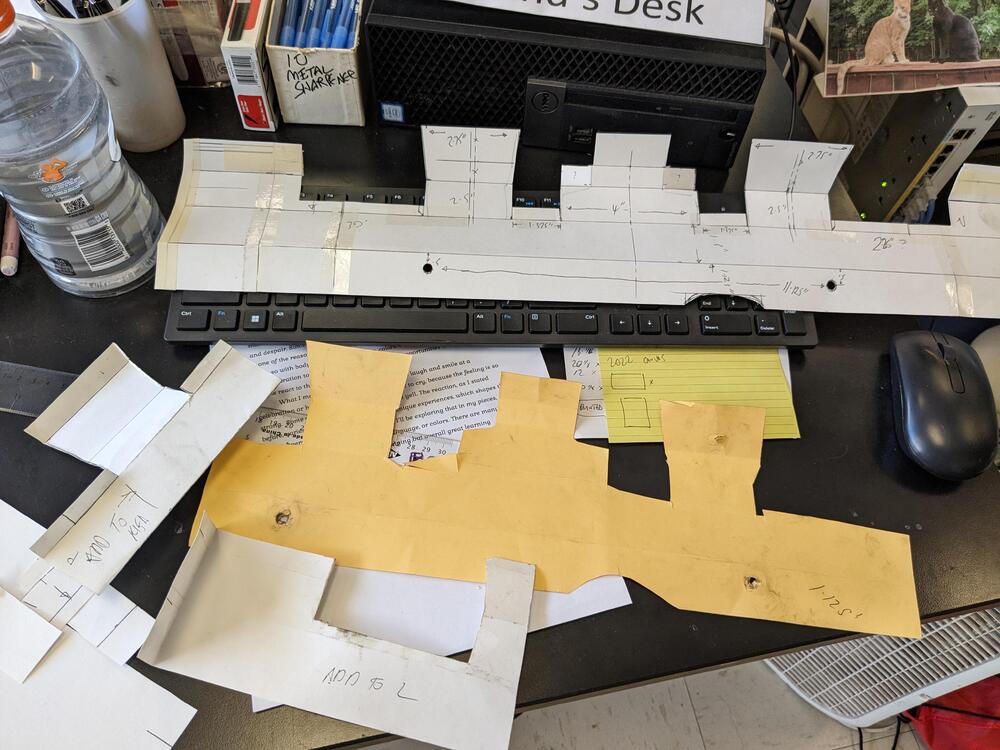
I used the injector flow chart to search for injectors in the 200cc range, then searched for the Bosch number, rather than searching by a model. Volvo also used 0280155746, which is a 19lb/hr flow rate. I bought the 0280155712's from Precision Auto Injectors ($144 for the set, incl. $25 core charge)- they are reman, however they have a lifetime warranty. I have also bought Bosch reman's from a company off eBay, and they also give a lifetime warranty (which I used after buying a set for a Volvo, then not using them for 5 years) but they didn't have either of the above. Car is running really well & starting well, with the HEI and the new injector & rail setup. Volvo 3bar regulator. Just a reminder that I also have the Pot. setup on the ECT circuit, set about 900ohms richer than the factory value at any given temp. I used that to dial in 14.7 at warm idle. Tried to get a pic with the WBO2 reading 14.7 cruising - you'll have to take my word for it 🙂 One of the ORB-8 to 6AN adaptors provided with the rail wouldn't seal in the AN line fitting, I had gas seepage. Swapped it out for the other one they provided & it's all good Working on the heat shield template
-
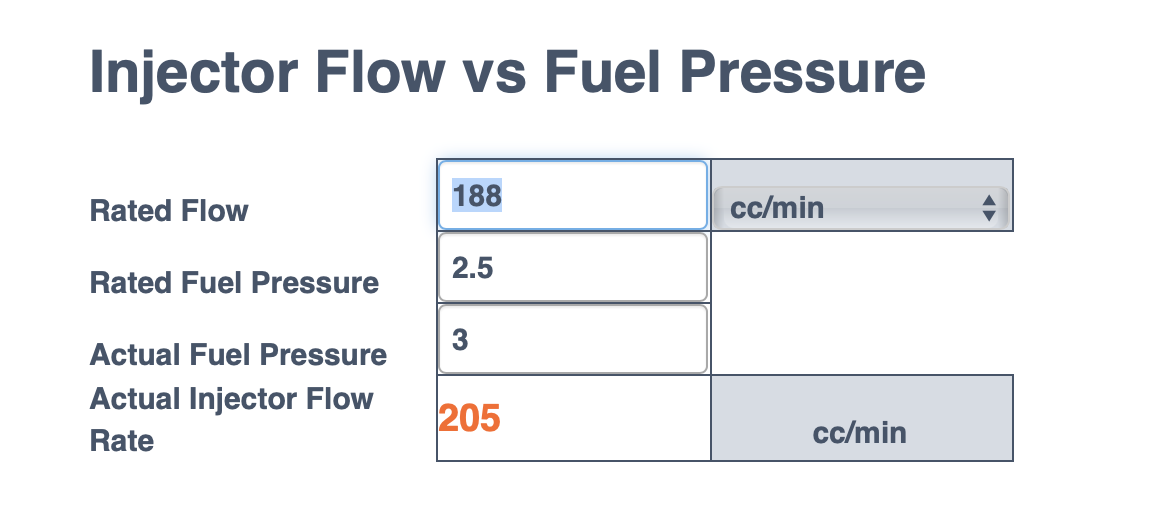
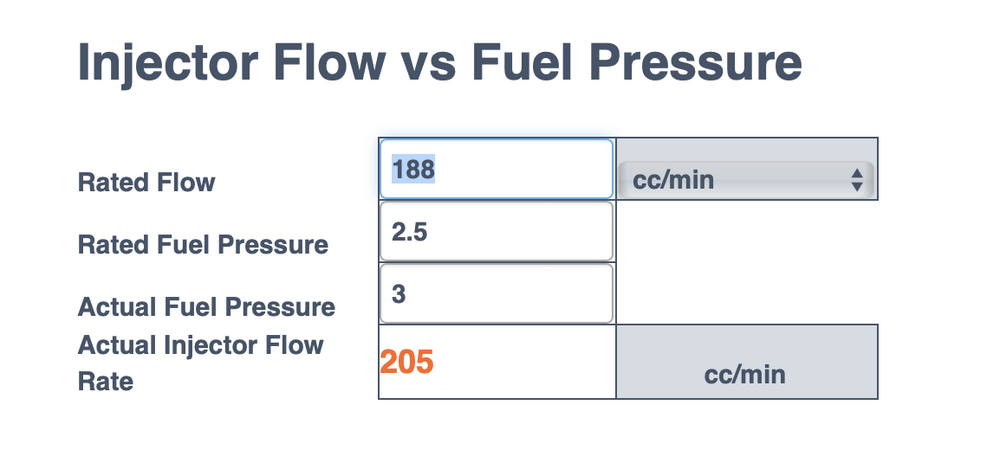
Thanks for the reminder on the injector ballast packs. -I forgot about those . It started & runs just fine with them in place - however they must be operating on lower than intended voltage with the ballast in place - not sure what that does to volume or duty cycle, if anything. I'll plan on removing them. I have a similar pdf I downloaded years ago from "Motor Man" - the only trouble with any of those is they don't give flow under varying base pressure, since 3 bar is the current standard. I used an online calc to get the screenshot I added. The AFR's are good as is - 14.7 at idle. I'll see how it actually drives tomorrow. I can always dial back the ECT resistance value if it does turn out to be richer than before, where I had the reverse problem of being too lean across the board. The new old style injectors I removed have no part numbers, so I have no clue what the OP's mechanic actually installed when they also did the harness hack job the car came with. The post I found a while back from chickenman had stated the stock injector rate @ 188cc @ 2.5bar, not 3. Which would suggest they are not 105's, if those are 18.1 lb'hr @ 3bar
-
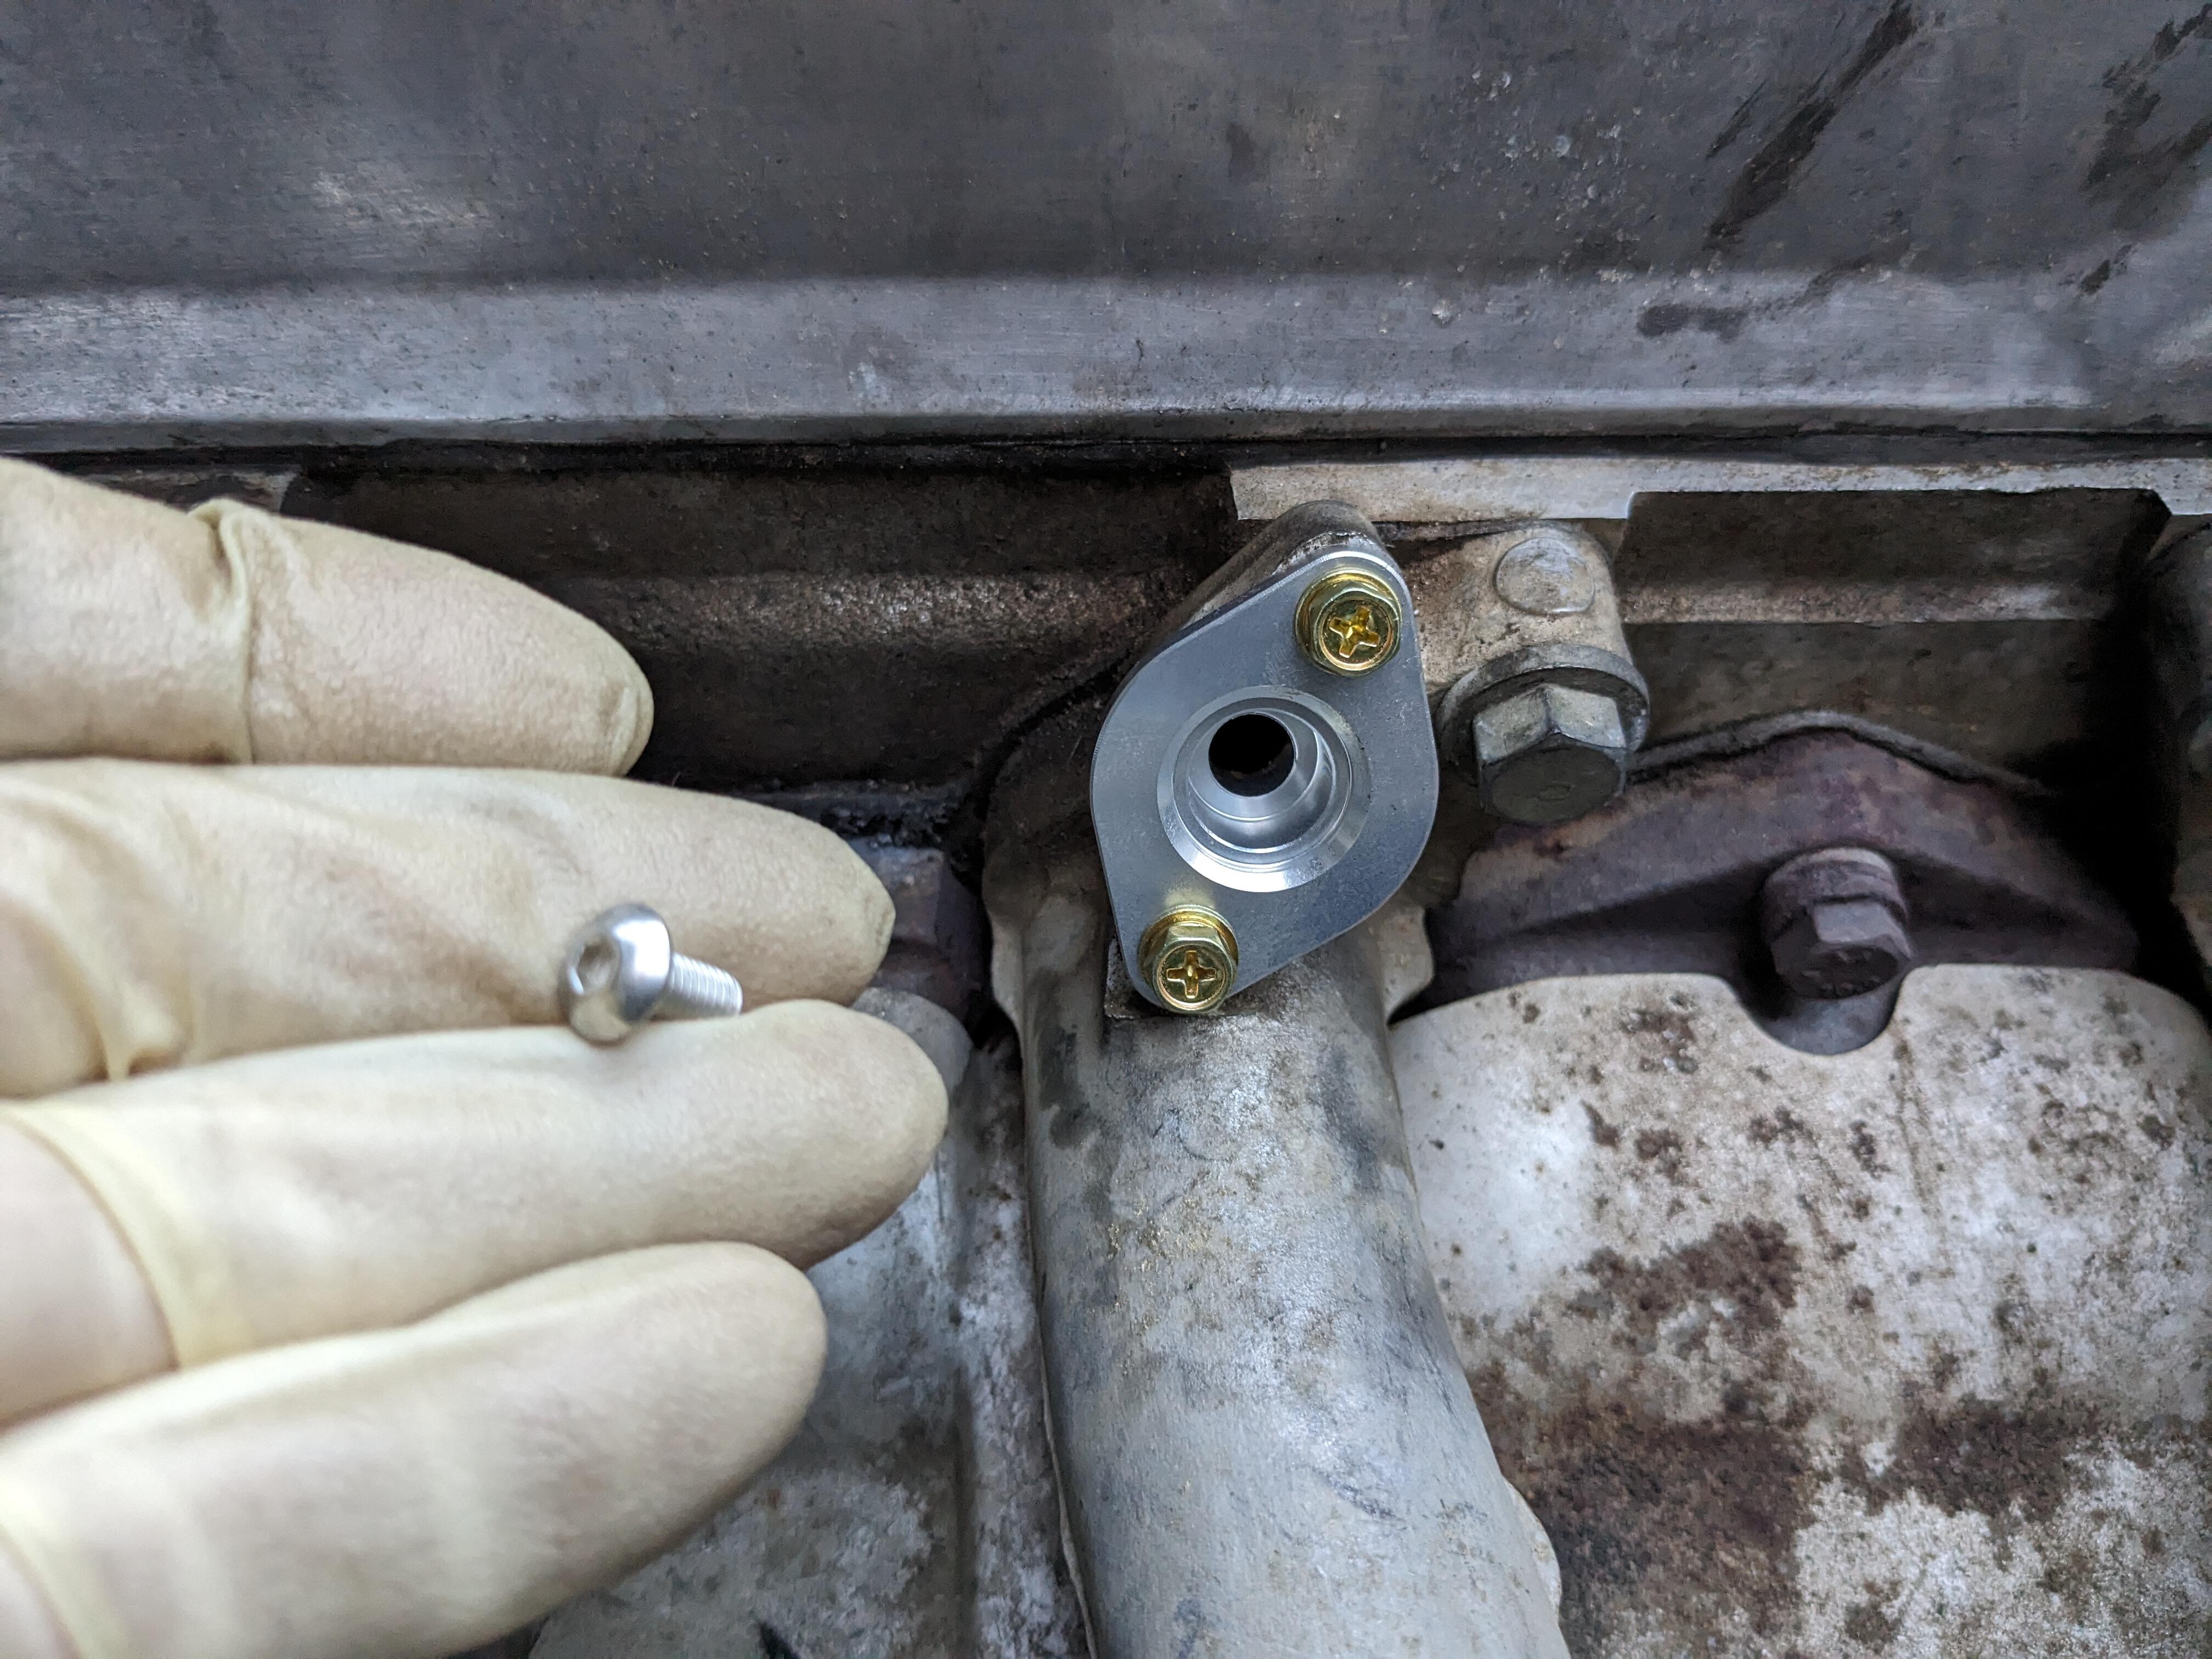
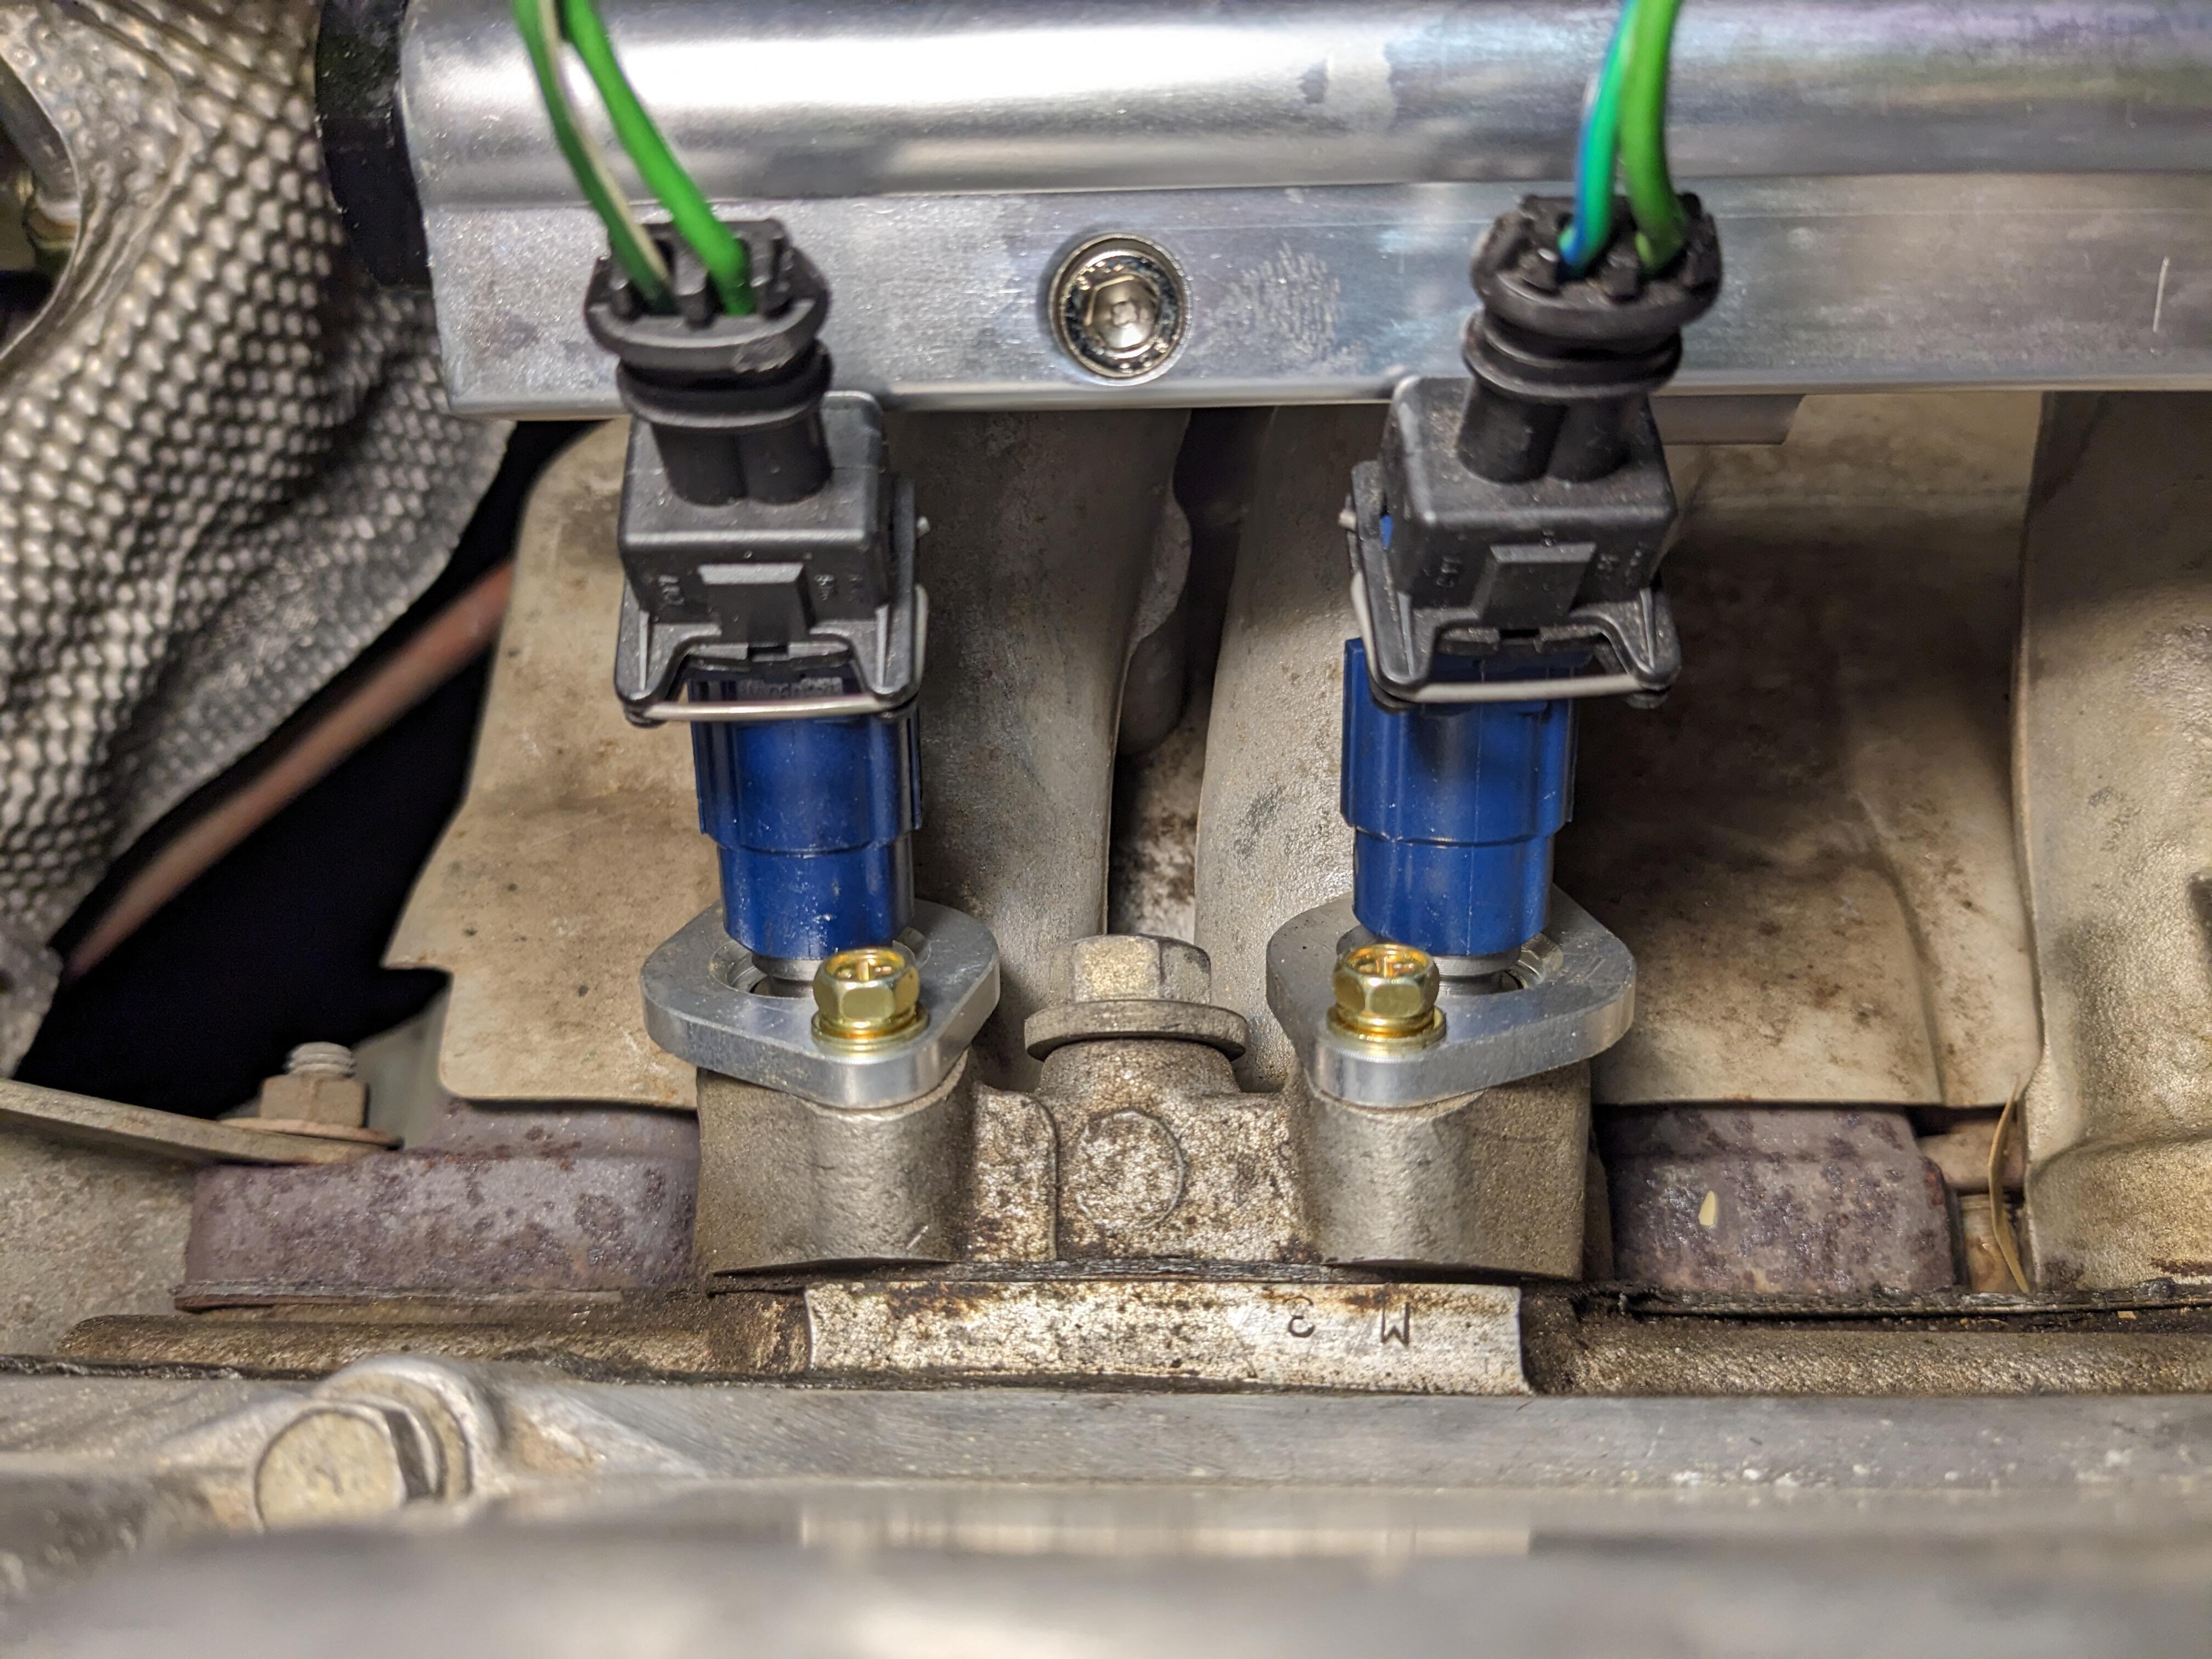
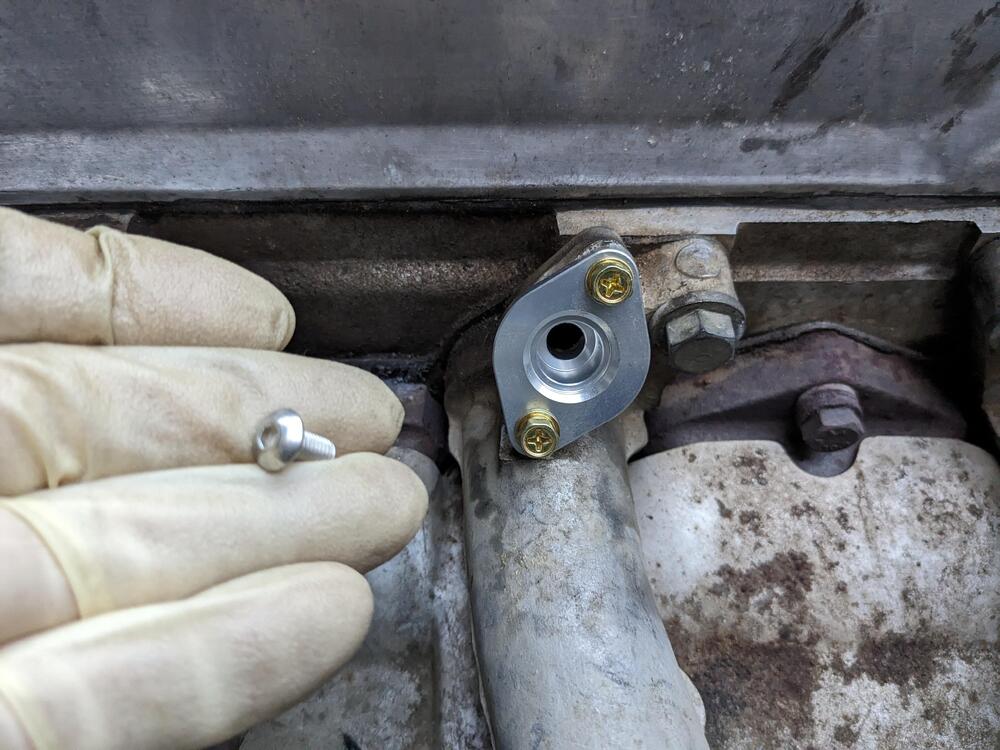
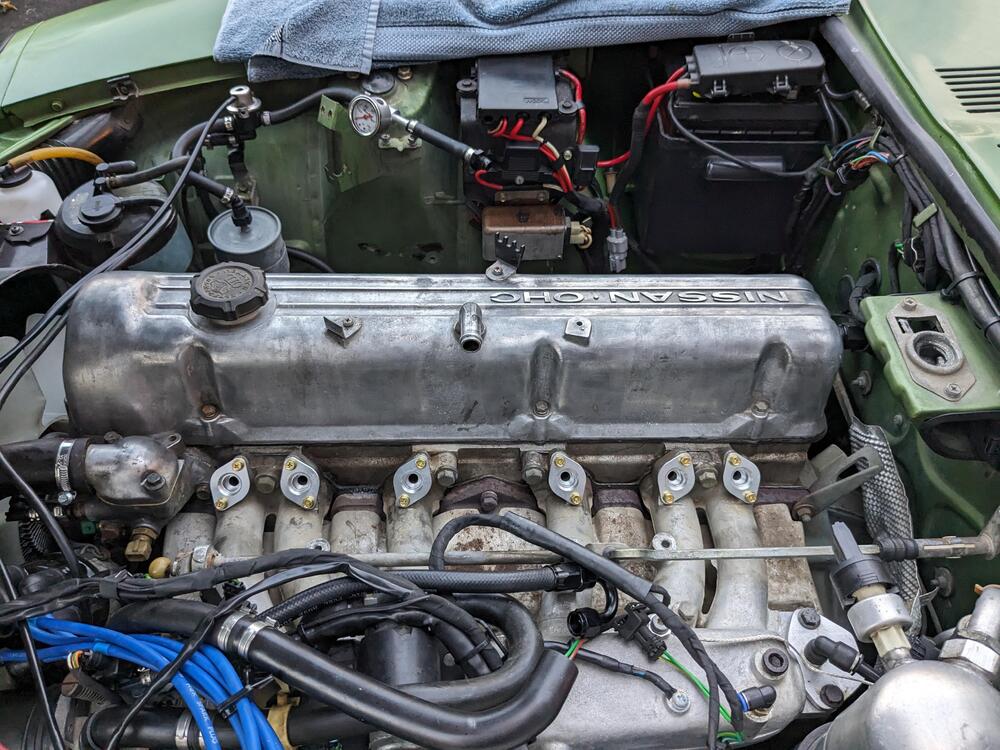
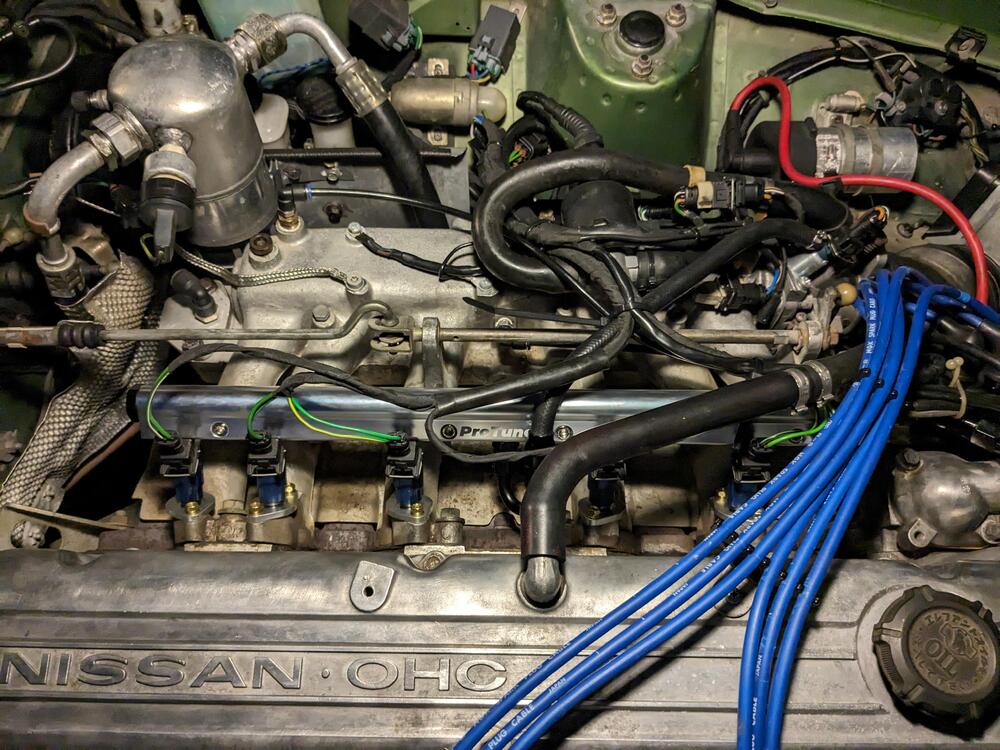
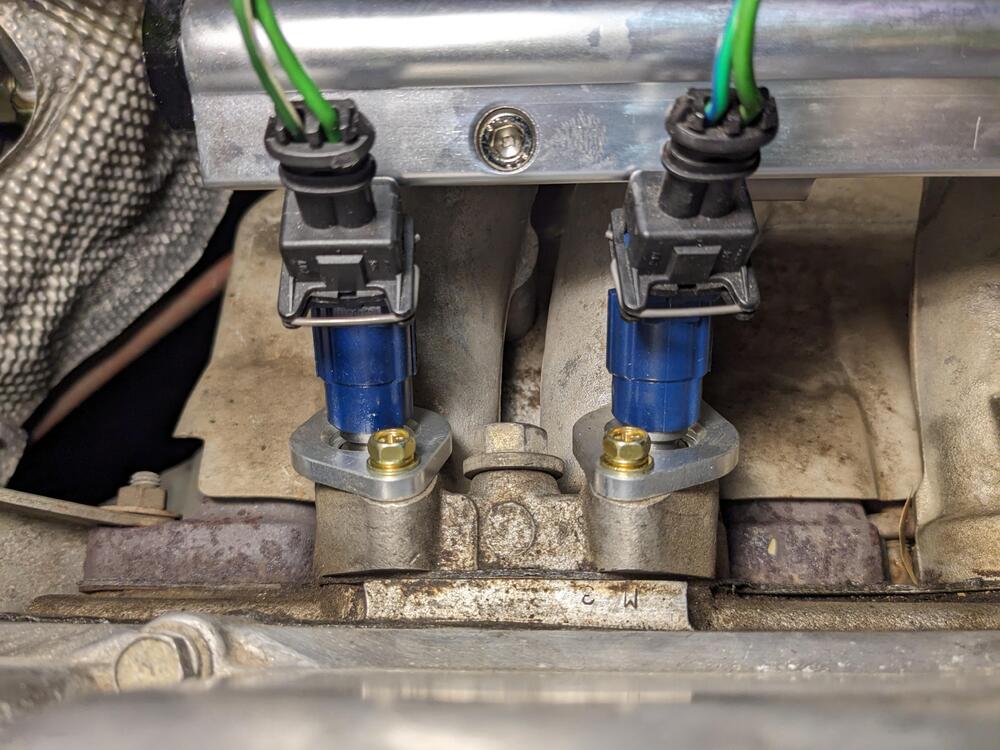
Test fitting the ProtunerZ rail & adaptors, made a new section of fuel feed using 6AN braided hose, and a 6AN U-bend to feed the CSV Adaptors came with SS Allen head screws, I don't like them. So, I used coated Sems screws Bosch 0280155712 205cc Added a support off the stock forward head mount point Back together & running. I'm working on a heat shield template.
-
We had a conversation on this - I had to look around to find it - it was in the FPR thread Stock are 17.9lb/hr - 188cc @2.5bar - which translates into around 19lb/hr @ 3bar - so I bought 19.4lb/hr - 205cc.
-
From my experience with rusted floors on 70's era cars, it's ALWAYS worse than it appears. Looking at your pics, until all the tar is removed, you're not going to know just how extensive it is. Since they added undercoat to cover up shoddy repairs, you will likely also need to remove material from the underside to properly evaluate the repairs needed to the frame rails, since the work will always involve repairs to both sides of any panel junction (floor to sill, floor to frame rail, floor to firewall, etc...)
-
Not sure that a carb setup would be a direct comparison, however that is good to note. I'm not likely to be buying a new aluminum rad yet, as I will need to reverse the rad flow / hose locations when I do the VQ35DE conversion. Edit - just noticed you are in Surrey. I was born & lived in Kingston-Upon-Thames until I was 10, after that we moved around various countries. Where are you?
-
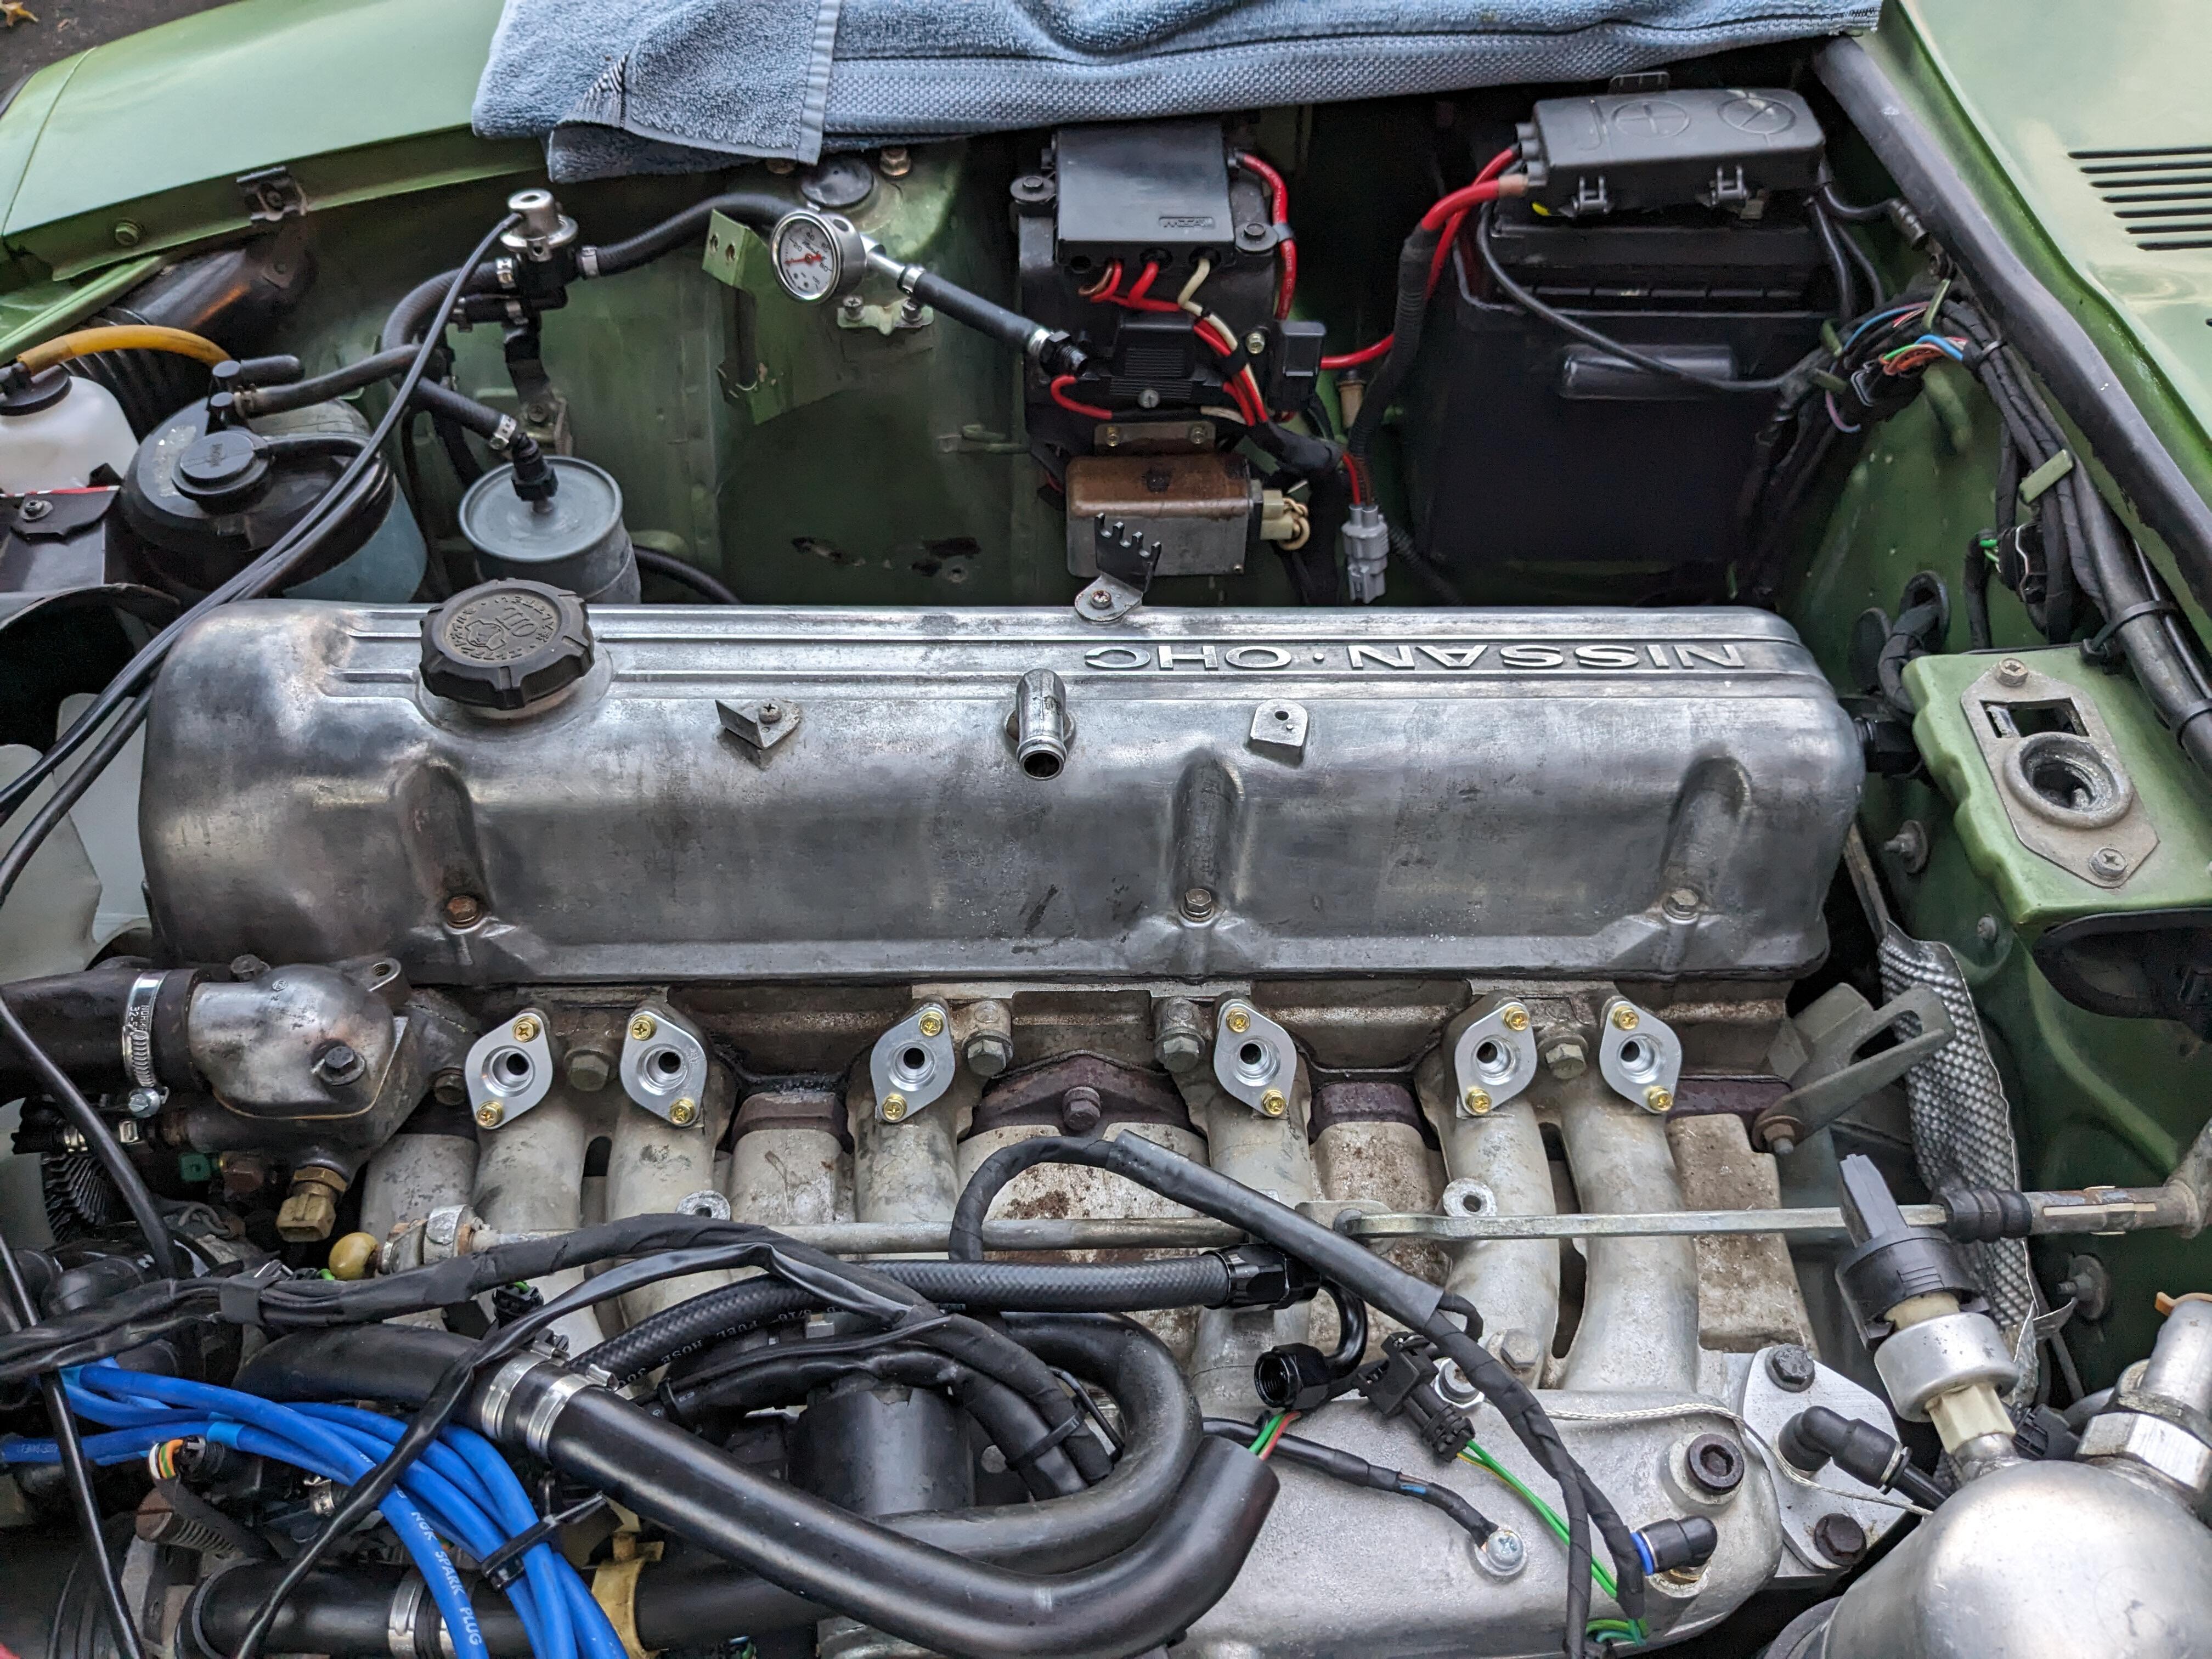
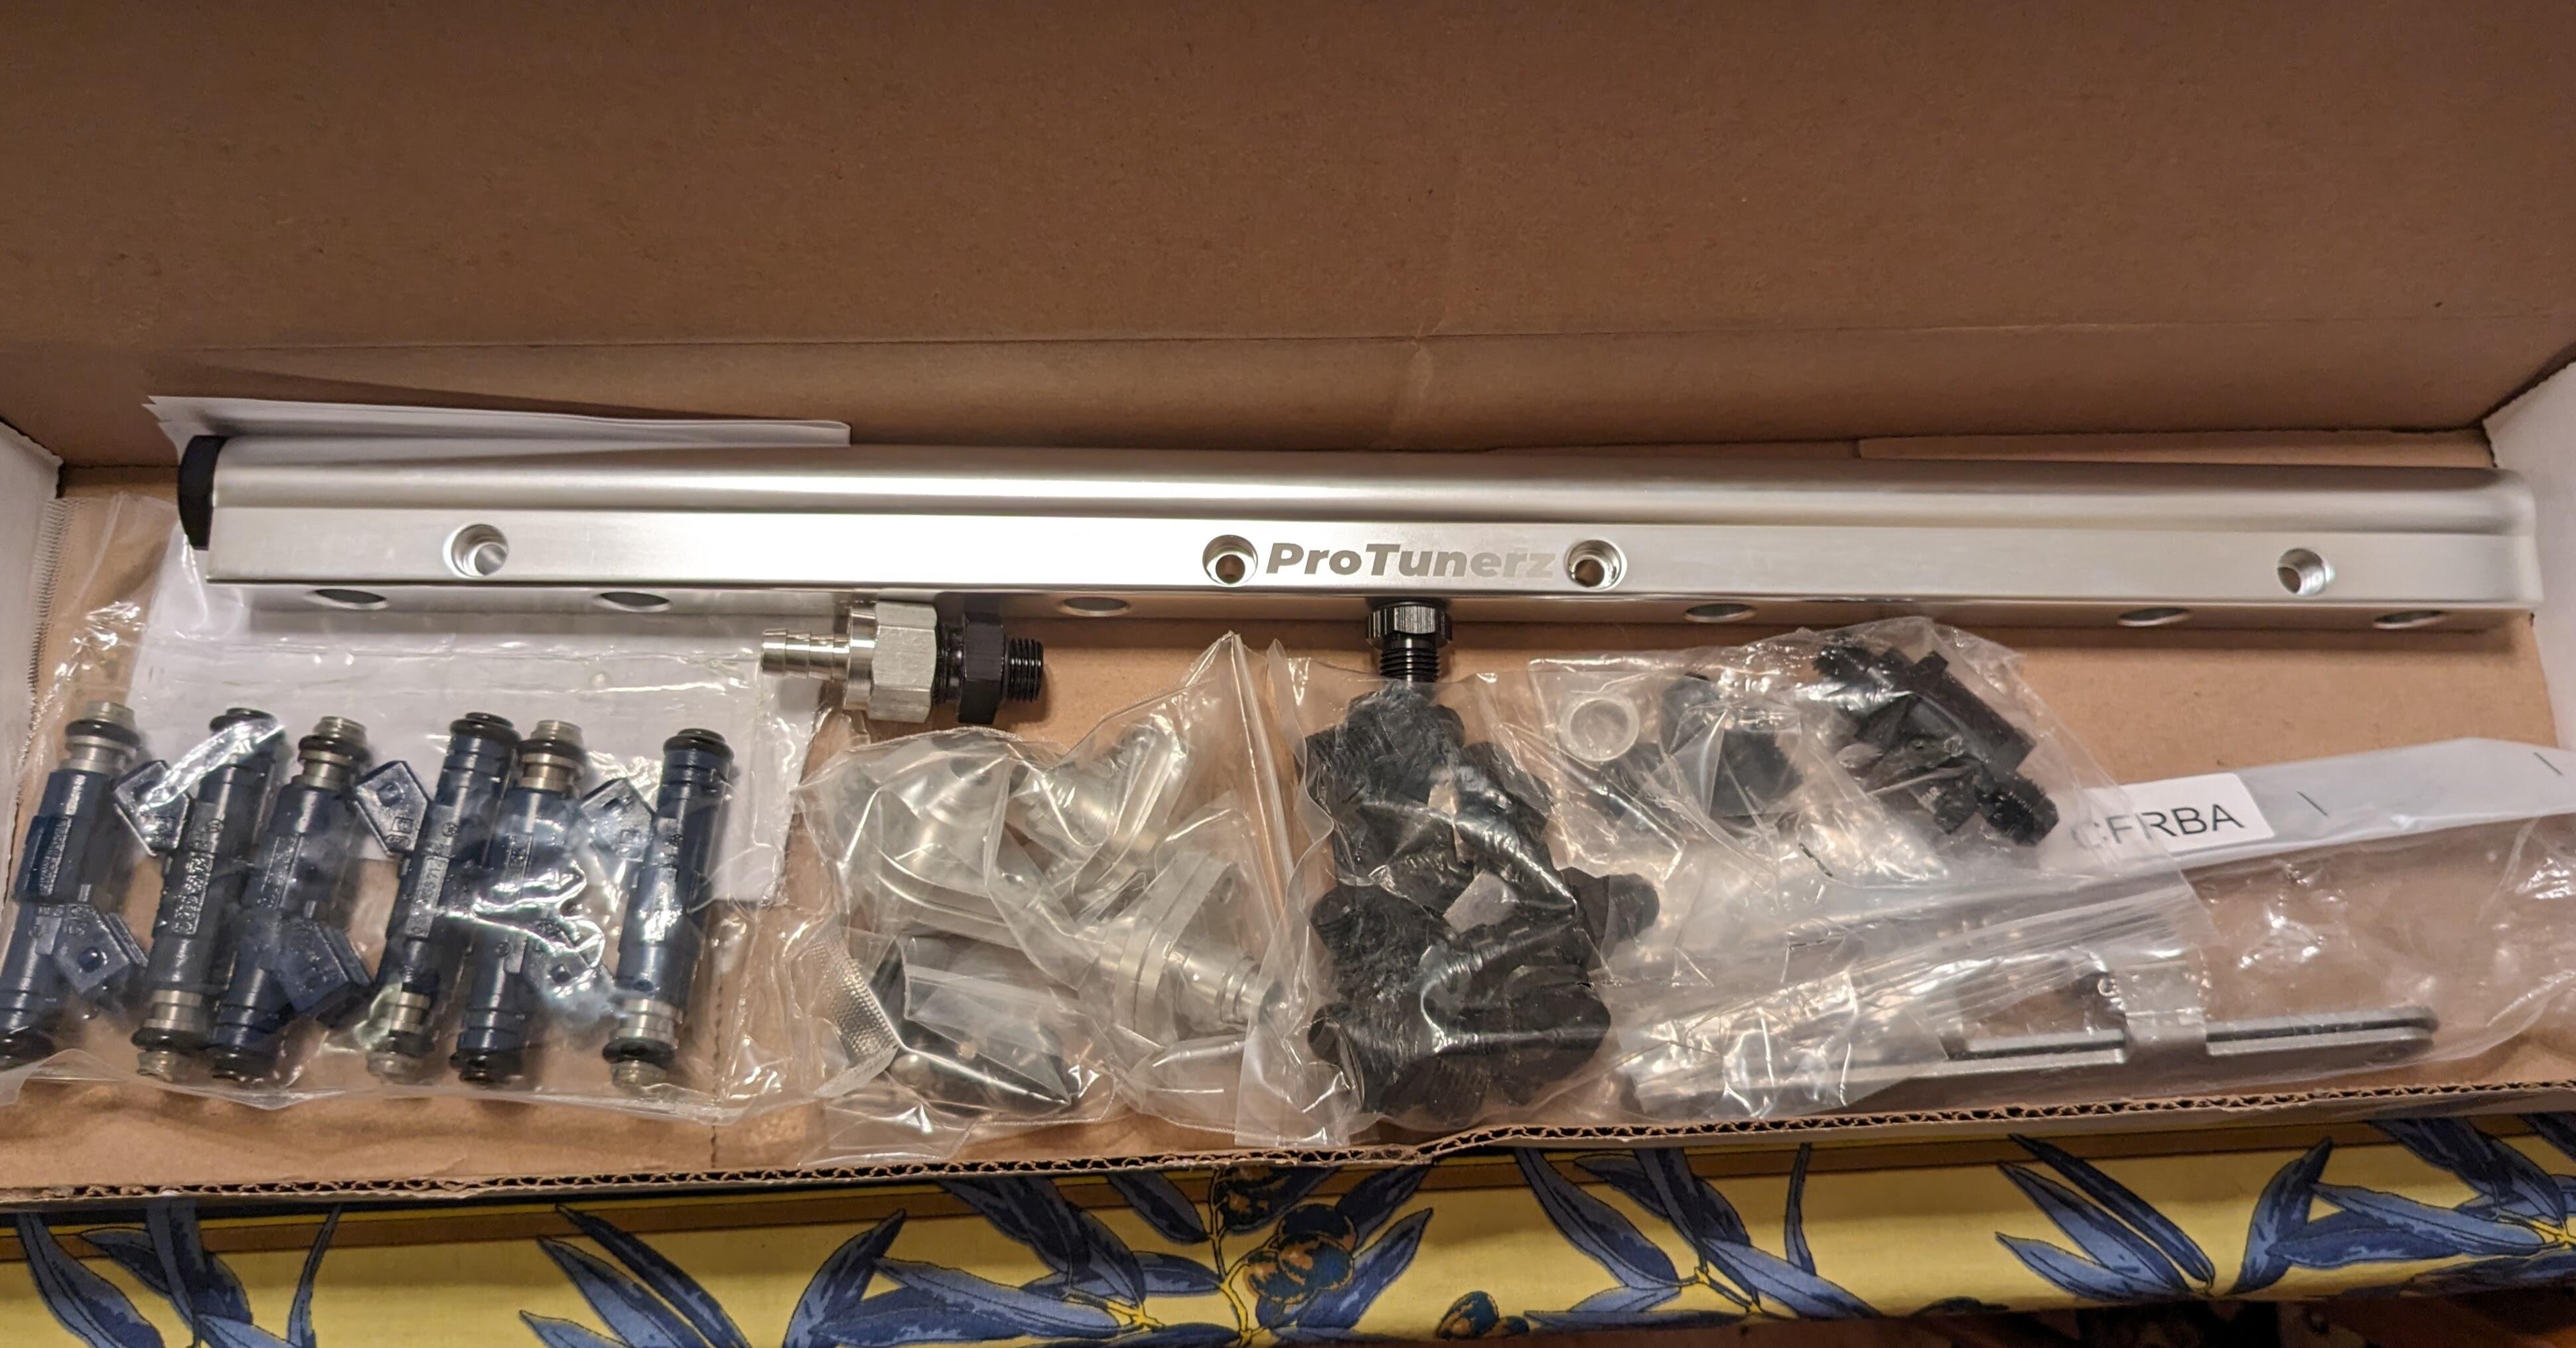
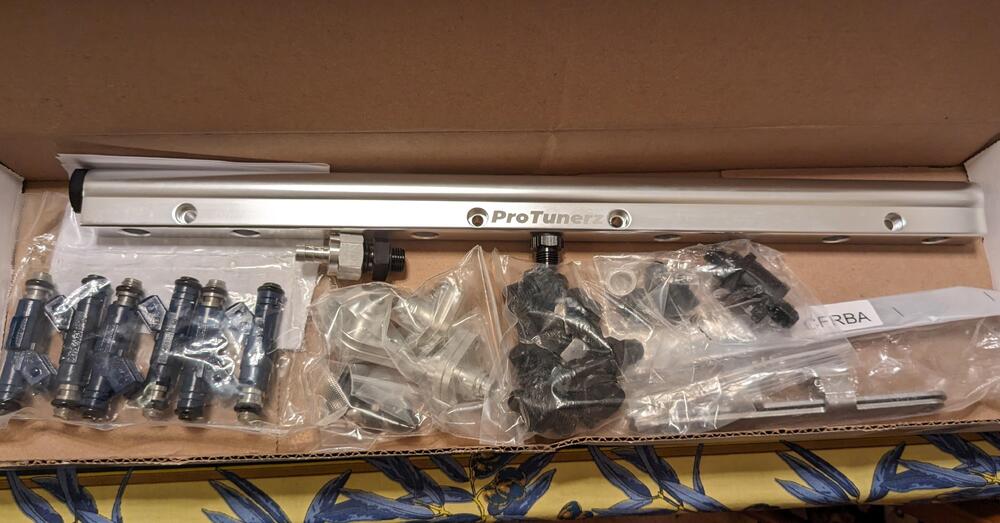
Been out of town since Wednesday - before that, I had the heat soak issue even though the ambient temps were in the 40's-50's. I'm going to make a heat shield, however since I have to remove the rail again, I decided to get newer injectors & a billet rail, and just get rid of all those thin metal tube rails. These came while I was away ProtunerZ rail & injector seat adaptors, 19.4lb/hr Bosch injectors 0280155712 (GM, Saab application)
-
Interesting read. I didn't think my 75 (CA market) had a vented cap of any sort, but since it is described as such here, I looked at the pic I took when I changed the gasket - it does appear to have a valve in the center. I'll have to look under for the check valve - I didn't see any sign of it when I did the fuel pump work. I will be dropping my tank to take care of the vapor hoses (and probably bypass the vent tank). If there's space, I'd also like to add a later charcoal cannister in the back, to free up the bay for when I do the V6 conversion.
-
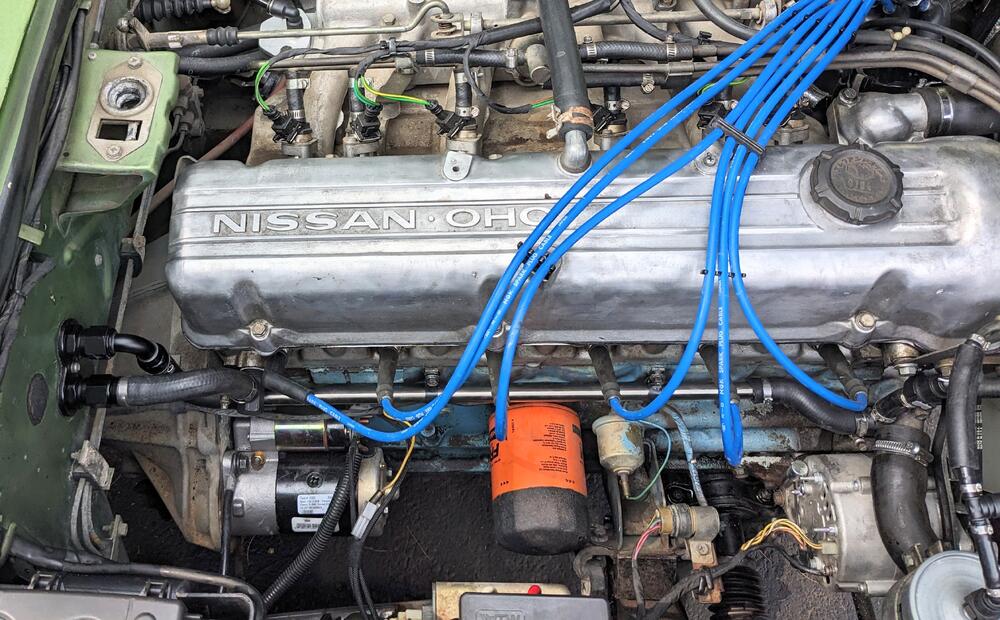
I don't have the original hose, I used a modded Volvo part - however it runs above all that - then drops to the water inlet / branch that my 75 has. I made an SS tube to go from there to the bulkhead
-
Have you considered running it around the front of the motor? My 280Z heater pipe is on that side T/stat port comes out the front, goes to a branch by the alternator - I'm not familiar with versions like yours on the manifold side.
-
Isn't the water pipe fitting pointing directly into the path of the #1 runner? Or is that just optics? I saw you are making an SS tube to traverse the motor, it will use a short section of hose to attach here?
-
You read my mind 🤪 I was looking back through pics I took whilst working underneath - I see that the block casting has no flat in that area on my motor.
-
Nice Work all over! Question - are those engine/trans gussets a 280ZX thing? I don't recall seeing them on my 75 280Z. This would be the only RWD car I've owned that doesn't have bracing for the lower bell housing.
-
Apparently the rear subframe attachment points are rusted to the extent that they would not expect it to last 2 years - which is the duration of the RI safety inspection.
-
Have you had much success with that? My windshield has a fine sand blast effect over most of it - not much fun when driving with sun glare or headlights coming at me. Be interested in know what polish/compoind is worth trying. I have a reasonable quality buffing tool with range of pads (Torq) I bought about 6 years ago to do the compound work on my X1/9 that I painted.