inline6
Supporting Member
-
Joined
-
Last visited
Everything posted by inline6
-
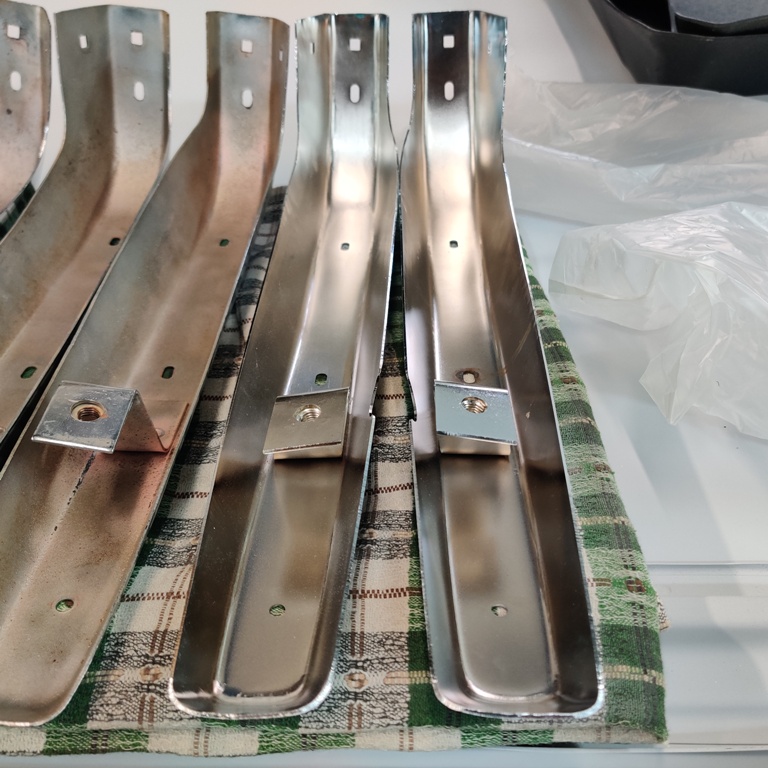
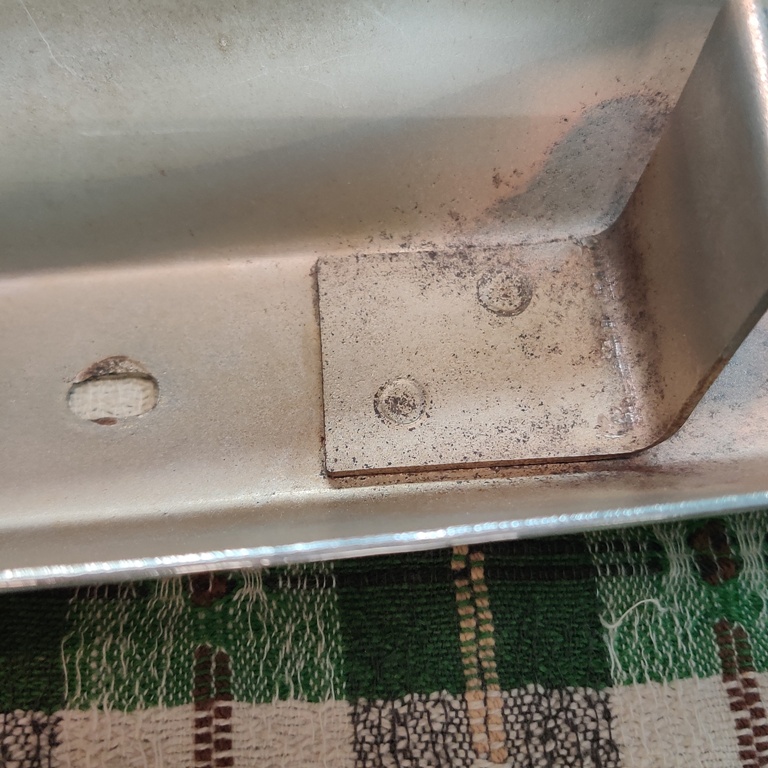
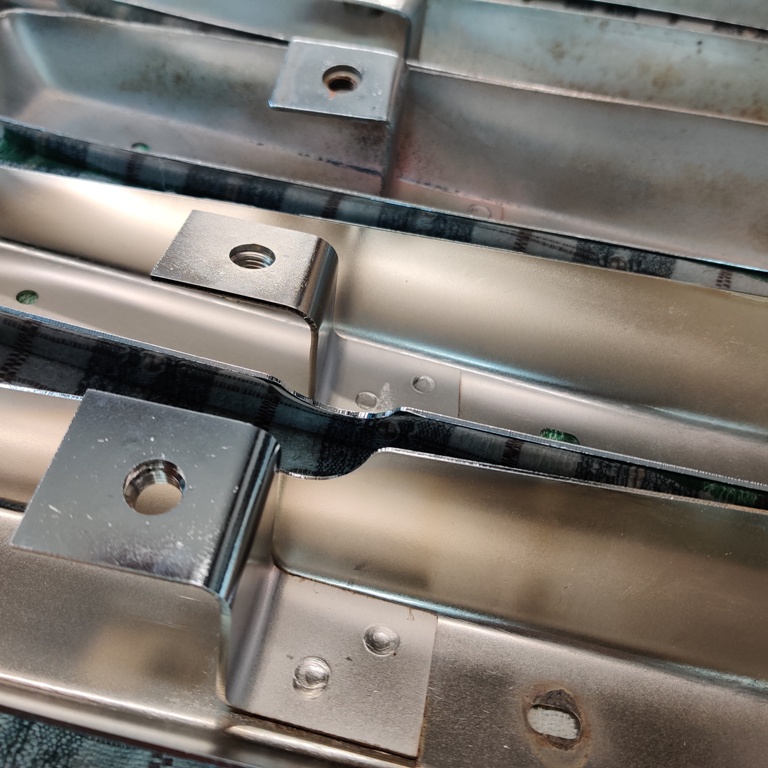
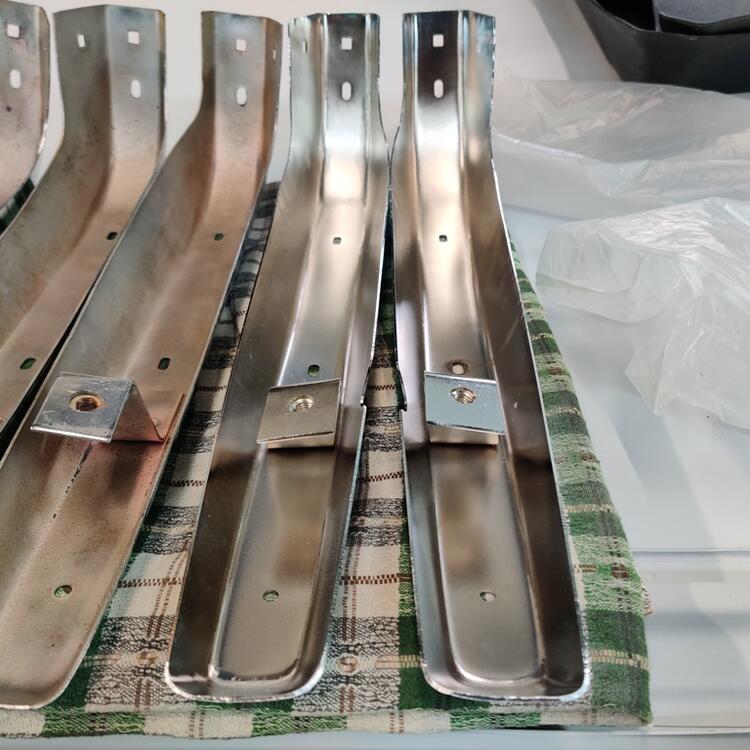
Hi Katz, Thanks for the information about jacks and wheel chocks not needing to be as close to month of car manufacture as I was thinking. I will expand my range to include earlier than before. I tried finding factory assembly footage on Youtube but didn't find any specifically showing late stages of assembly. I found a few seconds of footage where the seats were being installed in a 1973 car. Perhaps there is video footage to be found of assembly of 240z's and 510's in 1970-71? I am still puzzled by the half moon cuts in the bumpers. The mounting brackets have captured nuts - welded on that do not rotate. There there is no need for wrench there and the bolt attaches from inside (other side) of the body panel. Perhaps the half moon cuts allow a tool for pushing the brackets a little to help align with the hole in the body, so the bolt can fasten? I do not know. The brackets are somewhat easy to bend and move a bit.
-
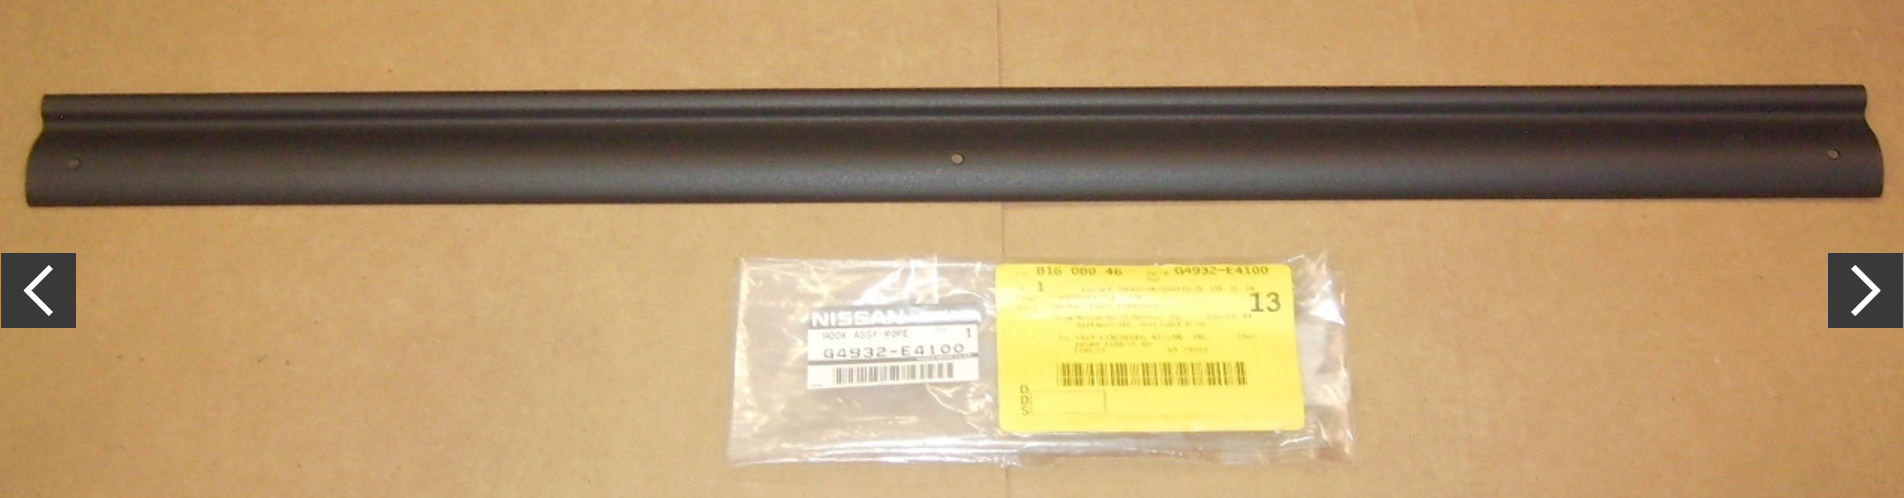
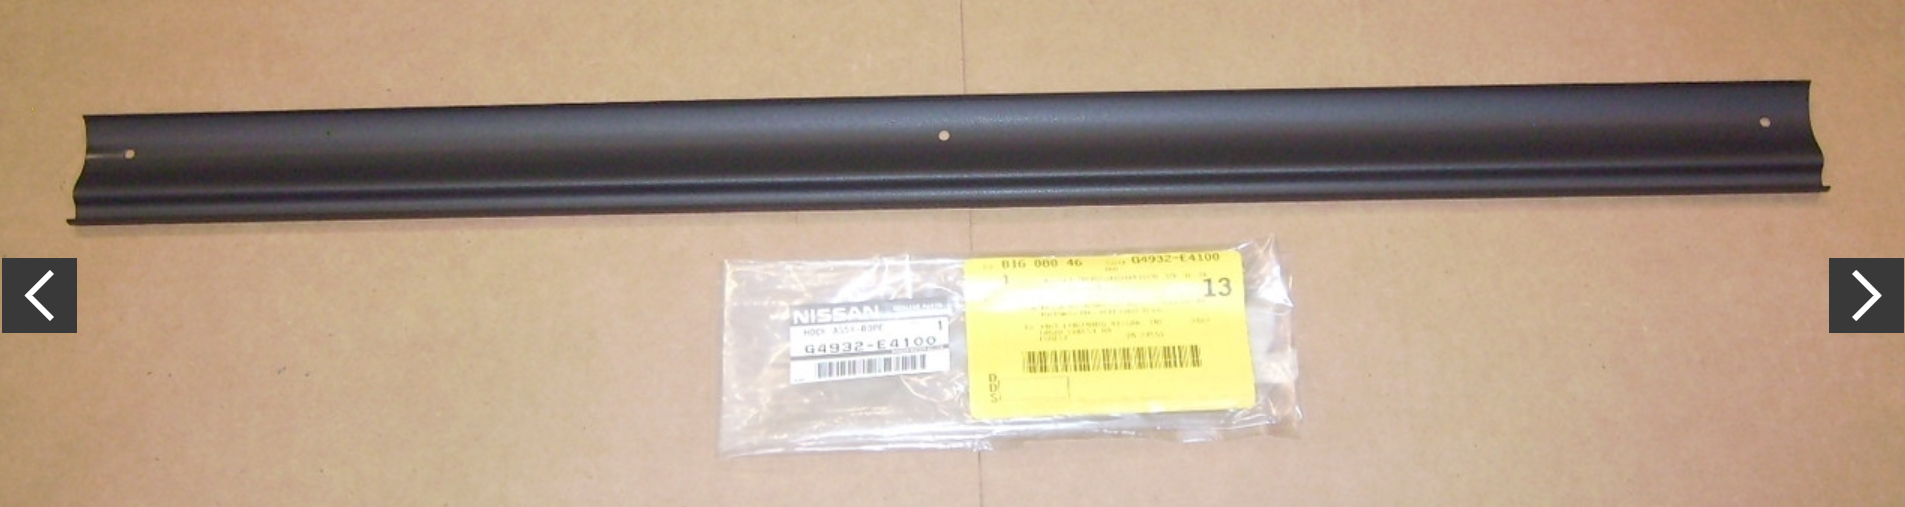
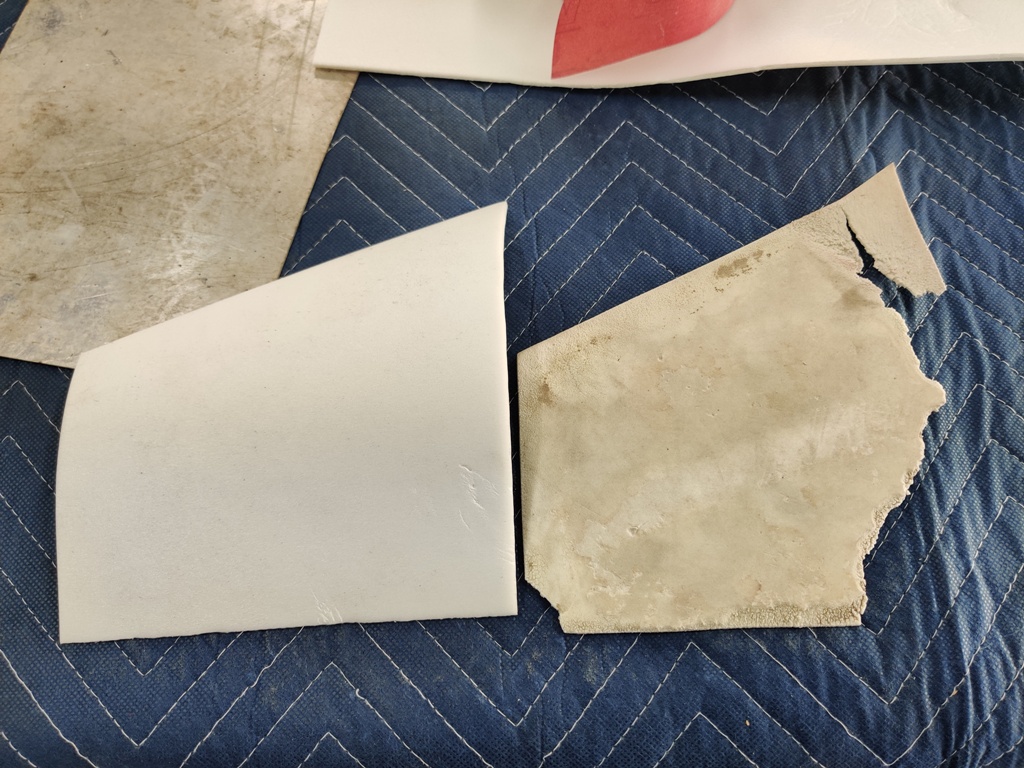
Interestingly, I have seen another variant, and it appears to be painted black - note both front and back are black: I am beginning to think that the ones with the beige back side (the one you bought in 2015) have a very thin layer of vinyl and are not painted. I think it has a vinyl with a different texture than the originals. I have two of them and was looking at them very closely last week. Doesn't look like wrinkle paint to me. I also have two originals that came with my 1971 car. The backside is bare metal and rusting like yours in the top of your pics. The vinyl is "non-backed" and very thin - like ".015 at a guess. It is a different pattern/texture for sure.


-
-
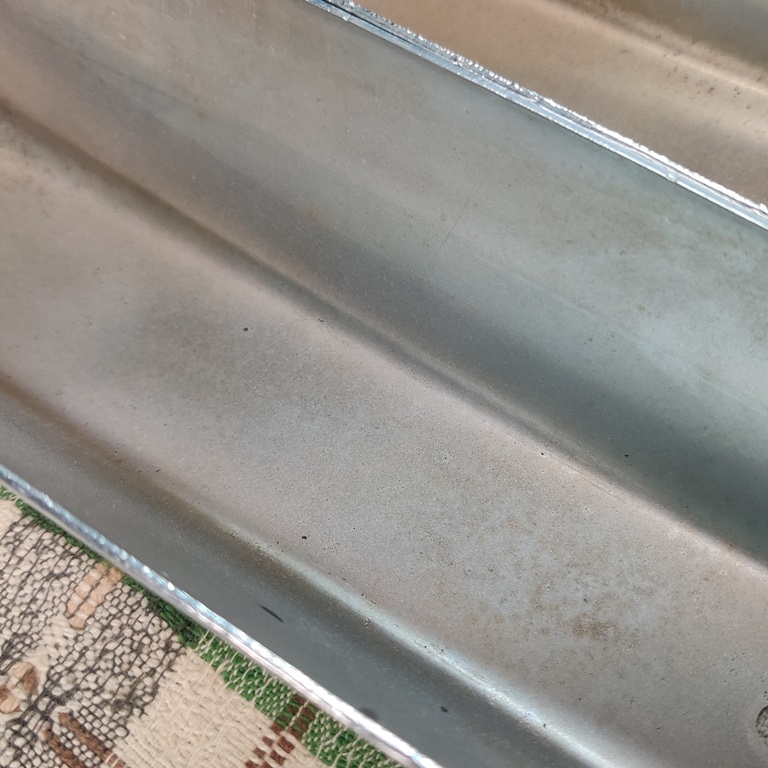
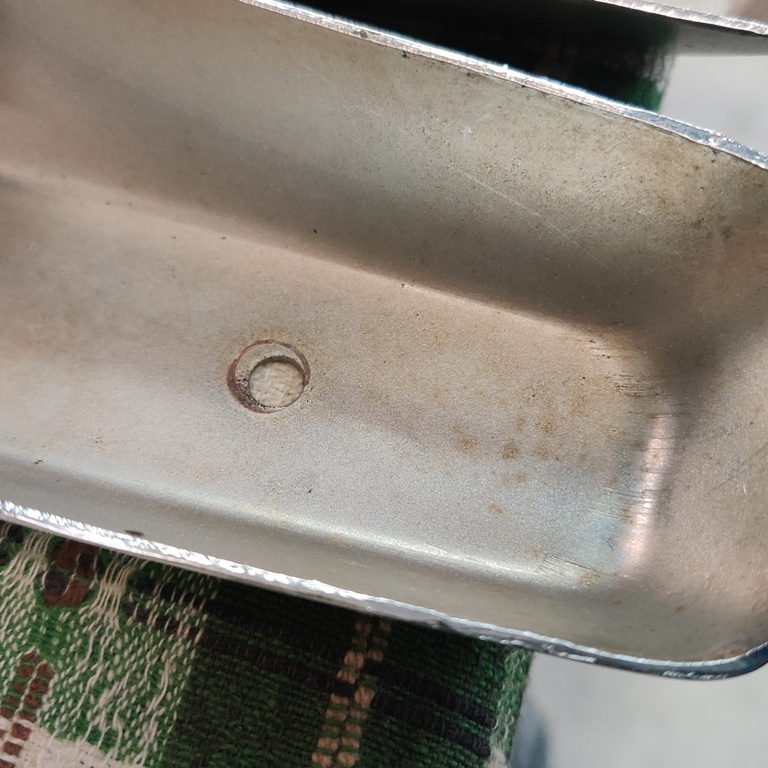
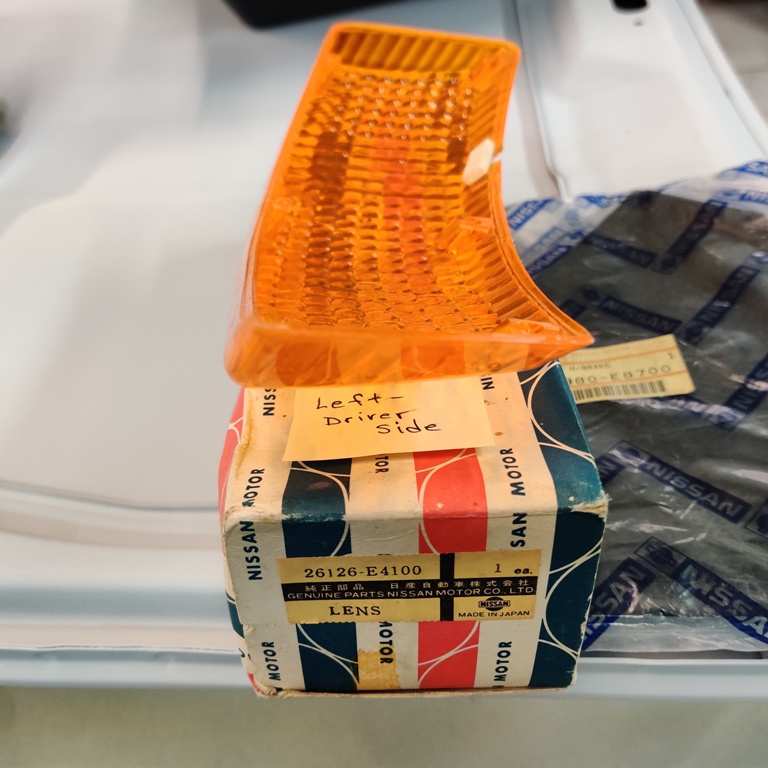
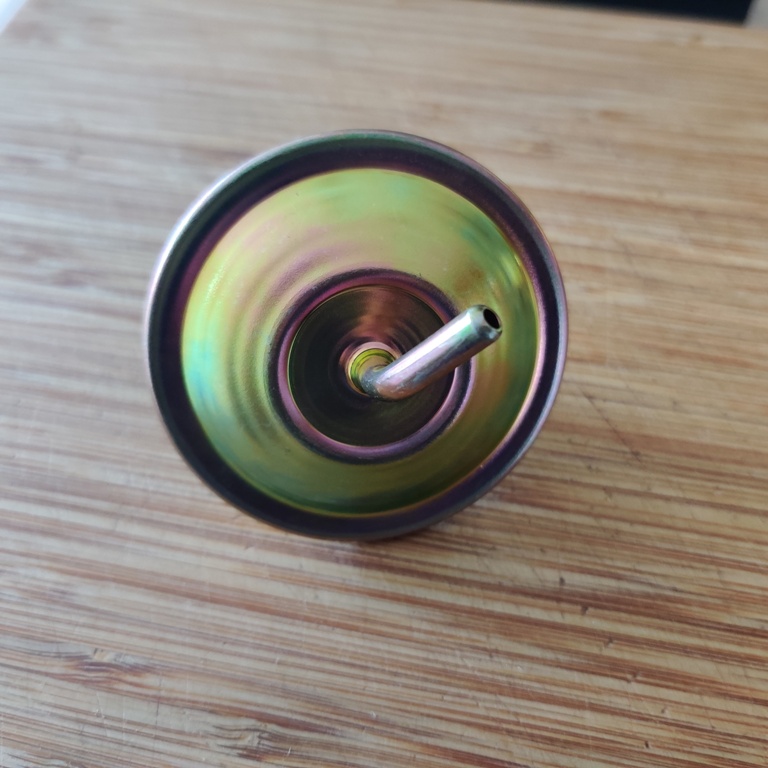
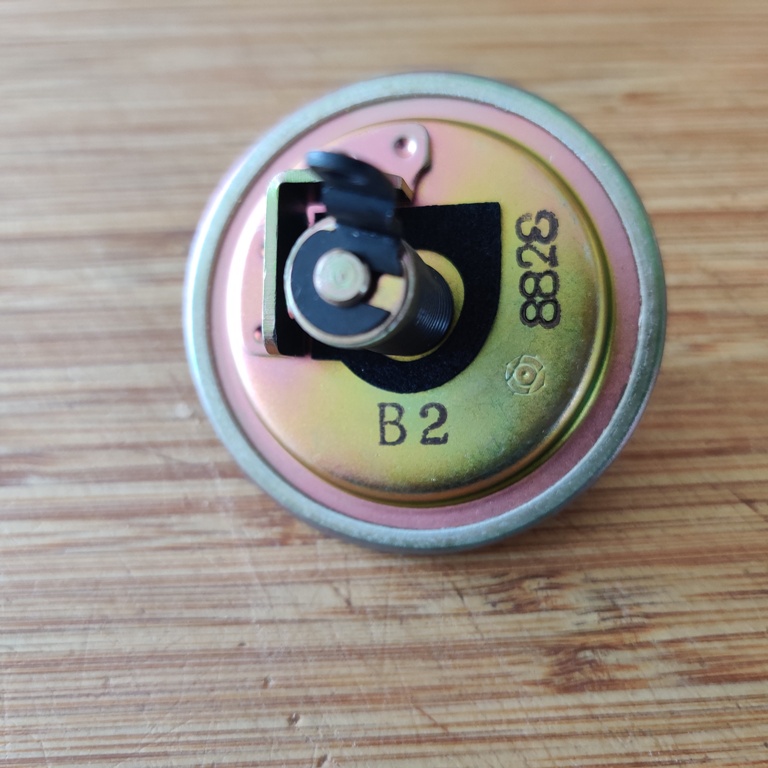
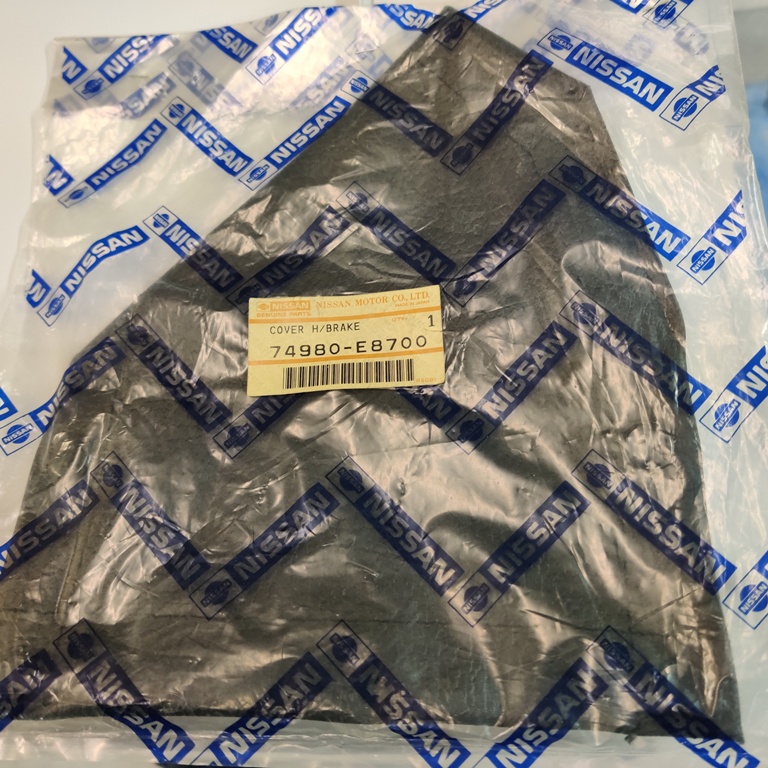
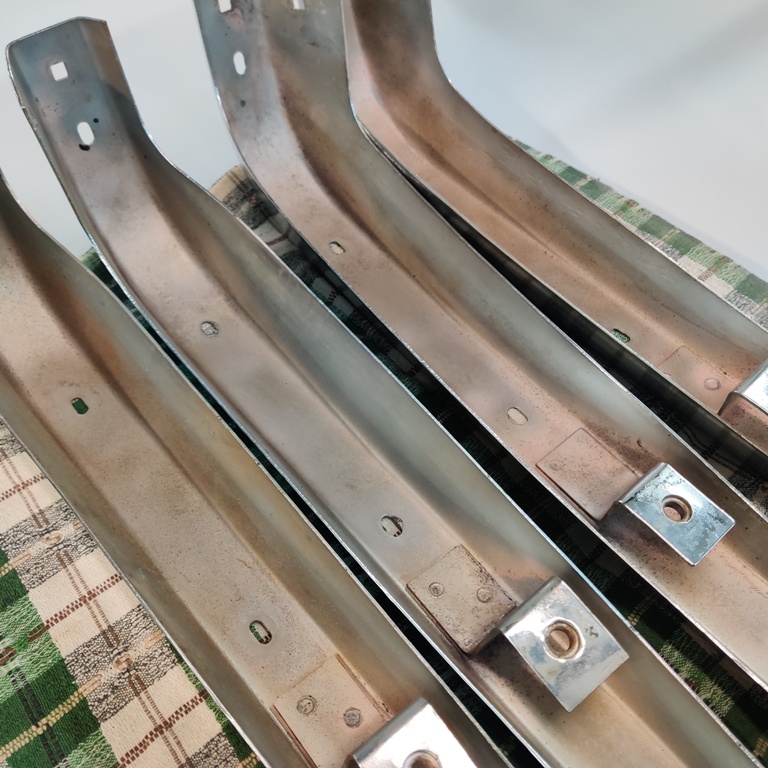
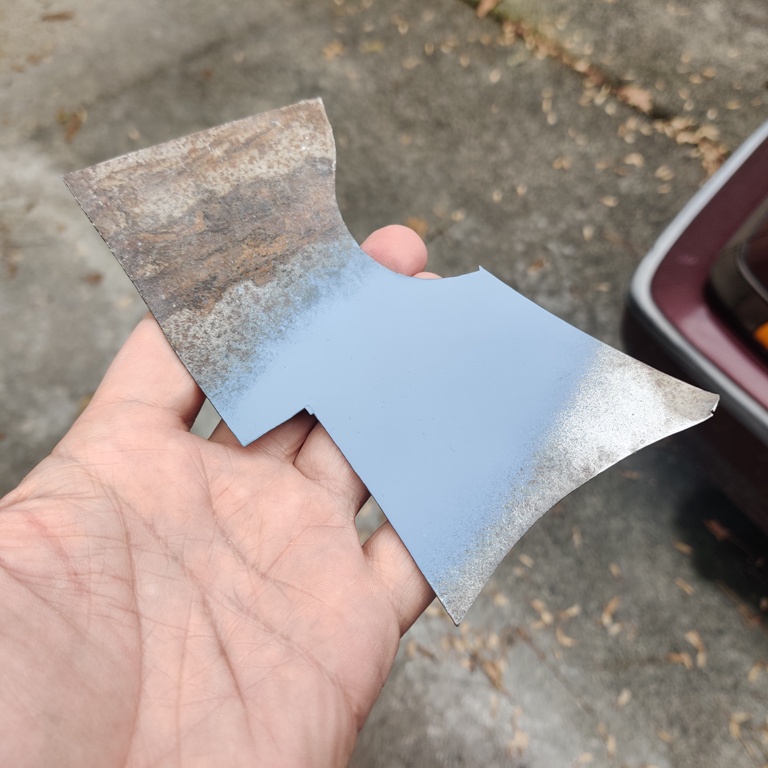
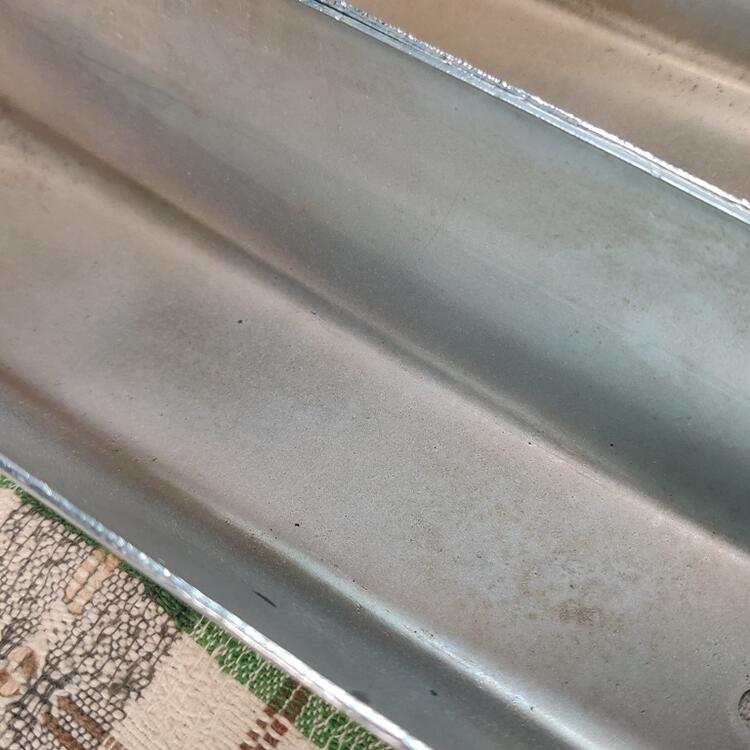
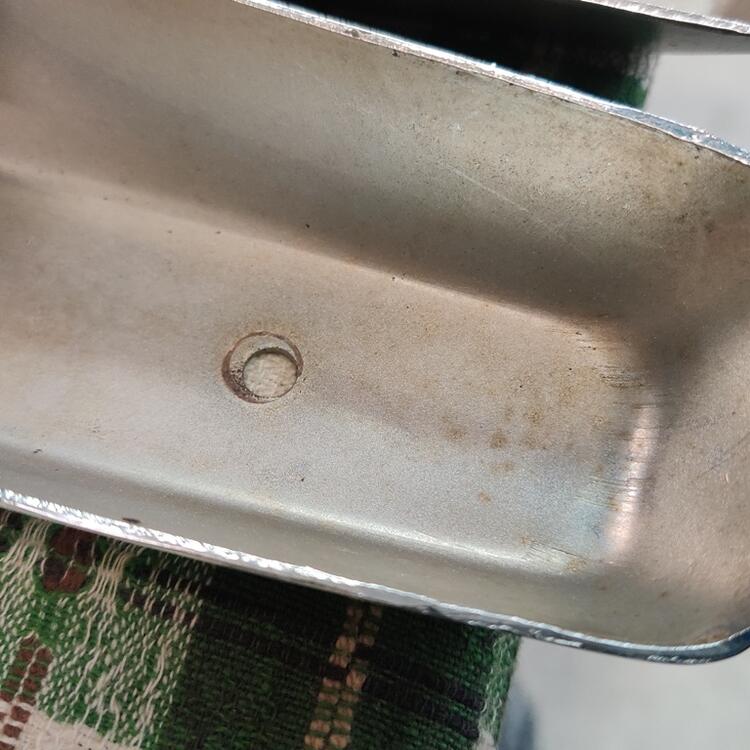
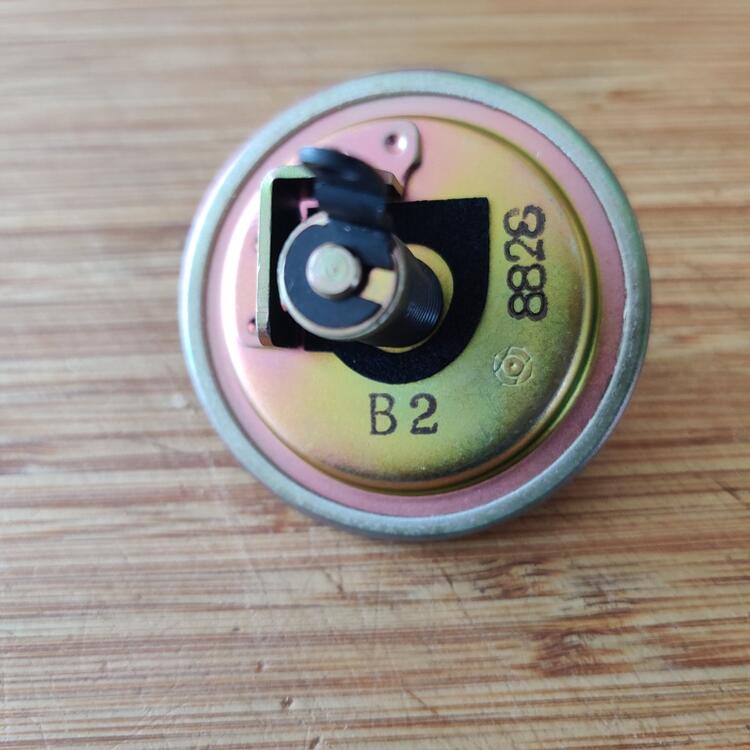
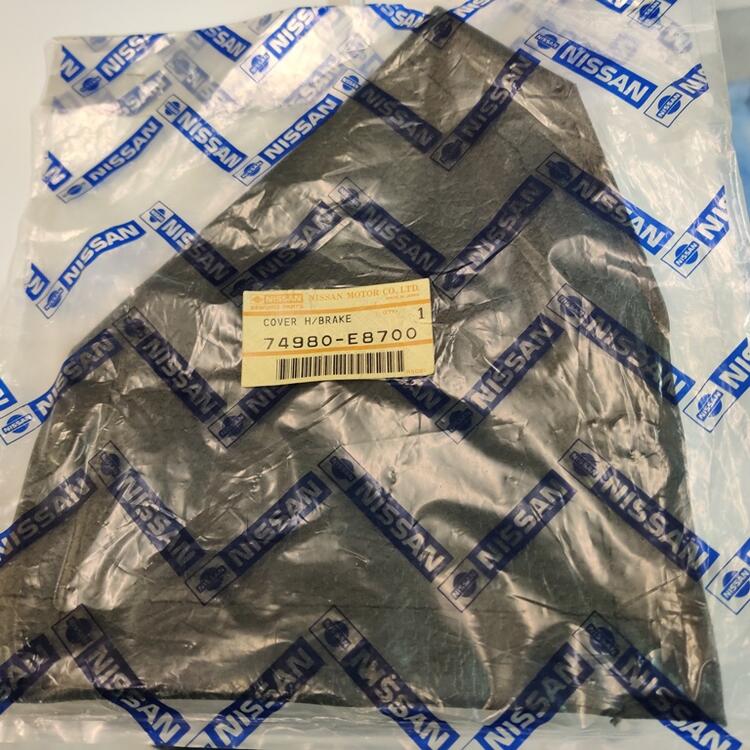
A few additions arrived a few days ago and today: Vacuum advance - my first purchase from an auction in Japan: A spare front turn signal lens and a handbrake boot (thanks Ken!) And, after a bit of straightening of one of the side brackets and some light glass bead blasting, I was amazed with this bumper I got off of eBay last week. It has less surface rust on the inside surface than the one that came with my Arizona/Colorado car that was stored for nearly 30 years (I will only be showing the end pieces and not the center bar in pics below): My car's bumper ends are the ones on the outside, the bumper off of eBay are the two on the inside (first pic), plus pictures of NOS ends (on the right in the third pic): Interestingly, the NOS parts have these "half moon cut outs in close proximity with the brackets - I have no idea why:





-
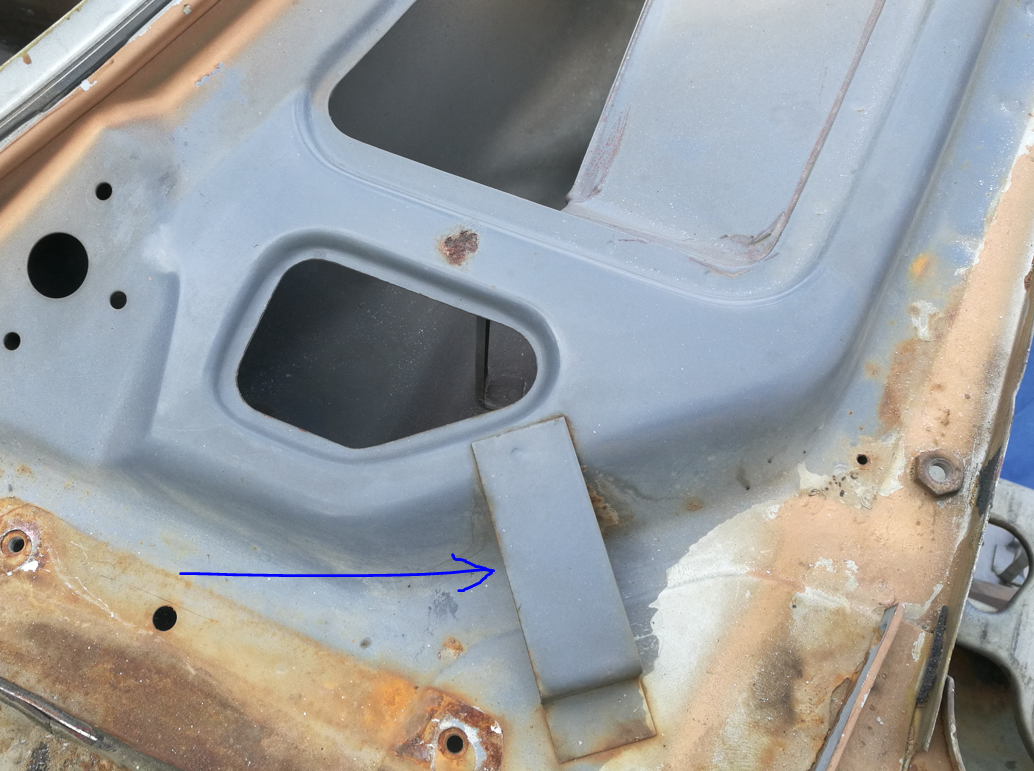
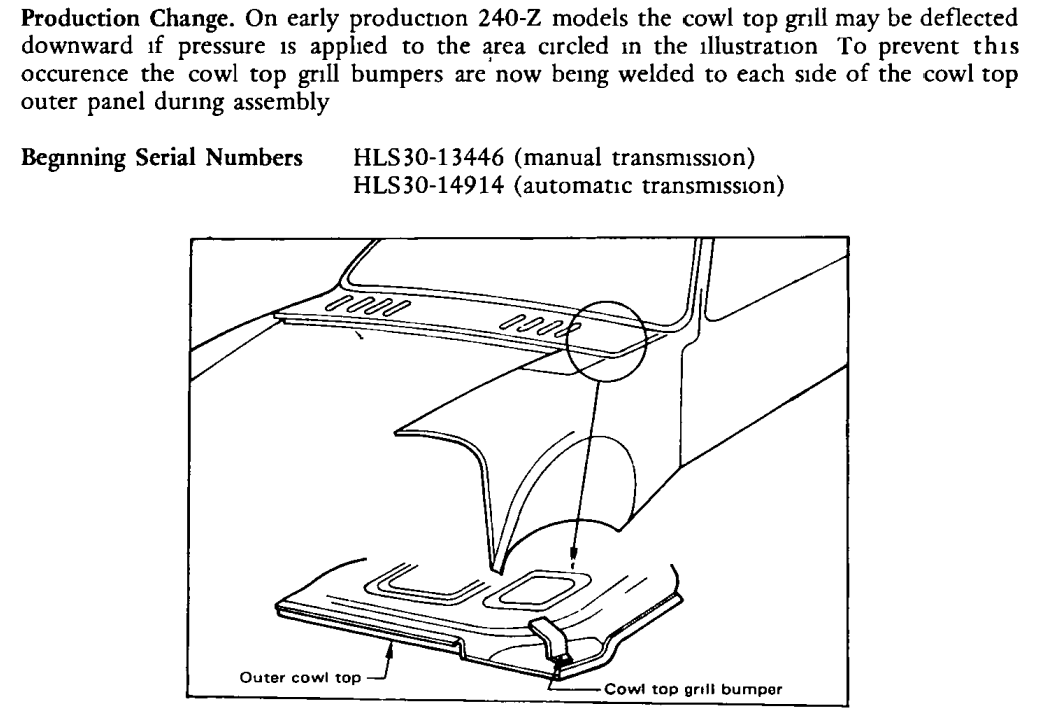
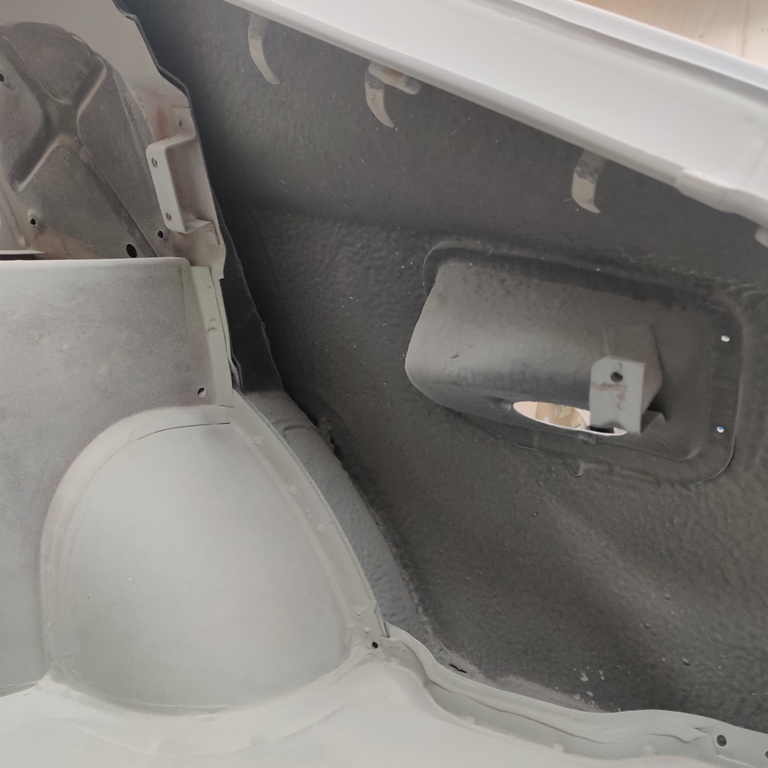
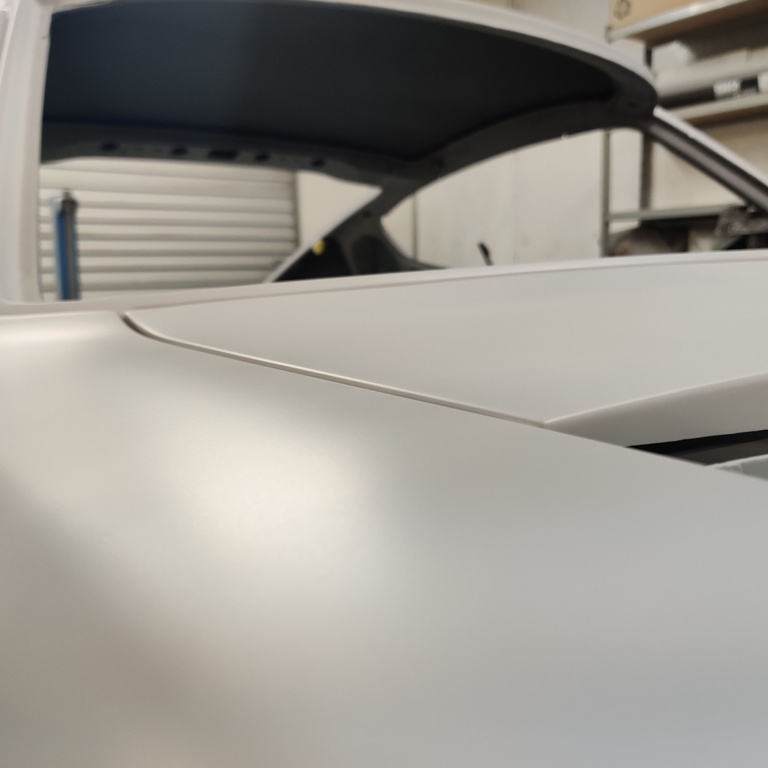
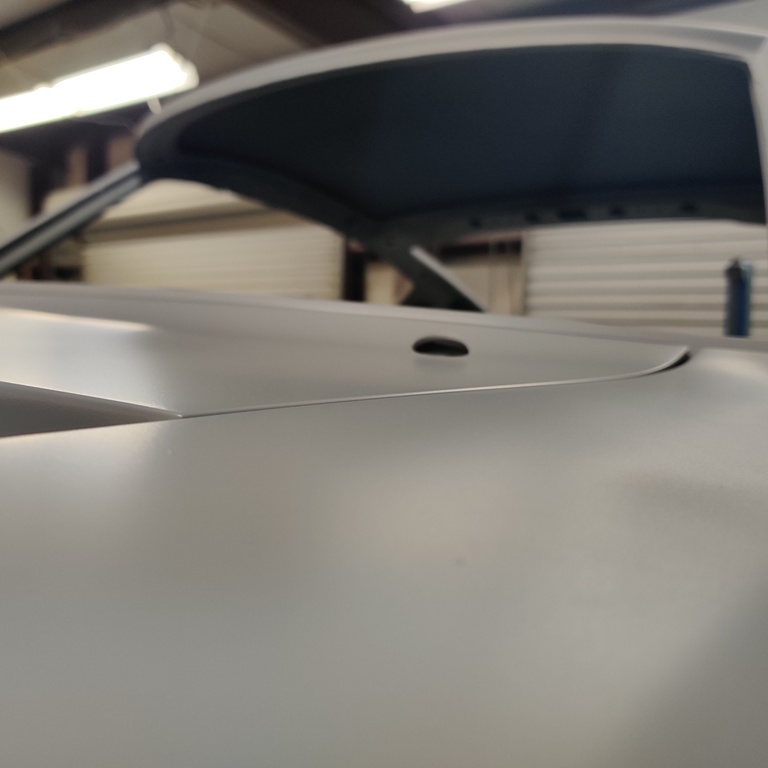
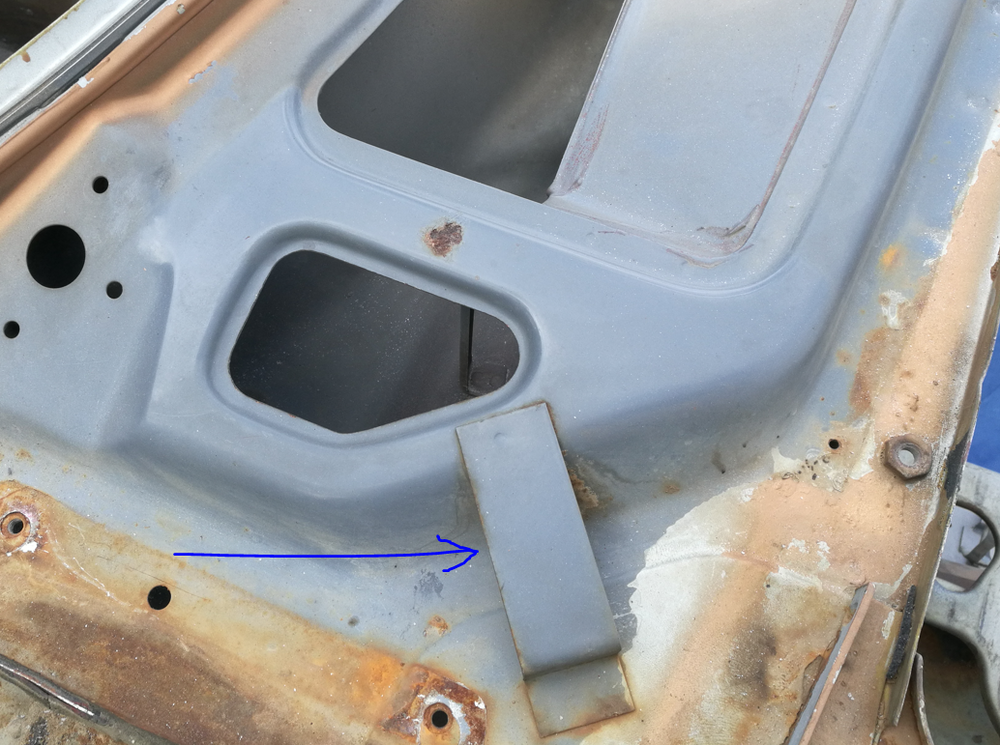
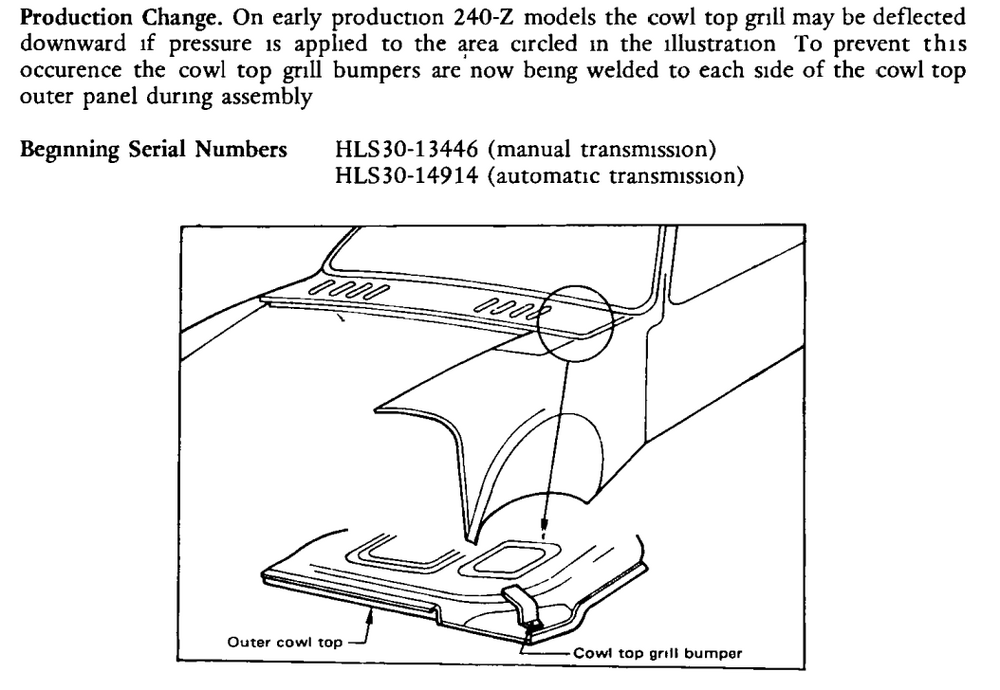
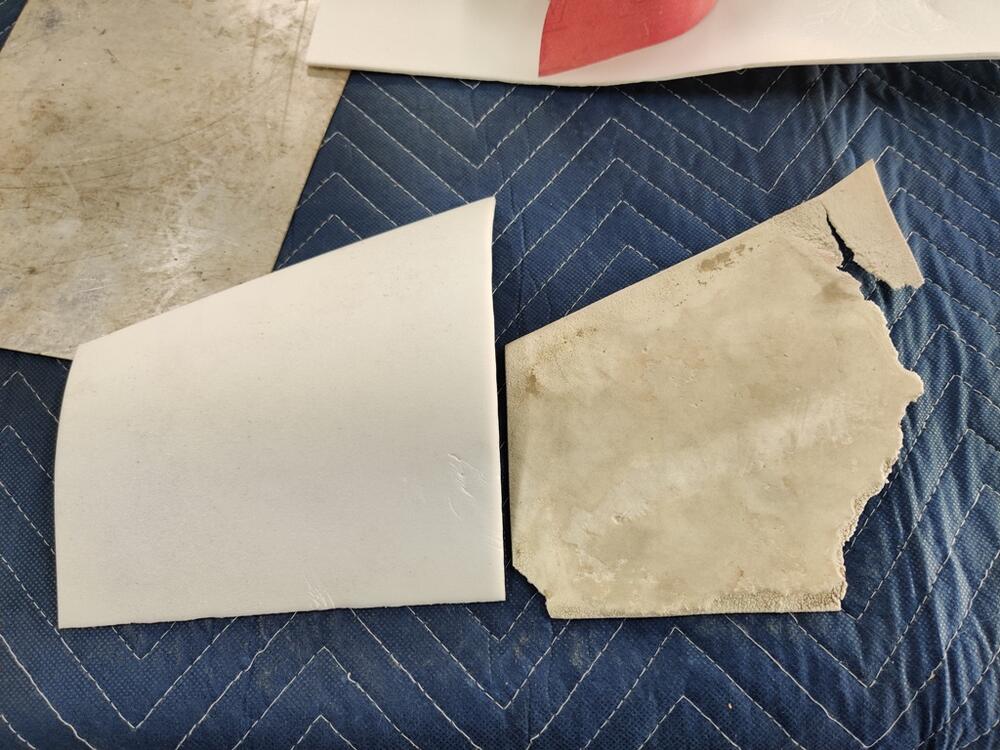
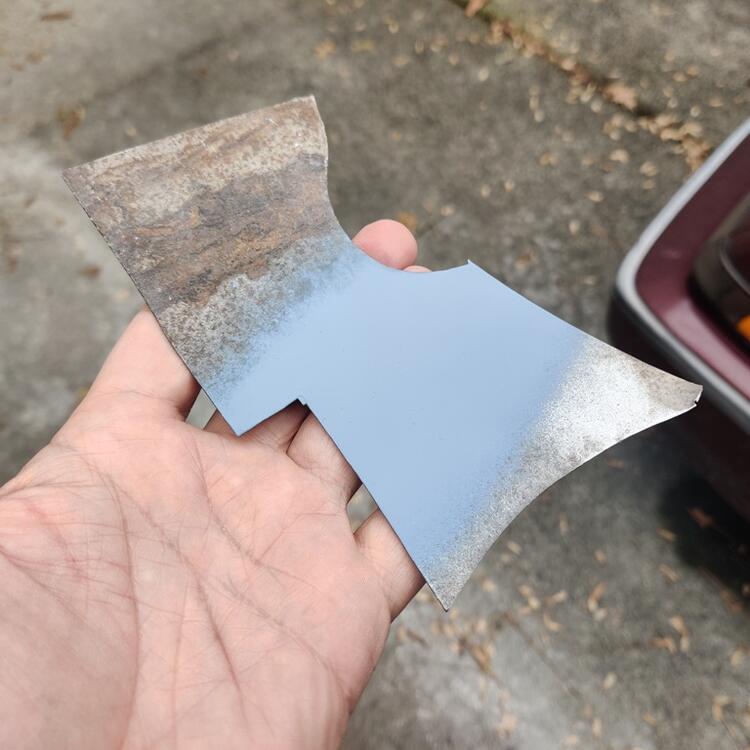
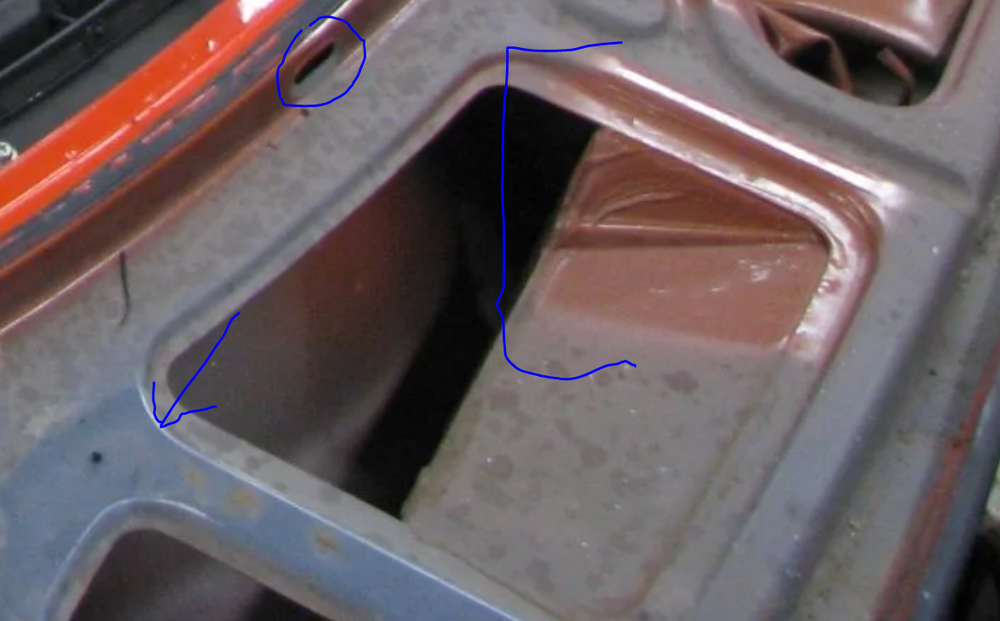
Yes, the cowl panel sheet metal moves around quite a bit. My car has this reinforcement plate added - see technical bulletin info: This replacement padding used in conjunction with the now properly shaped cowl panel gave this thin body panel some support. That helped make the bodywork easier. I found a paint color that is similar to the original primer (or is it primer?) used at the factory. I plan on spraying this to cover all the areas inside the cowl - all that is underneath the cowl panel. It is currently covered in the light grey Glasurit primer. But, I don't want to leave anything in grey primer because, to my knowledge, the primer absorbs water. Which begs the question, is that grey used by the factory a primer, or a color coat? Seems like Z's of many colors have this grey used as a coat over top of the red oxide, and then followed by the final color coats. Anyway, I do not want the cowl panel removed from the car when sprayed. I want it in place on the car. As can be seen from this picture of https://bringatrailer.com/listing/1972-datsun-240z-264/, these cars were painted at the factory with the cowl panel "in place". The grey can be seen here. Note the lack of color below the slot the cowl panel slips into, and the over spray area through the cowl slats. This is one of the OCD things (of many) that I want done. So, the inside of the cowl will be this color: Maybe that is a bit more blue - I dunno. I am partially colorblind, so I did my best.

-
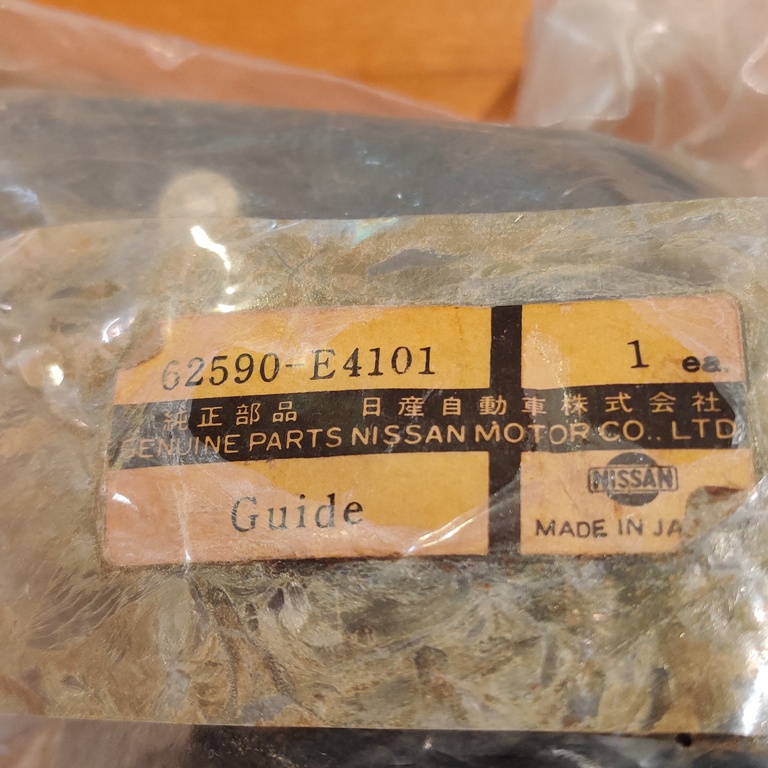
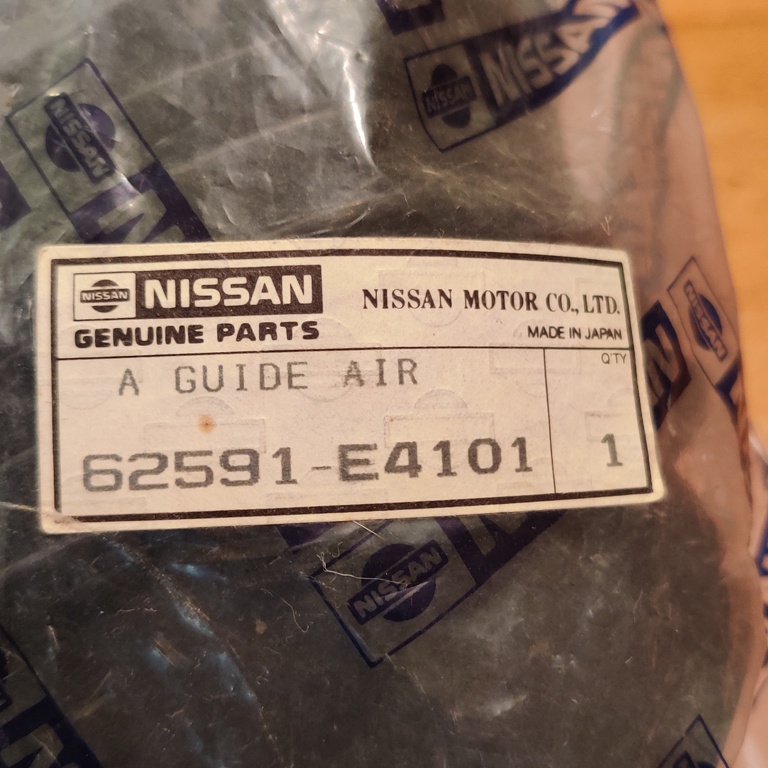
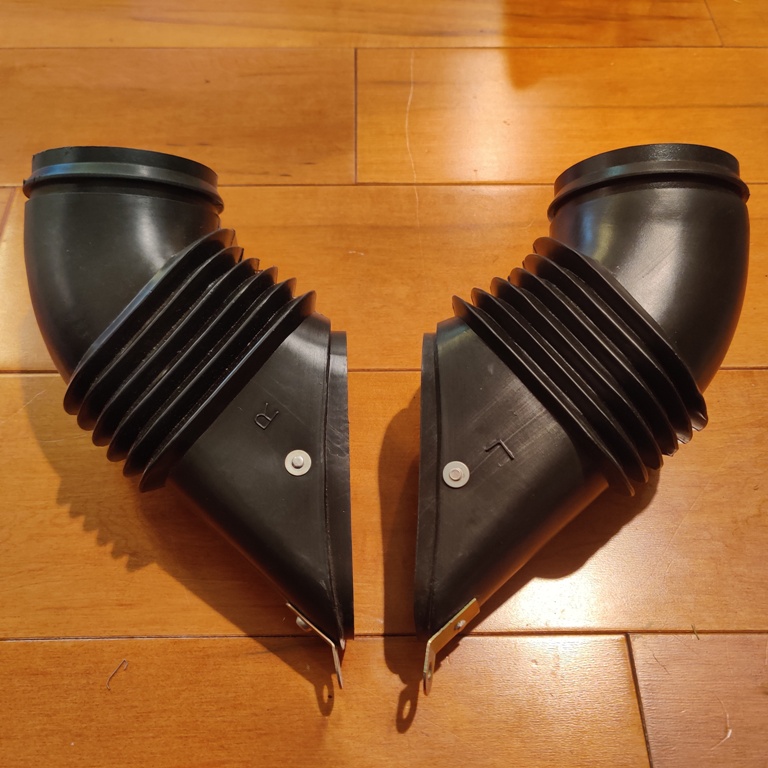
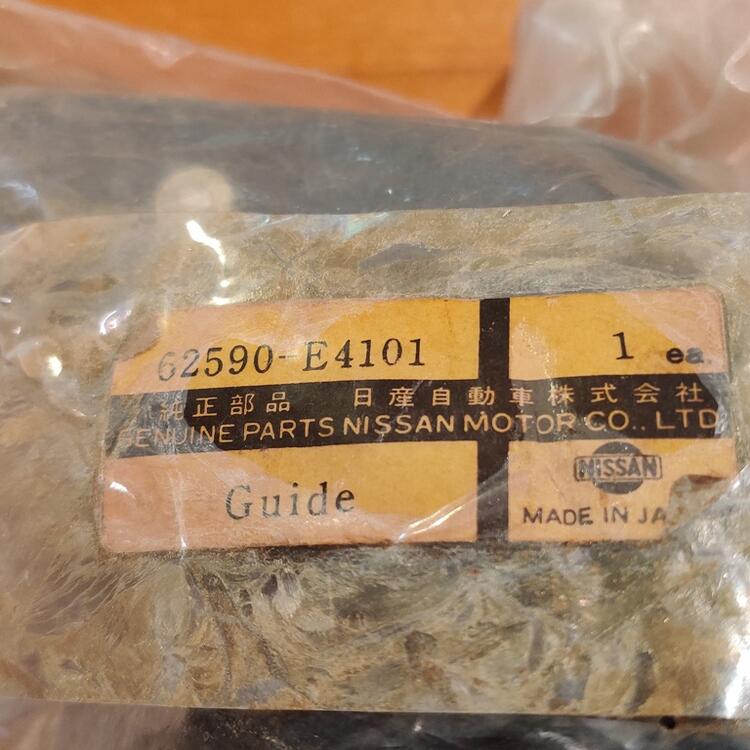
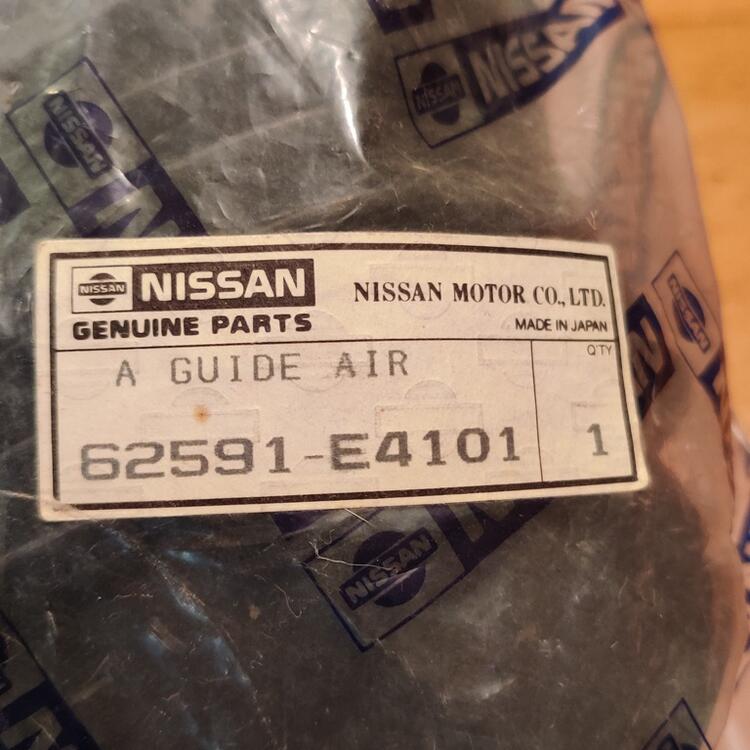
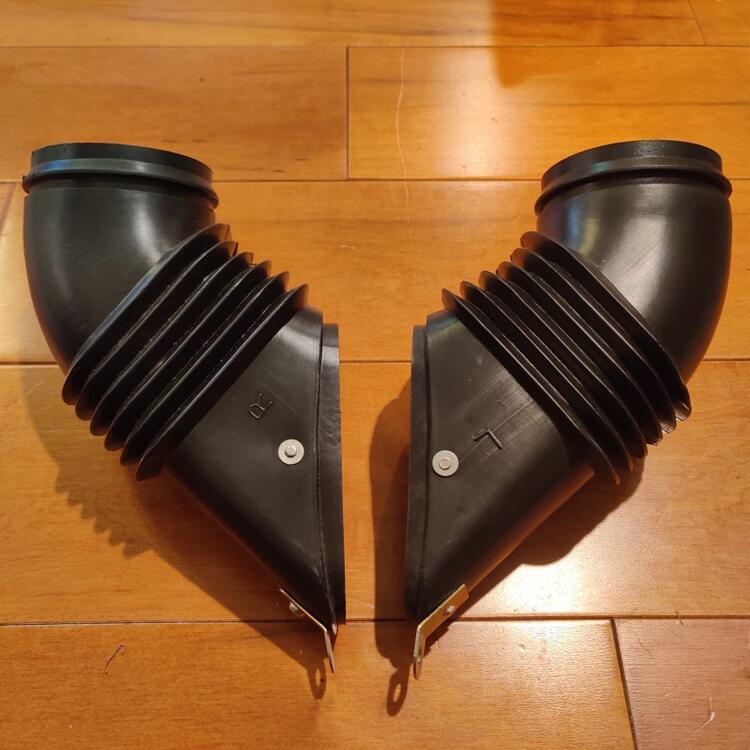
A couple of discontinued, NOS parts in my hoard for the car I am restoring:
-
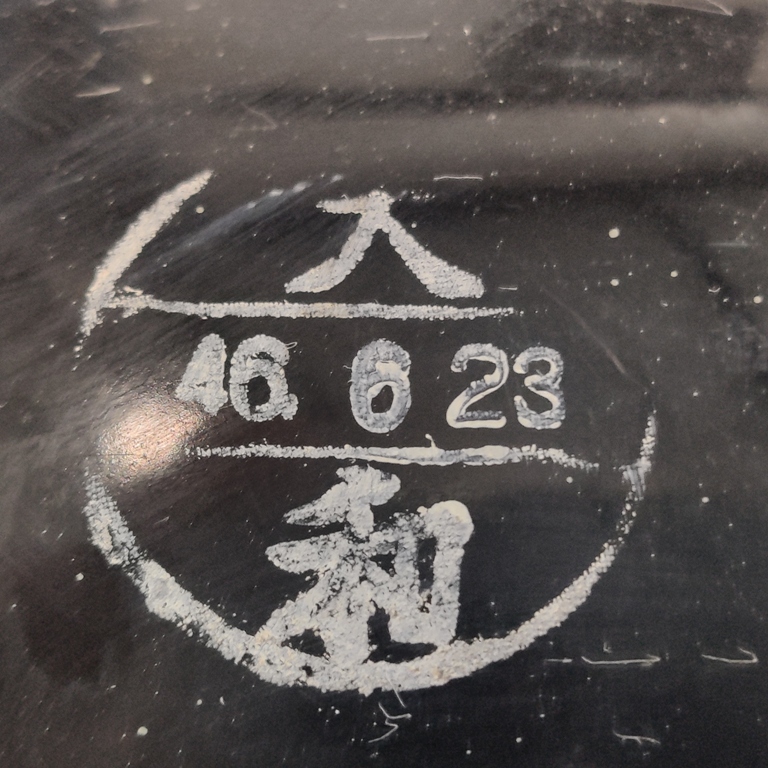
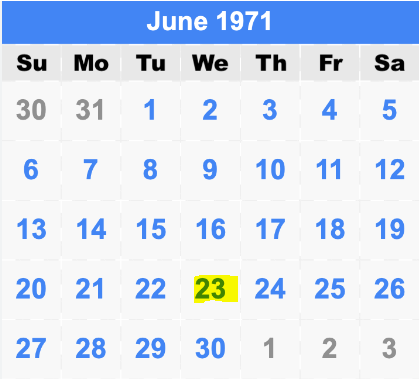
Thanks for the information, Alan. By the month of manufacture stamped on the door tag, and the VIN number compared with others on the Zhome registry, I figured my car was completed in the back half of the month of June, 1971. By the date stamp on my tank, I wonder if I can conclude that it was completed on that day. Seems likely. Since that day in 1971, 51 years, 6 months and 8 days have passed. Hopefully, in another 6 months, I'll have the restoration on this one completed. Wish I could find a jack and wheel chocks with the correct date stamps. And for that matter, an original spare tire with a date stamp that is before, but around that, the 26th week of 1971:
-
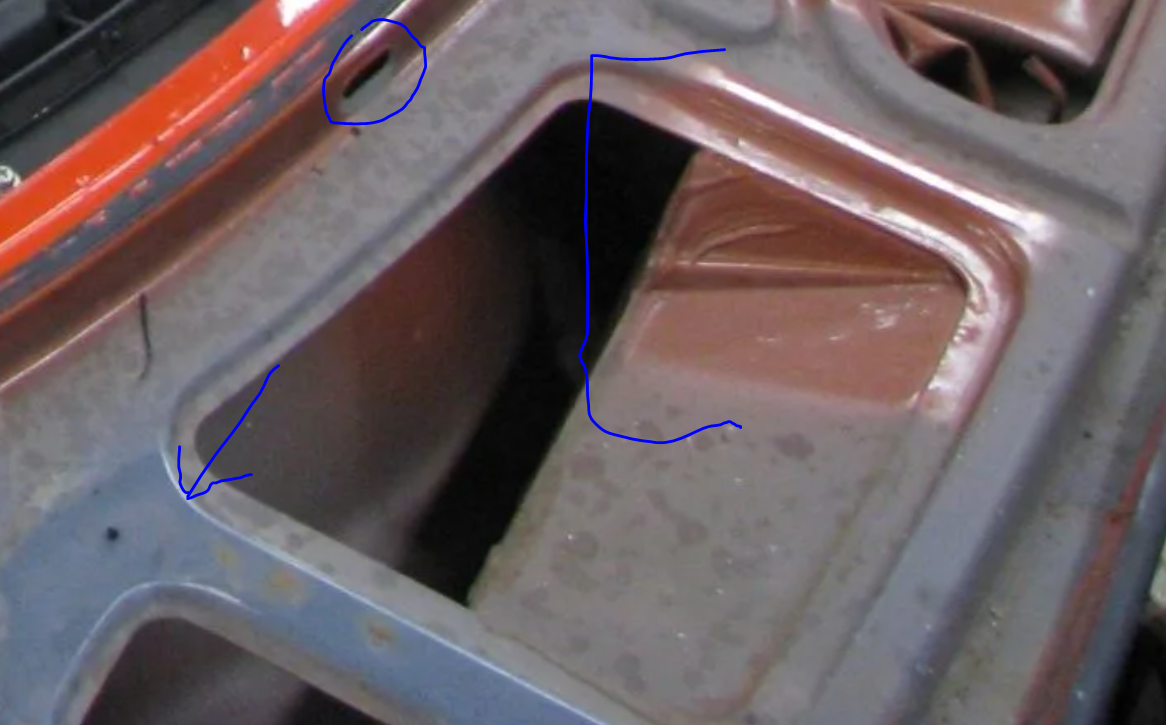
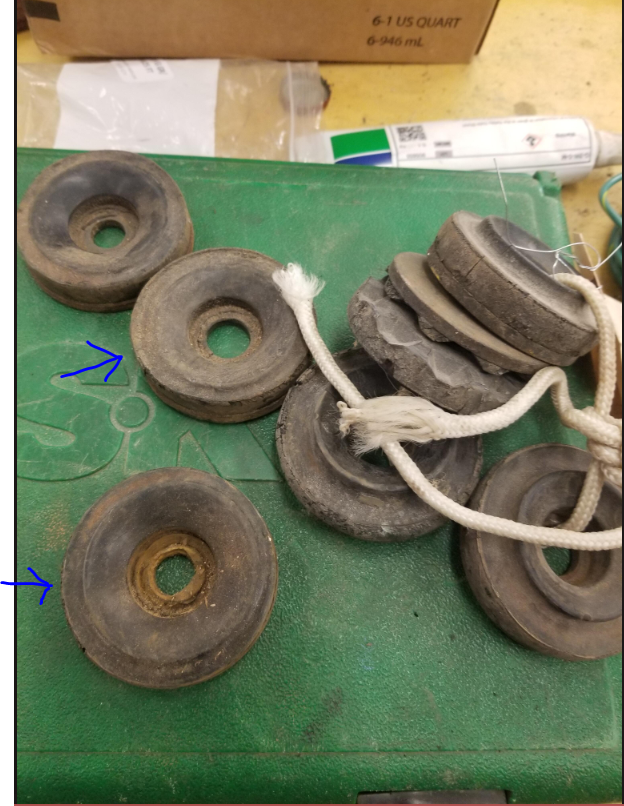
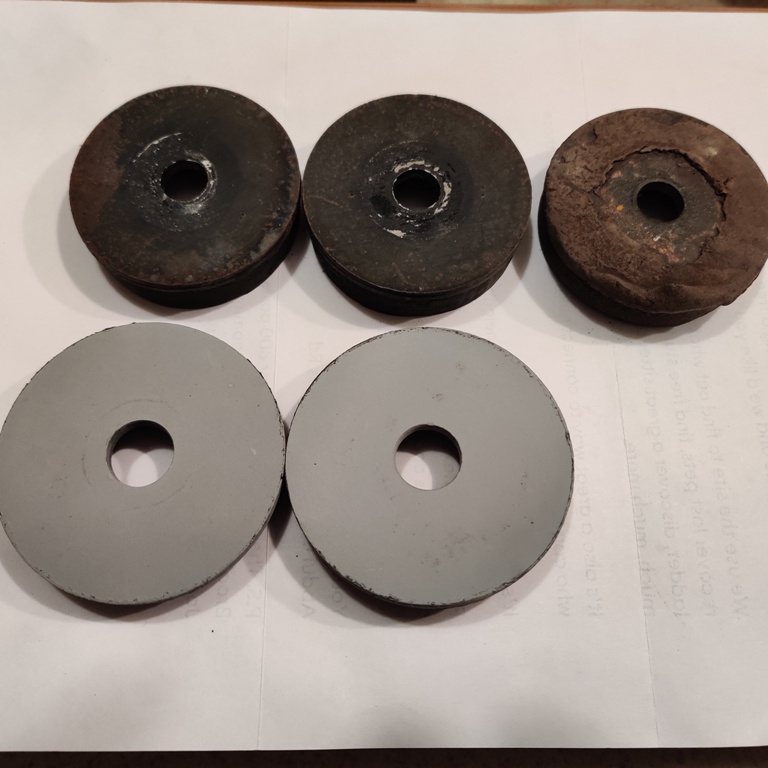
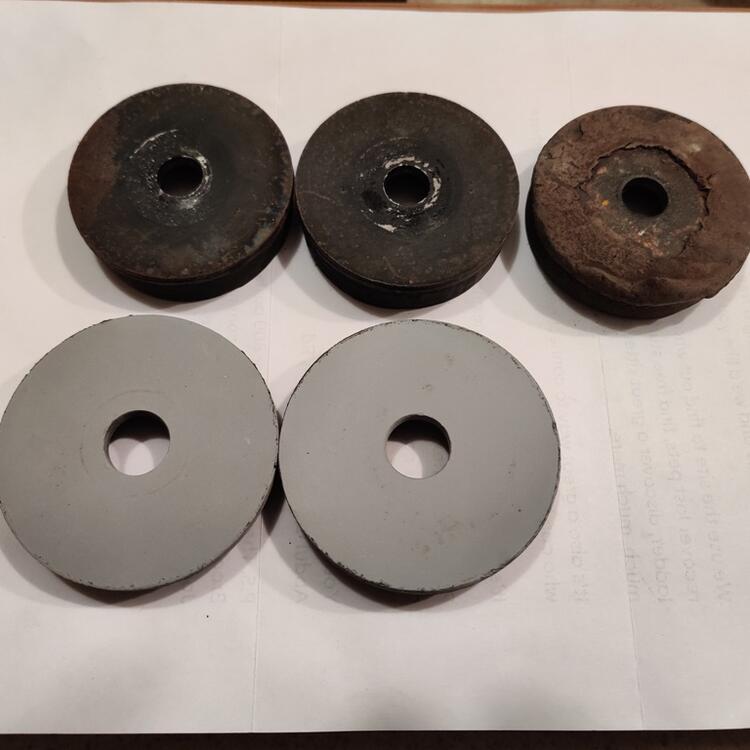
I believe these two (blue arrows) are the right ones. The upper ones have larger diameter holes than the lower ones. The one in the top left corner of your pic clearly has a smaller diameter hole. Can you measure the diameter of the hole in those 3? If those two with the blue arrows have the large hole, they are what I need. Doesn't matter if they are hard. Here are the ones I currently have. The third one I found with parts that came with my car is another lower one. The ones in grey primer are the serrated ones.

-
@patcon - do you have any good "solid" upper ones?
-
I was able to find a third solid rubber bushing in the parts that came with the car. But, I don't have a fourth. I see two NOS serrated ones (lowers) that I can purchase. So, I should probably jump on those.
-
The bushing in the mustache bar looked stock if I recall correctly. They were removed and replaced with new old stock originals by the prior owner. Here are pics showing what was on my car when I received it from the prior owner. The previous owner had messed with them for sure - note one serrated type on top and one of the type I mention in the lower position - on each side:
-
I've searched and looked at the threads I can find on mustache bar mounting bushings, but I haven't come across information about the bushings I think my car originally came with. Here is a pic of some I found online that are just like them. Does anyone know what the original Nissan part numbers are for this "solid" style?
-
Foosman, for what it is worth, fabricating brackets to fit a later metal tank looks easier than fabricating a tank. Though, if a plastic one in good condition can be found for a reasonable price, then that might be the best route to take. I mis-remembered my month of manufacture earlier as 5/71, but it is a 6/71 car.
-
Ha! It would appear that my car, being manufactured in late June of 1971, received a metal tank "pre-maturely"!
-
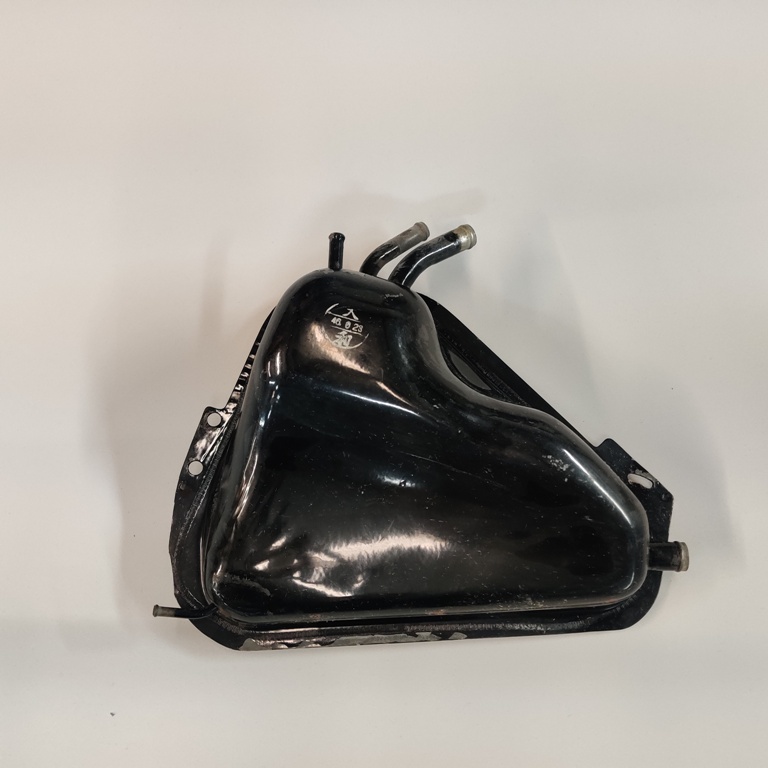
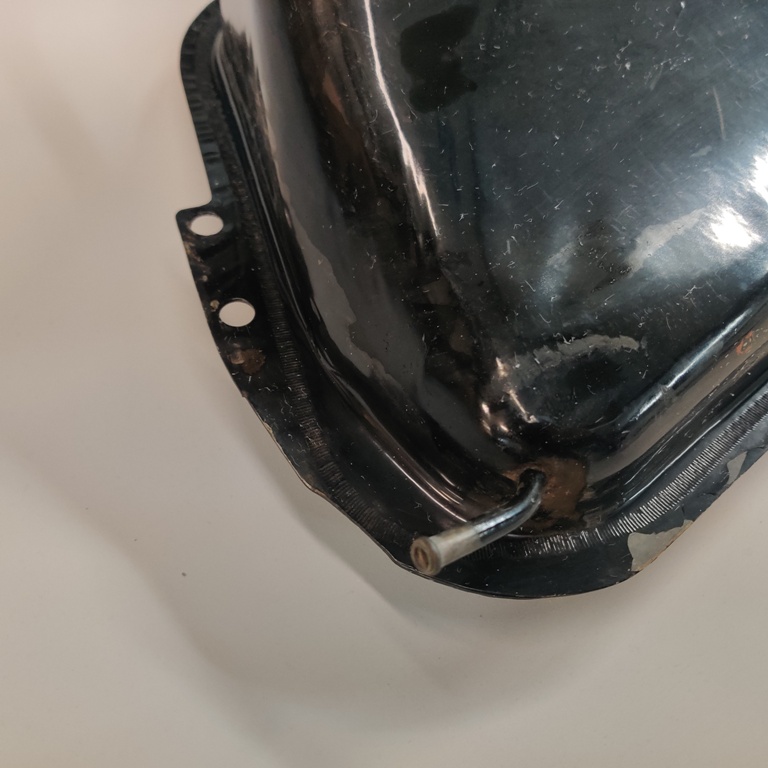
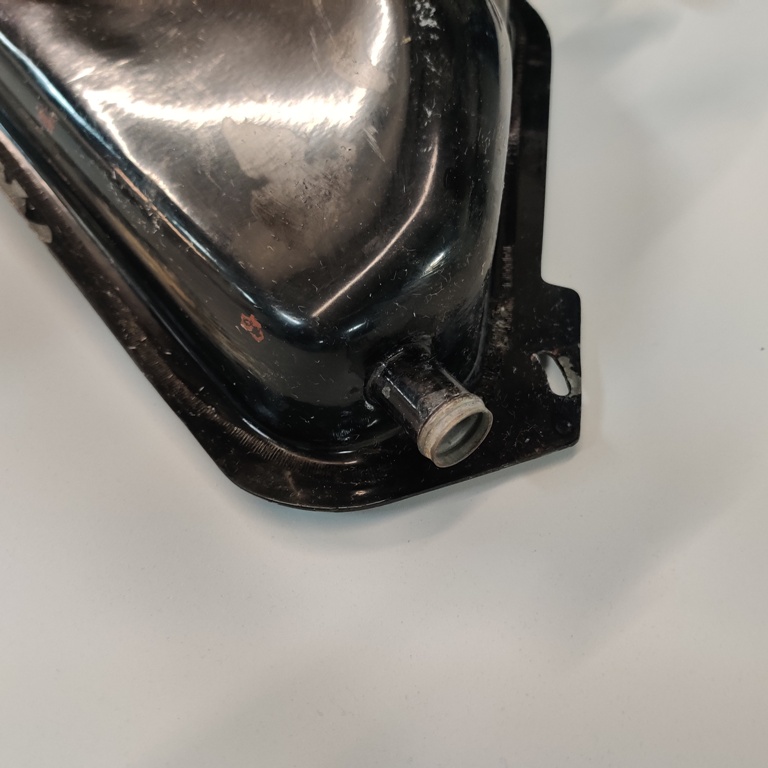
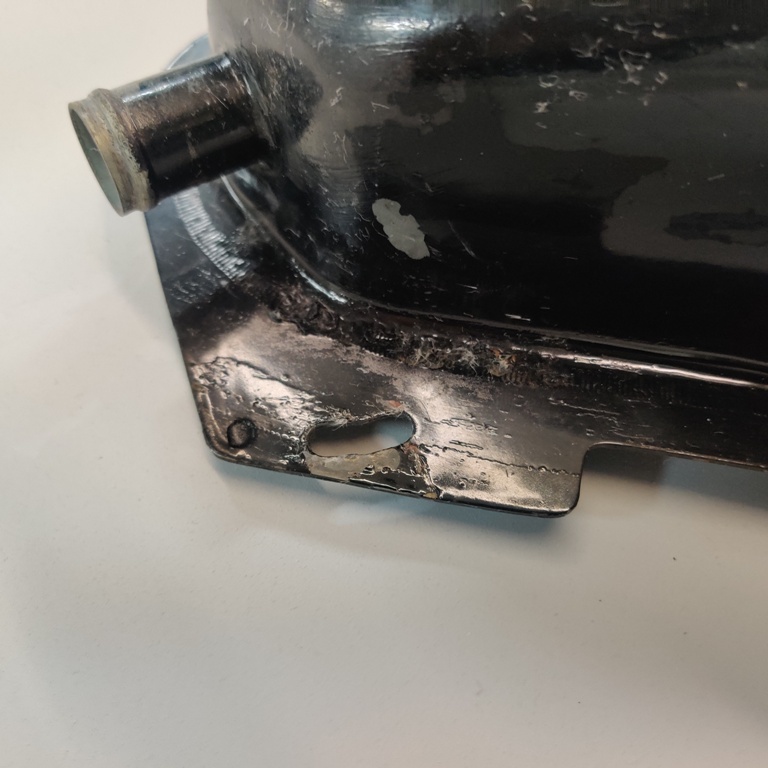
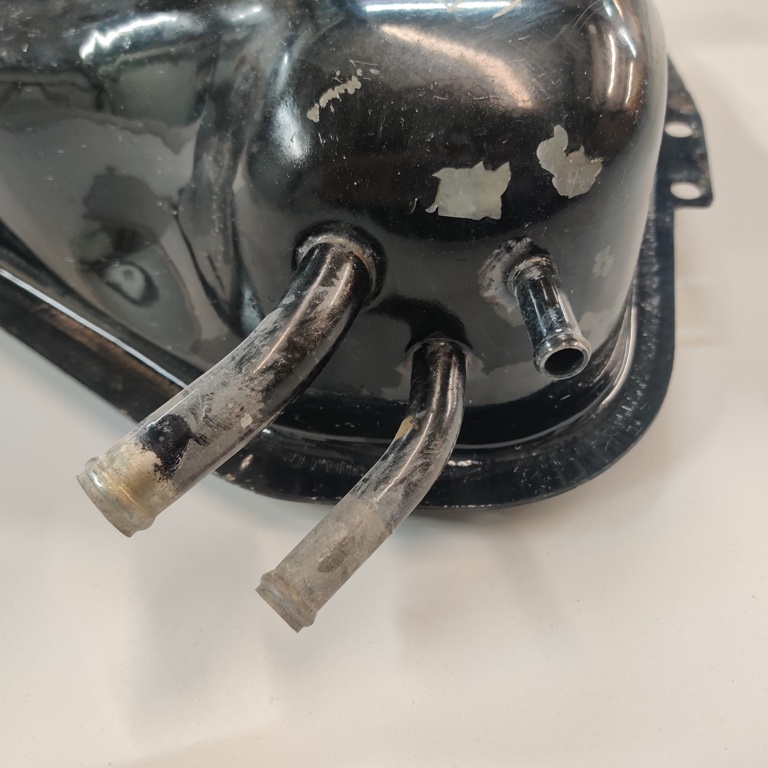
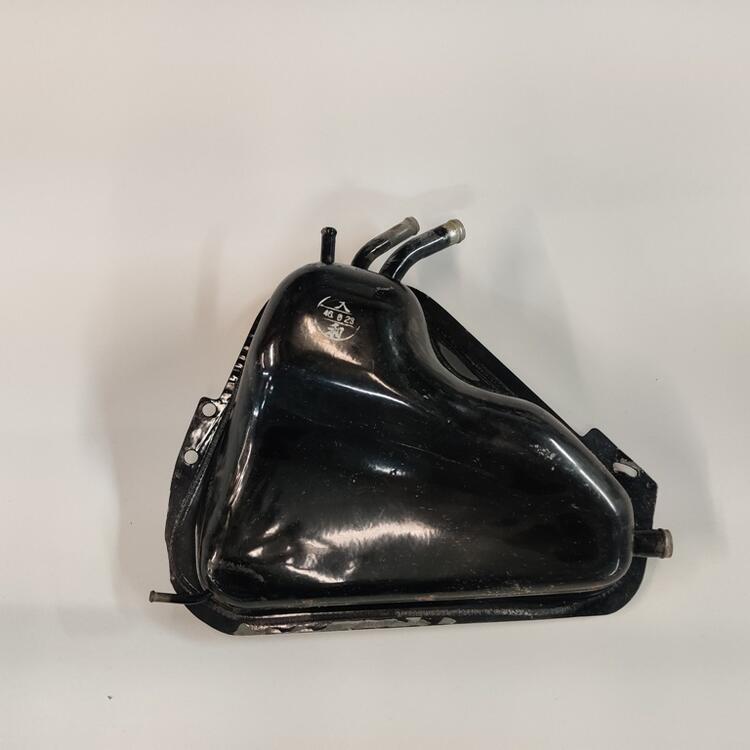
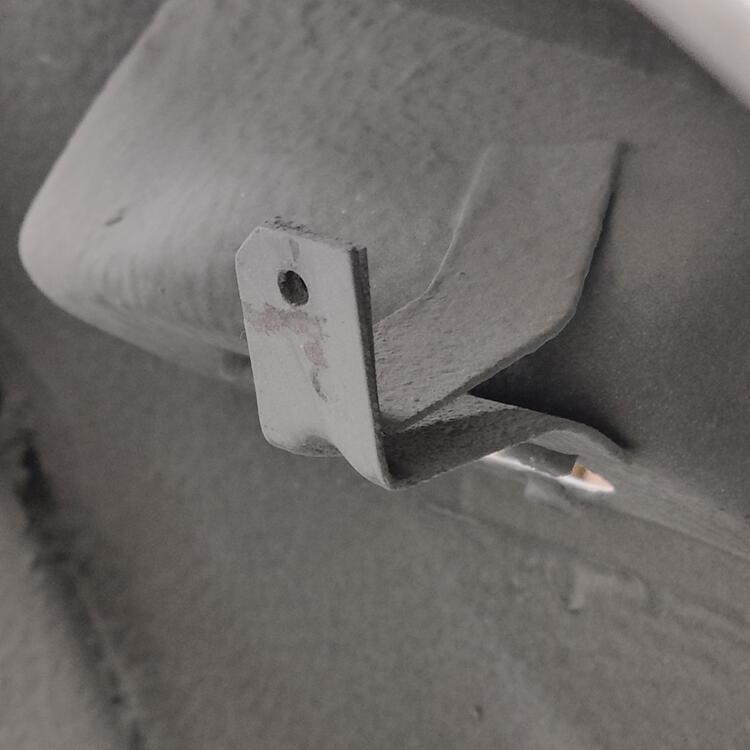
Ok, getting back to you on my metal tank in my 6/71 240z: Overall view of "as installed" orientation, front bottom, back bottom: rear mounting tab detail, top front, date stamped on the tank... I don't know how to read that, maybe @KatZ can tell us? The mounting location in my 6/1971 car:

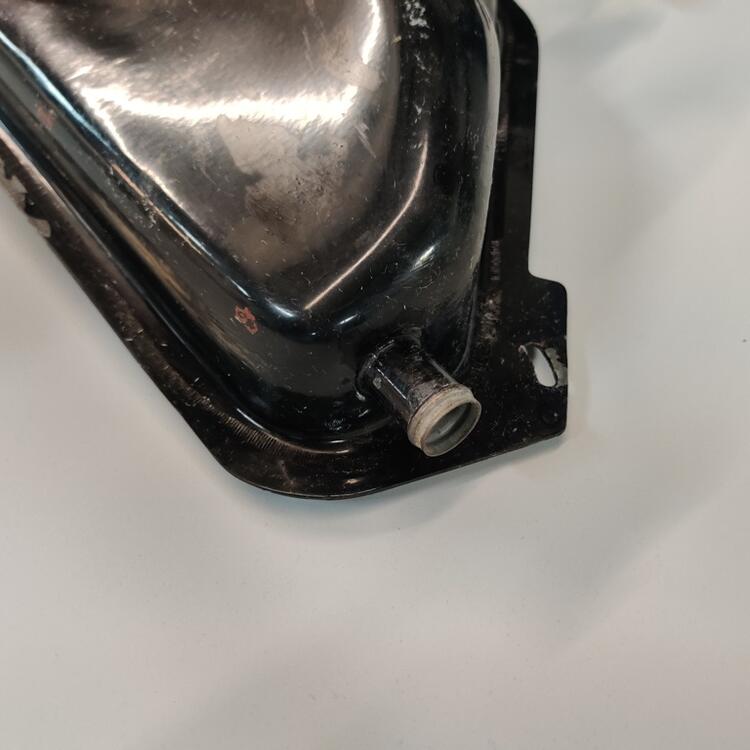
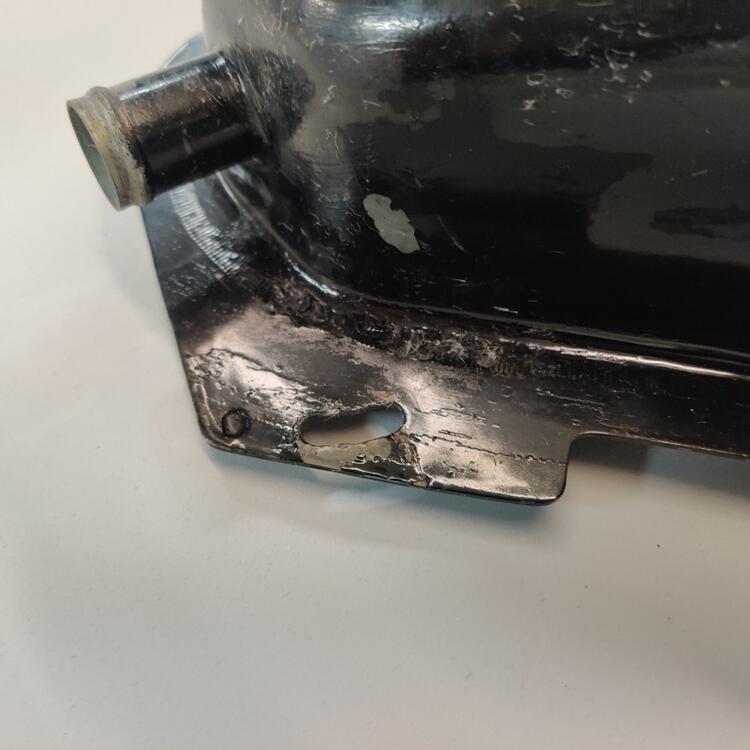

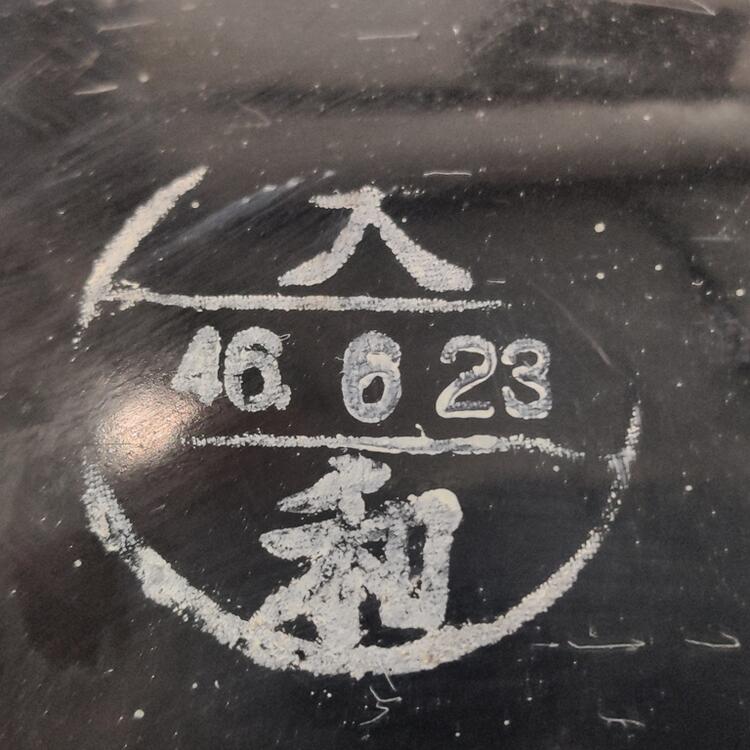

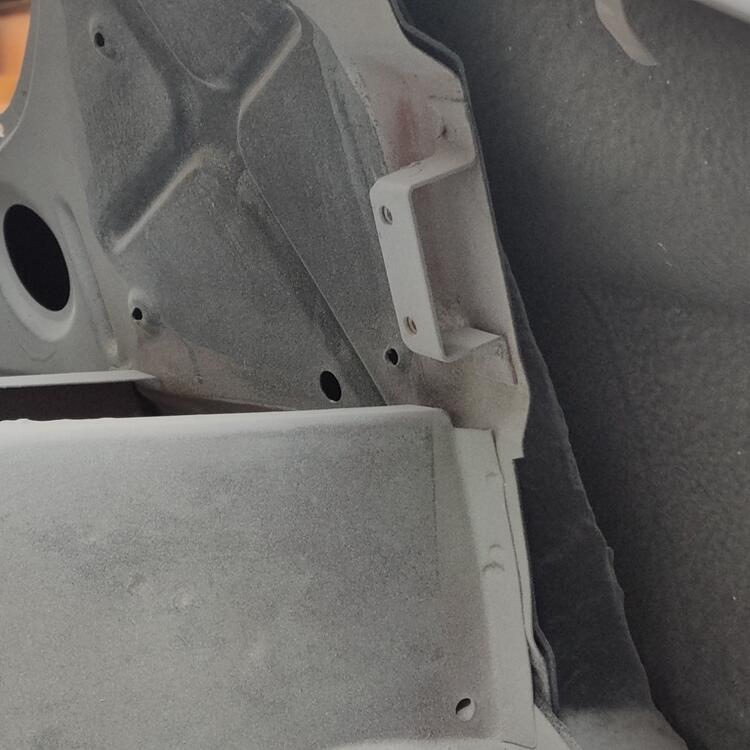
-
Just looked that up. OMG GTFO. Never seen that before. 🤣
-
HA! That brought back a memory. We got NBC - channel 29, and PBS, sort of... and CBS "kinda" if the weather was "odd". Nowadays, I bet I watch less than 4 hours of TV a year. I do watch movies and some series on Netflix... occasional movies on Amazon, and a lot car related content and some premier league soccer highlights on Youtube. Projector and screen in the entertainment room... and a 45" (I think) that I barely use... in the main living area. Recording and watching auto racing sounds like something I'd like. By the way, the people they use in television commercials now generally disgust me. I guess that is a far as I will go with that.
-
I've found myself looking at that one a few times. I think it has promise. Price is high relative to current market in my opinion.
-
What about sourcing a correct metal tank? My 6/71 has a metal tank that fits. Let me know if you want pics of the mounting brackets on the car.
-
Hi Katz, There is a bonnet catch bracket on eBay right now.
-
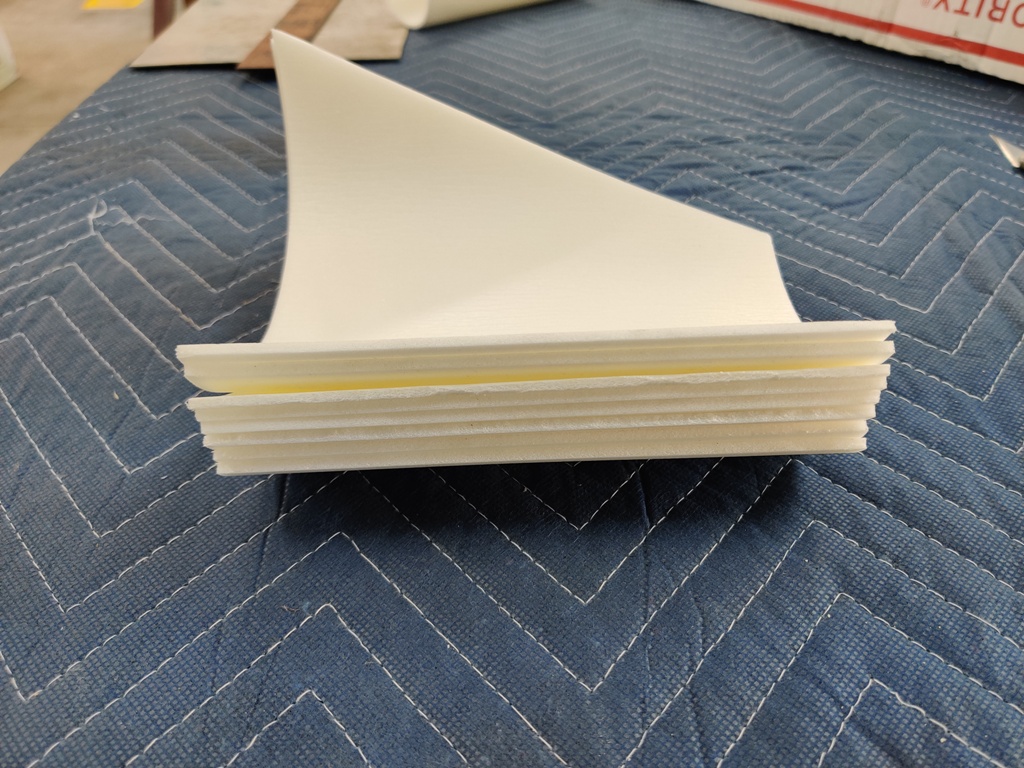
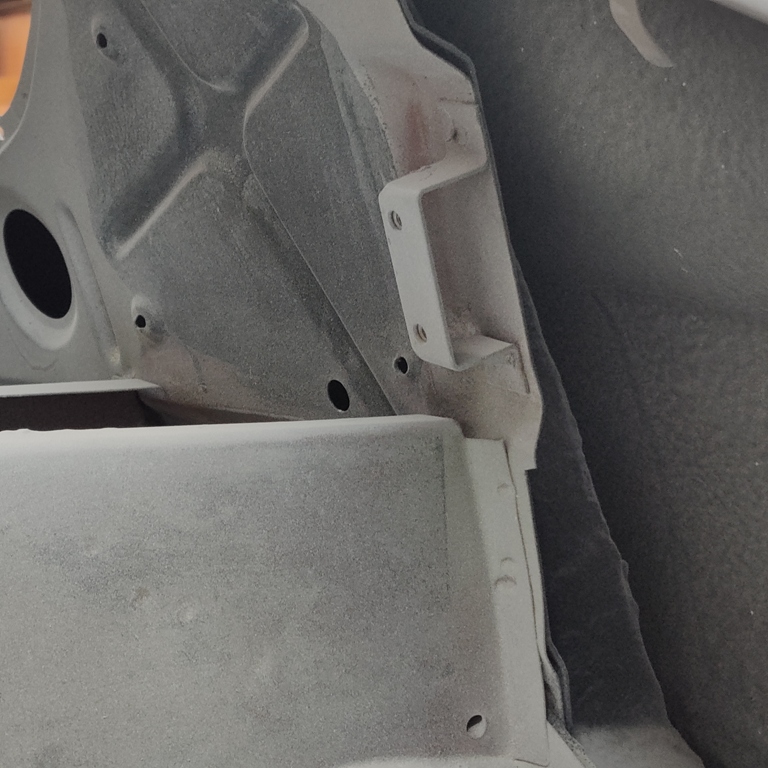
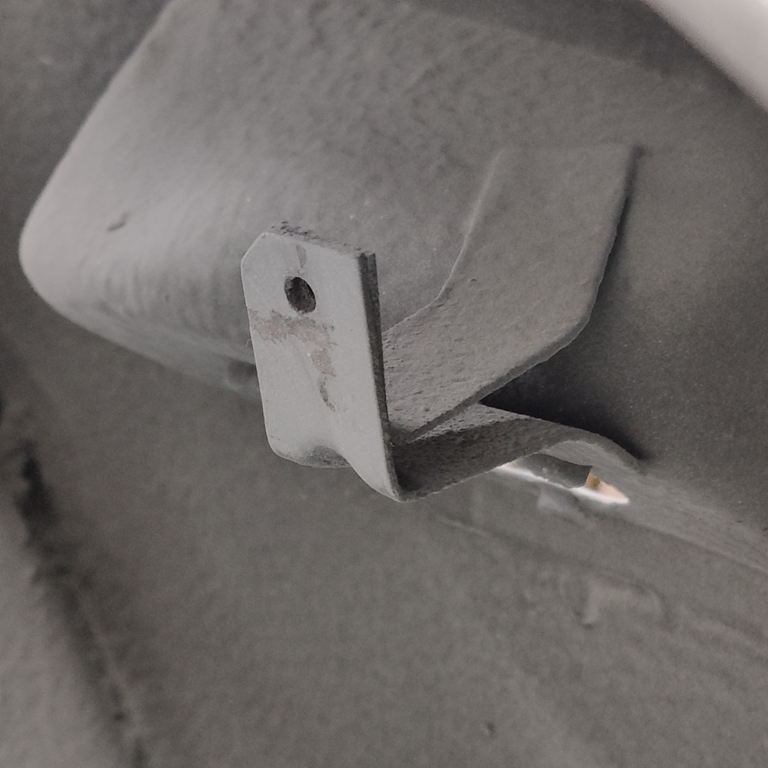
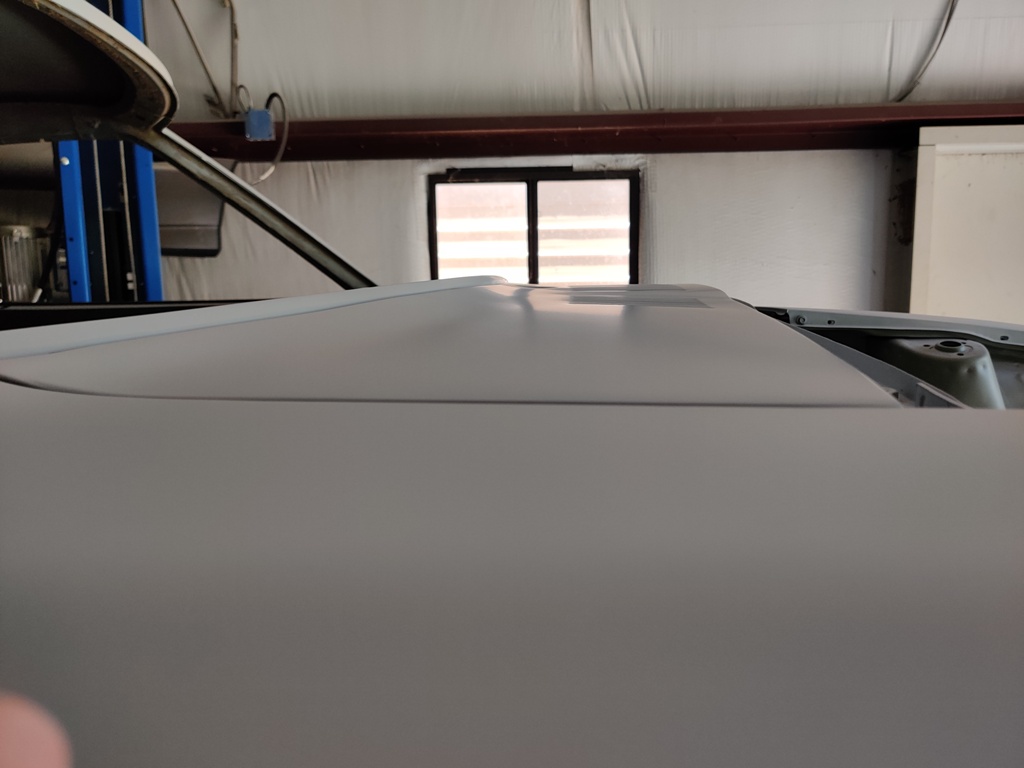
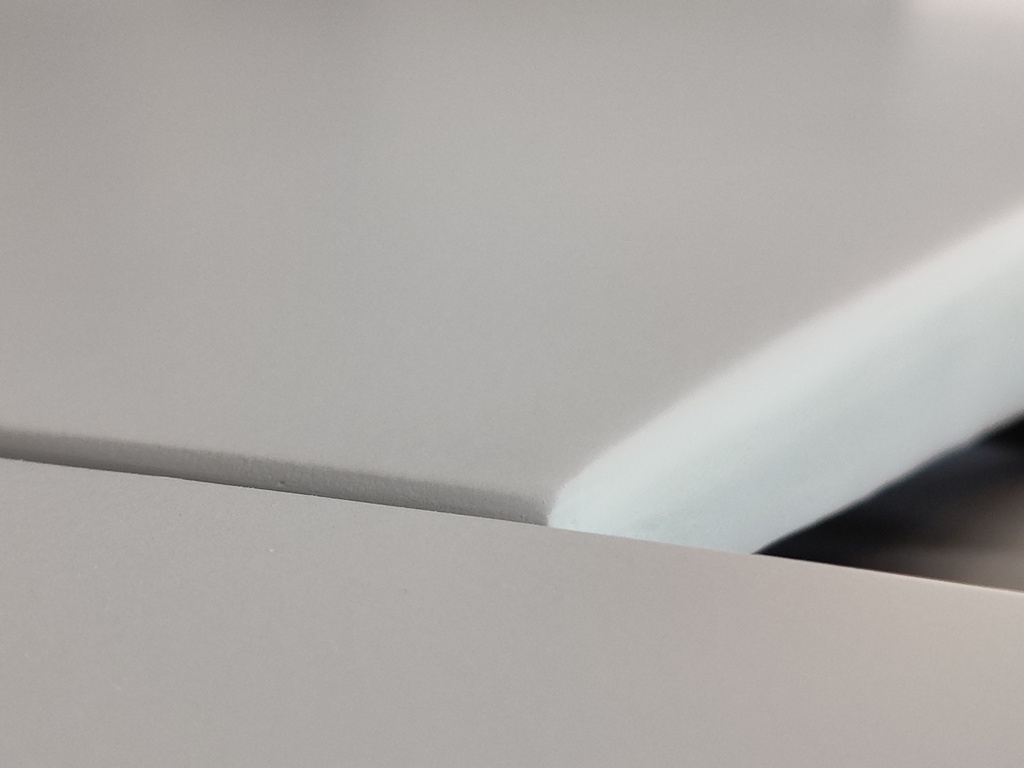
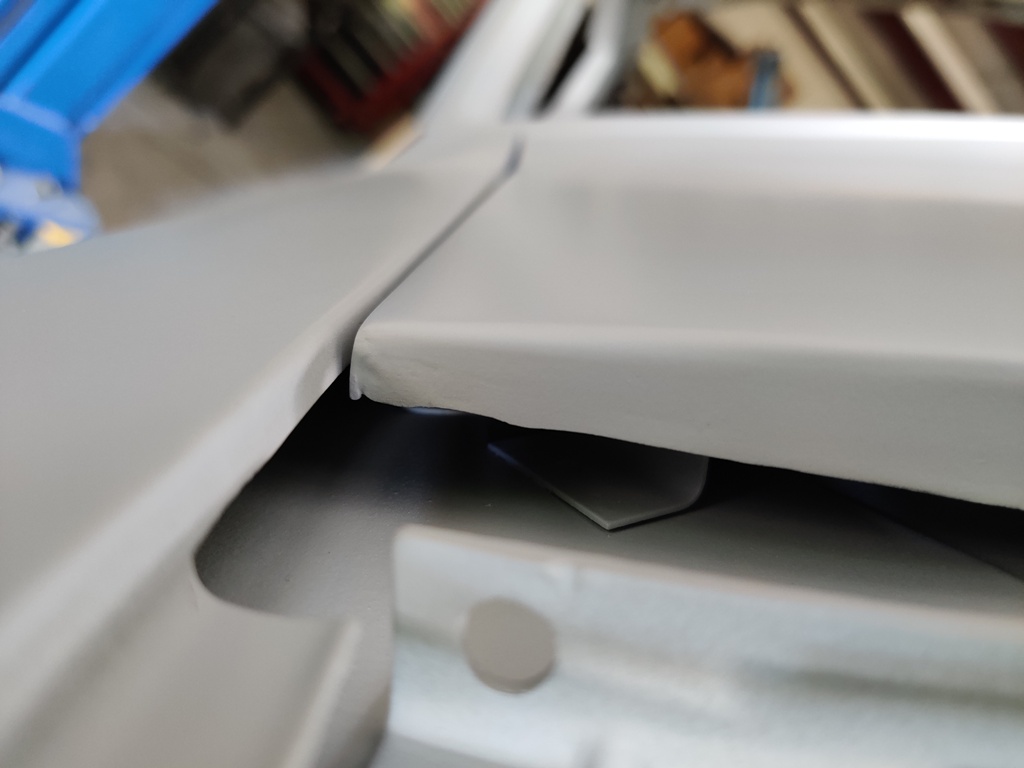
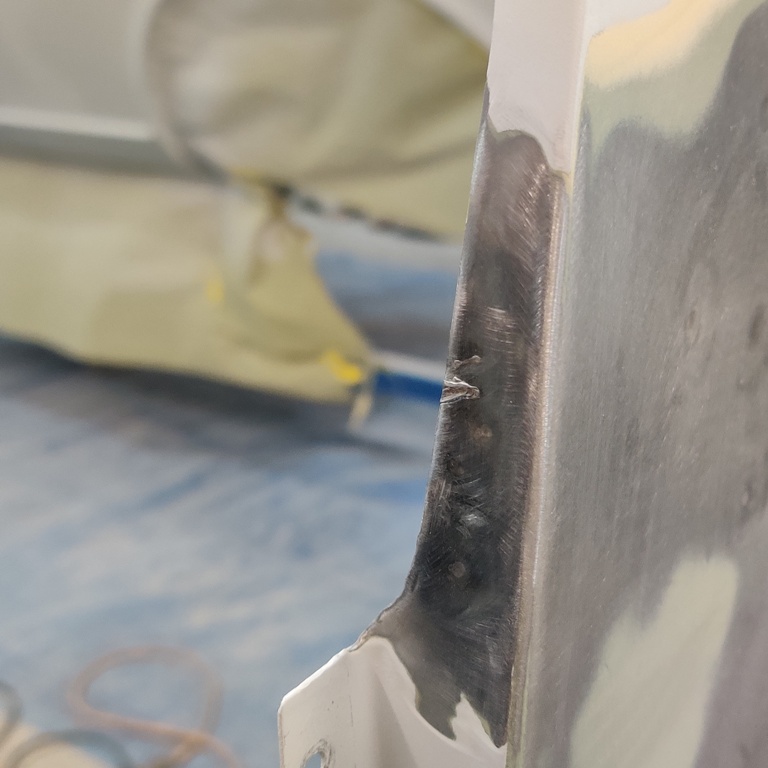
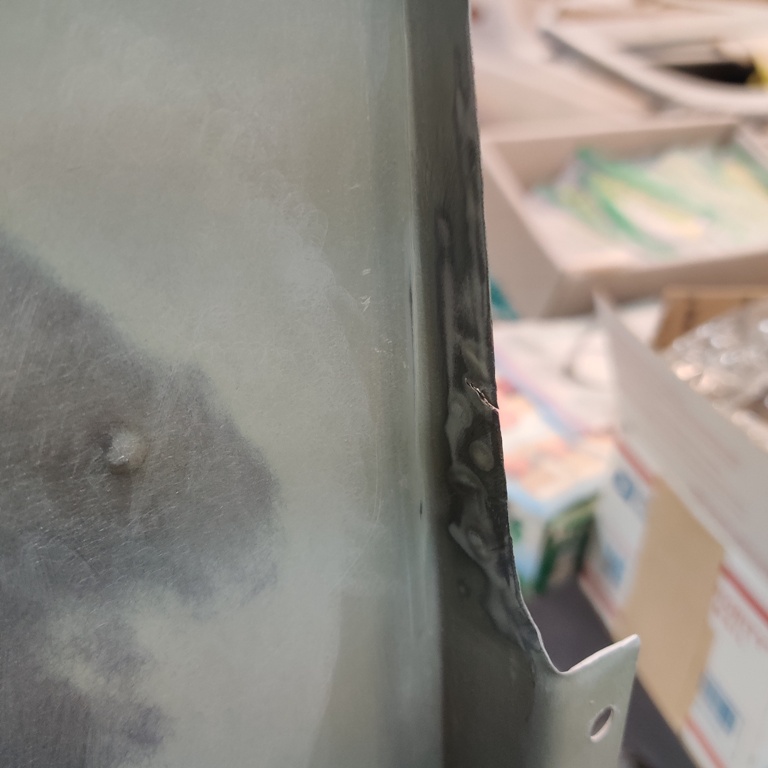
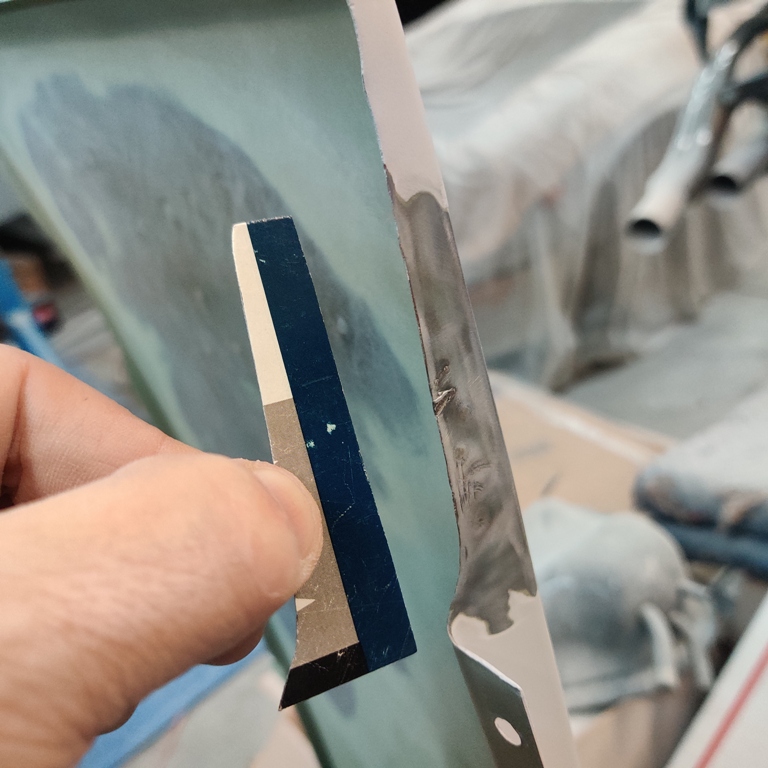
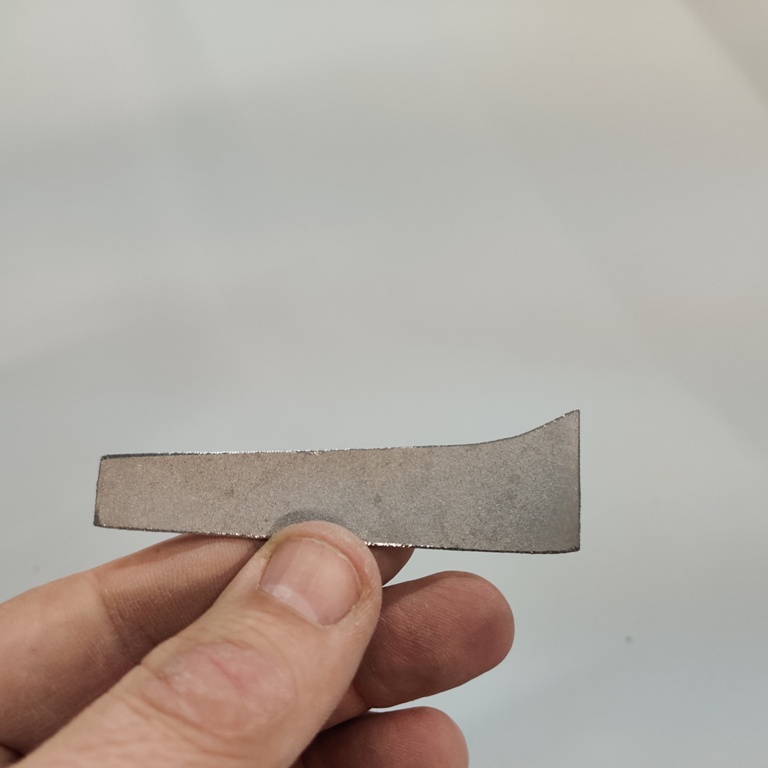
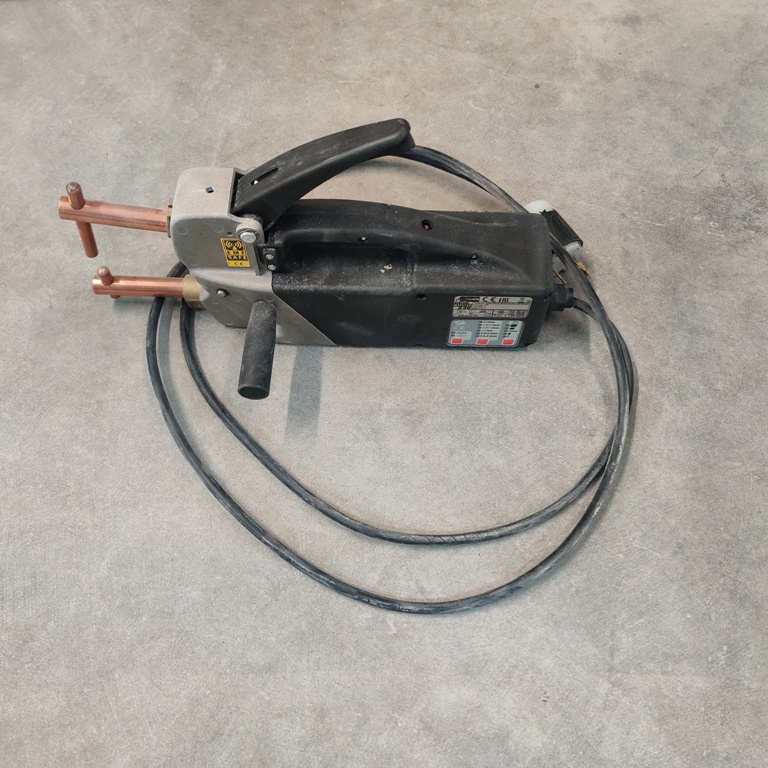
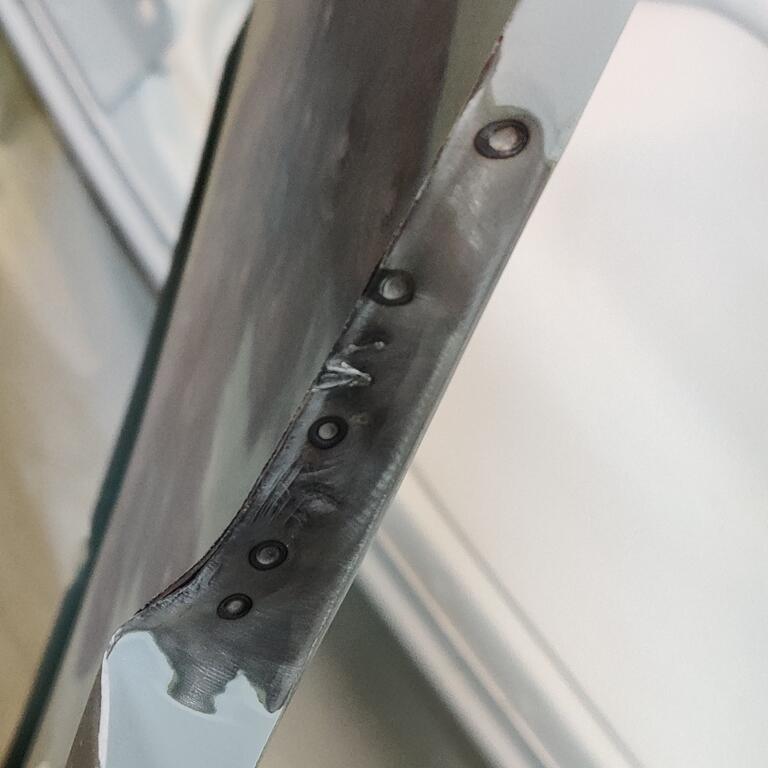
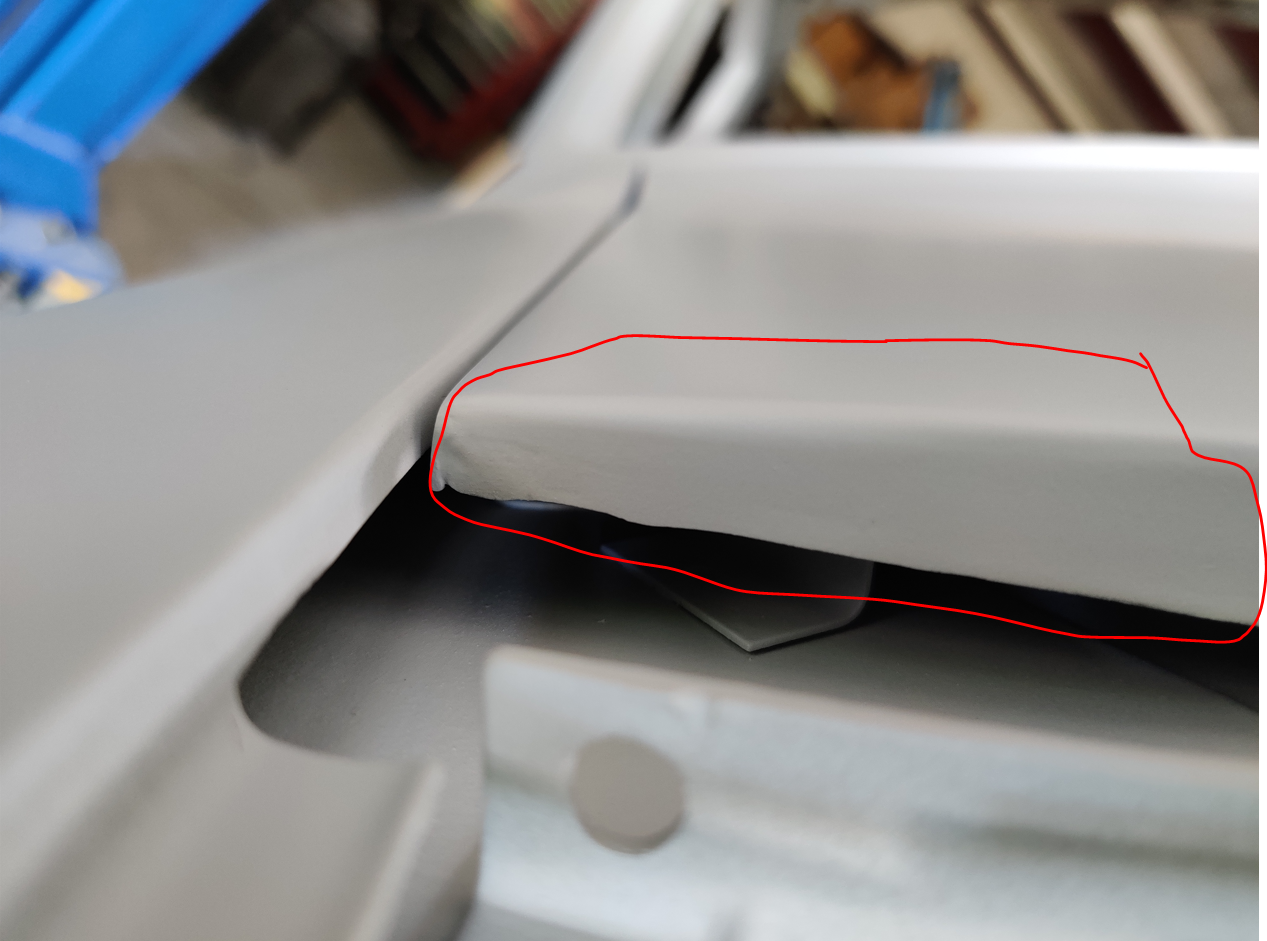
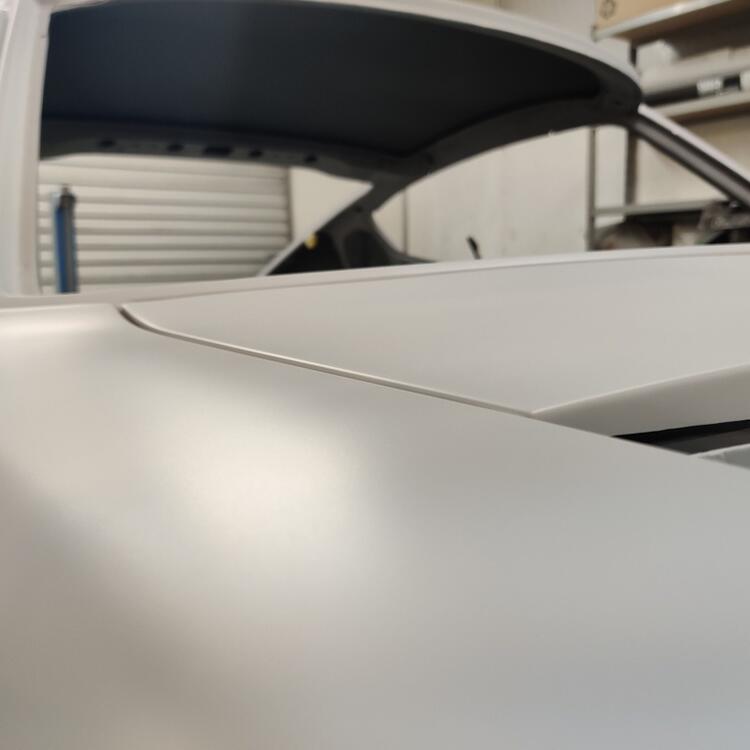
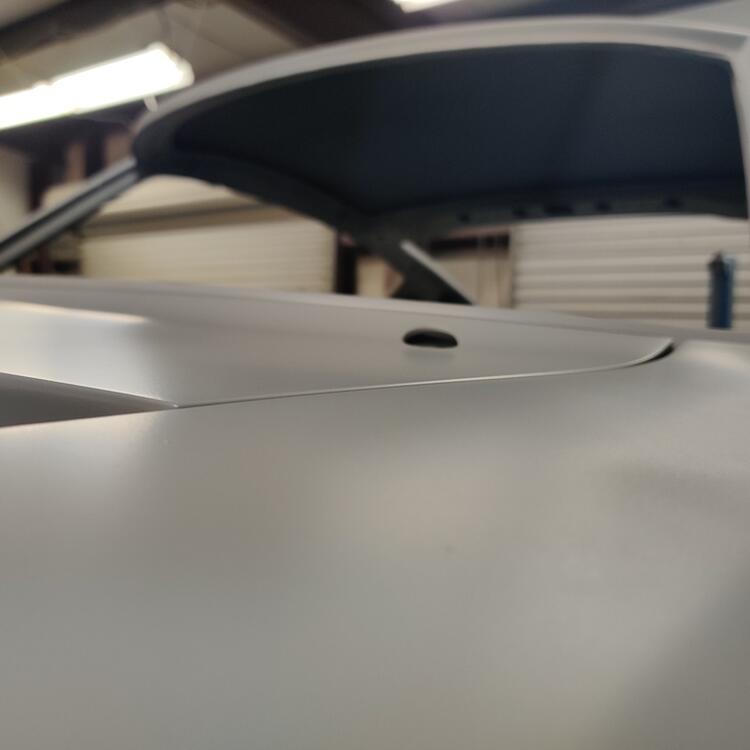
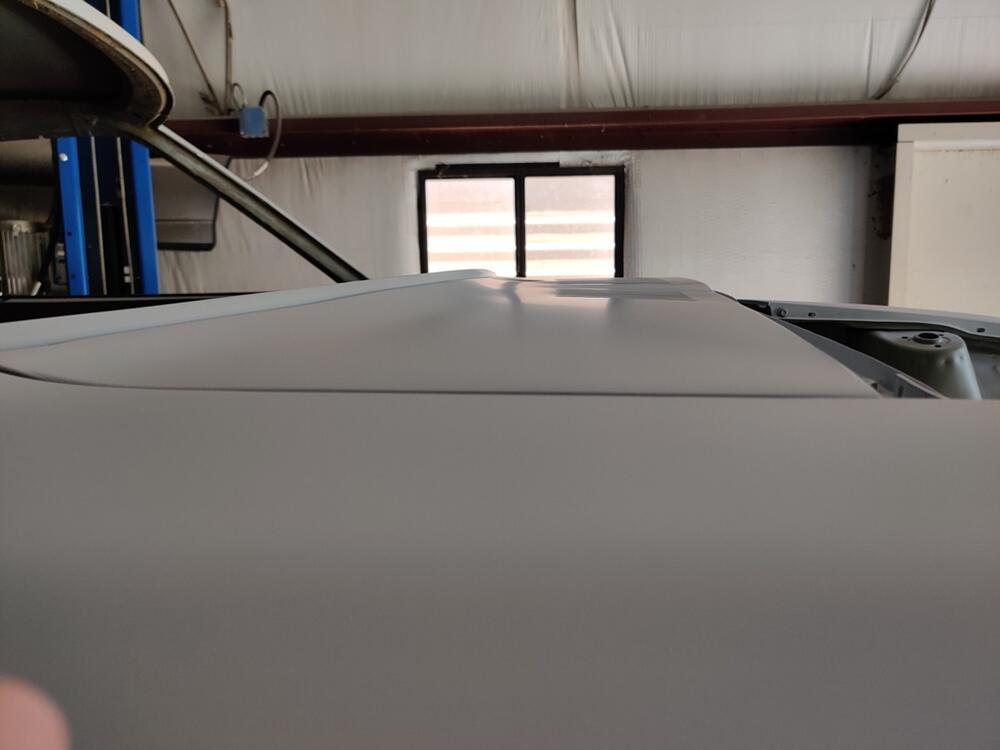
I noticed my cowl panel was "oil canning" a bit on the right side and it wasn't sitting down on the foam padding (closed cell) like it was on the left side. Perhaps that sand blasting of the panel I did a long time ago distorted it a bit? Can't really tell from the pics: It pained me to do it, but I ground off the primer and filler from the top surface of the right side, worked on it to shrink the metal, and after the oil canning was corrected, put new epoxy primer, and filler on. Finishing up with that today and will apply primer. Something I found that may be useful to others: There is no height adjustment on cowl panel "per se". In order to adjust for any mismatch in height between the fender inner edge and the top surface of the cowl panel, you have to bend the cowl panel sheet metal. After stripping it to bare metal again, I was messing with bending it and noticed that this area is very thin, probably thinner than originally because of stripping off the paint: I noticed that even relatively light pressure applied at the corner there caused this thin part to flex and the height of the corner to move a little. And, in fact, the tool I was using to shrink the metal "blew through it" in one spot. So, I decided to make that area stronger to keep the panel from moving later (after paint). Front, back, and card board template: Template shape transferred to metal, the cut out piece, the spot welding tool to minimize heat: Front and back after welding: I performed this mod to both sides of the cowl panel. 9 and 1/2 hours of work yesterday. Time to get back to it.
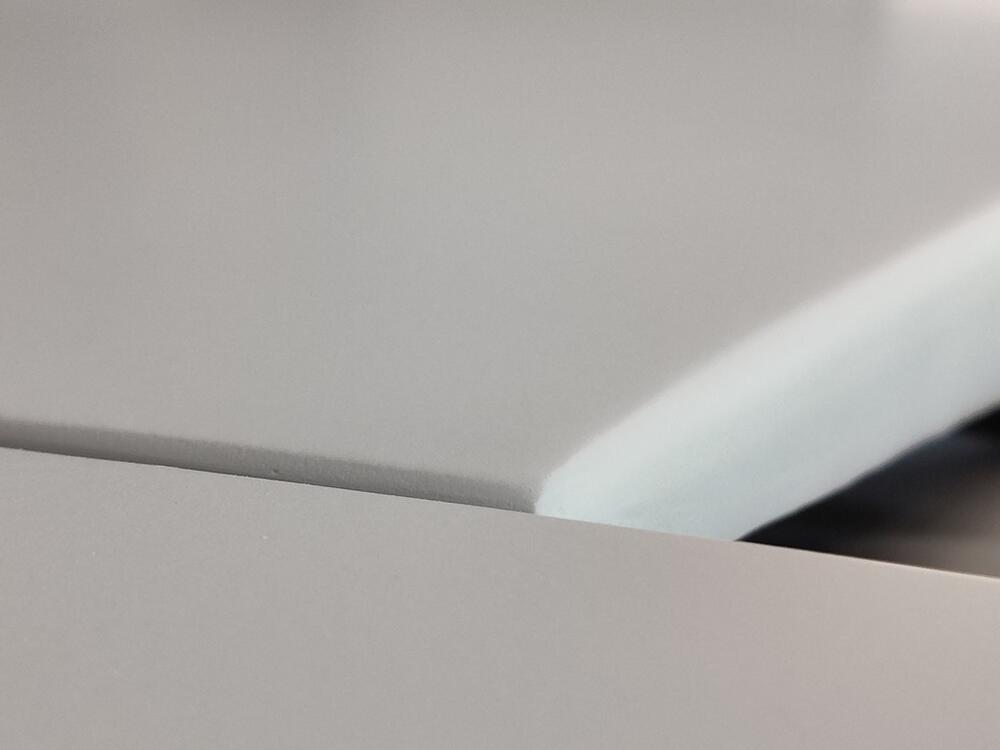
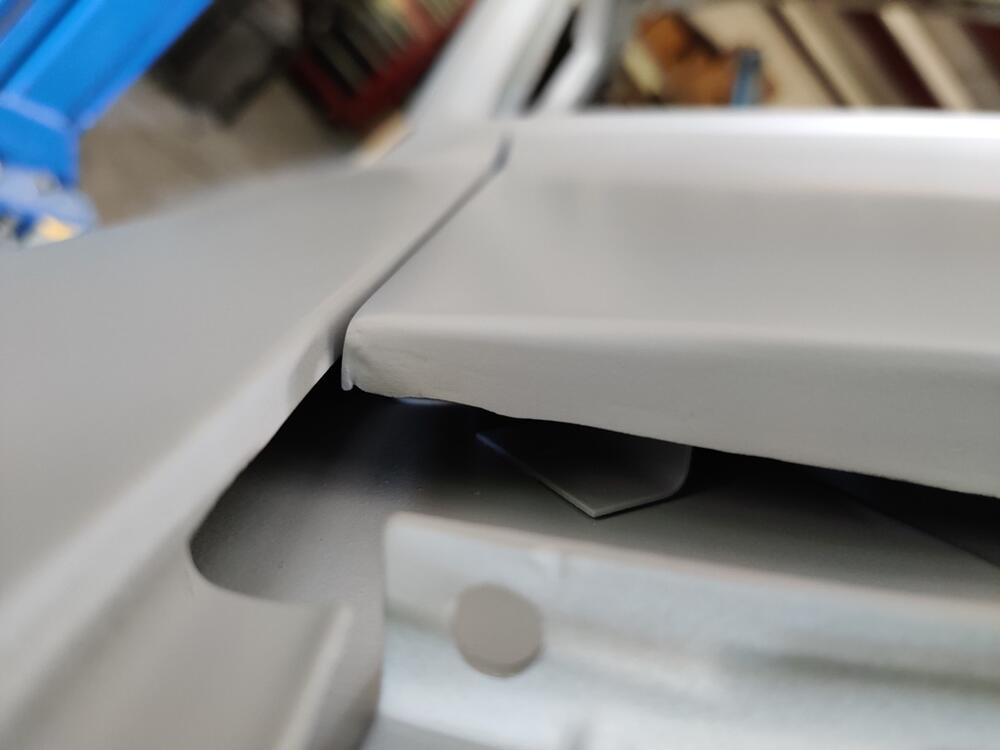
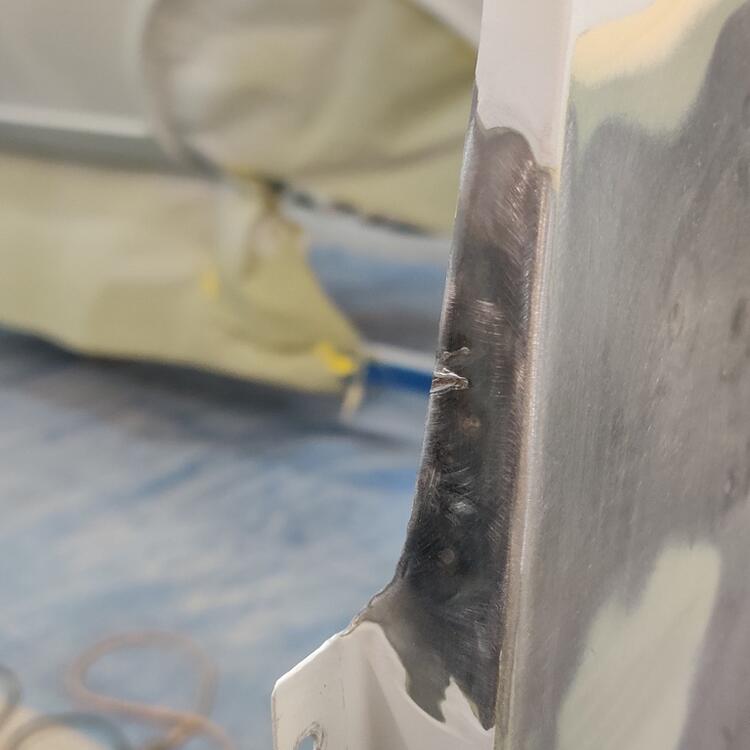
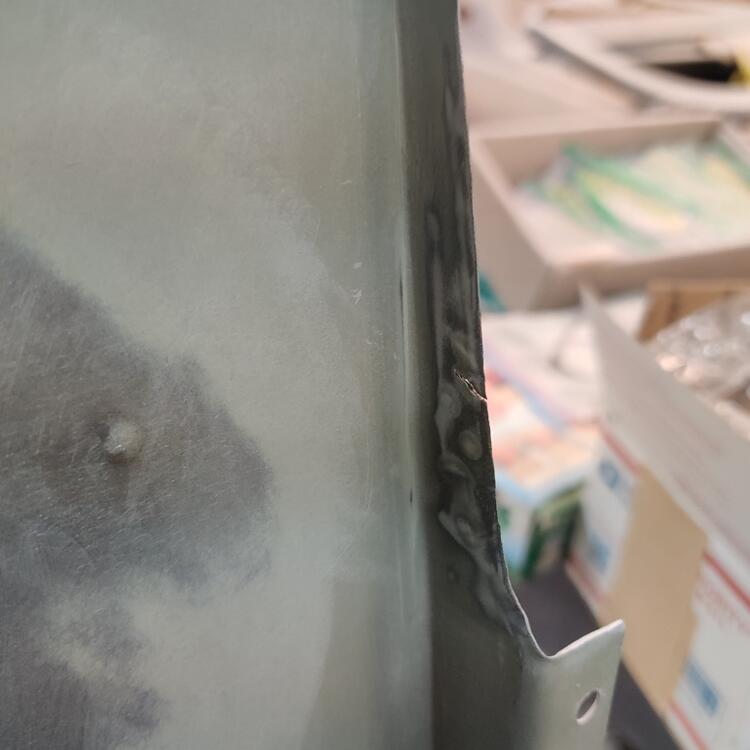
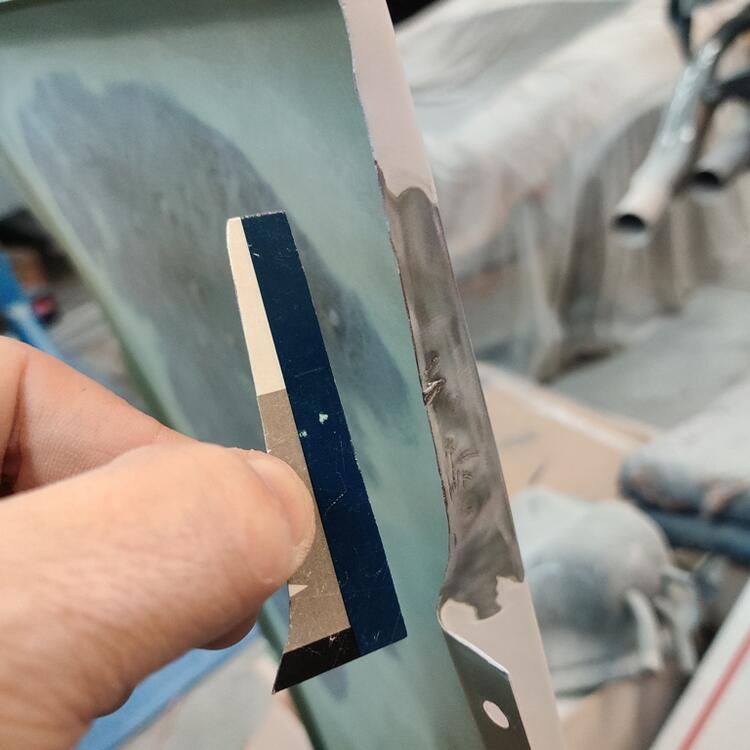
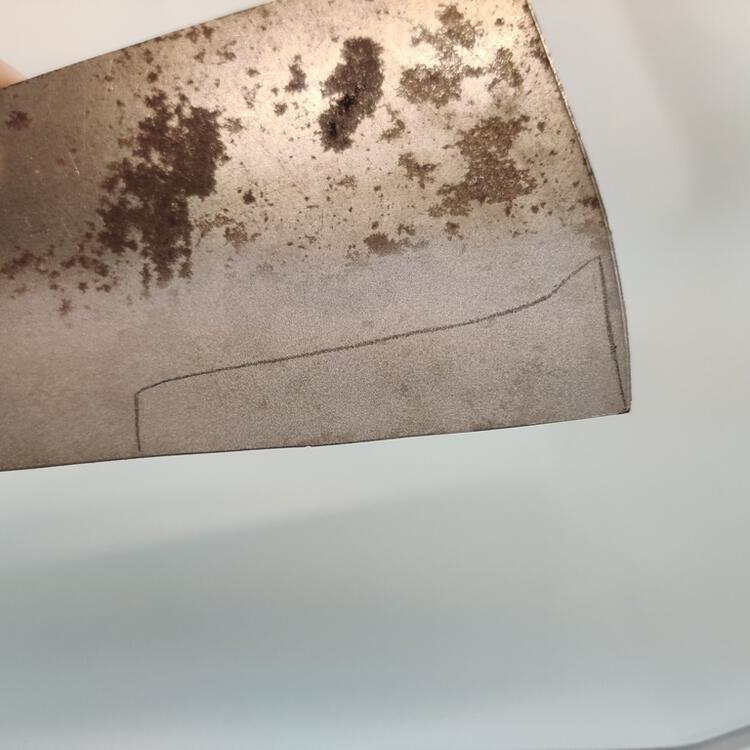

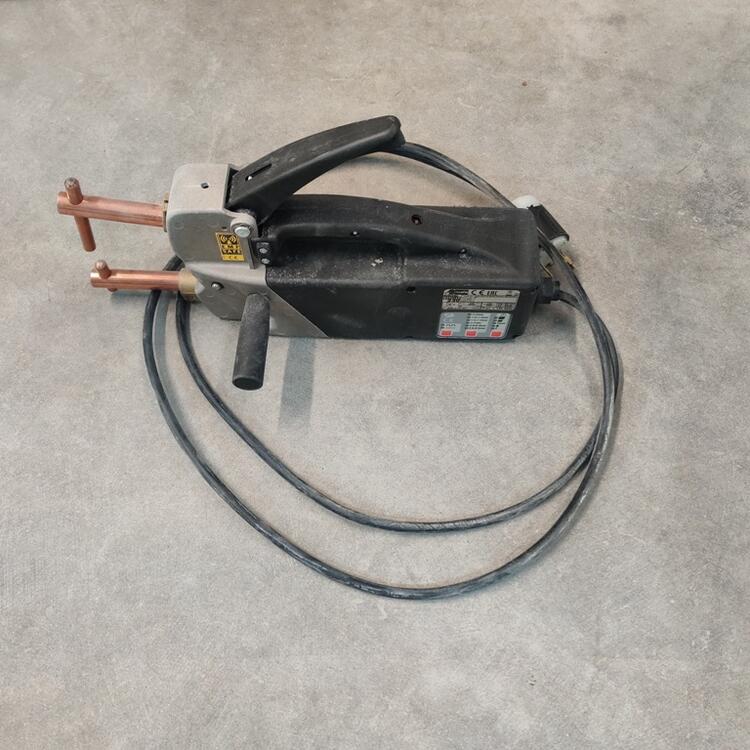
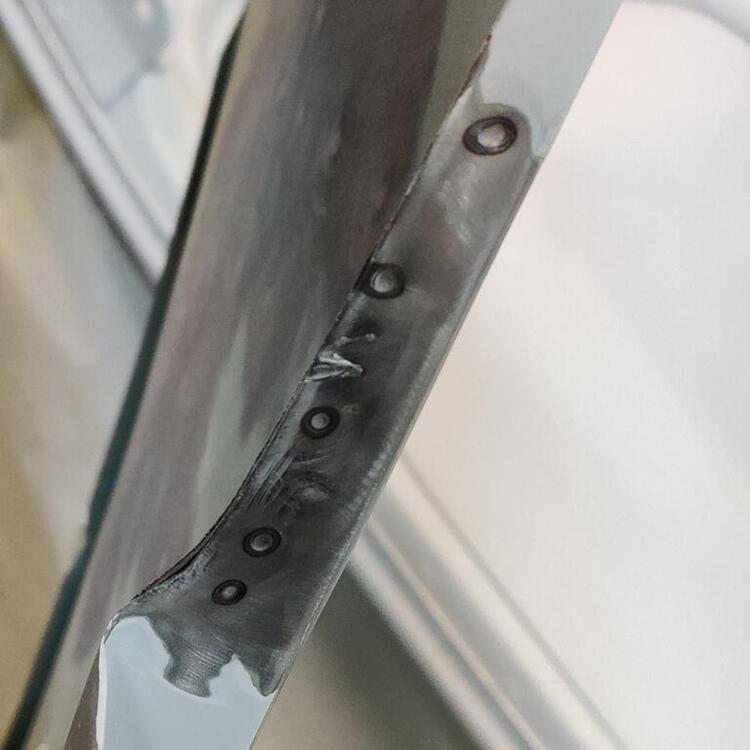
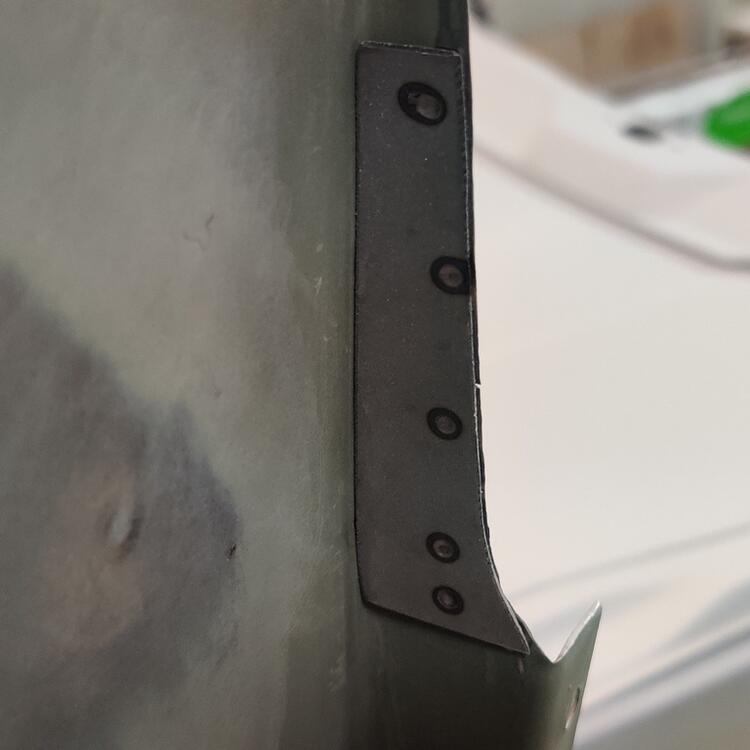
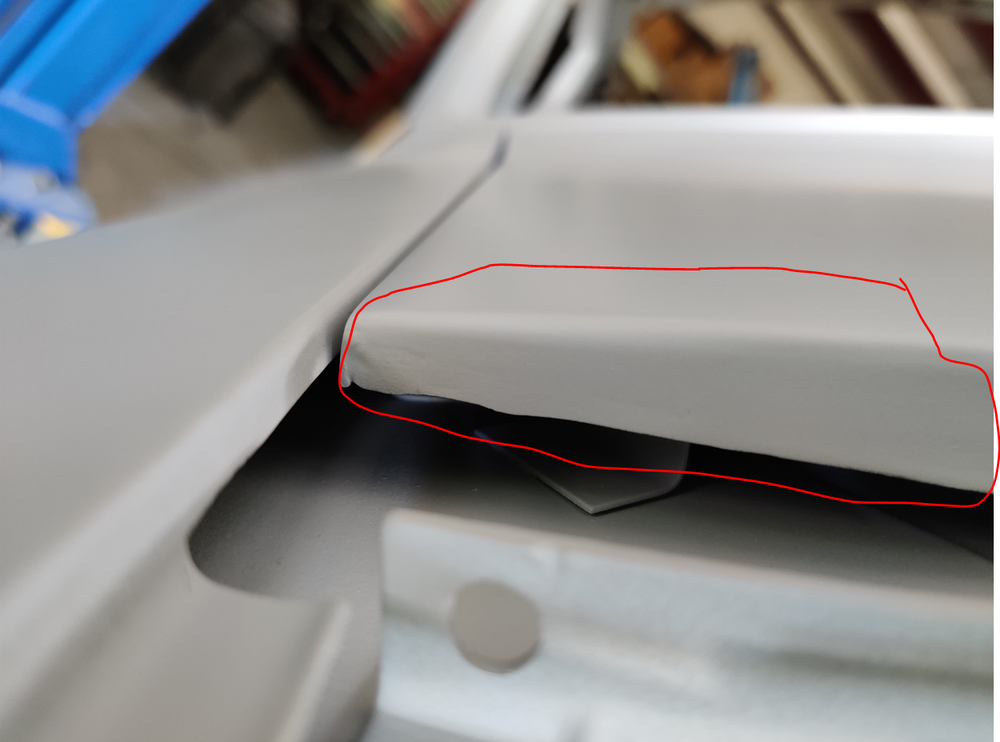
-
Stumbled across this today and downloaded a copy. Lots of interesting info for the Z and other Datsun's here including production run changes with VINs, and other things like the original add on (after-market) air conditioning info. http://240260280.com/Docs/TSB/Technical_Bulletins_1969_1972.pdf
-
His name was Ben Herman. His Obituary. He used to buy 240z's (only) that he found out about a printed, regional publication that was around at the time. It may have been called "old car trader"? Whatever it was called, I recall seeing his ads in it and that is how I came to meet him. At the time I dealt with him 1994/1995, he kept everything in his basement. The Fairlady Z we parted out had some interesting parts on it. It was very restorable (he said is was a shame to part that one out) but I was 25 at the time and in the middle of a restoration on my 1971 Z (my first one that I still have) that was taking all of my time and money (cost me my girlfriend eventually too!) Anyway, it had a 5 speed, a 3.70 rear diff, and some really thick rubber, floor and hatch mats. I recall them being about like a quarter to half inch thick. They appeared to be factory. Right hand drive of course, with L20A engine. Anyway, it sounds like he built that inventory out quite a bit. I know is inventory of early Z parts was extensive as he had special interest in the early cars.
-
$380 Canadian in 1982 is the equivalent of $1,048 Canadian now. $779 US dollars. I think they might be worth $800-$1000 US each.
-
I forgot to mention that if there are aftermarket reproductions available for an item you want to establish a value for, you will want to consider that. An aftermarket fender for the Z exists for $250 plus shipping. Though, from the description, it is obviously not the same quality as OEM.