Everything posted by inline6
-
Restoration of BringaTrailer 240z - HLS30-35883
Found this post about strut stickers: Wonder if there are any reproductions other than these: https://www.zeddsaver.com/products/datsun-240z-strut-decals
-
Restoration of BringaTrailer 240z - HLS30-35883
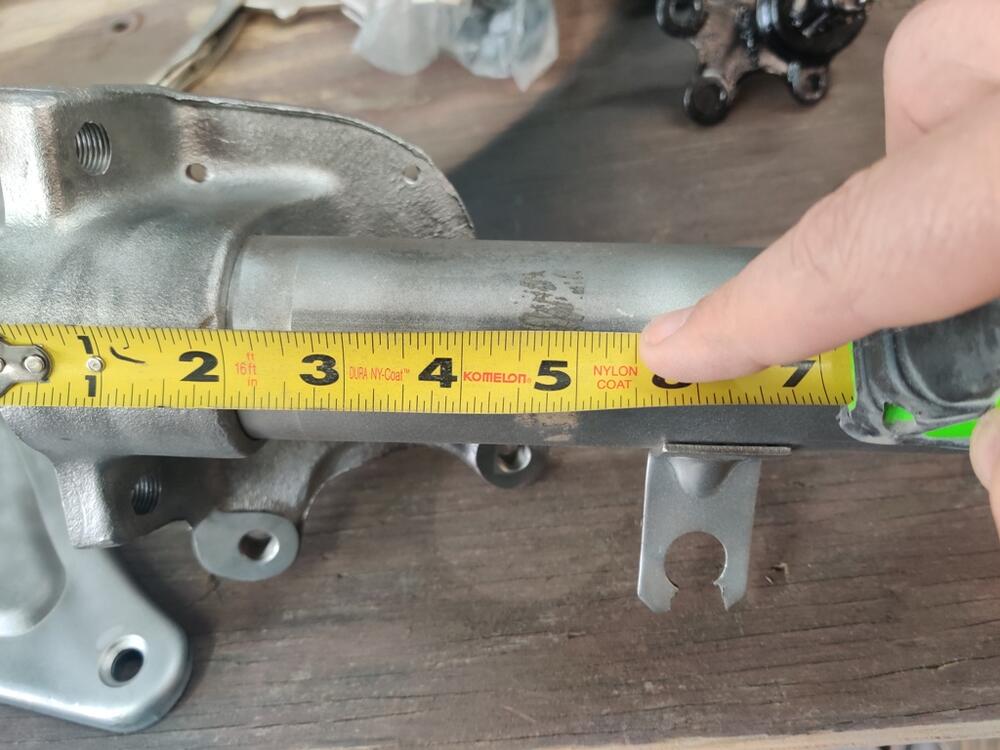
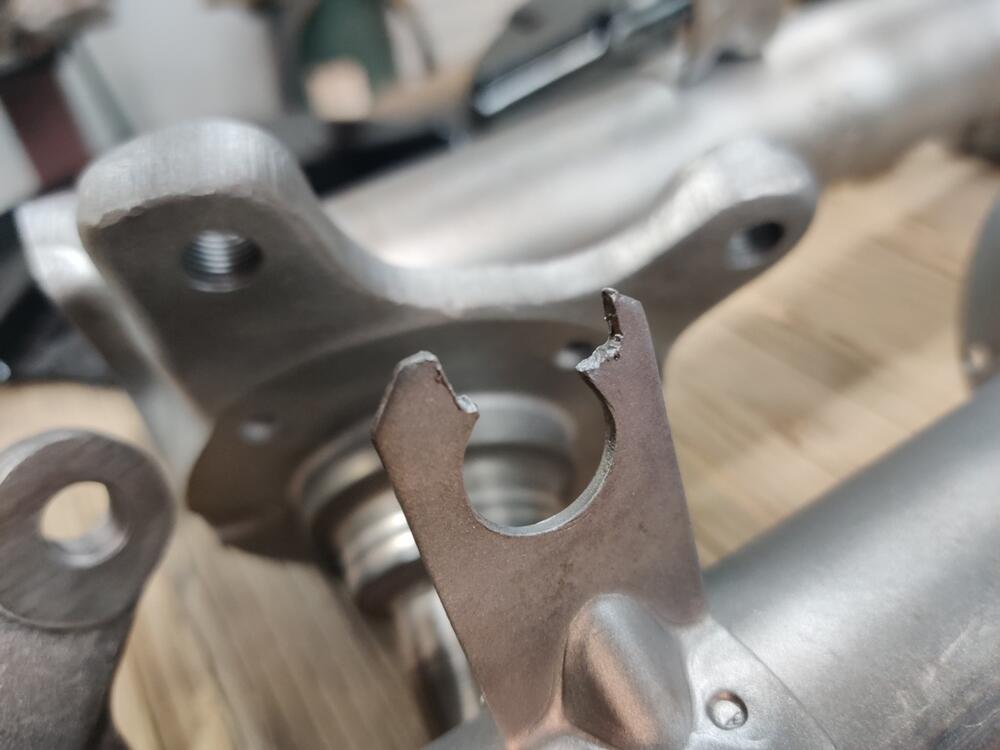
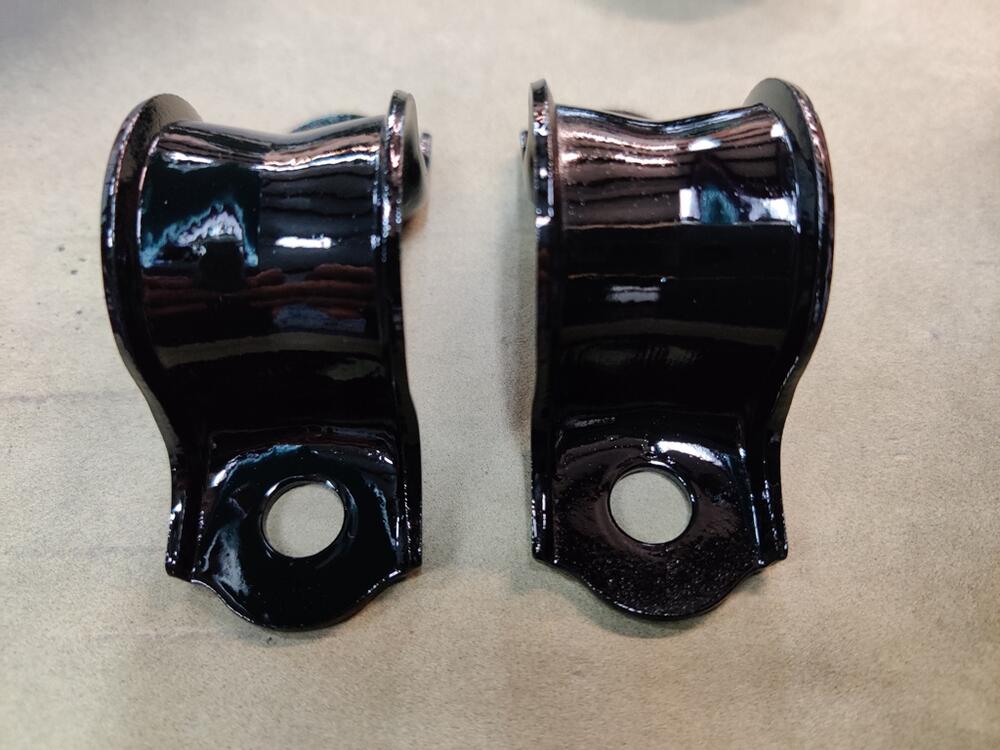
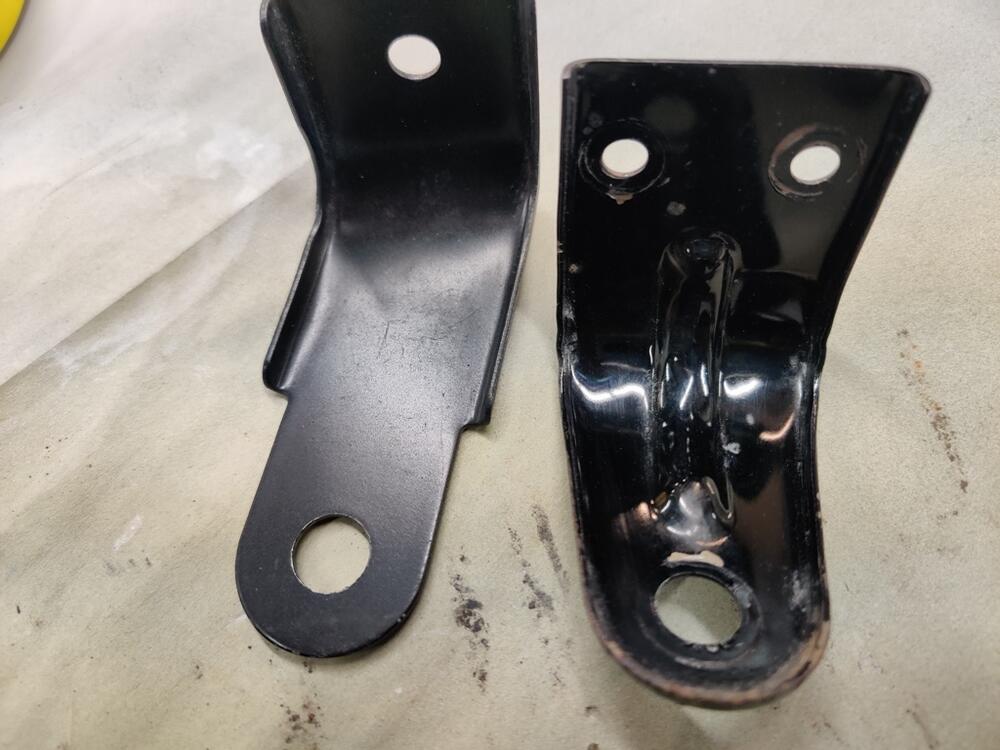
Thanks Charles! I have been re-collecting and straining the used material. I like the idea of using a storage tub. That would keep the media from traveling as far. The weather looks sunny and cold today, good for finishing the stripping of paint and rust from parts. I will attempt to finish blasting of all remaining parts today. The struts have the remnants of what I believe to be a factory sticker: Each of my struts have this same left over sticker residue. It is narrower and longer than these: https://www.zeddsaver.com/products/datsun-240z-strut-decals Anyone know what they are/said originally? The previous owner hacked the brake line support bracket. I'll repair these before painting.
-
Arrows on the factory U-joint castings - what do they mean?
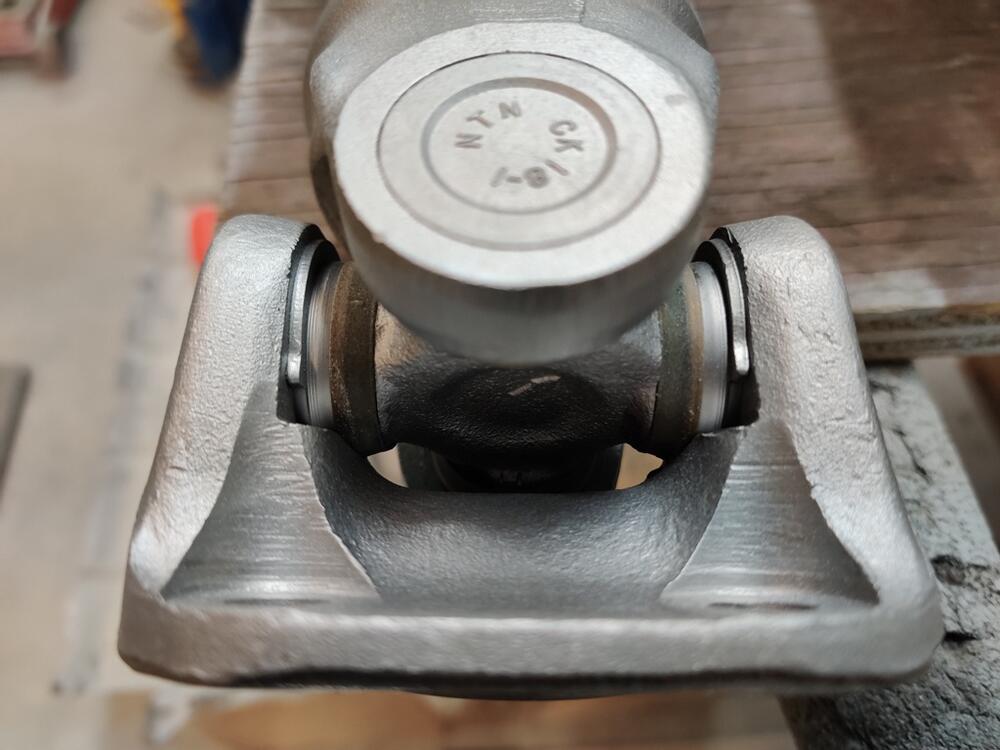
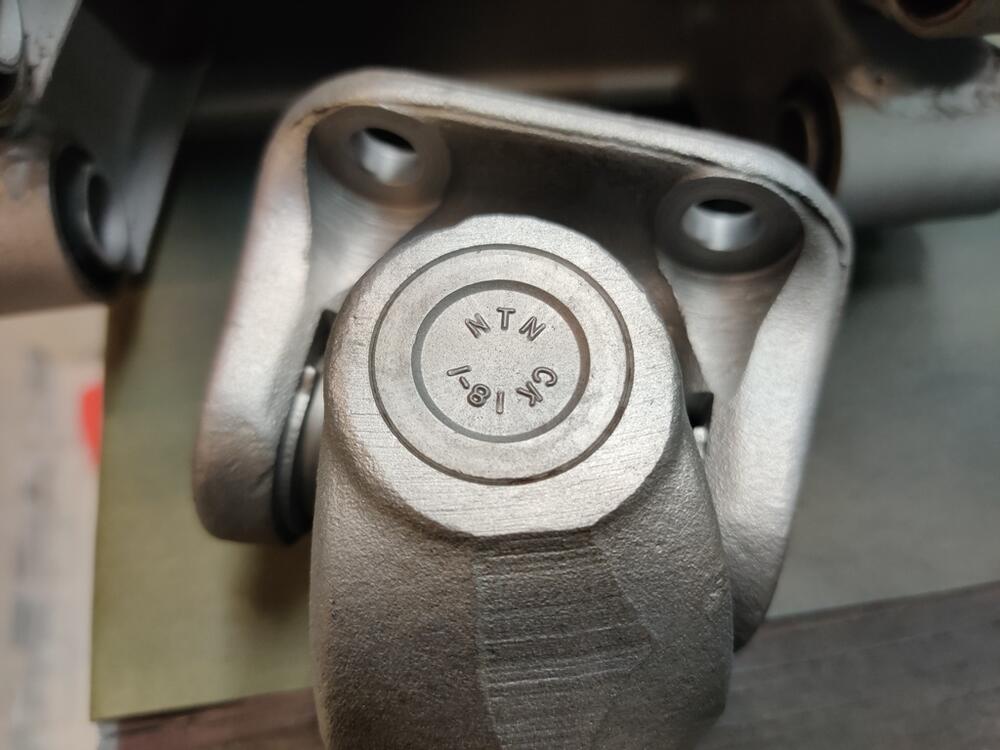
As far as I know, the u-joint is symmetrical. So, I don't think its installation in the axle has to be "clocked" a certain way. But, I don't know for sure. I don't recall seeing grease fittings on any of the factory u-joints on my Datsuns over the years. However, I believe all of the aftermarket ones I have bought in the past did have them. So, the arrow is still a mystery. Regarding getting sand/coal dust under the seals, I don't think it can happen. The seals on the original u-joints are made out of plastic and fit tightly, with no gap for the particles to wedge into. I may still take them apart however, as installation of grease fittings seems worthwhile. I mean, while I have them off the car and stripped of paint, it is only a small (relative) amount of work to disassemble them and put fresh grease. I may drill and tap the u-joints for grease fittings as well.
-
Arrows on the factory U-joint castings - what do they mean?
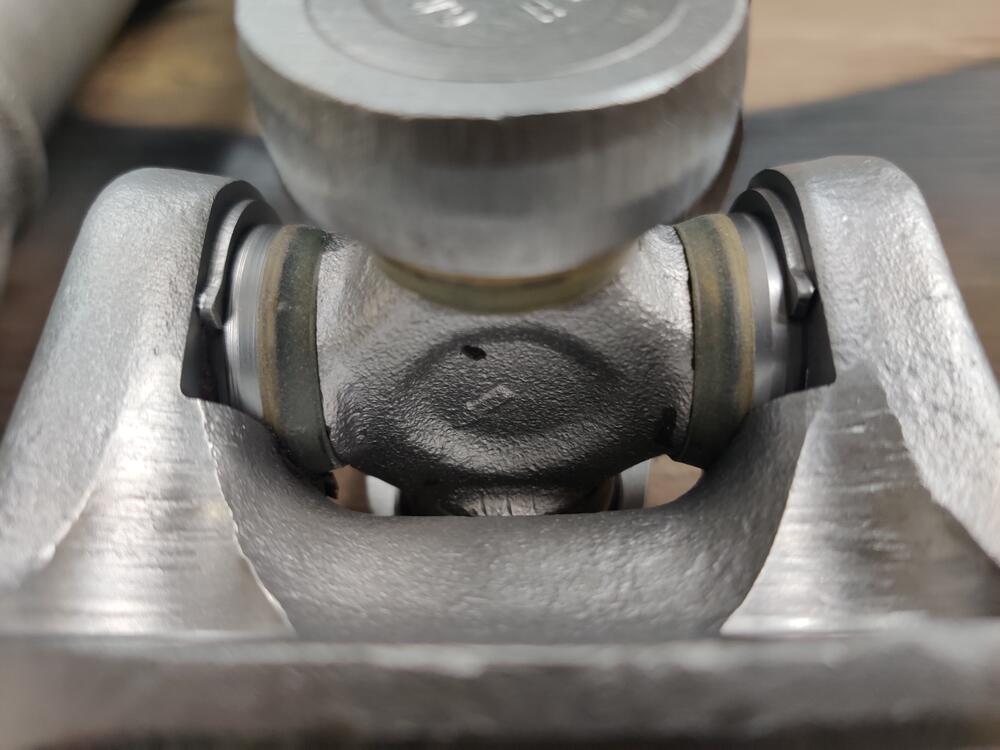
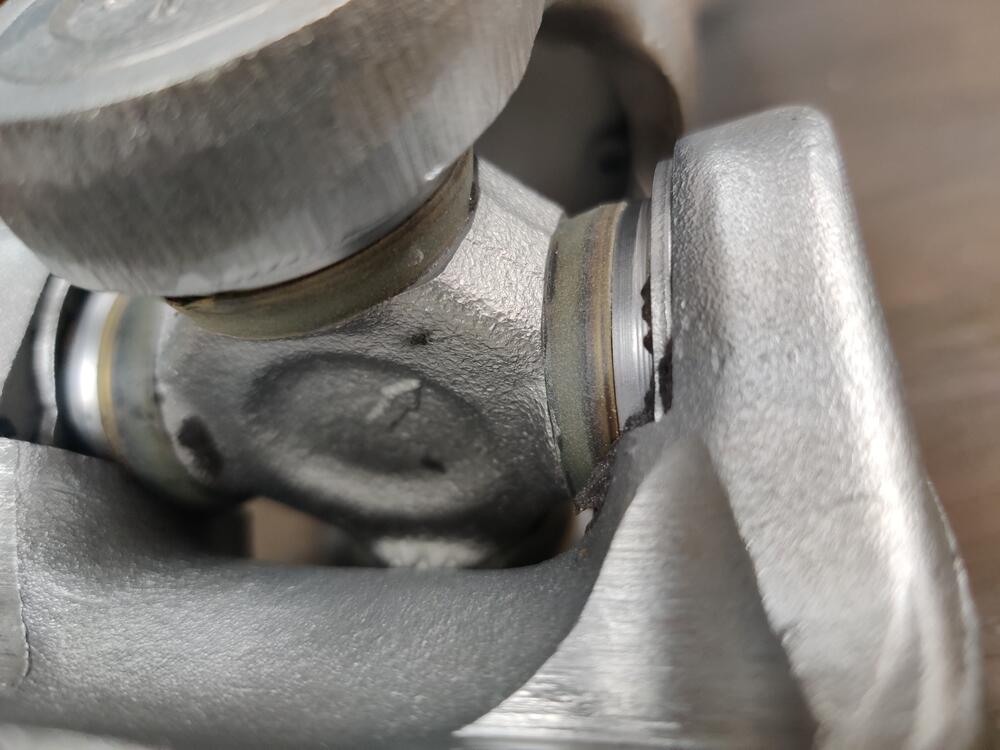
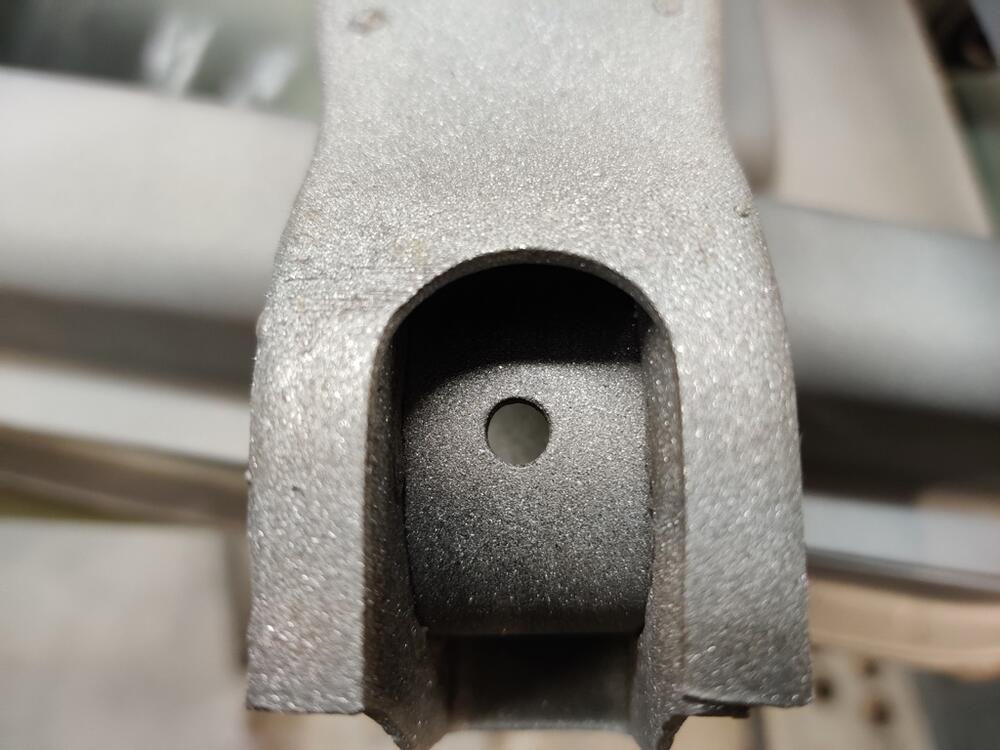
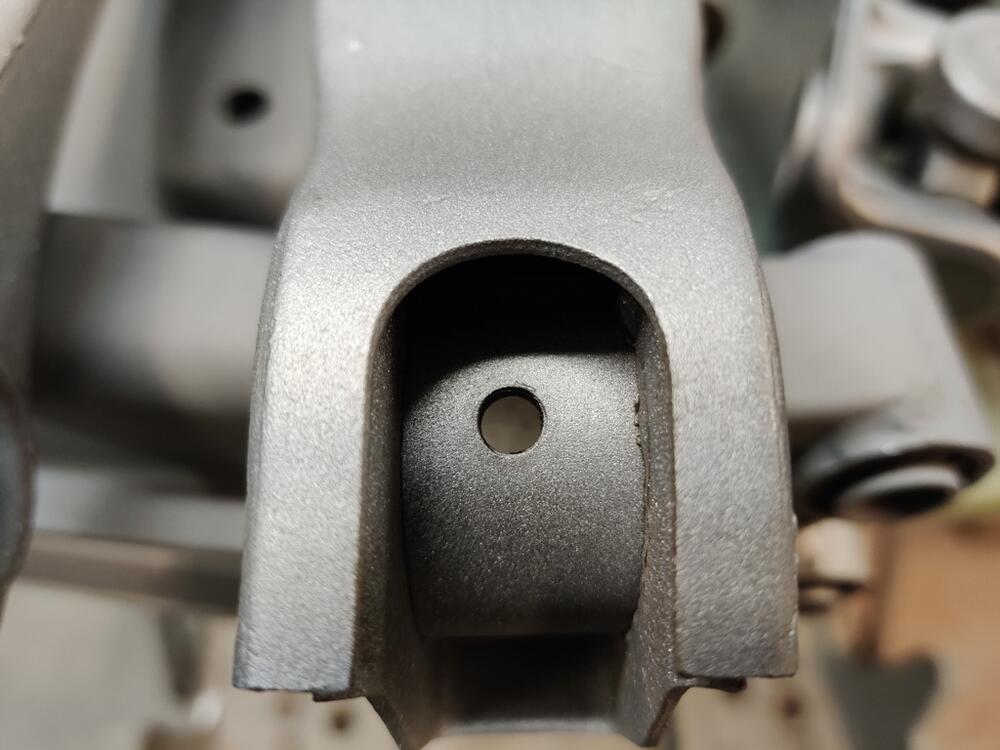
As I was glass bead blasting the axles from the car I am restoring, I noticed something I have never seen before, an arrow on the casting of the factory (I think) u-joint: I note in the direction it is pointing, it seems to me that the area of the casting between the journals is flatter than the other, similar areas. Is the arrow indicating that a grease fitting should be installed on that "corner"? Also, can you drill and install grease fittings on installed u-joints?
-
1970 240Z Works Rally - the road to restoration
What was the cost? How do they charge for their service?
-
Restoration of BringaTrailer 240z - HLS30-35883
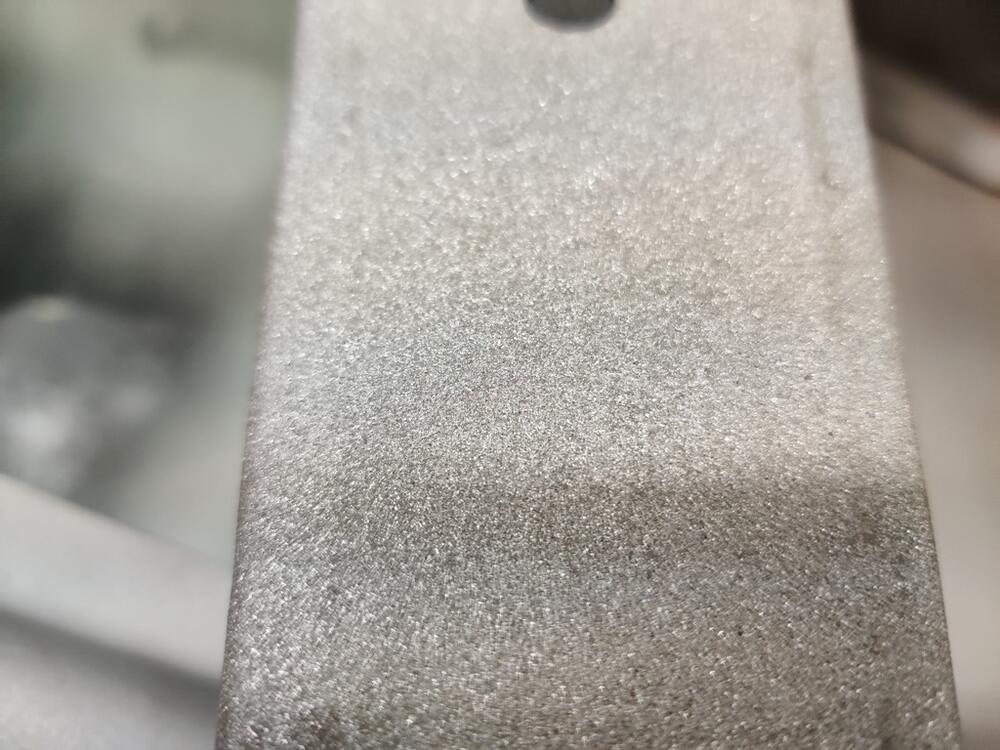
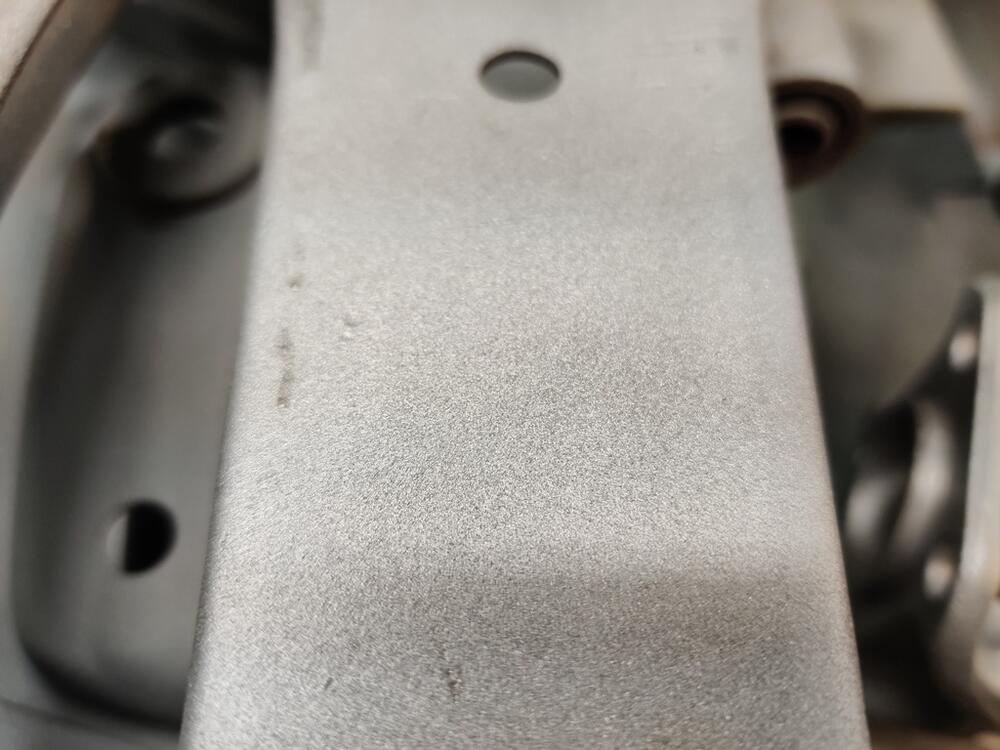
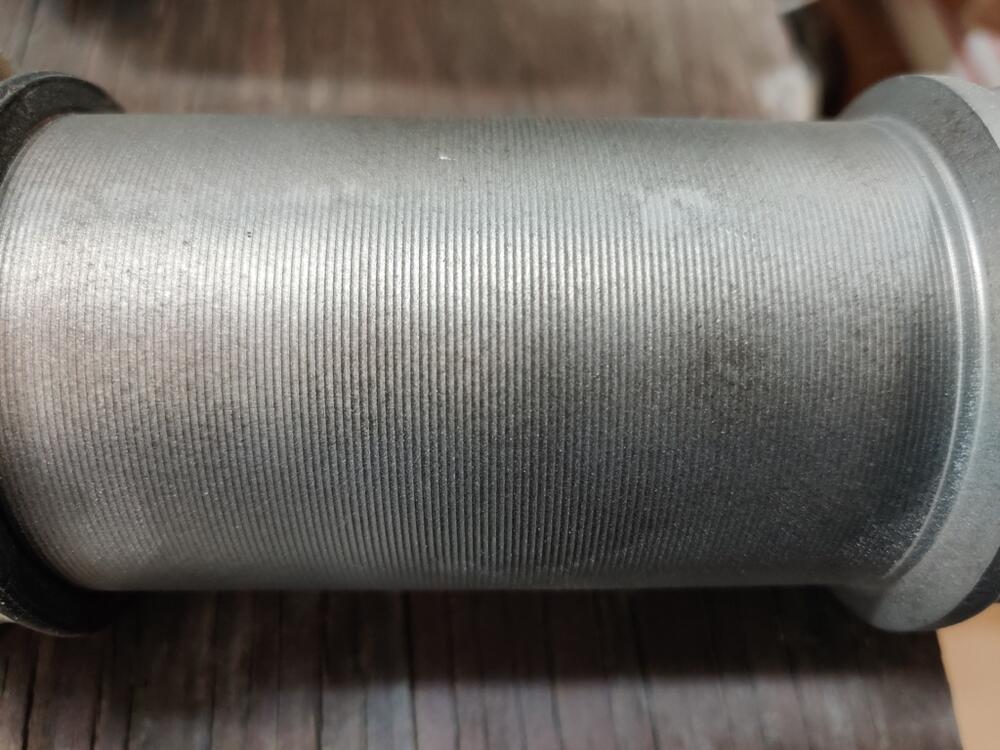
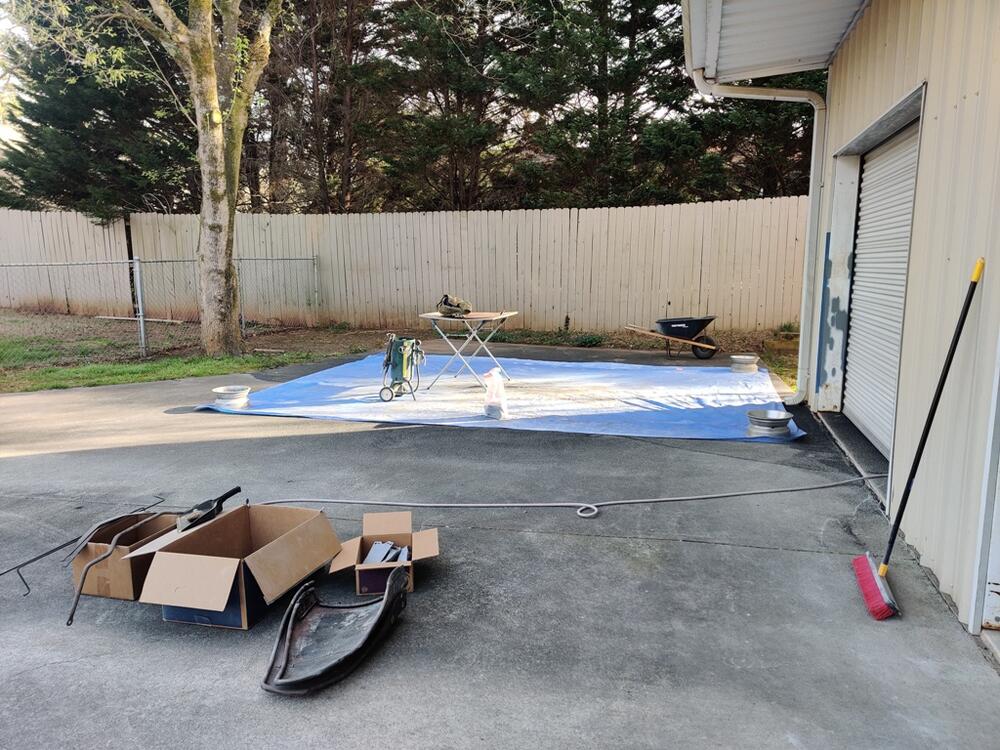
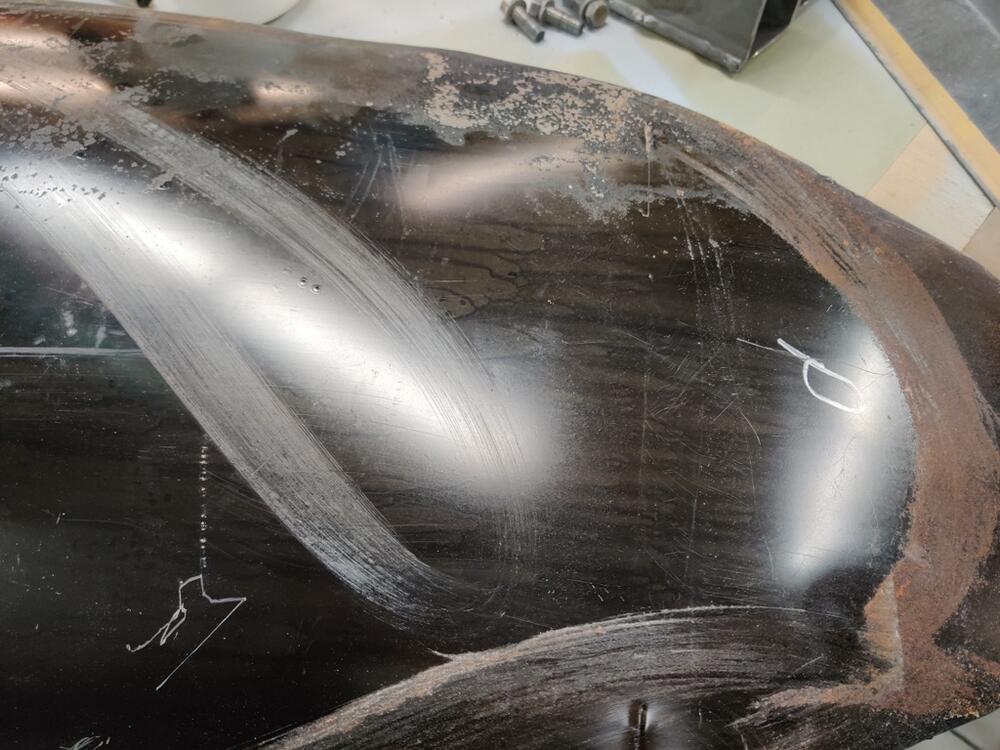
I set up for blasting parts on Saturday. It was sunny and cool, great weather for blasting. When I was using play sand, my blue tarp caught like 90% of it. Switching over and using Black Diamond (coal slag product) for the first time, I noticed two things. It is much more aggressive than play sand - Haha! And, it travels a greater distance, so my tarp wasn't catching it all. As I said previously, the plan was to blast and prime and paint all the parts from that long list at once. Right... good one. The best laid plans... I made good progress though, running through and refilling the pressure blaster 5 times over the span of about 5 hours. So, now I have switched to doing blasting on weekend days as weather permits, and priming and painting in the evenings. The black diamond leaves quite a texture on the parts: Stripping of paint and surface rust is quicker, but I didn't want to leave the texture this rough. So, I am taking each piece and running it through my glass bead cabinet to smooth out the roughness: Driveshaft u-joints appear to be original and feel like they are in great condition: So, instead of all at once, I have a few phases of "production" - some parts still to strip, some stripped bare, some epoxy primed and waiting for minor filling of scrapes and nicks, and some painted black: We'll see what the weather and this weekend allows.
-
Restoration of BringaTrailer 240z - HLS30-35883
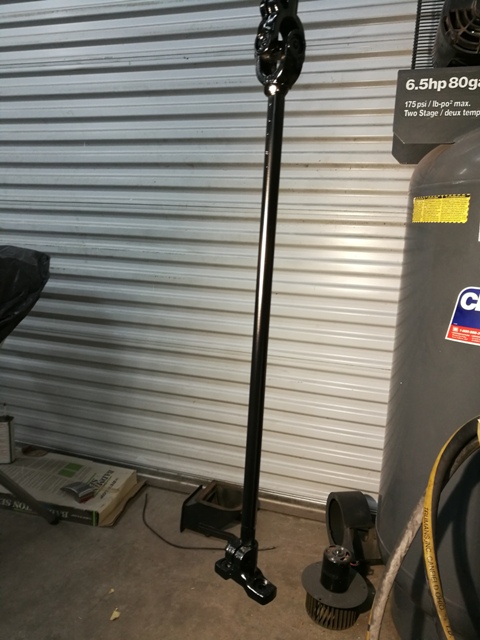
Thanks for the info Charles. The parts I sprayed just a week or so ago all turned out with a bit more gloss than I anticipated given the 10% of flattening agent I added. Seems likely that what you indicated was in play. I got lucky with these parts in this case. I think the level of gloss is just a touch less than without the flattening agent. And, I think that matches the original parts well. The steering shaft and driveshaft, sprayed more than a year ago, are definitely duller, and the mustache bar is duller still. I think I will go with 10% again, let the solution sit for 10 minutes, and attempt to spray everything as I did last time. I weighed the individual parts of the paint solution (paint, hardener, reducer, and flattening agent) using a digital scale. So I should be able to reproduce my last effort (duly noting your info about not spraying too heavy). If I can replicate those results from a couple of weeks ago, I will be happy. I just don't want to end up with artificially glossy parts - in my opinion, that would be the result without any flattening agent. Also, the next time I spray paint on these parts, it will include all of the rest of them. So, I won't be doing several batches. The only reason I did this batch separately is that I had already blasted and primed them ages ago. For the rest, all the blasting, priming, and painting is ahead of me.
-
Restoration of BringaTrailer 240z - HLS30-35883
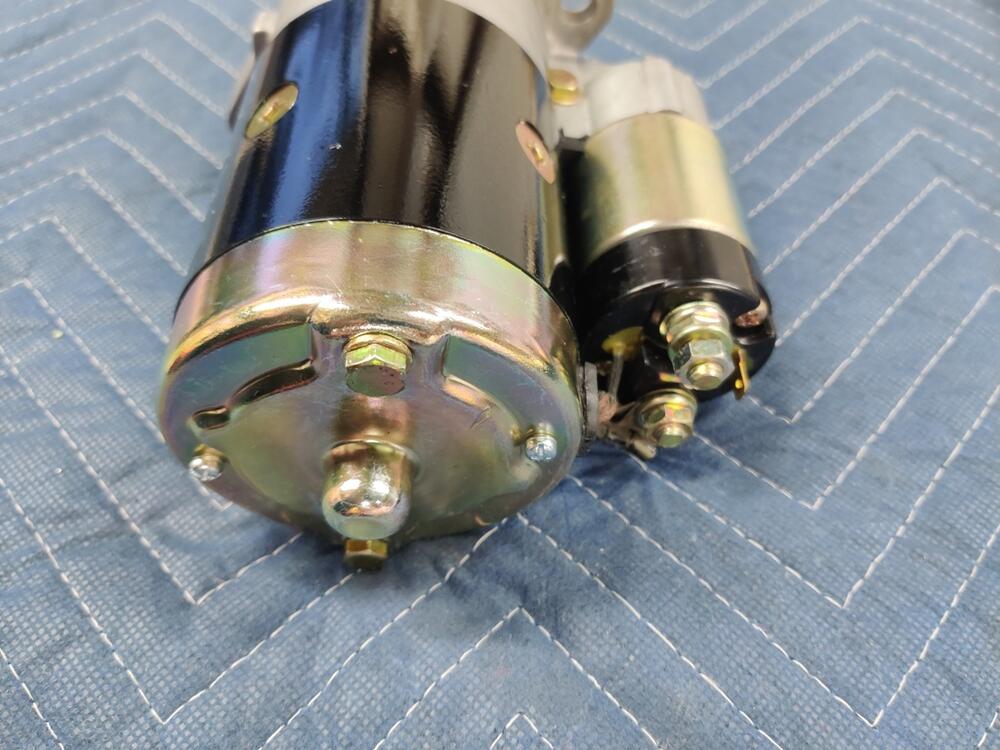
I bench tested the rebuilt starter tonight, and unfortunately, it didn't go as planned. The motor started spinning at a nice speed but then slowed. I thought, "that is odd... and not right". So I tested it again - brief amounts of juice and it would repeat the same behavior. So, about on the fourth test, I kept current applied for a bit longer, and I saw a bit of grease or oil bubble up off of the back bushing. I stopped immediately. I wiped the drop of oil that formed off with my finger and detected that the backend of the armature and the bushing were quite hot. Yeah... So, I took the starter back apart and long story short, made another round of using the 320 grit lapping paste on the front and rear bushings. When I reassembled, I checked that the pinion gear rotated nicely by hand. Then I torqued the fasteners, checked pinion gear rotation by hand one last time, and bench checked again. This time the motor spun very nicely and didn't slow down at all. I checked for heat at the front and the back and only detected a small amount of warmth, not hot at all. Would have been a problem had I mounted it on the car without checking!
-
steering coupler bolts 72 240
Both of my Z's had the bolts oriented with nuts on the lower side (12/70 and 6/71 production dates)
-
Restoration of BringaTrailer 240z - HLS30-35883
Thank you for the tip!
-
Restoration of BringaTrailer 240z - HLS30-35883
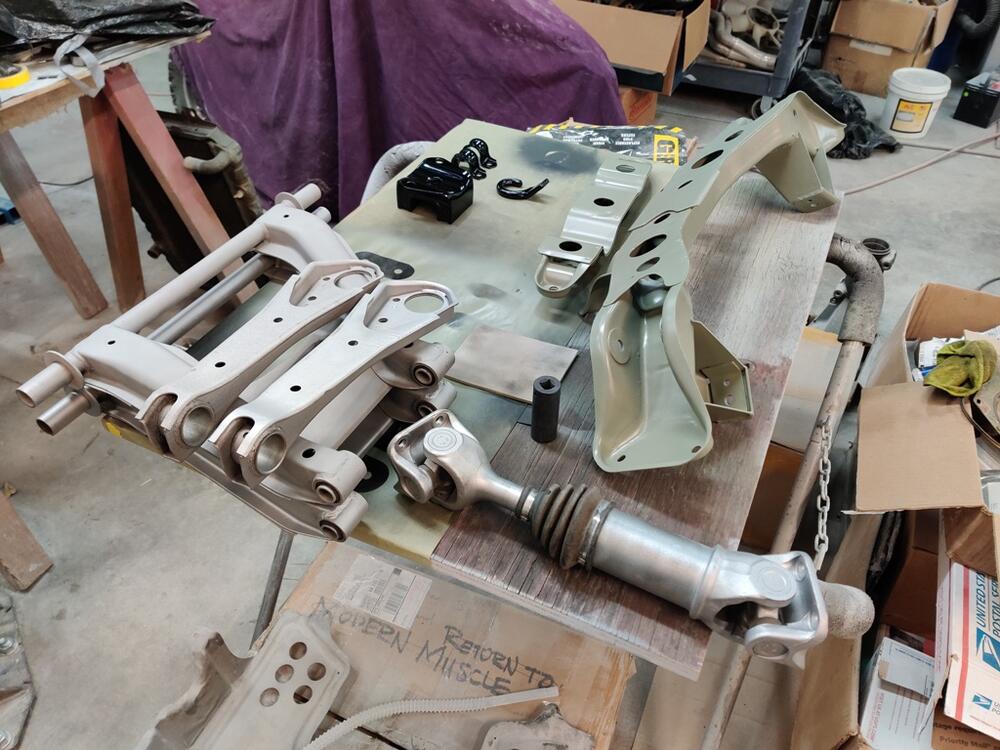
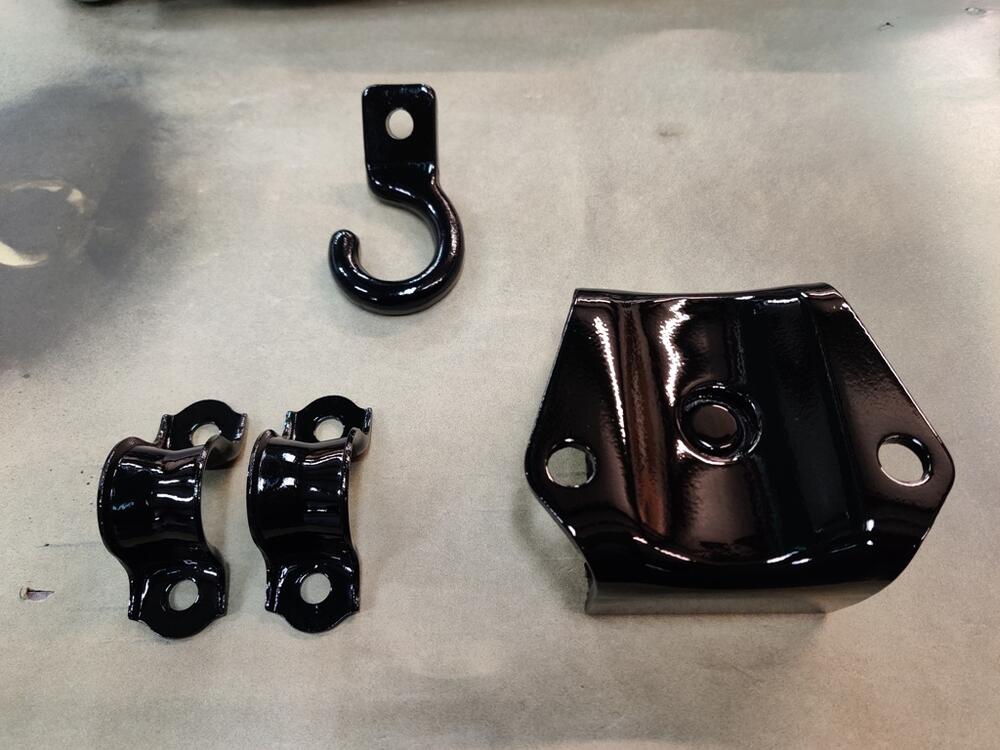
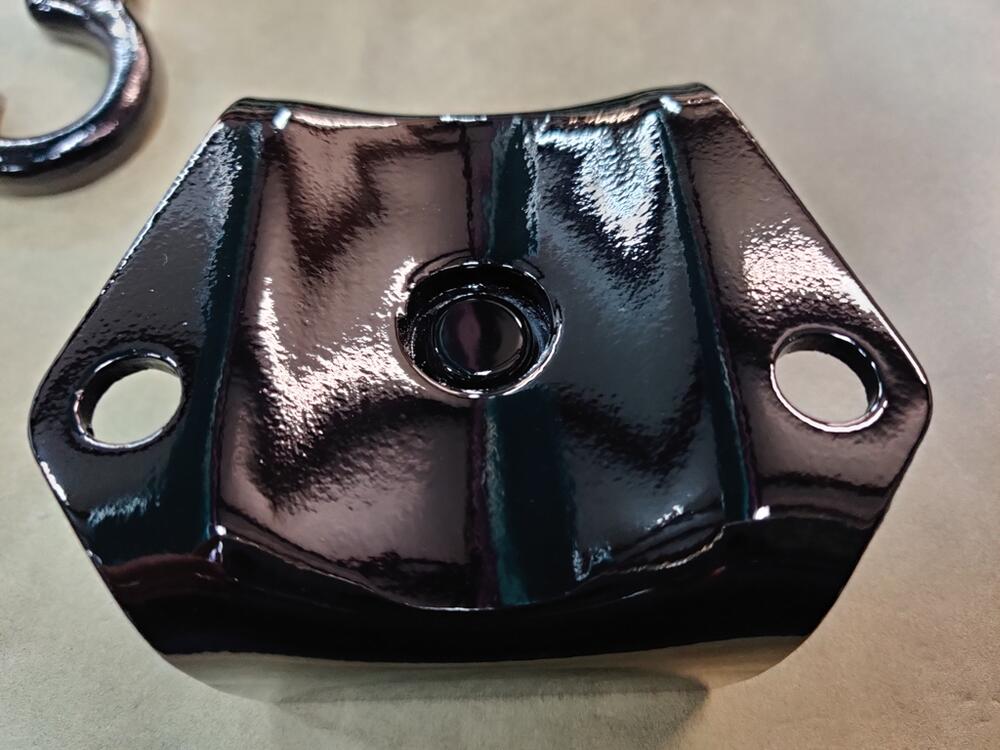
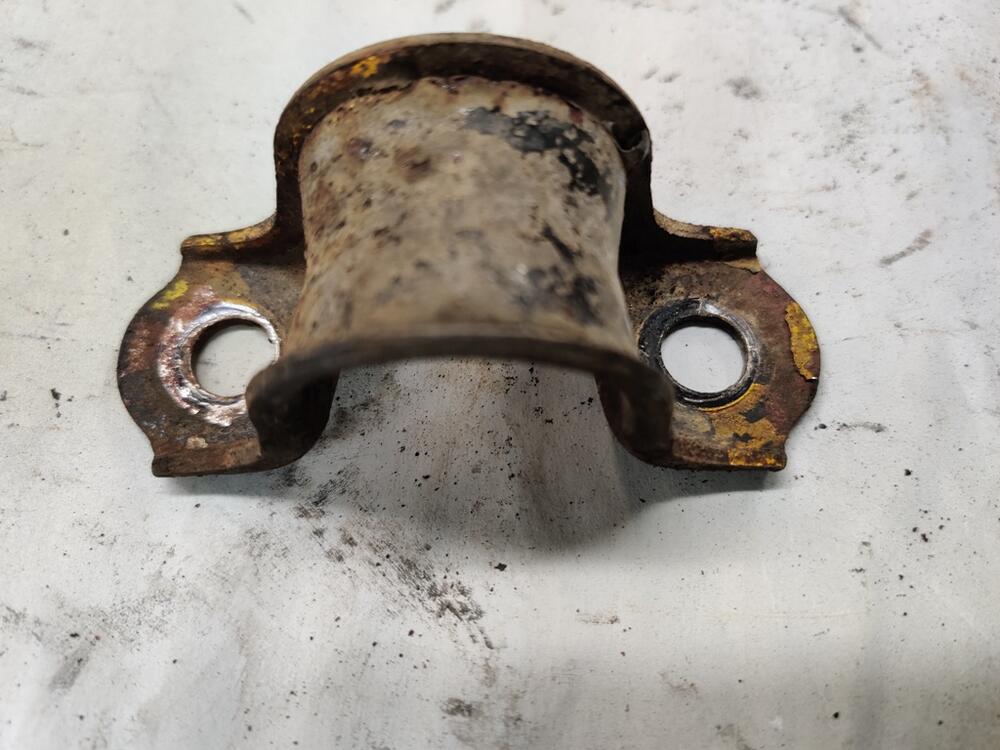
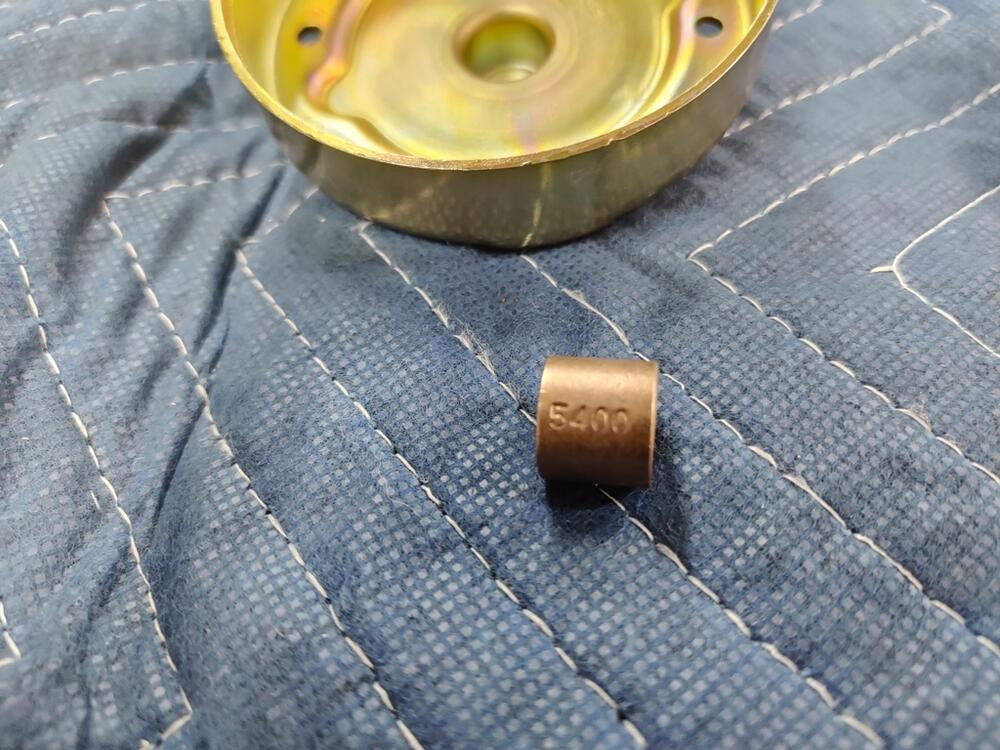
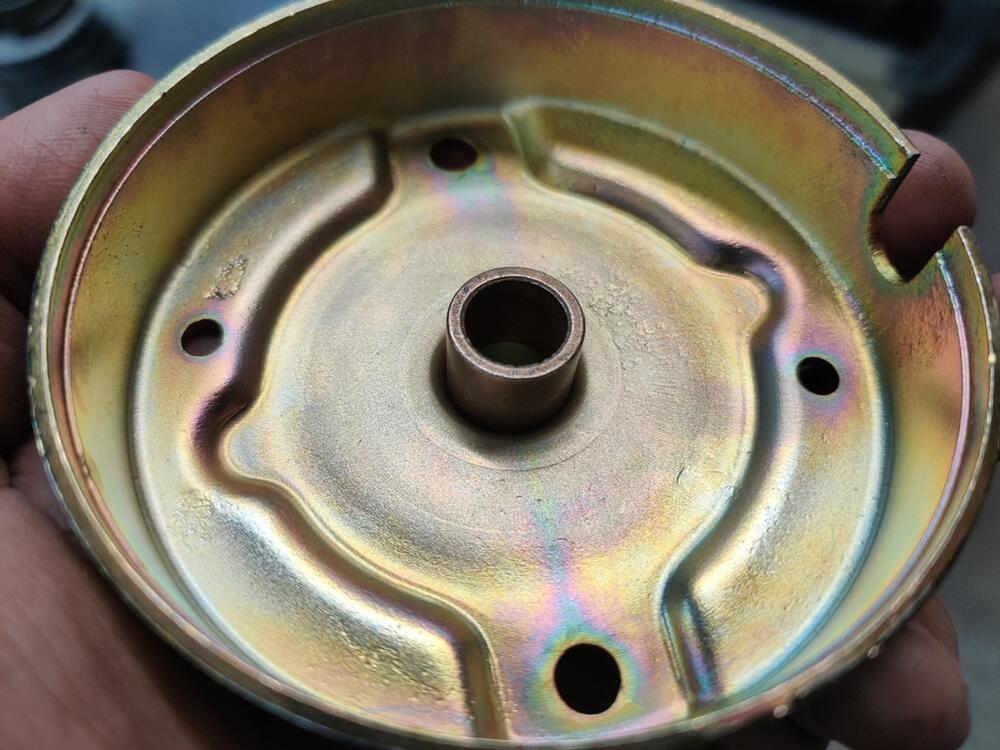
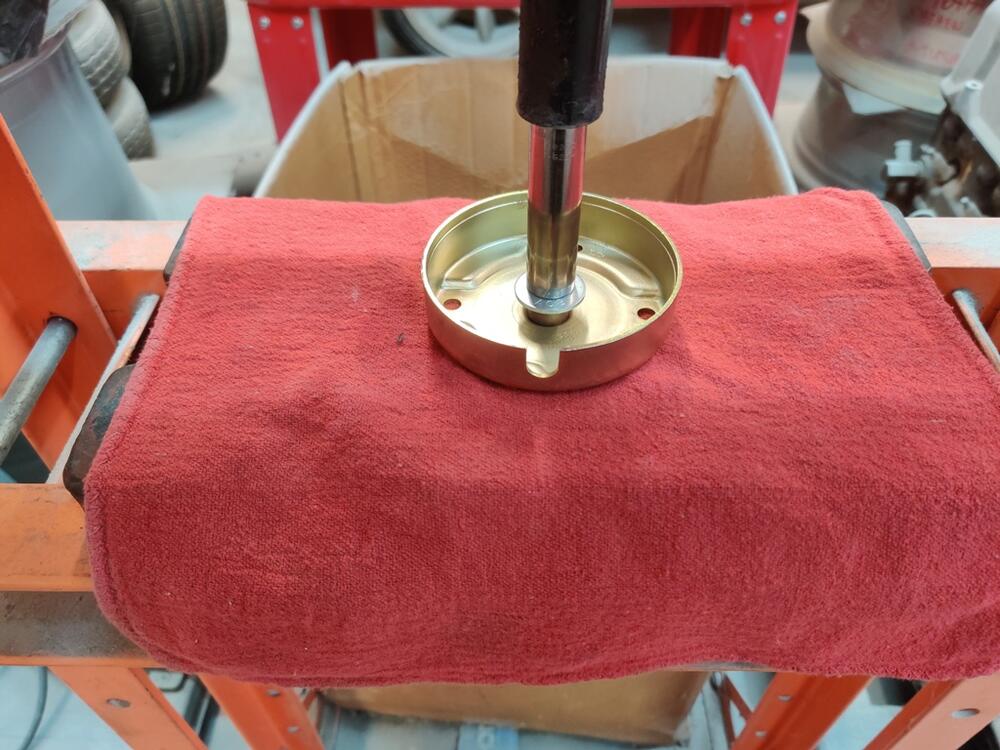
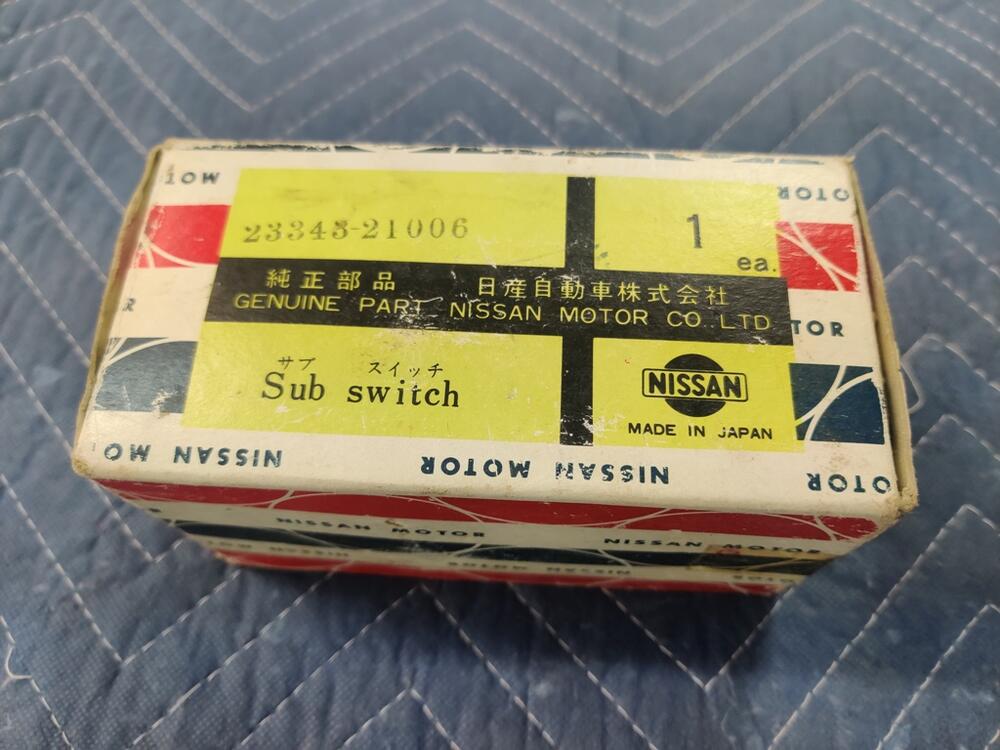
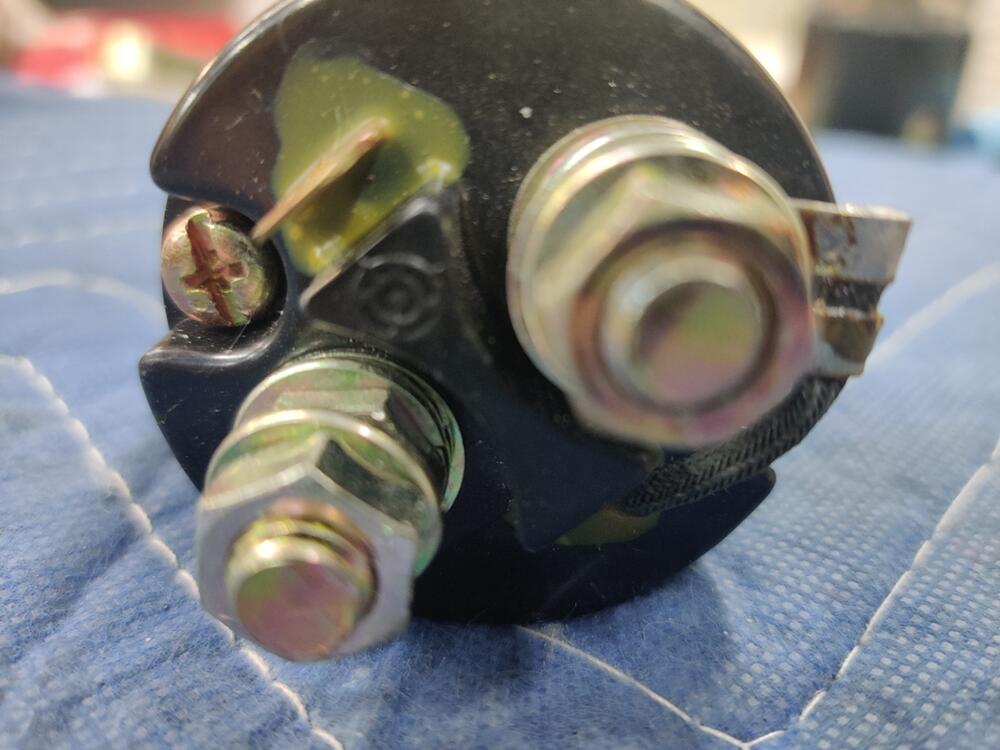
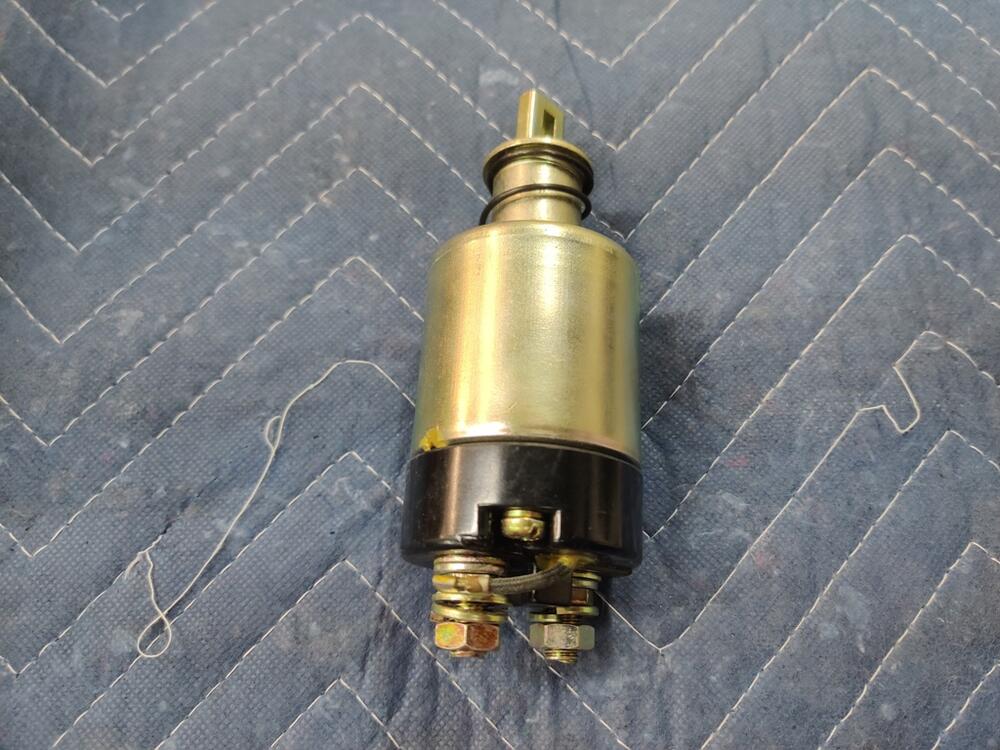
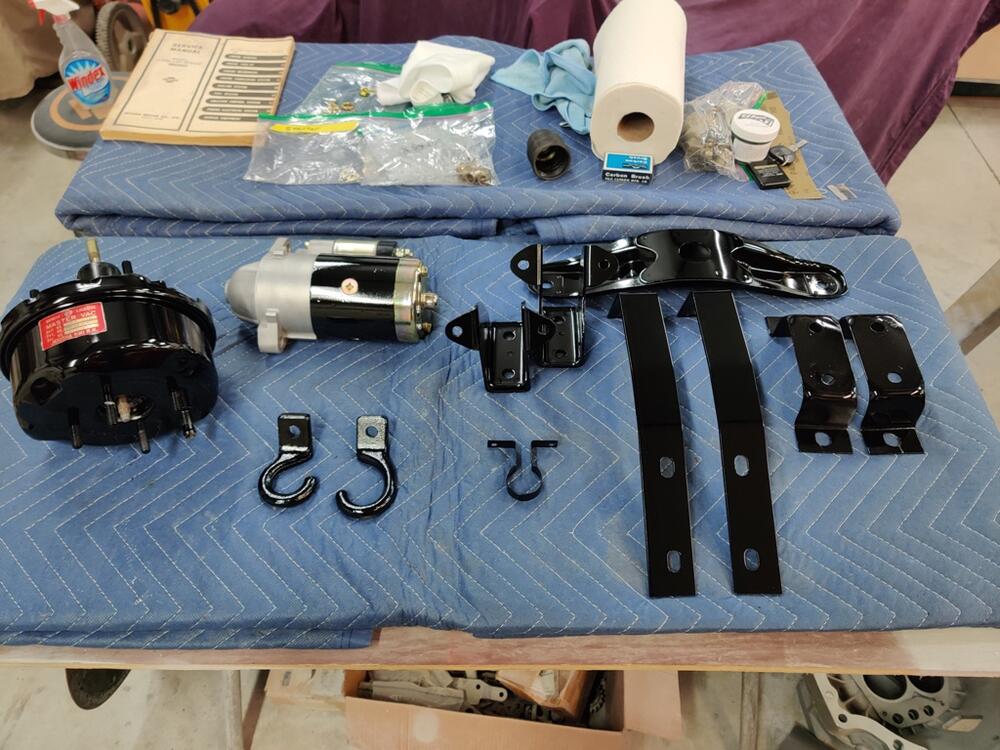
So, it looks to me like the spikes on the seat frames need to be straightened and the orientation should be 90 degrees from their mounting location. So, they should be sticking out straight... for those who want to know. Over the last few evenings, I painted a few items black, and waited for them to dry, and then worked on assembly of the starter. For the starter, I used new bushings for the front and the rear. Here is the front: The bushing is a light press fit. My measurements showed it was about .002" larger on the OD than the starter front cover "well" that the pushing presses into. After it was pressed in, I used a reamer to get the ID to a size within factory specification. I went through two bushings here because, I thought the reamer would "self center and ream straight. That ending up being laughable. Using a drill press would be sufficient, however, I don't have one yet. It's one of those tools I just haven't committed to investing in. So, I rigged up a contraption that helped with my drill angle on the second bushing and got somewhat lucky with reaming straight. For the back bushing, I did not have a suitably sized reamer and used a "paste" to get the bushing to size. The bushing ID was very close, but using the 320 grit paste and the armature to get the clearance to spec was arduous. I've never installed and sized bushings for an armature before. After decades of sitting in my parts bin, I was finally able to install the NOS solenoid. If anyone needs a box for their loose factory part, let me know. 🙂 Compared to body work, the pace of progress on this kind of stuff makes me laugh - the sense of accomplishment per hour spent is off the charts. Another note about the gloss level of the black parts - steering shaft on the left mustache bar in the center, and main driveshaft on the right: As I said before, the mustache bar has too much "flattening agent". But looking again at these three parts, I think the steering shaft and main driveshaft had a little too much also. I will respray the mustache bar, but I am ok with the other two. It's not going to kill me that a few parts are a tad bit dull. Other parts that I have painted black thus far include the motor mount brackets and transmission mount bracket, the bumper brackets, the brake booster, and the bracket for the one way valve for the booster. The next round of painting parts black will be a slog, starting with blasting, then priming, then painting. All kinds of assembly will be possible after that.
-
Need discontinued starter part
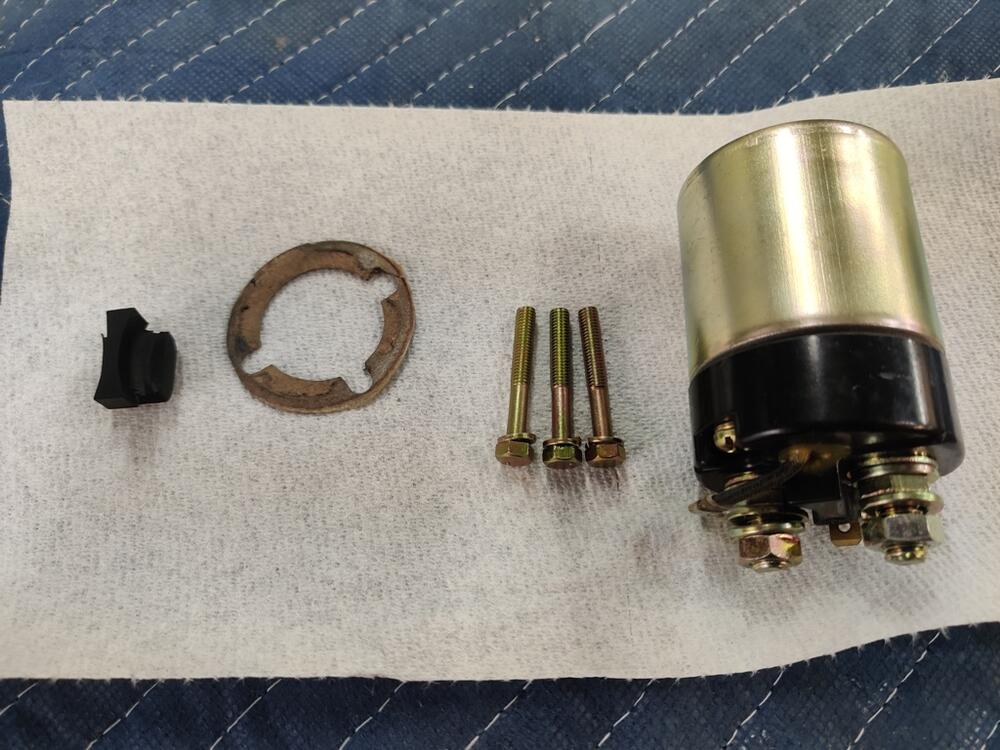
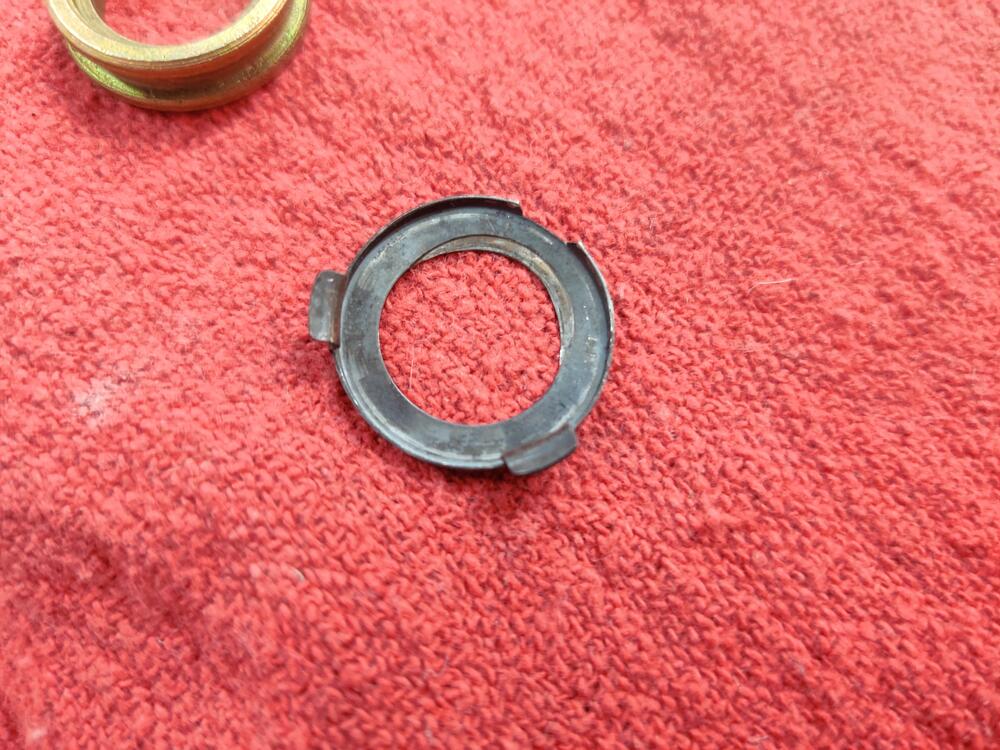
I am rebuilding my starter motor and found that I have a part that is needing replacement. If you have extra starter motors, especially ones that are for known not working or in sad shape, would you consider spending a few minutes to look at grabbing this for me? Number 7 in this diagram: If you don't know about this resource, check it out. It is very nice to have this information online. Here is mine - it is missing one of the three tabs that it is supposed to have: To get to this part, the starter has to be disassembled enough to pull the armature out. That is the only part I need. I have a couple of old Datsun 510 starters that appear to have the same part, but both are functional. So, before I make one non-functional, I am checking to see if anyone can help. Thanks for looking.
-
Building Up HLS30-59920
So, will this one a be a resto mod?
-
Restoration of BringaTrailer 240z - HLS30-35883
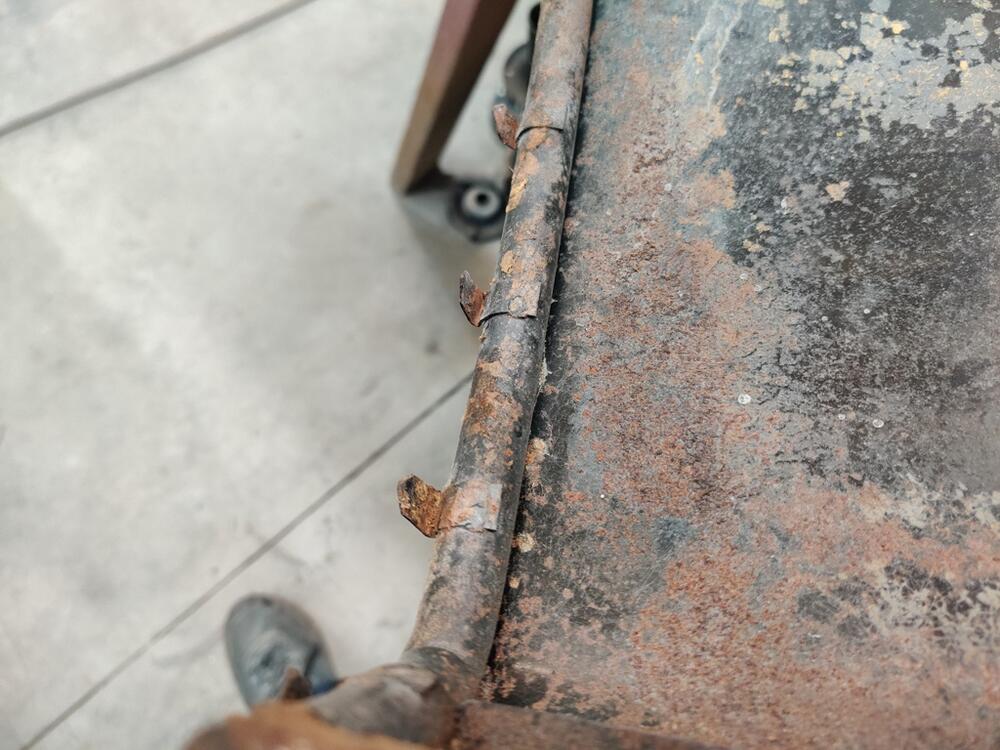
I am getting ready to "sand blast" (using Black Diamond coal slag instead of sand) most of the parts in my list above. Before I do the frames of the seats, I have a question, if anyone following my thread can help. what should the orientation of these pointed metal clips be? Should they be straightened? I have not put on upholstery before. It seems like they should be straight to start with, and after you puncture the upholster, then you tap them down at about 90 degrees to grip the upholster? I'd like to get the orientation right before I sand blast.
-
Restoration of BringaTrailer 240z - HLS30-35883
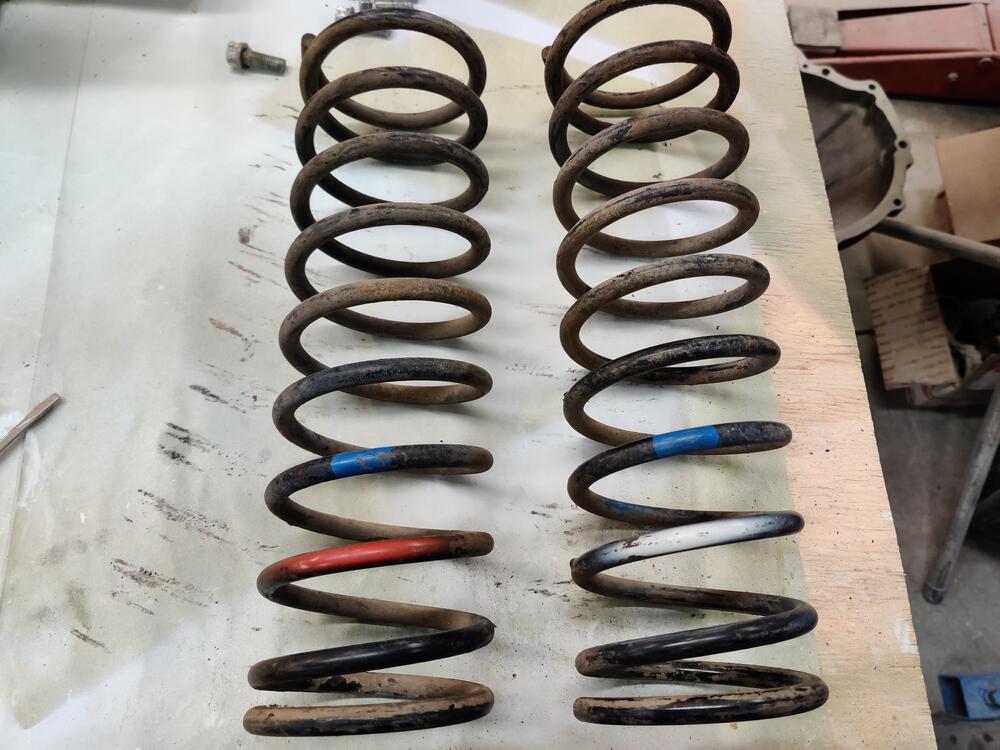
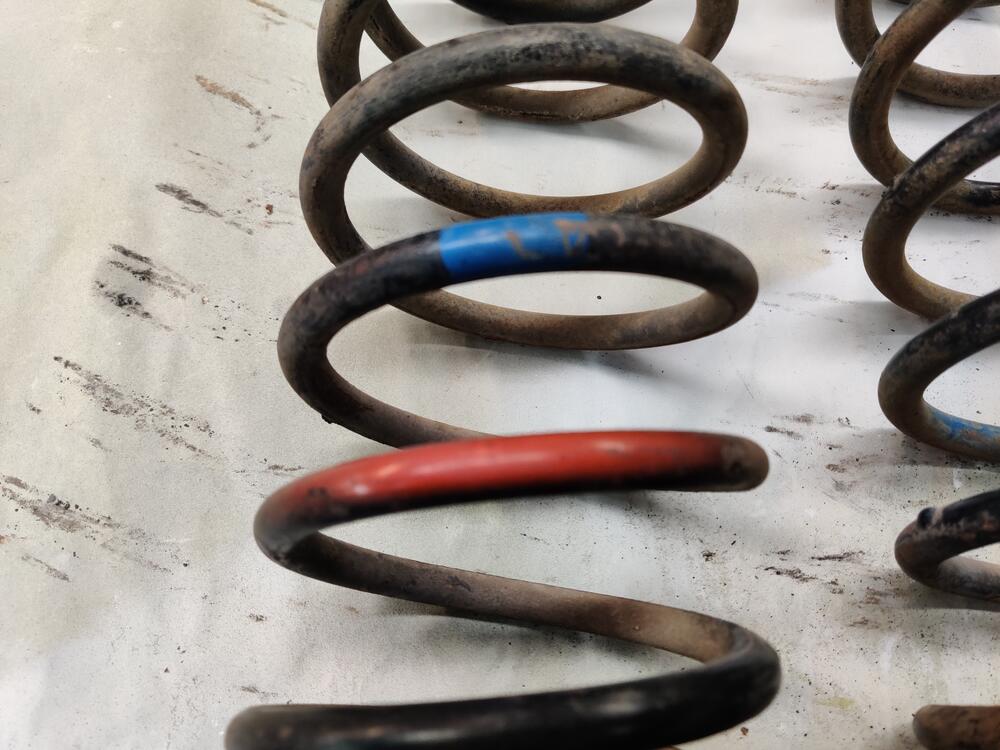
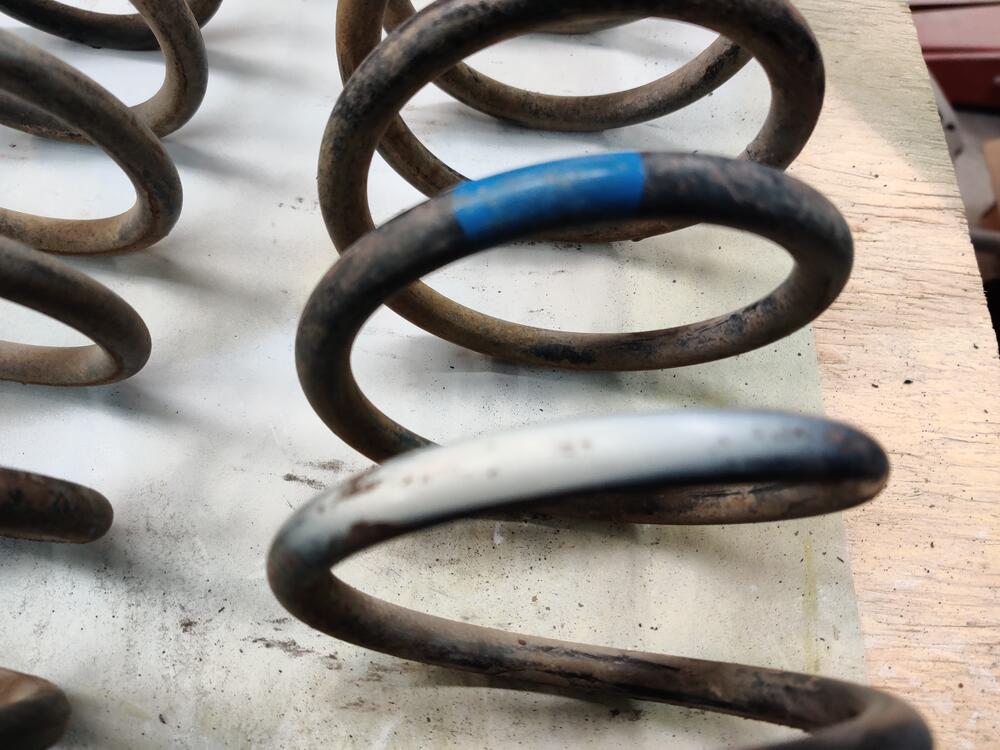
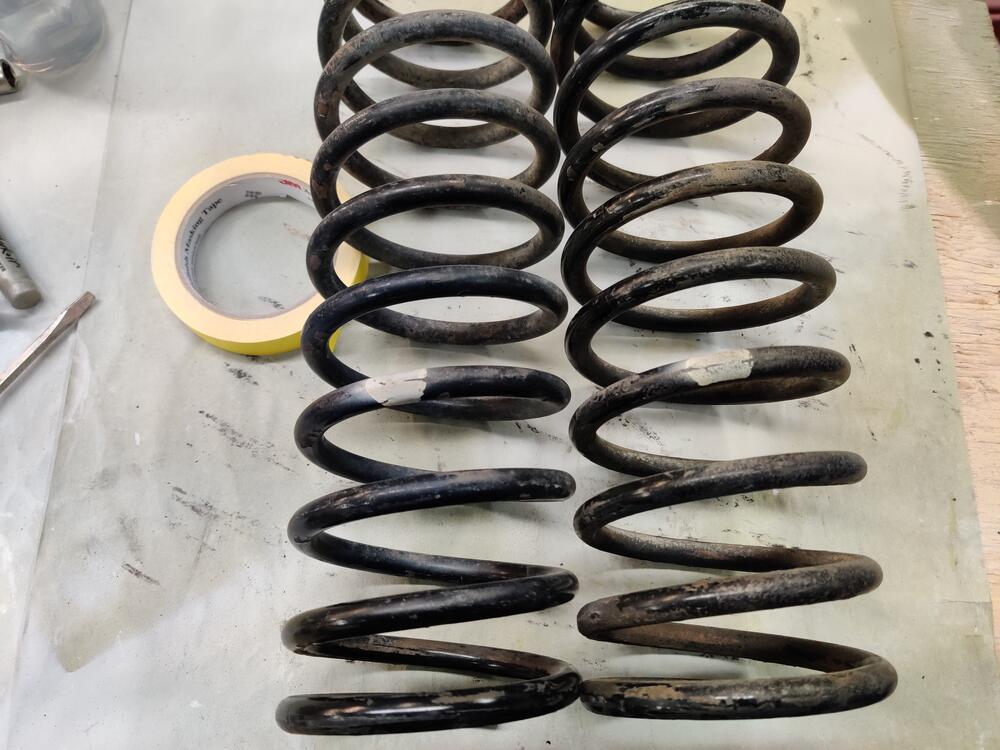
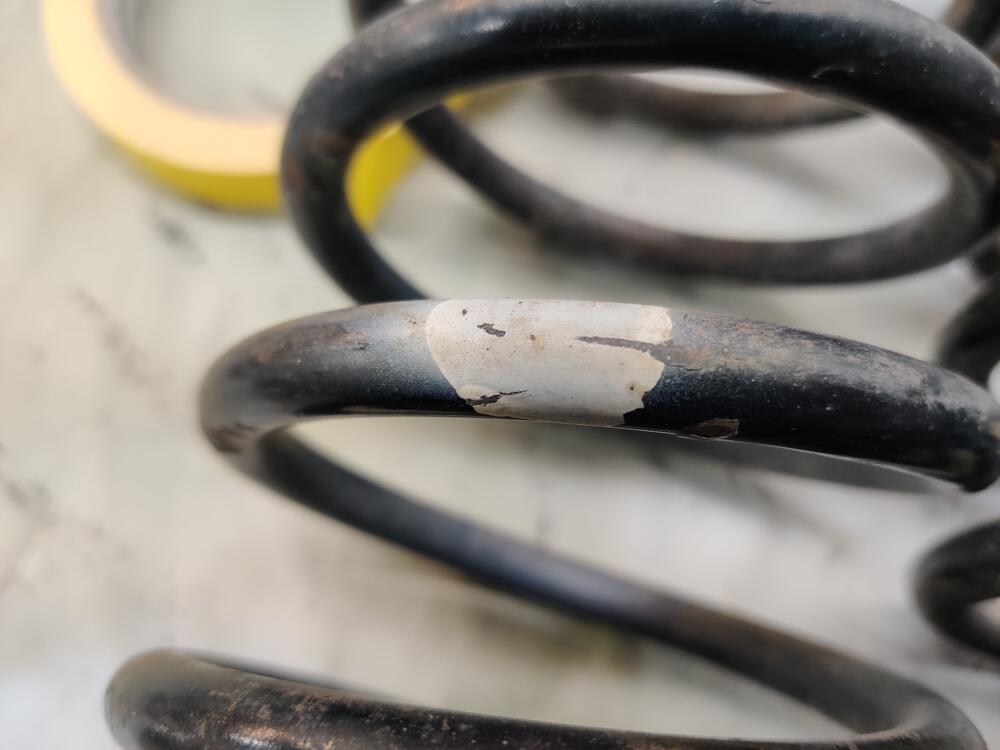
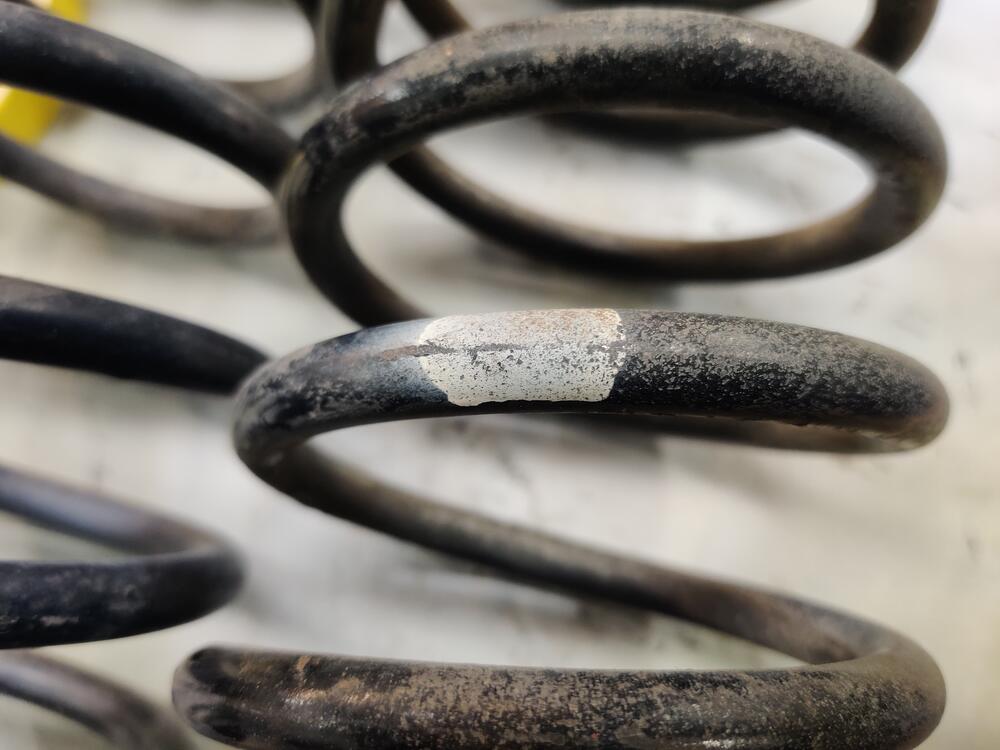
Found a post about the colors on the springs. Thanks @KatZ. I don't know if I am reading this correctly. So the two springs with one white mark only are rear springs for my car - HLS30. Looks like the part number is 55020-E4102. The front springs are the two with blue... I don't know what is different between the two. Perhaps the free length?
-
Restoration of BringaTrailer 240z - HLS30-35883
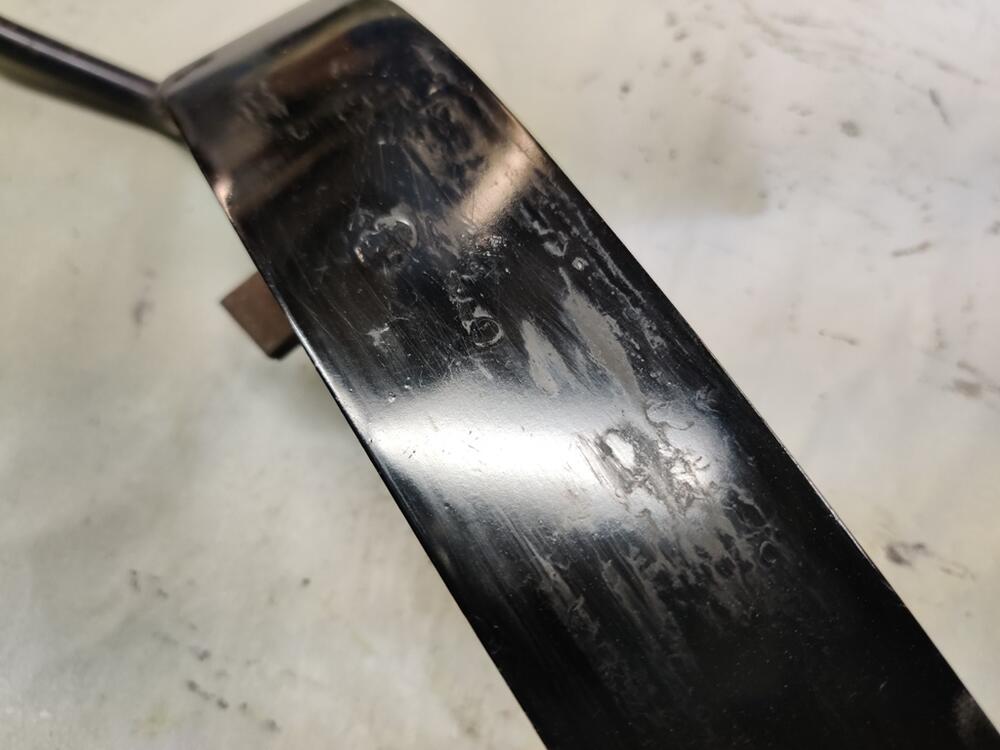
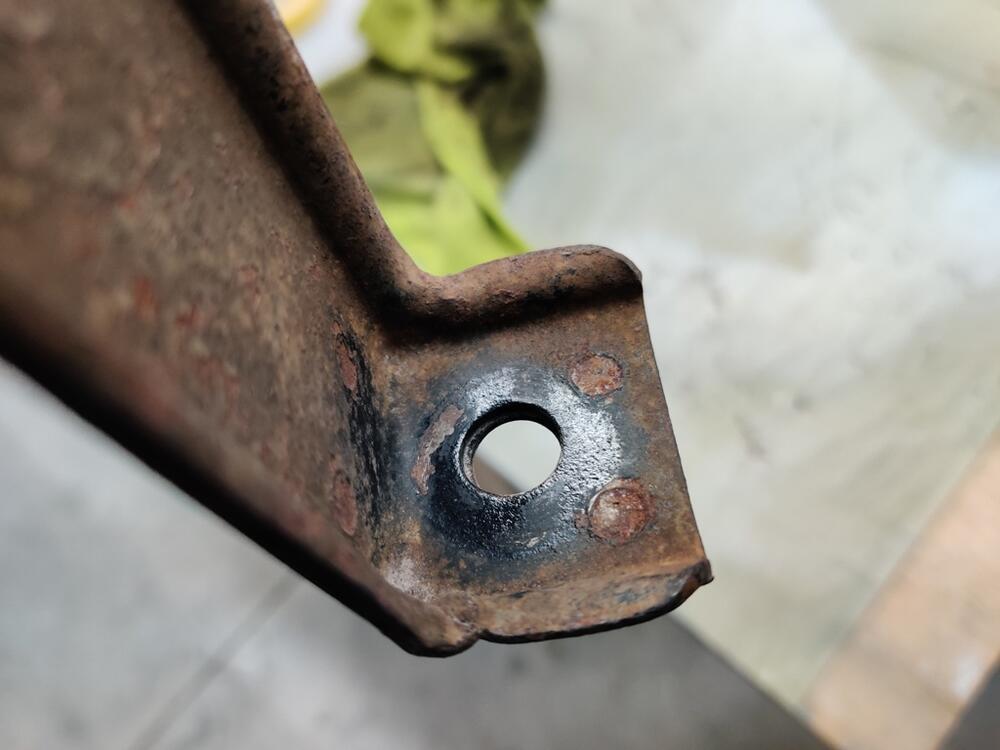
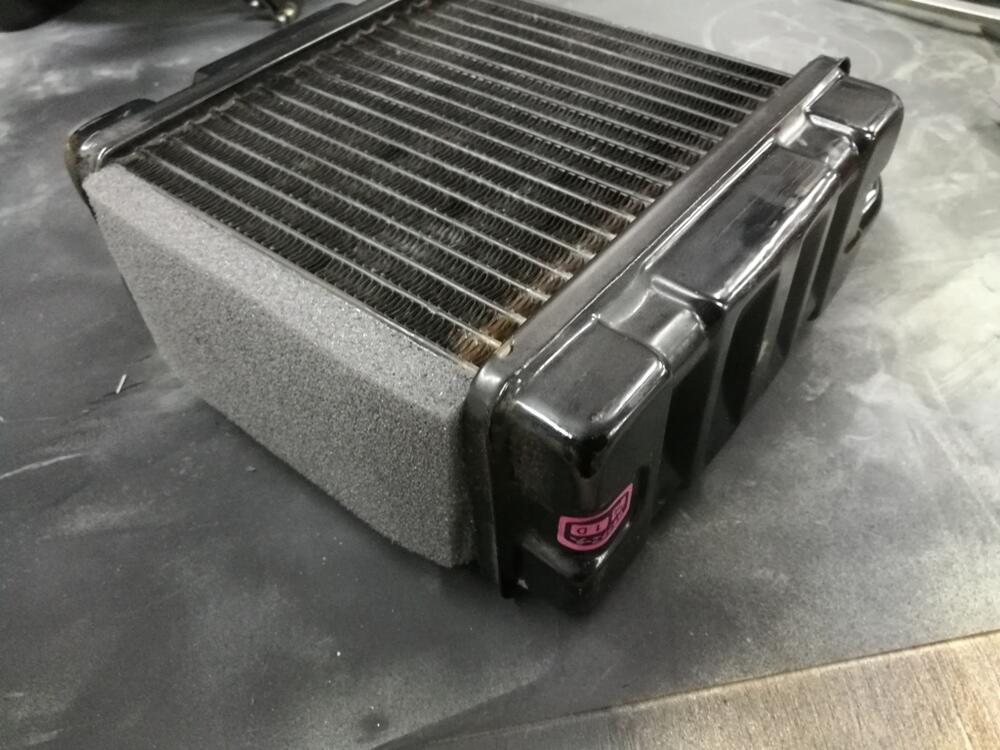
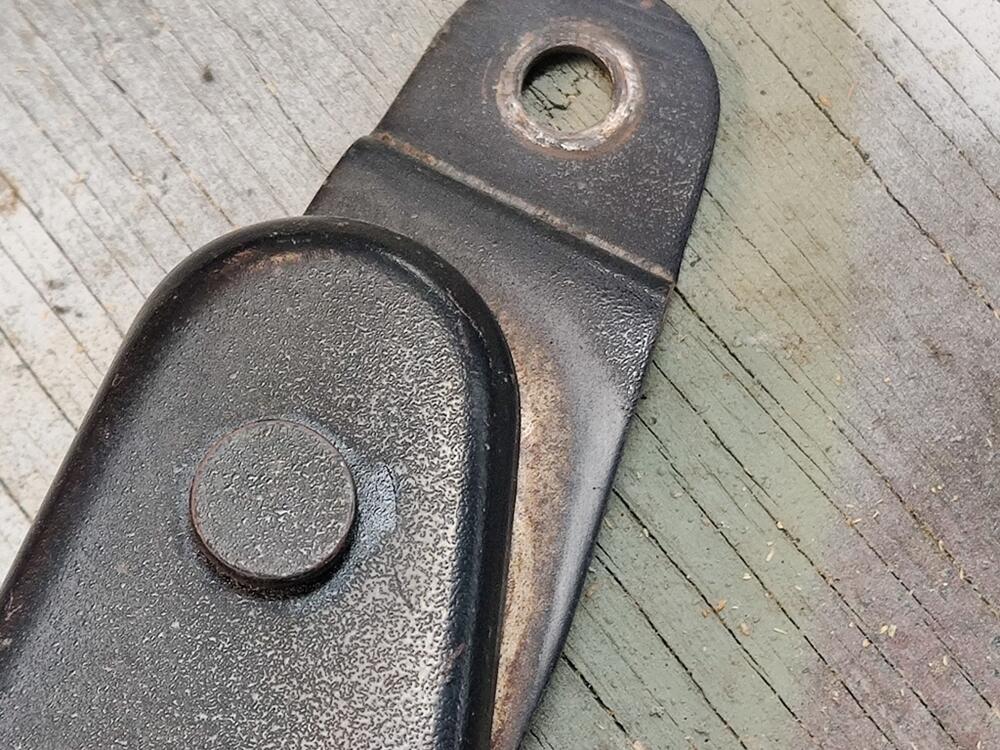
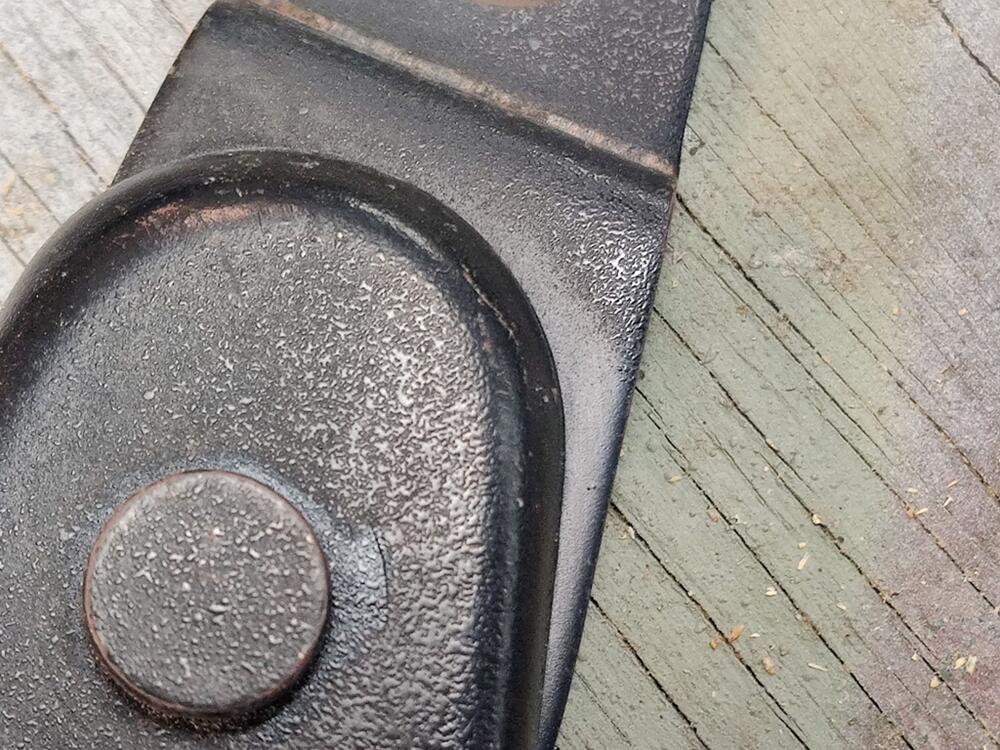
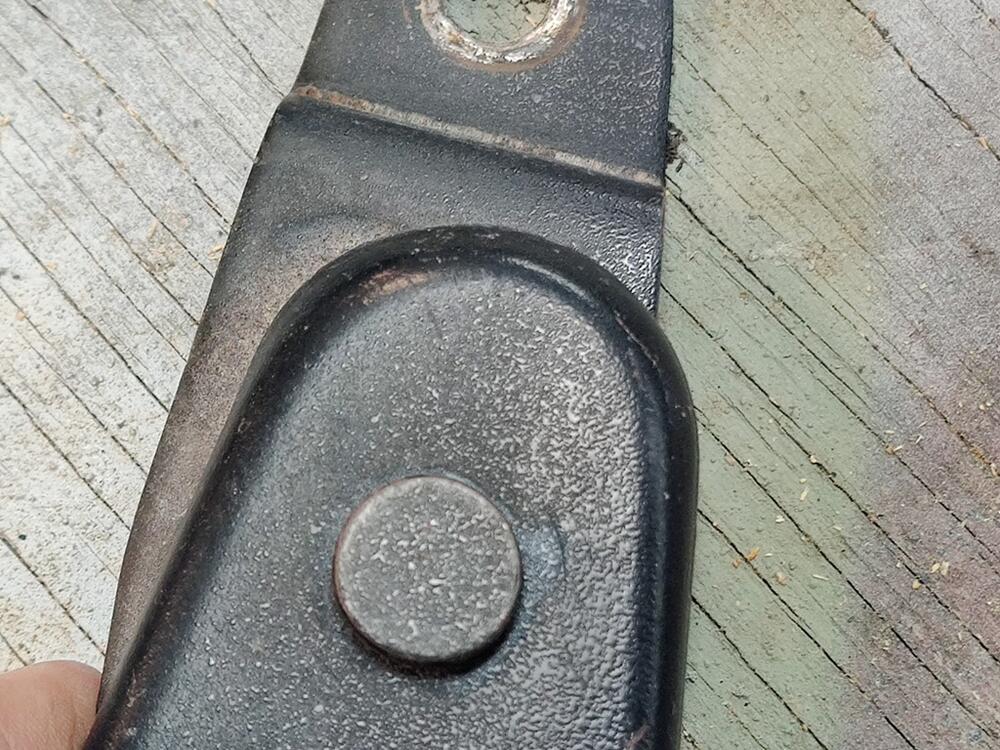
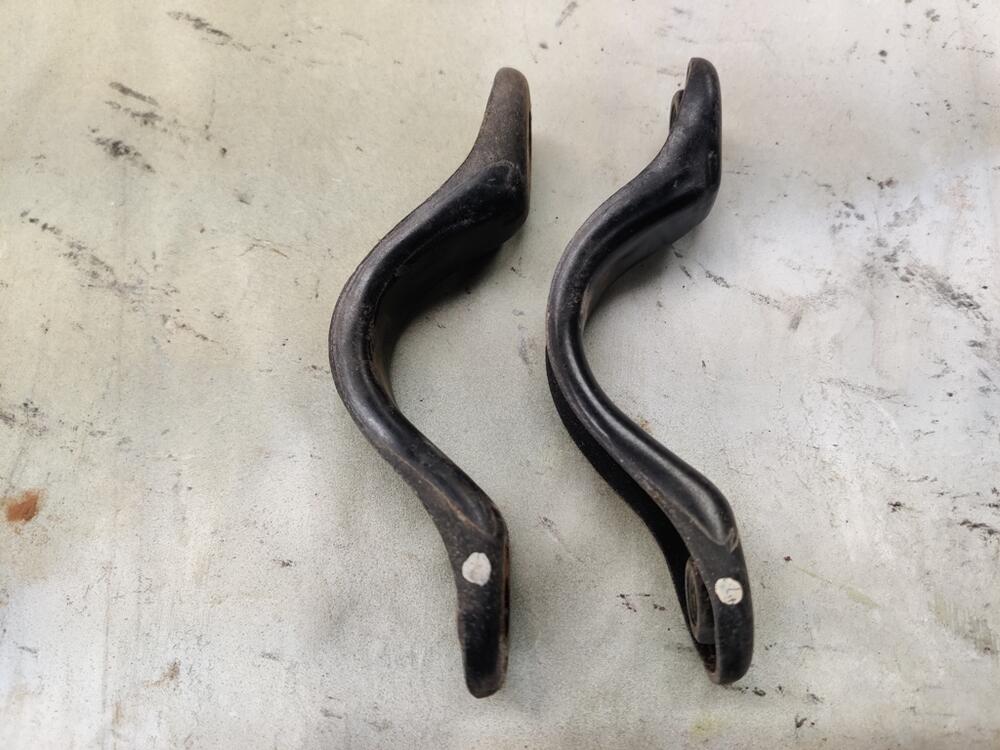
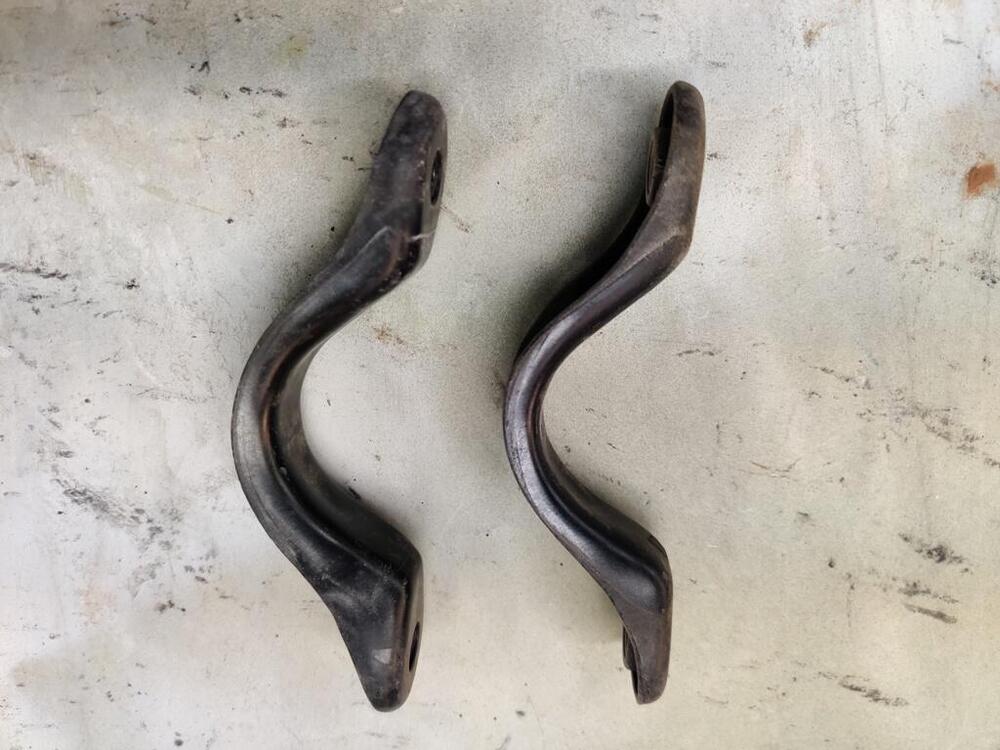
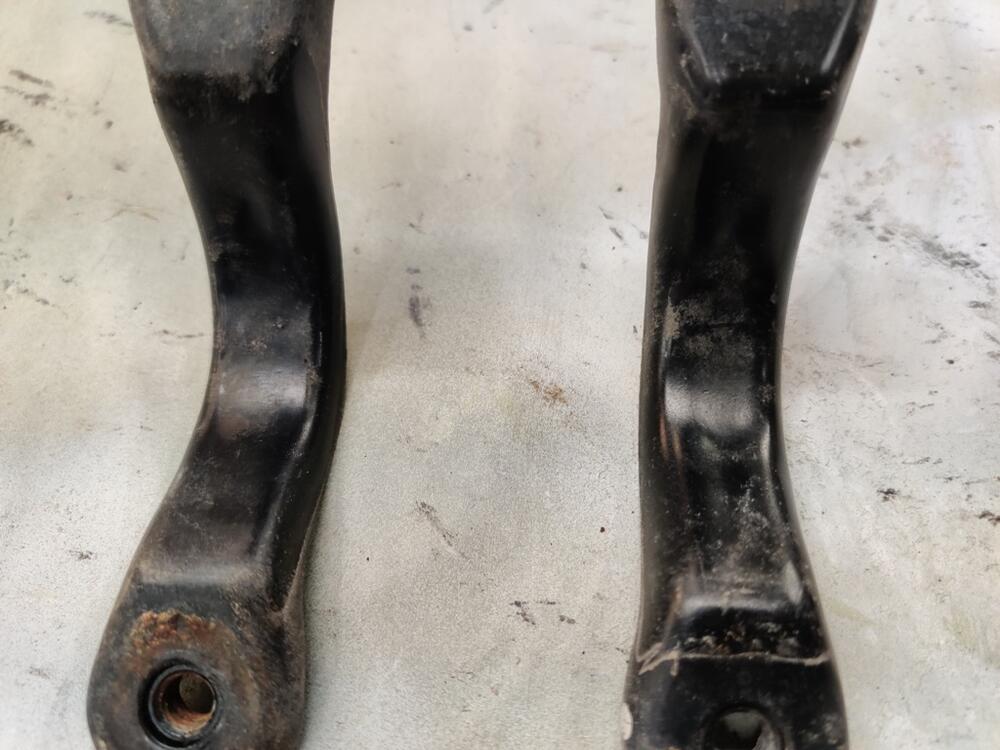
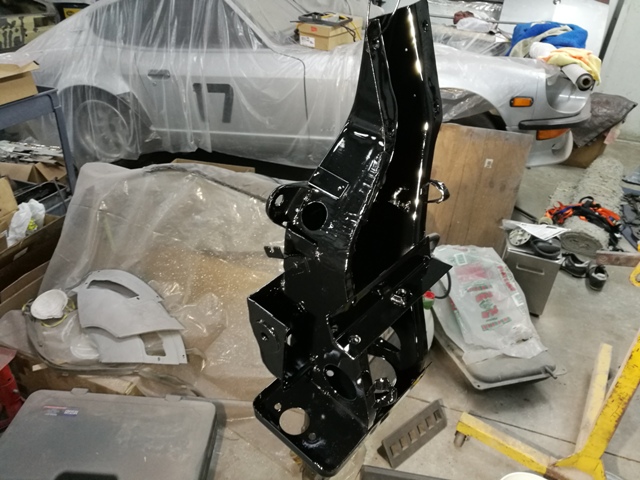
I located all of the following parts today, pulled them out of boxes and gave them a good look. Some needed a bit of filing... this and that - nothing major. The plan is to sandblast almost all of these items in a day, and prime and paint them the next day. There may be a few exceptions. For example, the seat backs are just thin sheet metal. Also, the torsion springs for the hood have some really durable paint on them - paint that laughed at lacquer thinner. I have never seen that before. But it clearly is paint. They are pock marked from road debris on their front sides, but not their backsides. A few other, more fragile pieces will get bead blasted instead. Anyway, if you see anything that is supposed to be black which is missing from my list, please say something. anti-roll bar anti-roll bar mounting brackets anti-roll bar mounting reinforcement plates battery upper frame brake booster brake booster one way valve mounting bracket brake pedal clutch pedal clutch slave cylinder differential belt arrestor strap brackets differential case differential front flange to driveshaft differential front crossmember - diff and front suspension mount differential rear mount - mustache bar differential rear mount - mustache bar washers with bonded rubber differential rubber isolator mount - front driveshaft engine mounting brackets engine mounting isolators engine oil pan front ball joints front brake backing plates front compression rods front control arms front crossmember front strut springs front strut upper mounts front strut upper spring seats front struts front tow hooks front wheel hubs gas pedal gas tank gas tank securing straps handbrake handle assembly (partial) hatch gas lift support bracket hood pull bracket hood tension rods inner front fender supports left and right air vent pull brackets lower dash mount brackets to tunnel pedal box (already painted) radiator rear axle shaft - inner flange to differential rear axle shaft - outer flange to axle/hub rear axle shafts rear brake backing plates rear strut housings rear strut springs rear strut upper mounts rear strut upper spring seat rear suspension brackets - control arms to vertical supports rear suspension control arms rear suspension crossmember - rear suspension mount rear suspension vertical supports rear tow hooks rear wheel axle/hubs seat backs upper seat frames lower steering knuckles steering rack housing steering rack mounting brackets steering rack stop bracket steering shaft with u-joint tie rod ends - outer transmission mount transmission mounting isolator Some pics: Surface rust removed from rear hubs by glass beading. Nice to see so little rust damage (first two pics). Plate behind hubs has an interesting grey coating (pic 3 and 4): Differential stub axles received no paint from the factory (pics 4 and 5): Stock springs... I need to search to determine what these paint marks mean. I recall something about location on the car... First pair: Second pair: I am taking note of different amounts of gloss on the various pieces. The dash vent control knob brackets are pretty glossy compared to the lower dash mounting brackets (pic 1). Most parts have a gloss level like this gas pedal, shiny, but not super shiny. (pic 2). Gas tank straps were originally gloss black (pic 3): More parts that were glossy but not very: transmission mount bracket (pic 1), seat back - note florescent light reflection is "dull" (pic 2), heater core (pic 3): Some interesting pics - the seat adjuster brackets seem to have been sprayed with a coat and this "spritzed" with another to give them a bit of texture: Steering rack securing brackets have interesting paint marks on them: Near the beginning of this restoration, I experimented with painting some parts black using different amounts of "flattening agent". The plan for most of these parts will be to utilized 10% to knock the gloss down. I have a suspicion that the flattening agent takes a few minutes to "work in". This pedal box was shot without any flattening agent, the steering rod has 10% and the mustache bar has 20 or 30%, can't remember which, but it is too much. I am looking forward to getting all these parts stripped and painted.
-
Chasing exhaust smell in 240 cabin
I am interested to see what you find. I am not quite following what you mean by "I noticed it was pouring in under the vinyl on the rear shock towers." Can you elaborate? My contribution, for what it is worth: I found that brand new tail light gaskets did not seal air tight on my first Z. The tail lights commonly develop waves in the mounting flange, so that where the flange contacts the body there are ripples. When I installed new gaskets and bolted the tail lights in place, I didn't give it a second thought. However, what was probably a few years later, when I was chasing the source of exhaust smell, I pulled the left tail light and saw "exhaust staining" on the paint under the where the gasket met the body. Looking closer, there were clearly air gaps between the body and the gasket. So, I put some 3/4" wide, 1/4 or 3/8 deep closed cell foam rubber weather strip on the body of the car where the gasket sits, and then bolted the tail light (with factory gasket still in place) to the car. This made a notable difference in the exhaust smell. It did not eliminate it, but I didn't do the same treatment to the right side tail light (still - many years later now). And the car I am talking about has hatch vents, so I assume there will always be a bit of exhaust smell when I drive with only one window down. The other thing worth mentioning is while I thought my hatch sealed all the way around on my car, I found out it did not by observing snow melting off of the car. After a light snow, the car was parked and heating up in the sun. I noticed that snow melted at the gap between the hatch and quarter panel on each side of the hatch panel in areas about 6-10 inches back from top edge of the hatch panel. It was apparent that heated air from inside of the car was escaping there and caused the snow to melt. Testing with small bits of paper, I confirmed that the panel was not touching the main hatch weather strip at those locations (only for a few inches). Those are what I found when I went looking. The car I am restoring now has vents on the quarter panels instead. When it comes time to do the assembly, I'll be investigating the same areas closely and addressing any issues I find.
-
Restoration of BringaTrailer 240z - HLS30-35883
It's a 1995 - Avus blue with black interior - US spec.
-
Restoration of BringaTrailer 240z - HLS30-35883
Thanks Charles. It feels good to do something other than bodywork. Today I changed the oil in a couple of my other cars (the GT3 and M3). For right now, it feels like everything is easy compared to bodywork!
-
Restoration of BringaTrailer 240z - HLS30-35883
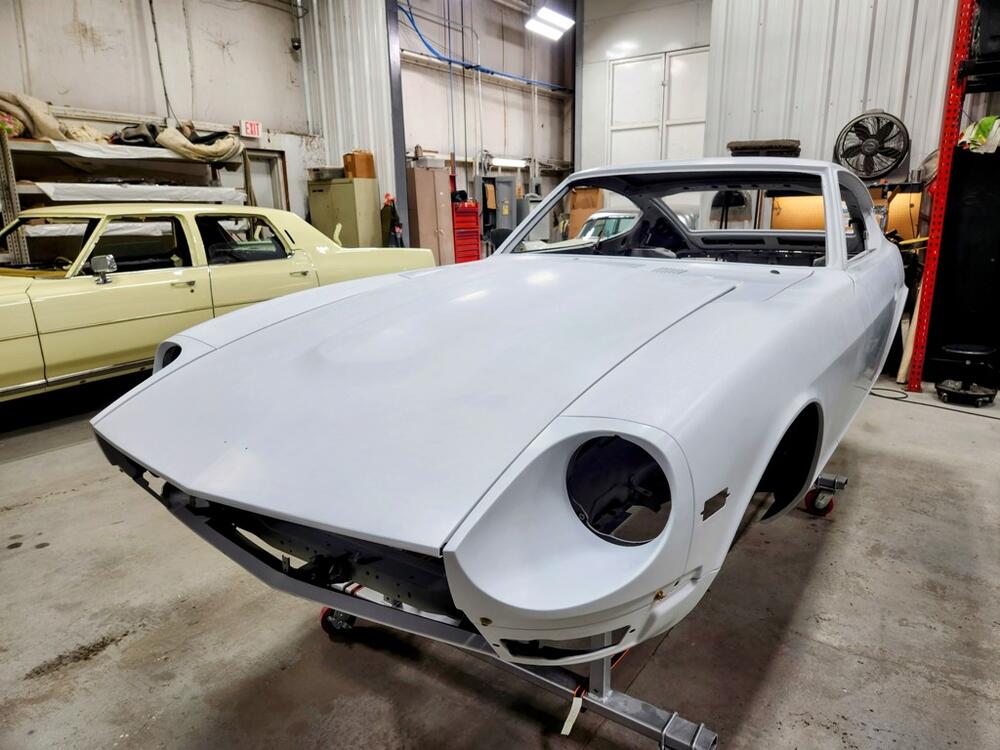
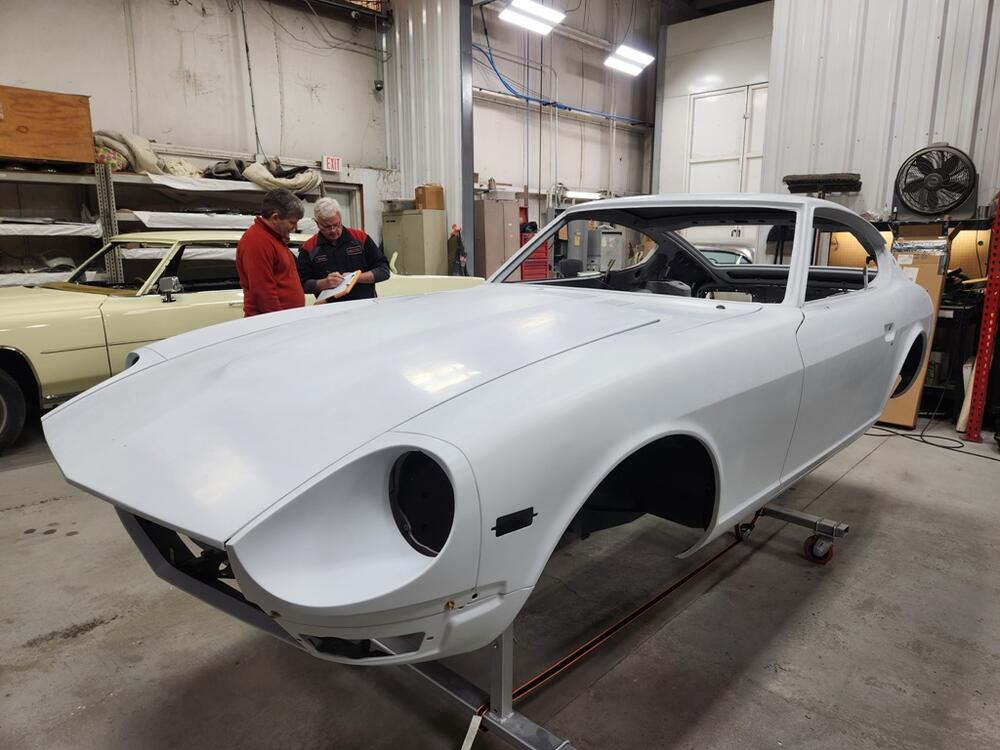
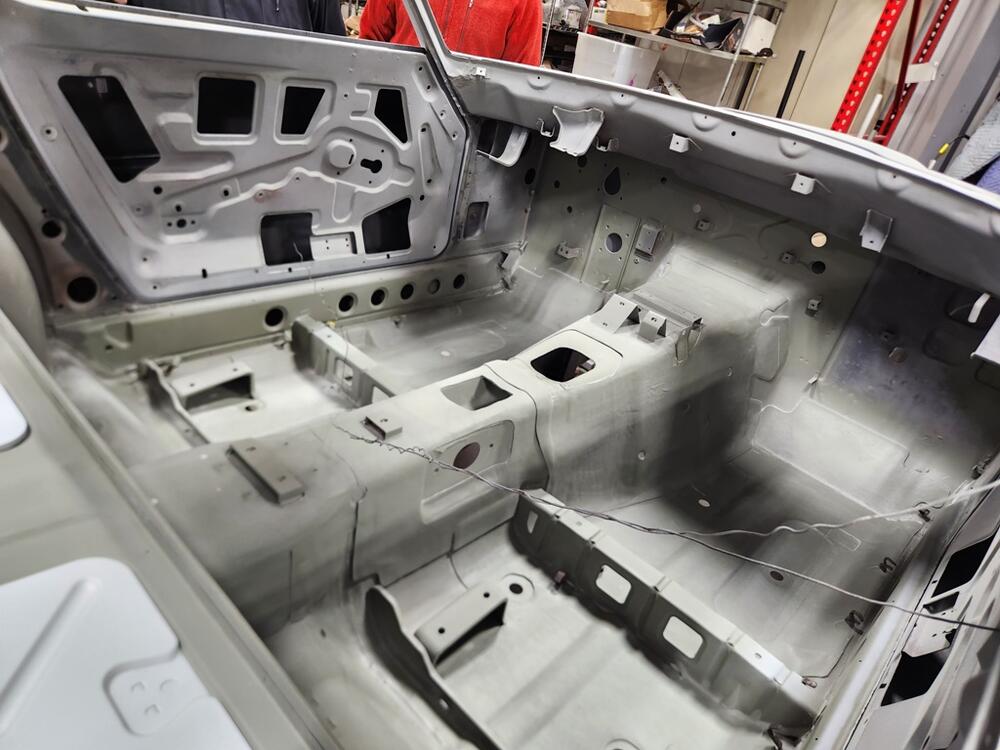
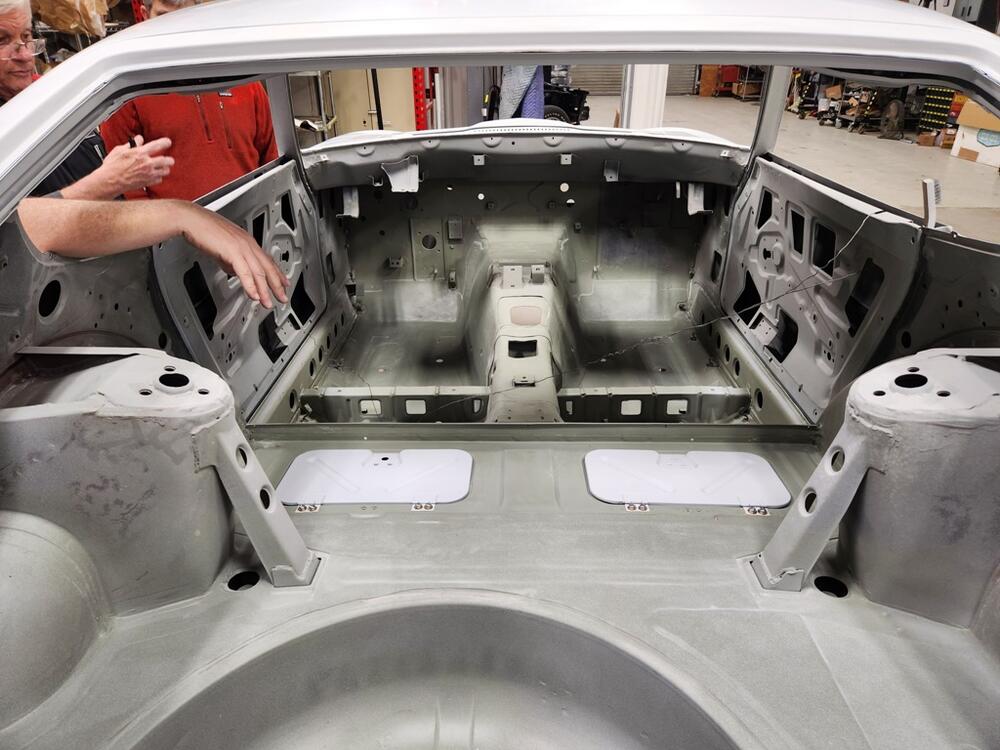
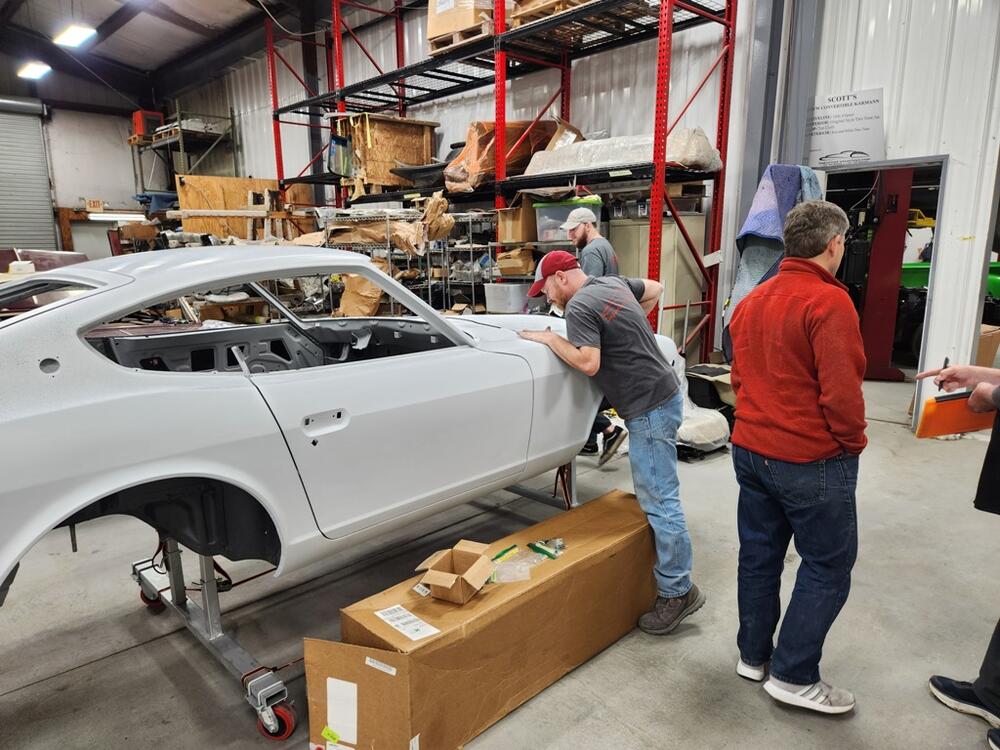
Well... I have reached a milestone in the restoration, delivering the car to the painter on Friday. It was a mad rush at the end. For the last two weeks, I spent every spare minute I had trying to get through my punch list. I fell behind on the tasks I had outlined for each day, and even taking Thursday off from work to power through, I was still at it until 3 am on Friday morning. I got a couple of hours of sleep and was back up at 6 and back working on the car at 7 am. Another 3 hours later and then I called it "done" when the truck and trailer to take the car to the painter arrived. Finding a painter was difficult, and it will be expensive. I understand now why many take on even that part of the project themselves. In the late 80's and in the 90's, in my hometown I grew up in, it was easy for me to find someone who was willing to spray a car for a few hundred dollars. I was not as fortunate this time around. There is a saying or variants of a saying that "It pays to know people". Myself, having moved to GA somewhat recently in 2011, and generally not being the type of person that makes a lot of contacts, I simply don't know a lot of people or businesses here. But, I have a few, and my friend John put me in touch with the place that will paint the car. While it will be expensive, I know at least that the remaining body work and paint will be done right. And, I am relieved that I do not have to spend any more time on bodywork on this car. It has taken an incredible amount of my time over the last 2 years. Pictures taken at the painter: I was in a rush, so I didn't take many pictures of assembly, but I took a few: Now the painter has my punch list and anything they find in addition. They will be sending me some paint cards so I can have a look firsthand at what 901 silver is before I commit to it. If it is too grey for me, I might go with orange. Or green... or blue. 🙂
-
The Many Shades of 901 "Silver"
Interesting. Thanks for sharing that.
-
The Many Shades of 901 "Silver"
We still have solvent based paint available here in the US. However, I will want to see what Glasurit 901 looks like with clear on it as a baseline. I like the lighter silver color of my other Z better personally. It will be interesting to see a sample or samples my painter will provide. Lots of variables to be sure.
-
The Many Shades of 901 "Silver"
Metallic is visible on the inside of my lid in the video.
-
The Many Shades of 901 "Silver"
What are your thoughts on the impact of this on silver vs the other original 1971 colors? Do you think silver is more impacted by base coat clear coat than the solid colors?
-
The Many Shades of 901 "Silver"
Here is a 240Z that was on Bring a Trailer a while back - it had original paint. https://bringatrailer.com/listing/1971-datsun-240z-205/ Perhaps the paint on the inside of my tool door is not representative of the actual color. I will have the paint shop spray some 901 on a paint card so I can see a sample of it before I commit.


 Subscriber

