grannyknot
Community Member
-
Joined
-
Last visited
Everything posted by grannyknot
-
Takhli, love the detail.
-
Goat, that Z looks like a great starting point for anything you want to do, unless you are a glutton for punishment, stick with an engine swap that has been done a few times and is well documented. The rb25 is a good choice, have a look at at Hybridz, http://forums.hybridz.org/ There are lots of threads there on that swap that will make your build go easier. Looking forward to seeing your progress. Chris
-
You have done some great work here, keep it up. When it comes to breaking new engines, well that's a big kettle of fish. Lots of opinions, lots of facts to back up those opinions. This is how I do it because it makes sense to me, straight 30W oil with some added zinc for the first 100 miles then 15w40 diesel oil from then on. The first 10-20 miles take it easy but not staying at the same rpm for too long, then 10x in a row hard acceleration up to 3000 rpm followed by hard de-celeration which means foot off gas but no brake but still in gear. Hills are good for the load it puts on the engine, you want to make those rings work. Let the engine cool while driving then another set of 10 hard up and hard down, change the oil at 100 miles. By the 200 mile mark I have done another 20 sets of hard up and hard down but up to 4000 rpm, by 300 miles 20 sets up to 5000 rpm and so on. I've done it on 2 car engines and 3 motorcycle engines, they all had good compression and no oil burning.
-
"But don't count out the Z cars" Who is doing that? You can always trust USA TODAY for cutting edge insight.
-
I'll bet that system is going to sound glorious just make sure you hang the header first with nothing attached to it then add the rest of the system to it. We are all looking forward to hearing it.
-
Jump on that, great price!
-
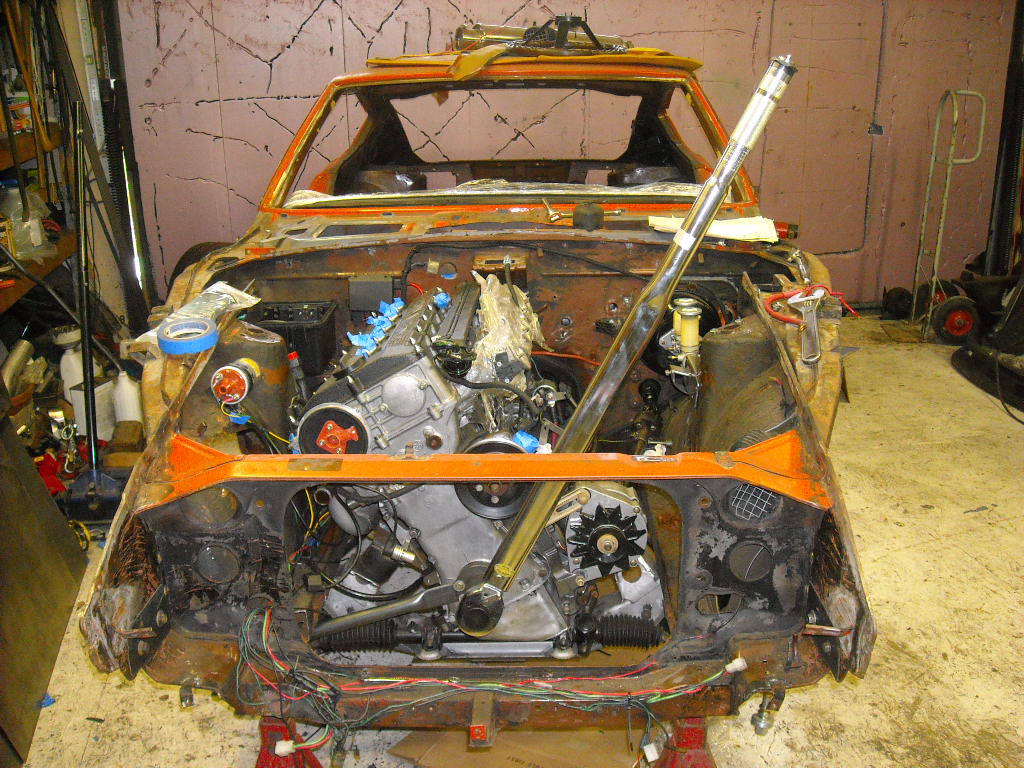
Or maybe I could just cut the whole floor out and replace it, which is what I'm going to do
-
Okay, now your previous comment makes sense, 3M makes some double stick foam trim tape that is incredibly strong, might be worth a thought rather than drilling holes. Loving the photos.
-
I have the exact same hump in the middle of the P/S floor pan, with the windshield out of the car I stood on it and did the jump and stomp maneuver, didn't move. I'll have to try the sledge and 2x4. The twins look good.
-
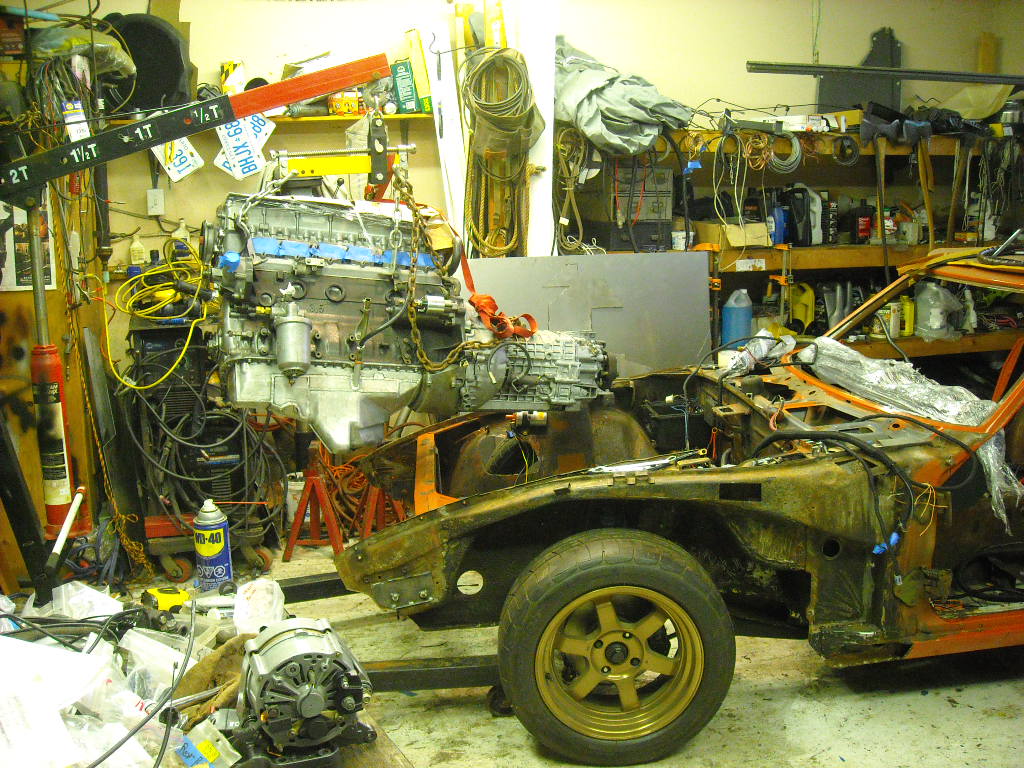
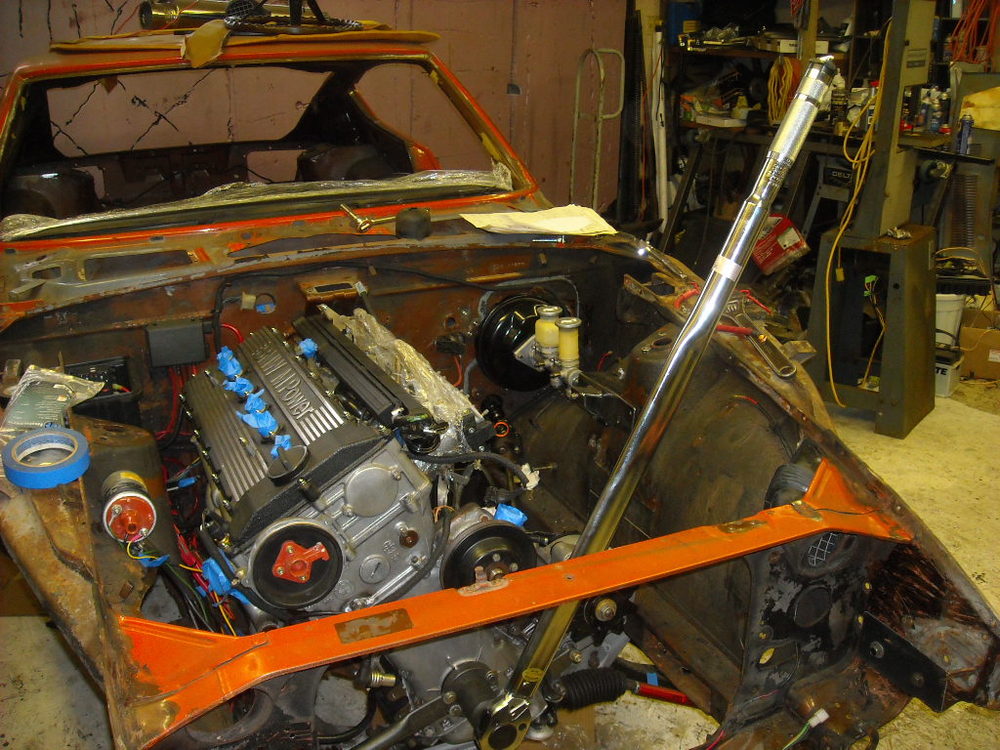
Your welcome sir. Couple of things you must have if you're going to do serious work on these engines is a 3/4" drive torque wrench and a special holding tool that you can see off to the left of the crank nut, the crank hub nut requires 325 ftlbs of torque. Electrical is all working now and I have pulled the entire harness, engine is now out for the last time, I hope! Next time it goes in should be final assembly.


-
I had the bounce, but most of the time the needle would get to 4000 then freeze and drop to 0 and when the revs came down under 4000 the needle would jump back up. I replaced the tach but it didn't help. I hunted through the archives too to find a fix but never found one that worked until I pulled the old distributor and replaced it with the Ignition123 dizzy, that fixed it for good.
-
But also sort of like the Mercury Capri.
-
Hey Funky, welcome to the forum, someone has spent a lot of hours smoothing out your car. Interesting colour, it's a good look. Just some advice, think long and hard before installing those fender flares though, once that metal is cut it's cut. This forum is a great resource for any problems you may run into so you have come to the right place and we love photos Chris
-
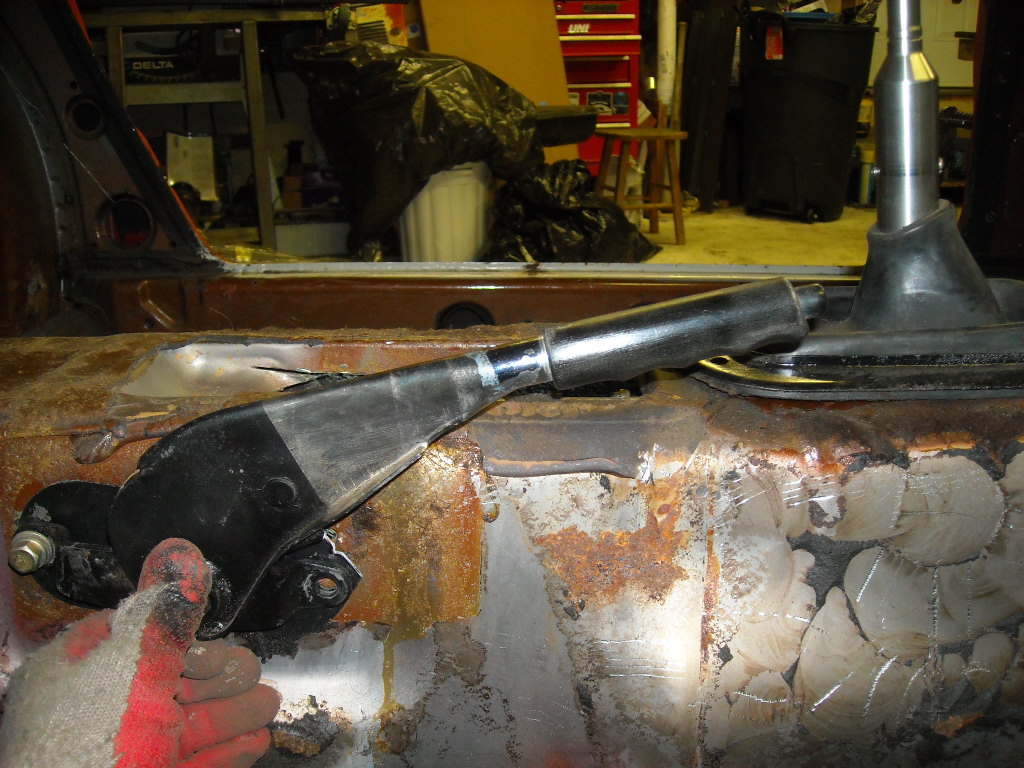
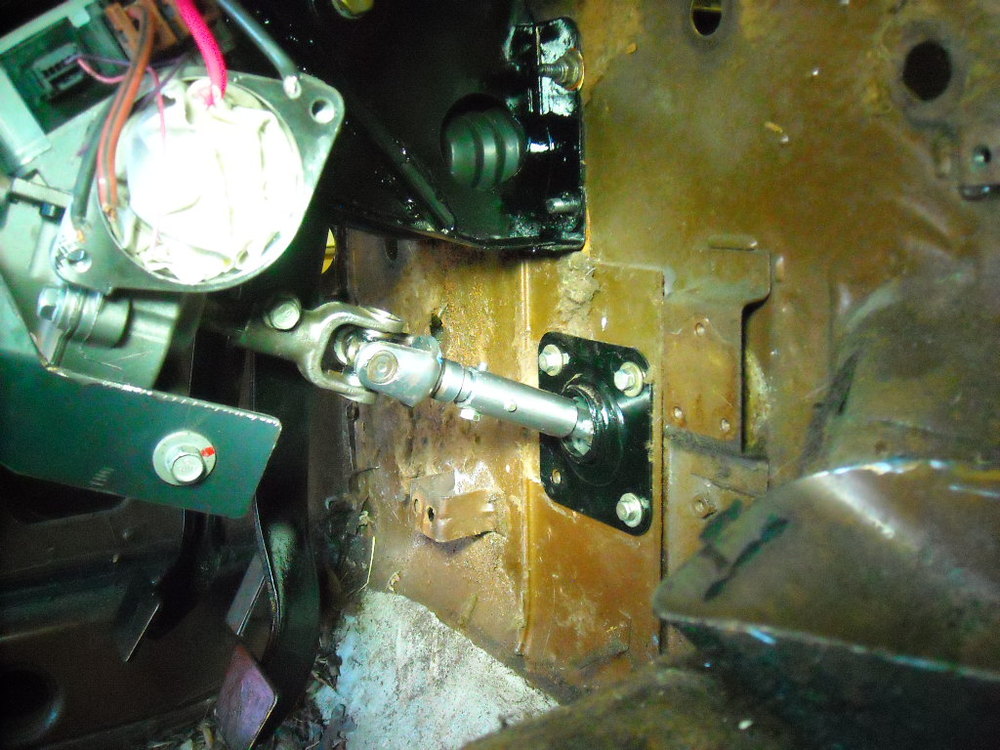
.59" OD smooth rod into .63" ID coupler would be just fine as long as you are going to weld it, that set screw on the Borgensen unit is just to hold it in place before welding. Not sure if you need another U joint added though, you would have to make that call. I'll have to have a look in my pile of steering shaft stuff to see what I can adapt to work or head off to the wreckers. I'll post some pics of the finished item.
-
You could just weld in place but what if you ever have to take it apart ? I chose to break it near the firewall and will use 4 grade 8 bolts at 90* to each on the on the sleeve holding the two shafts together. The chances of two grade 8 bolts sheering at the same time and loosing control of the car are pretty slim. And now that I have typed that out and realize how rinkydink that is I'm now going to remove that sleeve and weld on some proper splined shaft and a splined receiver with a locking bolt. I was rushing a bit when I did this last summer, thanks for making me take a second look at this.
-
15mm or .585"
-
Do you mean the metal rest that the brake light switch attaches to? I cut that off but couldn't get the handle any lower.
-
As Mart says, the original seats look great but they don't offer much support or comfort, at least not to my old back. You'll spend at least the $379 cost of the new seats restoring the originals and you may still not be happy. You could also have a look at used Miata or Integra seats.
-
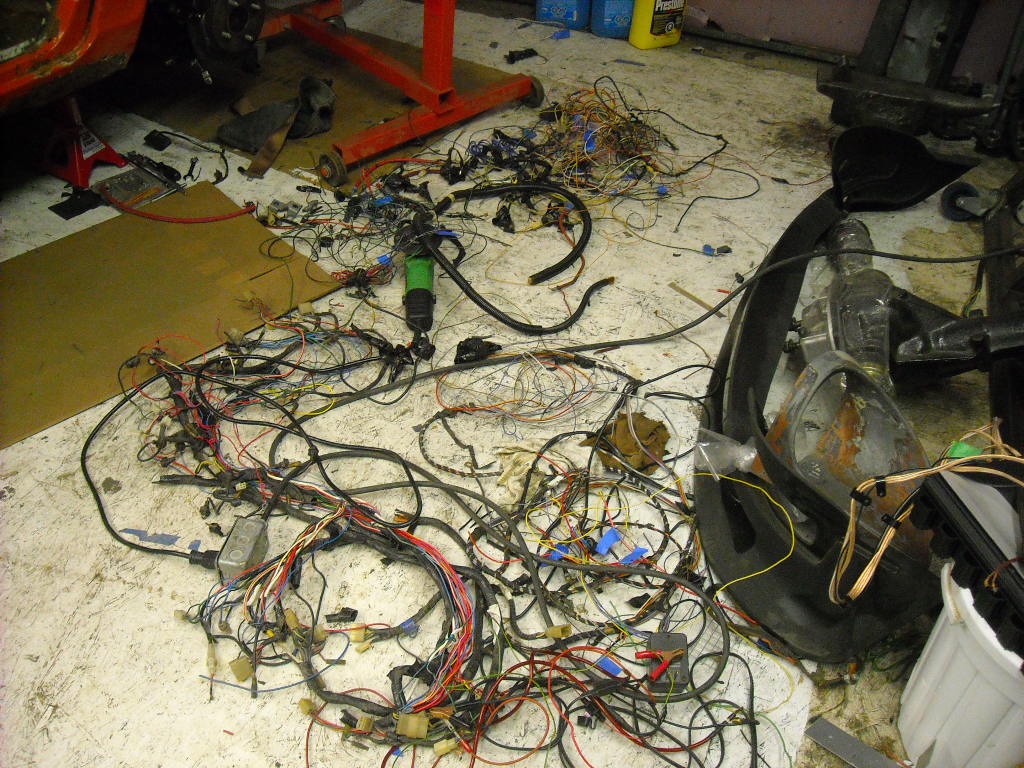
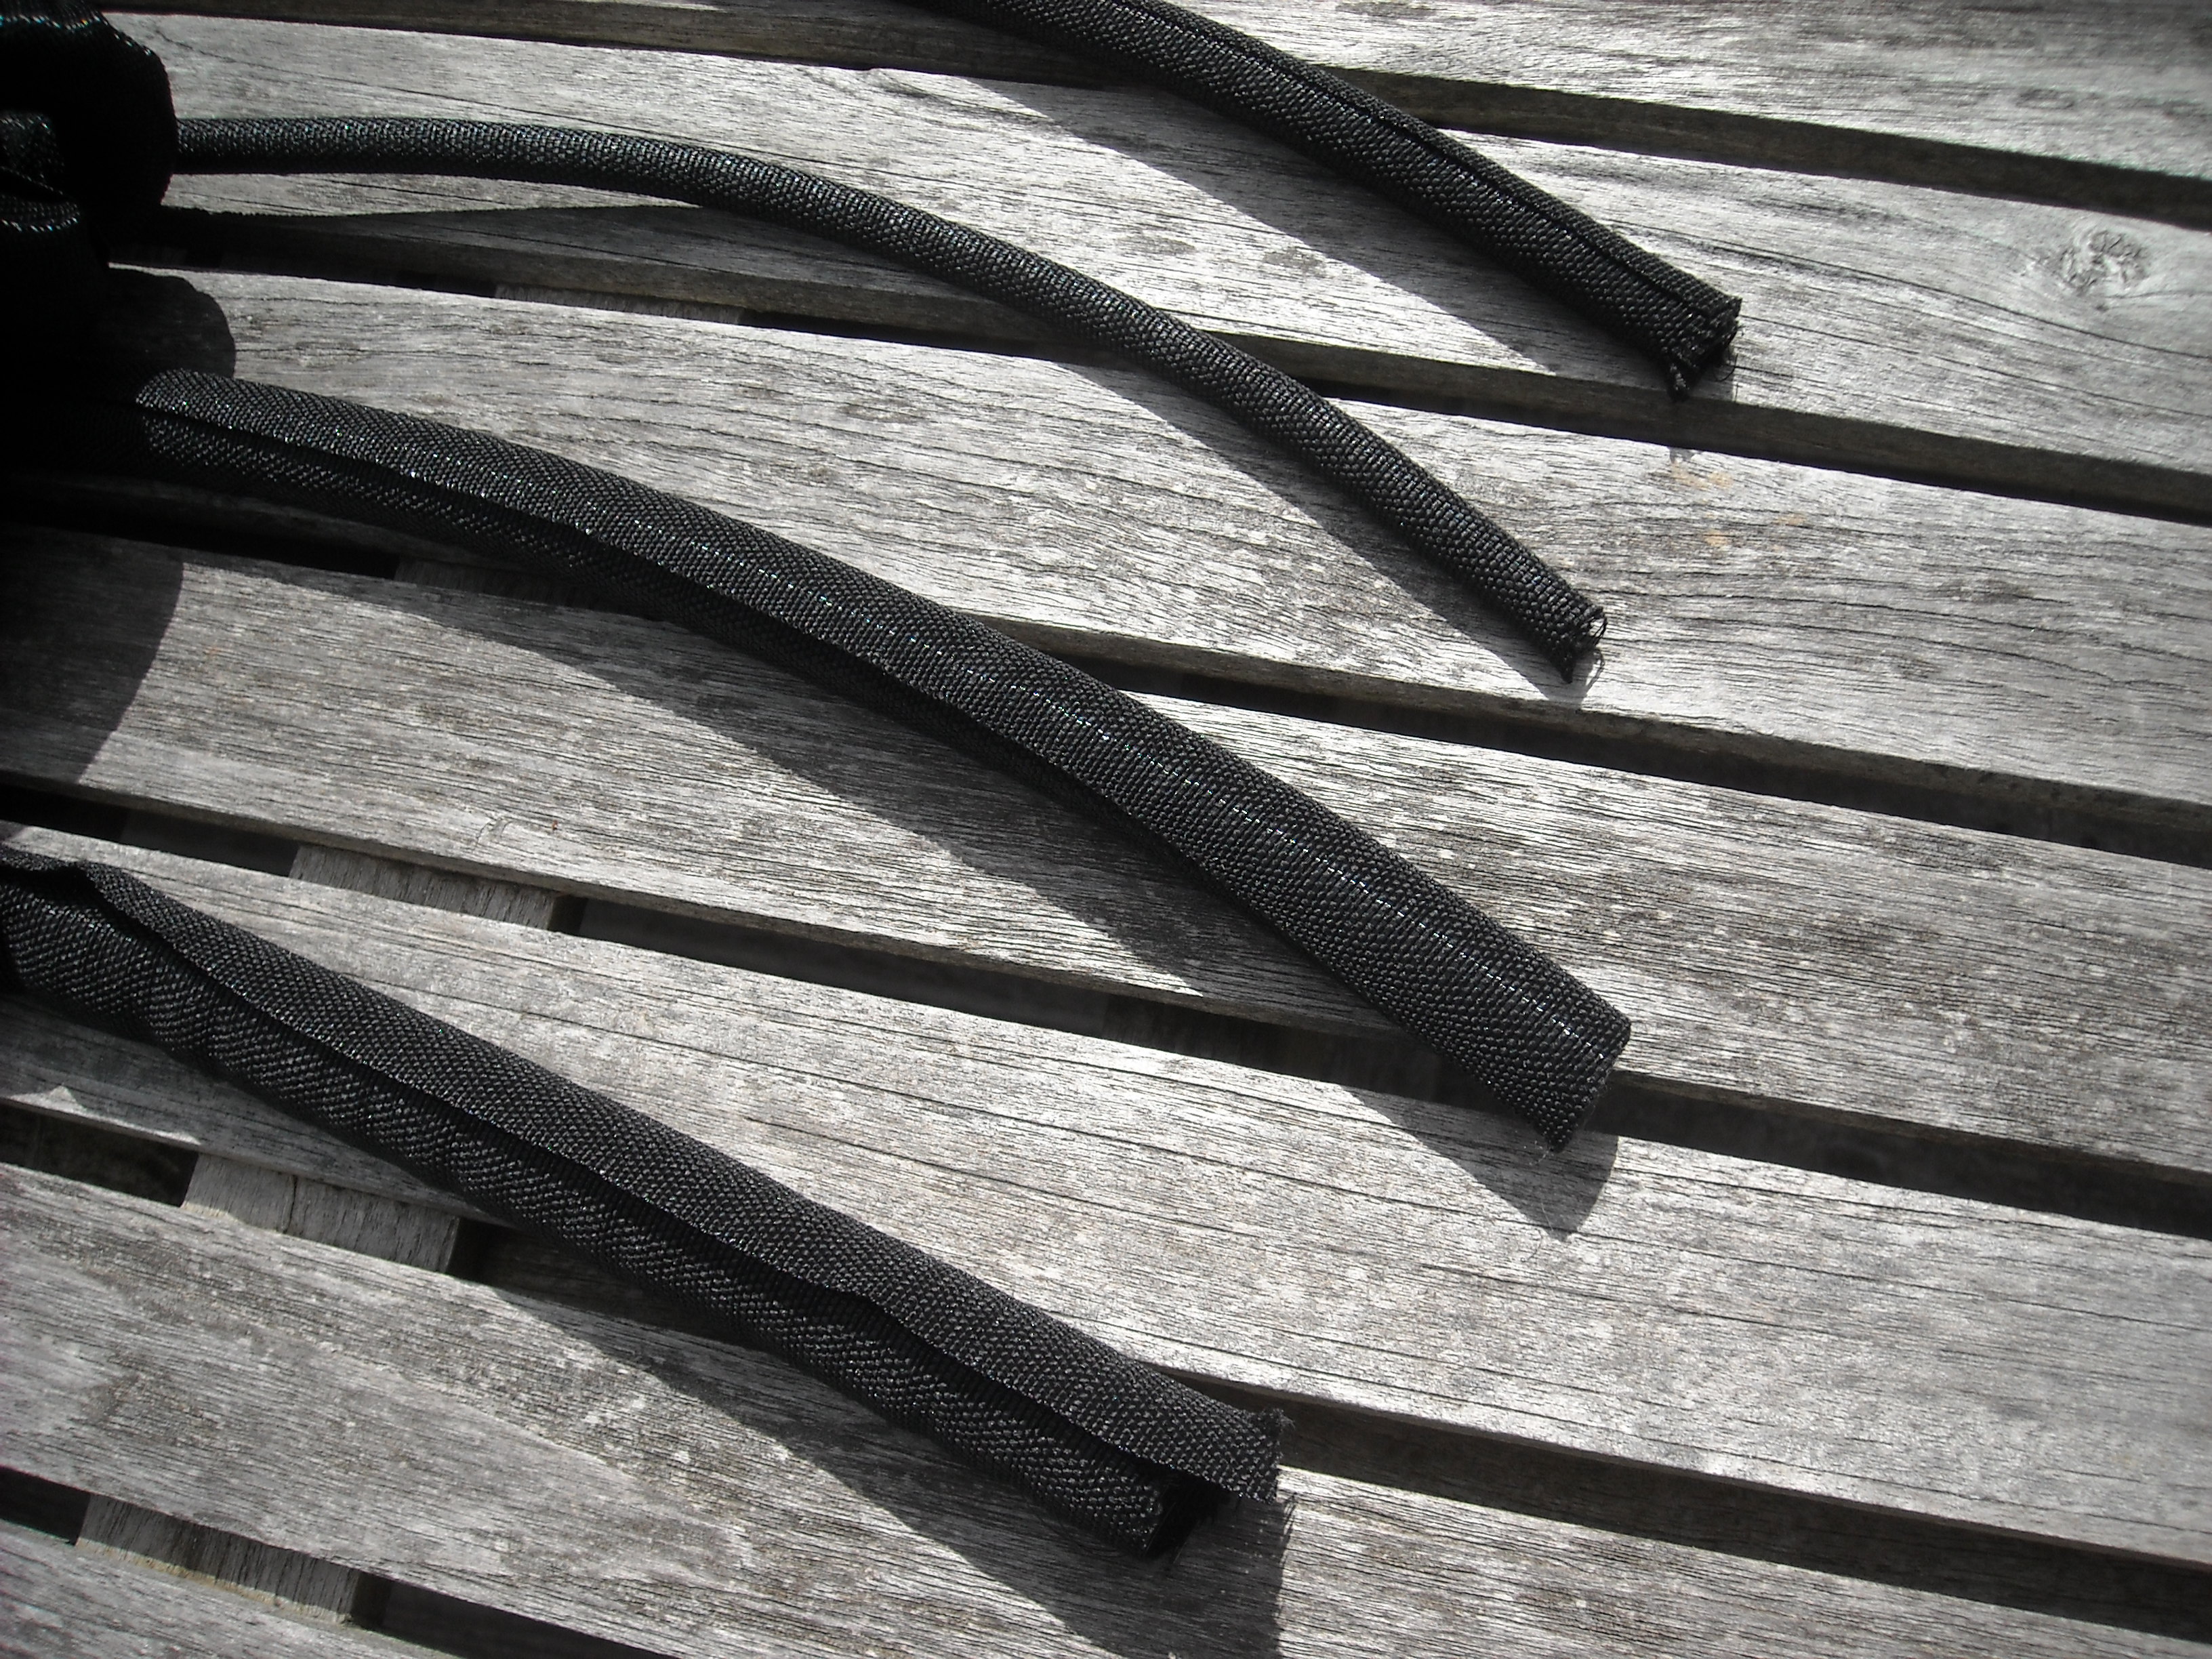
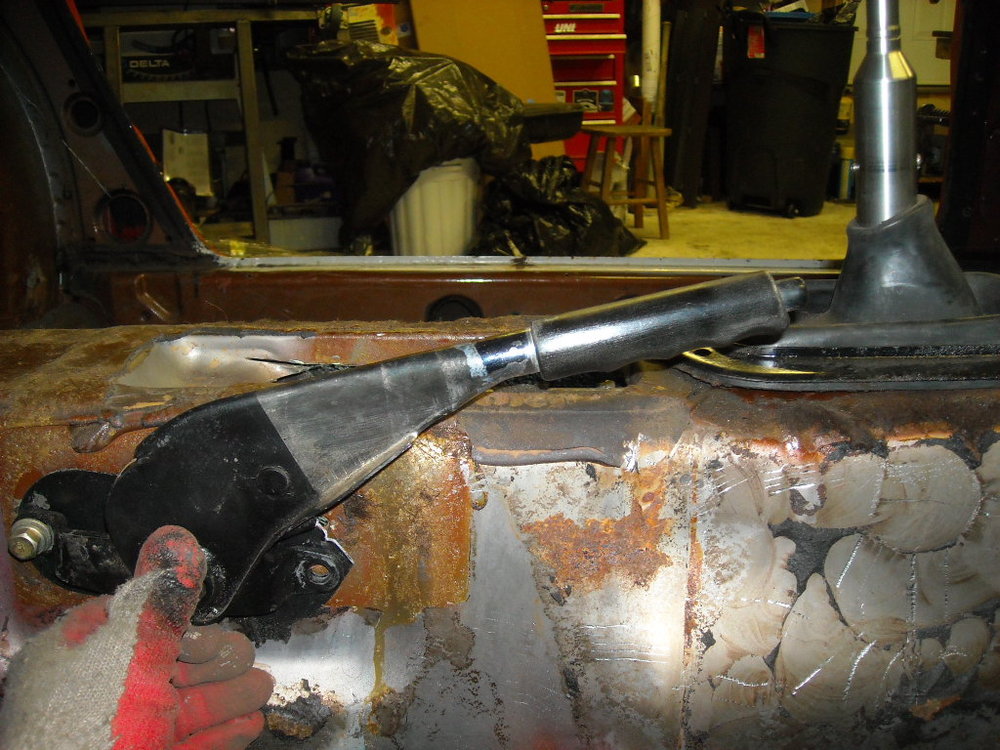
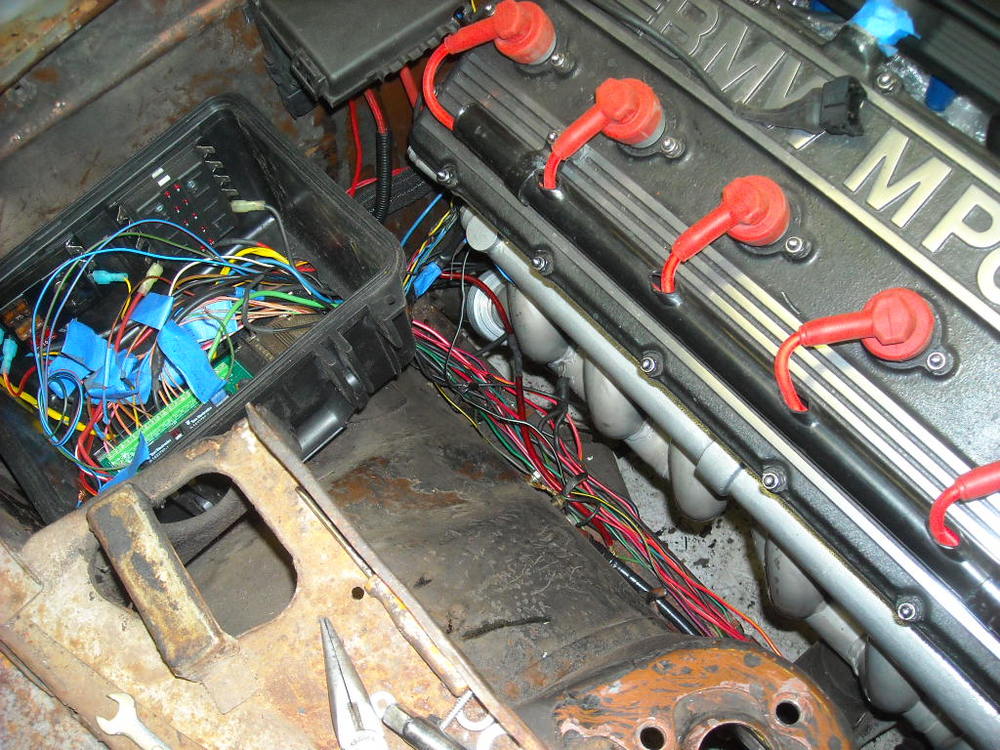
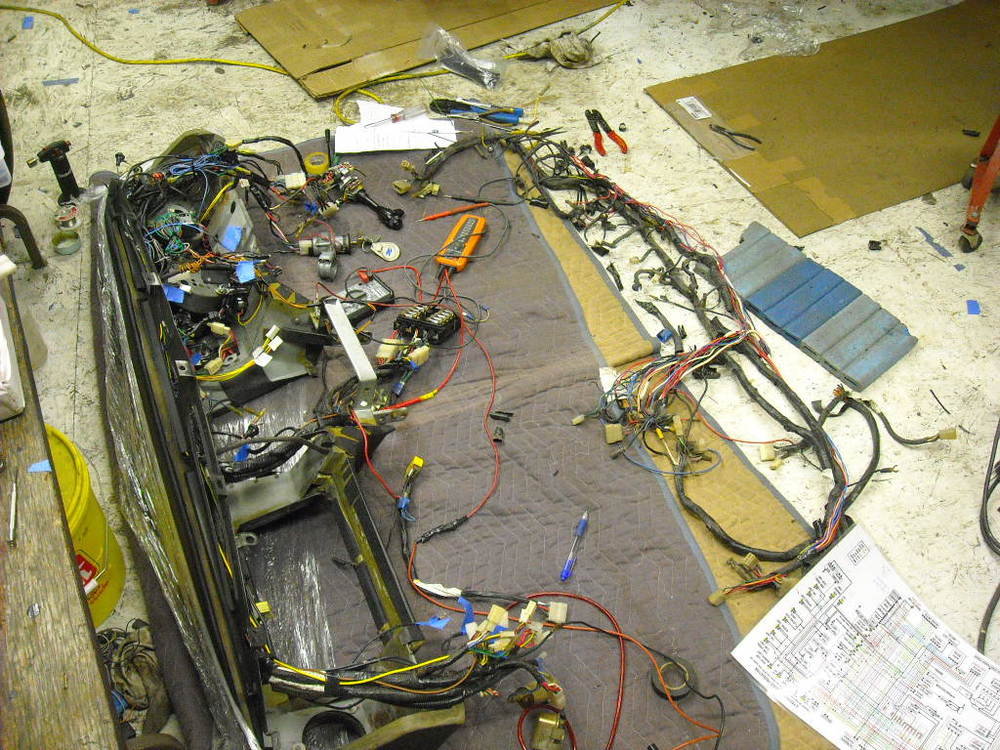
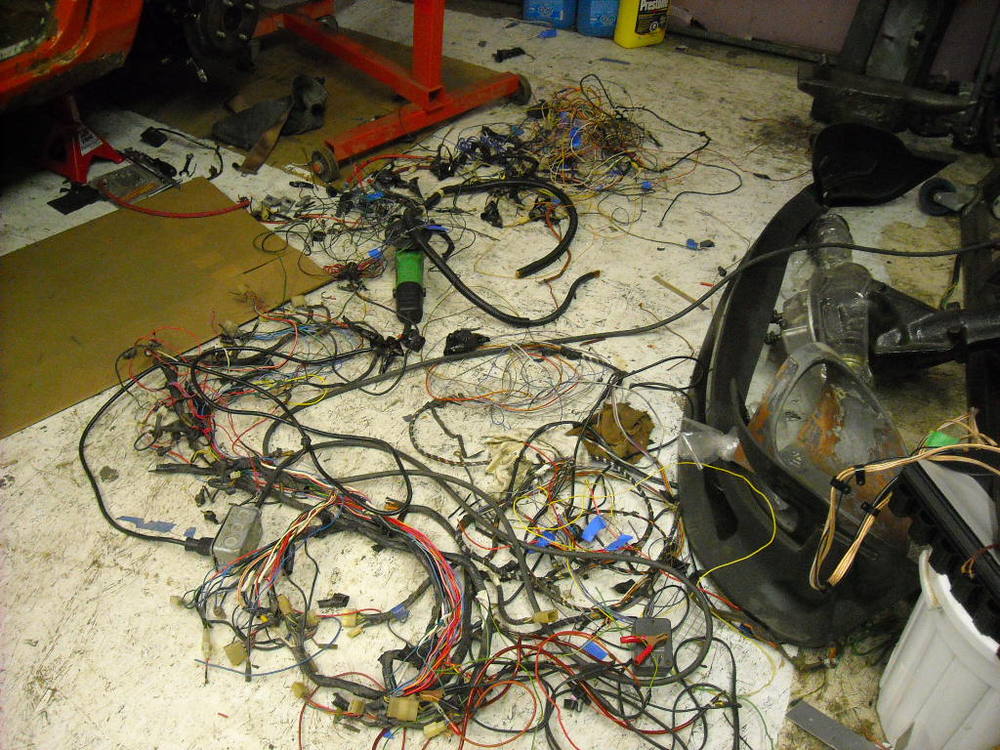
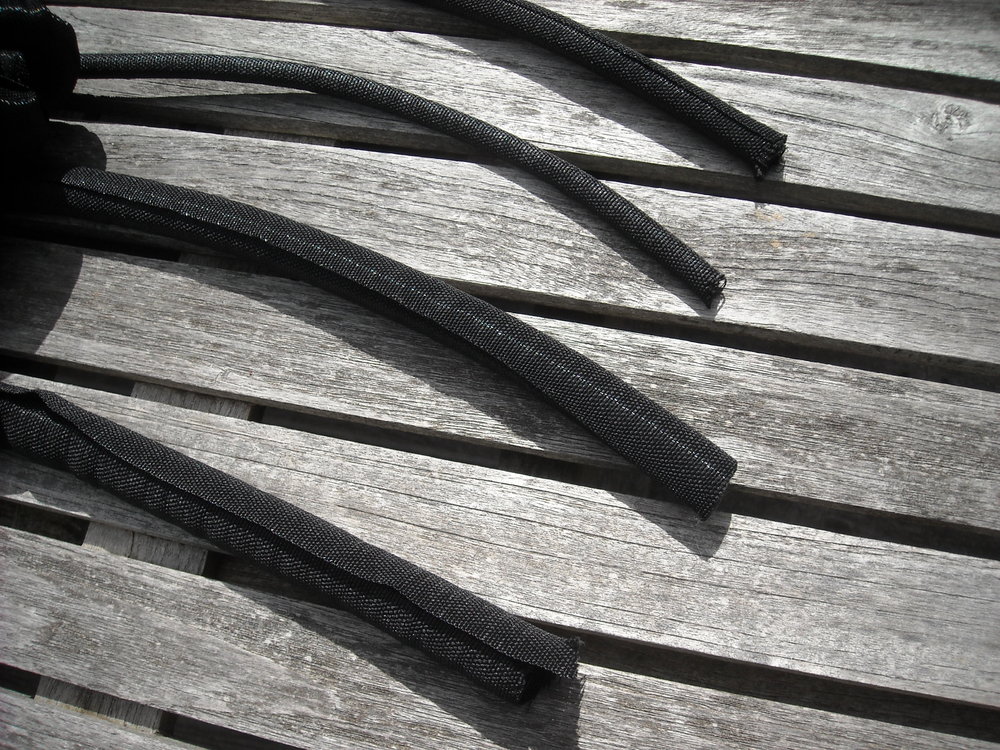
I have spent the past 3 weeks intergrating the Datsun and bmw wiring harnesses, lots of fun. But I got a chance to check all the wires, replace some bad connections and get rid of lots of unused circuits. I also got rid of all the electrical tape wrap and replaced it with this cool woven split harness wrap, you can add or remove a wire at anytime. This is the Pelican type box I'm using for the relay board, switched and unswitched fuses, hoping to get a tighter length on all the wires on the final install. Here is what got cut out of the harnesses, I have always felt that the parking brake sits too high, I'm for ever grabbing it, pushing the button and trying to get it to go lower. So that problem is fixed now, repositioned the mounting holes and cut some longer threads on the linkage rod.

-
Warning buzzer, that's what that is. Good to know.
-
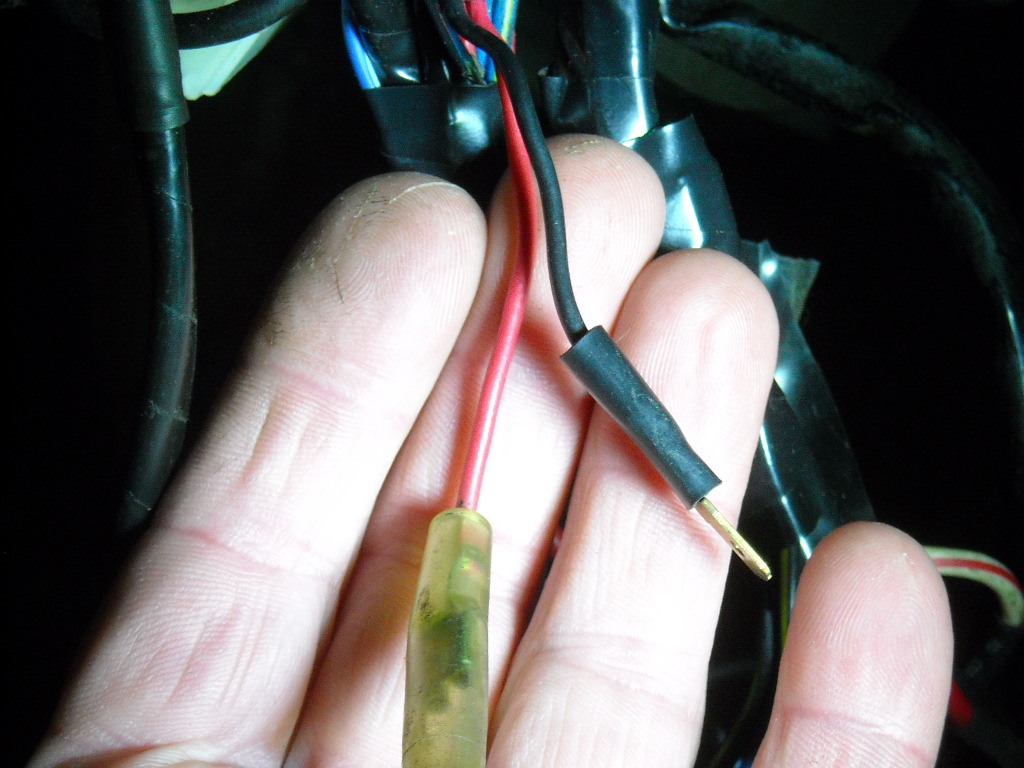
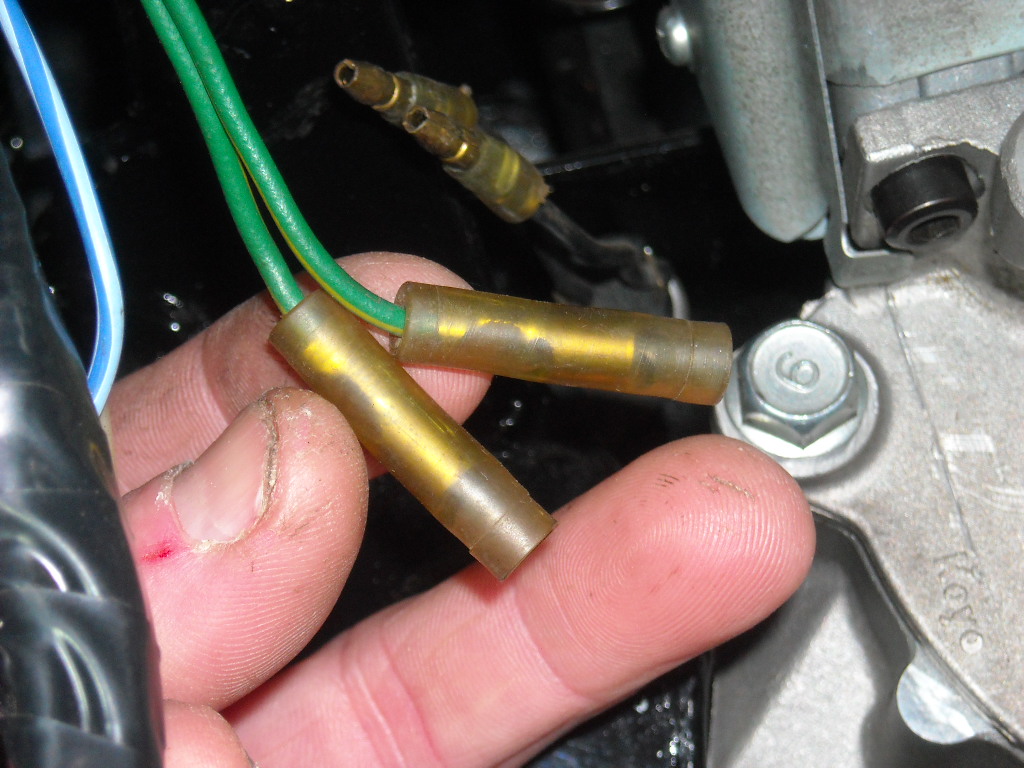
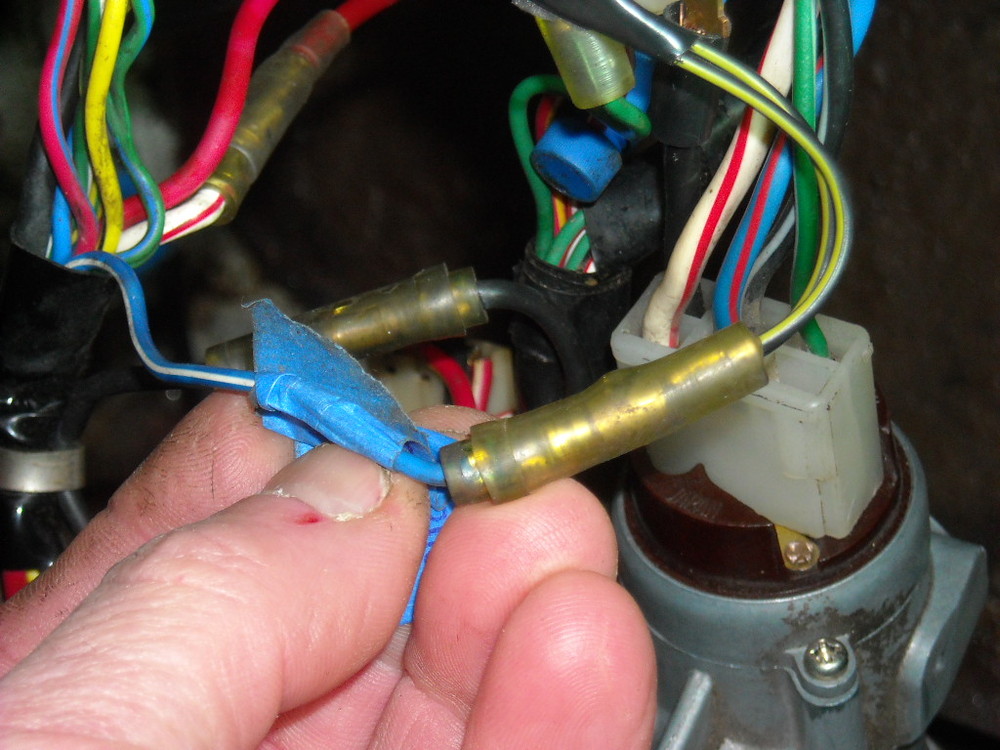
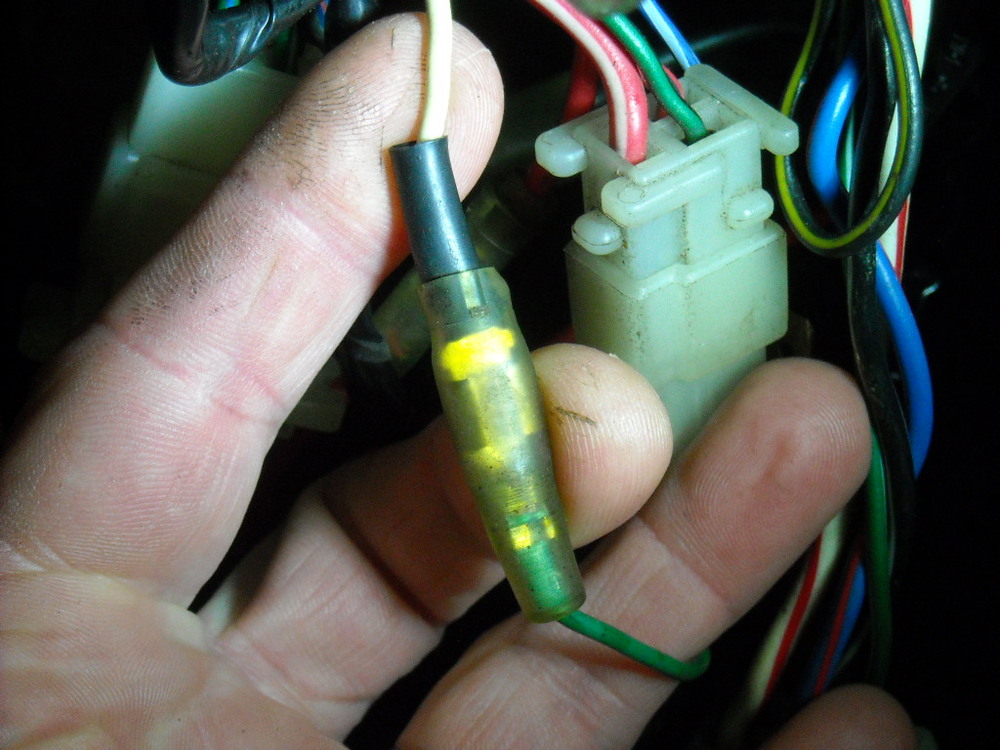
I can answer some of those questions, some of these combinations don't make any sense but they are the right and everything works. The single blue/wh wire with the male bullet goes to the black/yellow wire, The single green female spade goes to single white male spade (sounds like dating site!) The pair of red female bullet and black male spade don't go to anything, tape them up. The 2 green/yellow wires up the harness a bit go the brake pedal switch, you can just see the brake switch in the back ground. That single blue female bullet in the 1st pic of yours is the one I have been trying to get a pic of.


-
It's kind of strange, the front of your car doesn't look like it has been banged up and straightened, it's weird. In a pinch, you could make up a couple of strips of thin metal with two holes drilled in each, one for the screw hole on the mounting tab on the car, the other for the bottom grill hole, at least that would keep the grill from bouncing around.
-
Those 4 uprights that hold the horizontal grills in place are made out of the softest aluminum possible, they can be bent or twisted or broken with just two fingers, be careful. Your grill looks pretty straight though except on the lower P/S.
-
yeah but without the engine bay plate, door plate and firewall engraving it's just something else that would have ended up in a drawer.
-
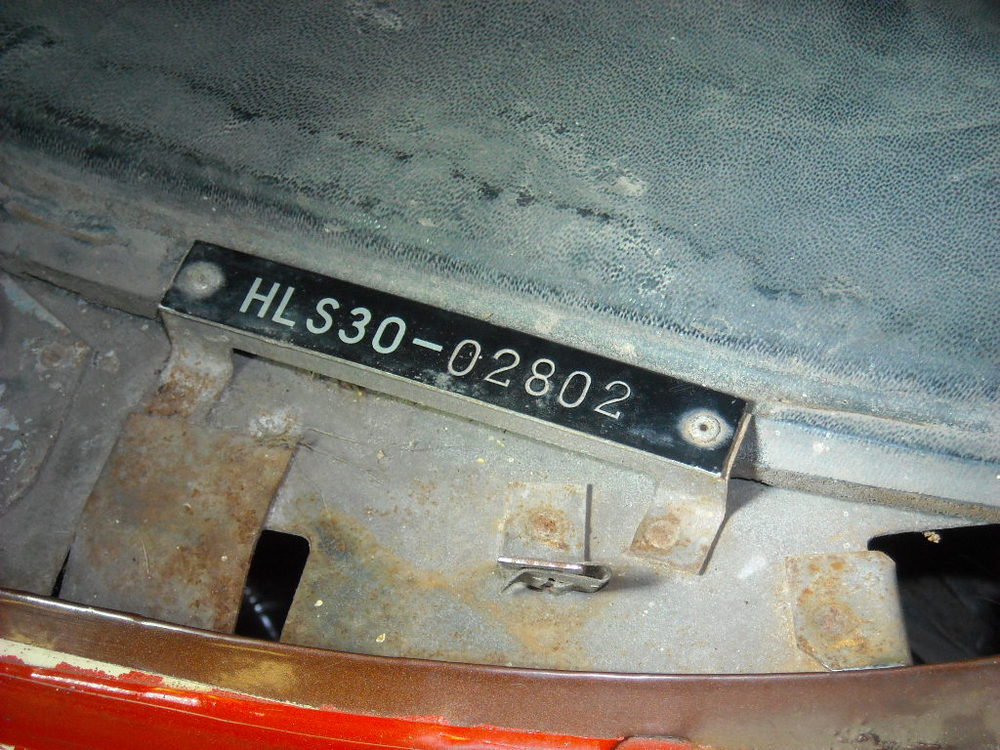
Vin tag is on its way, you should get it this coming week. Unfortunately it doesn't come with ownership papers