Patcon
 Subscriber
-
Joined
-
Last visited
Everything posted by Patcon
-
 I suspect if Eiji built it, he has records of that. If there is a problem with the engine I would talk to him first. He has a very good reputation and has built engines for several forum members
 -
TMI !!! My eyes! my eyes!!!
-
Maybe they would make one if you called them. This can't be a super high volume business
-
Thanks Guy, I have been planning on single stage but we may go BC/CC
-
Martin makes good tools
-
looks well packaged
-
Grannyknot is correct. He is the man to go to and very supportive of our old cars. He is the only source for some NLA parts...
-
Exactly right! It would take a good setup and an experienced DIYer to get decent results
-
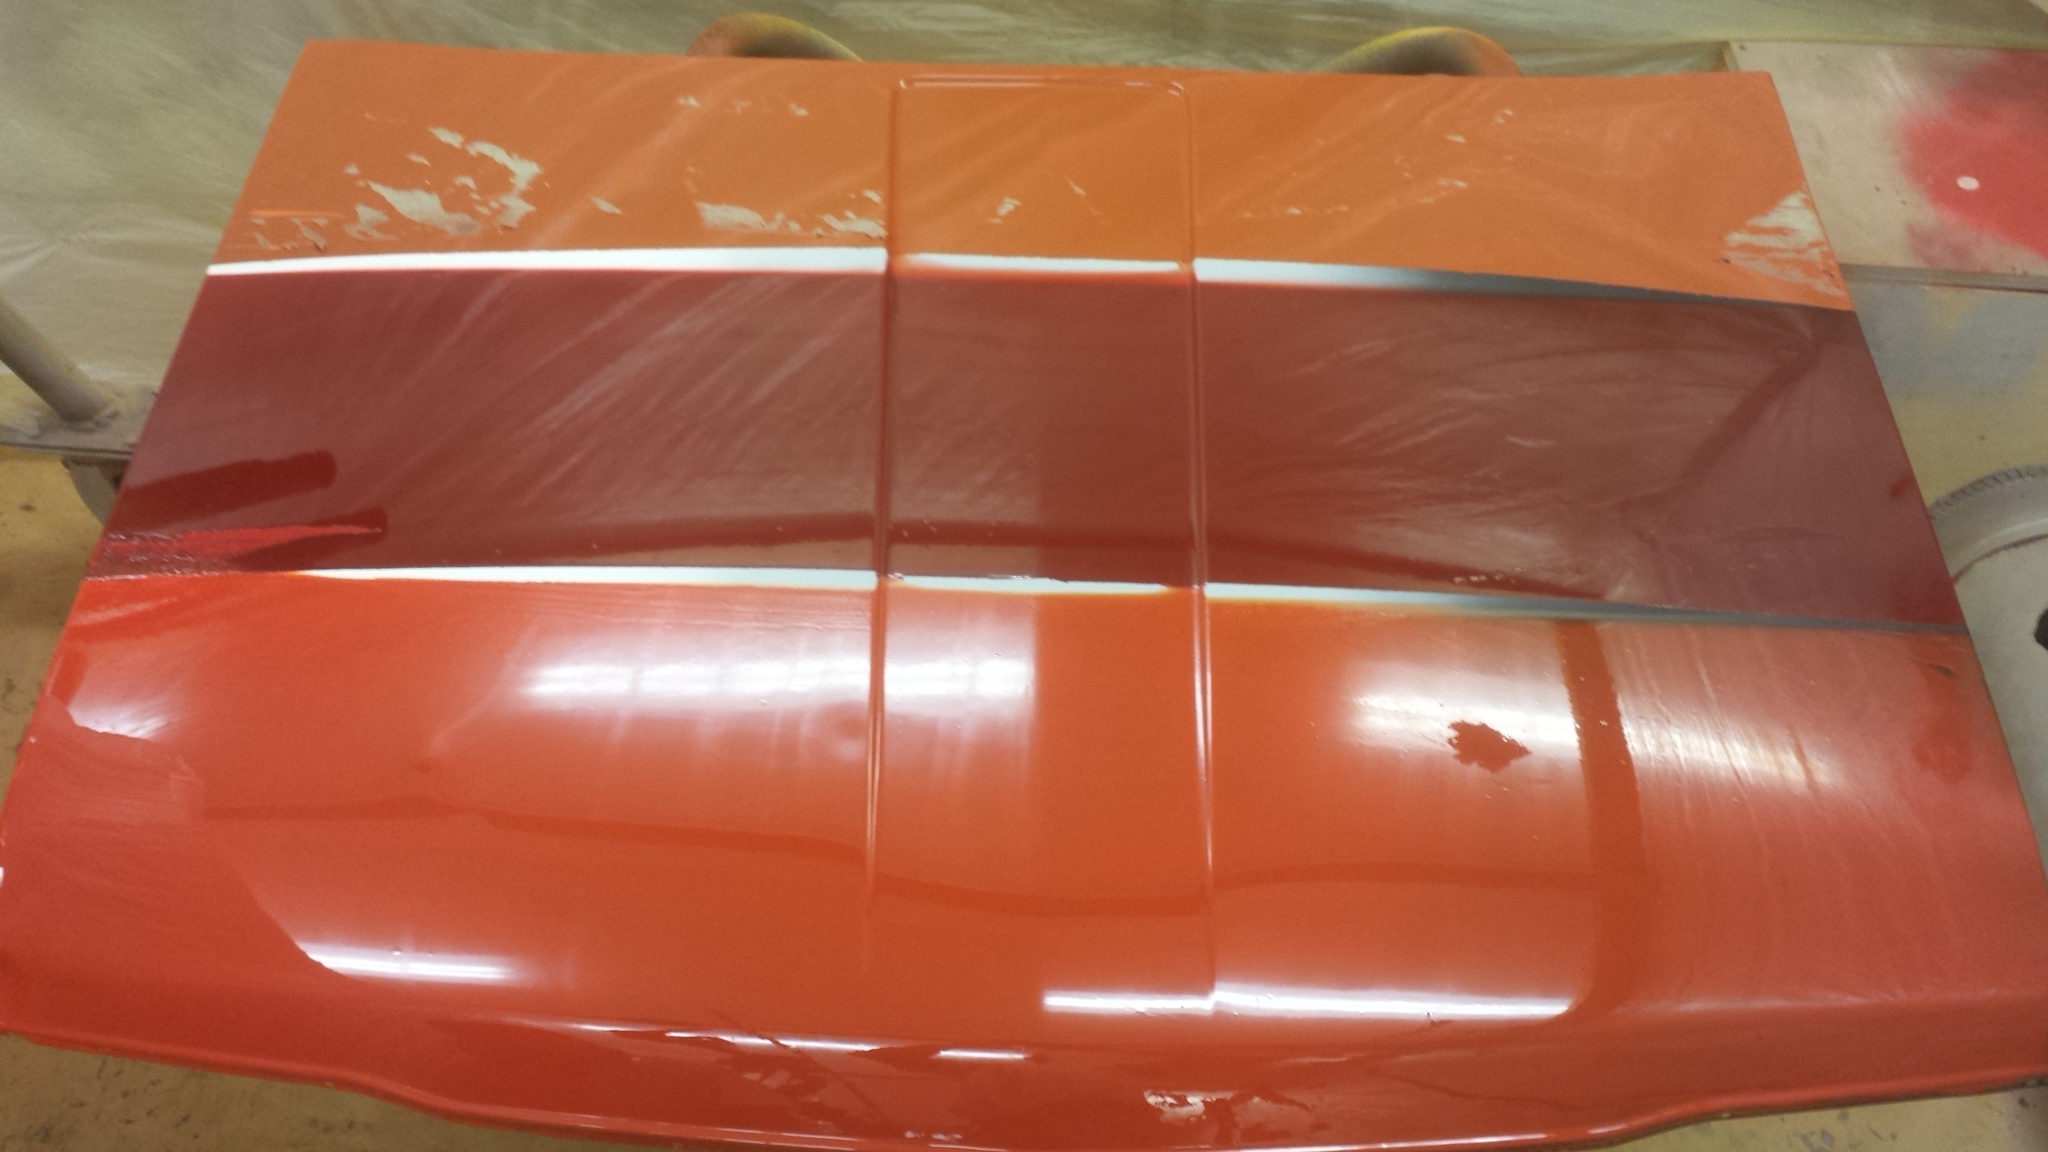
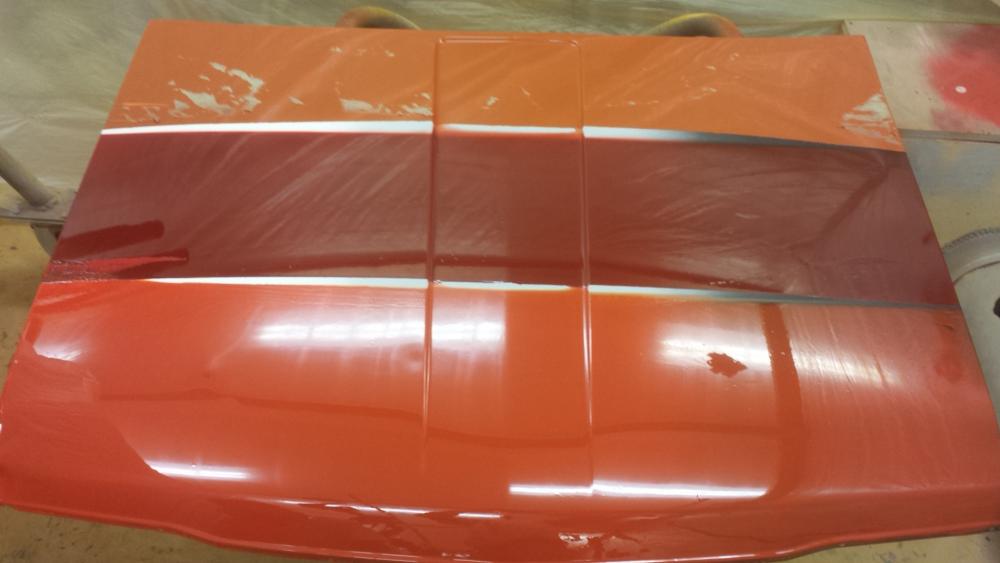
My sample of 918 doesn't seem to be as orange as yours. I wonder if that's the brand of paint? The sample at the top of the hood is 918, almost mustard color, not really orange. Guy is your paint single stage or BC/CC?
-
Ryan, That is a slick looking engine bay. Coil packs and triples, love it...
-
It does seem to be a little brown or something. It is a really classic color but it doesn't have the "pop" the 022 has
-
Does the gap leak? Can you feel exhaust coming out the exhaust gap with the car idling or hear it? If it didn't leak I wouldn't touch it. "If it ain't broke don't break it." sort of thing...
-
Even if you do everything right you will still get some blow through. If you run the wire out a little more or trigger very quickly you can bridge the holes. It can be quite the challenge to MIG on very thin sheet metal
-
It's pretty simple inside but getting them open and closed can be a challenge. We drilled a wooden plate for each side. Clamped the bottom plate in the vise and screwed 2 3' 2x4's to the top one to get enough leverage to get it open. It is spring loaded inside but not crazy tension
-
Shot a test panel to try to pick a color for Cody's 510 These colors are all "orange" from top to bottom 918 056 022 That's from memory and it's not what it once was. I substituted a hardener so it was curing slow and my paper stuck in the first color. He likes 022 the best... 056 is really not orange, I like it, but it's more like Garnet...
-
I believe they are soldered into the tank. You are probably just turning it to where the solder joint is thicker and it tightens up. It probably needs to be removed and taken to someone to be boiled out and resoldered. Radiator shop possibly?
-
I hope it works good for you. This is one of the parts I come across all the time that's needs replacing but the rebuild parts aren't really available. It would be nice if a DIY approach could be developed. You can buy them remanufactured but that is suspect too. The little early booster is sort of unobtainium now, so rebuilding is your only option for a purest...
-
When you butt weld like that, or pretty much anytime for that matter, you have to do just little spot welds 1/4" or so long at a time. Space them out 6-8". You have to let it cool a lot between welds. If you can touch it, and it feel relatively cool, it's too hot. Sometimes I used compressed air to help it cool, but that may do more harm then good. If you weld too much at a time the panel will warp, especially on our thin Japanese tin
-
Are they different on each S30 or all the same part? I may have one close at hand if the 280Z is the same
-
Did you check vacuum on the booster after rebuilding it? Many times the leaks is in the fold at the bottom of the booster. It is caused by brake fluid leaking into the booster from the master cylinder and degrading the rubber. Also were the seals around the center pushrods good. I have attempted similar fixes with mixed results. I found reassembly easier if you apply pressure to both halves, like in a vise or press before trying to rotated the upper half
-
-
Adhesives will work for some things but not others. You could install a full quarter with adhesive but patches in a floor would be hard to hide because you need a lap joint. No butting panels with adhesives. I have looked at using some of them but I would probably waste a lot of material because the tube would just sit for months between uses. The welding I do will work, is durable, time tested and will last longer than I will...
-
That was some serious hail. Surprised it wasn't visible from inside the hood too
-
Congrats Jim
-
That's not sludge! That's high density lubricant... I agree on the water in the oil suspicion