jfa.series1
 Subscriber
-
Joined
-
Last visited
Everything posted by jfa.series1
-
 So... there was "mystery meat" in the veggies stir fry?
 -
Steve and Cliff - thanks for the help. I'll get into the pinion gear today. Jim
-
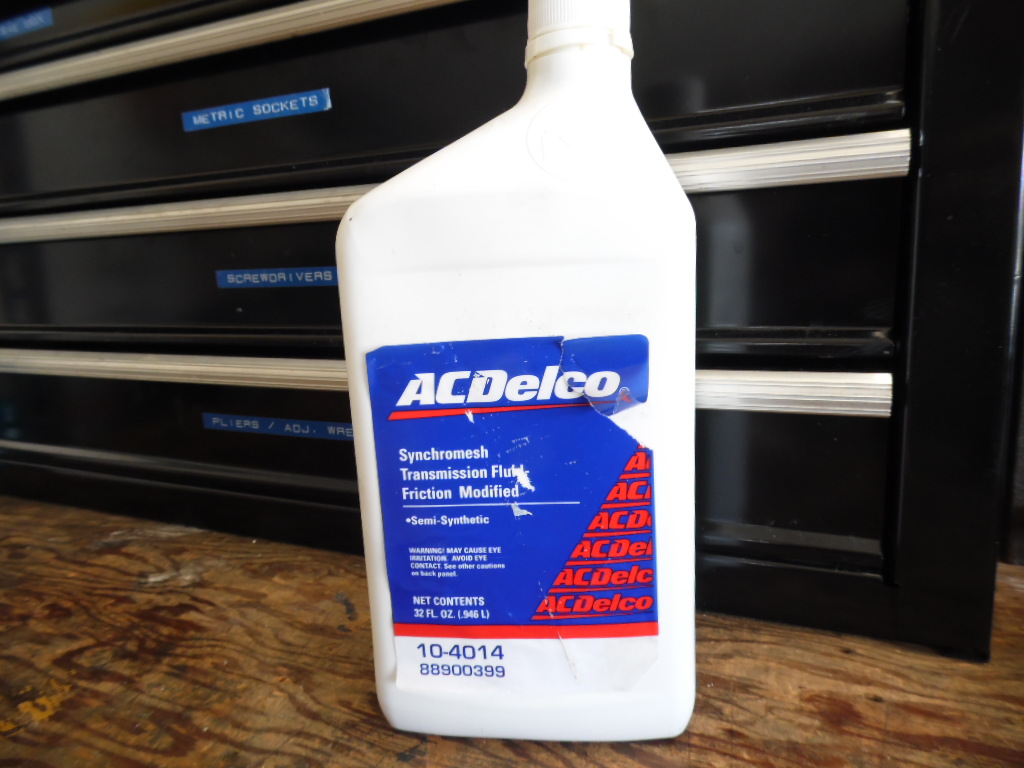
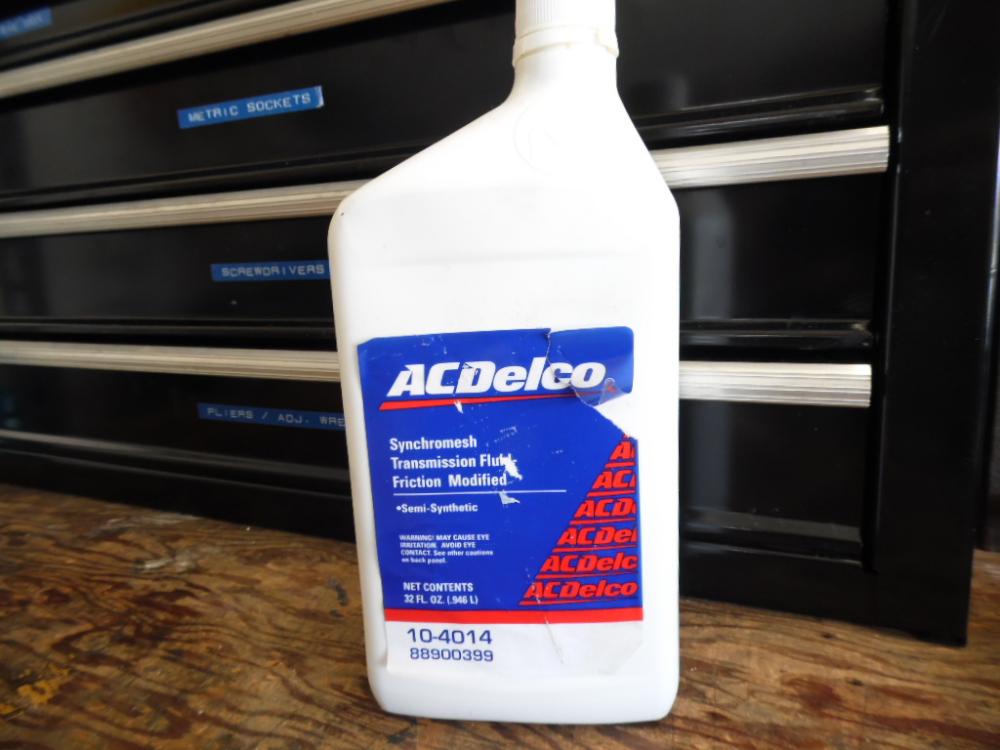
...Goes Unpunished! A few weeks ago I swapped out the transmission fluid for the magic elixir ACDelco Friction Modified stuff. And it seems the transmission is shifting more smoothly. I guess that stuff is really slippery as I've now developed a fluid leak at the speedometer cable right where the black housing is fitted into the pressed collar. I guess a new speedometer cable is called for, right? Is it normal for this connection to have transmission fluid present or is there some other seal I should also be replacing? Thanks, Jim
-
What... You didn't like Nissan's version of a Rubic's cube?
-
-
I started this thread but now find I won't be able to make good on it. My wife has developed a sinus issue that prevents her travel so we've cancelled our plans for Toronto. Those of the CZCC group that make it, hoist one for me. ZAttack in Nashville sounds great, its going on the dance card. We should be able to build a respectable Memphis CZCC reunion!
-
This is one that is going to break your heart and your wallet - stay away. Try to dial back your emotions about wanting a Z so badly and let your logic and common sense kick in. Rule #1 on these cars: buy the best body you can find and afford, everything else is bolt-on and can be fixed.
-
The commercial plating shop I dealt with said that anything that flexes should be baked: springs (duh), OE-style hose clamps, split ring washers, ... you get the idea.
-
I downloaded the door jamb plate pic and was able to make out a build date of 6/70, nothing readable on the actual VIN.
-
Something else to consider: bring all of your stainless trim up to a high polish finish with a buffing wheel and jeweler's rouge. The high visibility items (door handles, window frames, drip rails) will add a lot of "pop" to your paint finish. Don't overlook the little items like the side marker light frames and windshield/hatch gasket inserts. I did all of this and am well pleased with the outcome.
-
Fine looking car!
-
That tank is looking good. If you really want to get that last depression pulled out, a nearby body shop probably has a stud welder and slide hammer to get it back to original. That Long Beach Blue is striking!
-
Bruce - I previously bought this kit for my project a few years ago. When I recently wanted to recommend it to a friend, I found that the product pics at Rockauto only show the bushings, no longer the metal components. Several Google searches came up with the same results - rubber only. Is this a recent purchase? It would be great to find out that it still has all the items in your pic. Jim
-
Nice story, thanks for posting the link.
-
-
Nice job, Cliff. Gotta love all those big box stores for their "car parts". Jim
-
ZOWIE!!! What a Zweet job.
-
Sounds like the deal of the day. If its as rust free as you say, close the sale and don't giggle until you are well away from the PO.
-
Tim - I've installed the same fuse box, here's a couple of observations. Yes, the large gauge white/red wires connect on both sides. What looks like a female bullet is actually a splice connector that replaces the large male spade found on the OE box. Apparently the mfr. cannot get the OE-style terminals. You have two options: a) cut off the female spade on your harness and use the splice connector to hardwire connect the harness to the new box, or b) transfer the large male spade terminal from the old box to the new box using a splice connector. I went with option (b so that my final installation still had OE terminal connectors that could be unplugged if needed. Hope this makes some sense.
-
Congratulations Jim - and a big Hello to Jim S. as well. Looks like it was a great show and a wonderful location.
-
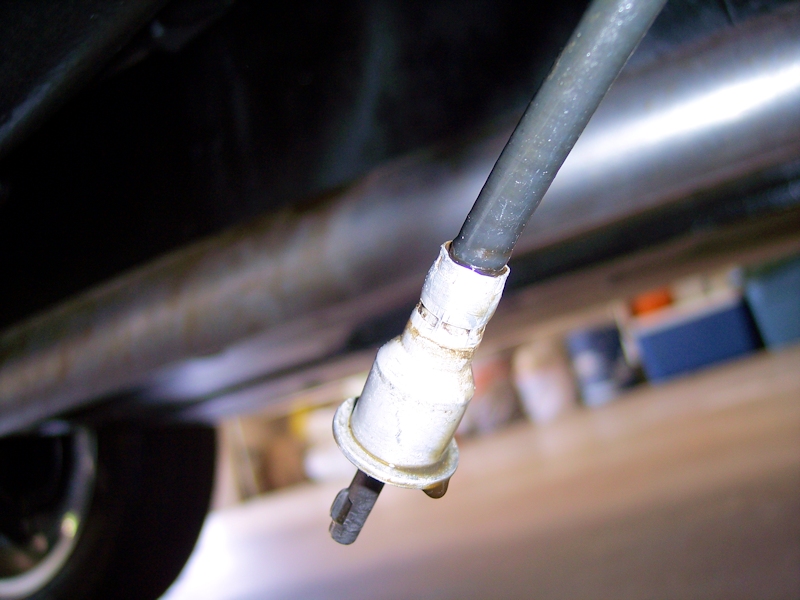
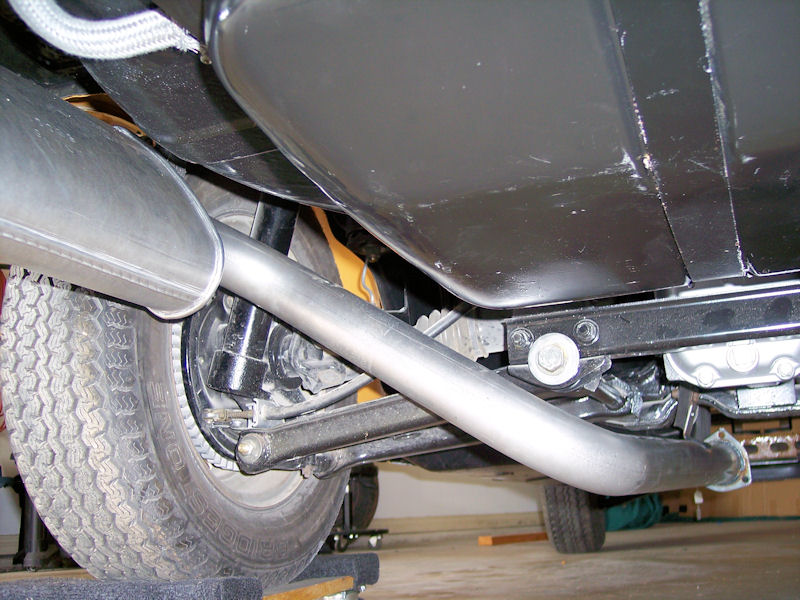
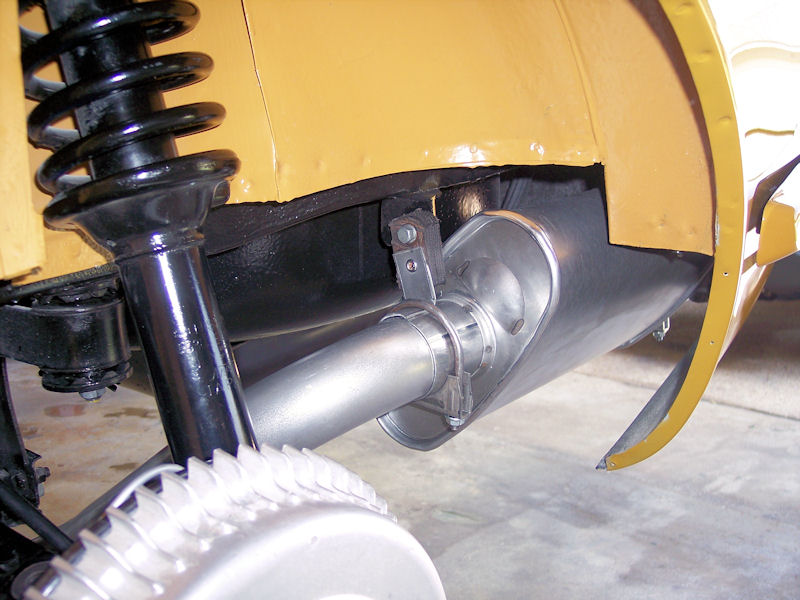
Cliff - here's a couple of pics from my install. The "S" pipe should have a welded on hanger aft of the flange that lines up with the OE hanger above. Hope this helps. Jim
-
Hi Mark - No real issues with the transmission other than some occasional balkiness on 3-2 downshifts. Its the OE Type A gearbox with 96k miles on it, including several years of AX back in the 70's. I just figured anything that might extend the life of the internals is worth a try. Charles - miles are slow to accumulate on my little garage queen, especially now in our TX summer heat. I'll post some feedback when it seems to make sense. Jim
-
Drained the transmission fluid and replaced it with the reputed Magic Elixir for old synchros.
-
I bought a set for my project a few years ago. They were a very nice product, excellent finish. When I went to install them I realized they were straight and did not have the slight curve that my OE's have. I tried to warp them into the curve as I pressed them onto the door but was afraid that any slip would damage my fresh paint job. Since I bought them for the replacement squeegee's, I ended up removing the rubber bits and installing them on my OE stainless. If all you need are the new squeegee's, I think they are now available - not necessarily at BD. Others on this forum may have that info.
-
Thanks Rich, Congrats back to you on your 3rd, nice finish in what was probably a tough bunch. That is a VERY impressive museum. Clearly some extremely deep pockets at work there, little wonder he claimed a 1st.