jfa.series1
 Subscriber
-
Joined
-
Last visited
Everything posted by jfa.series1
-
 If you have access to a lift and a transmission support, then pulling the transmission is pretty easy. If the car has to stay on the ground, then the MGB approach is best.
 -
That sounds like a very thorough plan. Agreed, working around the hinges is a major PITA but at least you have a good expectation as a result of your dry fit. I've not seen the 1-piece item but I have seen the 3-piece - the upper portion has a tubular cross-section and the two side pieces are flat like a blade. It is a strange factory design but that's what they did. I suspect your 1-piece will be a better overall item. Have patience and don't overlook a little liquid anti-anxiety potion if the going gets tense.
-
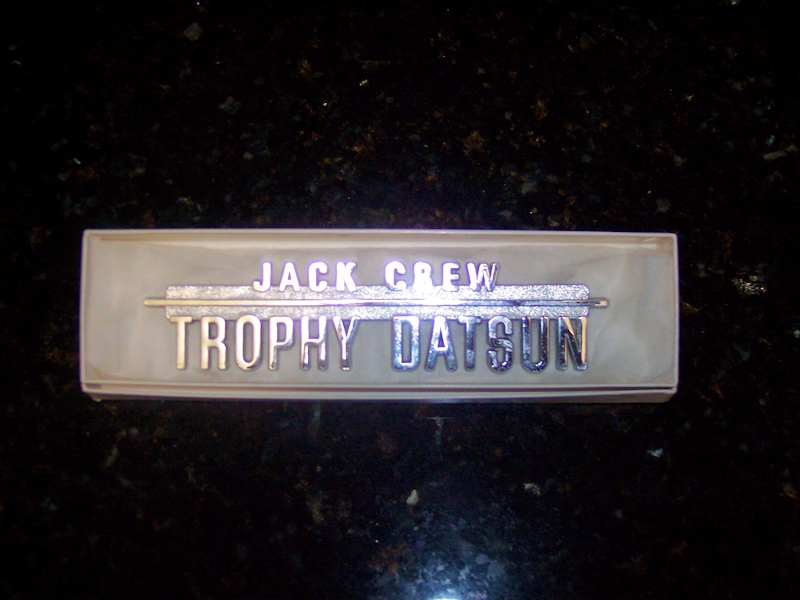
I received a most amazing and unique gift from my very good friend Keith today (aka Zed2 to this bunch). Its a pristine dealer badge from the dealer where I bought my Z back in '71. I have the badge that was attached to my car at the time of purchase - attached as with Philips head screws. This one is probably a later version after they abandoned the screws in favor of double-stick tape. As such, it looks a bit like automotive jewelry unmarred by unsightly holes. Thanks Keith, you made this a very special day!
-
Your last pic does show a misalignment in the right side dogleg area. This suggests there was some body work done here - possibly repair/replacement of the dogleg area due to rust. To correct this will require additional body work in that area to pull the fender lip in closer to the car and likely paint work to cover the repair. Since your body shop is now out of business this will be additional costs from your pocket - your car, your choices. As Mart suggests, it is something not easily spotted and you might be better off leaving it as is.
-
Cliff - you titled the thread as U-Haul. Are you using a U-Haul rental? I used one for the Memphis ZCON so I have some experience. If so, load it nose first and be ready for some serious tongue weight. The std. front ties will secure the car very well but I suggest you pick up two ratchet straps for the rear and diagonally secure the rear in an "X" to keep it from shifting sideways.
-
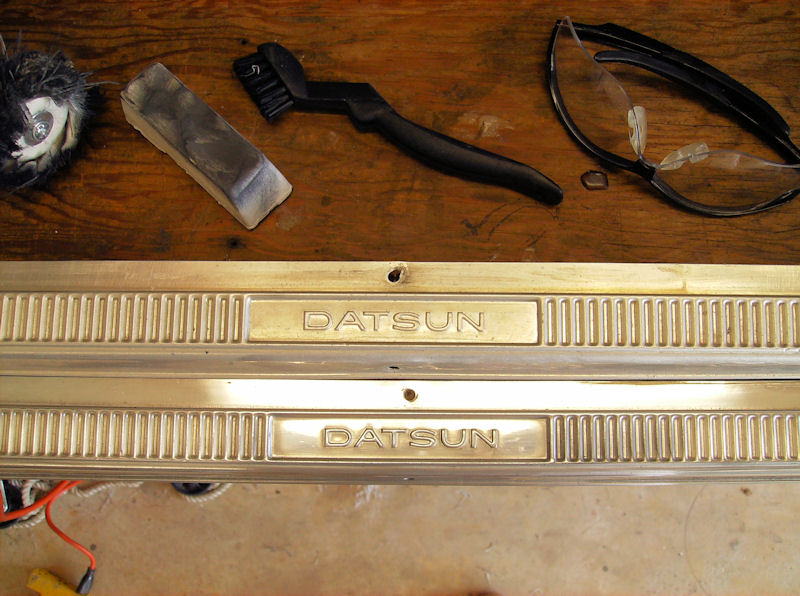
G'day Gav, I used a small non-metallic brush (pictured) with a good degreaser product to get all of the small grooves cleaned out - very tedious process. Then I fitted the plate to the edge of my workbench with a couple of spare screws to stabilize it and hit it with a polishing wheel and compound (also pictured). The grooves are hard to polish, a Dremel tool with a soft buffing tip can get in there and finish them. Screw the stainless screws into a piece of wood or the workbench and hit them with the buffing wheel. A final wipedown with NverDull or similar product can give a protective coating. Jim
-
All those sill plates and not two to be refreshed? Grab a choice handful, stick 'em in a long mailing tube and send them down here to the southern province. I'll have a go at getting them back to a 10!
-
Possibly what I don't see???
-
Automotive voyeurism demonstrated at its finest!
-
Hi Andy, I'm not clear on your comments - you ask about 18" then suggest you'll settle for 15". A lot of us are running with 16" wheels in 7" and 8" width because there are a lot of choices in tires. I have Konig Rewinds in 16X7", 0 offset, and 205/55 tires to maintain the OE diameter. No rubbing with this setup. If you go with 8" width, rubbing is more likely and rolling your fenders may be required. Try to stick with 0 offset or pretty close to that. There are lots of prior discussions on tires, all you have to do is search the appropriate forum.
-
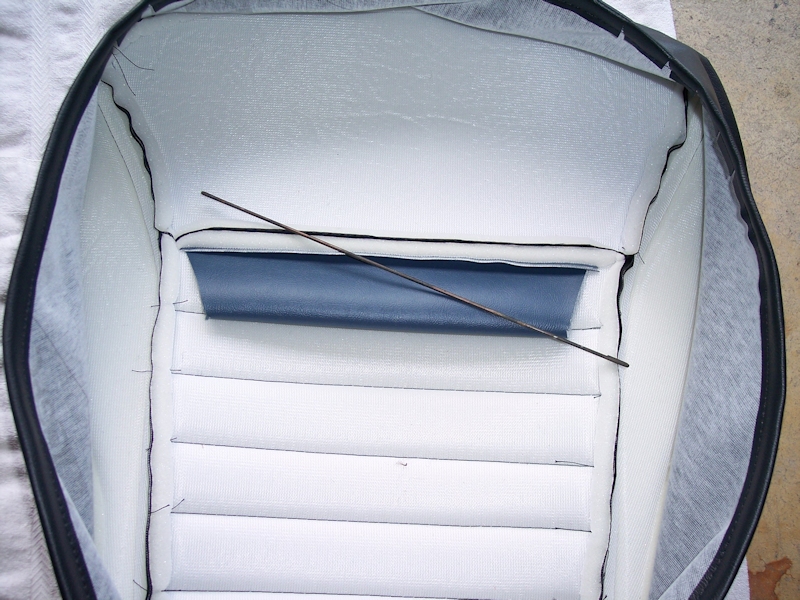
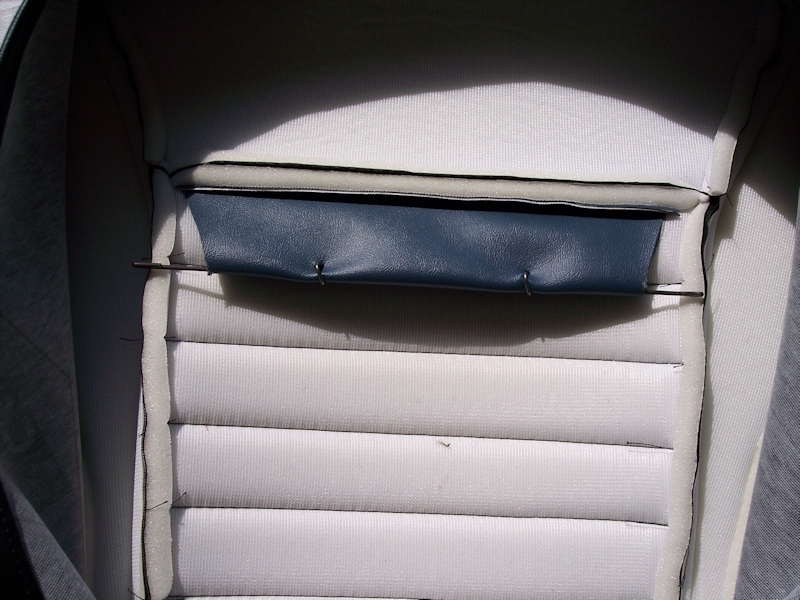
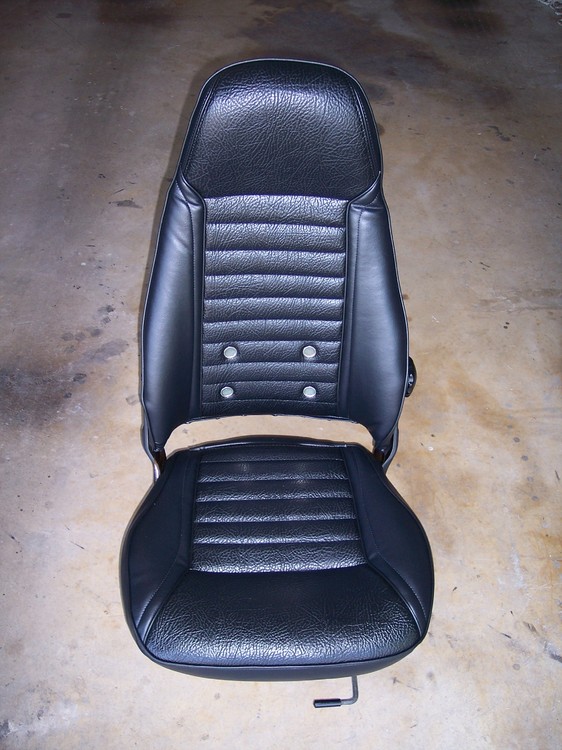
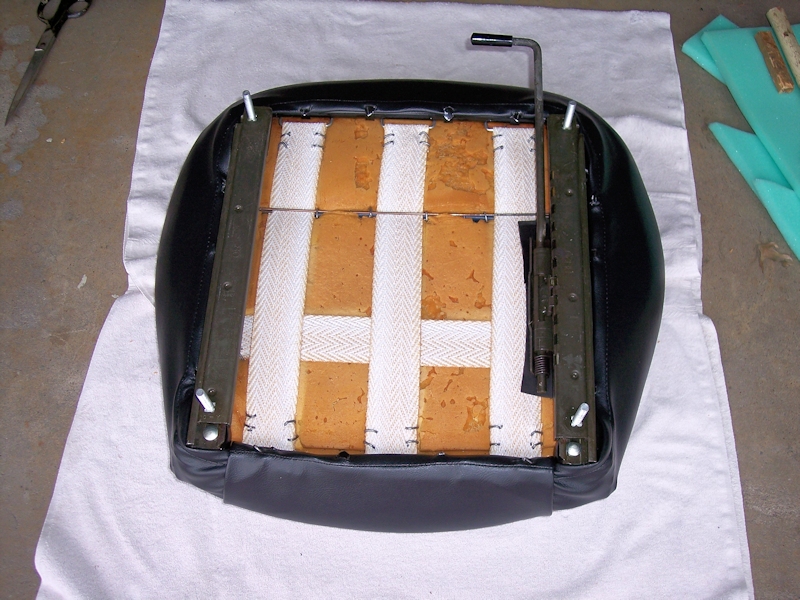
Here's a sequence of pics for the seat bottom flap install. A similar process is for the seat back. A completed seat shows the effect of the tucks.

-
Hi Dave, The OE covers for both seat back and seat bottom each have a flap. When the flap is pulled thru the foam, a metal rod slides thru it and is secured to a longer rod. The purpose is to create the deep crease in the seat back or bottom. Yes, it is tight fit for the install but IMHO well worth the effort. Here's a pic of the metal rod installed and pig-ringed to the longer rod that holds it in place.
-
While the radiator is a more likely culprit, don't overlook the water pump. Just because it turns and there are no visible leaks, there might be internal damage to the impeller vanes that reduces the volume being circulated.
-
Get that radiator professionally repaired, including a flush and pressure test while its at the shop - money well spent. Have the shop pass on any quick paint job (if they still do that), then clean up the tanks and frame and give it a good coat or two of gloss enamel.
-
Did you really have to link my quote with THAT pic in the same post? Holy crapola!
-
Matt, Expect to remove the cover over the taillights in order to get room to remove the quarter panel at the antenna. It is likely you'll also have to remove the hatch strut and the bracket where the strut connects to the body. I realize you have a 280Z and I'm speaking from a 240Z point of view. On the 240's, the quarter panel has great difficulty coming out if the hatch bracket is still in place. Jim
-
Yep, the motor is self-grounding thru the case and the attached bracket at the bottom that bolts to the body with a wingnut. The two power leads are for the up/down action of the motor. The motor can easily be tested out of the case with a ground wire clipped to the frame and power applied to each lead. I have a spare Harada motor in excellent working order if one is needed.
-
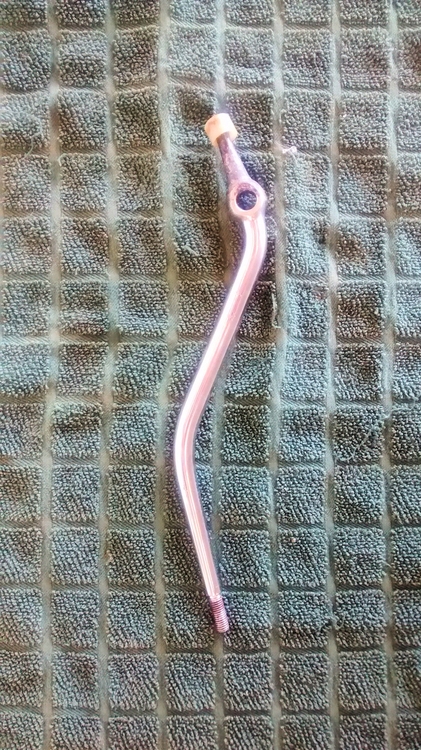
Do you have this type of shift rod? Check out Carl Beck's site (http://www.zhome.com/) for a good discussion on the differences in the two transmissions. Find the Index of Technical Articles on the left side menu, then Swapping The Transmissions in a 240Z article on the right side.
-
That's it. Hope you have the original clips as the replacements are a bit dear!
-
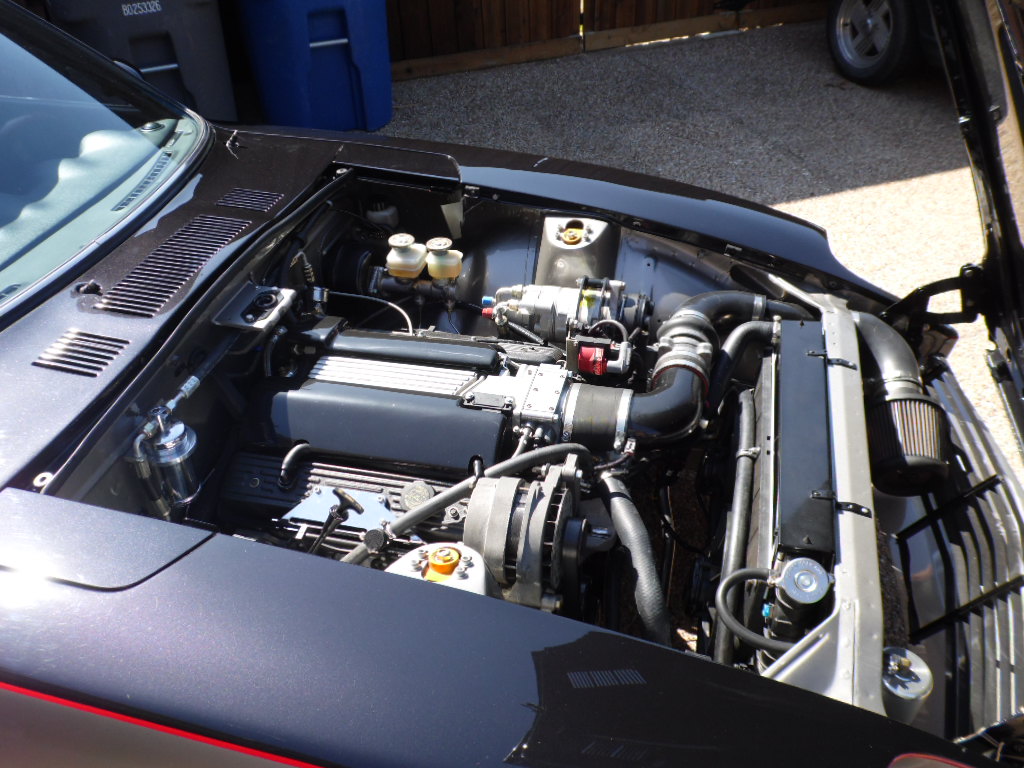
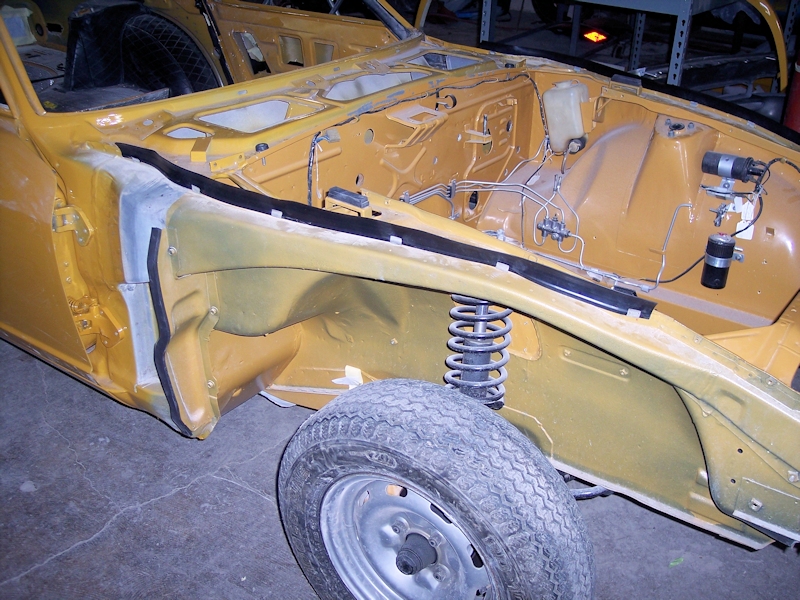
I attached my new fender seals on the outboard side of the weld and placed them rearward. As to the battery holddown, the OE part is a rectangular metal frame that bolts to the firewall at the rear and has a hooked rod connecting to battery frame on the front side. Charles - replacement fender seals should be at MSA (haven't checked recently).
-
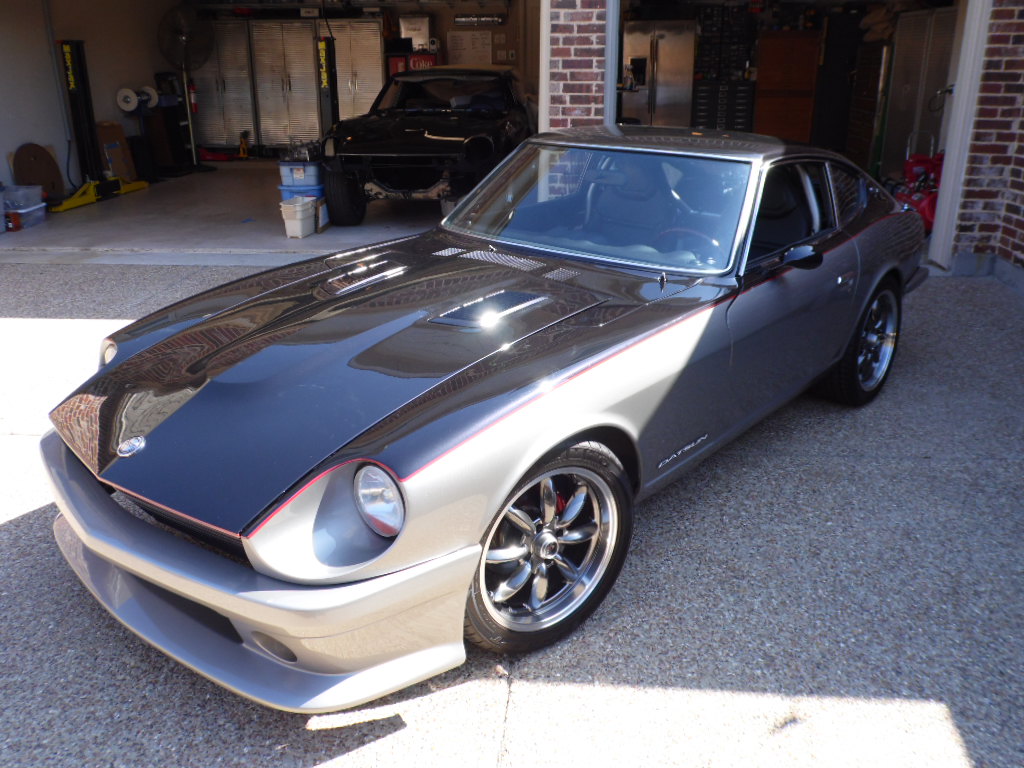
#248 in its current incarnation (photo shoot from a profile I wrote about the very same enthusiast now residing in AR). It is a beast - and a very beautiful beast at that!


-
So... if you were to machine the relief cuts and center bore in the puck, is it possible you might end up with flexibility that is similar to the OE part?
-
Here's your shift knob in an AMCO ad, only $4.95! I have one just like it. Note that pic of the rear of the car has the "early style" hatch - I'll not call it a Series 1 lest I upset certain personalities.

-
Timkens are listed at Rockauto.
-
Hey Charles, It's yours. PM me with your mailing address and I'll get it out tomorrow. Jim