
Terrapin Z
 Subscriber
-
Joined
-
Last visited
Everything posted by Terrapin Z
-
 The drivers side has two wires one for the buzzer and one for the light. Passenger side should only have one wire.
 -
-
I too have issues with a lot of thing on this car as being 31K miles and original. While it is in good shape I don't see it being a $100k + specimen. Along with all the items mentioned above, was there talk of the Master cylinders? Clutch and Brake I missed?. You can still buy more correct looking Tokico's from Nissan. Aren't the seats on the wrong sides? Shouldn't the adjuster knobs be to the inside? So many little things I am not going to list, best of luck to the buyer, I hope it suits their needs and budget.
-
It really depends on your plans for the car. If you plan on keeping it a stock original car by rebuilding the A transmission you would not want to cut the tunnel and mod it for a B transmission. (A on bottom B on top in pic. Longer tail housing, different shifter, different mount, different gearing) If you plan on modding things anyway there would be no need to rebuild the A transmission, as the B or C style are a step up. Then you might also consider the 5 speed as 7tooZ says. The 73 will have a B style 4 speed. (if still stock) Lots of options base on the first question in this post, What are your plans? There are lots of threads here for all kinds of restore and modding options. Post more pics of the rest of the car, check the drivers door jam for the build date.

-
Depending on the build date of the 71, it might have the A style transmission and center console. The 73 will have the B transmission and console. You may need to alter the shifter / shifter hole in the tunnel to make that work. The transmission mount will be different between A and B. The carb assy for sure as Site says above.
-
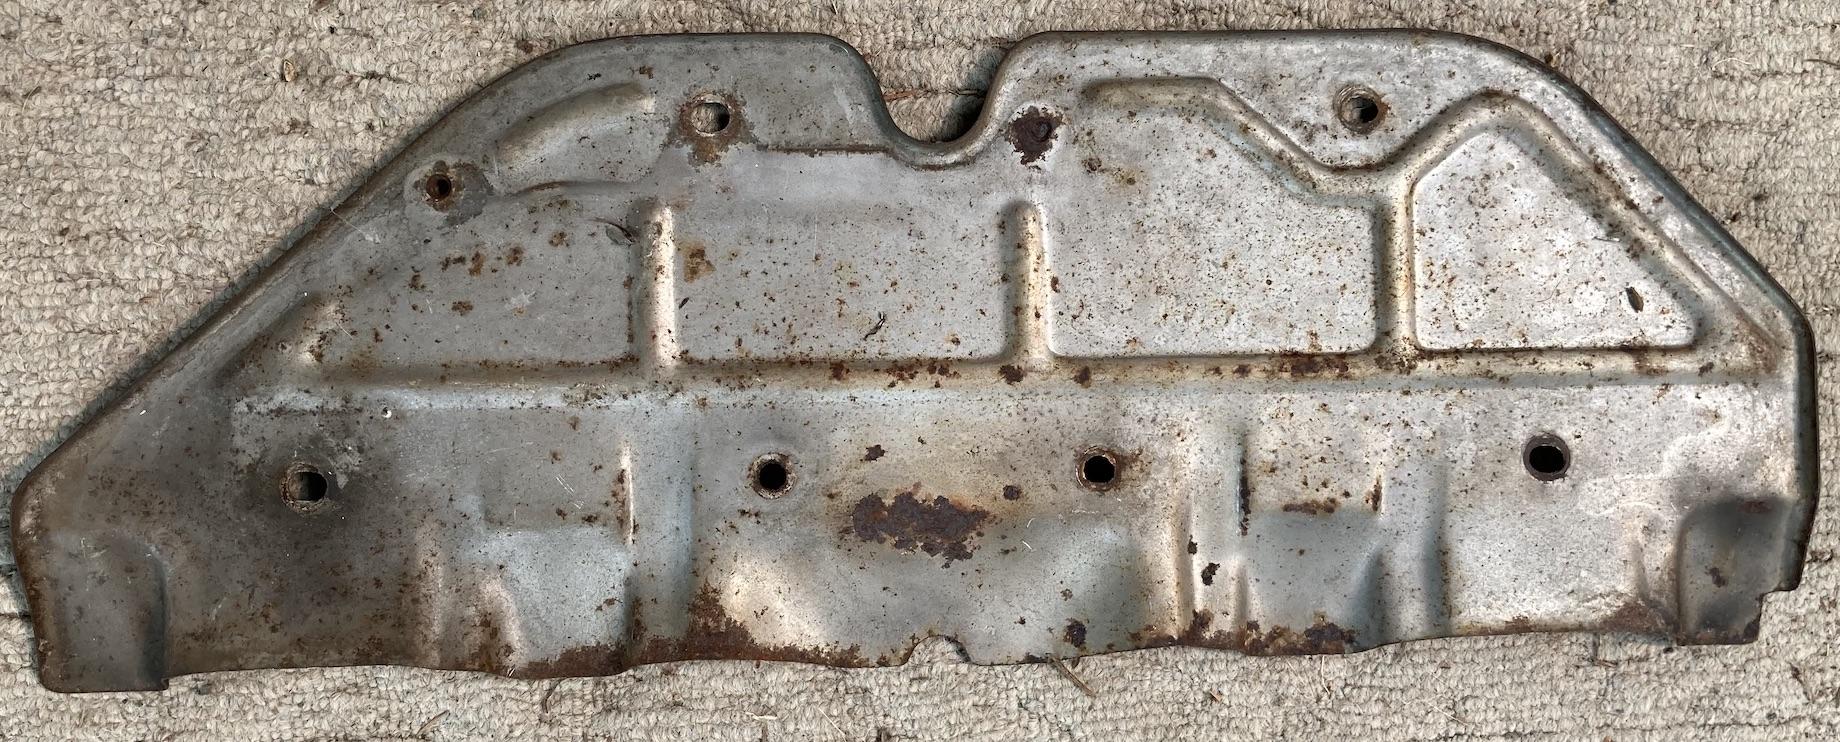
That's is the one. Strange you could not see it in the classified ad. It looks like it shows up on my end. Oh well, at least you found one.

-
Hmm, I posted two pictures on the ad in the classified listing, asking if that was the right shield. Did you see the pic's?
-
Question sent.
-
I have two flex plates If you would like to compare measurements. 1/8 inch is about the distance of the spacer / washer.
-
In my manual it says: "Line up notch in the torque converter with that in oil pump" "Be extremely careful not to cause undue stresses in parts in installing torque converter" There was also a recommendation for scribing an alignment line on the flex plate and the converter. For balance I assume.
-
-
-
Some SU info and parts from down under. https://sumidel.sitesuite.net.au/shop/category/carburettor-spare-parts
-
@zKars Jim, straight up the middle on a Z is about 21" and the ZX comes in about 24" Should be an easy way to see what you have. I hope that helps.
-
Mine is still in the parts car, with the trim off. I can get some measurements this afternoon when I get home from work.
-
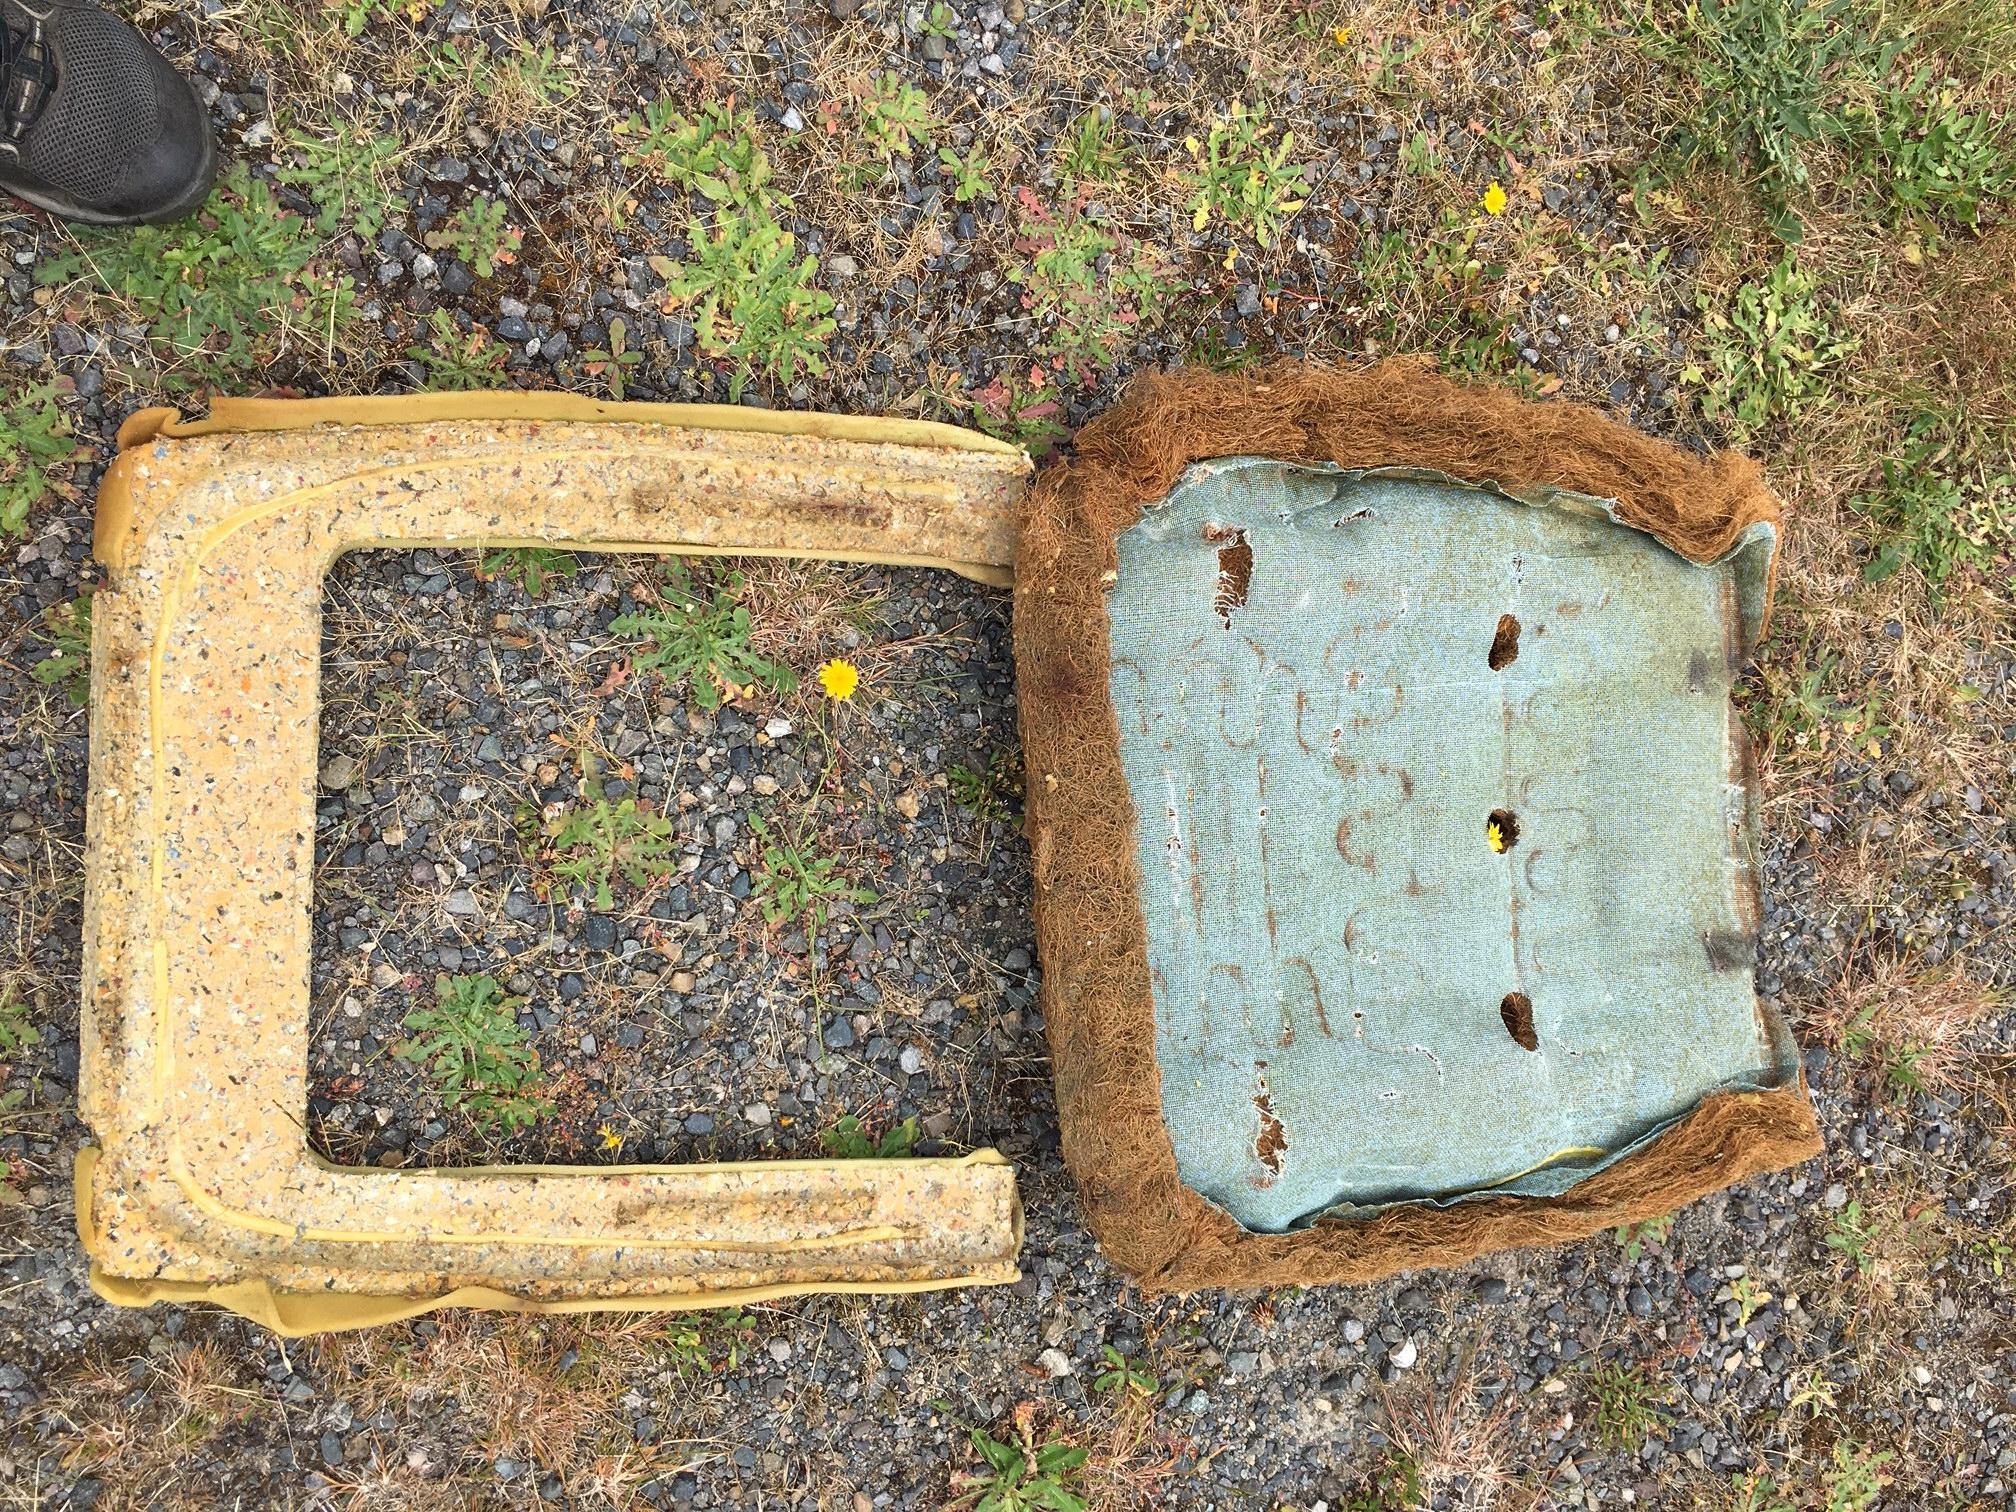
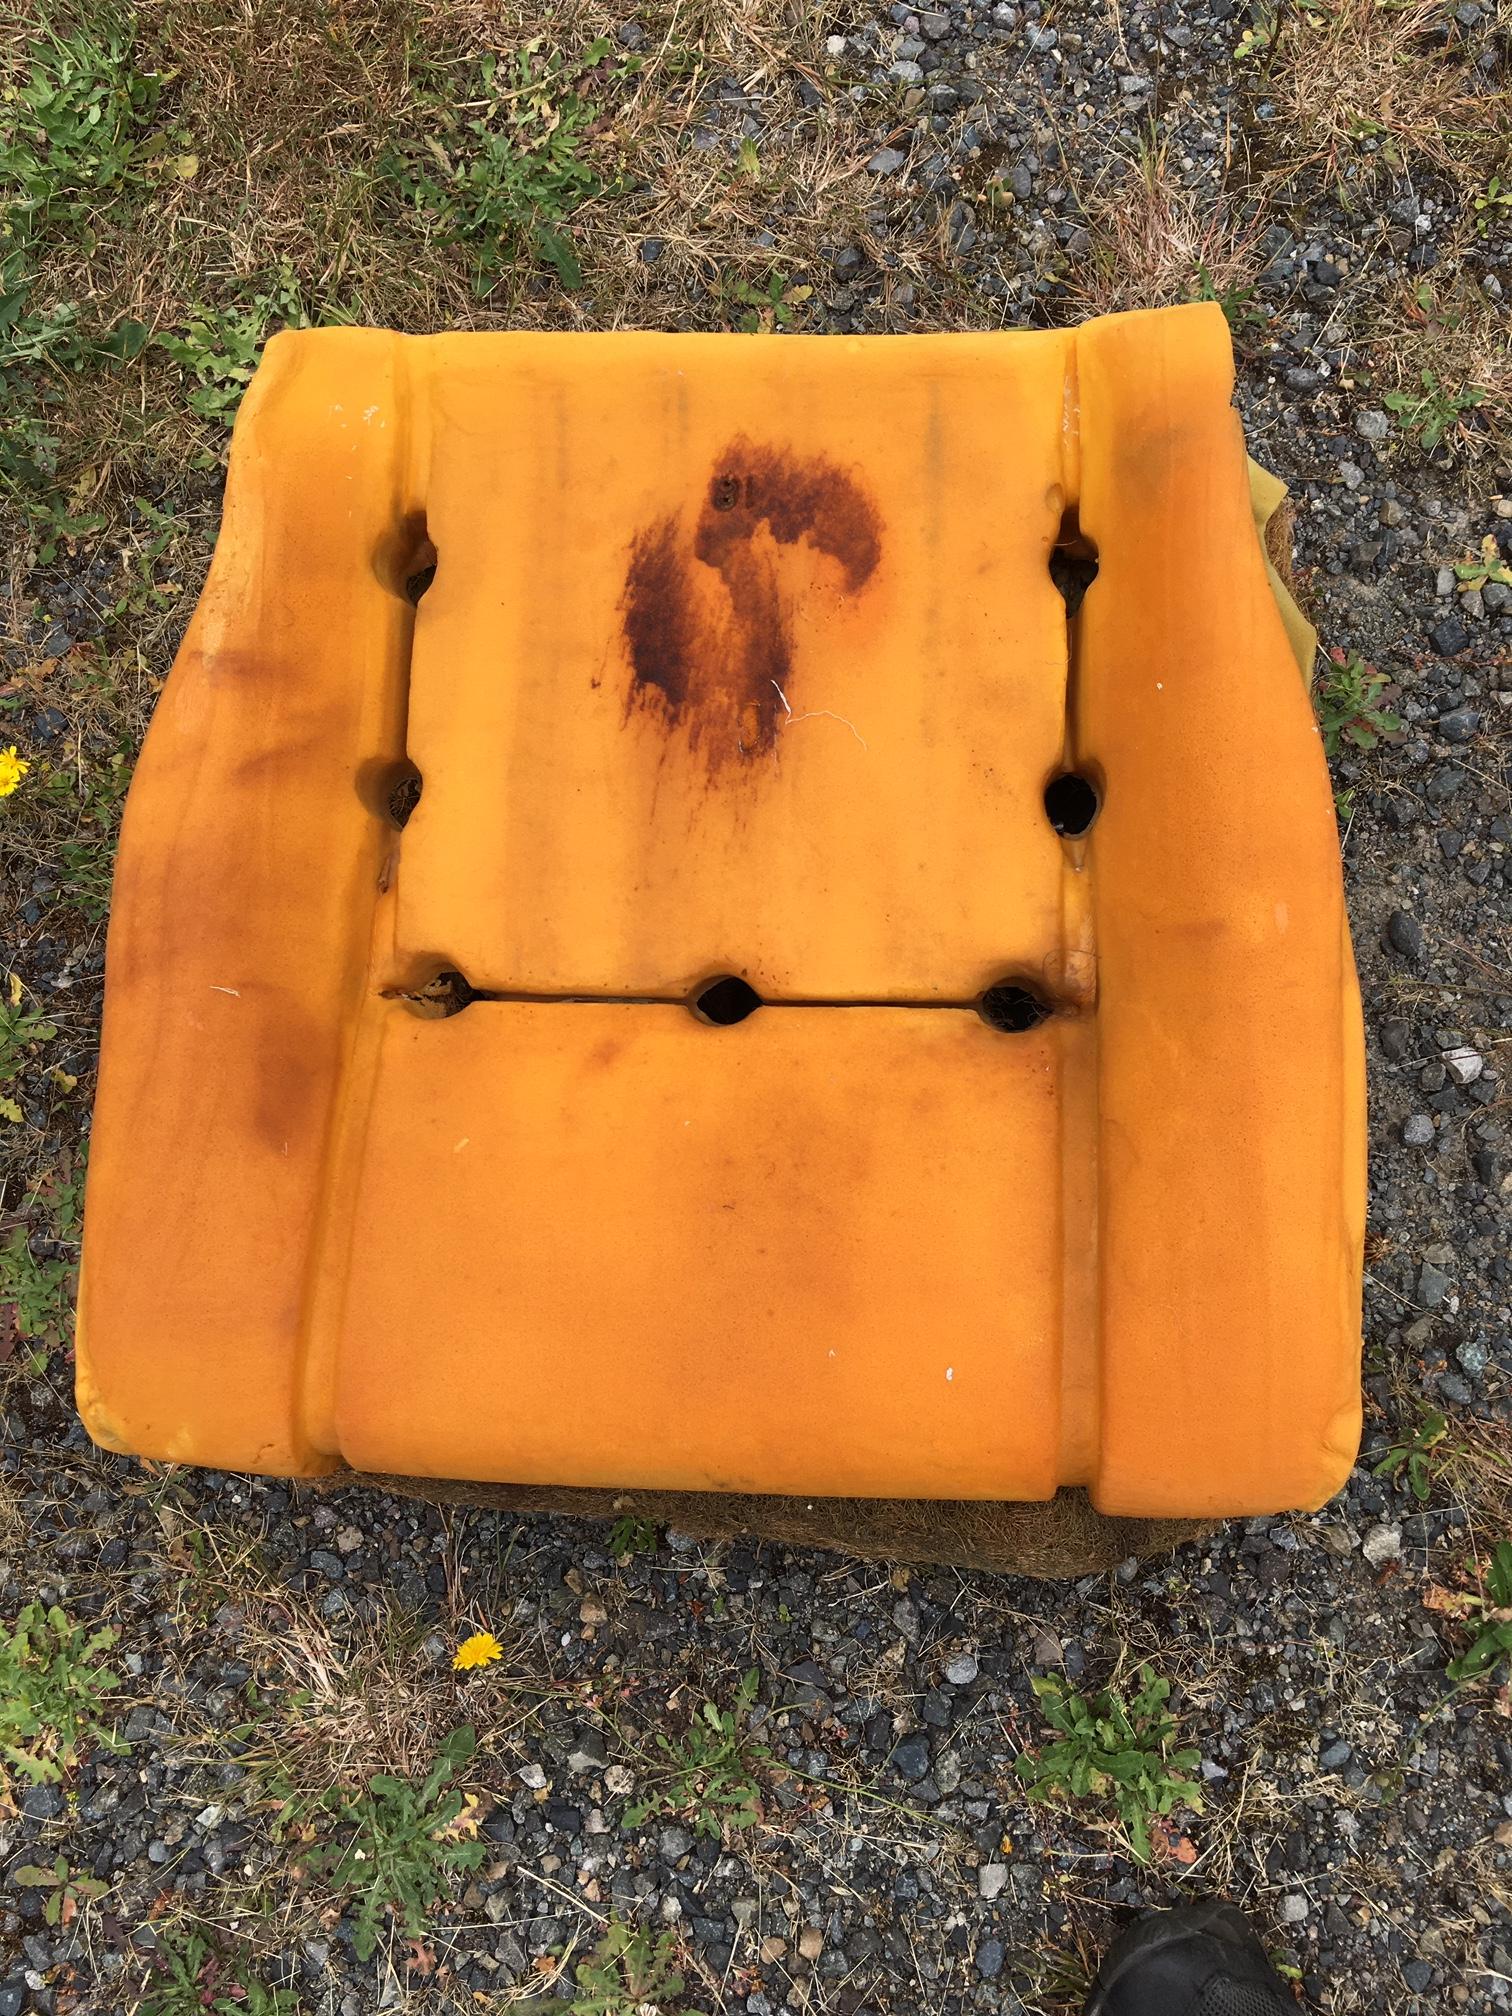
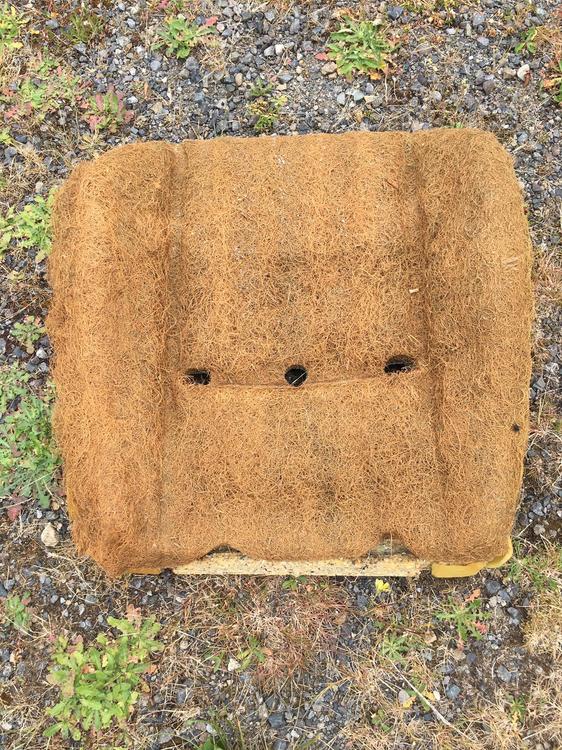
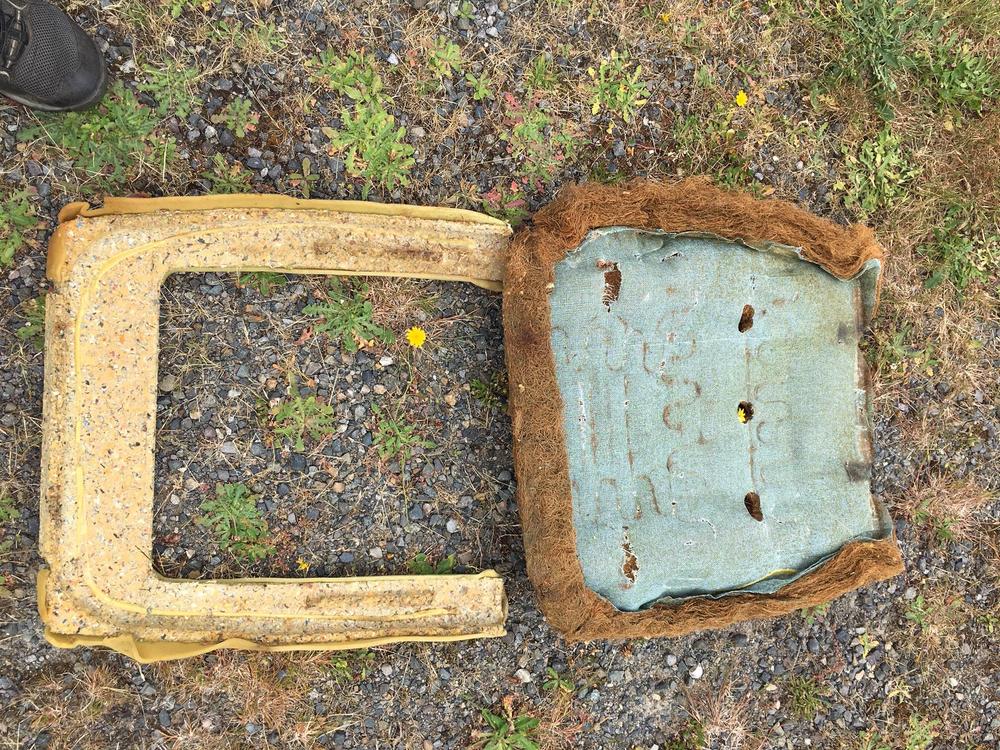
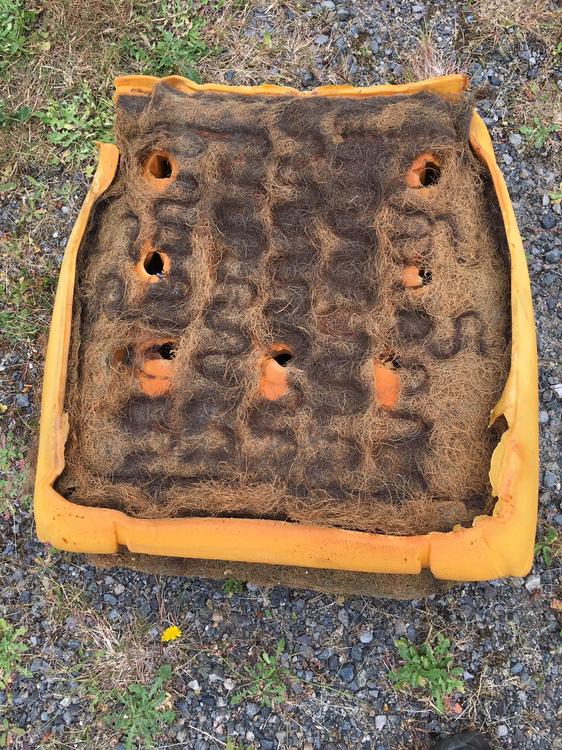
Since there is more interest, I've post a couple of photos here. I seems the upper or back portion of the seat is not foam at all. but more like the "old horse hair" Something I did not expect. The seat or lower portion has foam and more horse hair on the underside near the springs. I know the stain looks funny but it is not that.?

-
Sorry this took so long. We had som kitchen appliance issues crop up and that took priority. I will PM the pics, LMK if you have any interest.
-
I'll take a closer look and get back to you.
-
I have an 82 NA 2+2 I am parting with nice seats, LMK if you have any interest.
-
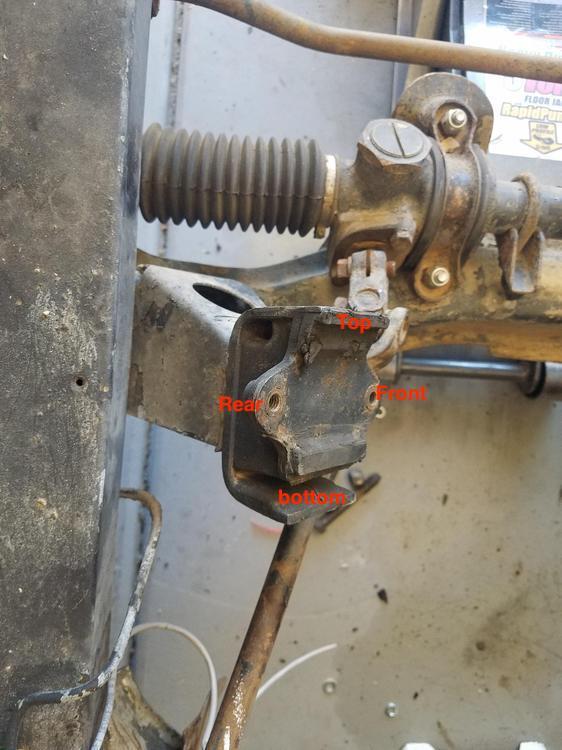
It looks to me like you have it 90 degrees out.
-
The passenger side is slightly longer and a different end angle, as oppose to the drivers side.
-
I agree that is plausible, I intended to lubricate the cable when I serviced the brakes, but with the RT mount it was near impossible to get up in there to remove the cable as it does not just unhook. A 50 year old cable and yoke might not slide like it used to to balance out when new. I should have serviced that when I had the diff out 5 years ago. I can say that after using this technique the brakes do seem to work better. I made no other changes other then a re-bleed having replaced the springs on the front and rear. My brake handle never seemed to change after the 5 years of use. Yet now travels less than before. Could be a fluke I suppose.
-
621's on eBay Mine are all the 408 / 409 https://www.ebay.com/itm/DATSUN-240Z-260Z-TRICO-LA87R-LD87L-WINDSHIELD-WIPER-ARMS-PAIR-WITH-WIPERS/224043080051?hash=item342a021973%3Ag%3AmFIAAOSw-Rle3~04&LH_ItemCondition=4
-
No, at least not for my adjustment. It is like Zed Head said above when I got to the point where I could not turn it anymore by hand it rests in the last notch. Thus backing off just enough to let the wheel spin. Don't force it! In fact, I was still able to pull the drum back off the shoes without "releasing" the adjuster. I did have to wiggle it some but it came off. When the drums are worn in they create a groove the shoe rides in, Then you have to release the tension to get over the edge of the groove. So make sure you don't have a groove first. There is a wear limit in the drum. When the have rotted in a field for 20 years then the rust holds them together and you have to beat them to get the drum off. You can always just get it close testing the distance the E brake arm moves to where the movement gets less and less, Then, switch over to the auto adjustment by pulling the handle up. Just try to get the adjuster arm movement the same on both sides. Mine move >5mm My thought was if you had one adjusted correctly and the other one not, the e-brake handle auto adjustment would not work right. The tight side would never let the loose side catch up. Then only one side would be properly adjusted and the weak side would do nothing. That is why I only had one drum on at a time when setting it up. To keep them even. This would also reduce regular pedal braking as the hydraulic side uses the same adjustment, just from the other side of the adjuster.
-
When I adjusted mine after really cleaning up and greasing the E brake adjuster. I put one drum on leaving the other side off. I also had the E brake cable off. I turned the star adjuster until I could not get the next turn out of it. Like Zed said above - that last tooth. I then could still turn the wheel and using my thumb engage the E brake lever. It only mover a small amount to stop the wheel turn. I then removed that drum and repeated the process on the other side. After mounting the wheels which spin quite well, It now only takes 3 to 4 clicks for the E brake handle to firm up. Seemed to work well for me.