zKars
Supporting Member
-
Joined
-
Last visited
Everything posted by zKars
-
Nasty job, no fun at all. I can only add to the above excellent advice with a small warning. I have tended to clamp vise grips on the turned lip of those clamps then found that in some cases, depending on the angle of applied force or degree of rust degradation, that the lips tend to break off. Then you’re in a real pickle. The true key to removal is to get them to rotate first to break the rust bond, THEN they will slip off more easily. You can use a chisel, screw driver etc to drive the clip to rotate it, just a bit, back and forth until that becomes easier, THEN work on applying force to pull them free.
-
I have brake switch and prop valves available. Let me know. I think MSA or one of the major vendors sells o-ring kits too.
-
Not really. By the time 280’s came out, I suspect any other model that might have the same item would have the M10x1.00 threads. But take nothing for granted
-
As long as you joined the ring terminals that were on the ammeter posts, then everything should work just fine. If you left them separated (and insulated I hope!) then ain’t nothing going do much of anything.
-
That is a very ingenious way of measuring/gauging wear on a timing chain. It doesn’t say much about stretch, but it does say something about pin wear. I’d have to compare it to a new chain to get idea of how much deflection is meaningful. Given the pretty reasonable price of a timing set (gears and chain and tensioner) I wouldn’t hesitate to put in a new set if I had the engine apart. I’ve never ever heard of a chain breaking, and stretch just means some mild adjustment of cam timing. At the extreme end of stretch you risk skipping a tooth or teeth and having your valves have a new angle on life (a very short life after that), but that is also extremely rare.
-
-
-
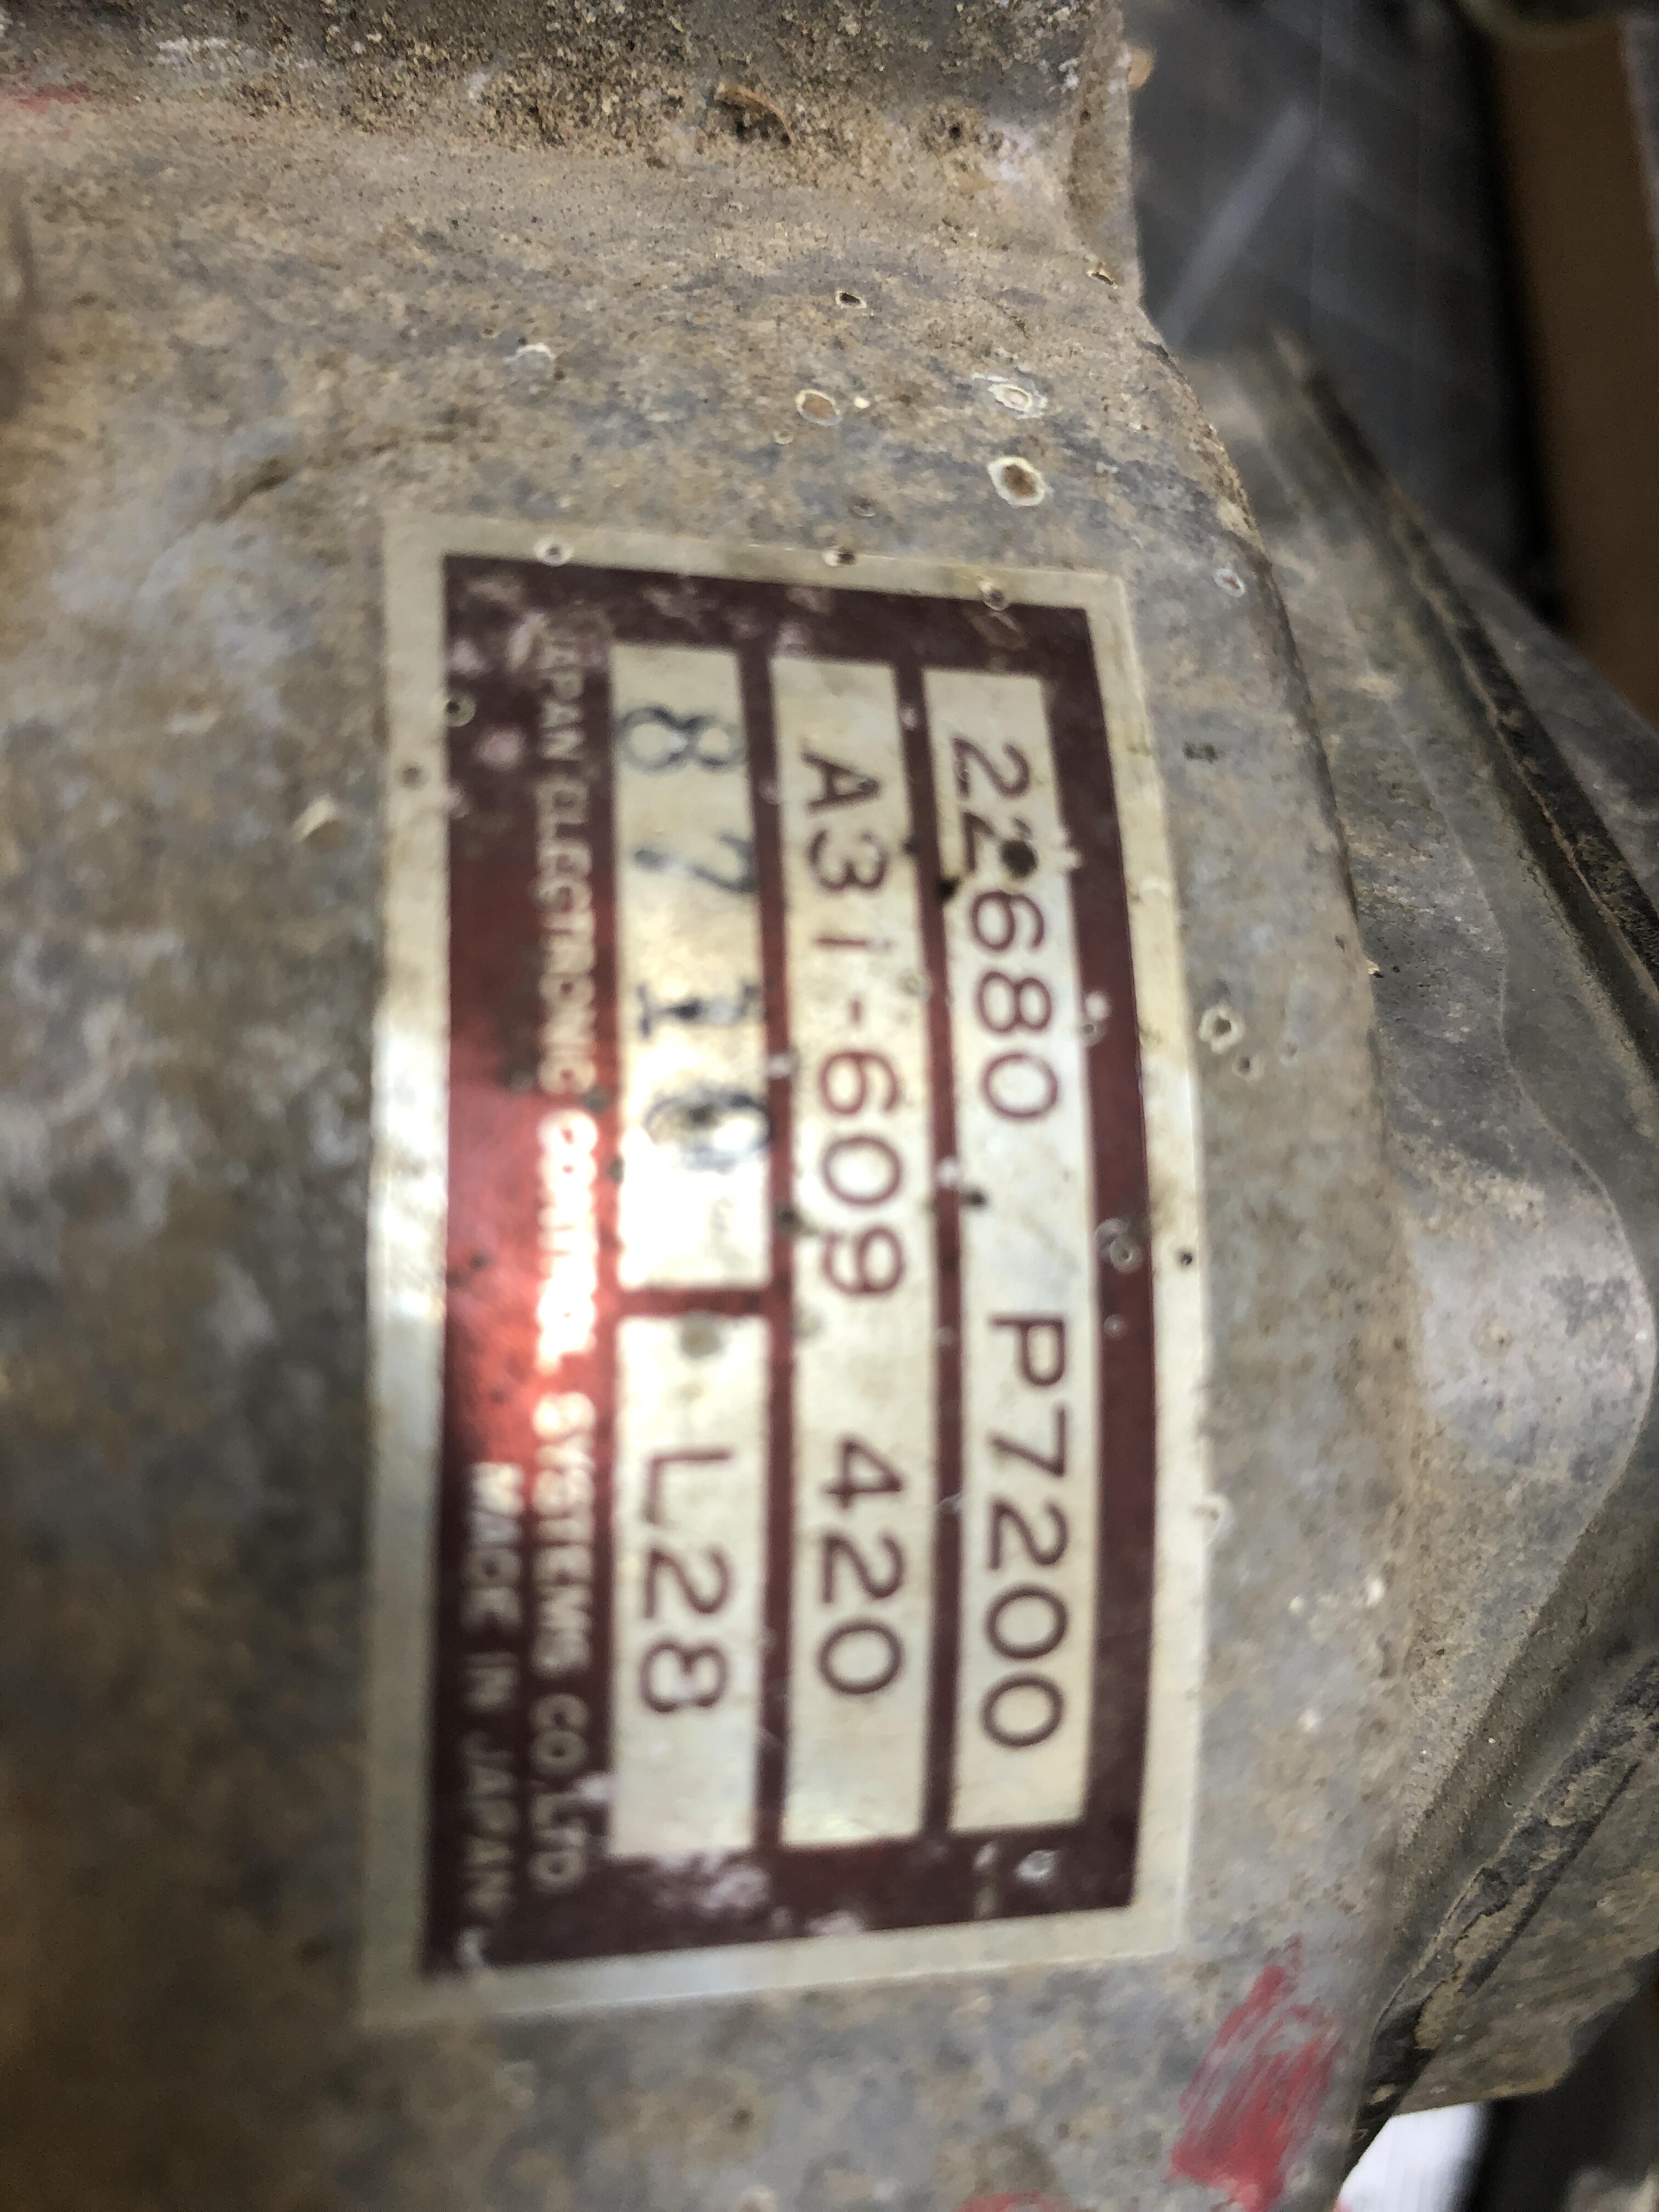
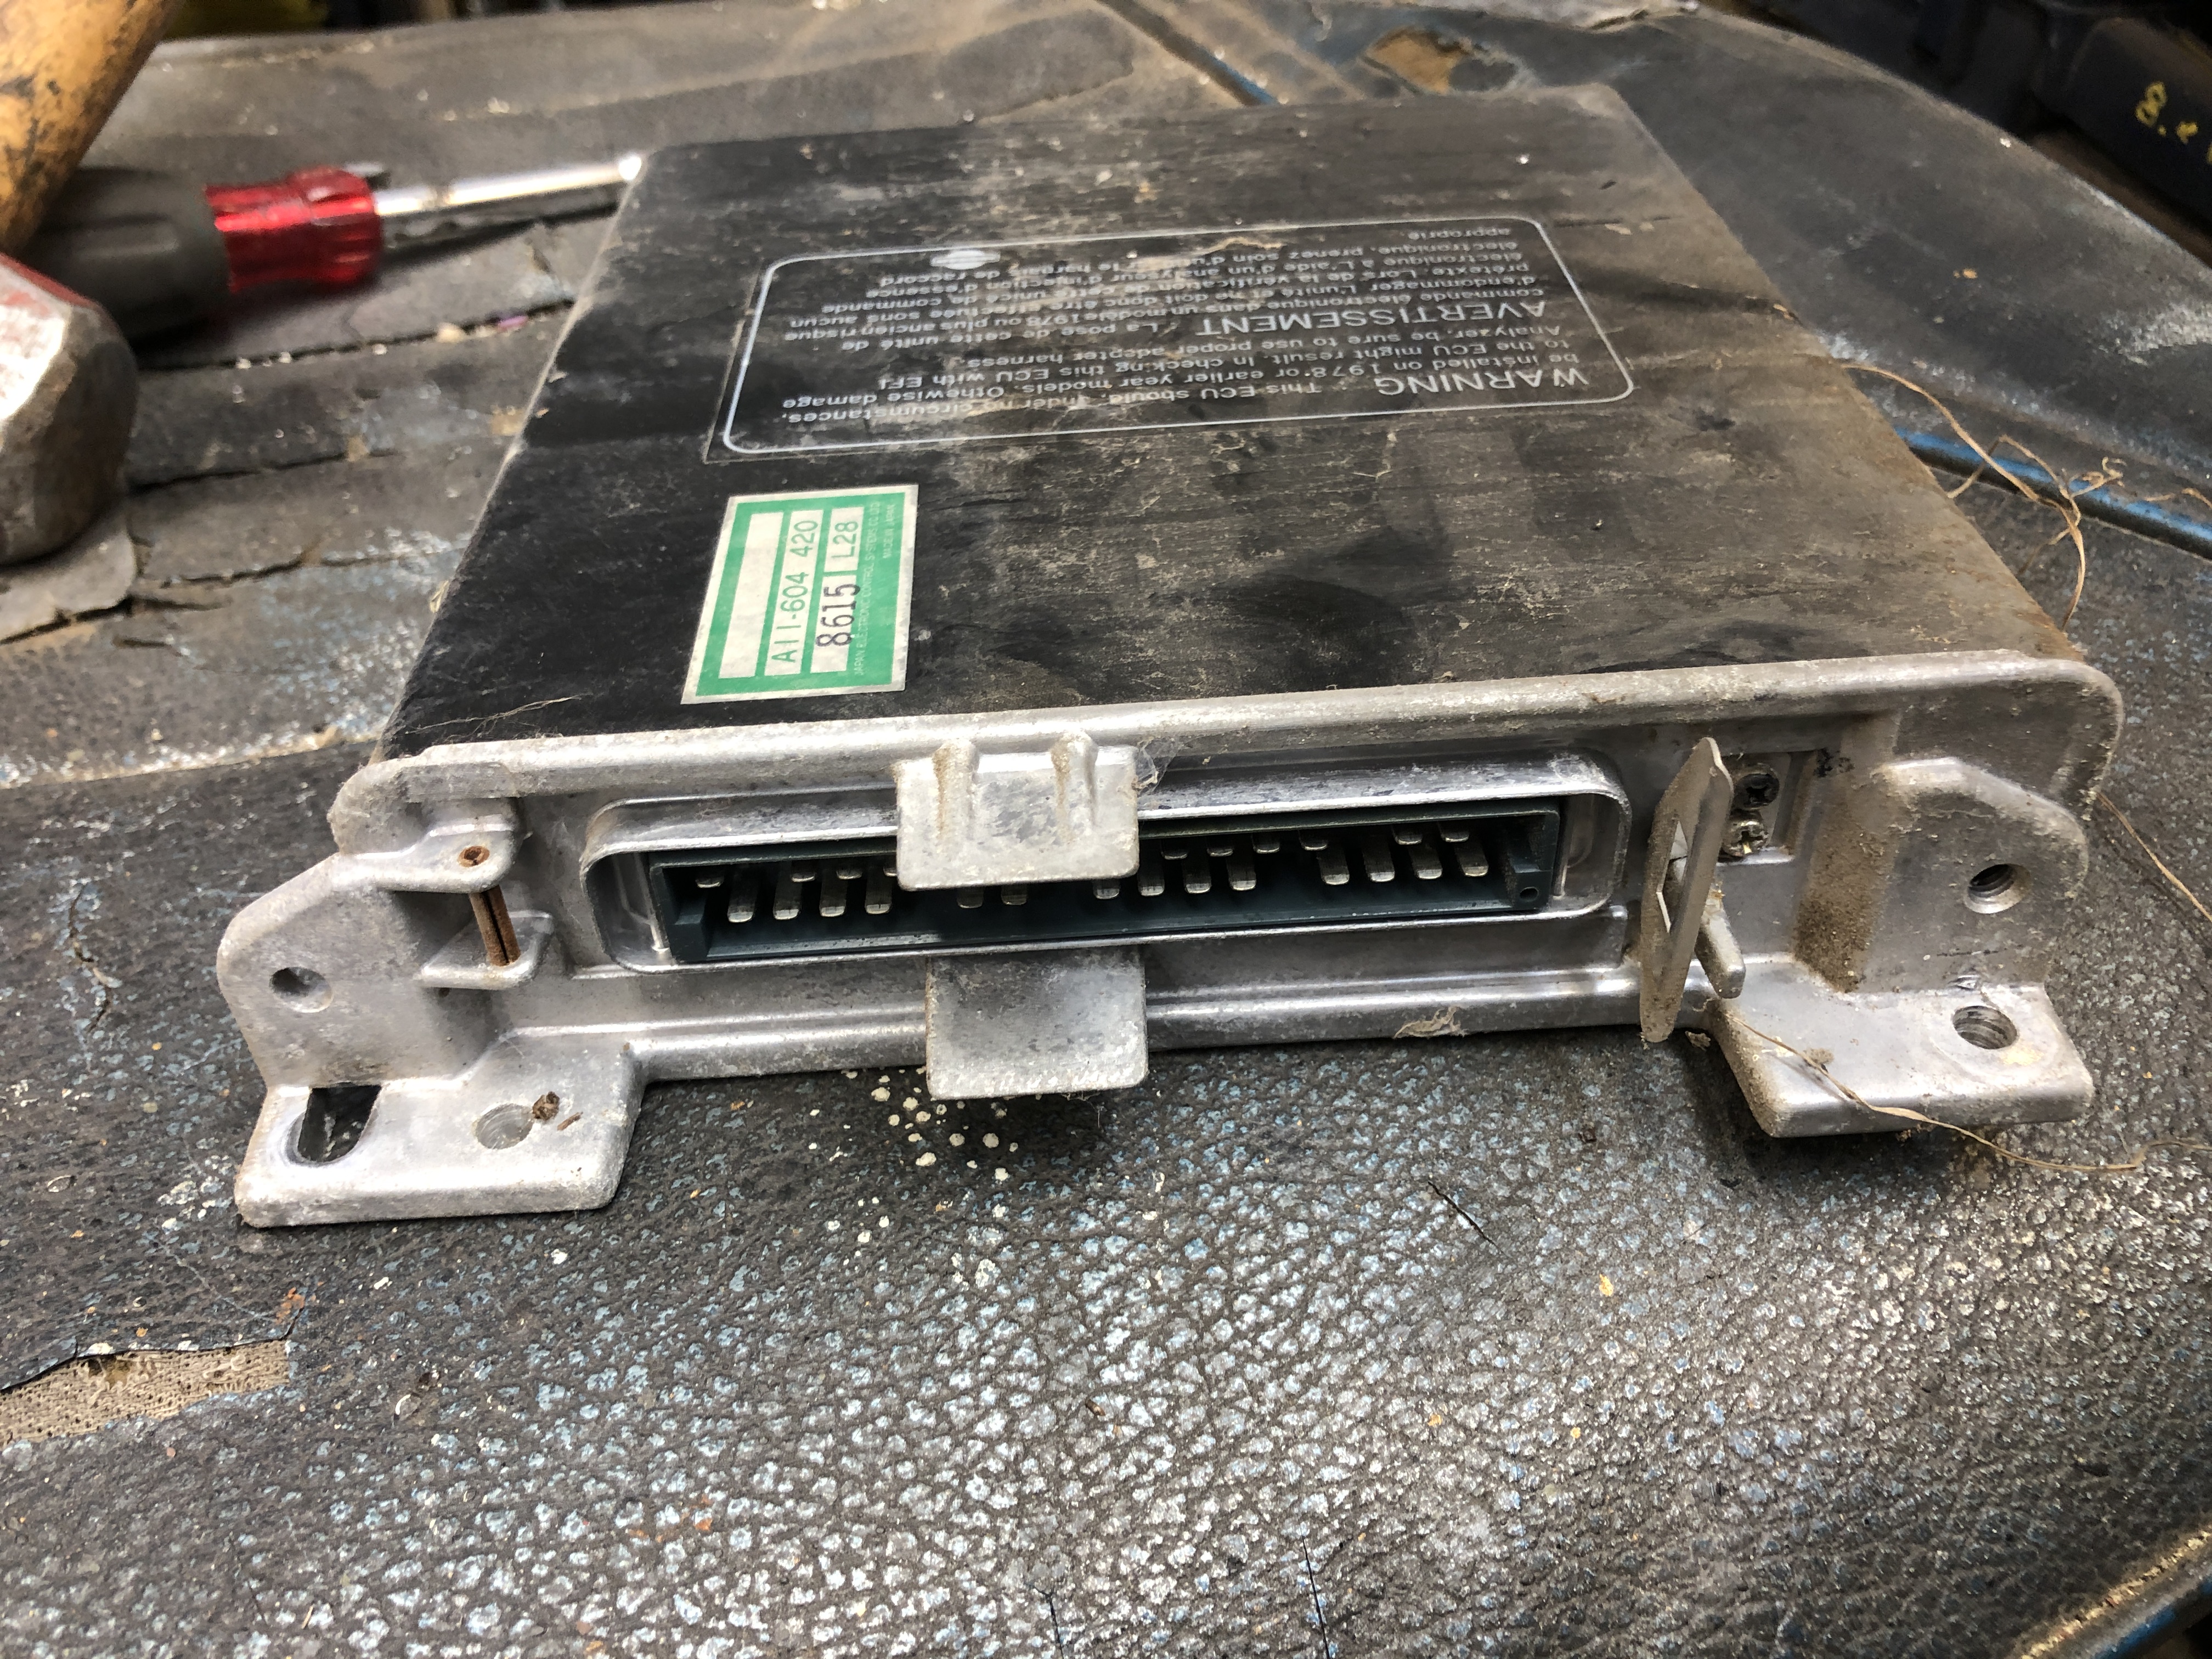
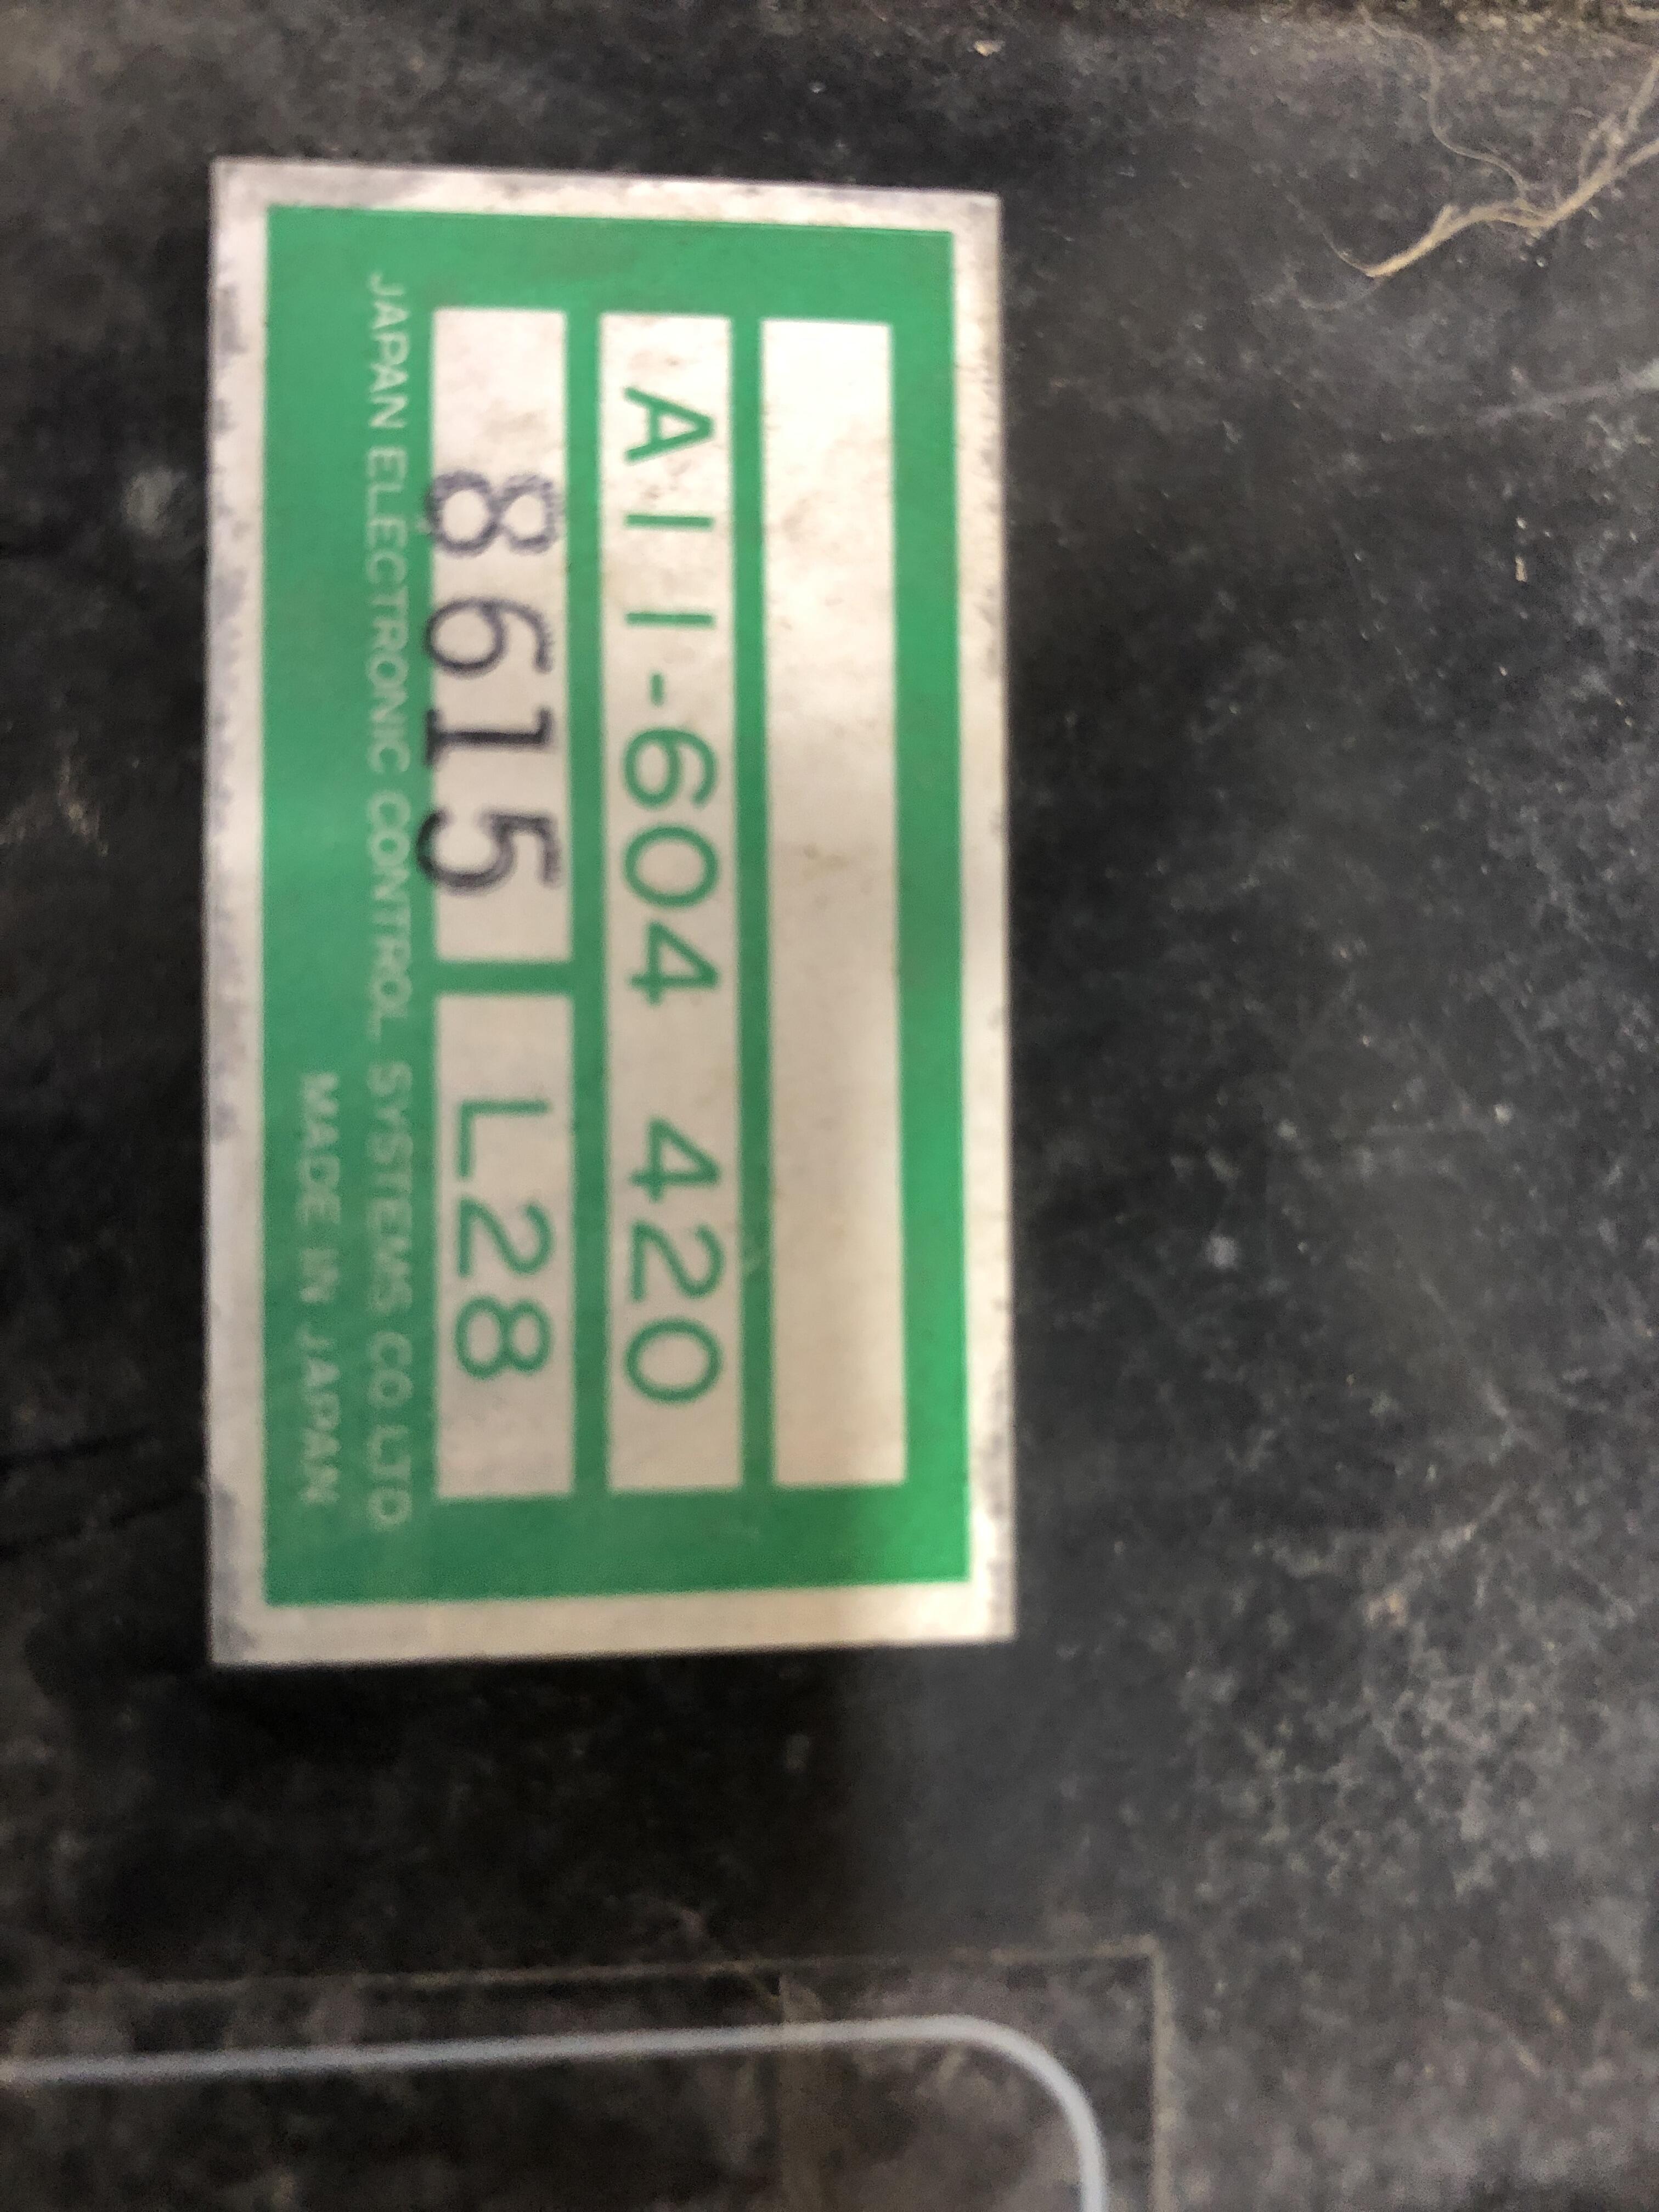
I am pretty sure the third image is not S30. Nothing there I recognize.
-
I can send you two of the ones I got, or you can order your own from : megazip.net 48128-78500 is the part number. Took less than two weeks to get to me. $30 USD to get them via EMS shipping. Remember they are the long right side ones, so the left side will need to cut flush once its pressed into the housing. Haven't done any yet, so help tips about how to do it, but I would heat the housing to 300-400 F in the over to expand it and freeze the bushing to make insertion easy(er). They are bronze or similar, so not very hard.... Jim
-
It is a 280 center valance. The lower and larger rad opening and bumper changes required the 280’s to have changes in the shape and fitment valance components. They are are interchangeable with the 240 parts. Even the signal/marker lights were moved out of the outer valance pieces
-
Just make sure you have the shift fork with the hole in it before you purchase the slave with the adjustable length rod. It’s ball shaped stopper seats in the spherical recess and the rest of the threaded rod pokes through the hole.
-
The symptom is that you can move the shifter to 1st and 2nd where they used to be, but nothing happens. It feels like there are no shift forks in contact with the end of the shift rod. I first though the end of the 1-2 shift rod fell off. But no, without that pin in place the shifter can’t rotate over enough to get 1-2 lined up so it essentially stays in neutral. 3-4 and 5-R feel normal and engagement is fine.
-
Put the “pin-stopper” back in and put the C clip back on. After you find it or get another of course. Simple! FS5W71B BTW Don’t ask me where the old one went. Put some sealer on either end as well, it could leak oil.

-
Welcome back. You never left, the Z-Force is strong within you and you can simply no longer resist it’s call. Resistance is futile. No wait…
-
Recenty bought some directly from Nissan.

-
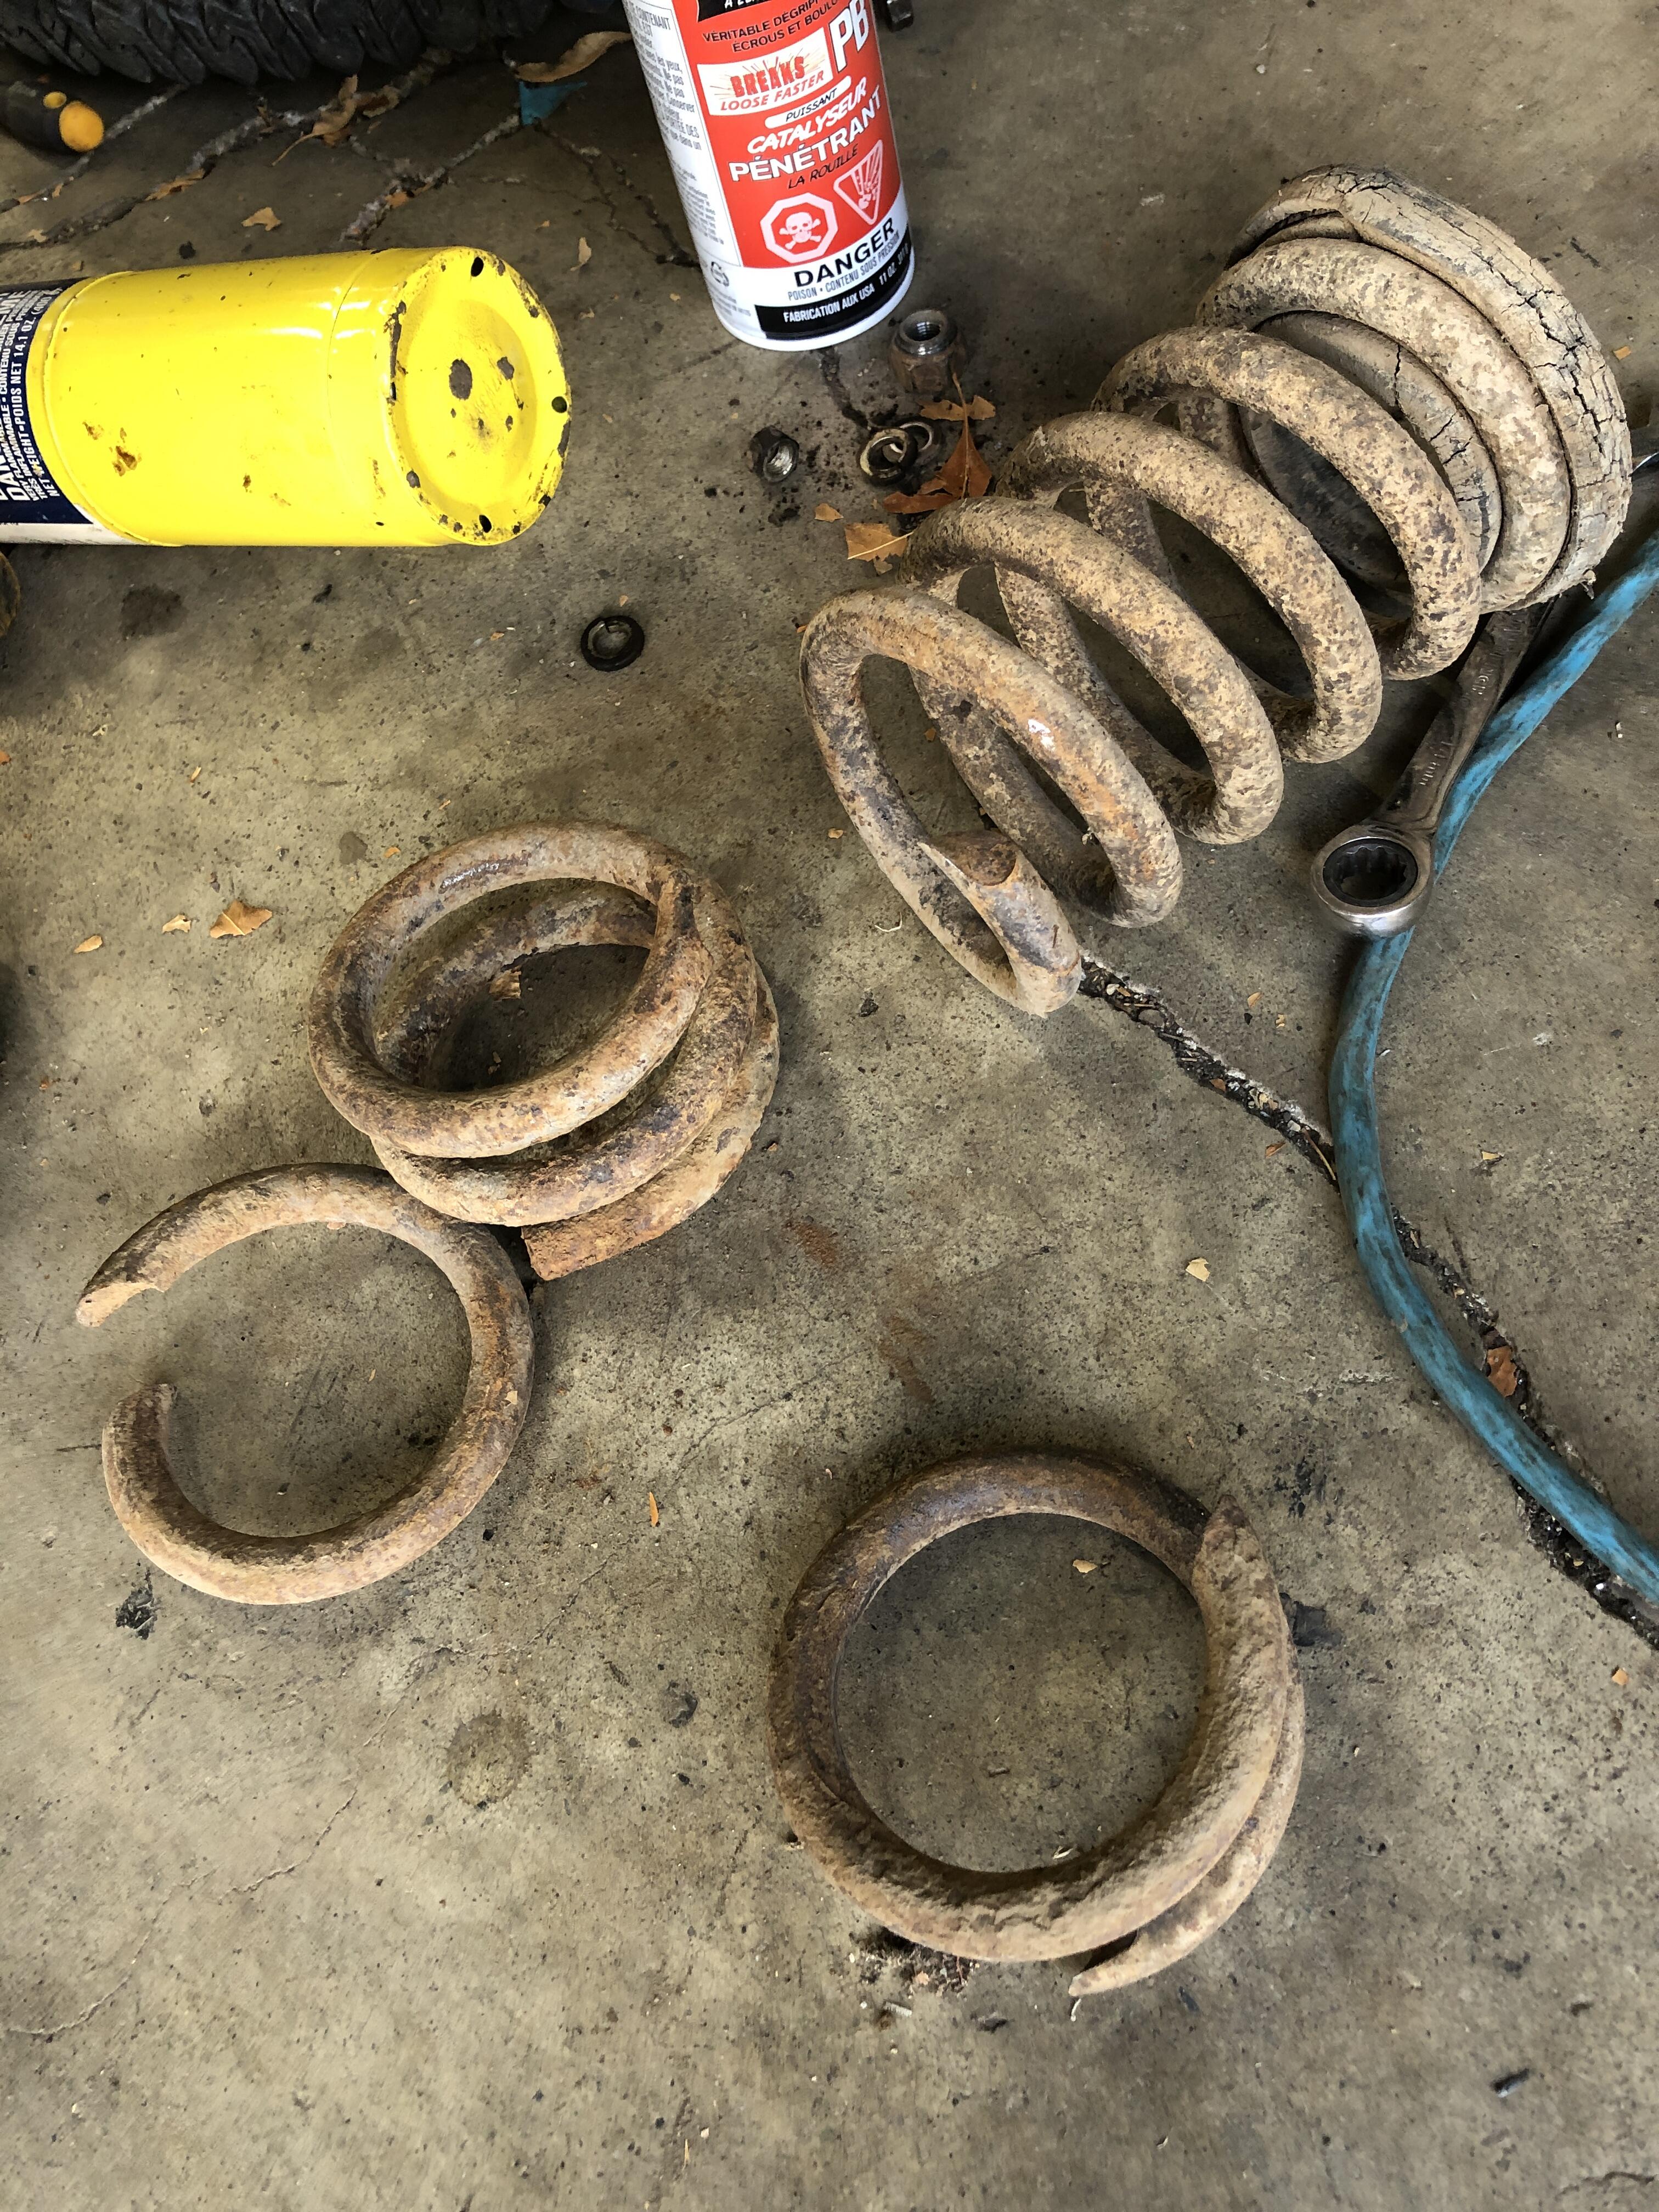
Sp the question is, under what conditions would the springs break into so many pieces? The first break is above the packed mud. The remainder were all buried in the terra-very-firma
-
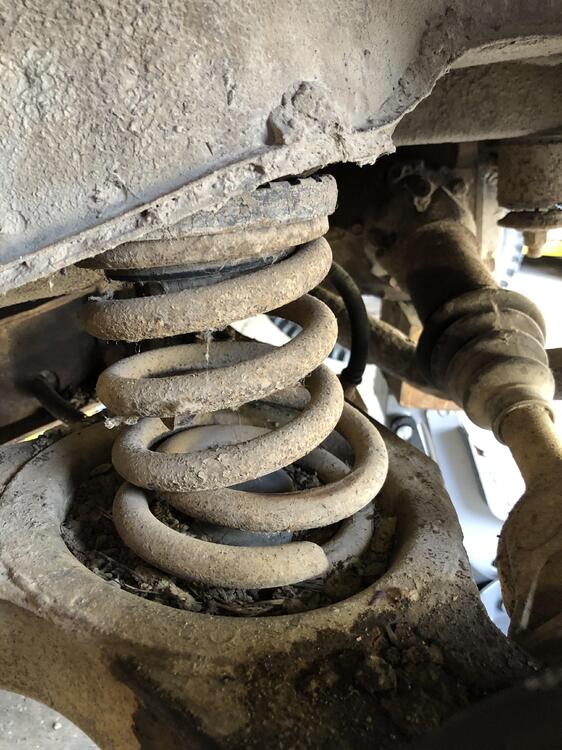
First clue is the vehicle mileage 50.000 miles. Second clue is the condition of spring pockets. Both are filled with very hard packed, very dry mud. I had to literally excavate the mud by chipping and digging with pointy tools to extract the broken ring segments. Third is a usage history. 1969-1980 used by a rural north BC dwelling mother of three. Car was then parked after a low speed front end accident. The car was moved around very sporadically over the remainder of its life. There is no admitted history of extreme driving, though you can just imagine. No other part of the car suggests any General Lee type stunts. Forth is the definite lack of rust in the spring pocket metal or surrounding area. Not like the springs were immersed in water for forty years nor is the spring material shows more than minor rust damage.
-
Ok, todays challenge is to help me understand how the following broken coil spring situation may have happended. First, a picture is worth a thousand words. 1969 510 rear springs. First two are left and right springs “pieces” on the floor after extraction. Third is the left rear as I saw it initially.


-
Yes. bought several. Cheapest by a long shot and EXACTLY what I got from a couple of other suppliers that just use the BK104WS part number. Brass synchro's for all five gears, works on all the 77-83 Z and ZX FS5W71 trans. Well except that goofy 5th gear synchro thingy in the 77-78 trans. (double exhaust hanger, short shifter ears, no reverse lock out case). No source for that thing no how.
-
The originals are curved to fit the door curvature, but the new ones aren’t. Yet. Without the correct curvature you will likely experience what you are seeing. I have found the new ones are softer than the originals and will bend if you “help” them, but be careful not to cause any kinks.
-
Absolutely outstanding decision! Congratulations on taking the leap. You already know how happy you are now, just wait. It gets better.
-
the only differences I noticed is in the presence or absence of "stops" that prevents the hinge from opening past a certain position. they all bolt to the car and hood the same way. Gnose hinges are different and are not interchangeable
-
Fun story! Thanks for sharing. Just imagine the finagling and posturing and likely shenanigans going on to own that Z with the VIN ending in “240” And dibs on calling those first 240 “Series 1” Z35’s. !!!!! Hahahahaha Going to get rich selling fake “hatch vent” pairs of stickers to put on the Z35 hatches…. “Limited Edition only 240 signed sets available. $2400.a set”.
-
I am currently out of the early cross members. Parts cars are getting purdy thin around these parts….
-
And then I found this! https://resurrectedclassics.com/collections/brake-components/products/1970-1972-datsun-240z-complete-steel-brake-line-kit Might be worth the money. $300 bucks. It’s the early set too. And I’m loving what these guys are doing with reproduction body parts! Check them out!