


Leaderboard
-
Patcon
 Subscriber
 4Points11,140Posts
 -
Captain Obvious
Free Member2Points10,081Posts -

Zed Head
Free Member2Points19,232Posts -

siteunseen
Free Member2Points15,115Posts


Popular Content
Showing content with the highest reputation on 02/17/2025 in all areas
-
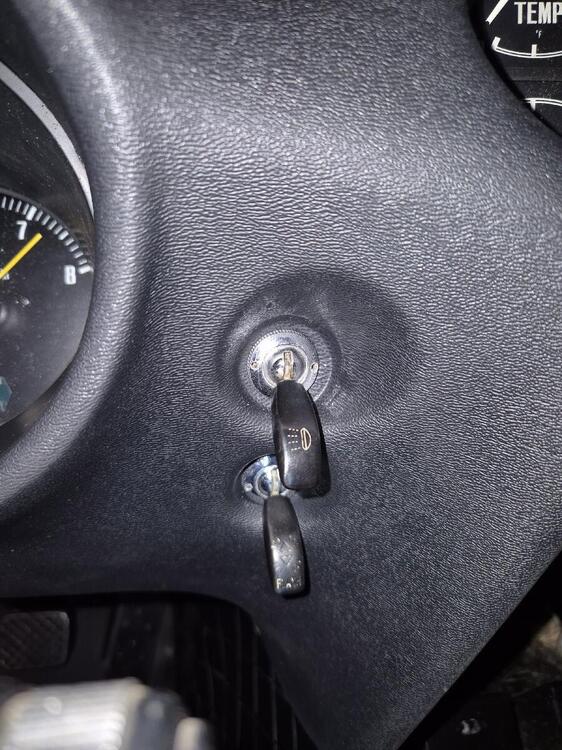
2 pointsWon't win any prizes for photographic excellence, but here's an E4100 NILES early-type Fog Lamp Switch in its correct location on one of my other cars:
 2 points
 -
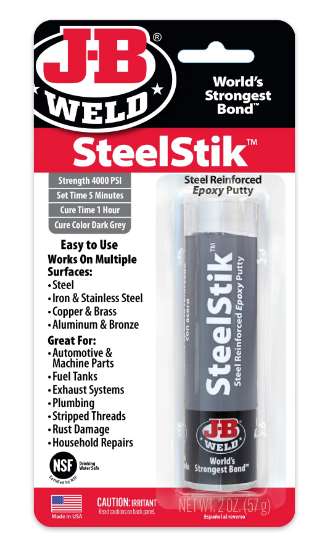
2 pointsI used this stuff to fix my broken console. Used it on the bottom side mainly and smoothed out the excess on the top side with fine sandpaper. Turned out good and is still holding up. That was 2015. There's other "strengths" too.2 points
-
1 point
-
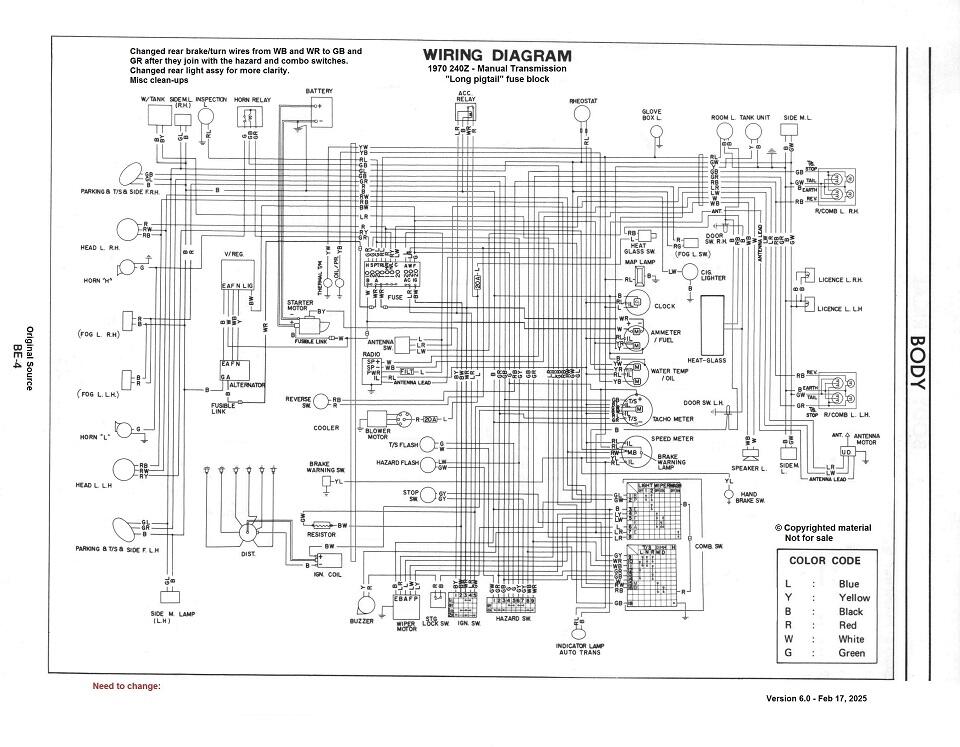
1 pointHere's the latest wiring diagram. I changed the wire color leading to the rear tail light assembly. At the hazard switch and the combination switch, the rear brakes/turns use a W/B and W/R pair, but somewhere inside the harness, they change to G/B and G/R pair by the time they get to the rear of the car. I also changed the portrayal of the rear light assemblies to show the bulbs inside. Note that in later 240's they changed one of the dual filament lamps in the back to a single filament. The car I'm working on is mid 1970 and I've got two dual filament bulbs on each side in the rear. <V6.0> _obvious 240Z Wiring Diagram 6.0.pdf
 1 point
 -
1 pointLooks like SteelStik. https://www.jbweld.com/product/steelstik-epoxy-putty-stick
 1 point
 -
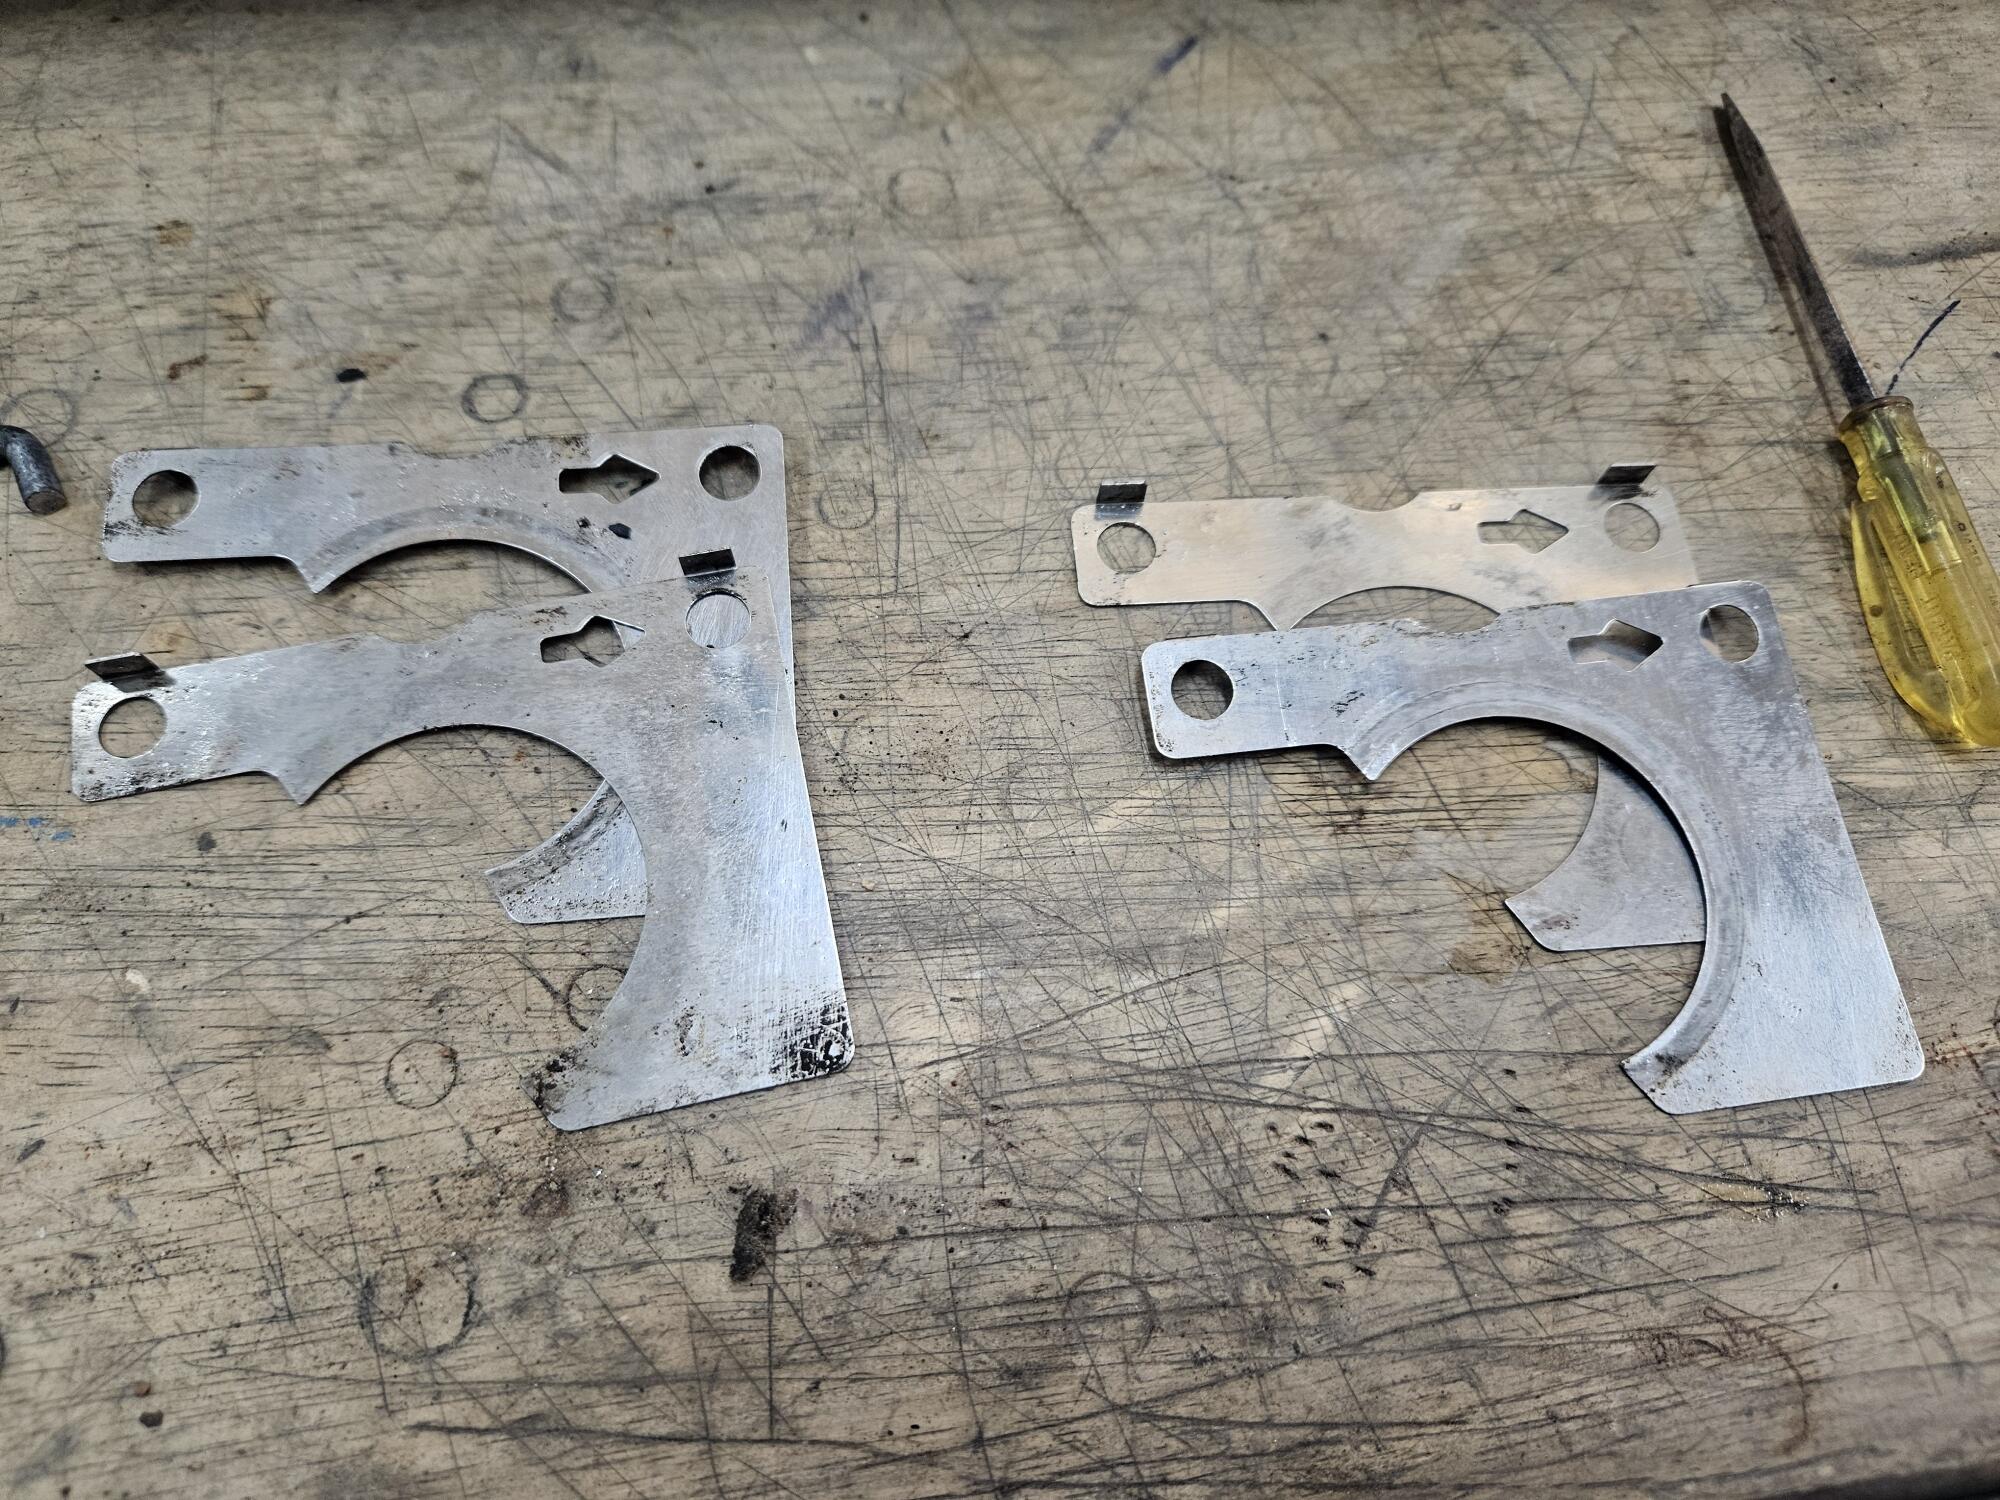
I don't think that they are heat-treated to be "springy". I remember straightening the bends out of the ones that I had. They definitely make a difference. I tried the various treatments and greases but only reinstallng the straightened/flattened shims solved the problem.1 point
-
Assuming you could find a suitable stainless, I think it would work just fine. I think the rust you often see on them comes from the non-stainless parts that come into contact with the shims, not the shims themselves. In other words, I don't think the shims are rusted at all... I think that rust is just mechanically transferred onto them by rubbing against other rusty parts. @Patcon, are the shims magnetic?1 point
-
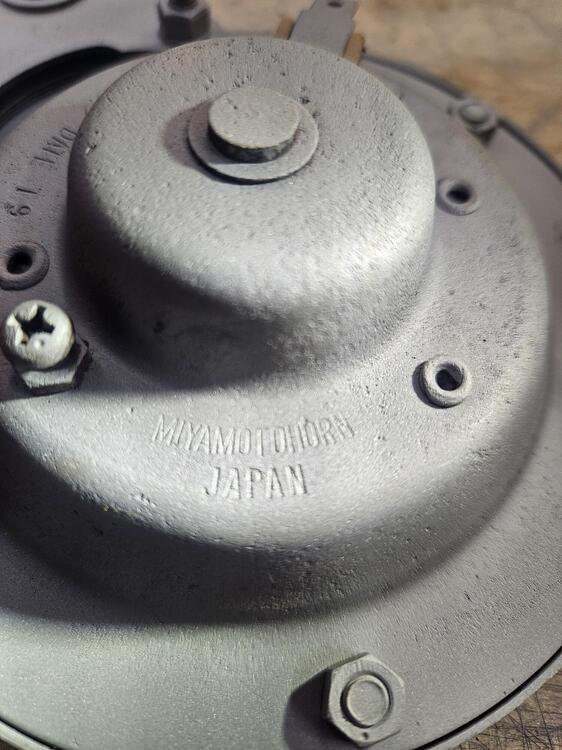
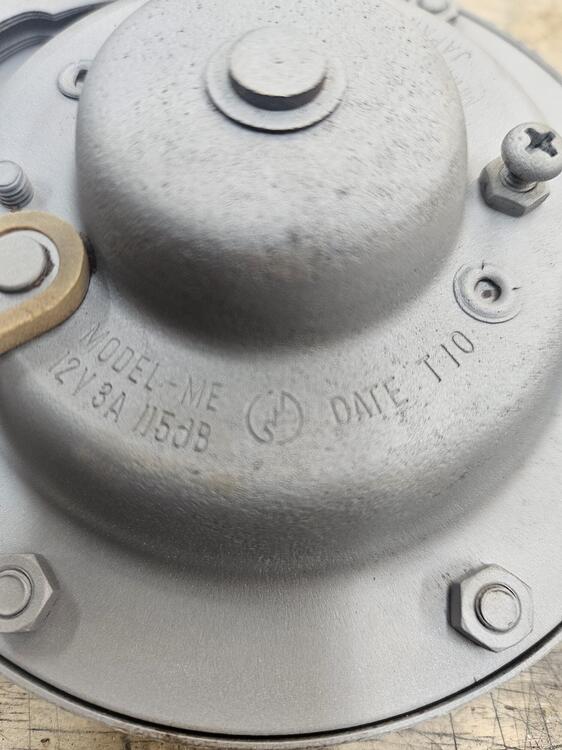
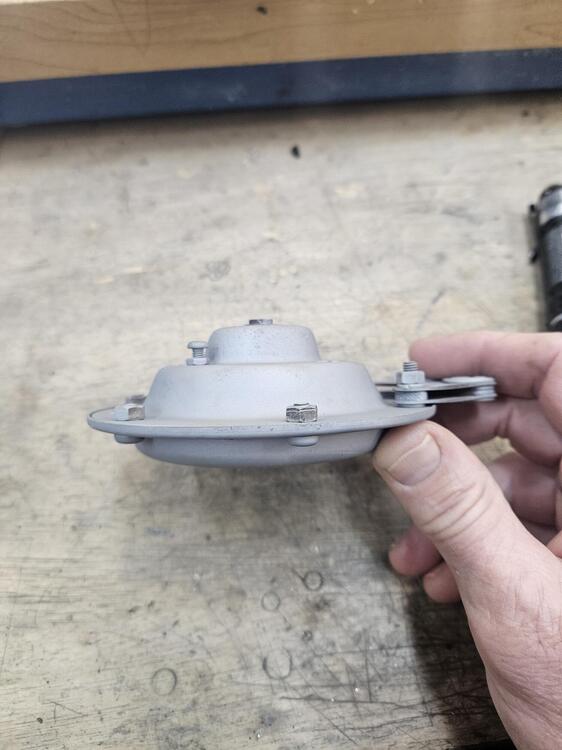
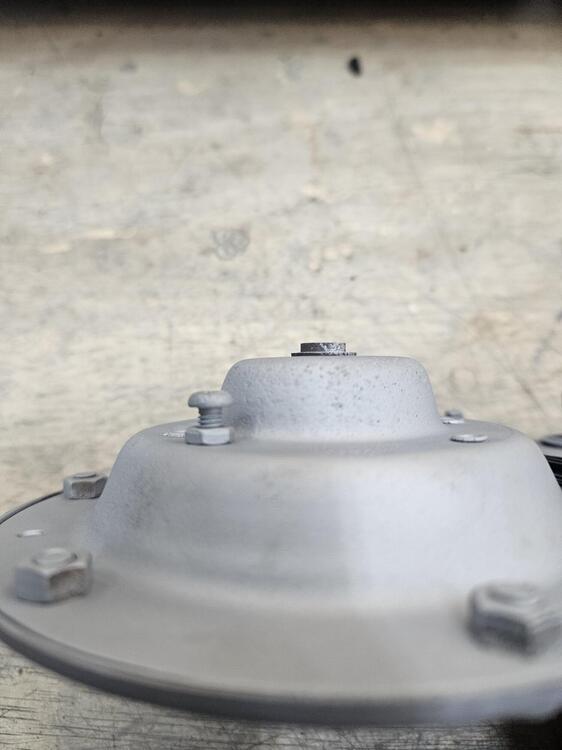
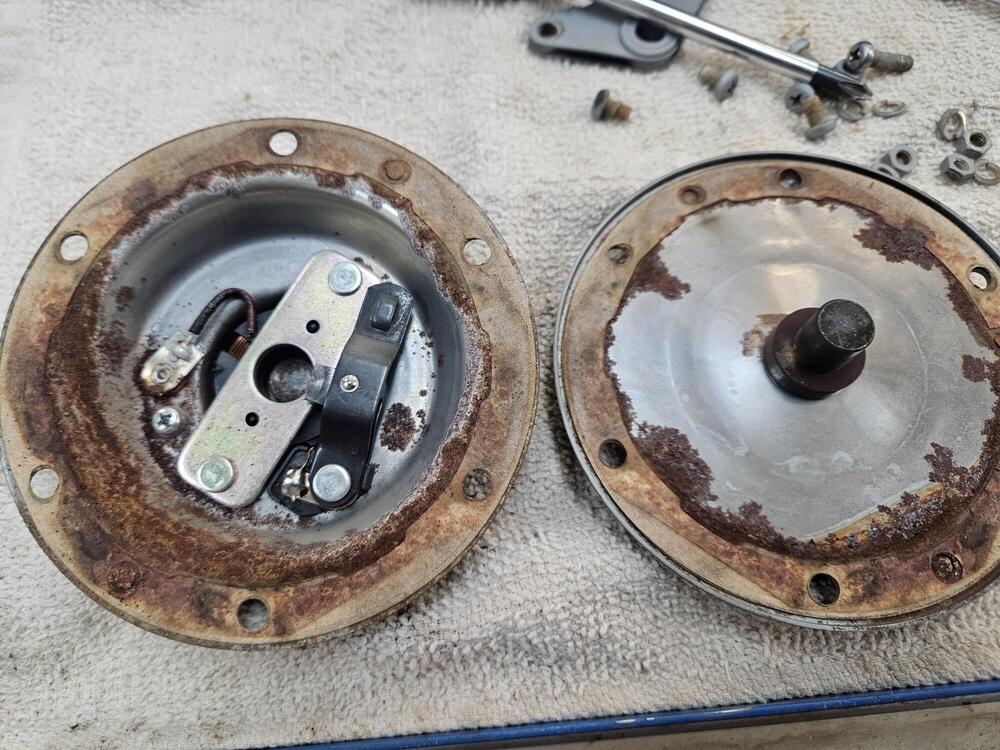
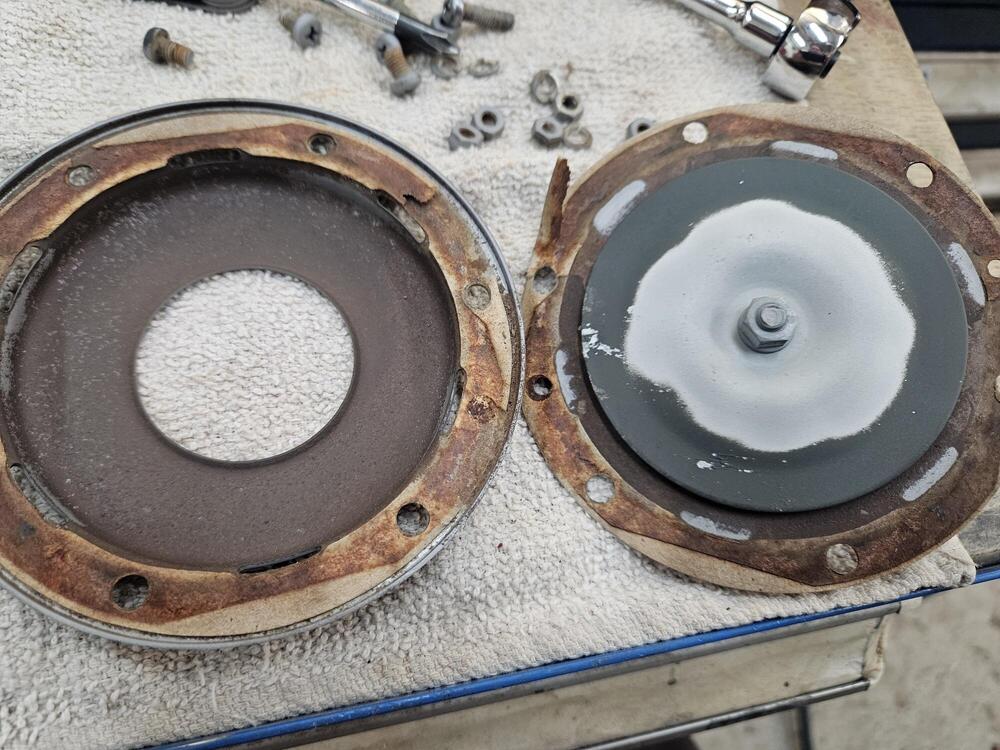
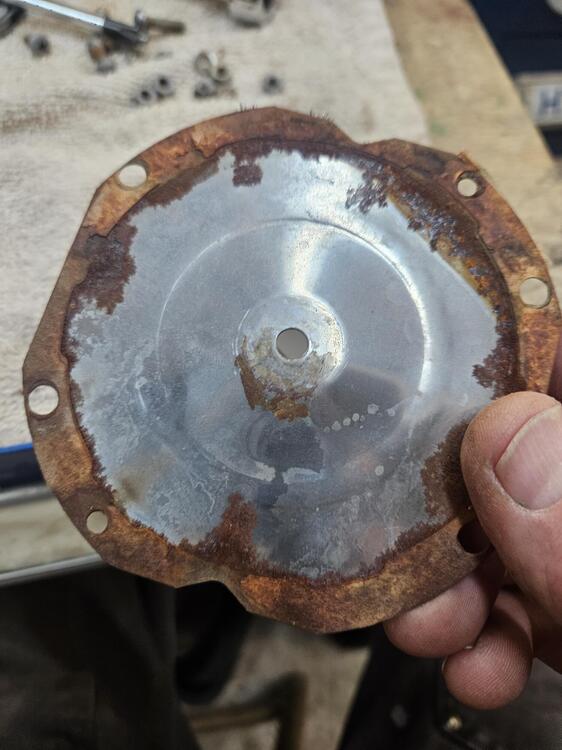
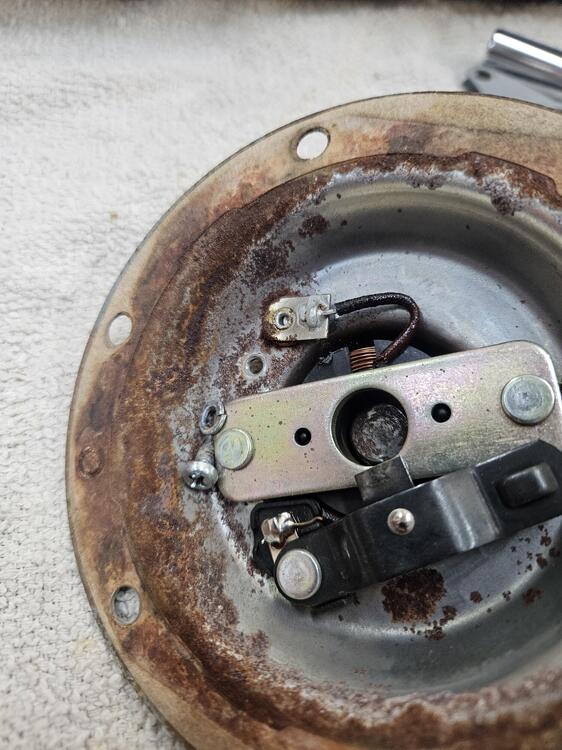
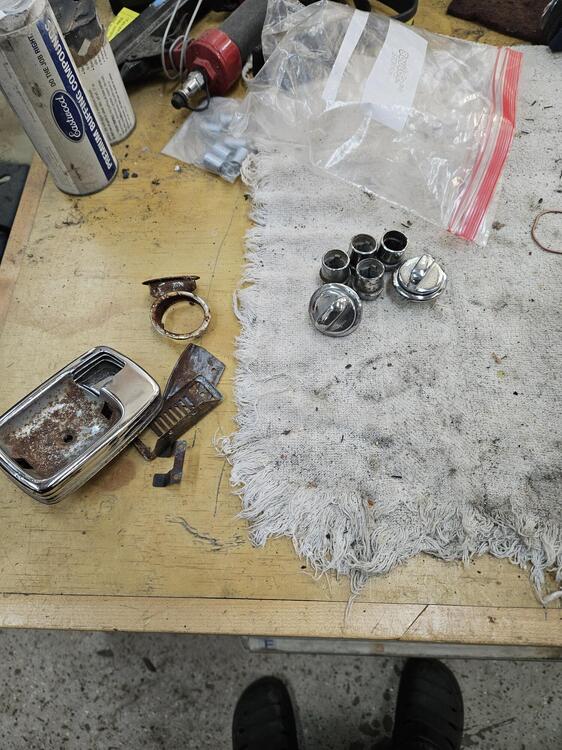
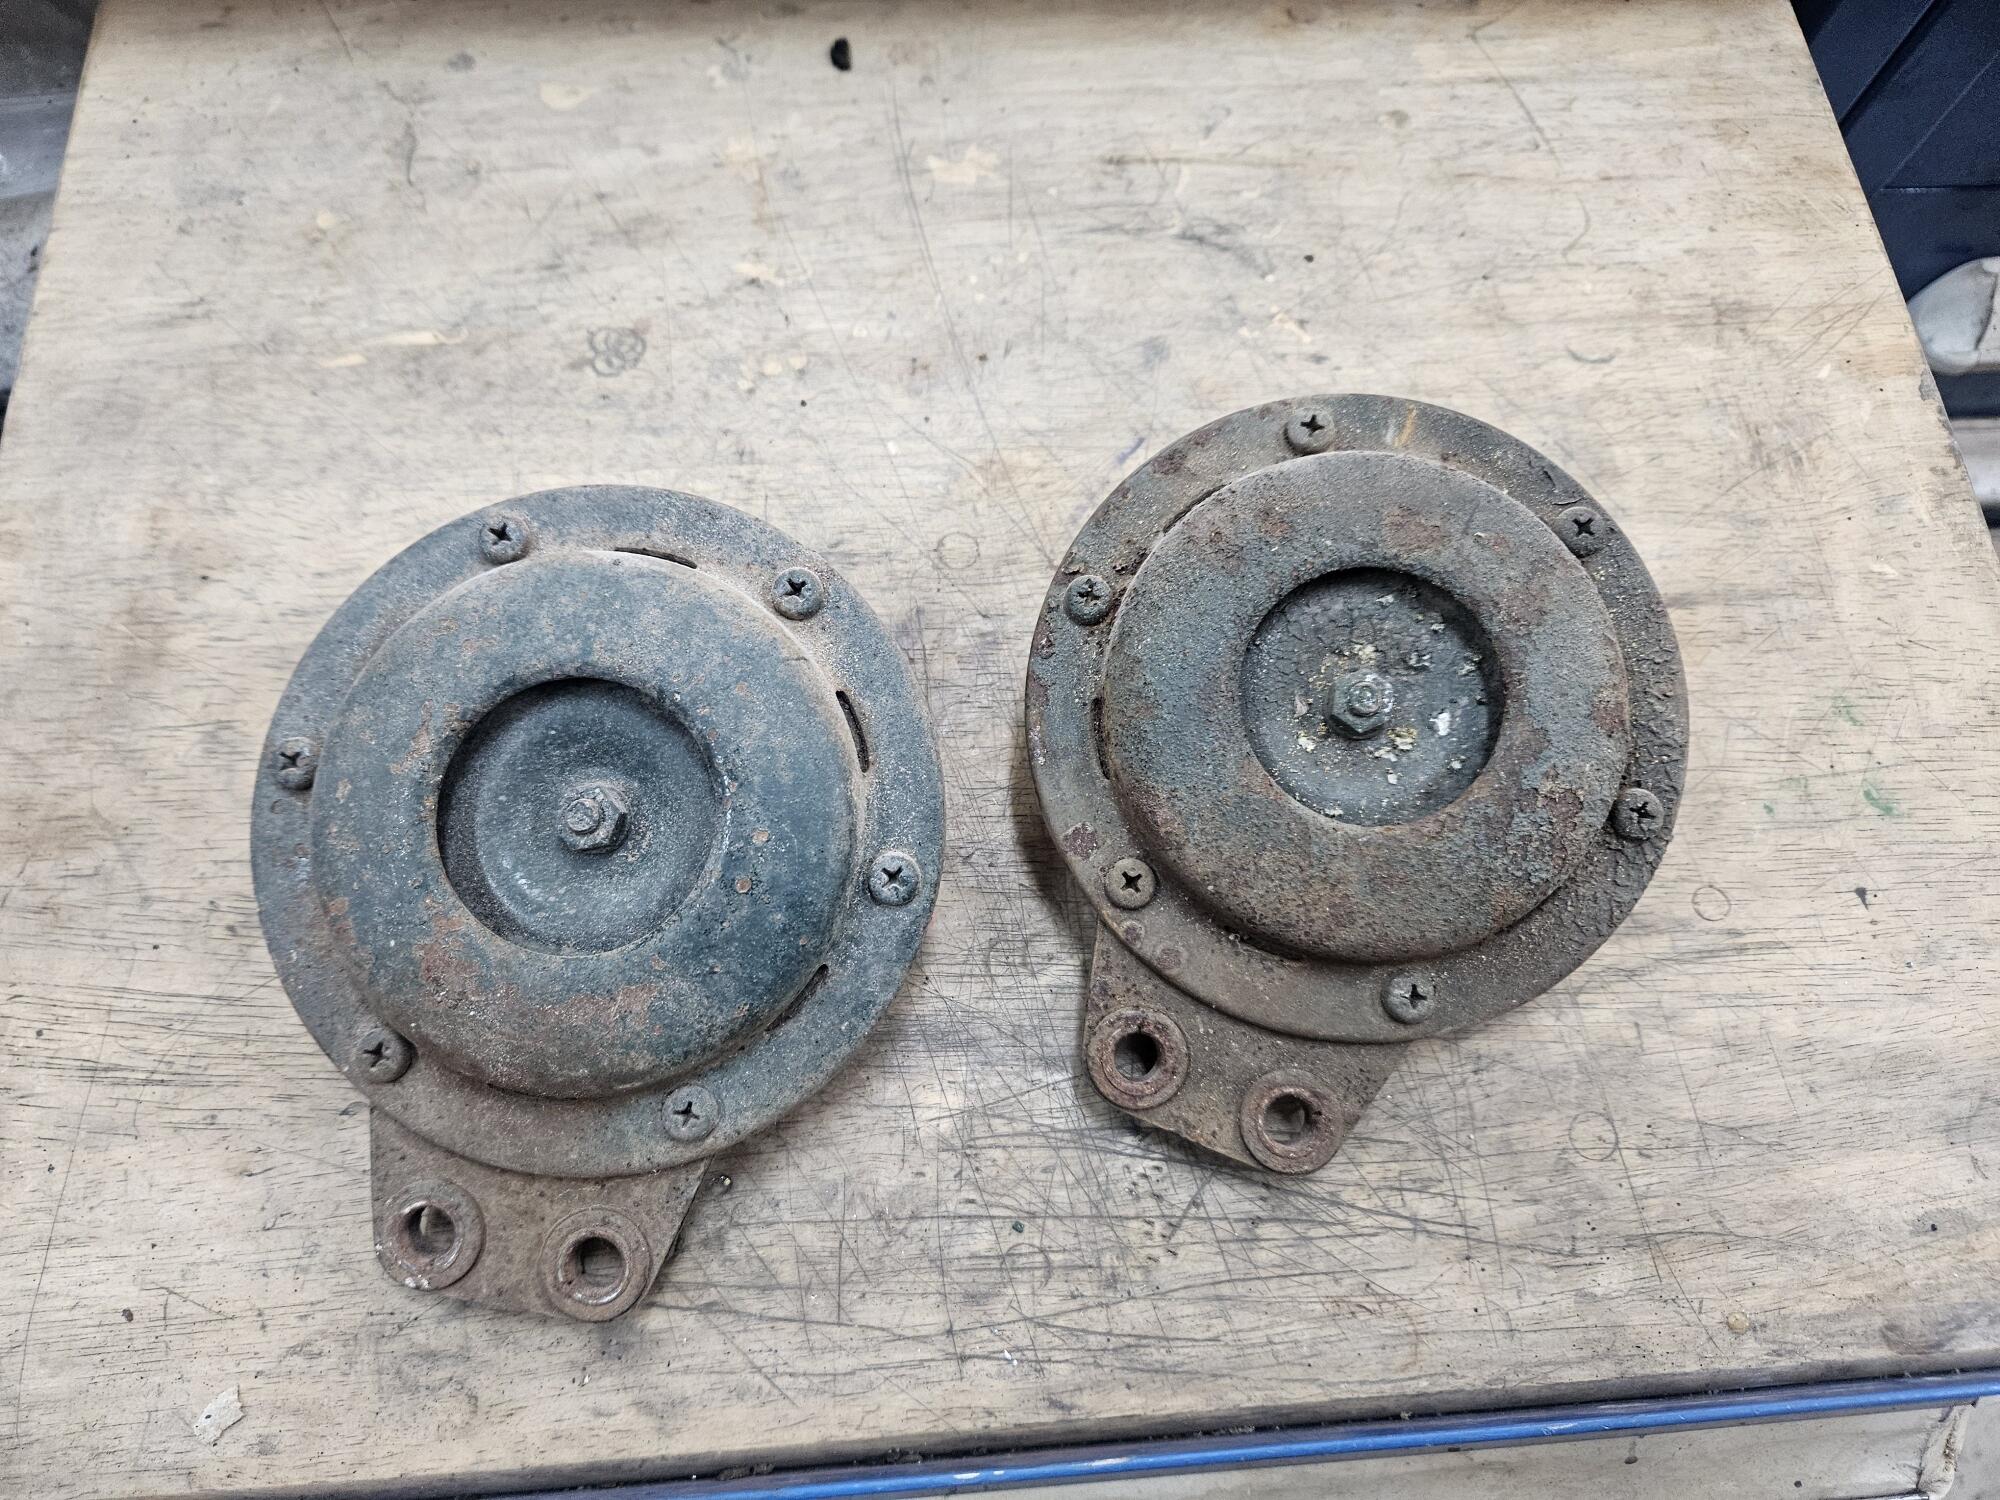
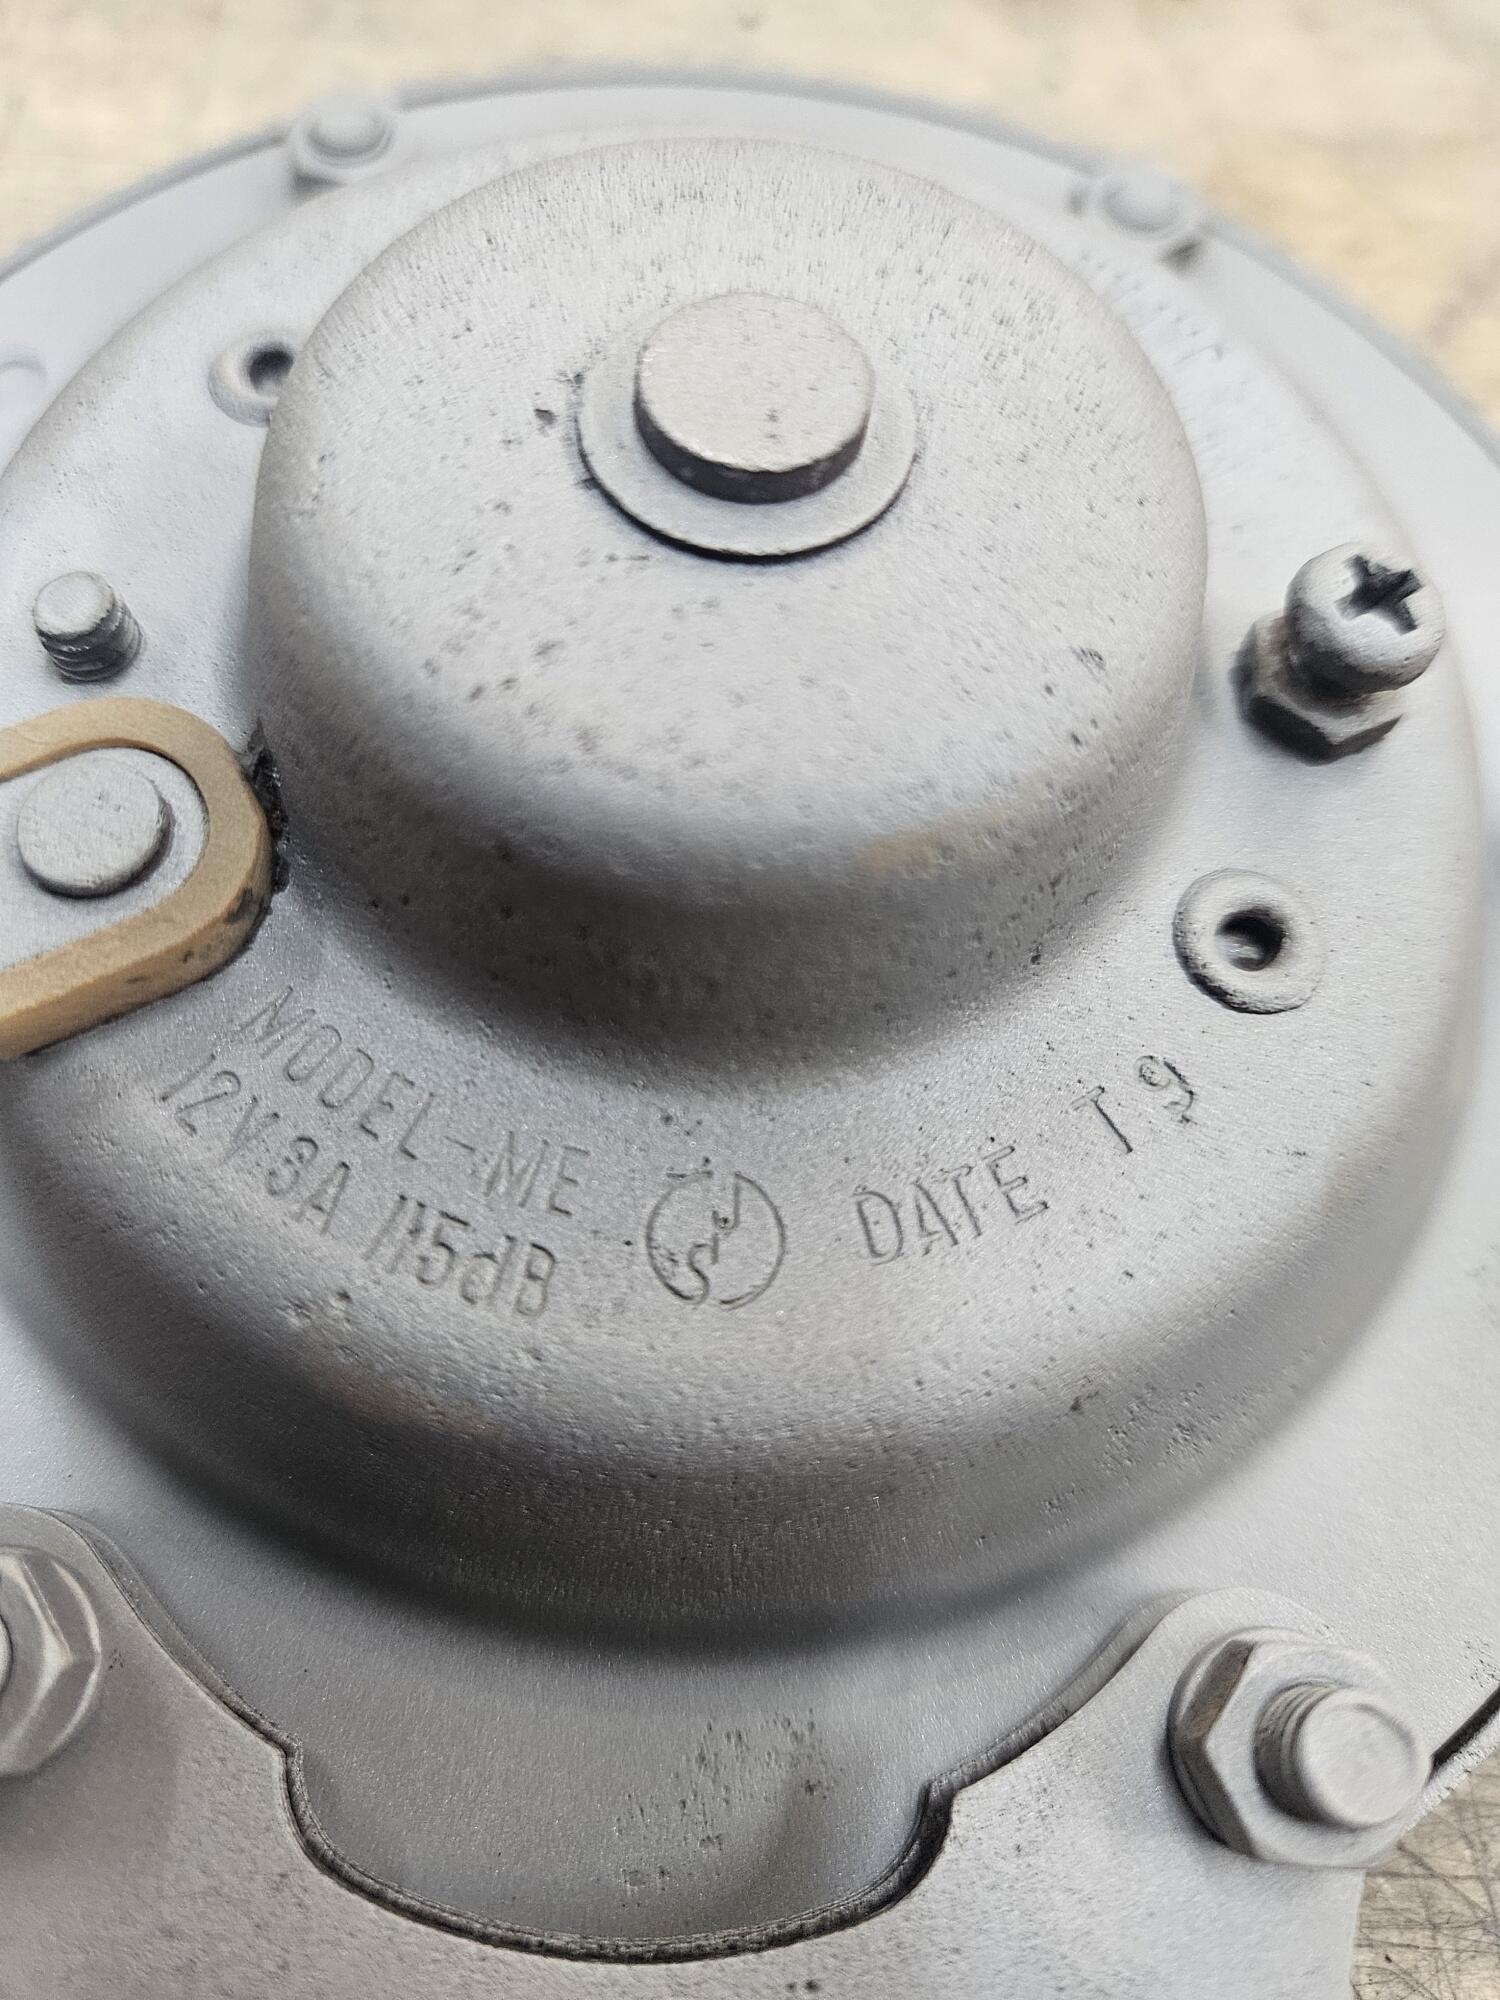
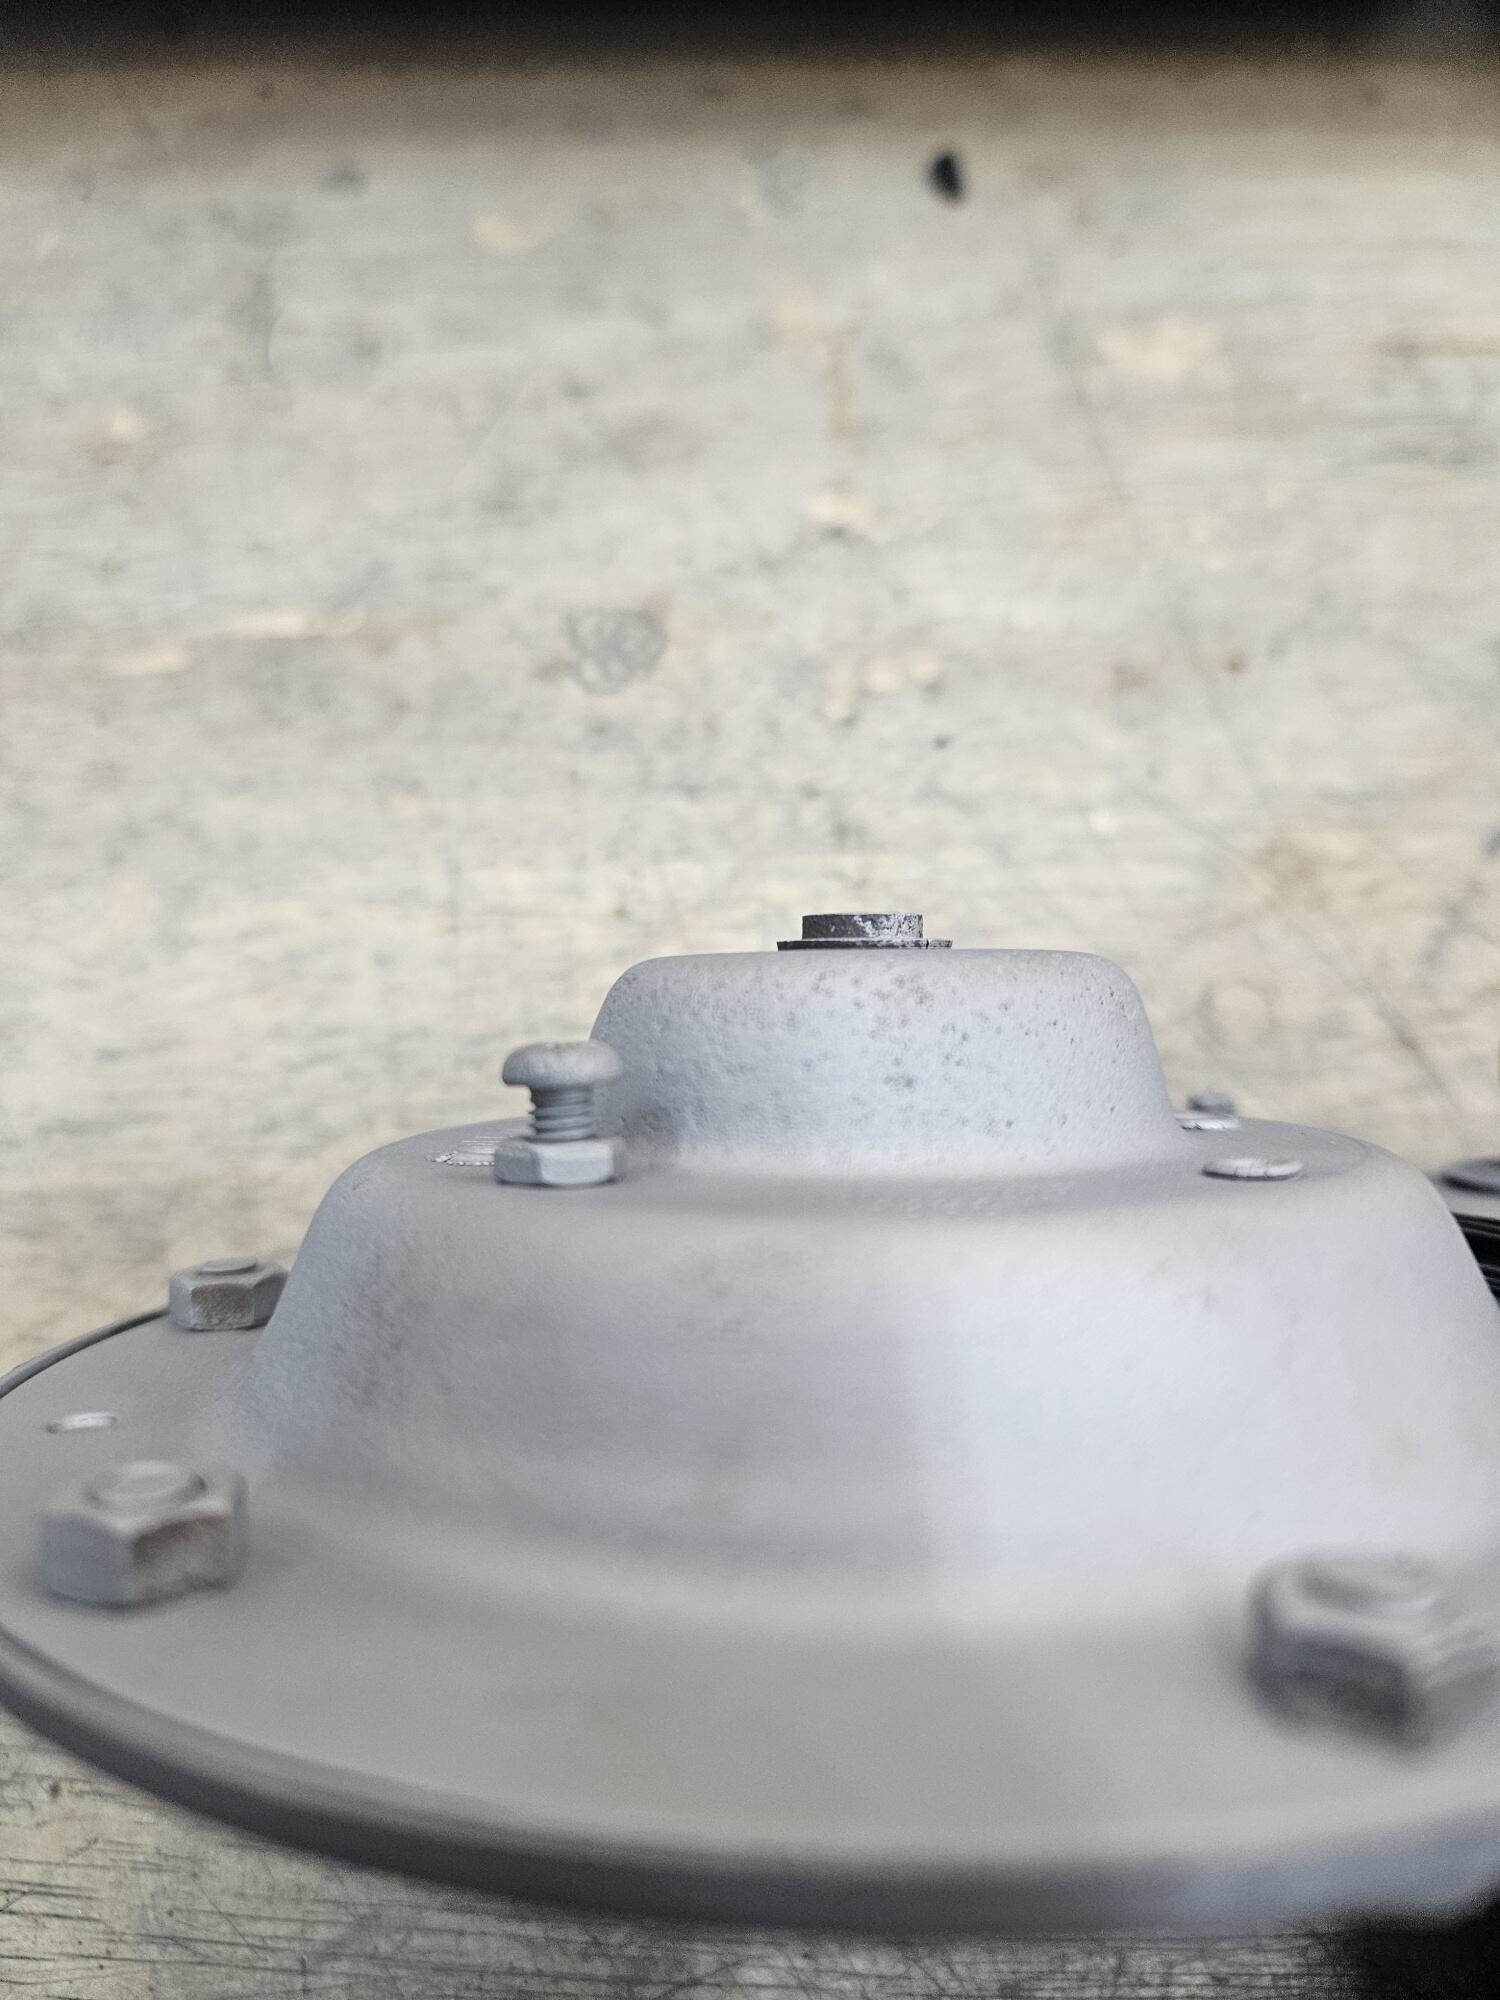
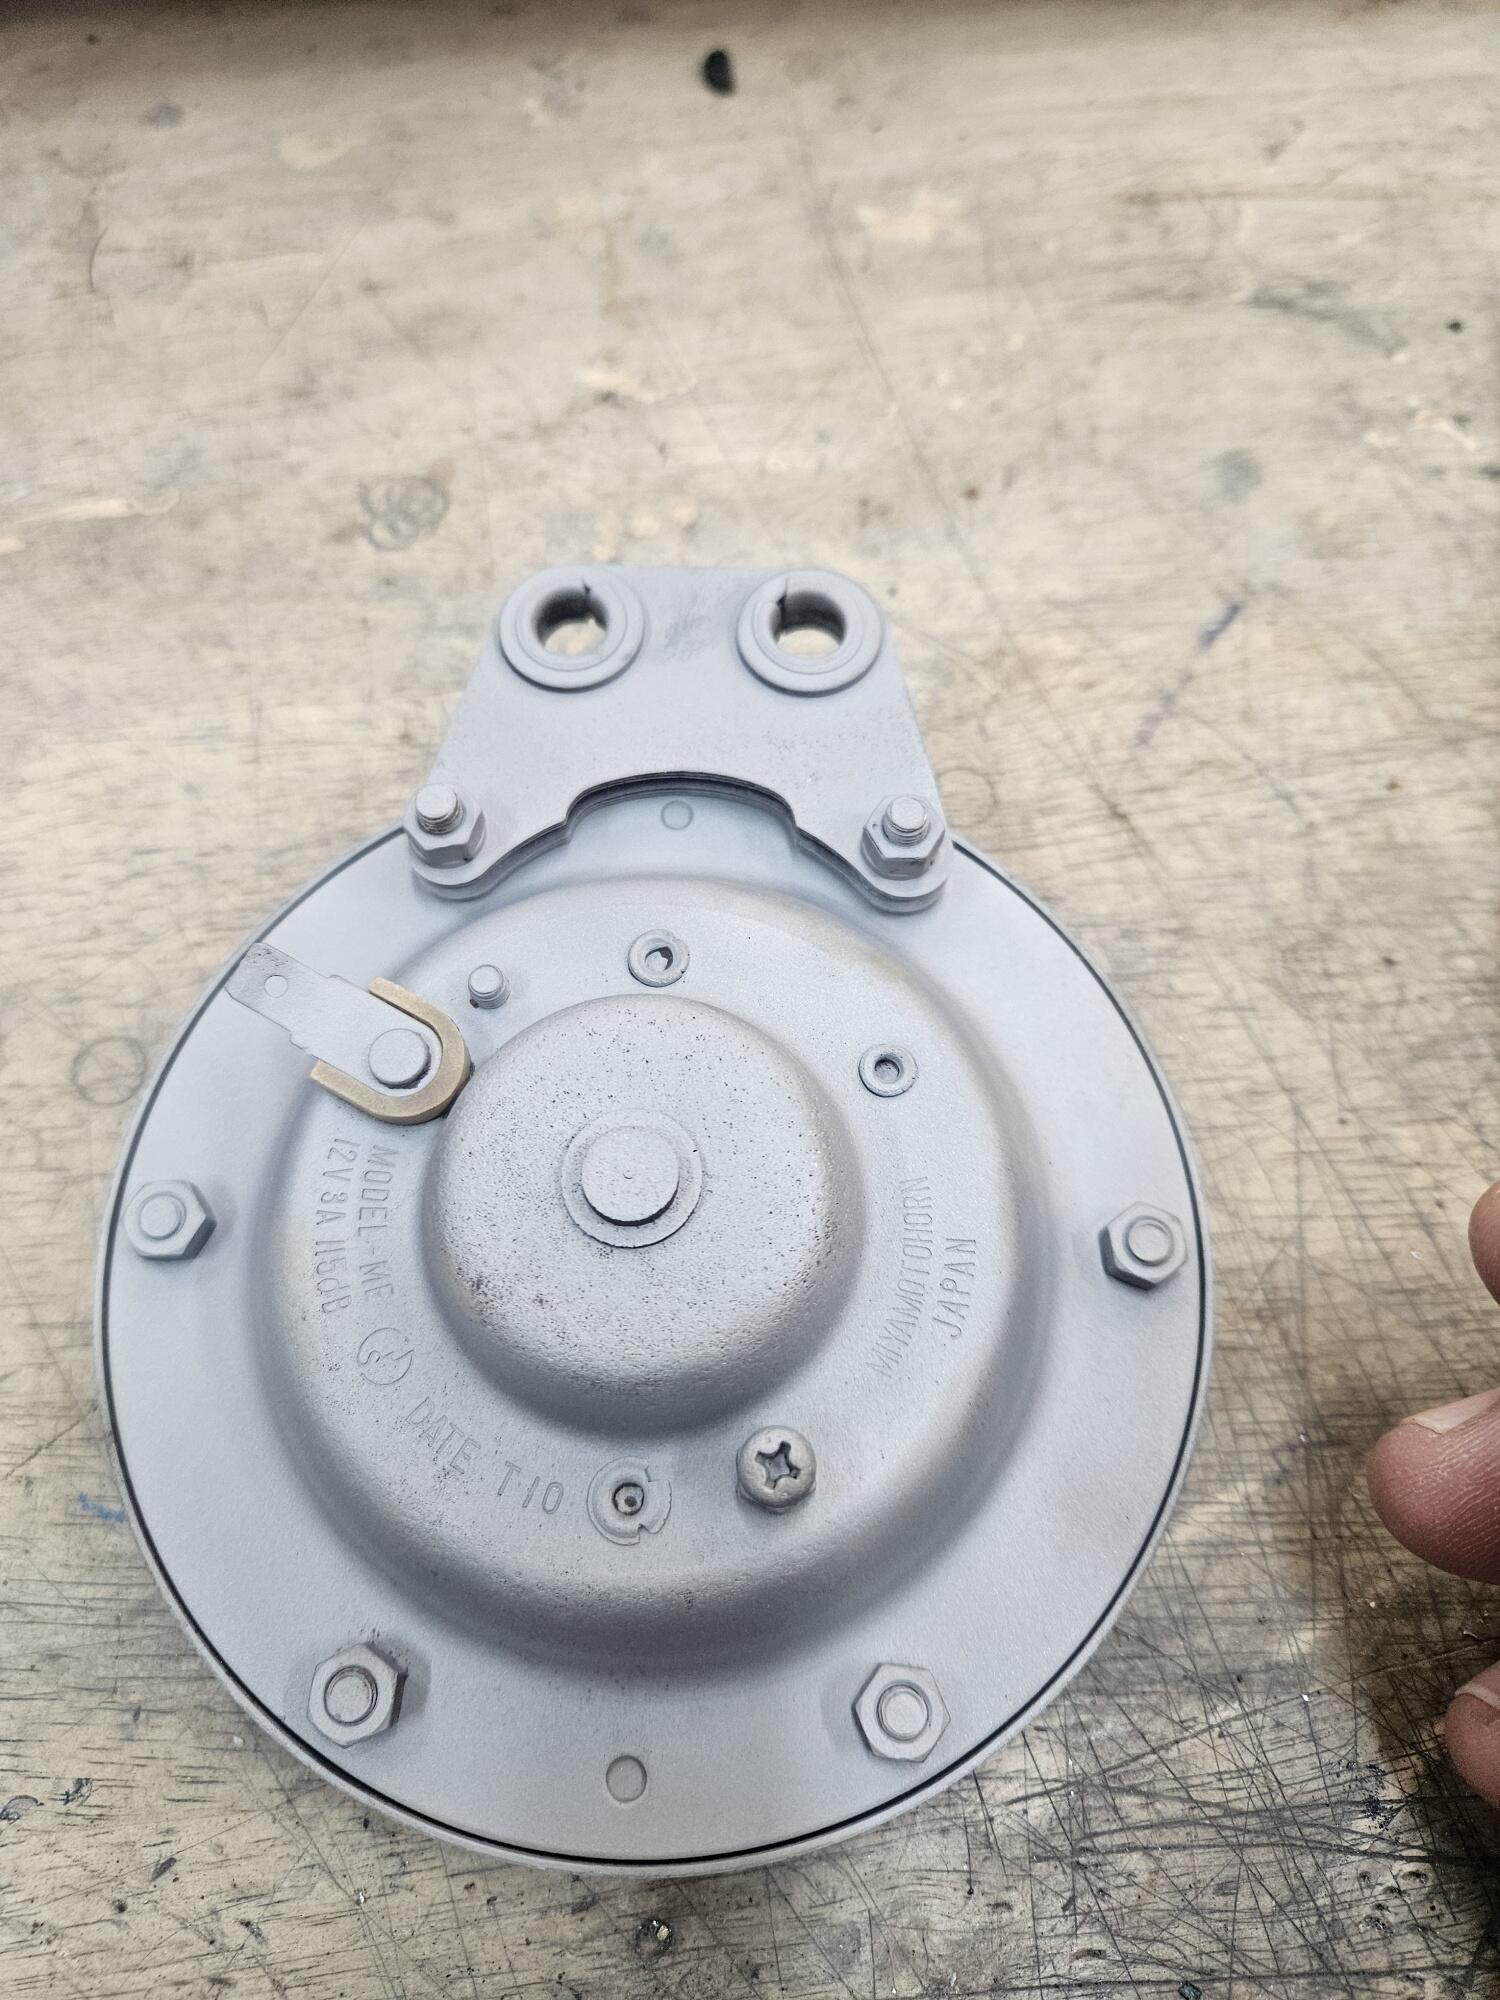
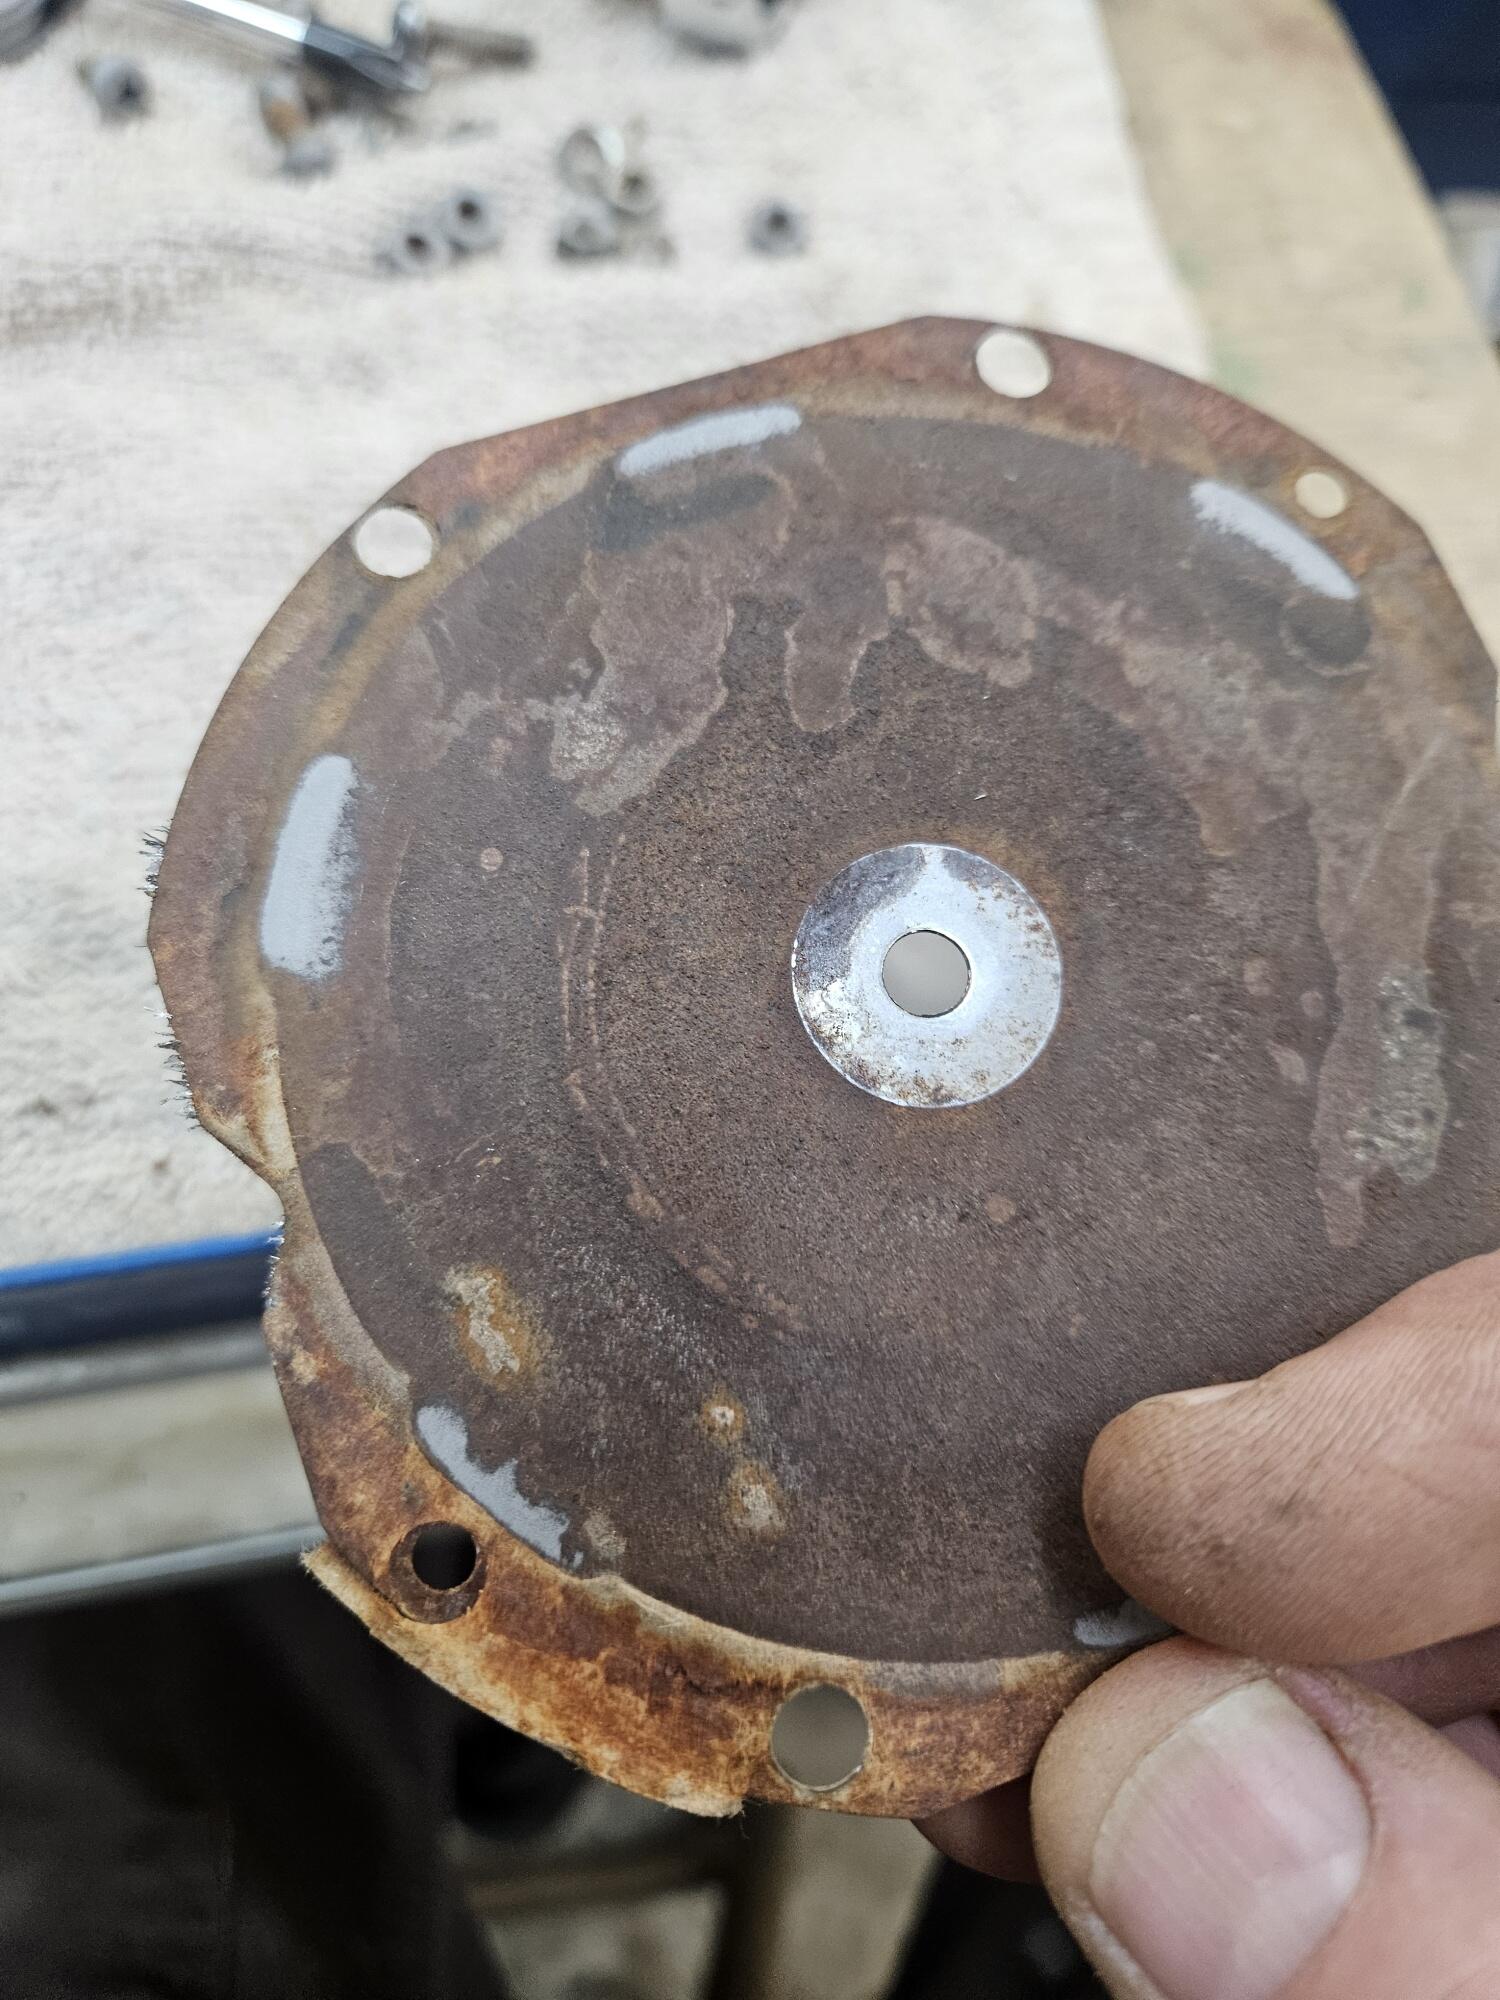
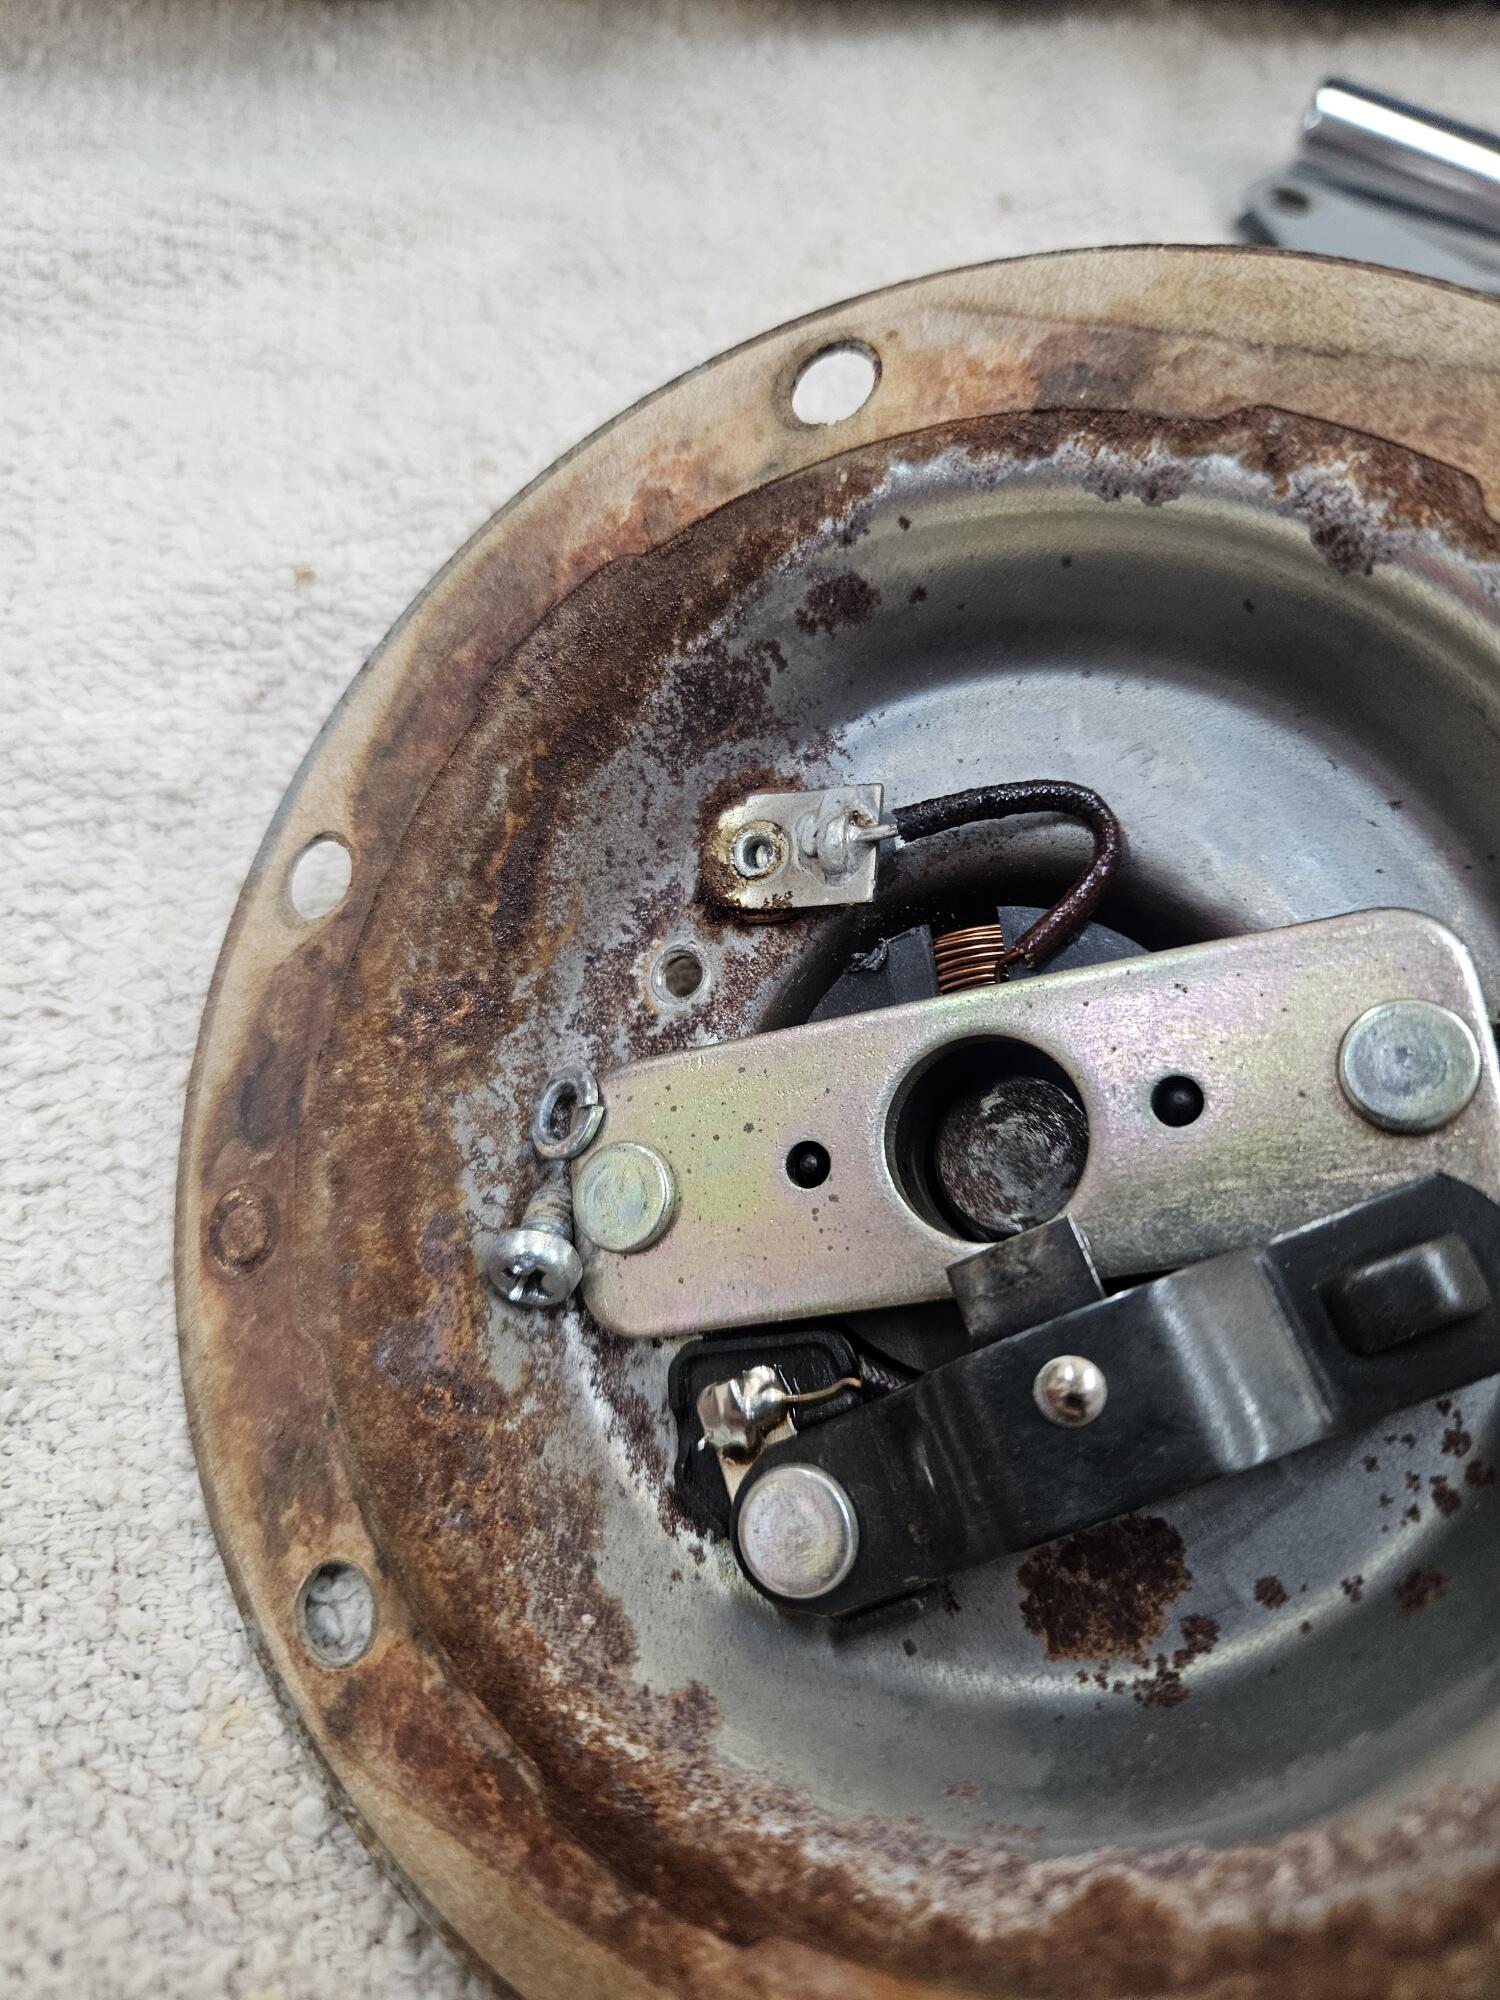
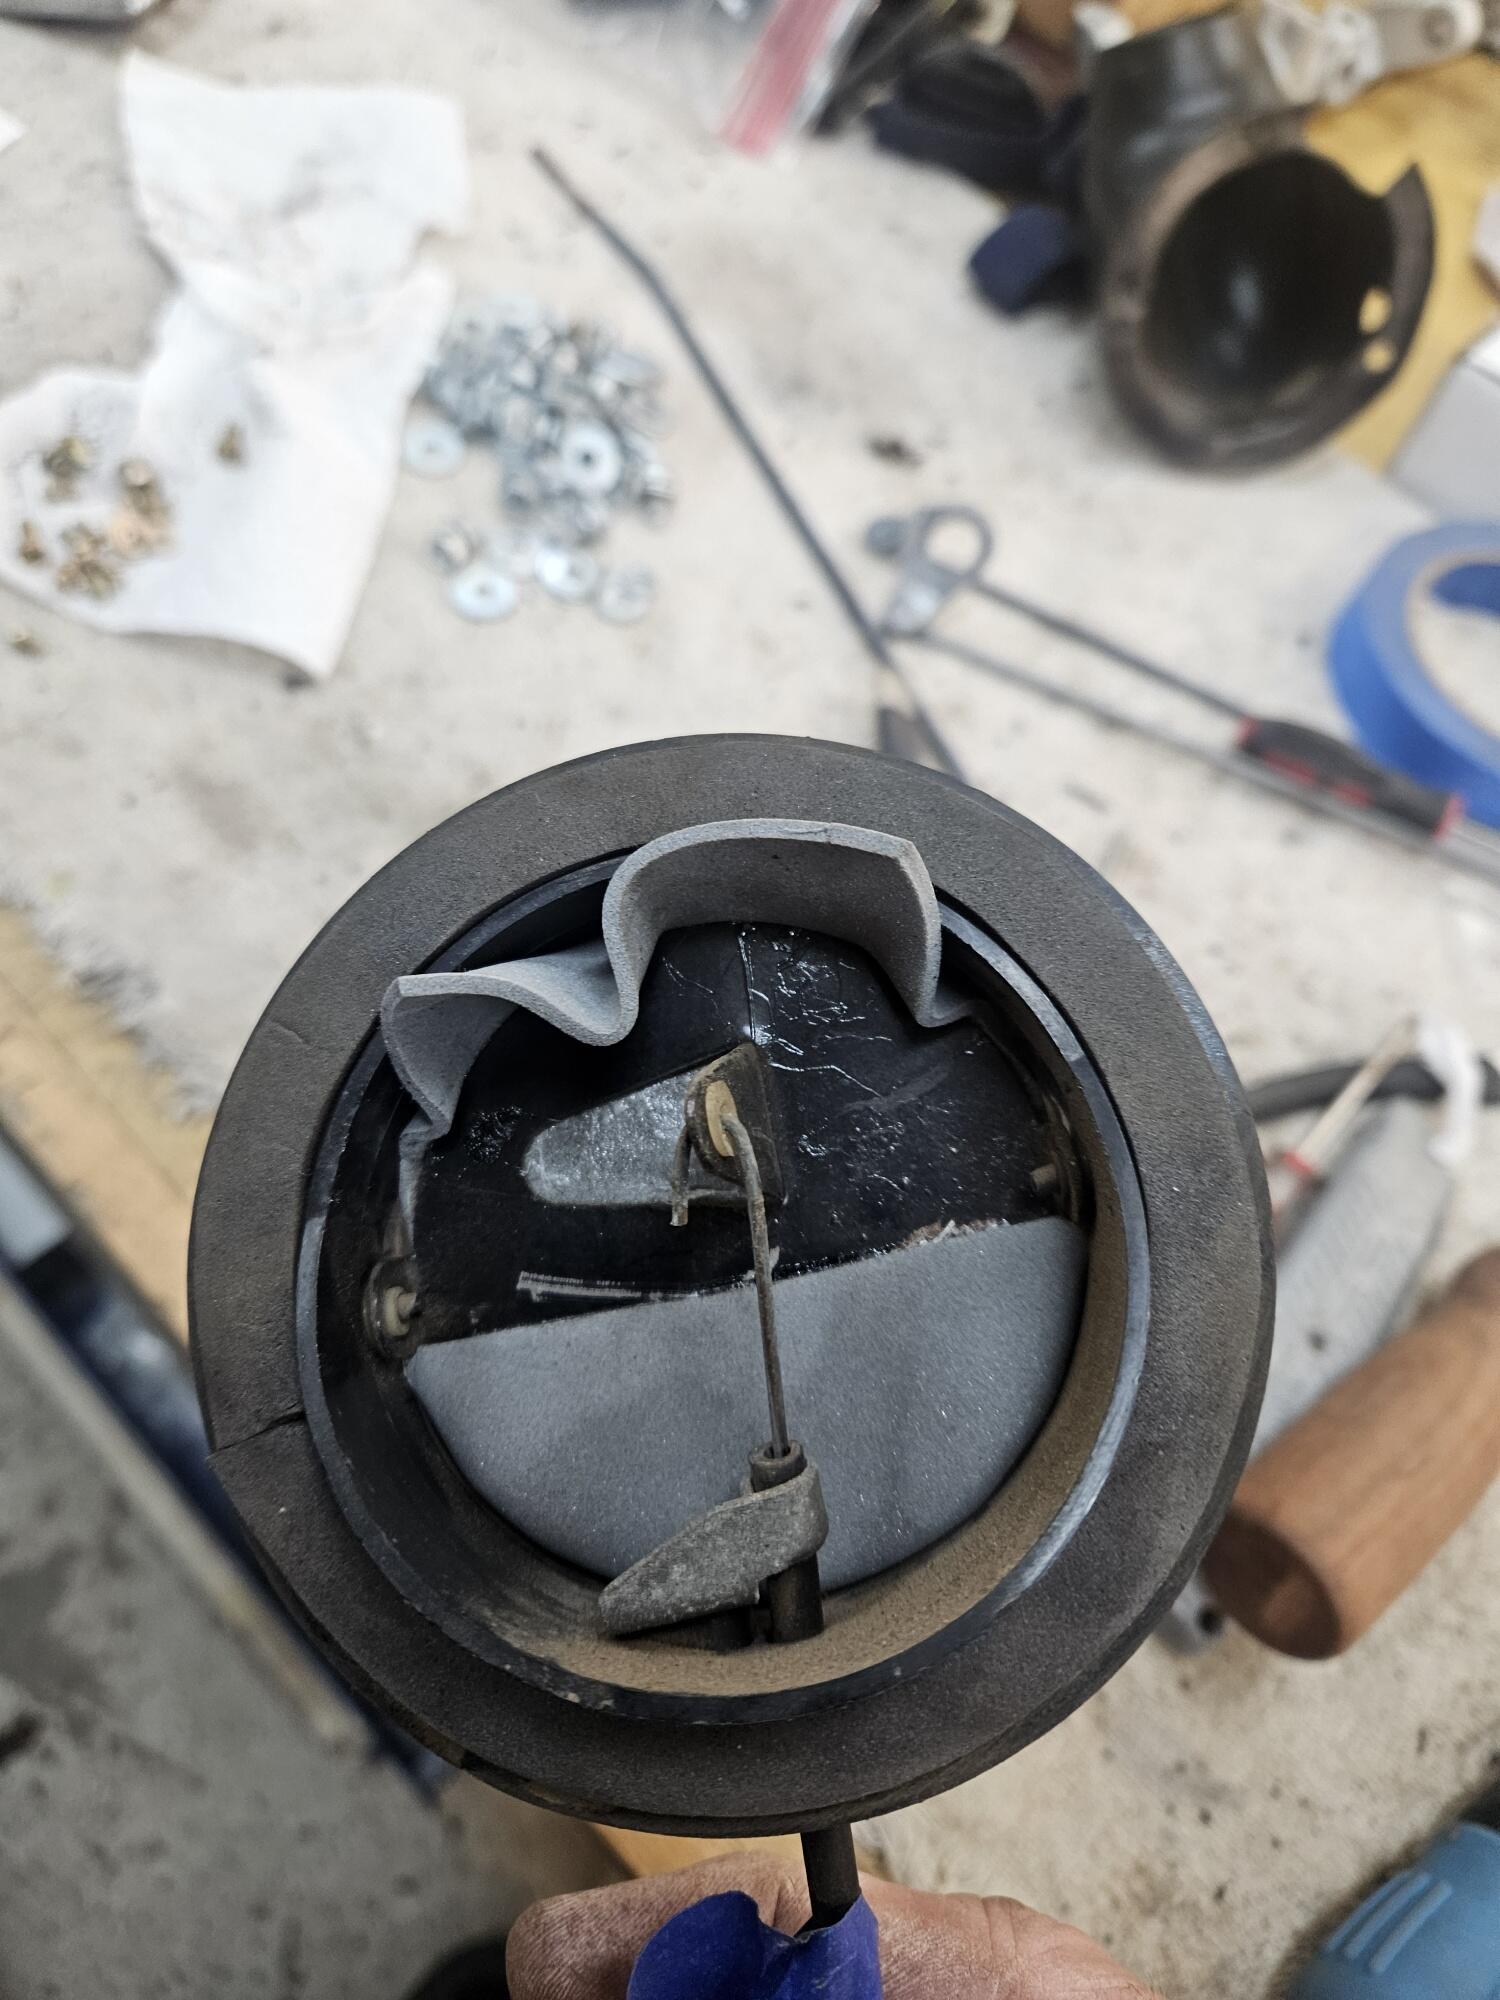
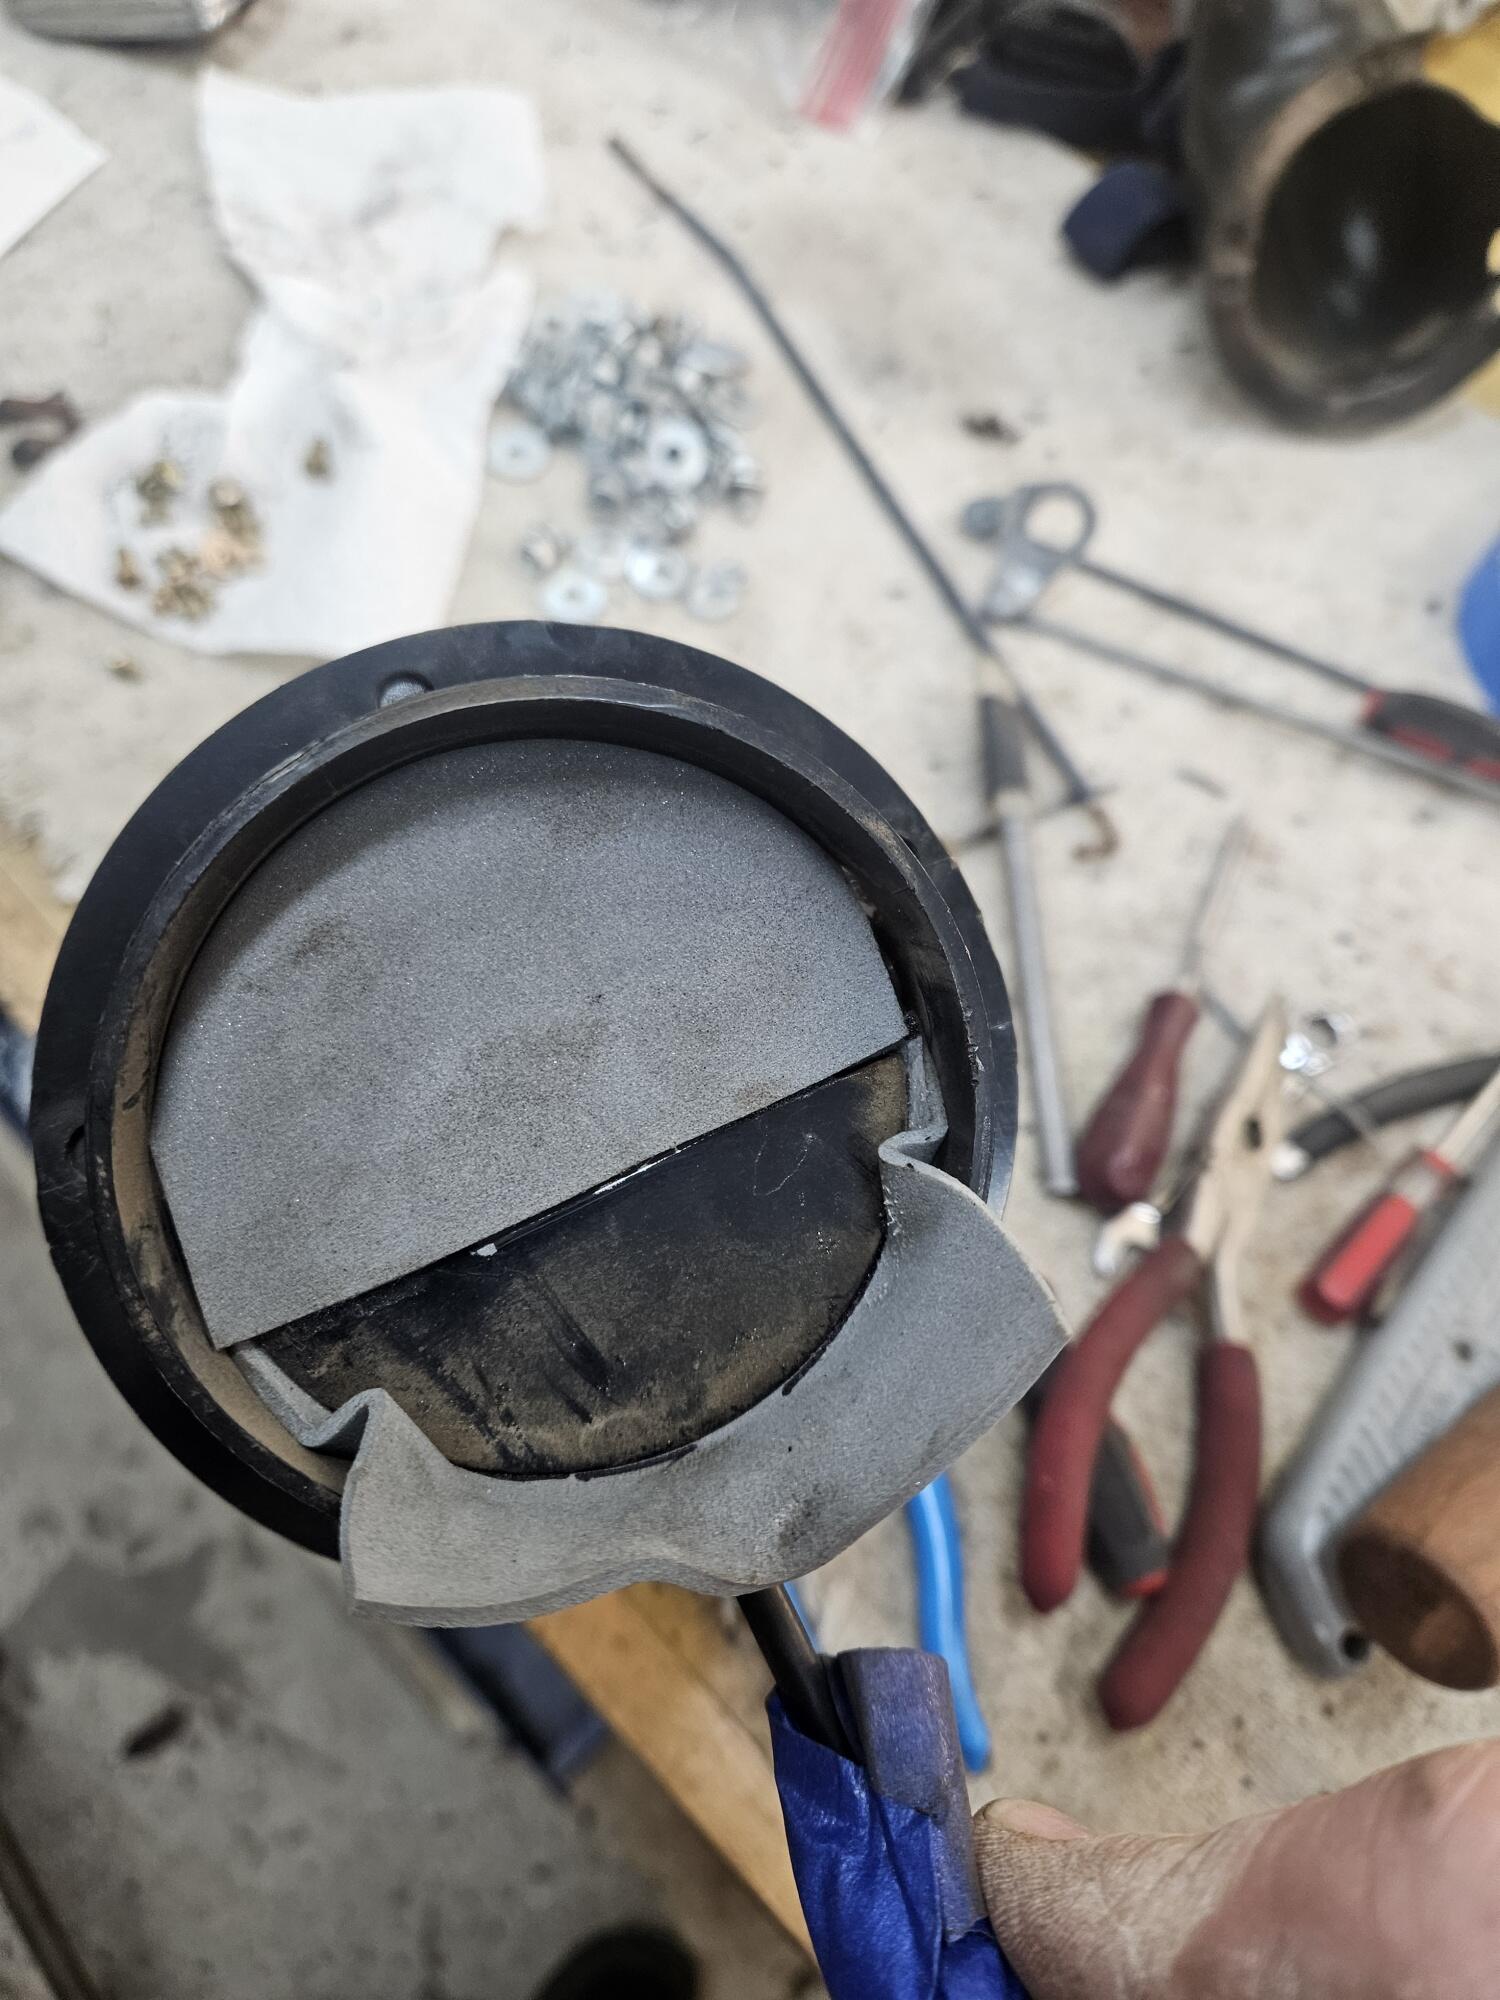
1 pointI started on one of the horns today, now that the blast cabinet is back up and running Started here. I believe these are Lily's original horns Blasted Split open The little center plate appears to be aluminum This plate I think was chromed but I will zinc it clear The other side


 1 point
 -
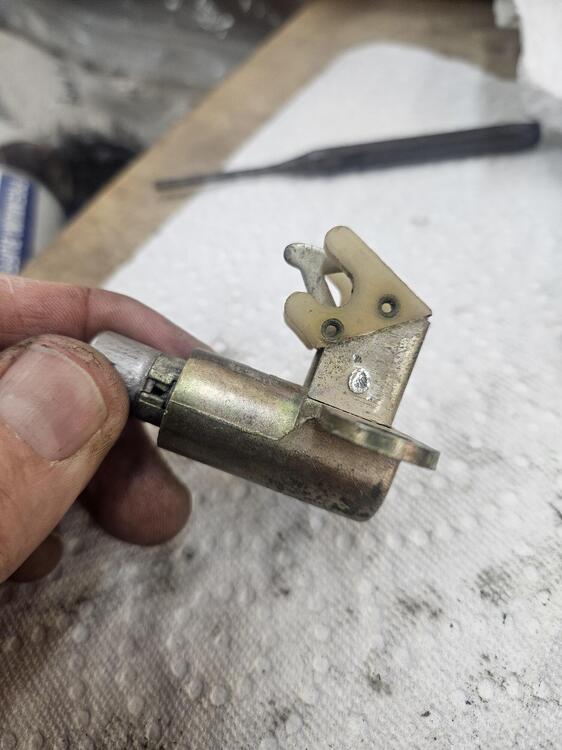
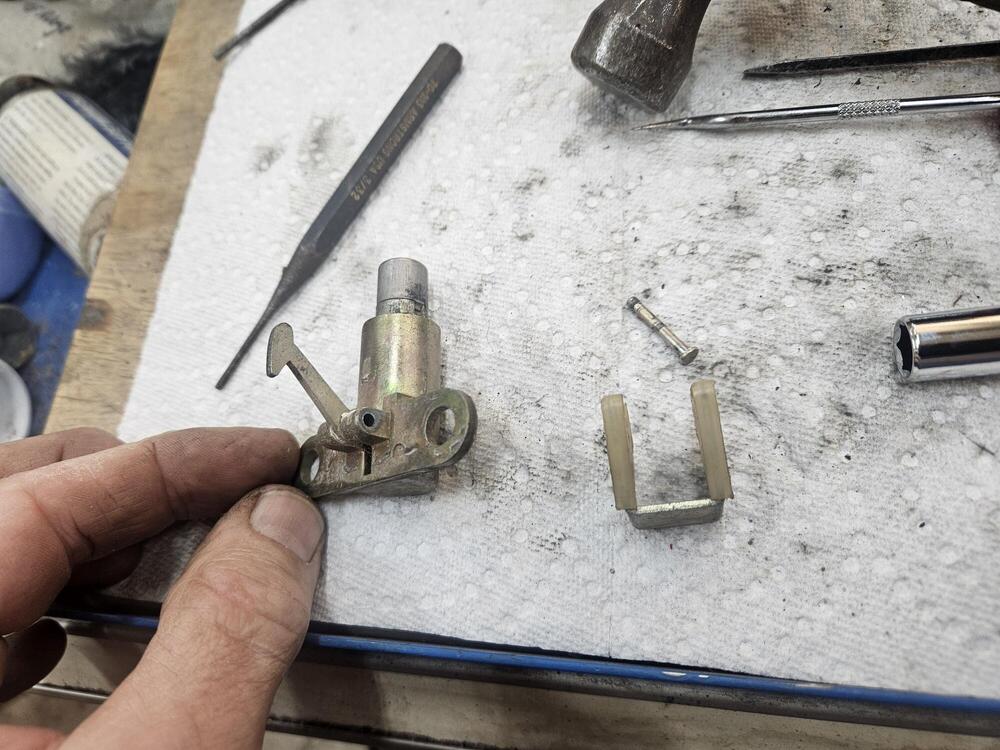
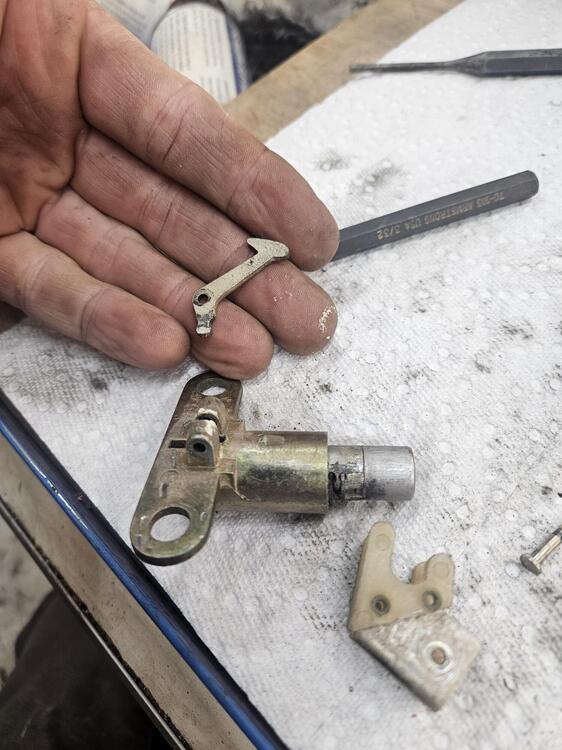
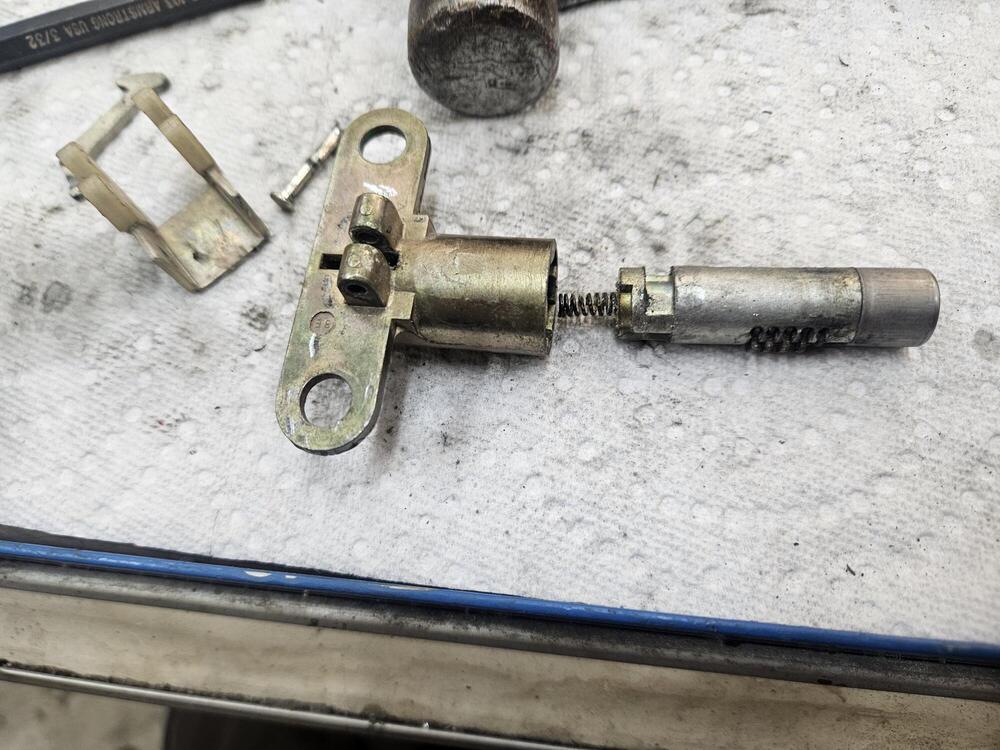
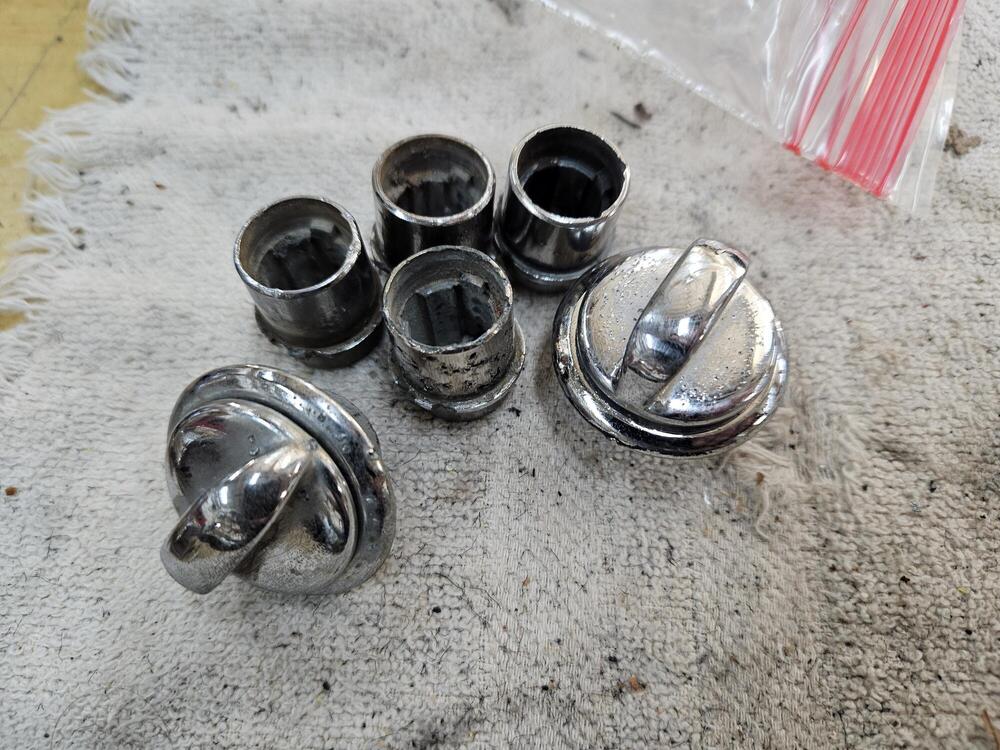
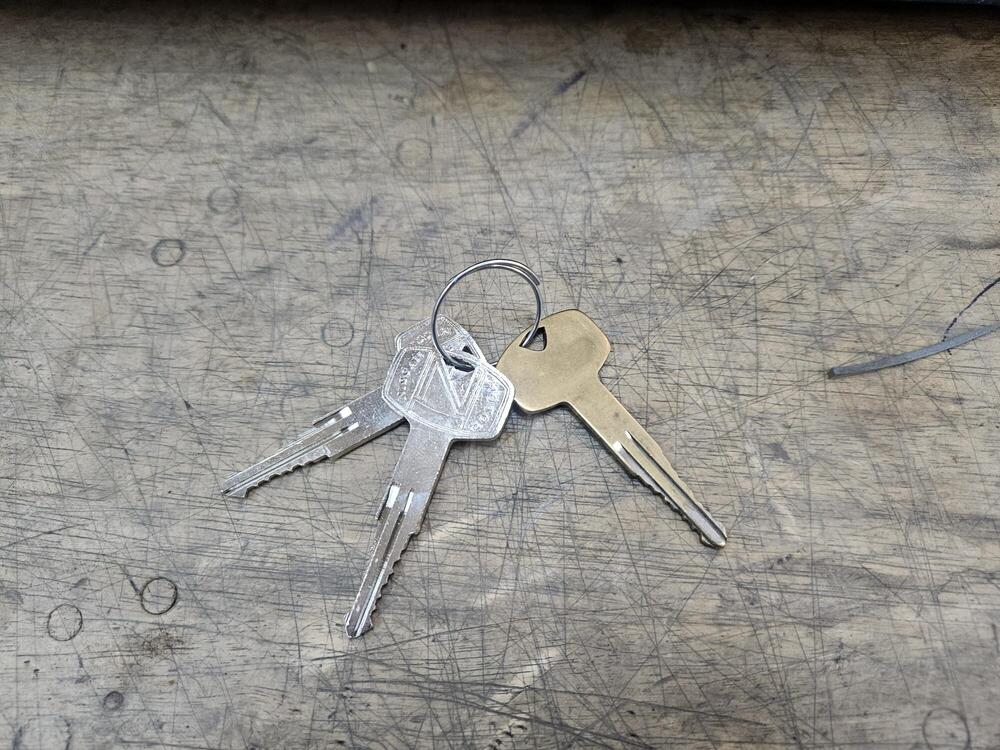
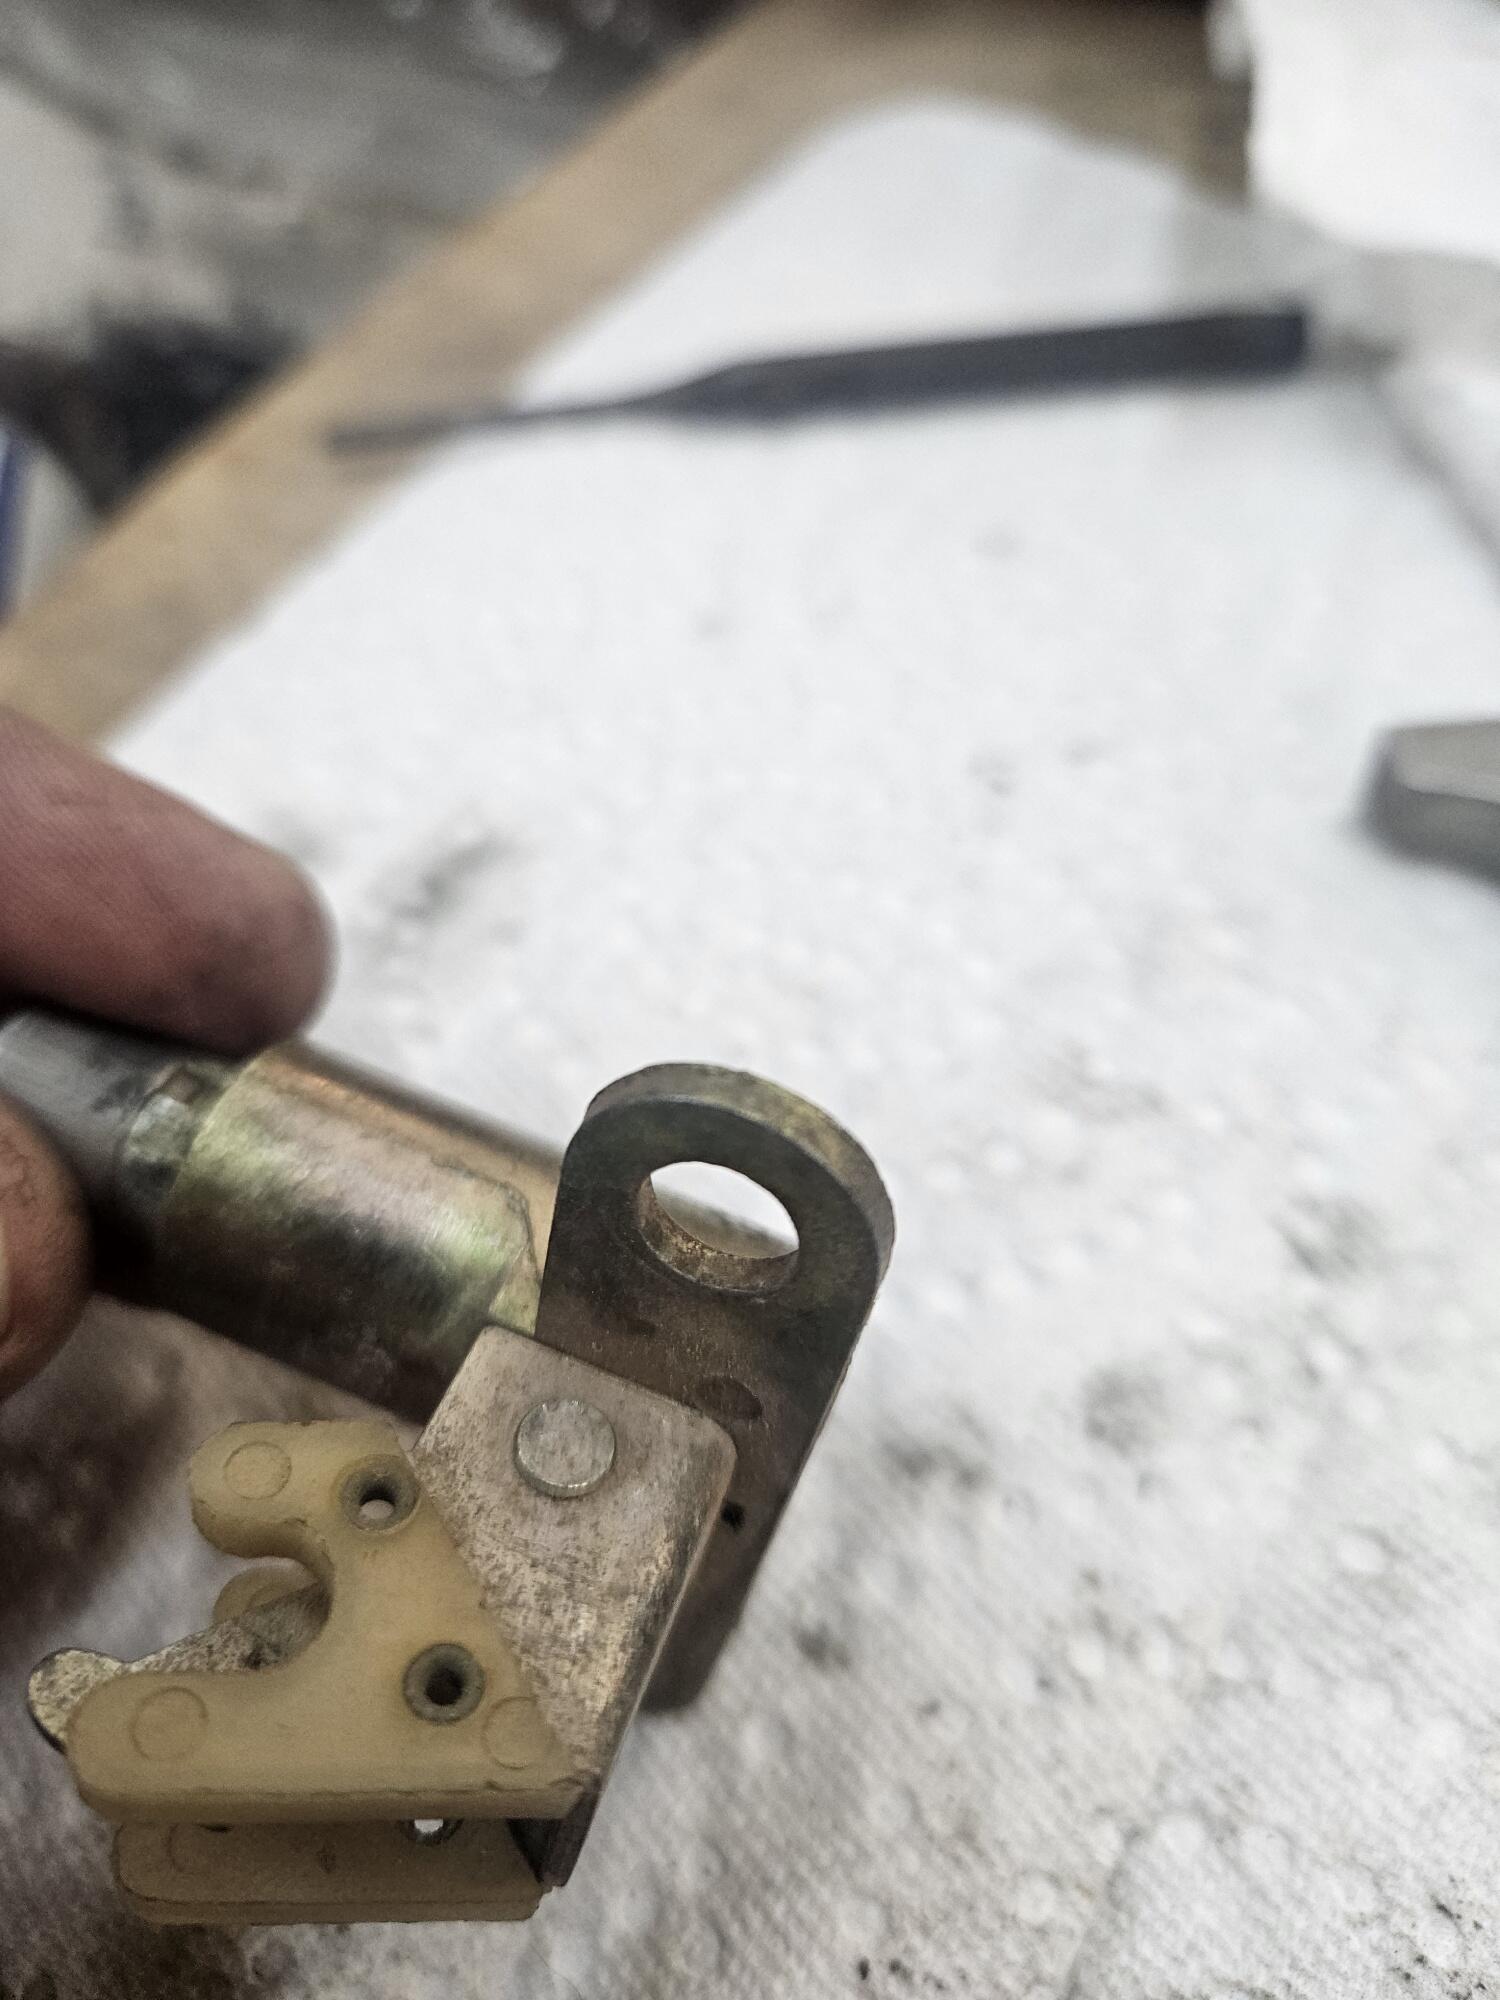
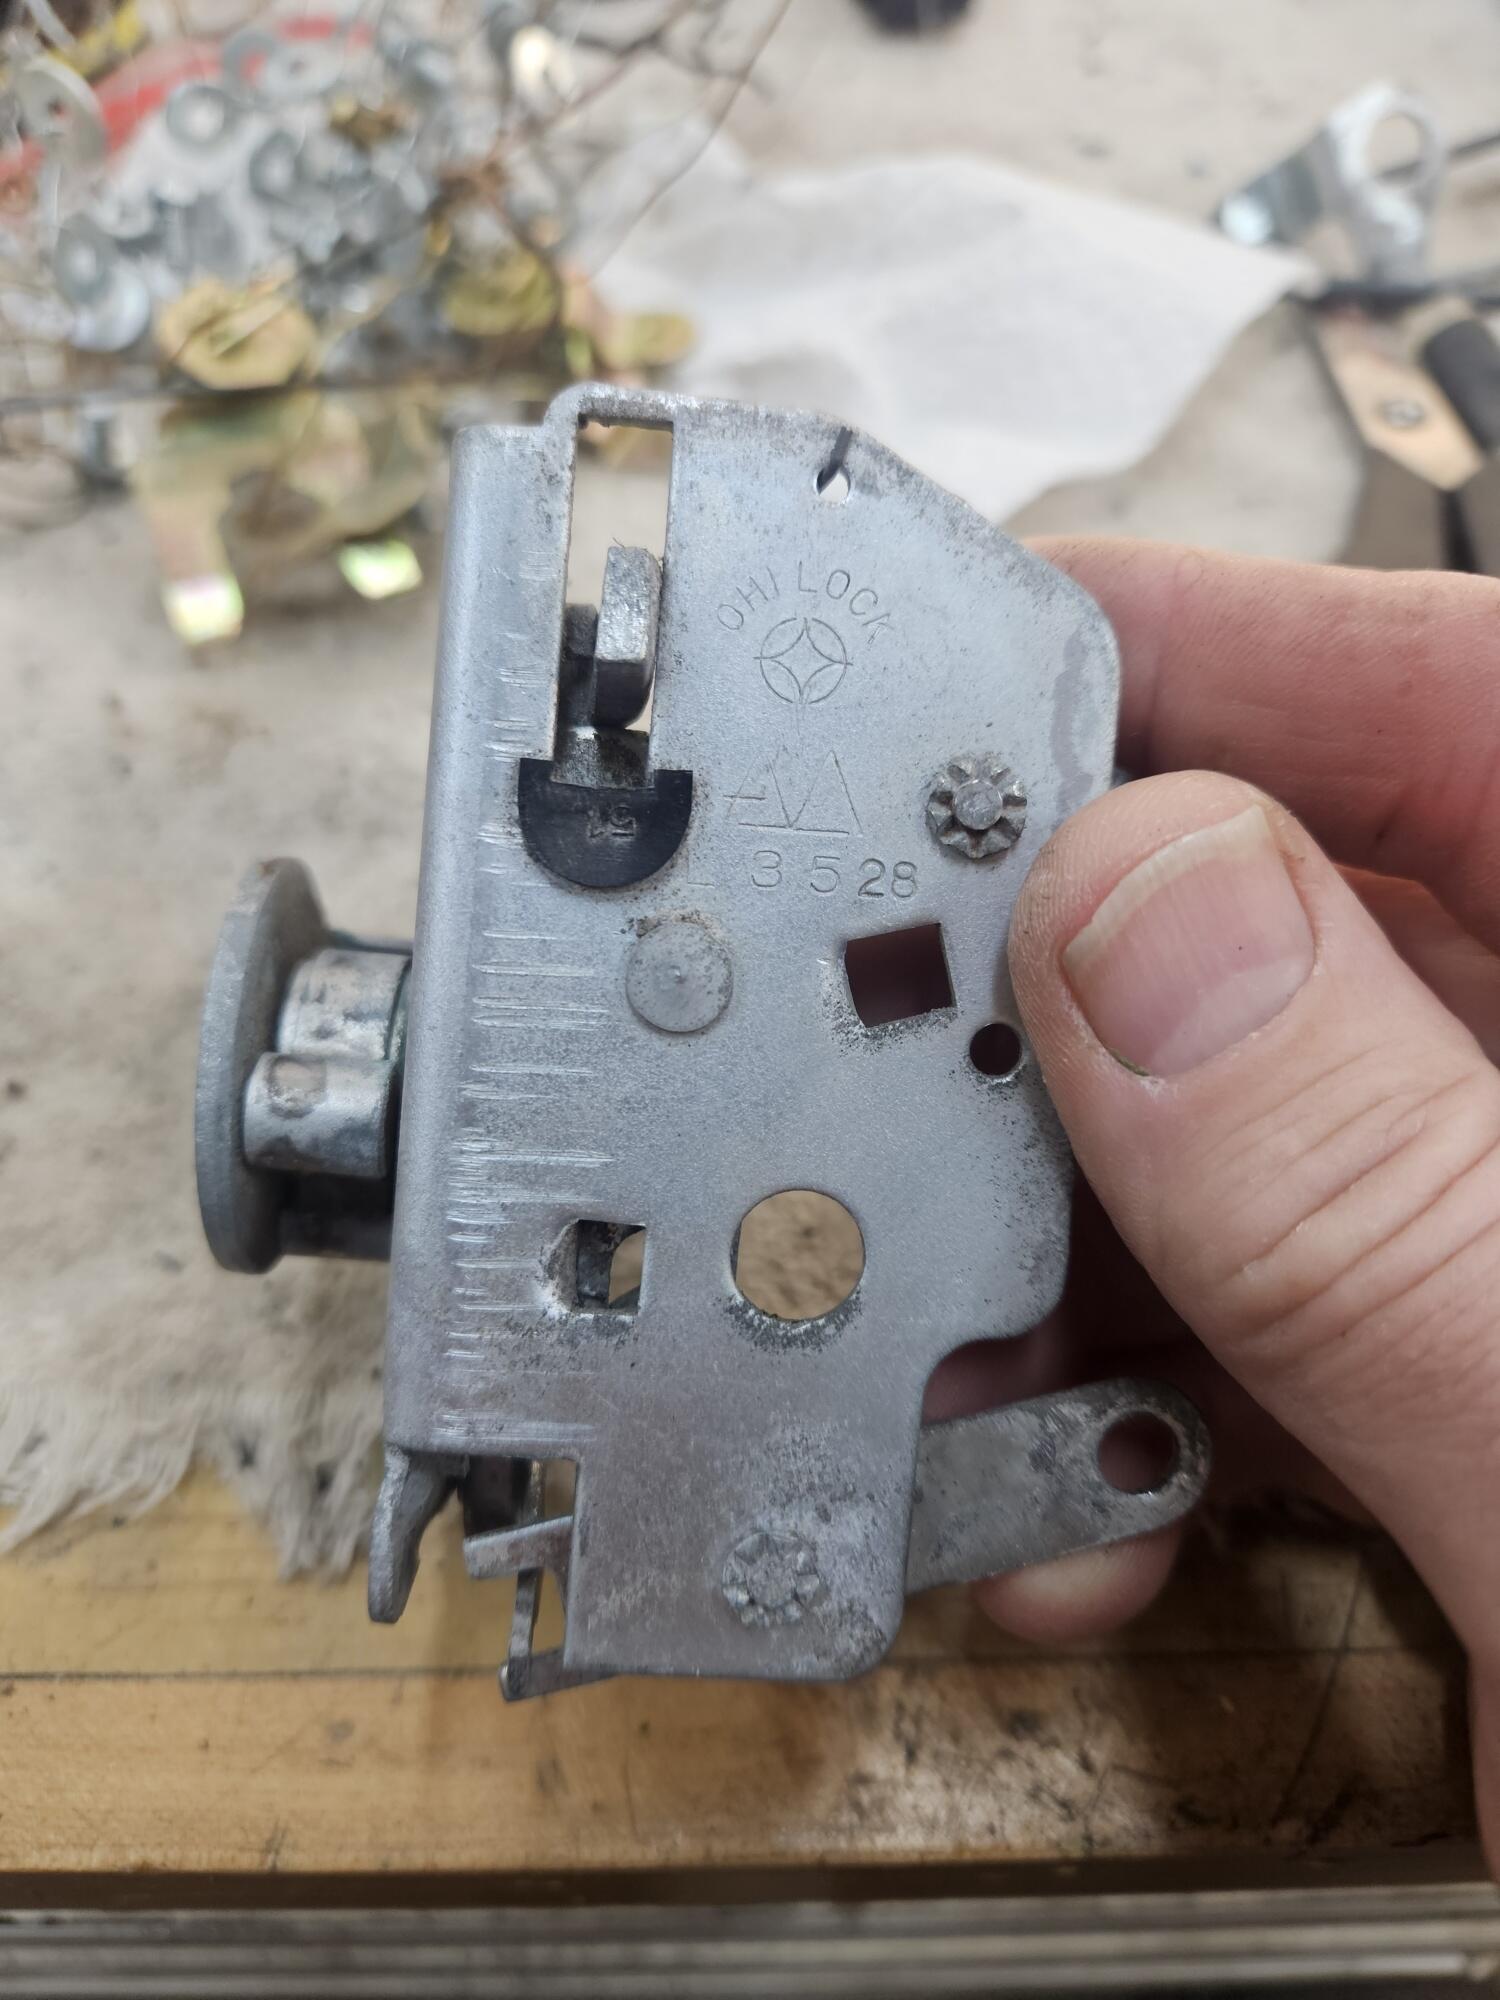
1 pointI rekeyed the glove box the lock today. I two to choose from. I believe the one with the plastic coated ears is from a later car but the key I am using wouldn't fit in the older lock. Ground the pin down and drove it out Exploded view It was a little bit of a pain to key but I got it done and reassembled


 1 point
 -
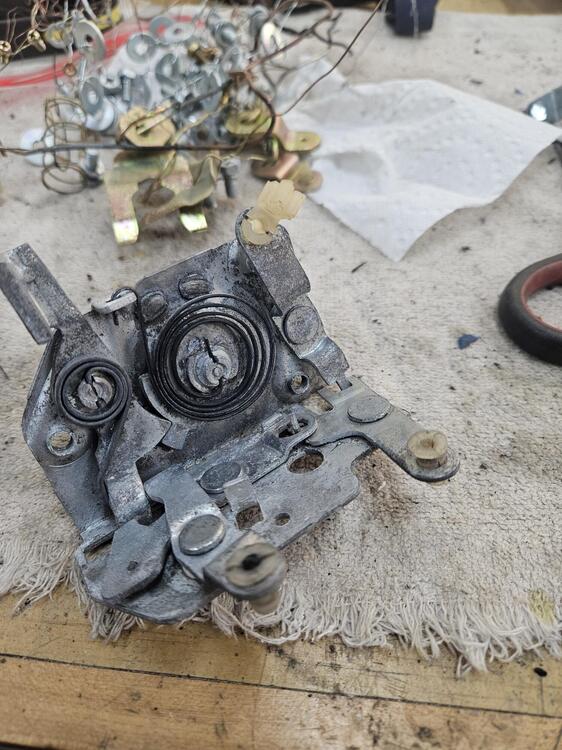
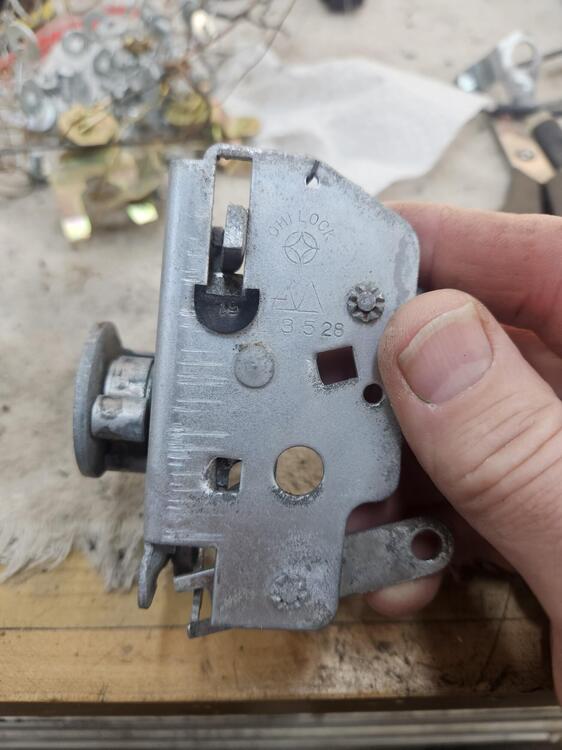
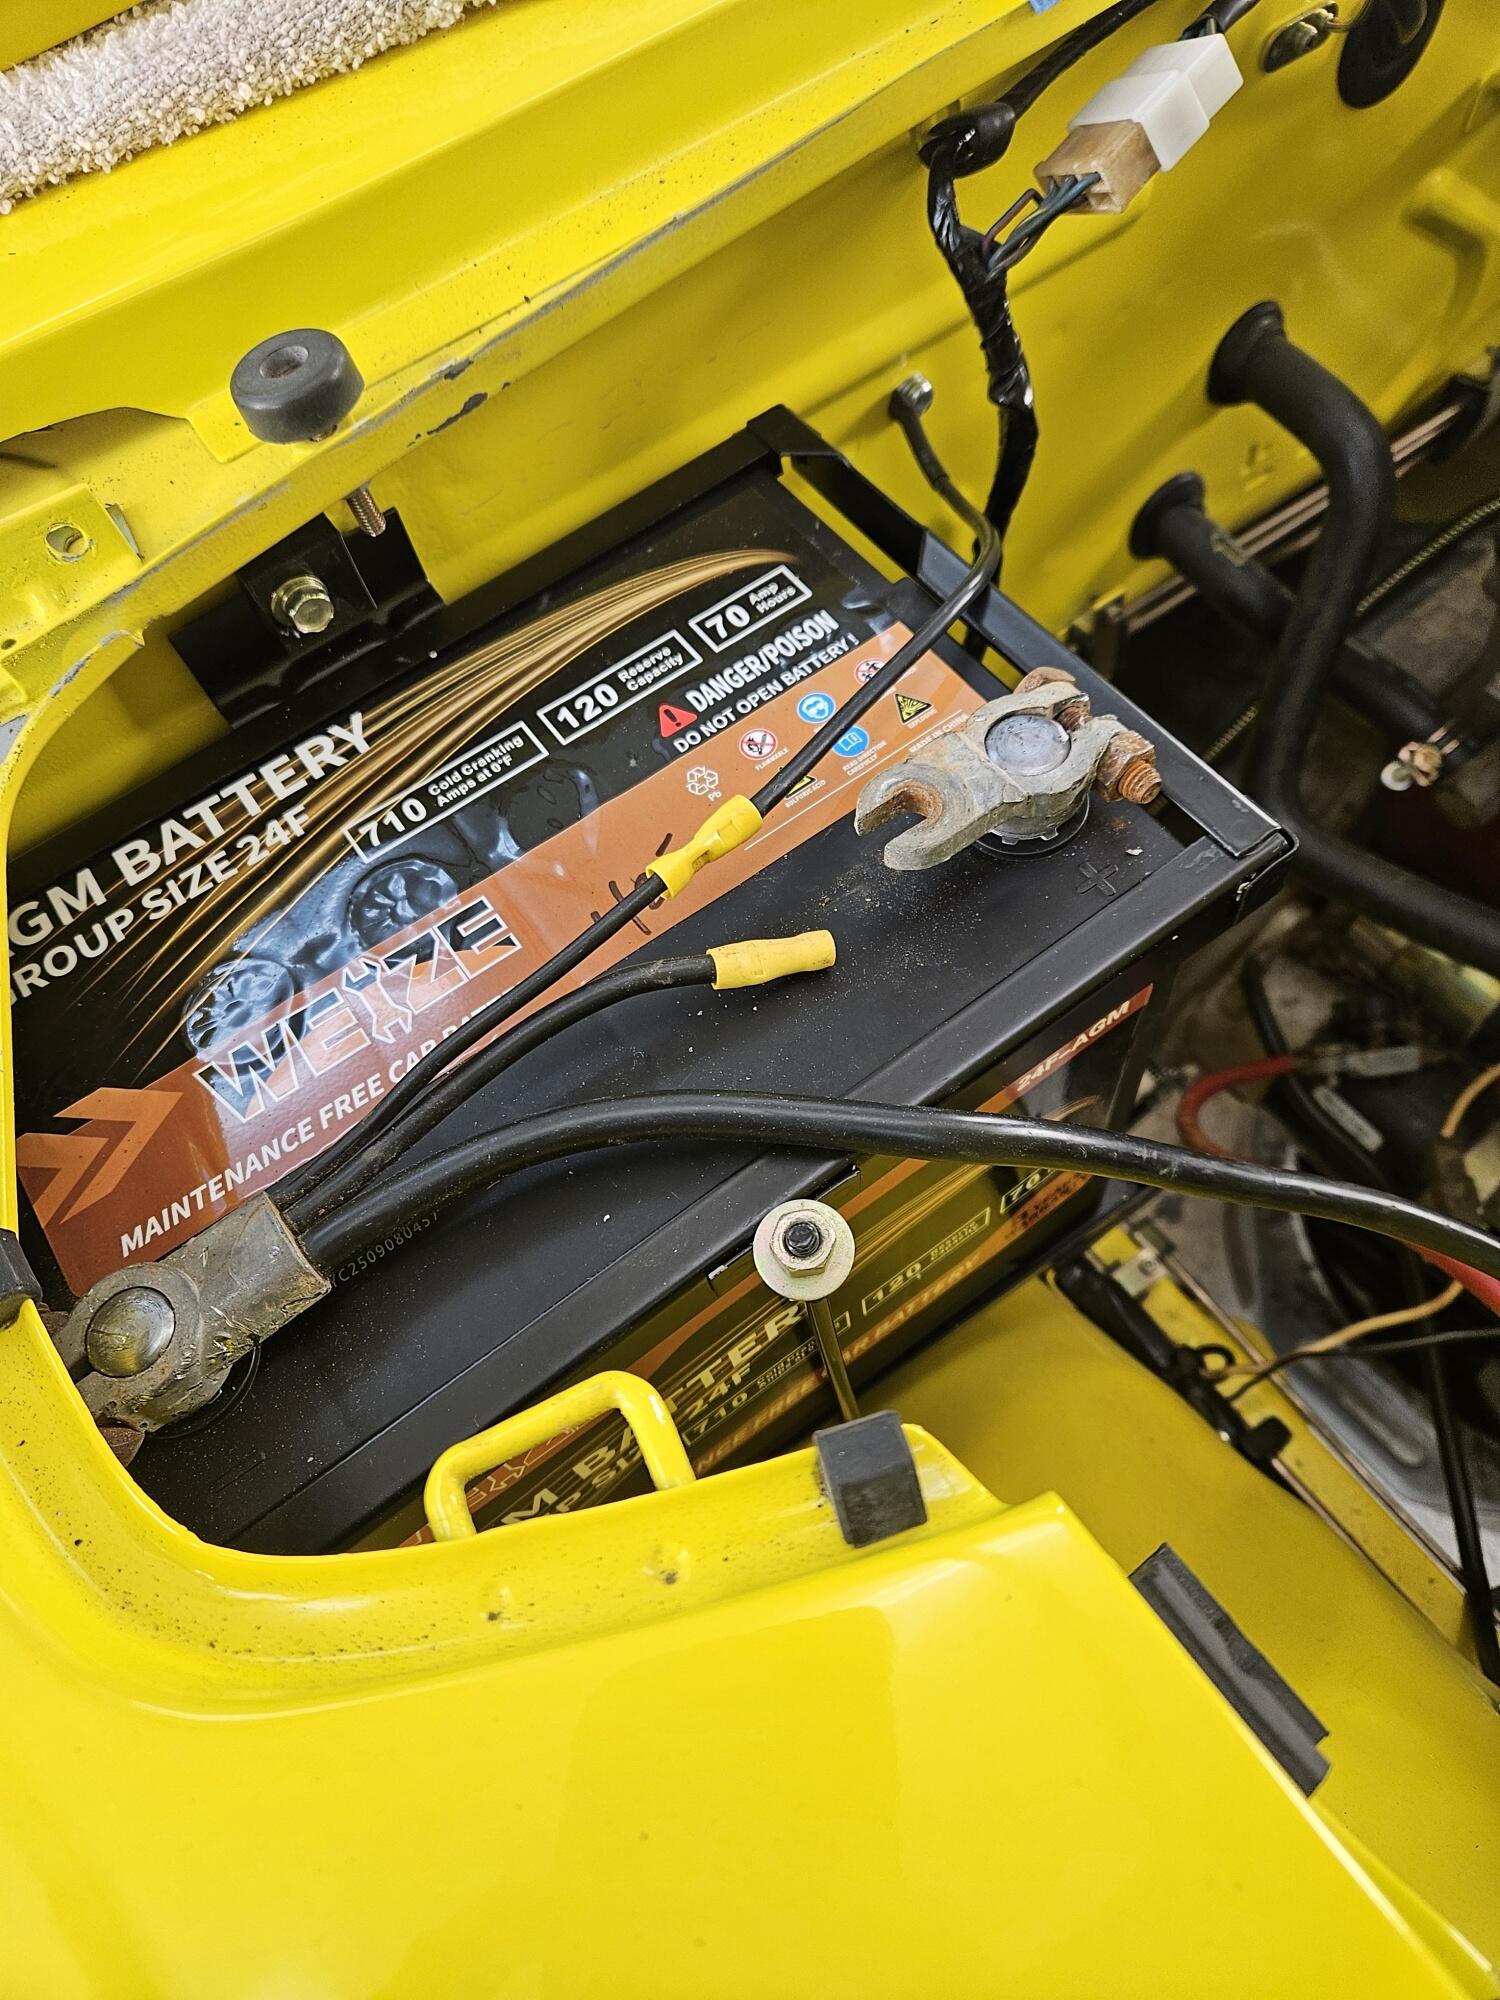
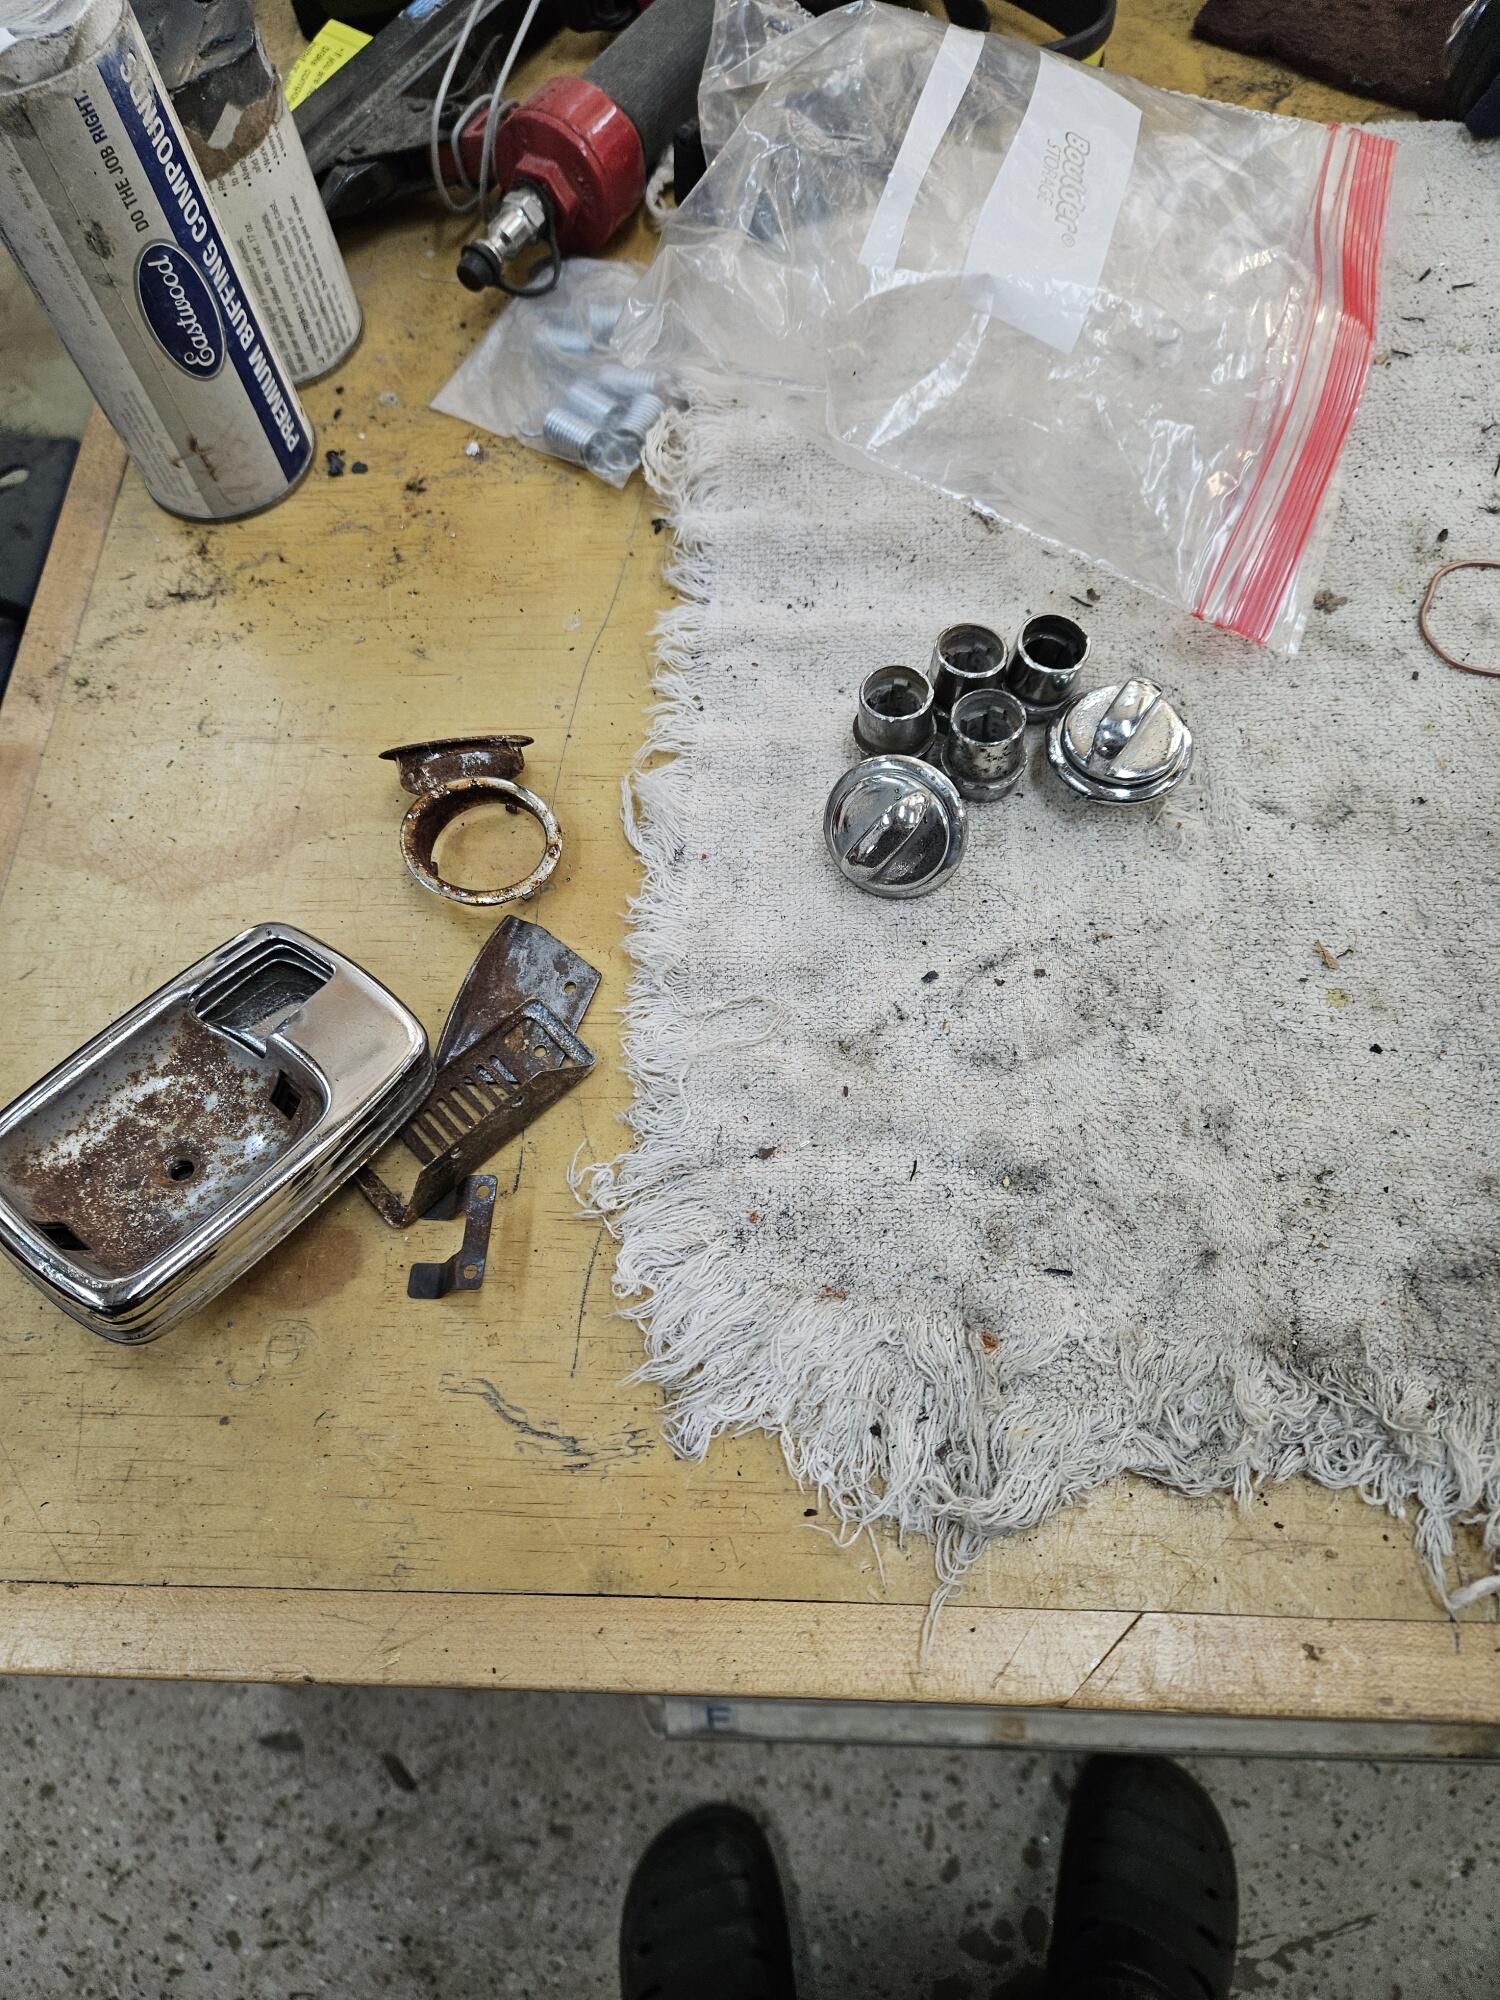
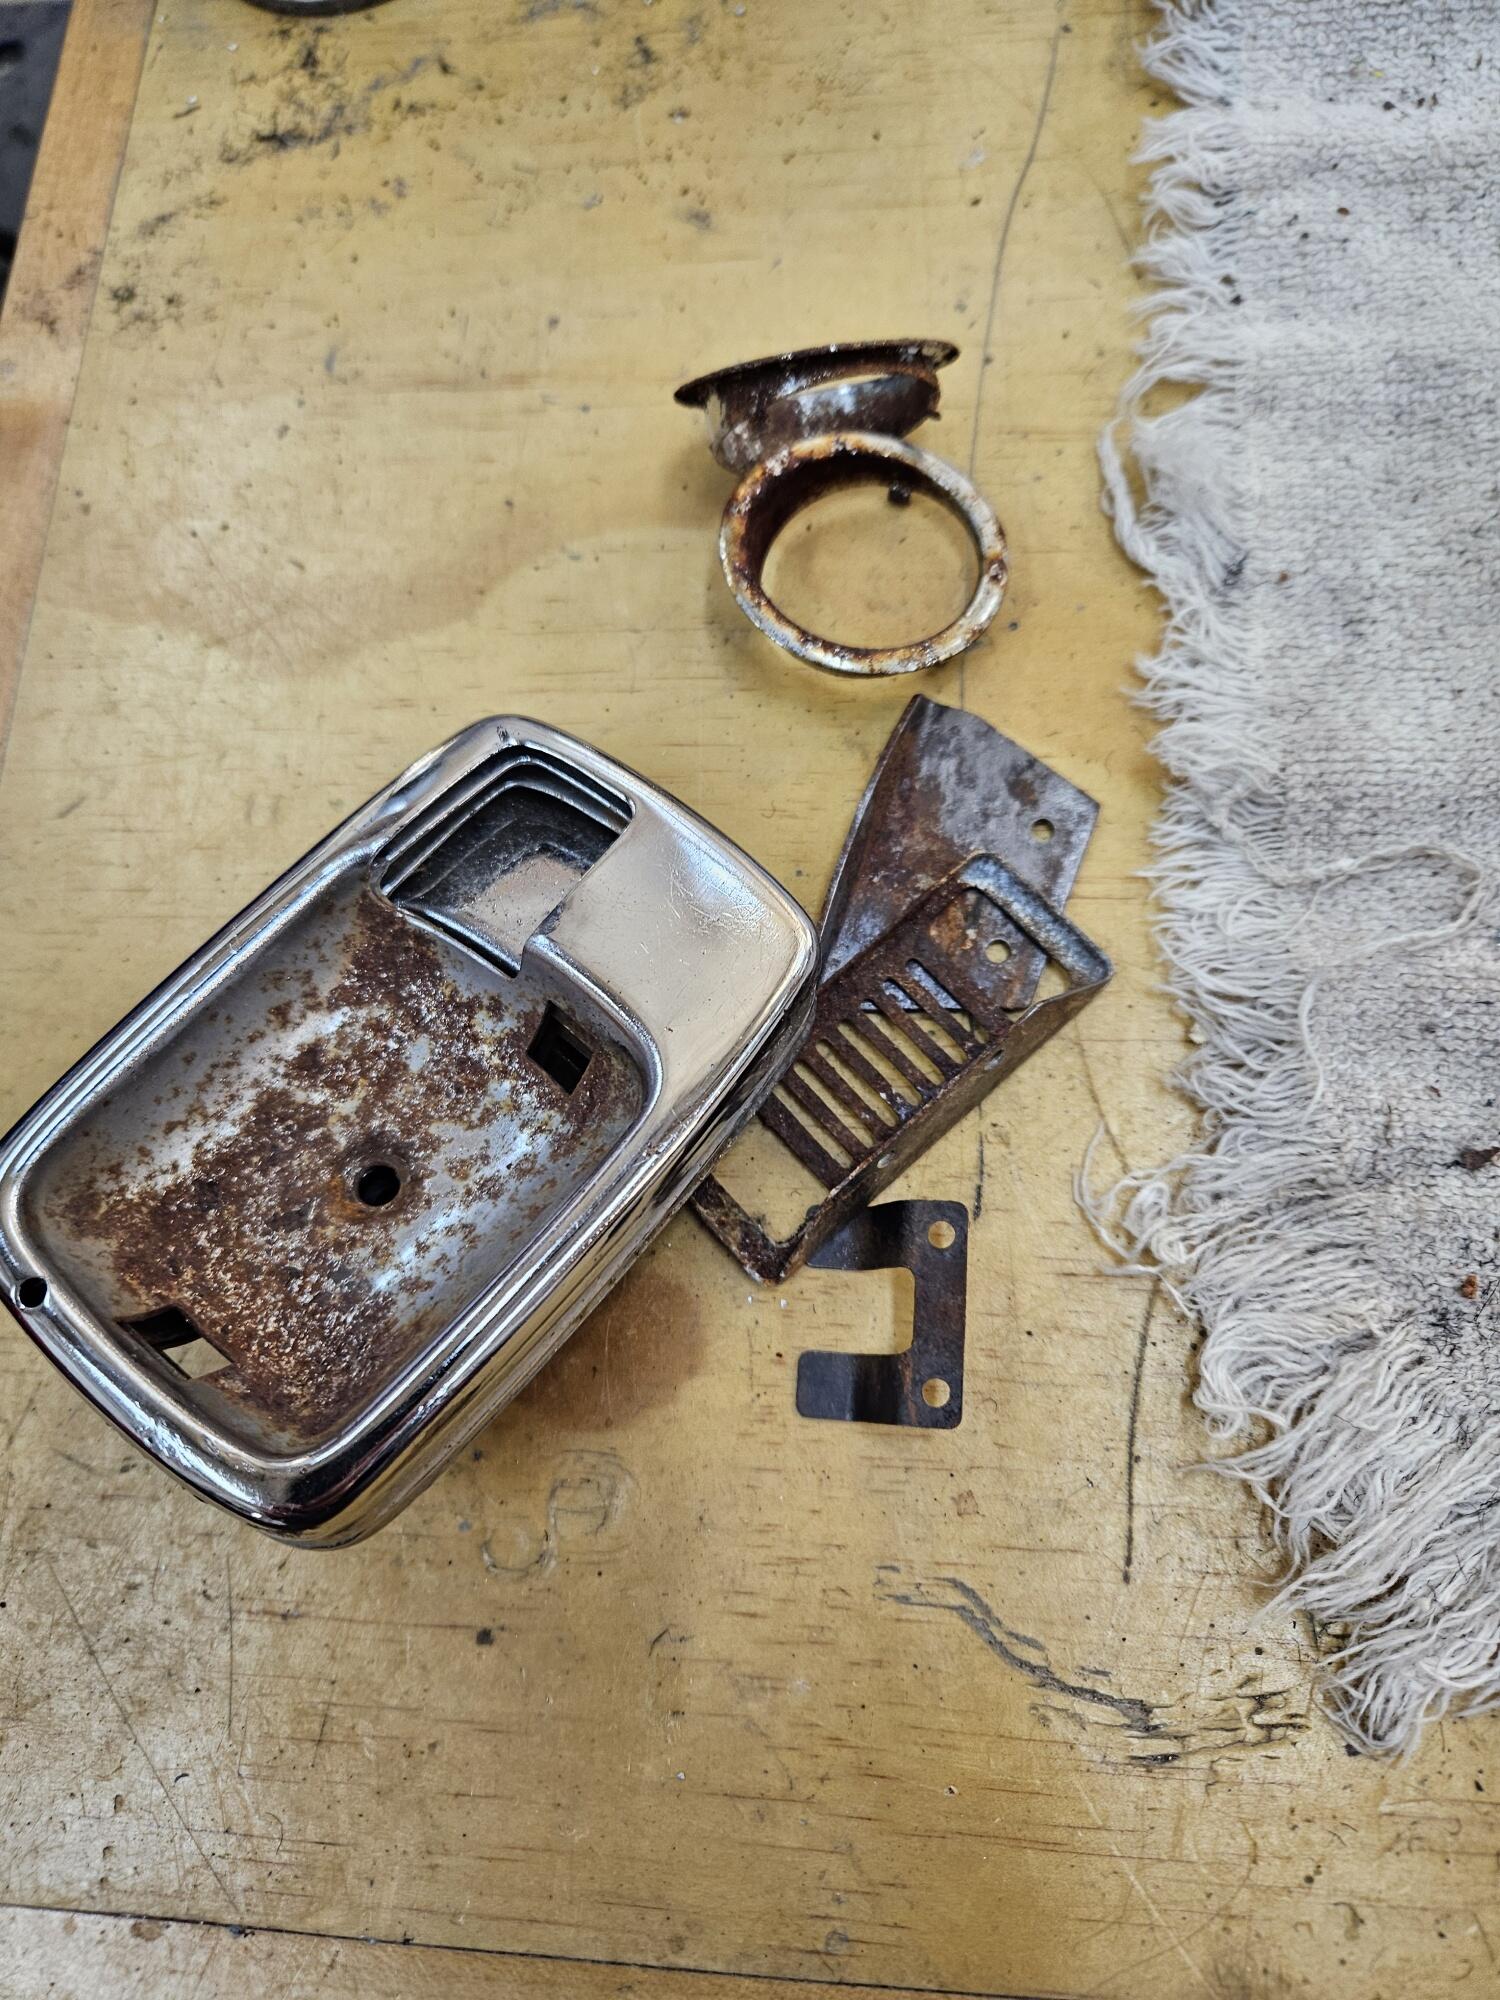
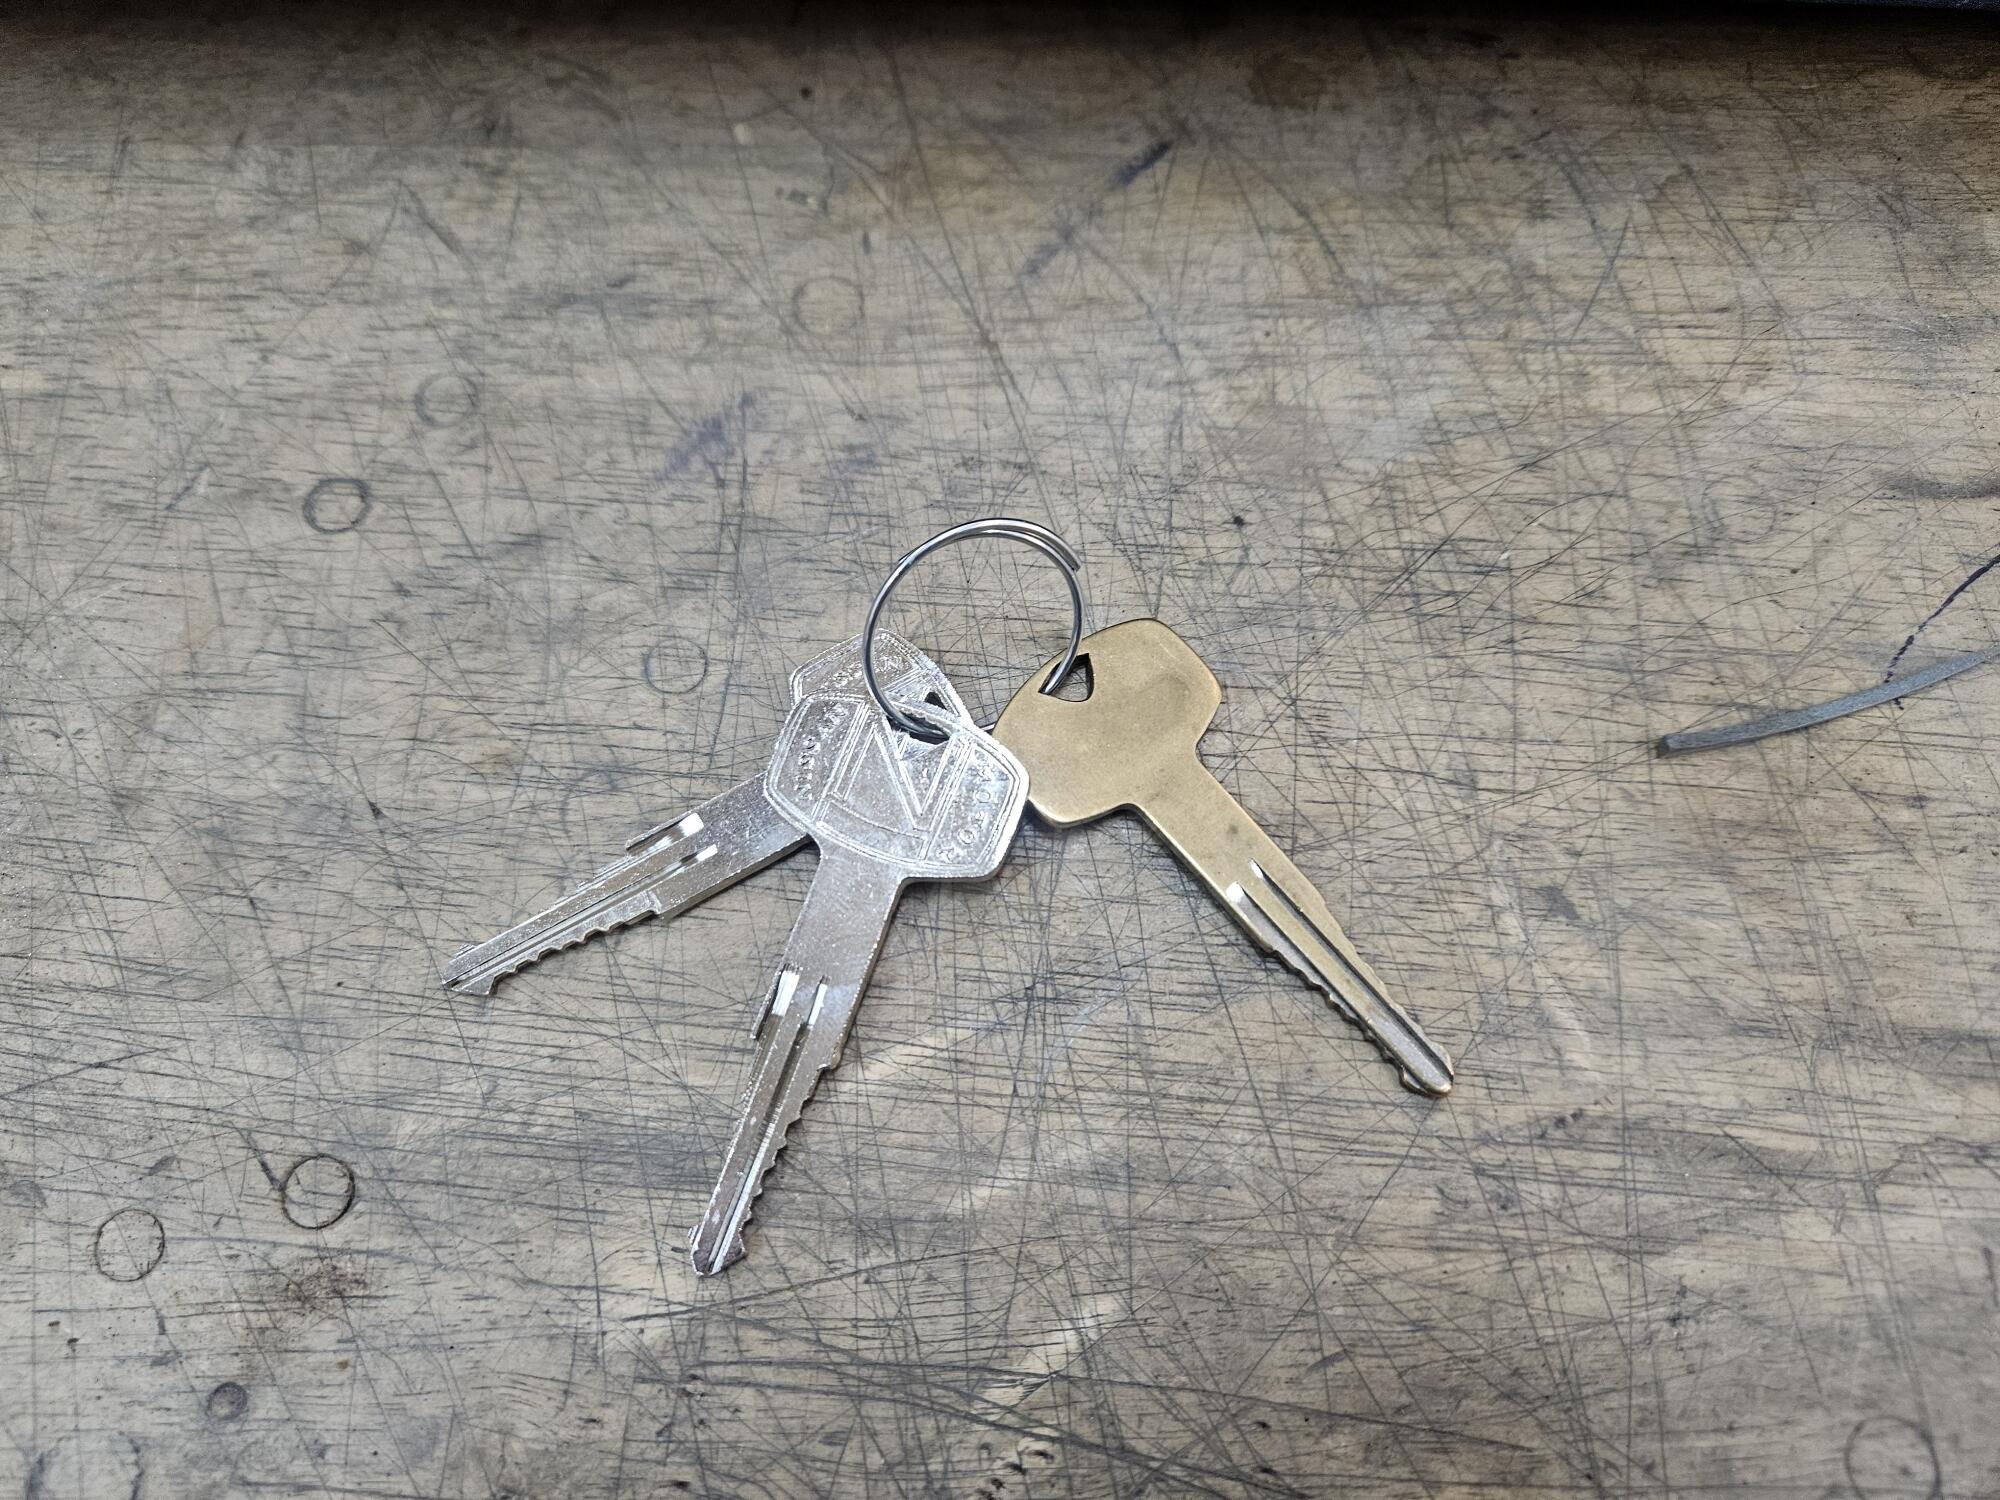
1 pointI got a new battery last weekend for Lily and a new battery frame I pulled together some pieces that need to be chromed. We'll see what these parts cost to get chromed There is a company in Australia that can make keys from codes or pictures. I got a price of about $40 for 2 new keys plus freight. On a whim I called my local locksmith to see if they could cut a key from a code. He could. so I took some Nissan blanks I had and he cut me two keys for like $22 I wanted to get a new key and be sure when I keyed them that the new key would work the rekeyed locks. It's good I did becoaul the new key wouldn't work the locked I already rekeyed. I also stripped a door latch for plating I also reworked the floor vents with new foam. 2mm foam on the flaps and some 6mm foam around the edges After the glue set, I trimmed these back


 1 point
 -


Important Information
By using this site, you agree to our Privacy Policy and Guidelines. We have placed cookies on your device to help make this website better. You can adjust your cookie settings, otherwise we'll assume you're okay to continue.