Leaderboard
-

siteunseen
Free Member3Points15,115Posts -
HusseinHolland
Free Member3Points1,031Posts -
inline6
 Subscriber
 3Points1,282Posts
 -
conedodger
Free Member3Points12,513Posts


Popular Content
Showing content with the highest reputation on 09/09/2024 in all areas
-
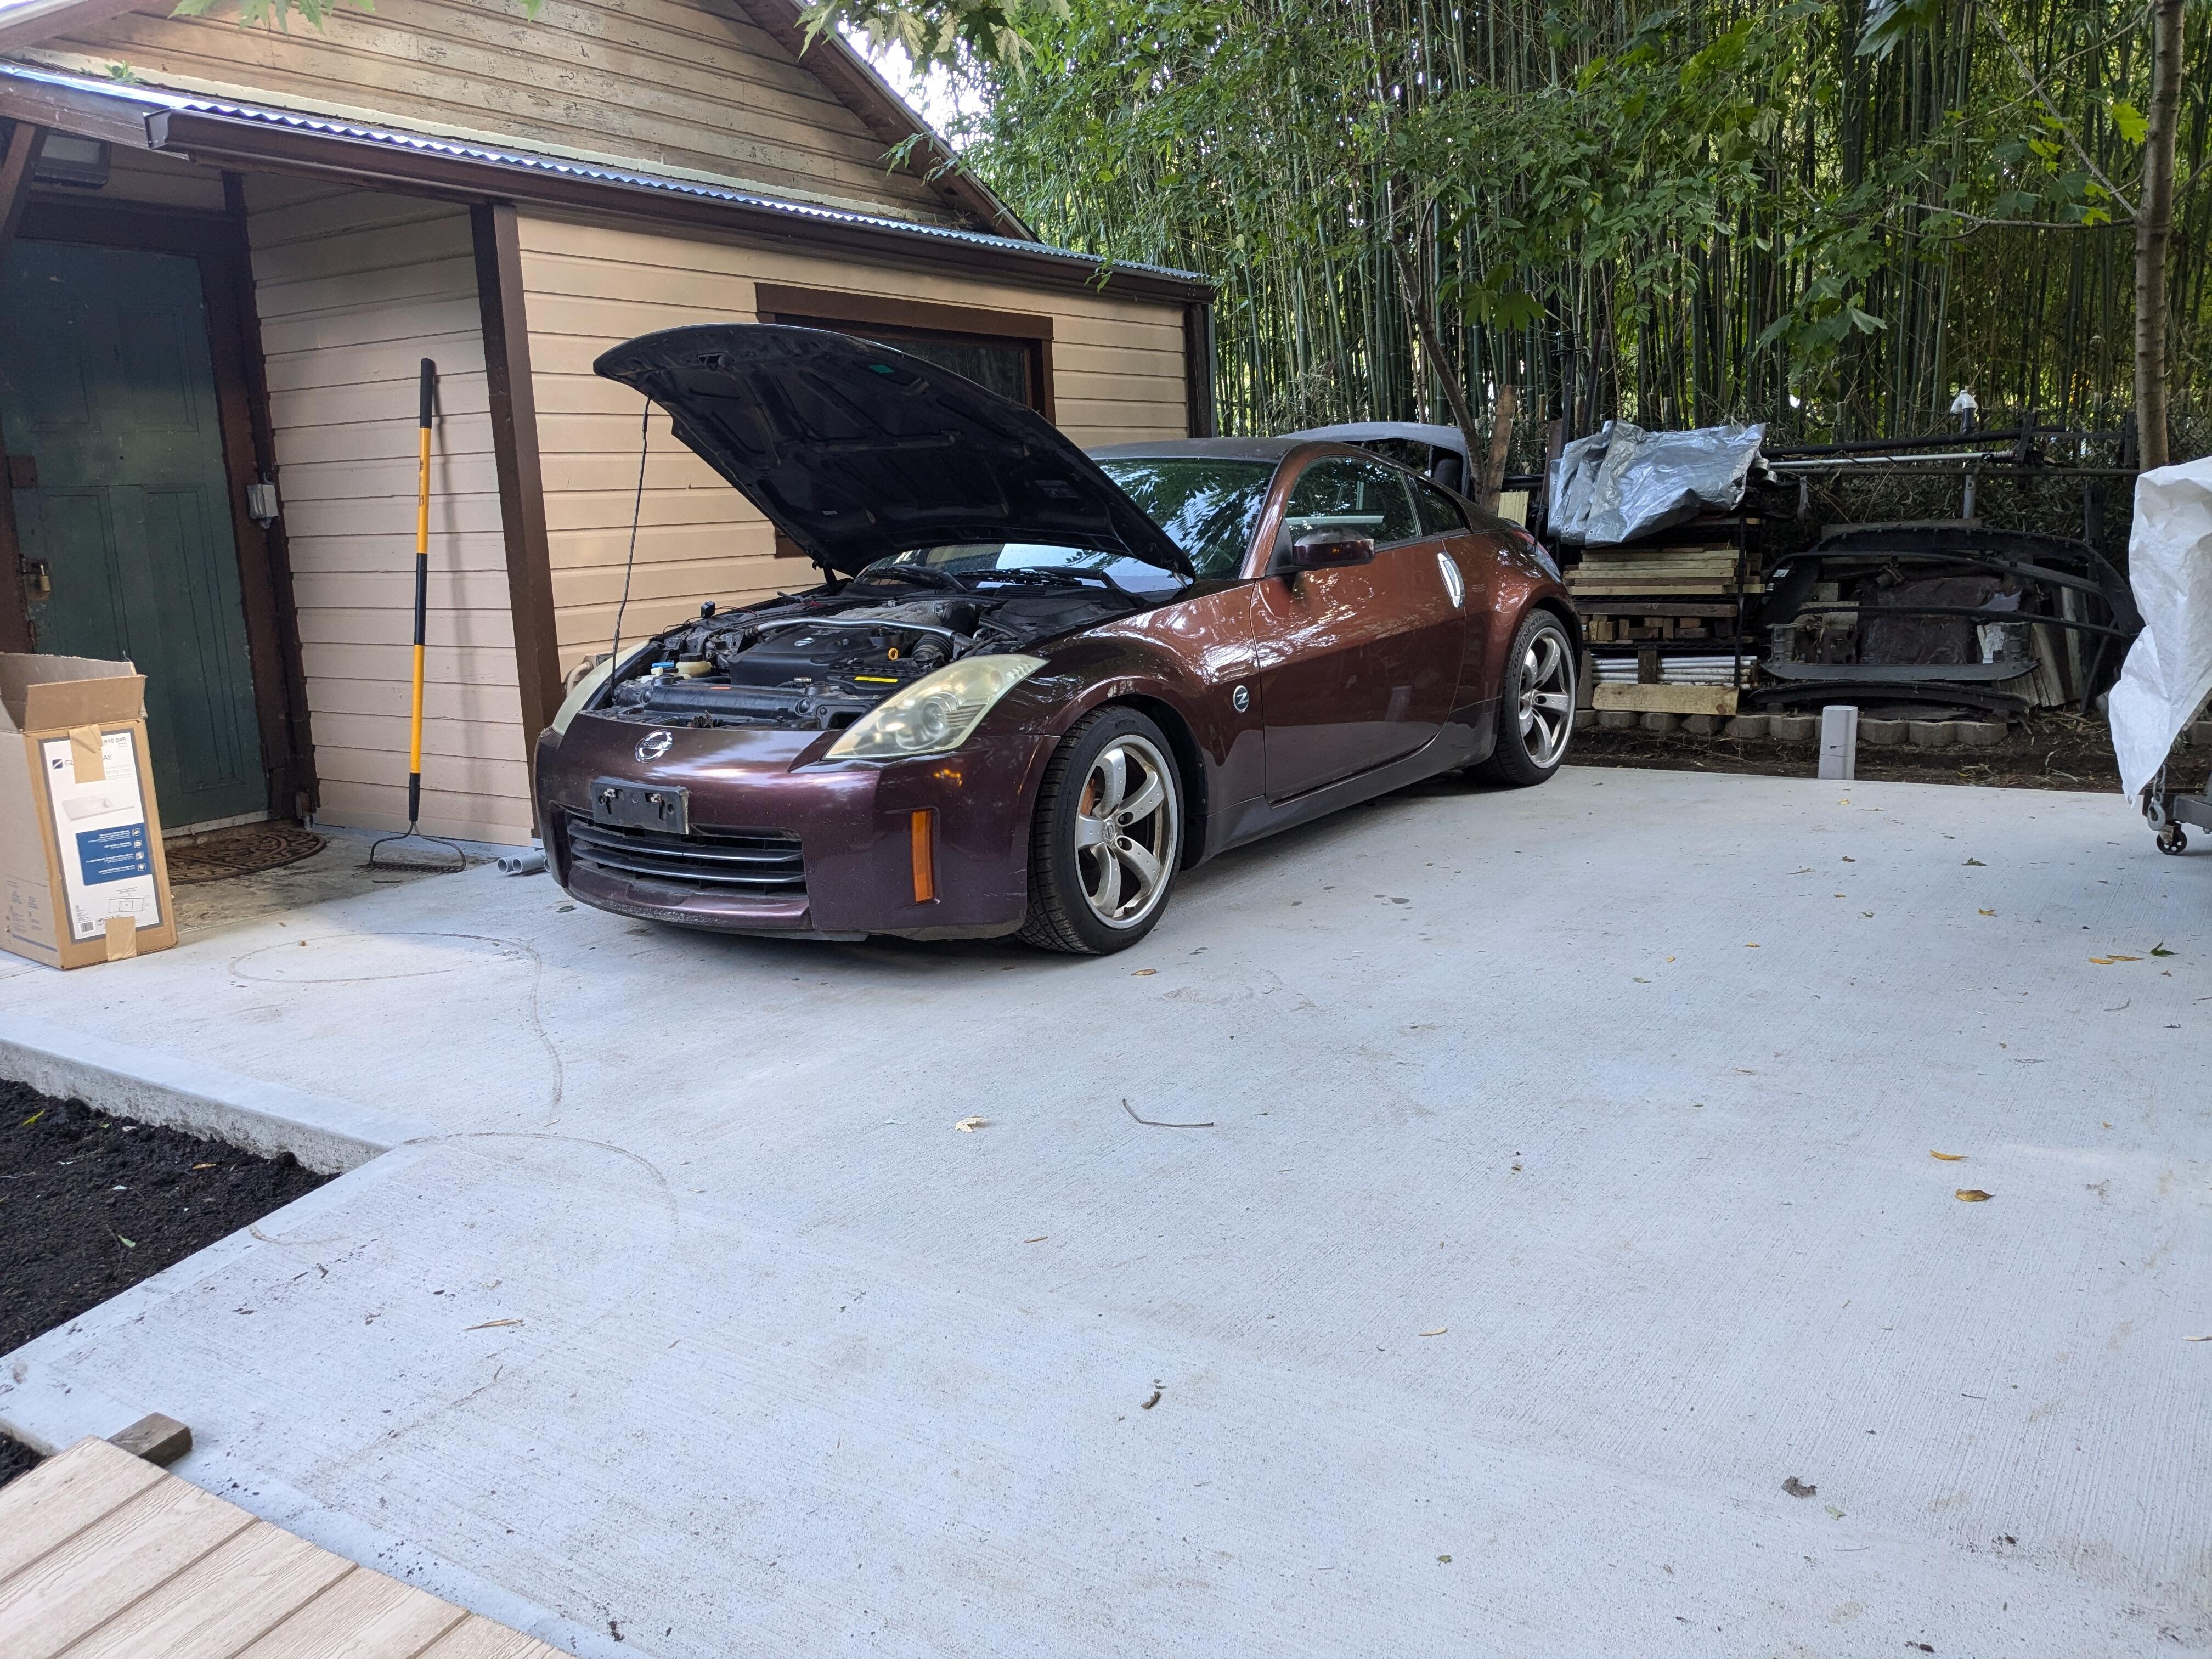
350Z is now nestled in back on my new slab
 3 points
 -
2 points
-
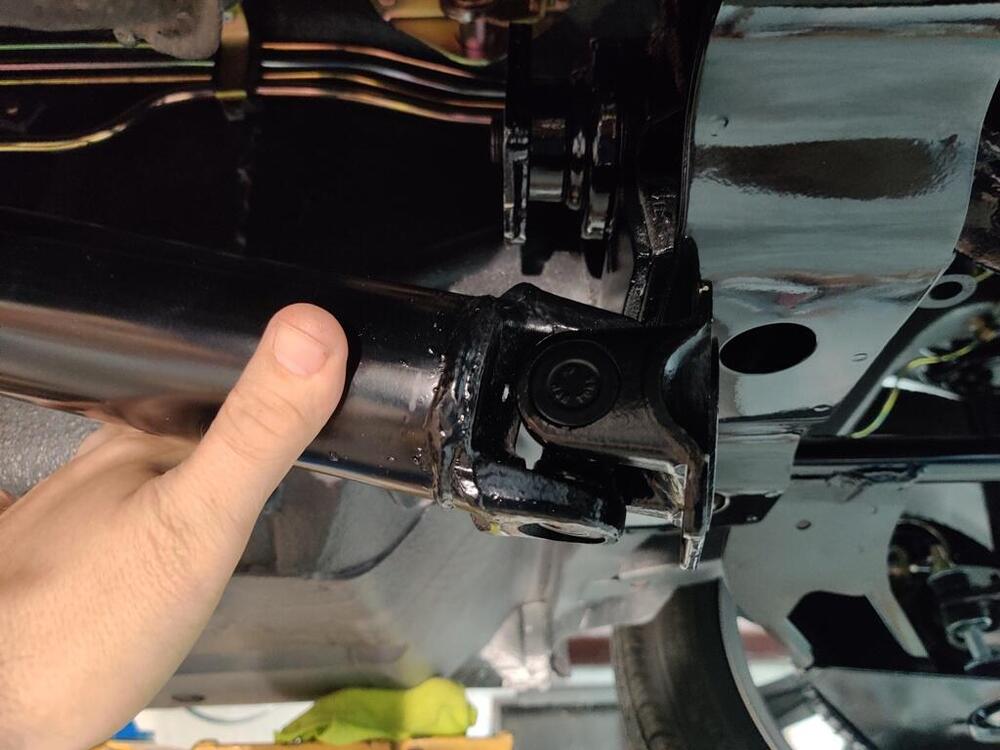
Hmmm. I am rethinking this. The driveshaft shield on the yoke is bottoming out against the 240SX transmission. And I measured the depth of that at 1.775". Just removing that shield might give me enough. I will need to have another, closer look.2 points
-
1 point
-
1 pointI've had similar and it turned out to be the float chamber lids screws were loose. There's 4 on each of mine, Phillips head. They vibrate loose after a whille I suppose if you haven't had them off or anything. Raise the piston on each carb and check for "equally shitty" running. One carb runs 3 cylinders so disabling them one at a time should give you equal crappy running. It'll run but barely. Did the distributor hose come off the front carb? It does sound like extra air being pulled in from somewhere. High rpm is generally a result.1 point
-
1 point
-
We also have a pretty good driveline shop in spartanburg. I'm am planning on taking them a driveshaft soon1 point
-
1 point1972 electronics technology and parts inside these current sensing devices. I found this interesting page on the internet. Might have something for the guys with electronics expertise. Seems like a tachometer rebuild might be in order. The page is a good example of how wrong things can get when a person tries to be clever with page color and font. Easier to read if you highlight the text with your cursor. Not sure of the quality of the information but it's an example. https://www.sw-em.com/Smith's Tachometer.htm1 point
-
I think there were several driveshafts in the parts car I gave to Patcon, one may have been from an early car that I converted to a five speed. If you dont have any luck with a shop, maybe reach out to him.1 point
-
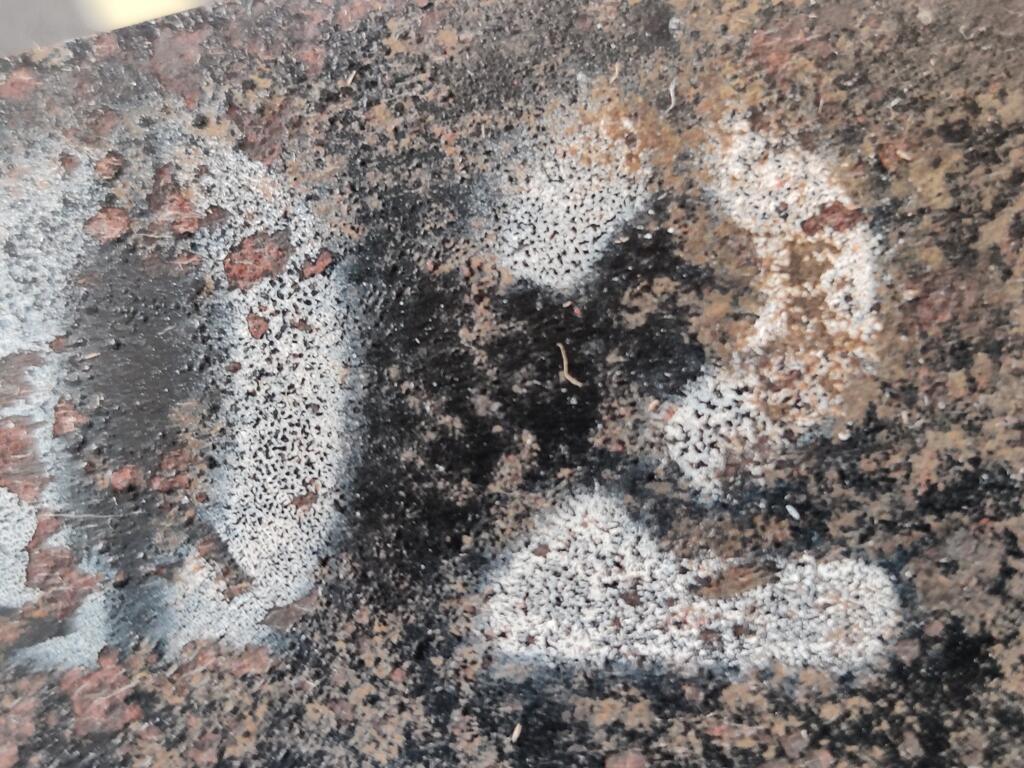
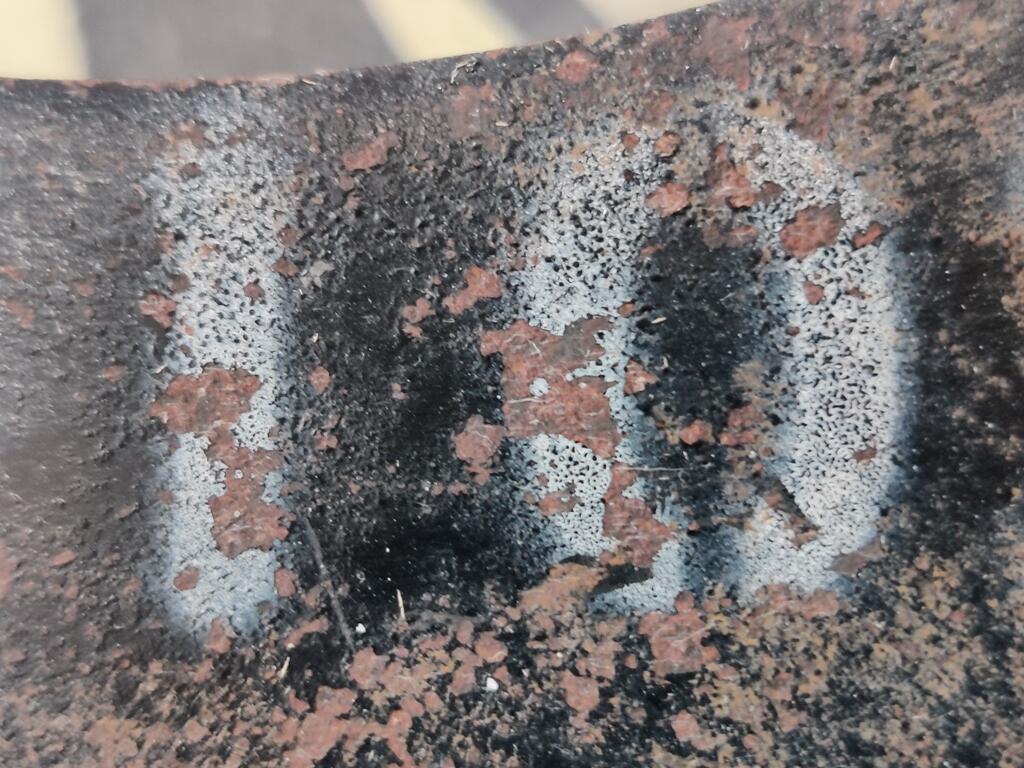
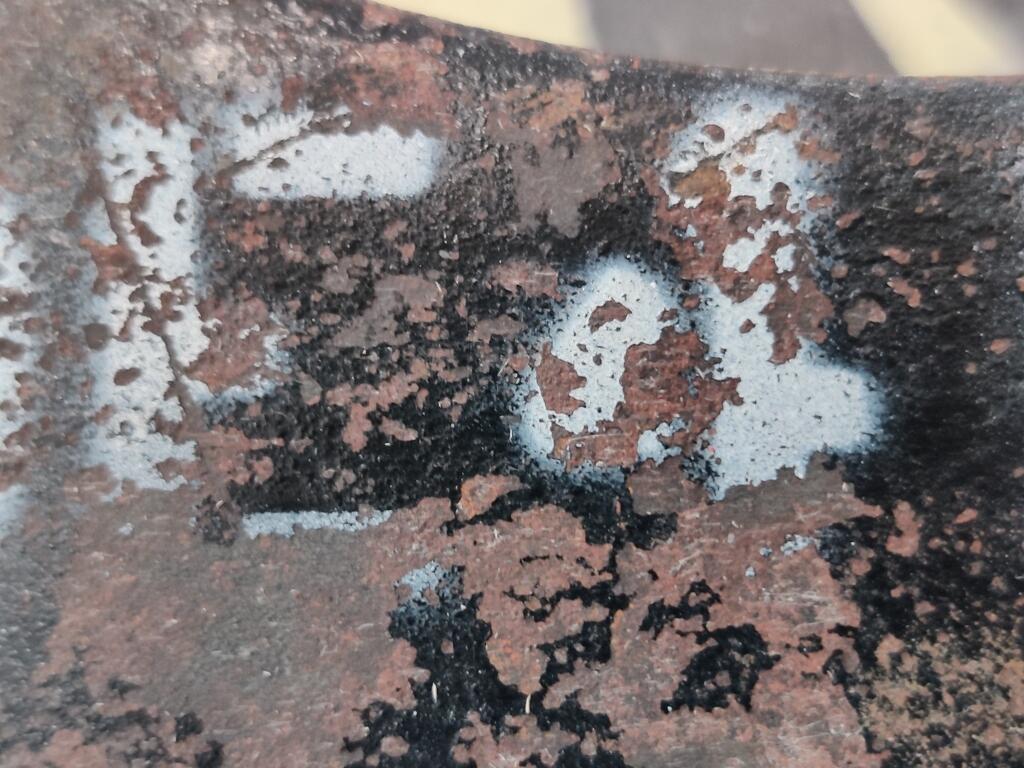
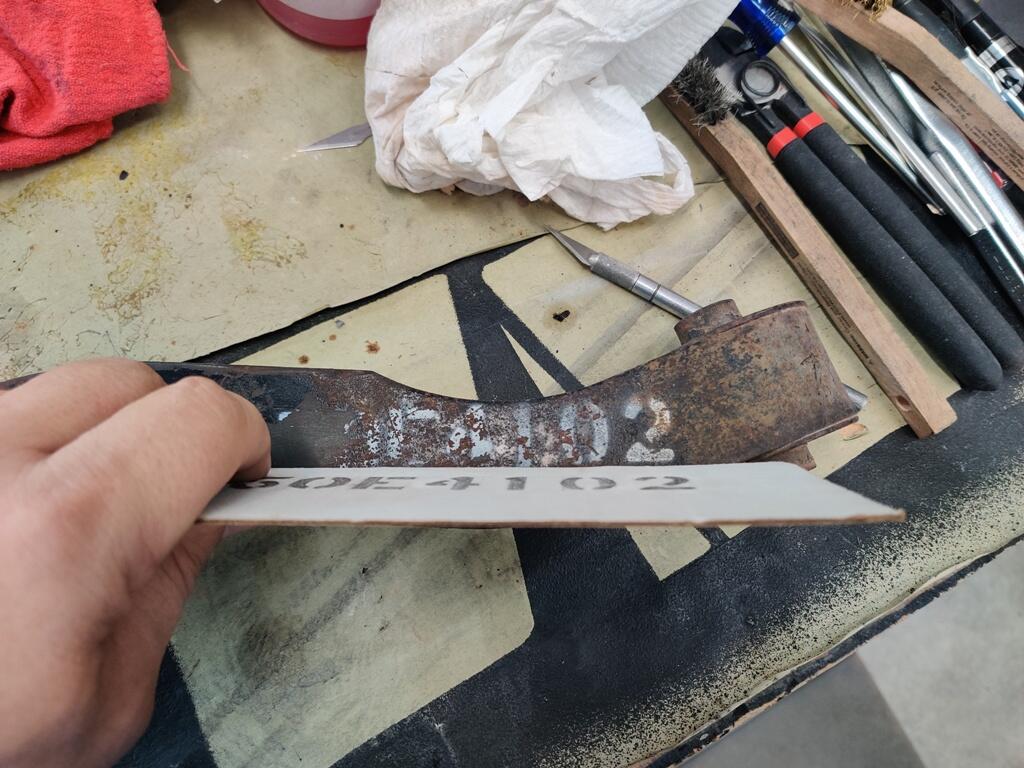
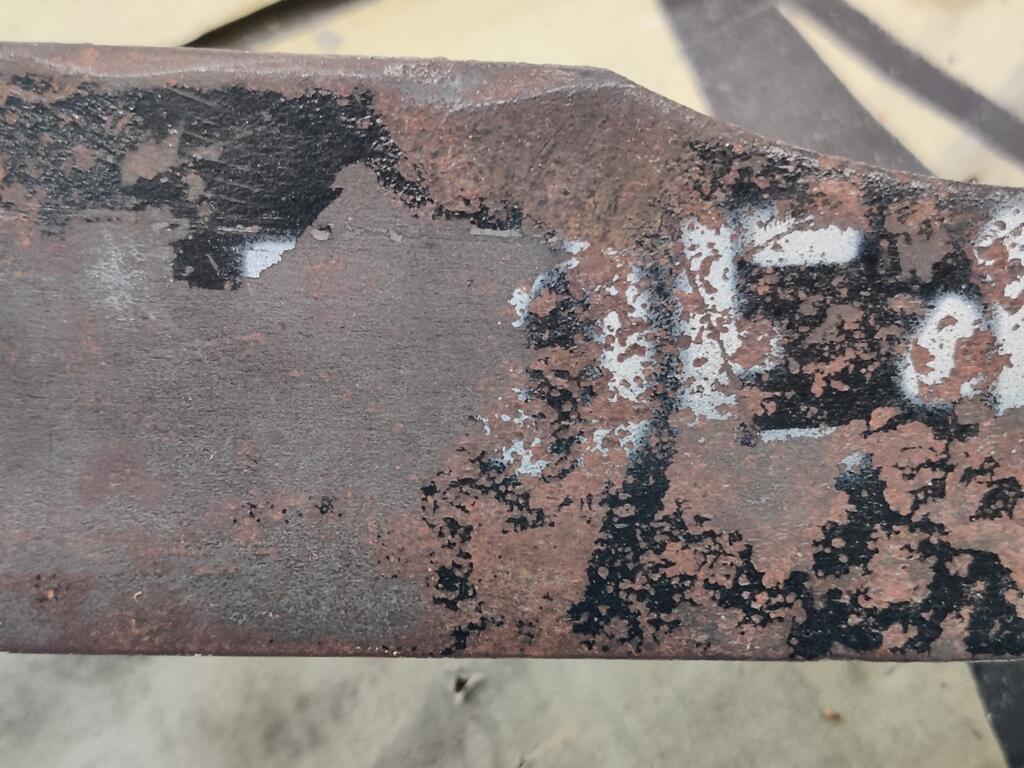
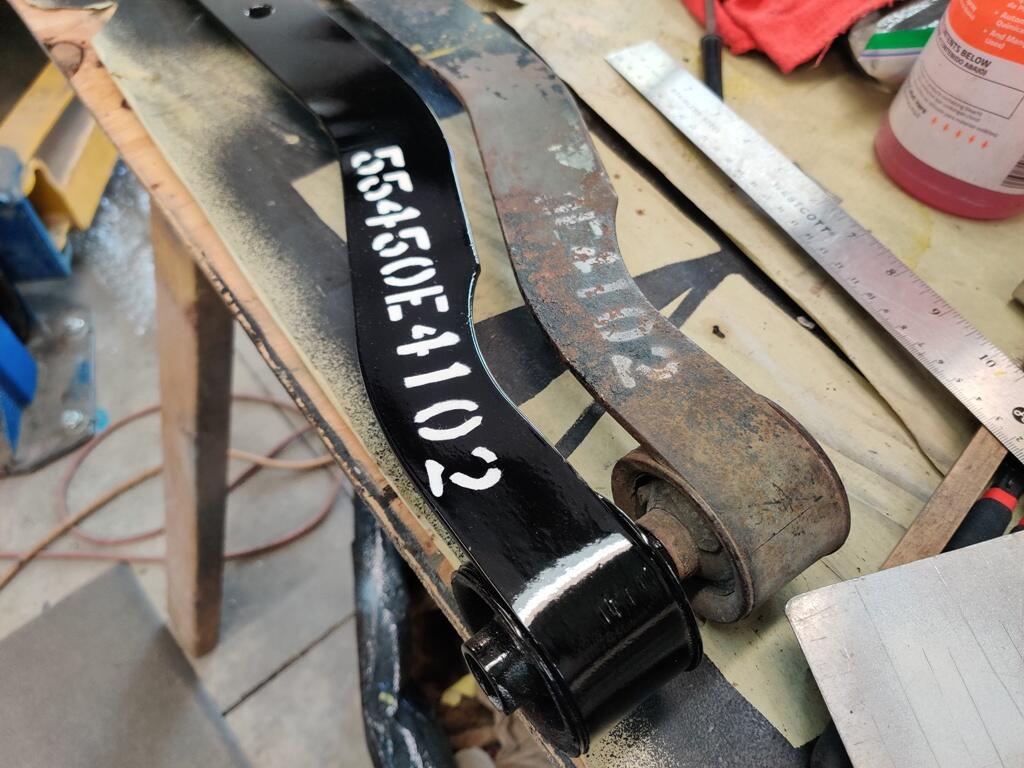
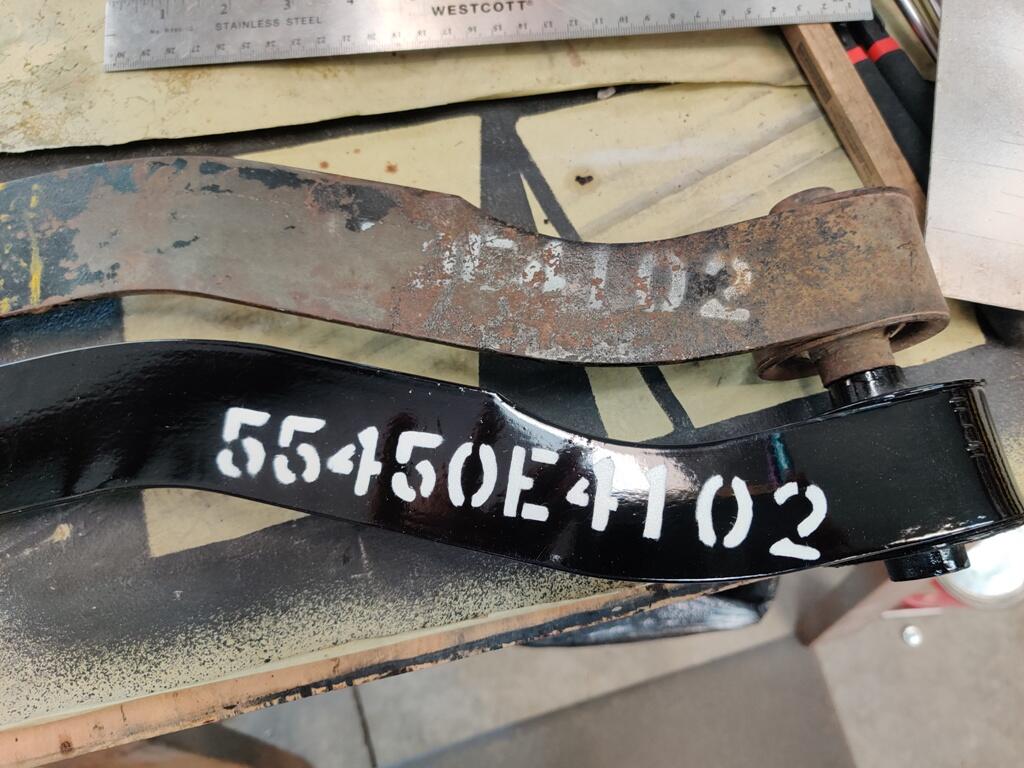
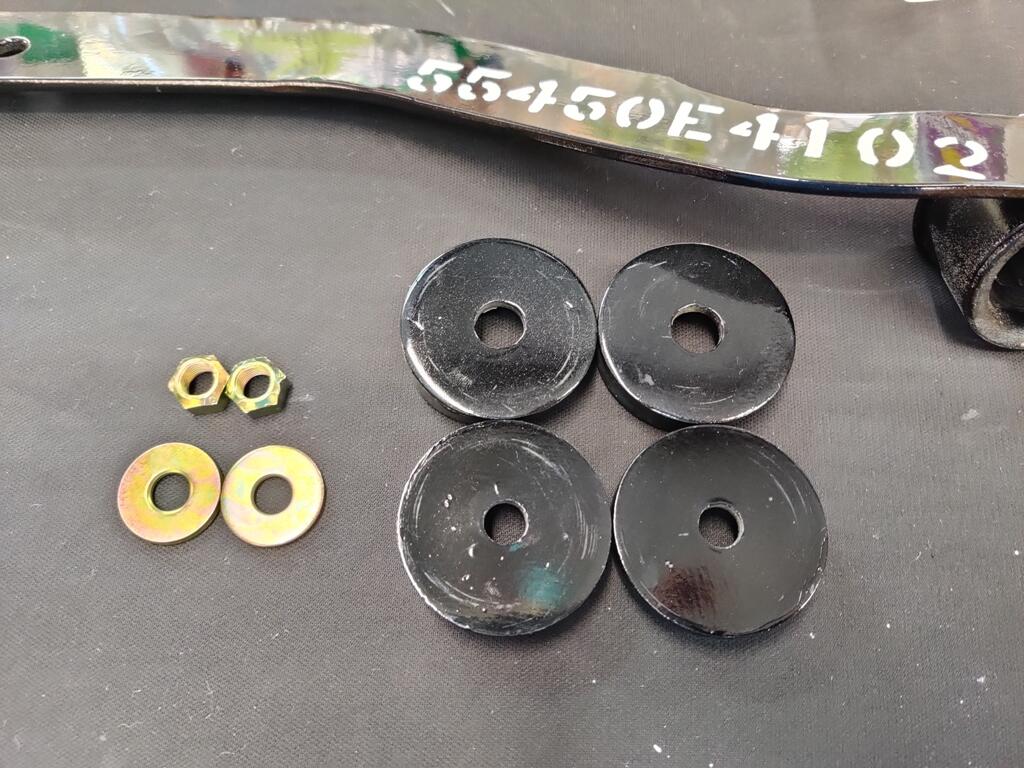
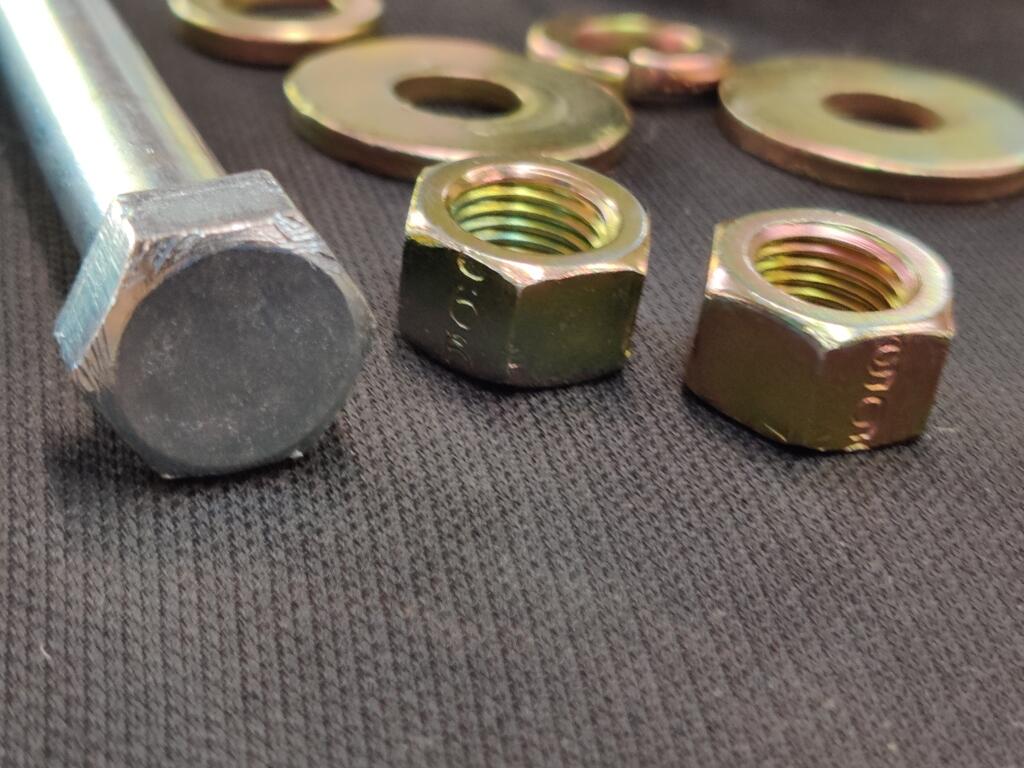
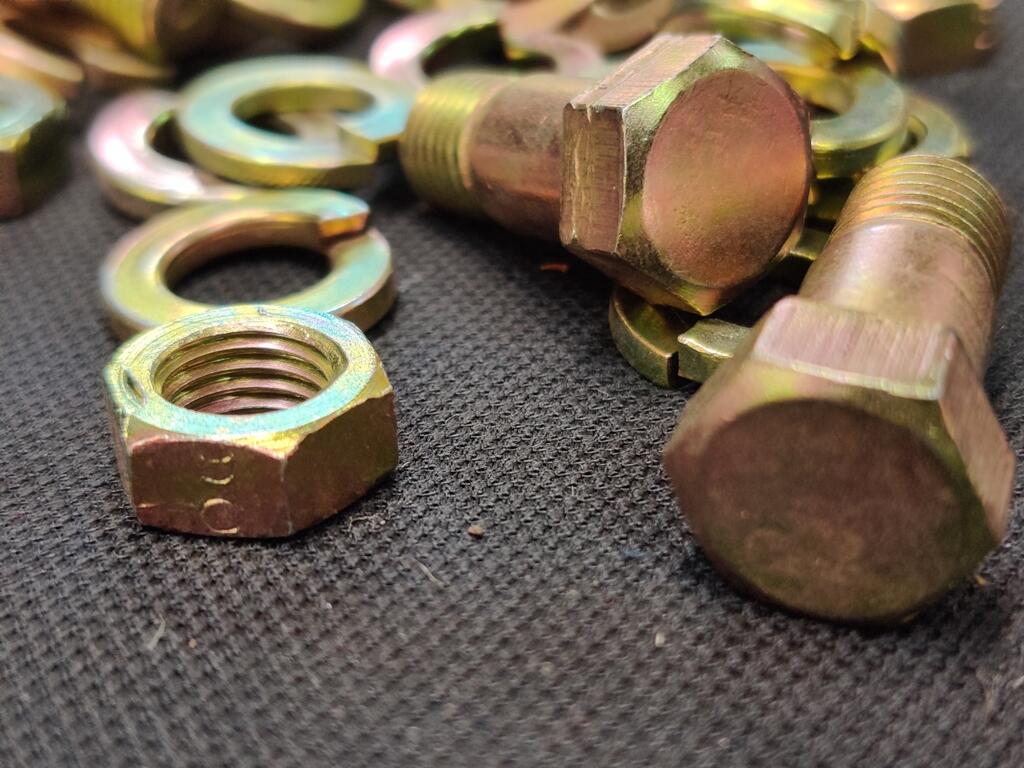
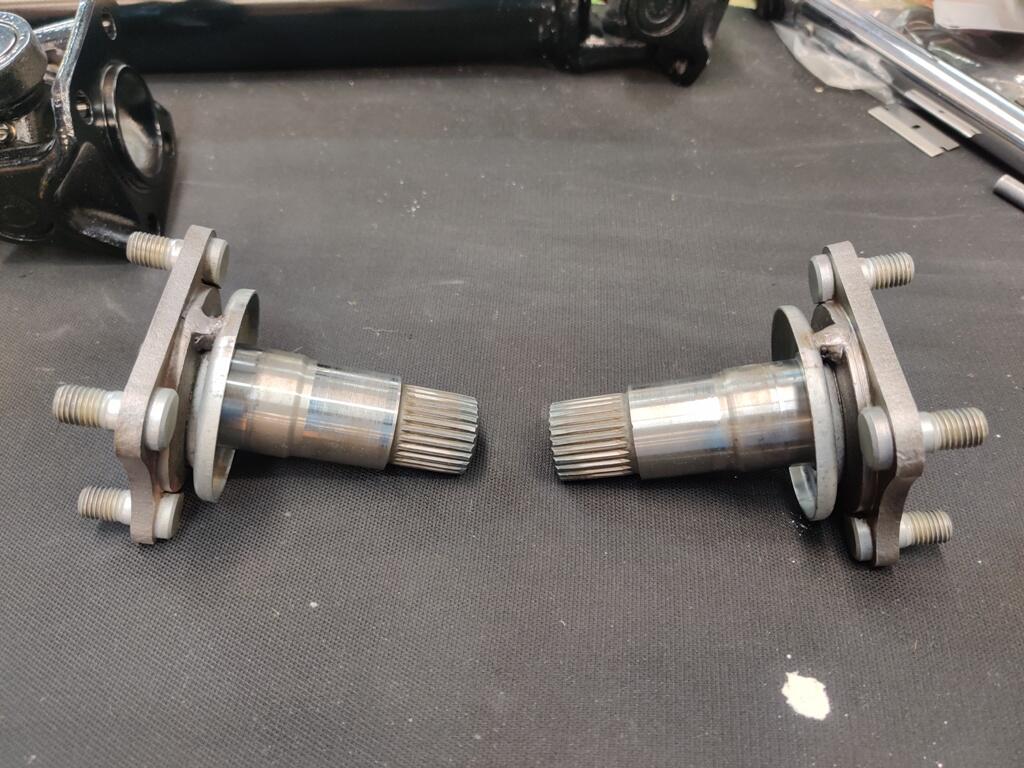
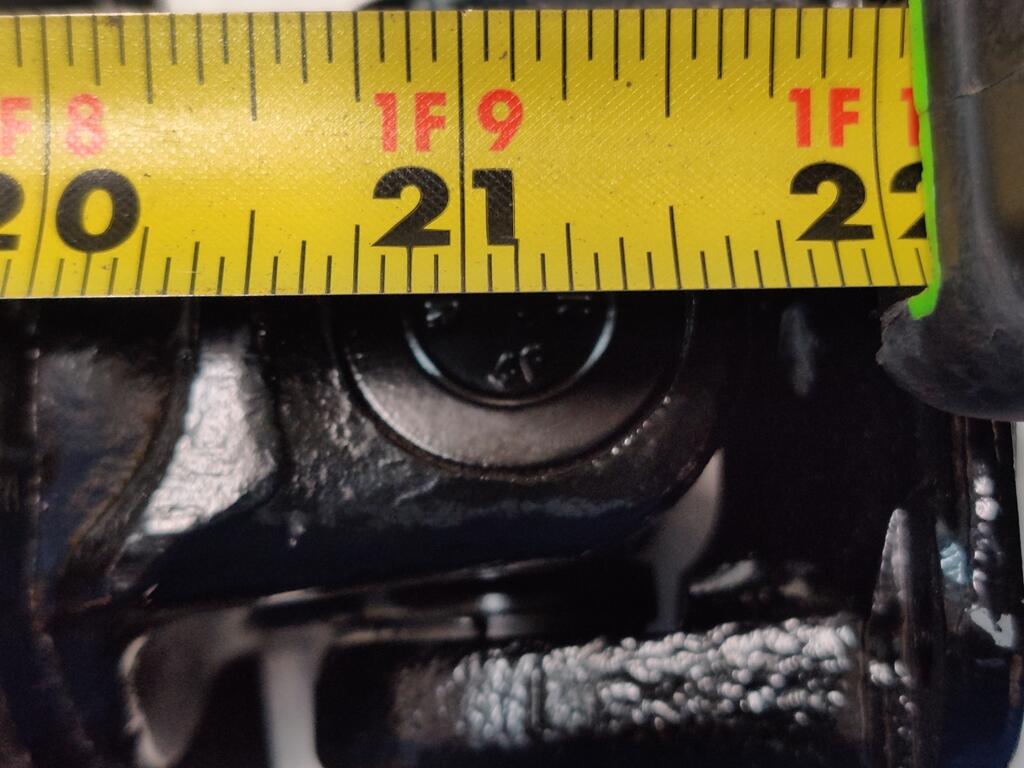
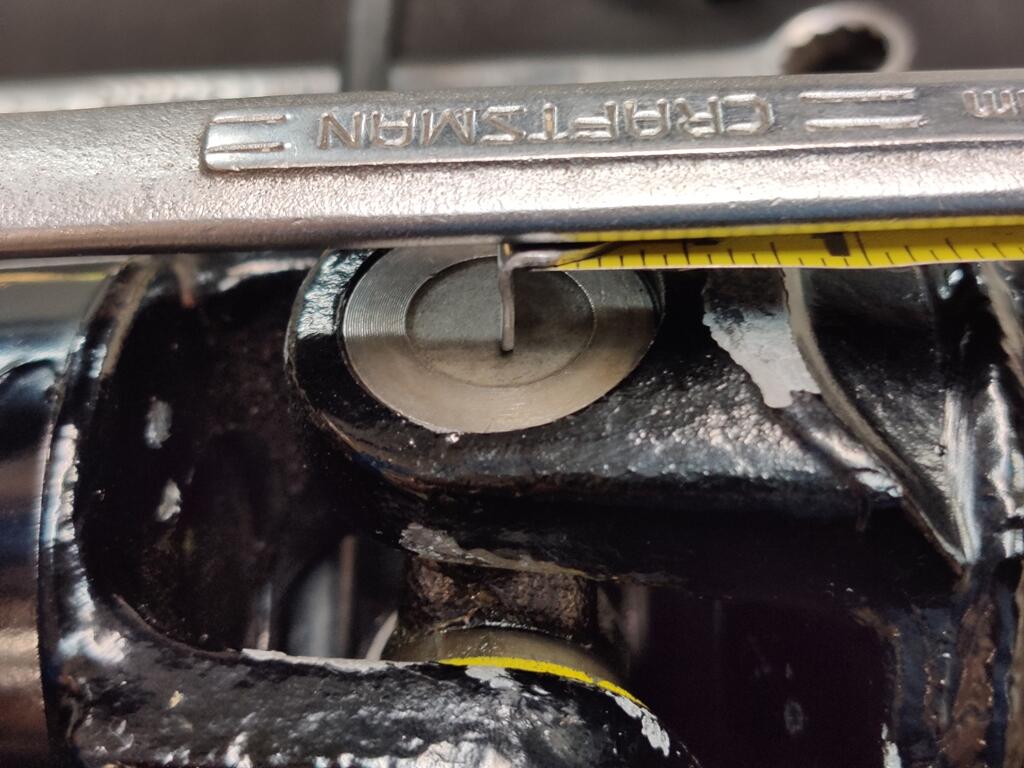
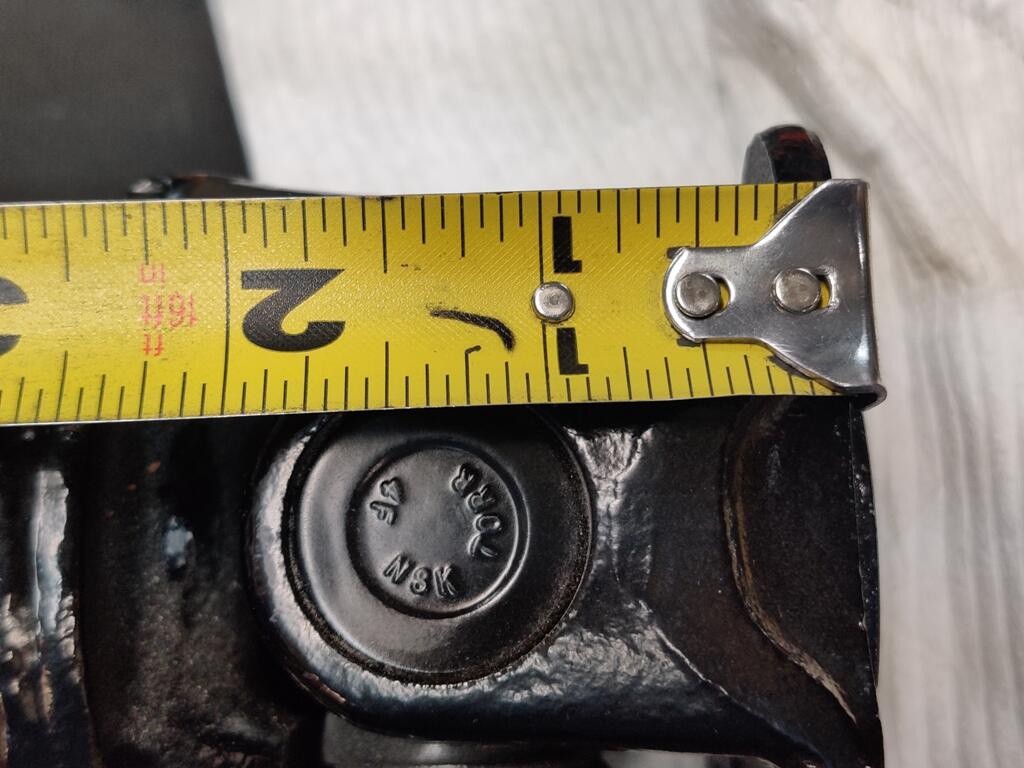
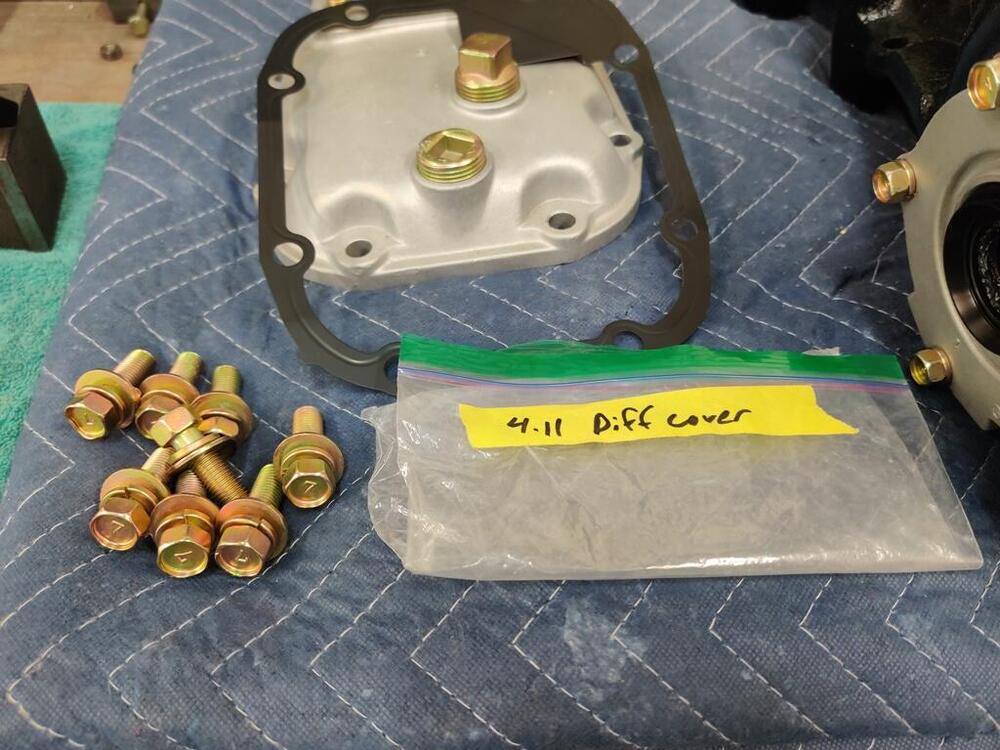
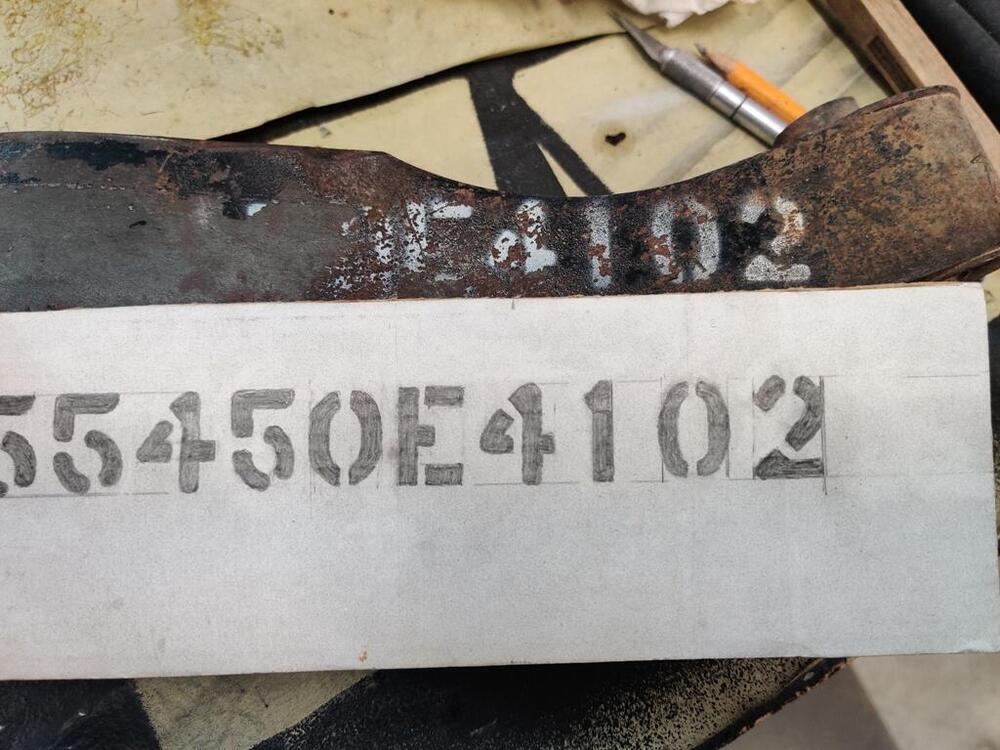
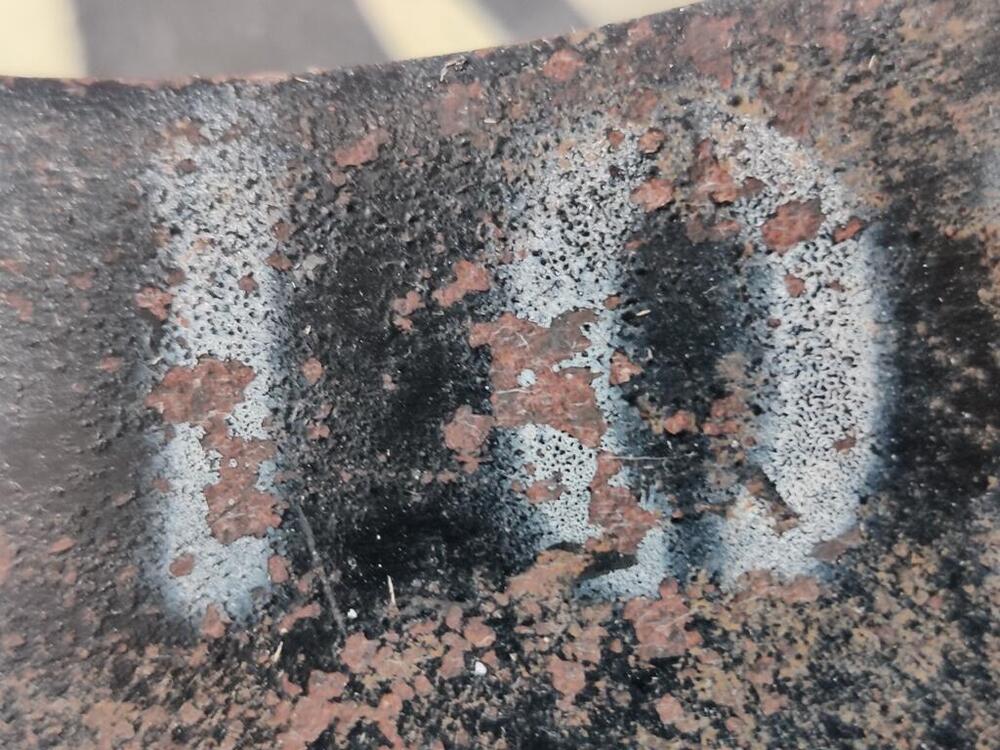
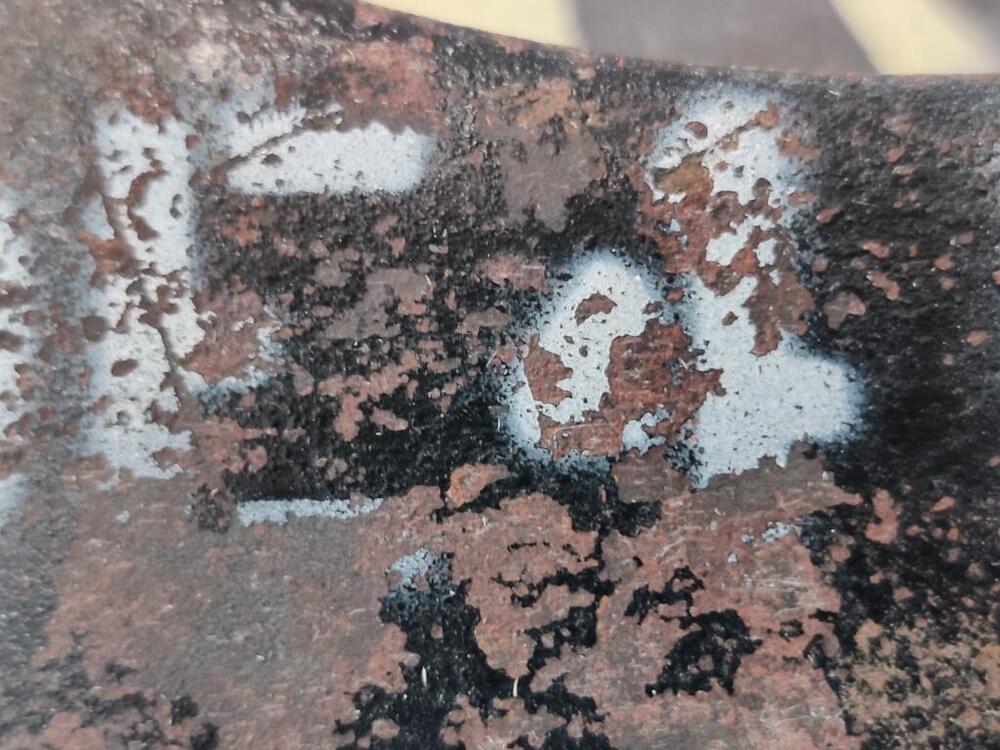
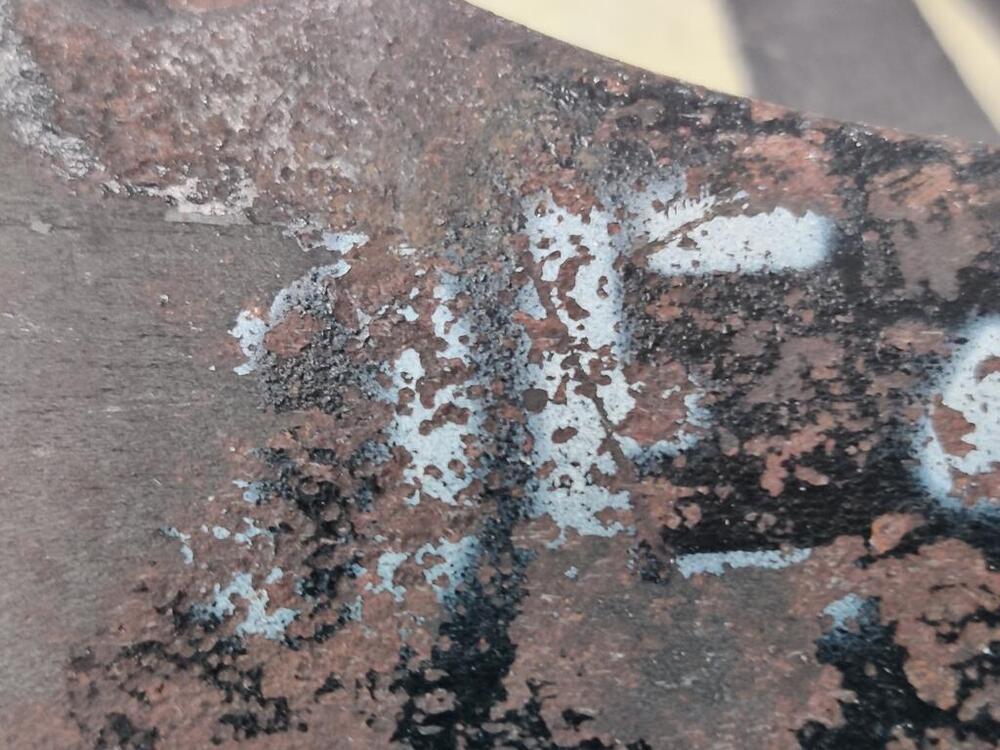
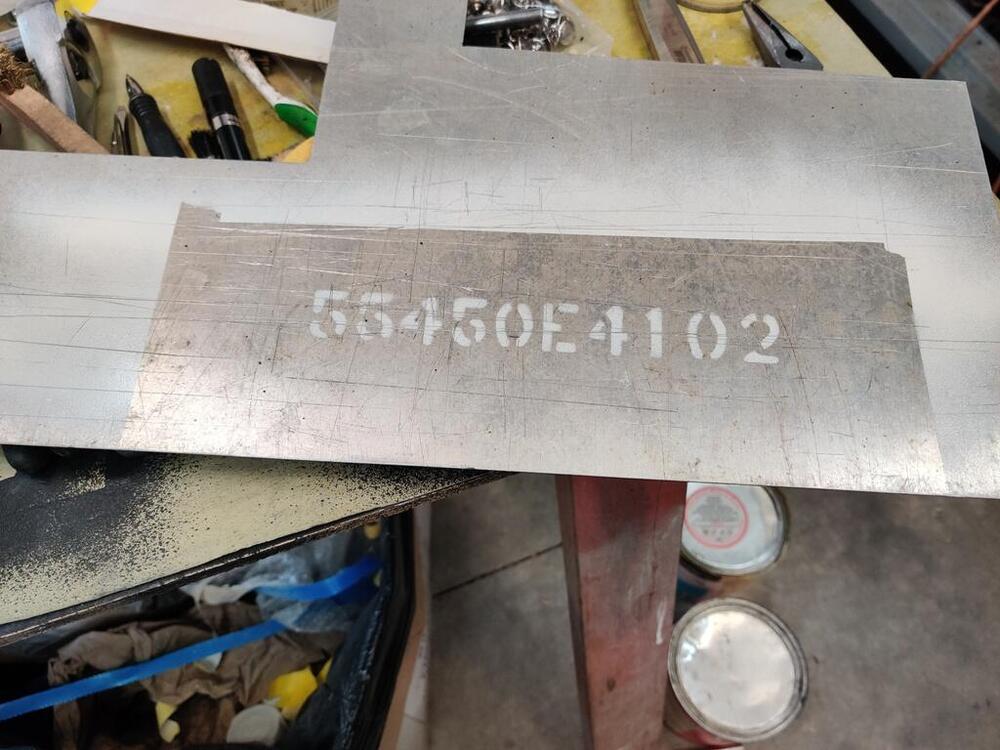
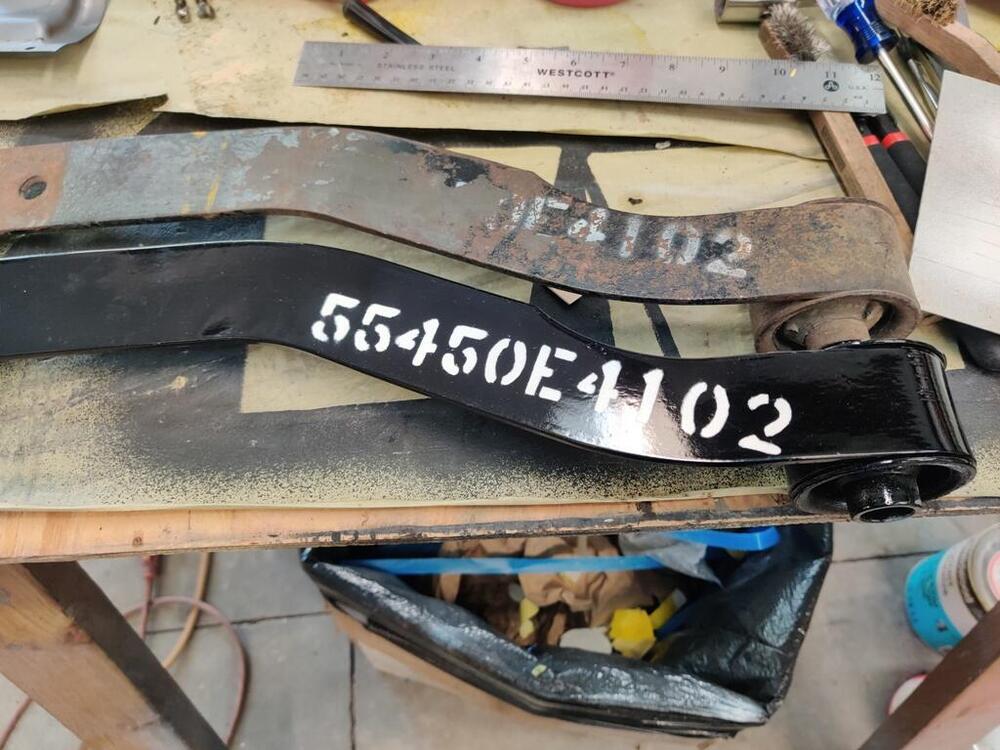
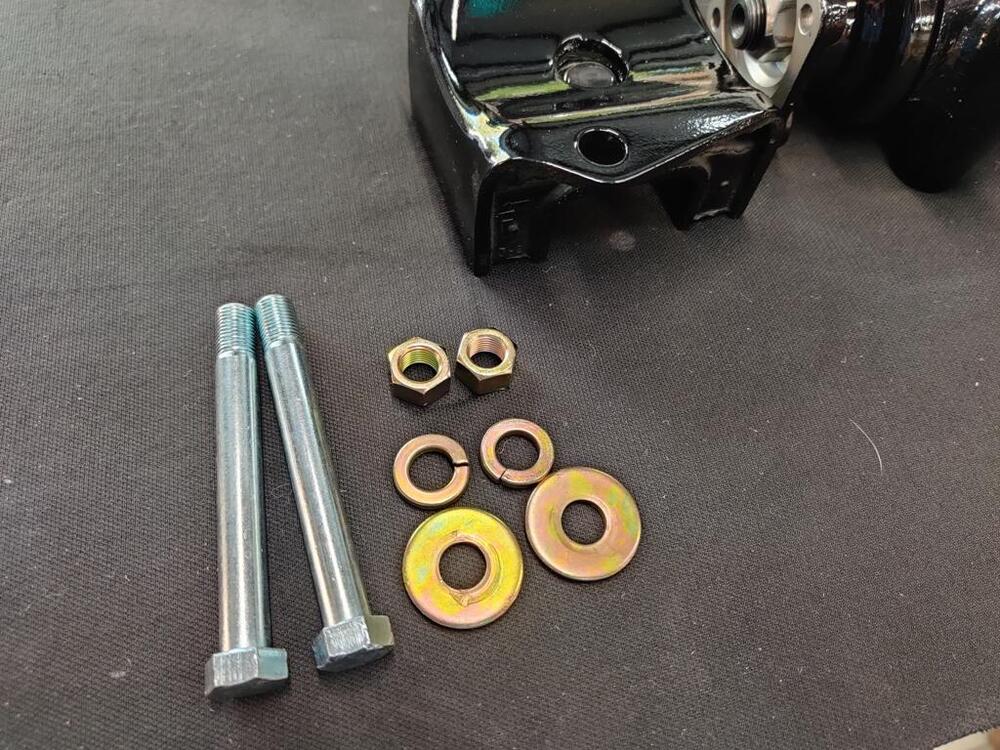
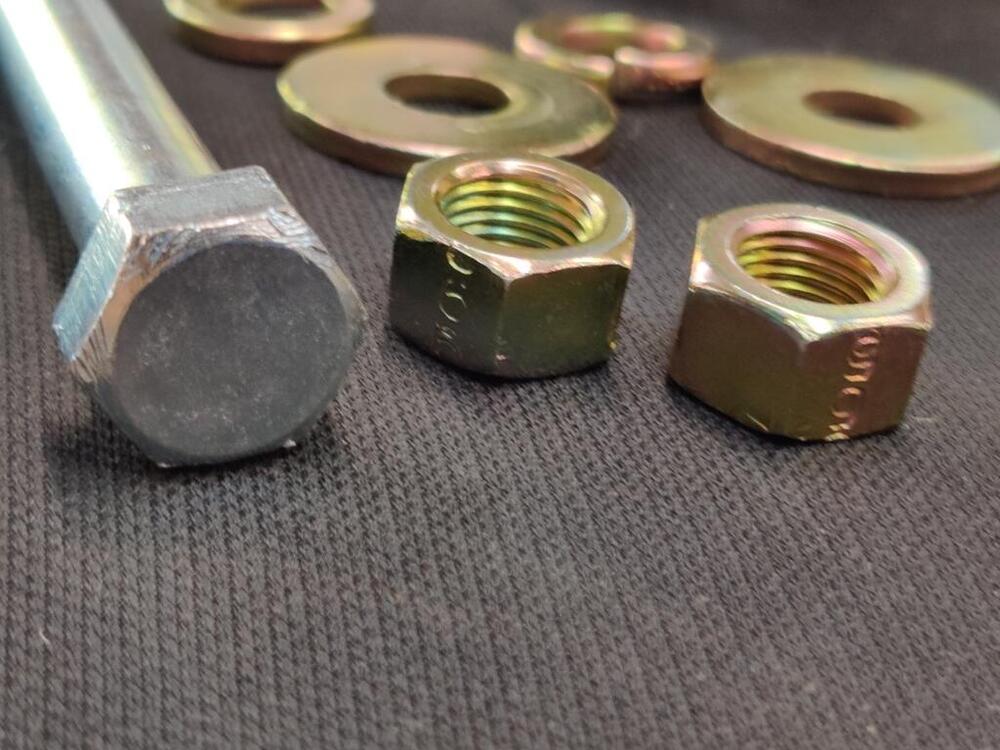
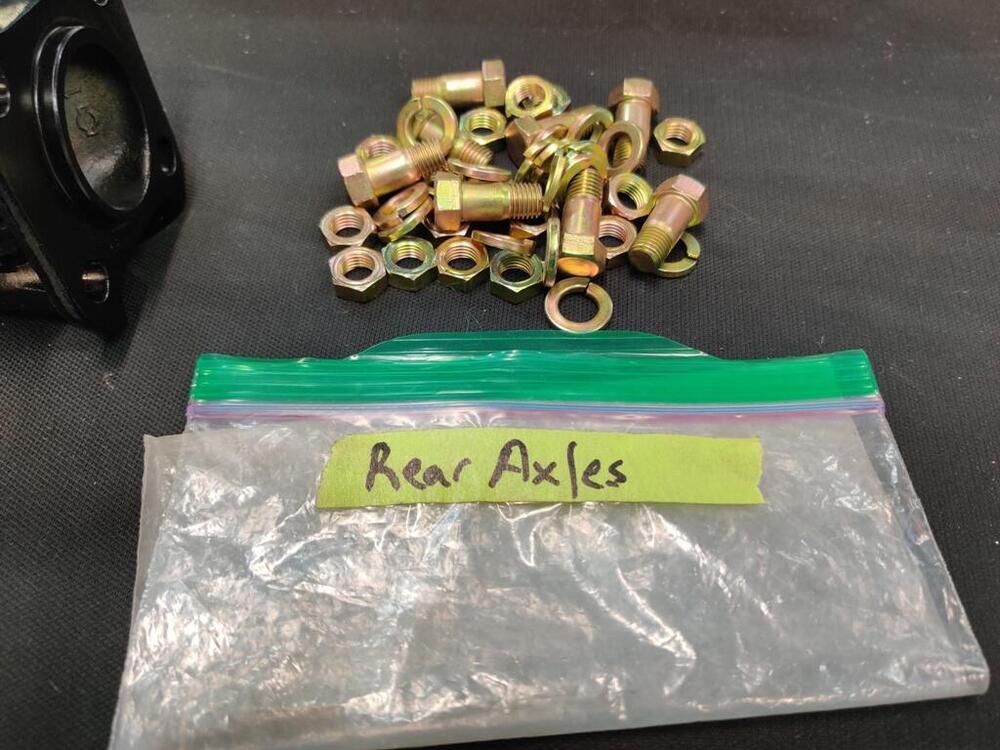
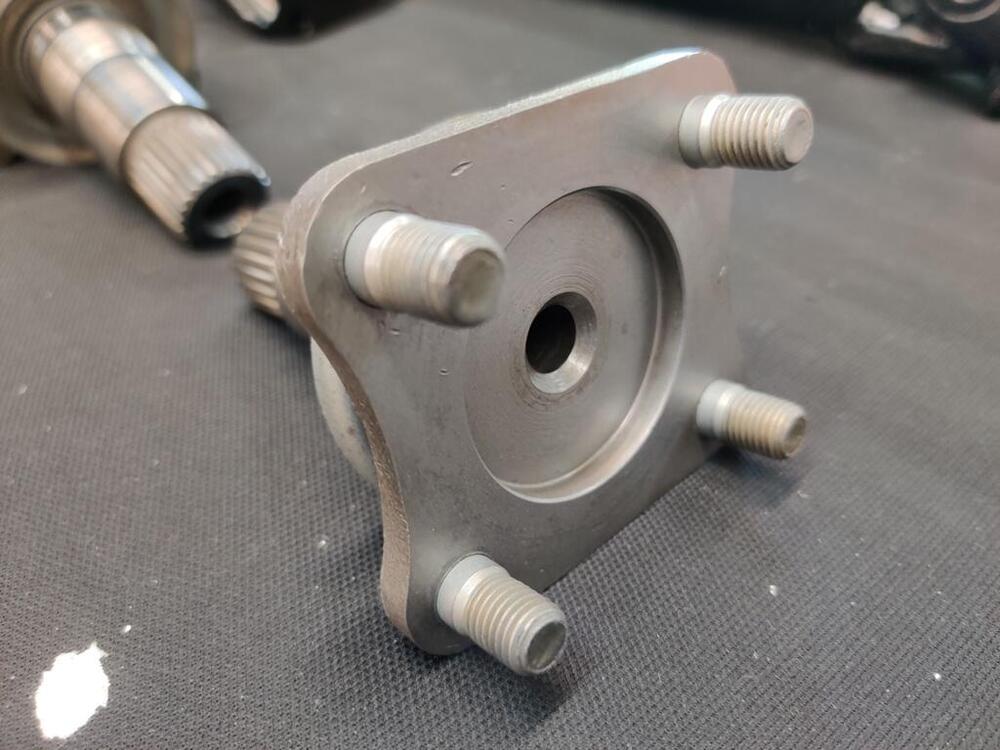
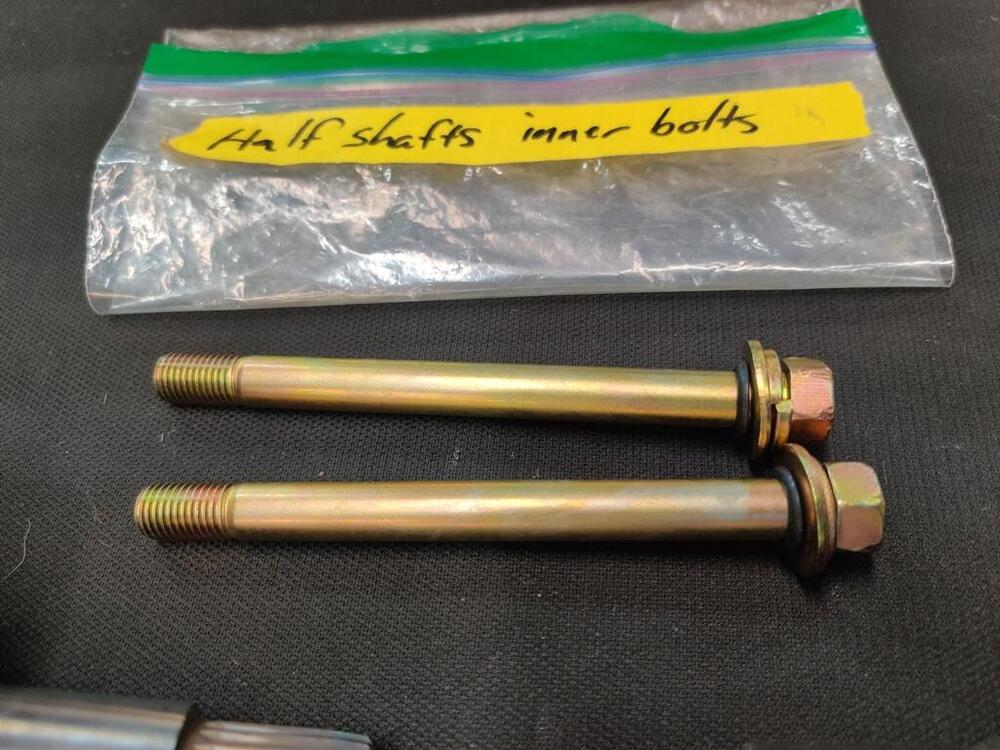
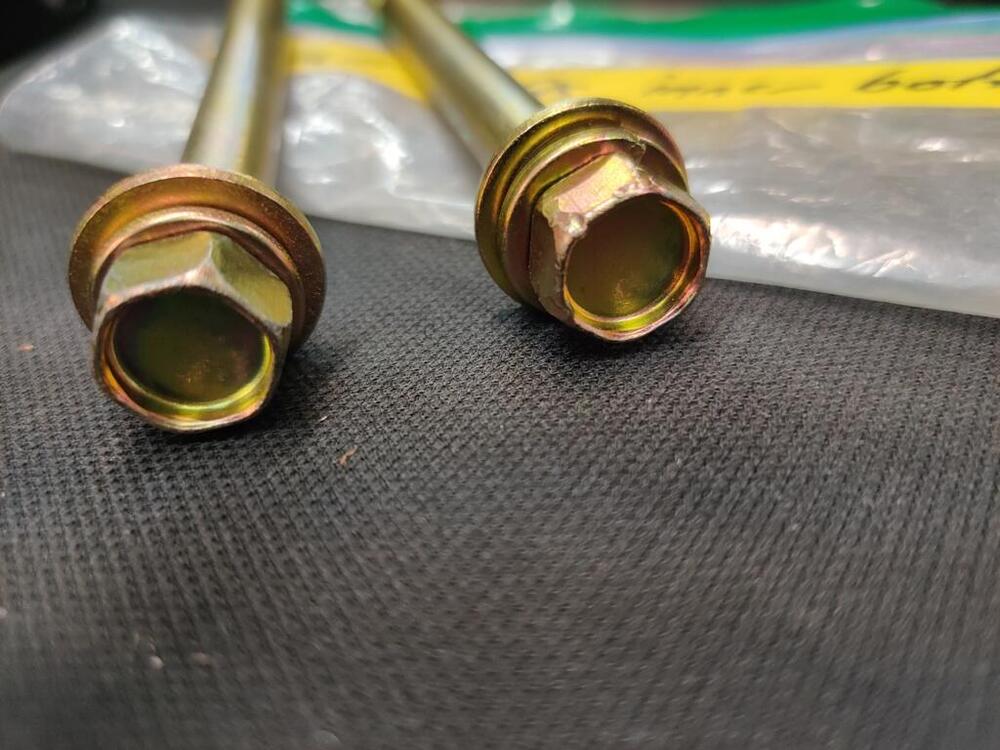
I made some decent progress today. I finished up the differential - here is the separate thread covering all the issues I had with it. I installed all of the oil seals and the rear cover. From there, I retrieved my "stencil" which was the result of many hours of drawing pretty much entirely free hand. I have a mustache bar with a portion of the letters and numbers in tact. Interestingly, though I have found a few pictures on the web with this same part number, I cannot find the part number listed in the parts manual. I am unsure what the difference is between 55450-E4101 and 55450-E4102. However, I think my car came with the E4102. So, I went with that number. If anyone has information to share about these two, please enlighten me. As can be seen in these pictures, the paint was sprayed on: I found a few things to correct on my stencil, so I did work on it some more before cutting the letters and numbers out. After I was done with the cutting, I needed to rest my eyes a bit - it felt like I was going cross-eyed when I finished. I made a test run on some scrap aluminum first. Being pleased with that, I aligned the stencil on the bar. On the old bar, the 4 and 1 were a bit too high for my liking, so I adjusted it so the letters and numbers would be a bit more centered. While not perfect, I think it came out nicely. Given the number of hours I have it, I am glad it turned out well. From there, I was able to mount the differential in the car. For the stub axles, I elected to glass bead them lightly and apply only some clear coat. These were not painted from the factory, so I kept that look. I found the stub axle retaining bolts to bottom out in the Quaife carrier. Luckily, I was able to stack a couple of washers to resolve that without causing interference with the bolt heads when installing the axles. From there, I grabbed the driveshaft to see if it would fit. And... not even close. I thought this was the "short" driveshaft, but it can't be. The short one fits when installing the 240SX transmission, but this one is way too long. It is the only one that came with the car (it was not in the car). So, it looks like I am going to need a driveshaft. I took several measurements. From center of the front u joint to the center of the rear u joint. It looks to me like it is in between 21 and 1/16 and 21 and an 1/8th. Since it is metric, I am going to guess it is 536 mm (21.103"). From the back face of the shaft to the center of the back u joint, I show about 1 and 3/8ths. Again, the closest metric measurement in mm is 35 mm (1.378"). For the front of the shaft, I measured two distances: from the tip of the input shaft to the front edge of the shield, and from the front edge of the shield to the base of the input shaft (inside the shield). For those I got 2.450" and 1.775" respectively. That totals 4.22 inches or 107.188 mm. Call it 107 mm. With these measurements, I should be able to get a custom driveshaft made that will fit nicely. I am not going to mess with sourcing a stock early one and rebuilding it with new joints, etc. I did that with the one I have and it was a lot of work to source new OEM joints, strip the paint from the driveshaft, install the u joints, and then paint the driveshaft. And, I would want to send it off for balancing too.


 1 point
 -
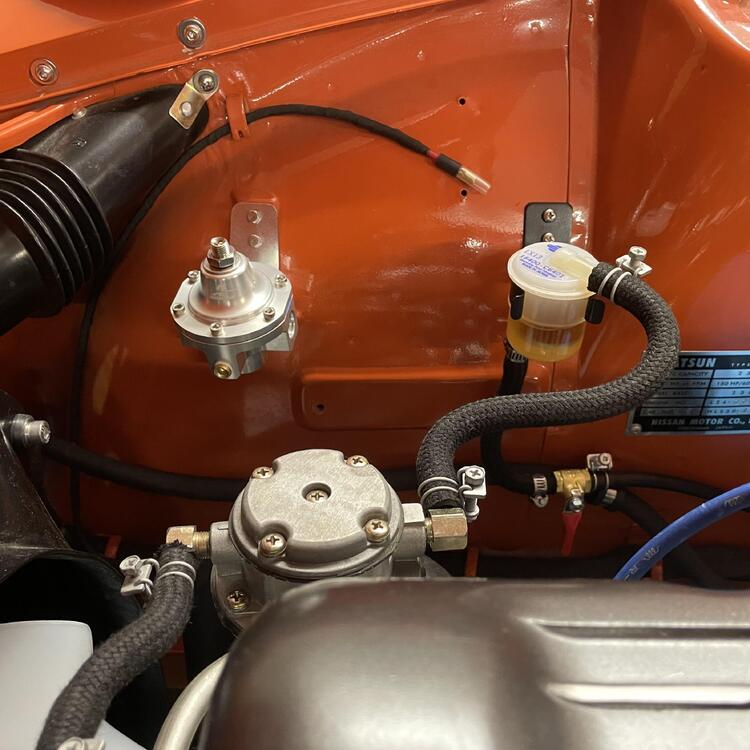
1 pointI broke down and bought a fuel pressure regulator by Aeromotive (the Ultra-Low Pressure model). The more I talked to people the more it sounds like I have a fuel pressure problem that is swamping the carbs, and even if I don’t it would always be an open question. The previous owner must have clairvoyance because there was a set of holes that perfectly fit the fuel filter bracket just aft of the stock hard point, and the dope who did my paint forgot to weld them up, so it was just a matter of moving the filter and tweaking the bracket that came in the box the use the original filter location. Now to route the hoses.
 1 point
 -
You could get a good price on that Boeing Starliner that just came back empty???? The cartels have a new mule. They having a party on the space station.1 point