Leaderboard
-
conedodger
Free Member13Points12,513Posts -
HusseinHolland
Free Member4Points1,031Posts -
zKars
 Subscriber
 3Points3,770Posts
 -
davewormald
Free Member3Points128Posts


Popular Content
Showing content with the highest reputation on 07/15/2024 in all areas
-
3 points
-
3 pointsI used blue loctite (because I had some around) when I got mine back together. I eventually accomplished that by cutting the stainless steel braid back a little from the end of the inner sheath, then wrapping thread tightly around the braid so I could get it back into the ferrule. That worked very well after many frustrating tries without the thread. I'll eventually attach the cable to the adjuster, but am avoiding blipping the throttle from the engine bay until I do. Replacing the linkage with the cable has made the car a joy to drive again. Having said that, I've found one particularly sticky joint in the linkage I removed. I don't think I'll be going back, though.3 points
-
3 pointsCoincidently, working on a different throttle cable arrangement but with the same Lokar cable. Here is my solution to hold the fitting on the cable end. An M4 grub screw through the thick hex part of the fittingl This bites the sleeve below. You also need a way to bond the sleeve to the braided cable sheath. I found this one slipped down the cable! I use some UV cure resin.
 3 points
 -
Today it's all about the details. I finally found some time to work on the 240Z project again. I wanted to install the door frames but while looking at that area, i noticed the drip rails were a bit messy. Therwe was some surface rust in the unprotected areas and the rail itself was a bit bumpy. So first i got out my trustworthy hammer and a piece of wood to straighten it Nect i decided to whire-weel the entire area to remove the remaining surface rust and old primer which probably covered some more. You can clearly see this area had some rust in the past, which is not uncommon: After that i gave it a good shot of rust-protection chassis primer: So now it's straight, clean and protected. Time to get back to what i had originally planned. quickly install the door frames. Well for some reason, things didn't really line-up. i quickly realized that one of the holes semed off, as there was no way to move the frame further in the direction of the hole. It even had an "extension" which seems to be done in the factory. I didn't really like it so i removed the exess metal and cleaned it (right foto doesn't show the finished solution) plus added primer. Also not sure about that other nasty weld. i might want to clean it to calm down my OCD. Not even sure if it's from factory or not. it's barely visible when the door is installed. During the installation i also noticed that the upper door skin part didnt really seem to be straight: Nothing a bit of directional force with a hammer can't solve. (note these are just dummy door frames for alignment, i will use NOS ones so i don't care if i sprayed primer on them *lol*) And here we go, both door frames are in: Another thing to check off from my task list. And a new one to add (that nasty weld) PS. Sorry for all Photos being 16:9. Not sure how this happened2 points
-
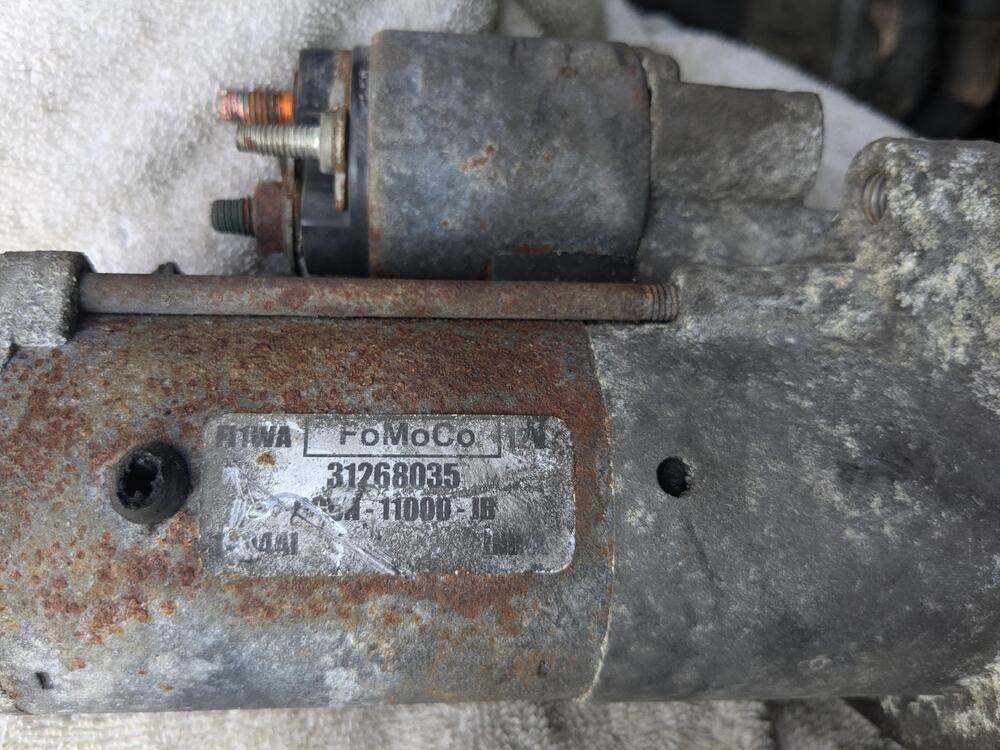
My Mum has been feeling poorly the past couple days, so this morning I gave her a COVID test & it was positive. two of my sisters had visited several days ago, and one of them had tested positive for COVID. I took her to a Doc-in-a-box to get further evaluation - they confirmed she has COVID & given her overall health, quarantine & rest is about all there is to say about it. Thankfully I didn't get it this time around. Got her home, and then my Volvo C30 wouldn't start 😞 . I couldn't leave it, as it was blocking her driveway. I thought perhaps it was the clutch position switch, as there was 0 action when turning the key to start. I bypassed the pedal switch (PITA), no change. Got the Mrs. to operate the key while I tried an alternate length of battery cable, and then I tested the wiring by hooking up a spare starter motor from an older T5. That engaged & cranked, so my starter is dead. I pout that starter in just so I could get the car home. Bosch reman is on order. Glad it happened after the morning errands & not while I was transporting my mum in the heat. VO 31268035

 2 points
 -
Do you have the Apex-Engineered front subframe or have I missed it? With the subframe you could reverse engineer it to work out what you need.1 point
-
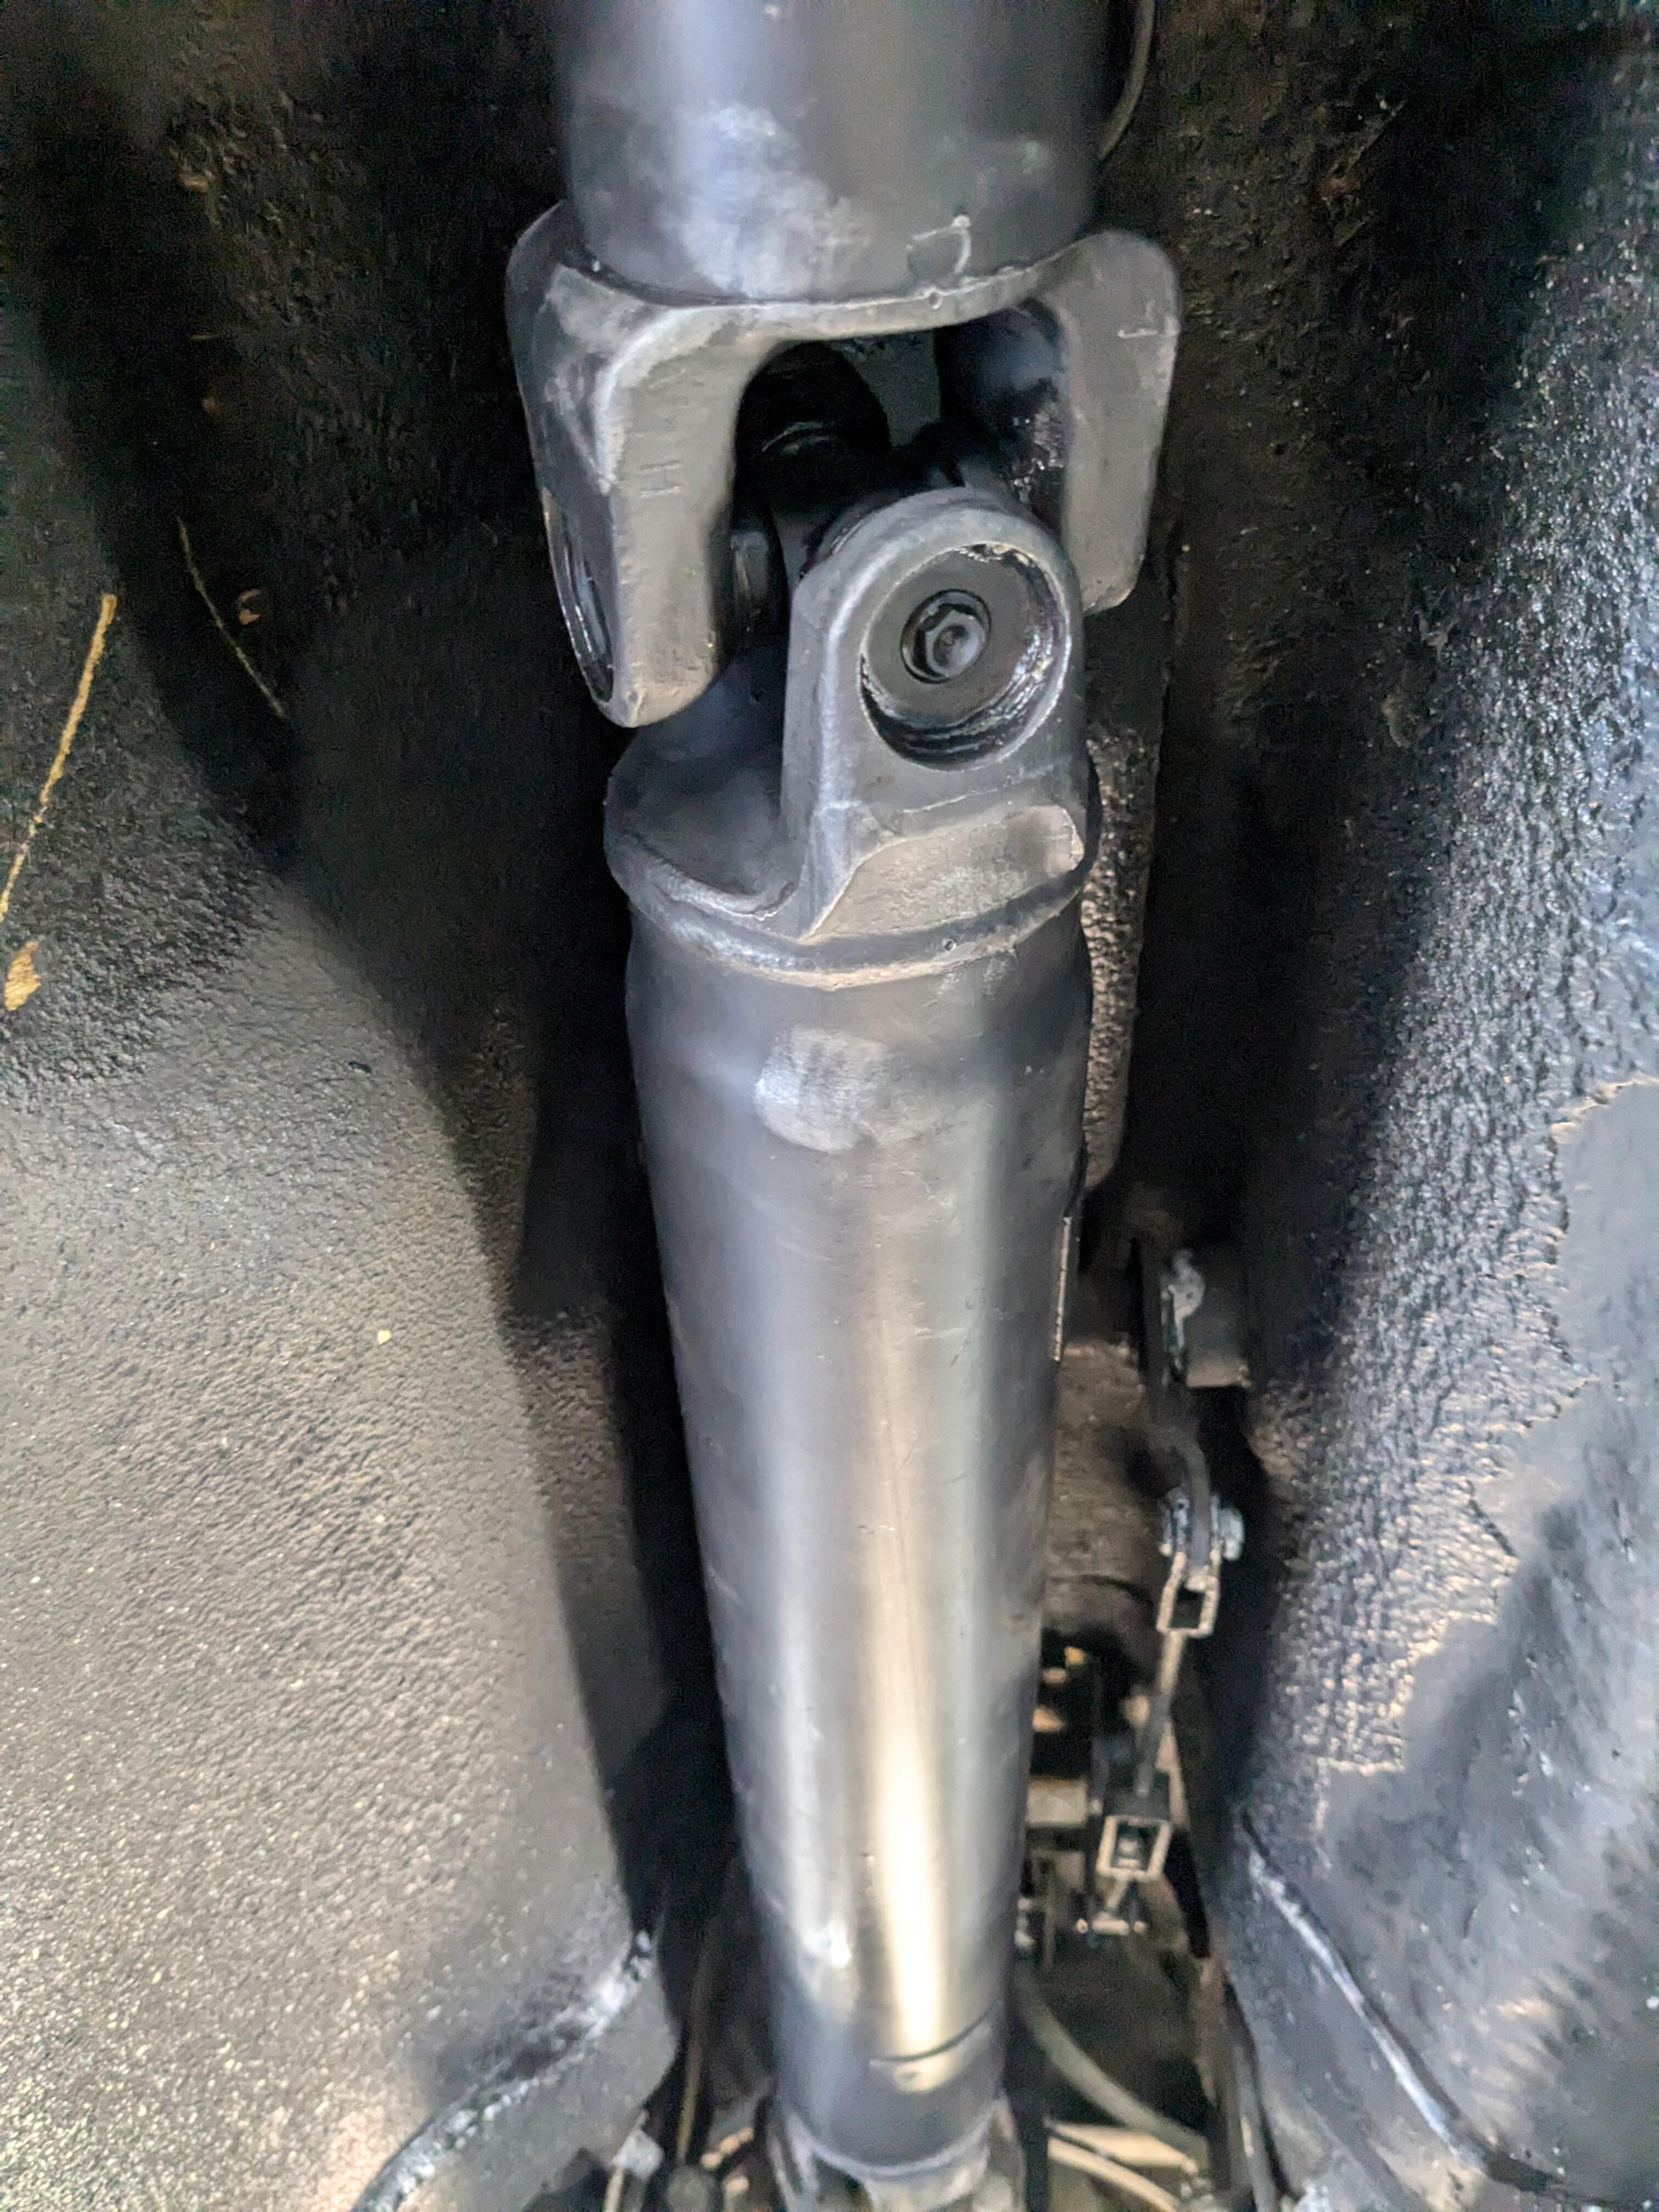
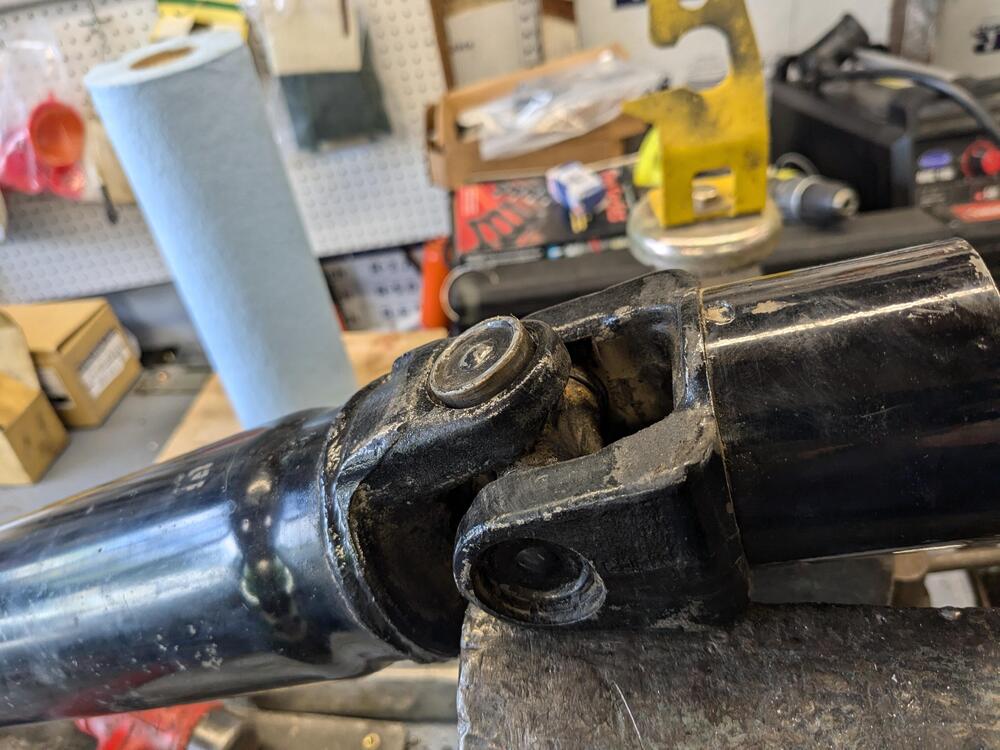
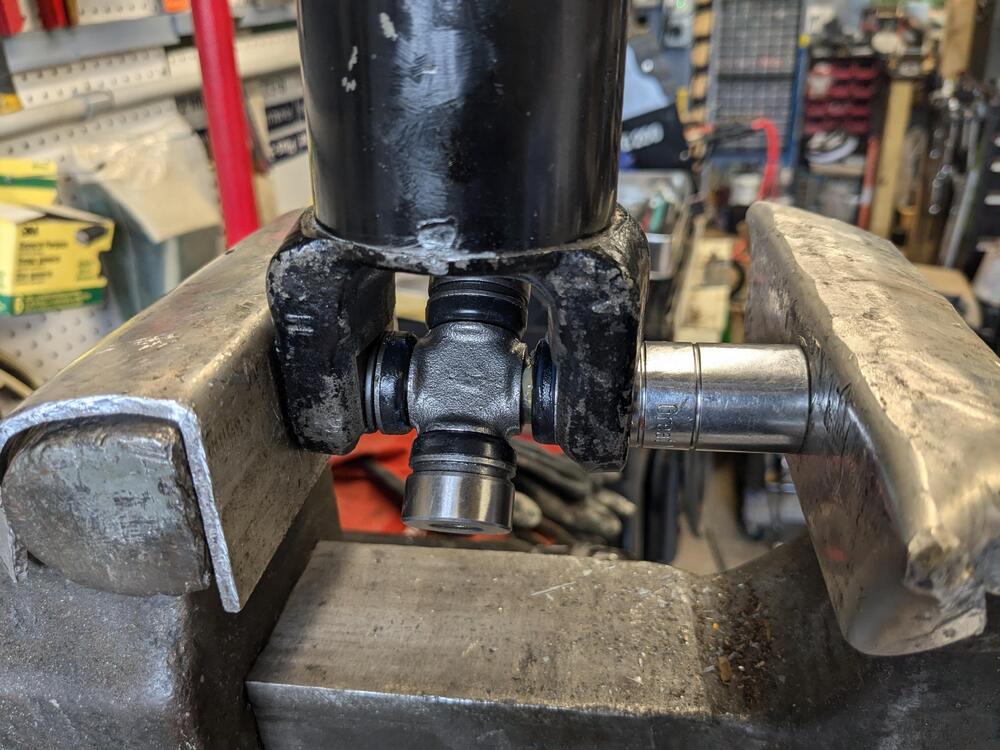
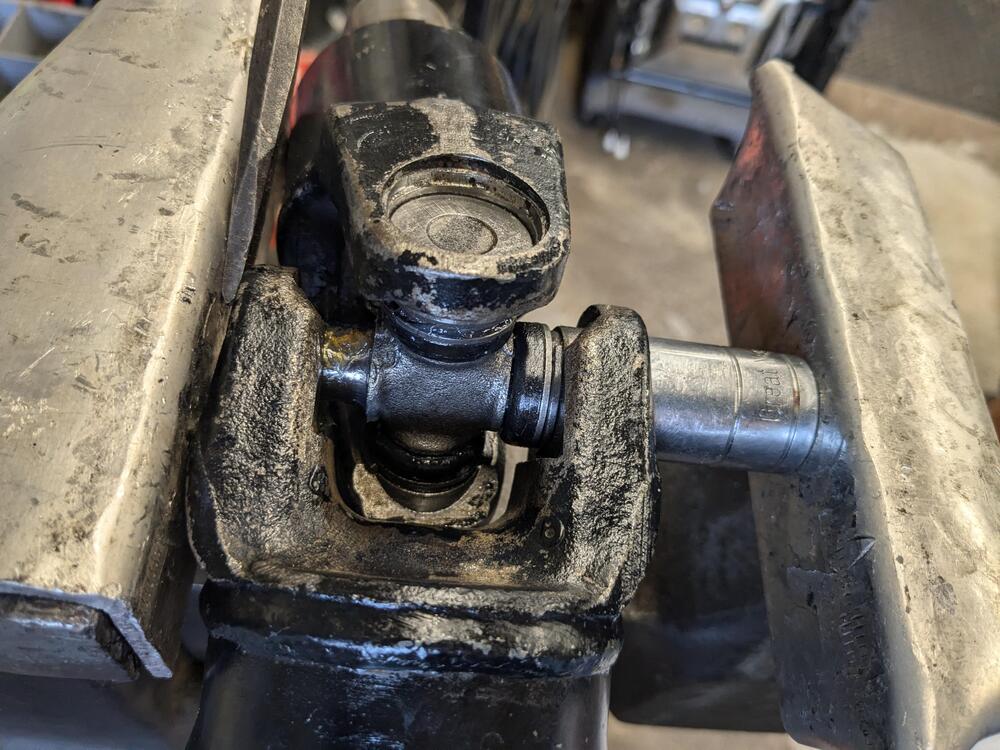
I didn't measure anything. I treated the end float in the same manner as standard joints that have the cup clip external to the yoke. Once it's all assembled, I find that typically the joint will more often be 'tight' from squeezing or loading either yoke. I set each yoke in open vice jaws so that the opposing yoke is resting on the vice jaws & tap (with a dead blow hammer) the base of the yoke (where it's welded to the shaft or sleeve). This forces the top cup outward a hair. Rotate & repeat for each cup. Hard to describe, but it works. You can easily feel by rotating the end yoke whether there is any end float or binding in each axis. I didn't photograph that stage - the prop shaft would be set similar to this pic I took to illustrate disassembly
 1 point
 -
Can't tell without a video! https://en.wikipedia.org/wiki/Hoon1 point
-
Sorry about your mum. Hopefully she comes through it ok.1 point
-
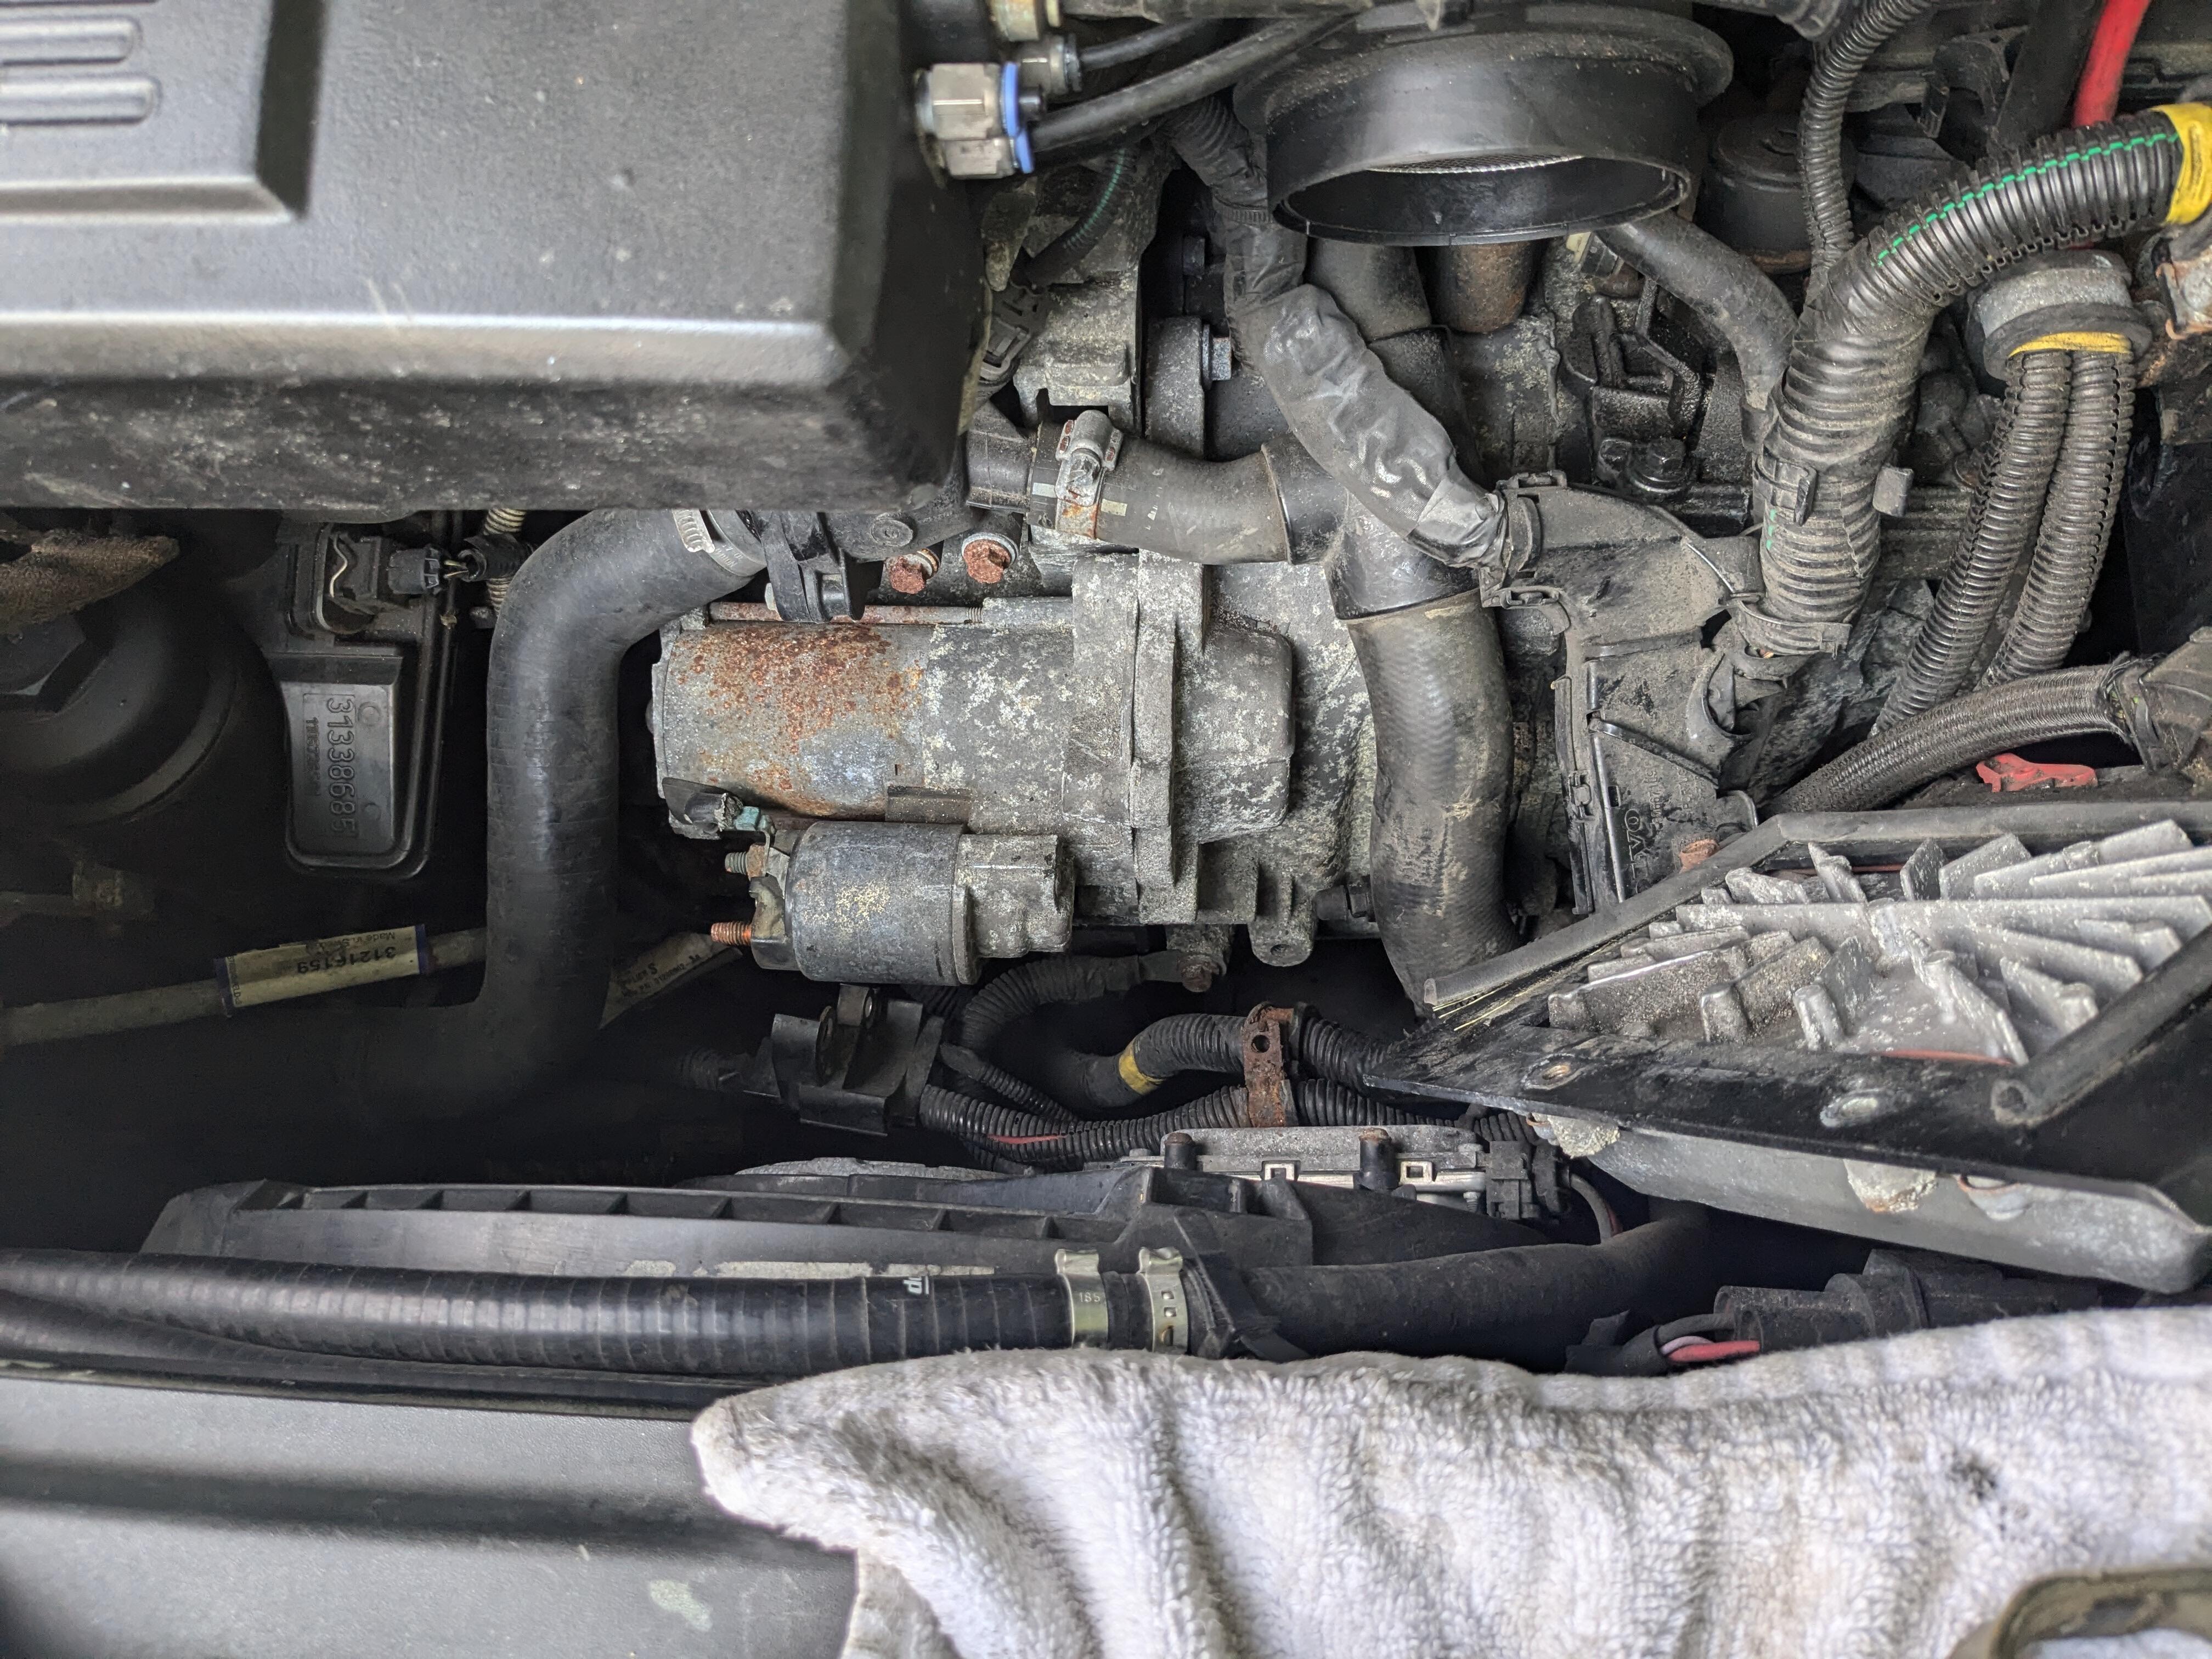
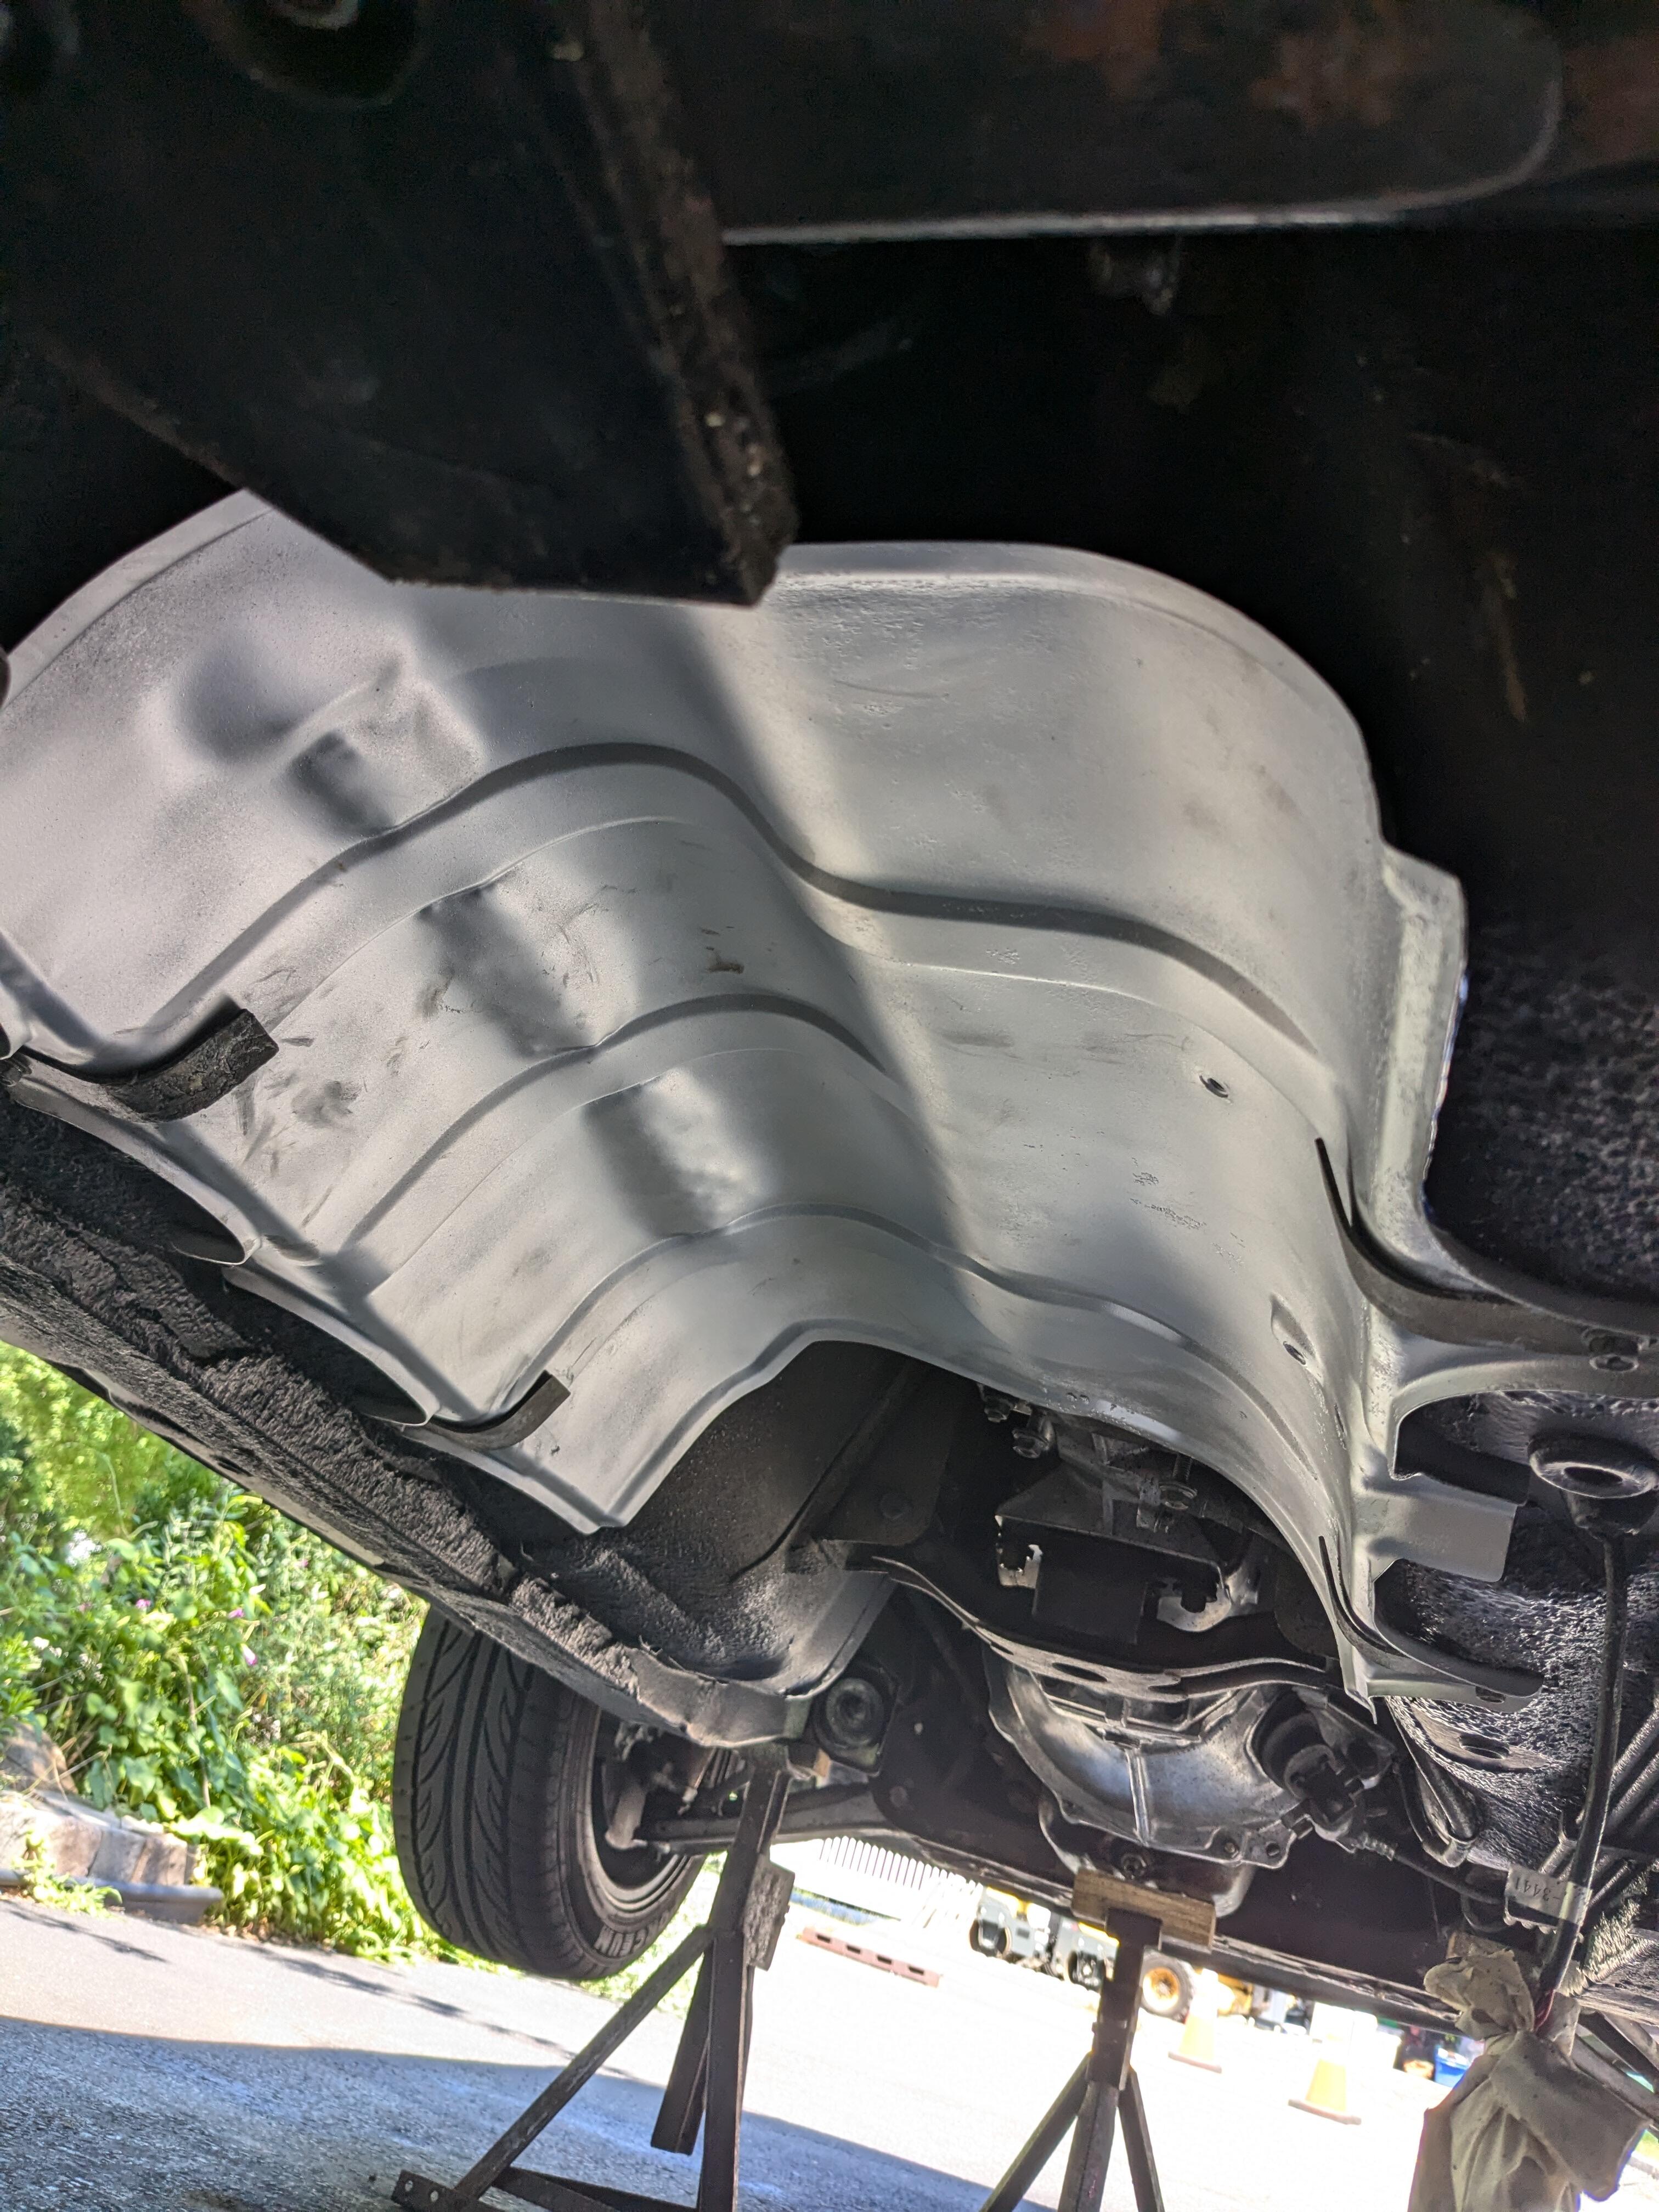
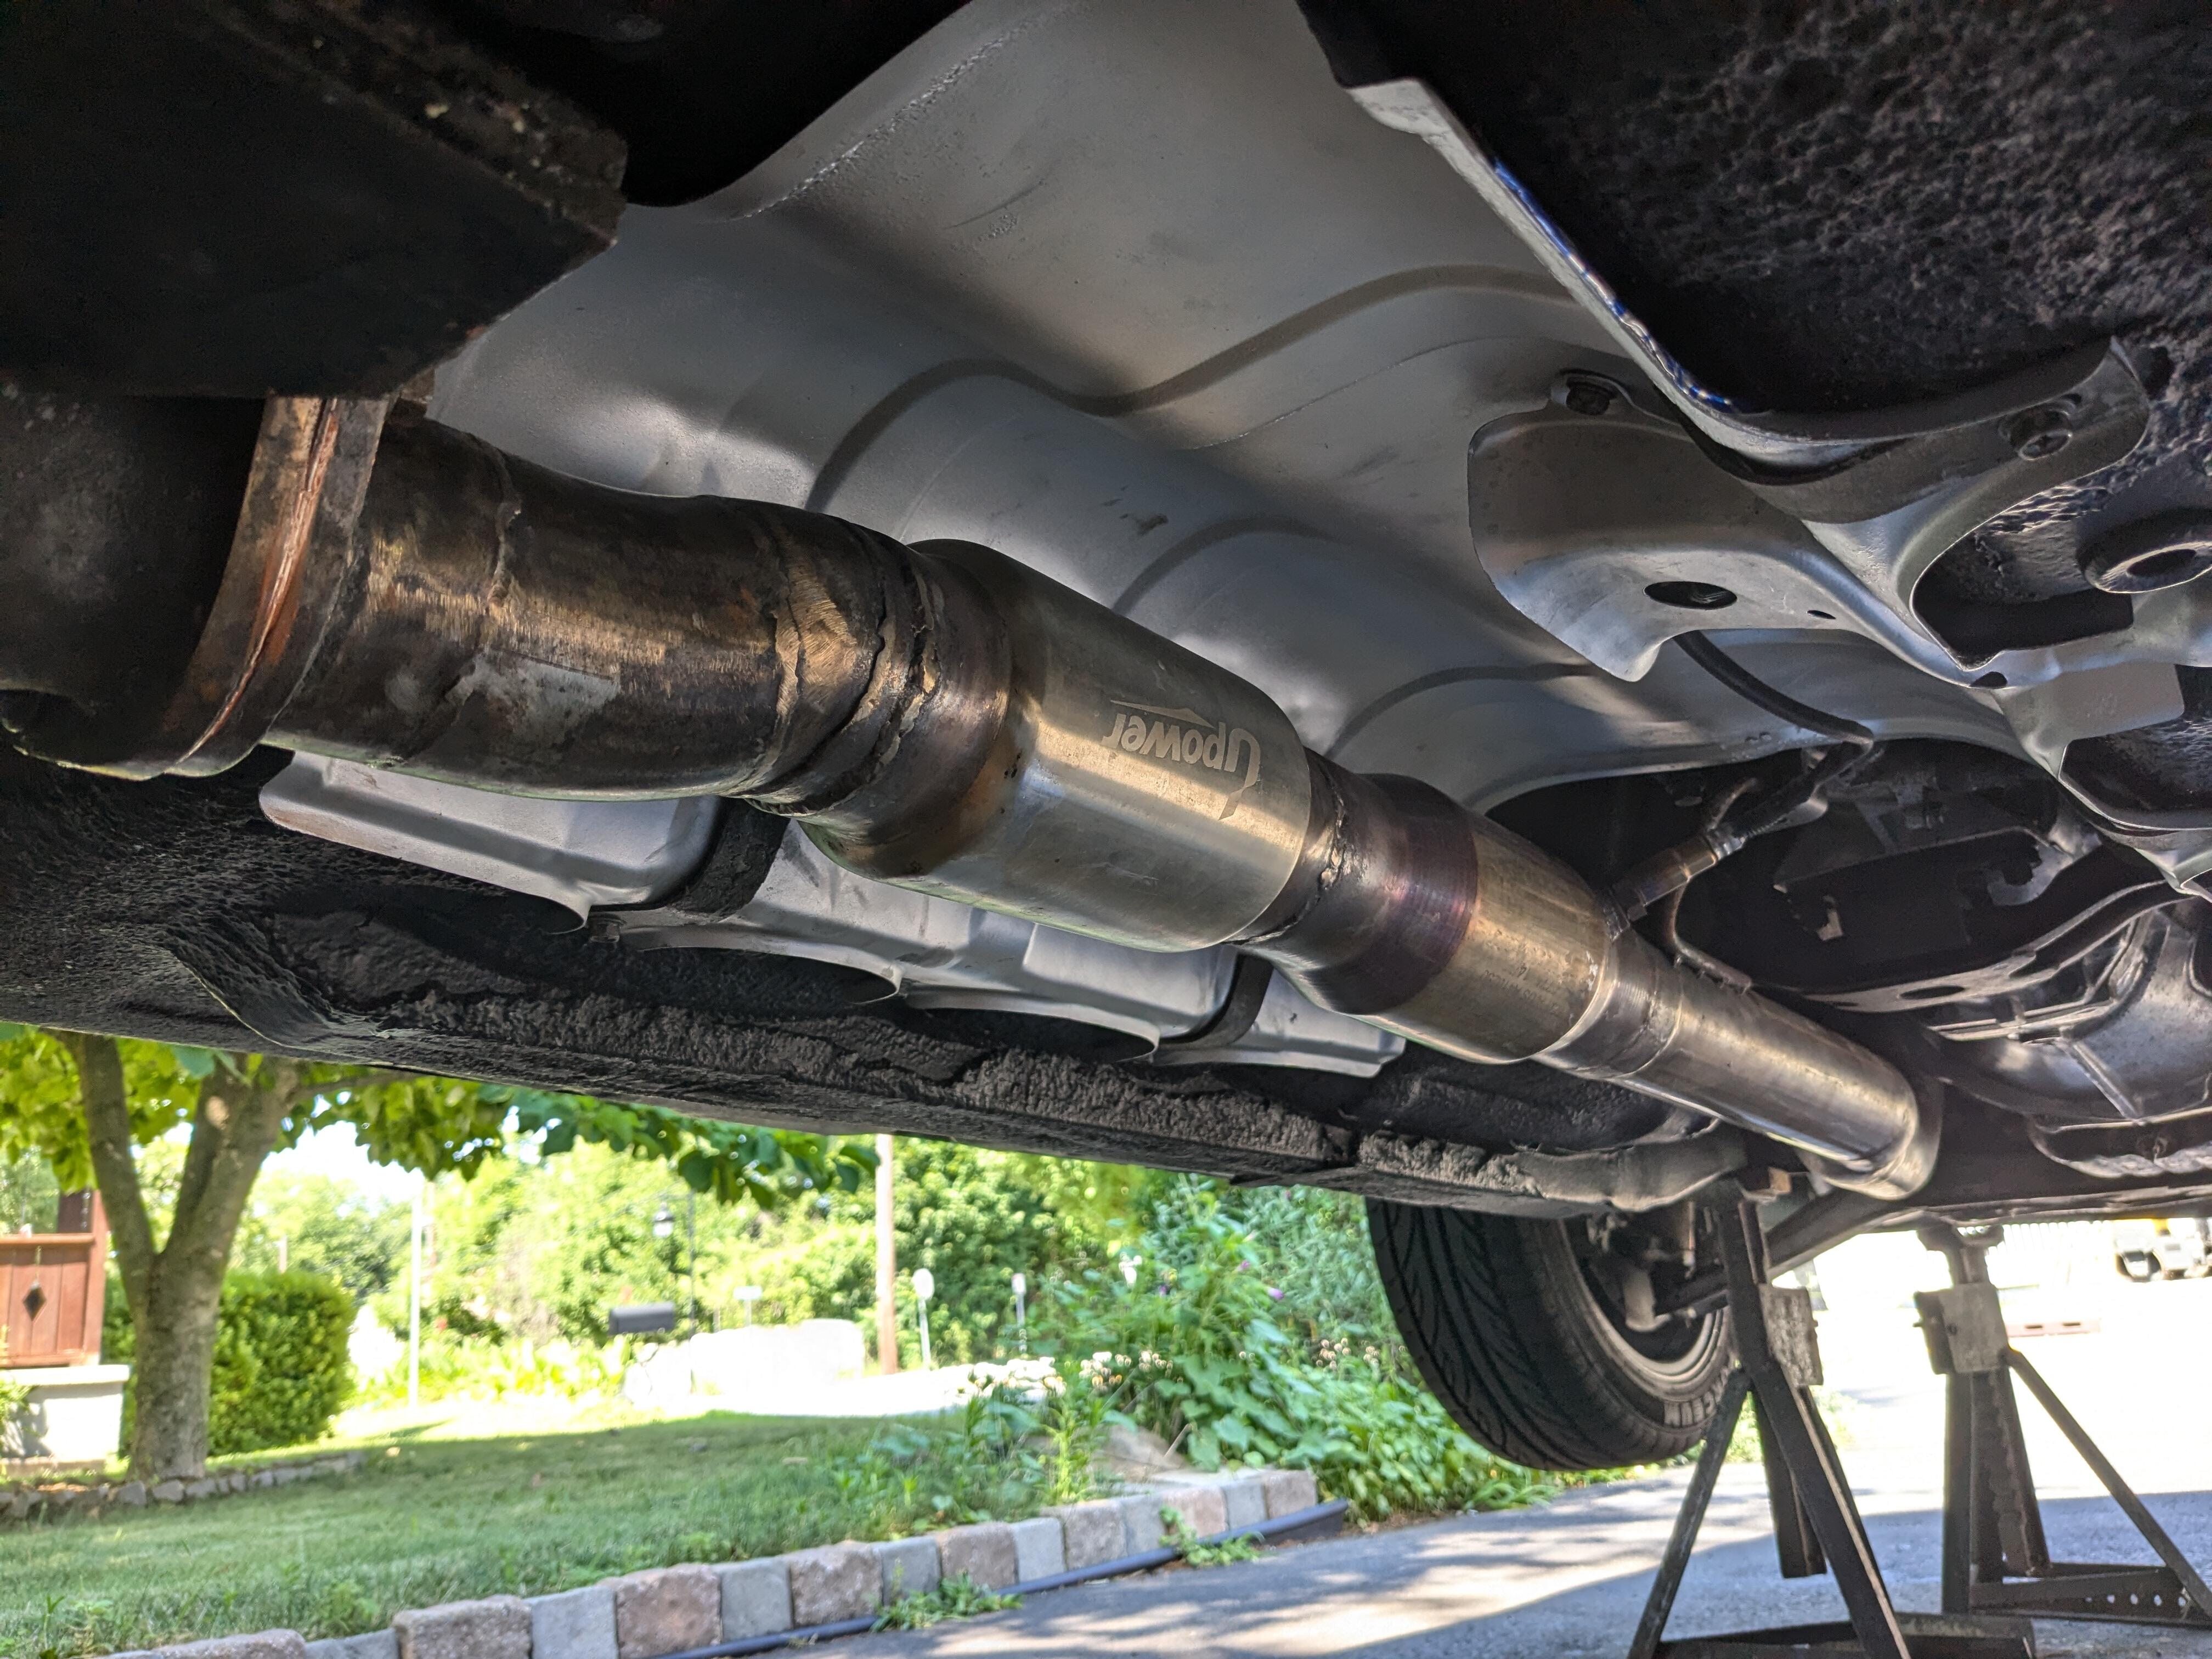
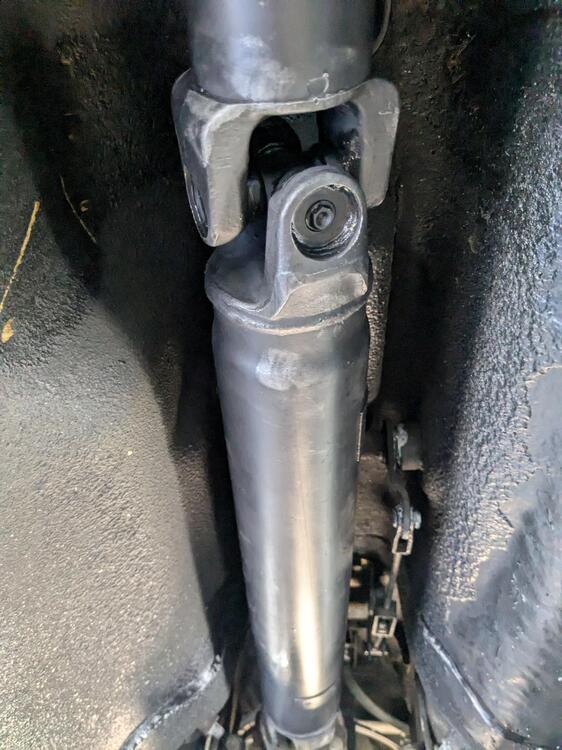
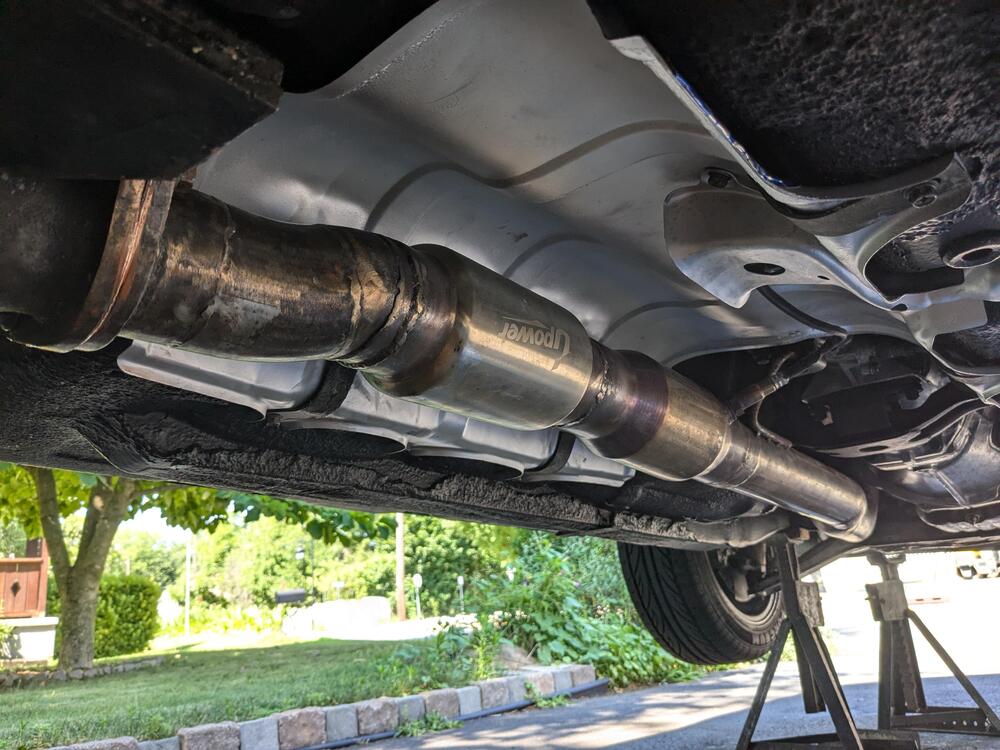
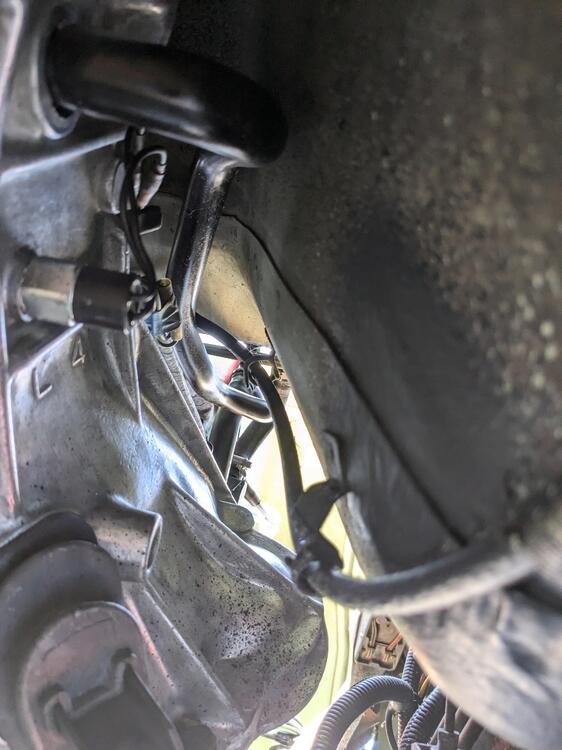
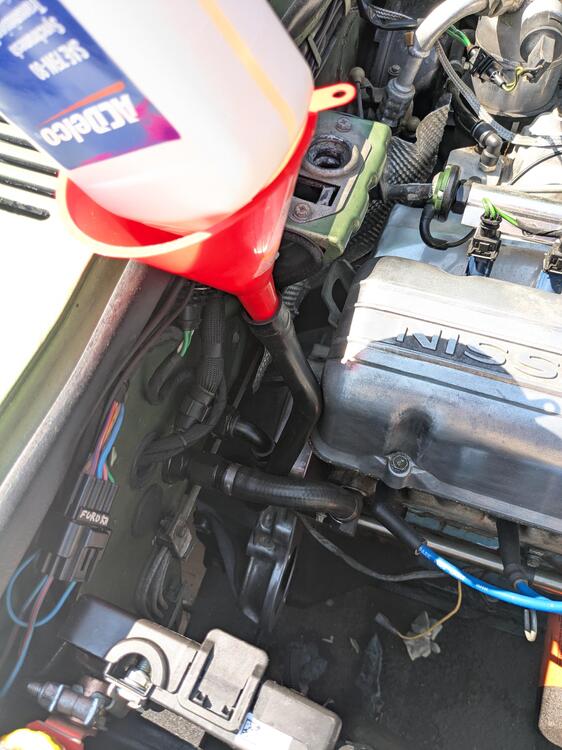
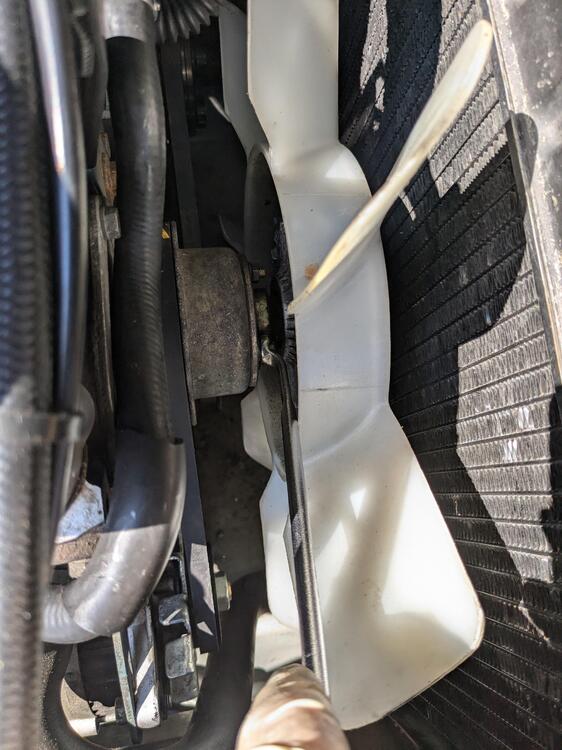
Installed the correct U Joint (TUS-11a) today, and then reinstalled the prop shaft, heat shield, exhaust, starter, fan clutch & throttle linkage at the firewall. Also added an OEM 5 speed shift knob. Driving it around a little - it definitely feels nicer than the 4, and doesn't make the horrendous noises of my worn out 4 speed. 3rd is a little whiny below 4K rpm though. No idea how many miles were on the trans. Installed the joint in the yoke first. Started with one cup pressed in enough that the circlip could be installed, with the cross set in so the needle bearings don't walk, then set & pressed the second cup in just enough that the circlip fit in the groove Then I did the same with the prop shaft, set one cup in deep enough to set the circlip, then did the same for the last cup. Normally I'd just tap the cups in the way I remove them, but since the initial opening of the yoke has a step in it from the staking, that doesn't work very well ( I tried that first). After the joint was fully installed I just tap each yoke in the open vice jaws to relax the yokes after pressing, that makes sure the cups aren't tight or binding in the yokes. It felt perfect. Prop shaft back in Heat shield on exhaust on Trans filled - only took 2 quarts (started dripping at the end of the 2nd quart. I was surprised, as I thought these took more than 2 quarts to fill Fan clutch back on ( I had removed it as it was mentioned the engine dropping at the rear could cause interference).

 1 point
 -
1 pointI own a number of BMW's and a couple of Fords. The newest is a 2015. Most are 2007 to 2011. I do have a couple of pretty decent scanners though and that helps alot. I also have a pretty big tool assortment and my son is a diesel mechanic and his tools make mine look like toys. When I defer work to the mechanic it is typically because of convenience of the odd time we get stumped. If we had a lift we would defer even less1 point