


Leaderboard
-
zKars
 Subscriber
 6Points3,770Posts
 -
jfa.series1
Subscriber6Points2,733Posts -
26th-Z
Free Member3Points5,264Posts -
davewormald
Free Member3Points128Posts


Popular Content
Showing content with the highest reputation on 03/29/2024 in all areas
-
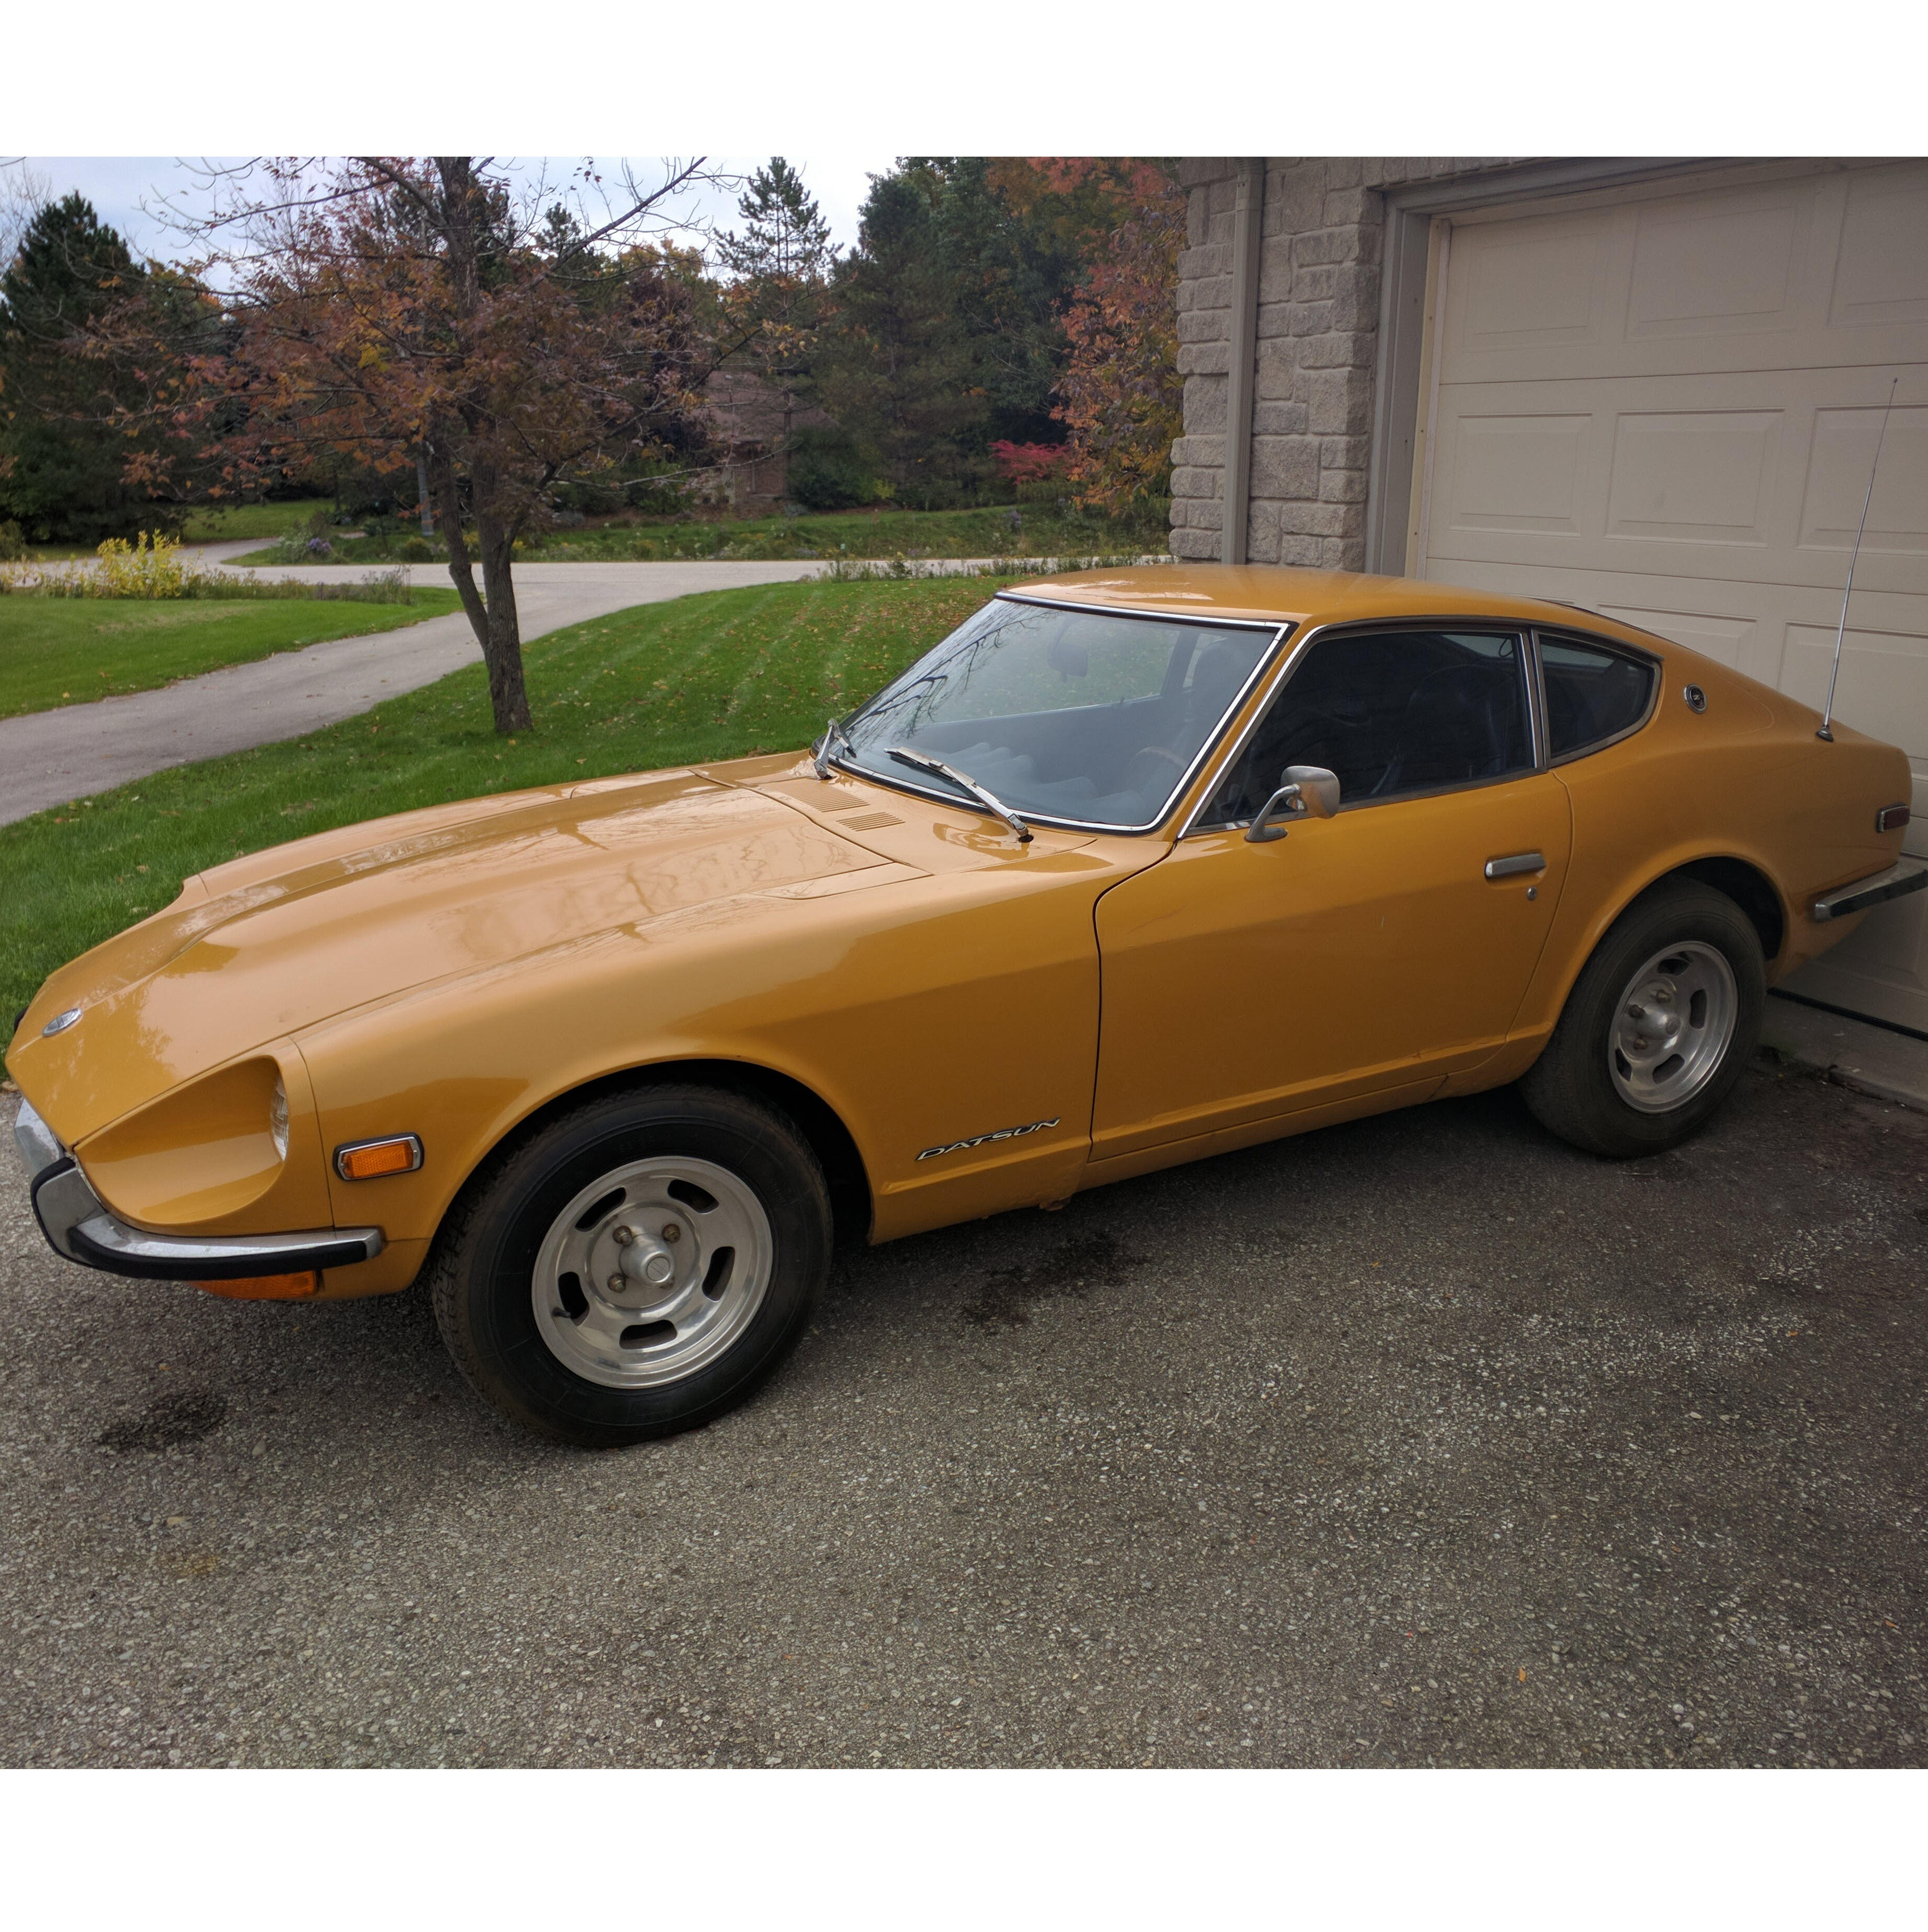
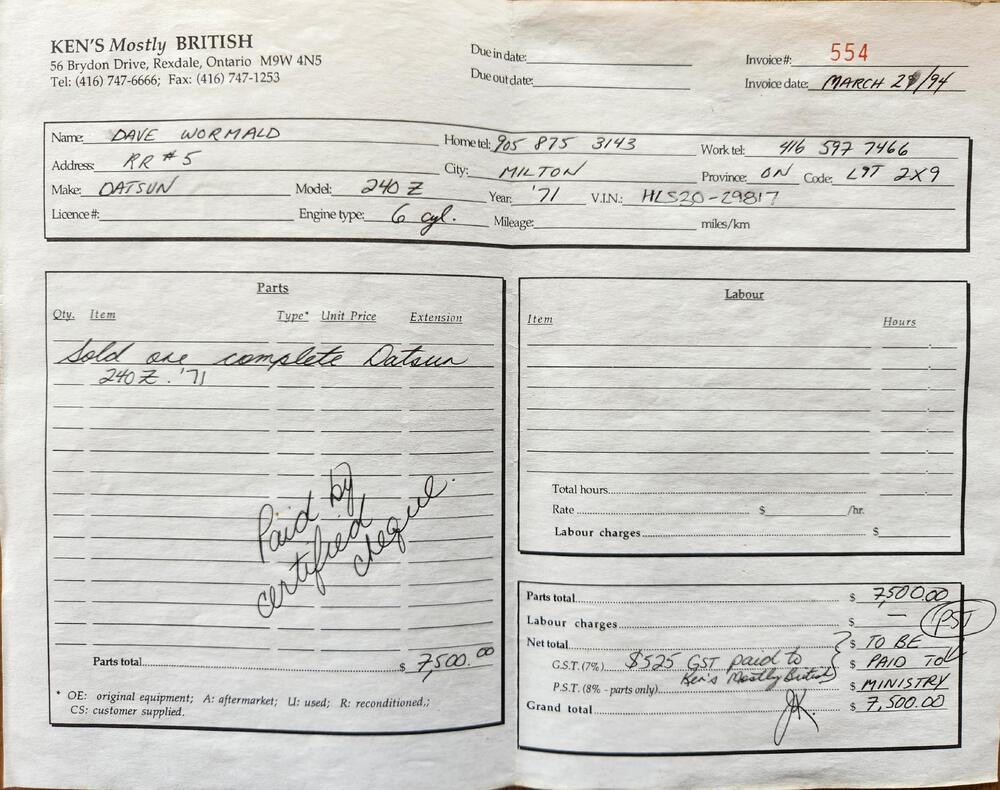
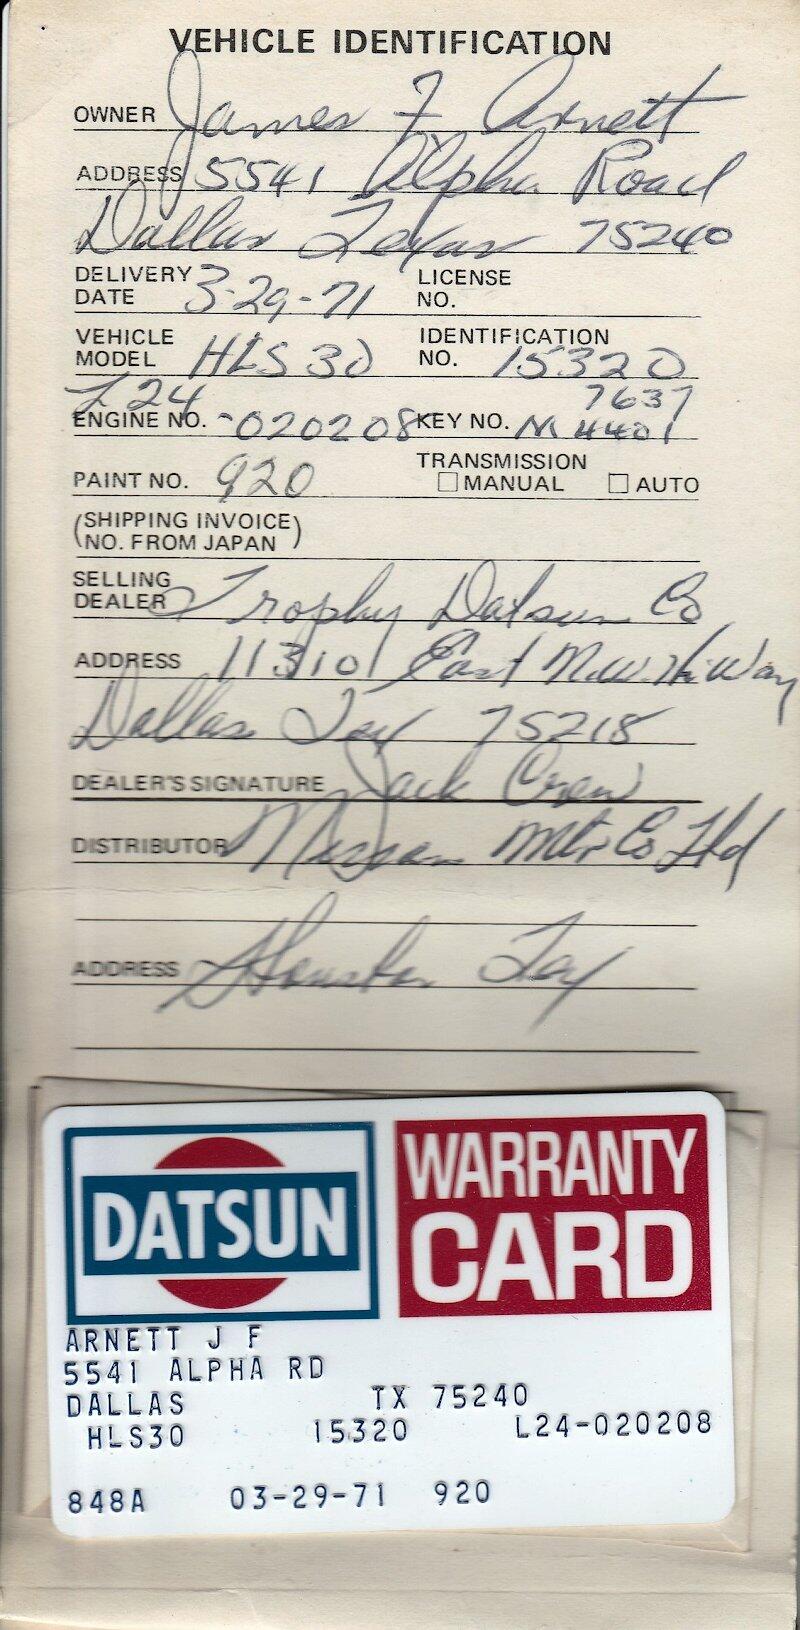
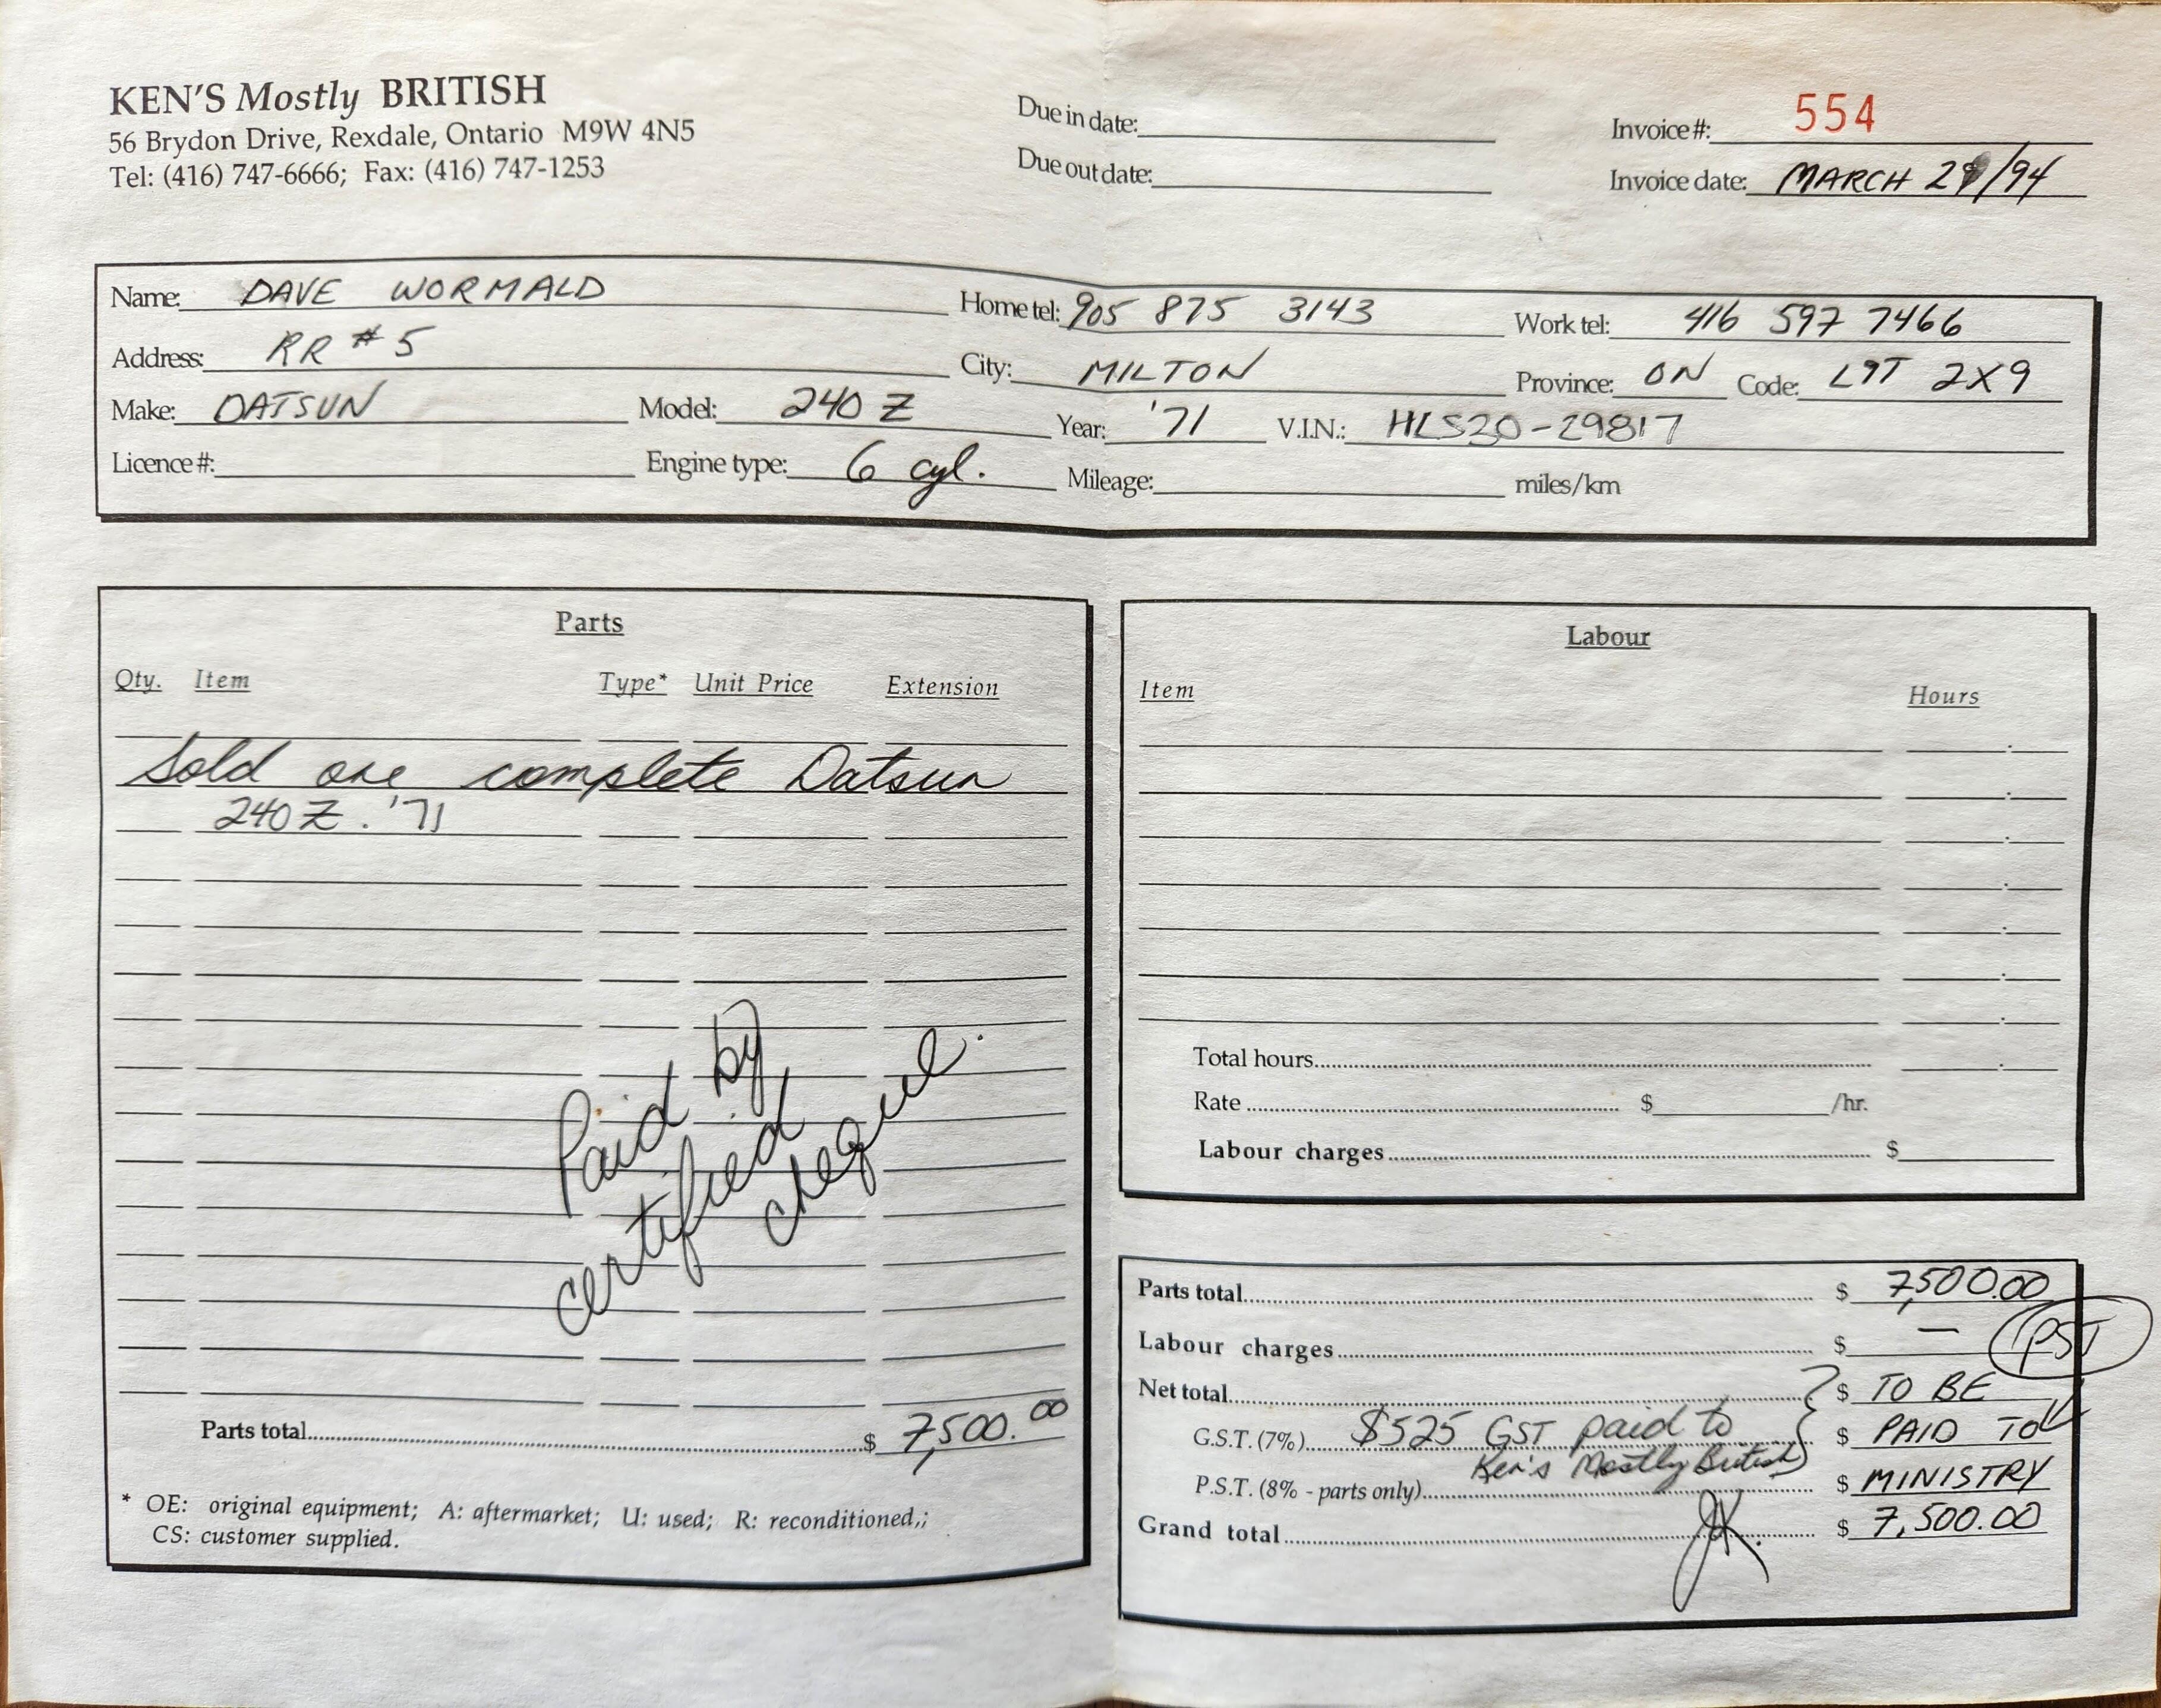
6 points6 points3 pointsHow's that for a coincidence? The smudged date is, in fact, March 29th. 30 years ago today. I wouldn't be surprised if it was the most expensive 240Z sold in Canada at that point! Most of them were already wrecks by 1994 (this one had just arrived from Georgia), and I don't think many people were restoring them yet. Shockingly, it was appraised at $10k, though I don't think anyone would have paid that for it back then!
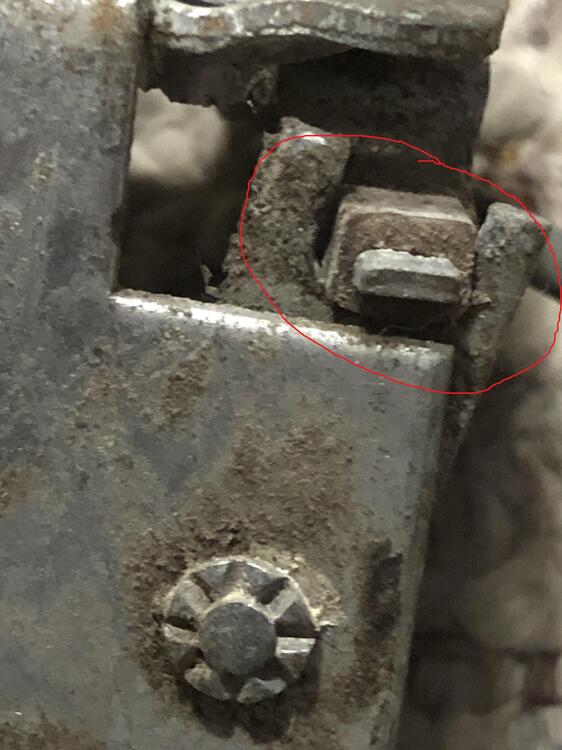
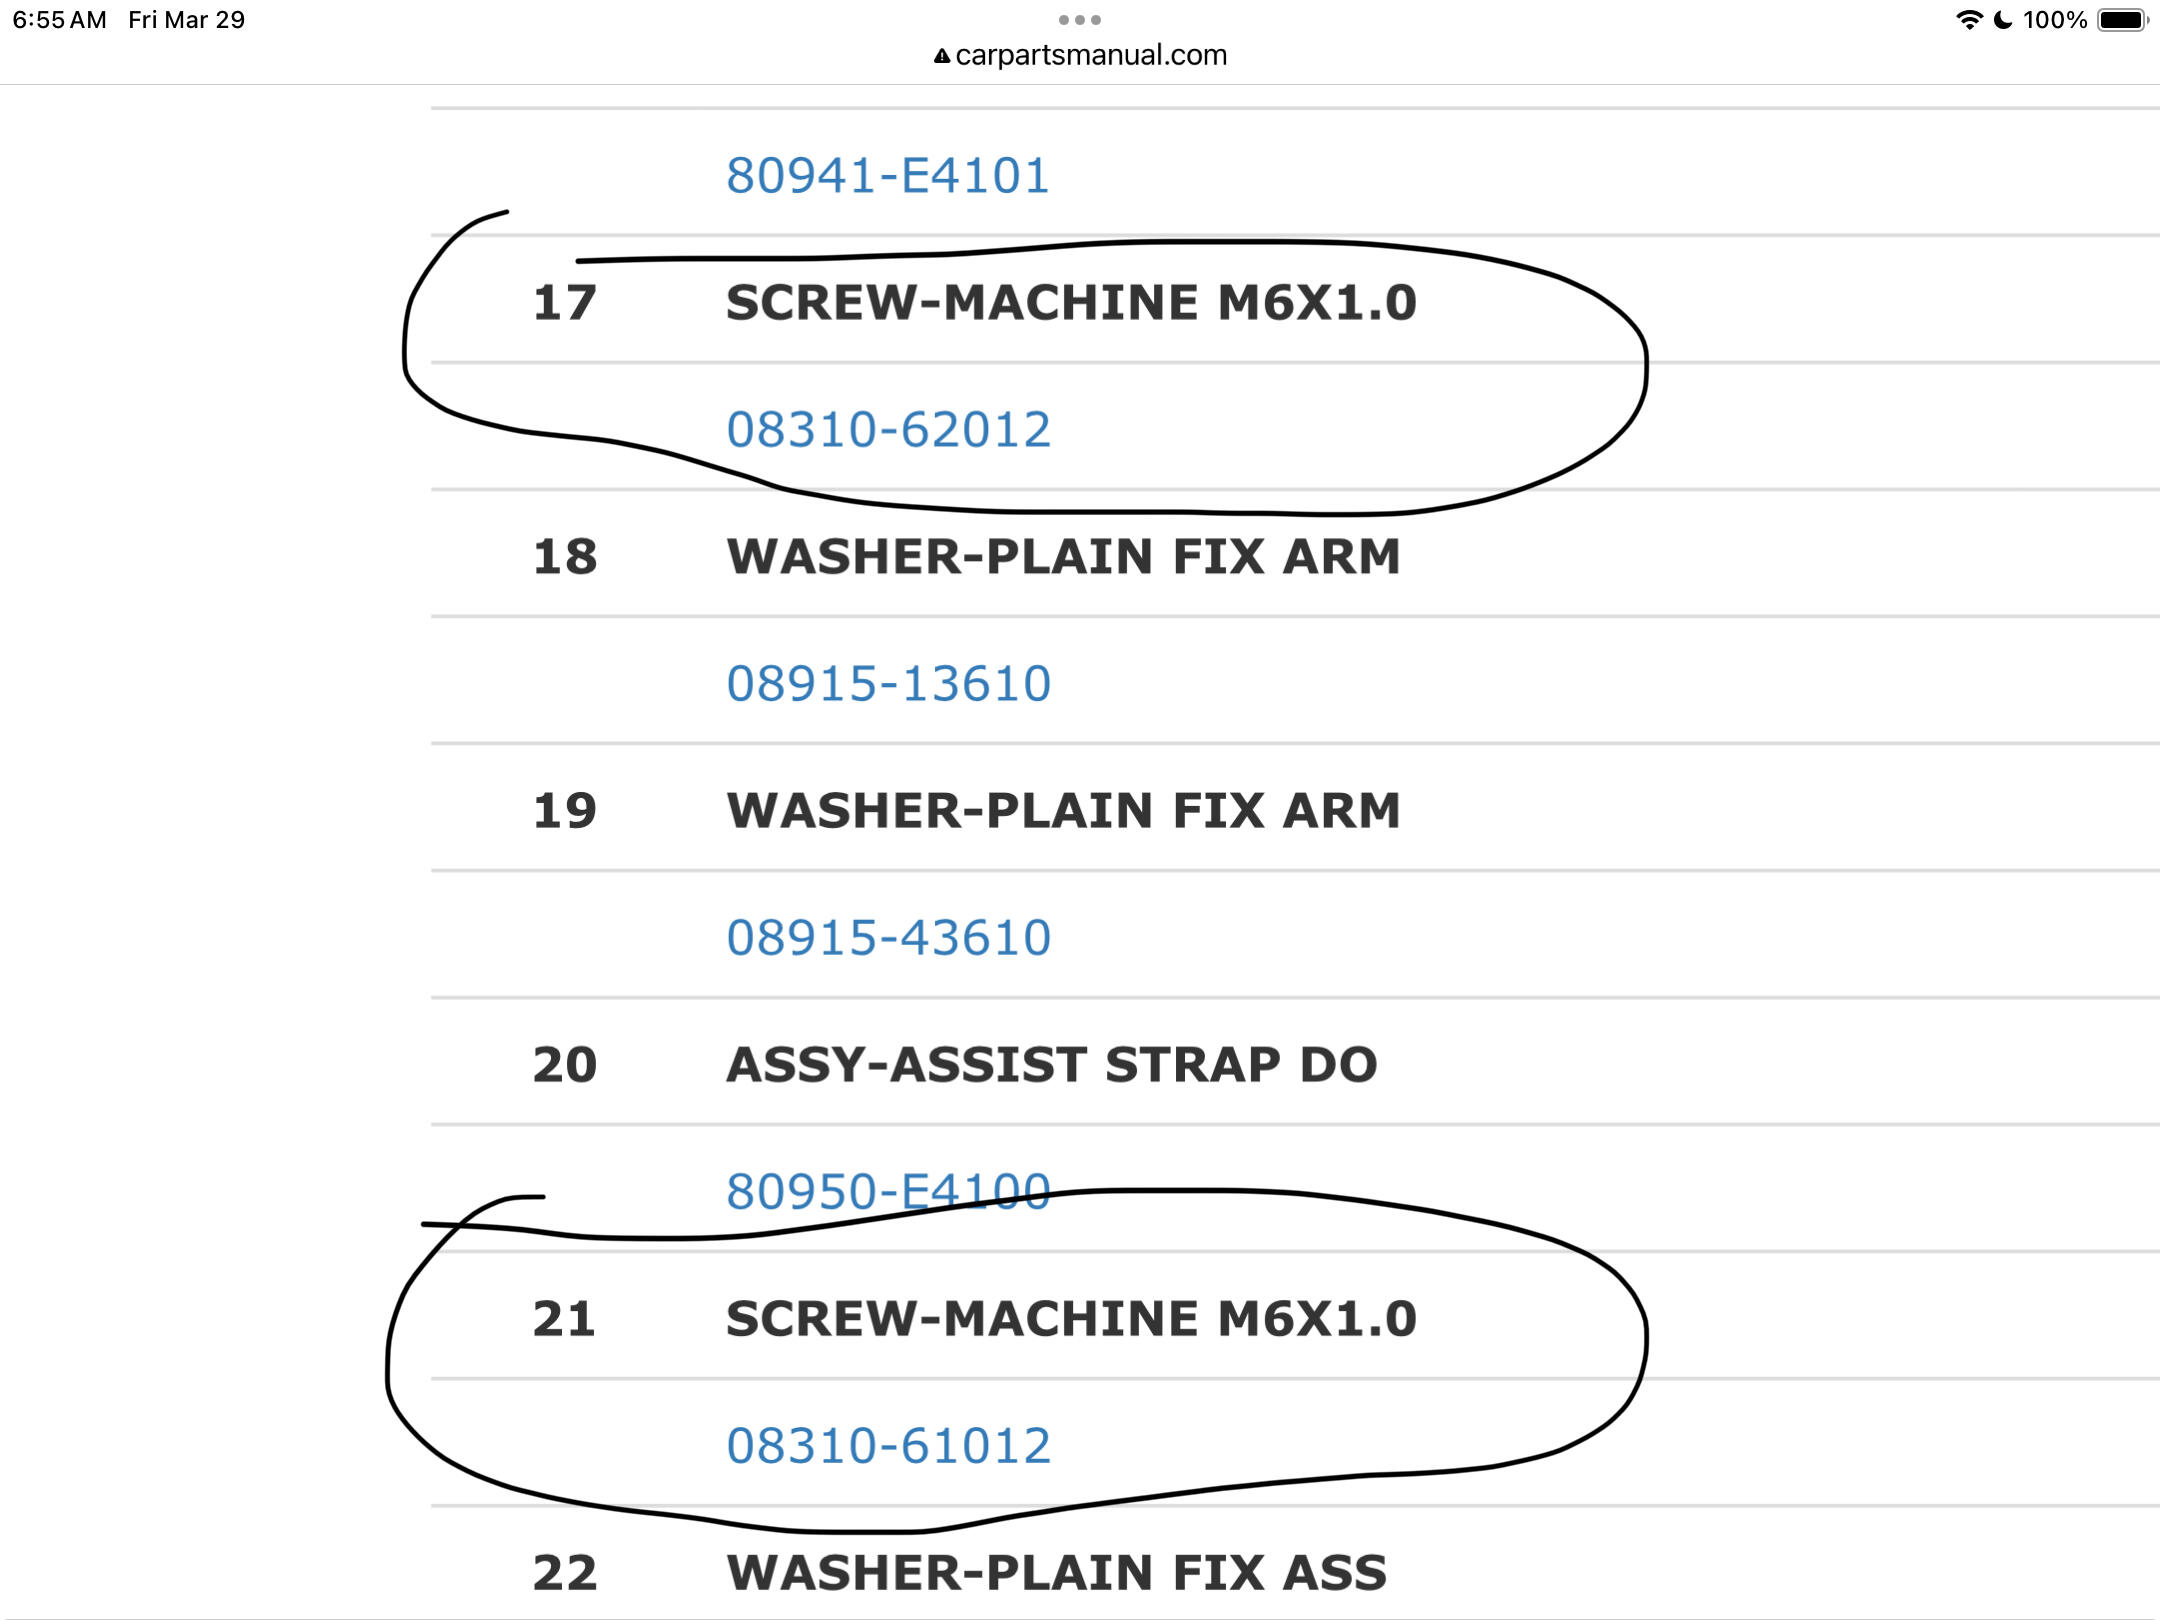
 3 points3 pointshttps://www.carpartsmanual.com/datsun/Z-1969-1978/body-240z/door-moulding-finish-arm-rest As for the door handle and arm rest, the official fasteners are round head machine screws as noted in the parts fiche. Now I have found plenty of cars with hex head bolts (with phillips heads, actually JIS) holding those handles on, so there may have been a hardware supplier issue, who knows. Of course also 100 or so past owners in the doors to fix all the things that go wrong that then used the wrong fasteners. If you really want the exact bolts you are showing, I have them and can send them to you. If you just want to attach your parts, Ace or Belmetric are wonderful resources. Hint of the day. You likely struggled to get those four M5 machine screws out of the head light buckets, as have I. Once I have the out, I replace them with short M5 studs and nuts. Makes changing a light bulb out on a trip So. Much. Easier……
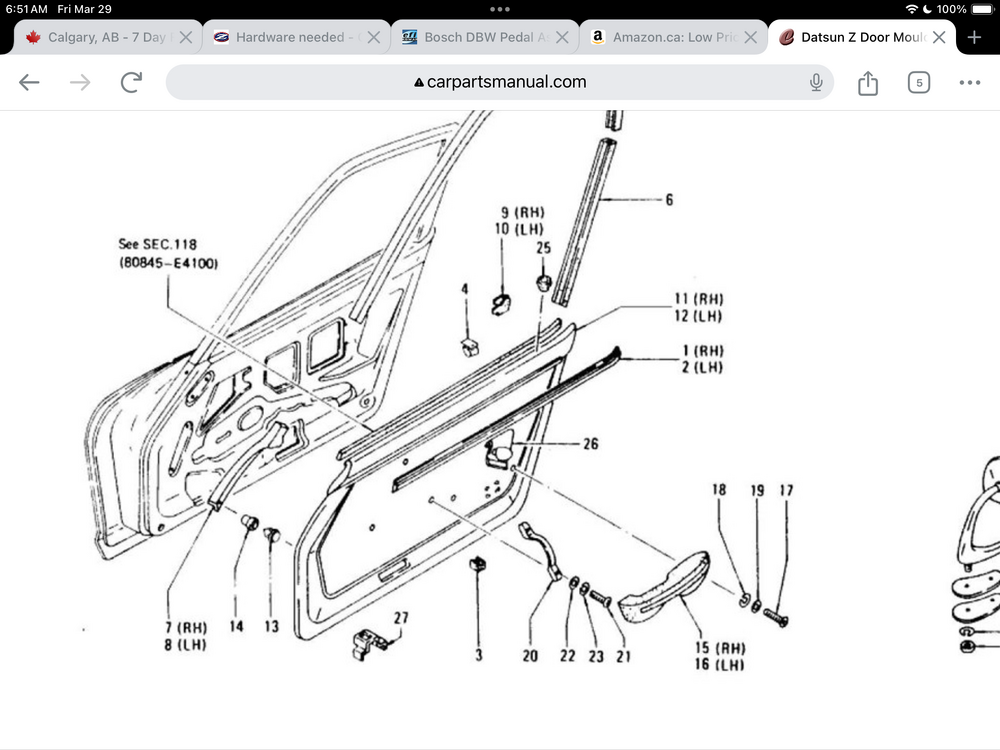
 3 points2 pointsI am finding quite lot of Nissan hardware for the S30 (and to fit my CSP) is available, as some of those parts were used on other models, especially when Nissan's domestic market cars are included. 08310-62012 is listed on another Nissan engine, but NLA, but superceded by 08310-6201A. If you know how to read the part number, the A is more likely a filler, as the important info telling you what sort of fixing and size and length is the same.2 points2 points1 point1 pointGreen white to ballast, front, long BW to ballast (rear), and short BW to coil + If you don’t have a ballast, connect the long BW and the GW together. I’mm doing the same thing to this car today. I’ll let you know if I run into issues
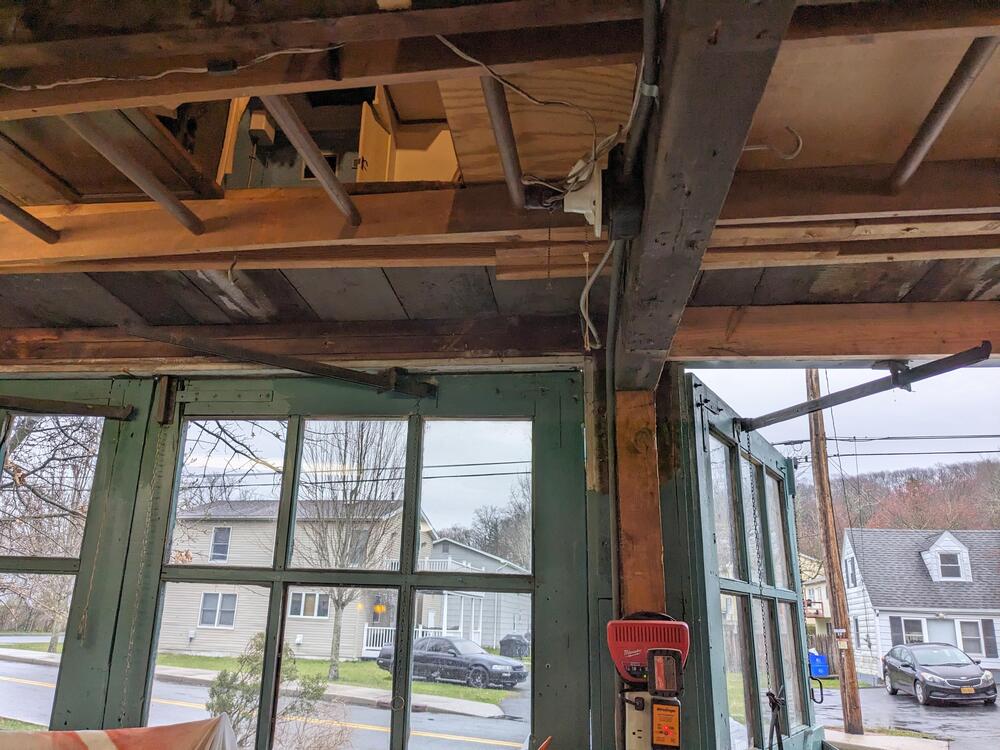
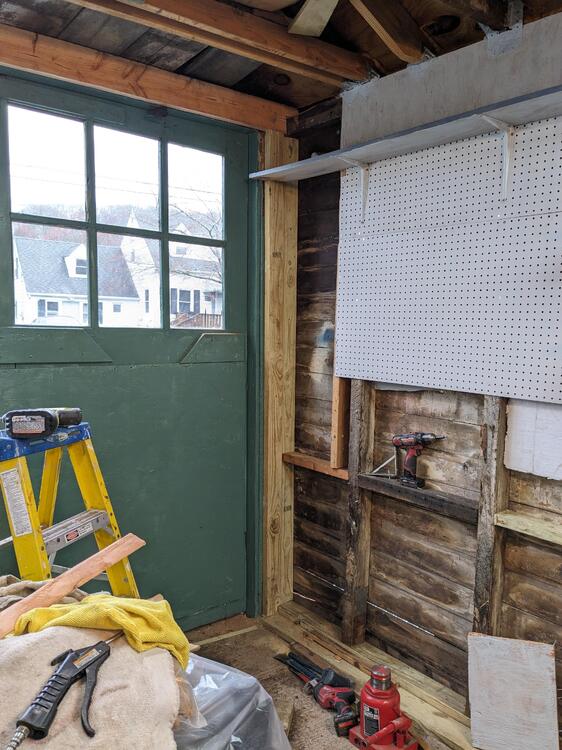
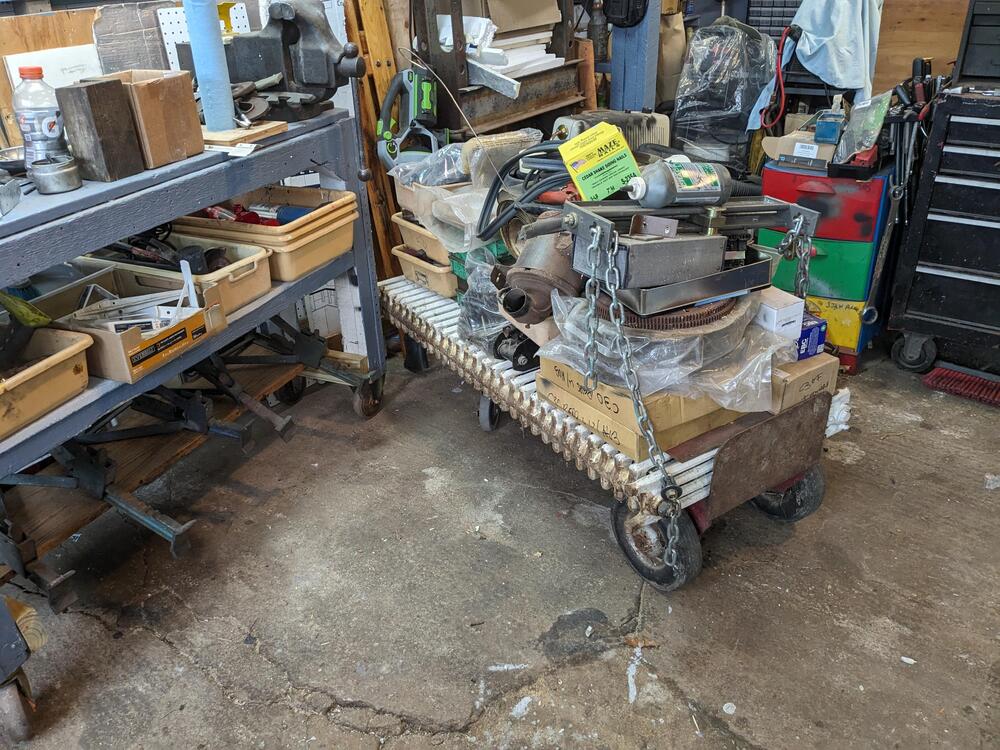
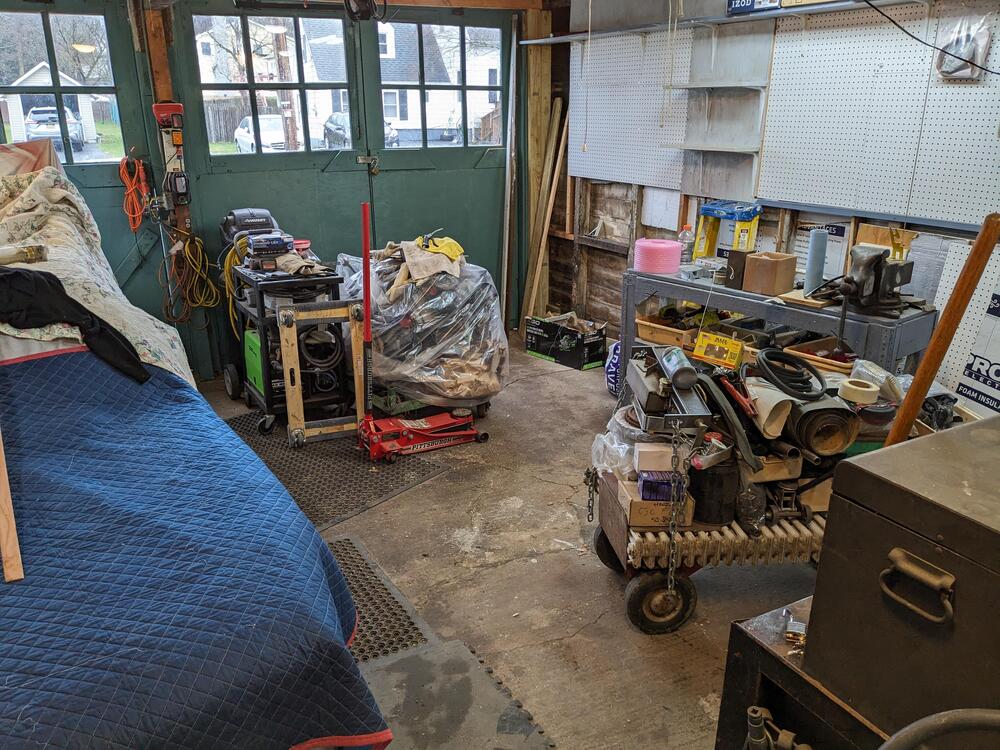
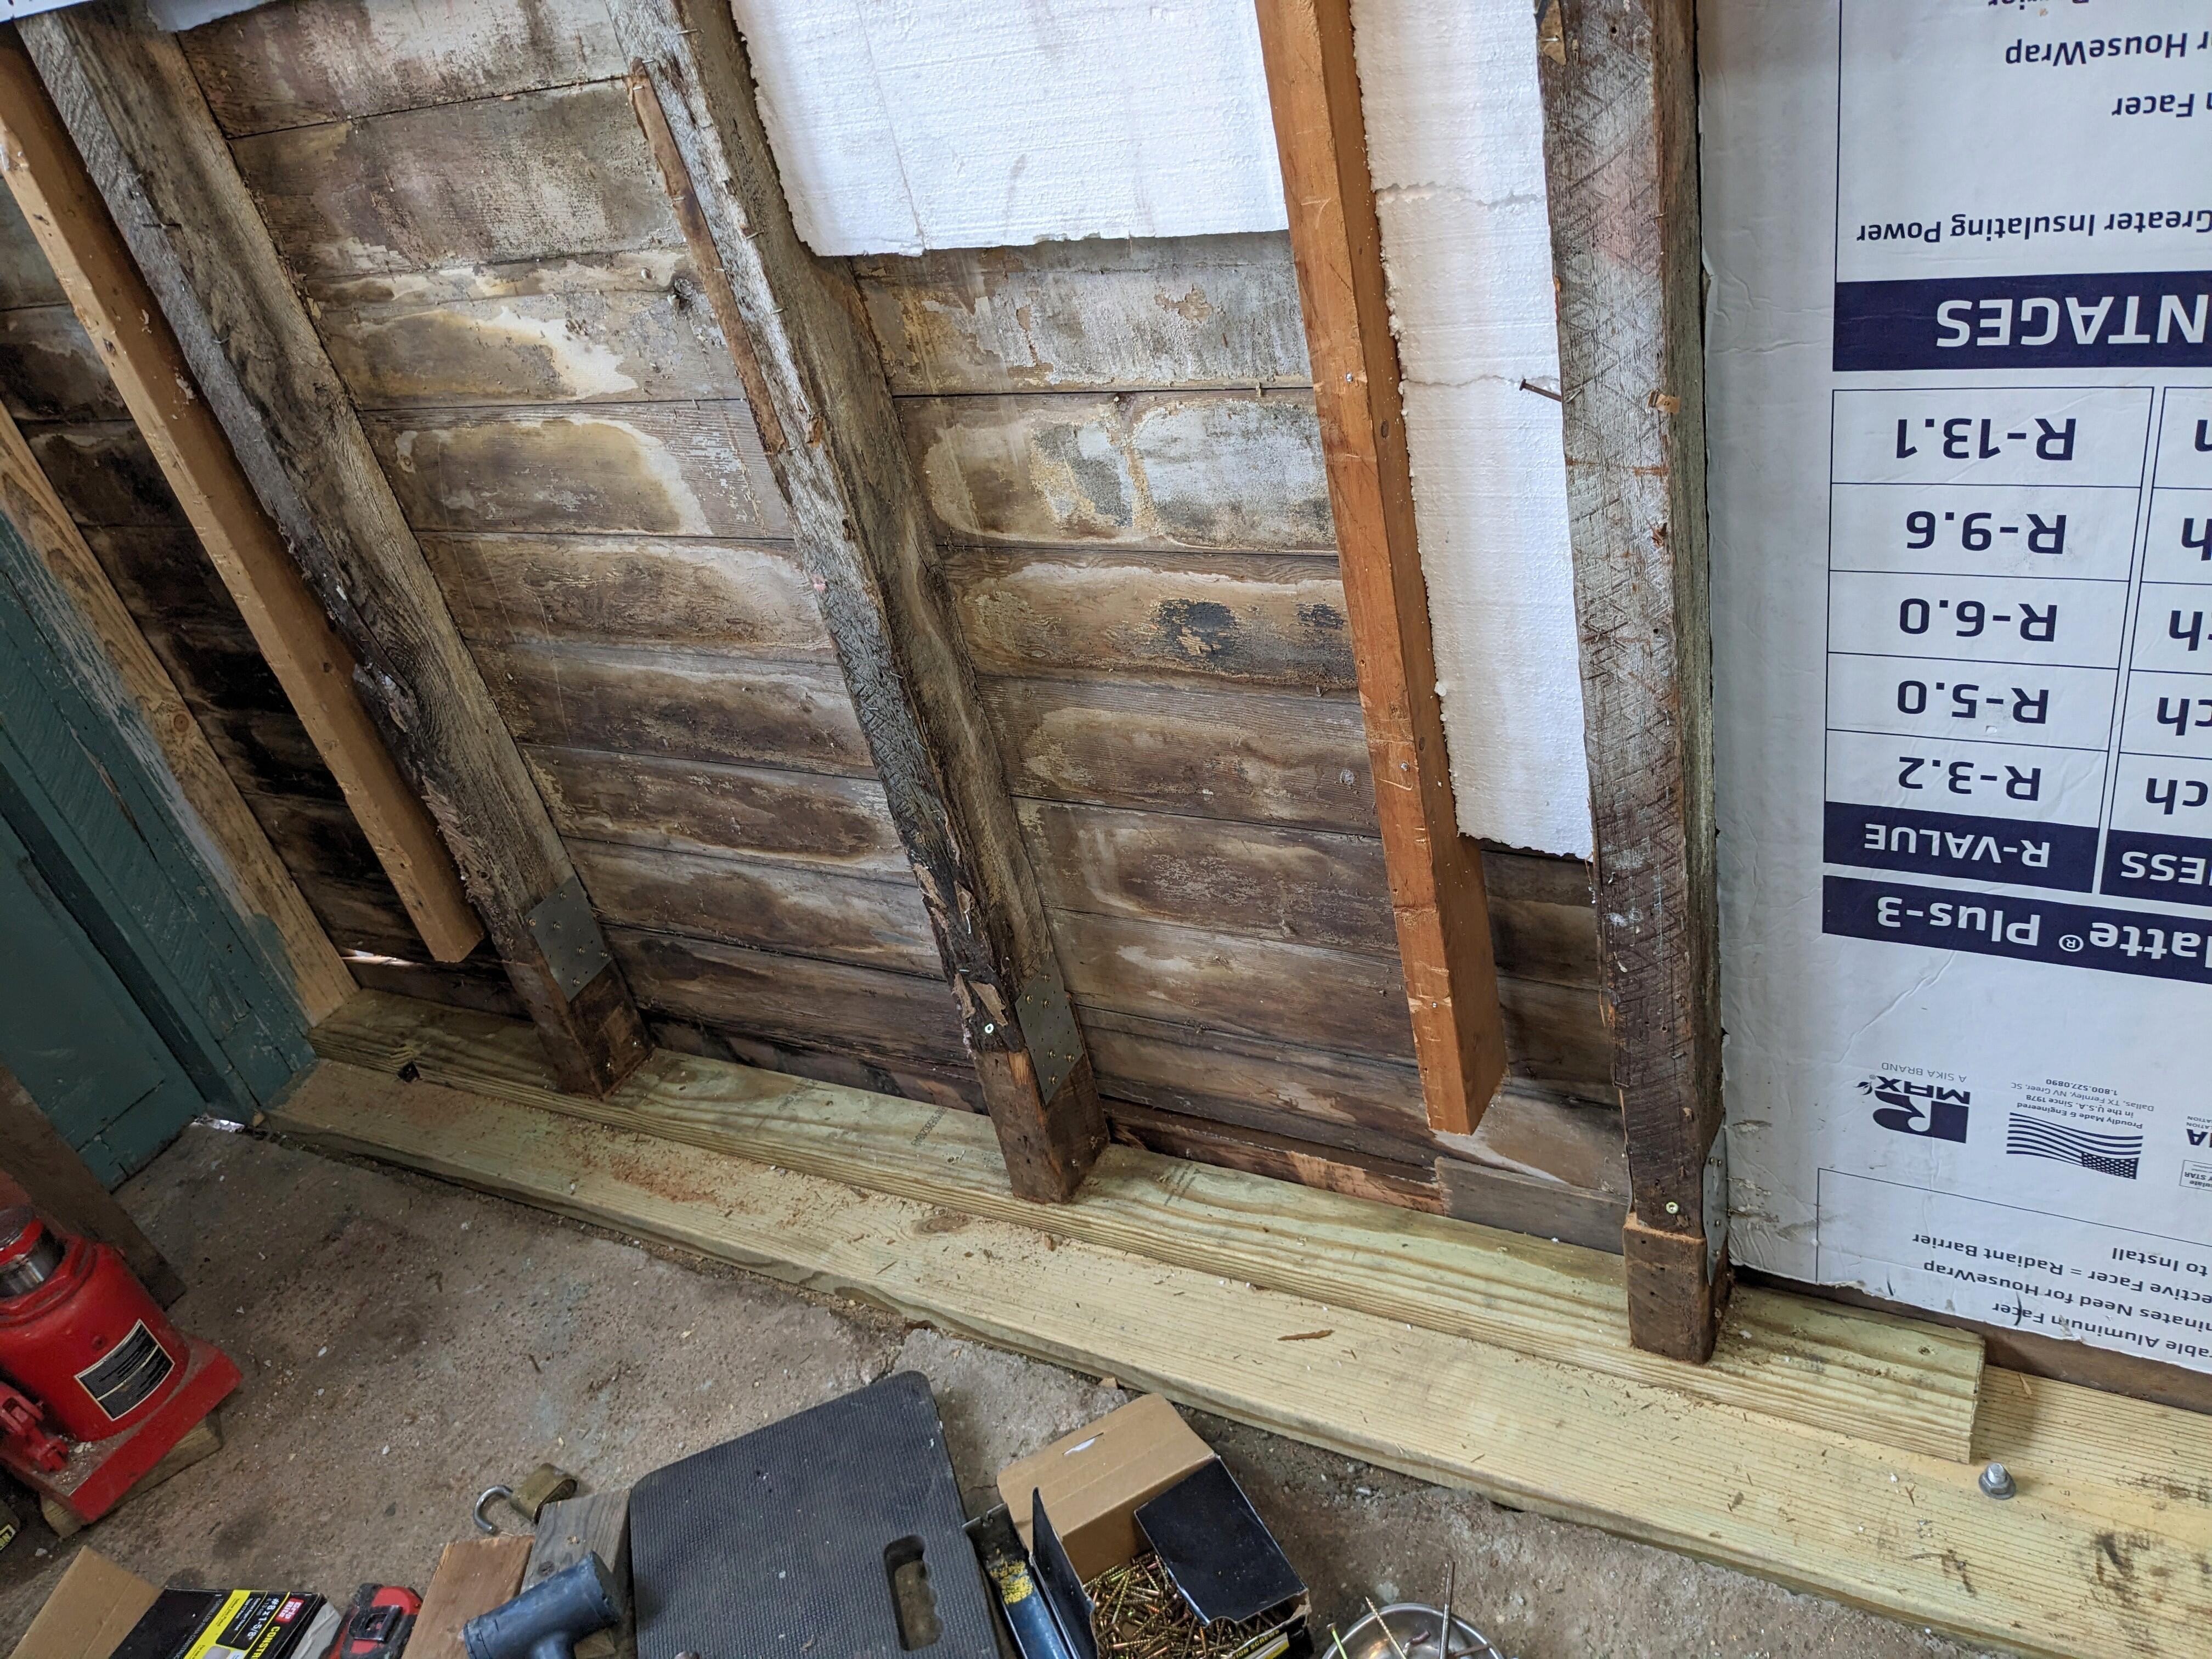
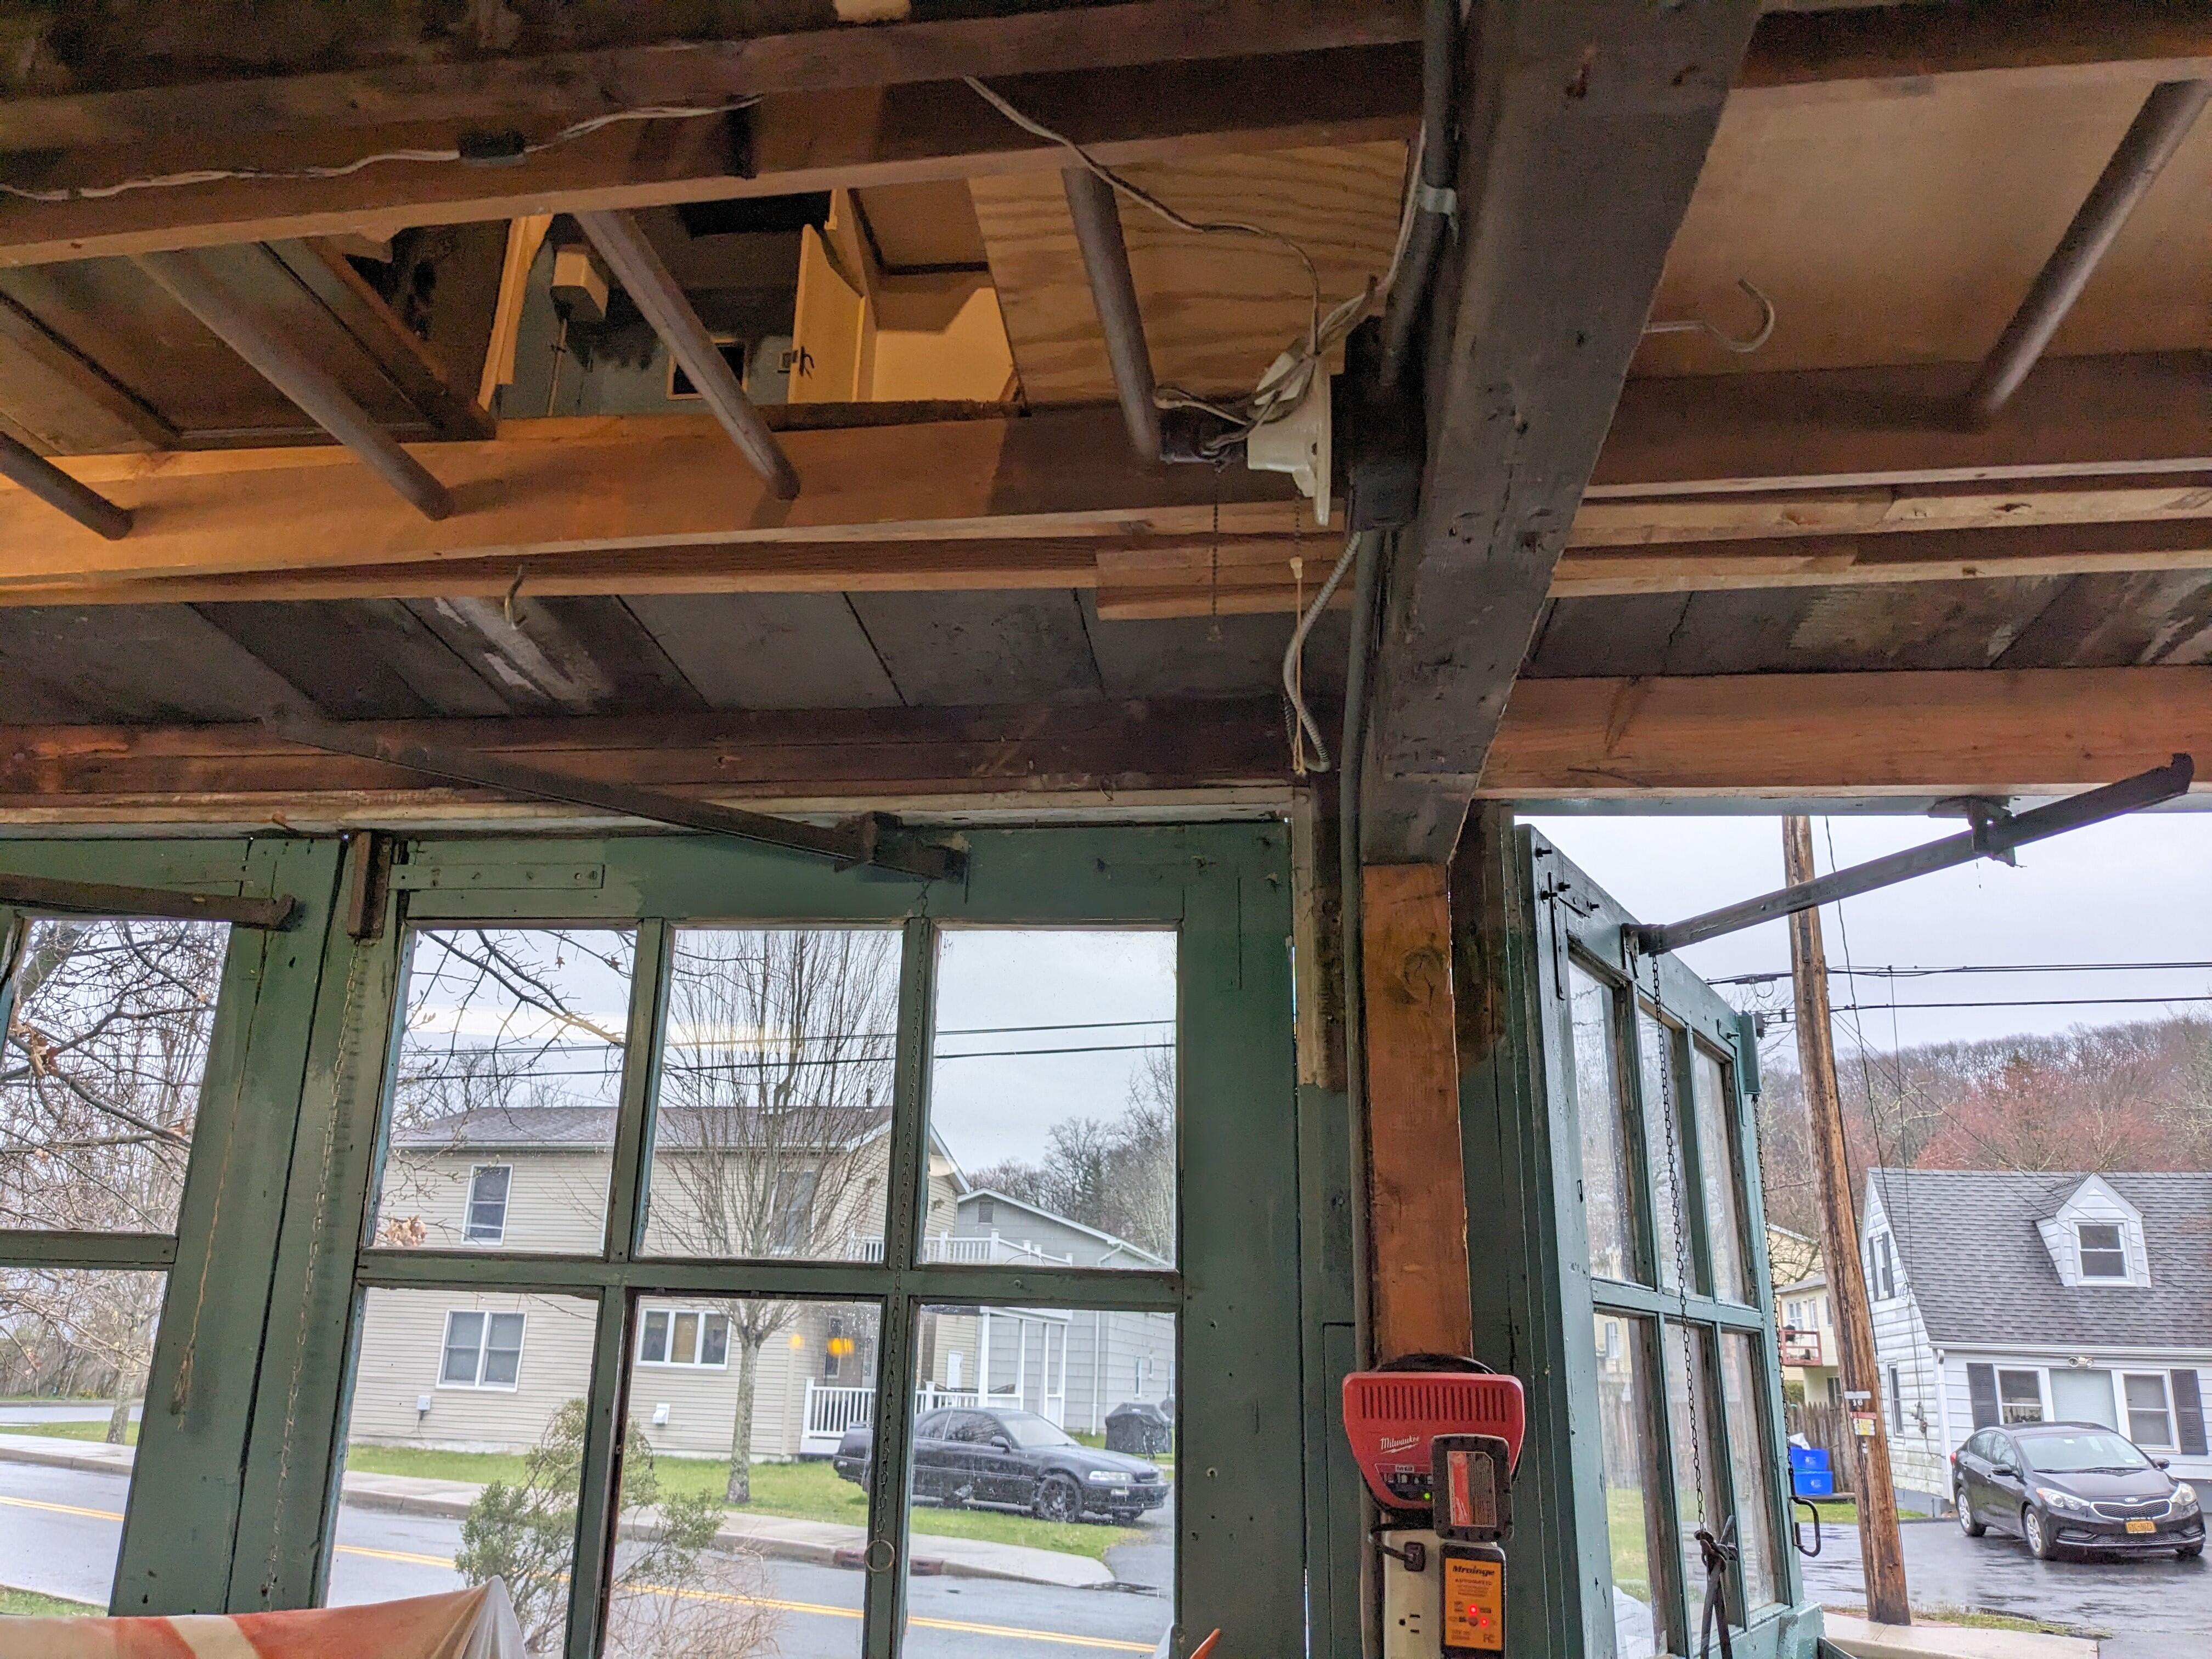
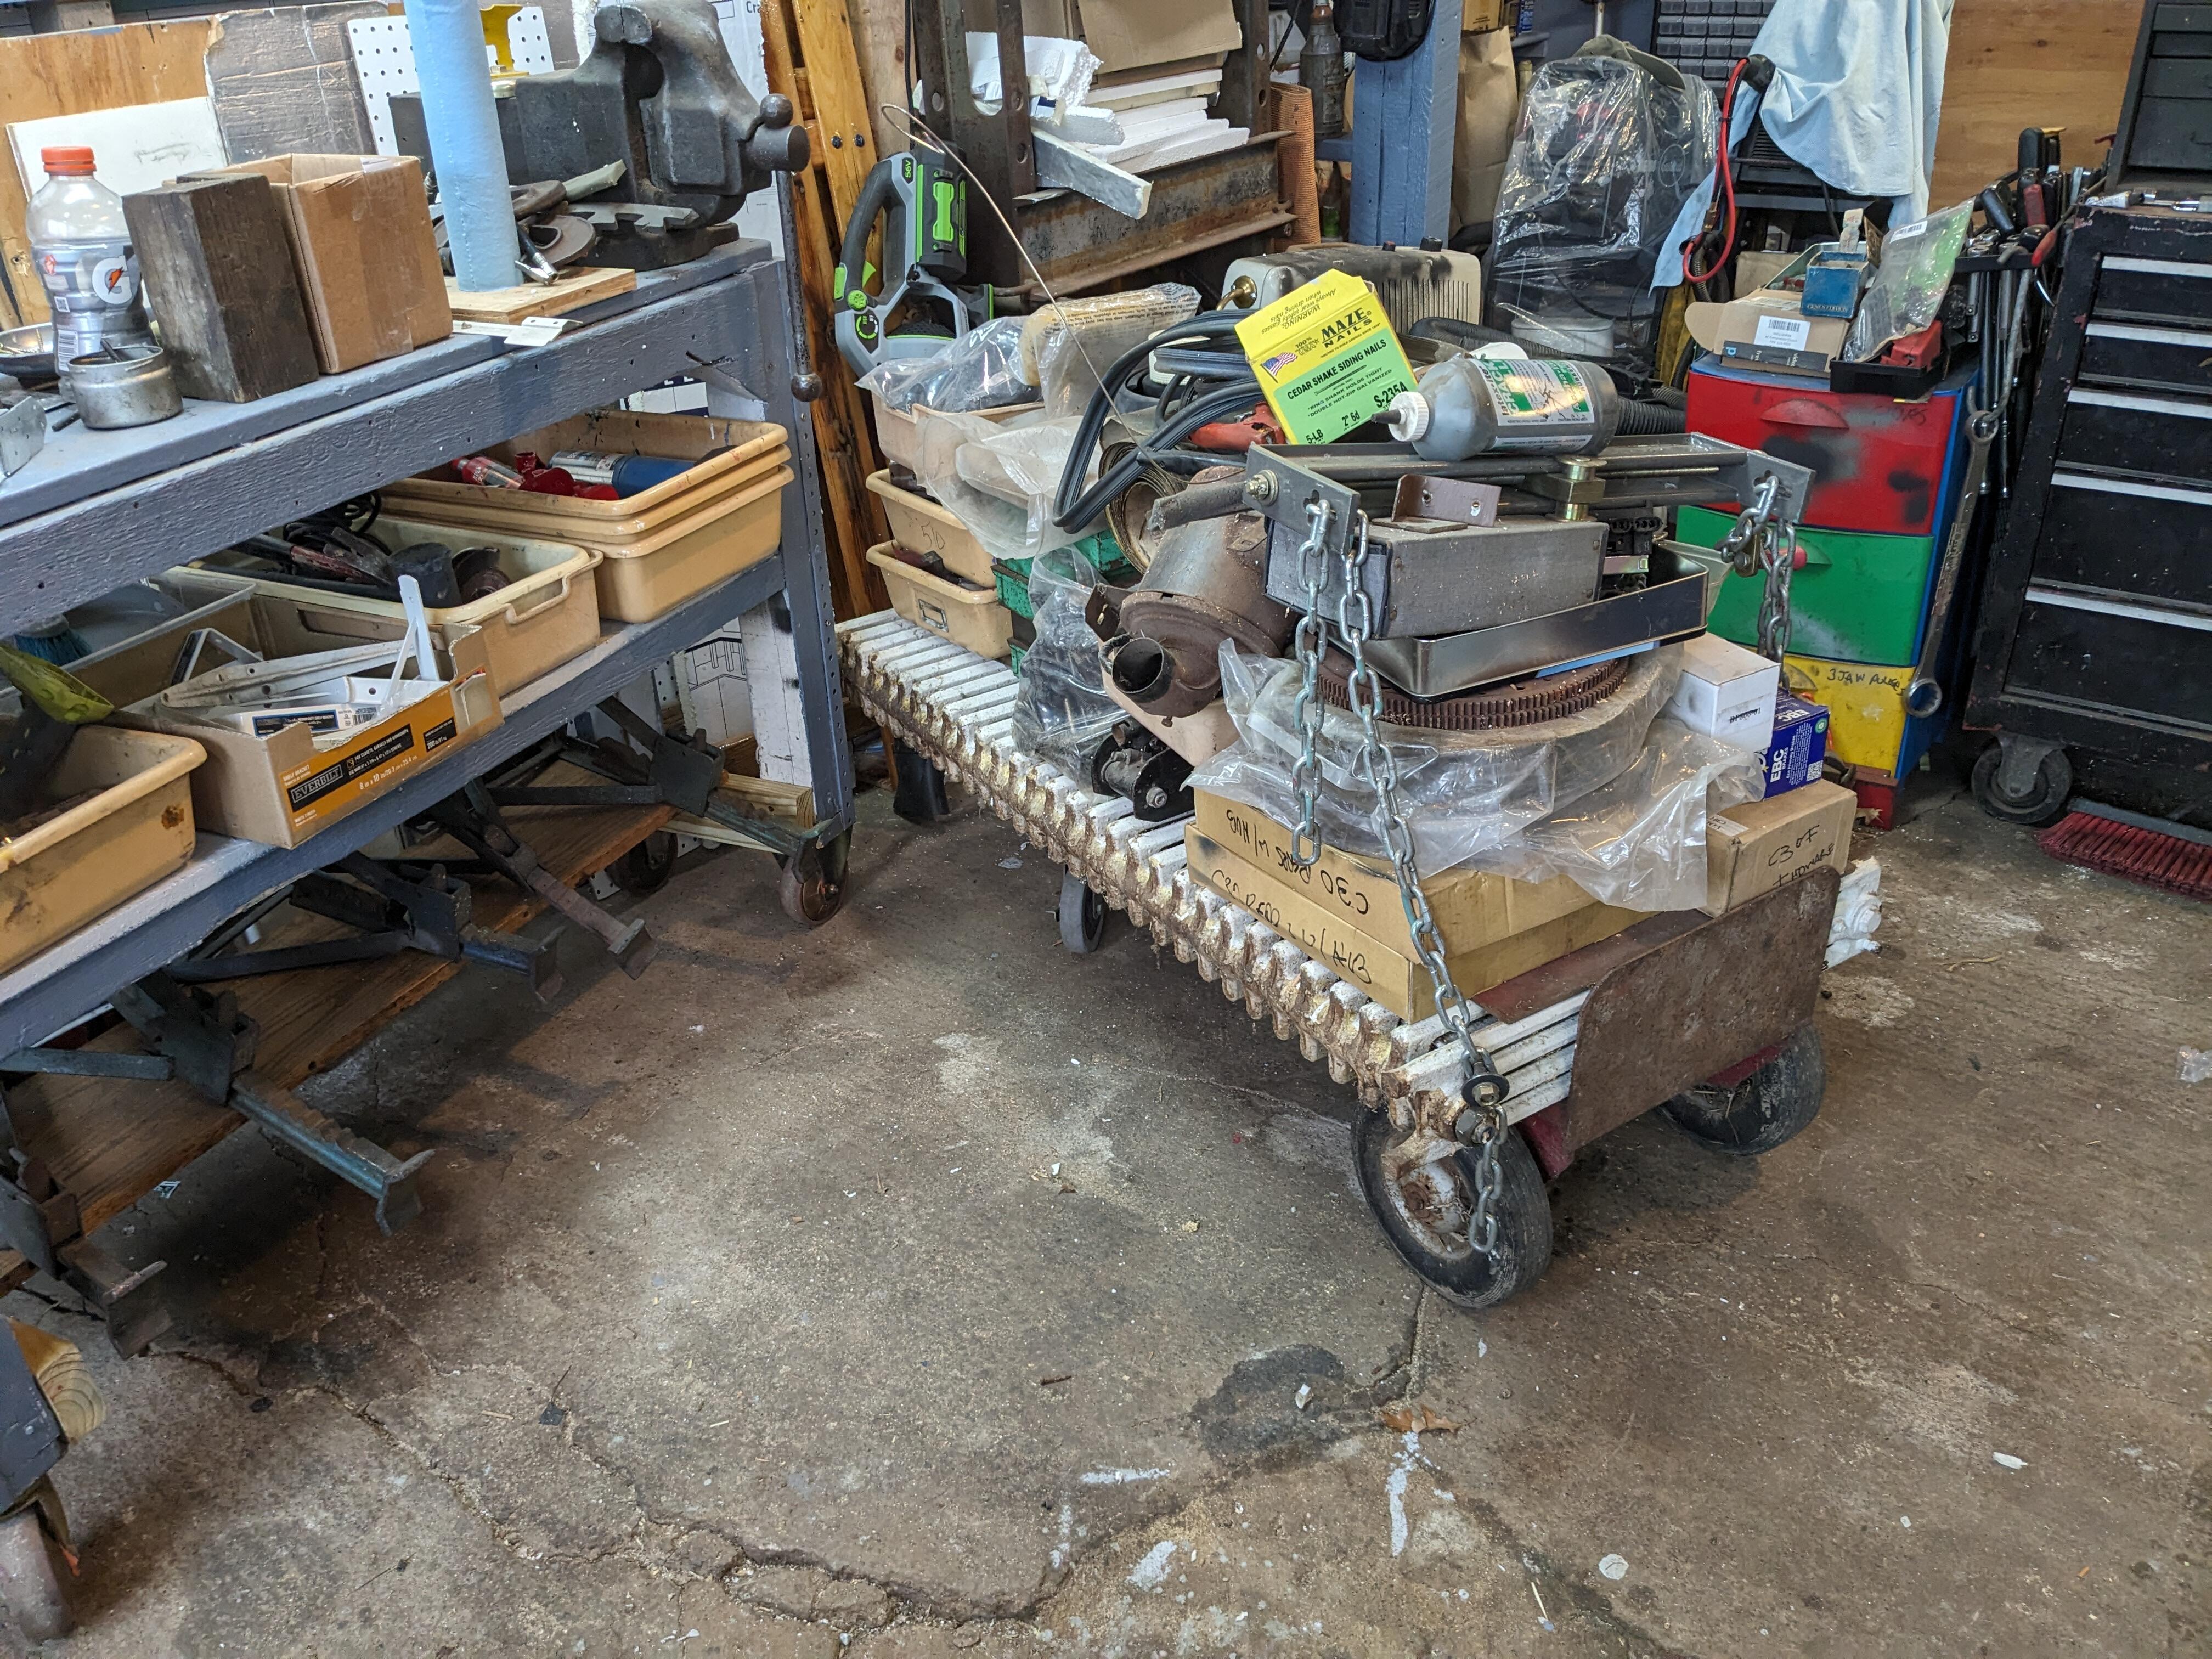
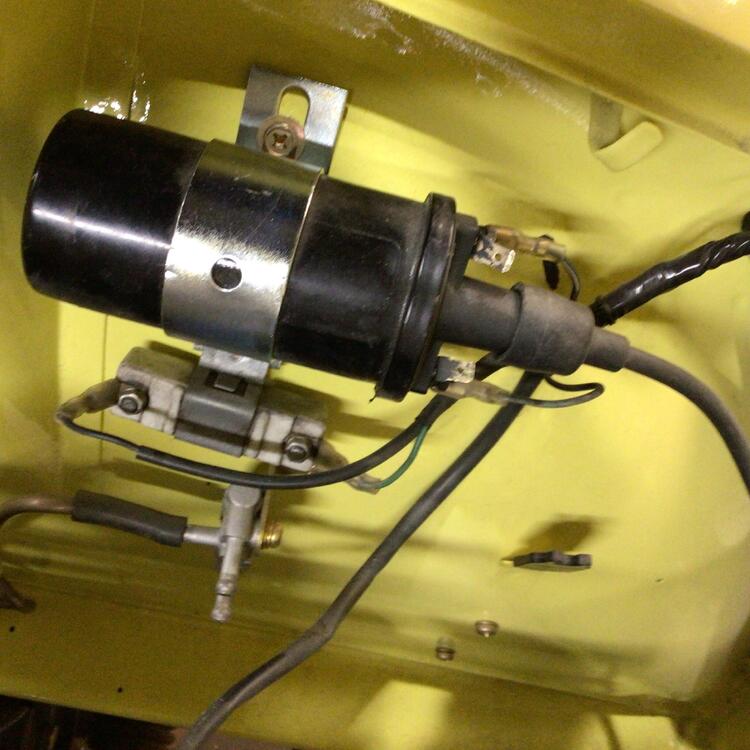 1 point1 pointWorked on the replaced sill area today. Added a plate to further remove the studs from any possible damp/water contact. Spliced in stud sections. Added a 2x6 header(support?) above the Southeast door - there are 3 plates there (see left of pic for reference ) - I figure this should help stiffen it up a bit. I'll jack the center a hair before I tie it to the plate sandwich Added some cross braces to stiffen up the wall after the corner post for the existing top plate..... ......and the new header post were in place. Have to add splints(?) to the repaired studs Next I need to clear this out so I can get the Z inside while we are out of the country for a week Feeling better now it's going back together. I can't work on the cars until my stuff is out of the way & back where I can find things as needed

 1 pointI wanted to put in one place, a reference topic to those who are struggling with slamming doors with new rubber weather-strip, whatever your source for that material. Mark Tanker, @wheee! here, posted an excellent few posts in his build thread that showed how to simply create the often missing rubber parts in our 70-76 door latches that will quickly solve the slamming. Find it here. https://www.classiczcars.com/forums/topic/50908-1976-280z-restoration-project/?page=294#elControls_656753_menu Steve Nixon (hope I spelled that right) has a commercial product that reproduces ALL of the 5 rubber parts that are in a latch mechanism. https://www.240zrubberparts.com/product-page/240z-lock-mechanism-set
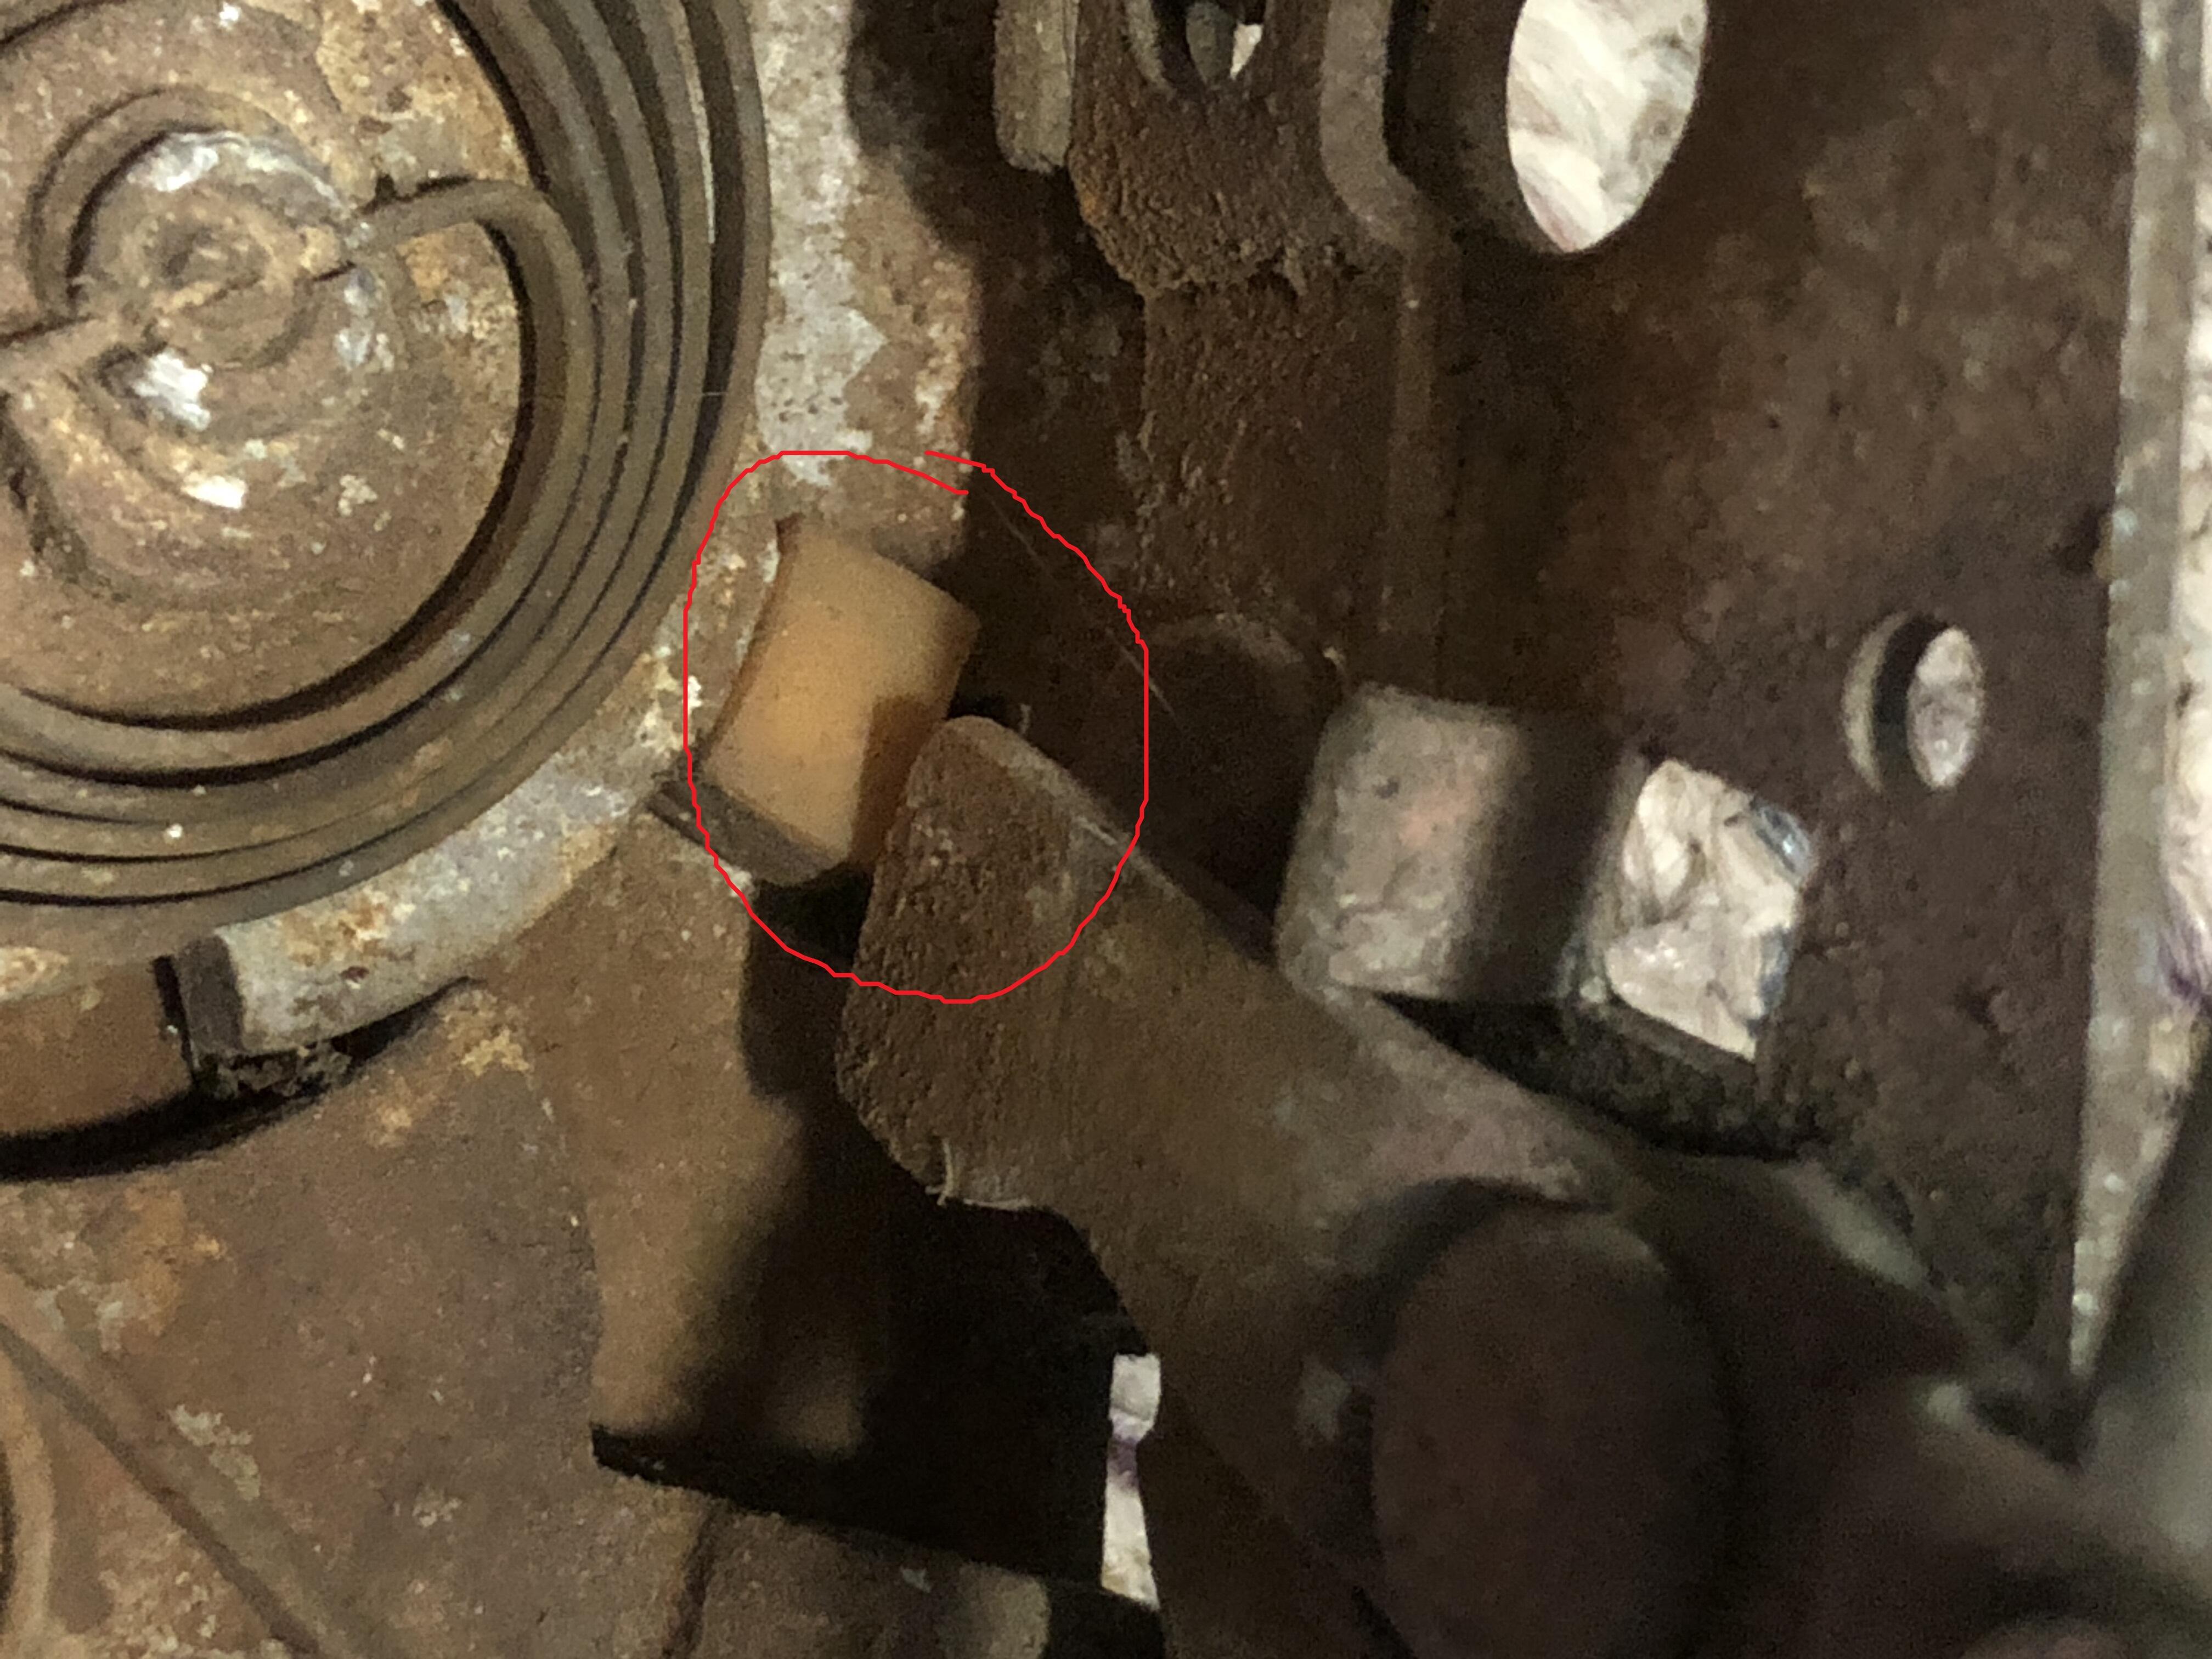
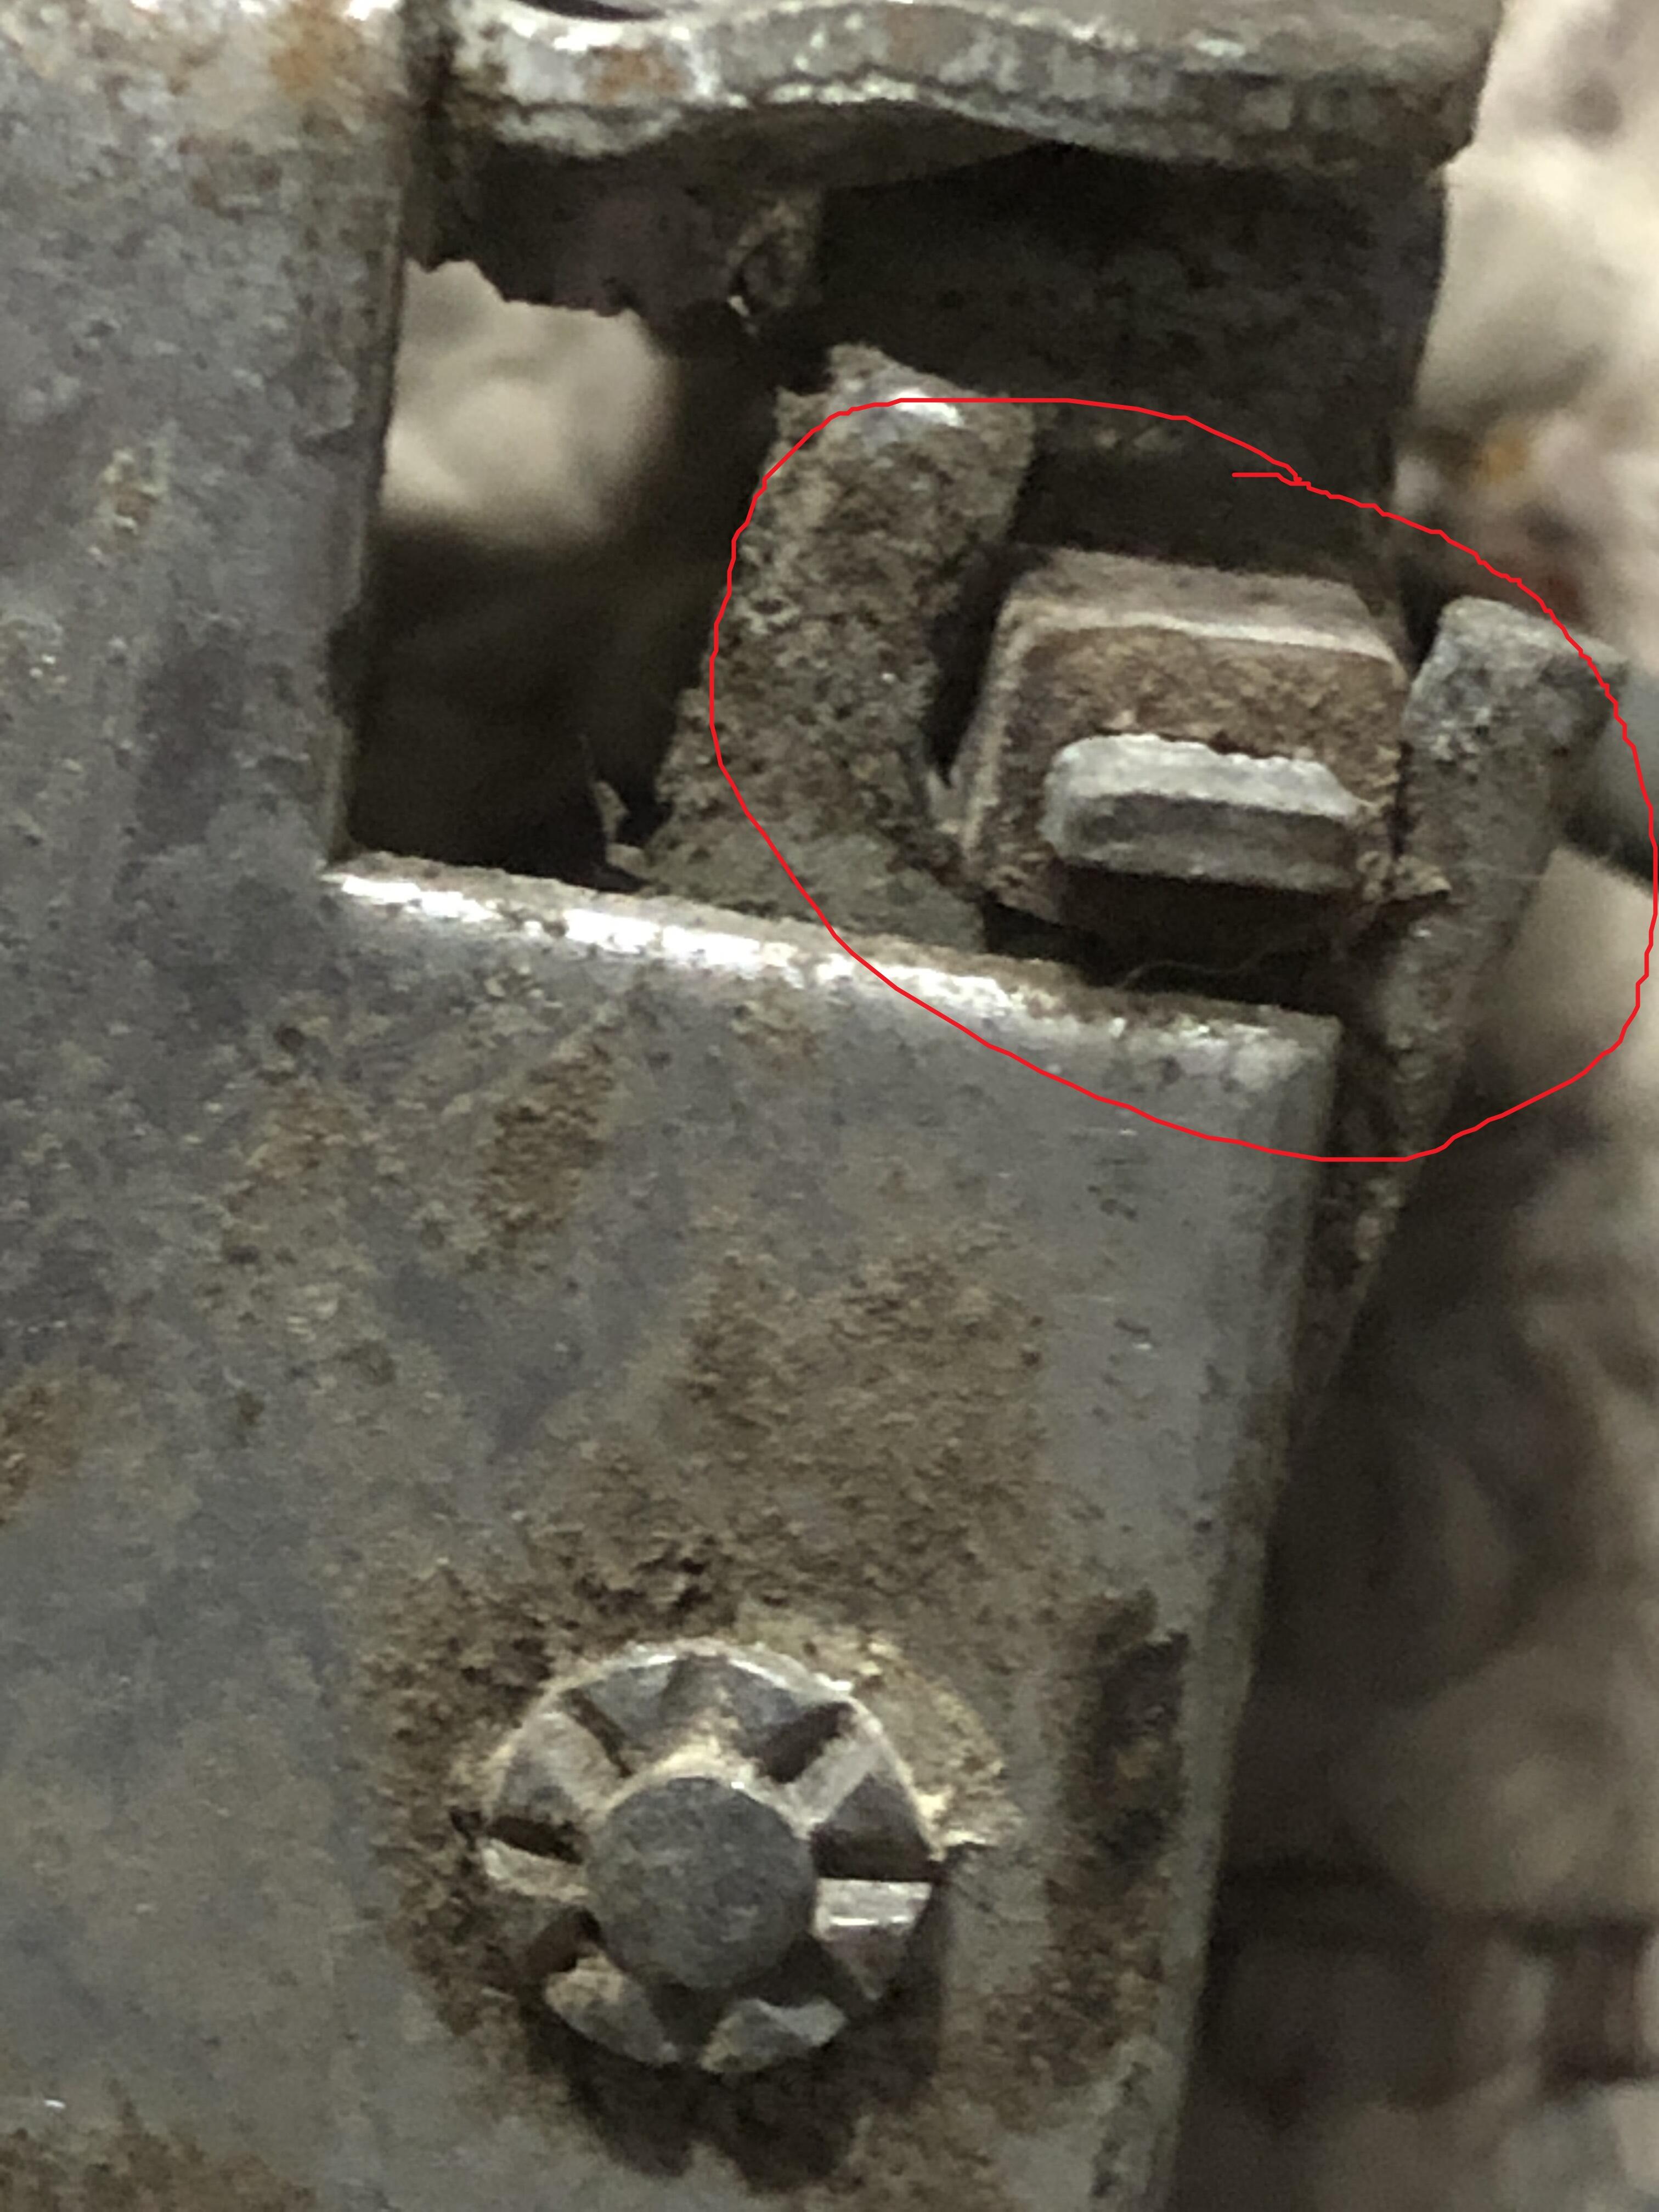
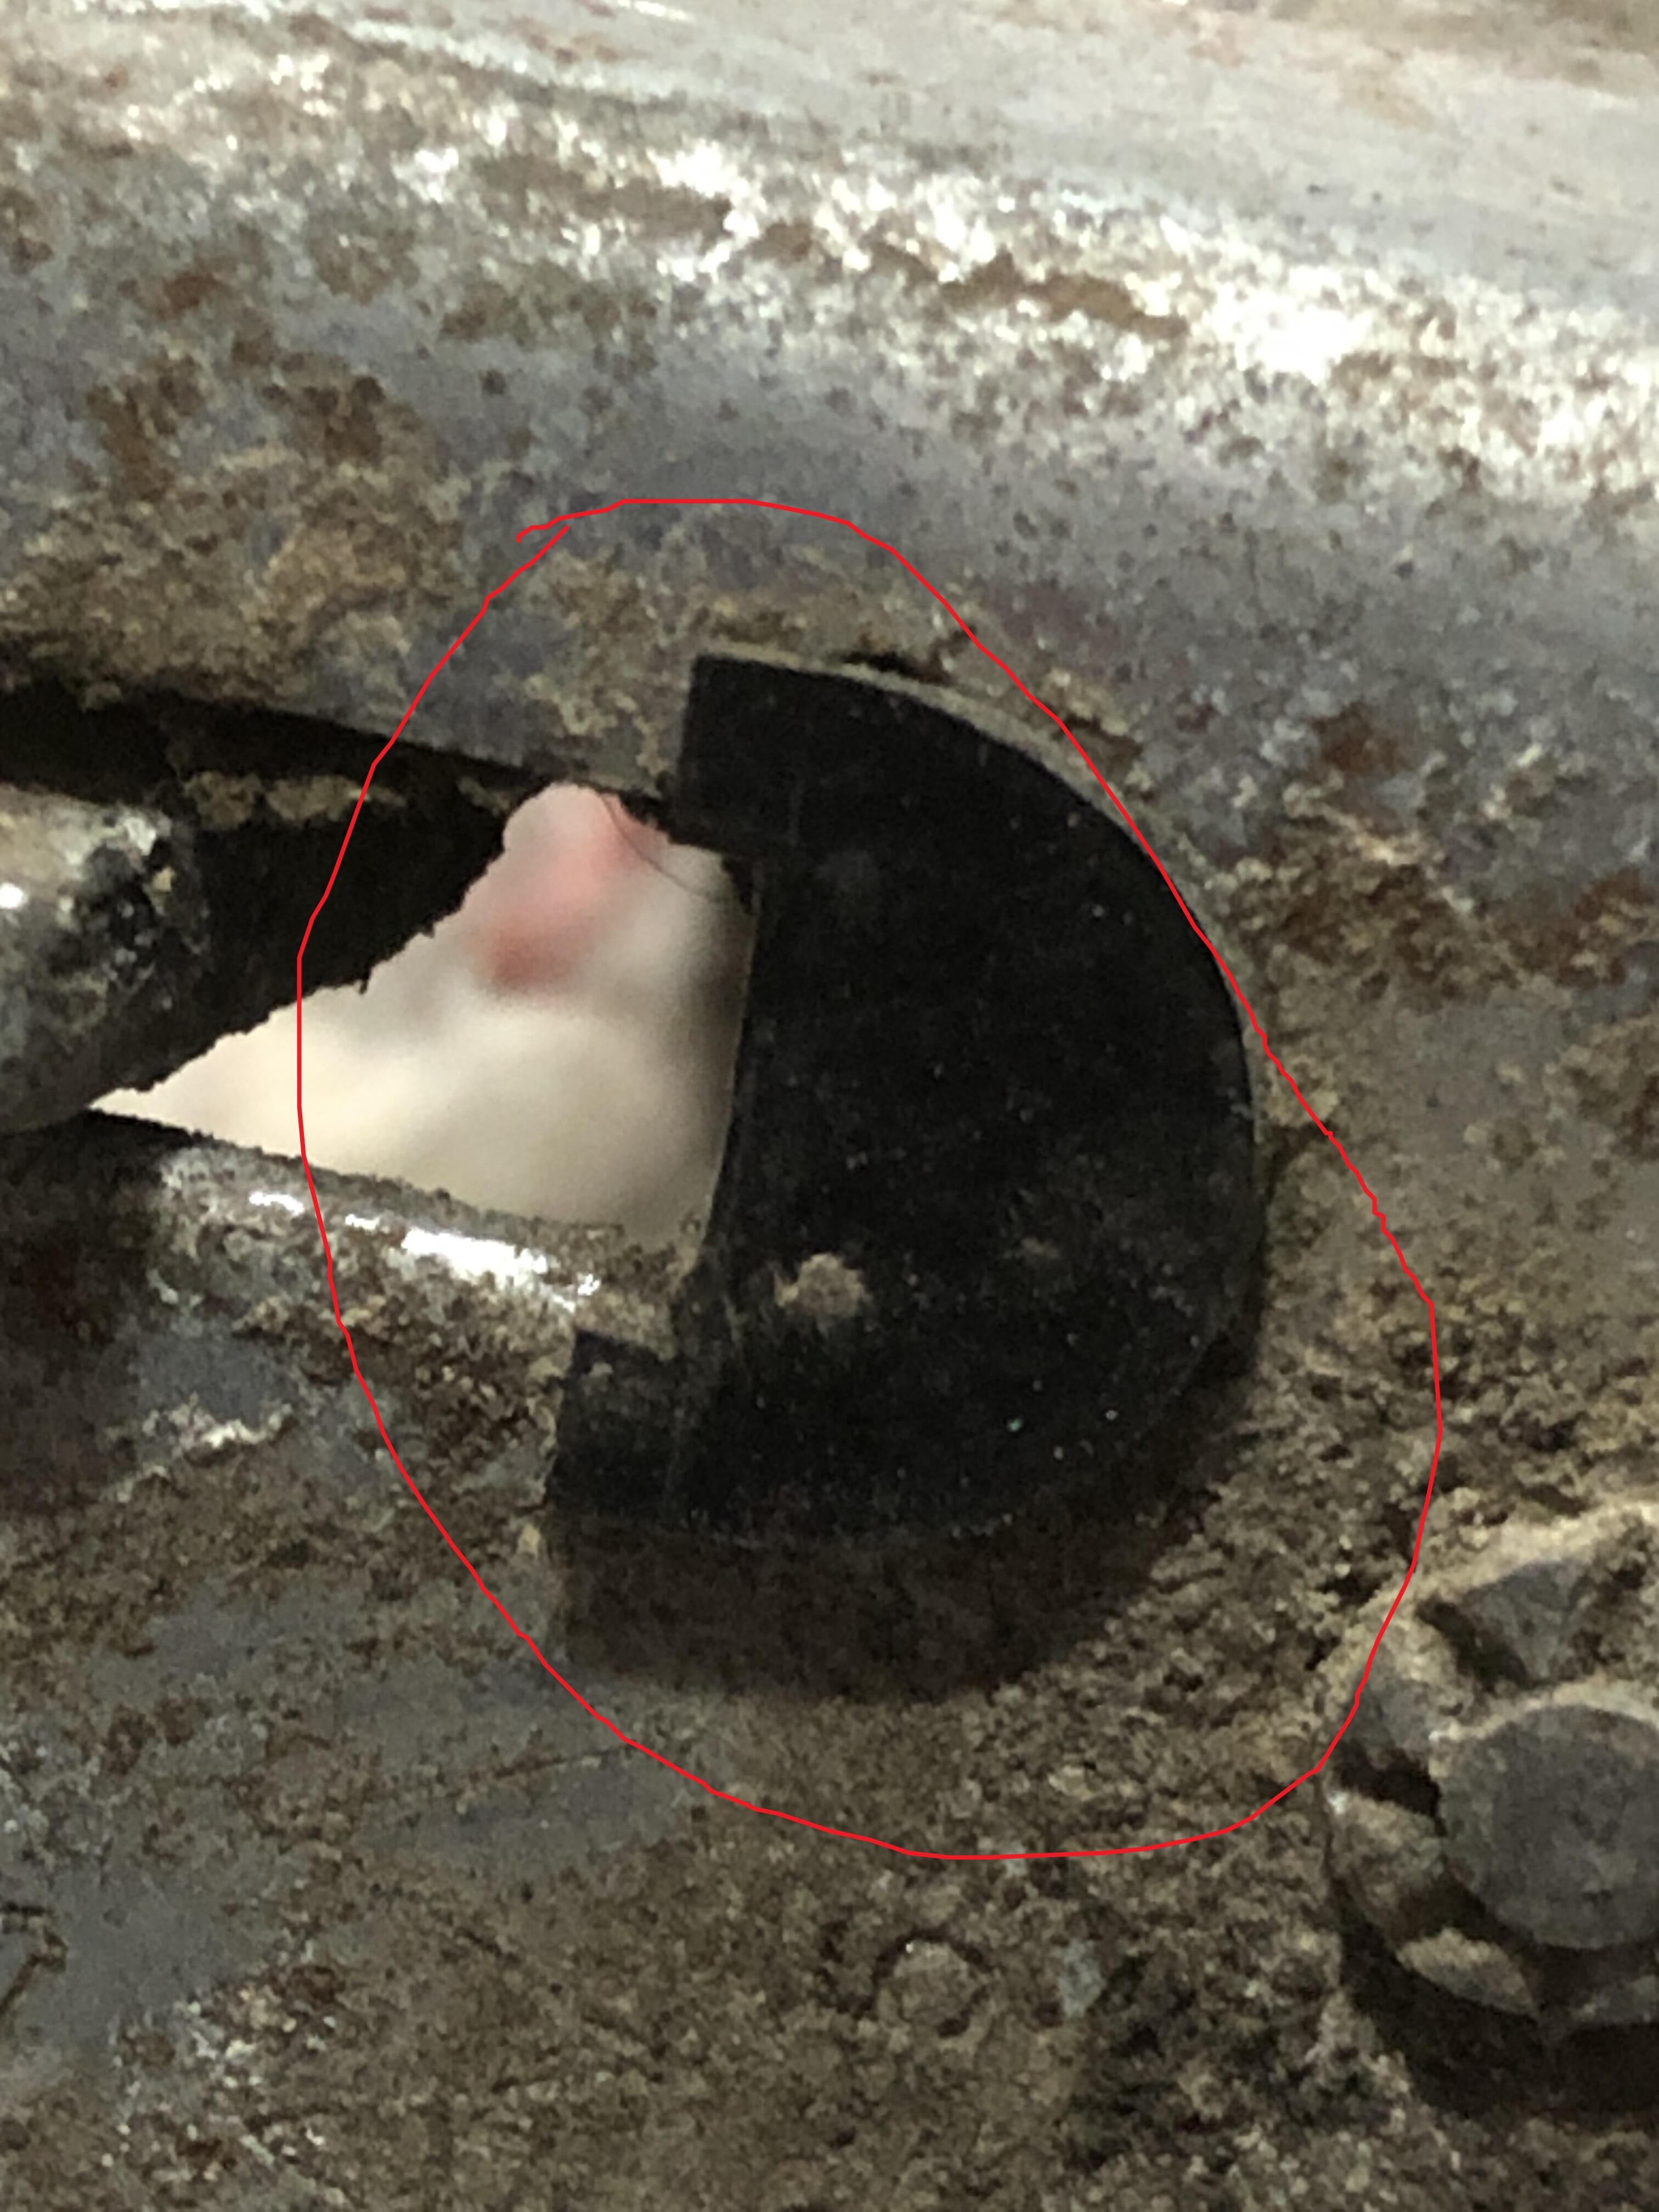
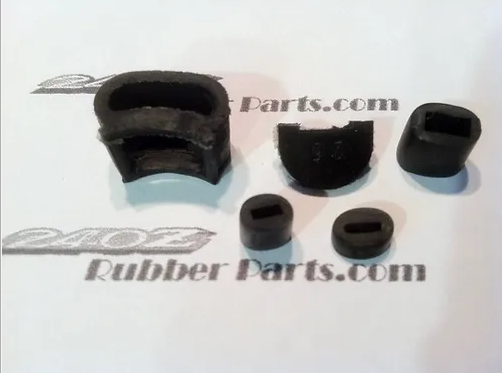 1 pointI can help with the location of the 3 little loops in Steve's kit. and the "other" little horseshoe bumper (pic #1). I looked through the collection and found them. As to install, just "slip them on" as they say. With tweezers, high mag reading glasses, swearing, beer/whiskey etc

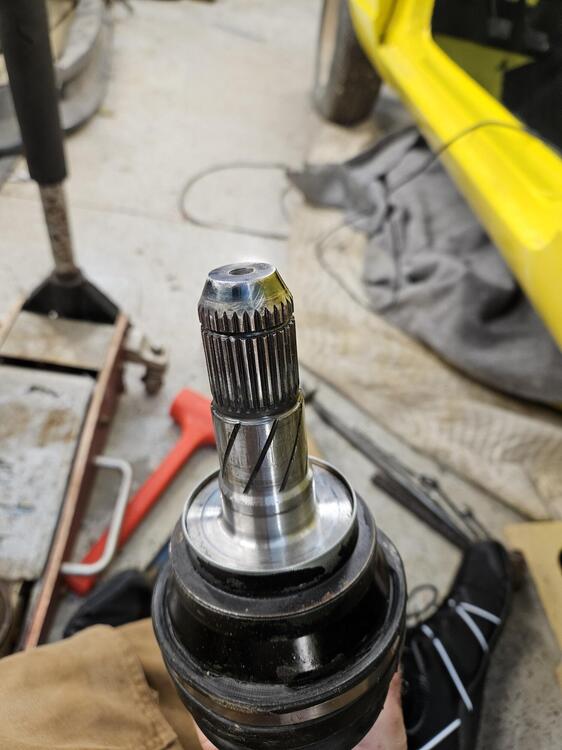
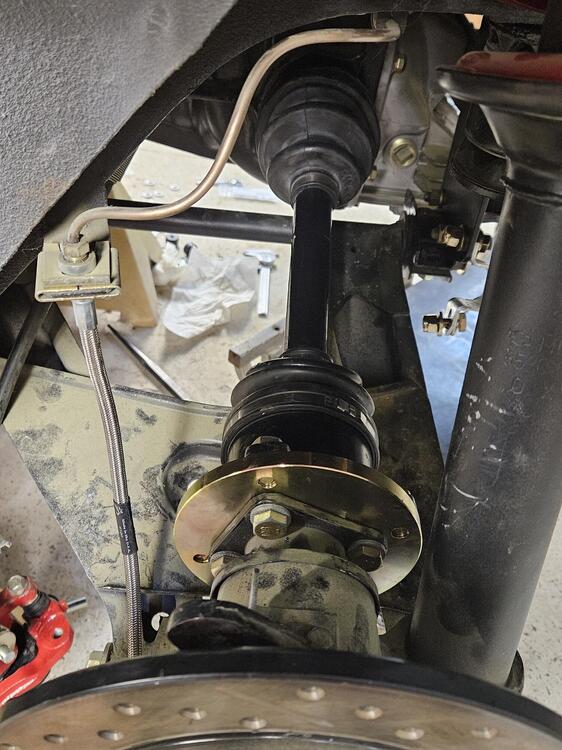
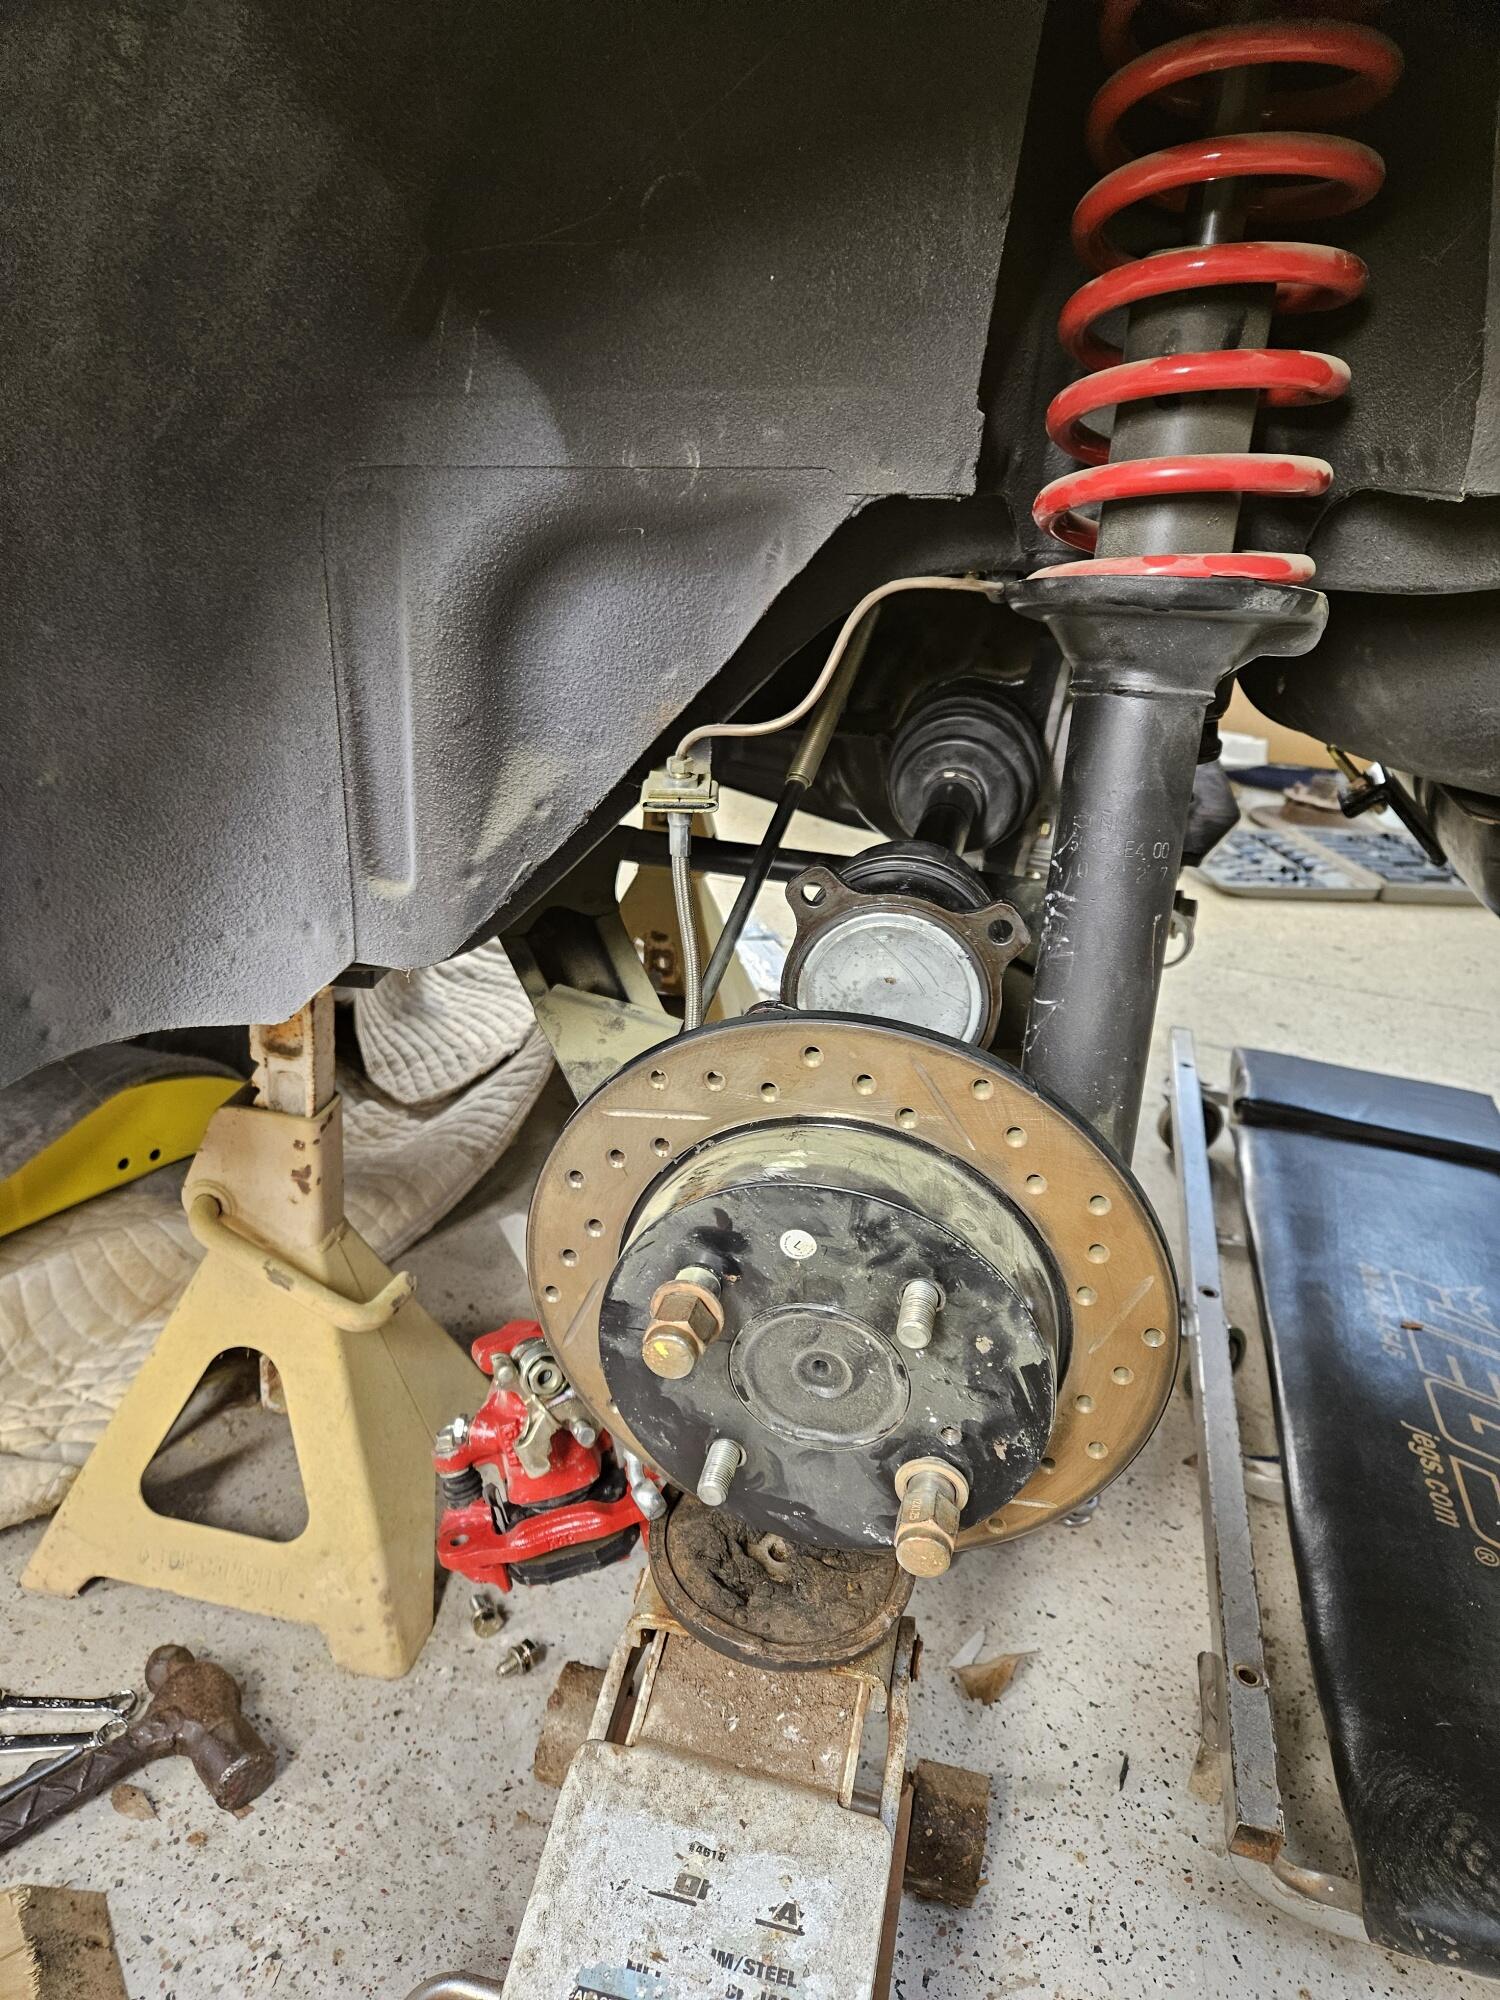
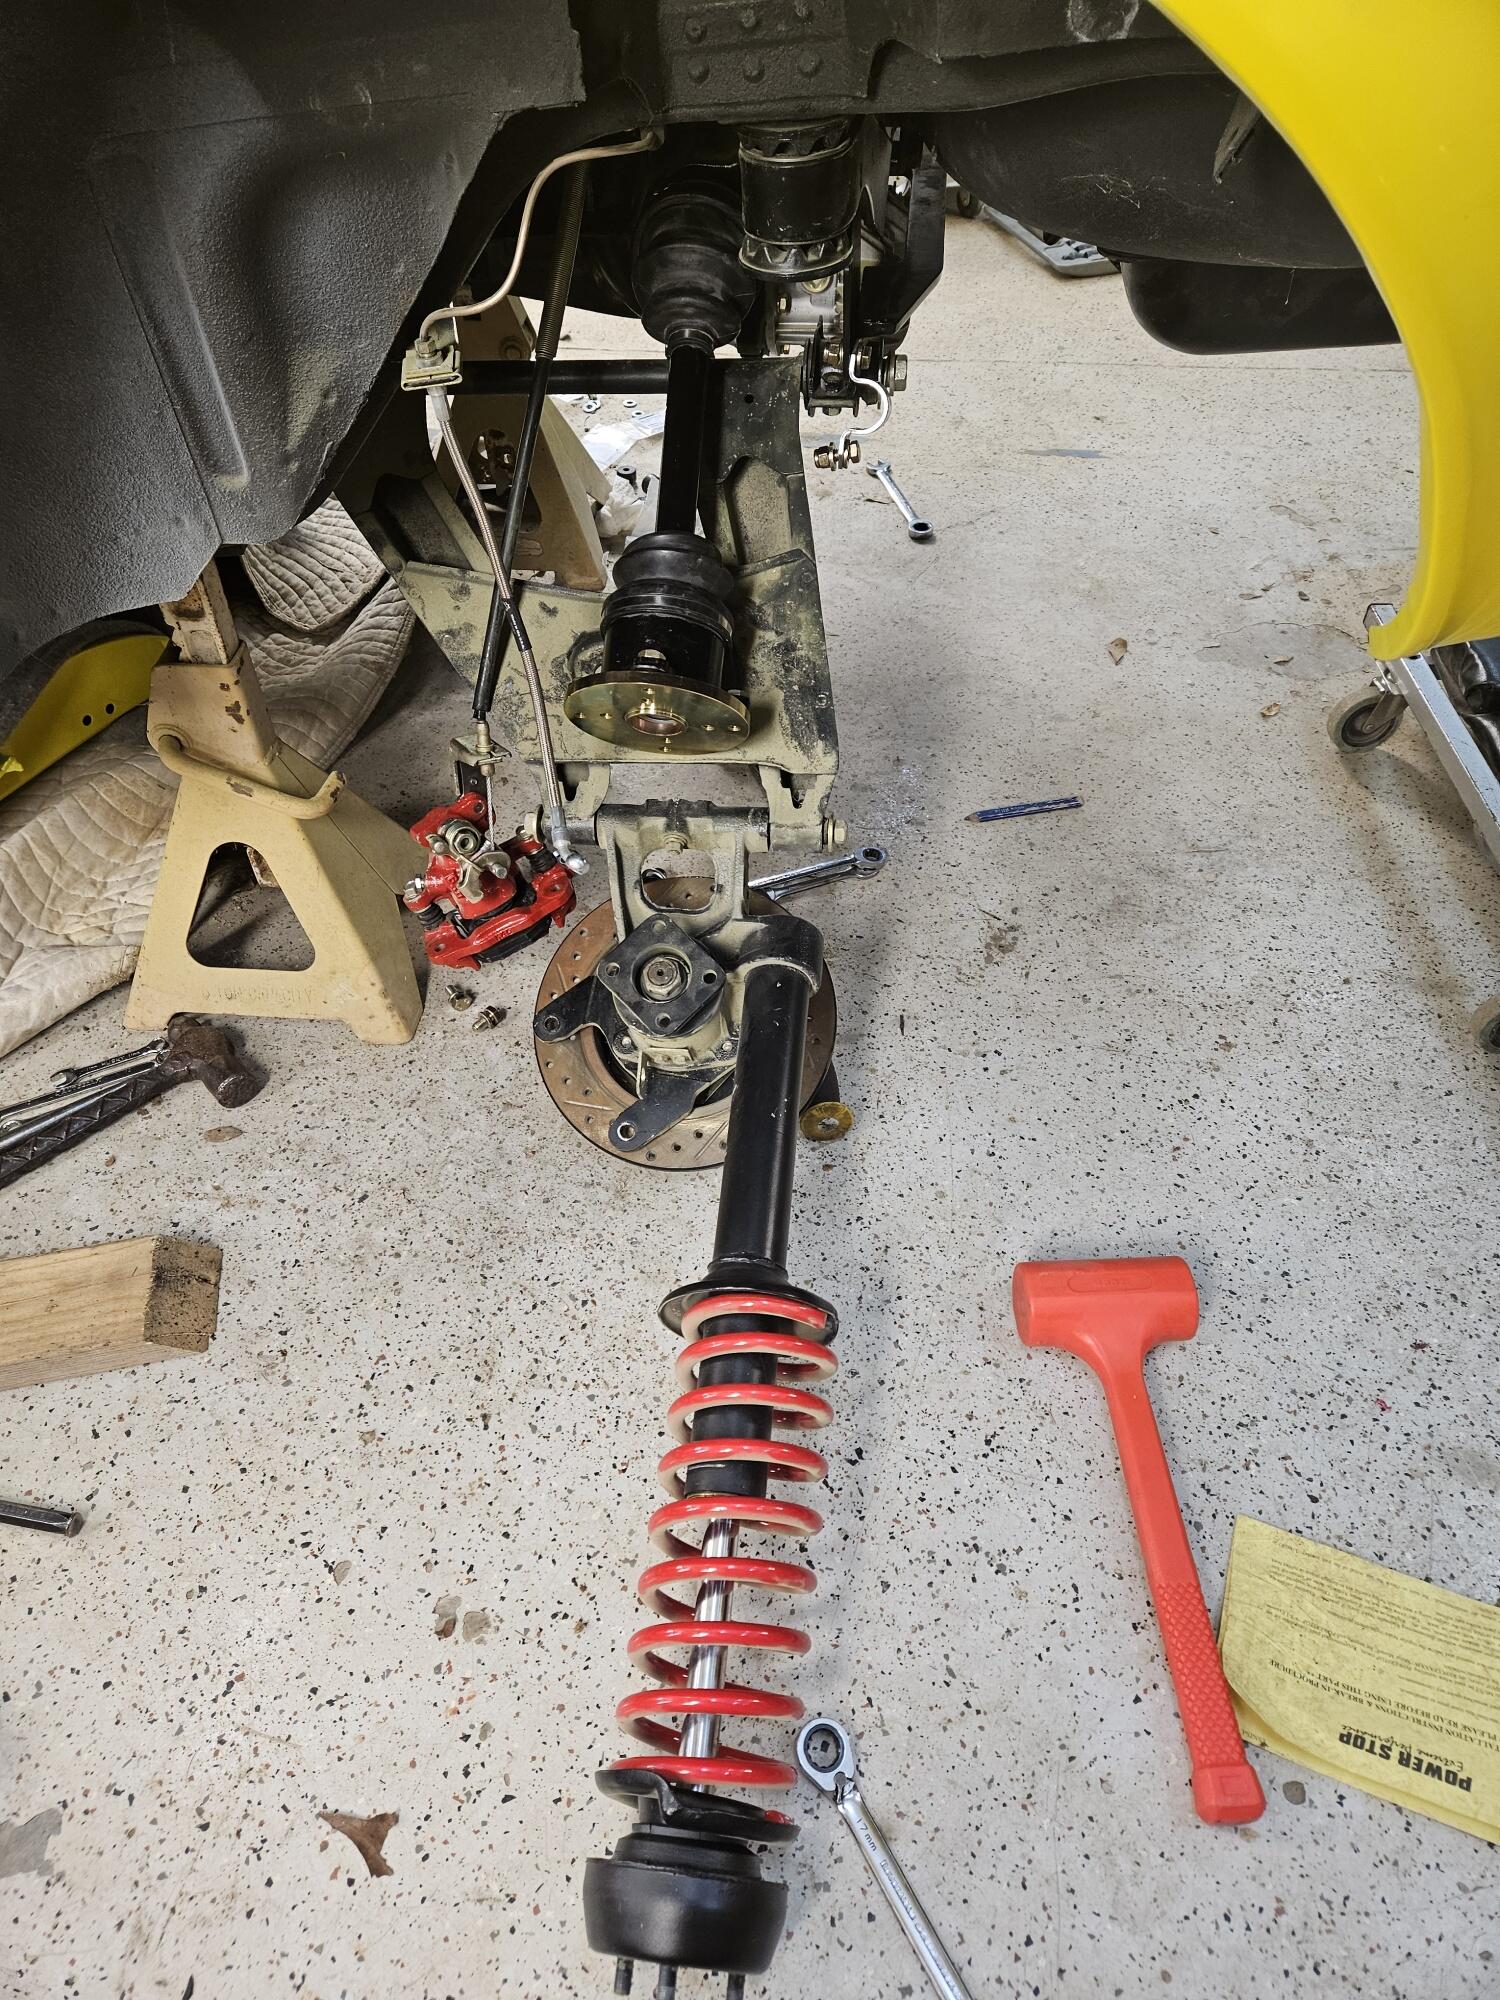
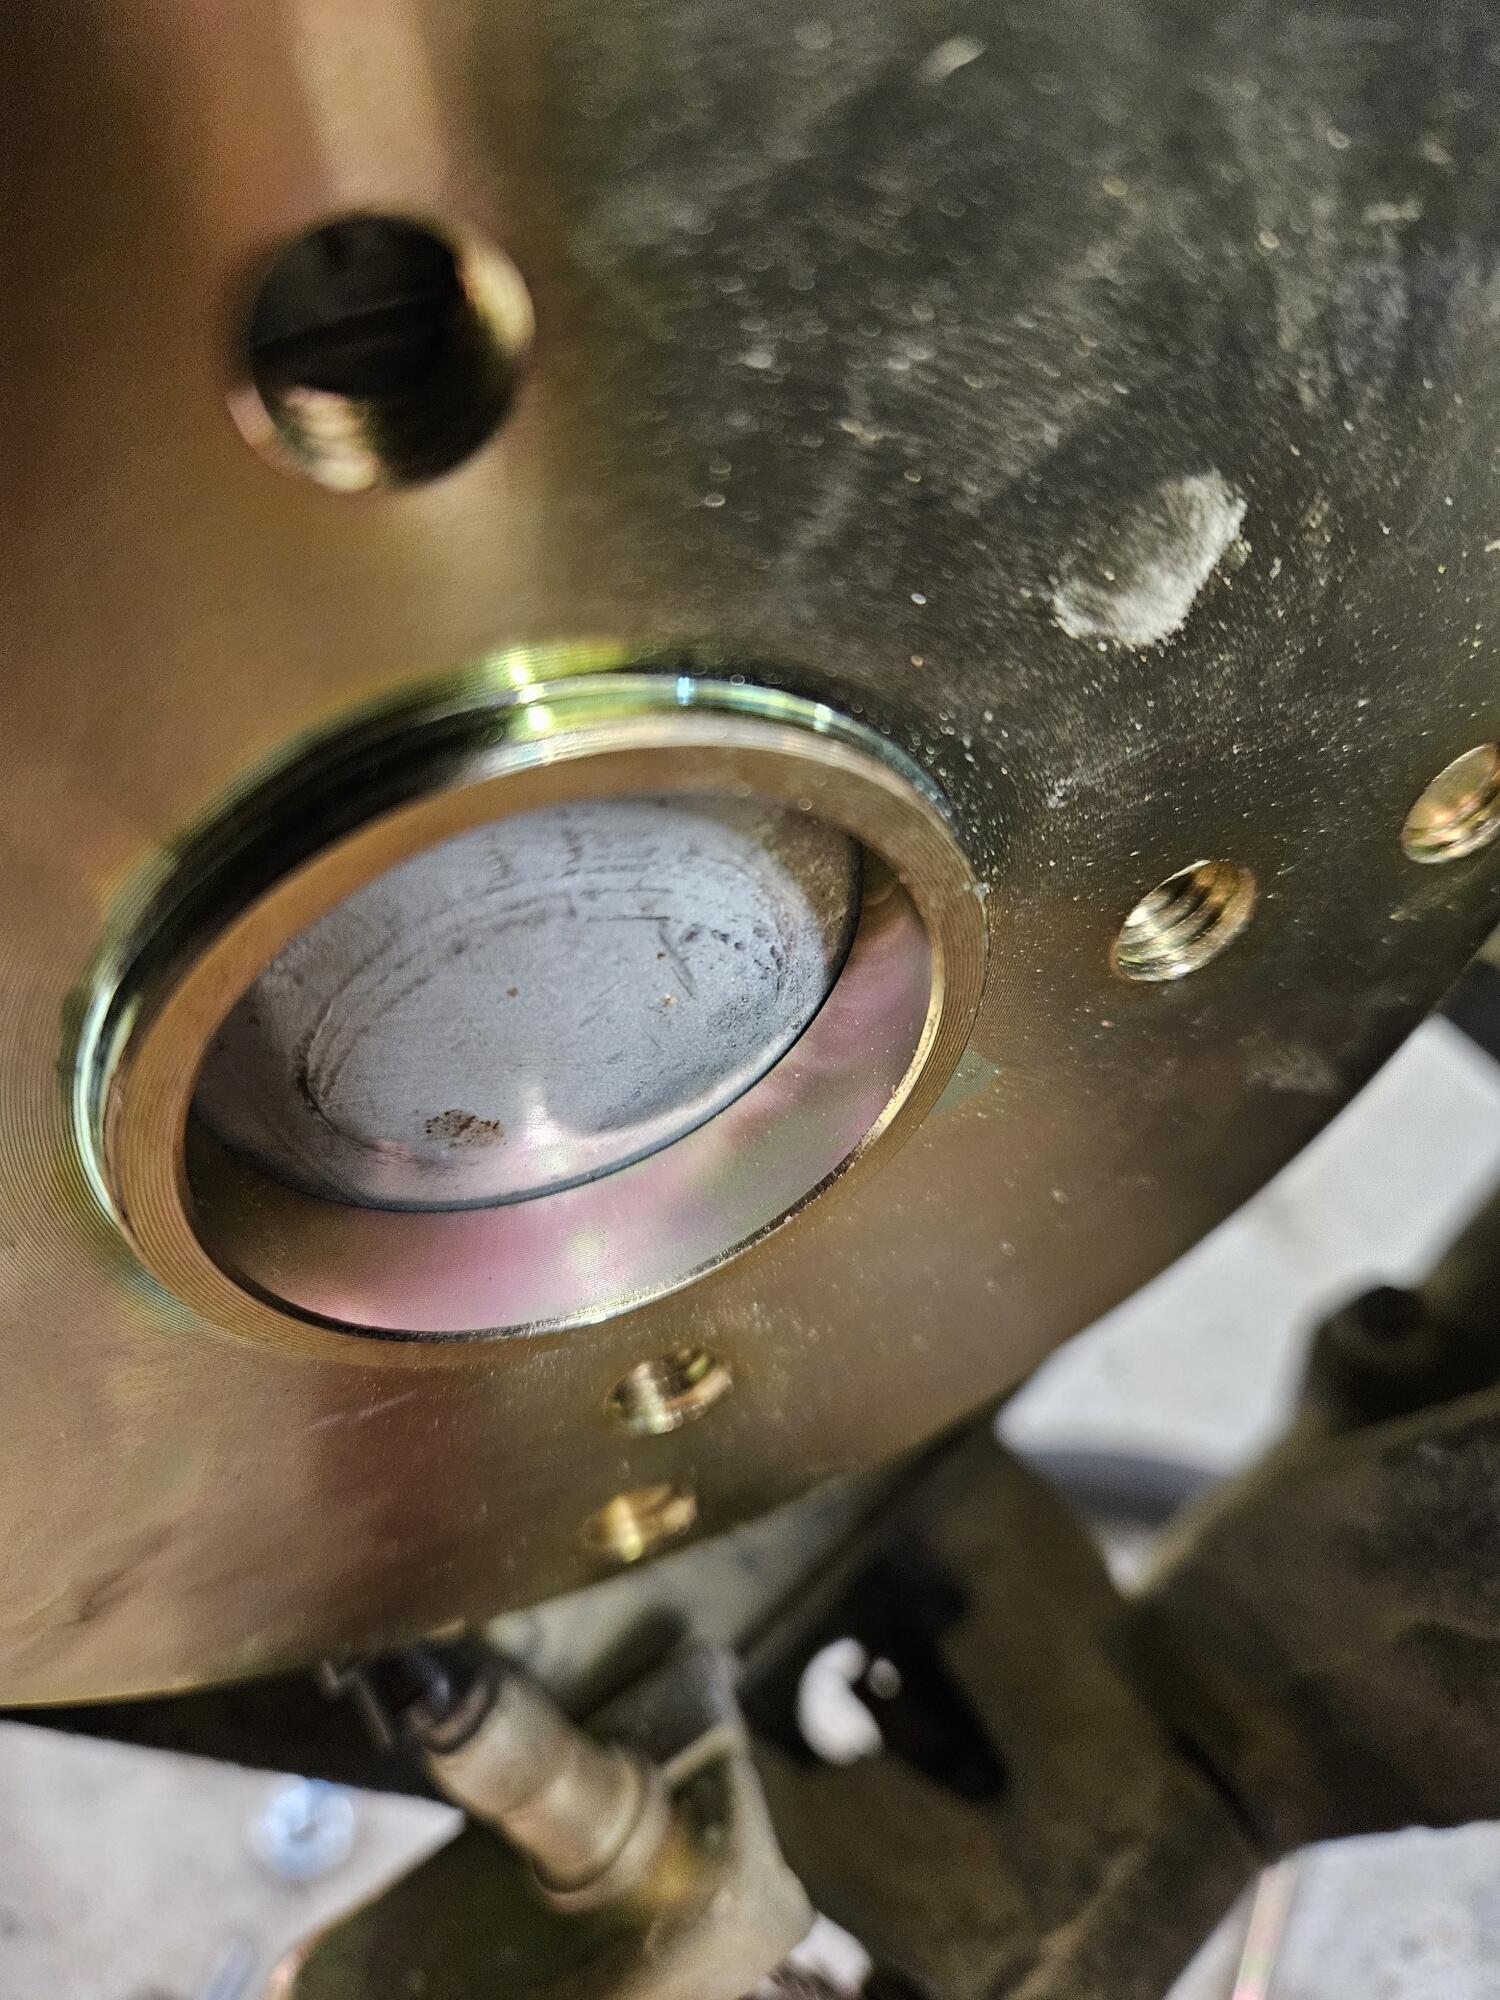
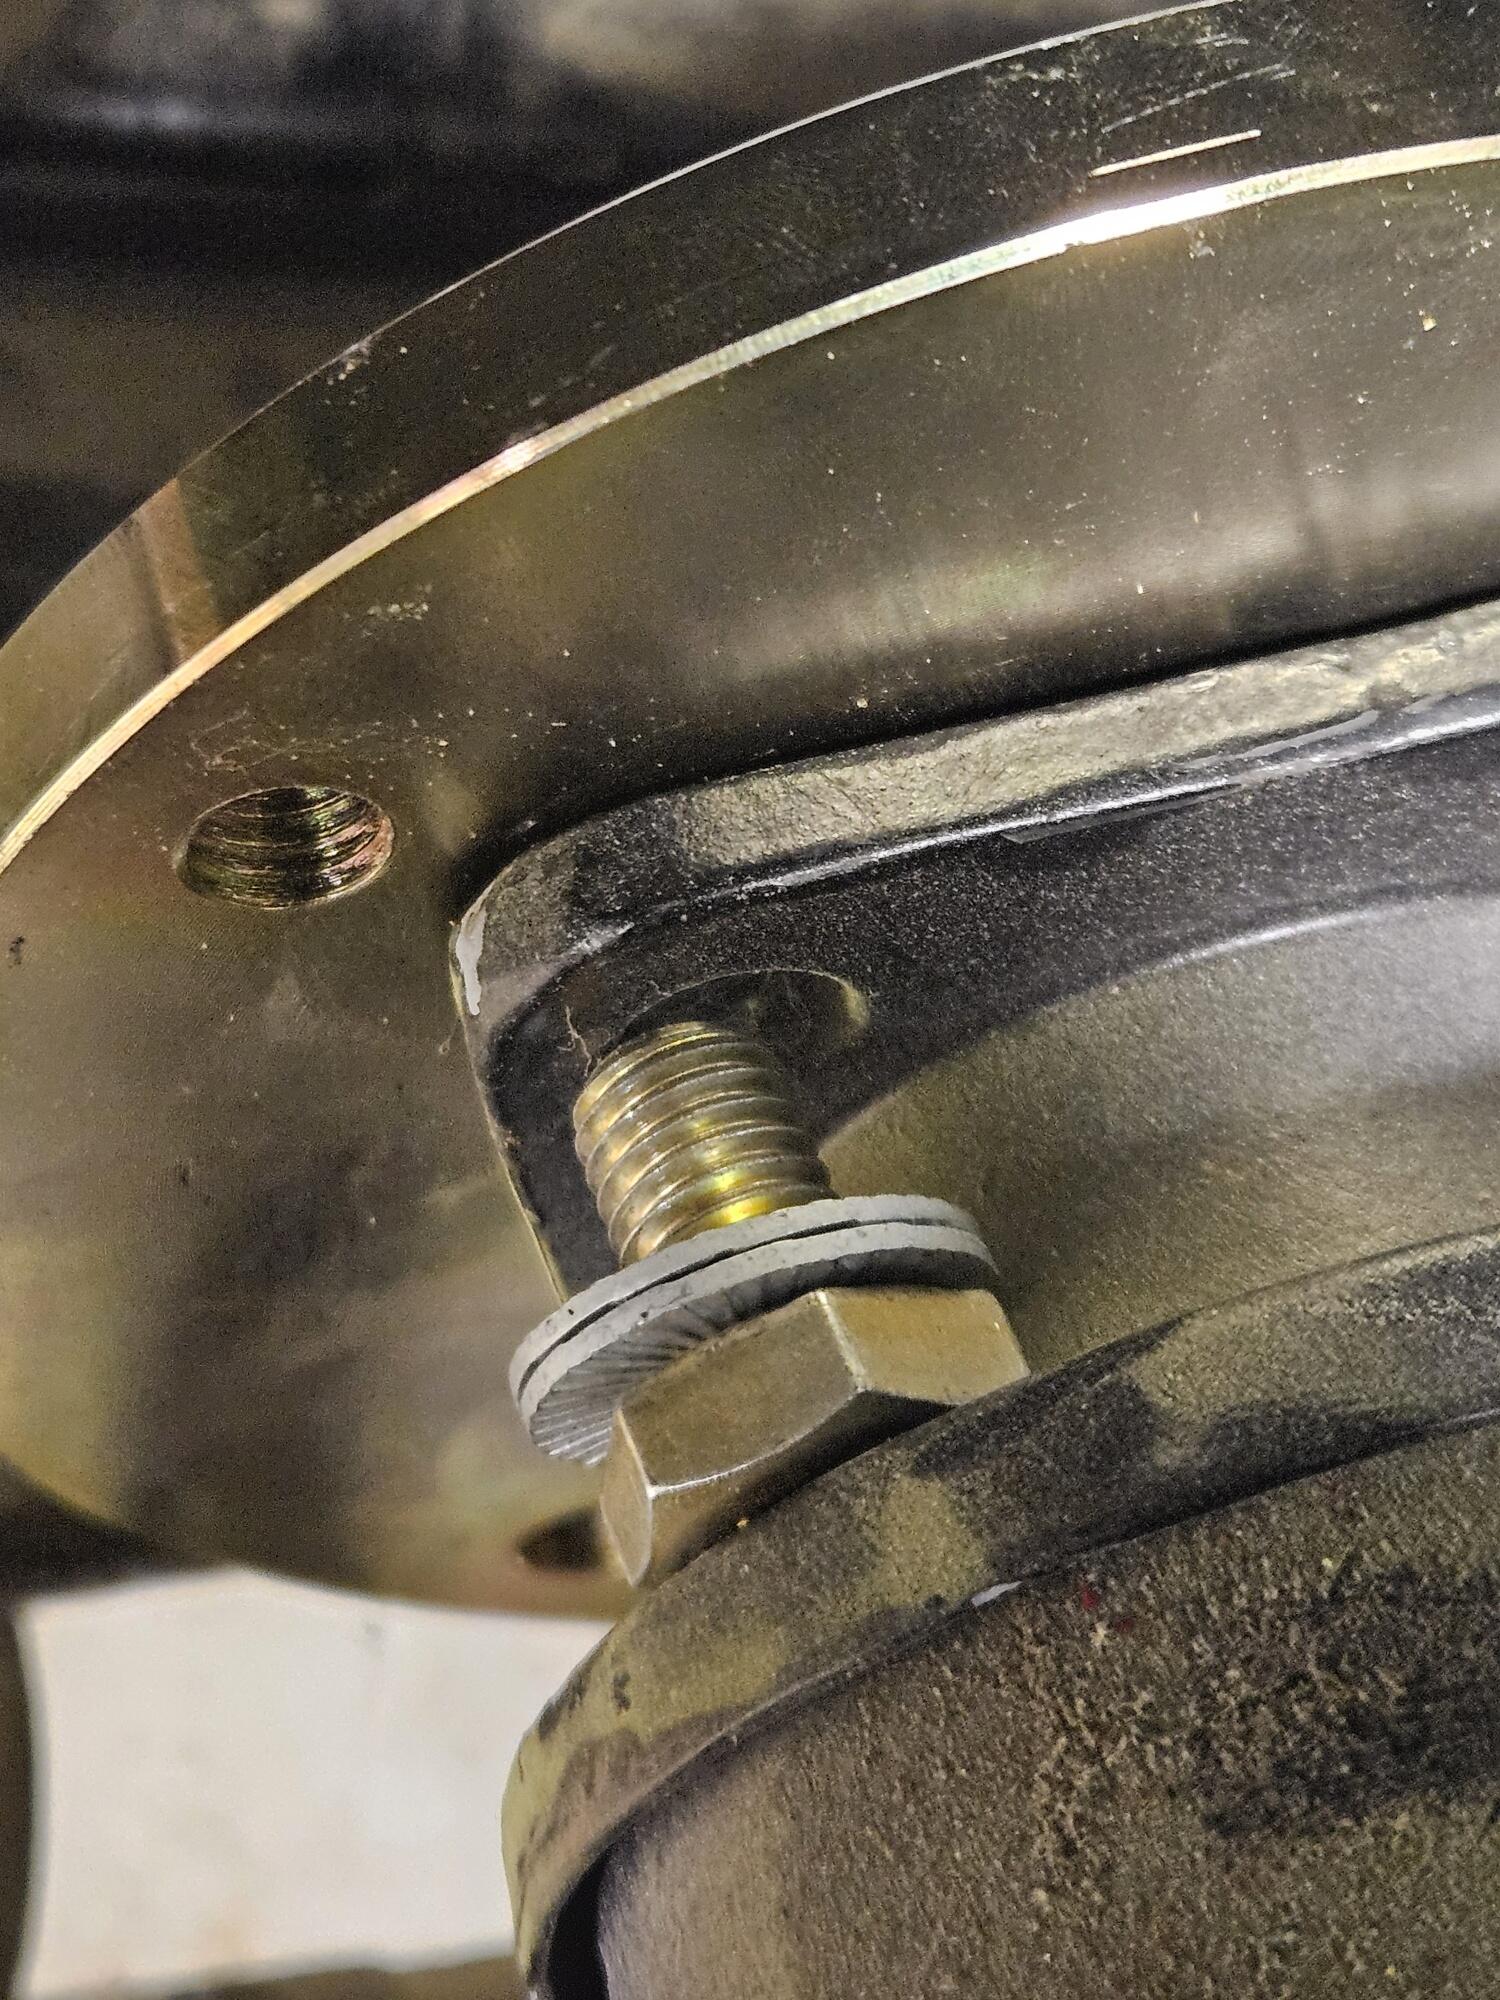
 1 point1 pointSo yesterday I was home early and Shelley ran me off to the shop to make some progress. So I worked on the drivers axle some more... Here is the end of the axle. Very tapered and no burrs. So I unbolted the top of the strut and layed it down out of the way. I put the adapter plate on and beat on it some to dome the grease cap out some to give me a little more room I put a some grease on the snap ring in the differential and tried to work it around some. The I took the 3# dead blow hammer and I got it to seat. The bolts that go in from the stub axle side just barely fit I got it all in and aligned. I does sort of bind at full droop, but if you lift the hub a couple of inches it has some play in it. I am not sure if the tulip on the inboard end is reversible. At this point I'm moving on. I will double check once the car is down on it's wheels and revisit it if it becomes a problem.


 1 point


Important Information
By using this site, you agree to our Privacy Policy and Guidelines. We have placed cookies on your device to help make this website better. You can adjust your cookie settings, otherwise we'll assume you're okay to continue.
Account
Search
Configure browser push notifications
Chrome (Android)
- Tap the lock icon next to the address bar.
- Tap Permissions → Notifications.
- Adjust your preference.
Chrome (Desktop)
- Click the padlock icon in the address bar.
- Select Site settings.
- Find Notifications and adjust your preference.
Safari (iOS 16.4+)
- Ensure the site is installed via Add to Home Screen.
- Open Settings App → Notifications.
- Find your app name and adjust your preference.
Safari (macOS)
- Go to Safari → Preferences.
- Click the Websites tab.
- Select Notifications in the sidebar.
- Find this website and adjust your preference.
Edge (Android)
- Tap the lock icon next to the address bar.
- Tap Permissions.
- Find Notifications and adjust your preference.
Edge (Desktop)
- Click the padlock icon in the address bar.
- Click Permissions for this site.
- Find Notifications and adjust your preference.
Firefox (Android)
- Go to Settings → Site permissions.
- Tap Notifications.
- Find this site in the list and adjust your preference.
Firefox (Desktop)
- Open Firefox Settings.
- Search for Notifications.
- Find this site in the list and adjust your preference.