Leaderboard
-
HusseinHolland
Free Member4Points1,031Posts -
conedodger
Free Member4Points12,513Posts -
duffymahoney
Free Member2Points961Posts -
grannyknot
Free Member1Points5,158Posts


Popular Content
Showing content with the highest reputation on 12/05/2023 in all areas
-
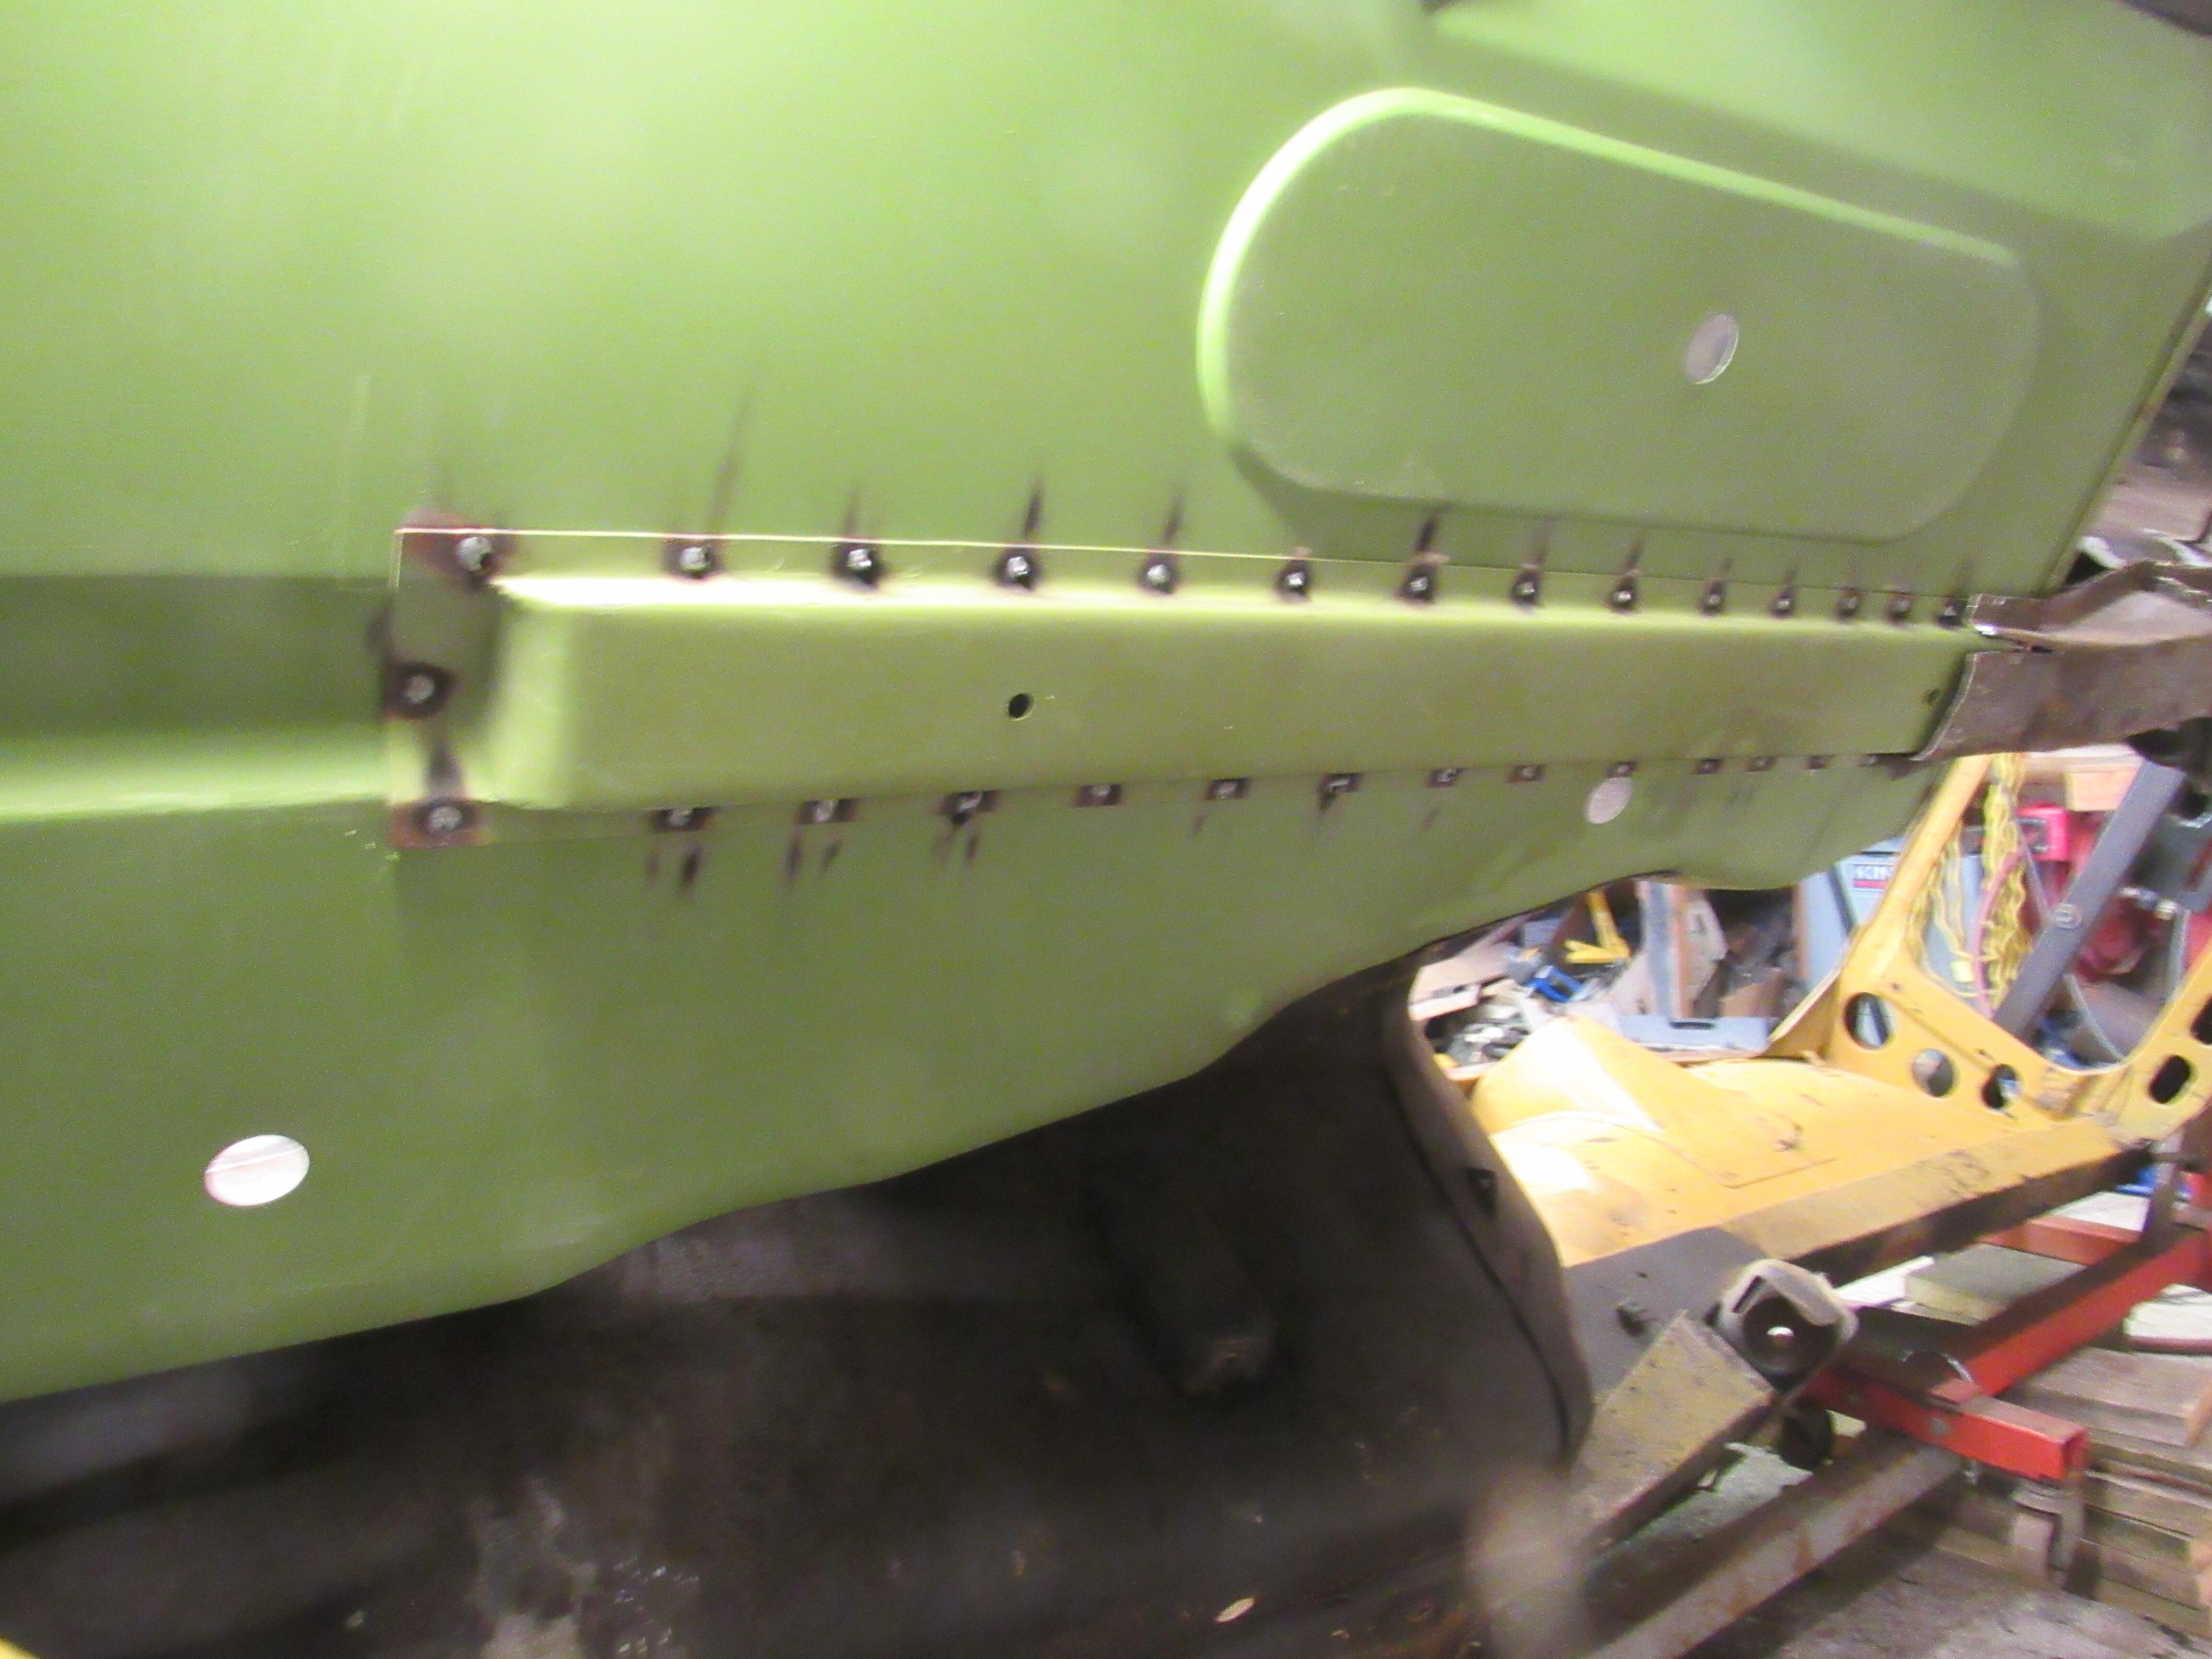
3 pointsThose floor panels look like a really good fit! I bought one of those flanger/hole punch tools - it was essential for the roof junction on my Volvo pickup truck conversion. I used Lord Fusor & a spot welder through the sunroof opening to join it though, no panel distortion that way.3 points
-
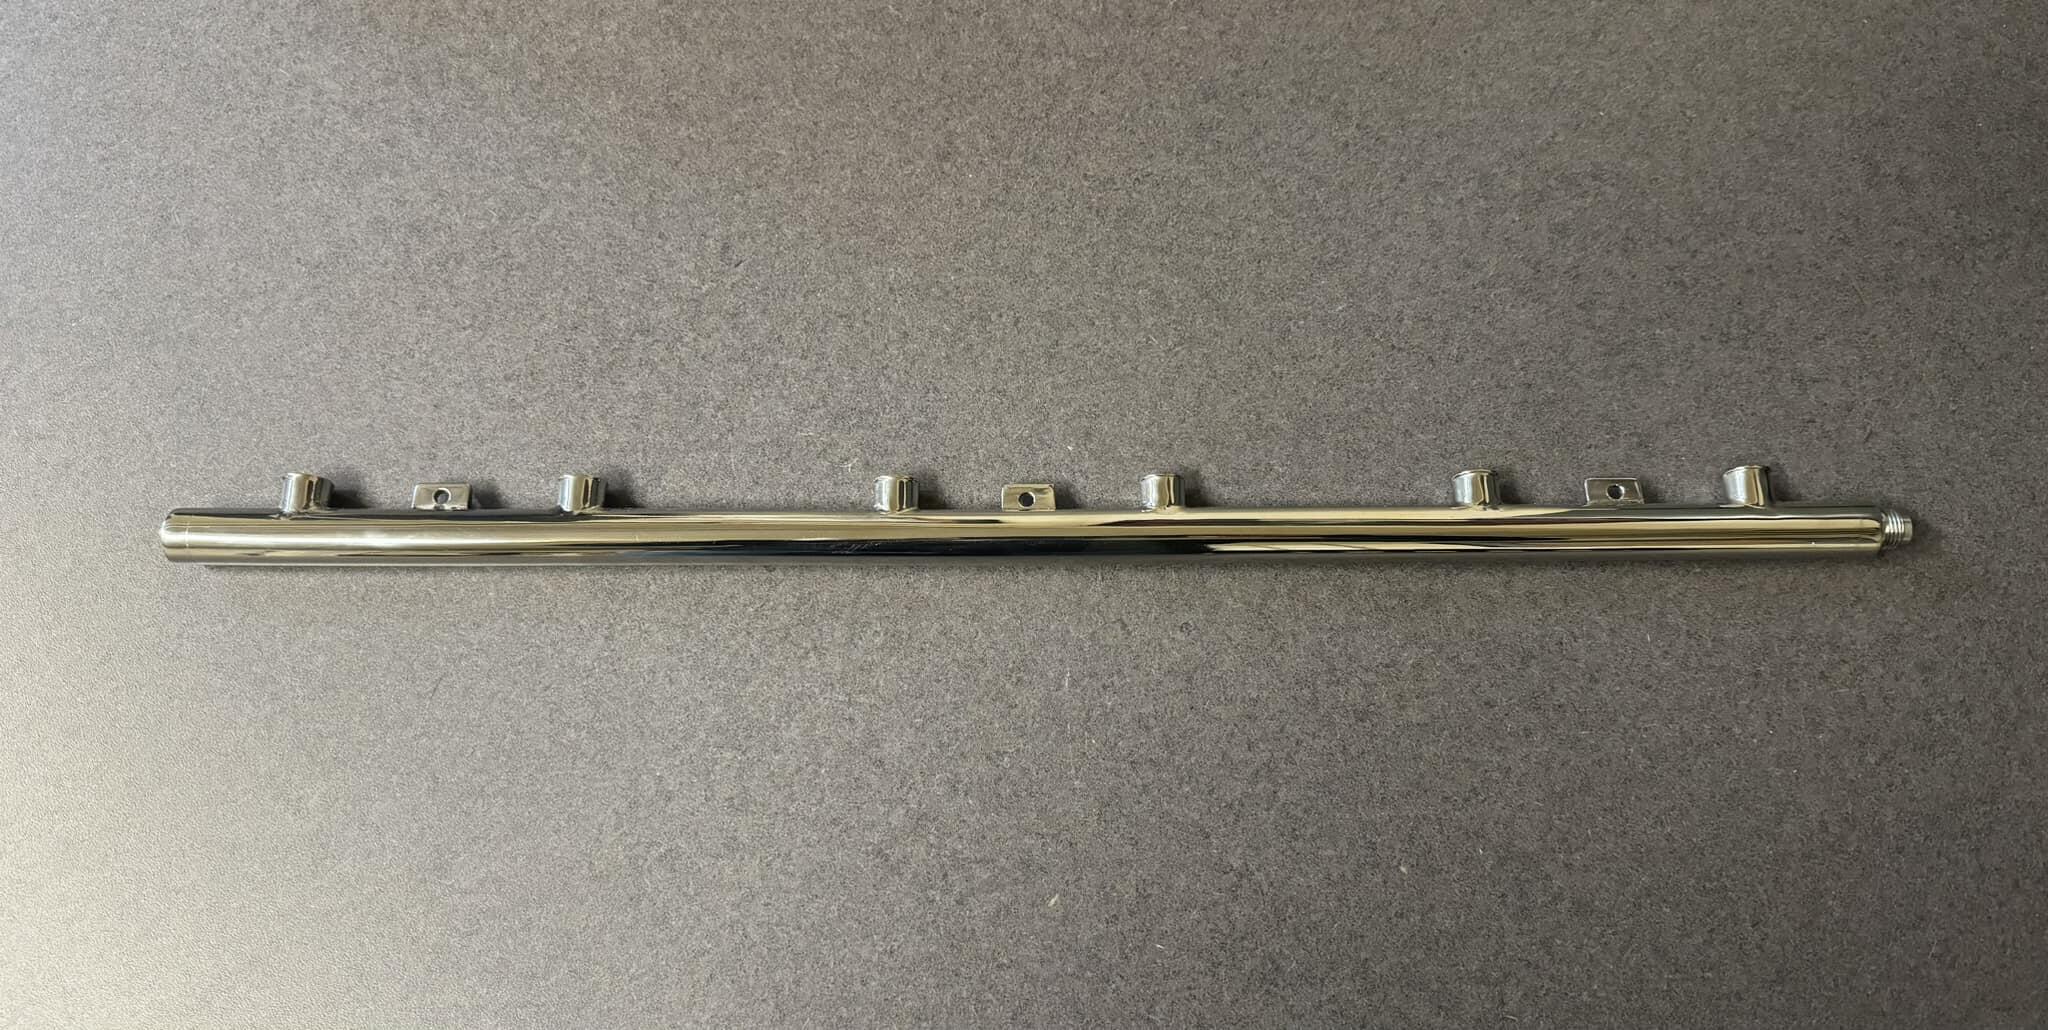
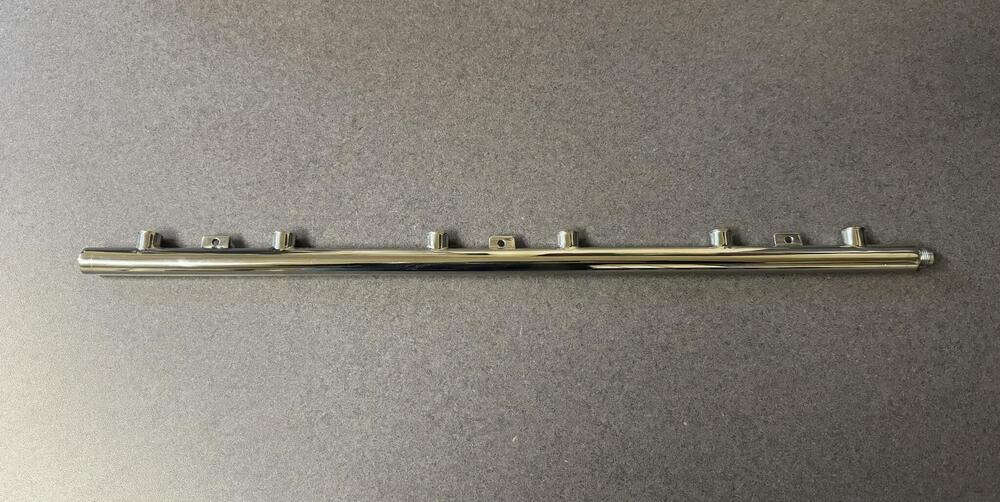
1 pointSomething sexy to start the week off with. This is a stainless fuel rail for my ITB setup. Expertly crafted by Michel Vienneau! It features injector safety clip stainless cups, built in AN fittings and polished. I’m hopeful it being smaller will allow me to clock my injectors and hide my wiring a bit. Now I can’t scratch it. Michel is a metal magician!
 1 point
 -
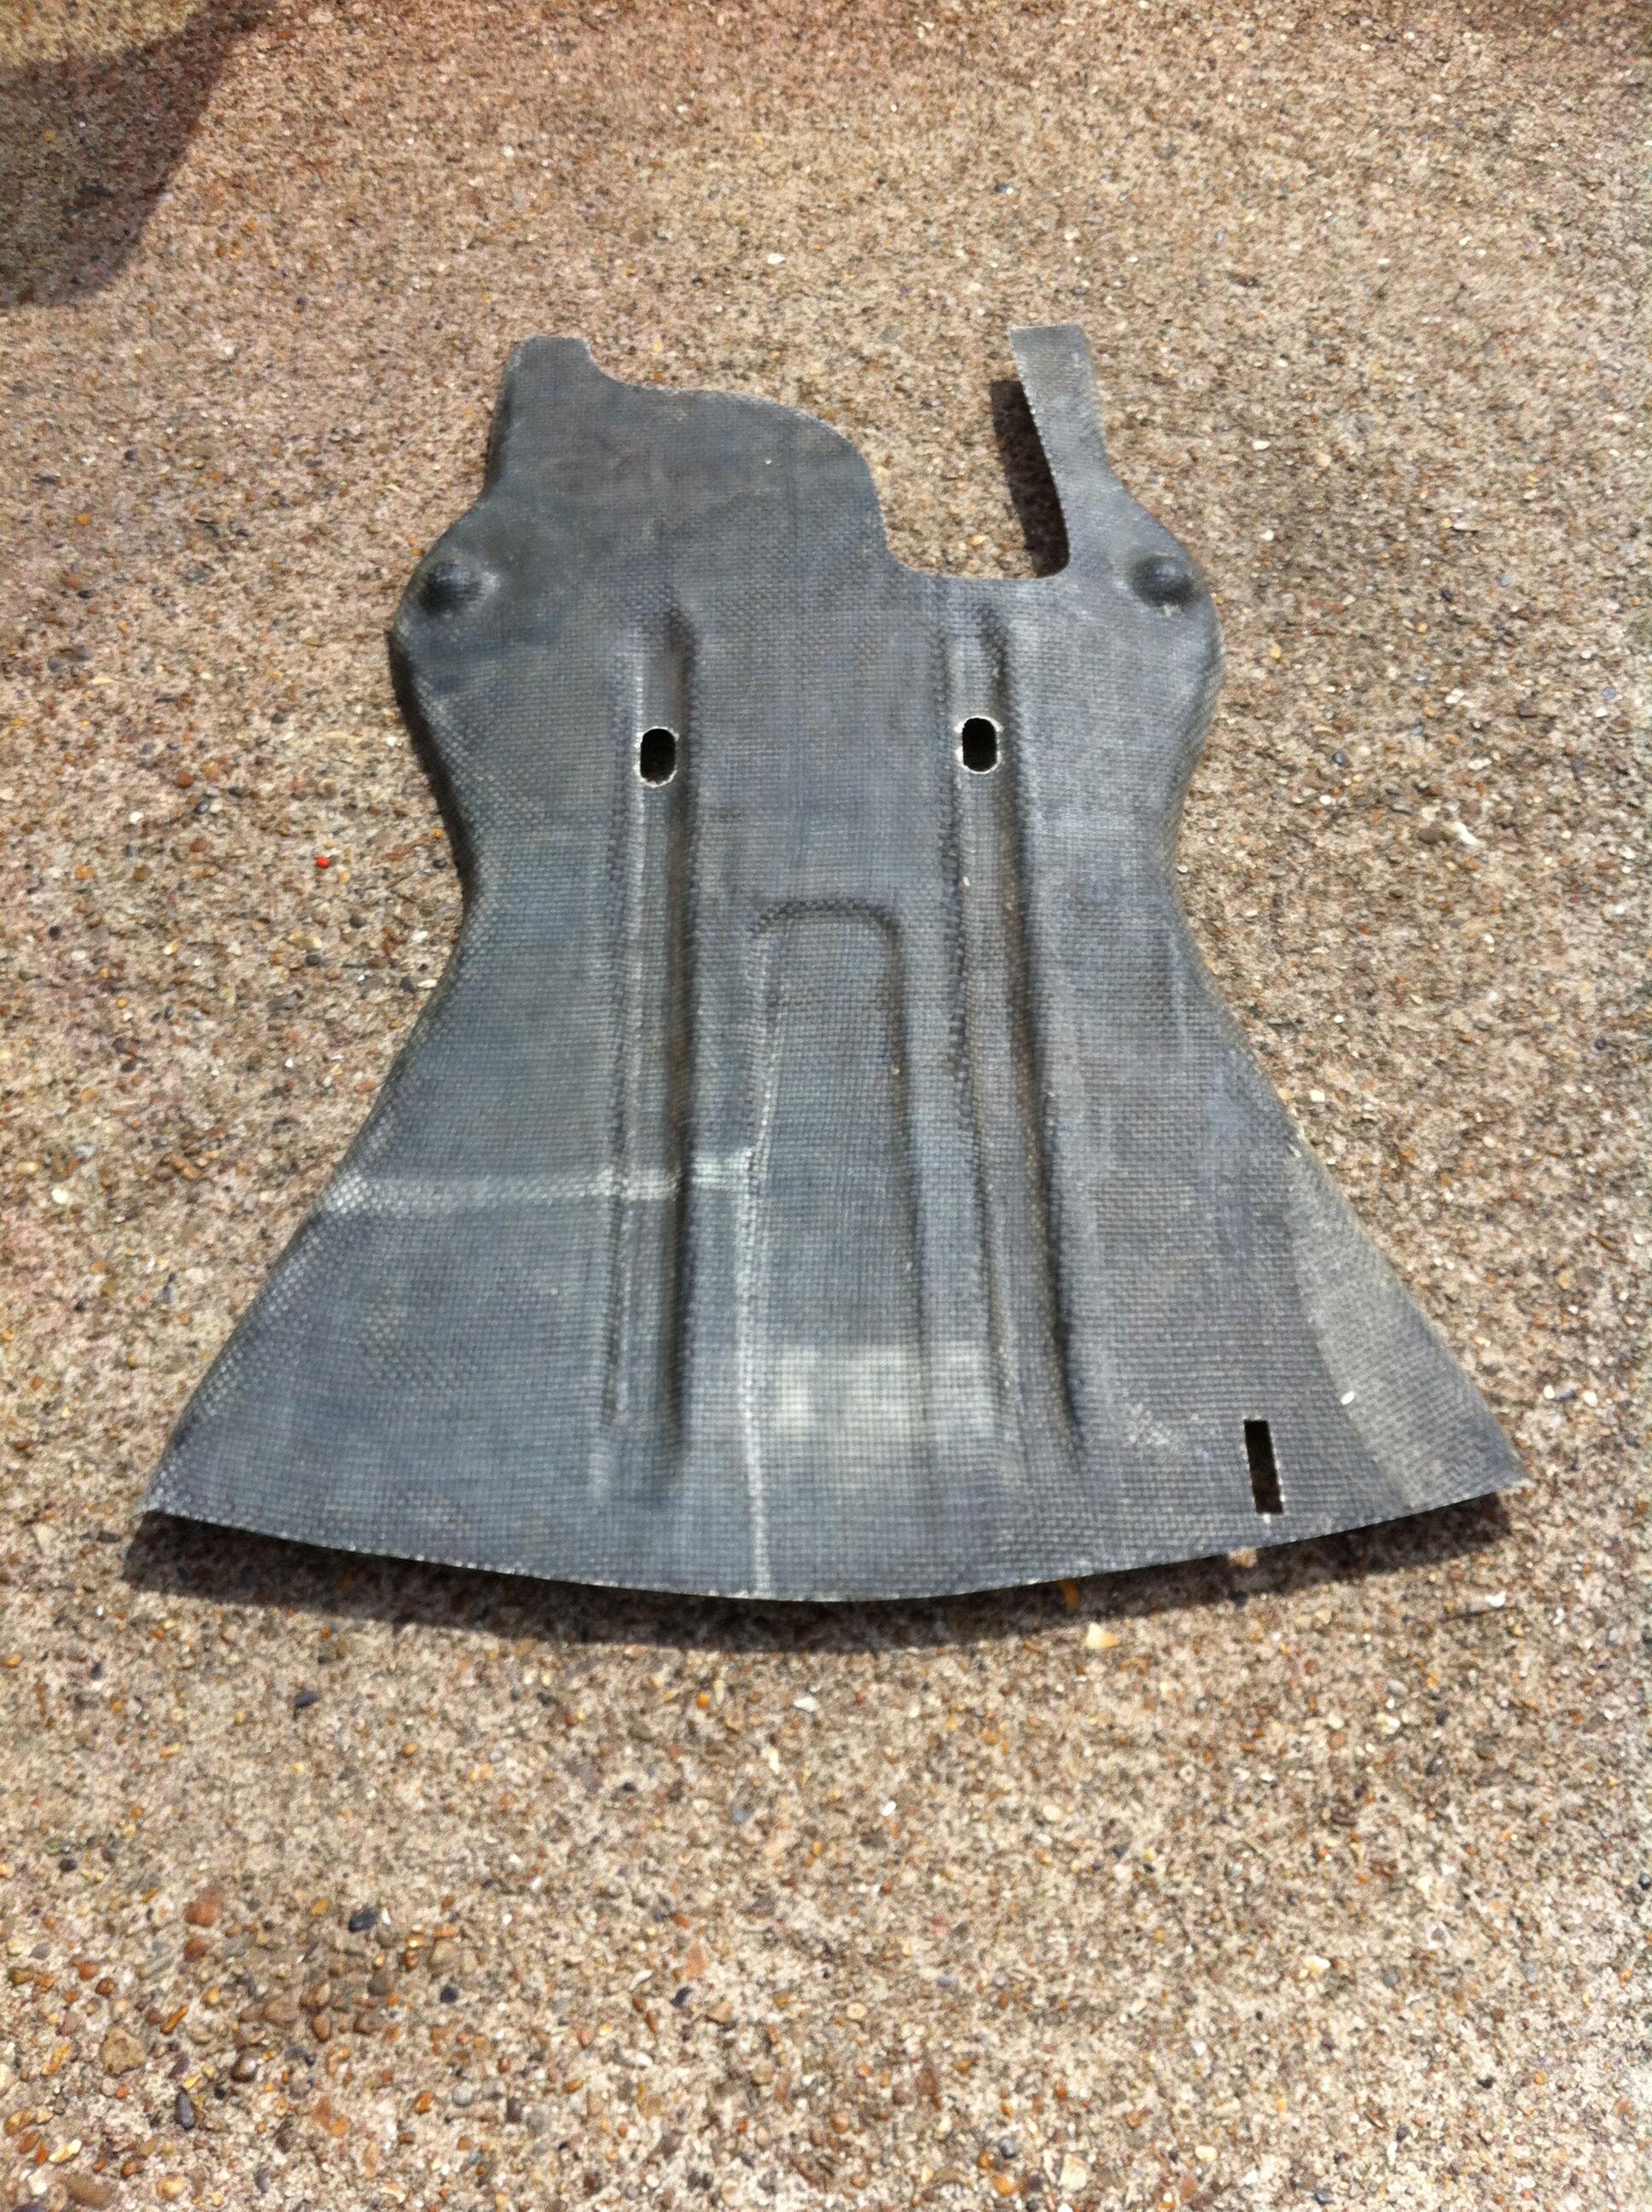
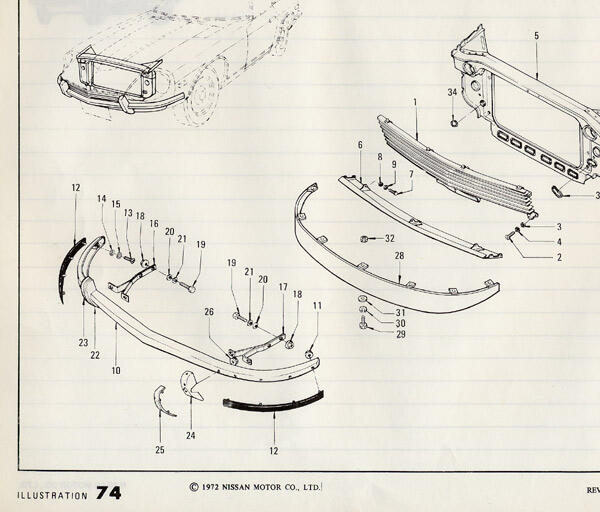
1 pointThe captive nuts in the front apron were primarily intended to be used to attach the (urethane) factory spoiler, fitted as standard equipment to UK & European market models. The quarter valance pieces also had captive nuts. *28 = 98300-E8100 ASSY-FRONT AIR SPOILER *6 = 62600-E7201 ASSY-PANEL FRONT APRON Those same captive nuts allowed attachment of the full engine bay undercover, as fitted to the 432-R model and homologated in the JAF GT-011 papers: *14 = 98200-E7200 COVER-under (Omori Sports Corner)

 1 point
 -
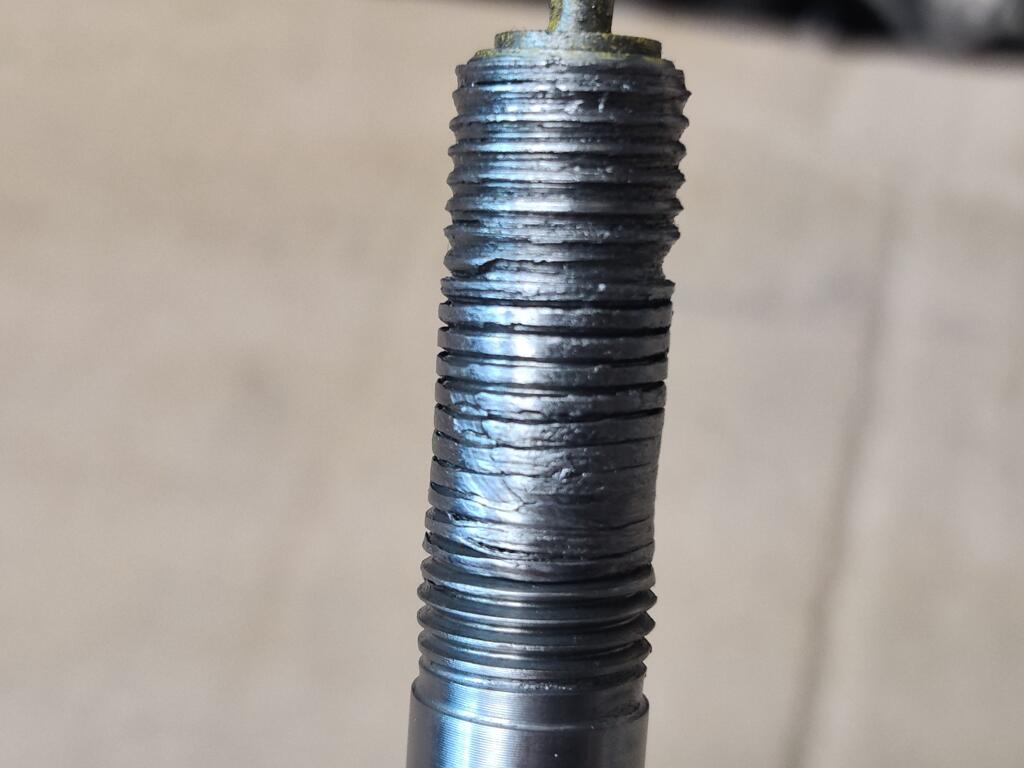
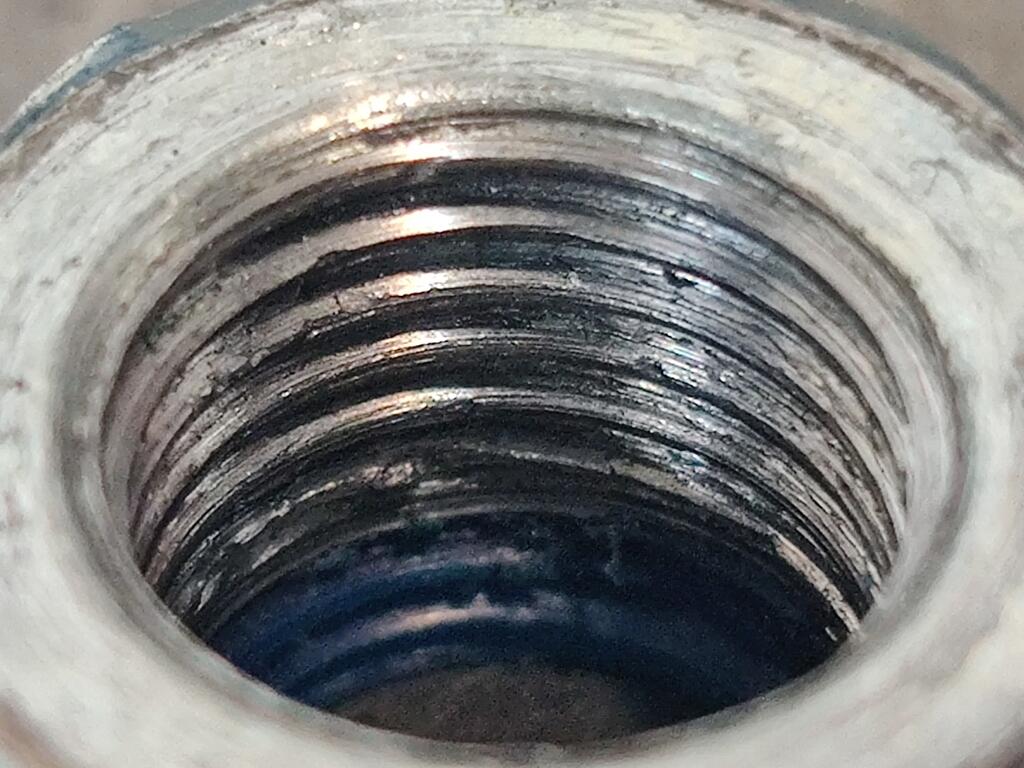
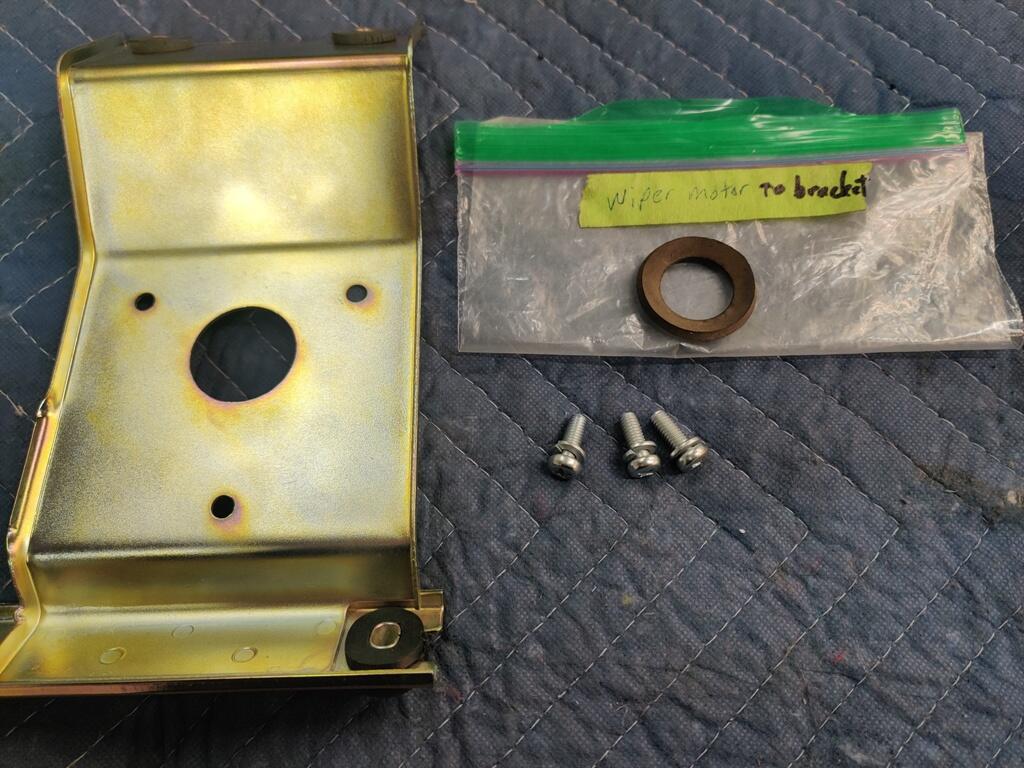
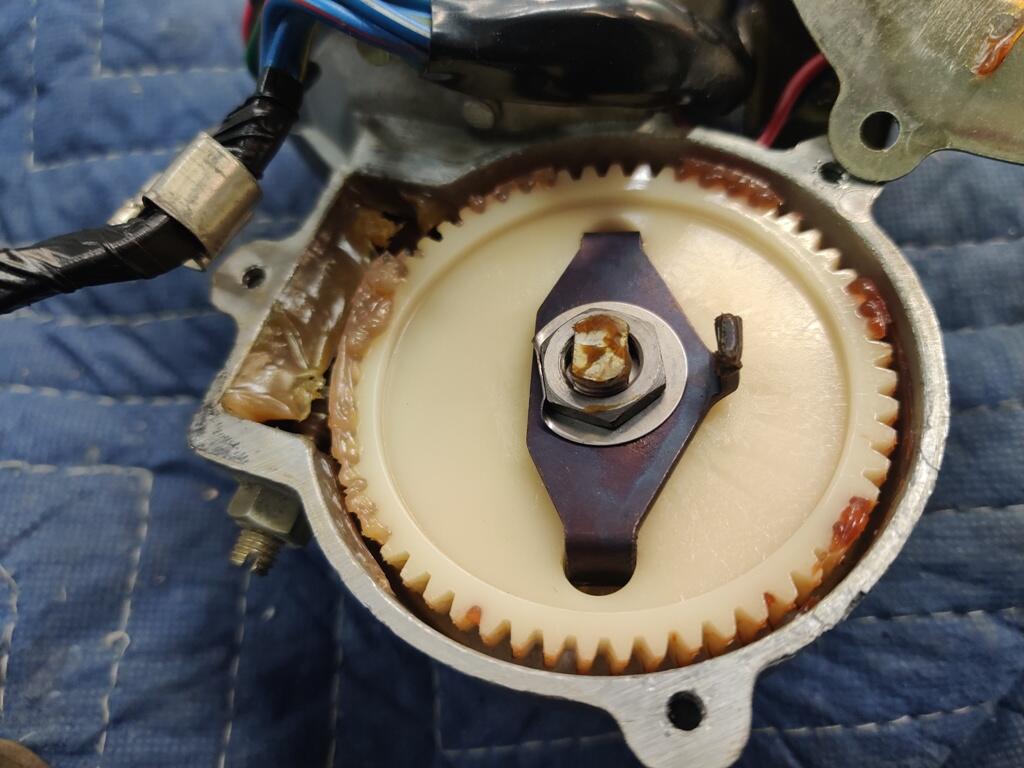
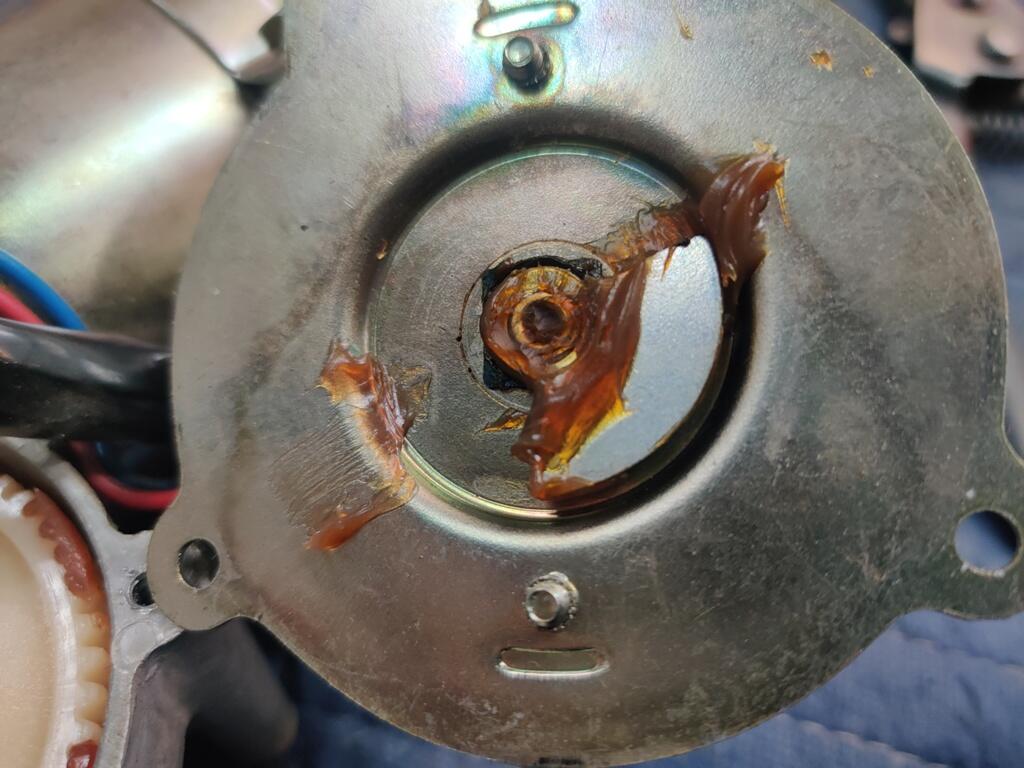
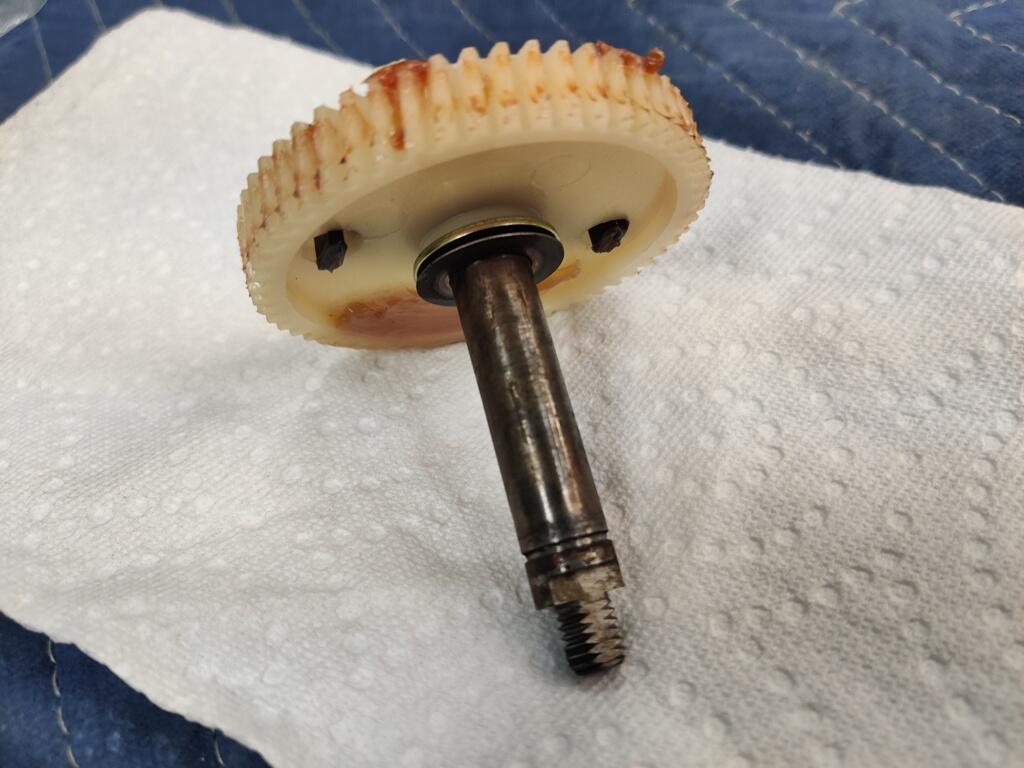
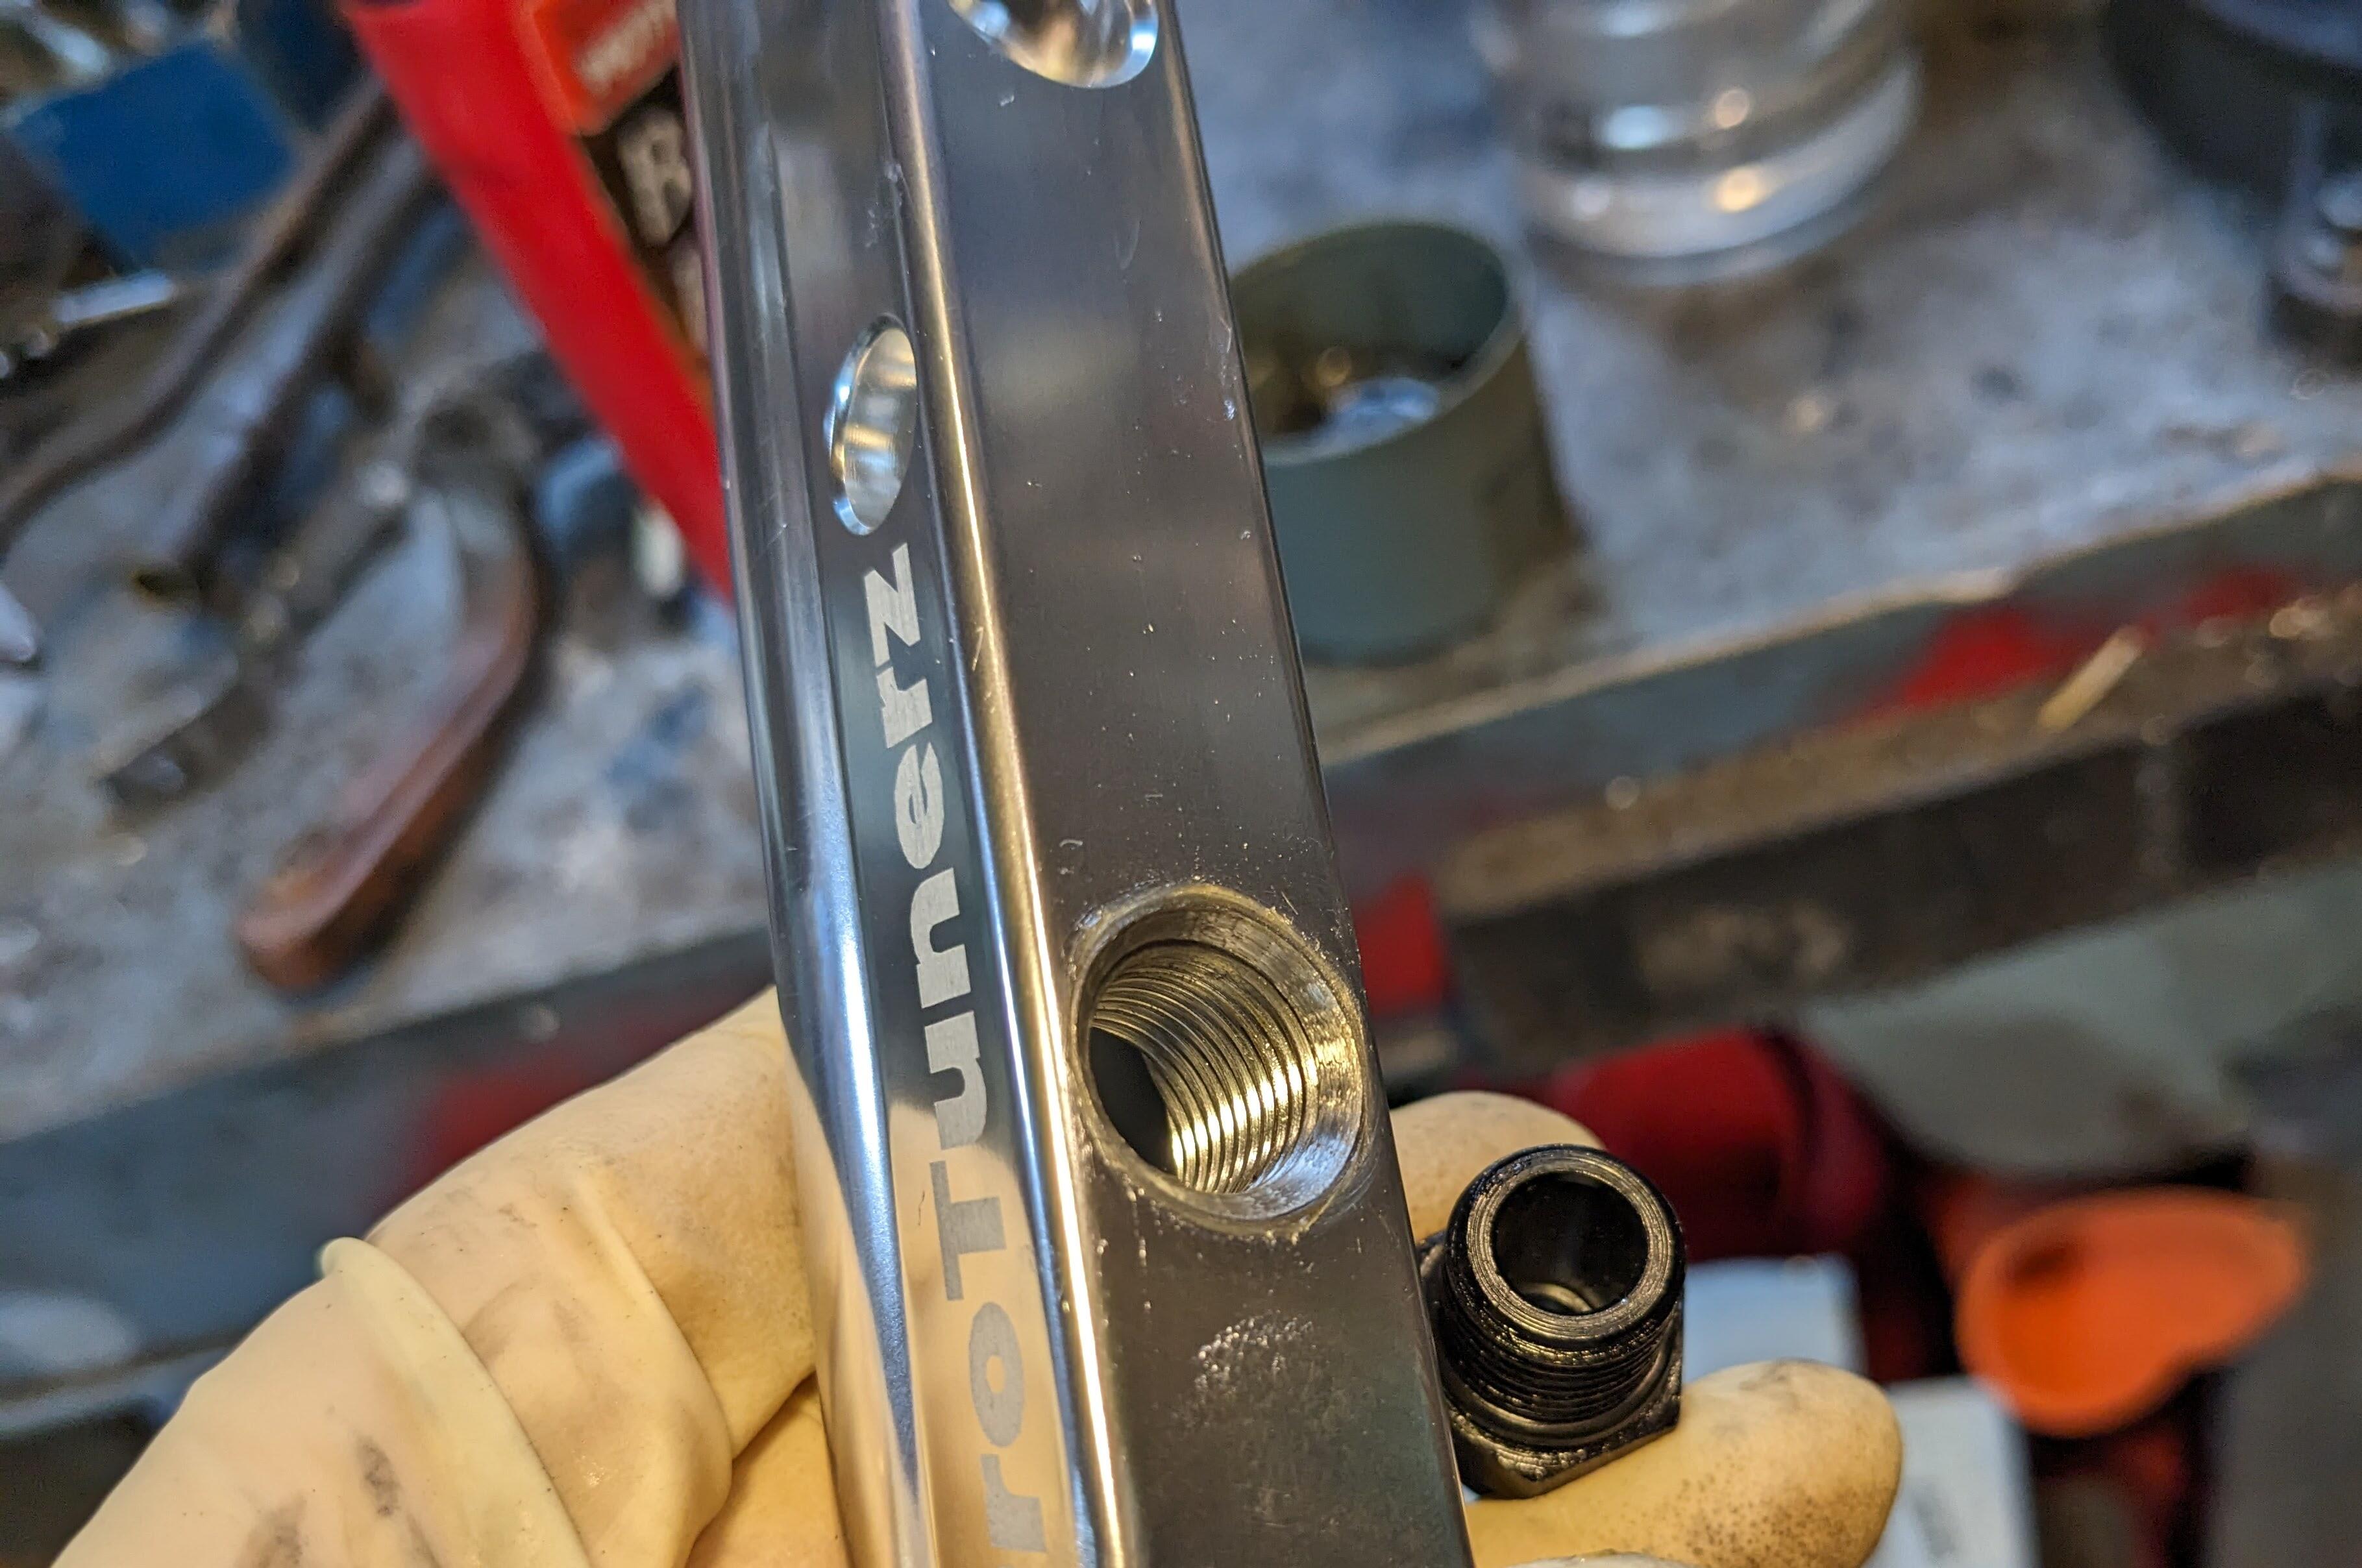
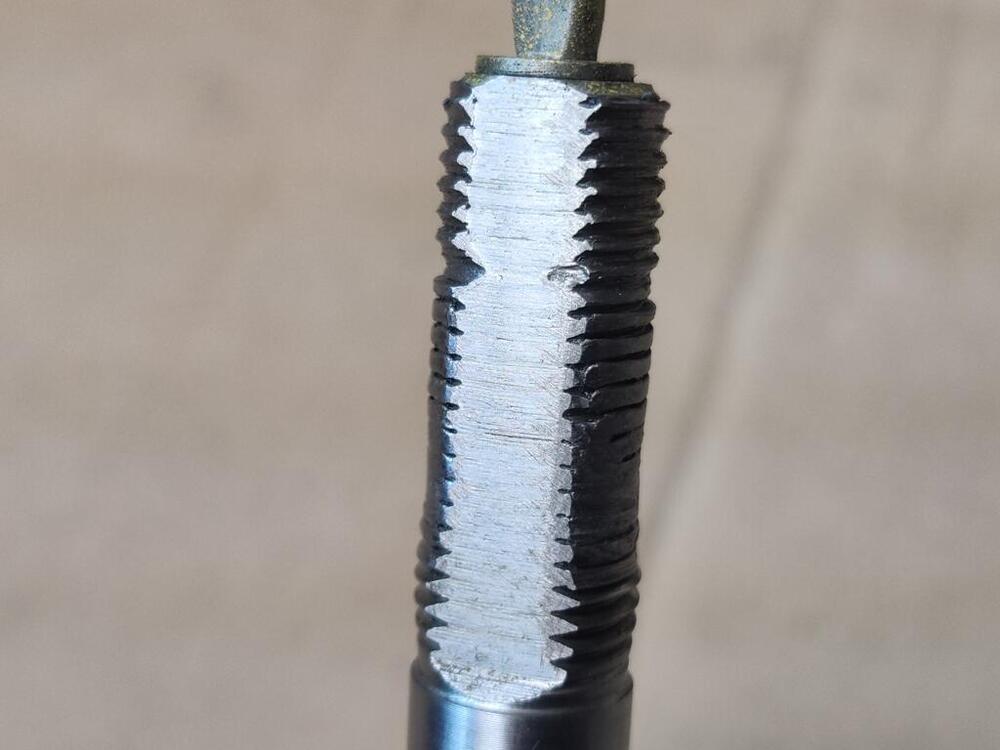
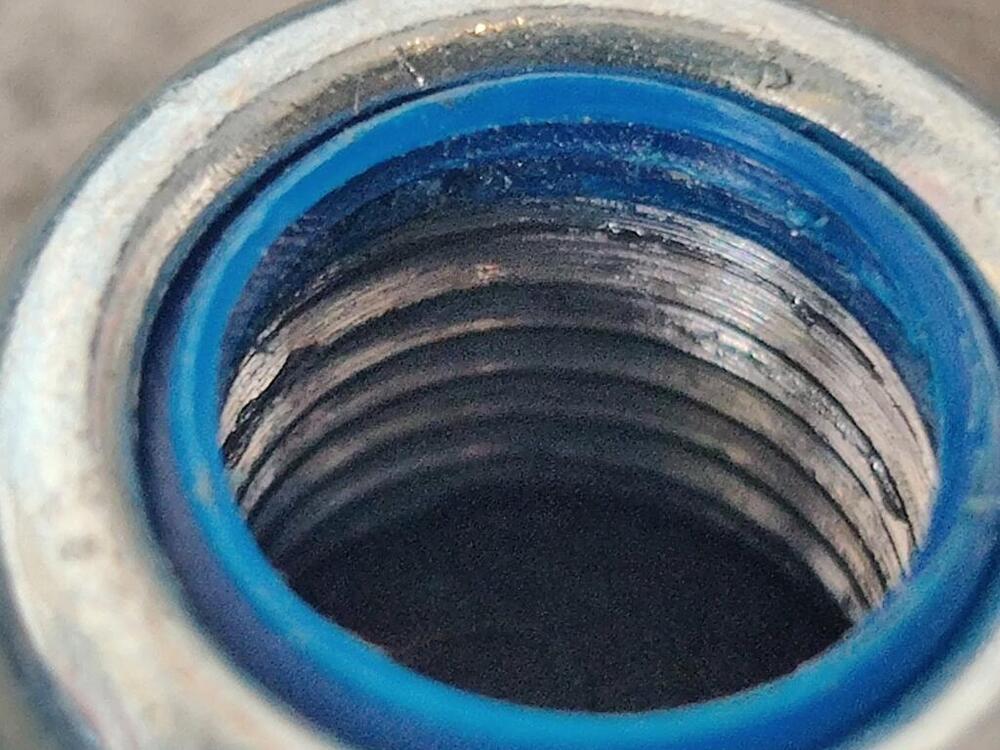
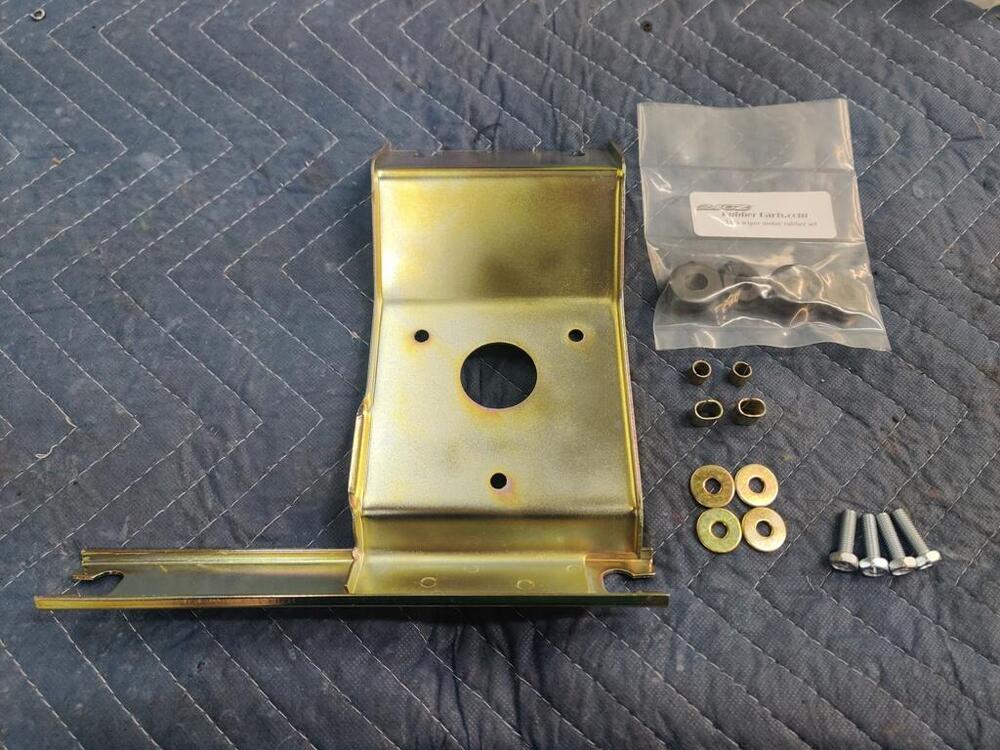
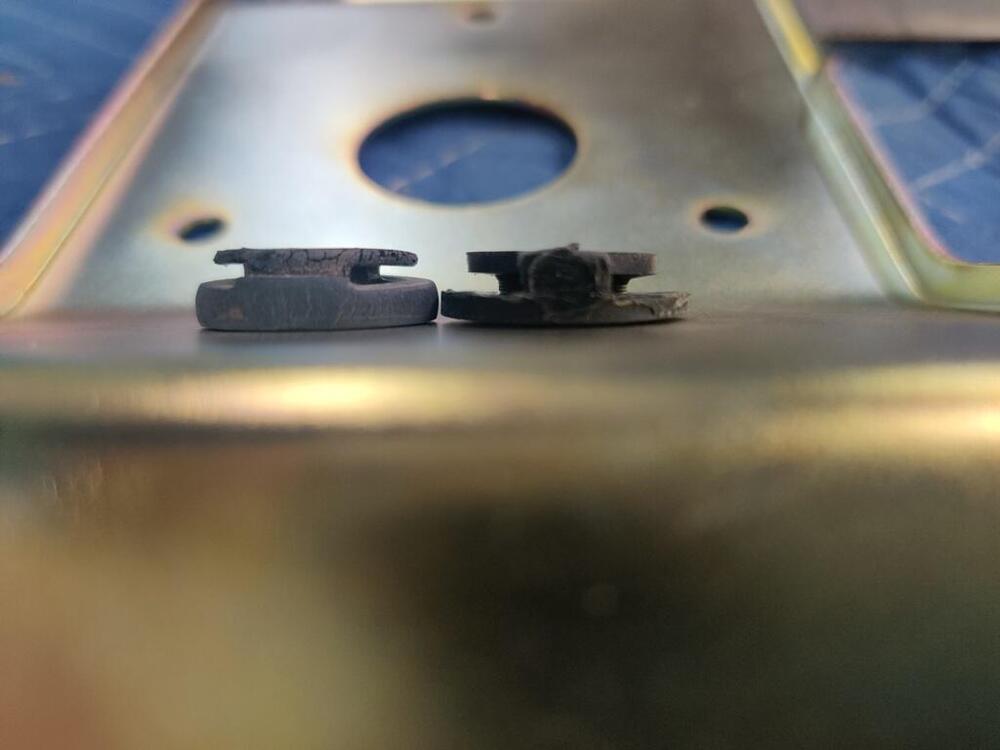
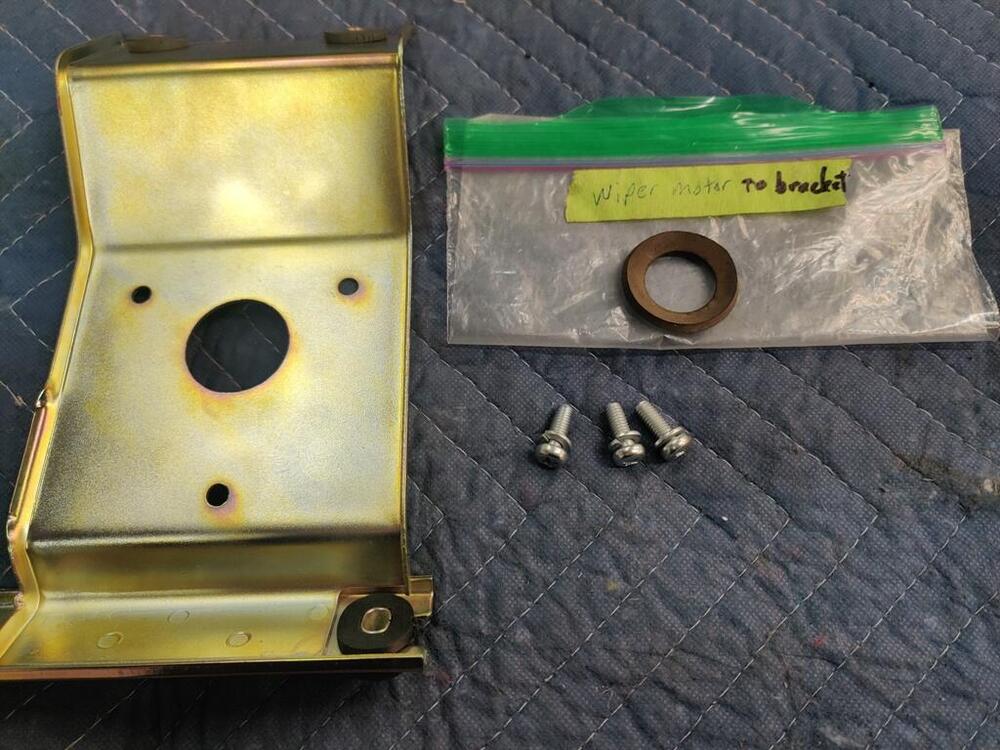
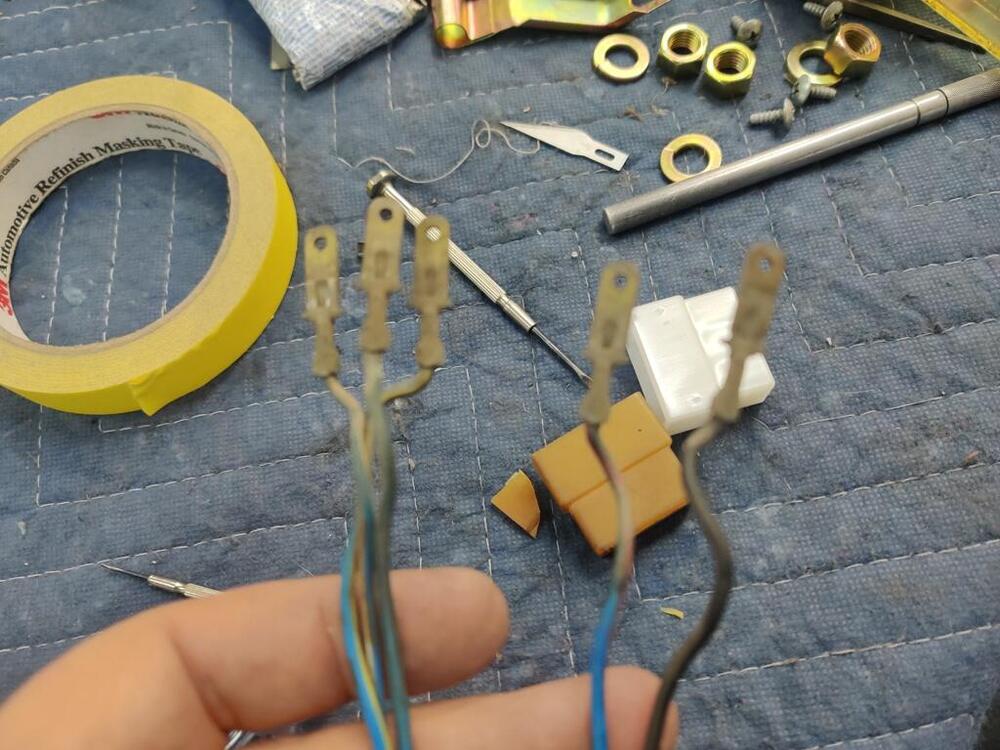
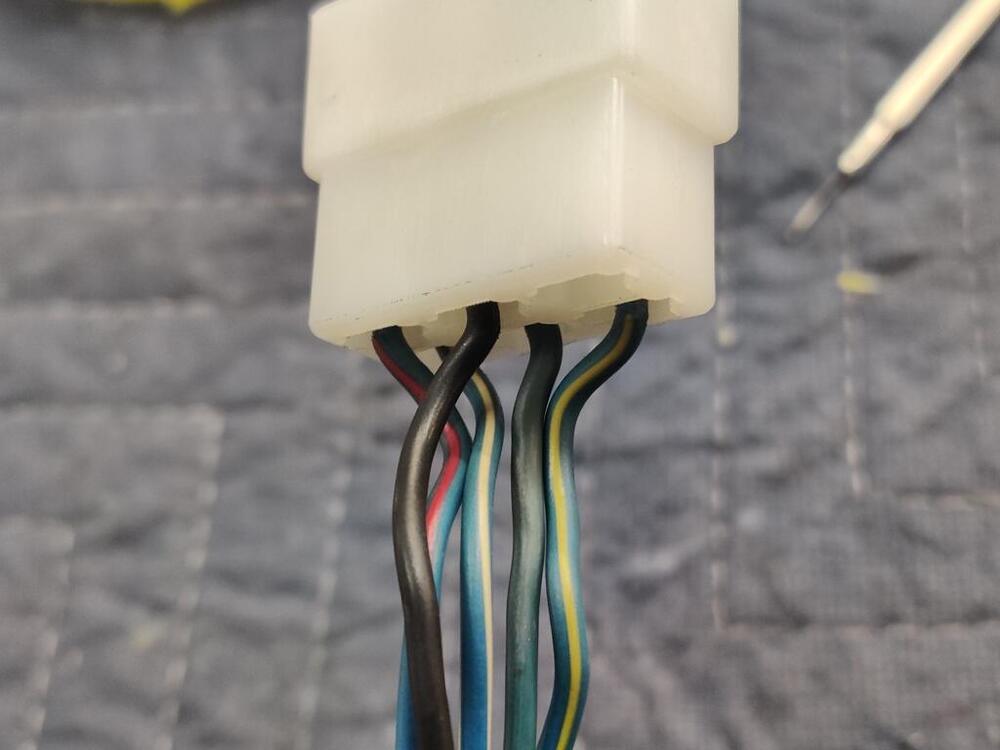
Unfortunately in this instance, the Koni struts I am using have their adjustment done by a nipple at the top of the strut shaft, so no place for an allen wrench there. I get sick when I look at these pictures, but here we go: With this close up, they all look like garbage to me other than the few at the bottom which are not accessed because of the material thickness of the spacer, upper spring perch and upper strut mounts respectively. Come to think of it, I might be able to machine a bit off the spacer to raise the shaft a bit (looks like a quarter inch, to access those good threads at the bottom. If the coupler nut can access all of those, and the garbage ones in the middle, along with the "somewhat still there" at the top, then I might be able to salvage this debacle. The nut doesn't look great, but threads are still mostly there. I have already chase this with a 12M X1.25 tap because I have one. I am waiting on the die to arrive to chase the threads for the shaft. In other news, I gave some attention to the wiper motor, motor mounting bracket, and motor harness tonight. Two of the grommets from 240zrubberparts.com were not as thick as the originals. I chose to use the old ones (just two of four) because there are metal sleeves that go in the center of them. I could have ground the metal sleeves down to match the thickness of the new ones, but my original rubber grommets were in fair condition. So, I used them instead. The original plastic connector was yellowed with age and brittle. So I replaced that. While doing so, I put on the new rubber grommet for the wiring from 240zrubberparts.com I was a bit surprised when I opened up the cover for the wiper motor - It was very clean inside. Being a car from Arizona, and off the road/stored for 28 years in Colorado, I think the motor has seen little use. As I found it: I cleaned the main gear shaft with #000 stainless steel wool, and then lubed the shaft. I probably should do the Honda wiper motor upgrade, but I will see how a fully rebuilt wiper transmission and this motor (with little use) work out first.


 1 point
 -
Replacement rail came today. Center port was no different than the first one, so I cut a chamfer with a countersink drill. Just went deep enough that the o-ring compresses without any squeeze-out
 1 point
 -
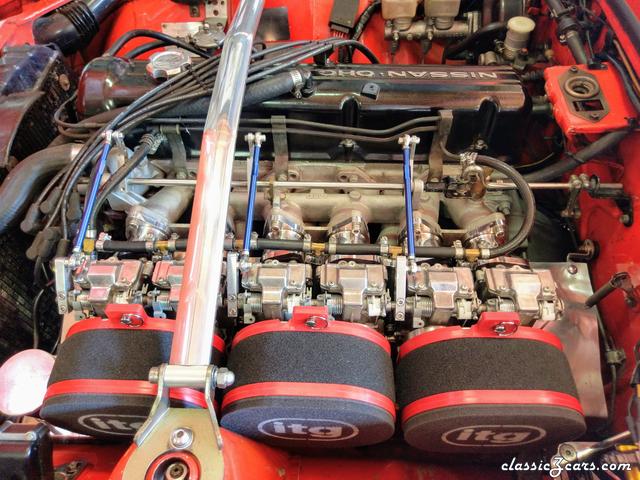 Running a stock motor anything over 40 is too large IMO. You are talking 150bhp.1 point
 -
Can't buy direct to the US, so you have to use a broker or a person in Japan.1 point
-
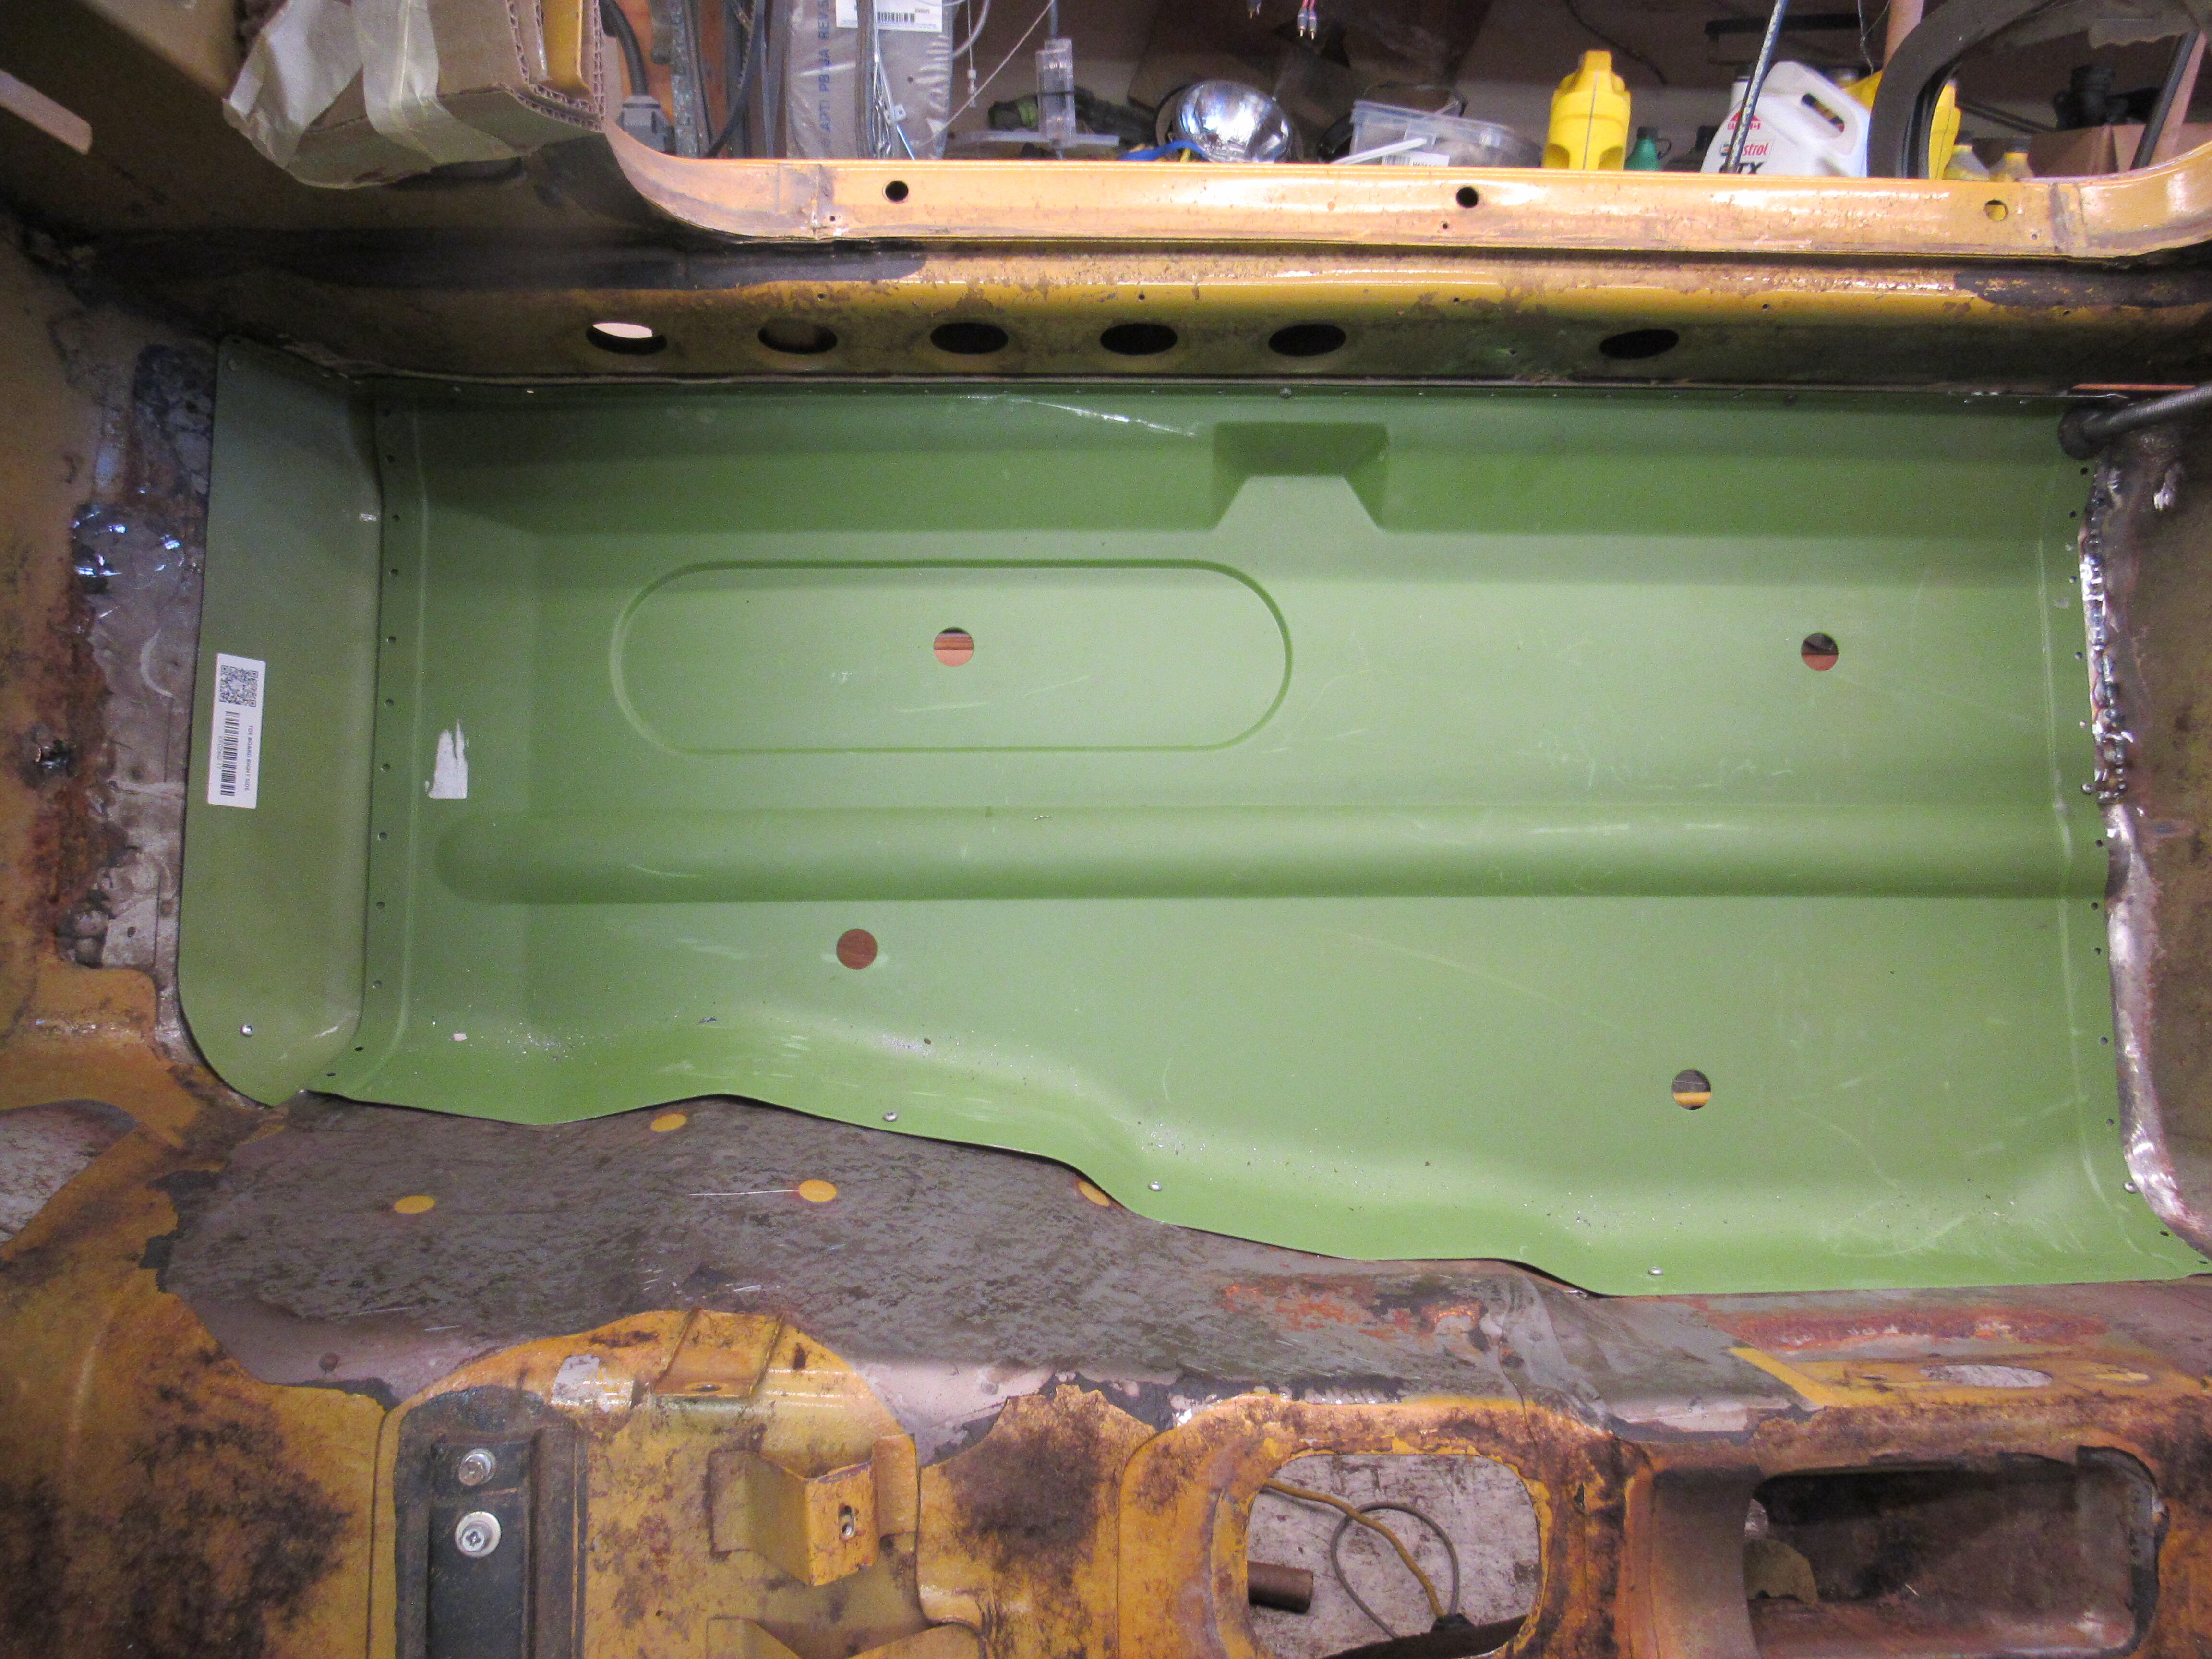
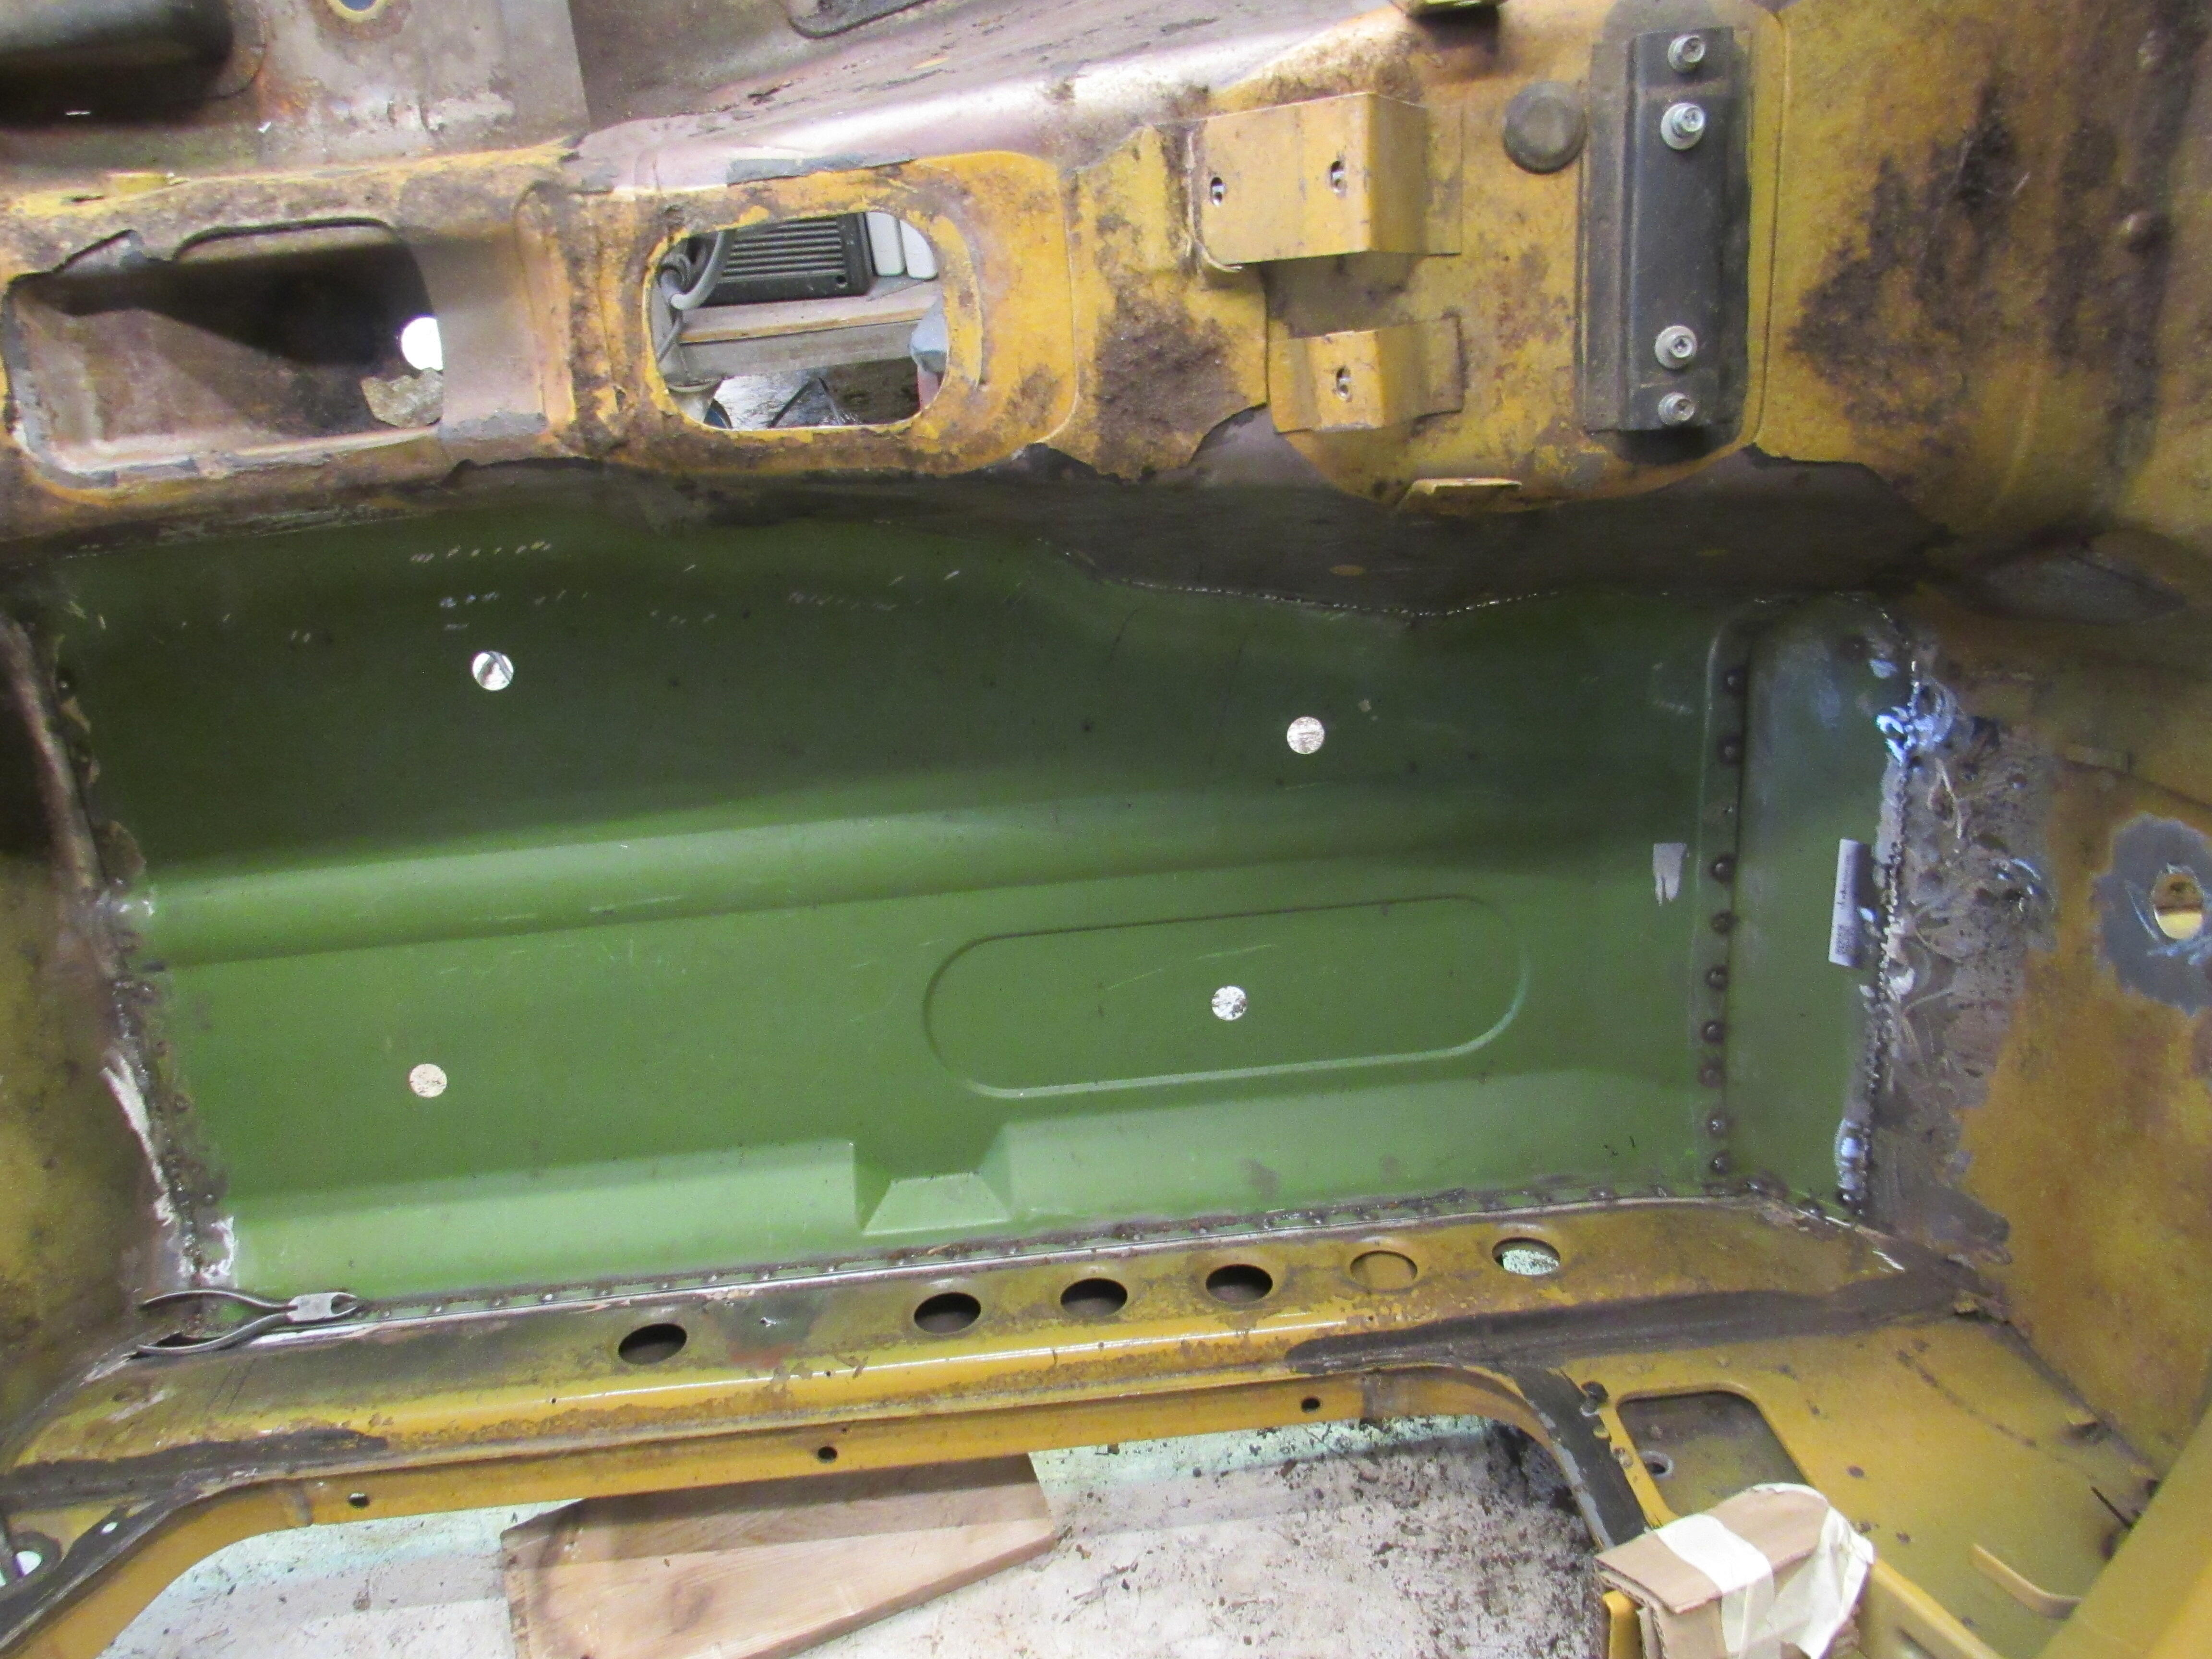
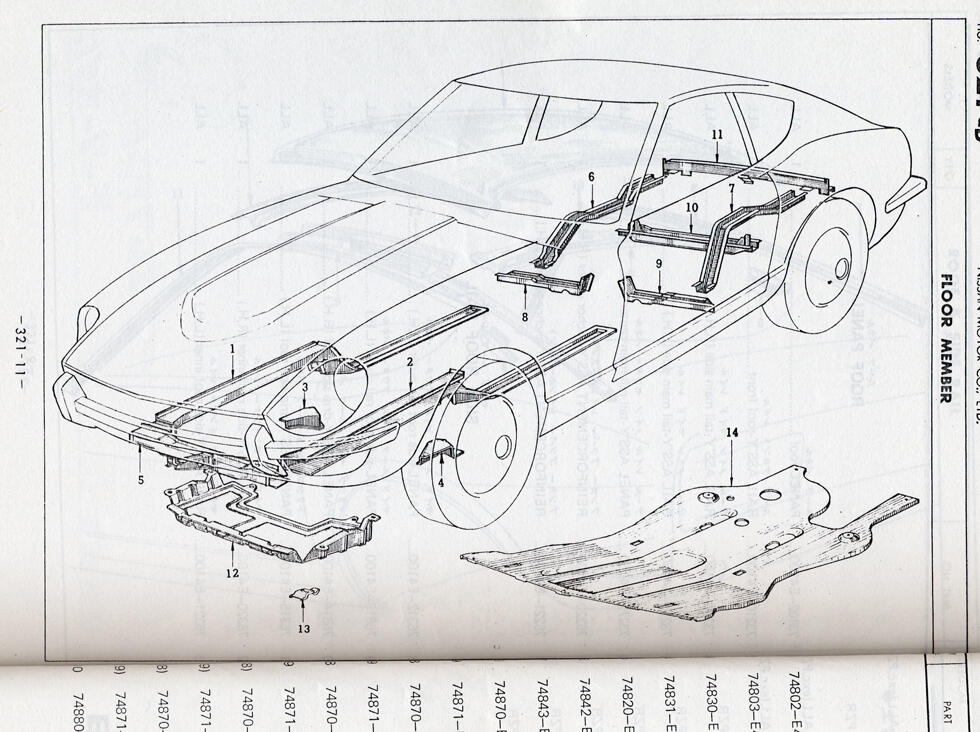
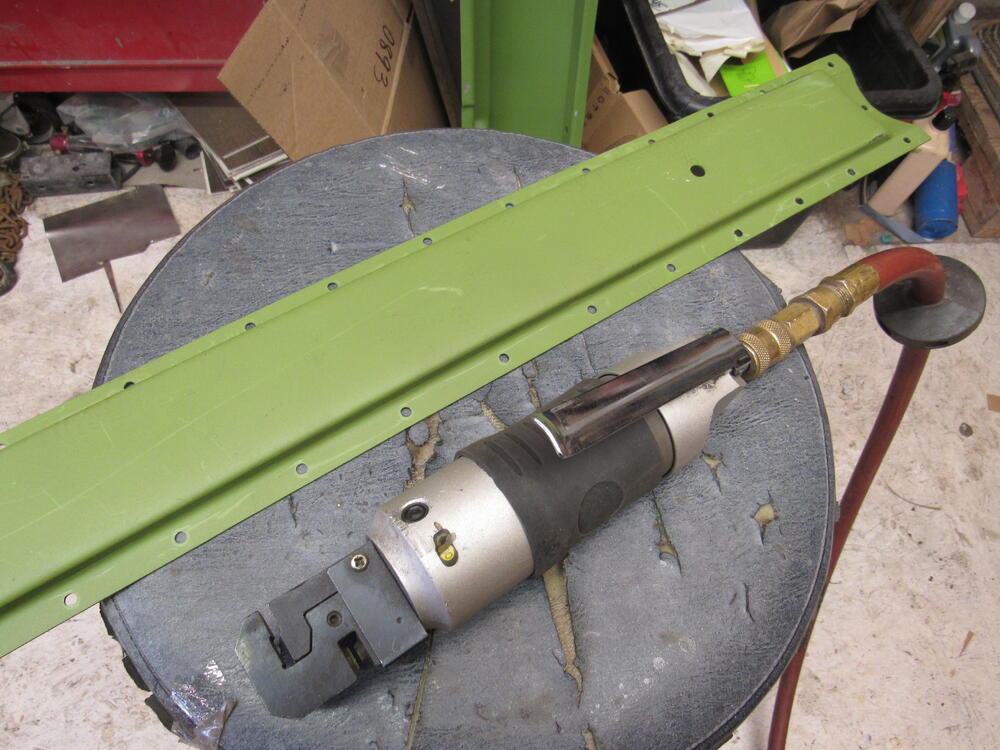
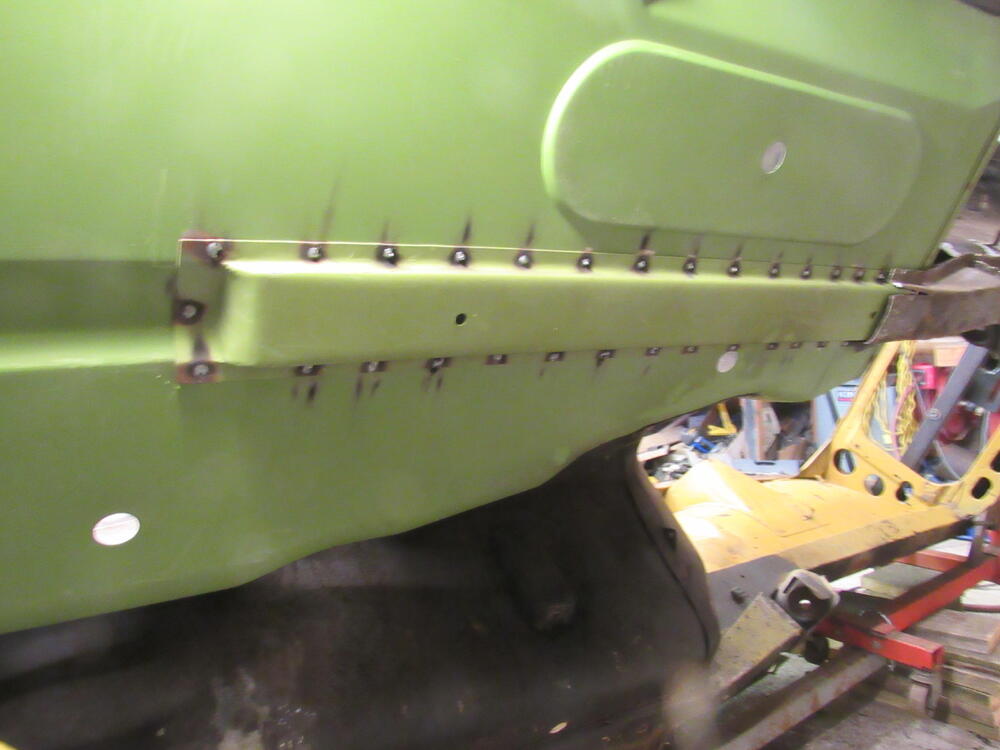
1 pointI test fitted the floor pan and toe board yesterday, then cut the transmission side and welded in today. I still have to fill in the welds and grind more but it's good enough for now. This is an air tool I don't get to use very often but sure saves lots of the labour of drilling holes, I paid $40 yrs ago at a pawn shop. A hole punch on one side and a flanger on the other.


 1 point
 -
He made those rivets on a lathe. You're not going to find them off the shelf anywhere. Someone would have to custom make them. And the machine he uses to peen the rivets is more than a simple straight down press. It's more like an impact hammer and press combined together to swage the rivets. If you listen, you can hear the buzzing sound of the impact. This guy has access to lots of machines. And your comment about the tolerance stackup is spot on. Each connection needs a tiny bit of clearance in order spin and the stackup causes that play. I've got machine shop envy.1 point