Leaderboard
-

CW240Z72
Free Member4Points229Posts -
Paulytunes
 Subscriber
 4Points107Posts
 -
Matthew Abate
Free Member3Points1,204Posts -

CanTechZ
Free Member2Points1,311Posts


Popular Content
Showing content with the highest reputation on 06/26/2023 in all areas
-
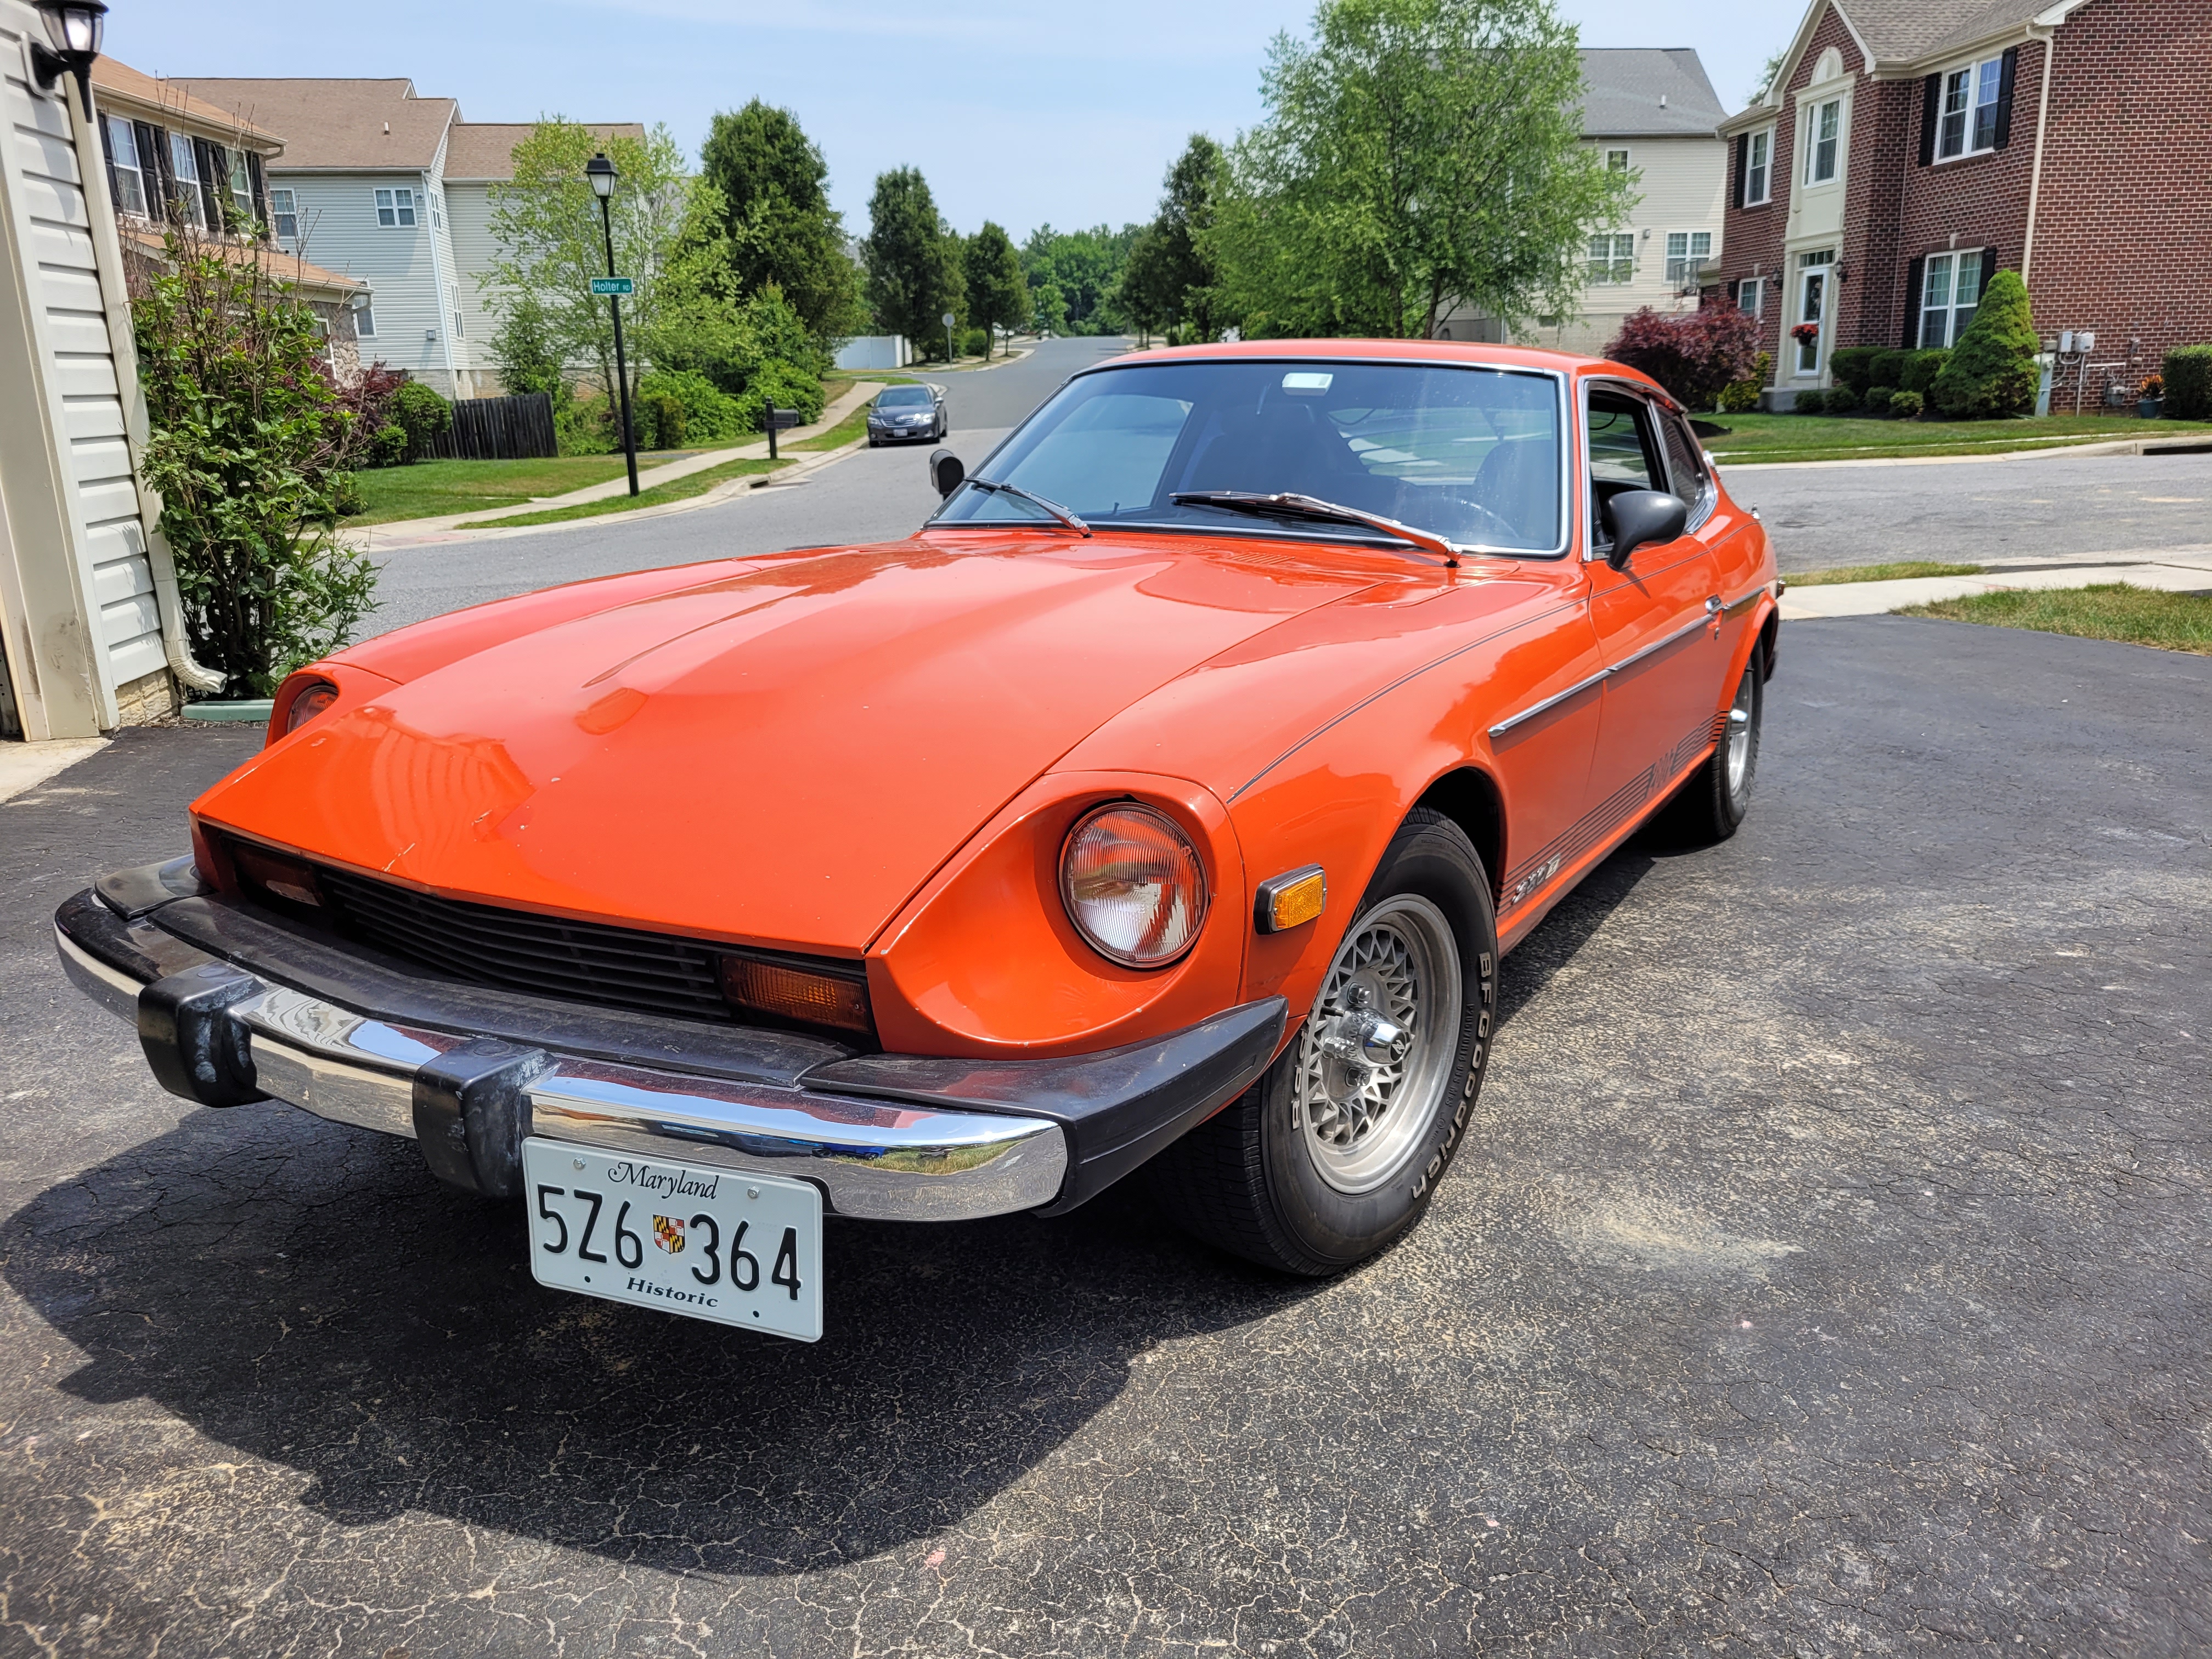
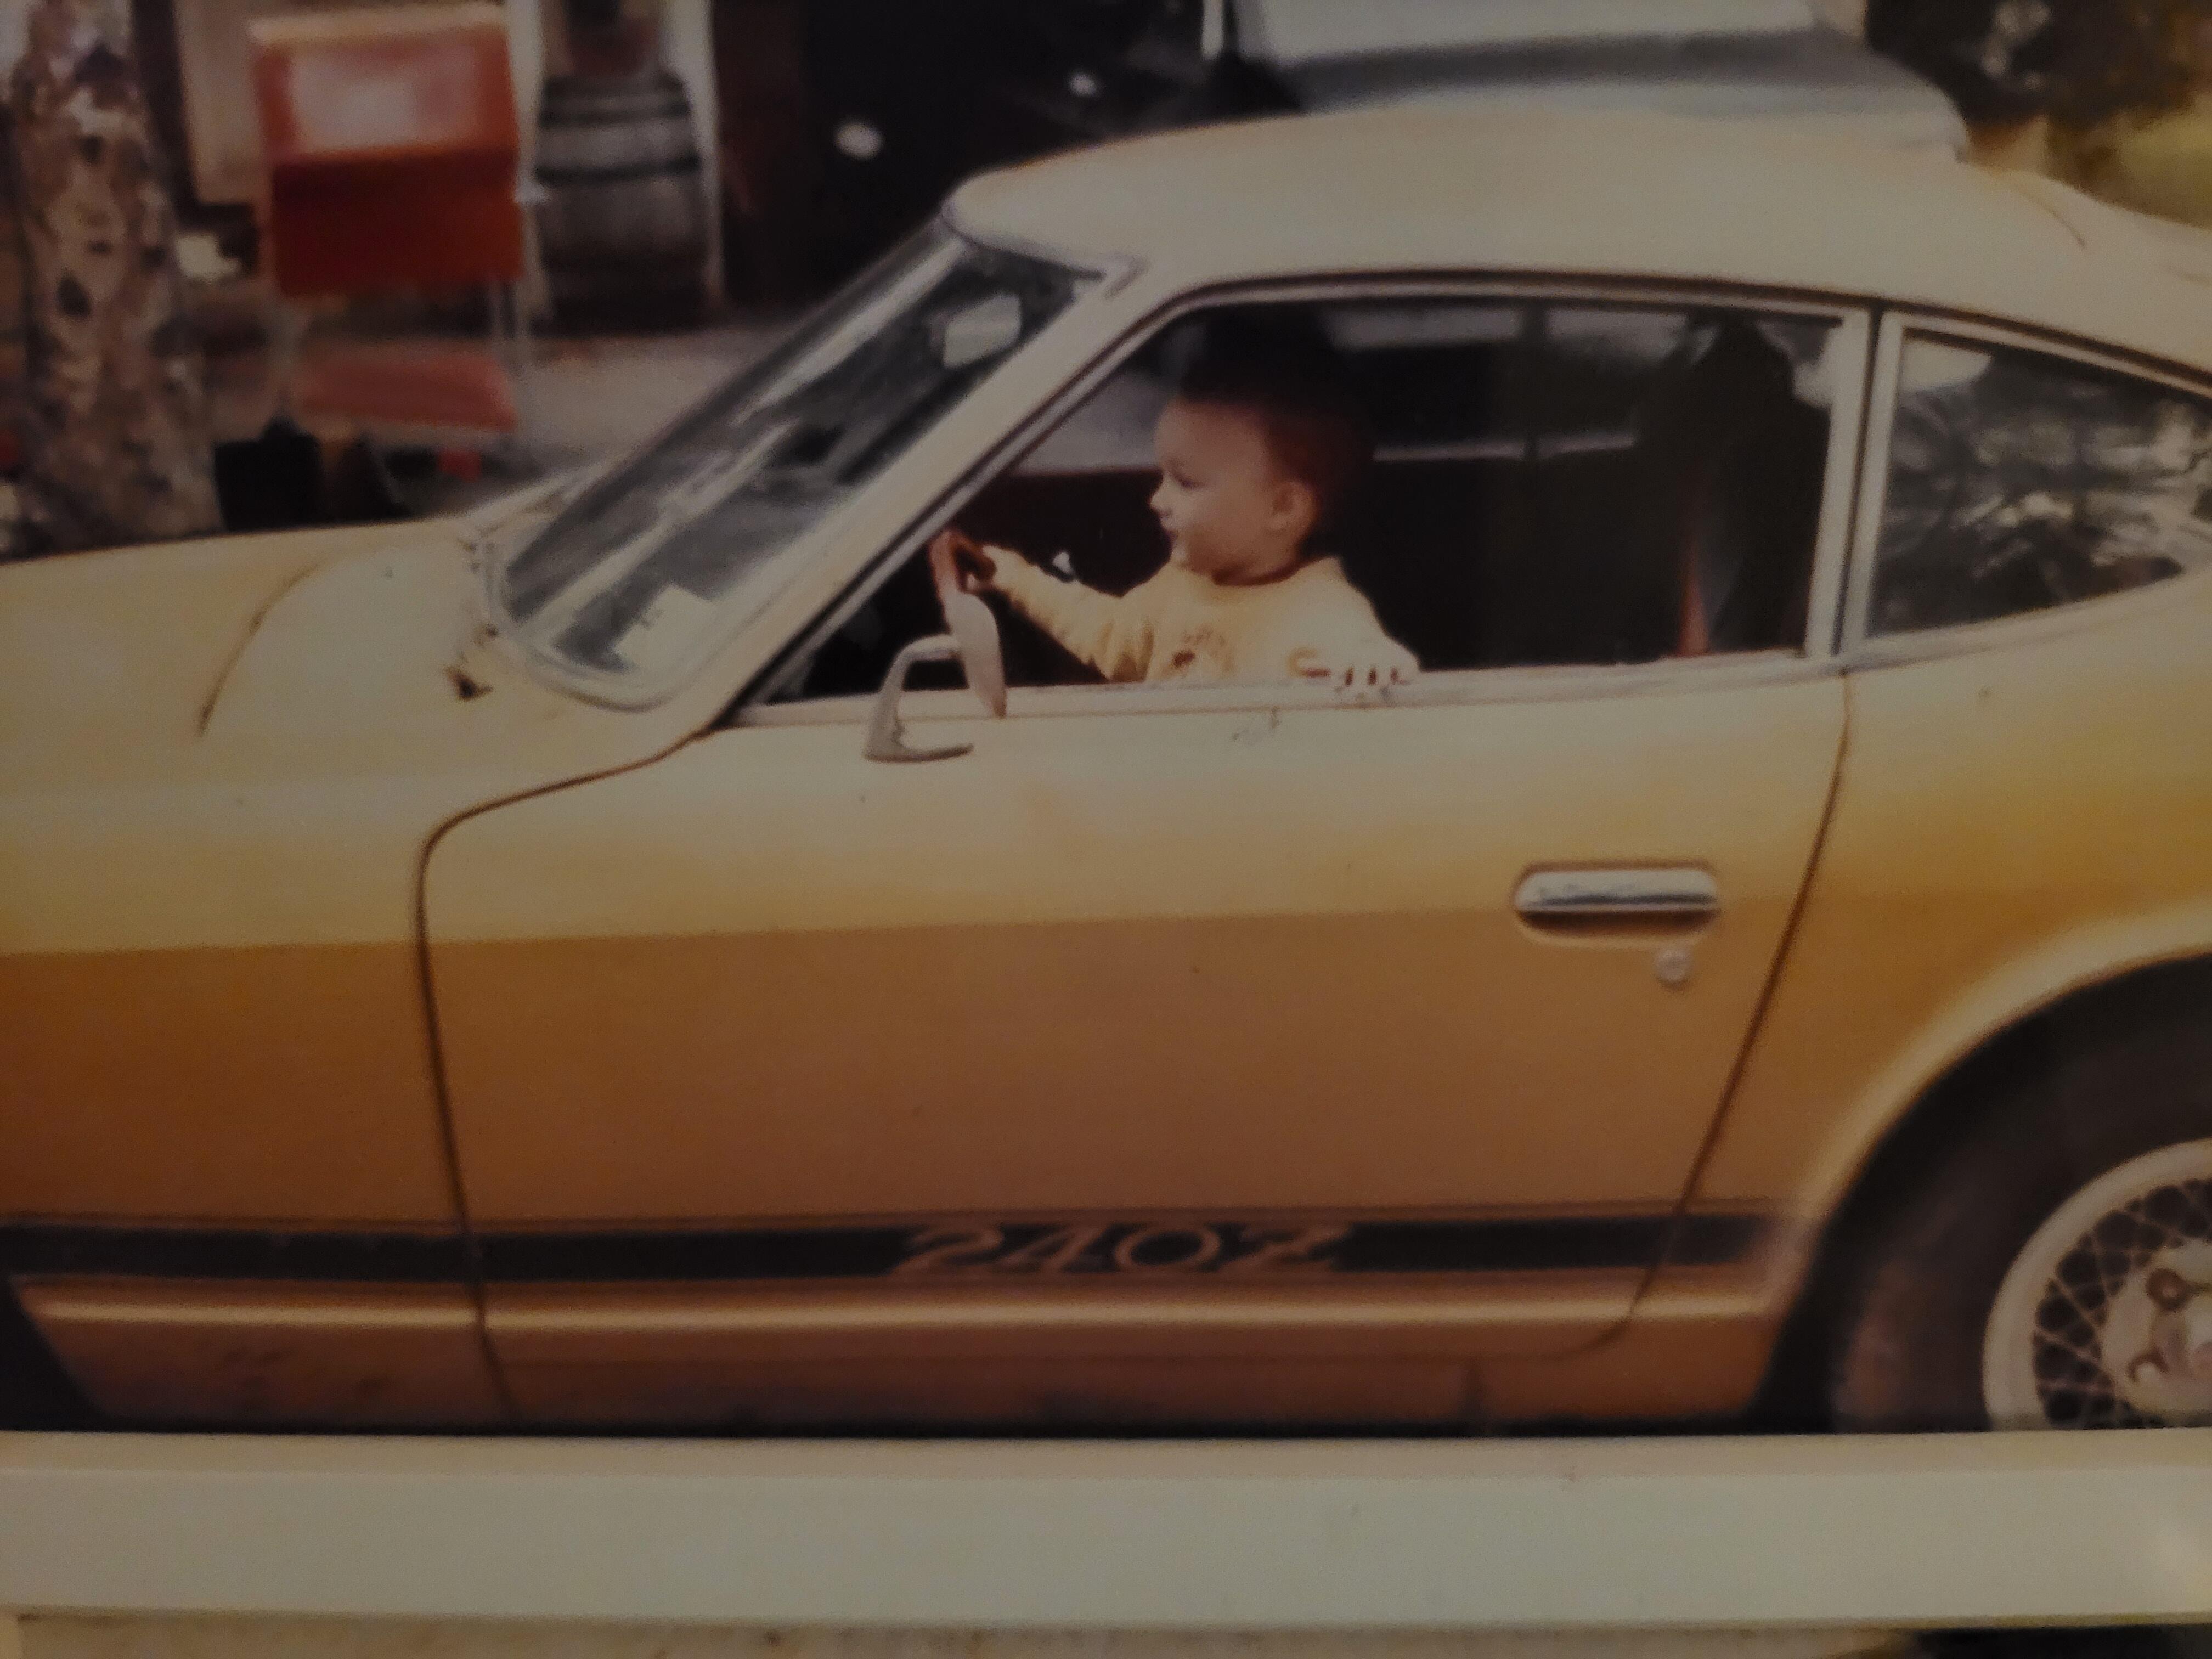
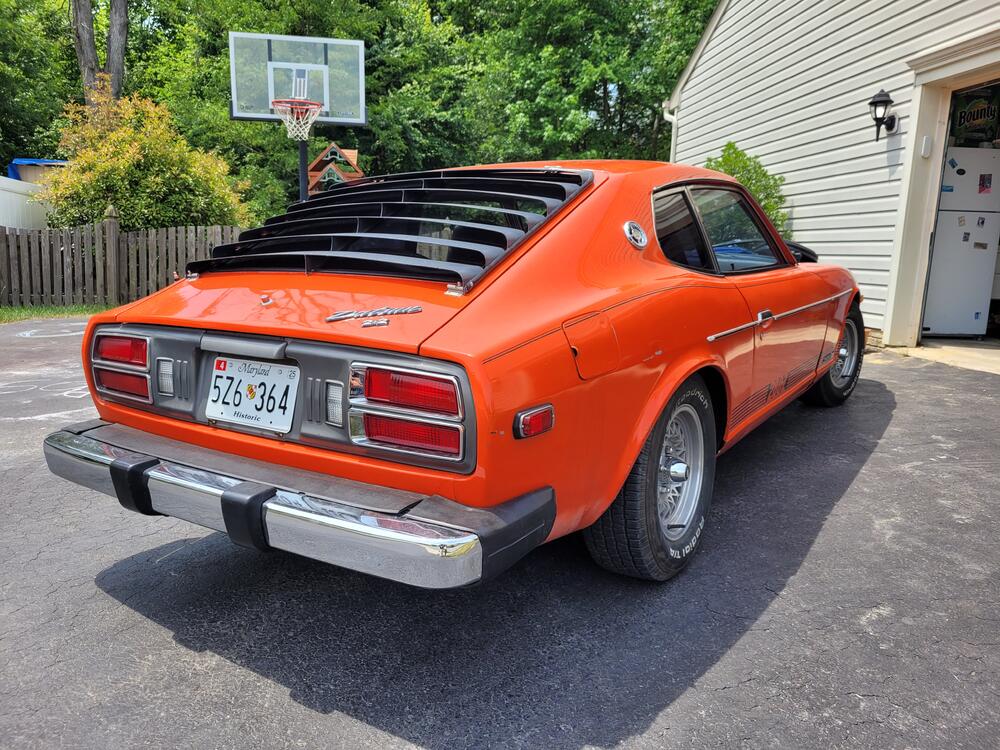
Greetings from Baltimore County, Maryland! I have been a long-time lurker and reader on this site, and I think I may have talked to a few members in person at car shows or chatted online. After searching for years, a few missed opportunities, lost bids on BAT, passing on a few project cars beyond my comfort zone, I finally found my Z in April 2023. As all cars that are 47 years old, she's far from perfect and will need some TLC that my son and I will eagerly perform and enjoy. I will start a project thread to document the work as it progresses. Looking forward to being an active member of this community! Paul

 4 points
 -
4 points
-
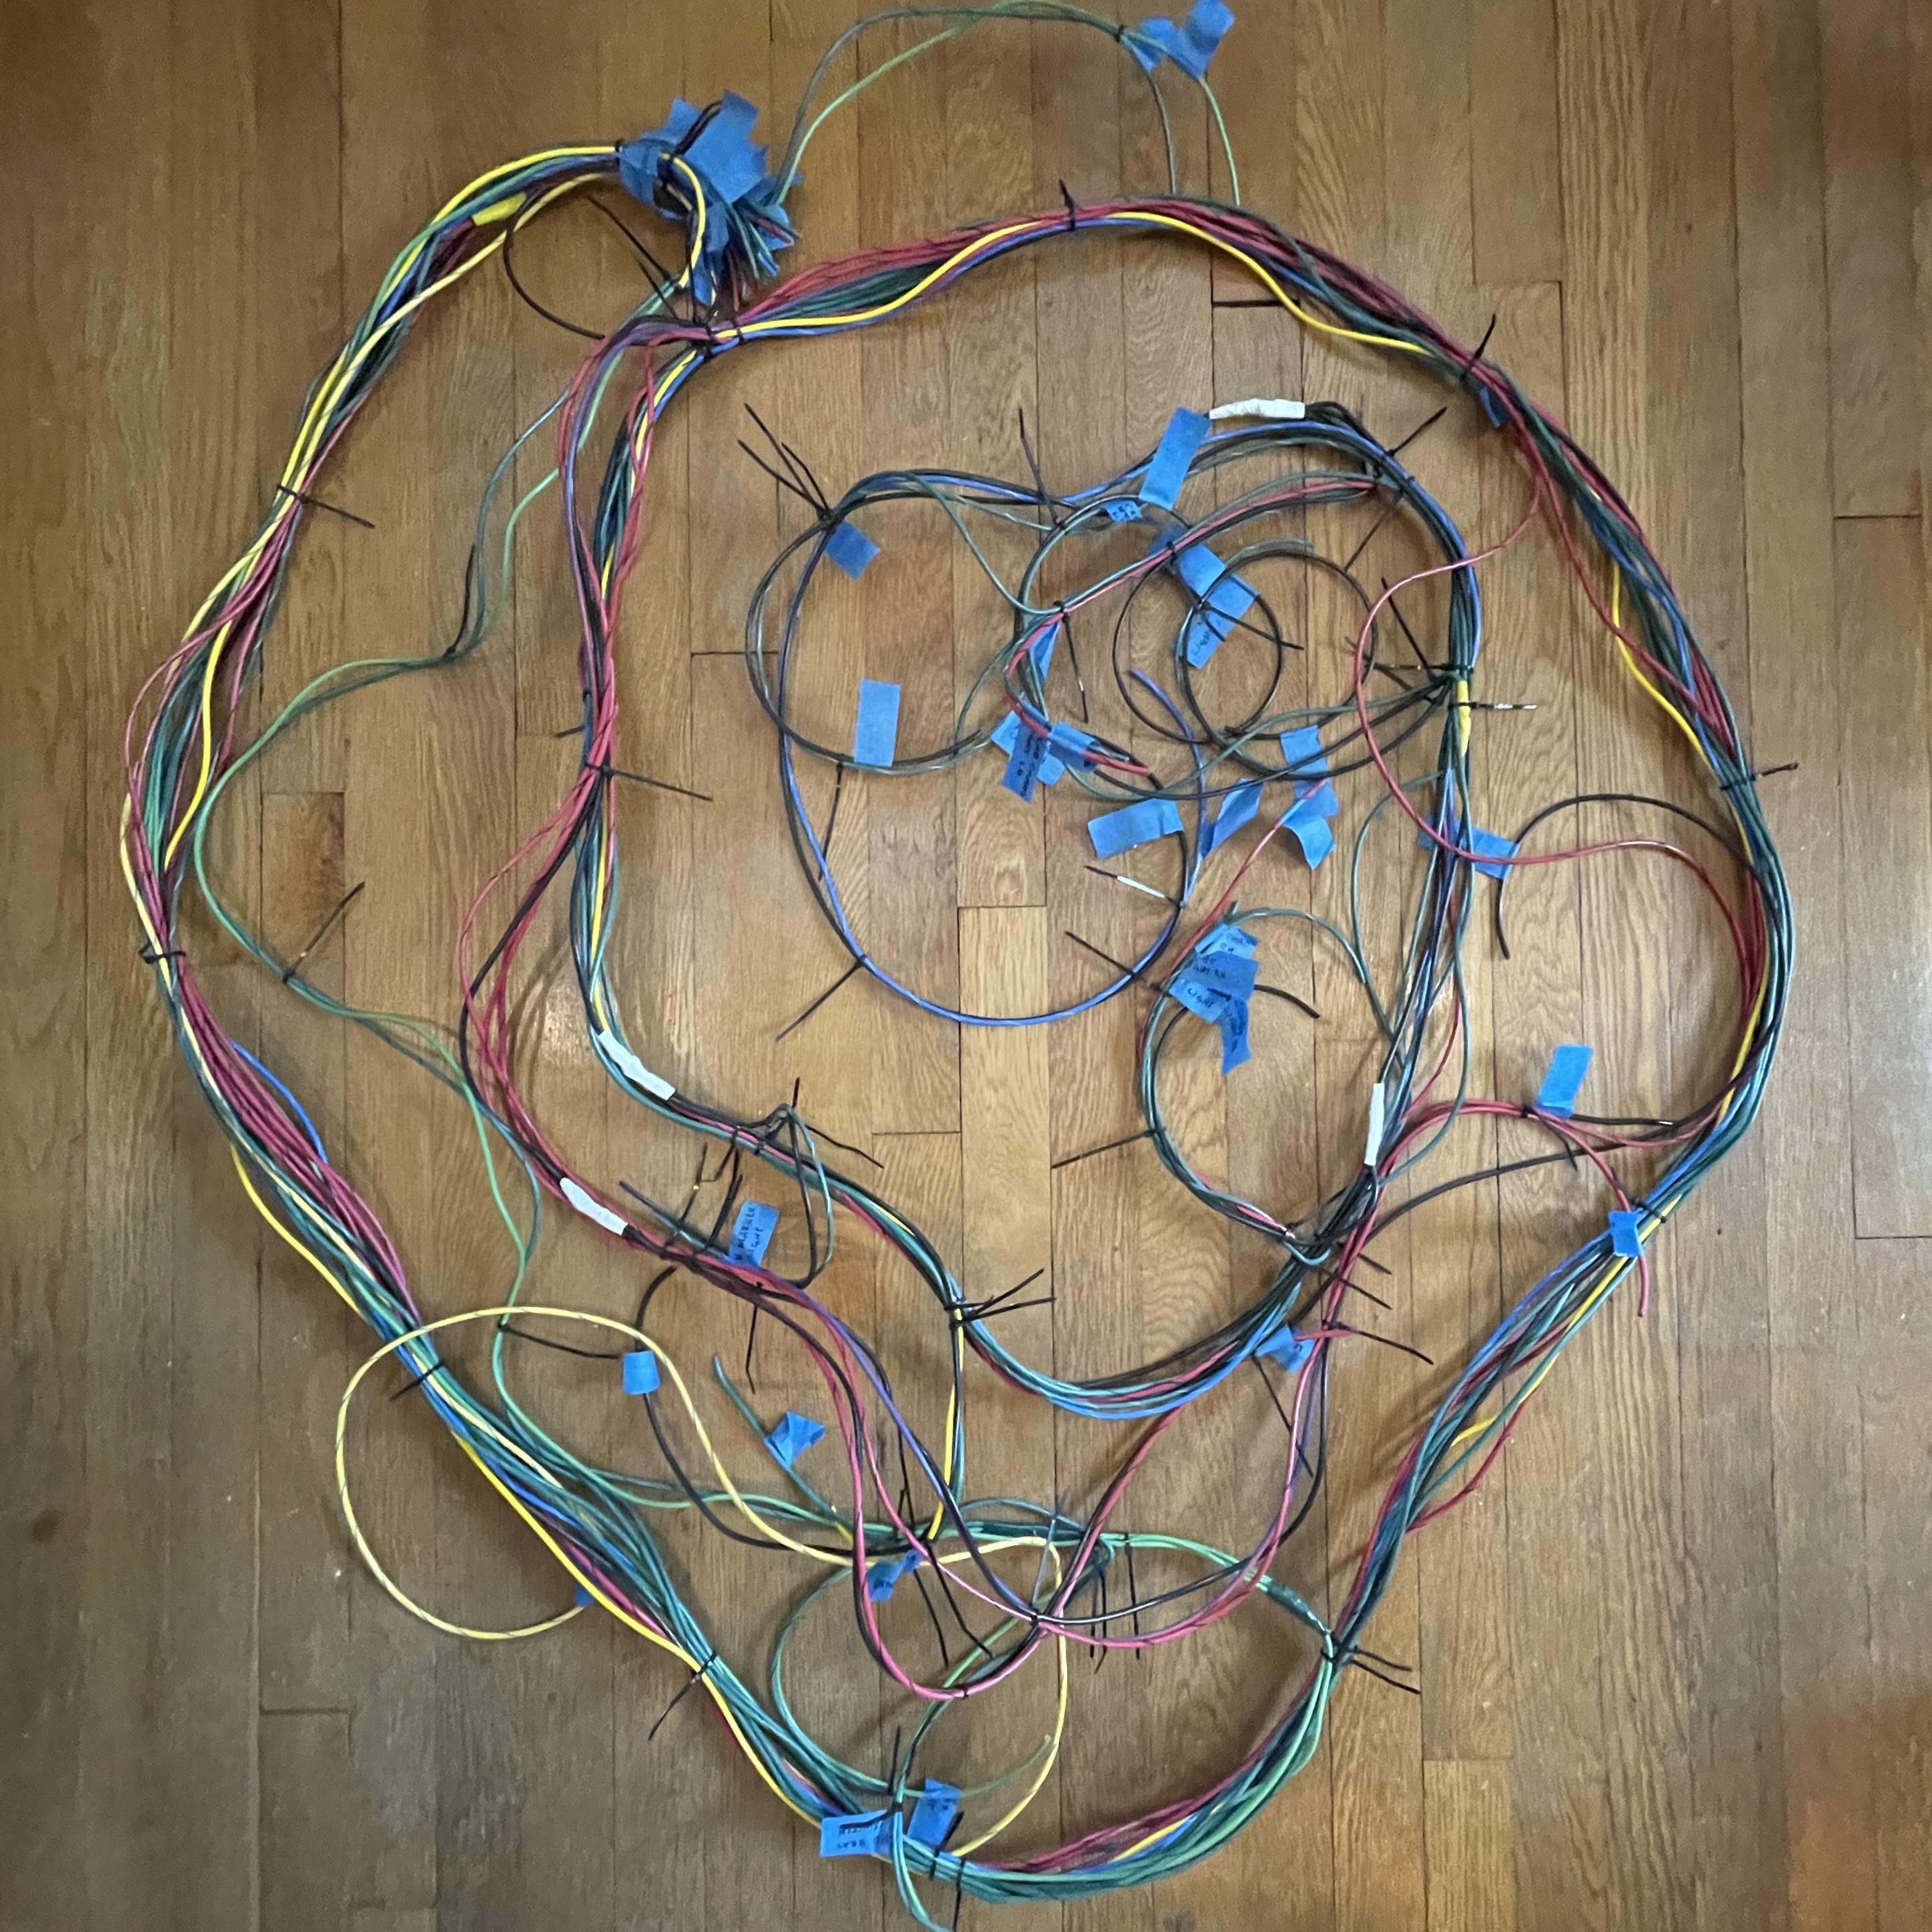
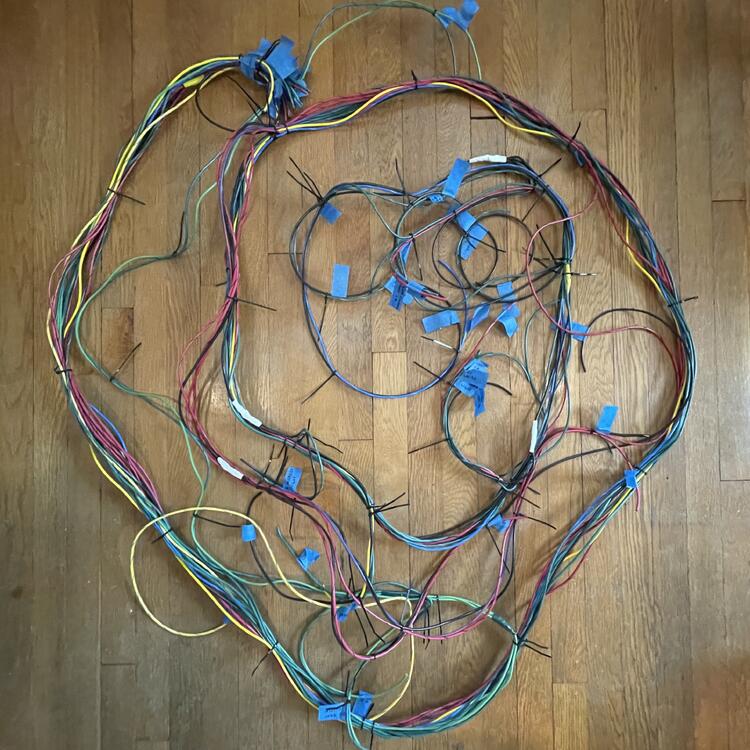
3 pointsFinished the wiring part of the body harness. All of the splices are strong and I have good continuity throughout, with no more than 0.20 Ω of resistance on any given wire. All of the branch points are zip tied in the same locations as the OEM harness, so it should lay in just fine. The next step is a test fit inside the car to make sure. Separately, I was wondering if anyone knows what the blue tape Nissan used to tack down unused optional wires is. I was thinking of using blue strap tape like they use on appliances, but if there’s a way to get the real thing that would be better.
 3 points
 -
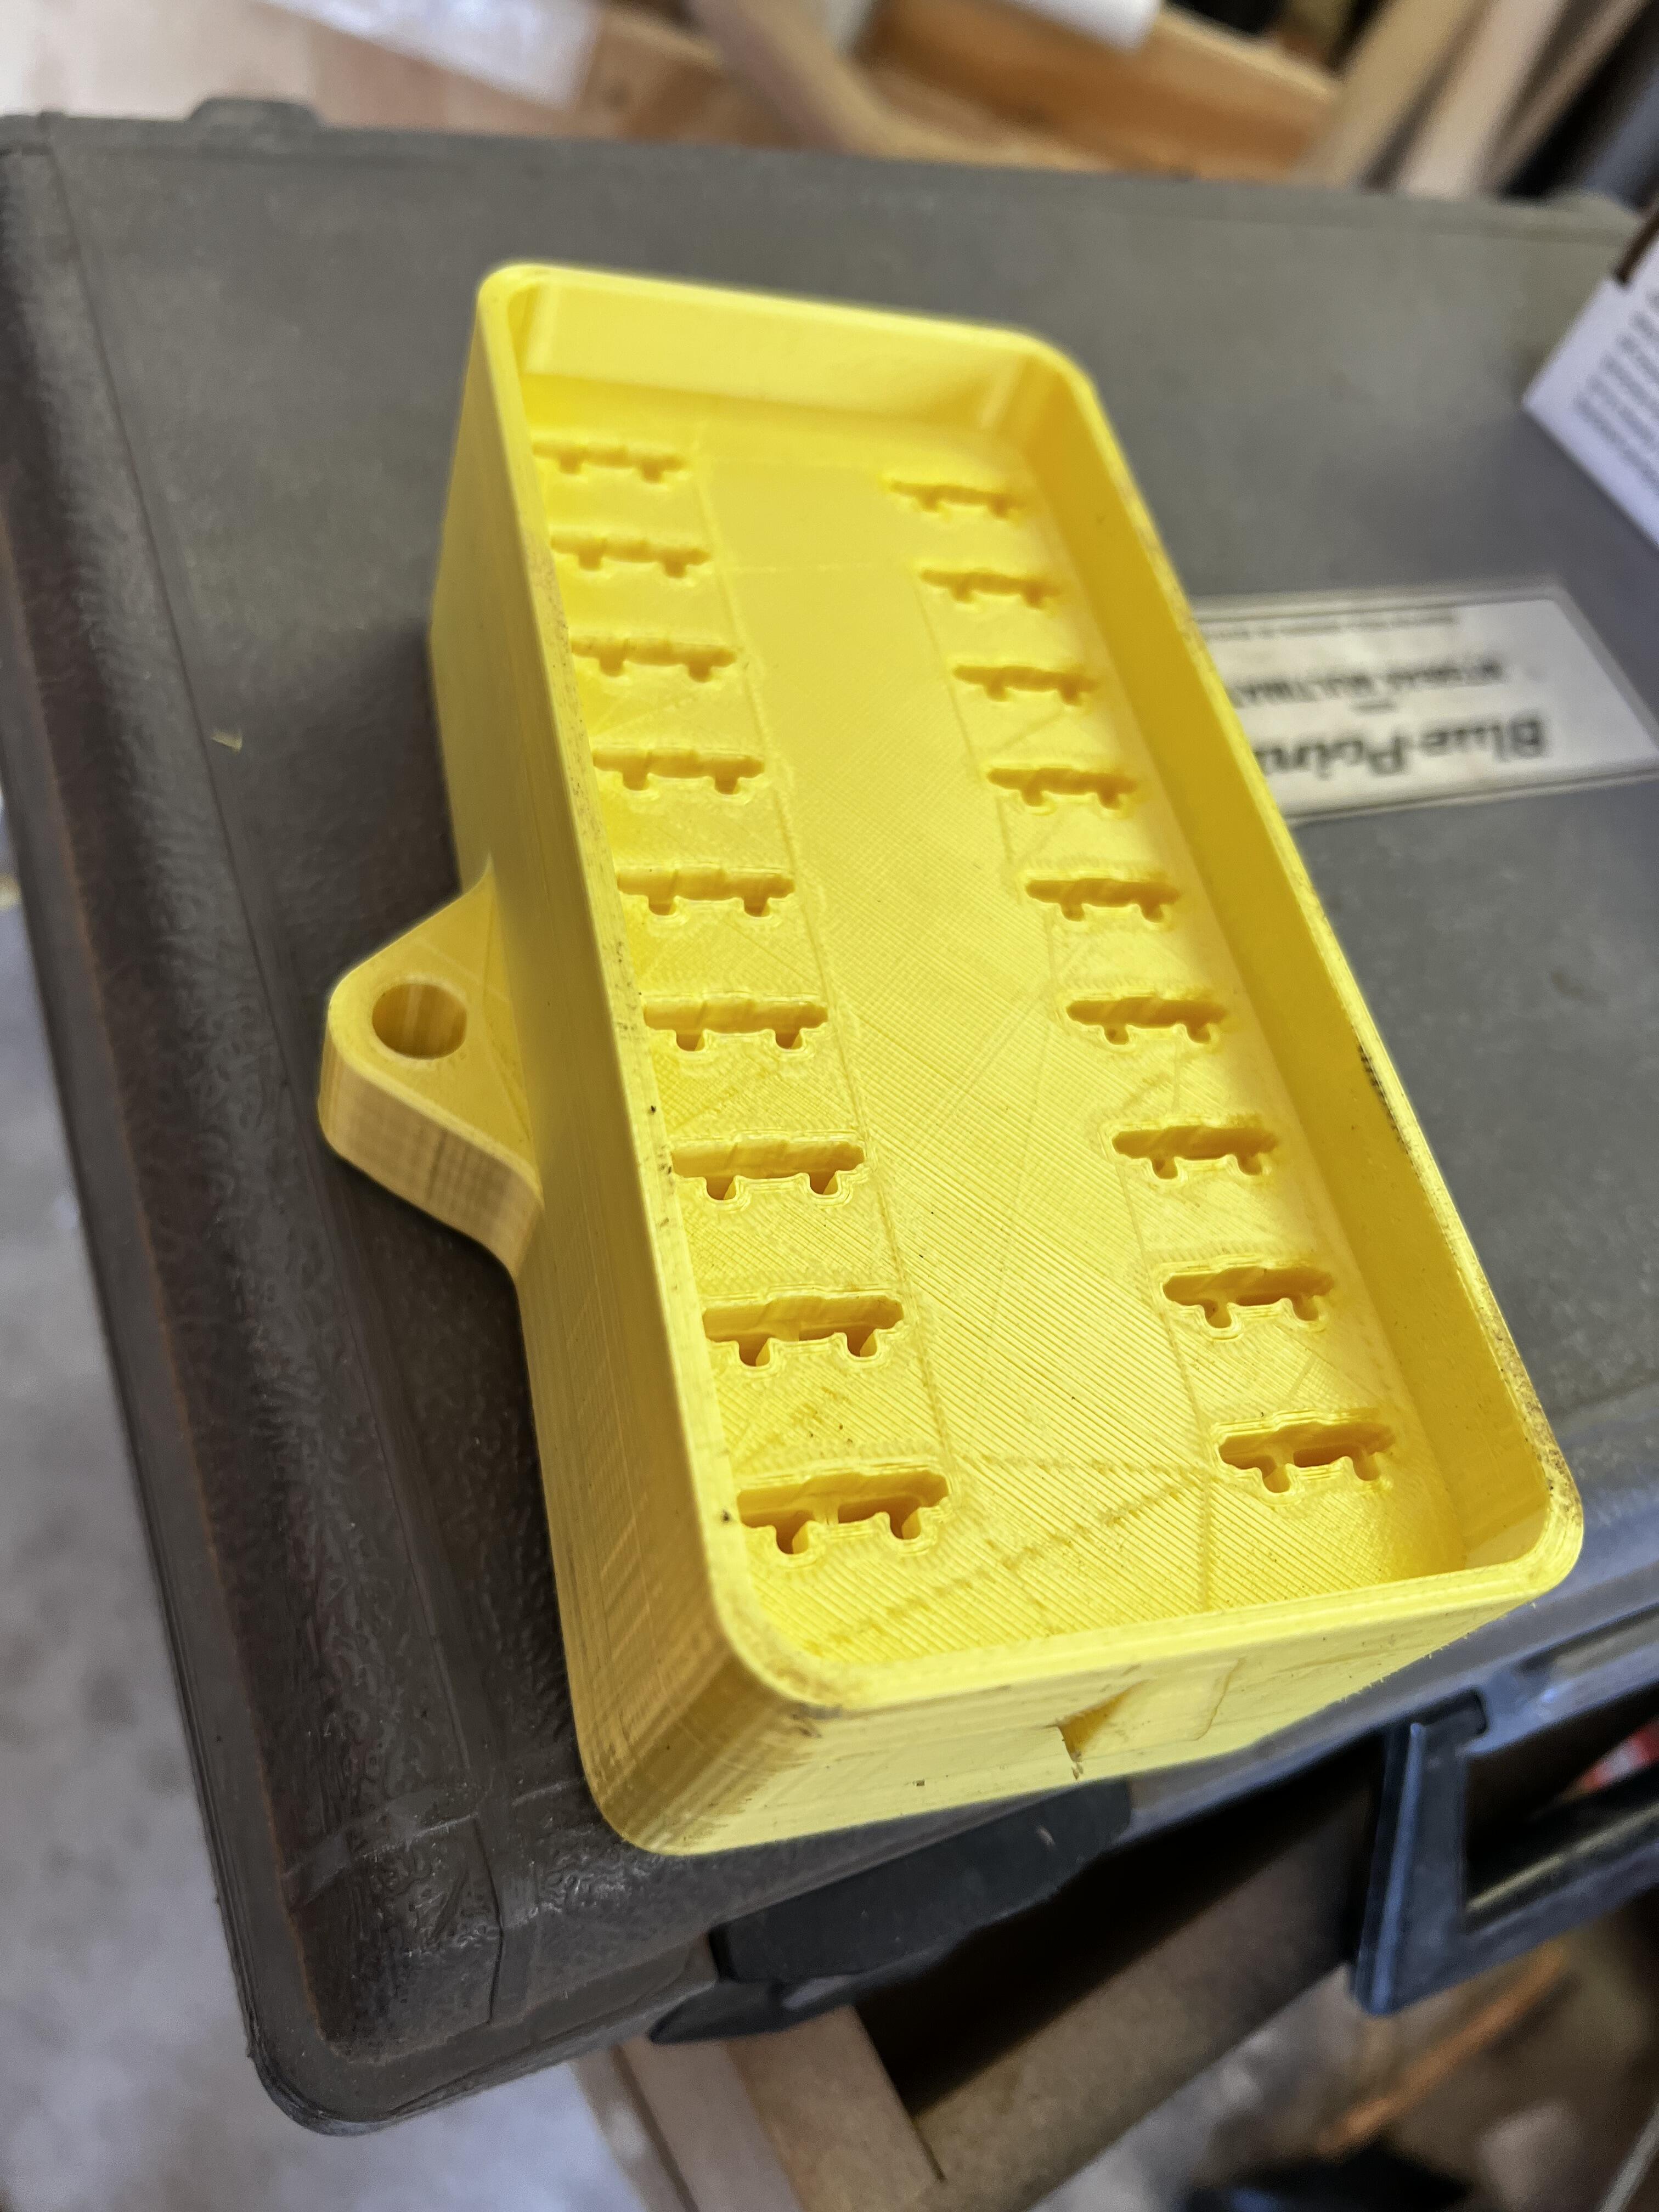
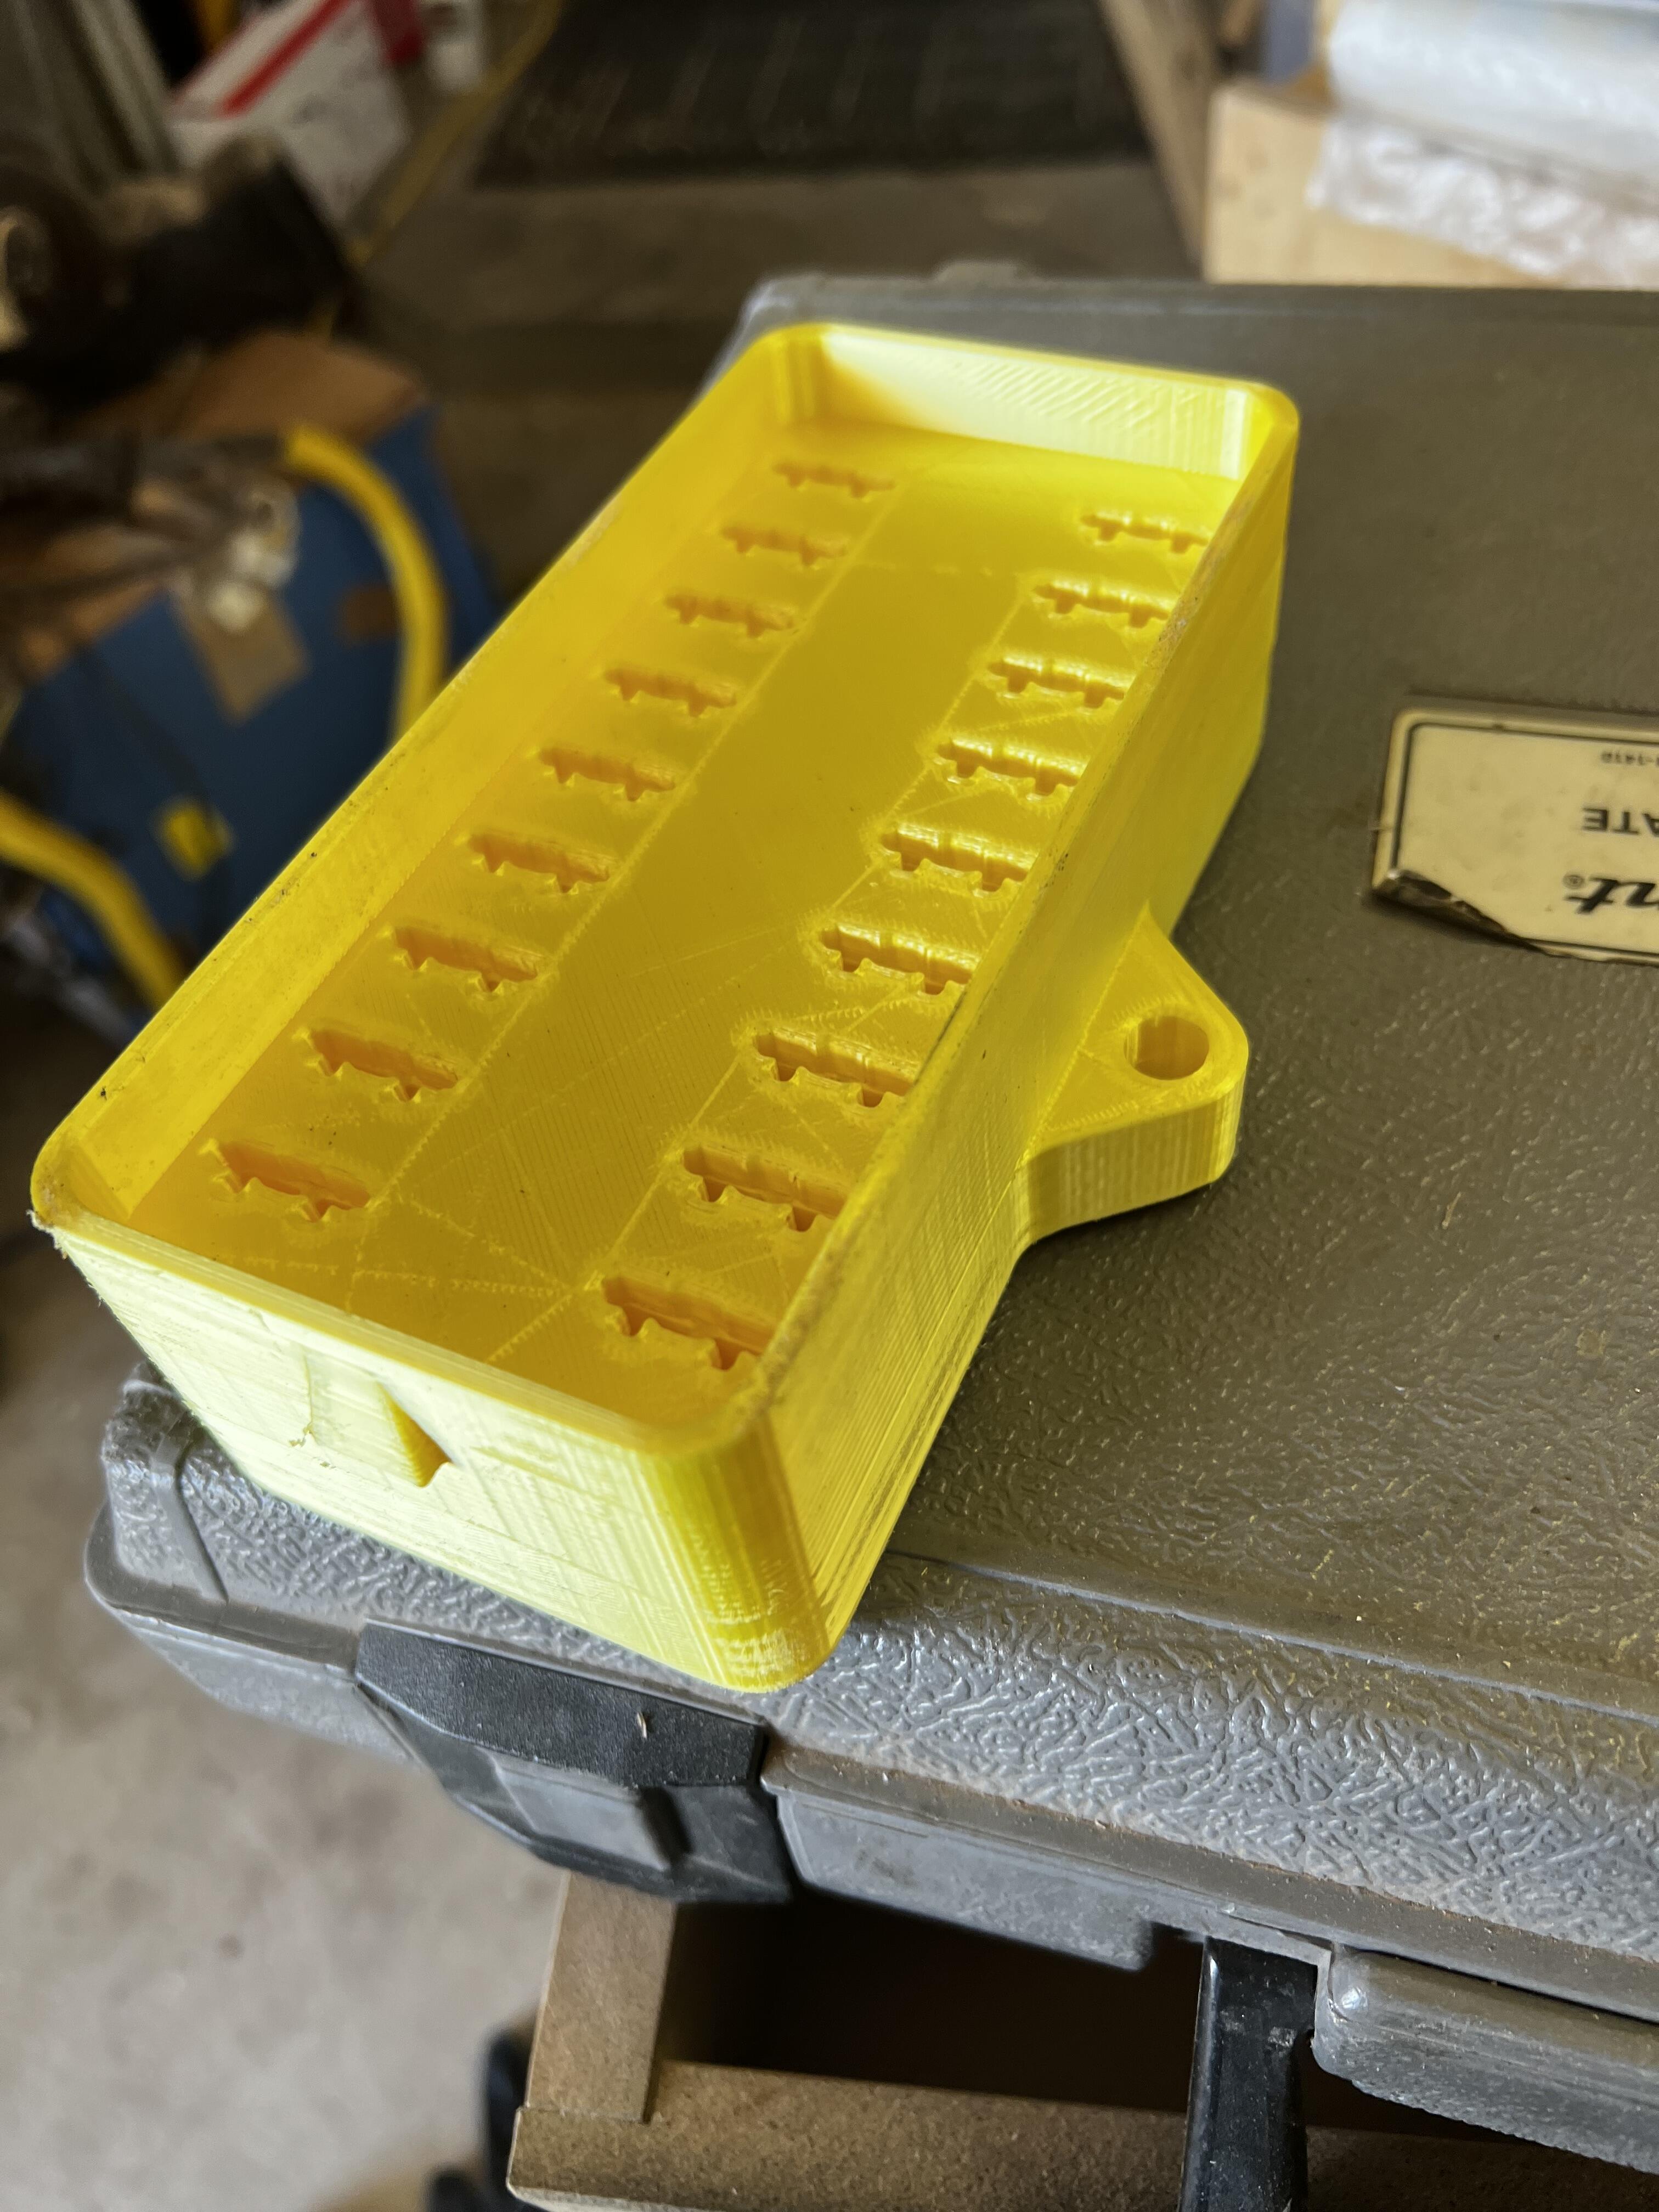
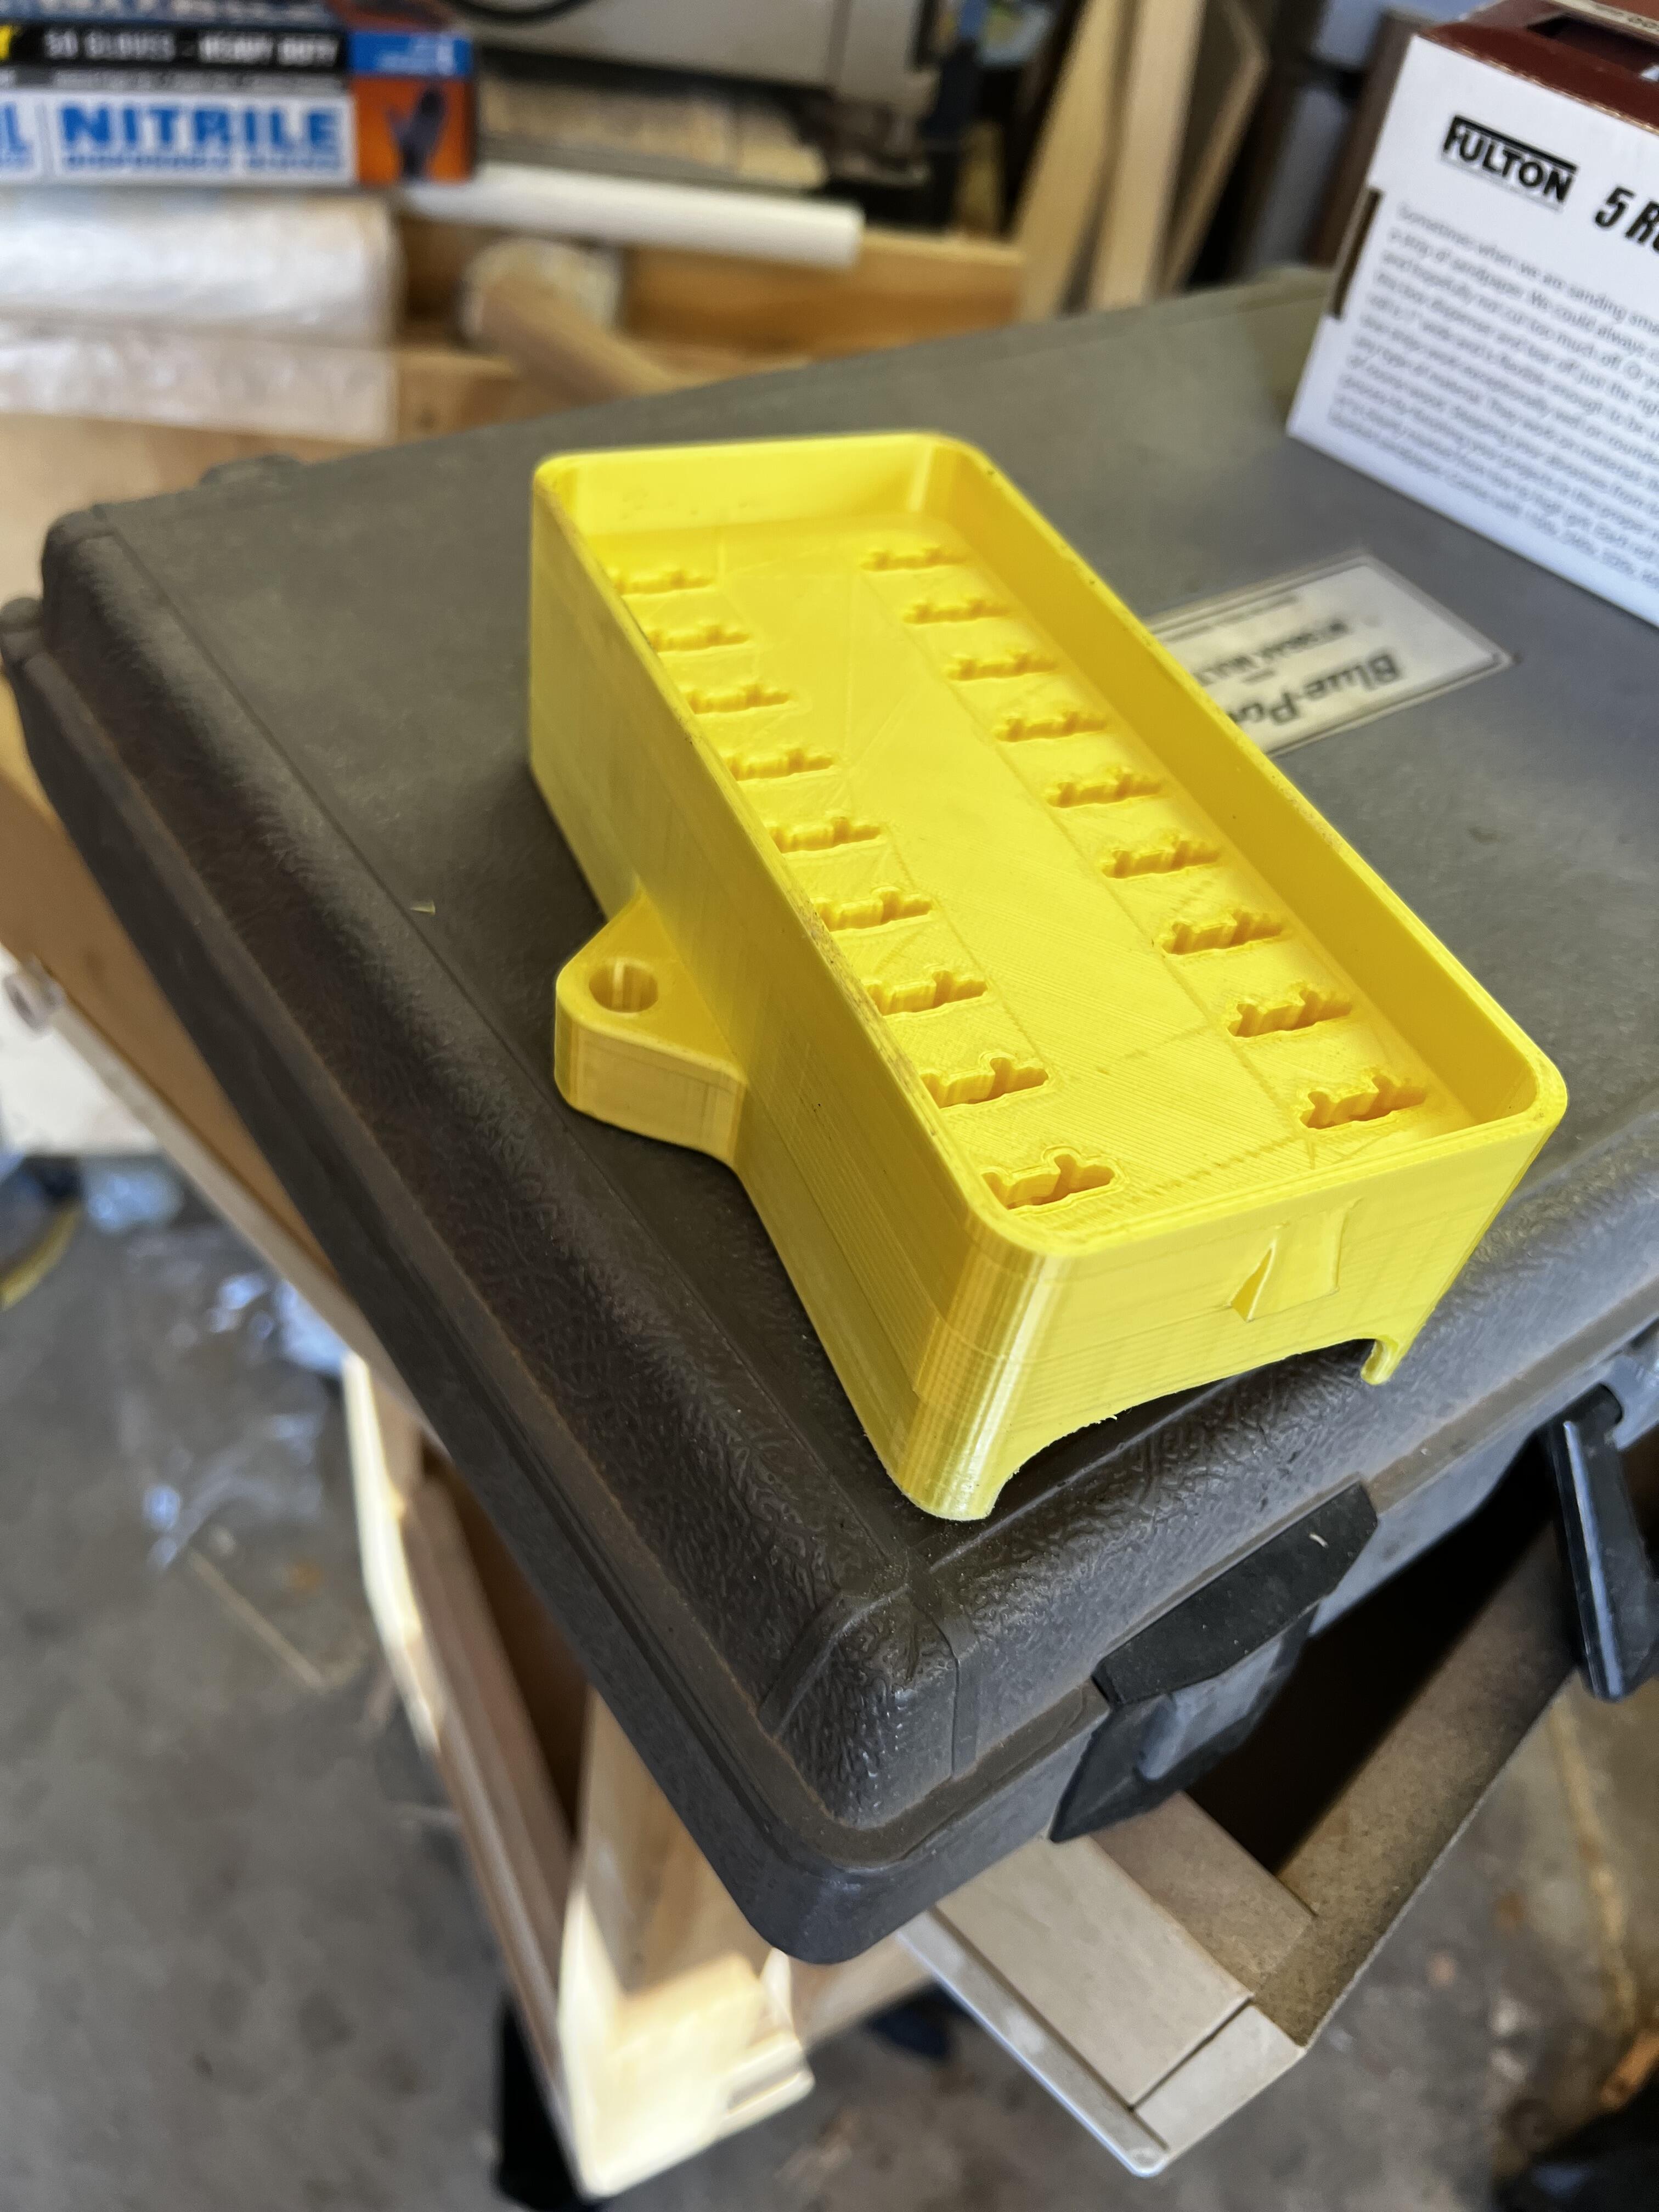
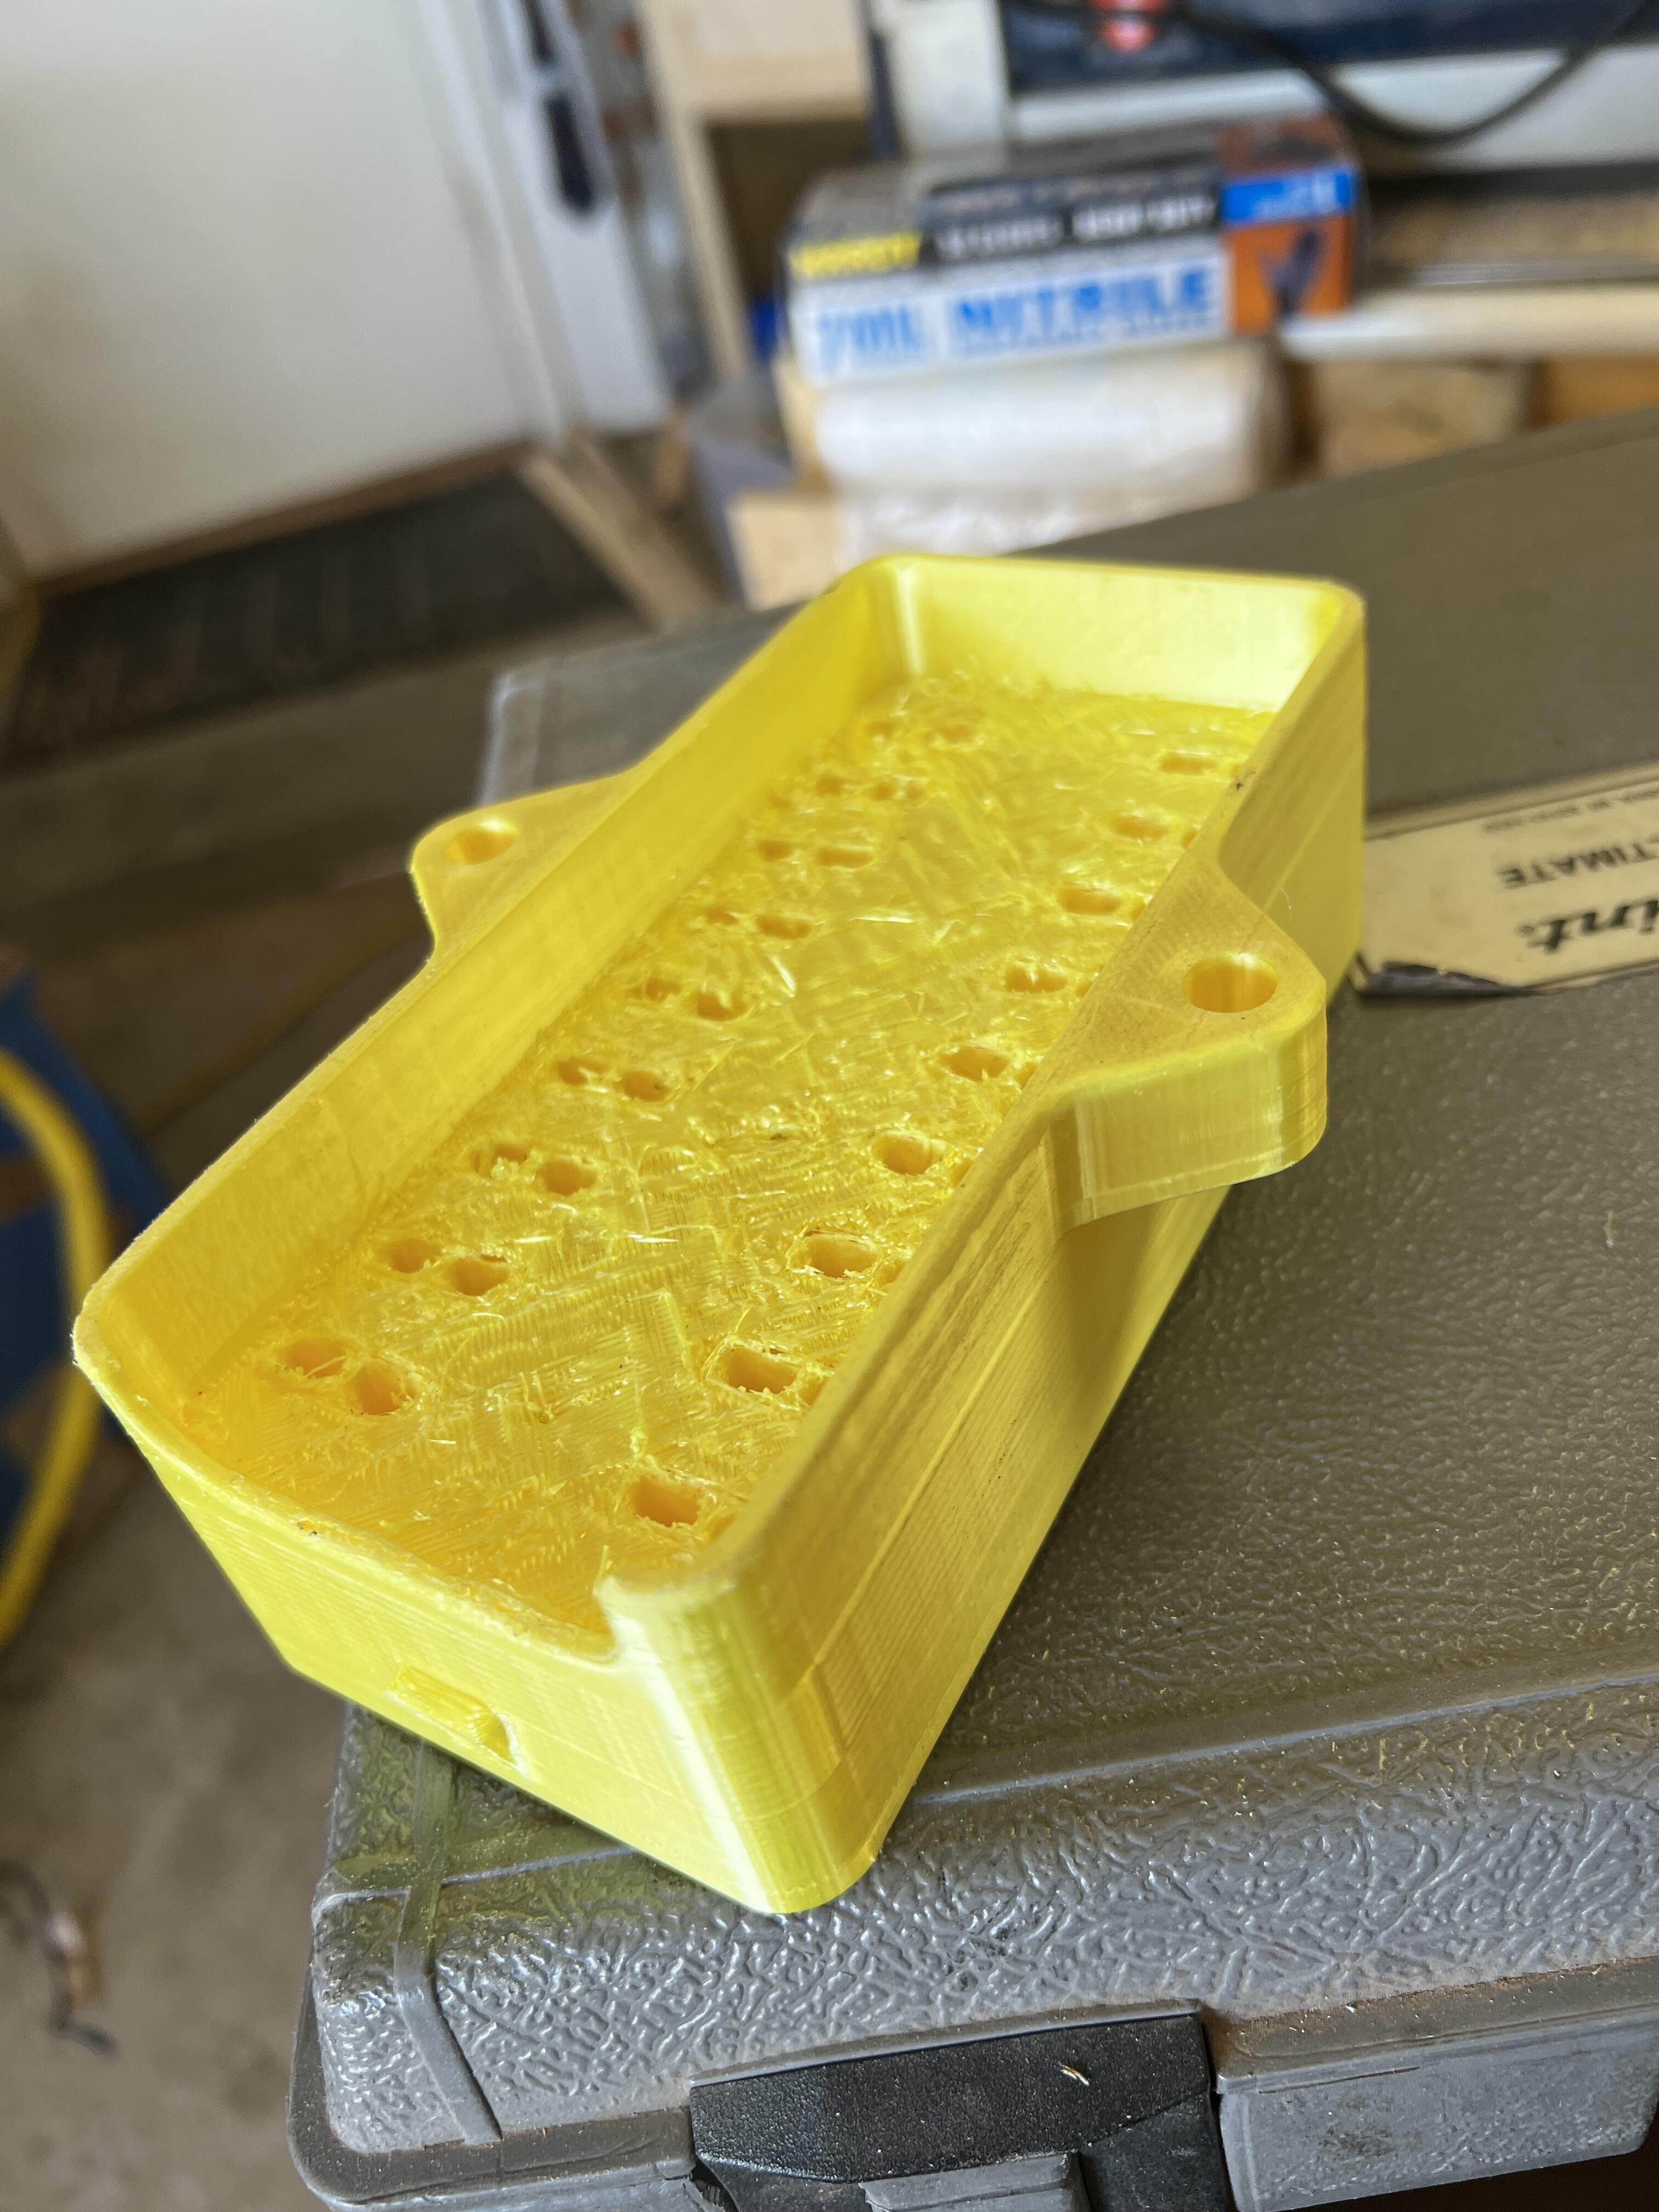
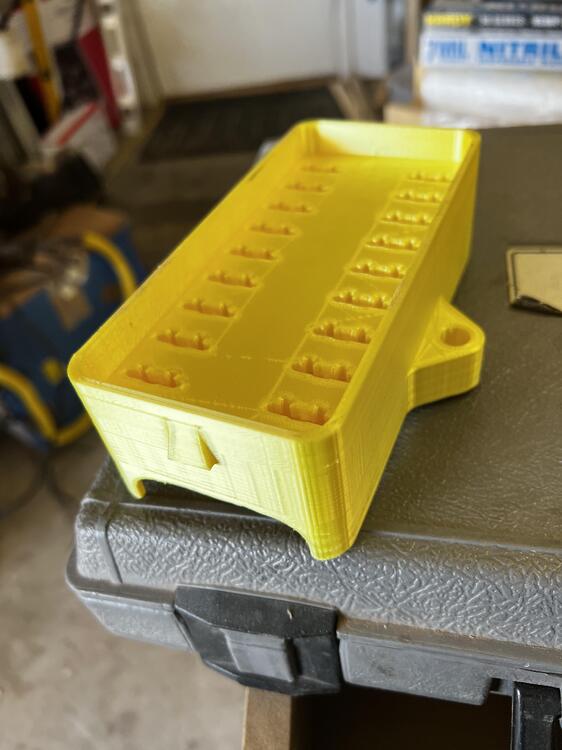
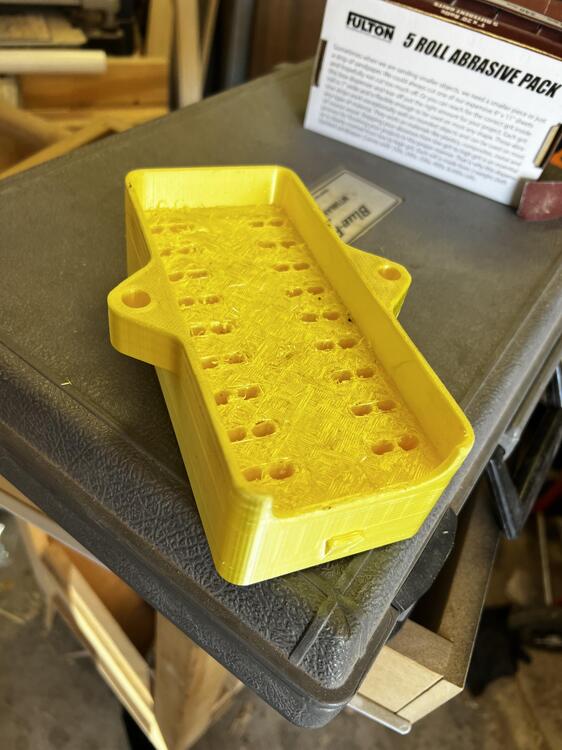
1 pointSo, I decided I wanted to update the fuse box (it'll be one part of the electrical system plan), I designed one in Fusion360 and got it 3D printed by my brother in law (he's new to 3D printing and I haven't a clue about it). Here's what the result was. The back side didn't print real smooth, but I figure that's operator error. This is designed for full size blade fuses. I tested it with female spade connectors (snap-in) and a blade fuse. They fit and connect with a little tension. The mounting tabs/ears are spaced accordingly and are same general shape as the original (thickness might be a bit different.


 1 point
 -
1 point
-
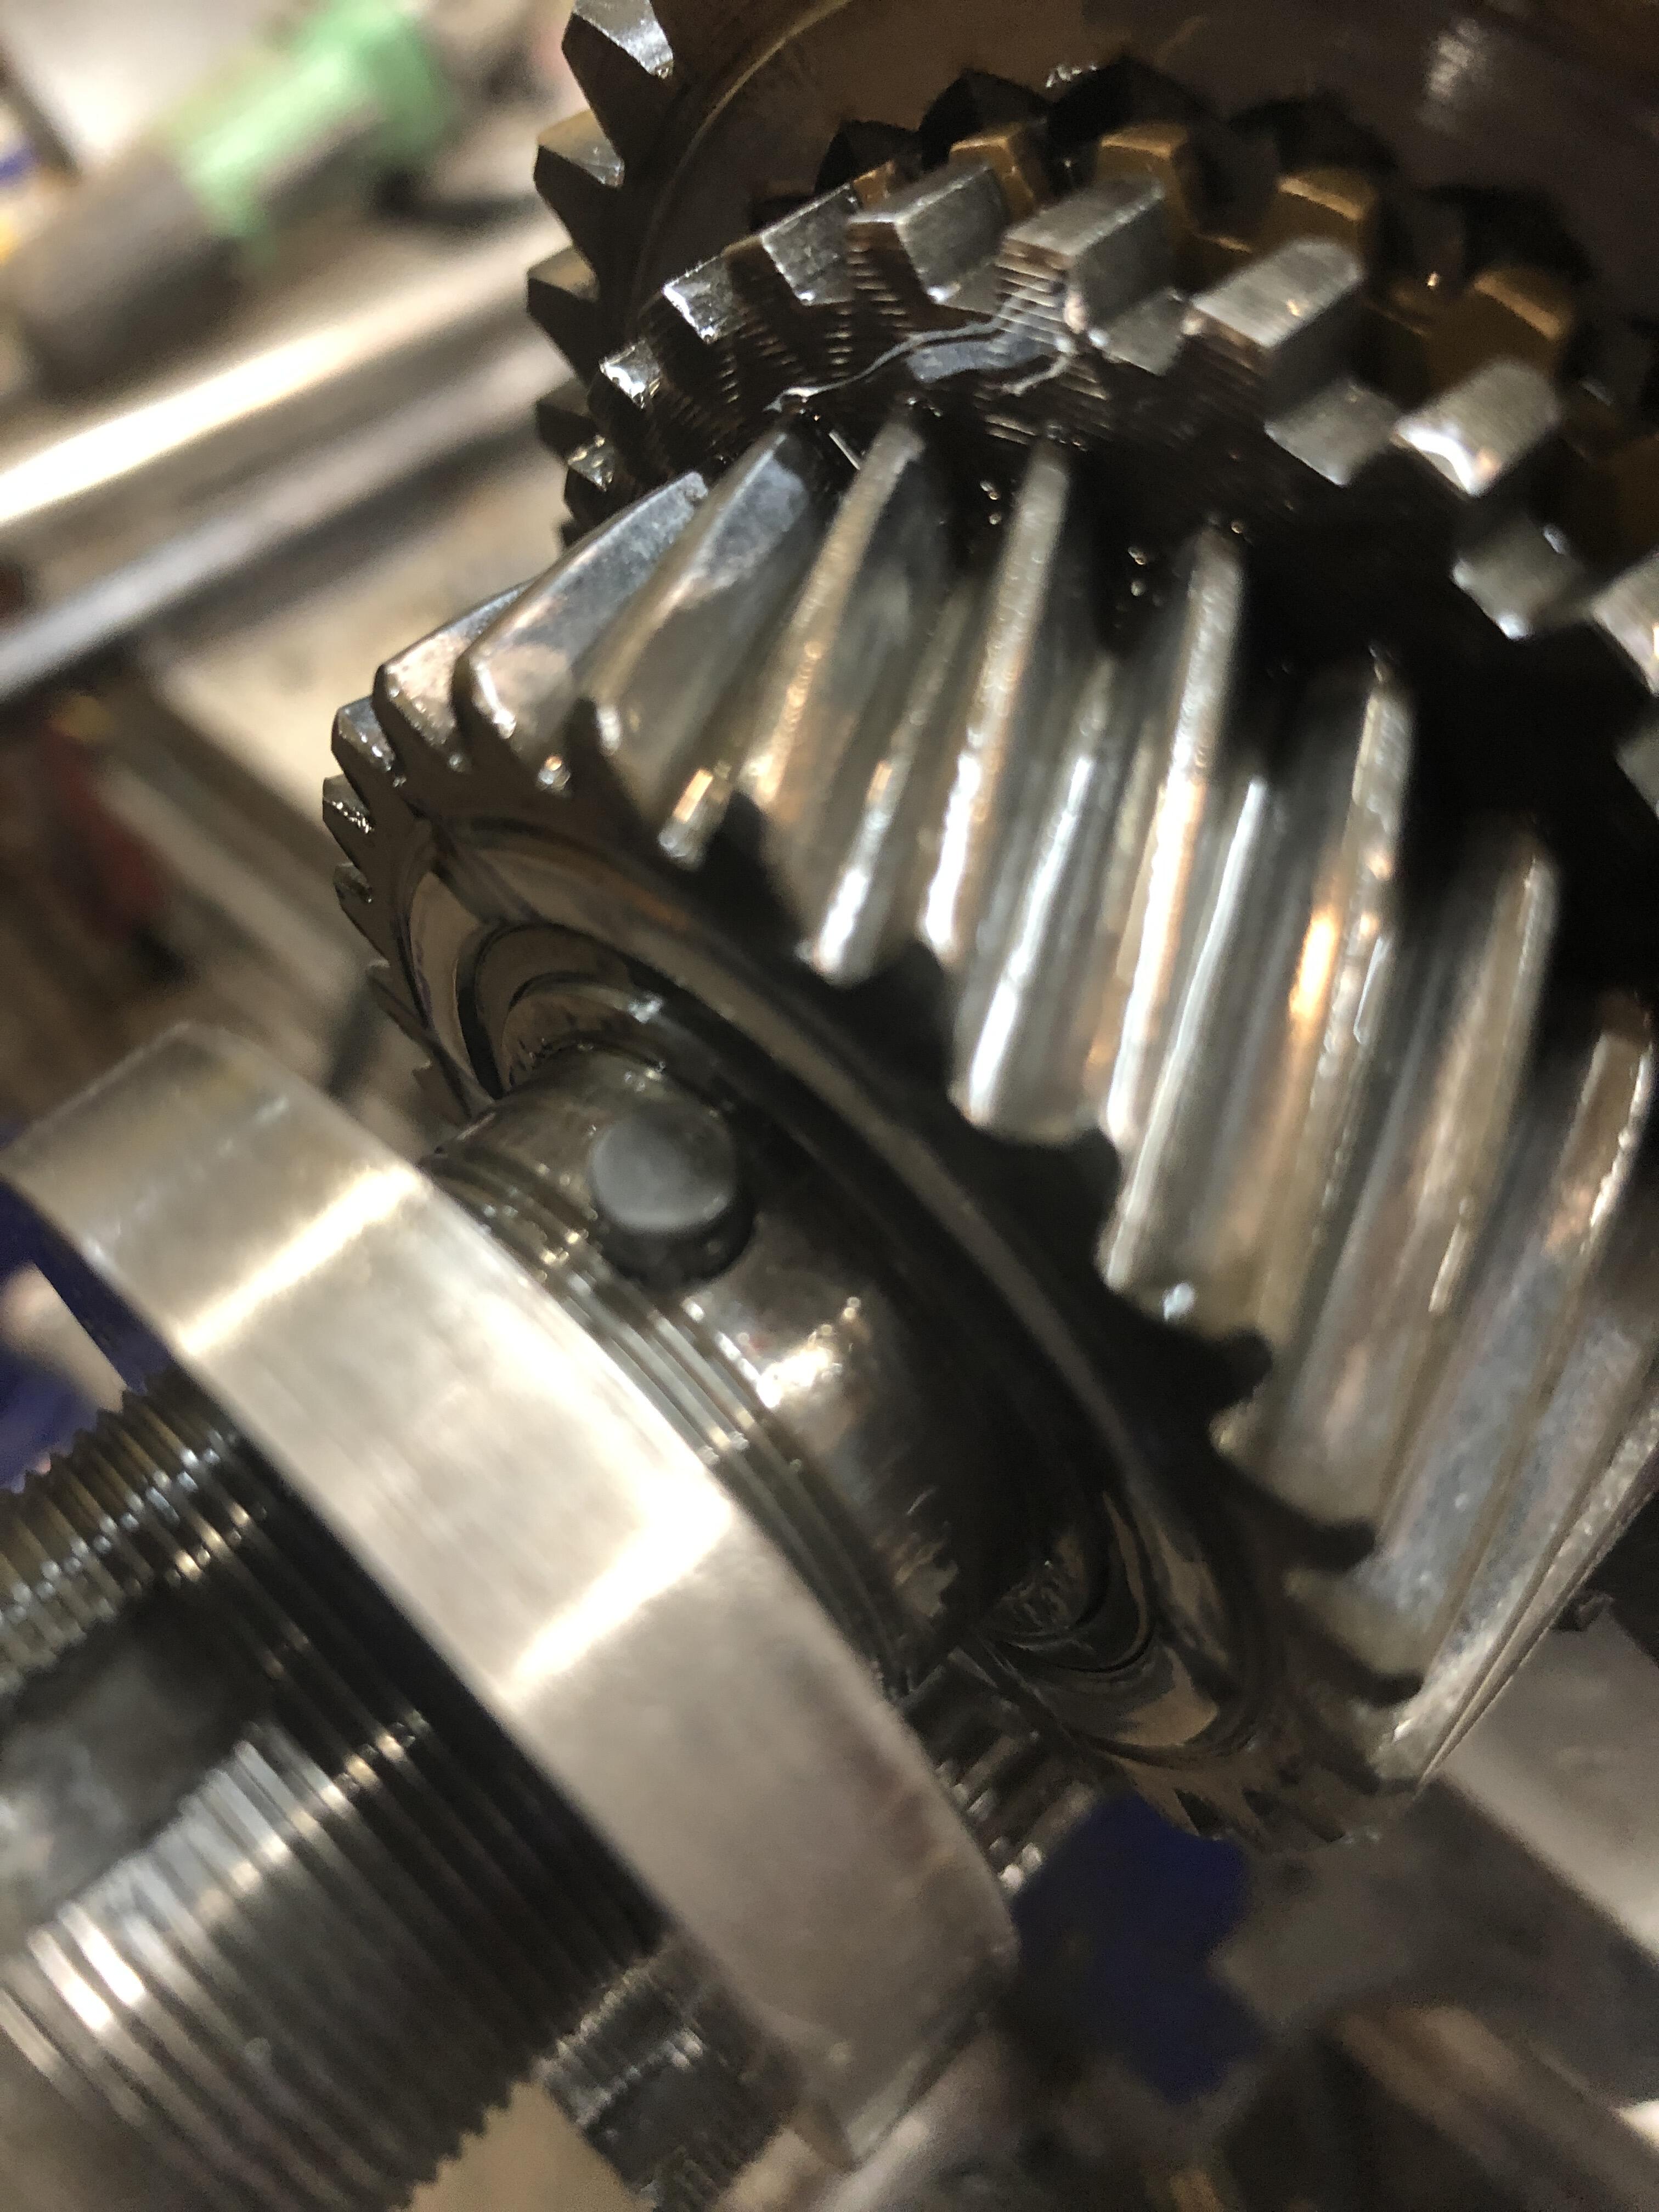
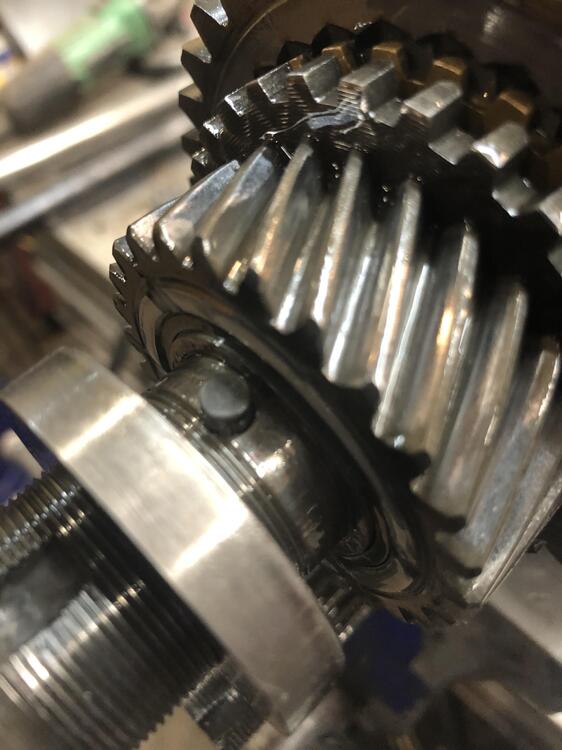
Now in the next trans revision, this was apparently a known issue because , here is what they did. Big fat pin and much larger slot in the washer.
 1 point
 -
Welcome. Your new Z looks like an excellent survivor.1 point
-
1 pointBTW, thank you!!! for making those templates! They are going to save a ton of time.1 point
-
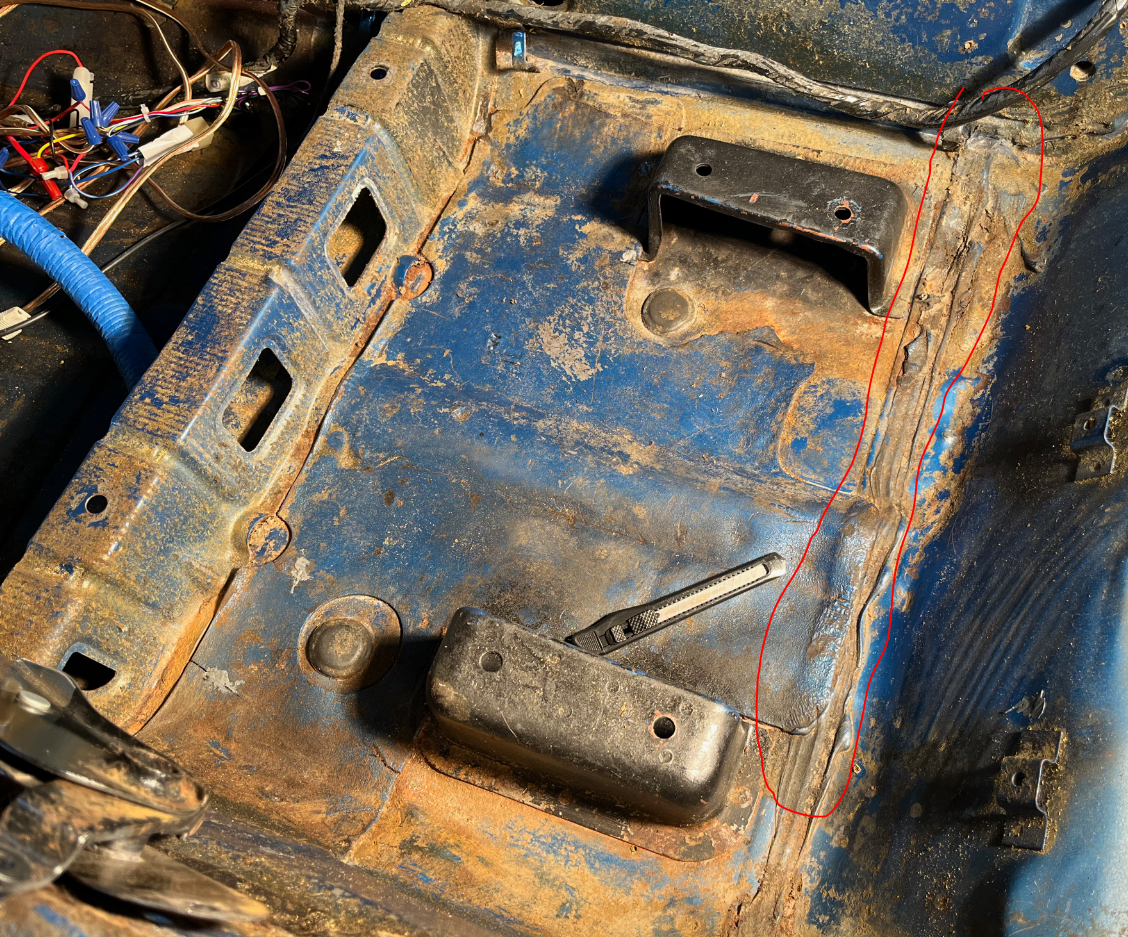
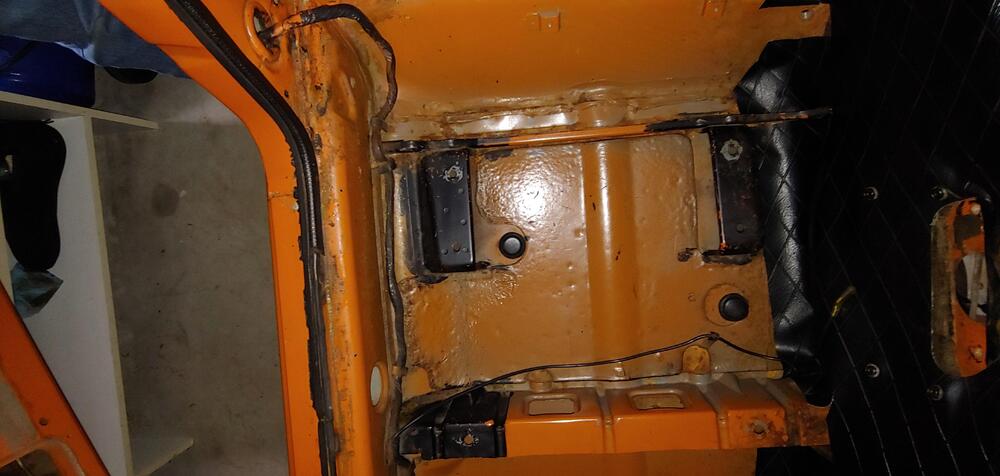
1 pointI just noticed that your car being a 1/70 does not have the extra crosswise stiffener aft of the seat mounts, that could explain why the the tar mats under the seats are different. Compare the area I have circled in a picture of your car that I found in one of your recent posts with same area in the pics of my 7/70 posted above.
 1 point
 -
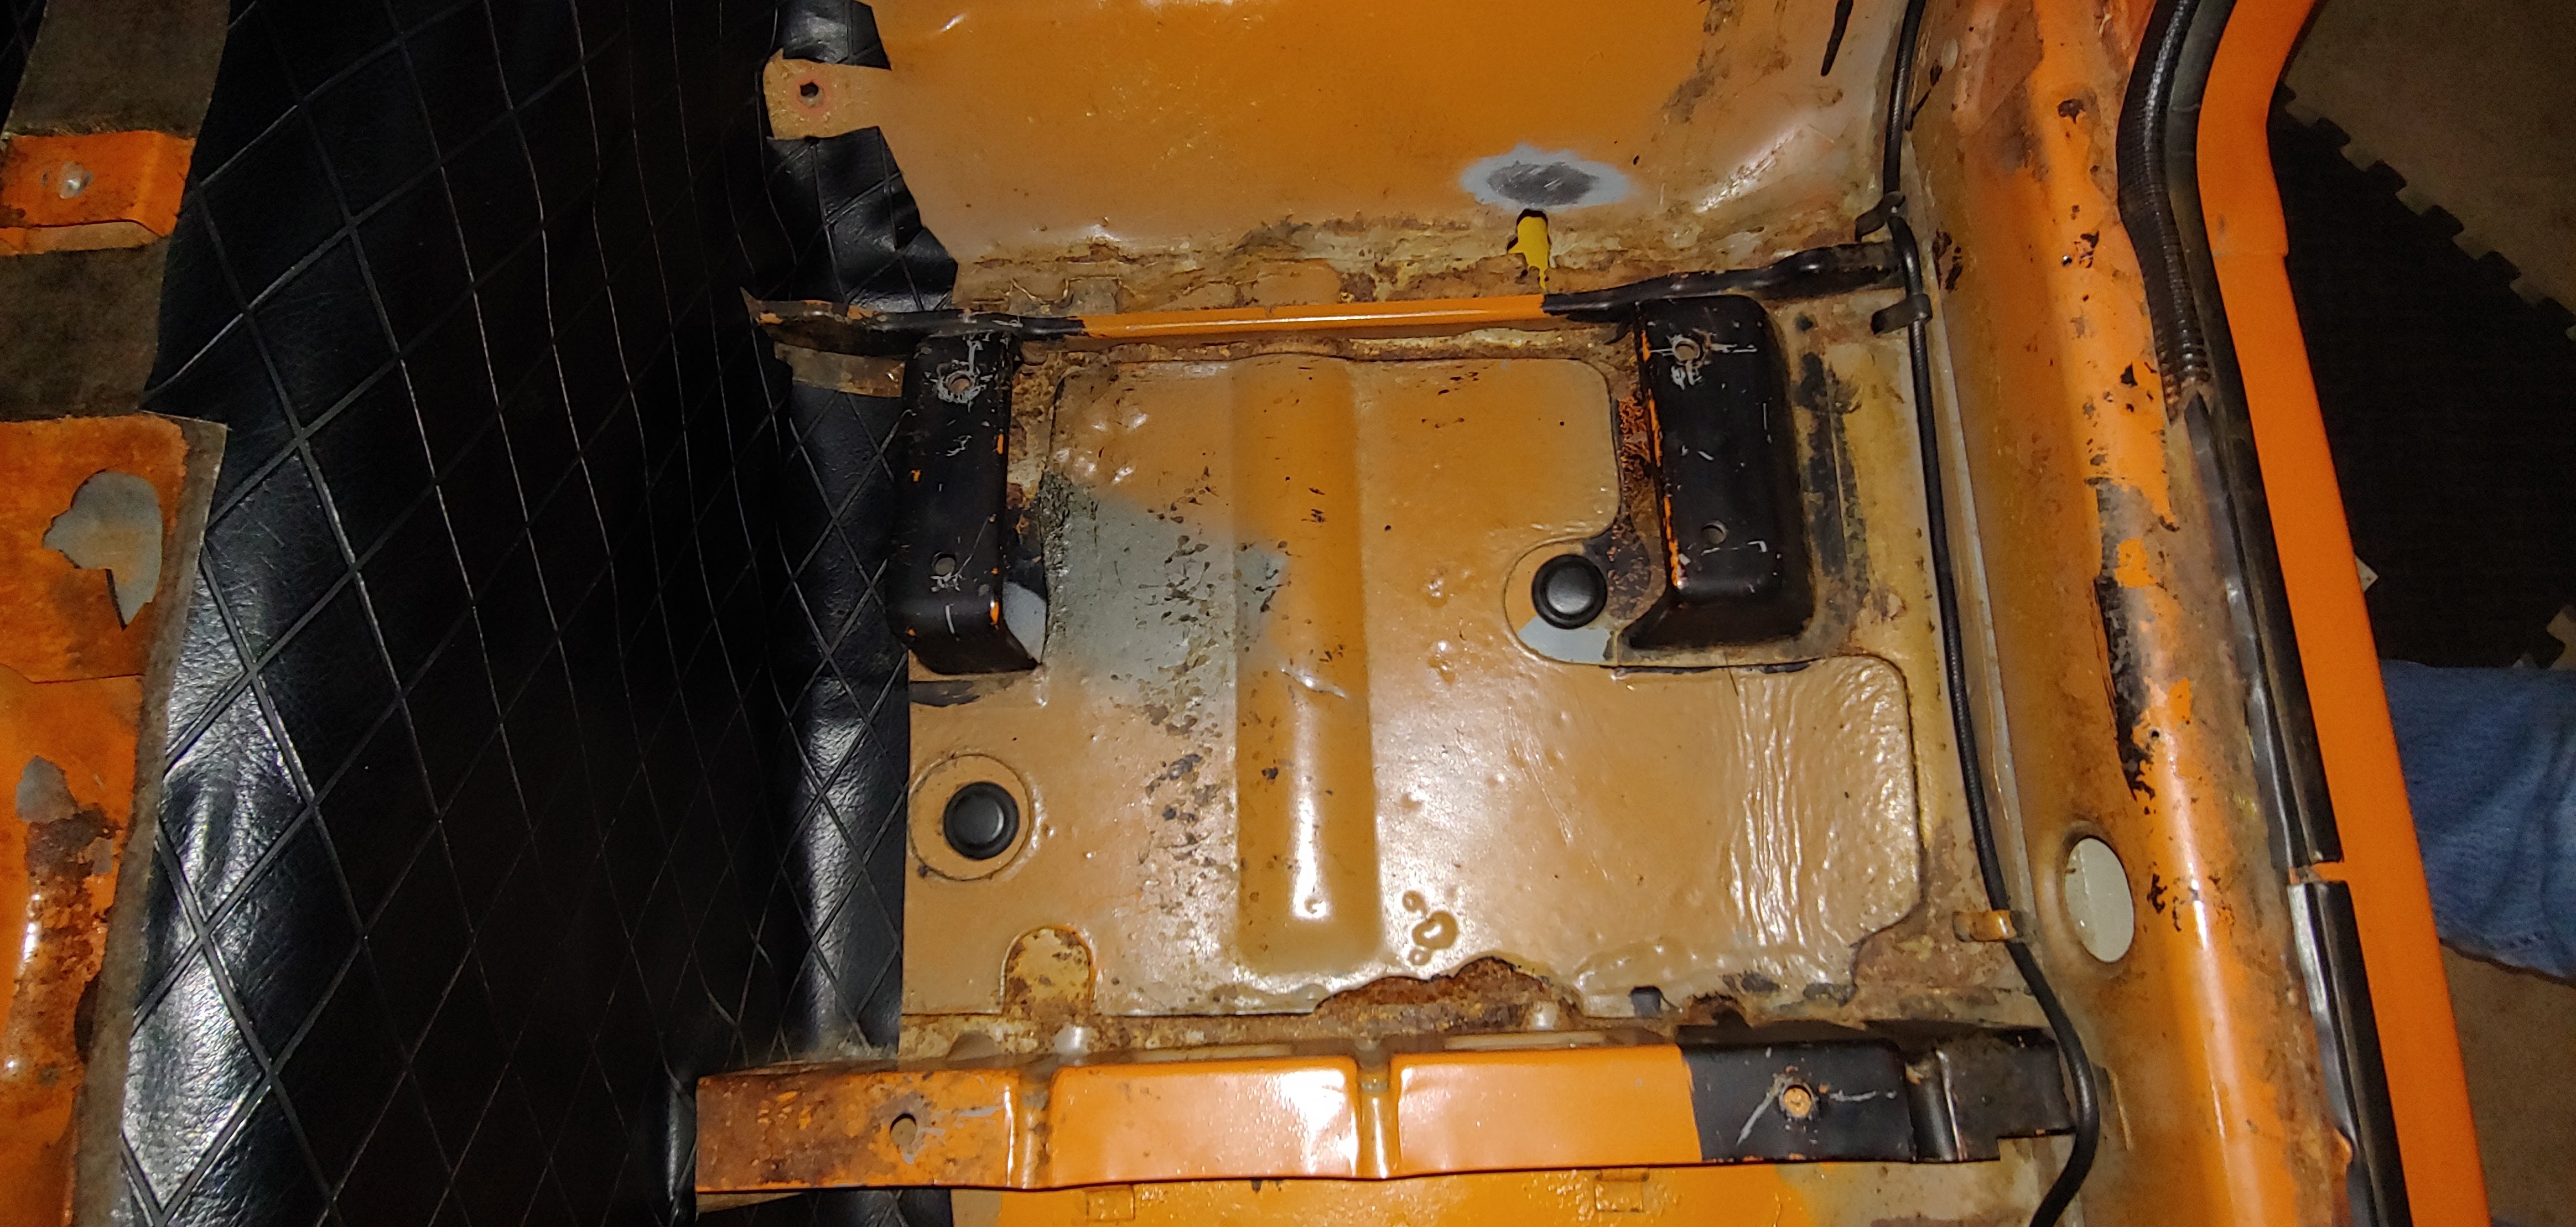
1 pointHey Warty, are you using the templates from our downloads section. I'm the guy that created them, when I did a test of the templates before I removed my tar mats they matched my 7/70 car quite well. Here is a link to mine in case you did not find them and some pics of the under seat area before I removed that tar mats. Hope this helps, Mike

 1 point
 -
1 pointYeah, These days one off parts are made on the spot! No transport needed, look at the military in ukraine! They make the part they need on the spot! By solidworks you mean a brand in 3D printer design stuff? I don't know what it is.. yeah i bet google knows.. ( In the '80's i build a (2D) plotter myself size A3! a commodore C64 computer controlled it. I also did learn it all the letters and numbers etc. in basic/bin.code.. was fun! So i could build myself a 3D printer when i could buy the "head" separately.. no no.. don't say it i got projects enough at this time (still busy with carport and) bought myself some heatpumps.. to install them it costs 1800 euro.. crazy i do it myself!!! )1 point