Leaderboard
-
Patcon
 Subscriber
 8Points11,142Posts
 -
Captain Obvious
Free Member2Points10,081Posts -
jfa.series1
Subscriber2Points2,733Posts -
Namerow
Free Member1Points1,551Posts


Popular Content
Showing content with the highest reputation on 02/10/2023 in all areas
-
8 pointsSo as an update. I tried softening the rubber caps that go to the fuel sender. I tried silicone spray like Mark suggested. Nothing... Now these were rock hard, we were afraid to flex them for fear of breaking them. I wish I had made a video... So I tried Wintergreen oil but instead of water and heating them I used denatured alcohol 1:1. I heated the rubber parts slightly with a heat gun. Let soak overnight. AMAZING!! They were tremendously soft. I mean really good. It has been a week since I pulled them out and they are still nice and soft. I ordered some more oil because I needed more volume. I am going to try it on Cody's Goon's filler neck. Sort of an unobtainium piece...8 points
-
Round tops. Or I would have been involved at the start.2 points
-
1 pointI truly hope that the results prove to be long-lasting. Imagine being able to treat the S30's unicorn side window 'squeegee' rubber strips (typically rock-hard and chipped) and have them come back to life! Think patents, Charles.🙂1 point
-
Just to make sure it was clear about what I was asking you to check on your plug wires.1 point
-
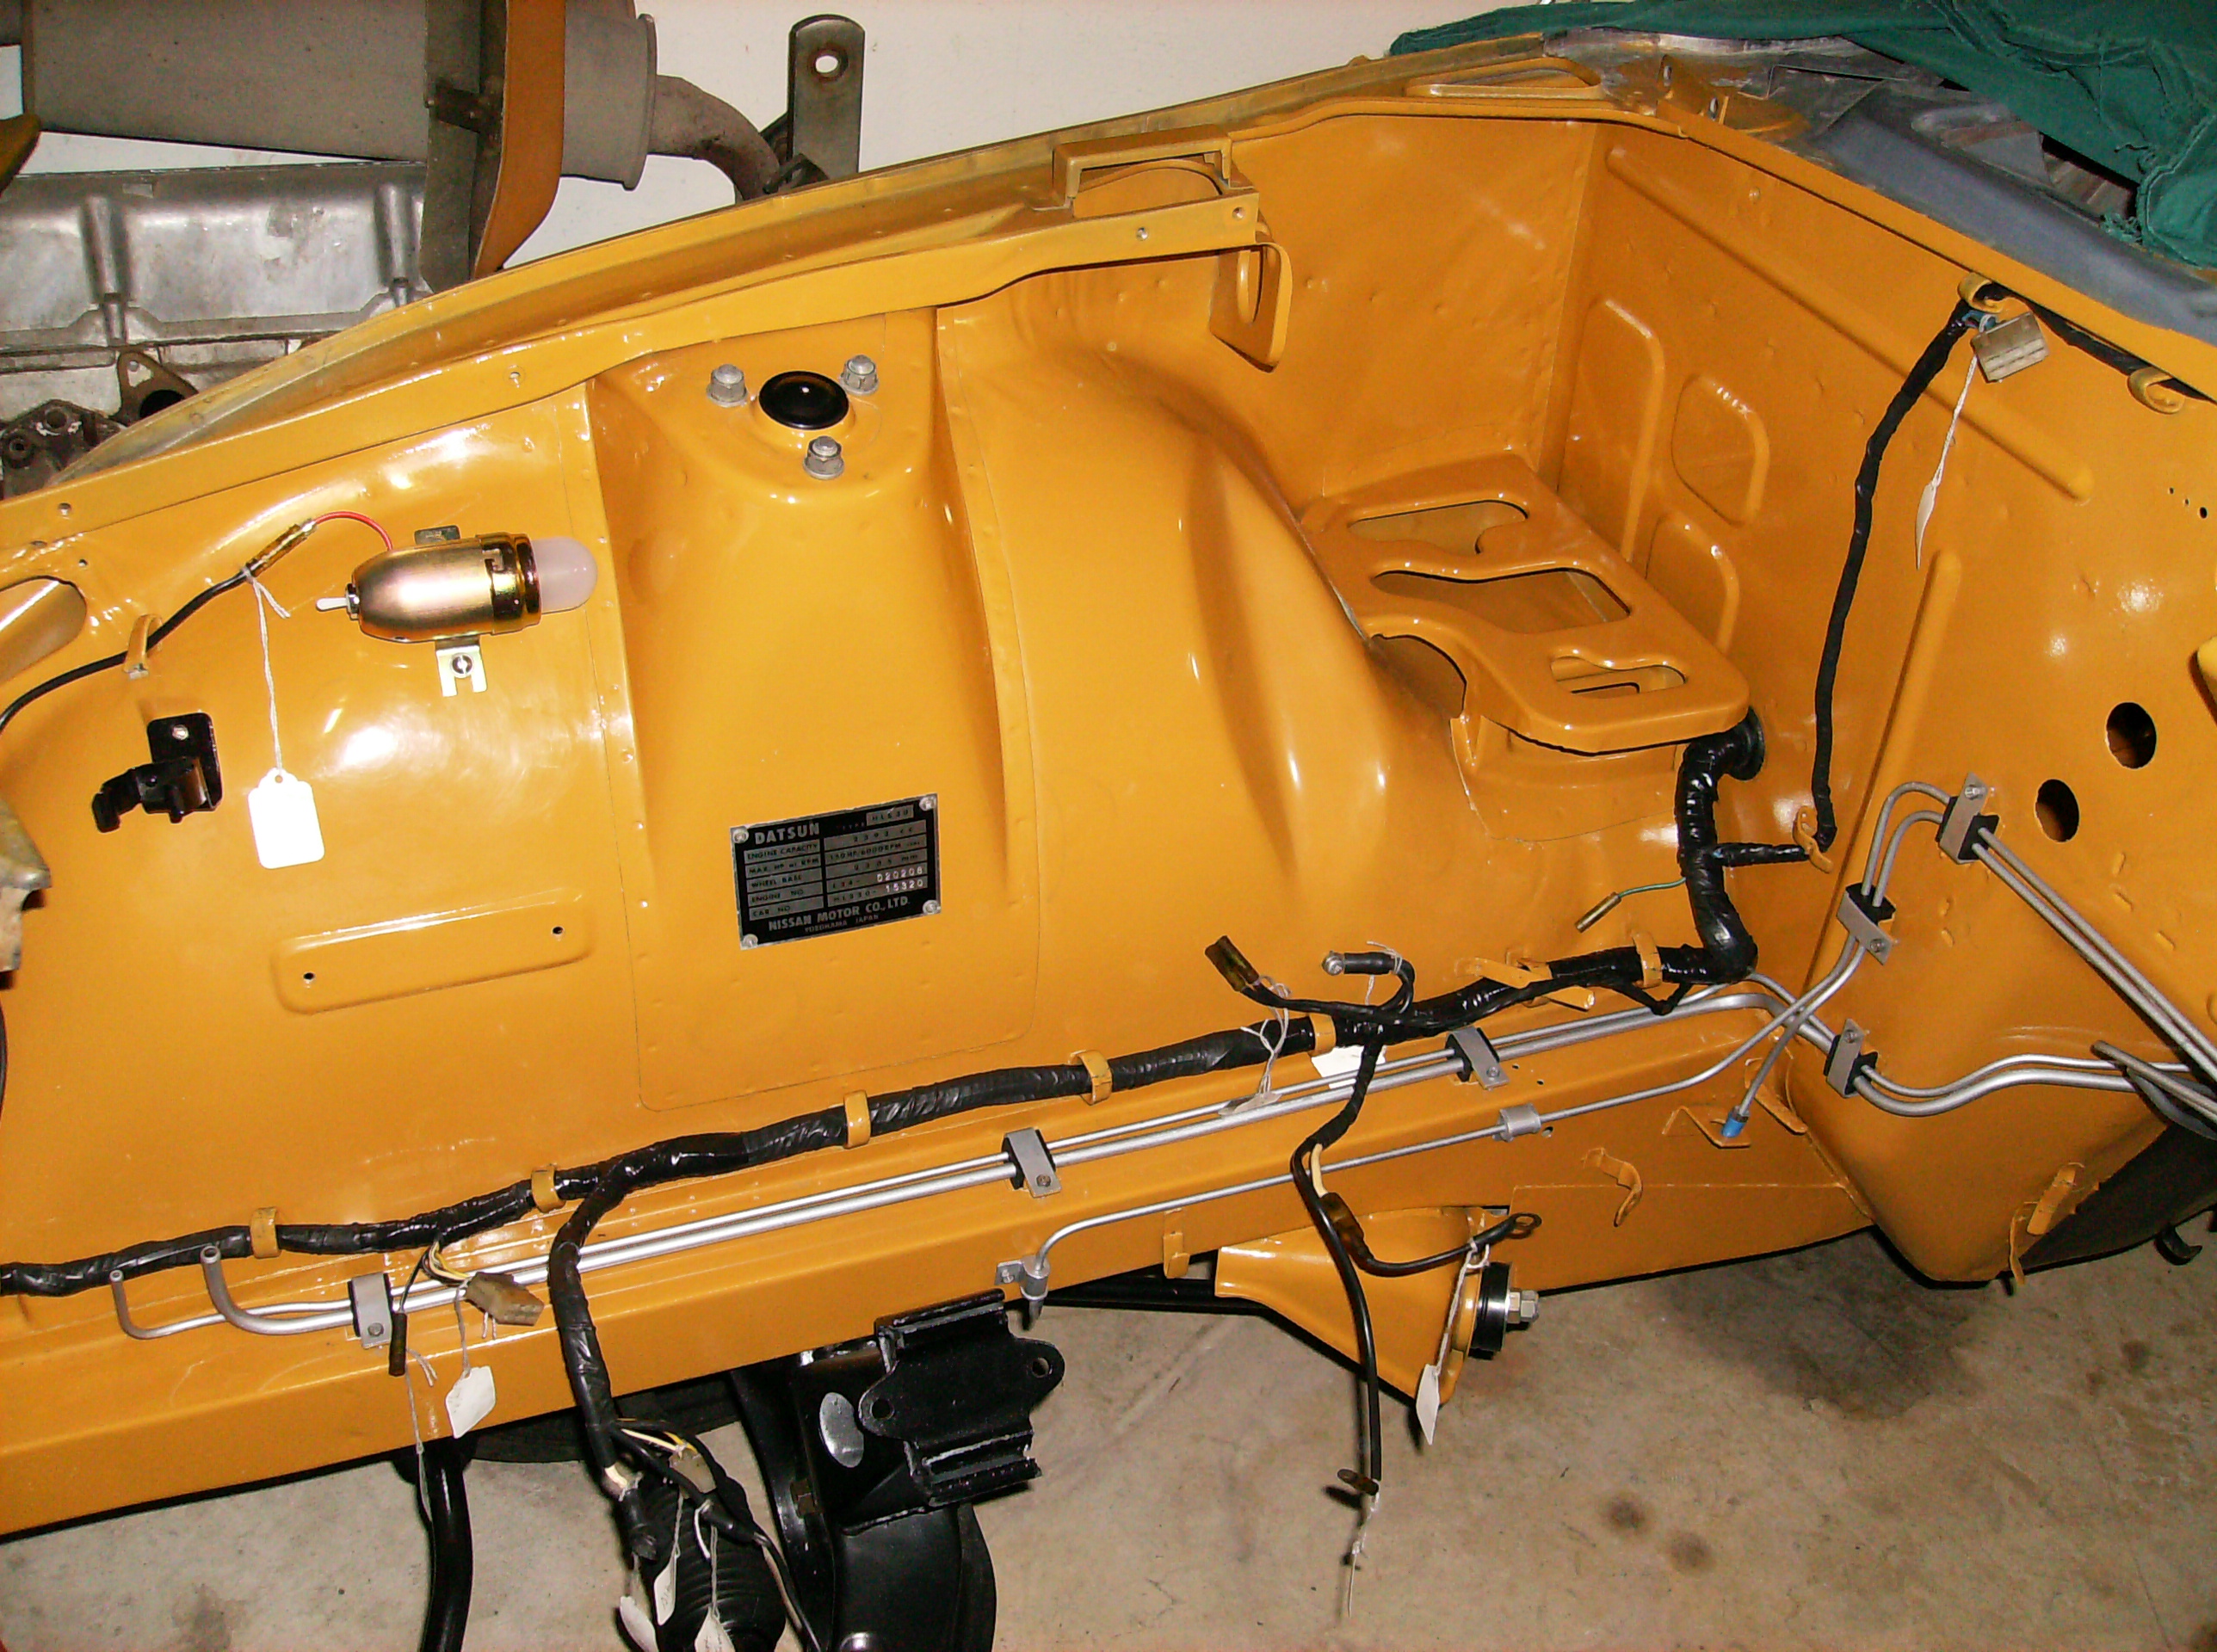
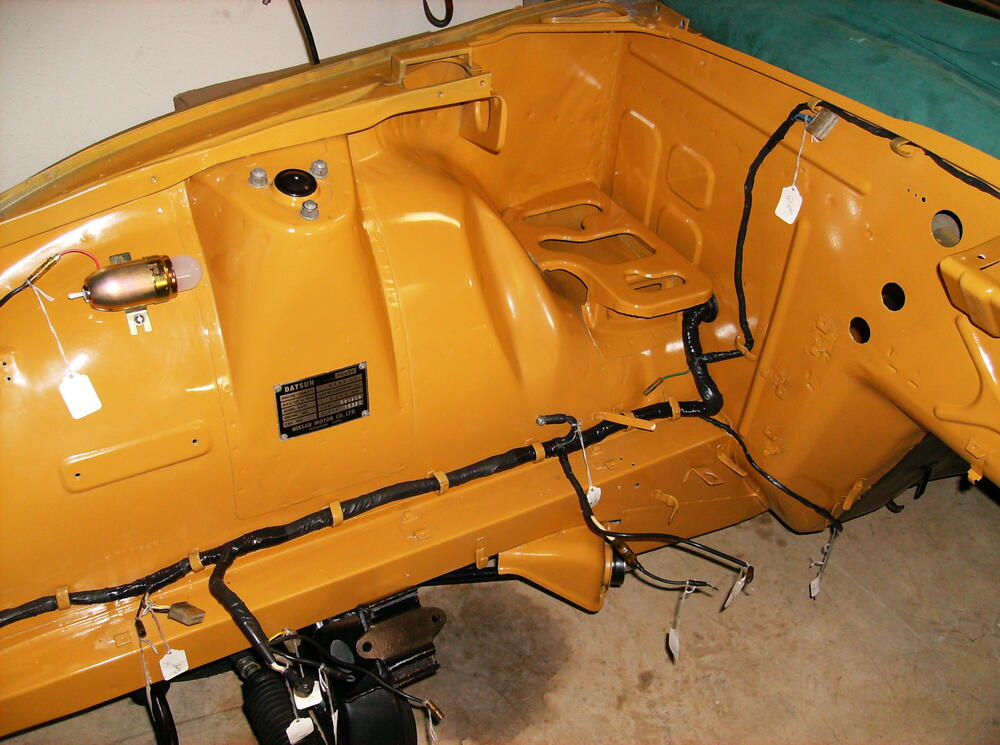
Here are two pics - one without the hard lines and one with them in place. If you can obtain a clutch hard line from a parts car, it should help you to position the bracket on the frame rail. Hope this helps.
 1 point
 -
1 pointThe overlaps on the plastic panels will give you a good clue. The quarter window panels fit on top of the rear panels. So... install the rear panels, then the quarter window panels. The panel across the back covering the lights goes in after the rear panels. The panel across the top for the dome light is last. Yes - the bolt for the shoulder harness goes thru the plastic on the quarter window panel. If you install some thin foam along the front edge of the rear panel where it fits under the quarter window panel, you can reduce sqeaking from the two panels rubbing against each other.1 point
-
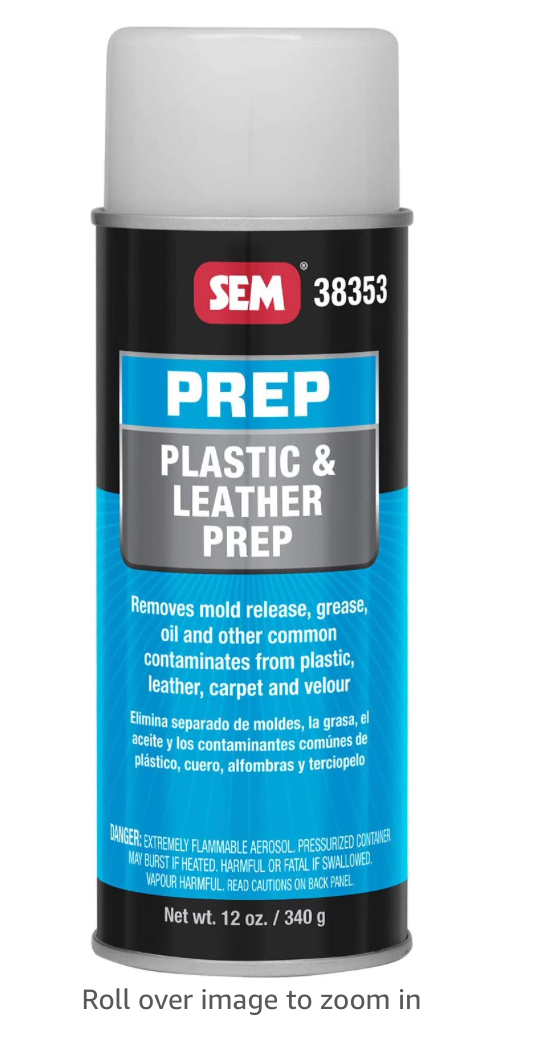
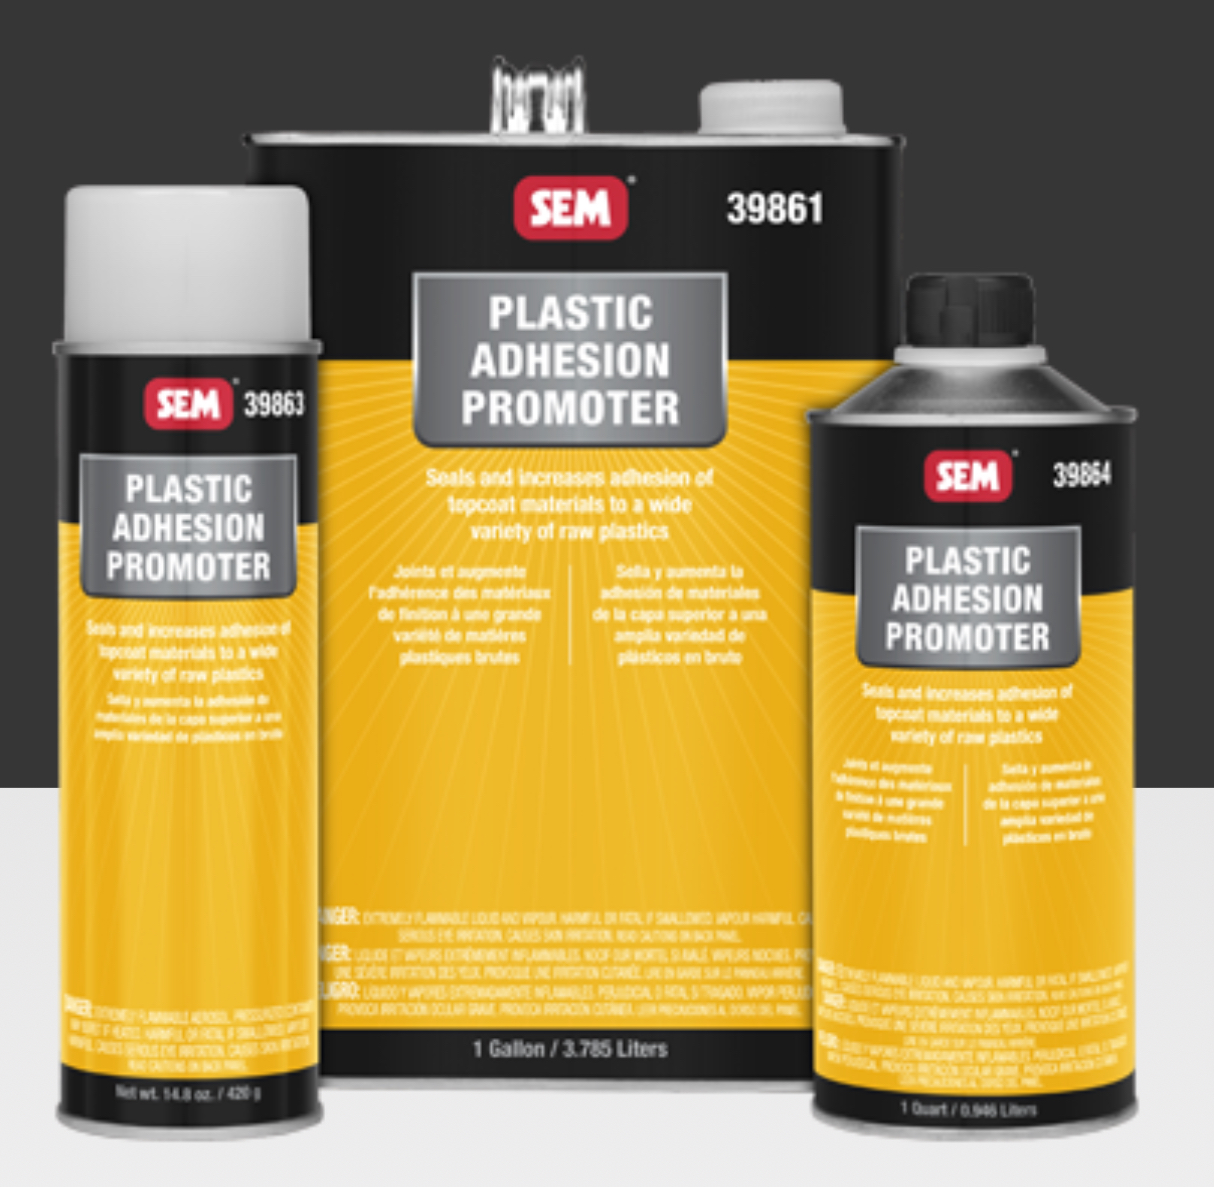
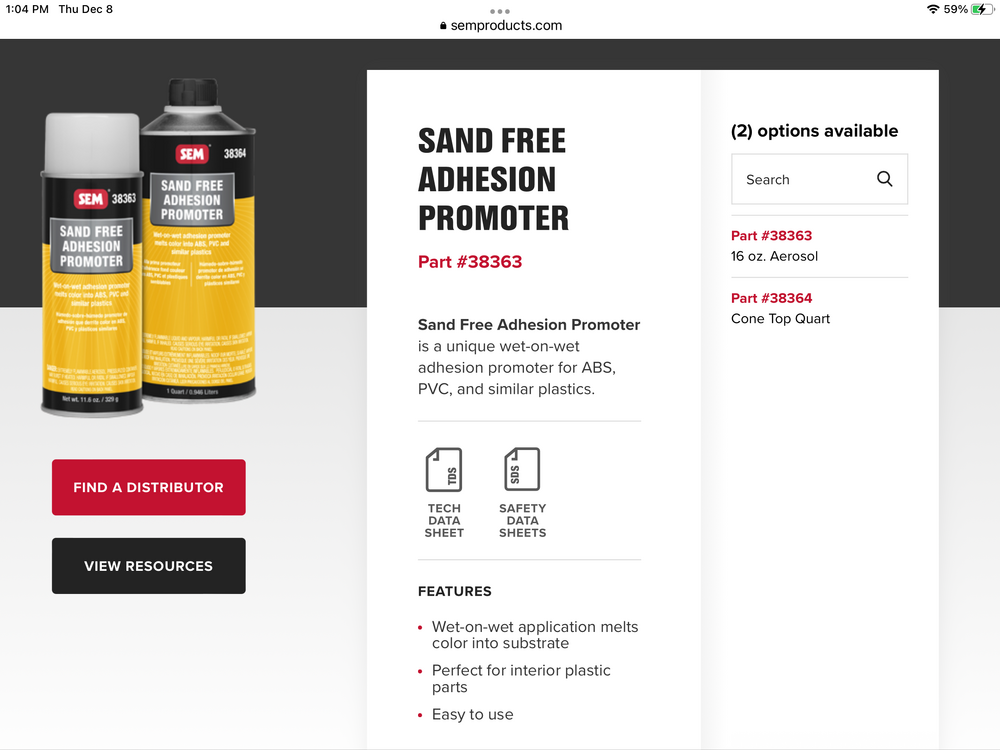
Done plenty of all of this. SEM Plastic Prep (not vinyl prep) works wonderfully, It’s primary job is to clean and degrease to remove traces of everything un-desirable. Then use an adhesion promoter like SEM 39863 JUST before spraying the top coat. This softens the plastic and let the top coat stick. Franky anything that will thoroughly degrease the plastic and clean it without leaving any residue will work. I’ve recently been using generic body shop degreaser to clean, even Spray 9, anything powerful and degreaser-y. Then Adhesion promoter, THEN top coat. The Sand Free product sounds like a newer development for coloring plastics. I haven’t used it, but the description sounds interesting. PLASTICS only. Vinyl and leather dying is different. The Vinyl preps typically clean and degrease and do the adhesion promotion all at once. Filthy vinyl, use spray 9 and a scrub brush and water rinse, THEN vinyl prep just before top coat. Cannot stress enough the need to clean the plastic or vinyl extremely well. None of the top coats stick to 30 years of sweat, body oil and Armor-All worth a damn. Big surprise. I’ve even used Scotch brite pads to scrub to get whatever off da plastic first. Hope that helps


 1 point
 -
@ckurtz2 I applied the JB Weld and screen material just to the areas around the cracks or voids. I went so far as to also reinforce the rivet areas as well. Any excess epoxy or screen was removed with an xacto knife and light sanding with my dremel tool.1 point