Leaderboard
-

siteunseen
Free Member6Points15,115Posts -

kats
Free Member4Points2,215Posts -
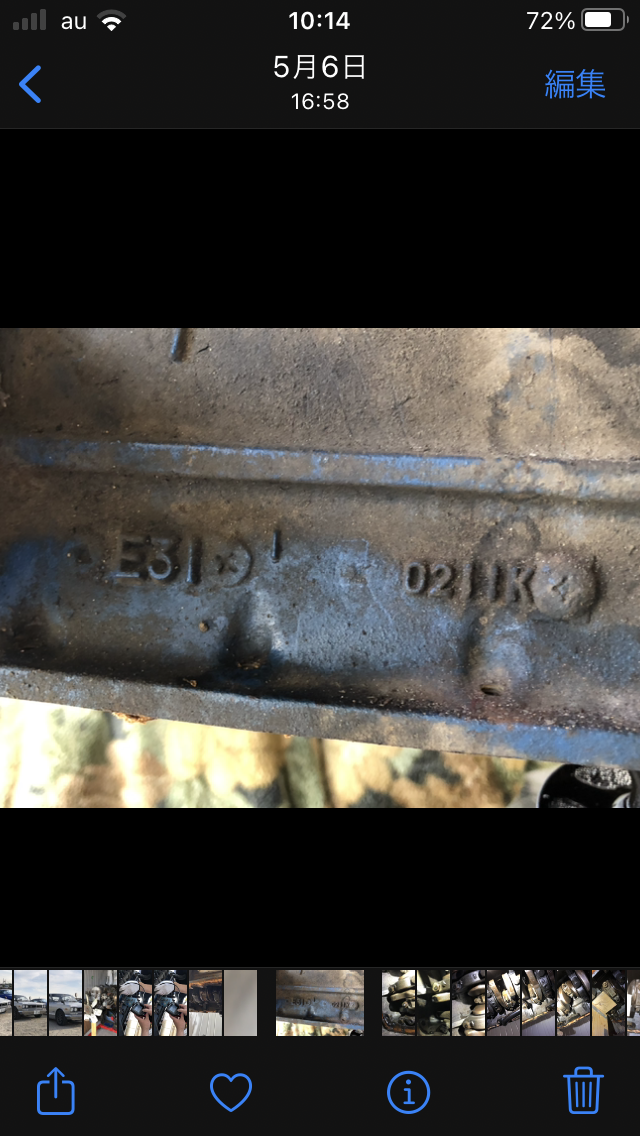
.JPG.cfcada9cf1c1b502df3f5f2f2ca3ff36.JPG)
SteveJ
Free Member2Points9,646Posts -
emccallum
 Subscriber
 2Points428Posts


Popular Content
Showing content with the highest reputation on 08/04/2022 in Posts
-
2 pointsFrom what I remember the e12- 80 used 1.5 ojm coil from Nissan. That ps 20 is 1.4 so close enough for me. I had a bigger ZX cap and button and run ZX larger gap on my ngks. It goes hard to Redline without breaking up. I have to up shift quick. Need a better gearing than the r-180 but I don't need to beat my car. It's 50 and has 50 year old parts back there. But those 1,ooo or so feet are fun and with my exhaust it screams a dry bloody murder like a Ferrari or a gsxr1.2 points
-
2 pointsCouldn't he come off the balance tube's locations? Or find the right size brass tube and JB weld it in place on the front carb. https://www.lowes.com/pd/Hillman-Brass-Plain-Tube/3478161?cm_mmc=shp-_-c-_-prd-_-hdw-_-ggl-_-LIA_HDW_126_Fastening-_-3478161-_-local-_-0-_-0&ds_rl=1286981&gclid=EAIaIQobChMI_o2dusGt-QIVbnxvBB2RTQ_NEAQYASABEgL4ZPD_BwE&gclsrc=aw.ds2 points
-
2 pointsPut a can of dusting air in the car. If the car acts up, open the hood, hold the can upside down, and spray the ignition module with the liquid. That should cool it off quickly. If your car runs fine after that, you found your problem.2 points
-
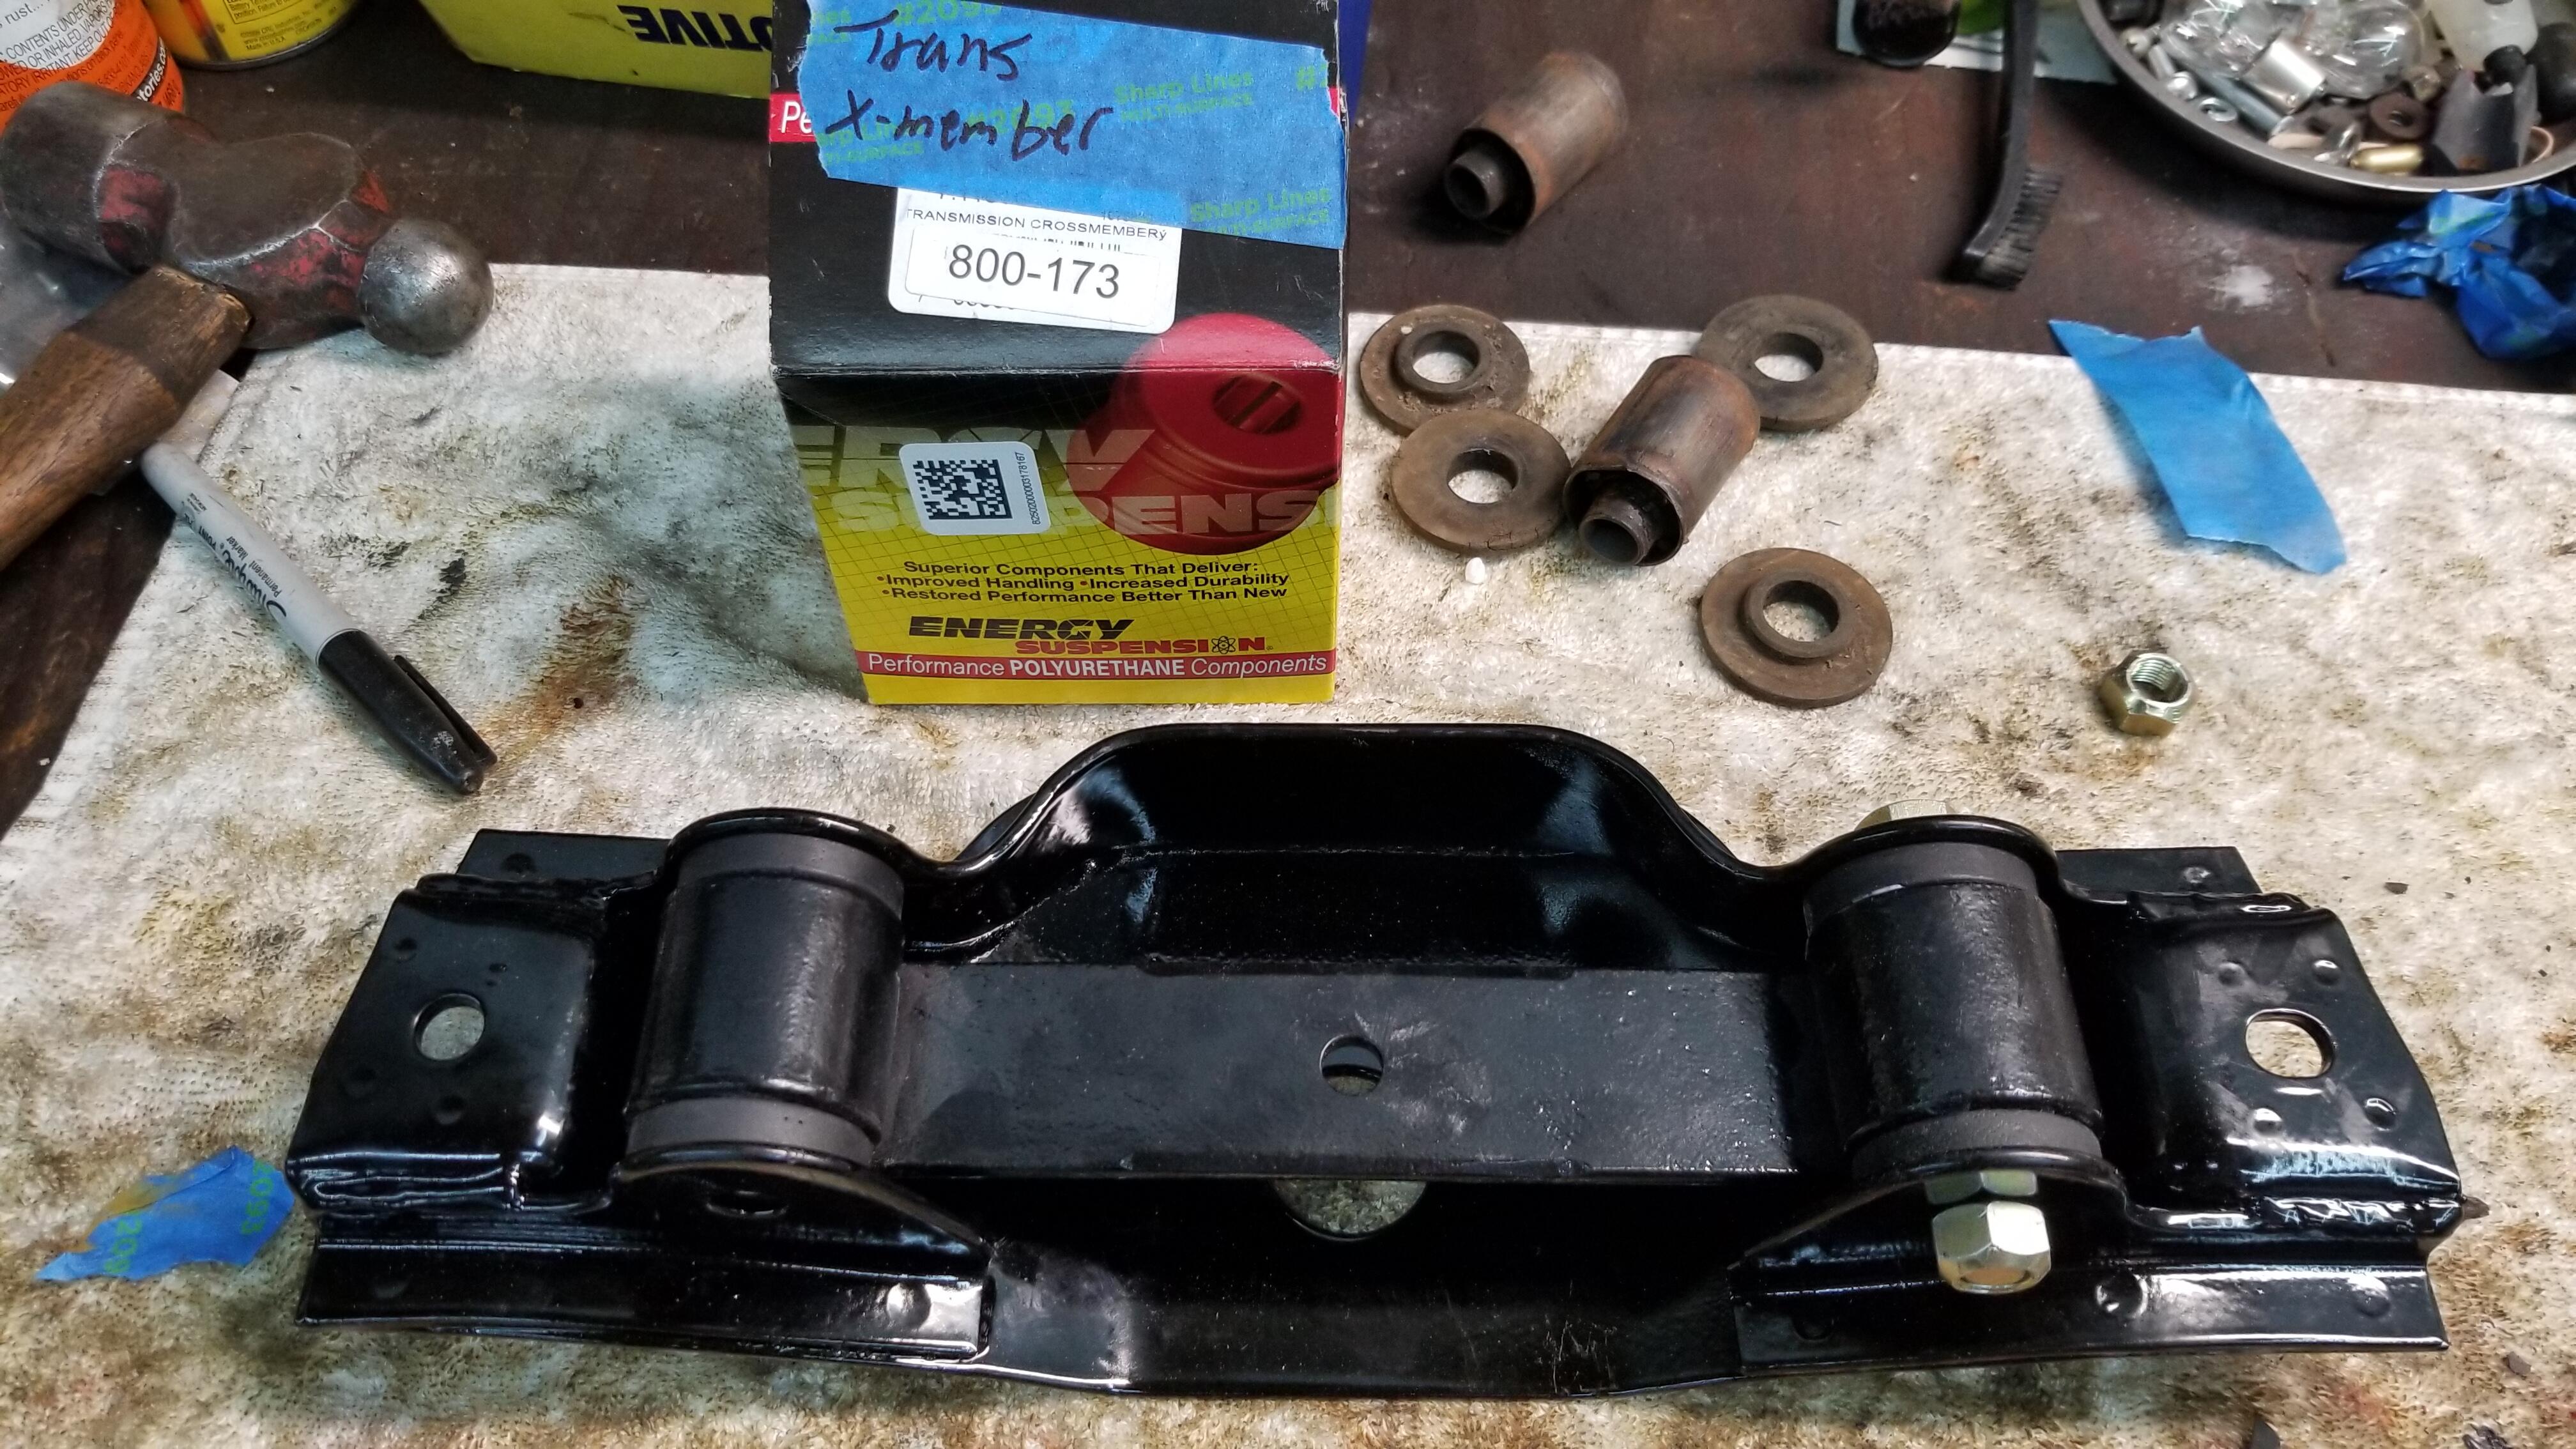
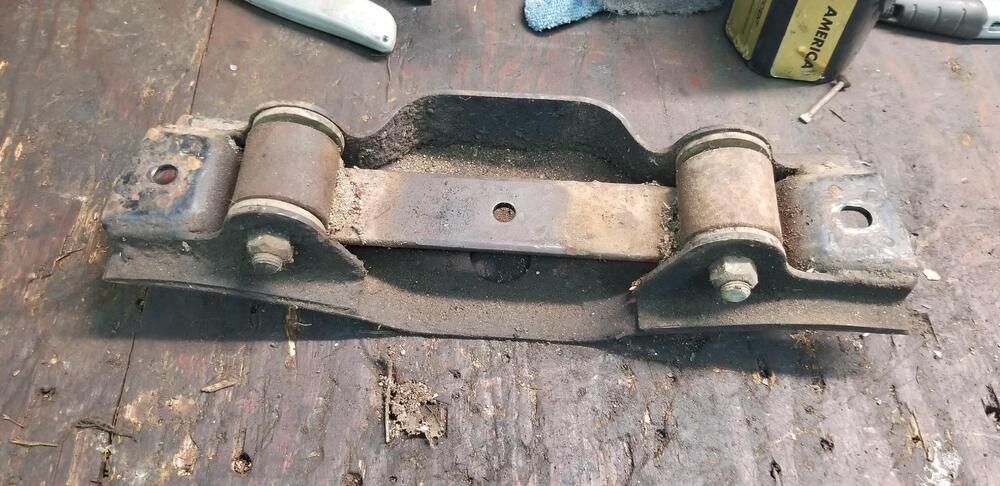
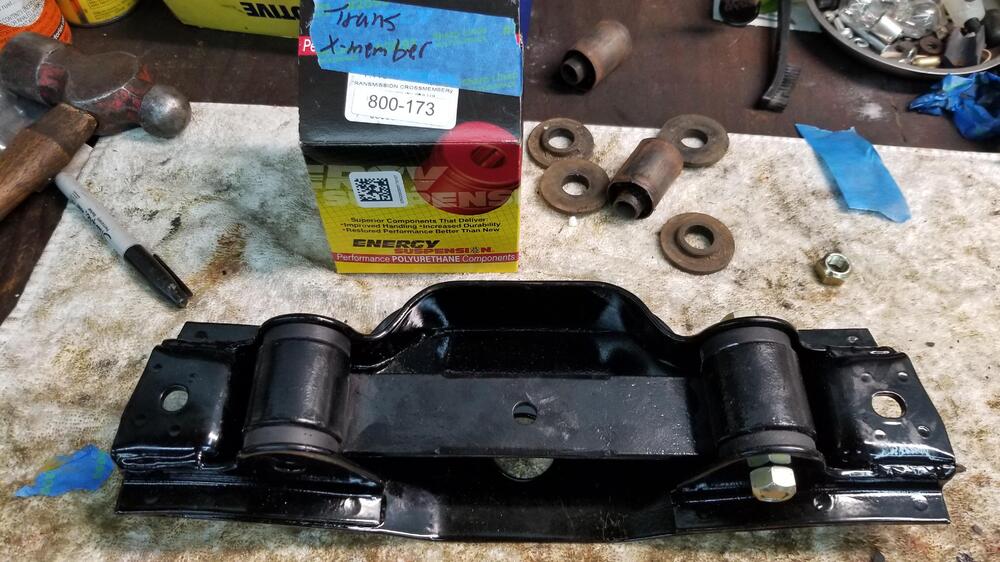
My tranny crossmember bushings were shot, so I pressed them out and read tons of posts on the OEM bushings being NLA. I have a couple of different x members from various years, so I figured I could get something to work. I chose to keep my original x member and make a set of poly bushings work. I ordered the black energy suspension bushings from one of the vendors. They are too big and too long for my style x member. I took them over to my brothers house and we put them on a lathe and turned them down to the right diameter and then shortened to metal sleeve and bushings to fit....Tight as a tick! One problem solved.....ten thousand more to go.
 2 points
 -
1 pointHow about pressurizing the cooling system and waiting to see which cylinder fills with coolant. Watched a youtube video where the guy forgot and left his pressurized overnight. The leak area was apparent.1 point
-
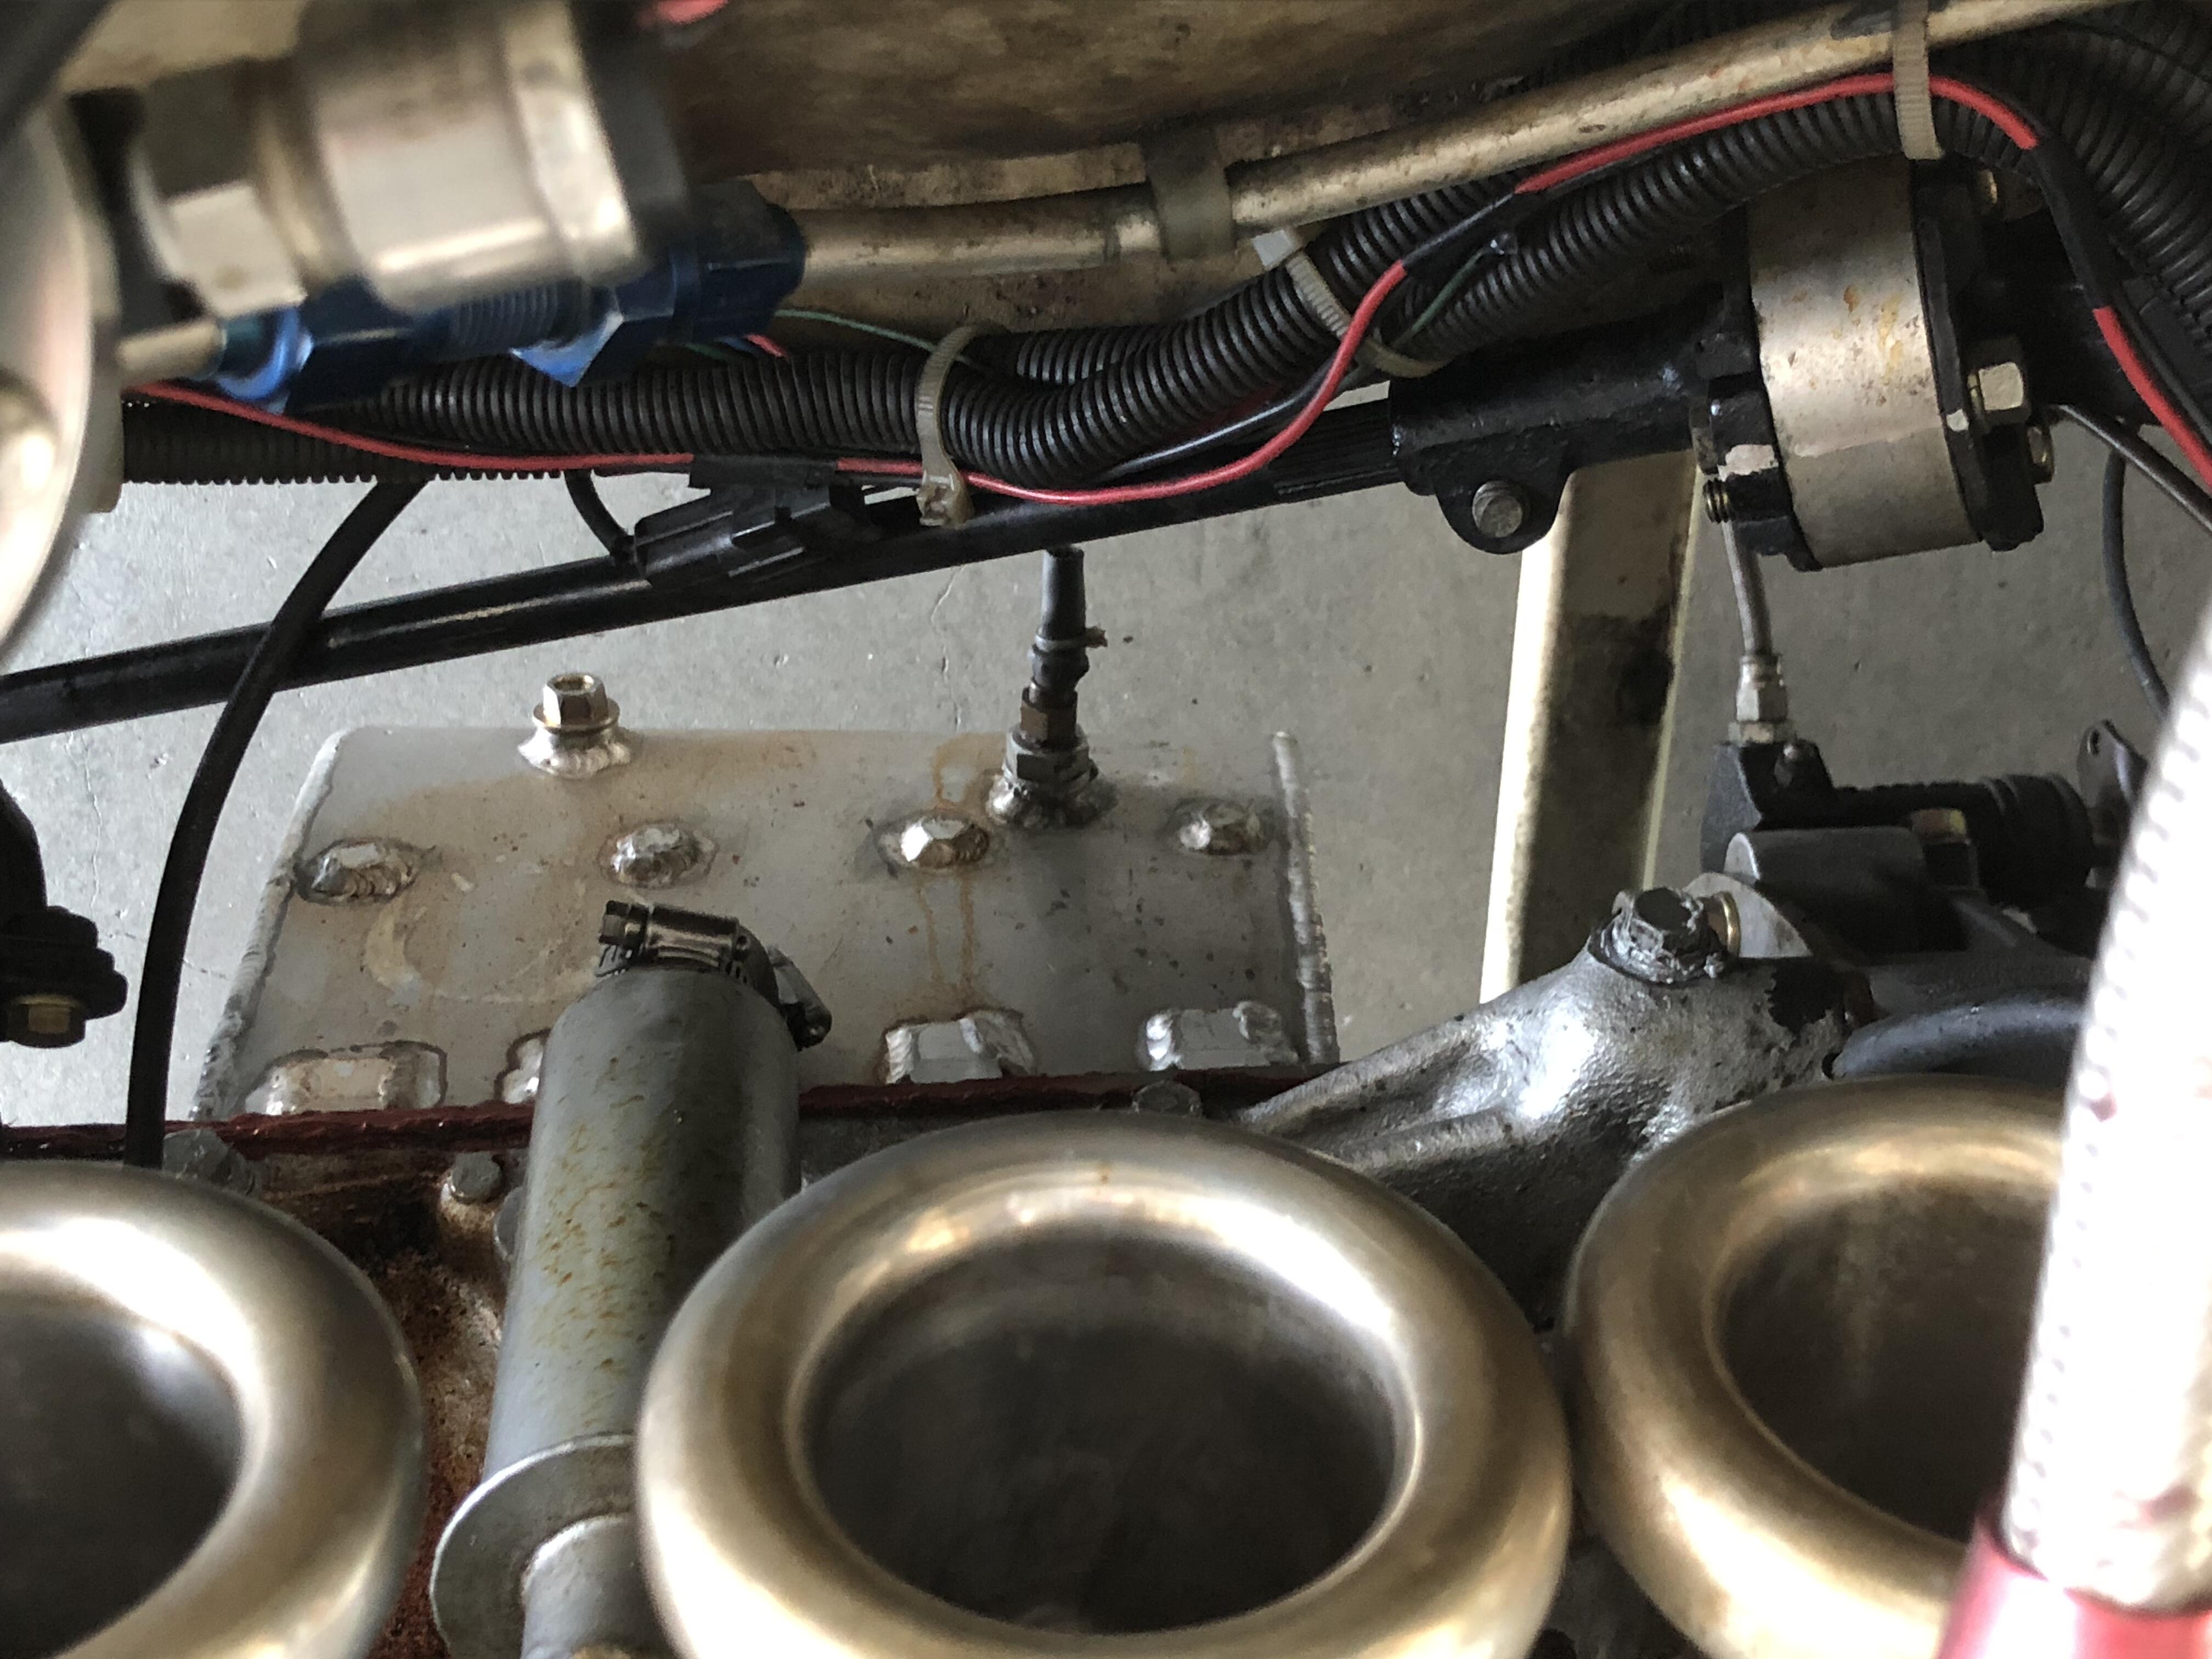
1 pointCurious, are your E12 modules Nissan brand or aftermarket? I think that that is one of the issues a person has to consider. The E12 aftermarket does not have much competition so the product quality is sketchy. Look at the price difference on the only two available on Rockauto and then look at the pictures. Who knows what's going on... https://www.rockauto.com/en/catalog/nissan,1981,280zx,2.8l+l6,1209338,ignition,ignition+control+module+(icm),7172 Anyway, you can get get lost down a rabbit hole when you start modifying things, as you've already found out. Here is a write-up about the HEI module from EuroDat. In short, there are five connections that you need to worry about. Get those five correct and you can put the module wherever you want to. I have seen people put it in place of the E12 module on the side of the distributor. The five points are the two trigger wires, red and green to G and W on the module, the B for battery, the C for coil negative, and the ground contact through the mounting hole. There is another writeup in the downloads area showing how to jumper the board in the E12 module but it seems overly complex to me. Just extend the green and red wire from inside the distributor. You have to put your electronics nerd hat on to get in to it.1 point
-
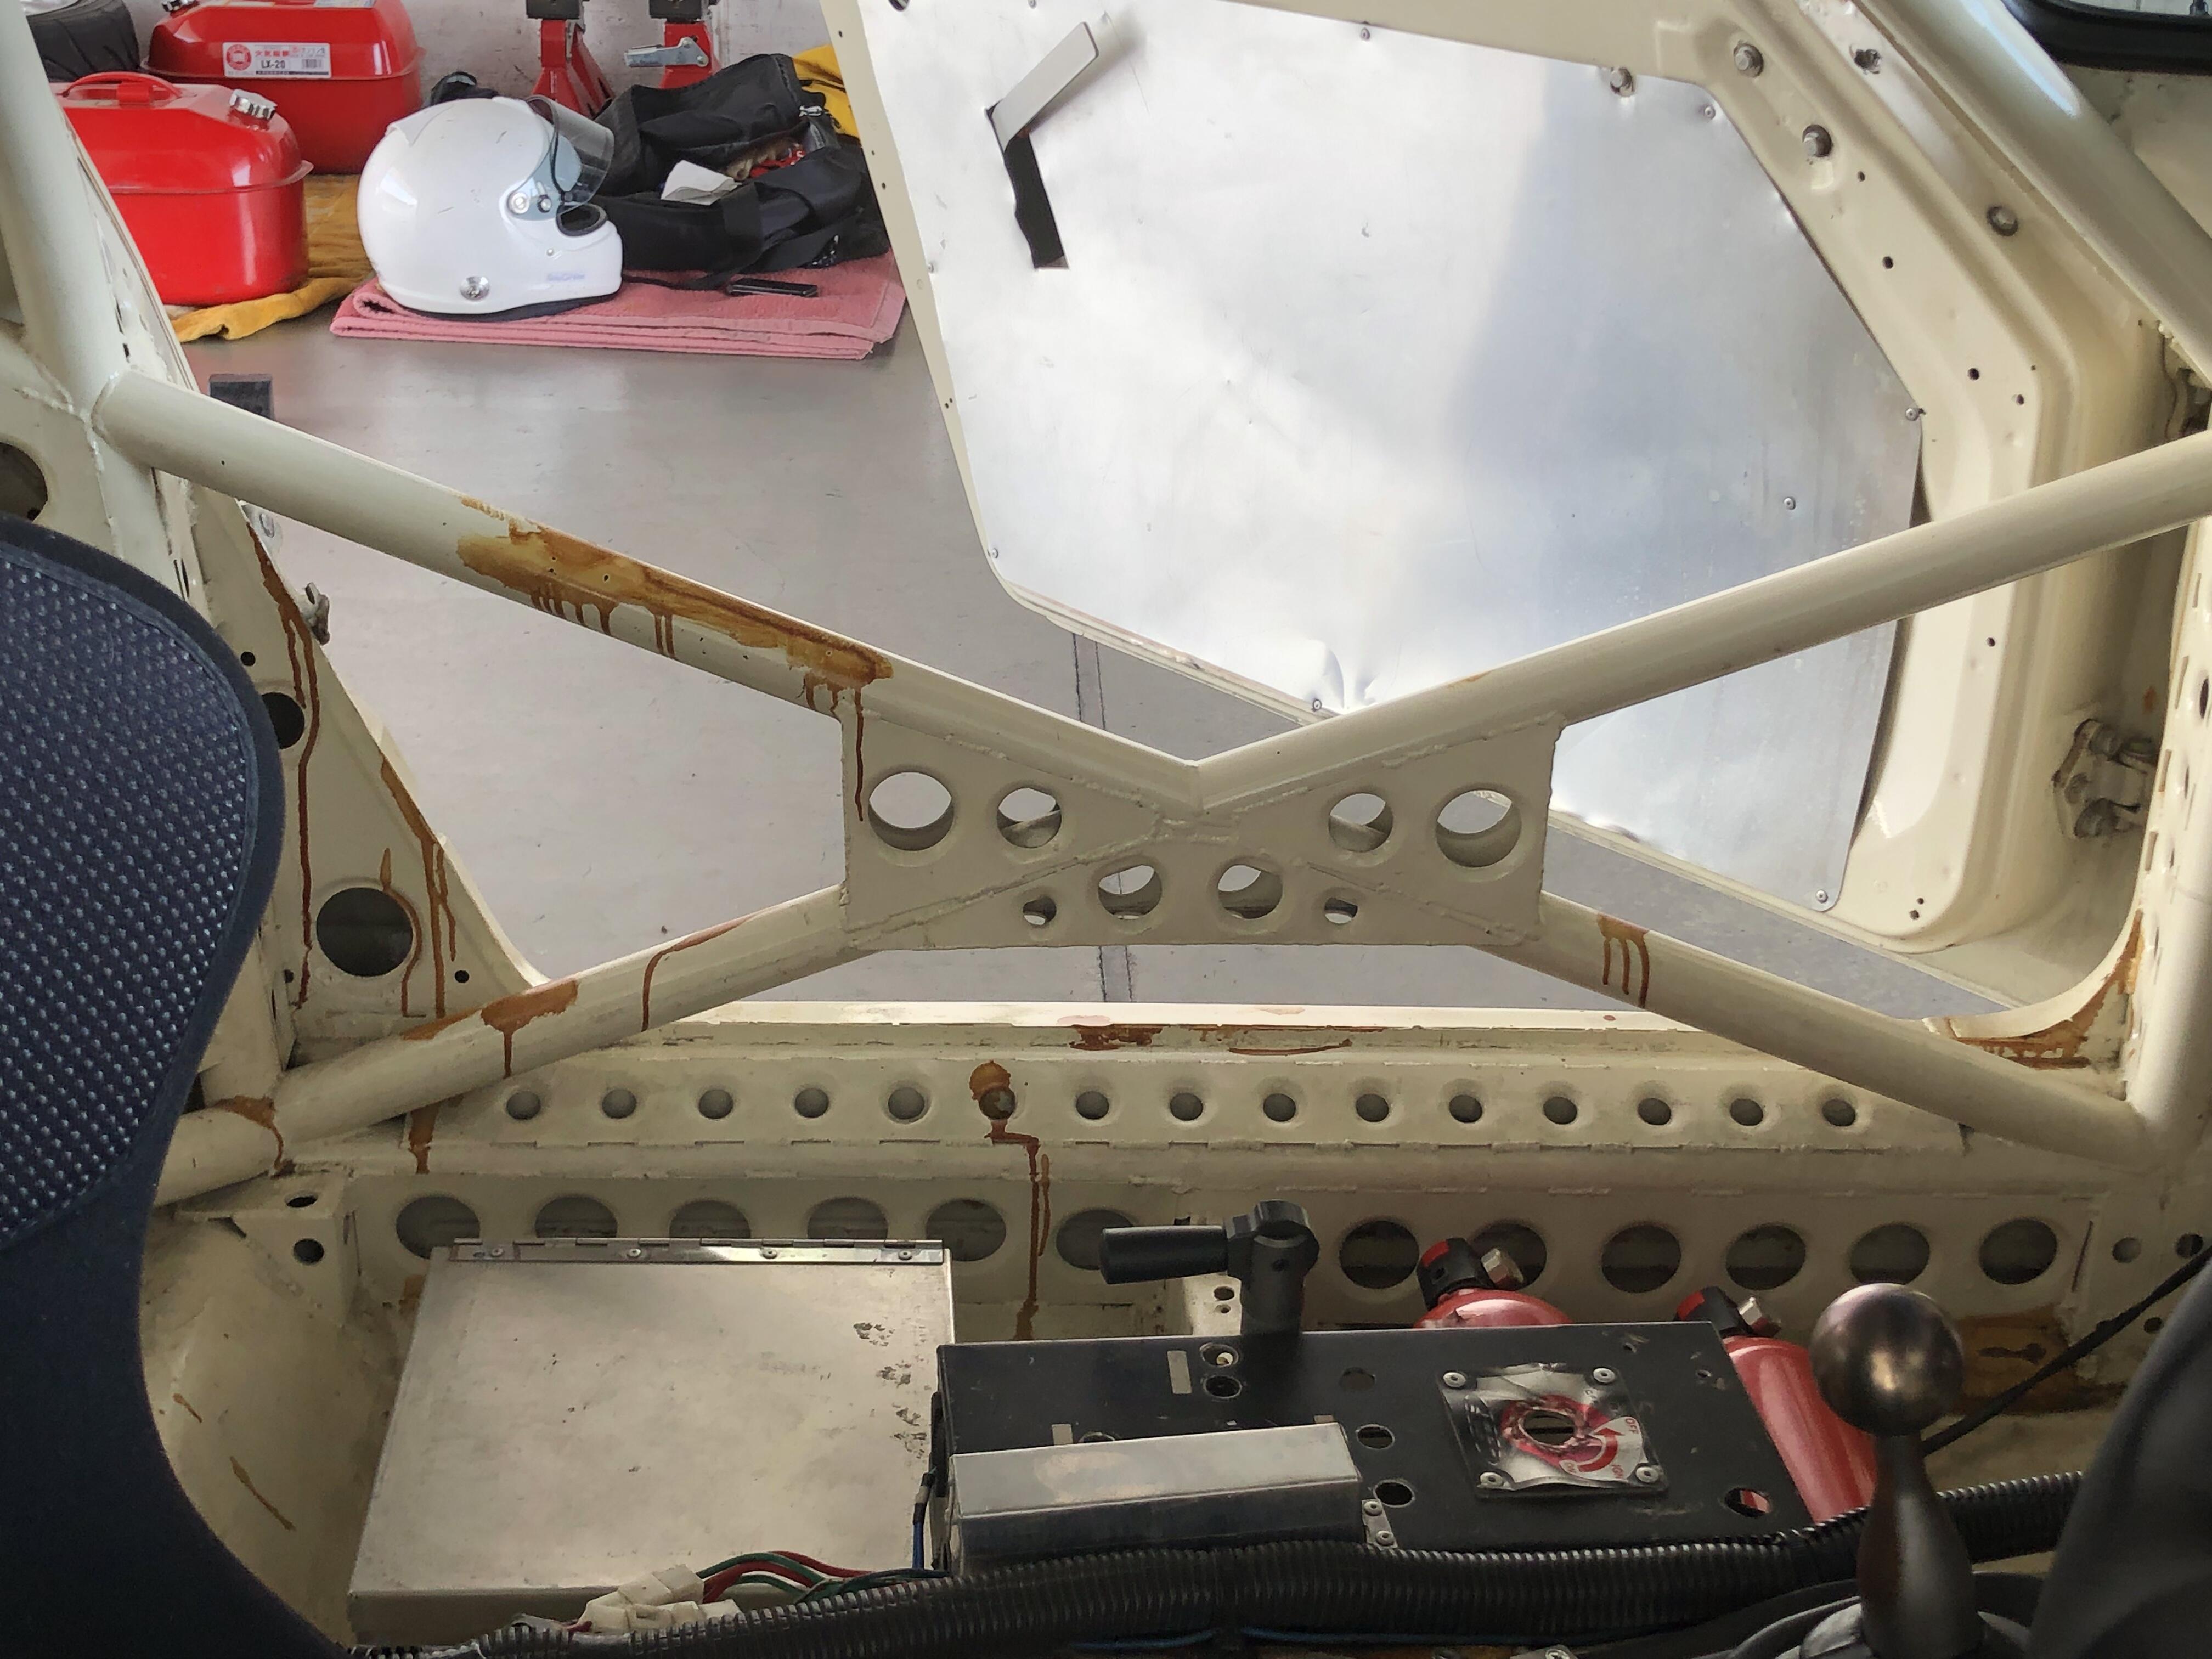
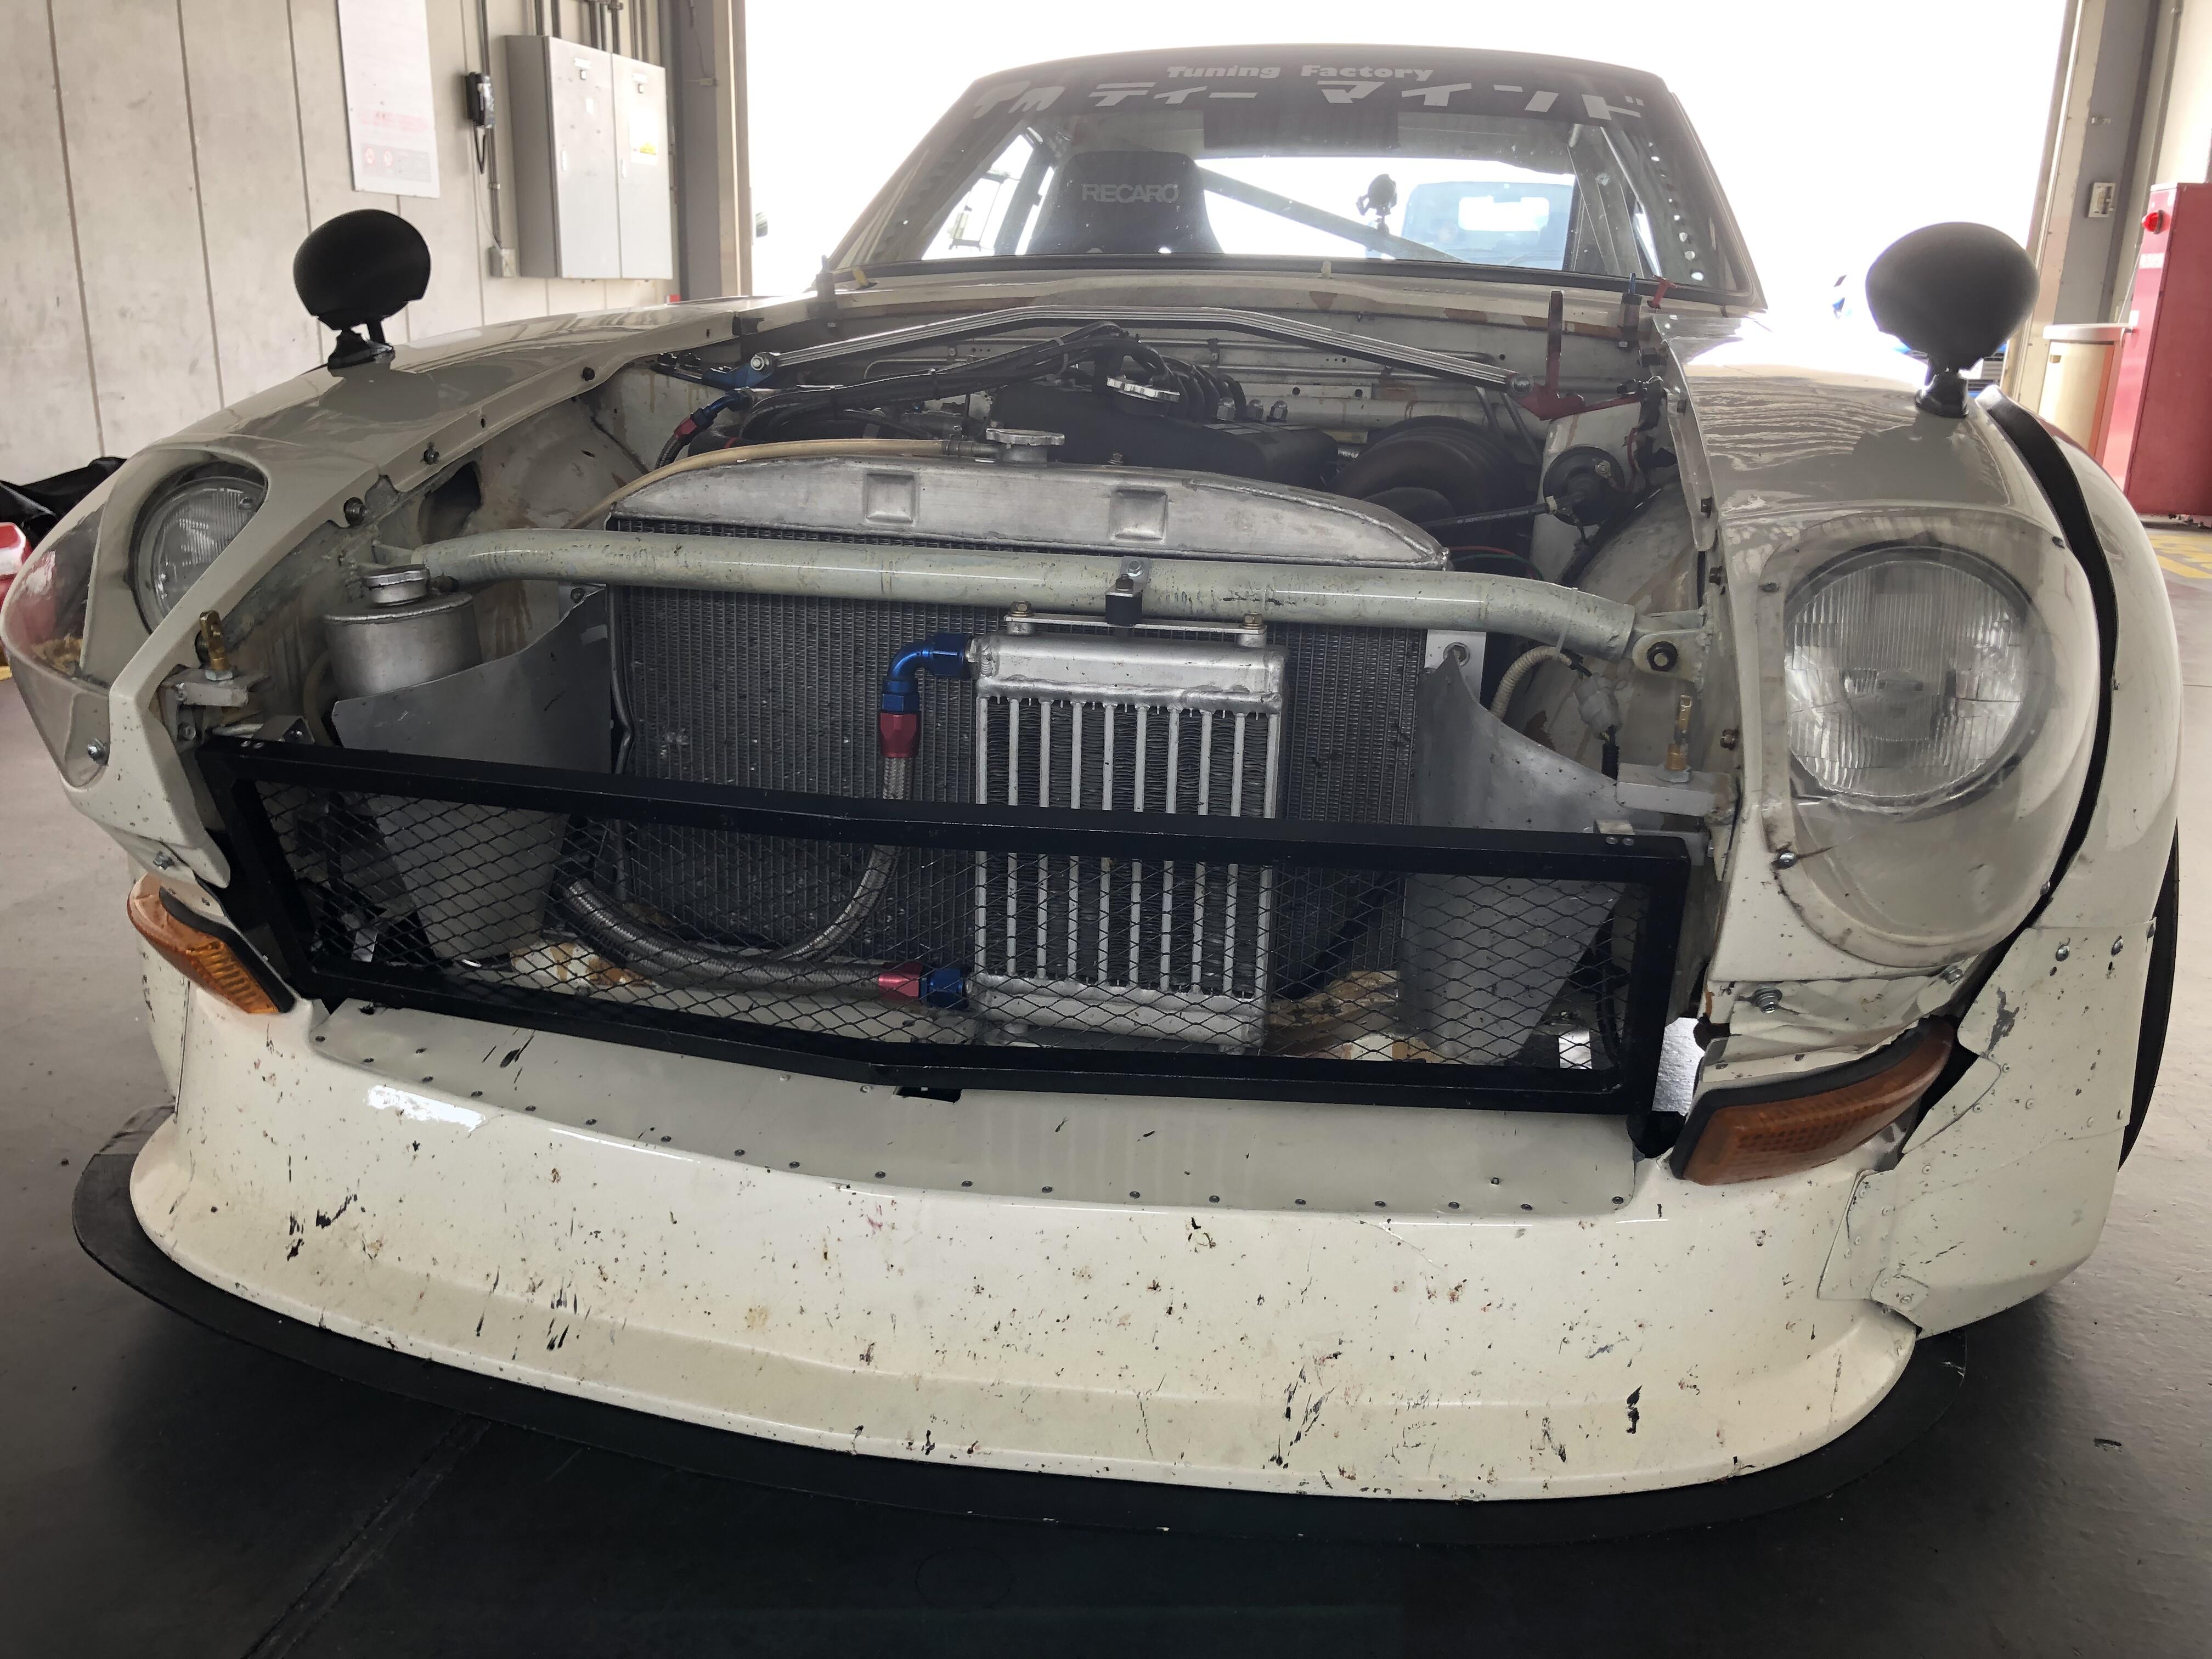
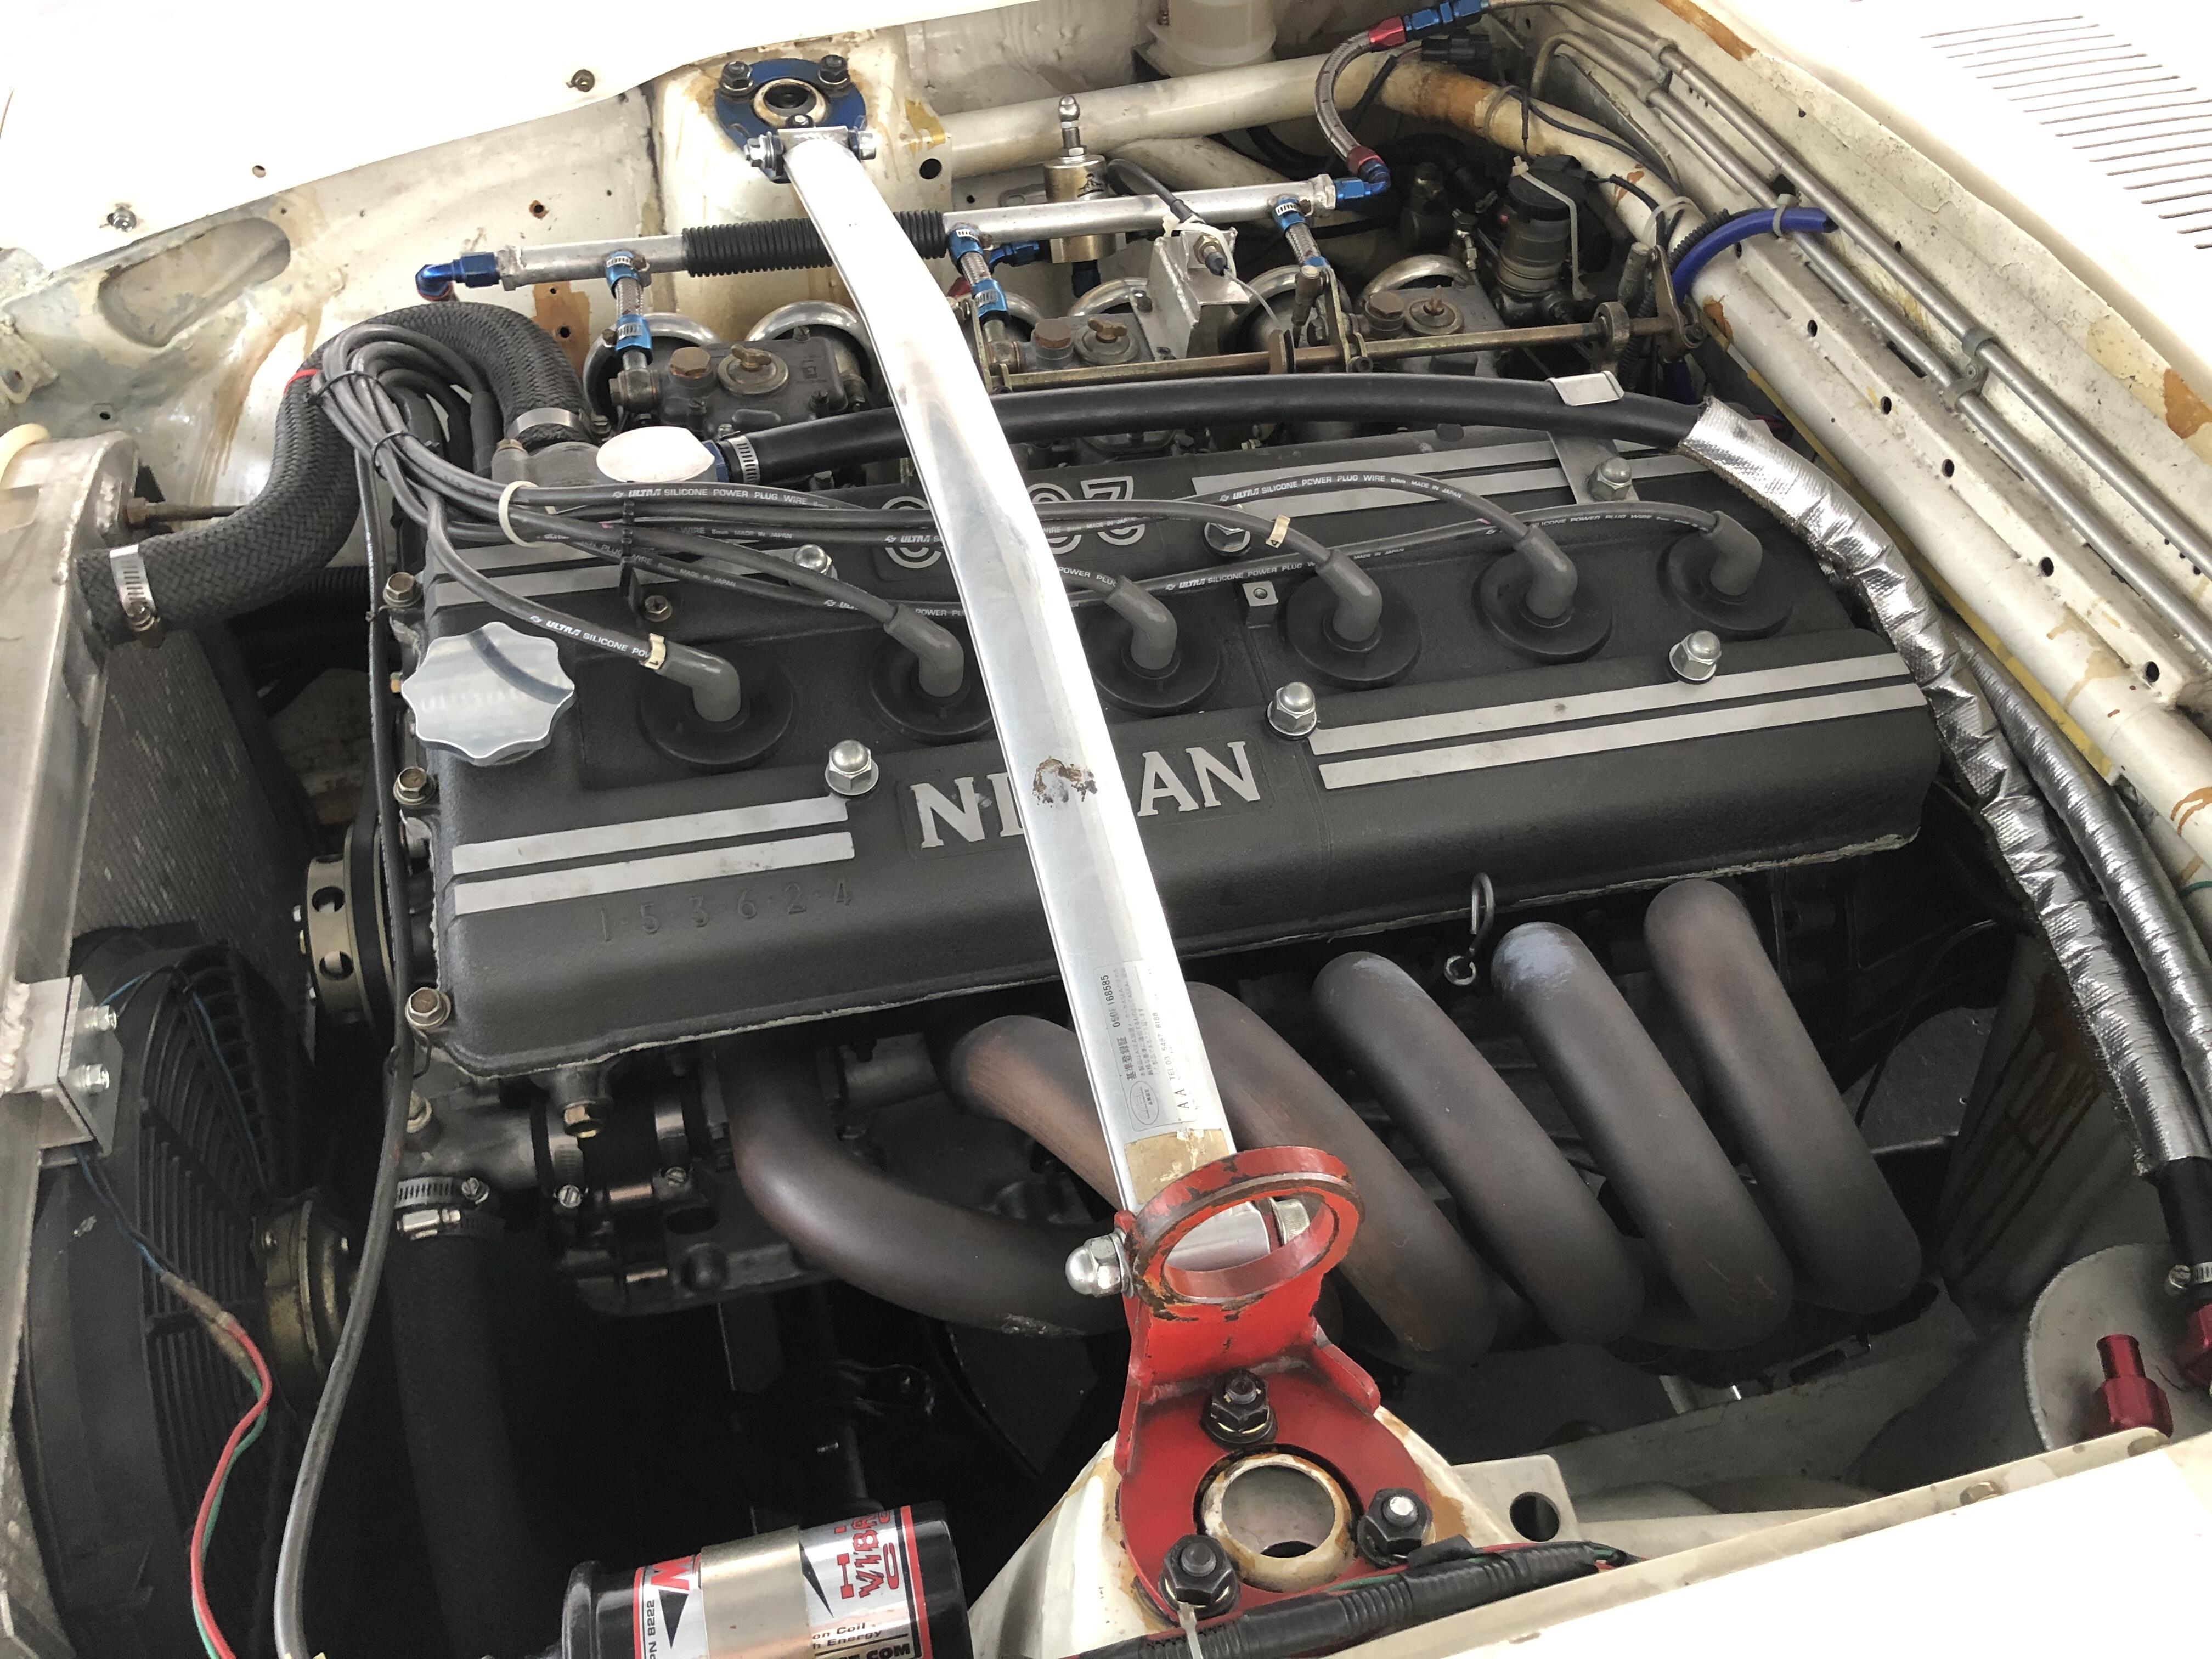
Simple front and rear strut bars are not going to turn the flexible Z chassis into a stiff car. I would suggest you log onto HybridZ and search for what people have done with chassis reinforcement, and what is suitable for a street car, as that subject has been covered many times there with lots of discussion. How do you intend to use the car and what do you expect from it? You're in Germany so I would think the car will have to stay fairly stock. Here is the late John Coffey's list of reinforcements for a street car: 1. Seam Weld (every sheet metal seam overlap.) 2. Bad Dog Subframe Connectors 3. Weld-In Roll Bar. 4. Welded In Rear STB. 5. Triangulated Front STB. 6. Radiator Core Support Reinforcement. 7. Transverse Link Bracing Reinforcement. 8. RT Diff Mount. 9. Tubular Seat Mounts. 10. Box Upper Frame Horns to Firewall/Cowl. 11. Reinforce Pedal Box/Brake MC Mount. 12. Reinforce Front ARB Mount. 13. Reinforce Front Strut Tower to Frame Rail Junction. Doing all of that would be a lot of effort, I'd probably look into numbers 2, 4, 5, 8, 10, and 12. The reinforcements you posted would serve the purpose of number 10.1 point
-
1 pointThanks for all the advice guys. I will get a can of that stuff for the future. so I had a couple back up E12 modules so I just swapped one out. Cleaned the connections with contact cleaner and triple checked the connections. I also tested the temp sensors resistance to make sure it was in tolerance. 300 ohms at the sensor and 307 at the plug to the ECU when engine was hot. Thanks S30driver for that advice. Car is running now, let it heat up and took it for a spin. Stayed less than 1/2 mile from gloss at all times and put my kids electric skate board in the back incase I needed to get back. So far so, it’s shaken my confidence so it will be awhile before I hit the real roads. I like the idea of the GM HEI as a back up. Would be nice to mount that near the coil and have the wire coiled up and ready to go. ZedHead, what’s requited for that mod where I currently sit?1 point
-
1 pointI do have a timing light and we will be working on that coming up.1 point
-
1 pointWell that sounds like significant progress. I skipped through the video really fast though. I'm not much on videos, especially long ones. Maybe it's just me, but I'd just rather read a couple sentences about it instead of having to watch a 15 minute video about it. A text synopsis about the video would be better for me. "We removed the nail. Put the carbs back on the car and the idle was down where it was supposed to be. Now that the carbs were behaving like they should be, we did a quick tune and set the idle speed and sync of the carbs using a uni-sync tool. After that, it was running well enough that we actually took it out on the road for a quick road test. Did great, all things considering." That would be better for me. So about that ported vacuum source for your distributor advance... I'm not sure what you have is salvageable, at least not without extraordinary means. The problem is that the hole into your carb throat is way bigger than it should be. Looks like when they snapped off the vacuum nipple, they drilled out the remains and went too deep. Like all the way into the carb throat deep. In other words... Some previous owner drilled through your carb body and ruined it. The vacuum hole is supposed to be small. Thirty thousandths maybe? And the one in your carb looks like it's an eighth inch or larger. The bottom line is that both the size of that hole and the location are critical and yours has been wallowed out to three or four times it's normal size. So if you want to run ported vacuum, you'll need a new front carb. Not a lot of fun.1 point
-
When you want to weld something, clean it thoroughly on both sides.. (in one of the last pics i see you did not clean the blue part..) It's not just that you can weld it much better, the fumes are toxic and you only have one set of lungs .. Never inhale those fumes of welding, aluminum is even (much) worse than stealwelding.. you really need a extractor hood. I often blow some compressed air over a weld when it's cooled down a bit, ( get some "clean" air at your workplace) always good to have the compr. air at hand... when something gets on fire you simply blow it out. Also always a fire-extinguisher at hand is standard. (at least a bucket of water.) And don't do it like this guy, welding near or under flammable stuff... WOW !!1 point
-
The OHM reading changes as the engine warms up. Cold sensor high ohm. Hot sensor low OHM. I know the Coolant temp sensor and a Cylinder head sensor are really close when it comes to the OHM values. I have a 1981 and a 1983 car so I have CHTS, not coolant sensor but the ohm value should be around 7000 if you put it in ice water and around 200 in boiling water. Tried to upload a picture of the graph but keep getting errors. If you go to this site: http://xenonzcar.com/s130/FSM/1981fsm.php Look at page 18 of the Engine Fuel section you will find the graph.1 point
-
The 5-speed adds nothing but an overdrive gear. The overdrive gear is meant for reducing RPM at cruising speed to add fuel economy - not speed or torque. The 240mm clutch package won't care if it has a Nissan 4-speed or 5-speed behind it. I have an L28ET with the Exedy 240mm clutch package and a 280ZX close-ratio 5-speed behind it in my 260Z.1 point
-
Go through the EFI troubleshooting basics in the FSM and triple check your EFI wiring and connectors - make sure everything is CLEAN. Check your EFI coolant sensor for correct Ohm reading. Please don't touch the AFM until you've literally done everything else (unless someone else already screwed you by messing with it). Vacuum leaks will completely throw the ECU out of whack. If you've had a windshield leak in the left bottom corner be sure to pull out the ECU and check the connector and all the pins for corrosion. L Series love a rich condition - up to a point.1 point
-
1 pointI agree the ignition is the likely problem and the test proposed for the module is a good one. Other possibility is the magnetic pickup in the distributor, but I think that’s less likely.1 point
-
Yeah, I found a clutch kit on RockAuto and it is a kit that is meant for the larger 240mm clutch. Sure is lucky with RockAuto and thankfully most everything is affordable. 🙂1 point
-
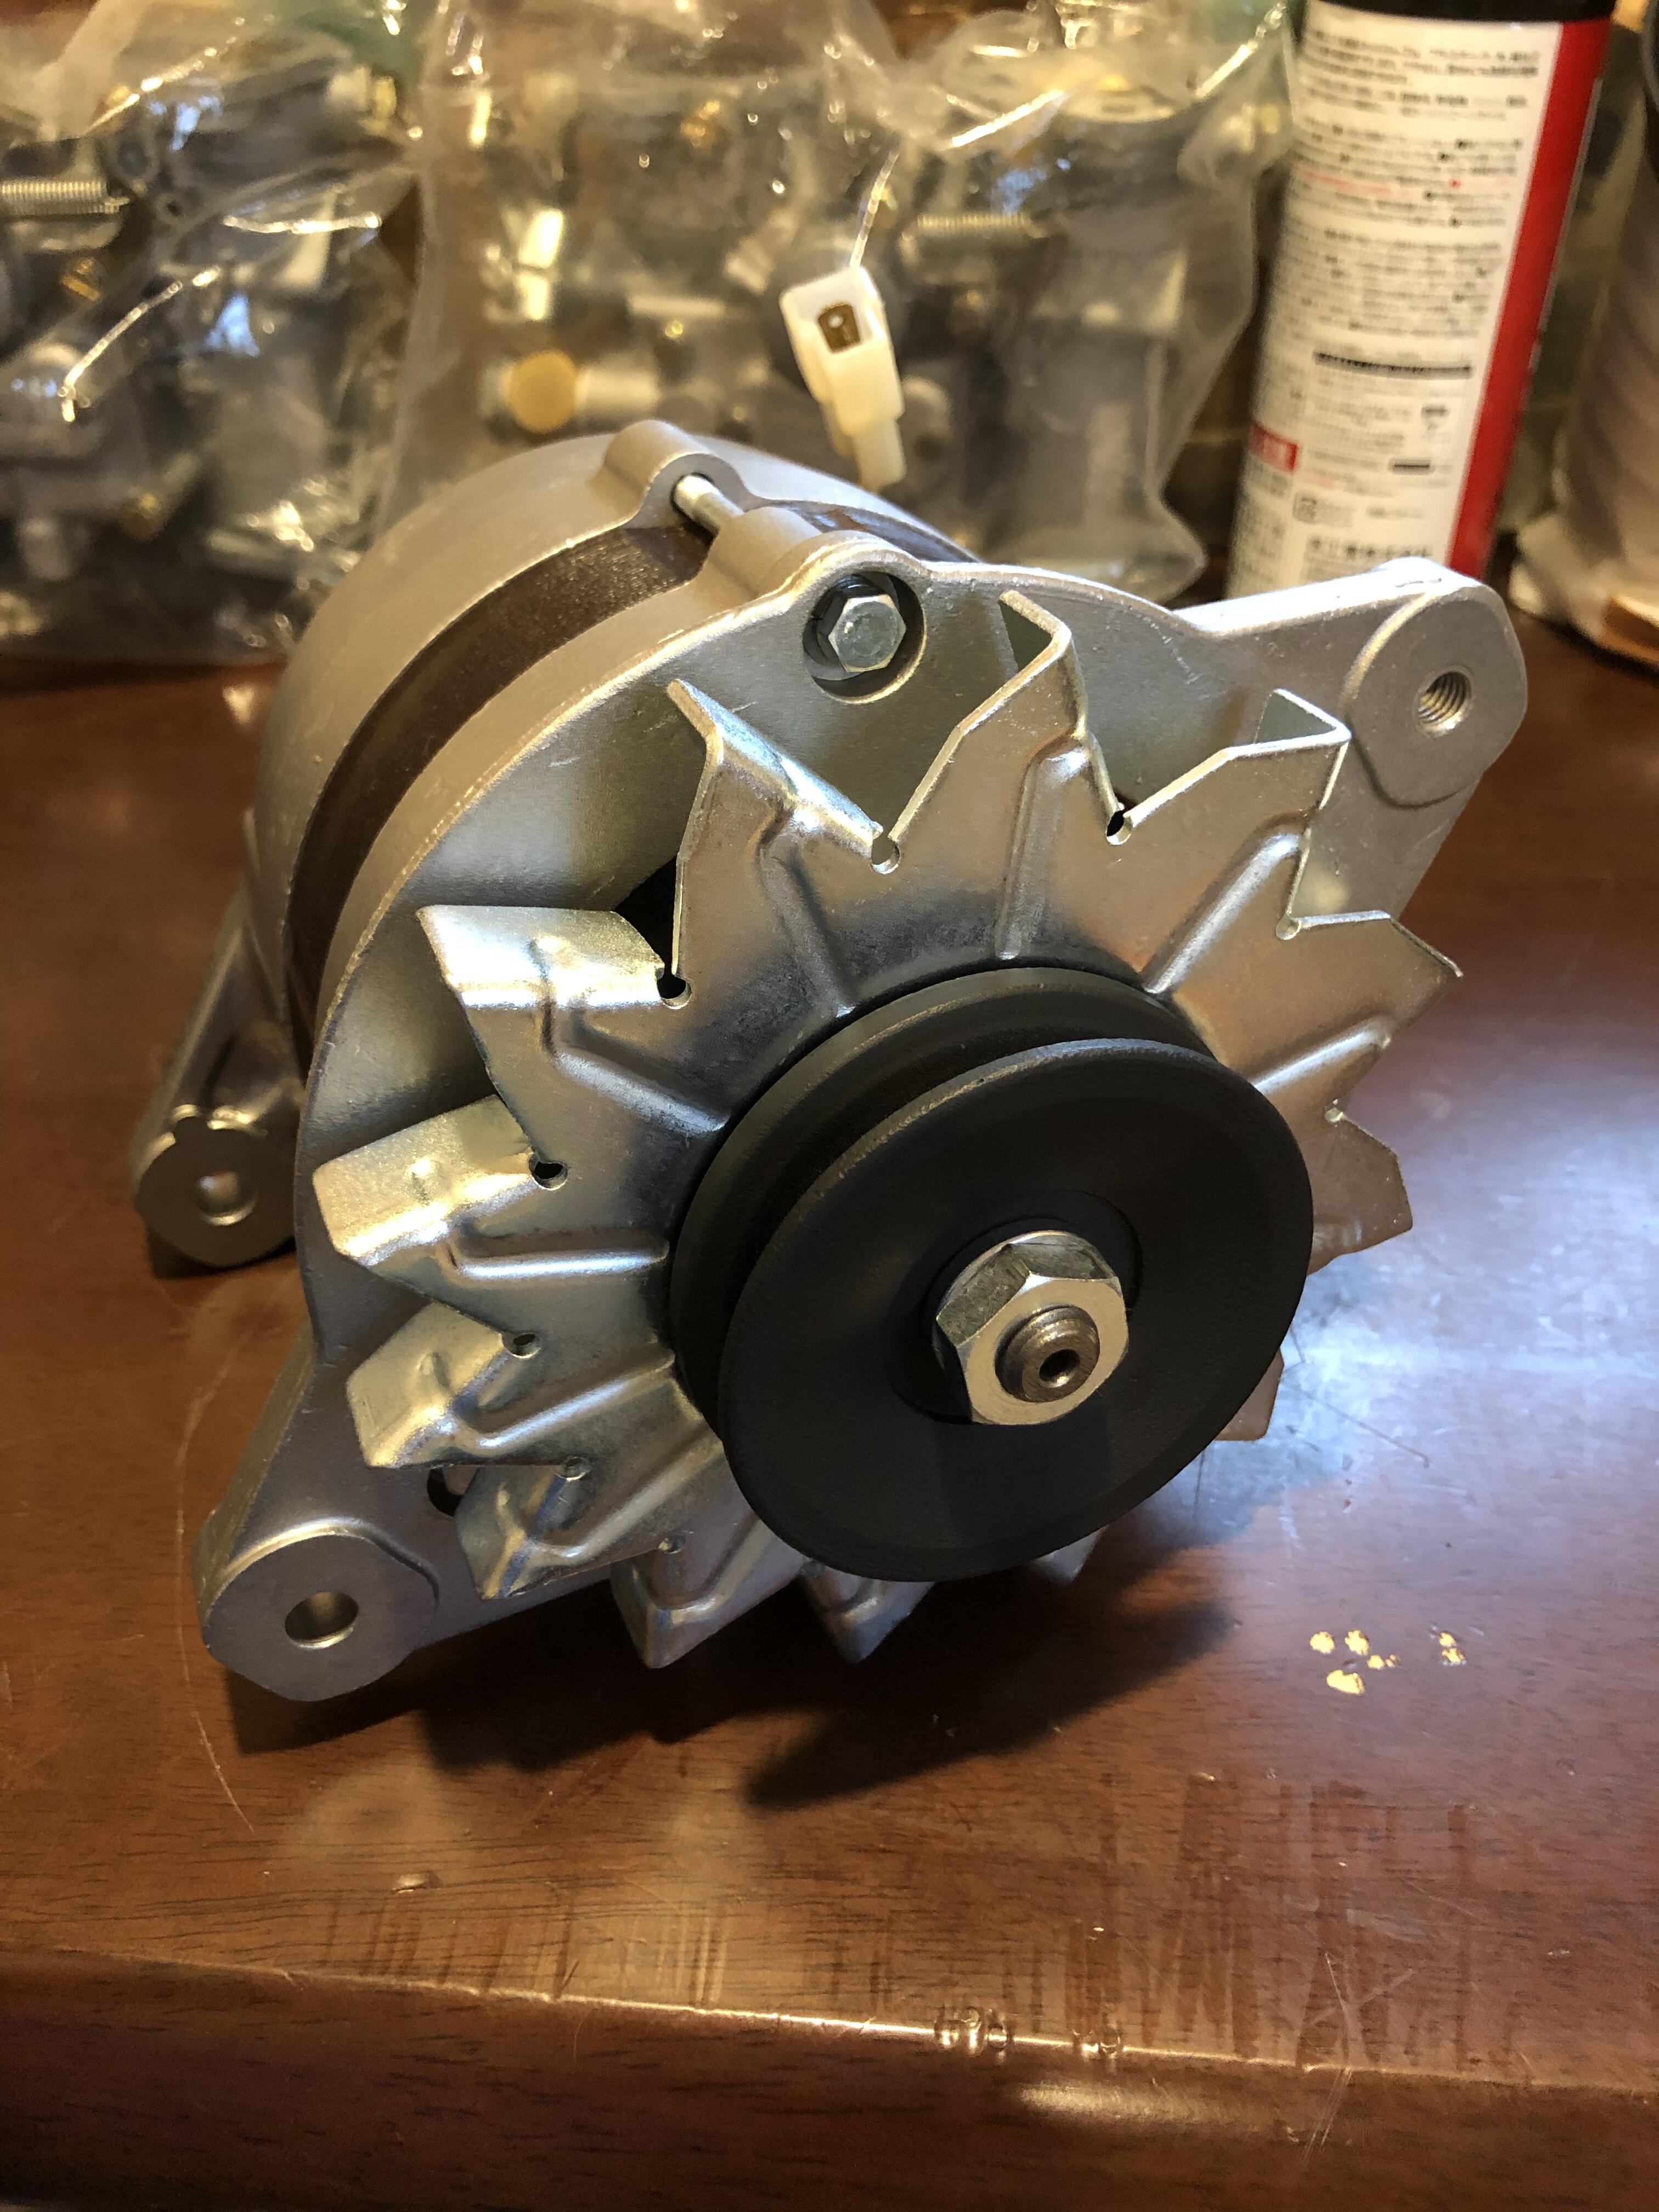
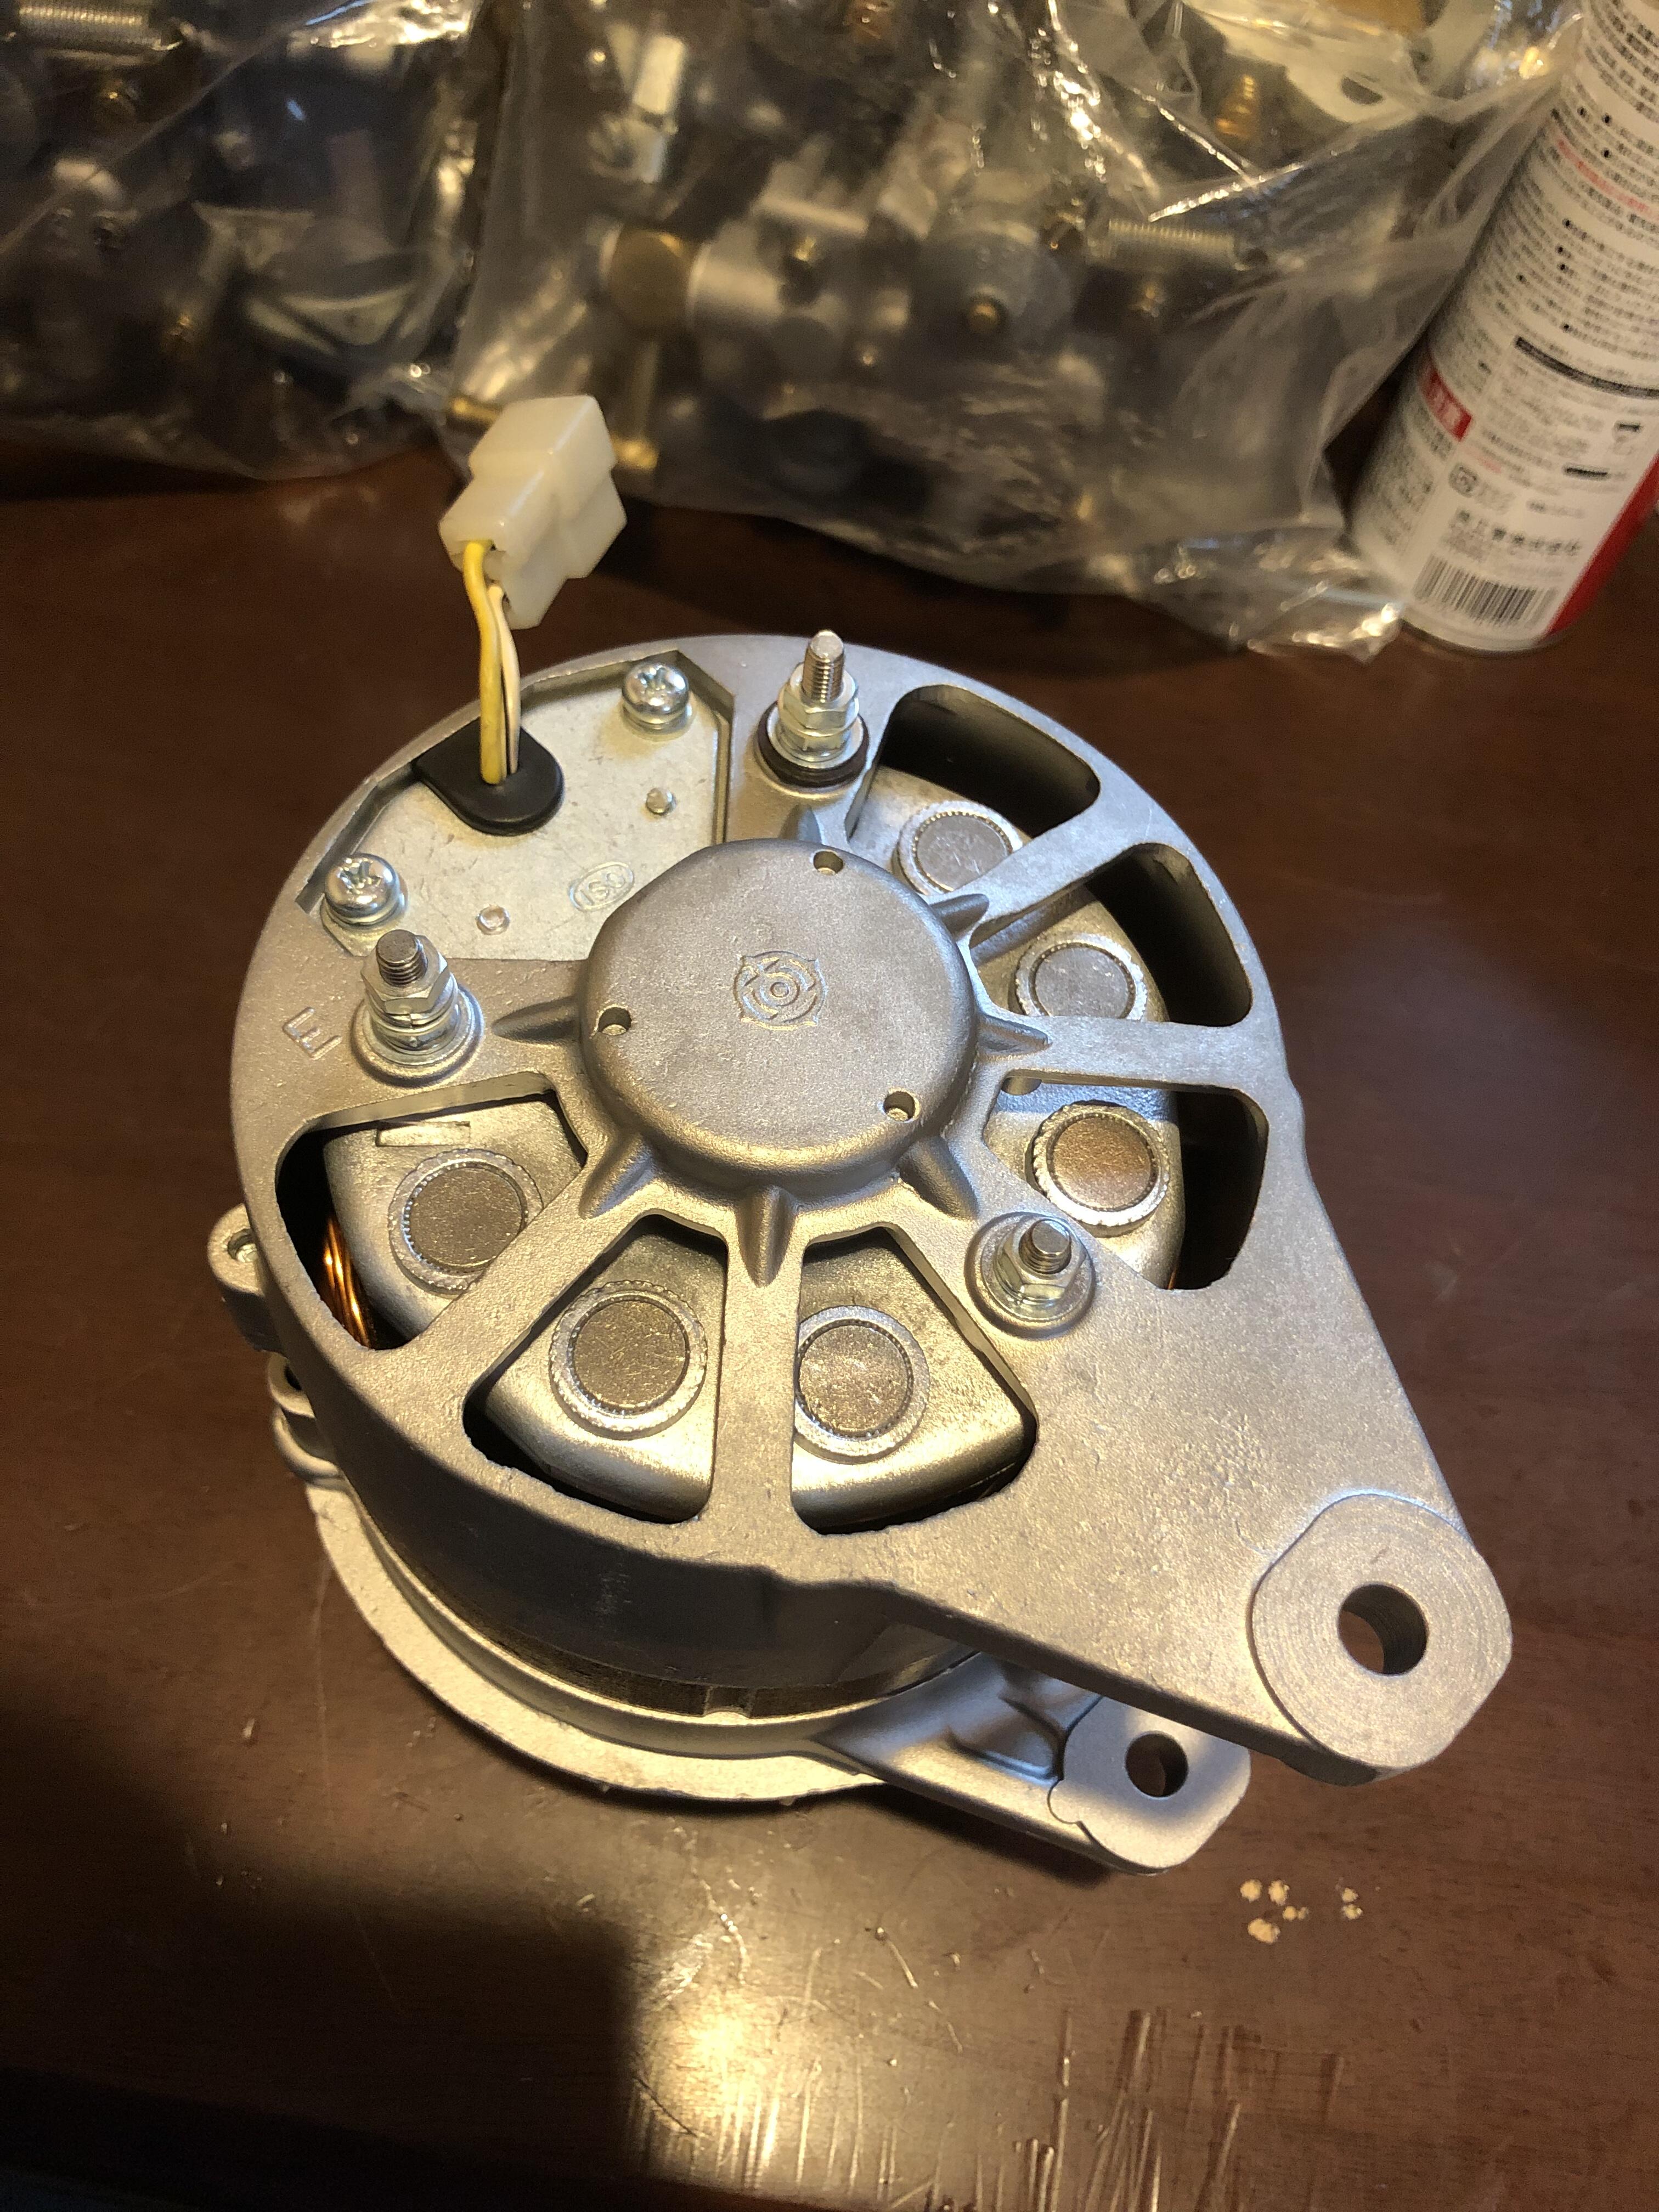
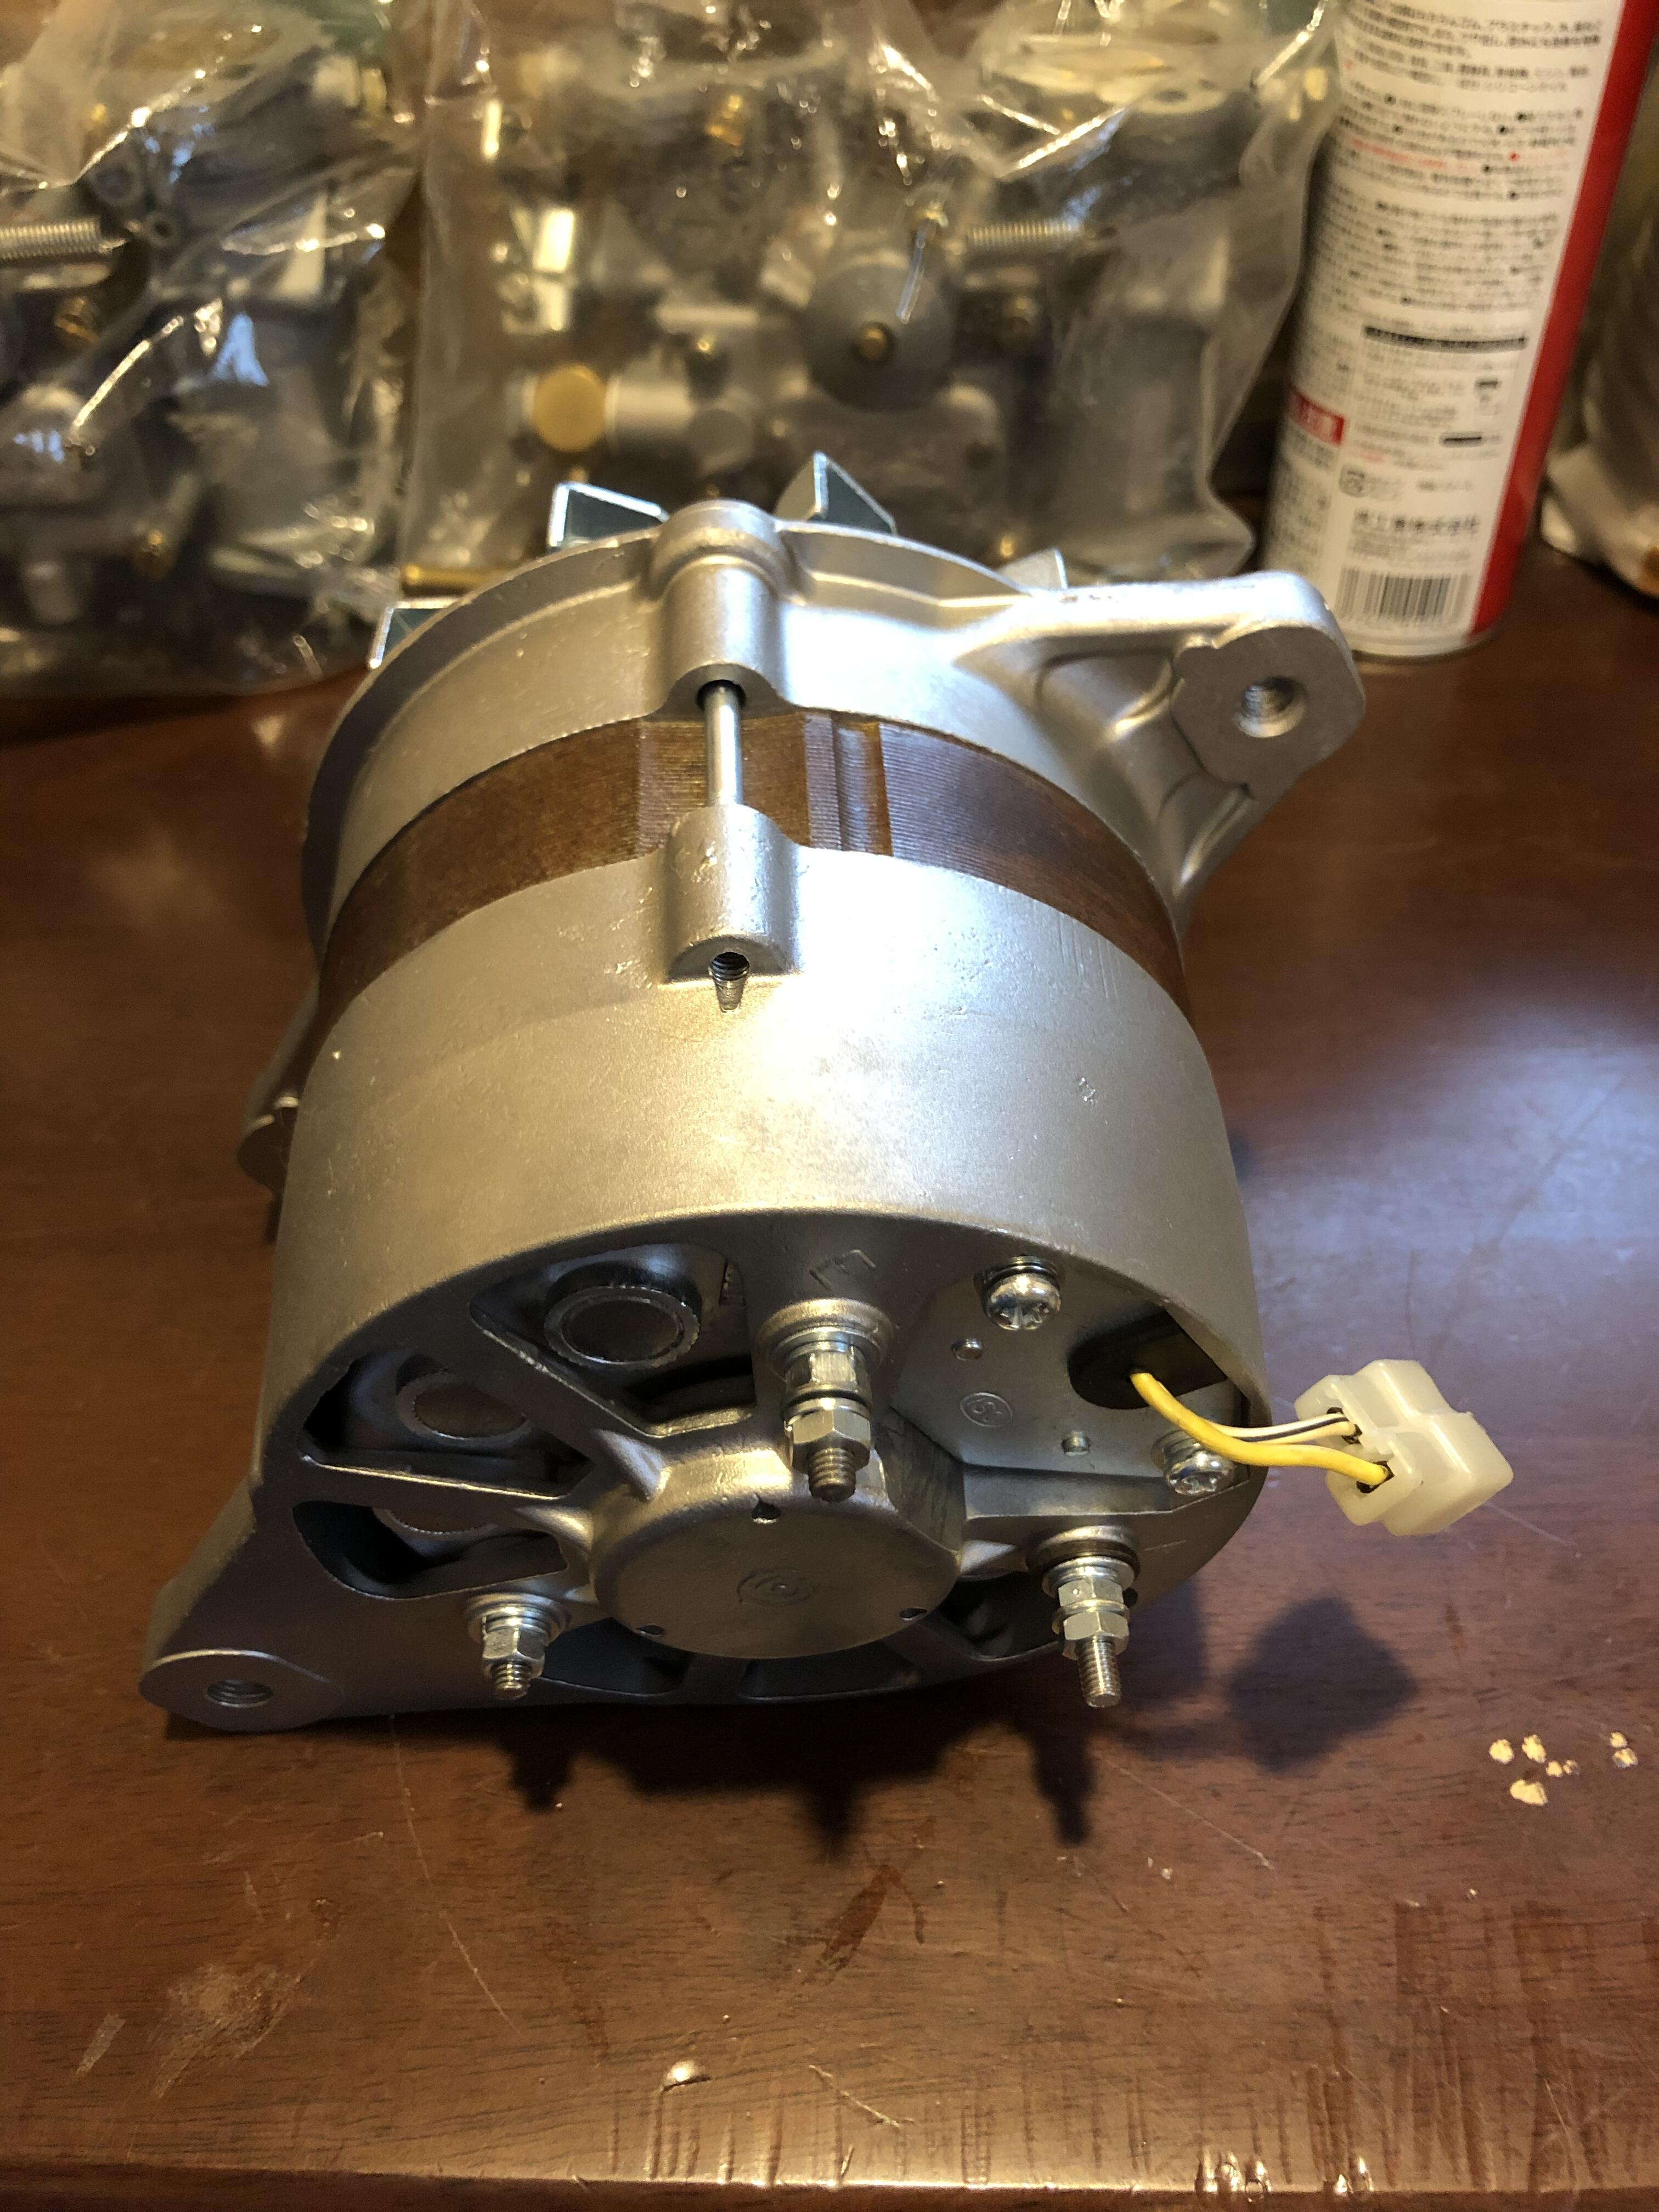
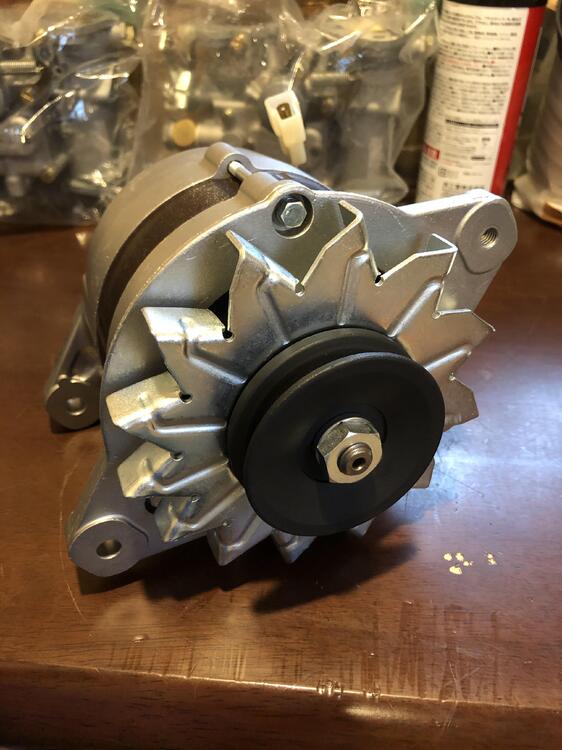
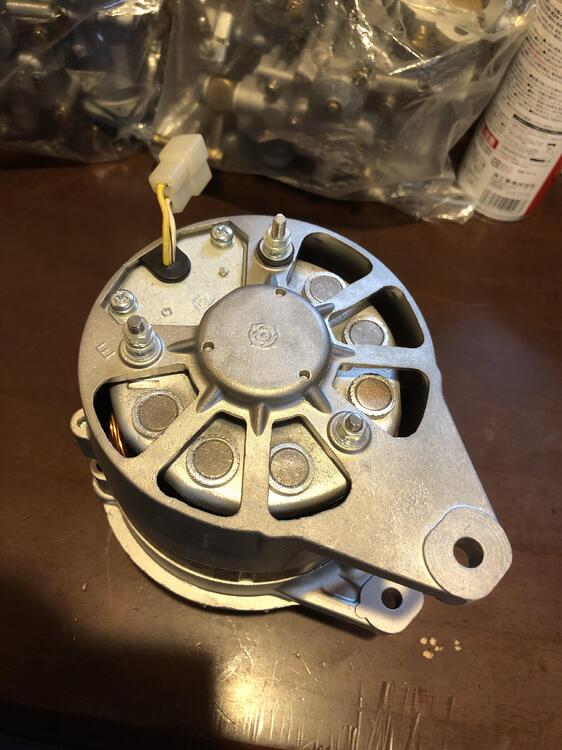
1 pointNothing to tell recently except this alternator, I had my old spare one rebuilt at a local shop. I am so happy with the result , they did what I wanted to have . I said don’t paint green on the center portion, leave it as it is . They said it needs to be painted for some reasons , then we agreed paint clear coat on it . Unfortunately model number and Nissan part number have gone , actually they have already gone when I got it a long time ago . I will put this in my first 240Z , then previous one on my first 240Z will go to my second 240Z . Kats

 1 point
 -
1 pointHi, yesterday I was at Fuji Speedway to see a practice of a racing Z432. Hayakawa san did 30 minutes test run for two sets , the car runs fantastic. We have some popular S20 engine builder in Japan , but today I don’t know there is a serious racing Z432 fighting on a track except Hayakawa san . Built and Tuned by Toyozumi san , he is doing my spare S20 too . I can’t wait the engine finished. Honestly, the Z432 was the best of sound among the circuit yesterday. It is true . There were many modern super fast monsters like AMG GT300 , Ferraris , Porches etc . But none of them were making fantastic sound . Maybe Ferraris? But not even close. Kats FullSizeRender.MOV IMG_7012.MOV IMG_7006.MOV


 1 point
 -
1 pointHi inline6 ! Actually I found the car on eBay just 6 hours before the ending . So please don’t feel guilty about me struggling with such a rough condition car 😁 I saw the thread after I bought it, I was impressed that you and Terrapin Z were talking about the car as if you were actually seeing it. Yes the engine had rebuilt at some point , and it was a 4 speed , and hit front in the past so newer bonnet was applied. One thing you were wondering about the engine was matched or not , this was the biggest concern to me too . Terrapin Z said “ this seller really doesn’t know these cars well , as he was asked about the engine number and provided a picture of the casting number “ Yes , I was feeling exactly the same way too , and this led to me to think “ the seller not trying to sell it high “ . Why did I decide to go for it ? Because I was able to see portions of left edge of number “ 2 “ just a little bit , I was for sure this engine would be made in February 1970 just like my #2156 . I was drawing on our knowledge which was shared in classiczcars.com , and it succeeded. Kats

 1 point
 -
1 pointI would like to say thank you Alan too , those are museum pieces, if not you , I don’t know who will be able to show those . We are lucky to be here . Yes , those parts are usually hard to see . Thanks ! Kats1 point
-
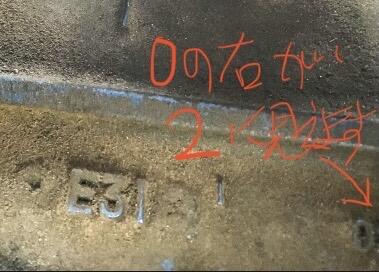
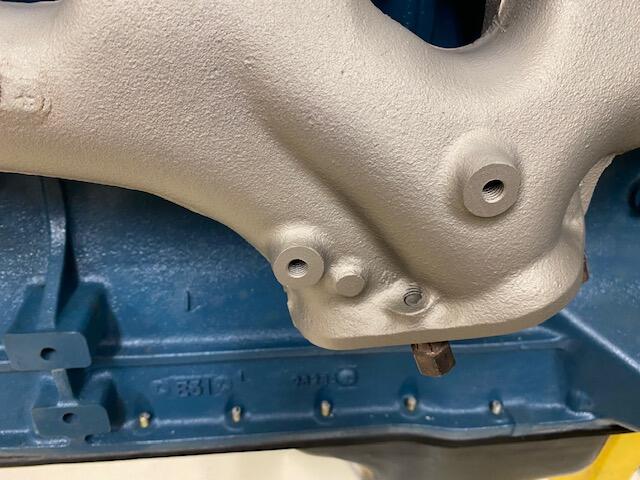
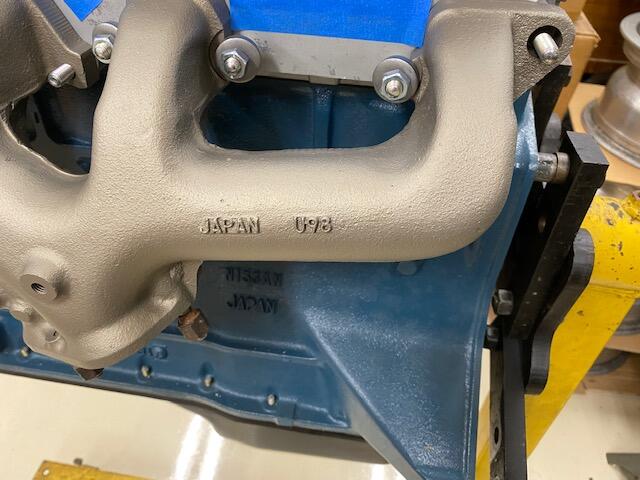
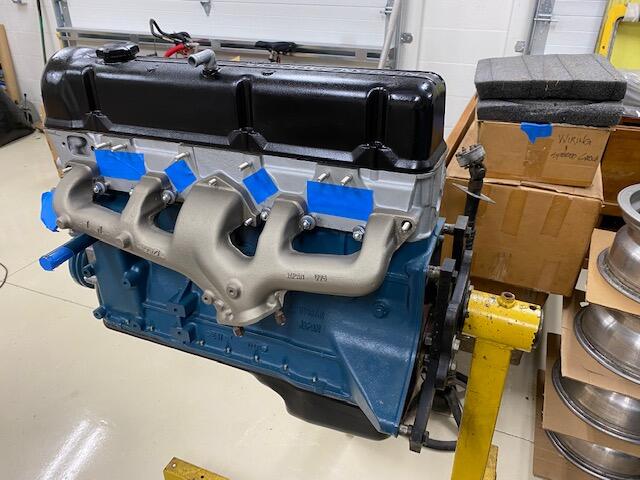
1 pointHear are some pictures of the exhaust manifold I found for 26th. This was just after I had it ceramic coated and I was testing the fit. It came with a metal shroud for the air filter pre-heater tube bolted to the manifold. That's what those tapped holes are for. It has full casting nipples. Yours were ground off, Kats! My thought about this manifold is that the flow and pressure is about the same as a set of custom headers. I read some report that dyno tested the cast manifold against the headers for the gain in horsepower.

 1 point