


Leaderboard
-

siteunseen
Free Member7Points15,115Posts -
HS30-H
Free Member6Points5,509Posts -
240dkw
Free Member3Points711Posts -
conedodger
Free Member3Points12,516Posts


Popular Content
Showing content with the highest reputation on 06/06/2022 in Posts
-
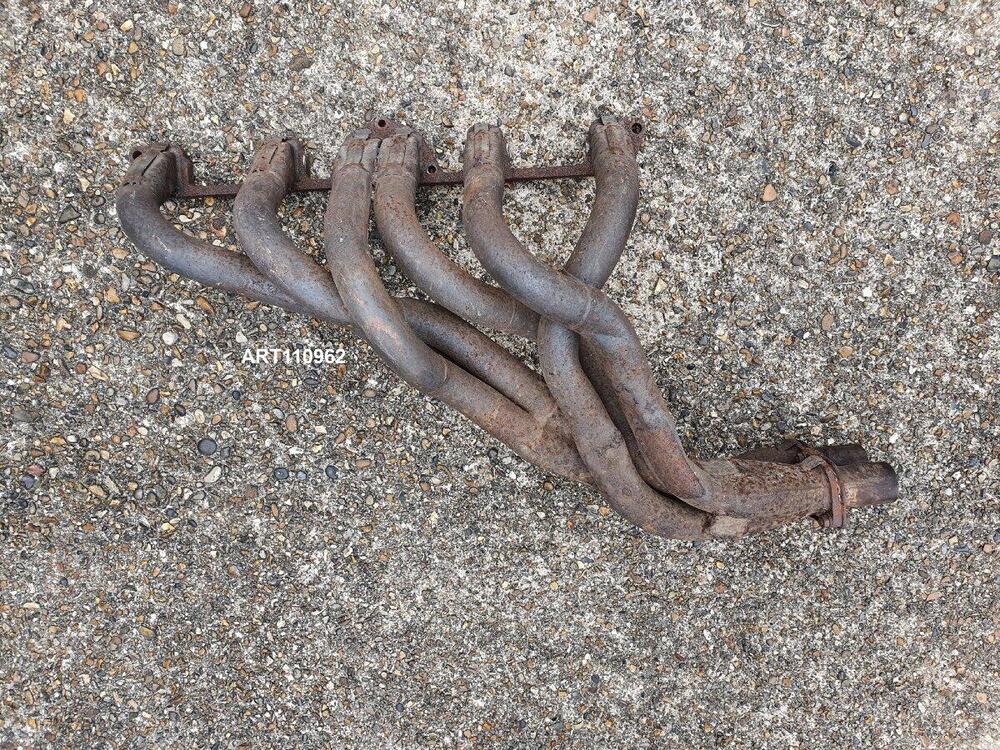
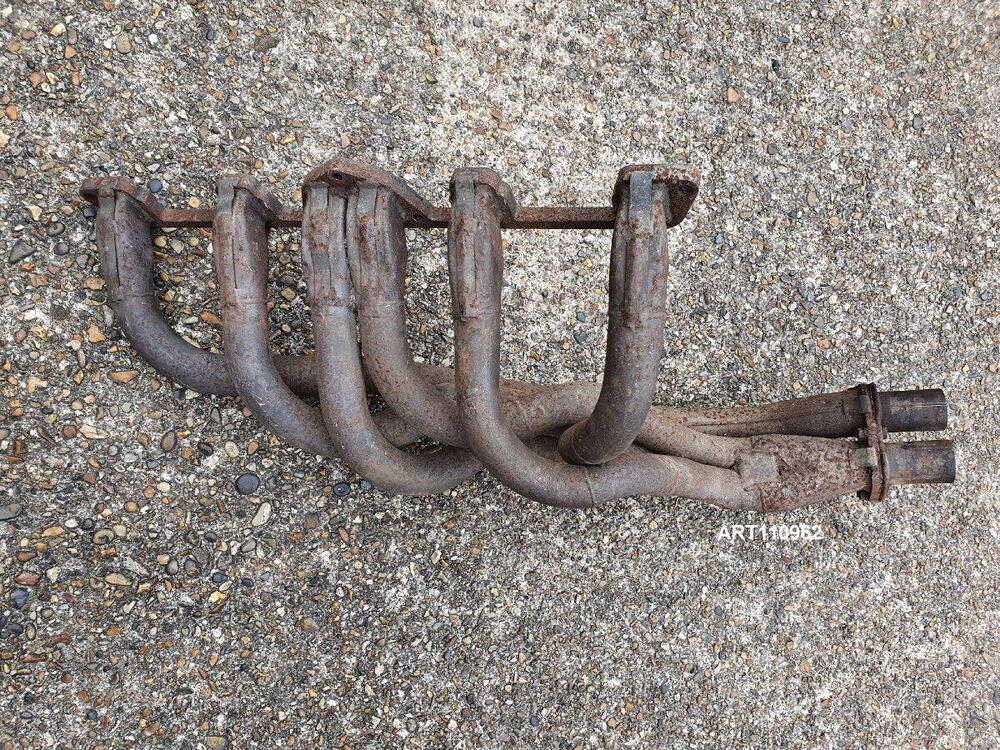
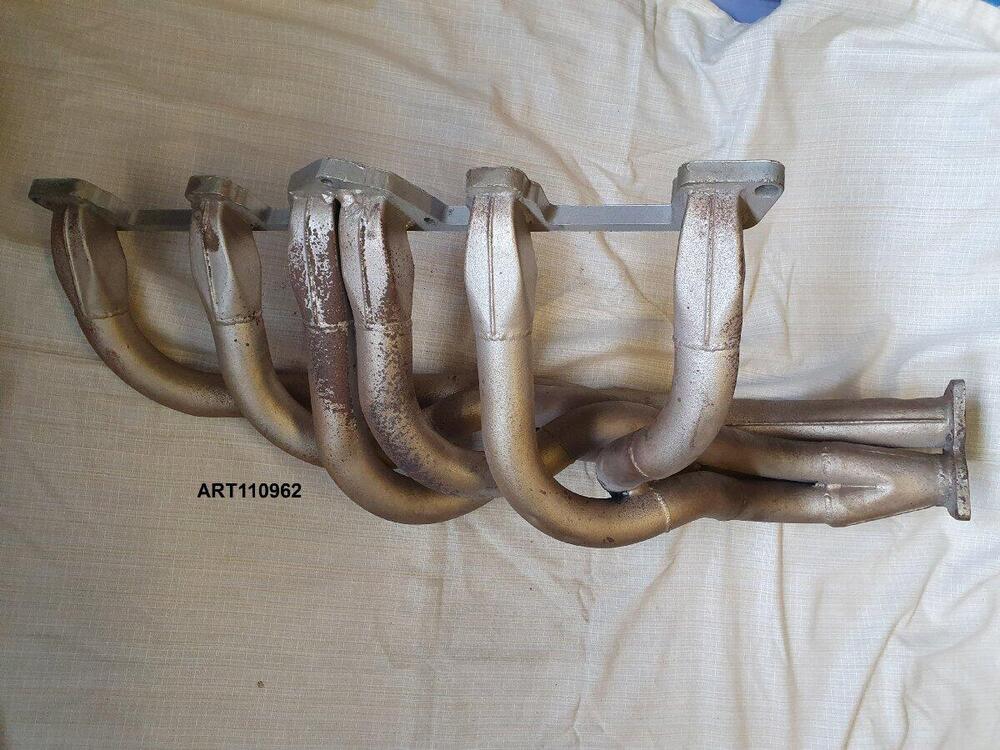
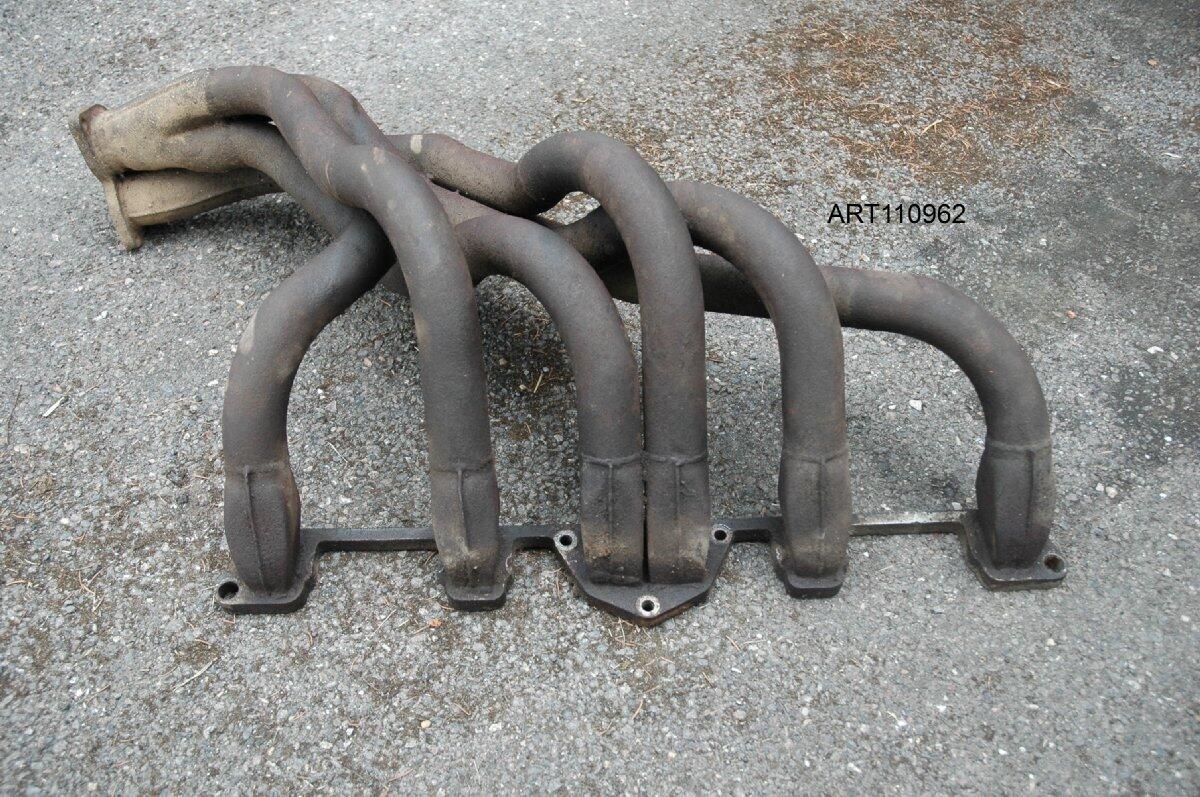
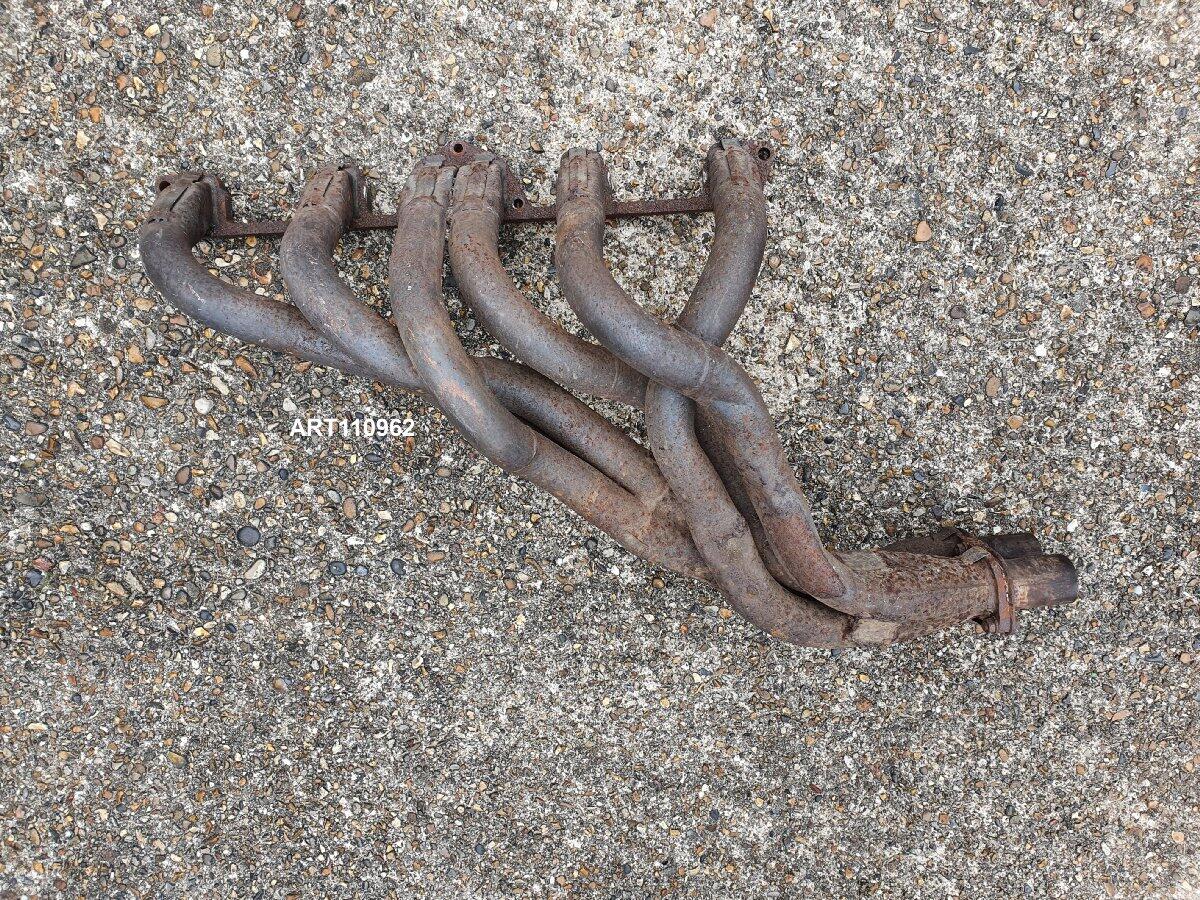
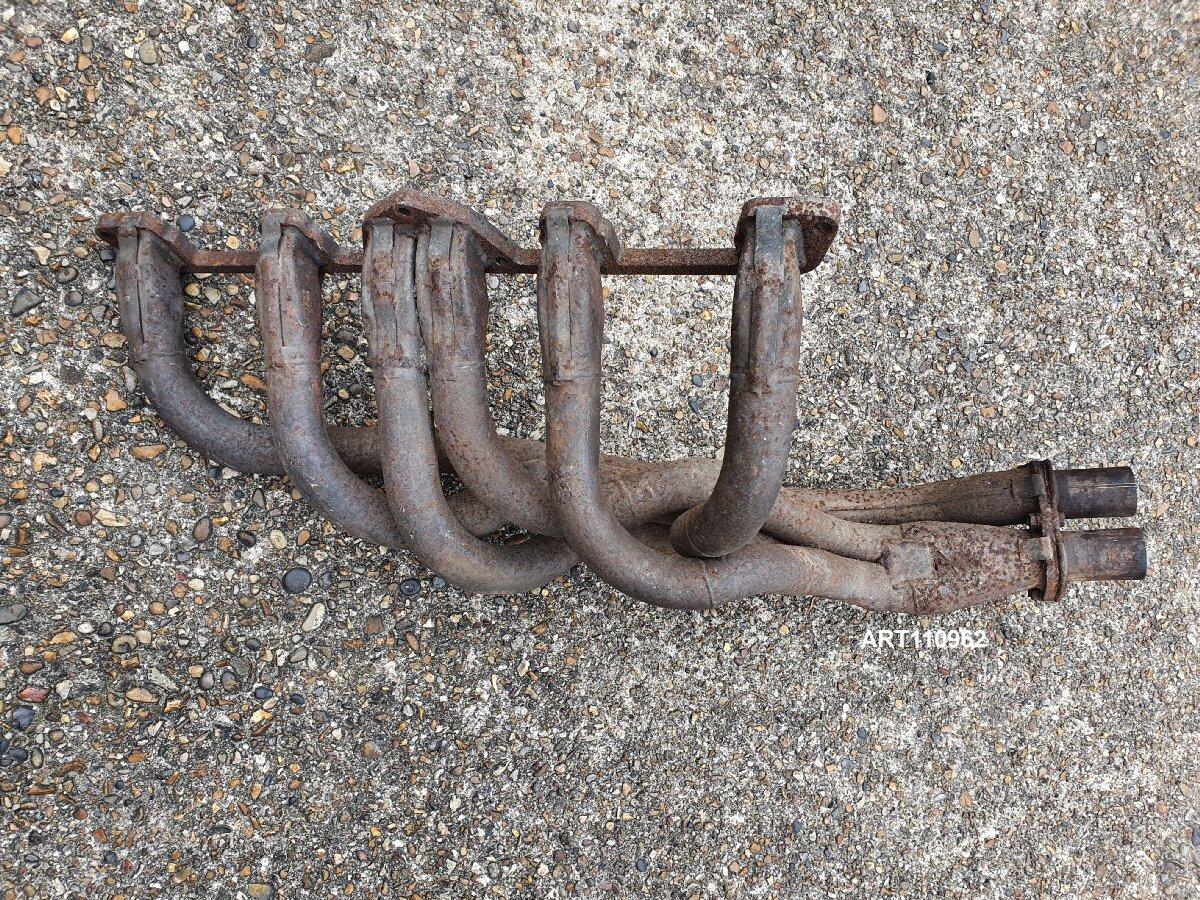
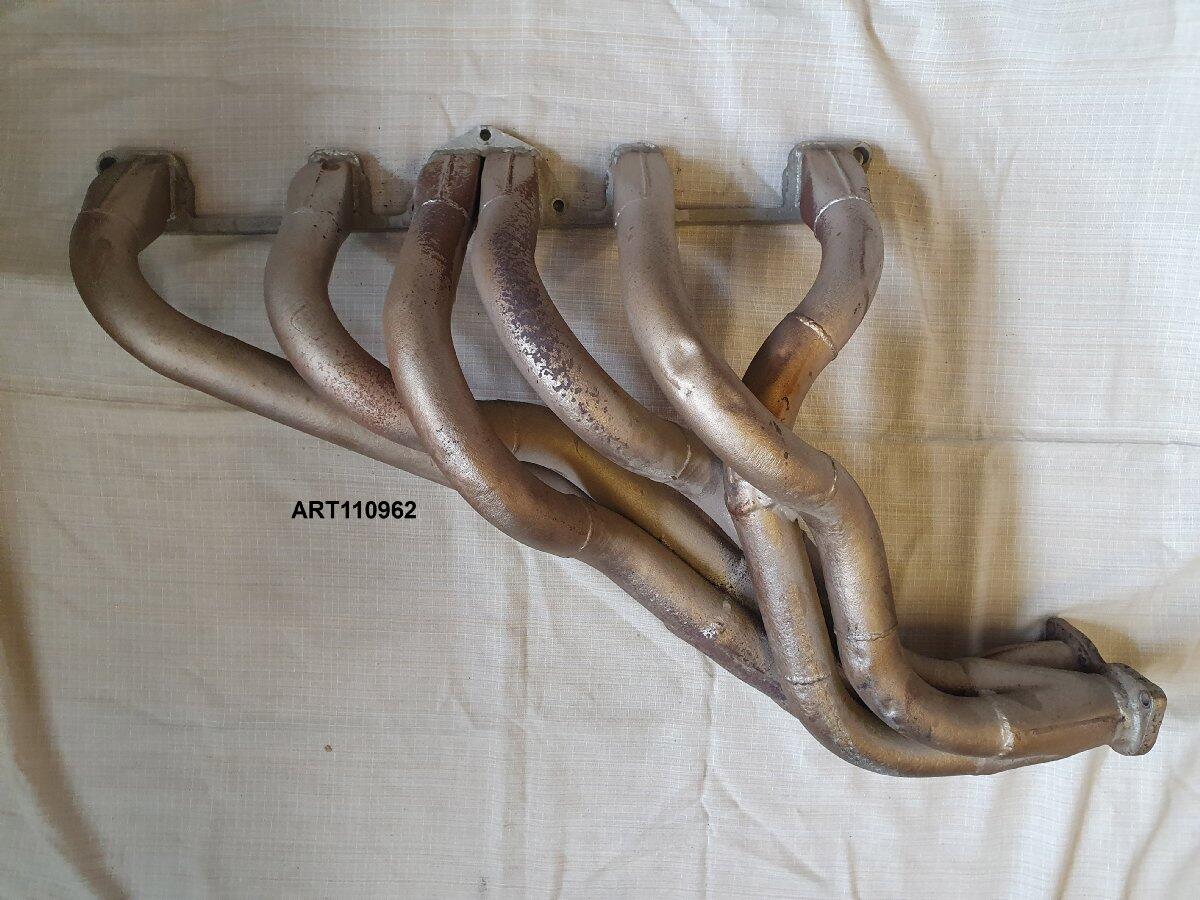
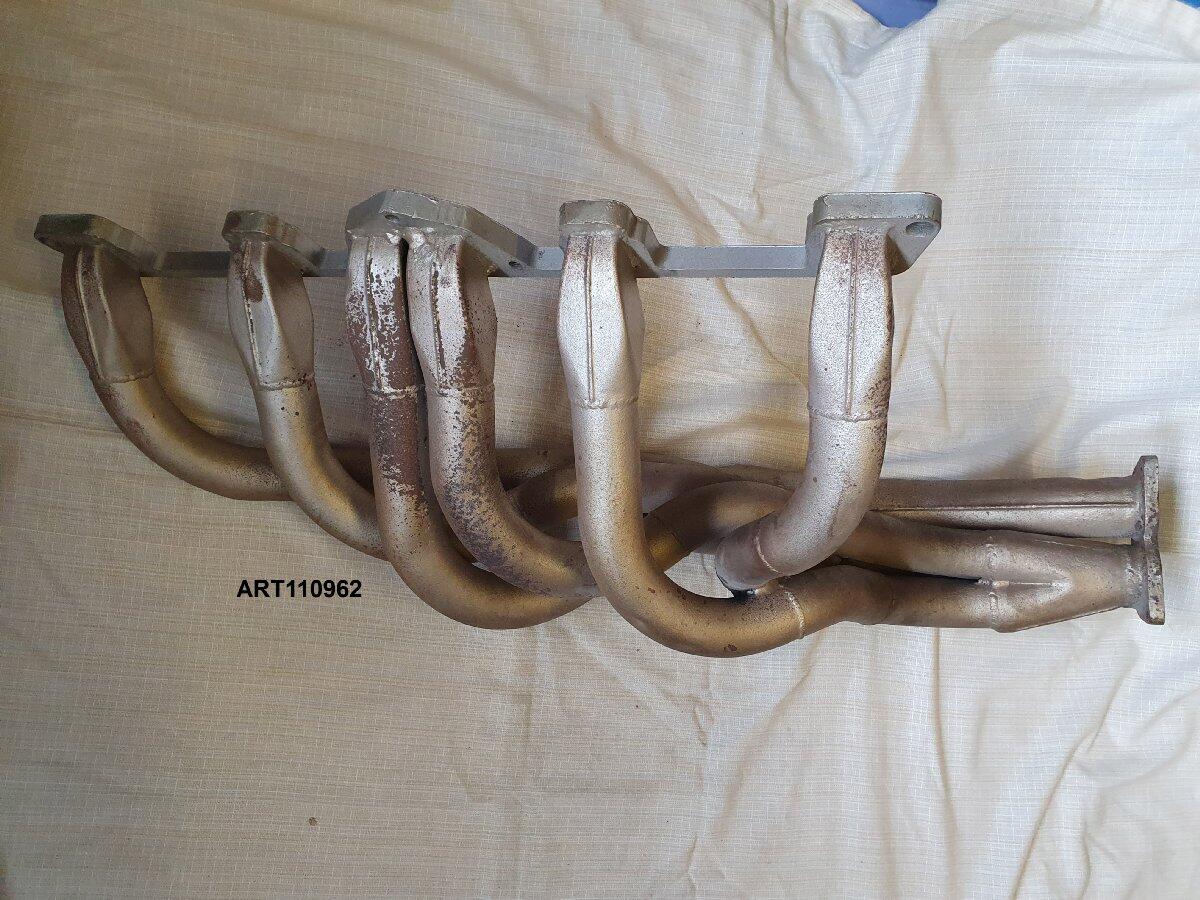
6 pointsI'm possibly not the best person to answer the question regarding what was available for the LHD models, but - as far as I am aware - the full range of Nissan Sports/Race Option parts, as seen in the Japanese market, were not readily available for buyers in Export markets until Nissan started issuing their catalogues in English. Certain individuals, race and rally preparation shops and dealers got access to the Japanese catalogues through their own contacts and purchased parts privately (reportedly this could often be a struggle...) but it was not until the mid 1970s that this became a little easier. 'Datsun Competition' in the USA seemed to sell a mixture of Japanese made parts and locally-sourced products, and - for example - their 99996-E1140 'Competition Header' for the L6 was certainly a locally-made version with a single merged outlet rather than the typical Japanese 'binocular' twin-pipe outlet. The Works rally cars usually had hand-made exhaust manifolds with the expected creeping evolutionary differences. They were always made in Japan and the cars arrived fully built and ready for the events, even if a little local modification (to suit driver and navigator preference) was performed locally by a combination of Works and satellite team personnel. Because of their position on the cars the manifolds are quite camera shy, but here are some I have captured:


 6 points
 -
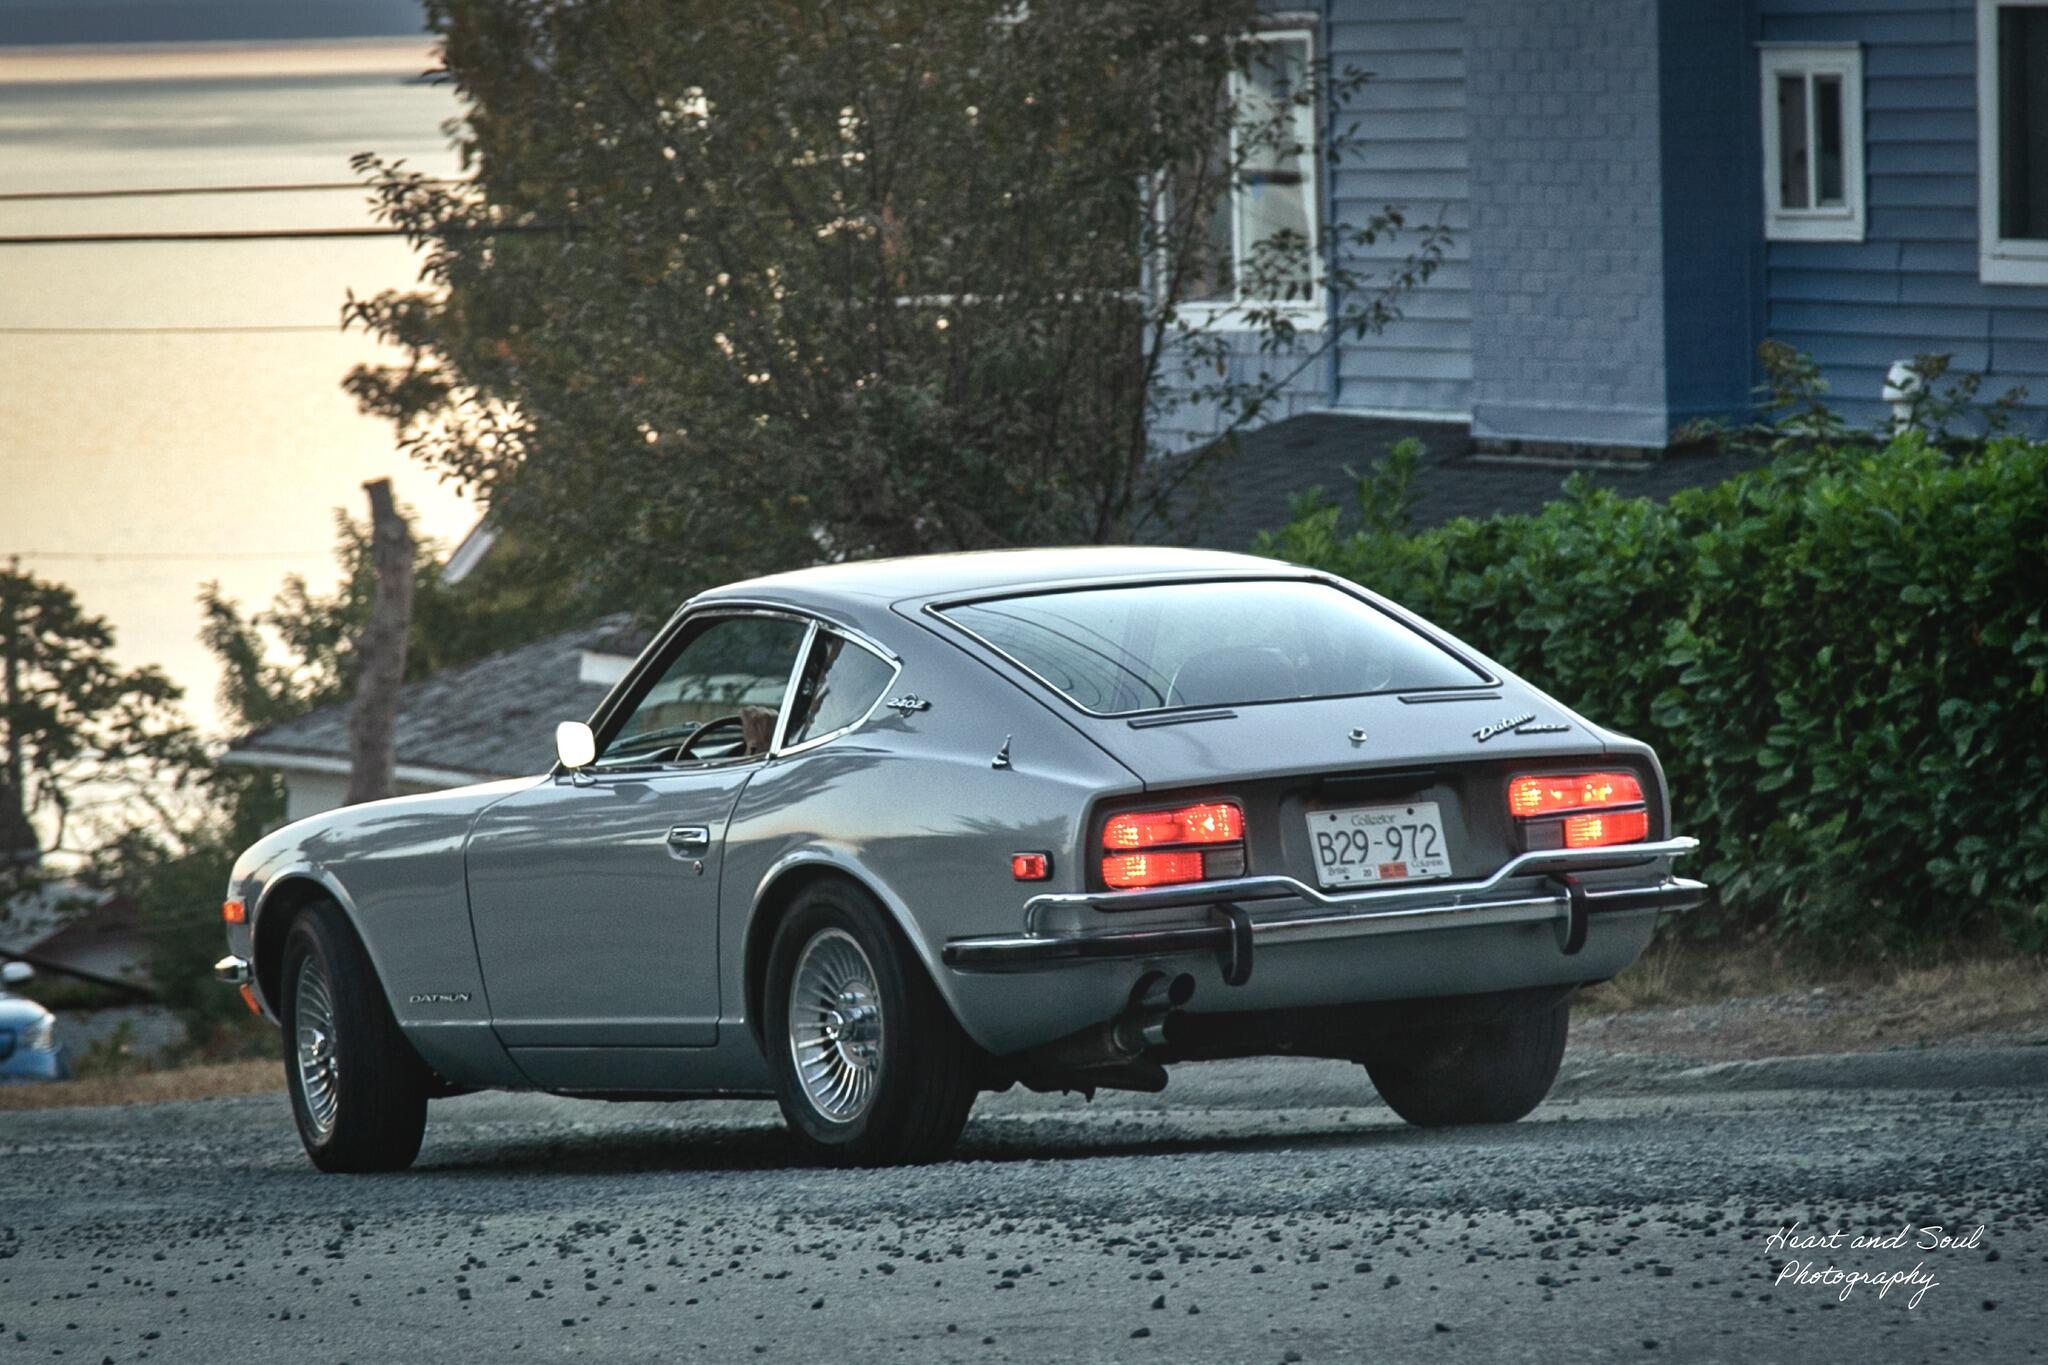
3 pointsYes, it is a 1970 Canadian car, a UN code. So it has none of the emissions equipment on it.3 points
-
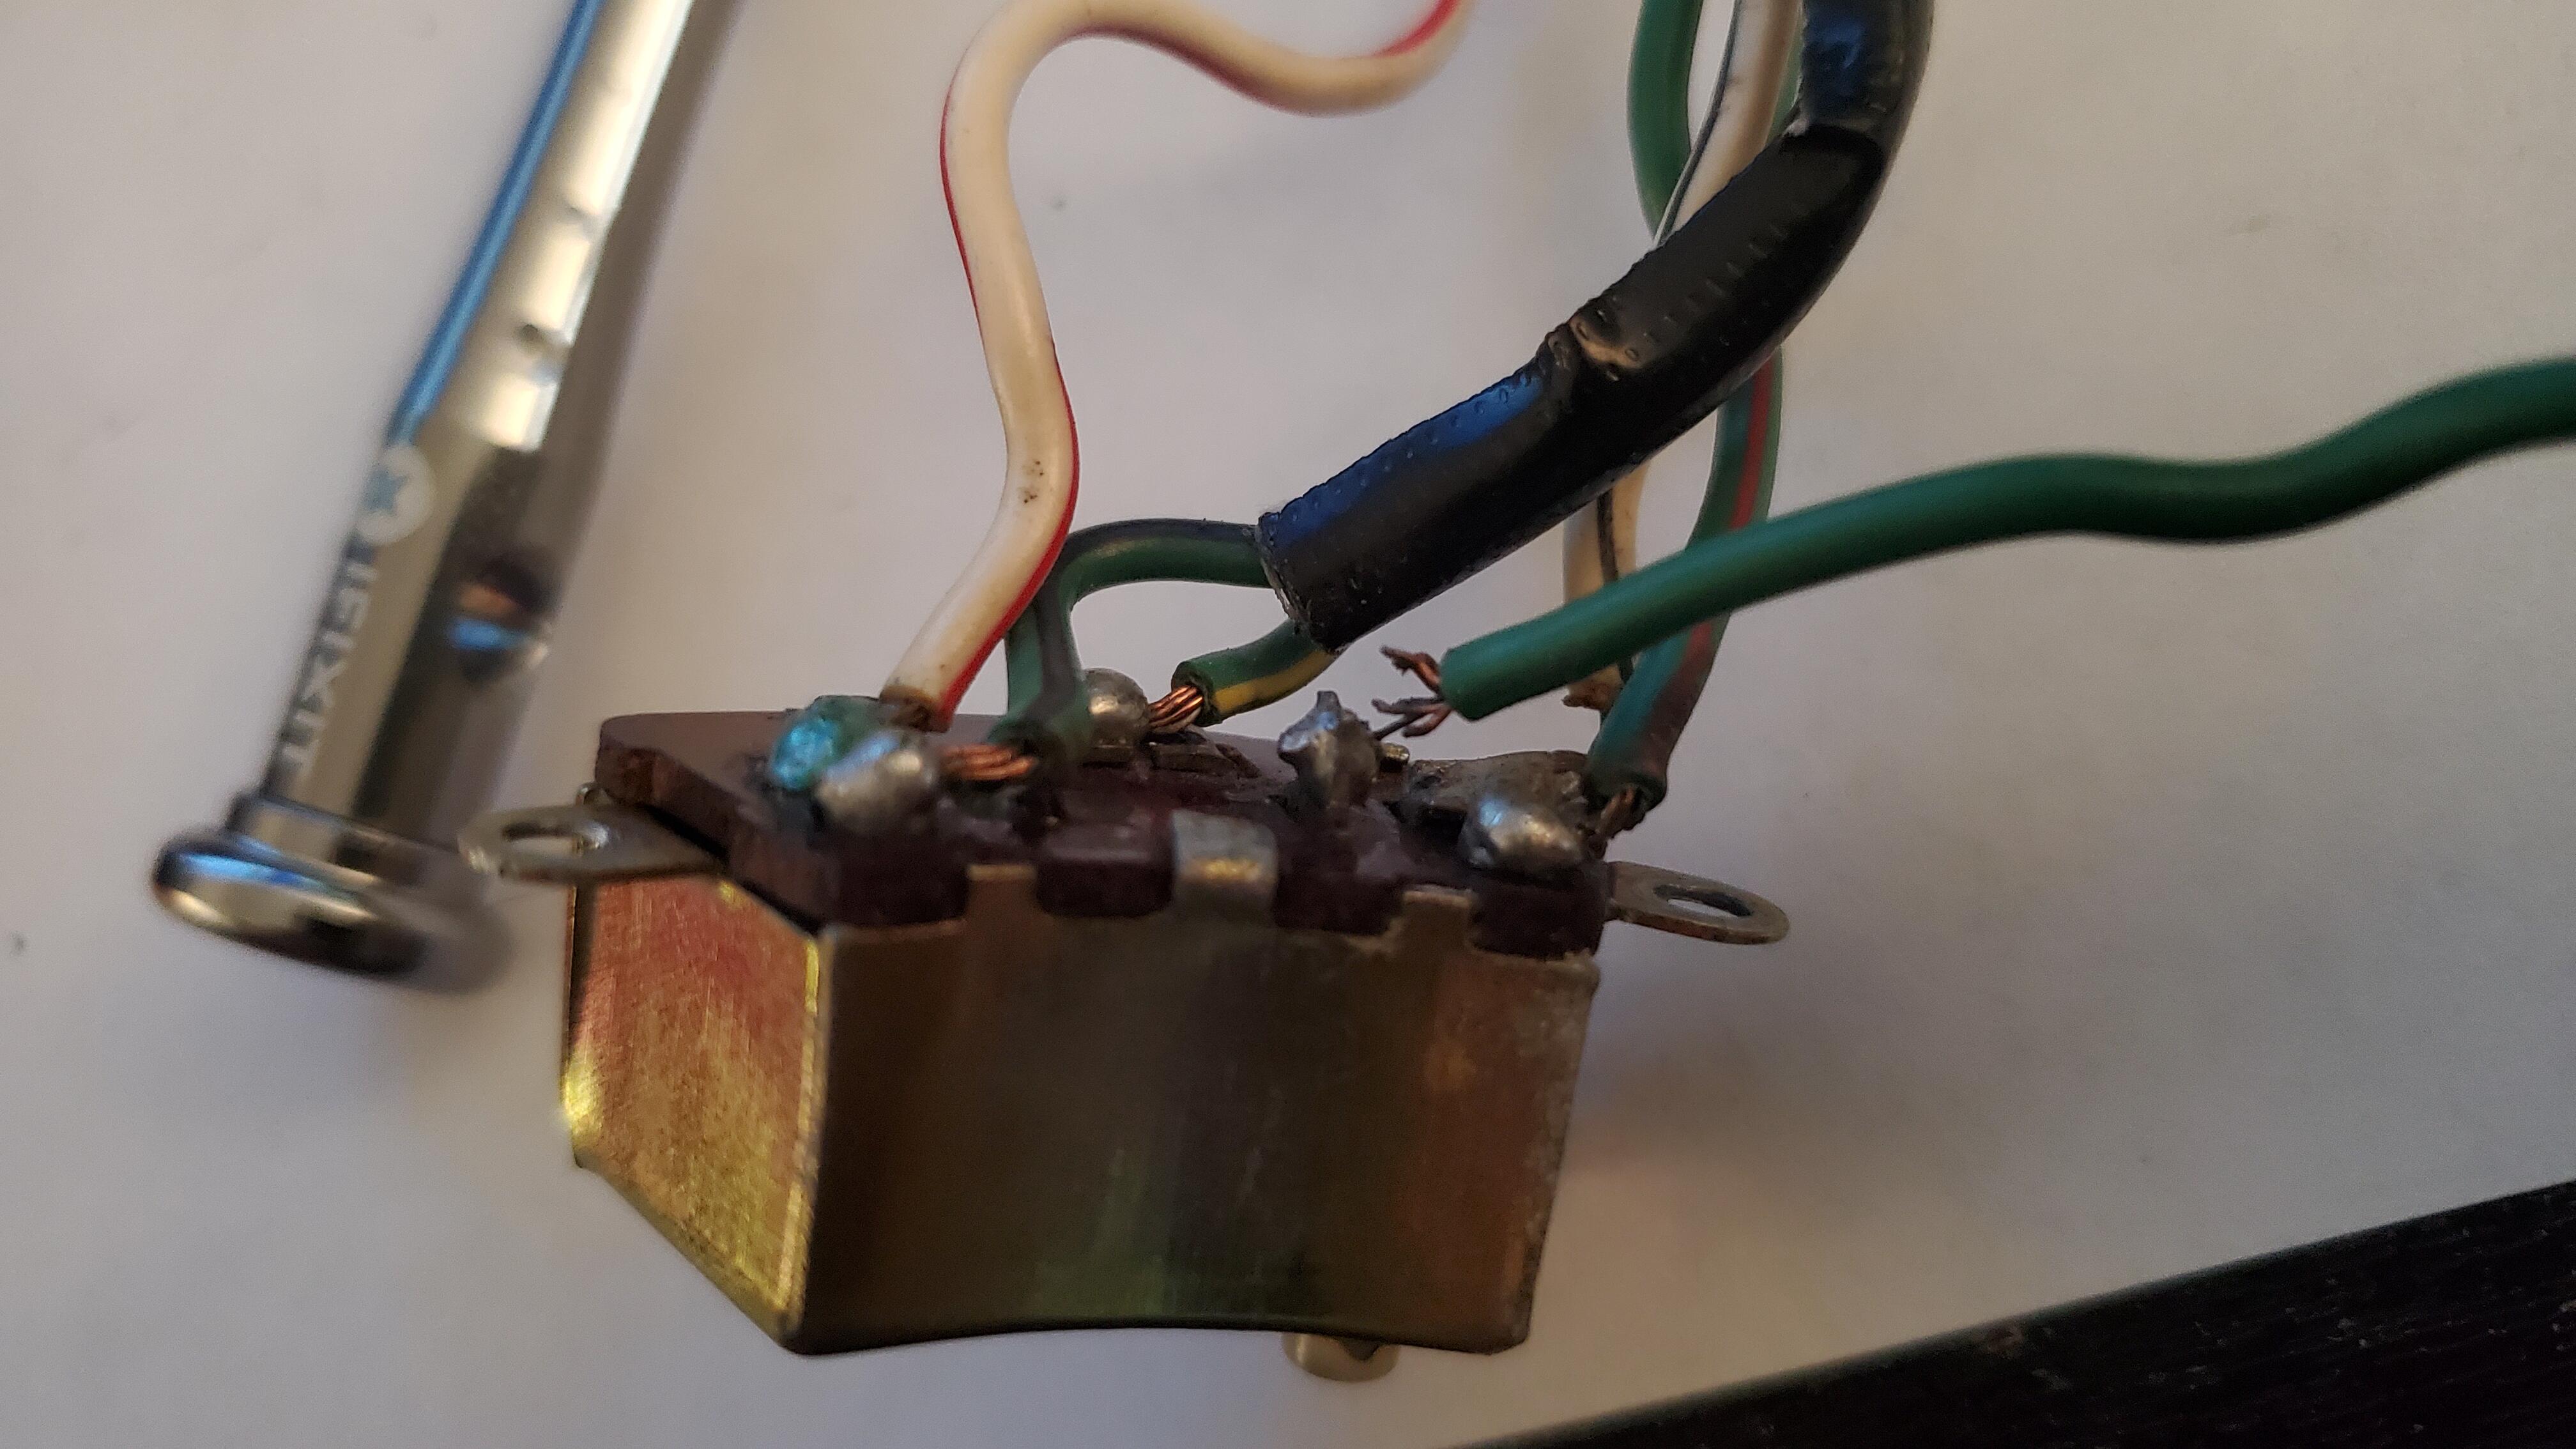
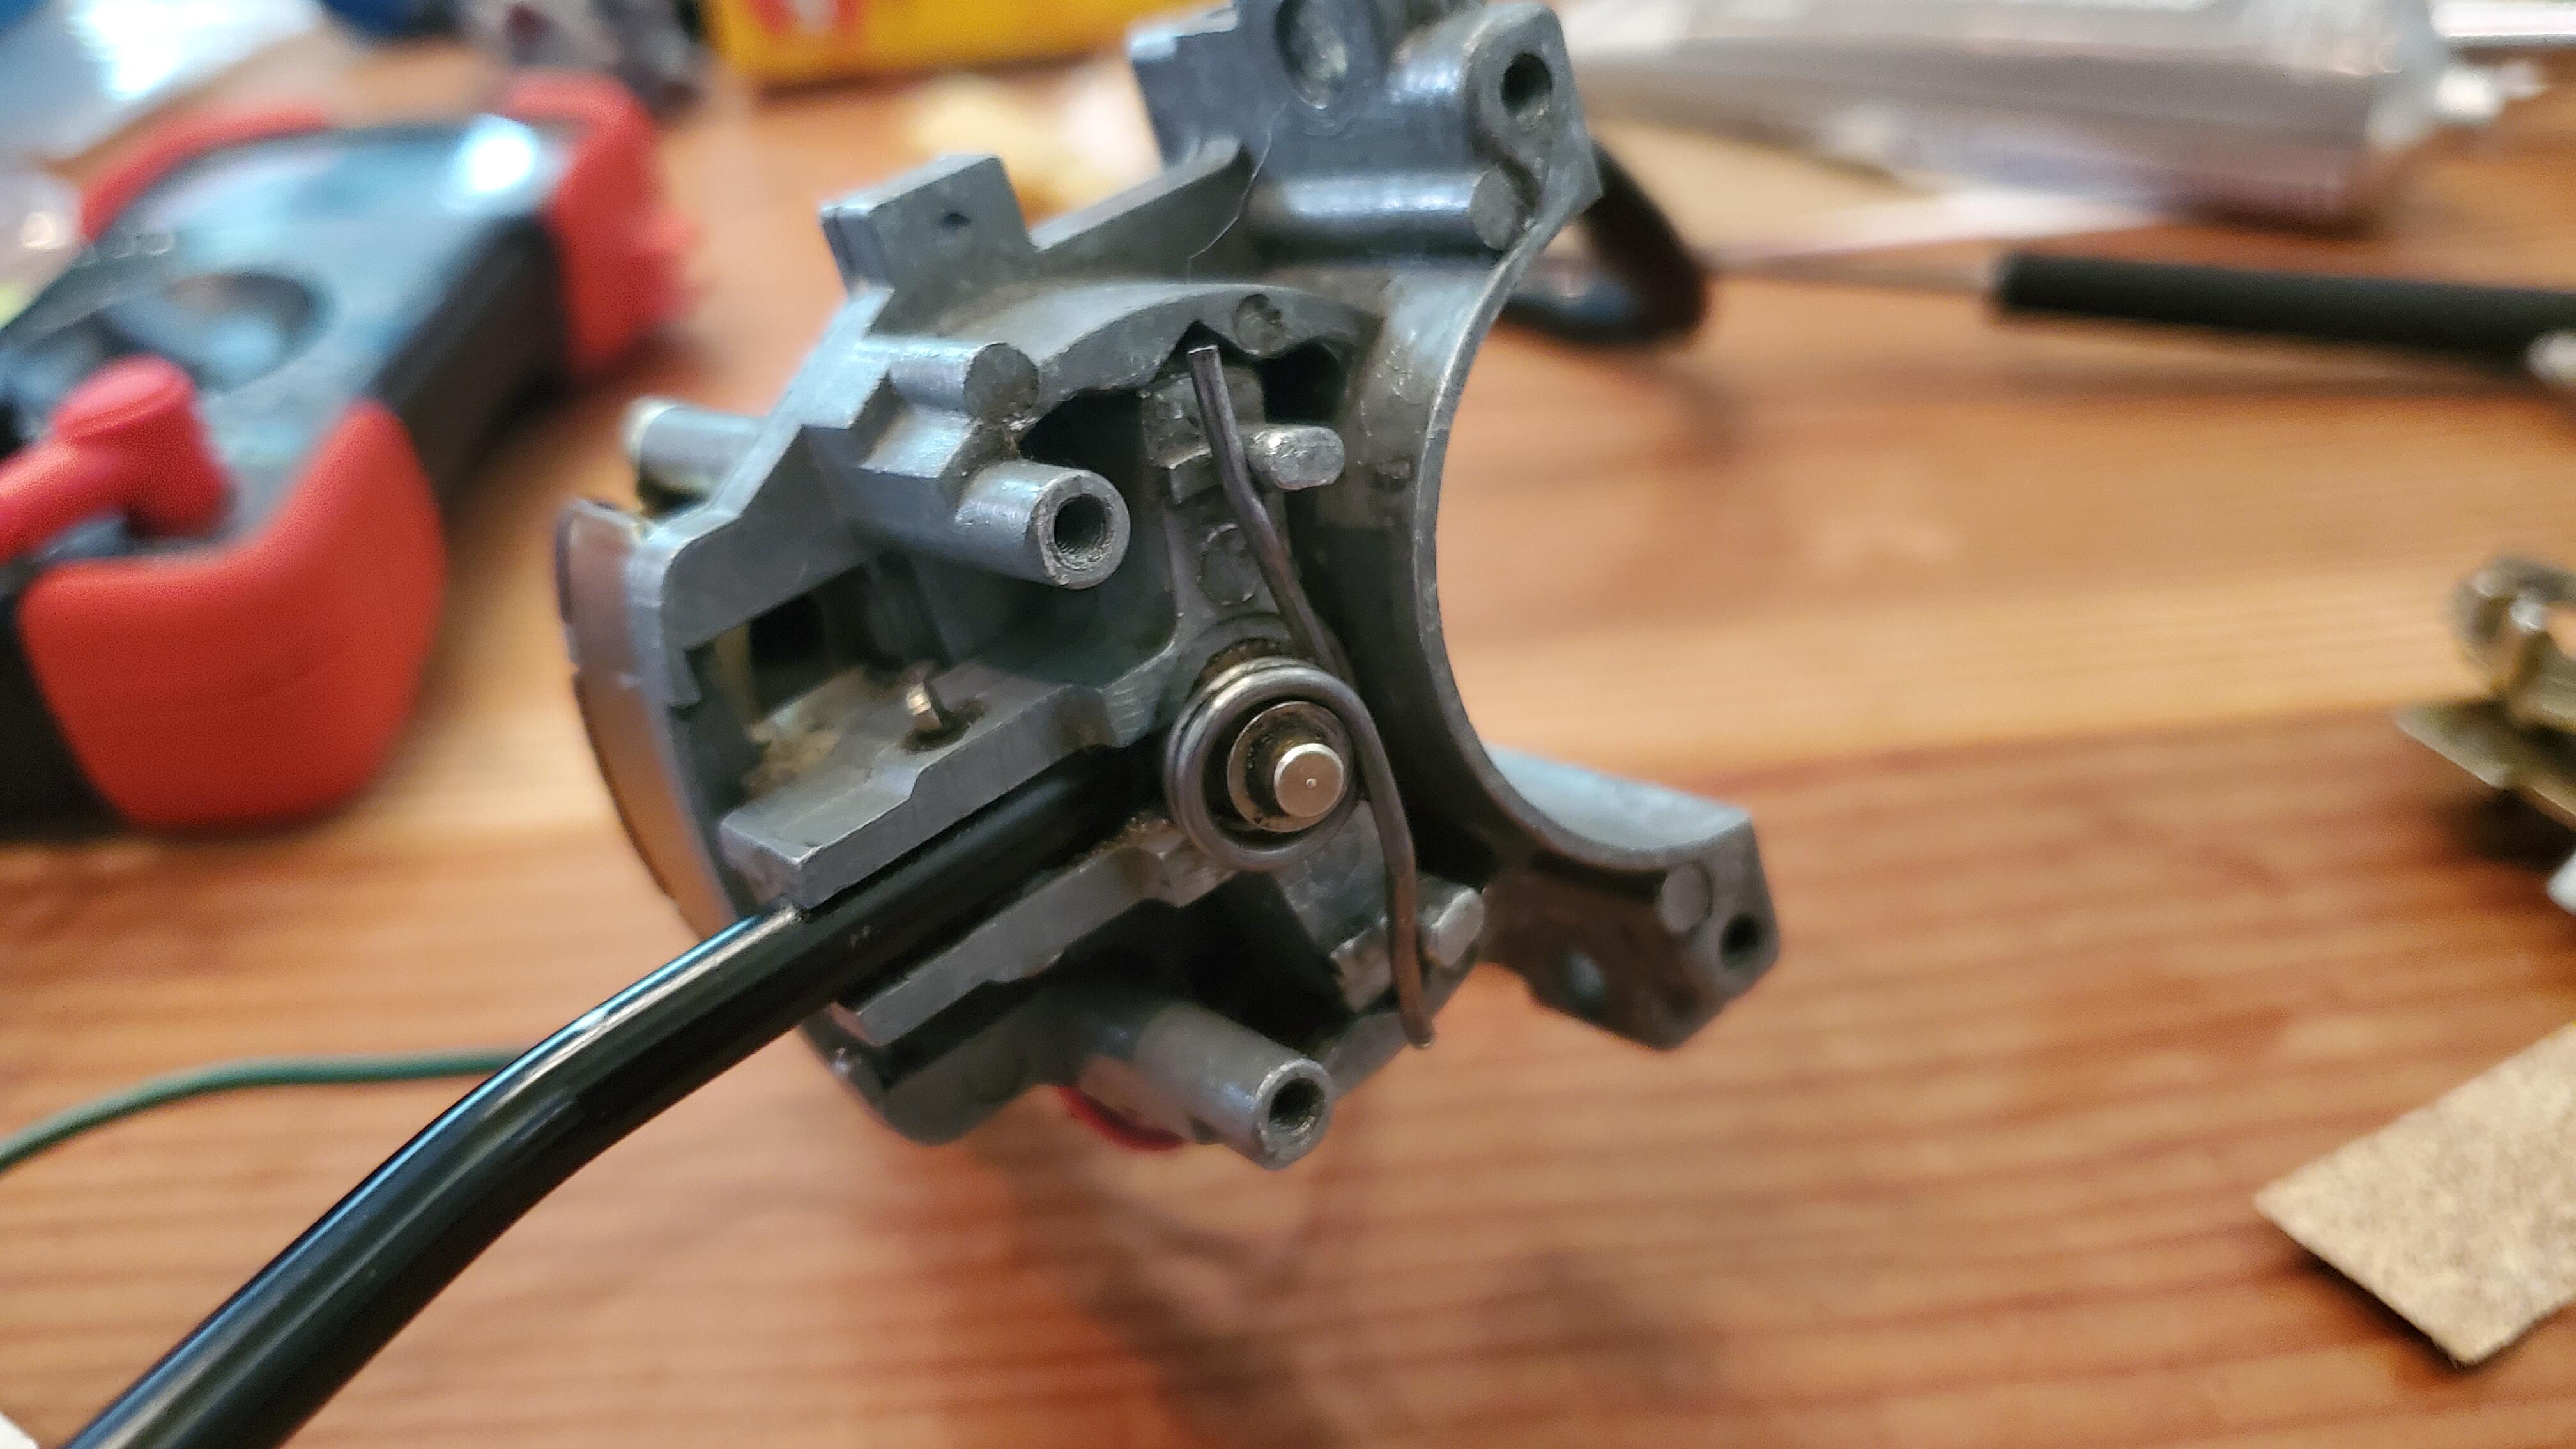
3 pointsJust wanted to circle back on this as I wrapped this up today. Someone has definitely been through this switch before. I really wanted to take the switch box apart and just adjust the contacts inside, but the tabs already looked a bit cracked and I didn't think they'd survive another round of opening and closing so I was looking for a different fix. I could peak through the opening and things looked pretty clean and fresh though so it might have been refurbed by the PO I got the stock on the bench and first thing I noticed was the 12v supply had a terrible contact (you can see it hanging on by a literal thread here). That's the 12v supply so I wonder if that impacted the relay at all A simple way to test this is hook something up to that 12v source wire (the solid green wire there) and as you move the switch at the bottom you should have continuity between the left and right signals. After fixing 2 more bad contacts everything was working well with the box on it's own but after I installed it back in the stock not all the signals were working After fiddling for a bit I noticed that the turn signal stalk itself wasn't traveling the full length of switch so it wasn't activating the signals like it was when I tested it on it's own. I could really push on the stalk and it would activate them but it didn't feel right or natural I eventually noticed that this spring, which butts up against the turn signal reset mechanism (the gold ratcheting bits you see in turn signal assembly but they are removed and to the right here), was what was limiting how much travel the switch could make. I initially started by grinding the bottom pin a bit to give it a bit more space which helped a bit, but it was still intermittent. Eventually I just took the spring off and bent it to loosen the tension and that resolved the issue! The switch is now super easy to activate and all the signals are working.

 3 points
 -
2 points
-
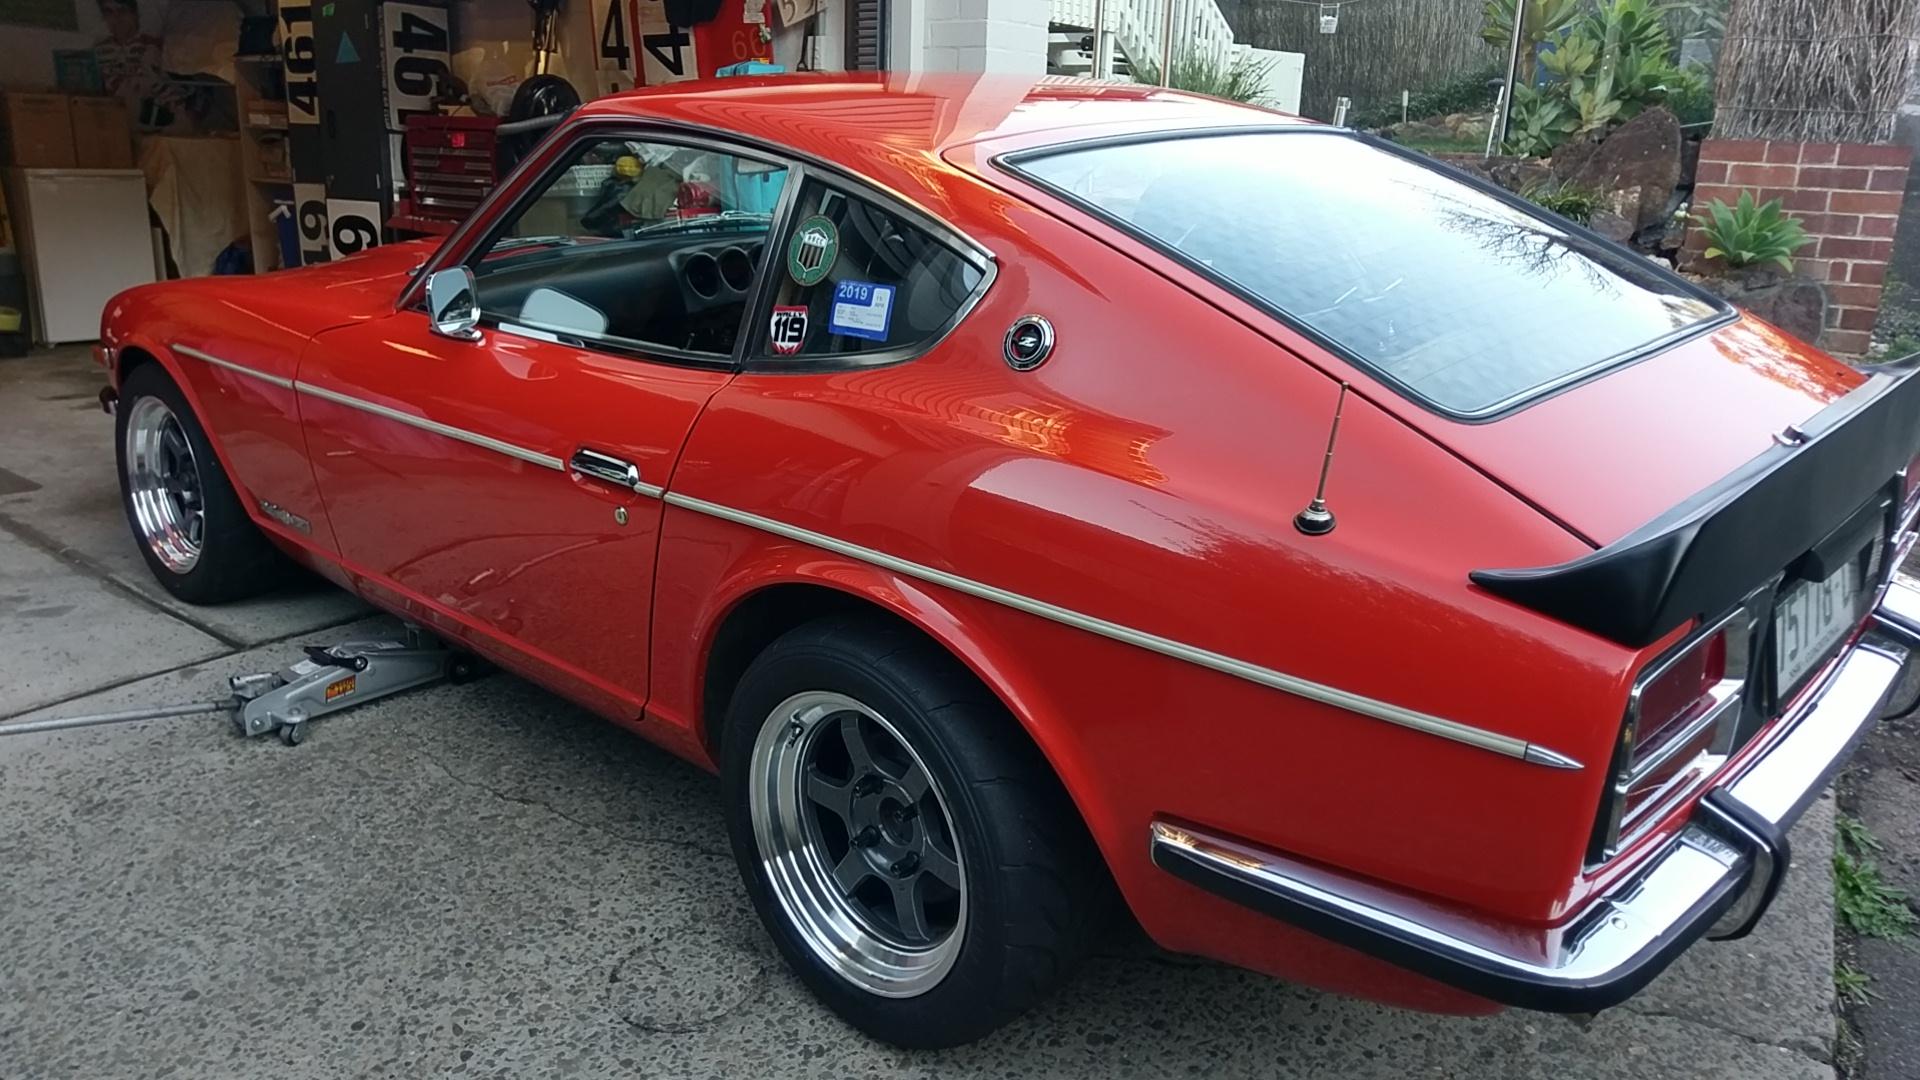
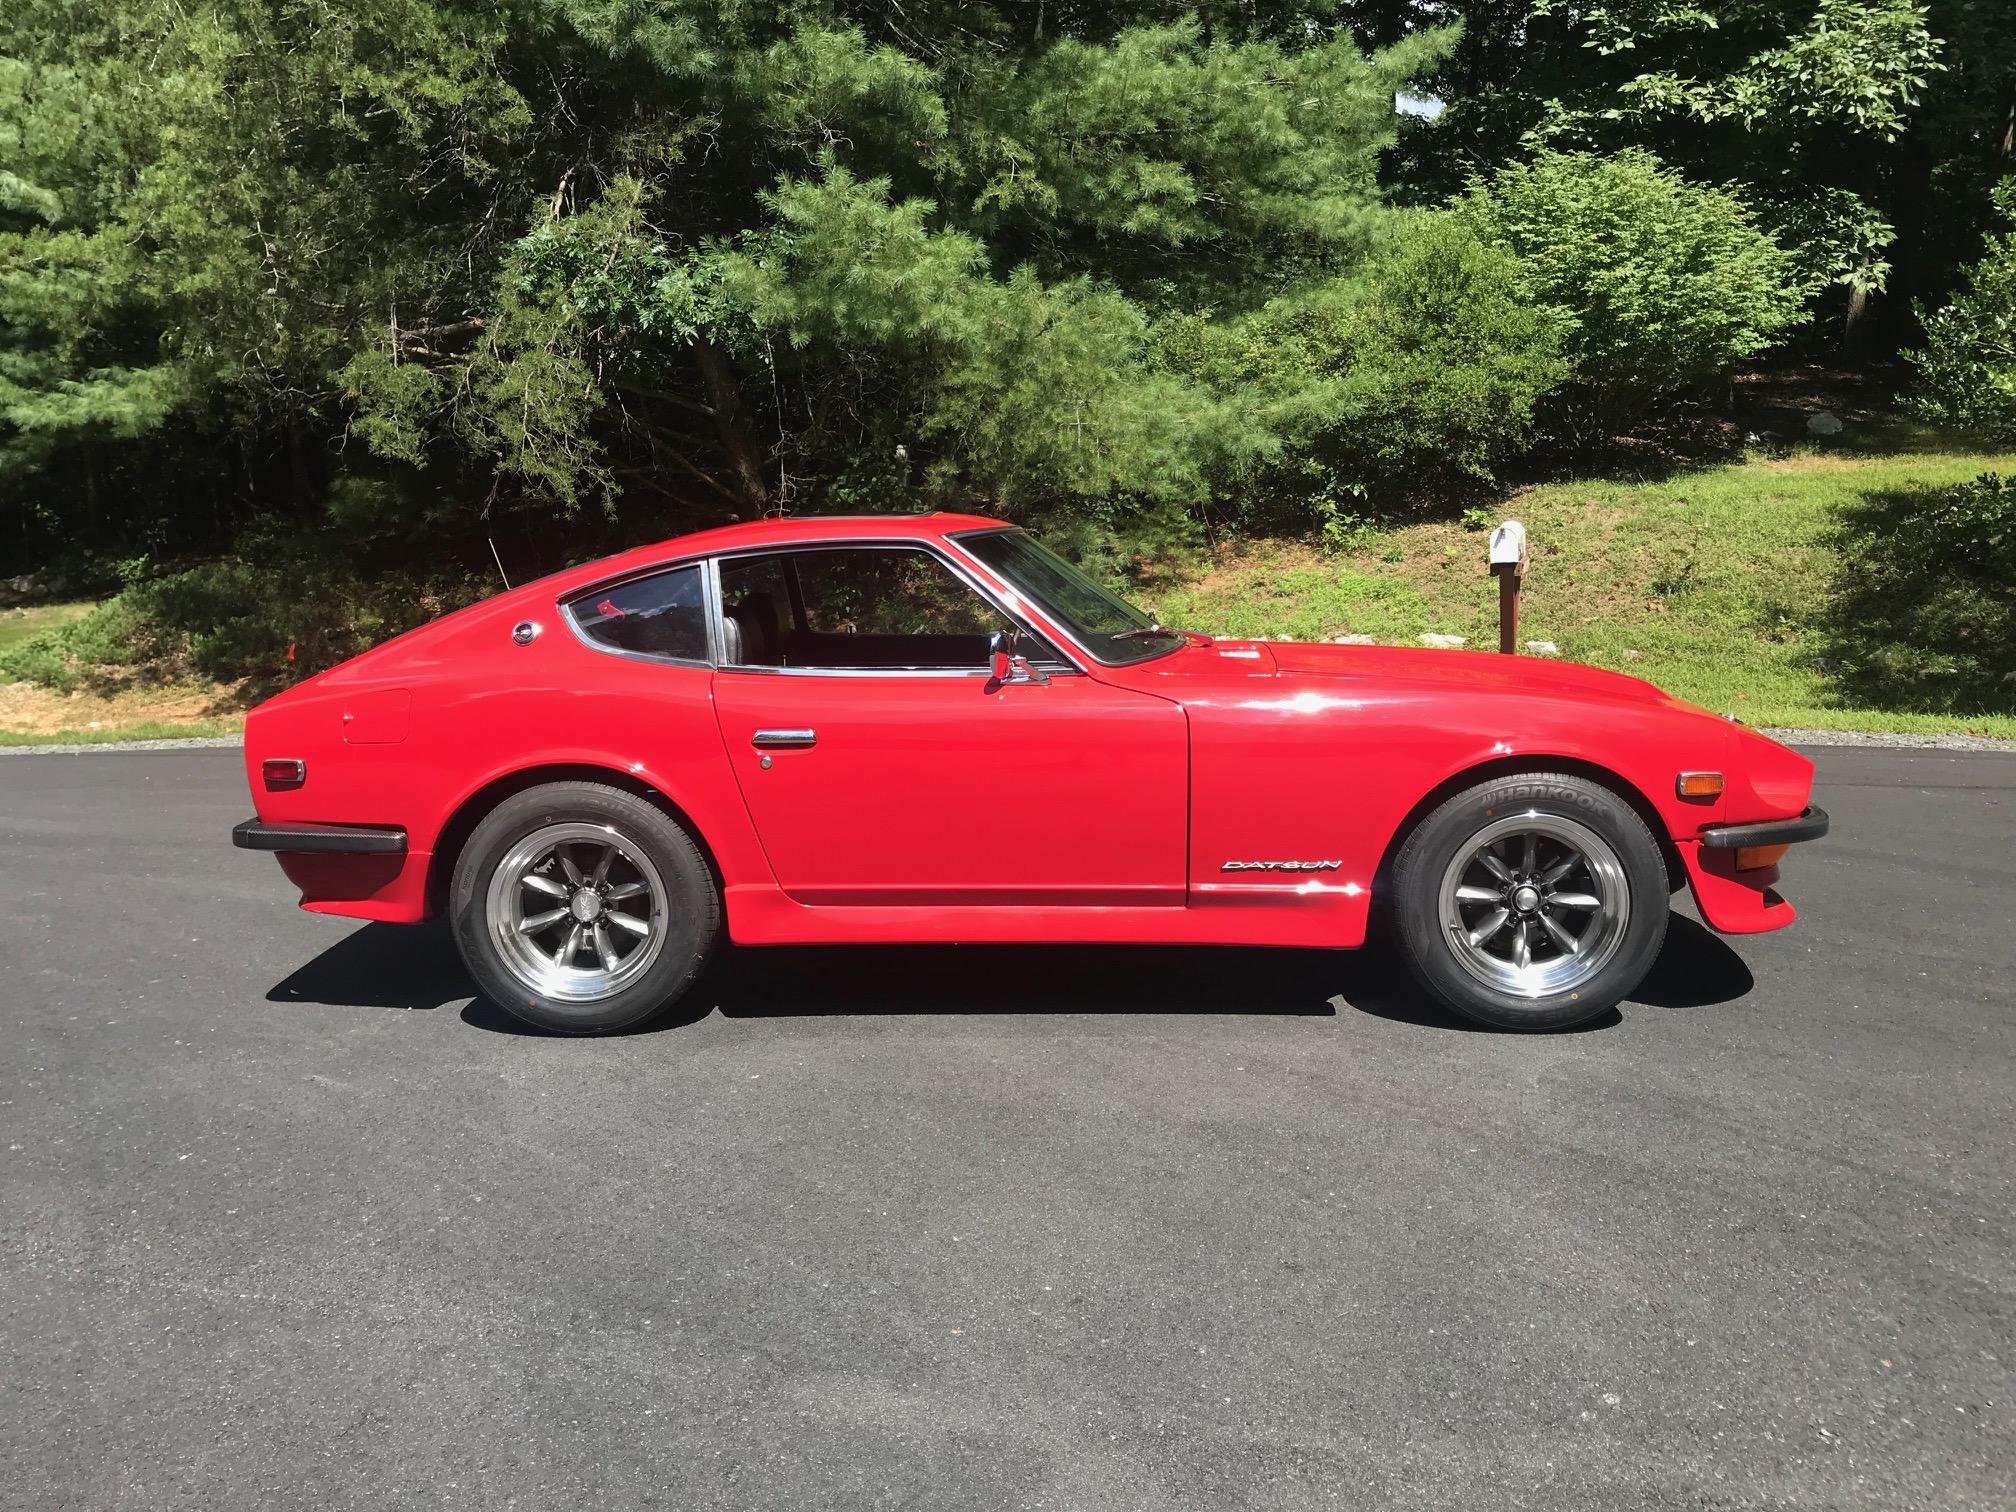
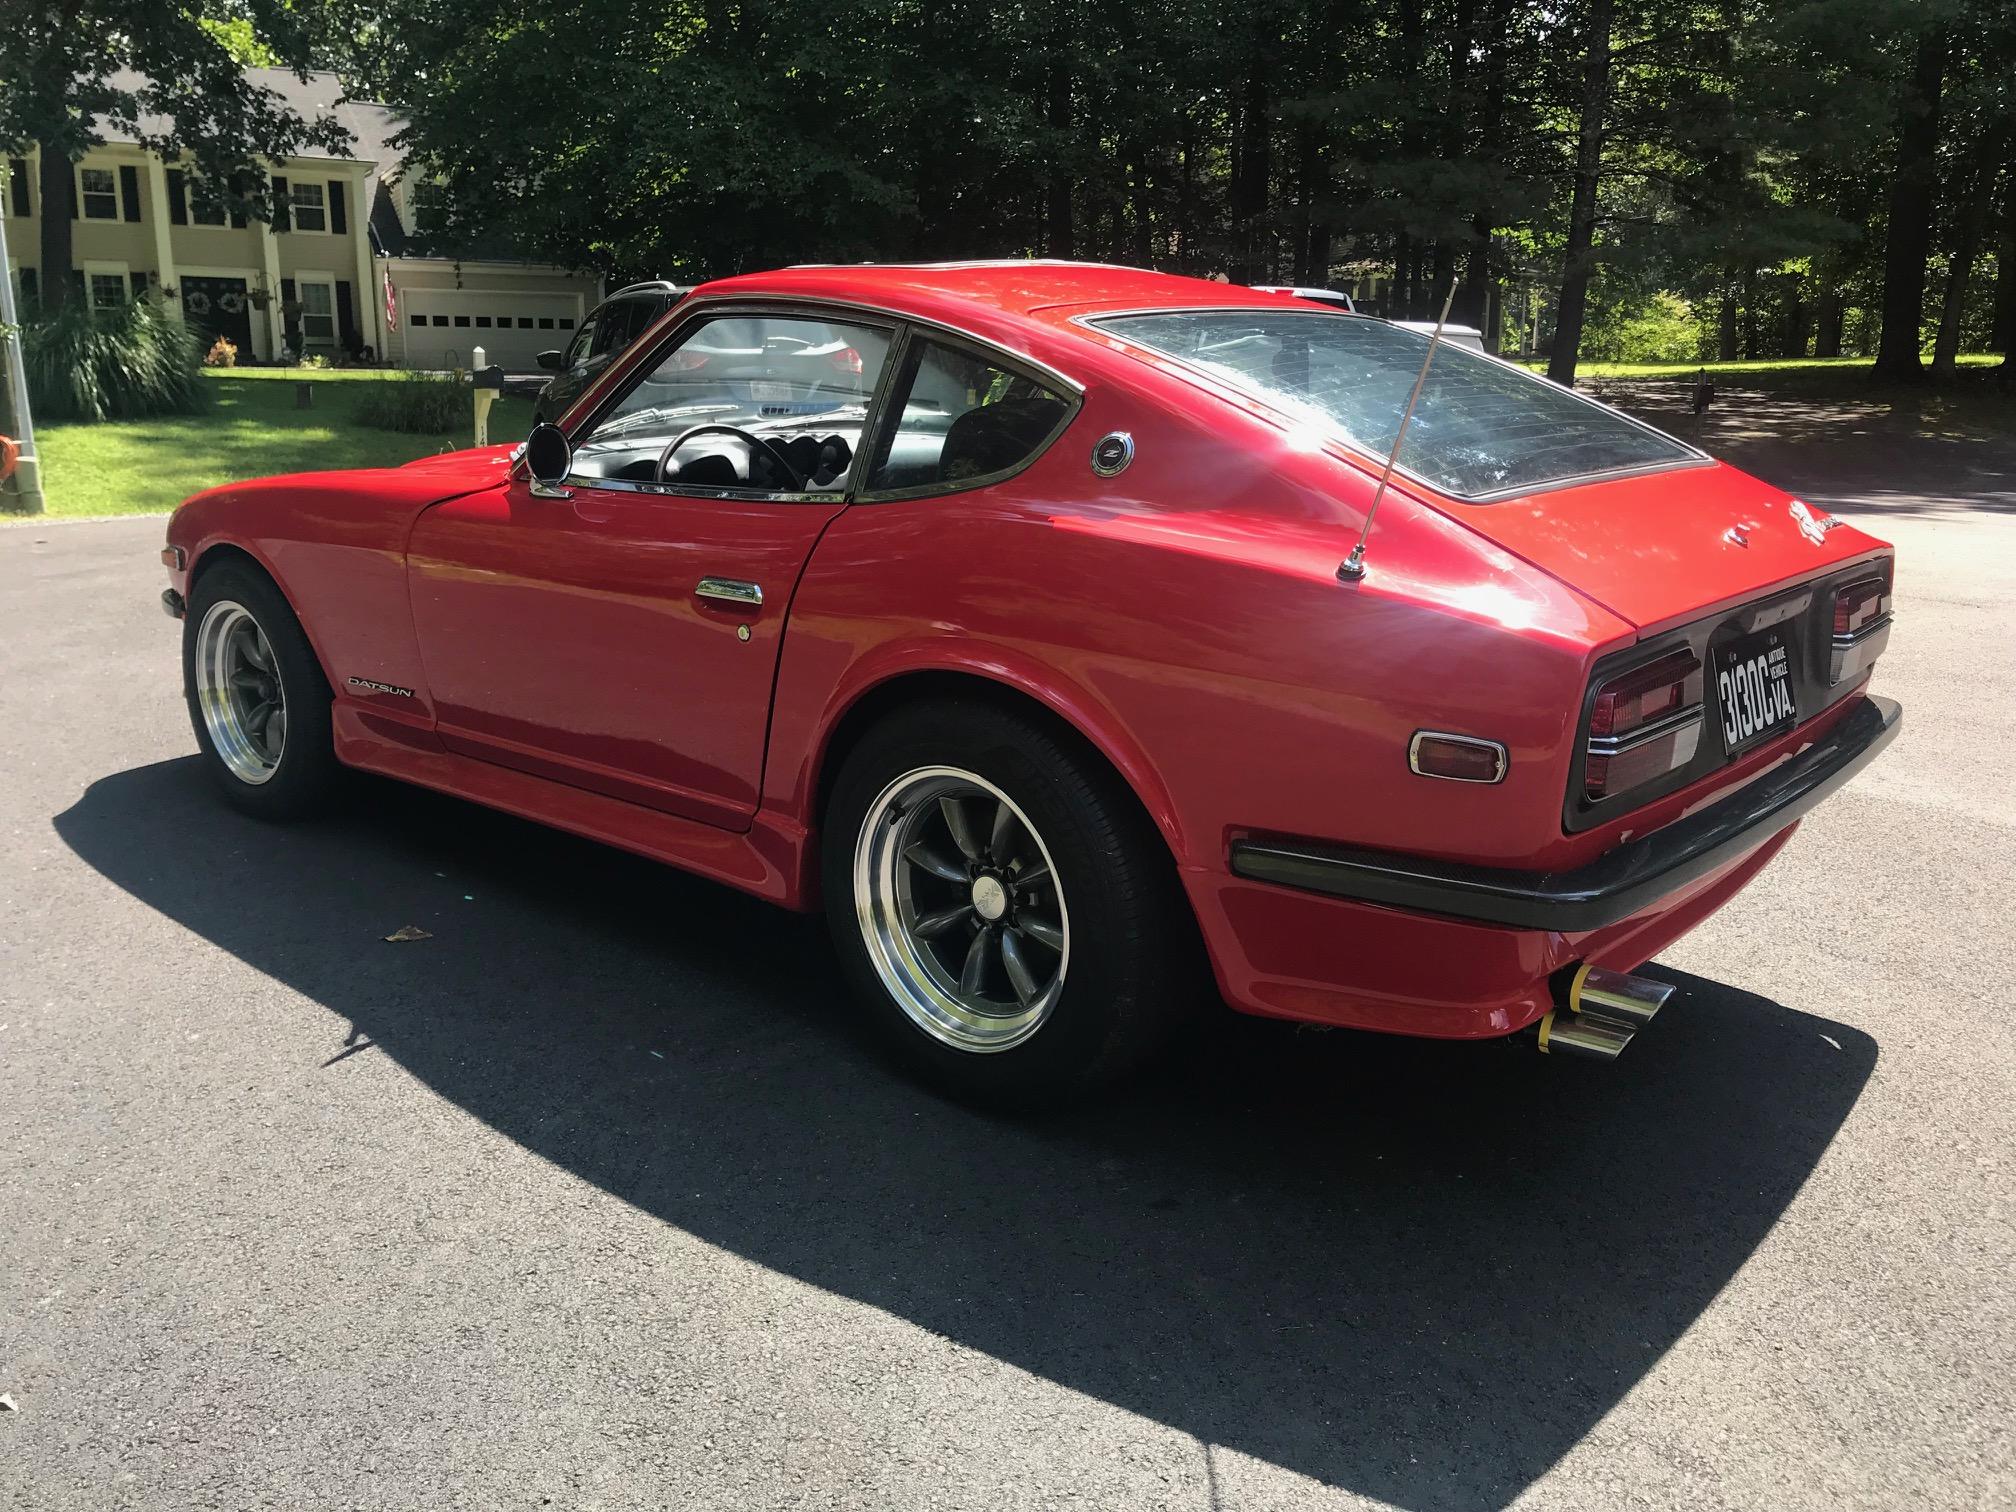
I installed some Wesco Roadster seat belts in the 240Z yesterday. They replaced some other Wesco belts that anchored at 3 points. I installed those probably 17 or 18 years ago. With the new belts in place, it was time to go to a car meet. Overall, about 9 or 10 Z cars showed up, but they were scattered about the meet. It was beautiful weather and a great way to spend a Sunday morning.
 2 points
 -
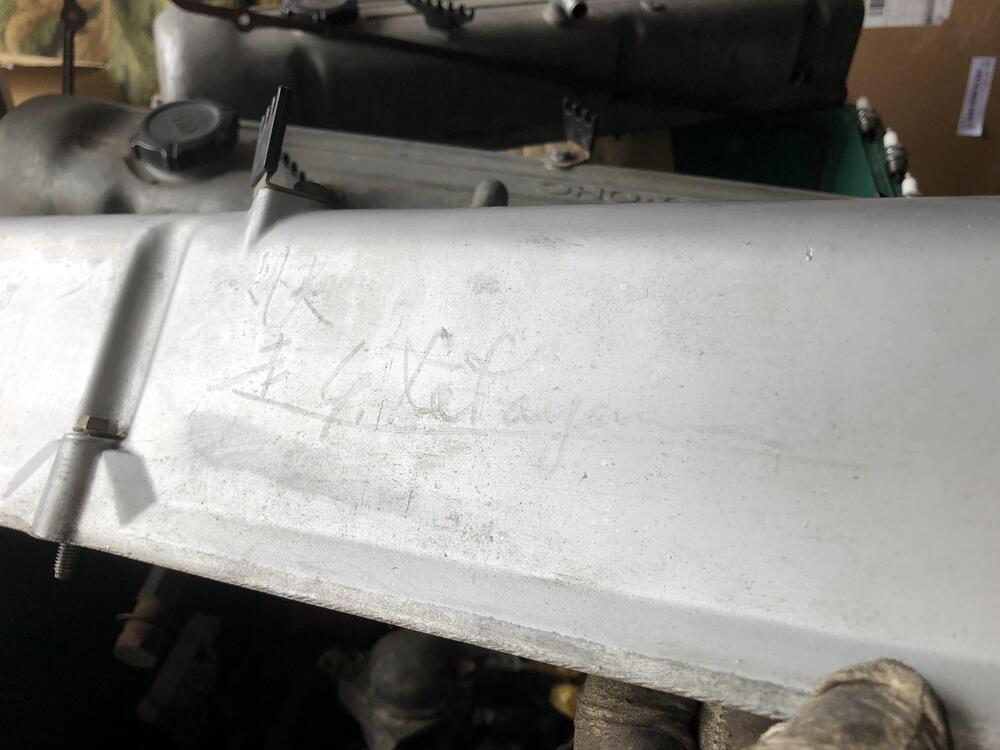
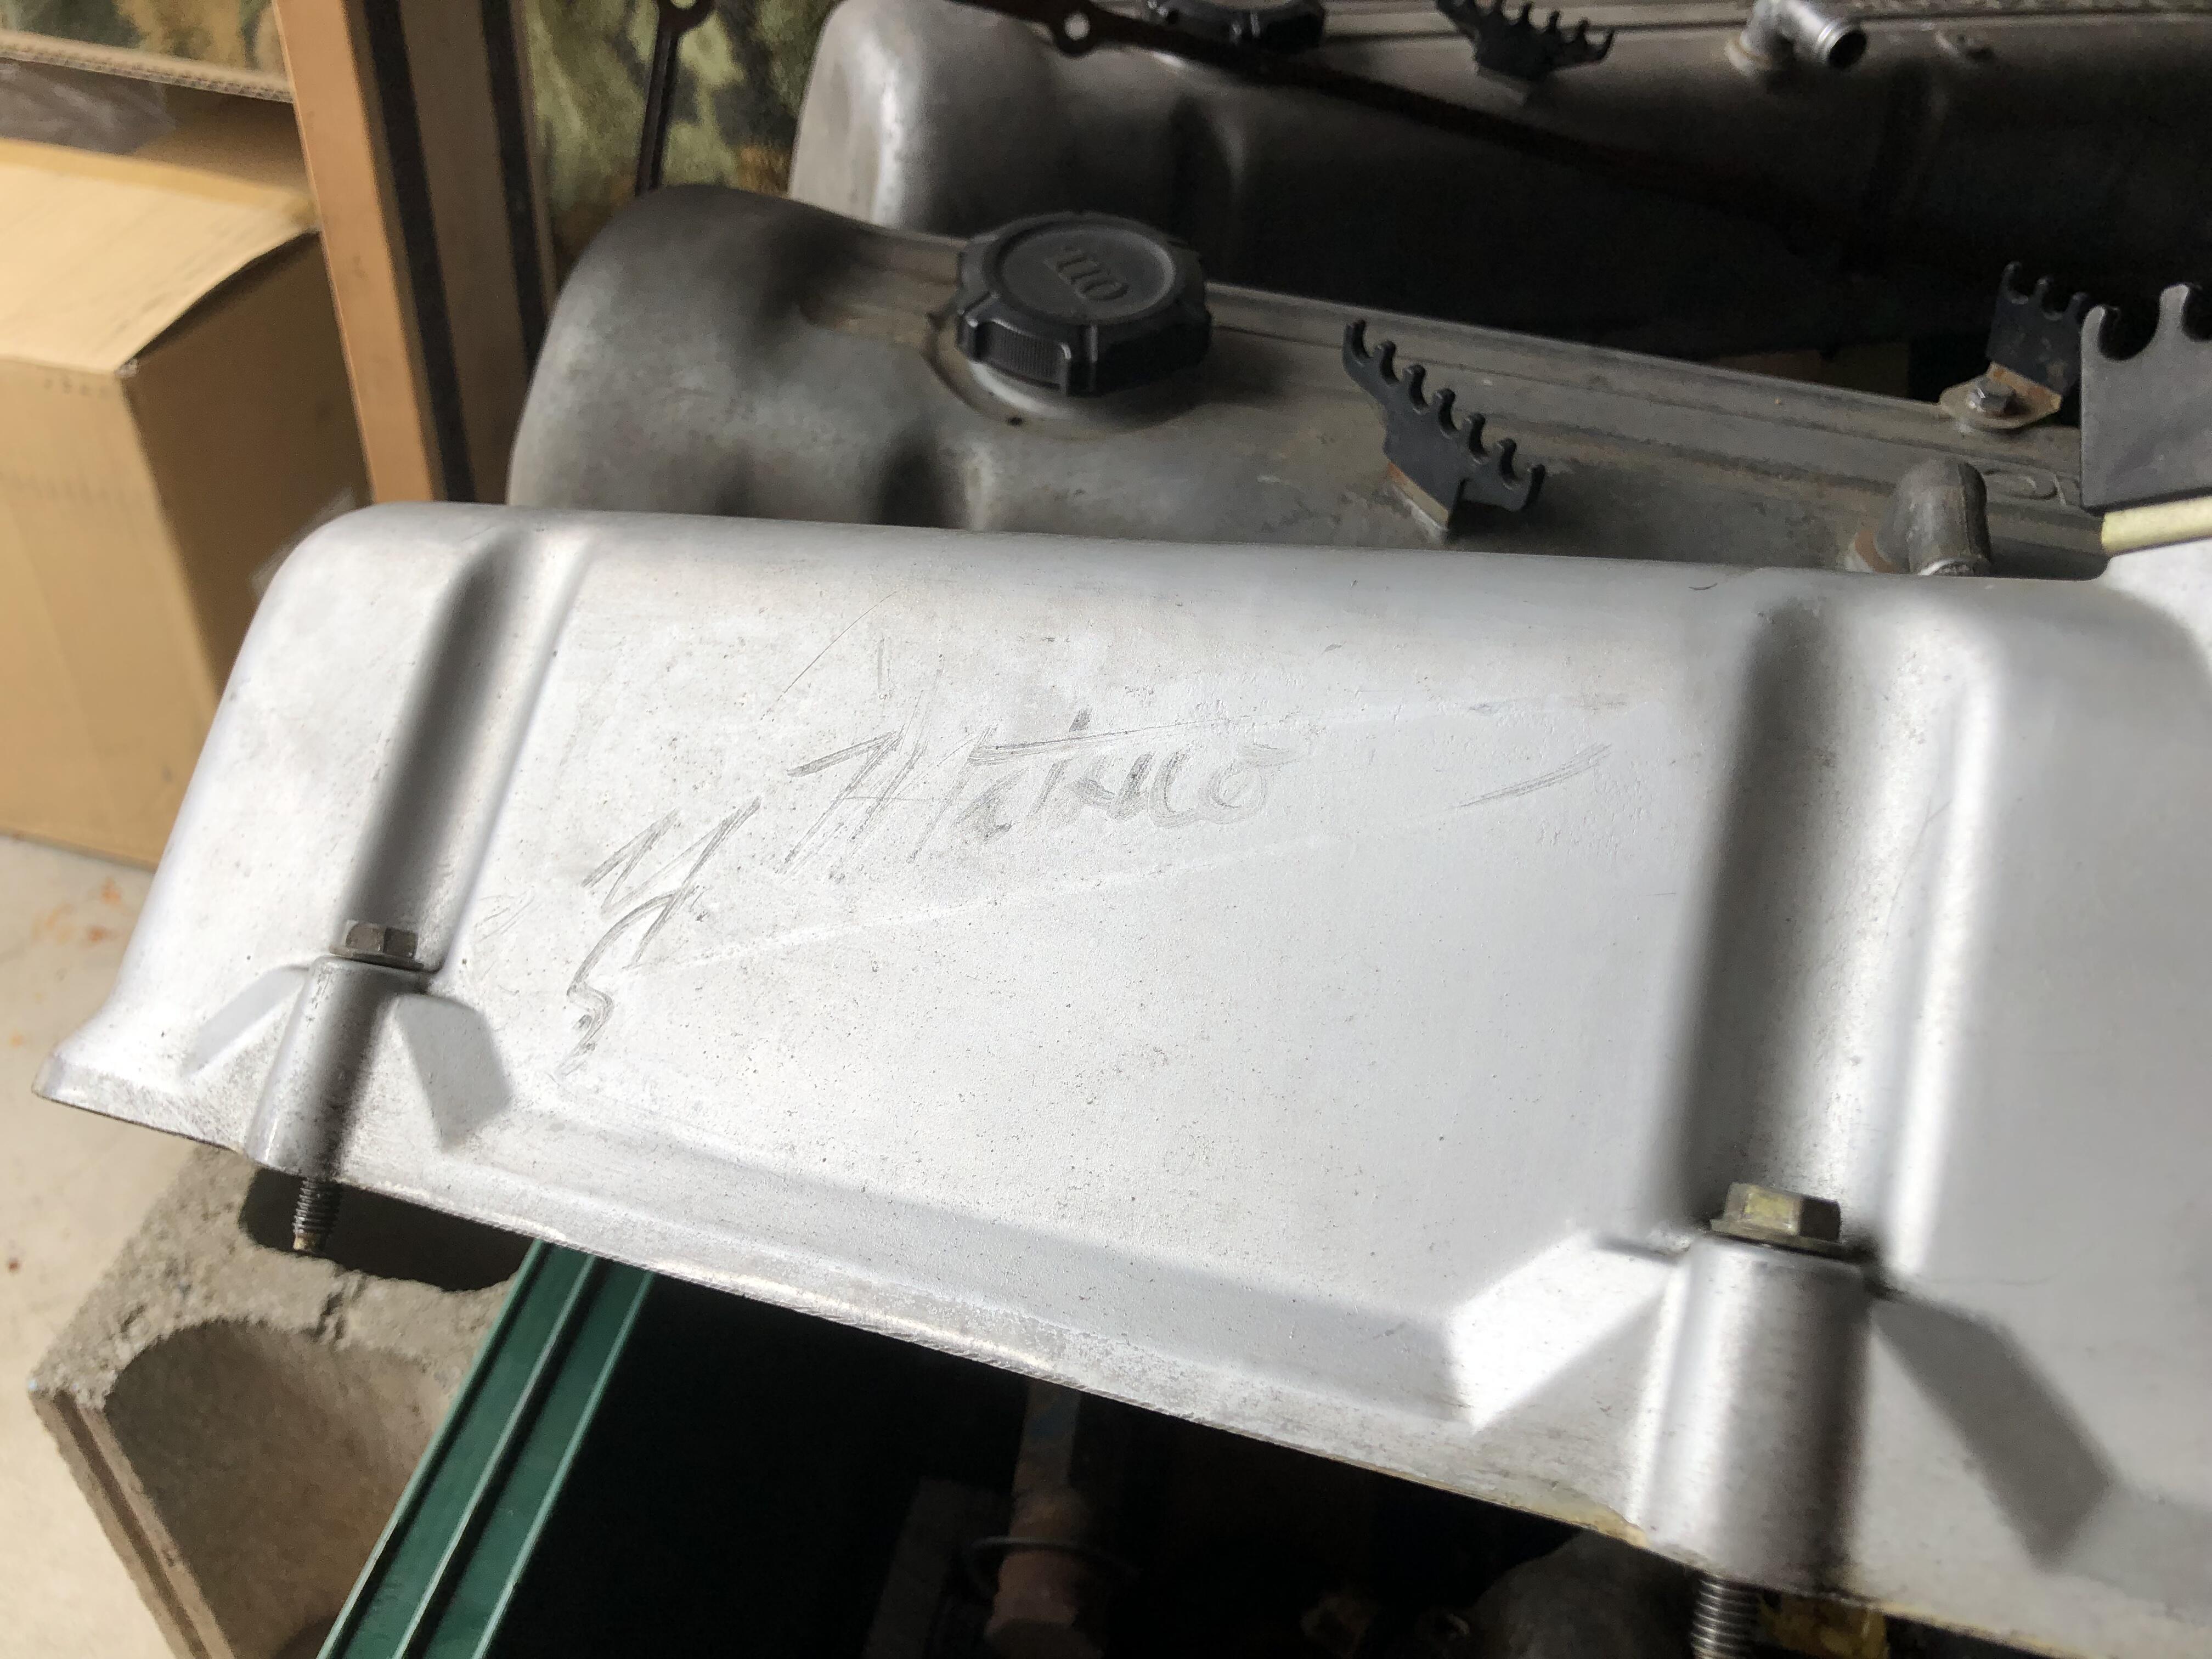
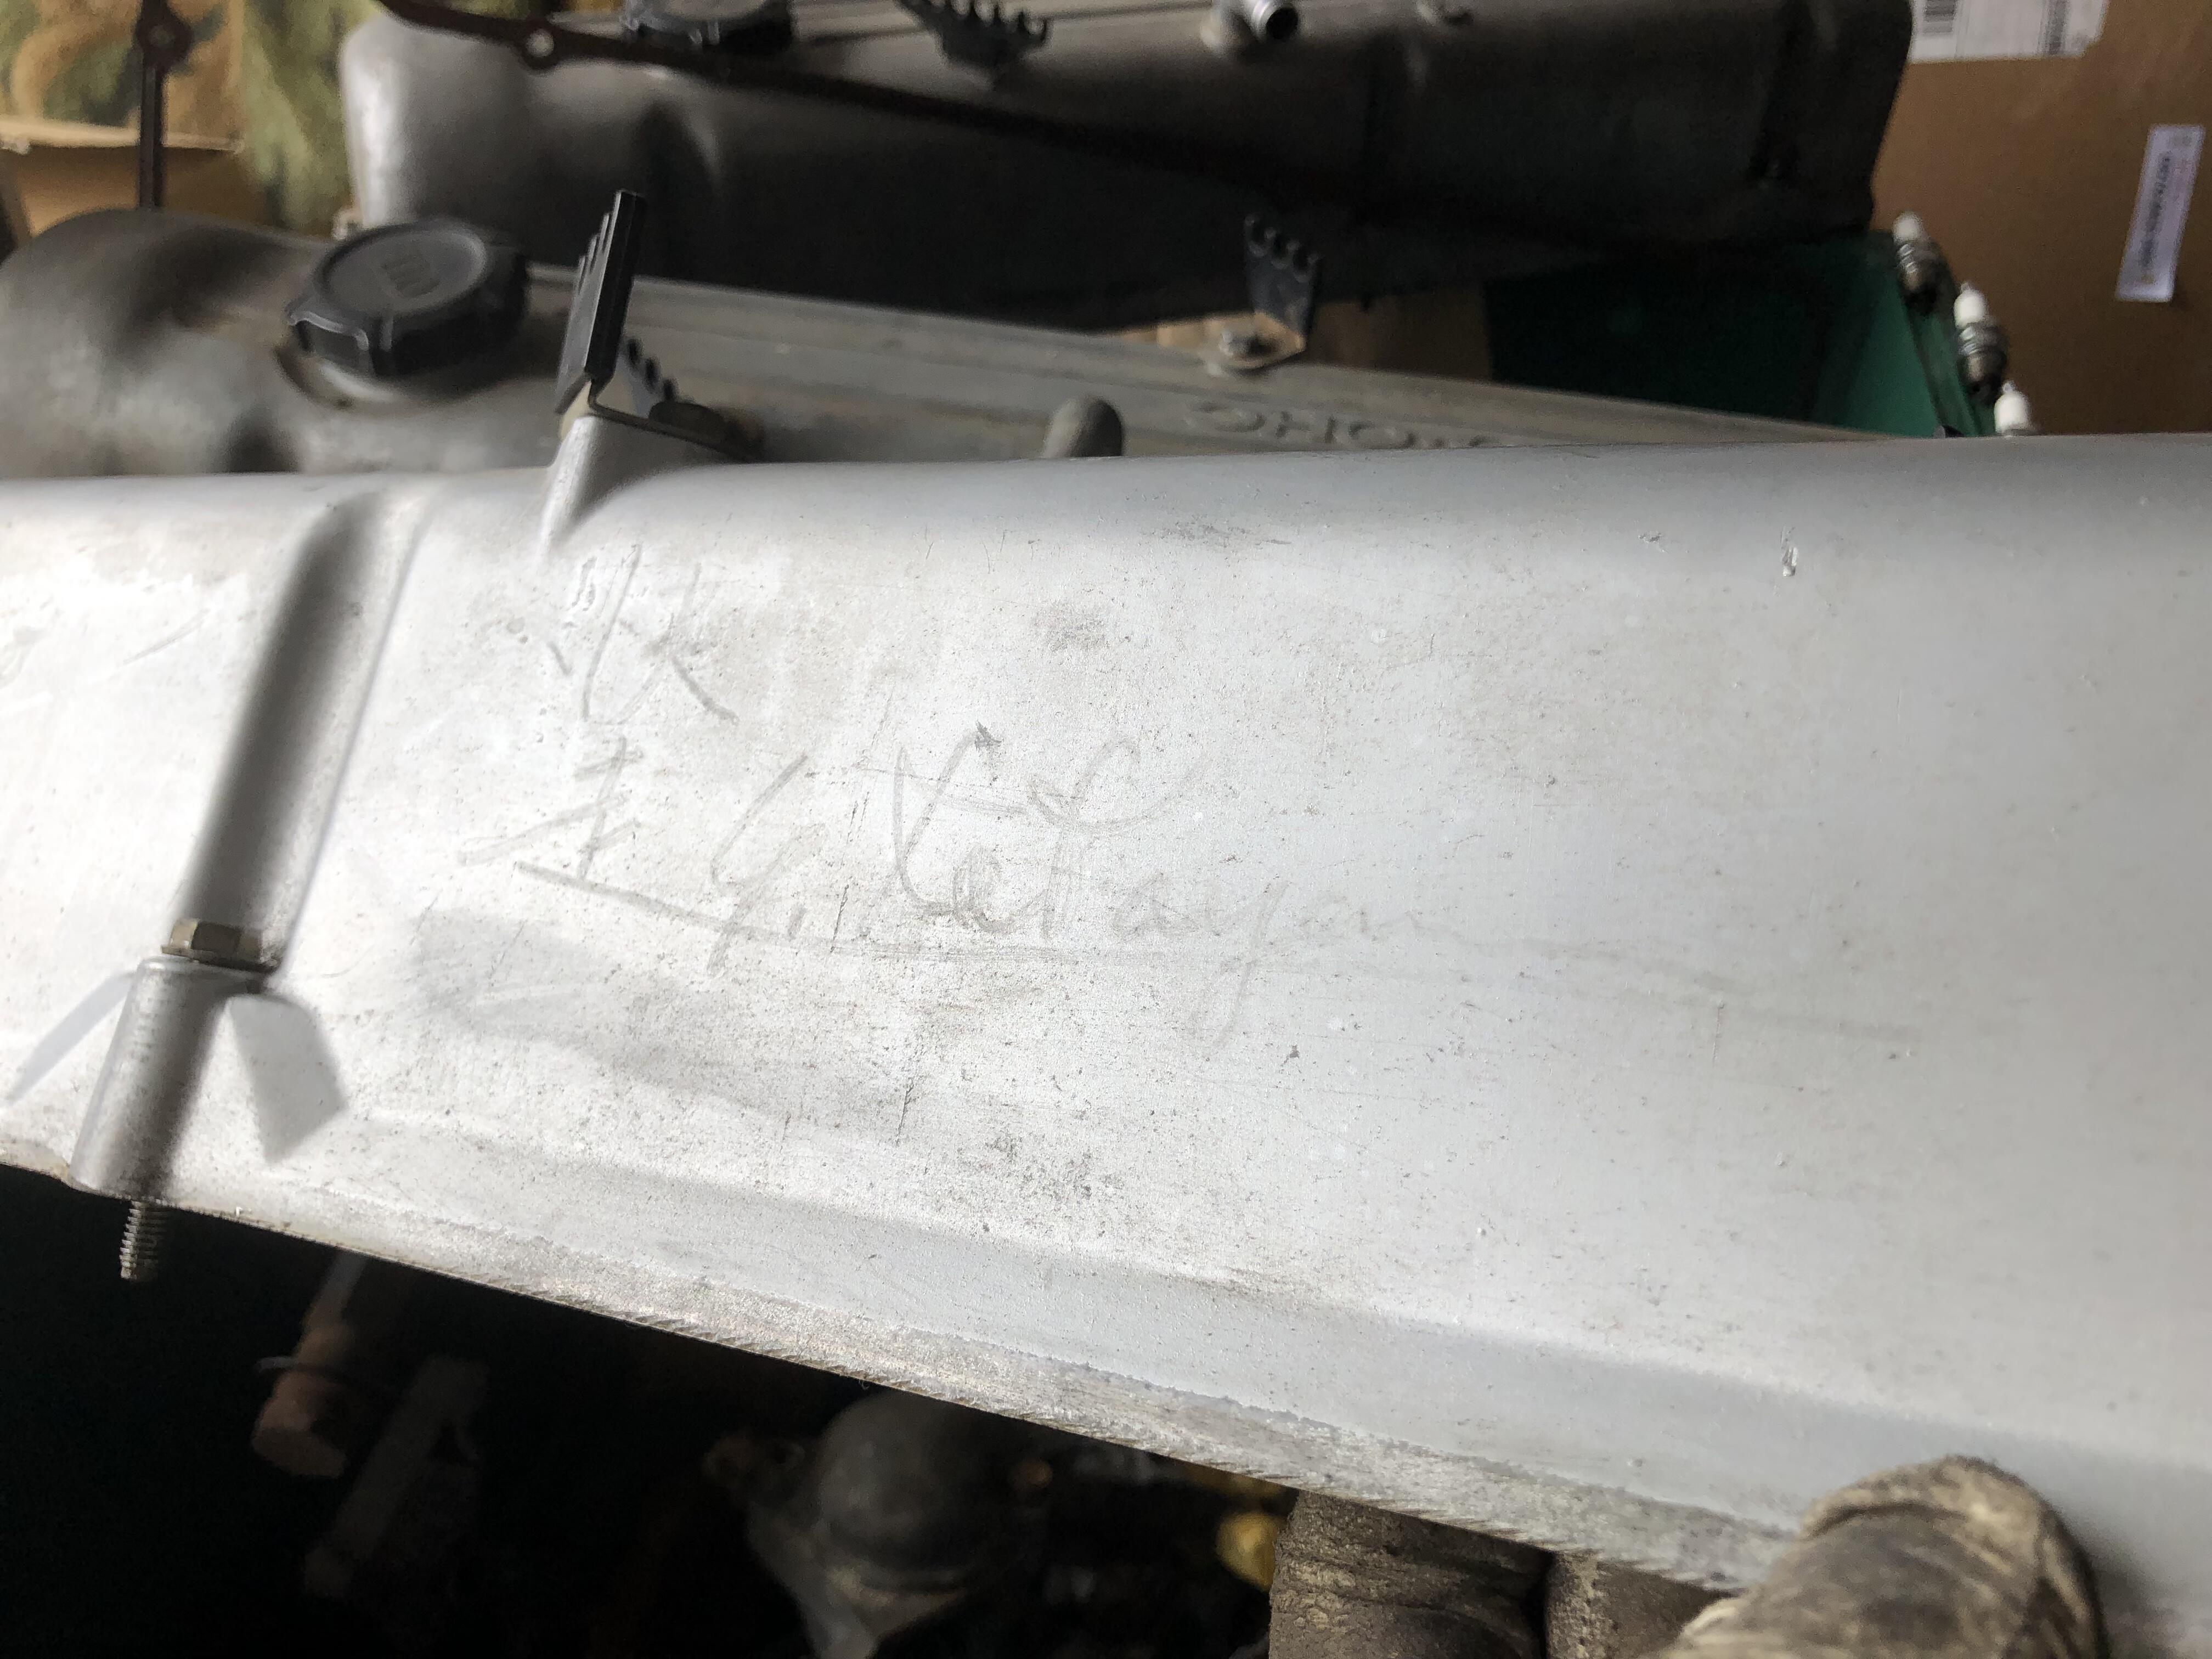
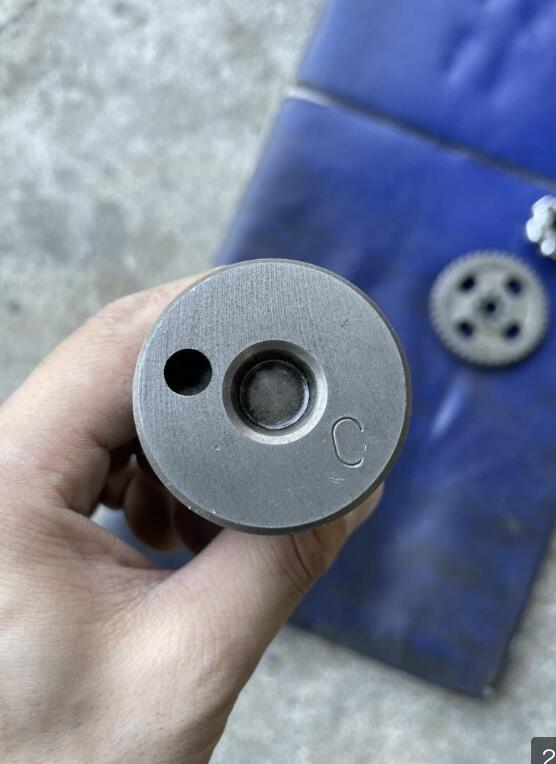
2 pointsThanks Gavin, I am thinking like you time to time . This car , I already am going to have fun with some modifications like non- emissions intake and exhaust, with a dual exhaust system, non-original radio , etc etc . I have got the “C camshaft “ which is designed as internal oiling system , and this has slightly sportier feeling profile. It will be a good choice for this broken oil spray head . The picture is my #2156 valve cover, Mr. K and Mr. Matsuo kindly gave their autograph on it in 2000 , just before departing Yokohama to attend ZCON LAS VEGAS . Almost gone , but I still can see them !! Kats


 2 points
 -
I'd get the restored tank. Cost was over $100 for mine then the headache of doing the job within the time windows. It was a hectic job for sure then it needs to cure for about a month. I used Red-Kote from damon products. The instructions are online if you want to read over them.1 point
-
What's the best pathway forward with my 47 year old fuel tank, I don't think it's rusted through, but it isn't clean, so is removing the tank and sending it out to be restored, or just getting a restored tank ? It's like $250.00 to have it rebuilt or $370.00 for a restored tank. I don't know which is the right move here ?1 point
-
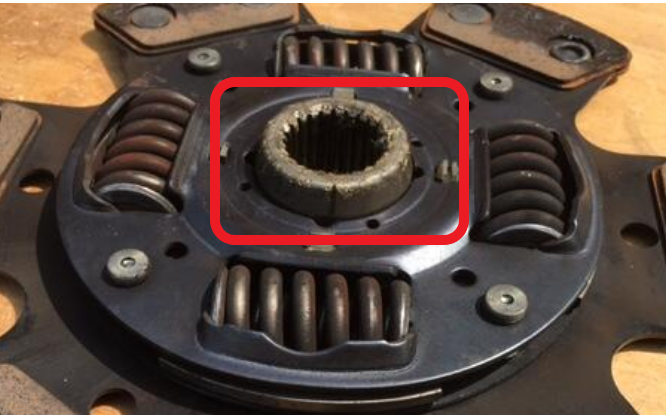
1 pointWas the disc installed backward? It looks all beat up at the hub nose piece there.
 1 point
 -
1 point1 pointAmericans don't?? We like a nice piece of... Horse! I growed up eating some horse meat.. is good for yah! 🙂 I'm well over 6 foot..1 pointRestaurant Mazenburg is closed now. Do the Dutch not eat chess playing horses any longer?1 pointAs long as we’re getting up close and personal…
 1 pointSame with me. I bought all the fuel hose from O]Reilly's and did the 180 with two 90 degree brass PEX fittings. Cost about $50.1 point1 pointTrying to get a little done anytime I can but probably get a max of 8hrs of work in a week if I’m lucky. First piece is almost finished but ran out of gas and my hook up for welding supplies is one worker short. Unfortunately he was the one that helped us the most. Just getting close to finishing up making the patch pieces for the floor joint in front of the first section. Need to fill in my holes yet Vise grip orgy Sent from my iPhone using Tapatalk1 pointThought I should pitch in with my latest upload. Panasport 16x7 wheels with 205/55 tyres ? DSC_0222 by Mark Woodrow, on Flickr1 pointRays TE37V 15 x 7.5 +6 offset and Enkei Compe 15 x 8 0 offset
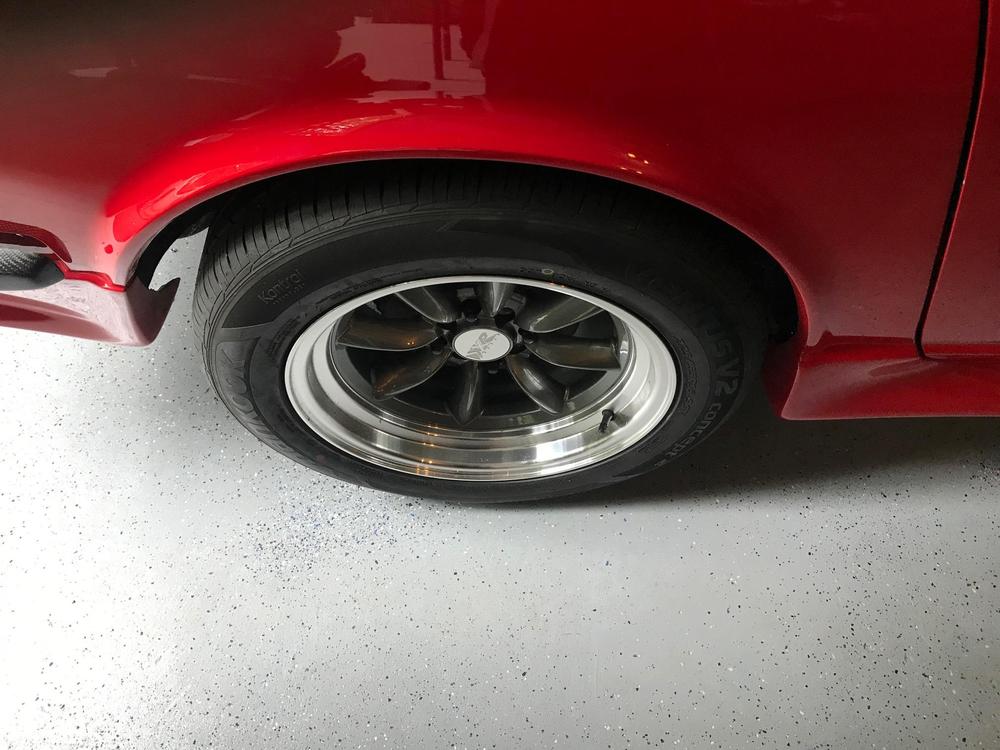
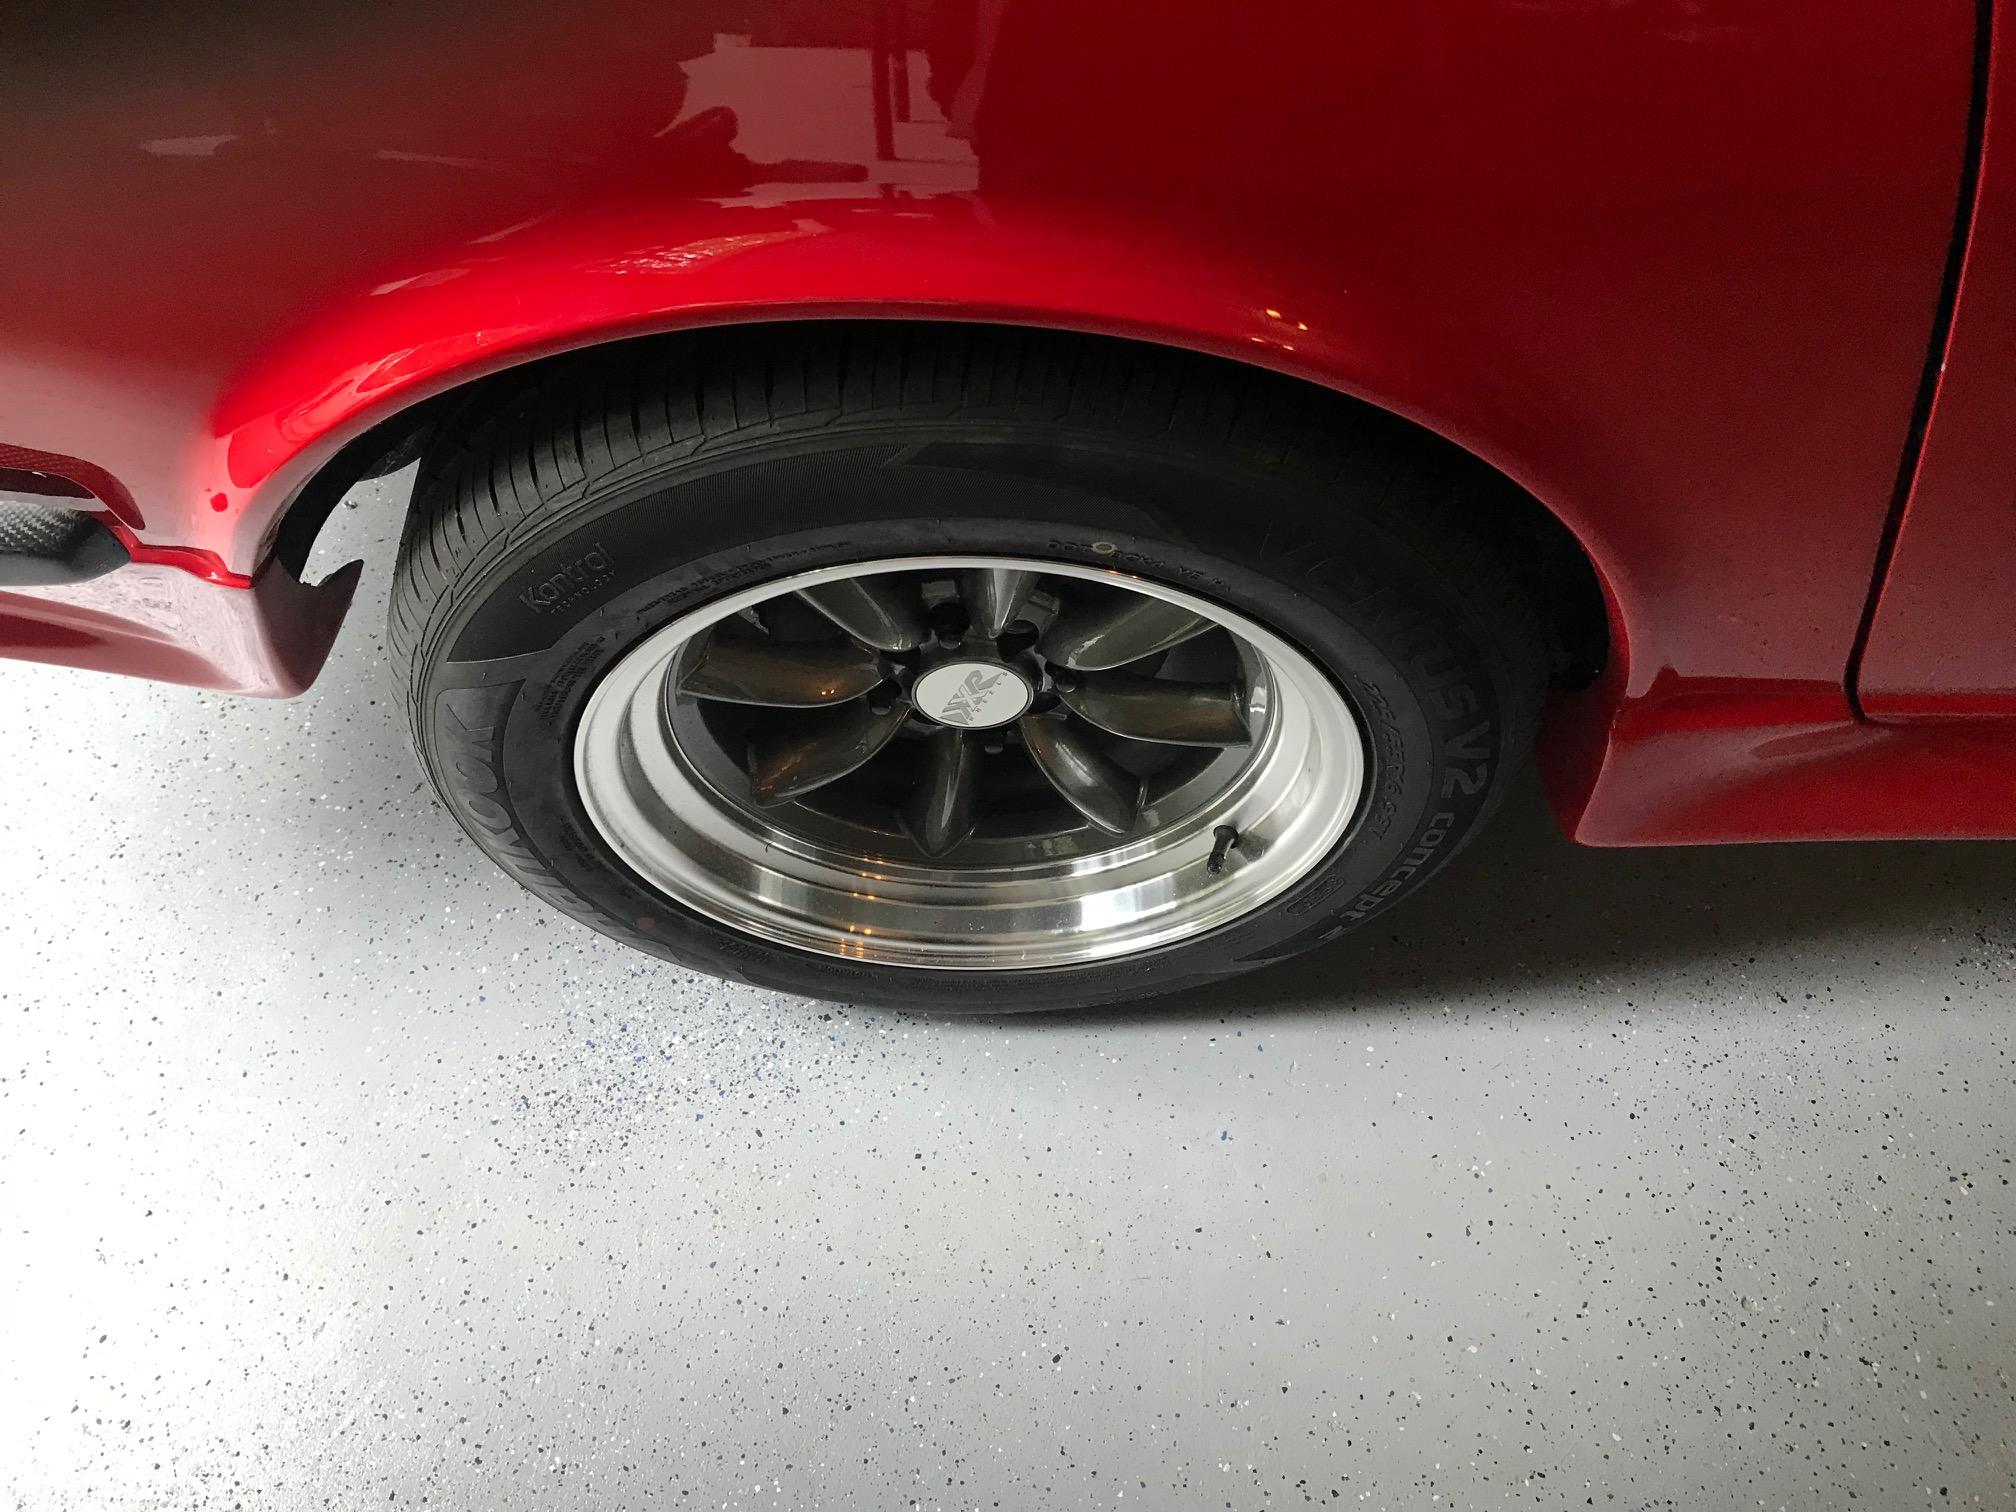
 1 pointMy XXR 537 Wheels. 16" x 8" on all four corners. Tires are 225/55/R16 front and rear

 1 point


.thumb.jpg.c6884110f2b3405d0a425d12937a14bf.jpg)

Important Information
By using this site, you agree to our Privacy Policy and Guidelines. We have placed cookies on your device to help make this website better. You can adjust your cookie settings, otherwise we'll assume you're okay to continue.