


Leaderboard

 Subscriber
.JPG.cfcada9cf1c1b502df3f5f2f2ca3ff36.JPG)

.jpg.29ae2c4a5aeec52ca7887f8f12267ab6.jpg)


Popular Content
Showing content with the highest reputation on 05/25/2022 in all areas
-
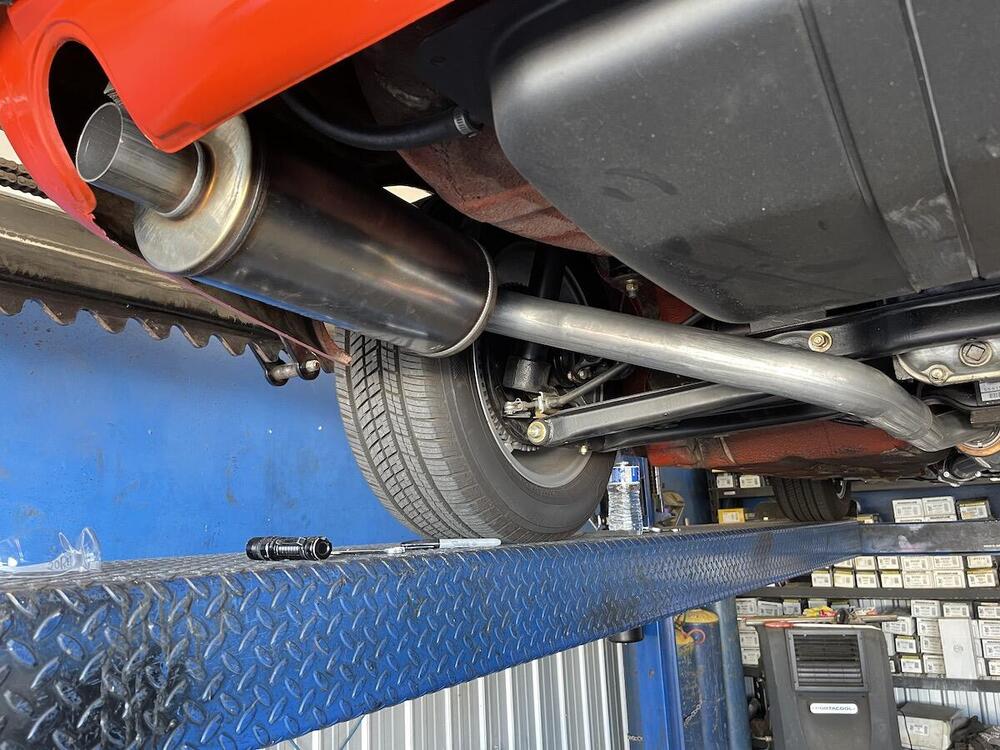
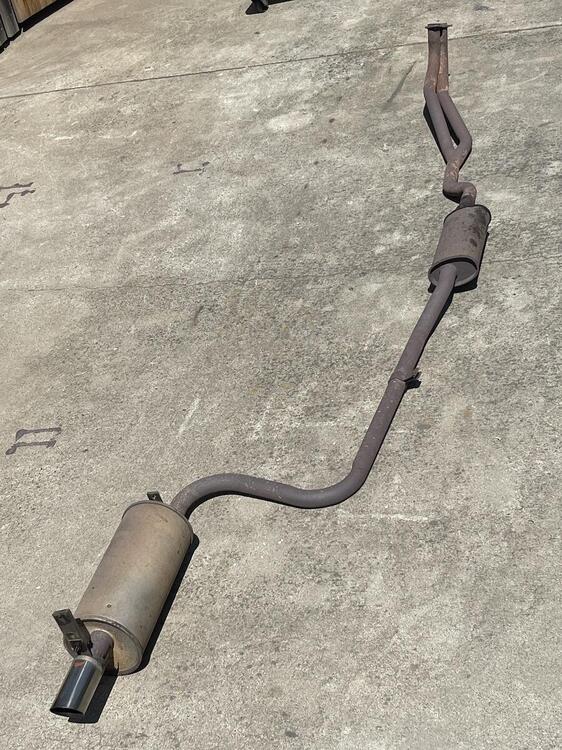
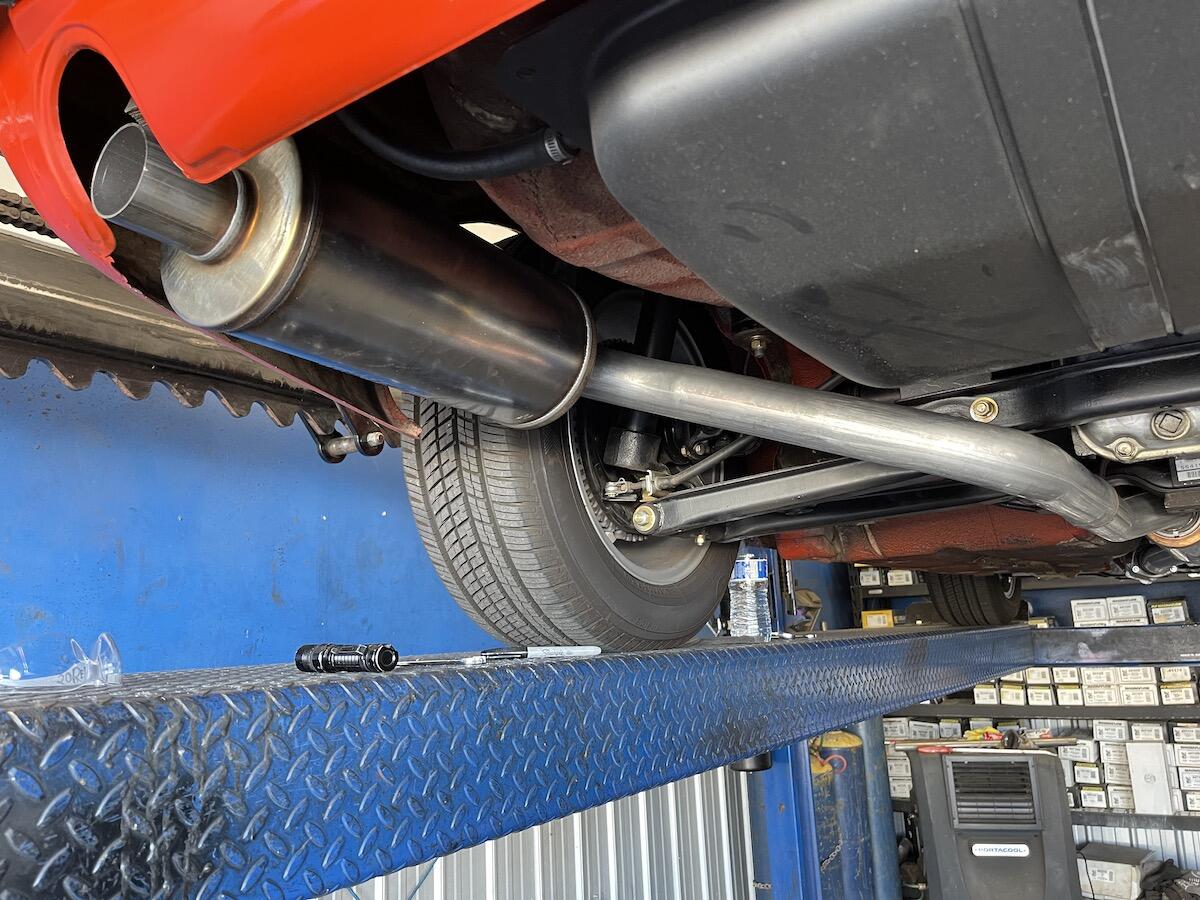
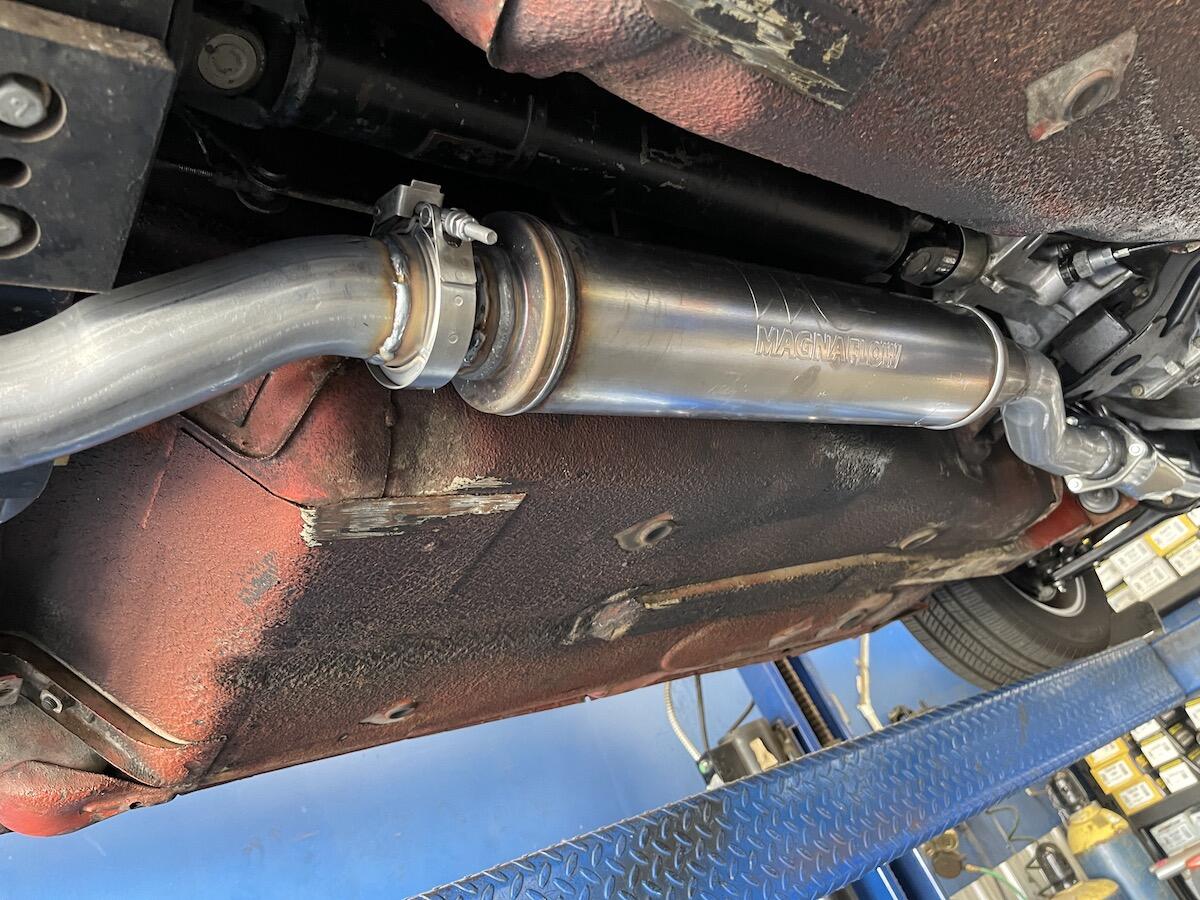
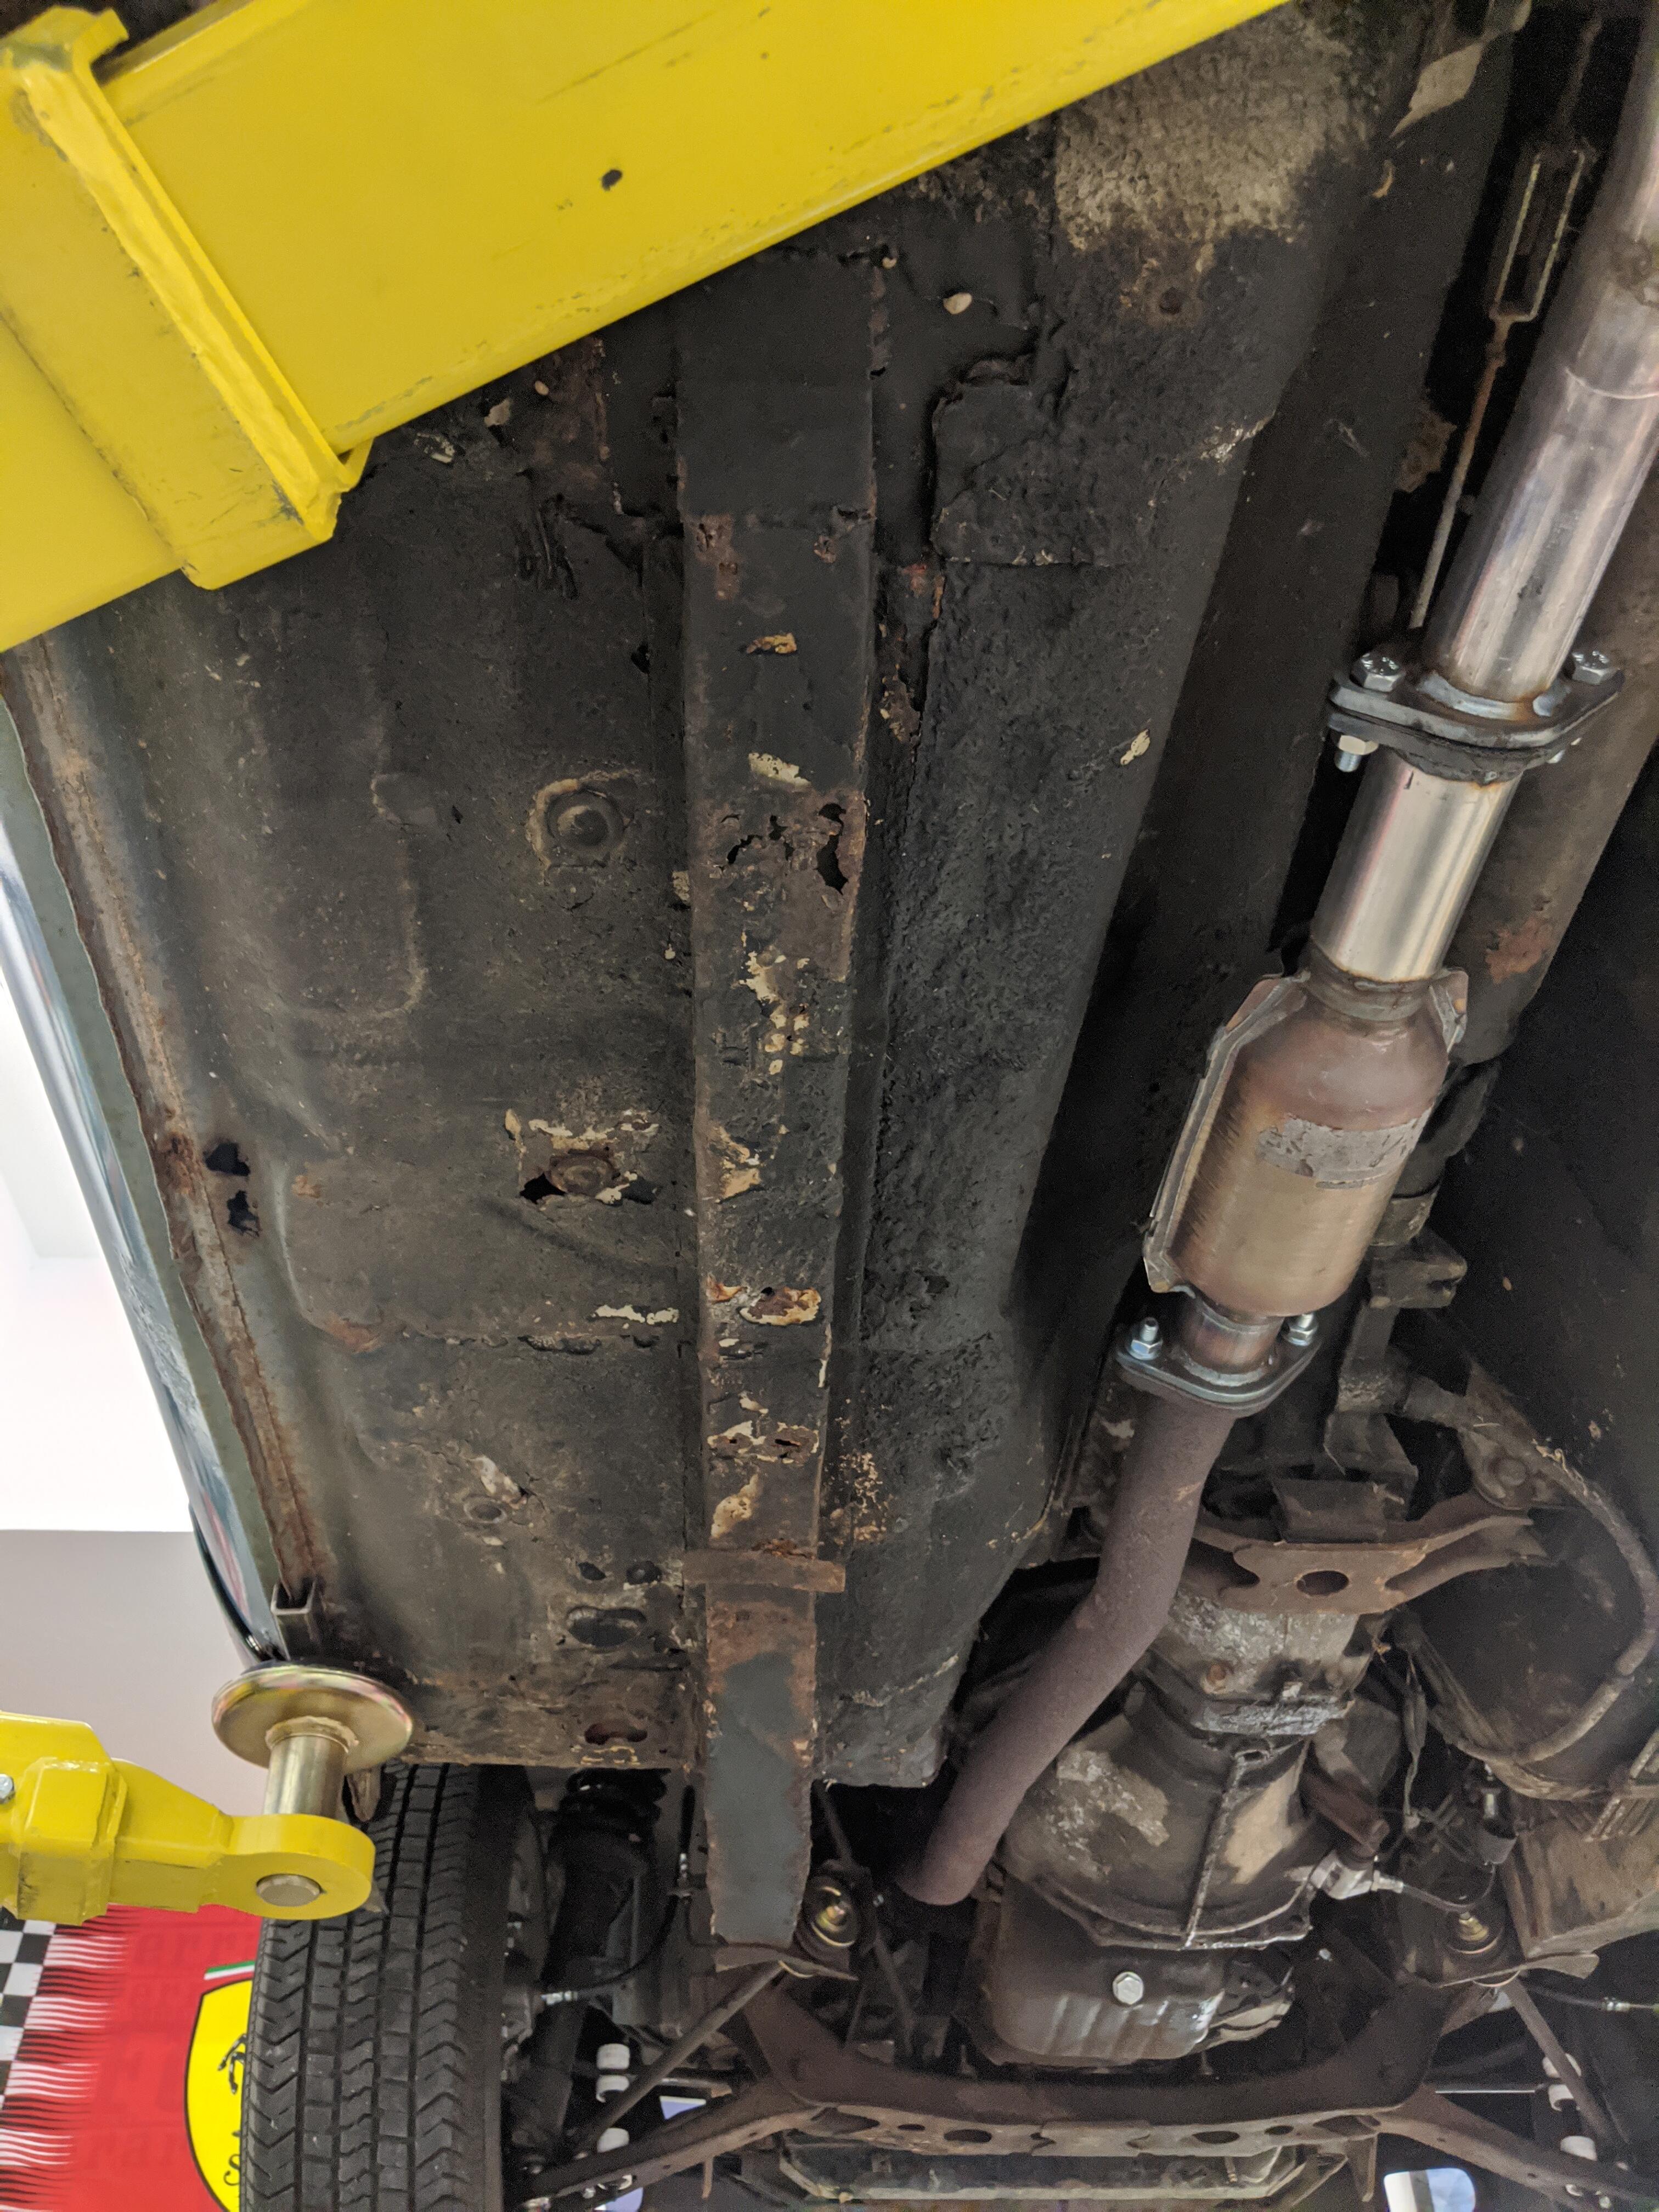
4 pointsI got the exhaust finished this morning. Went with 2.25" pipe to keep a little bit of the low end torque. Plus this car will likely never have side draft carbs, bigger cam, Robello, etc. Used the Magnaflow 10425 in the middle, with a V-band clamp behind it. I was going to use an oval turbo style at the rear, but the guy talked me into using a 6 inch round 14" long MagnaFlow 12615 instead. Said it would be a little quieter and wouldn't have to mount it at a weird angle. They didn't have much of a selection for old school tailpipes, but ended up with this stainless tip, which they found in their old stock. And no U-shaped clamp showing out the back. 👍 It sounds awesome! Not a tinny sound, but deeper. Pretty loud at the high end, but pleasantly quiet at cruising speed while being able to enjoy the radio. Perfect for an old guy. And it does seem to pull harder going through the gears with the header, at least by the seat of my pants. I may have to upload a driving video. 😉

 4 points
 -
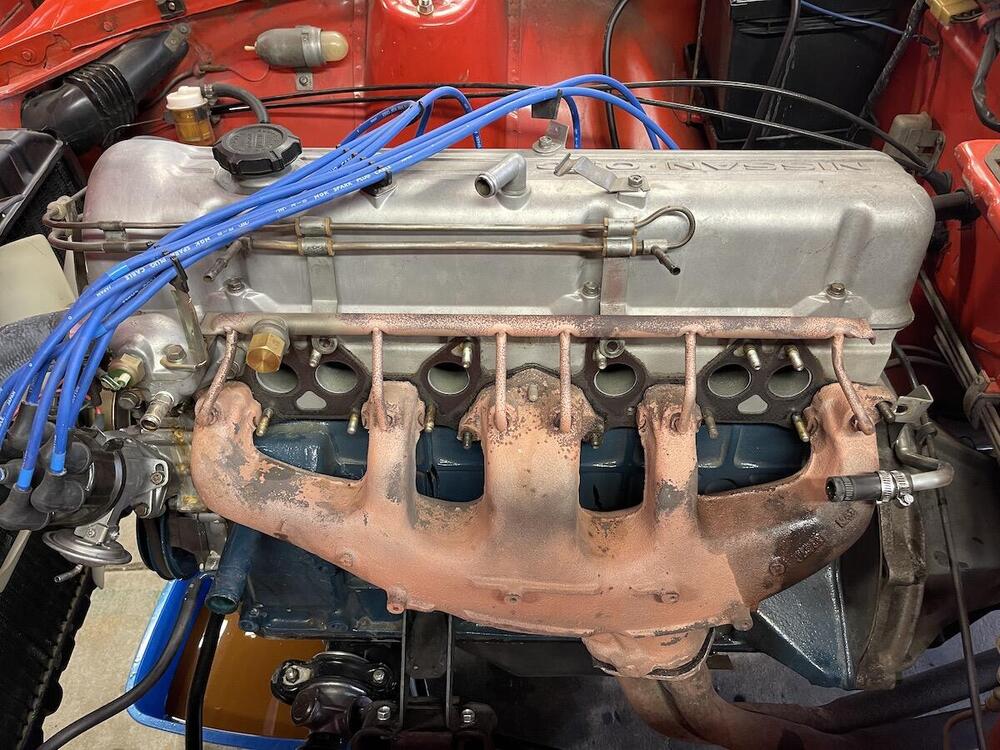
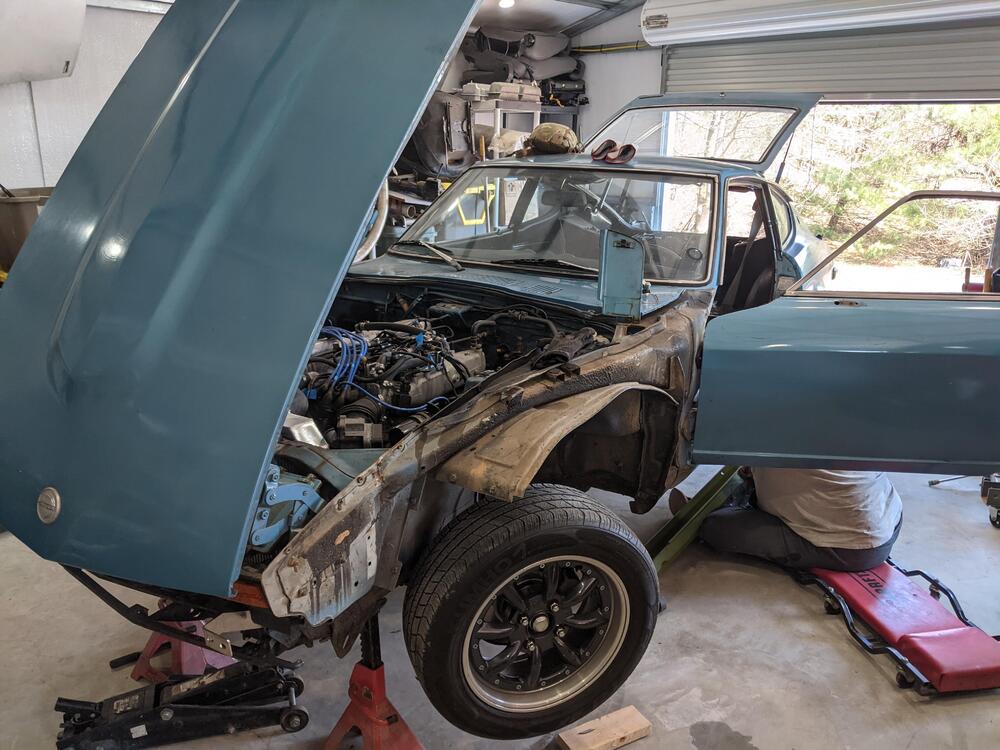
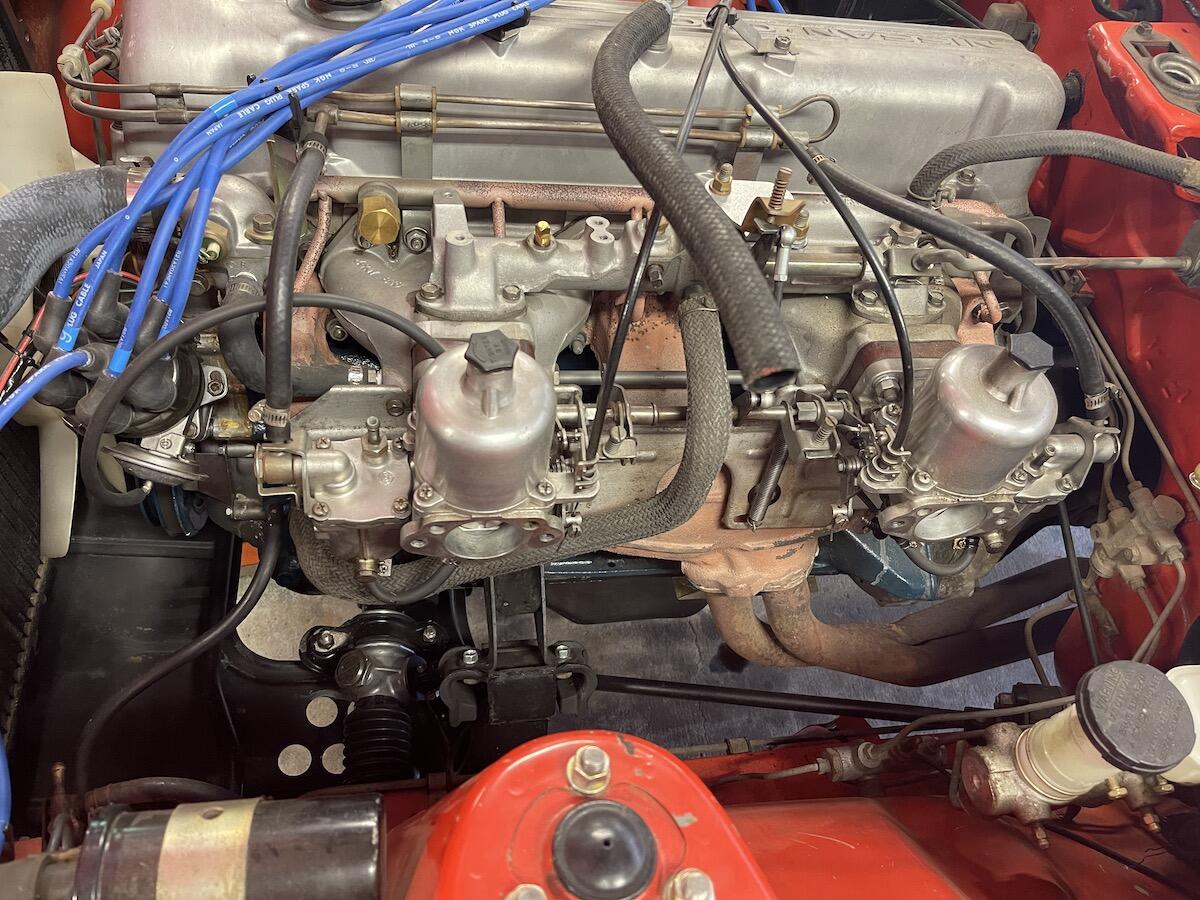
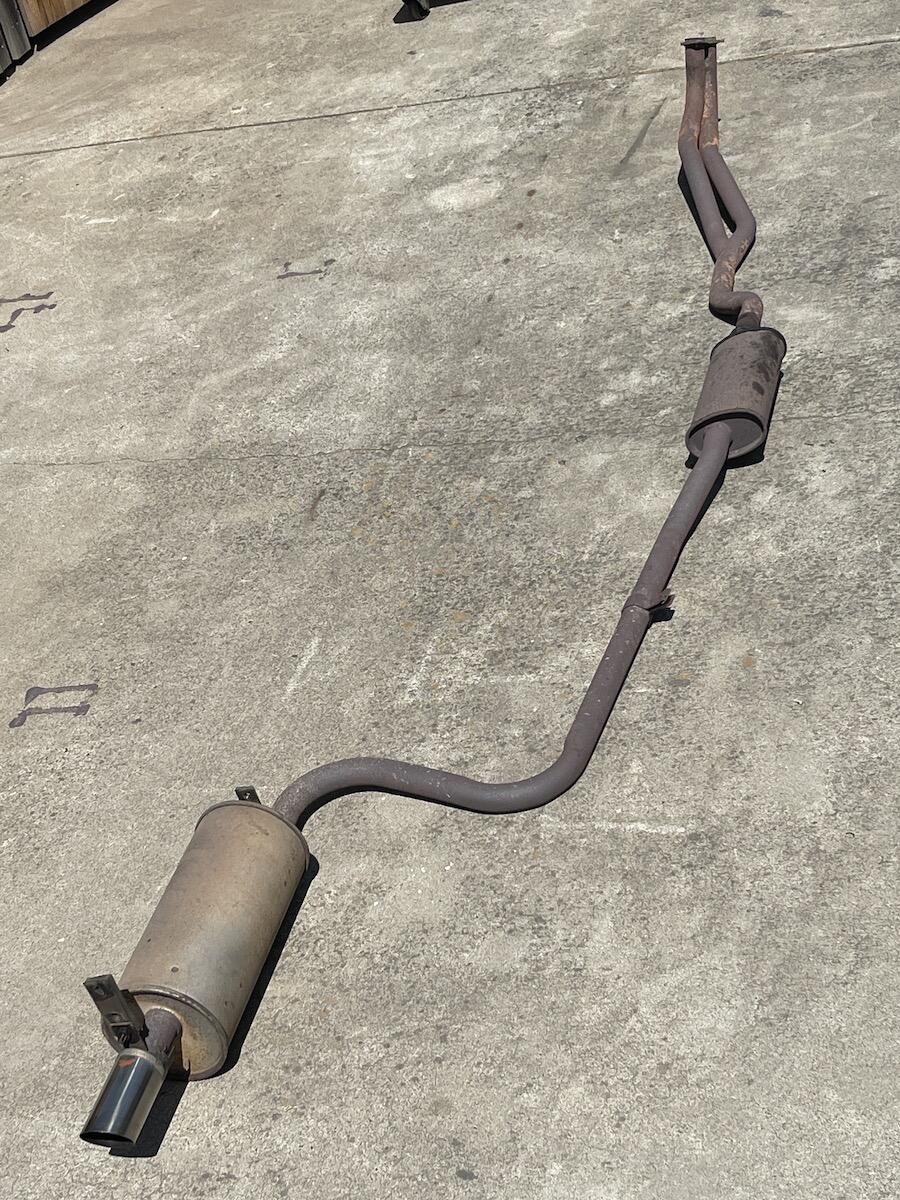
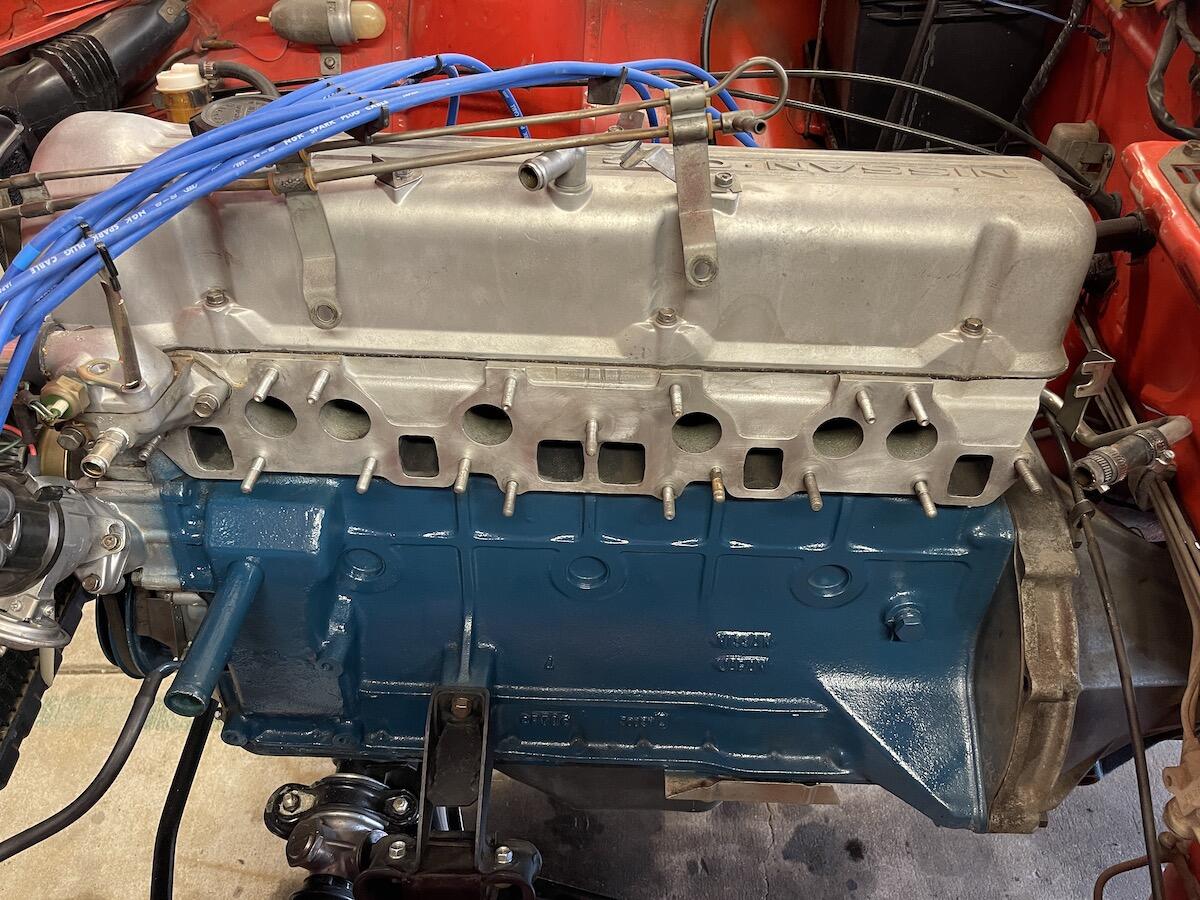
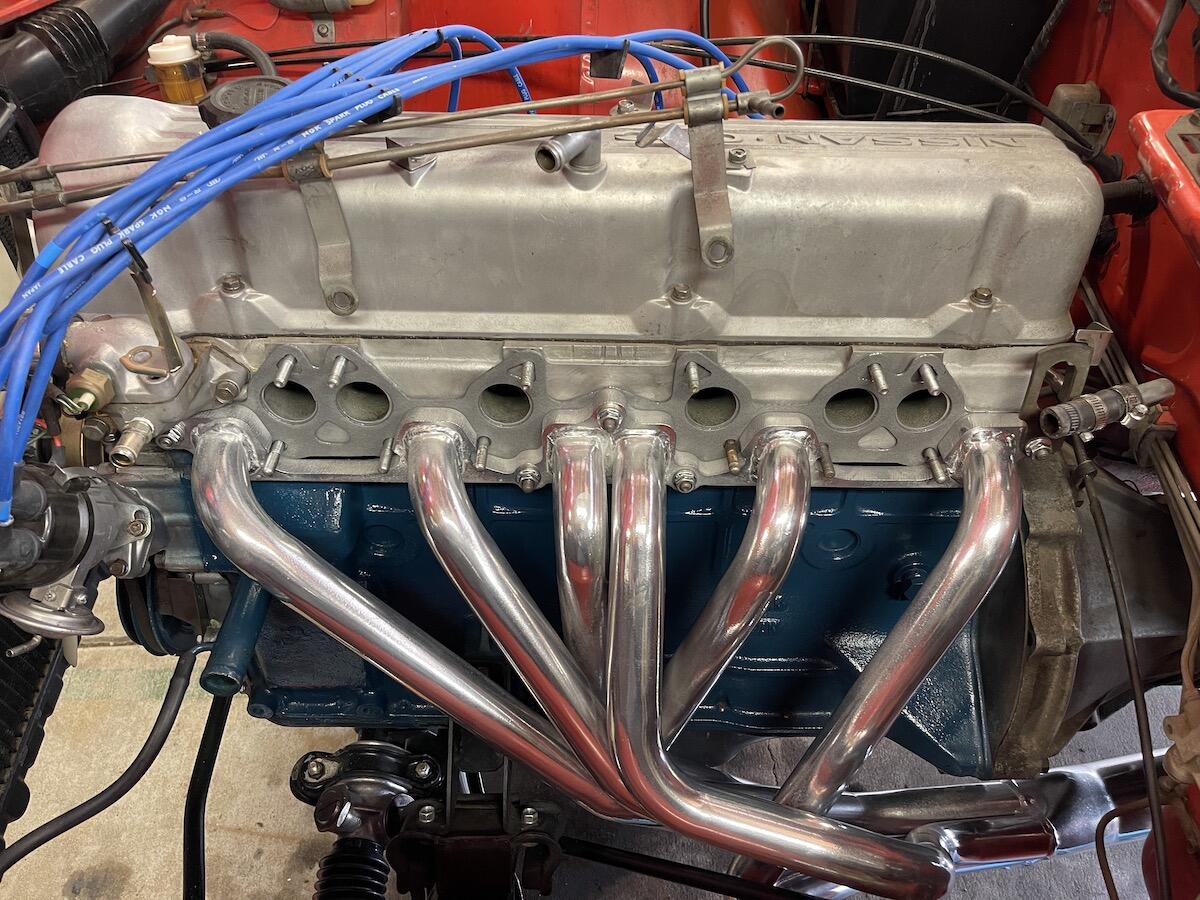
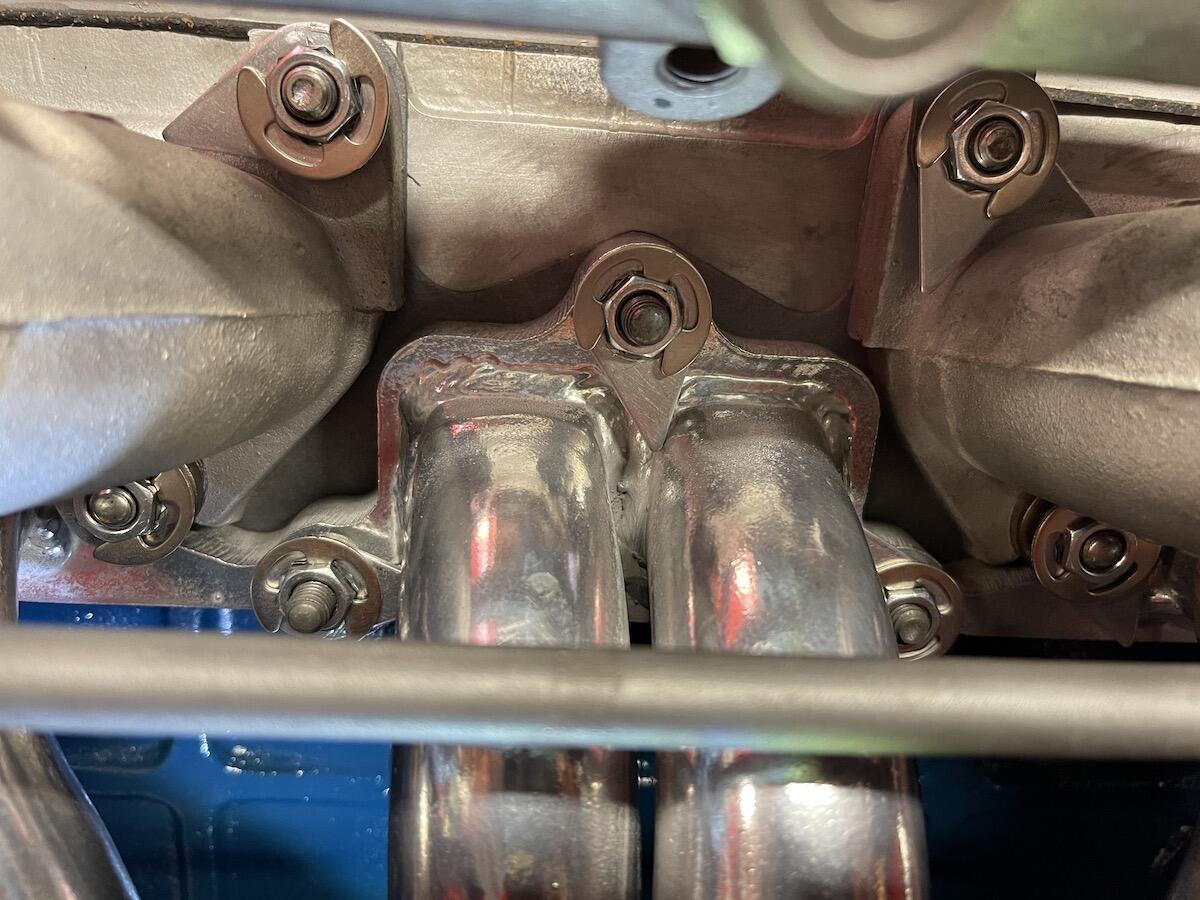
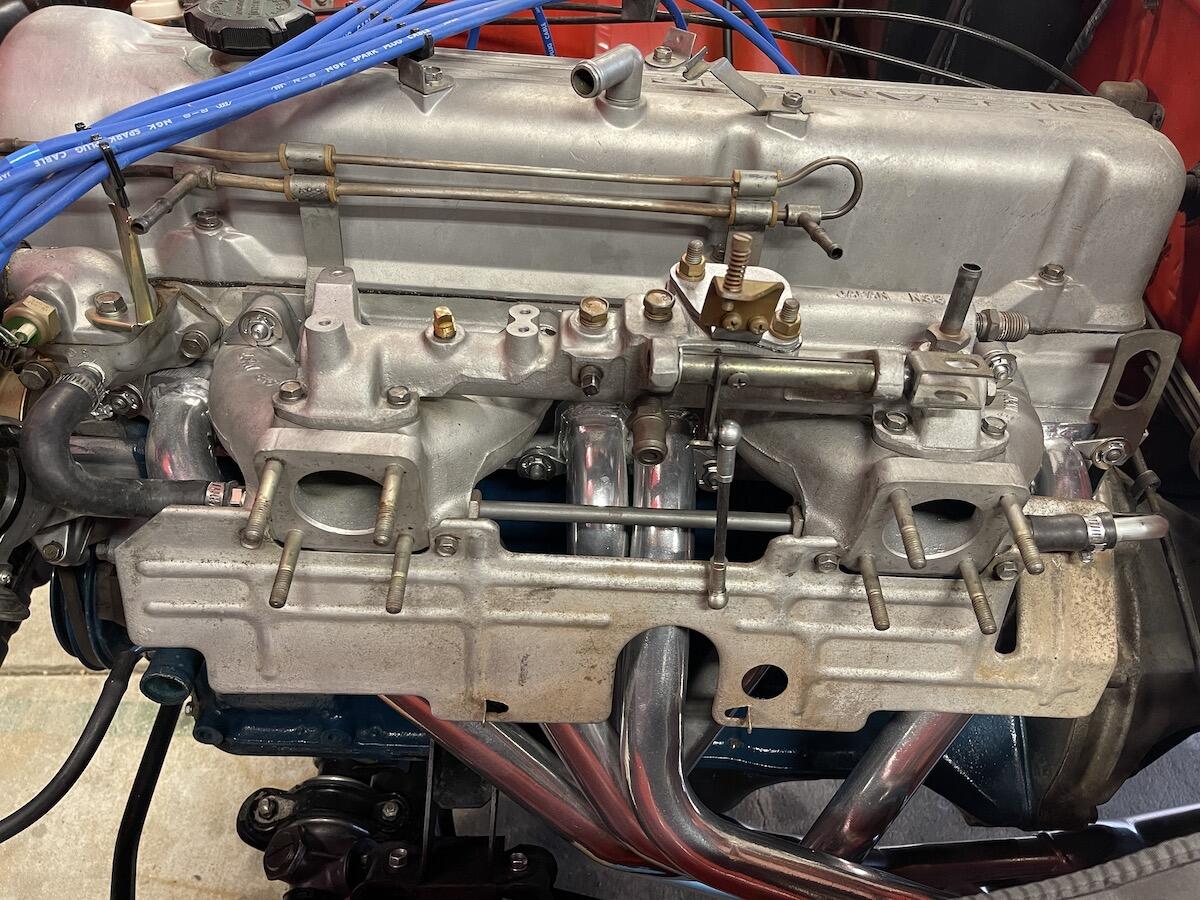
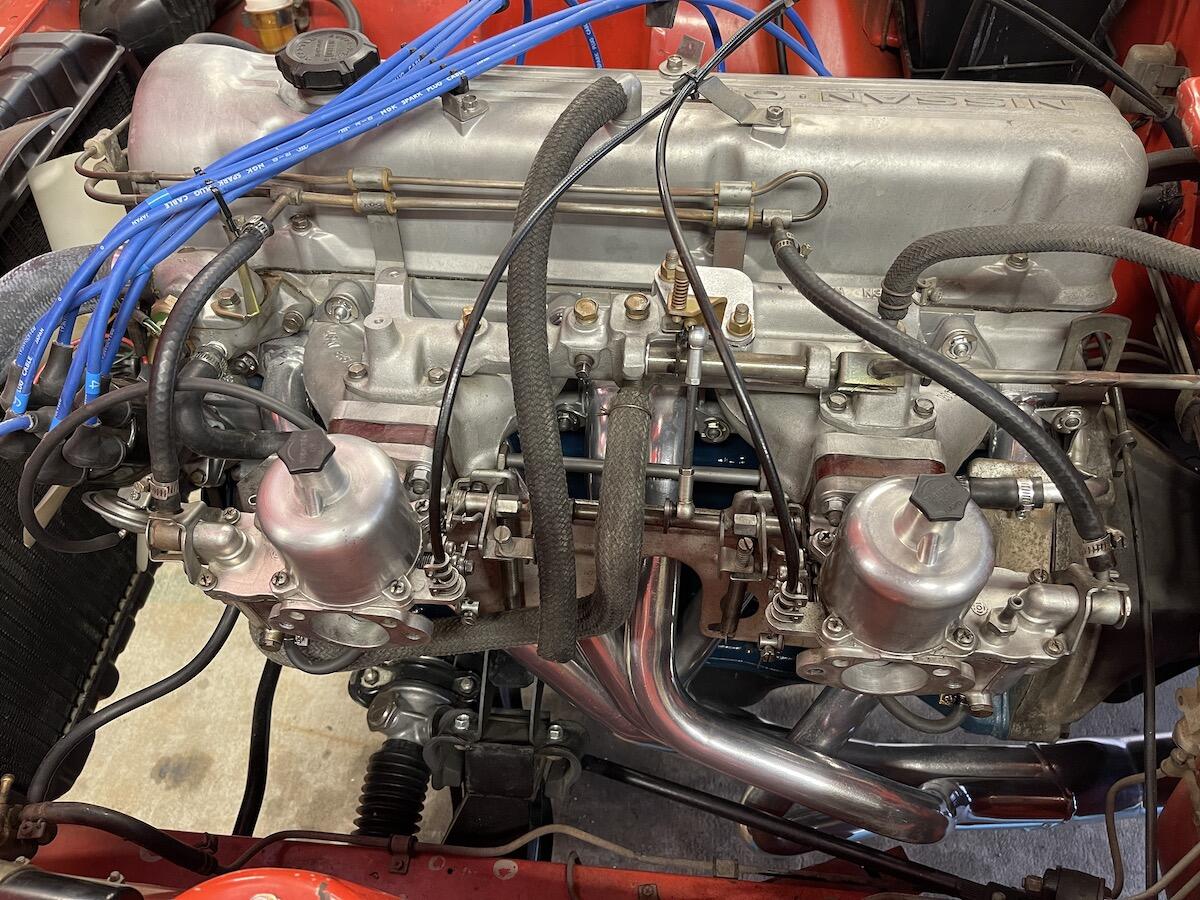
2 pointsI finally decided to install headers on my Z, the MSA 6-1's. I had their Performance Exhaust ordered too, but cancelled that after deciding I wanted a resonator, and didn't like the rear muffler u-bolt mount setup. So, going to drive it 10 miles up the freeway open exhaust to a good shop to get finished up. Here's a few pics. Here's what I'm starting with, which all has to come off: Here's the monstrosity to be removed. I've tried to keep this car pretty much stock, but removed the smog pump a few years ago which helped it run better. So now a header, since the exhaust pipes are getting a few pinholes. Figure if I'm doing the exhaust, may as well go the header route now. Here's the old Nichara system dated 1984. Mufflers still seem solid, just the pipes are getting bad. Anybody wants it come get it. 🙂 Already had the MSA studs installed when I rebuilt it a few years ago. Dry fit to make sure it clears everything, thermostat housing, etc. Did have to remove that tray like thingy-ma-jig bolted to the oil pan bolts, not sure what its purpose is. I did use the Stage8 locking nuts, we'll see how they work. I may regret this if I need to re-torque nuts. The shield fits nicely. Love the thick flange on the header, and not having to mess with stepped washers for the 6 studs between exhaust and intake. Finished with header. Overall, pretty easy job. After adding new coolant, started it up. It's going to be a noisy drive to the shop tomorrow! I'll post pictures of the finished mufflers and pipes, tomorrow, hopefully.


 2 points
 -
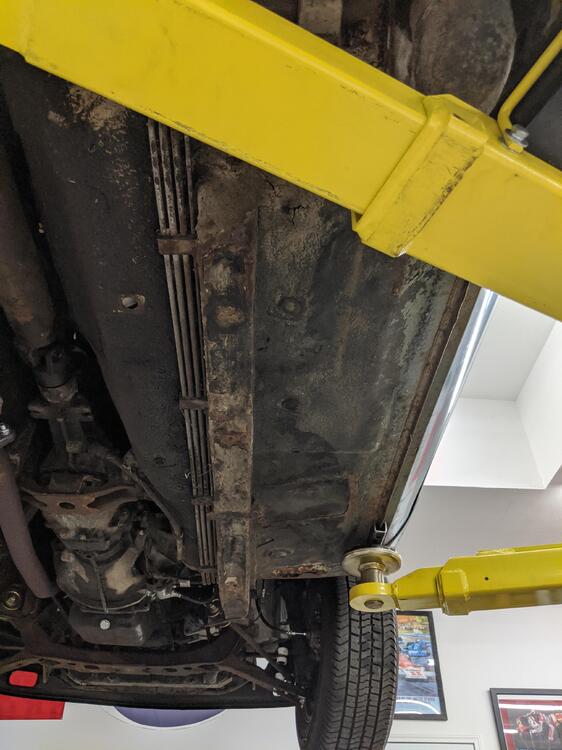
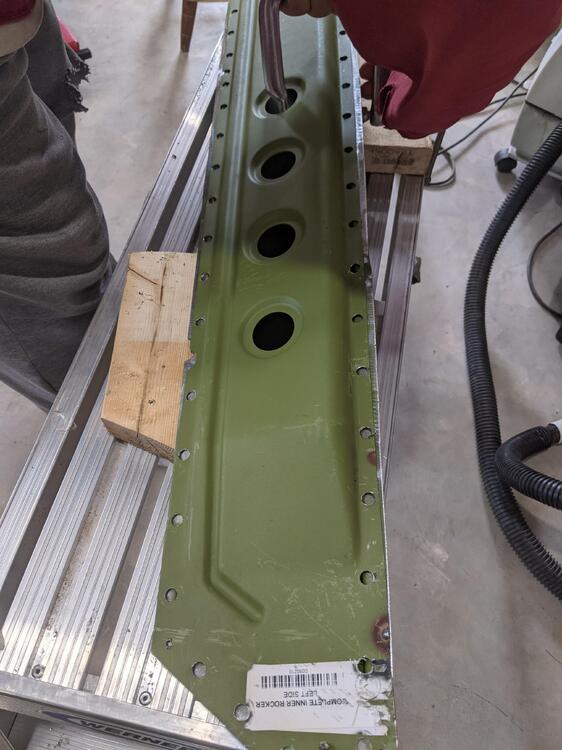
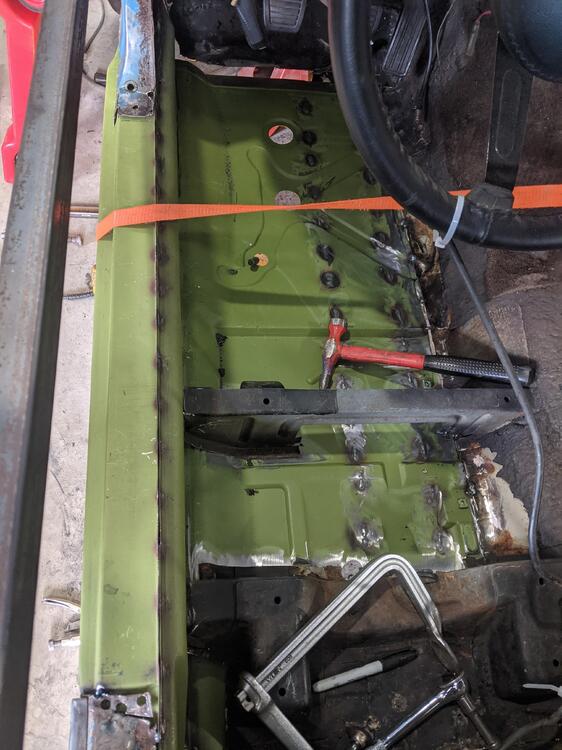
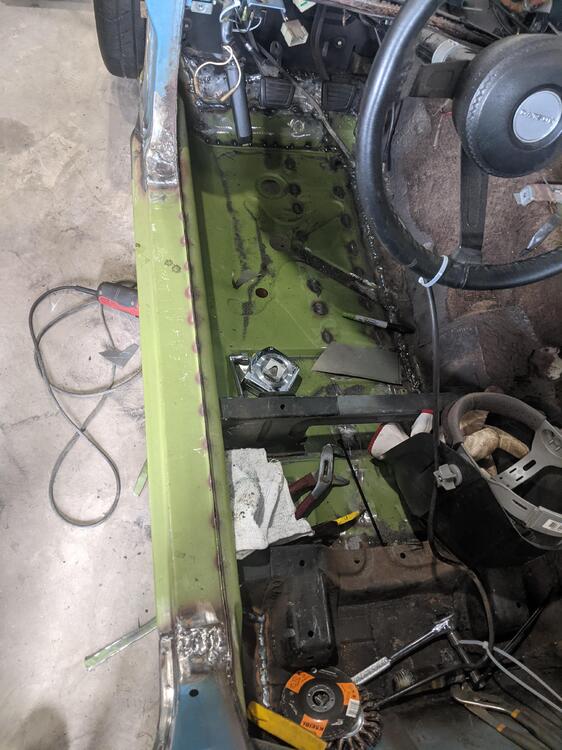
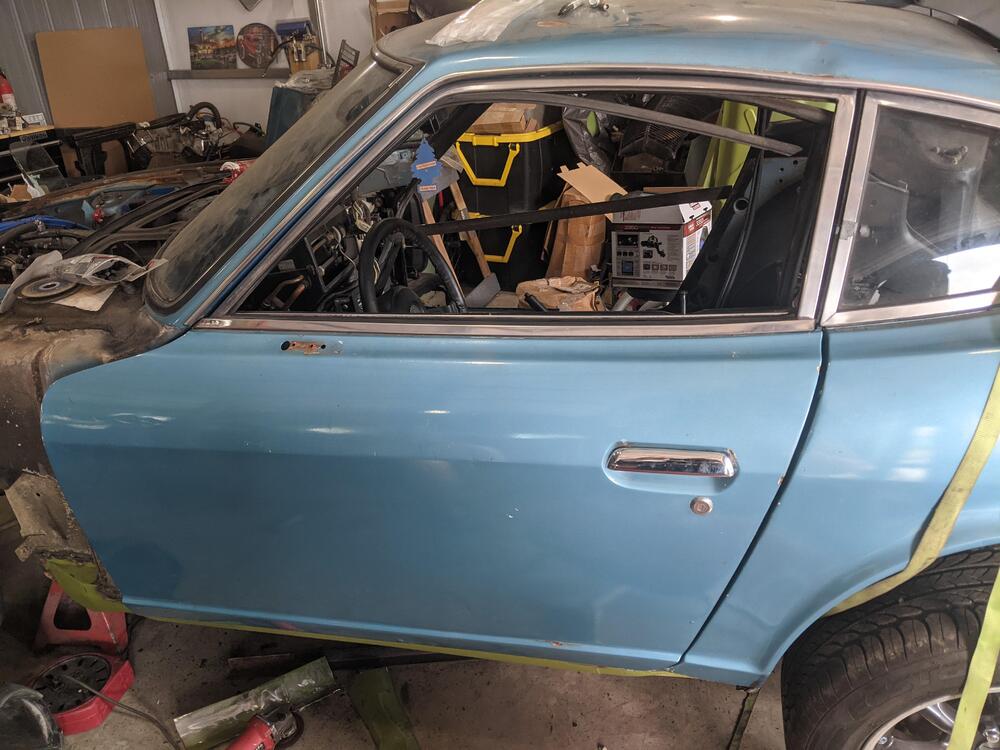
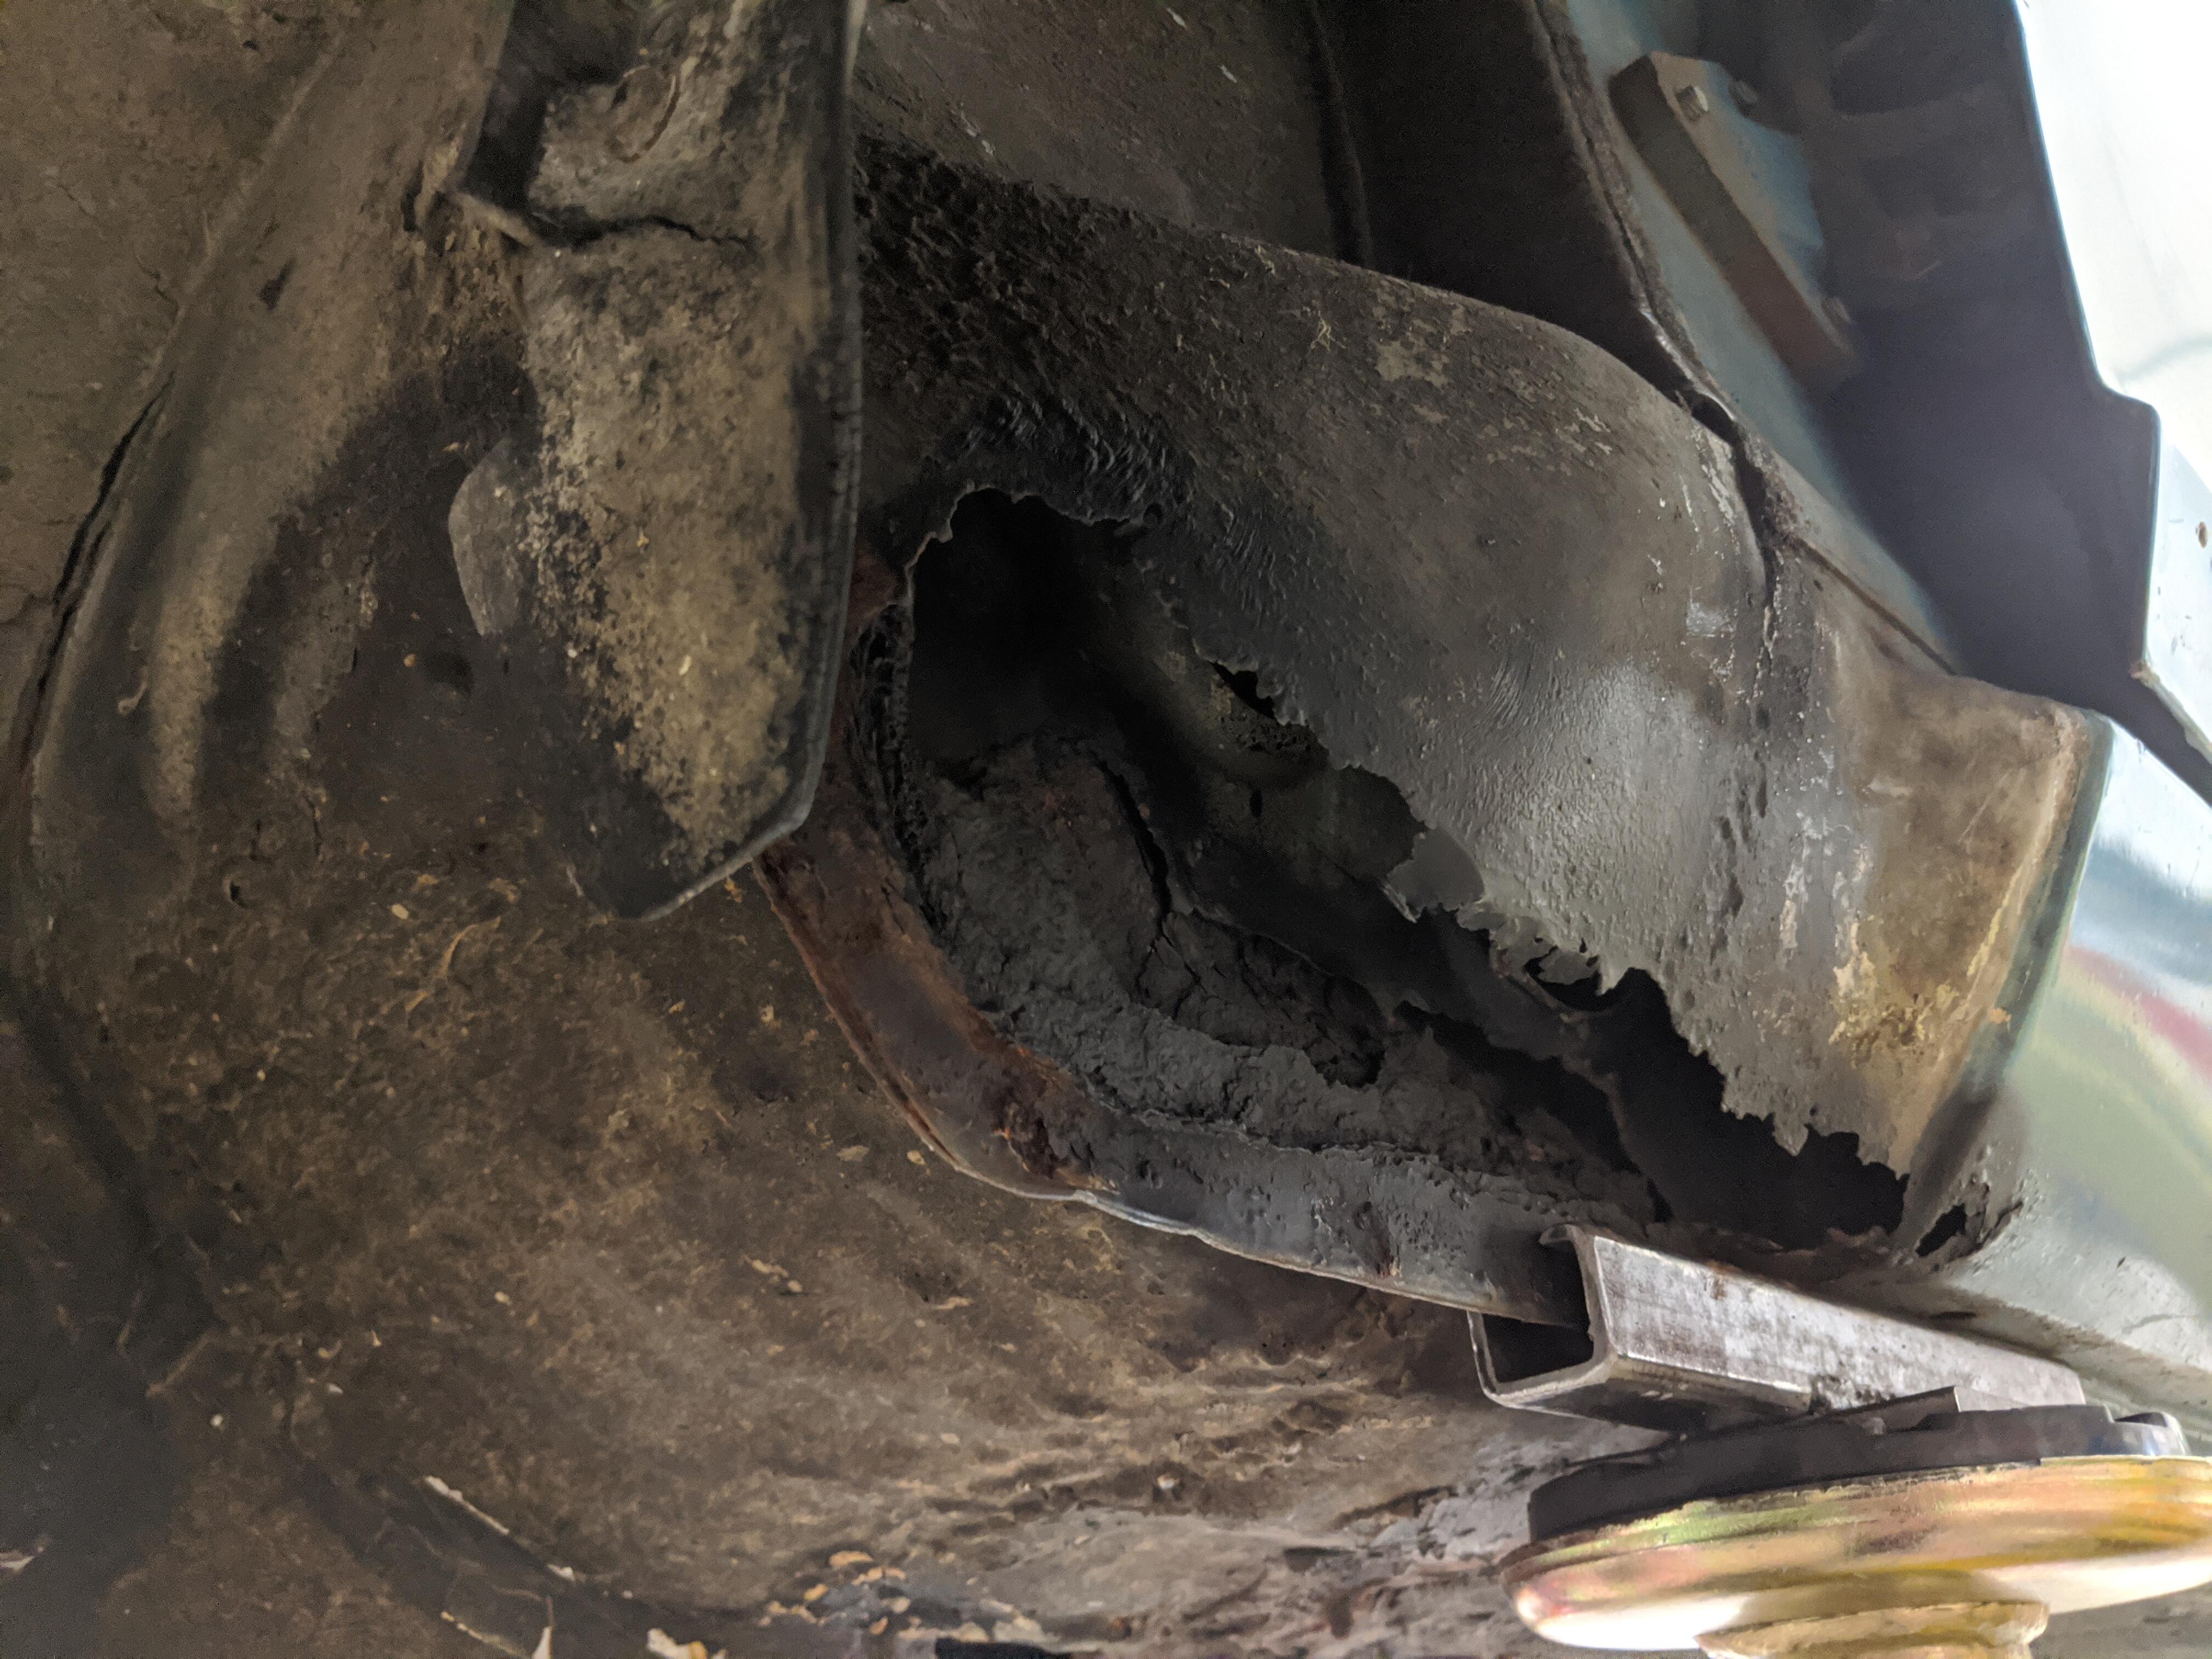
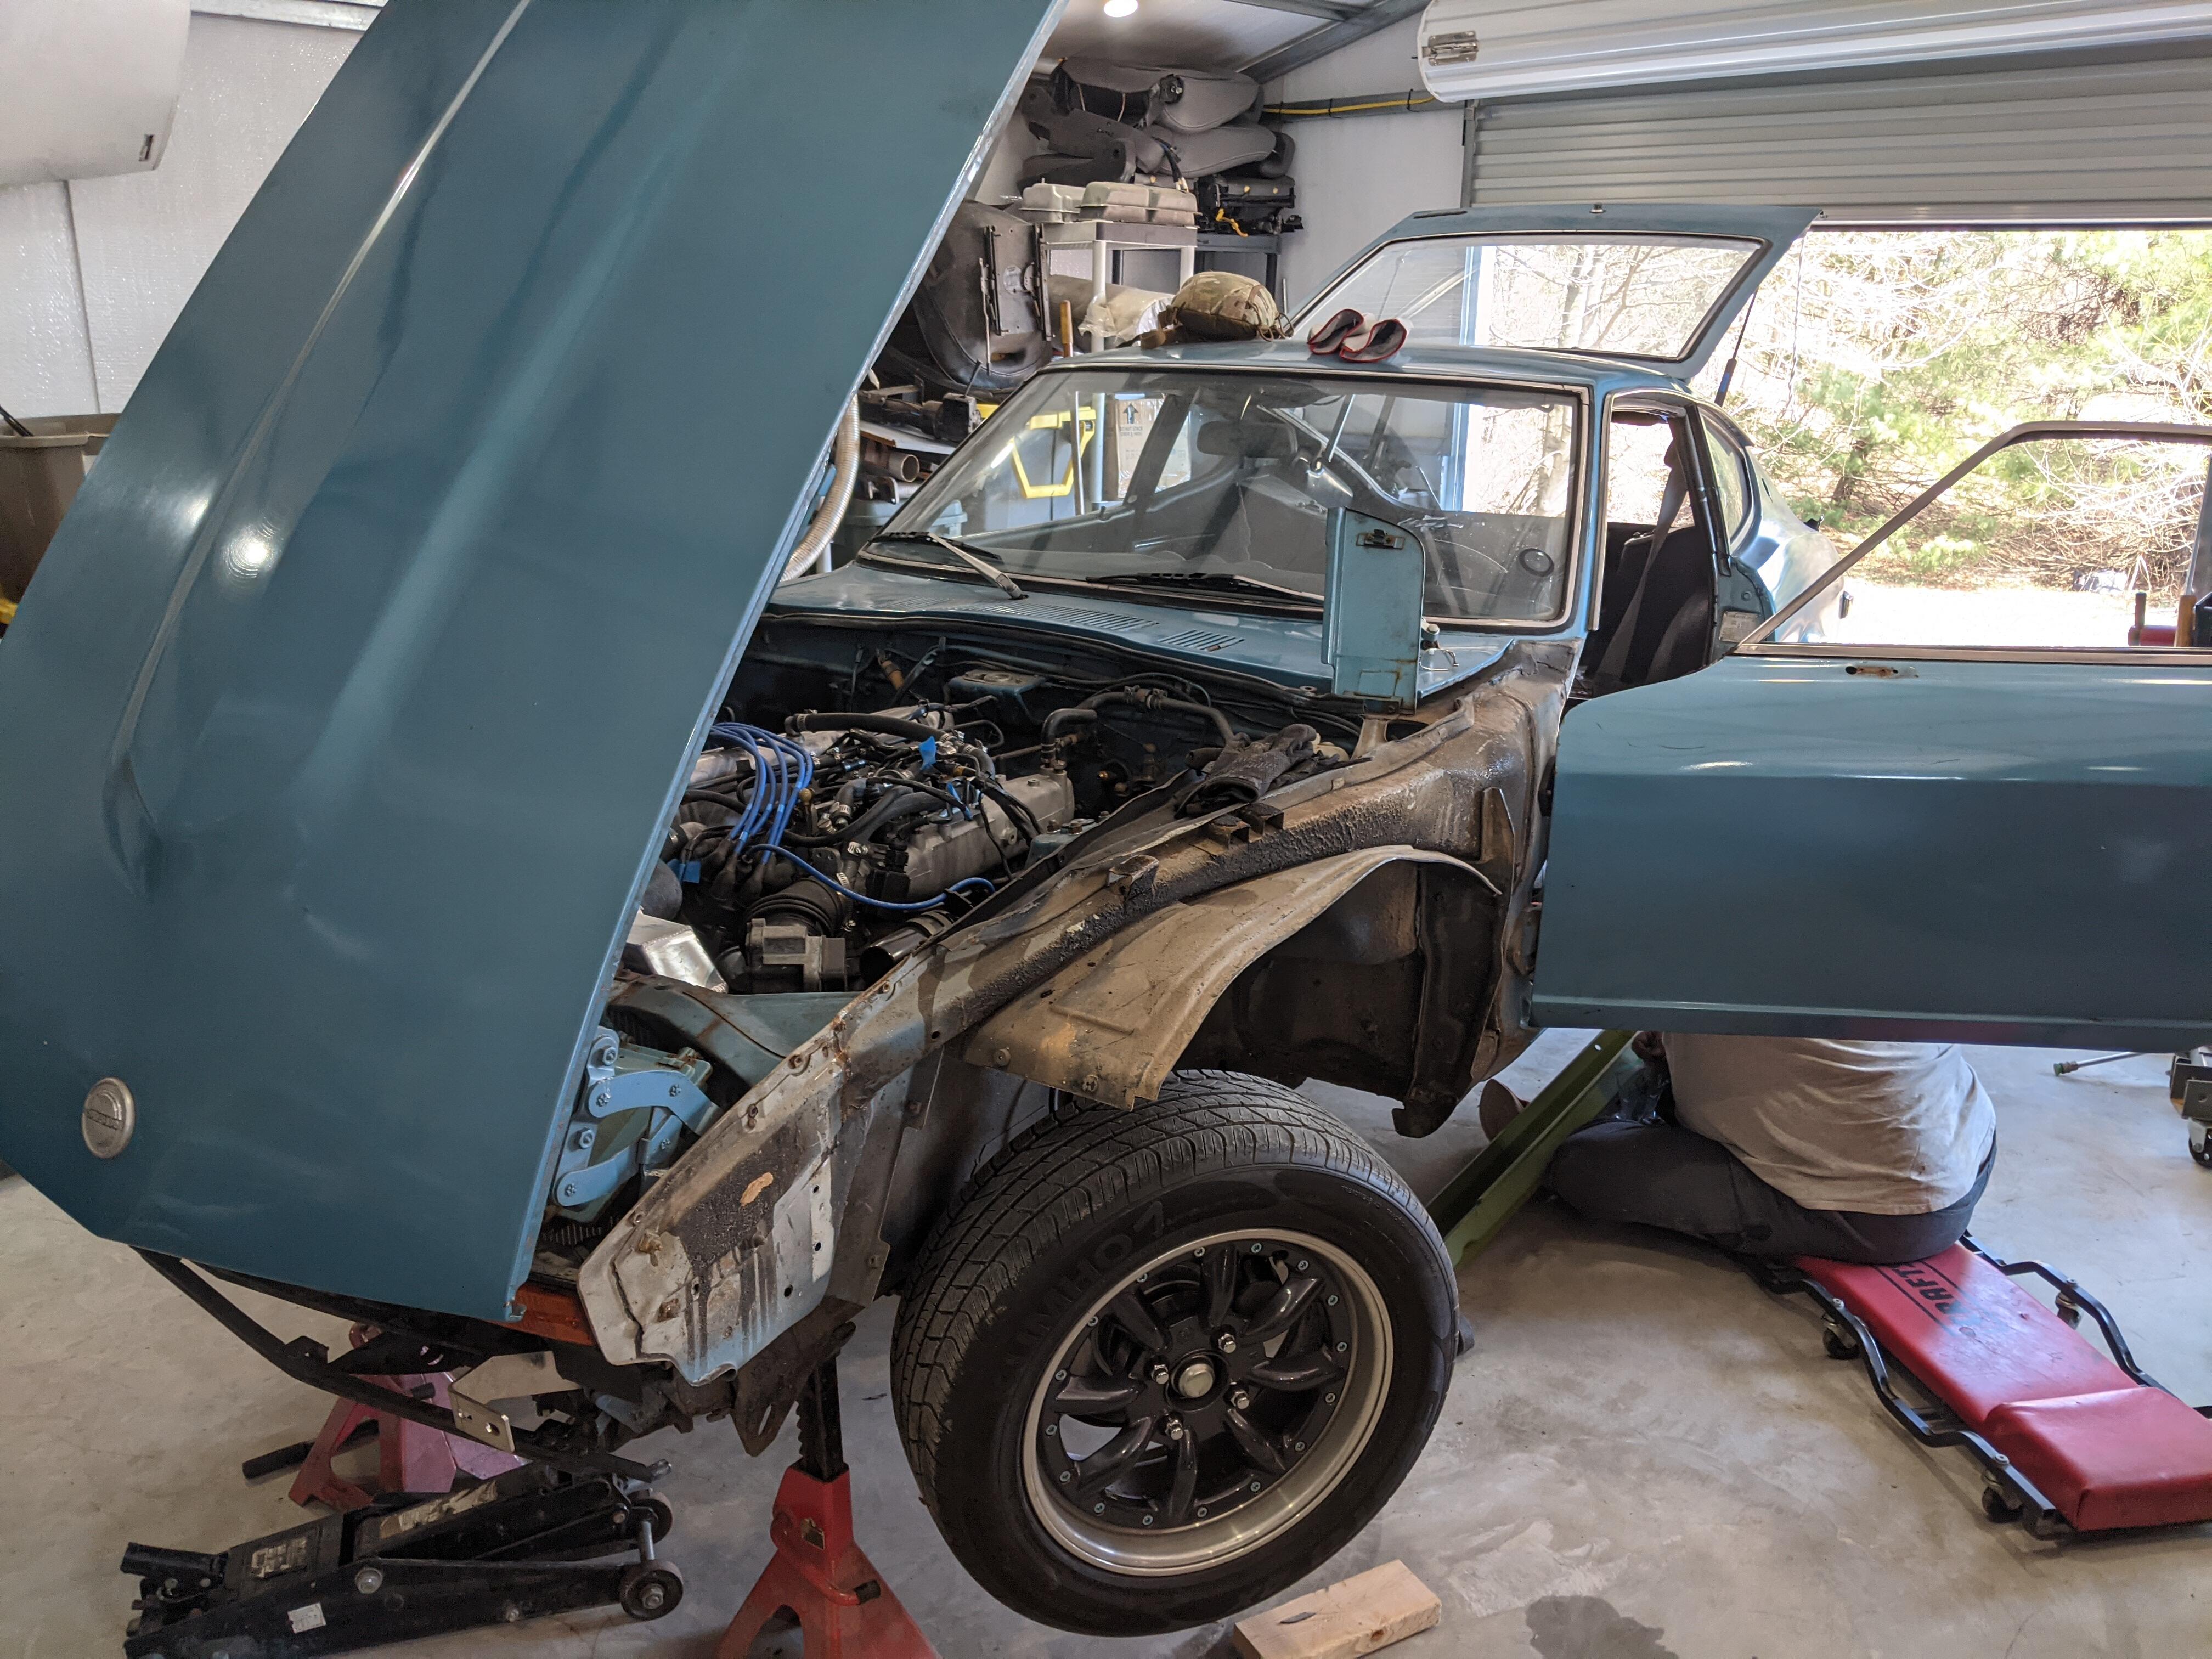
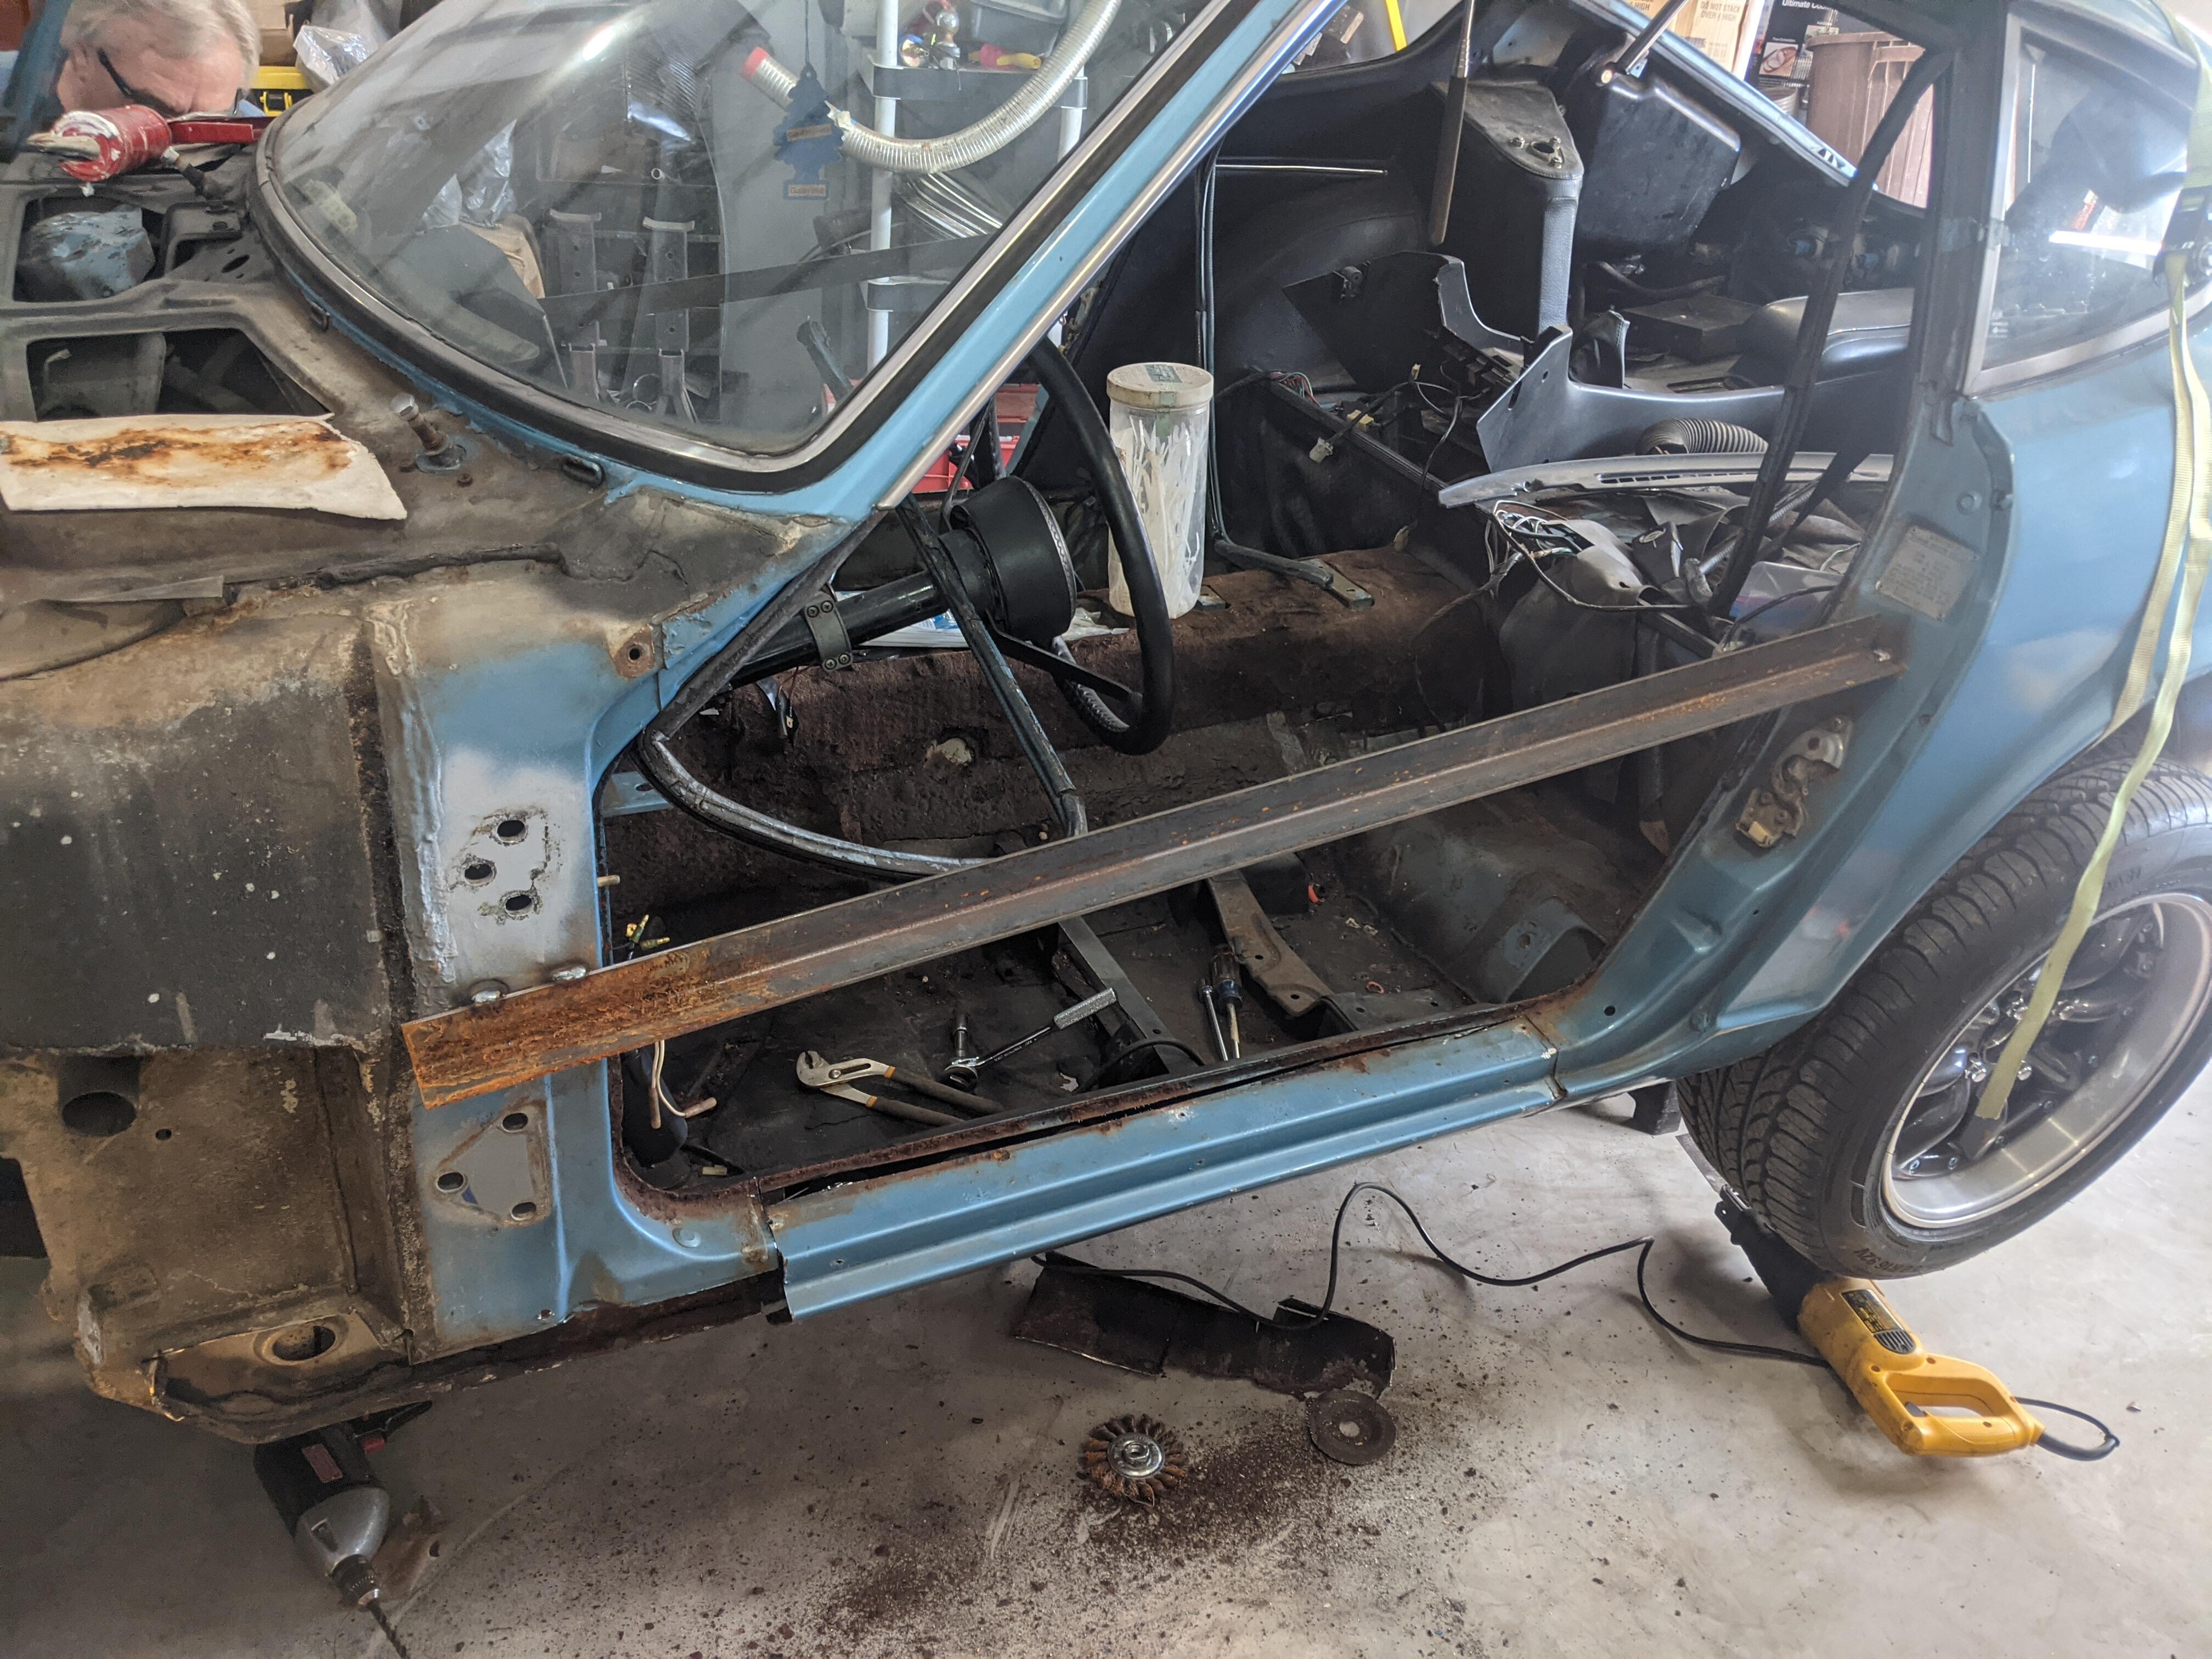
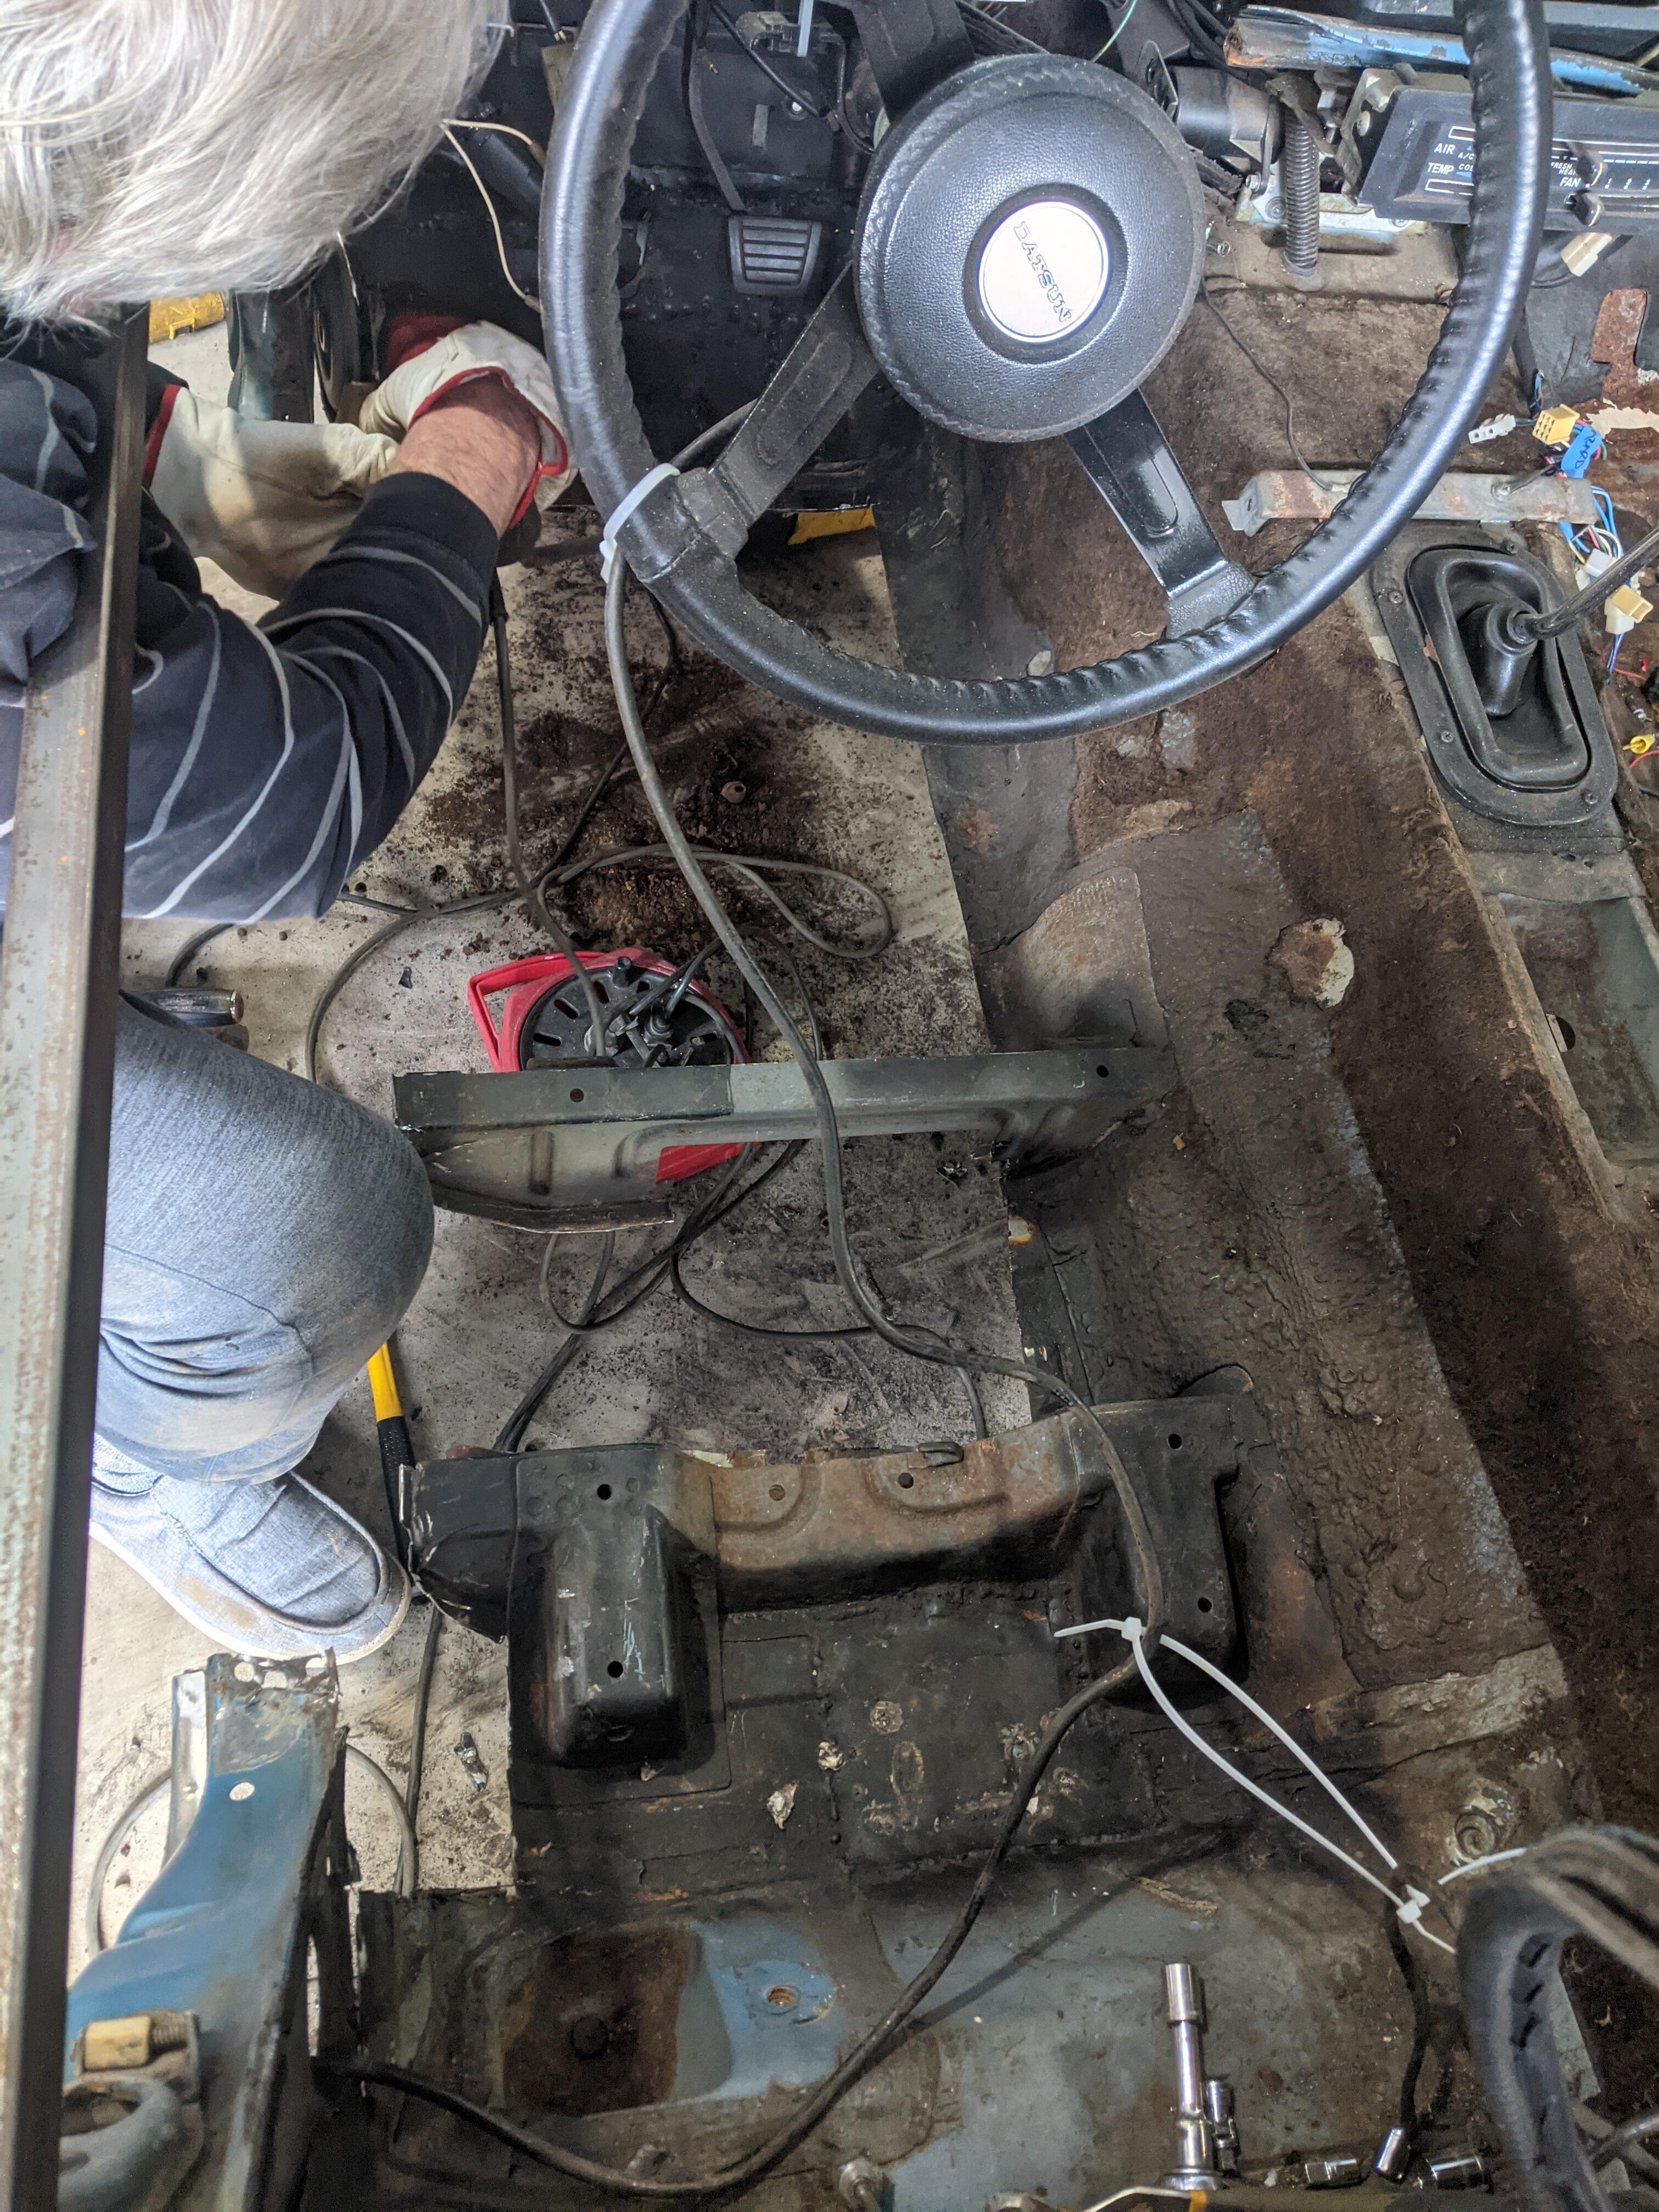
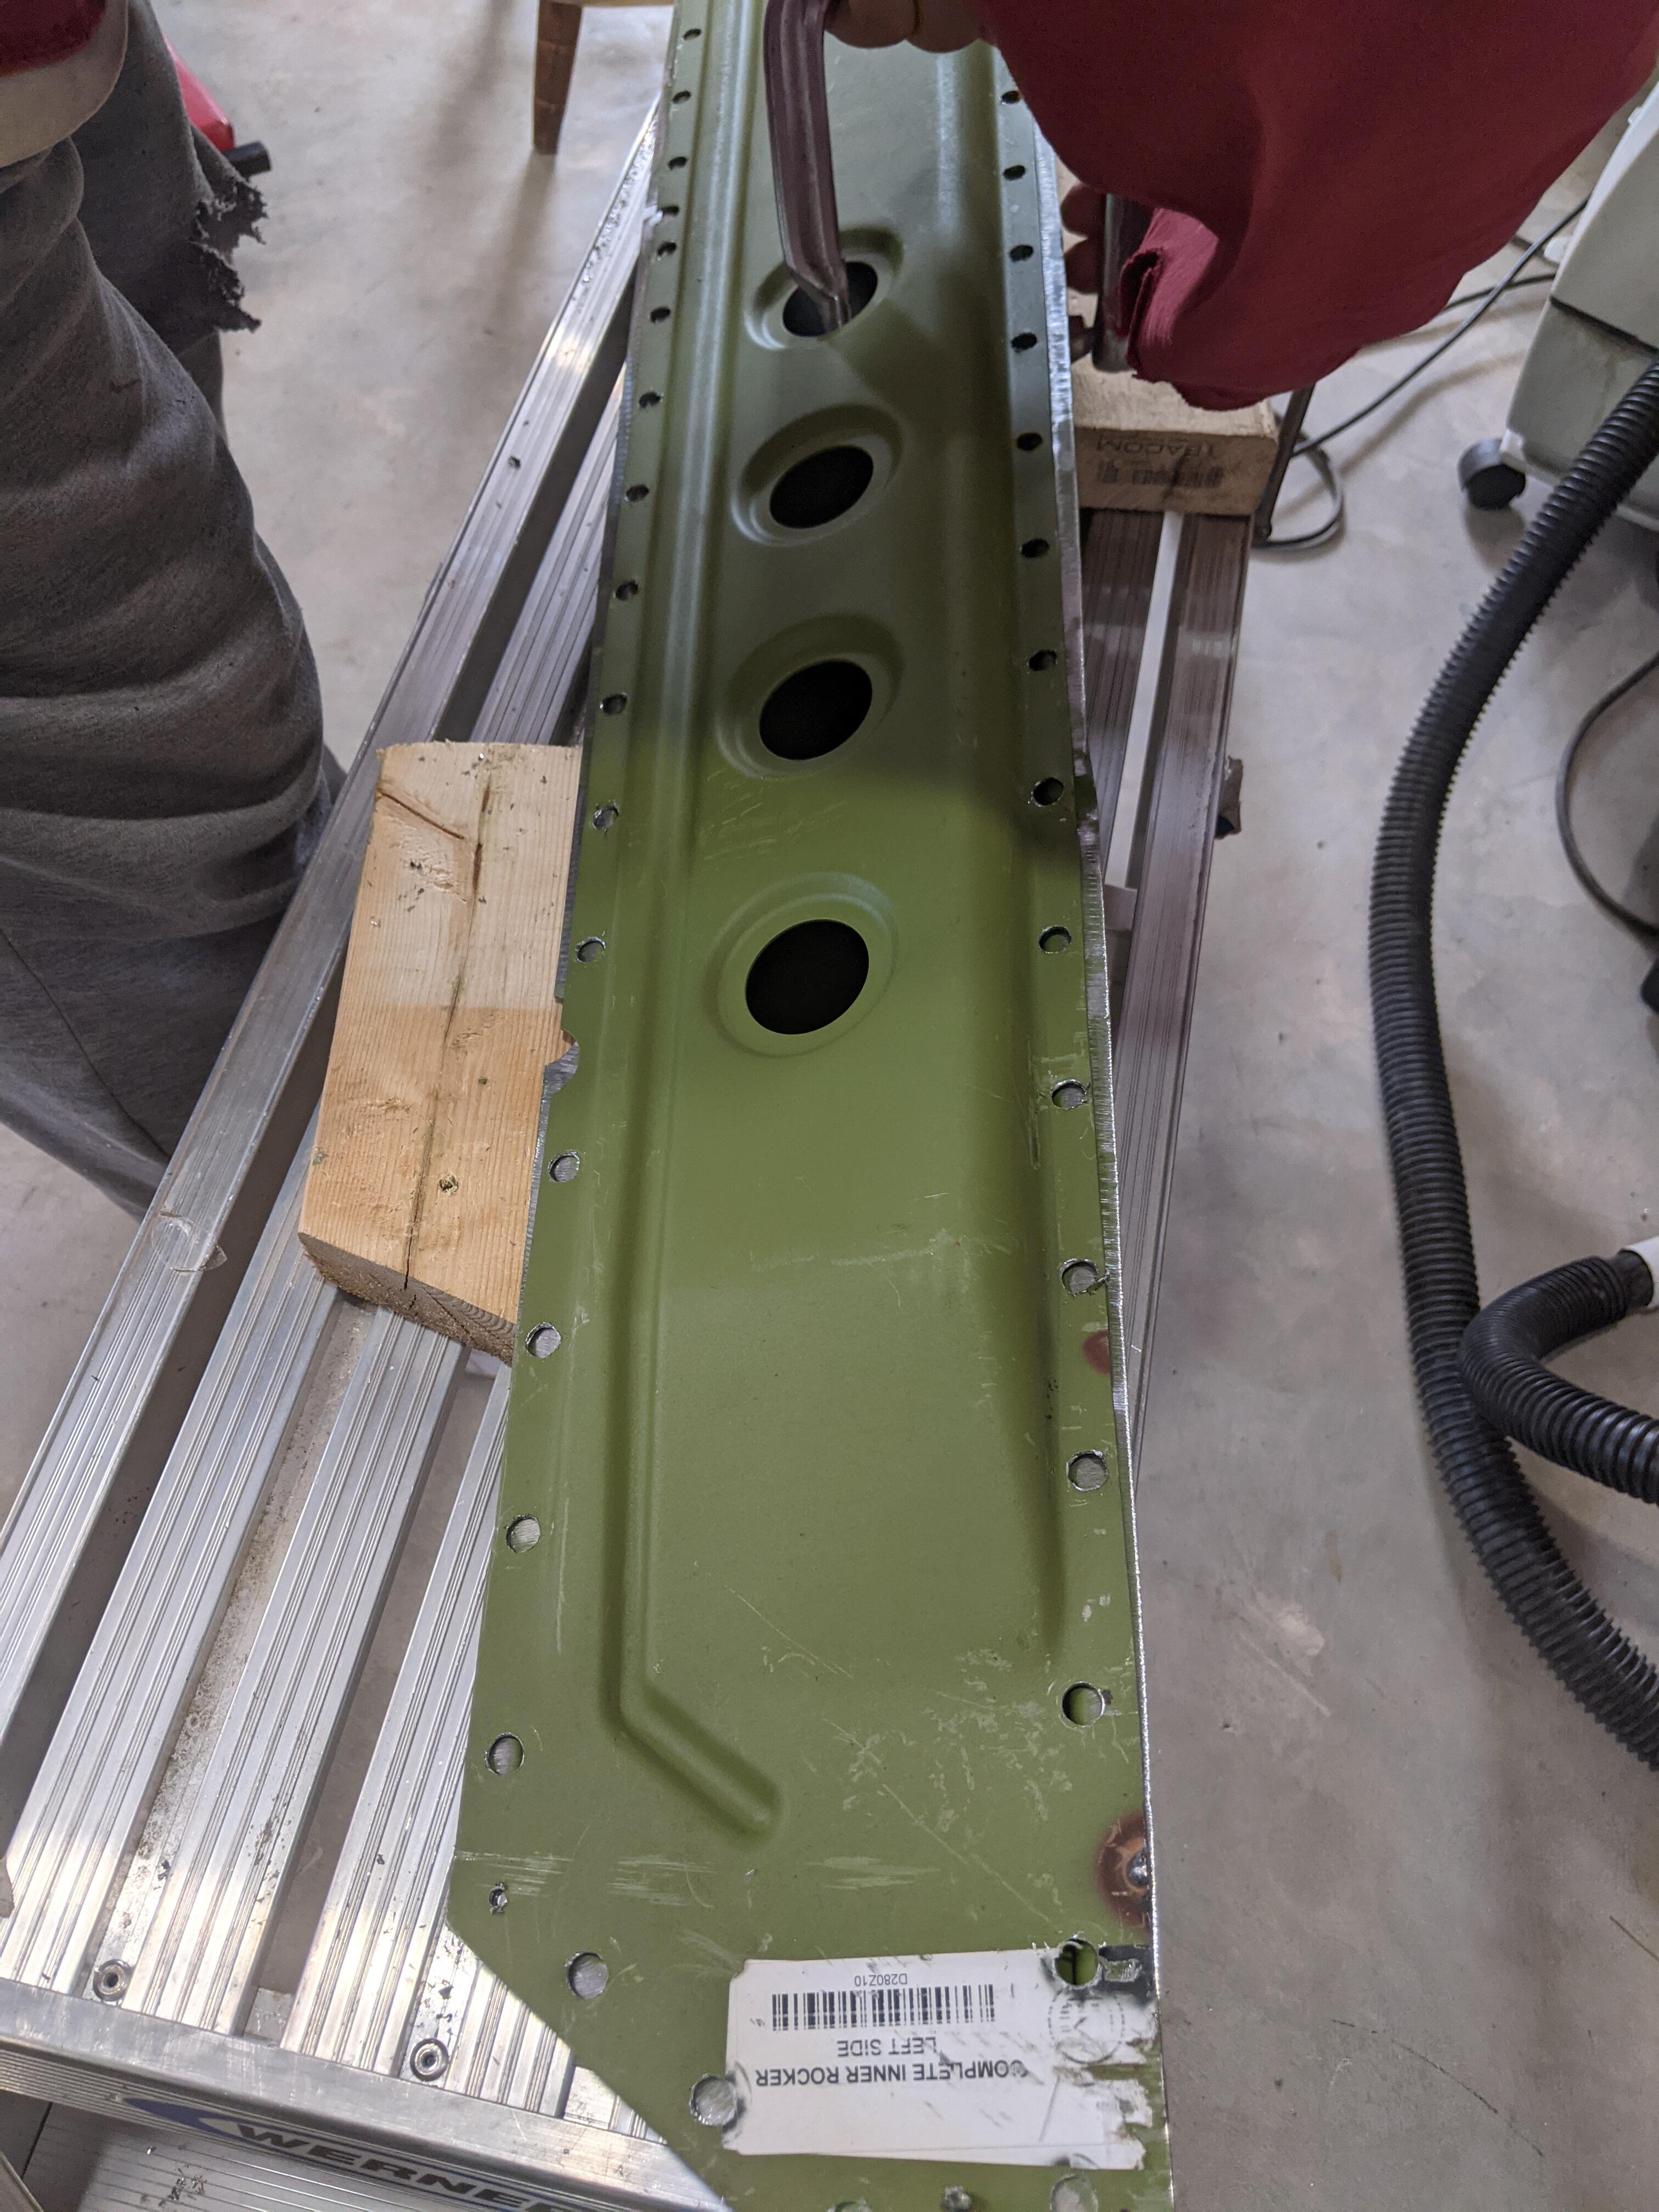
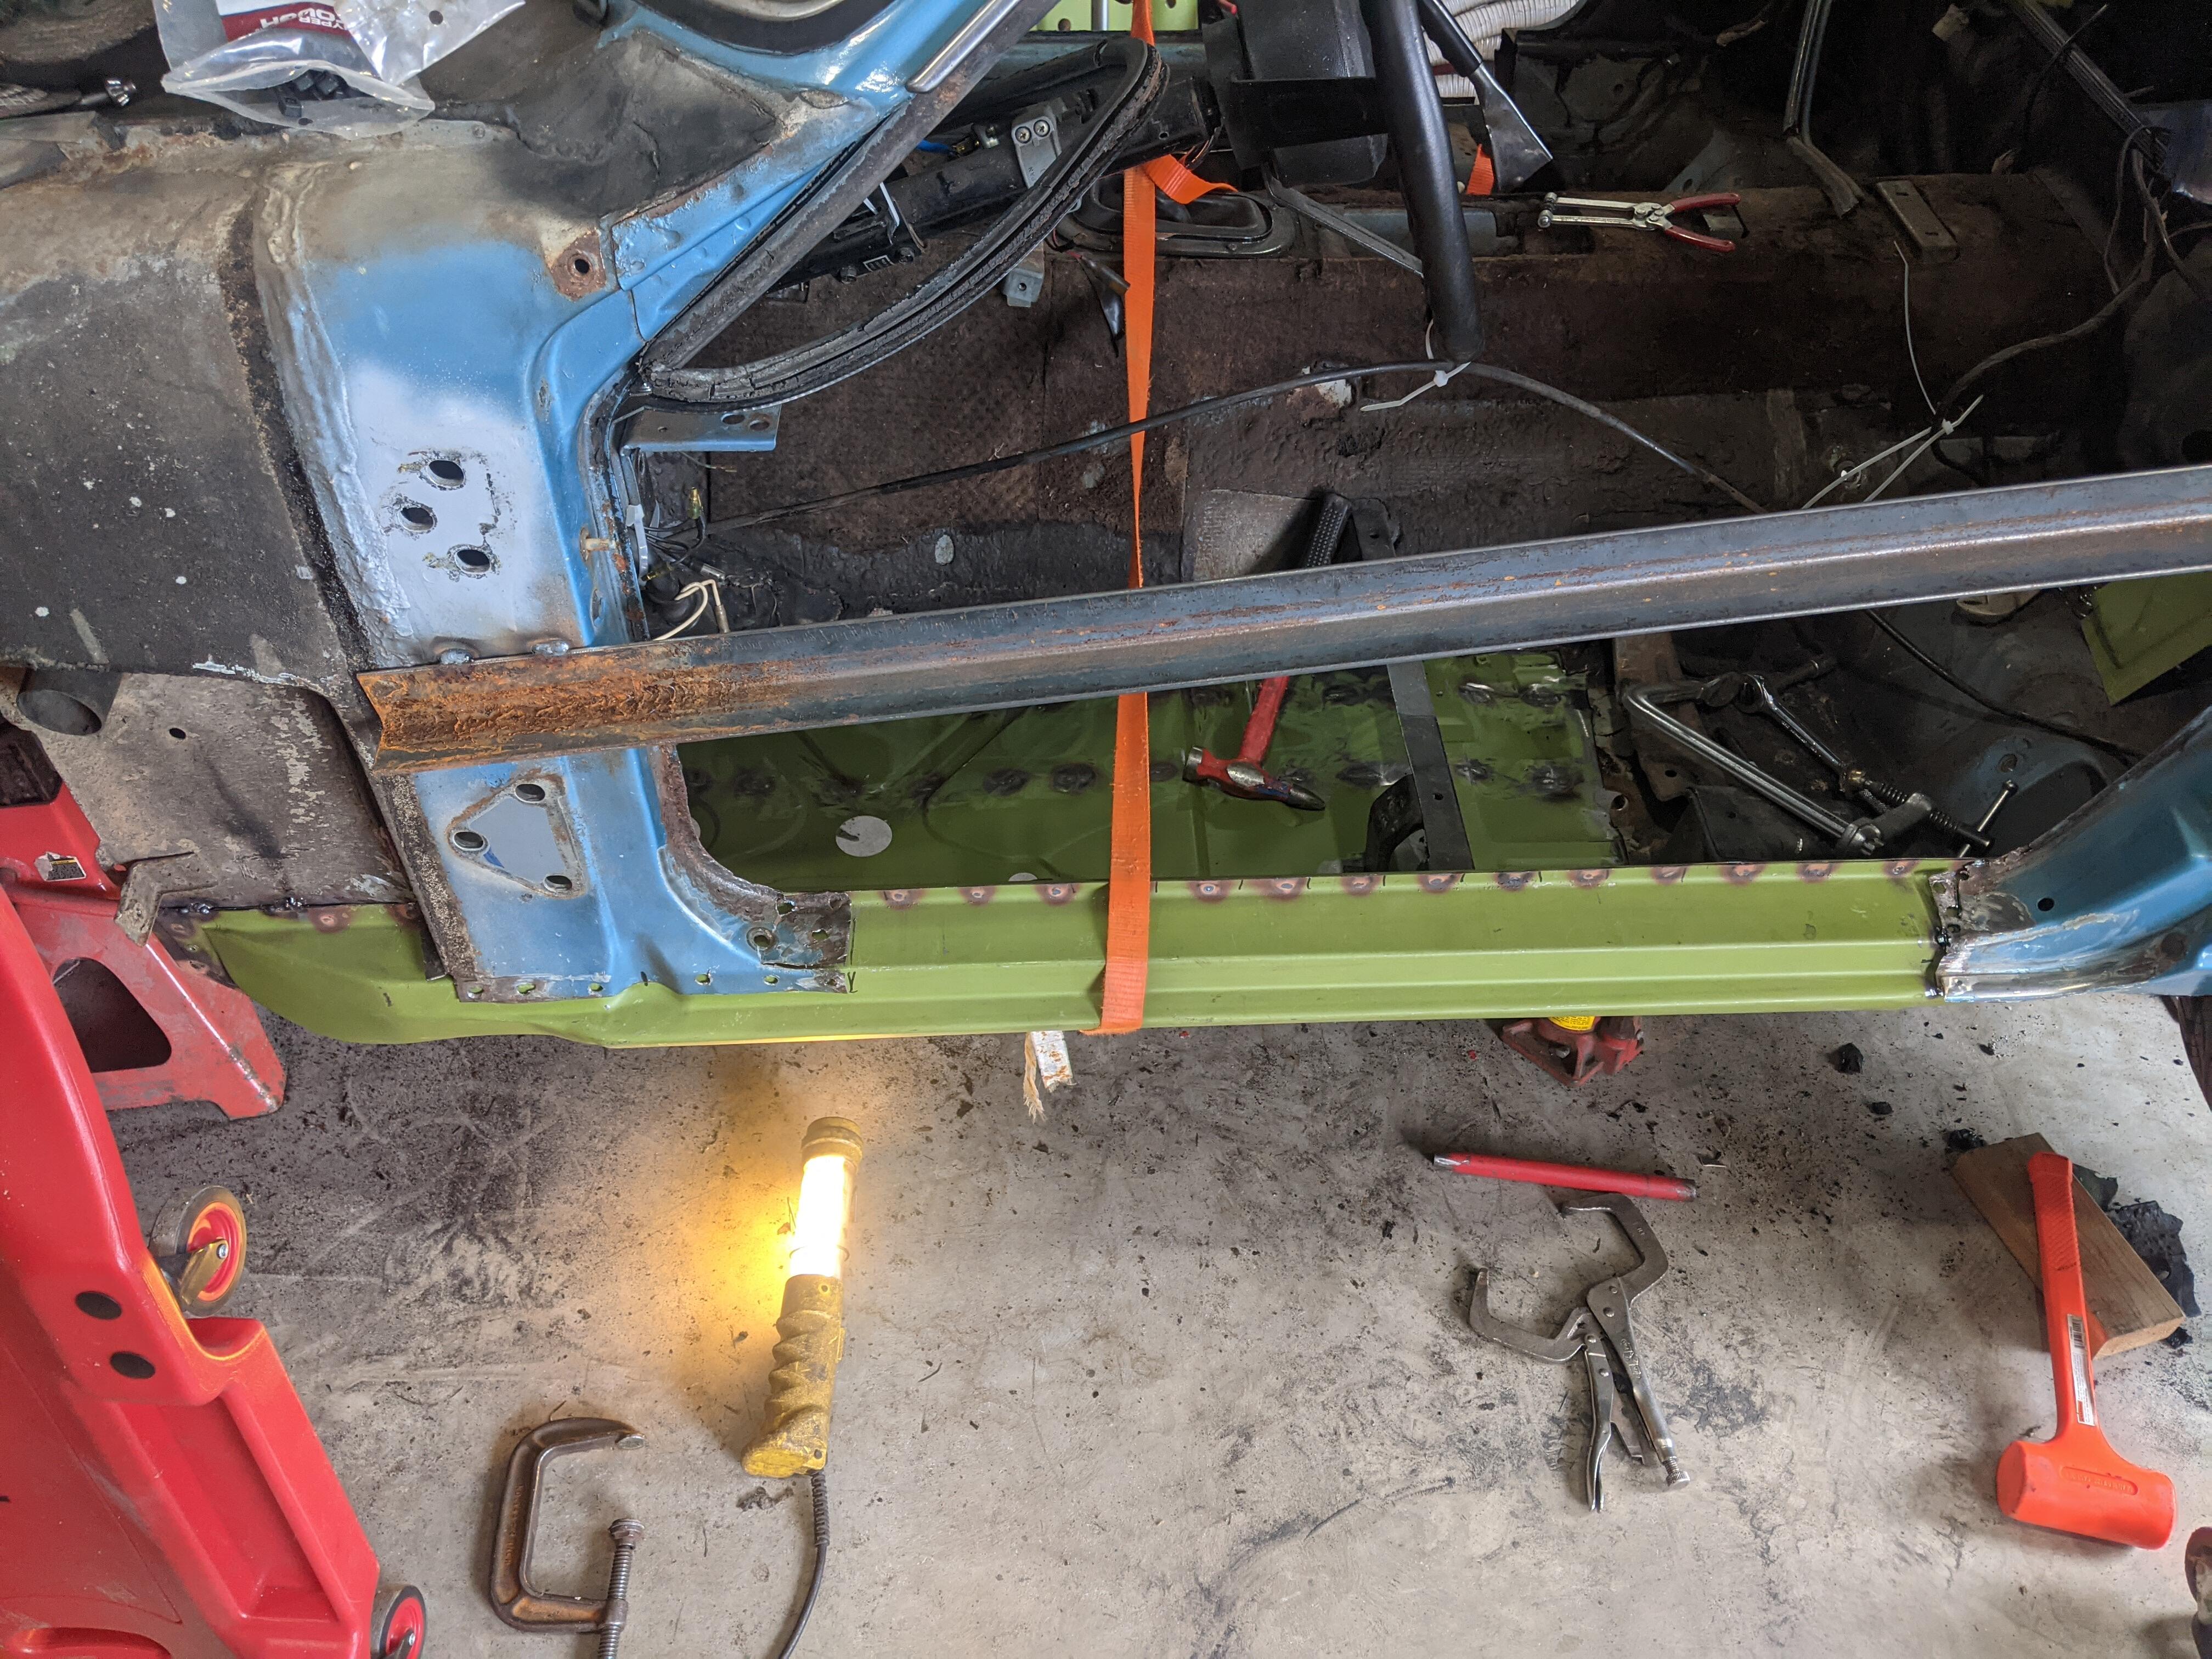
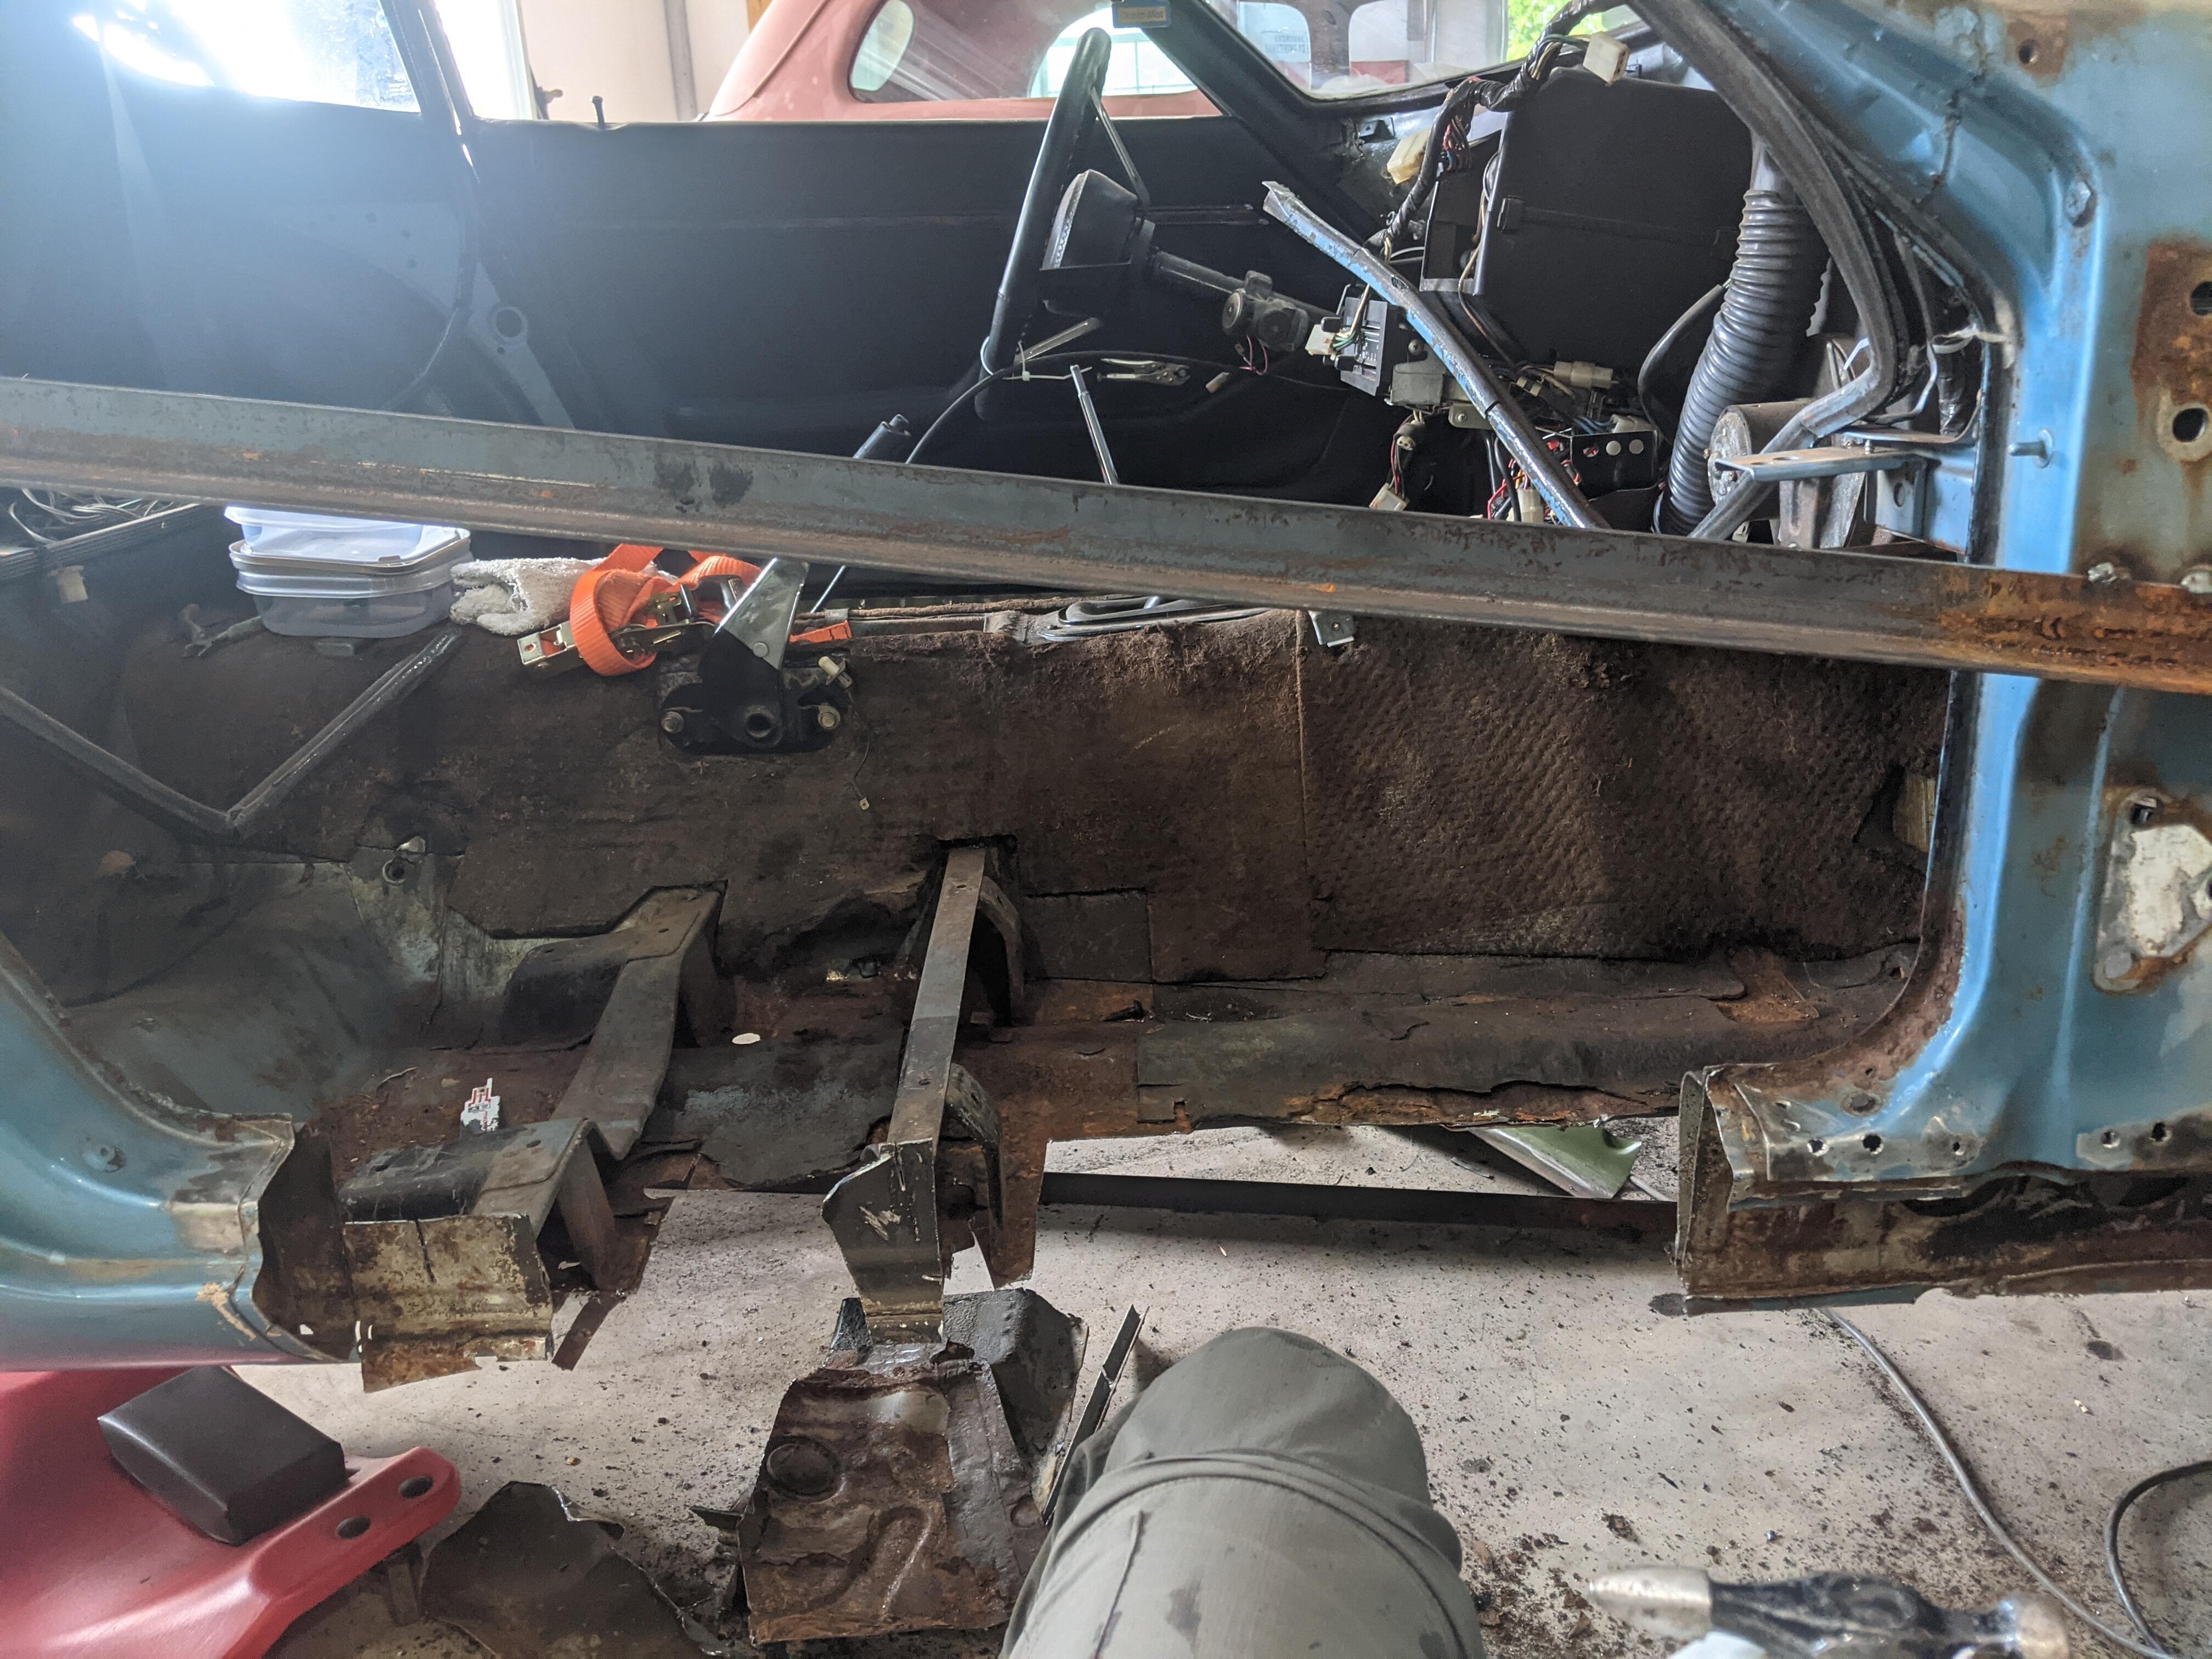
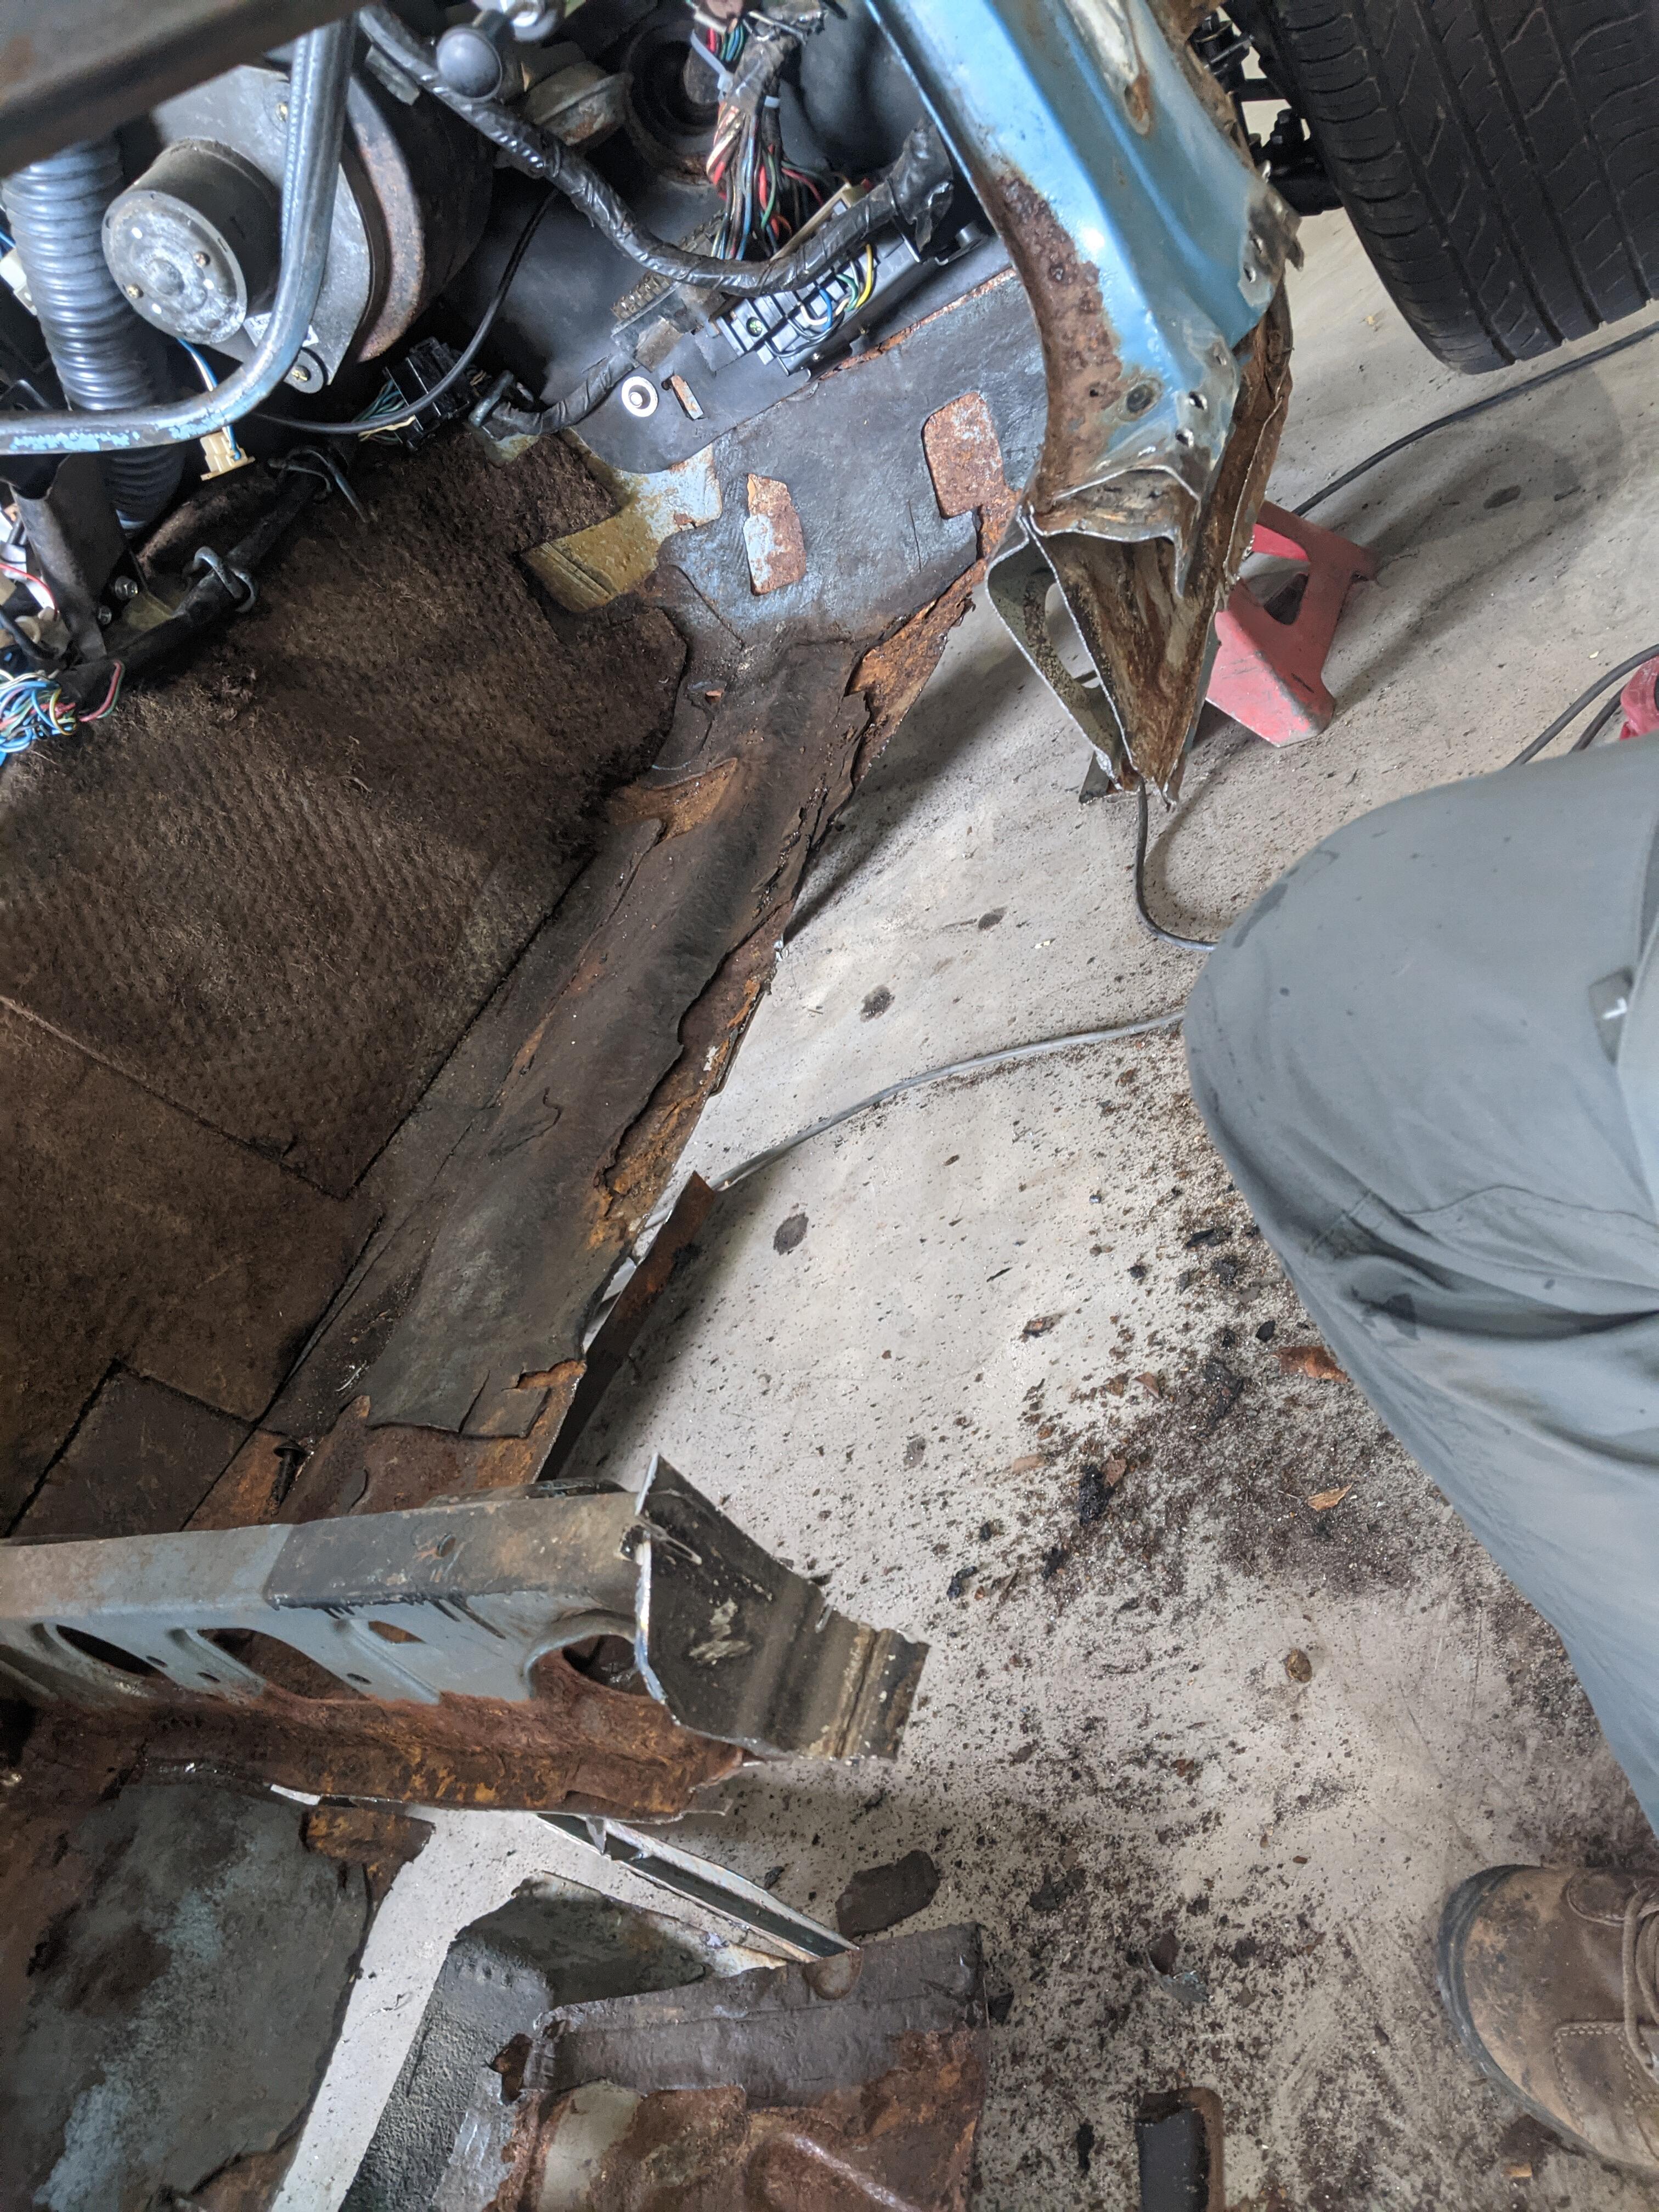
1 pointJust wanted to show some of the work I've been doing on my Z to fix some thoroughly rusted floorpans and rockers. It is still very much in-progress but I'll try to update as it goes on. Hopefully it'll be of help to someone as a reference, or at least encourage folks to give it a shot. If you see anything wrong with the approach, please let me know! Some quick background: The car is a '75 that I picked up in KY a few years back. Since then I fixed the fuel system and got it running, squared away the suspension (new bushings, shocks, springs, hubs, etc etc). But that is where my skill set ran out; never welded and never done resto work. Kept trying to find a shop to do the body work, but never had any luck. Then I moved and ended up close to a family member who happens to be a retired welder and enjoys doing resto/custom work on cars. Perfect chance to dive into the Z! So I bought a set of the Klassicfab panels and we dove in. The floors/rails started off like so: Driver's Side: Driver's side outer rocker looking rough: Passenger side: The drivers side was worse, but both were pretty shot. There had been a previous repair to the drivers side floor pan in 2 areas, and the rail had been reinforced as well. But both floorpans were perforated in many areas and the rockers on both sides were pretty shot. The frame rails were also obviously shot. First up, we got the car on blocks and welded in some braces. Then we removed the driver's side inner and outer rockers and floorpan (scary initially to cut into the car, but that wore off quick), leaving the seat braces largely intact. Then we welded together the new rockers (inner to outer), and welded the new frame rail to the bottom of the floorpan and tacked those in: Then we welded those in.. or actually my Uncle did most of it because that is some EXPERT level welding; that steel is THIN And then a quick check for door fitment.. should have done this after the tacks and BEFORE welding.. thankfully lined up fine (not perfectly lined up here because the bolts aren't tightened yet) Next onto the passenger side.. same strategy; started cutting out the rockers and floorpan Nice shot of the 4-layer 'sandwich' that is the rockers+pan+bottom of the A pillar: And thats as far as I've made it thus far.. more to follow in the future. What a dirty and laborious job.. but also highly rewarding so far. I am learning a ton! -Ben


 1 point
 -
1 point1 point1 pointVery much all of the above. Sawzall where we could because its quickest/safest. Drilled spot welds, then followed with hammer and chisel where trying to preserve the old stuff. Angle grinder with a cutting wheel where we had to. Dirty work, but it goes a lot faster after you get your methods down..1 point1 pointGreat progress. It's always nice to have a talented welder in the family! Can you comment on how you removed the old sheet metal? Did you drill out spot welds? Metal saw? Angle grinder? All of the above?1 point1 pointYou may consider changing out your old electromechanical flasher relay with an electronic relay like this: https://www.amazon.com/gp/product/B0811GTVH2/ It has a speed adjustment that I like. The thing is that you'll have to run a ground wire to it to make it work.1 point1 pointSorry to here that! Maybe we have a member in the area who can recommend someone1 point1 point1 point


Important Information
By using this site, you agree to our Privacy Policy and Guidelines. We have placed cookies on your device to help make this website better. You can adjust your cookie settings, otherwise we'll assume you're okay to continue.