Leaderboard
-

siteunseen
Free Member4Points15,175Posts -
Muzez
Free Member3Points242Posts -
ensys
Free Member3Points155Posts -

CW240Z72
Free Member3Points229Posts


Popular Content
Showing content with the highest reputation on 01/05/2022 in Posts
-
3 pointsMy Stone Ax is Bigger Than Yours Dept. In the late 60s, our class was assigned to designing and executing a simple project of our choosing. As this entailed 9 to 12 in. stacks of DIY punch cards (one misplaced hole and it was back to the punch keyboard) run by a room-full of early IBM, it first defined Big Fun for many of us. On the plus side, the experience earned me the chance to do Piping and Instrumentation diagrams for nuclear subs for a time in the mid-seventies. The system was based on an early Eclipse computer, complete with 14in platter stacks for hard drives and a nifty, if crude, flat bed plotter that used special ball-point pens. After that, it took a while to acquire my first; an 8088 IBM clone, 5 1/2in floppies and a dot-matrix printer. I liked it better than the Apple II I used in another job. You'd think I'd do better with the crude analog electronics they used in the Z....3 points
-
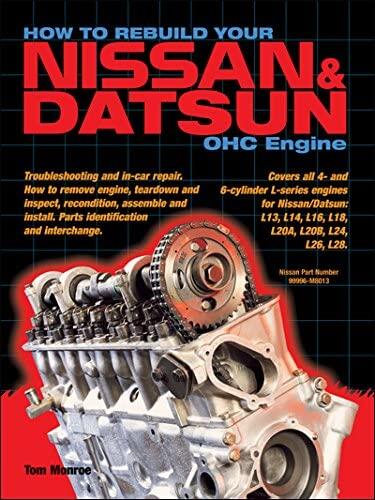
3 pointsBought and shipped! Thanks for the recommendation. I don't have to be worried about my dad being Whizzed. He's an engineer and understands the theory of engine design, but chose to focus his mechanical knowledge elsewhere. Whenever I talk about my car, he always asks "Have you sold it yet?" My biggest complaint with the Haynes stuff is its not always well organized and misses important stuff. I mostly use it to fill in when the service manual doesn't cover a topic. I am sure I will have a thousand questions but you guys are always good at answering and being there. Saved by bacon when I yolo lifted my engine a few weeks ago. 😛3 points
-
3 pointsBeen working on the videos for this Z recently. Here's the in-car driving video for anyone that's interested.3 points
-
3 pointsThere's a good chance that the water pump bolts have either already been broken by a previous owner, or will break as you are removing them. It's not that big of a deal if you break one, they aren't terribly hard to remove, especially with the engine on a stand and not in the car. I would go ahead and replace the head gasket and timing chain while the engine is out. The book that Siteunseen mentioned is the way to go for sure. I had never done it before and used that book. Made perfect sense and I'm no real veteran at this stuff. If setting the cam timing is your biggest worry, that book makes it plain and clear. Plus there's lots of threads on here about it, and if you get stumped, folks are happy to help.3 points
-
Will this be the final and concrete solution to your problem? No one here has a crystal ball as far as know and if they did they'd be looking for that unrusted barn find Z that most of us know is out there somewhere. The shrouded fan(s) would seem to be the best solution, IMO, but but there has been some discussion at HybridZ lately about upgrading the alternator when using double fans.2 points
-
2 pointsIf you haven't already bought this I highly recommend. I built some dirt bikes and boat motors so I knew the basics but I'd never done a car motor. I bought this book for $20 and didn't have to call my Dad for help at all. I think it whizzed him off? https://www.amazon.com/Rebuild-Your-Nissan-Datsun-Engine/dp/1931128030 Great how to book. He makes you want to do it unlike Haynes and Chilton manuals. They suck in my opinion.
 2 points
 -
If I was you I'd buy an infared no contact thermometer and check the temperature of different areas of your car. I do not think you have percolation issues with the fuel. I do not think heat is causing your ill running car. It gets hot where I live too and my car runs fine. Did you ever get a coolant temperature with it idling and the thermostat open? You could get readings from the carbs, the cylinder head and the block, the coil, radiator etc. https://www.amazon.com/gp/aw/d/B07WZXK6PT/ref=sspa_mw_detail_5?ie=UTF8&psc=1&sp_csd=d2lkZ2V0TmFtZT1zcF9waG9uZV9kZXRhaWwp13NParams
 1 point
 -
1 pointMy photography processing computer, after left foot rework a few years ago. The PC tower on the left is the one for my music processing.
 1 point
 -
1 pointYou guys make me feel like a neophyte. My first computer was a Pentium II hand me down. My stepdaughter bought it used from Boeing surplus (back then Dell didn’t have the contract). She fiddled with it, then gave it to her brother to use for recording music for his garage band. It didn’t meet his needs, so he bought a new one, and asked if I wanted it. I said sure, he brought it over and I stuck it in the corner. Mrs. Racer 2.0 pestered me to do something with it or get rid of it. So one day I set it up, and turned it on. Then there were a bazillion calls, first to the boy, then his sister. Eventually I got it running, then got online with one of the free internet access services, with a 28.8k telephone modem. That was 1998. It didn’t take long and I upgraded to a 56k modem, then cable through my TV cable company. At first it was I the one calling the kids for help. But it didn’t take long before I was upgrading the processor and memory, then building a new computer from scratch. I bought a seat of AutoCAD, and Photoshop. Then it was the kids calling me for help with their computers. Since then I have built five machines, two with dual head video cards, one for CAD work, one for photography work. One of the single display machines I use for digitizing my vinyl record collection. A friend said my computer room looks like a display at Best Buy.1 point
-
1 pointHihihi.. in the early '80's i designed and build a A3 Flatbedplotter, and it used normal ballpoint pen's ! I build it from the ground up.. Even the programming in 6502 and basic. I controlled it with a commodore 64! (Has a 6510 processor) .. 38811 Basic Bytes free! HAHAHA!! I remember it had 2 steppermotors and it could make 13 steps in a mm on the paper..1 point
-
1 point
-
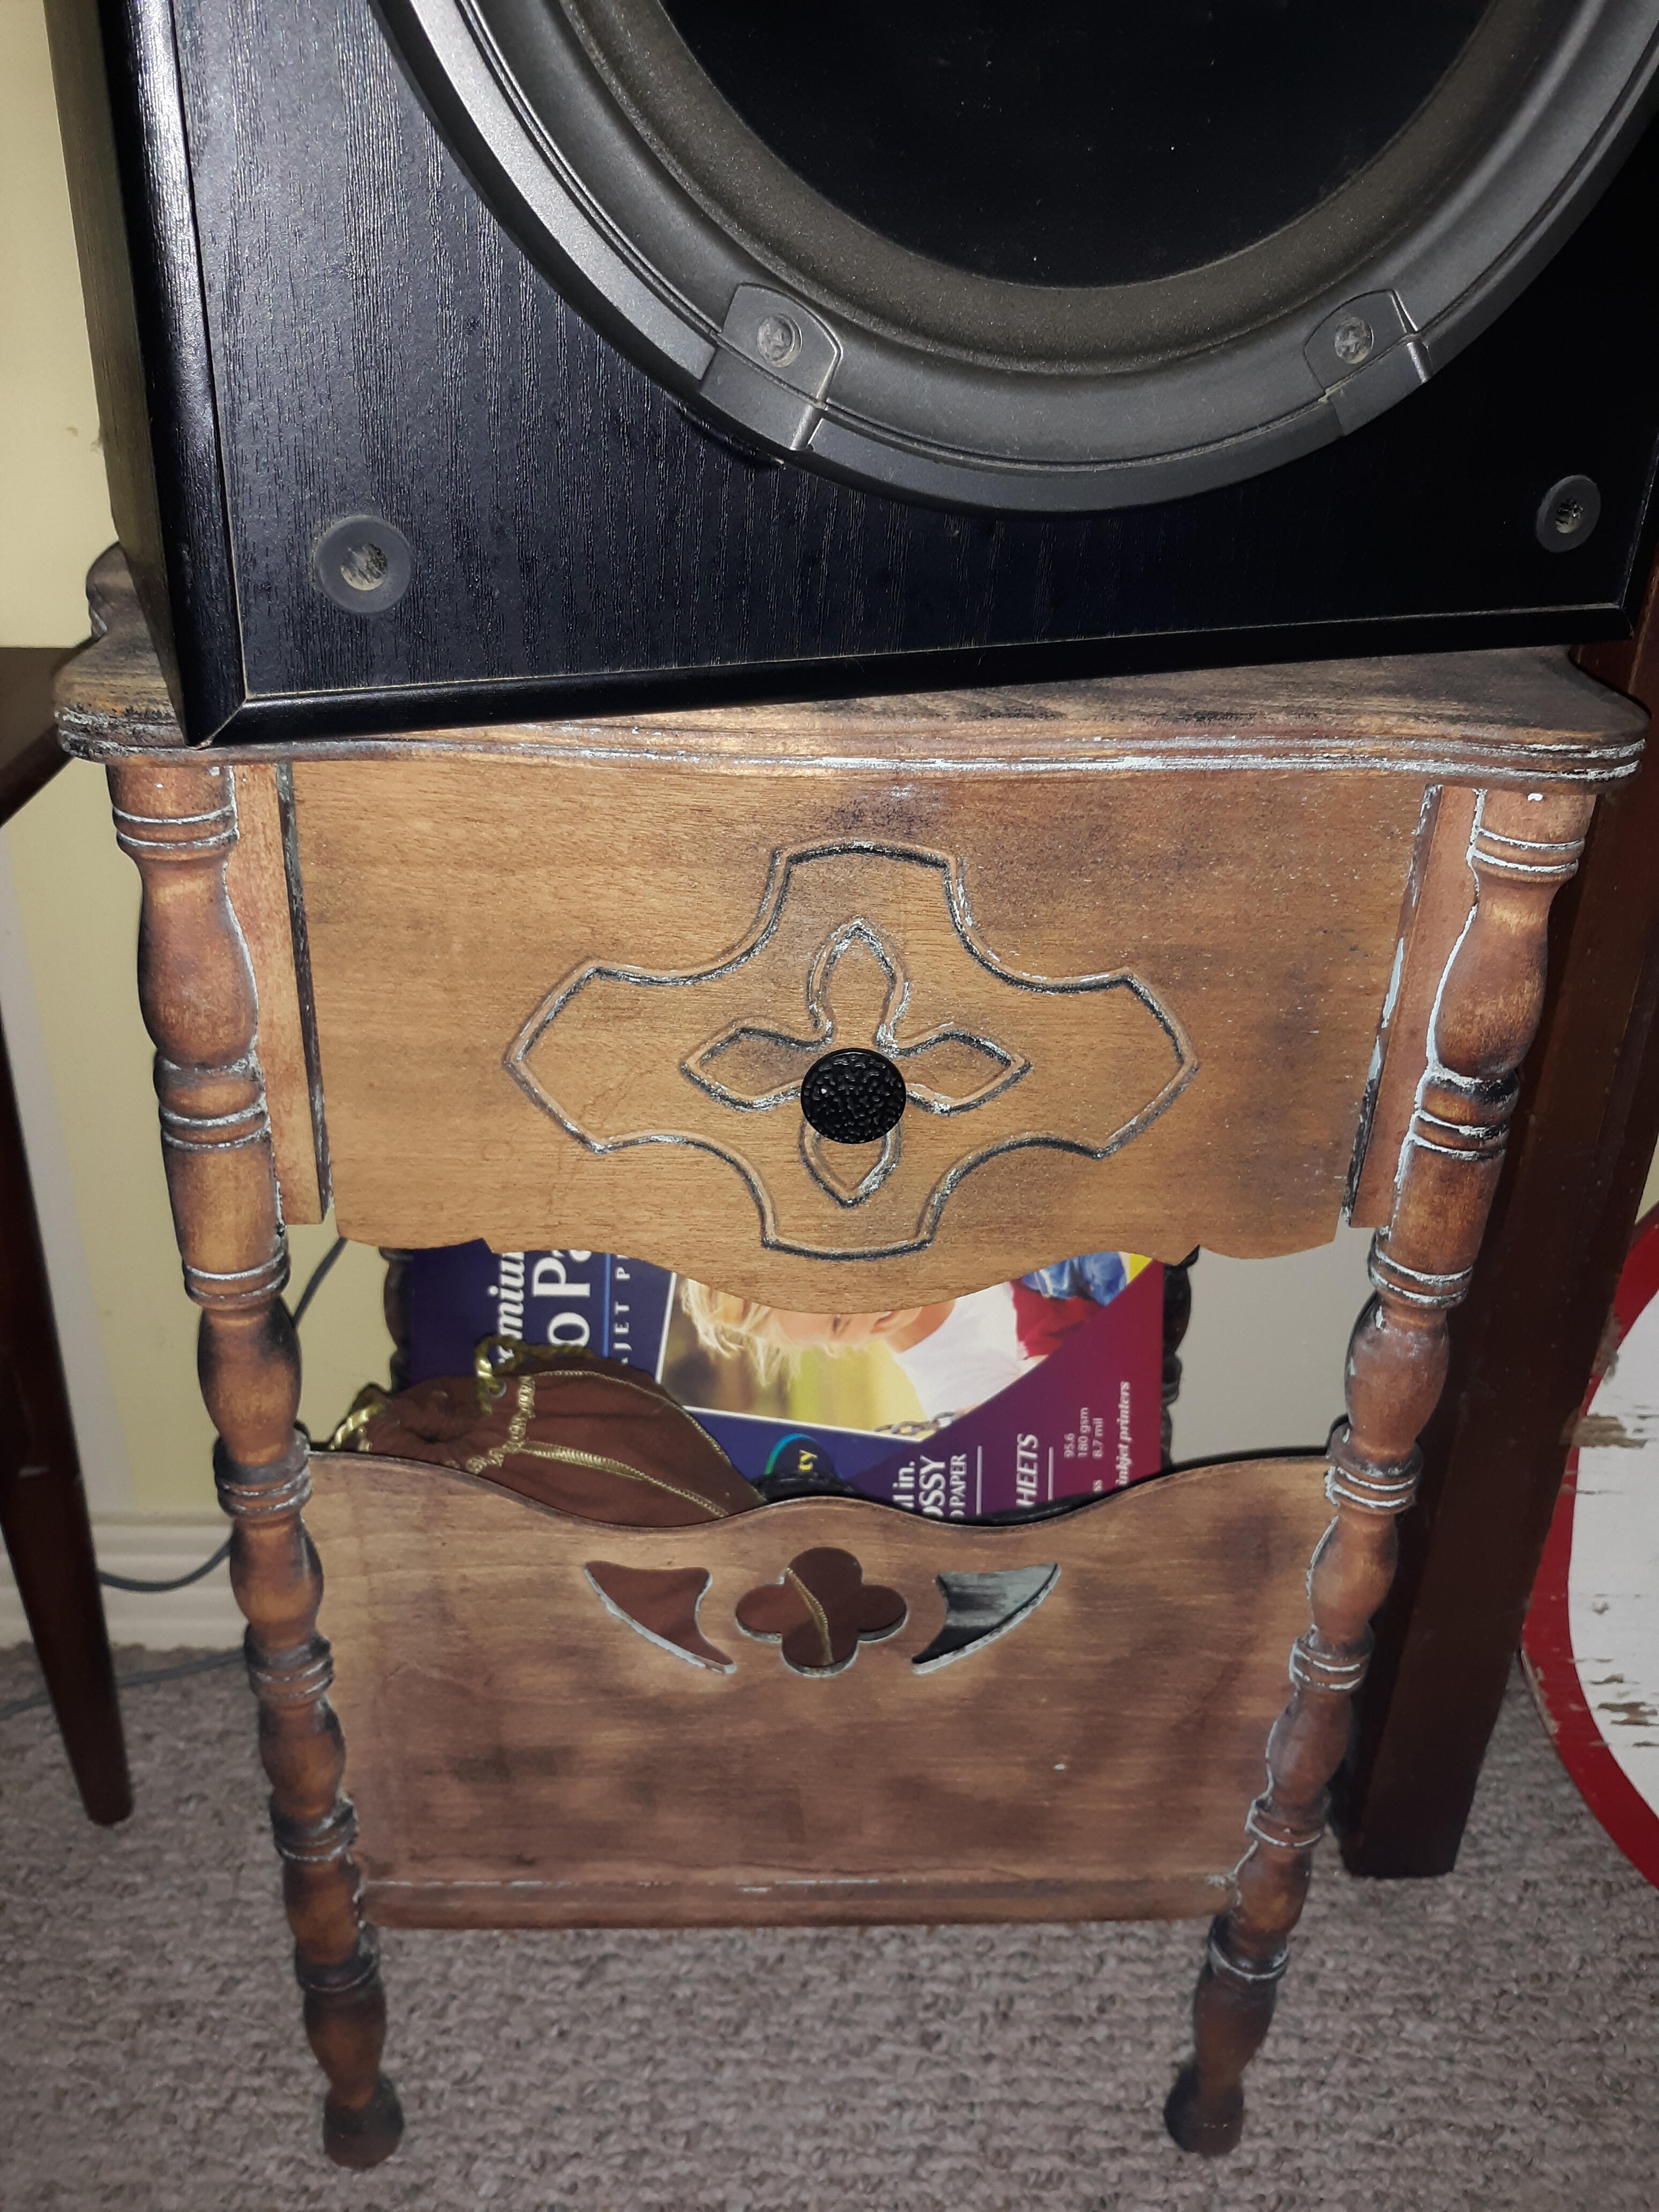
So that's sand blasting with water mixed in? There's a lot of benefit it seems like than the waste and mess of doing it dry. I've done some old pieces of small tables to strip the pant off and it works great. Can't wait to figure out adding water. I did this old phone table but ran out of bead. I like it just like this. Reminds me of all the different colors Mom made me paint it.
 1 point
 -
I used an old pool filter pump for my vapour blaster, works great.1 point
-
My thoughts on the slurry pump. I'm going to pick a pump from Amazon in the $50-$80 range and pay $4.99 for a 3 year extended warranty. Unlimited returns for 3 years!1 point
-
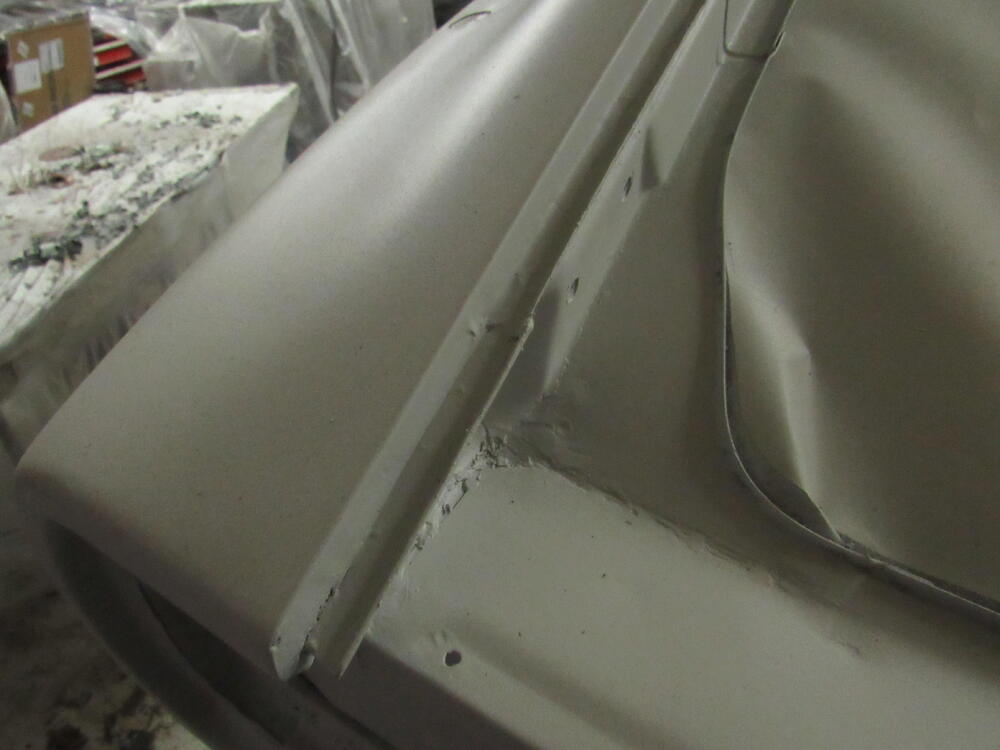
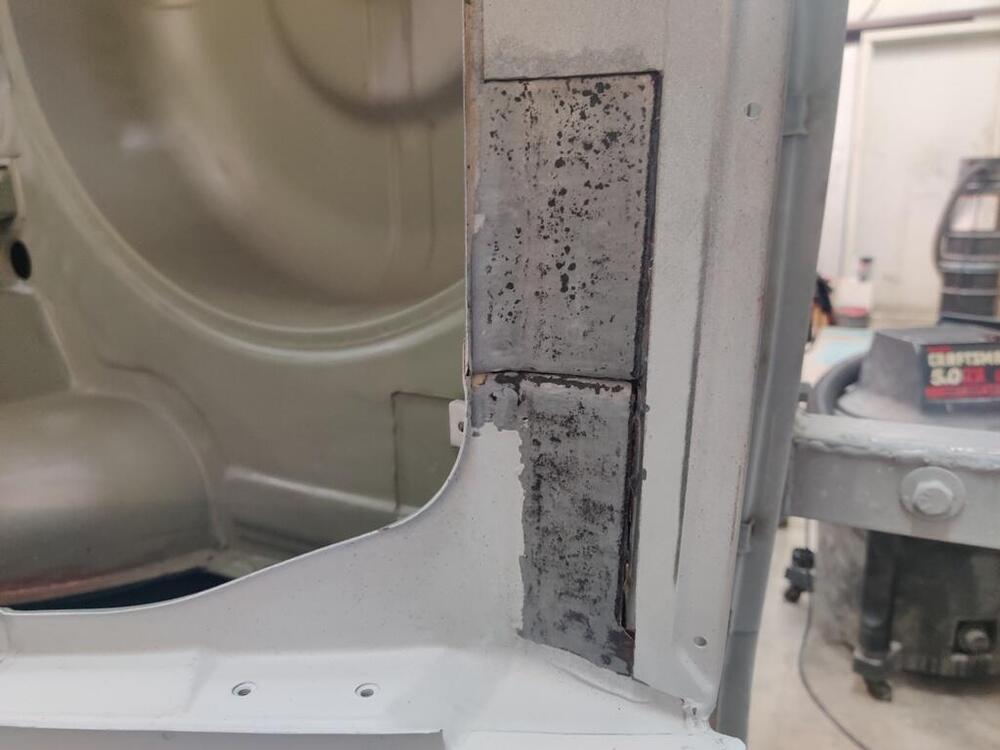
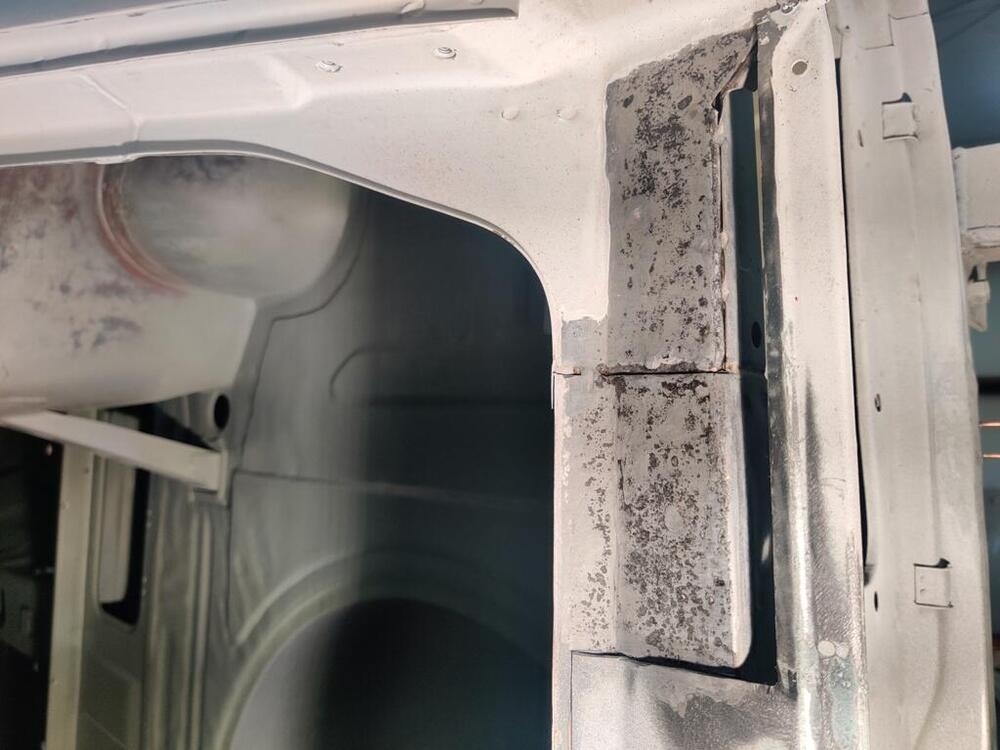
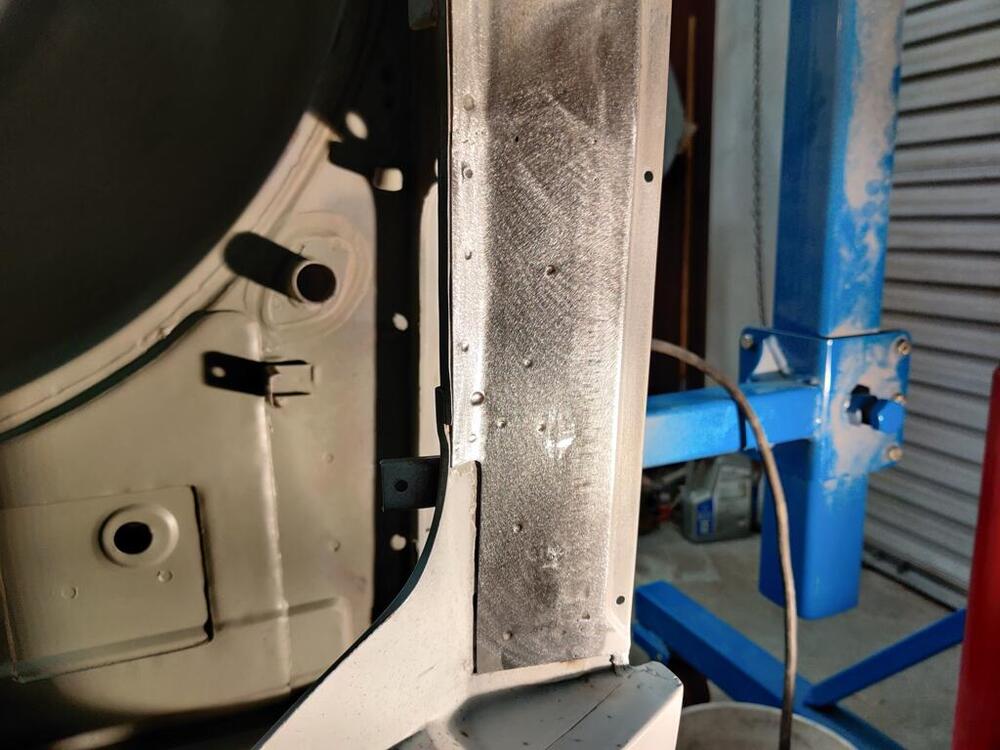
The reason that a lot of Z's rust out in that area is because the rain gutter ends too soon and dumps water right on to that spot and that spot also slopes back in toward the car so the water just sits in a pool until it evaporates. I started adding an extension on to the rain gutters to remove the water completely.

 1 point
 -
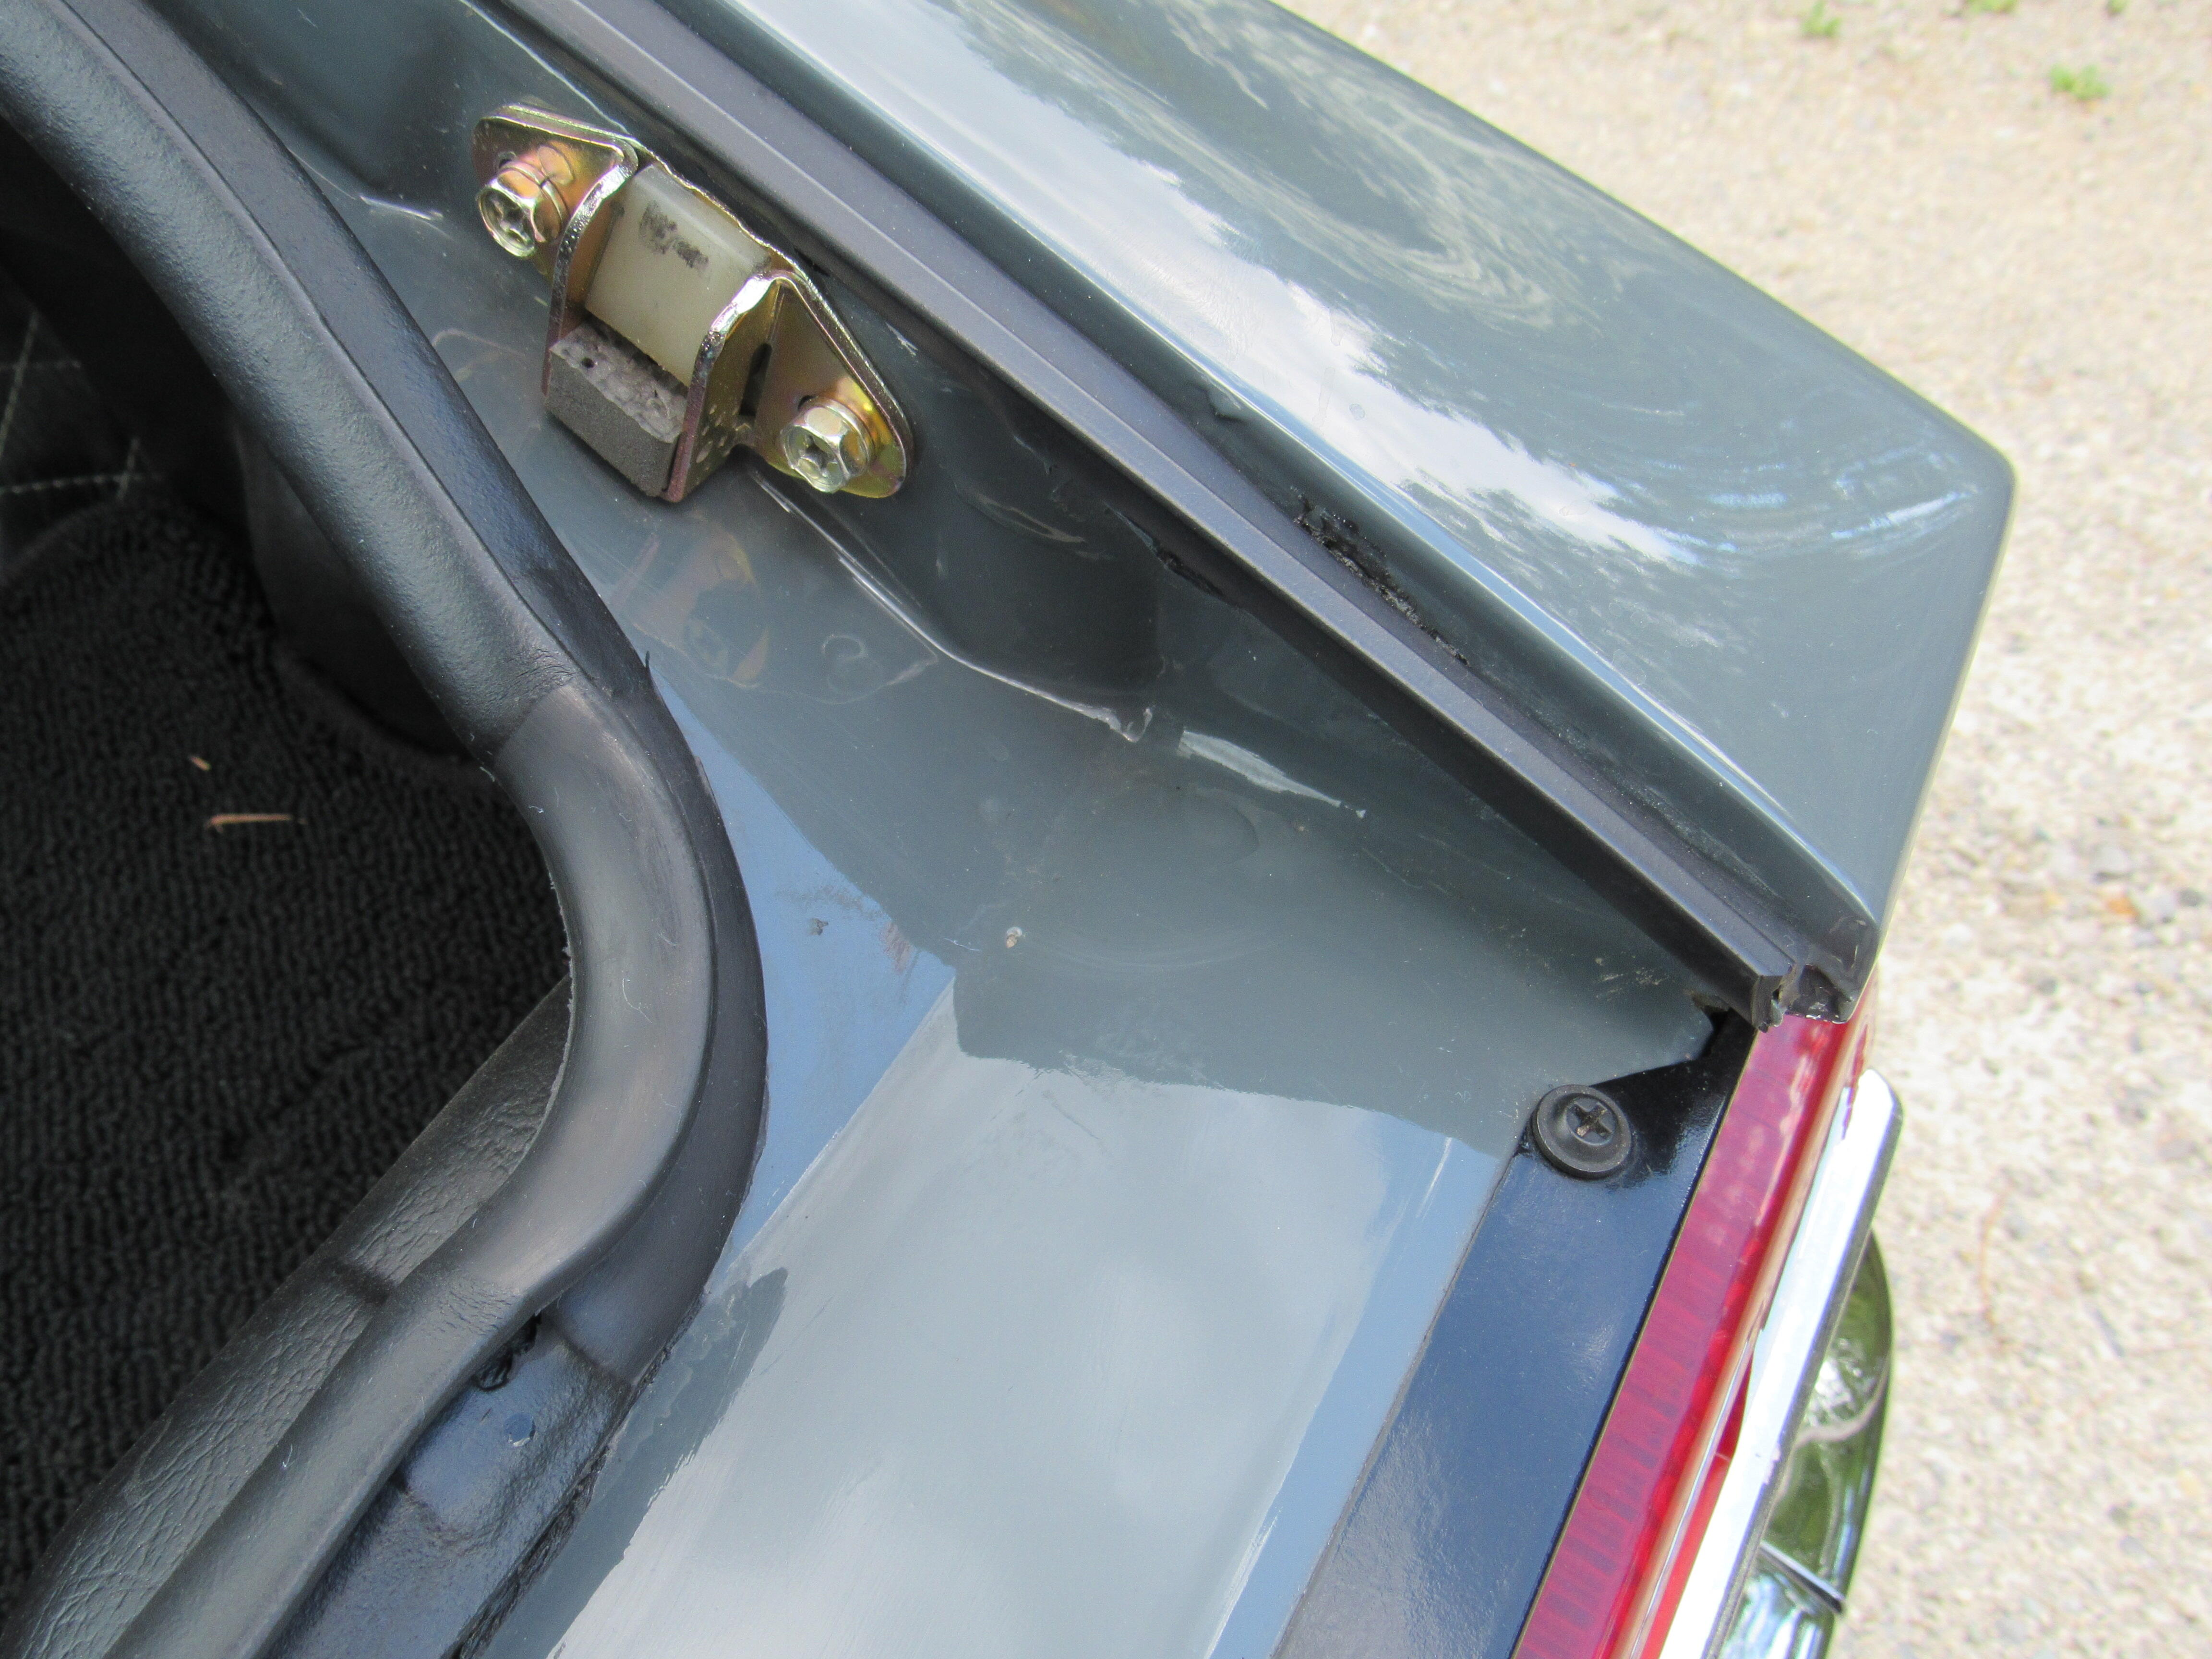
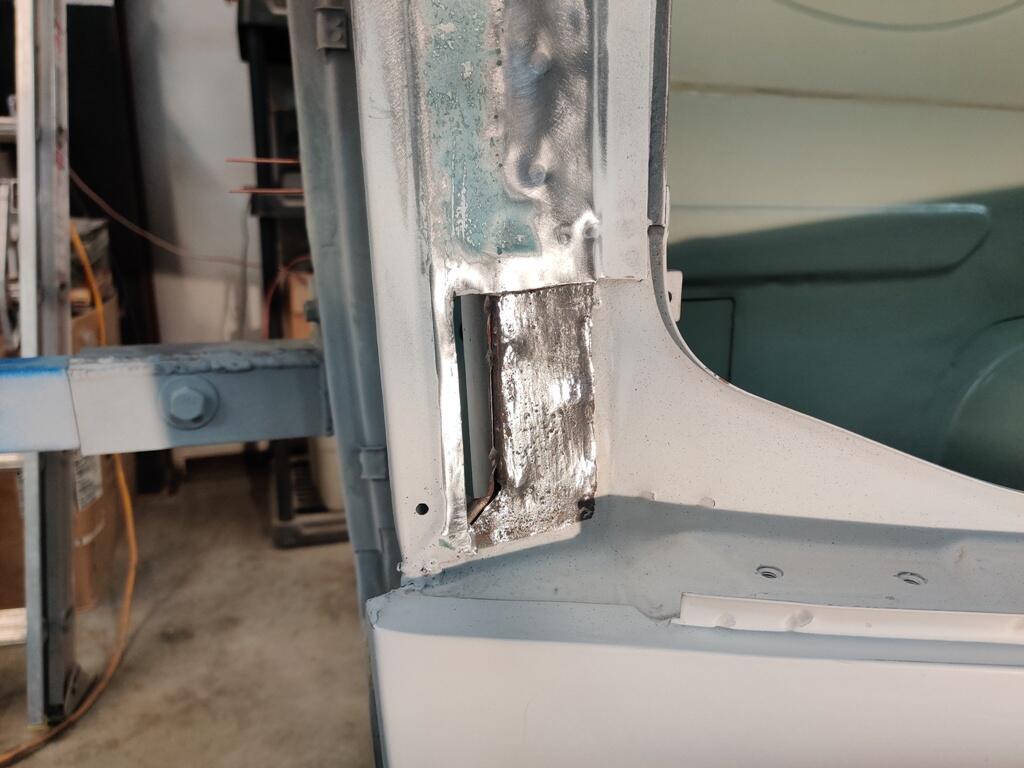
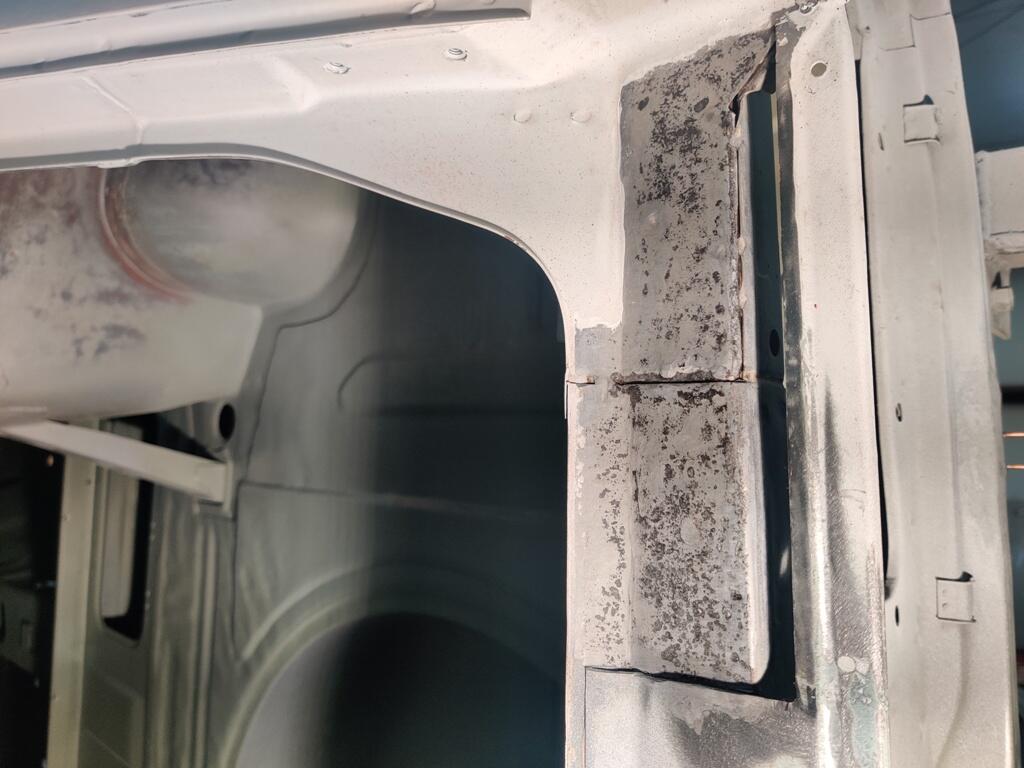
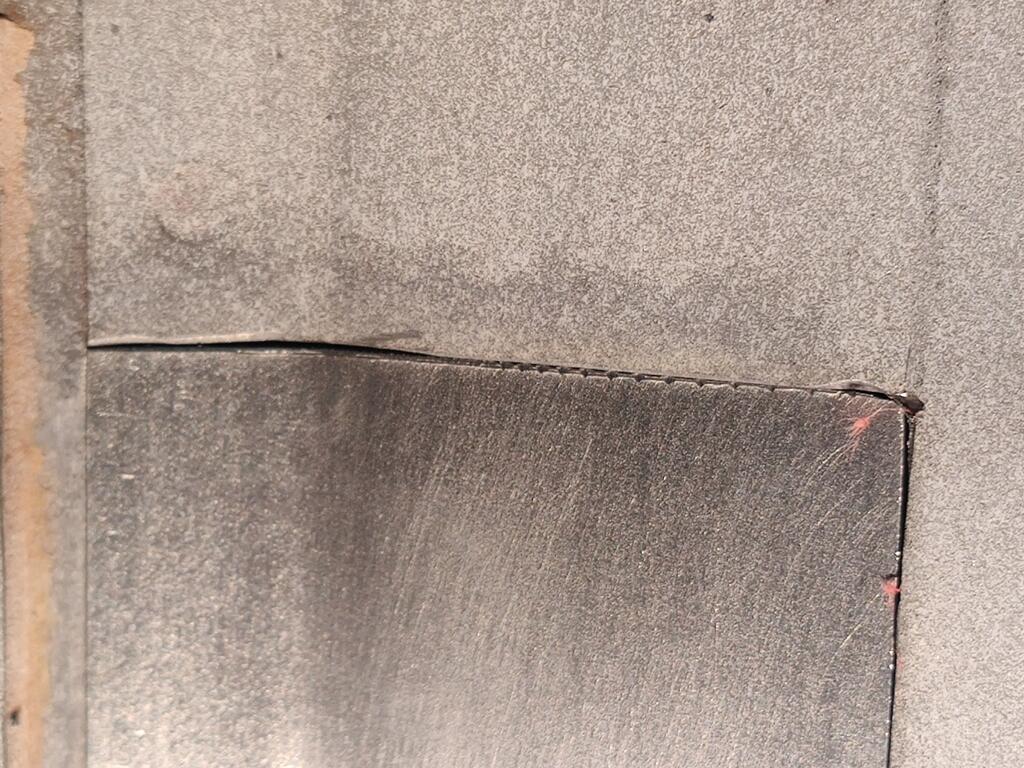
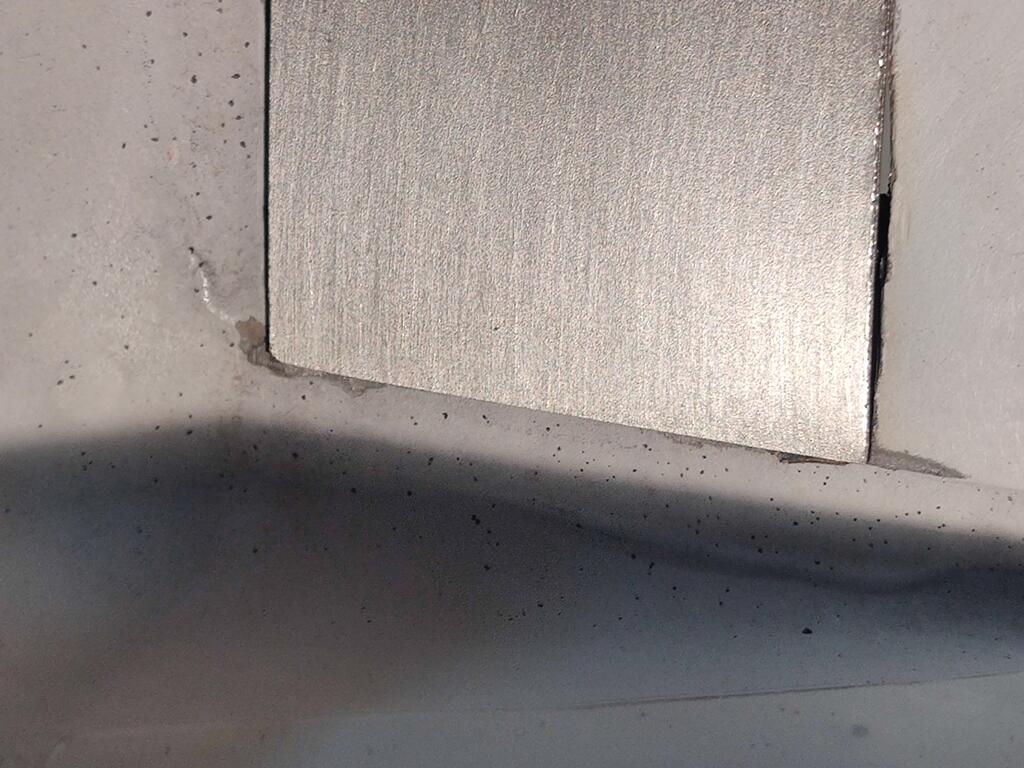
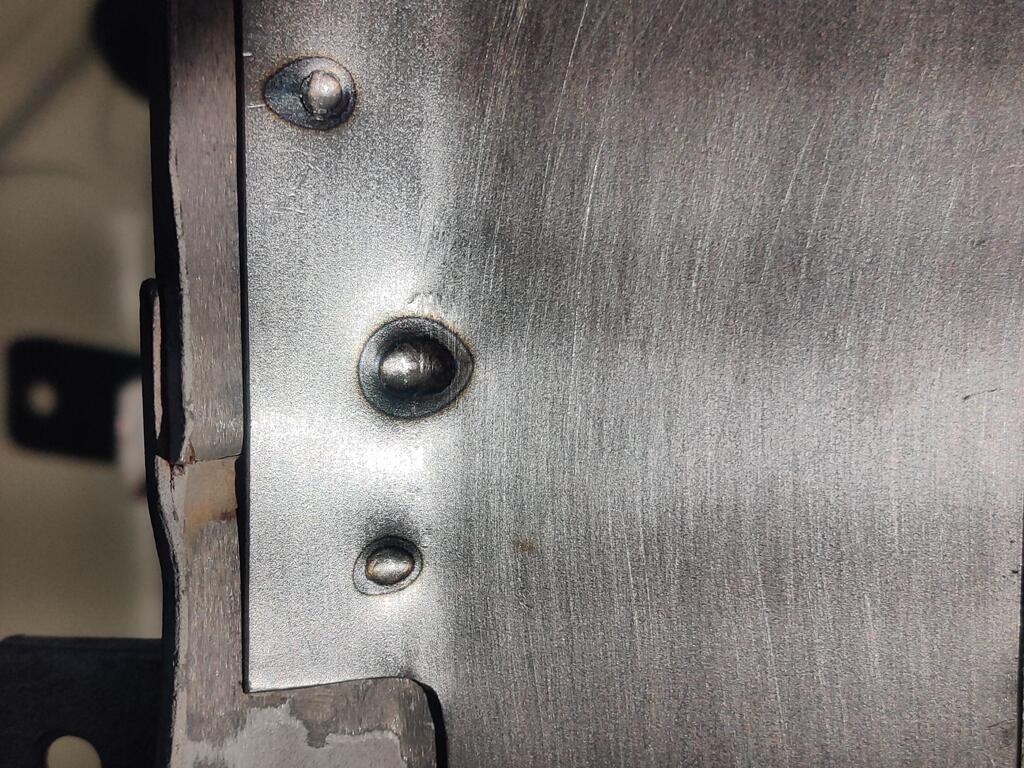
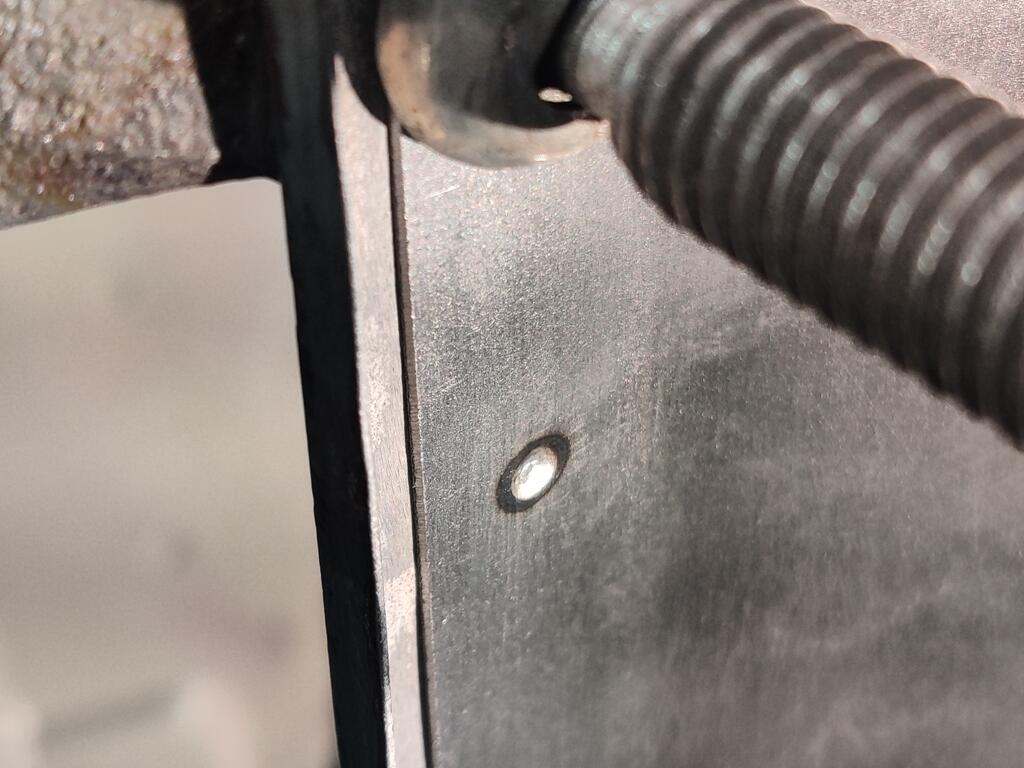
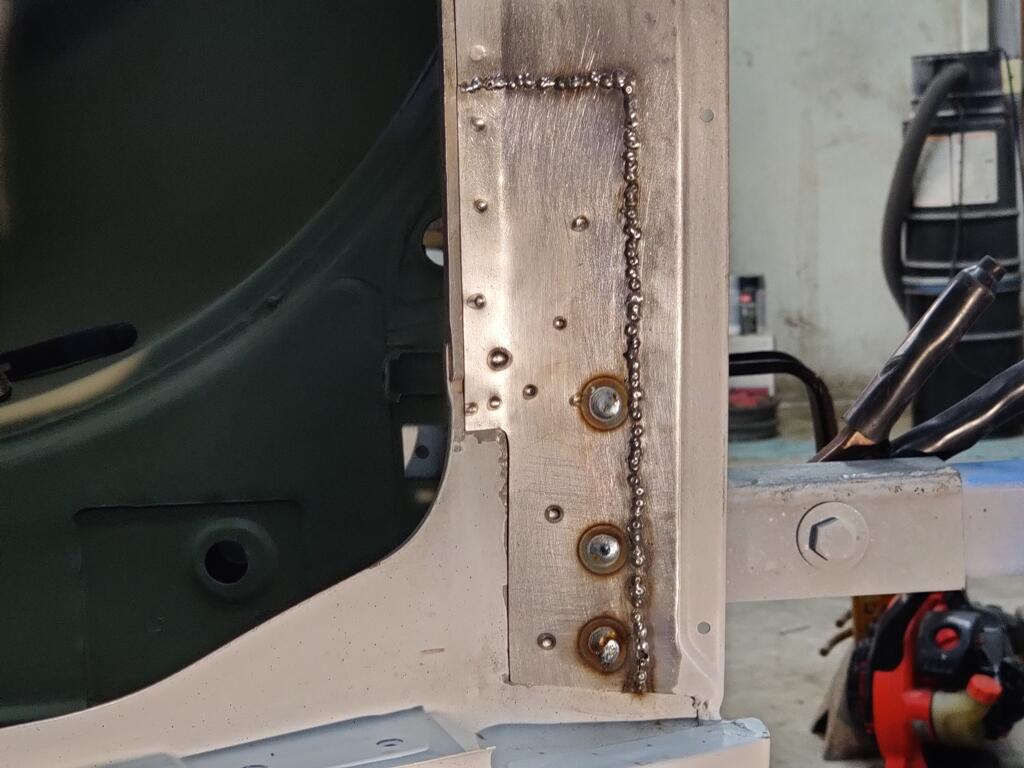
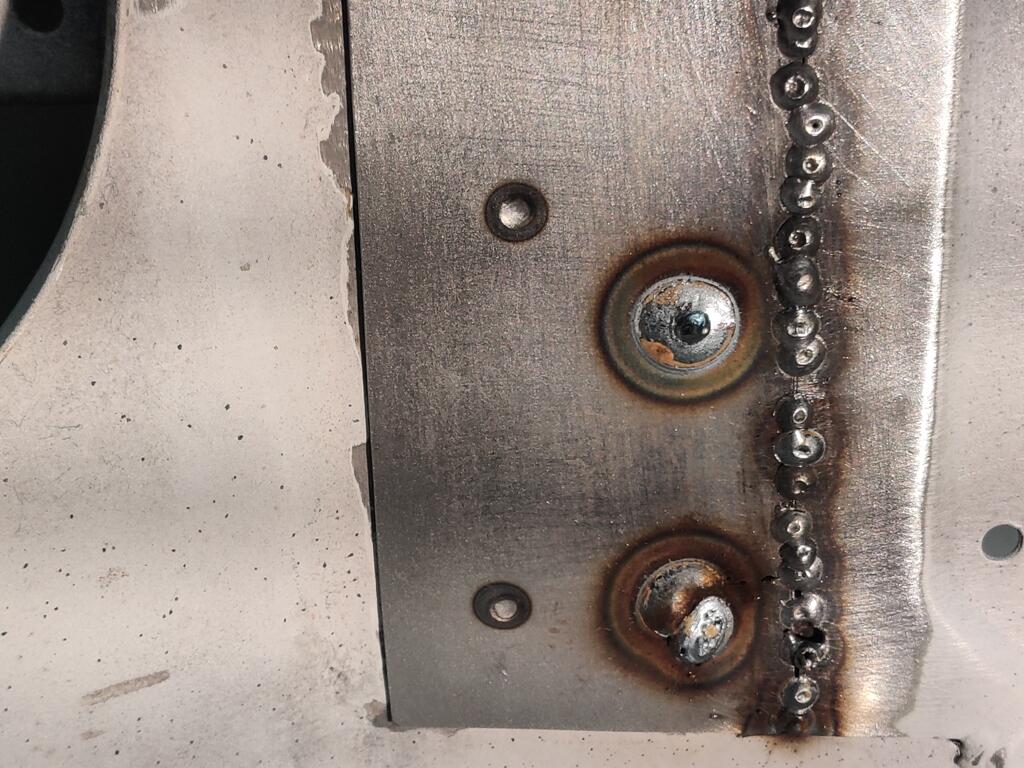
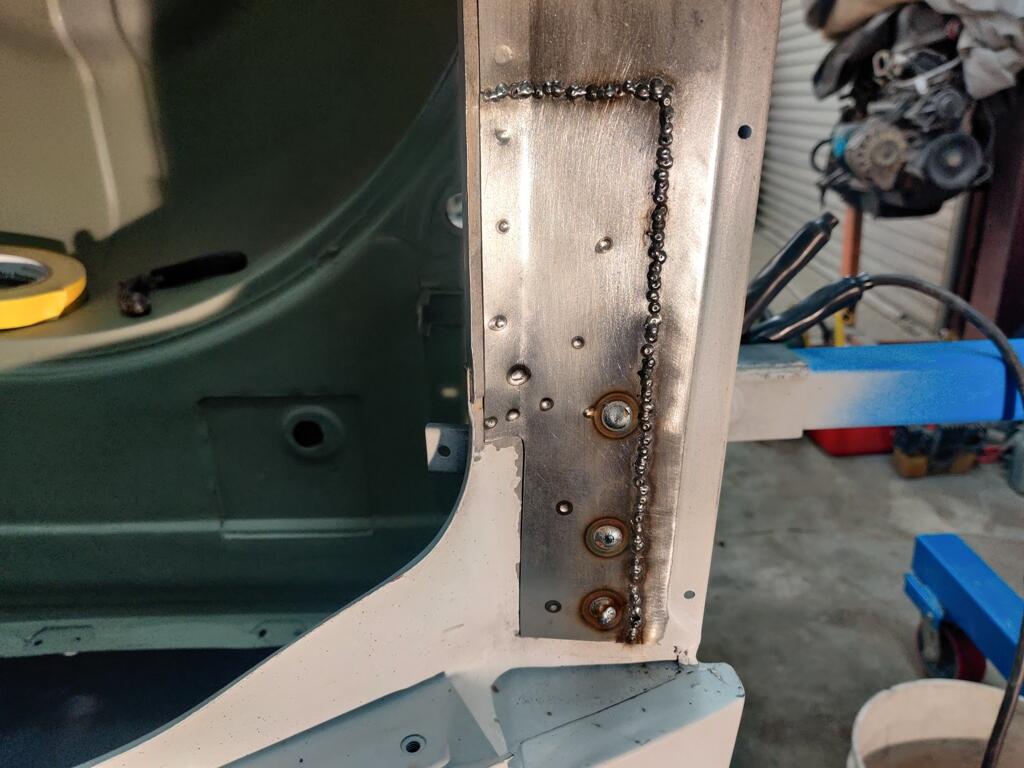
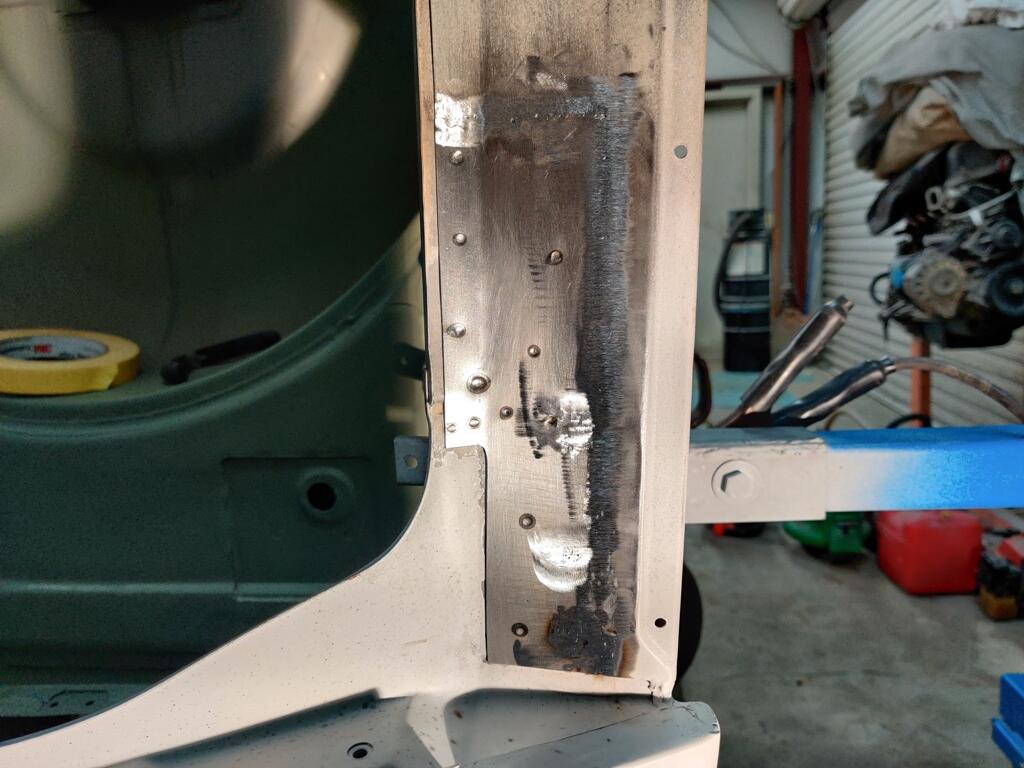
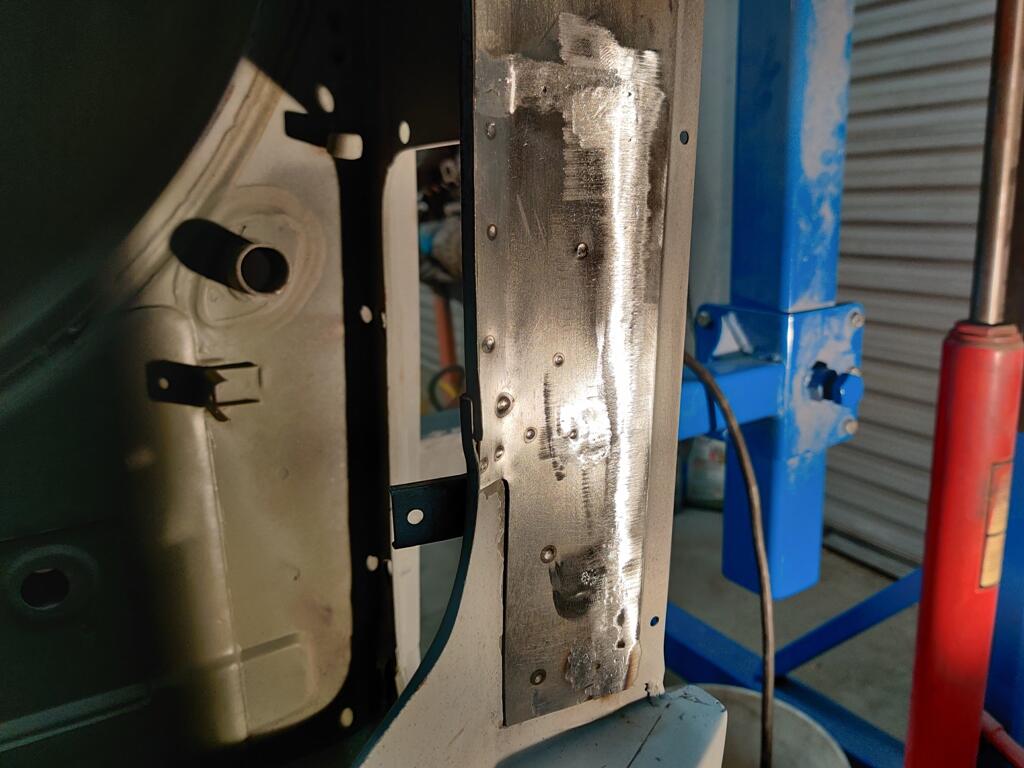
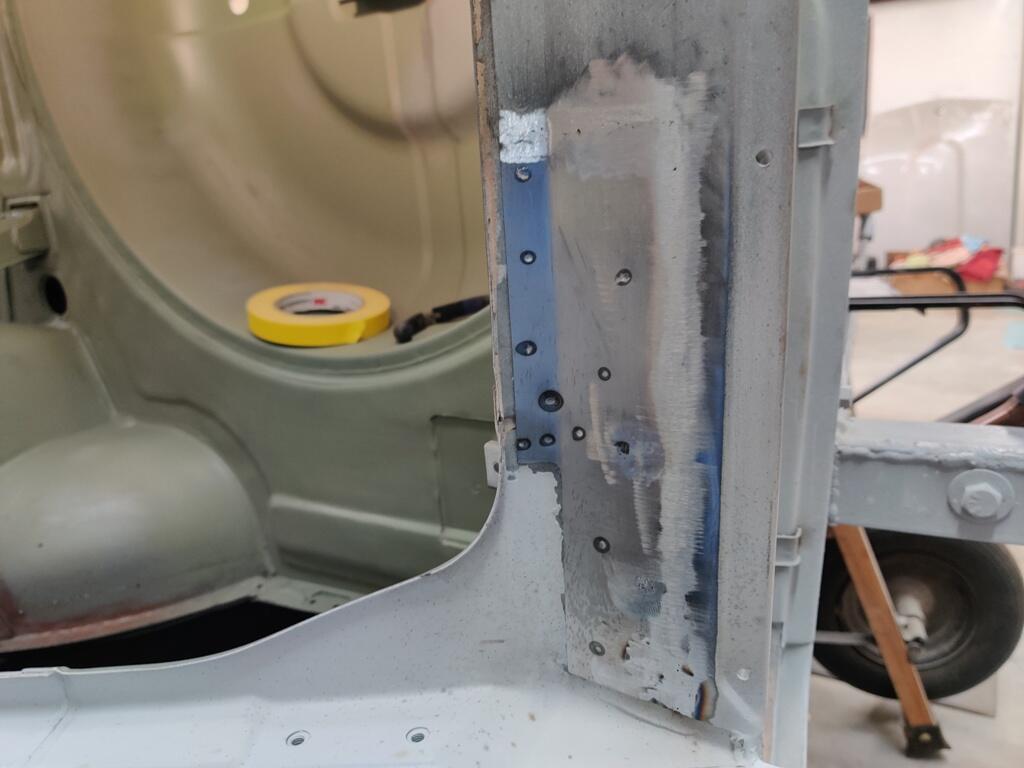
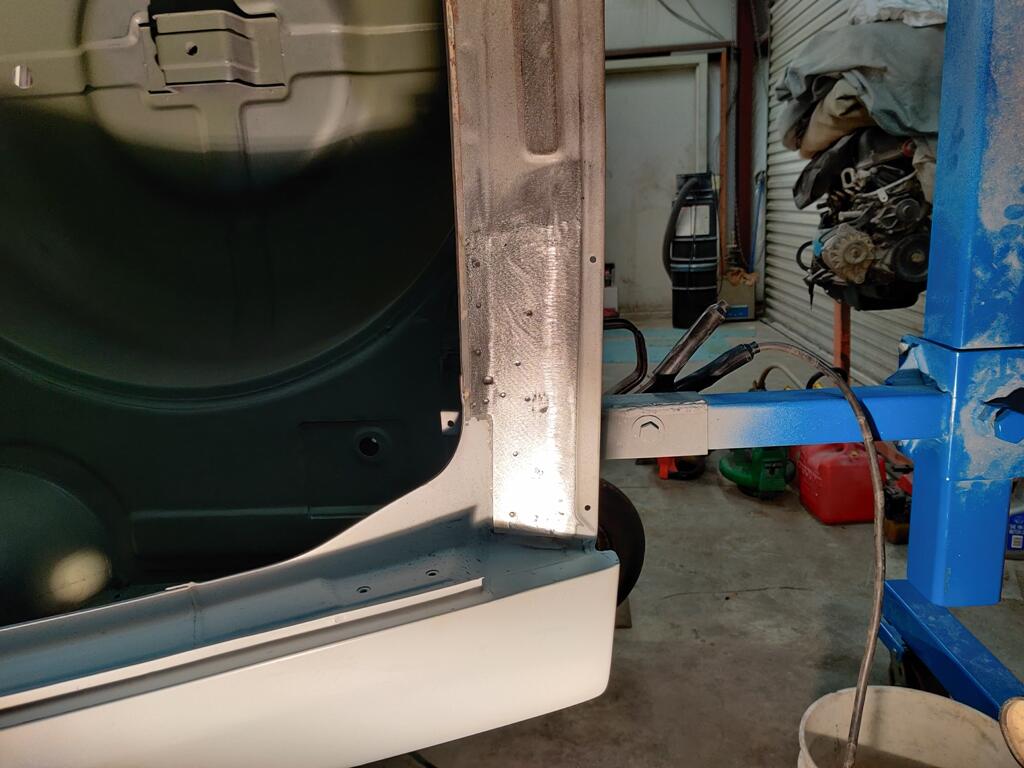
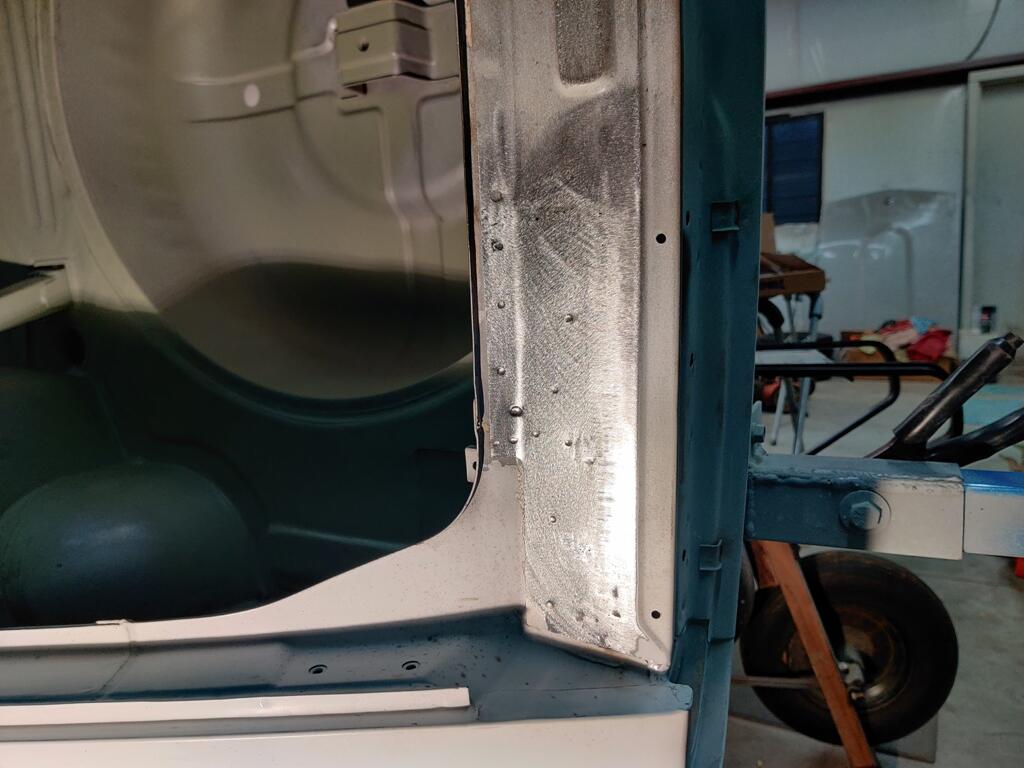
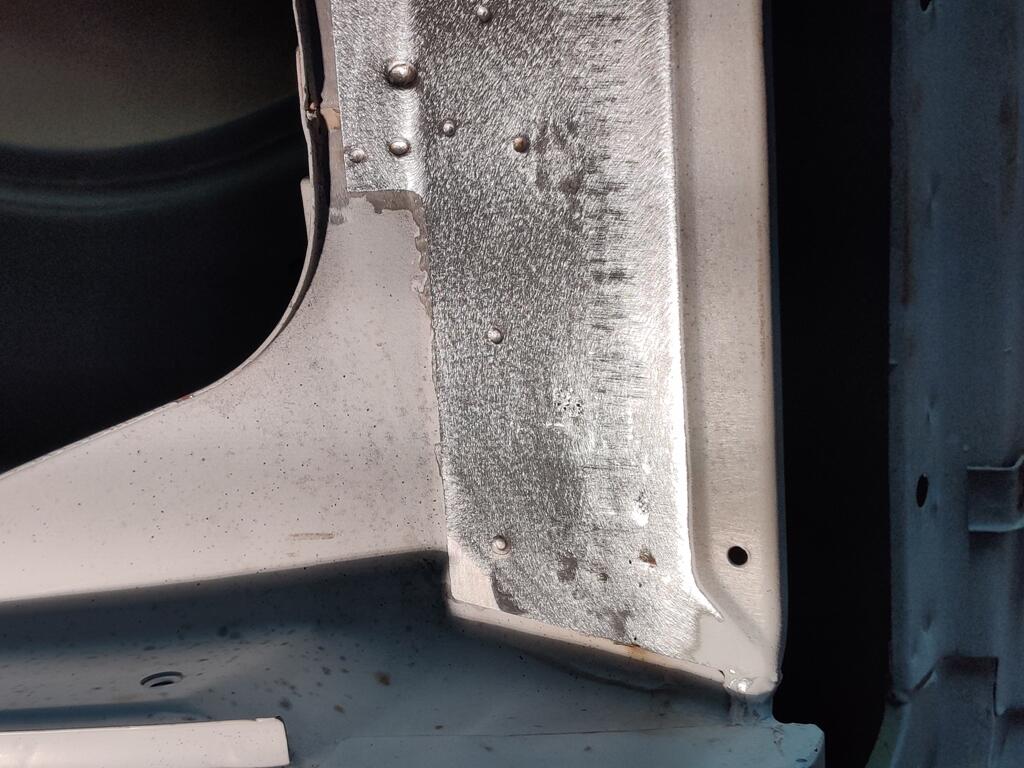
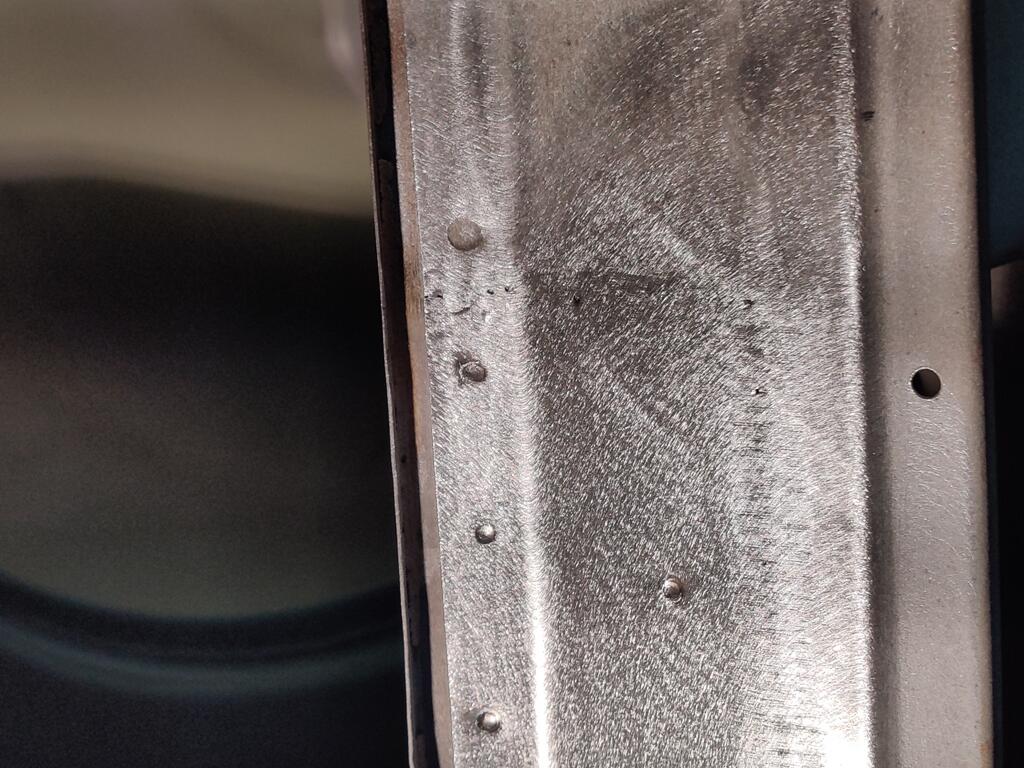
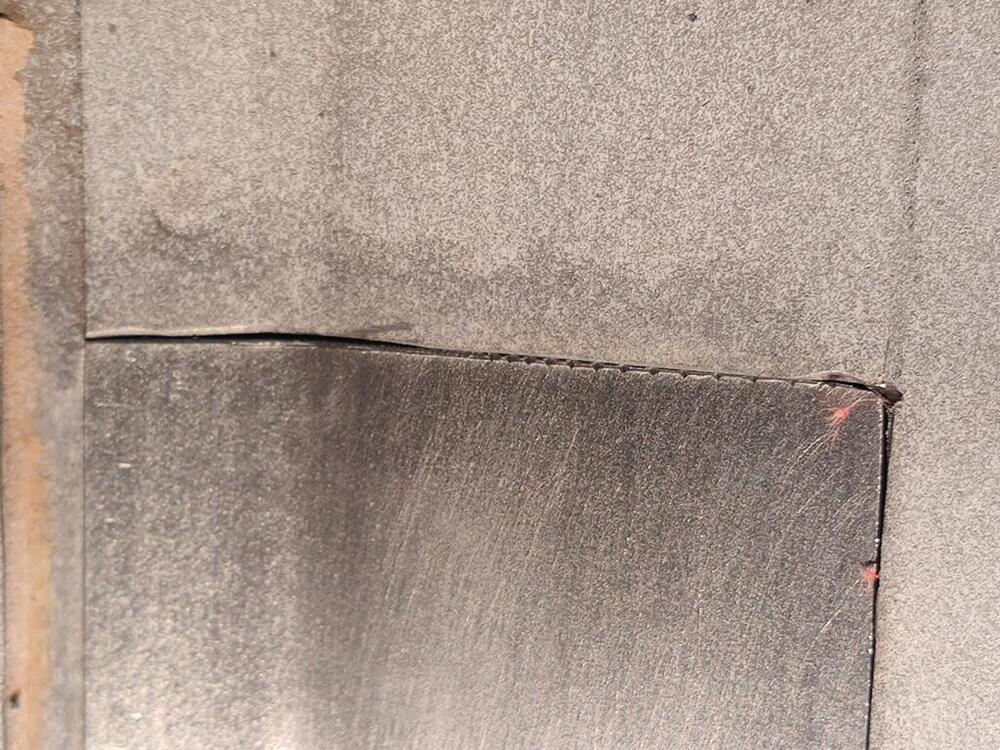
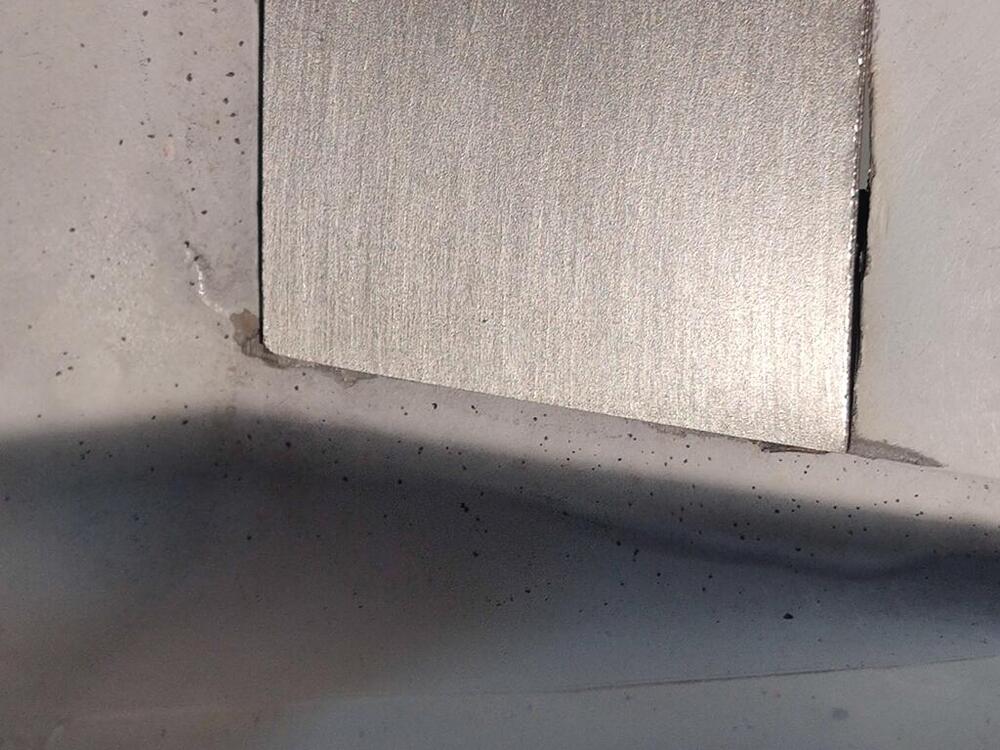
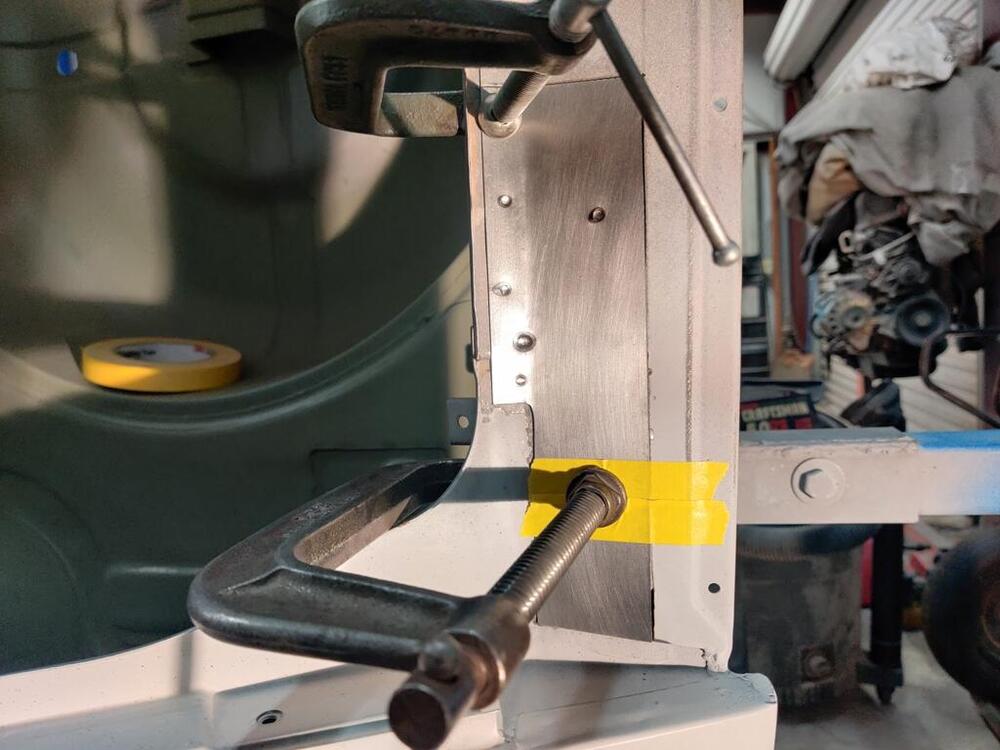
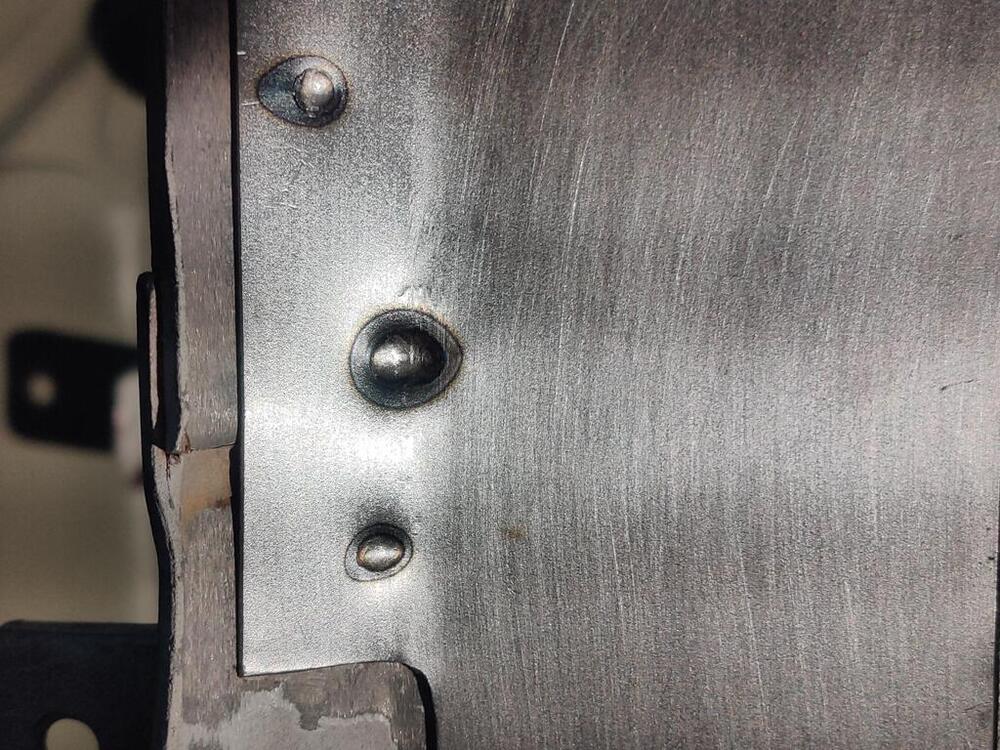
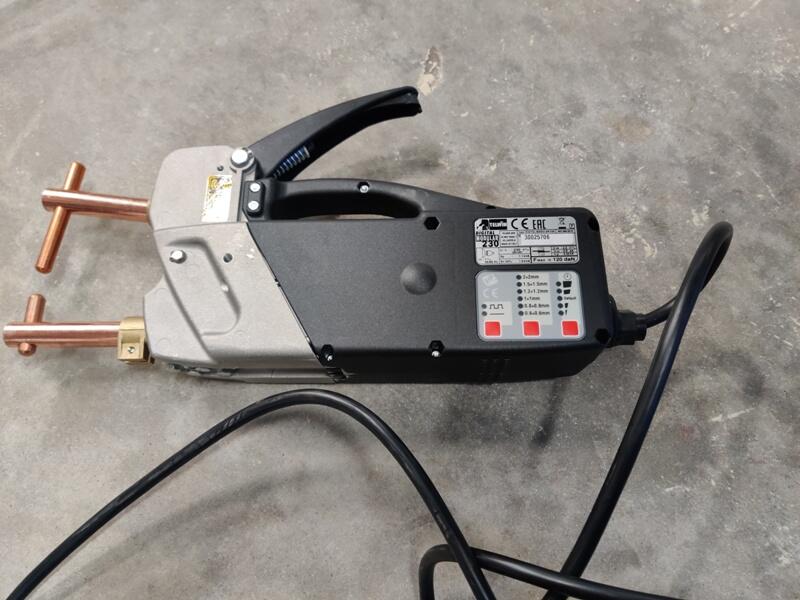
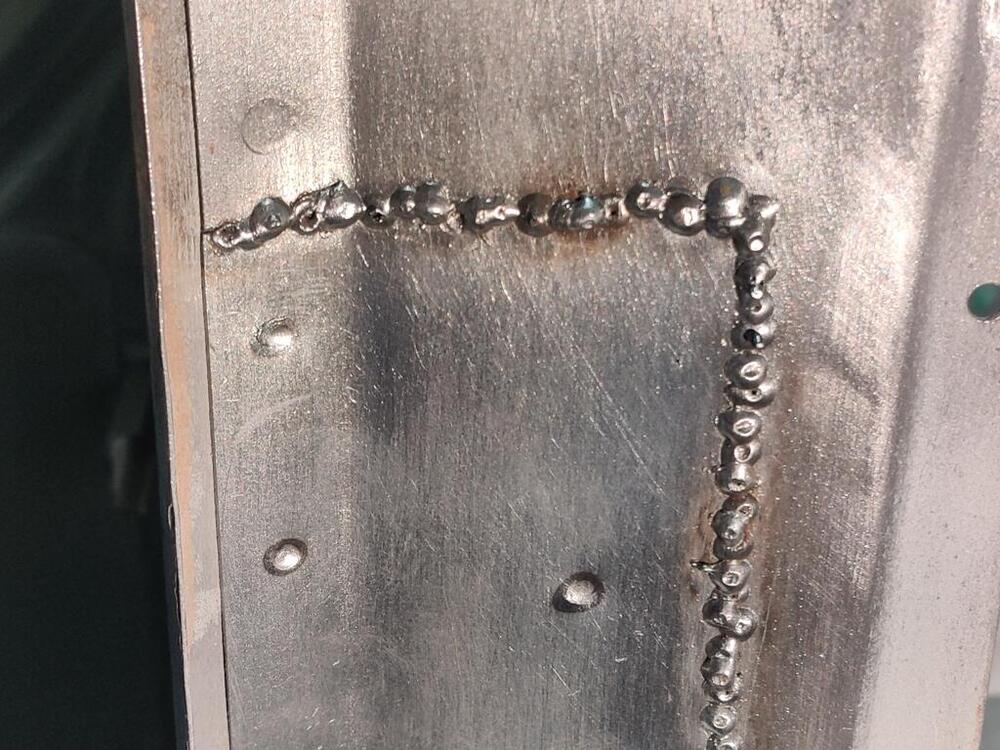
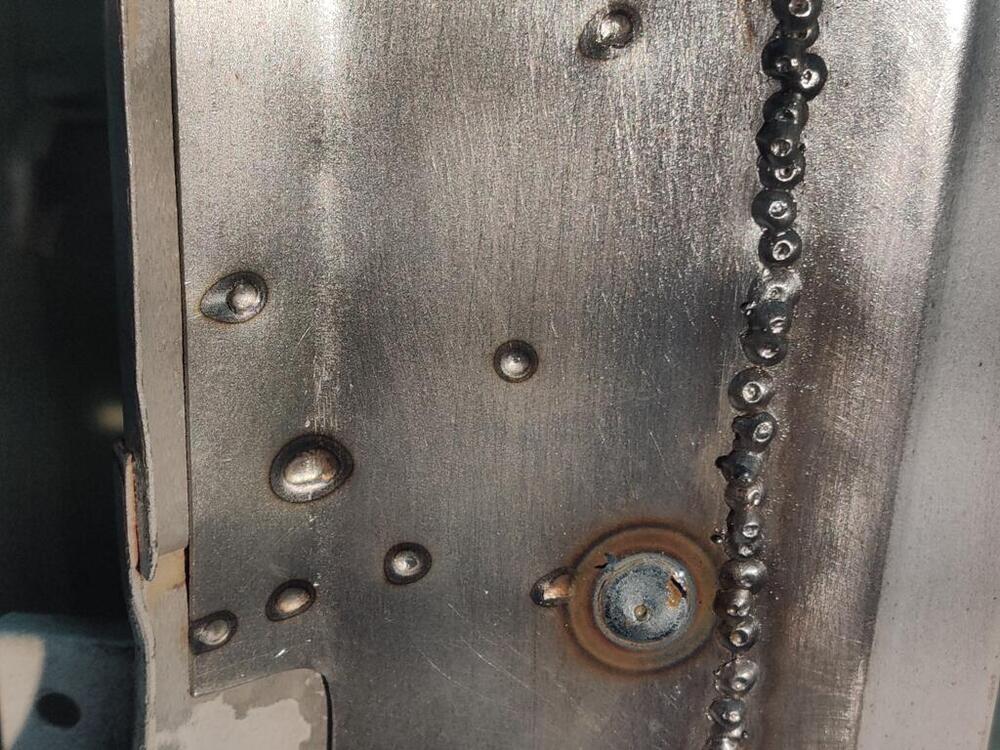
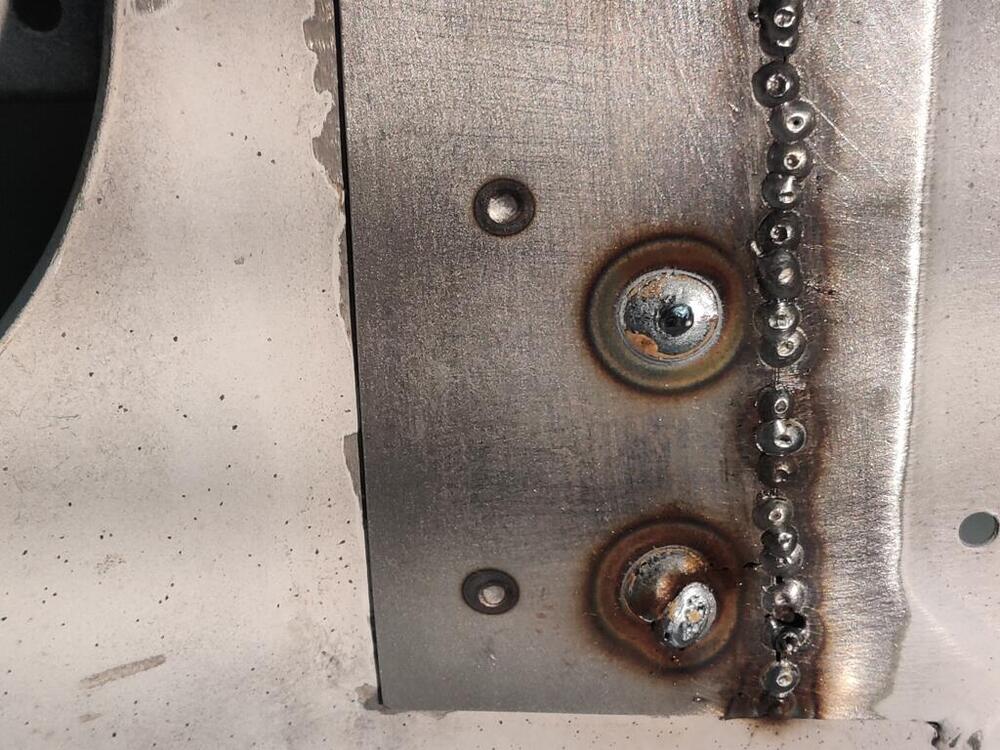
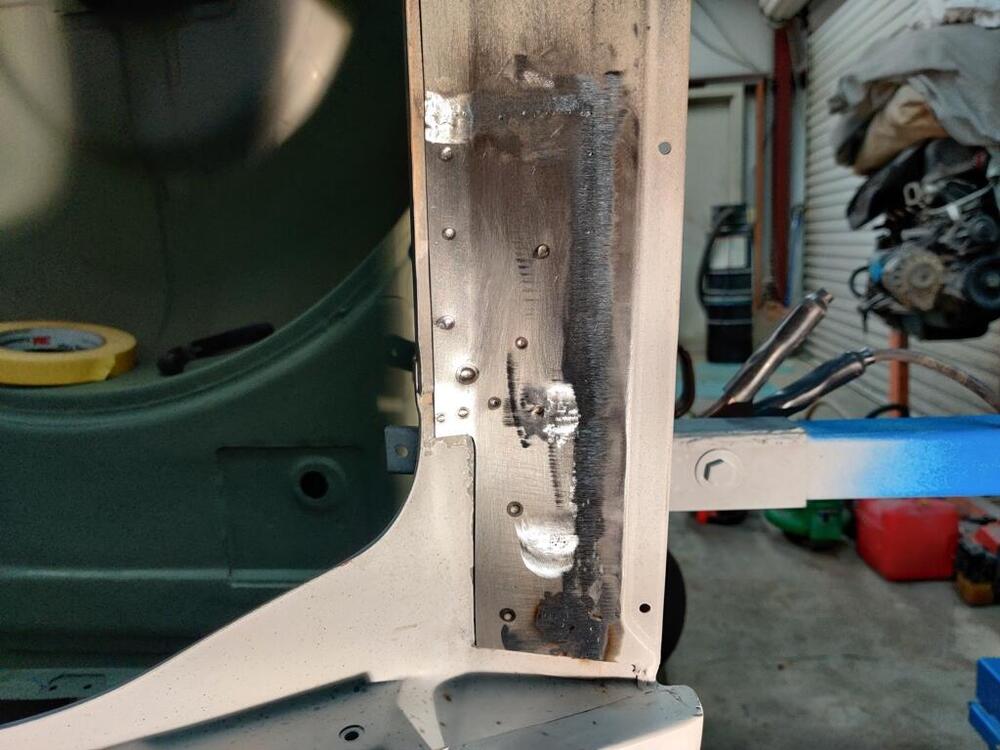
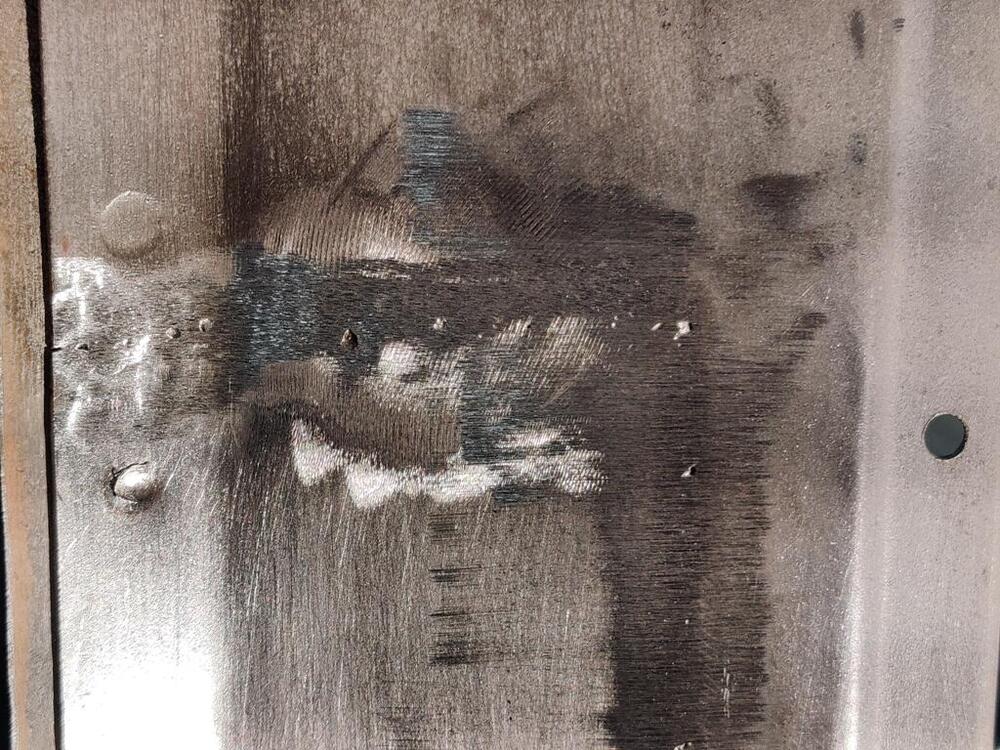
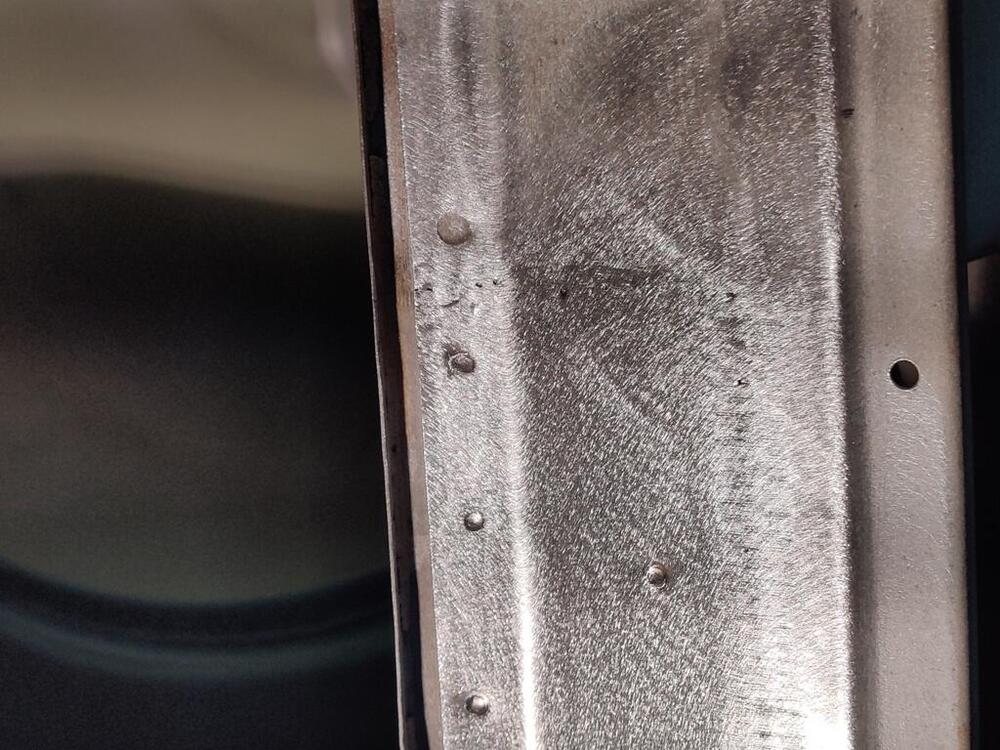
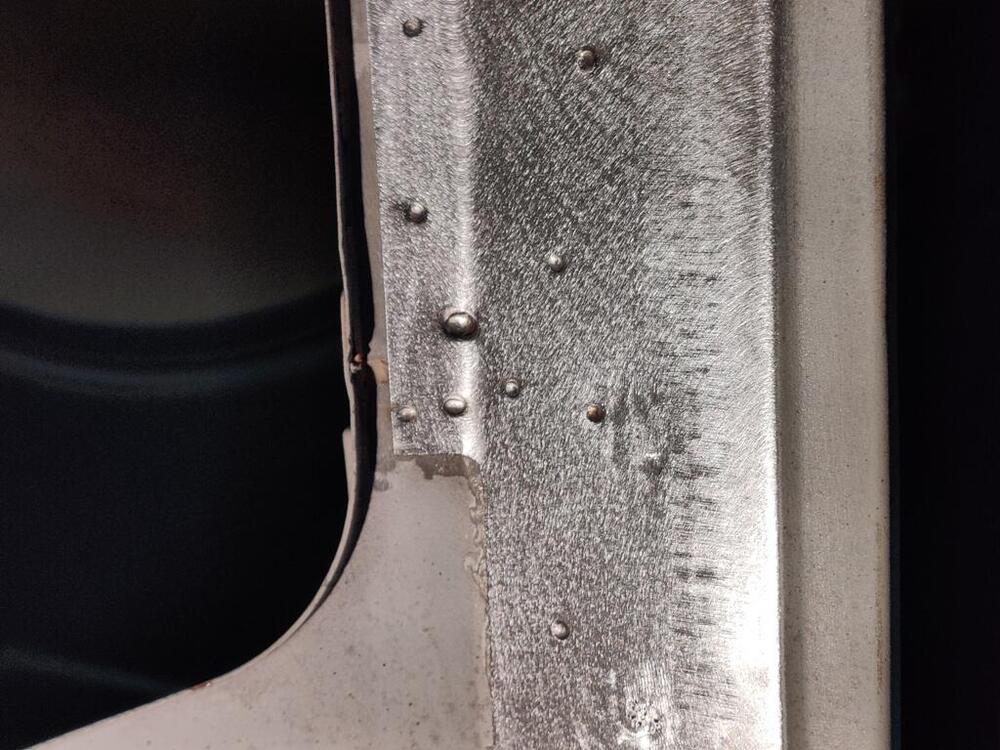
Good stuff. CAD skills to even a beginner degree are something I wish I had. While I thought I was done with metal work, I decided to revisit a repair I made to the tail light panel where it forms the ledge inside the hatch opening. My repair in the passenger corner was one of my early metal repair efforts on this car. As I am now focusing again on the tail light panel - it has received the least attention so far, I decided that the inside corner areas were not up to par with the rest of the car. Because the car received a light impact to the rear at some point, the sealer under the ledge had cracked, and gave an opening to moisture. So, in the hatch corners, the metal had obviously rusted in between the panels, causing the ledge (in the corners) to puff up a bit. This area on the left and right is what I am talking about: After cutting away the old panel sections, and grinding away the rusted metal, I used a chemical treatment to neutralize the remaining spots of rust. Then, I fabricated a patch panel. I spent extra time getting the fit as close to dead on as possible. Then, I decided to use the spot welder I bought (a while back now). It does a good job, for sure, but when I purchased it, I was hoping it would replicate the factory welds. Unfortunately, these spot welds are notably smaller in diameter. Still a cool tool though. It won't reach everywhere, of course, so I put a few rosette welds (large round welds next to the mig weld seam) to finish putting welds back in the factory locations. Most of these spot welds are in the factory locations, but I also put a couple of extra ones. 🙂 A whole bunch of pictures follow: After grinding away the extra, I used 80 grit on a DA Sander to give the entire repair area a nice texture. I feel better about this repair than leaving it the way it was. Now, I just have to repeat for the right side. It will take several hours.


 1 point
 -
Make it bigger and use a 240z hatch as the top. Install a wiper.1 point