Leaderboard
-

Diseazd
Free Member4Points3,362Posts -
ckurtz2
Free Member4Points340Posts -

siteunseen
Free Member3Points15,115Posts -
ETI4K
 Subscriber
 3Points383Posts


Popular Content
Showing content with the highest reputation on 05/19/2021 in Posts
-
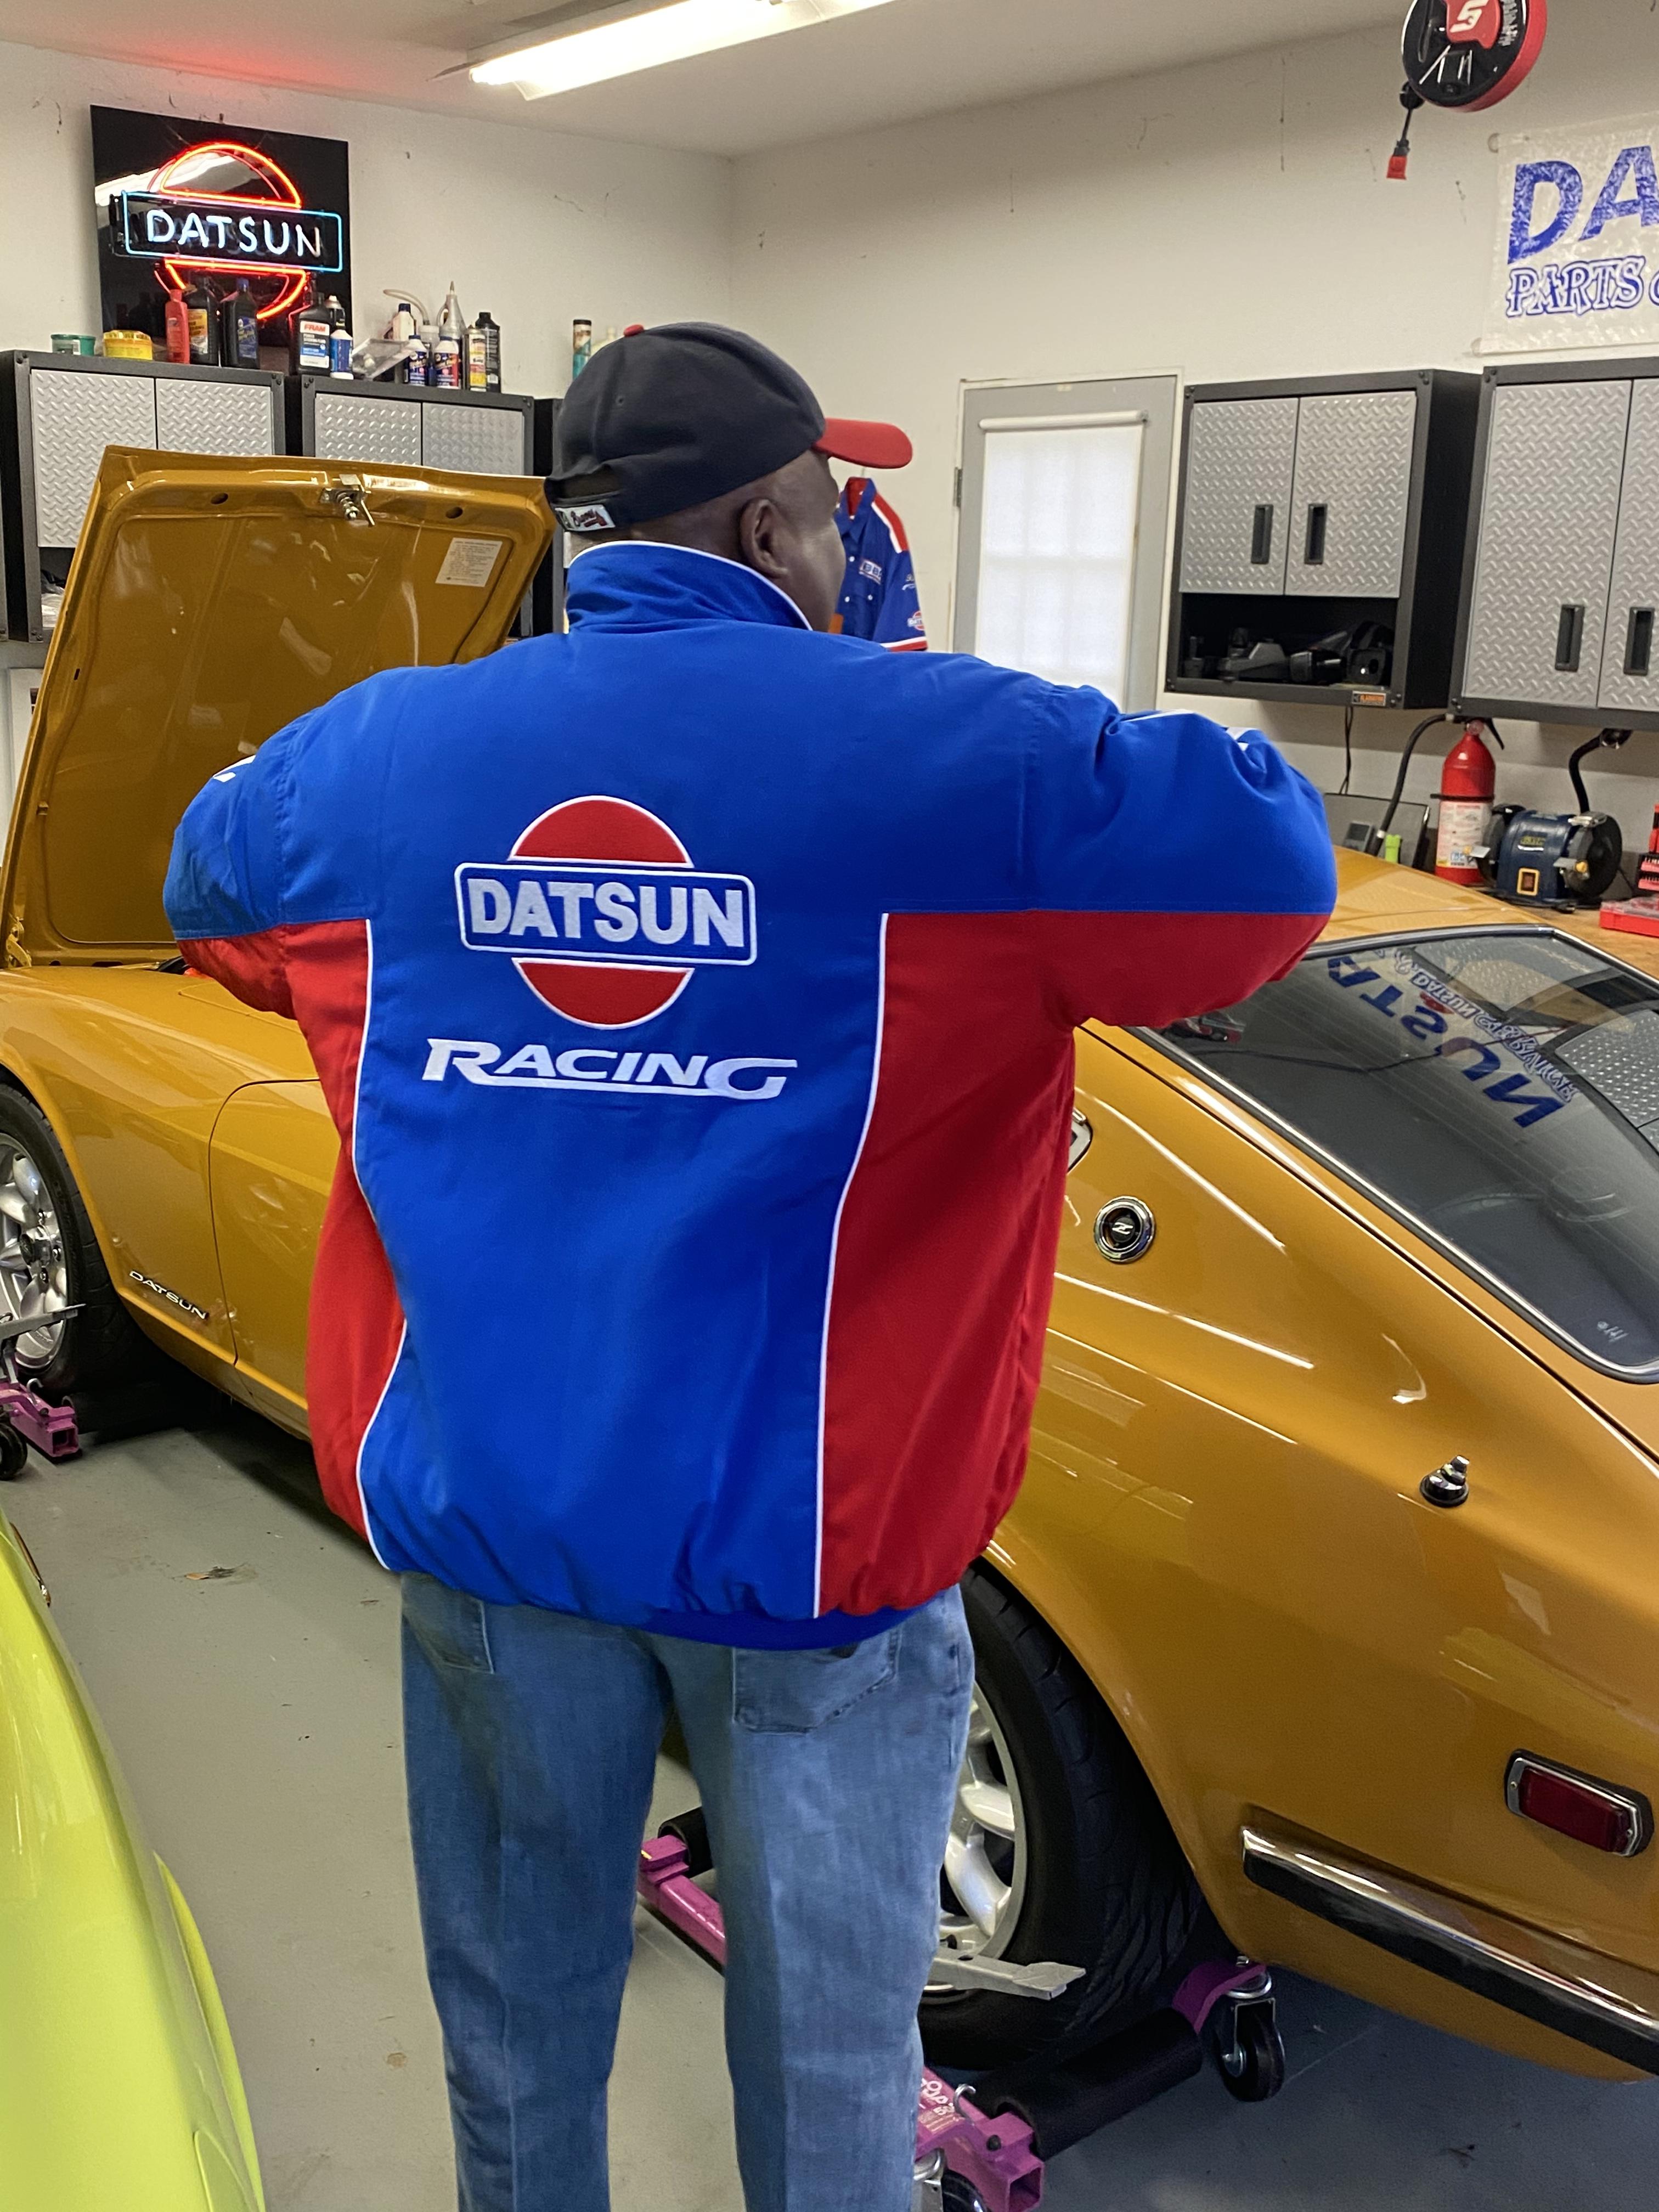
Nice sound @moelk. Five Z crazies went to Dinwiddie for a little competition Friday nite. EA6A6DF7-C686-4CB6-BD8D-96BC0F5CA4F2.MOV


 4 points
 -
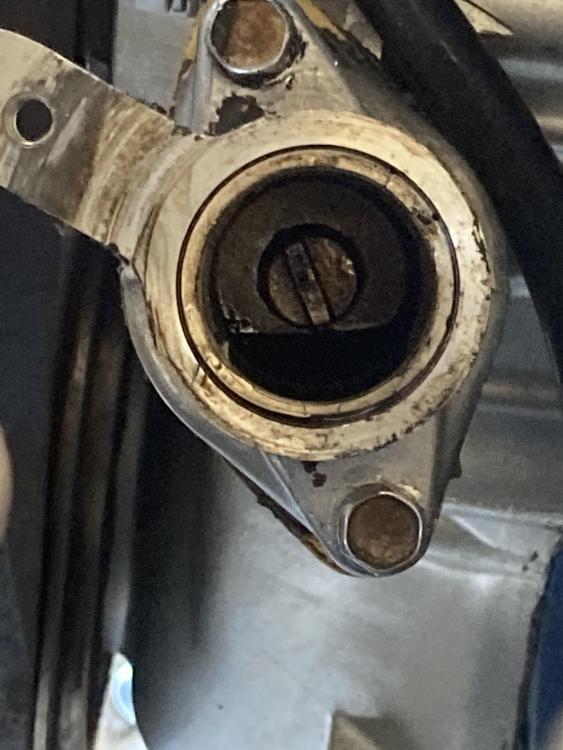
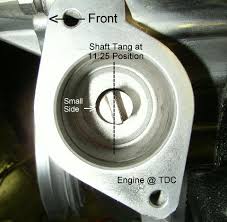
2 pointsRoger, thanks. I will check out that wipe patter as soon as I can. I also just redid the oil pump, already had the sway bar removed from when I did it last so no biggy. I noticed that I could never get the shaft aligned if I lined up the dots perfectly on the shaft, because I would have to twist the pump on for clearance to get it in. The tang would always be pointing almost perfectly at 12:00. So I just barely offset the dot and twisted it in. This is what I got and I think it is near perfect. What do you think?
 2 points
 -
2 pointsForgot to add this...Frame Support Concept.pdf Frame Support Concept.pdf2 points
-
2 pointsYou know, I relate to what you are saying! Many of us tend to over analyse / over think these things. They seem scary at first until you actually do the job and find it was a lot of fuss over nothing! 😉 Don't know the brand, but given that you are only doing 1 job with that tool and you're not a professional mechanic doing many of these every day, I think it will be just fine for your purposes. Don't go buying bolts etc. If you bring cyl 4 to compression TDC (both ex and intake cam lobes pointing up) and use the rope or compressor method, you won't be losing your valves. If I recall correctly, you literally have mere millimetres of valve to piston clearance, so it's very very unlikely that you will be loosing the entire stem down the valve guide without being able to recover it. I await someone to correct me. The compressor (or rope) just helps keep the valve at the top (shut) so that you can easily put the springs / caps etc back on. If you want to buy any additional items, get a new cam cover gasket - a decent one that doesn't fall apart, so that you can reuse it when you next take the cam cover off. Don't forget to scrape off / clean up the residue from the old gasket first as some of them leave pieces of themselves behind. Also make sure any residue doesn't end up in your oil. https://www.thezstore.com/page/TZS/PROD/classic12a13/10-2491C This is not a Z car, but a very good video - I like the Vaseline idea!2 points
-
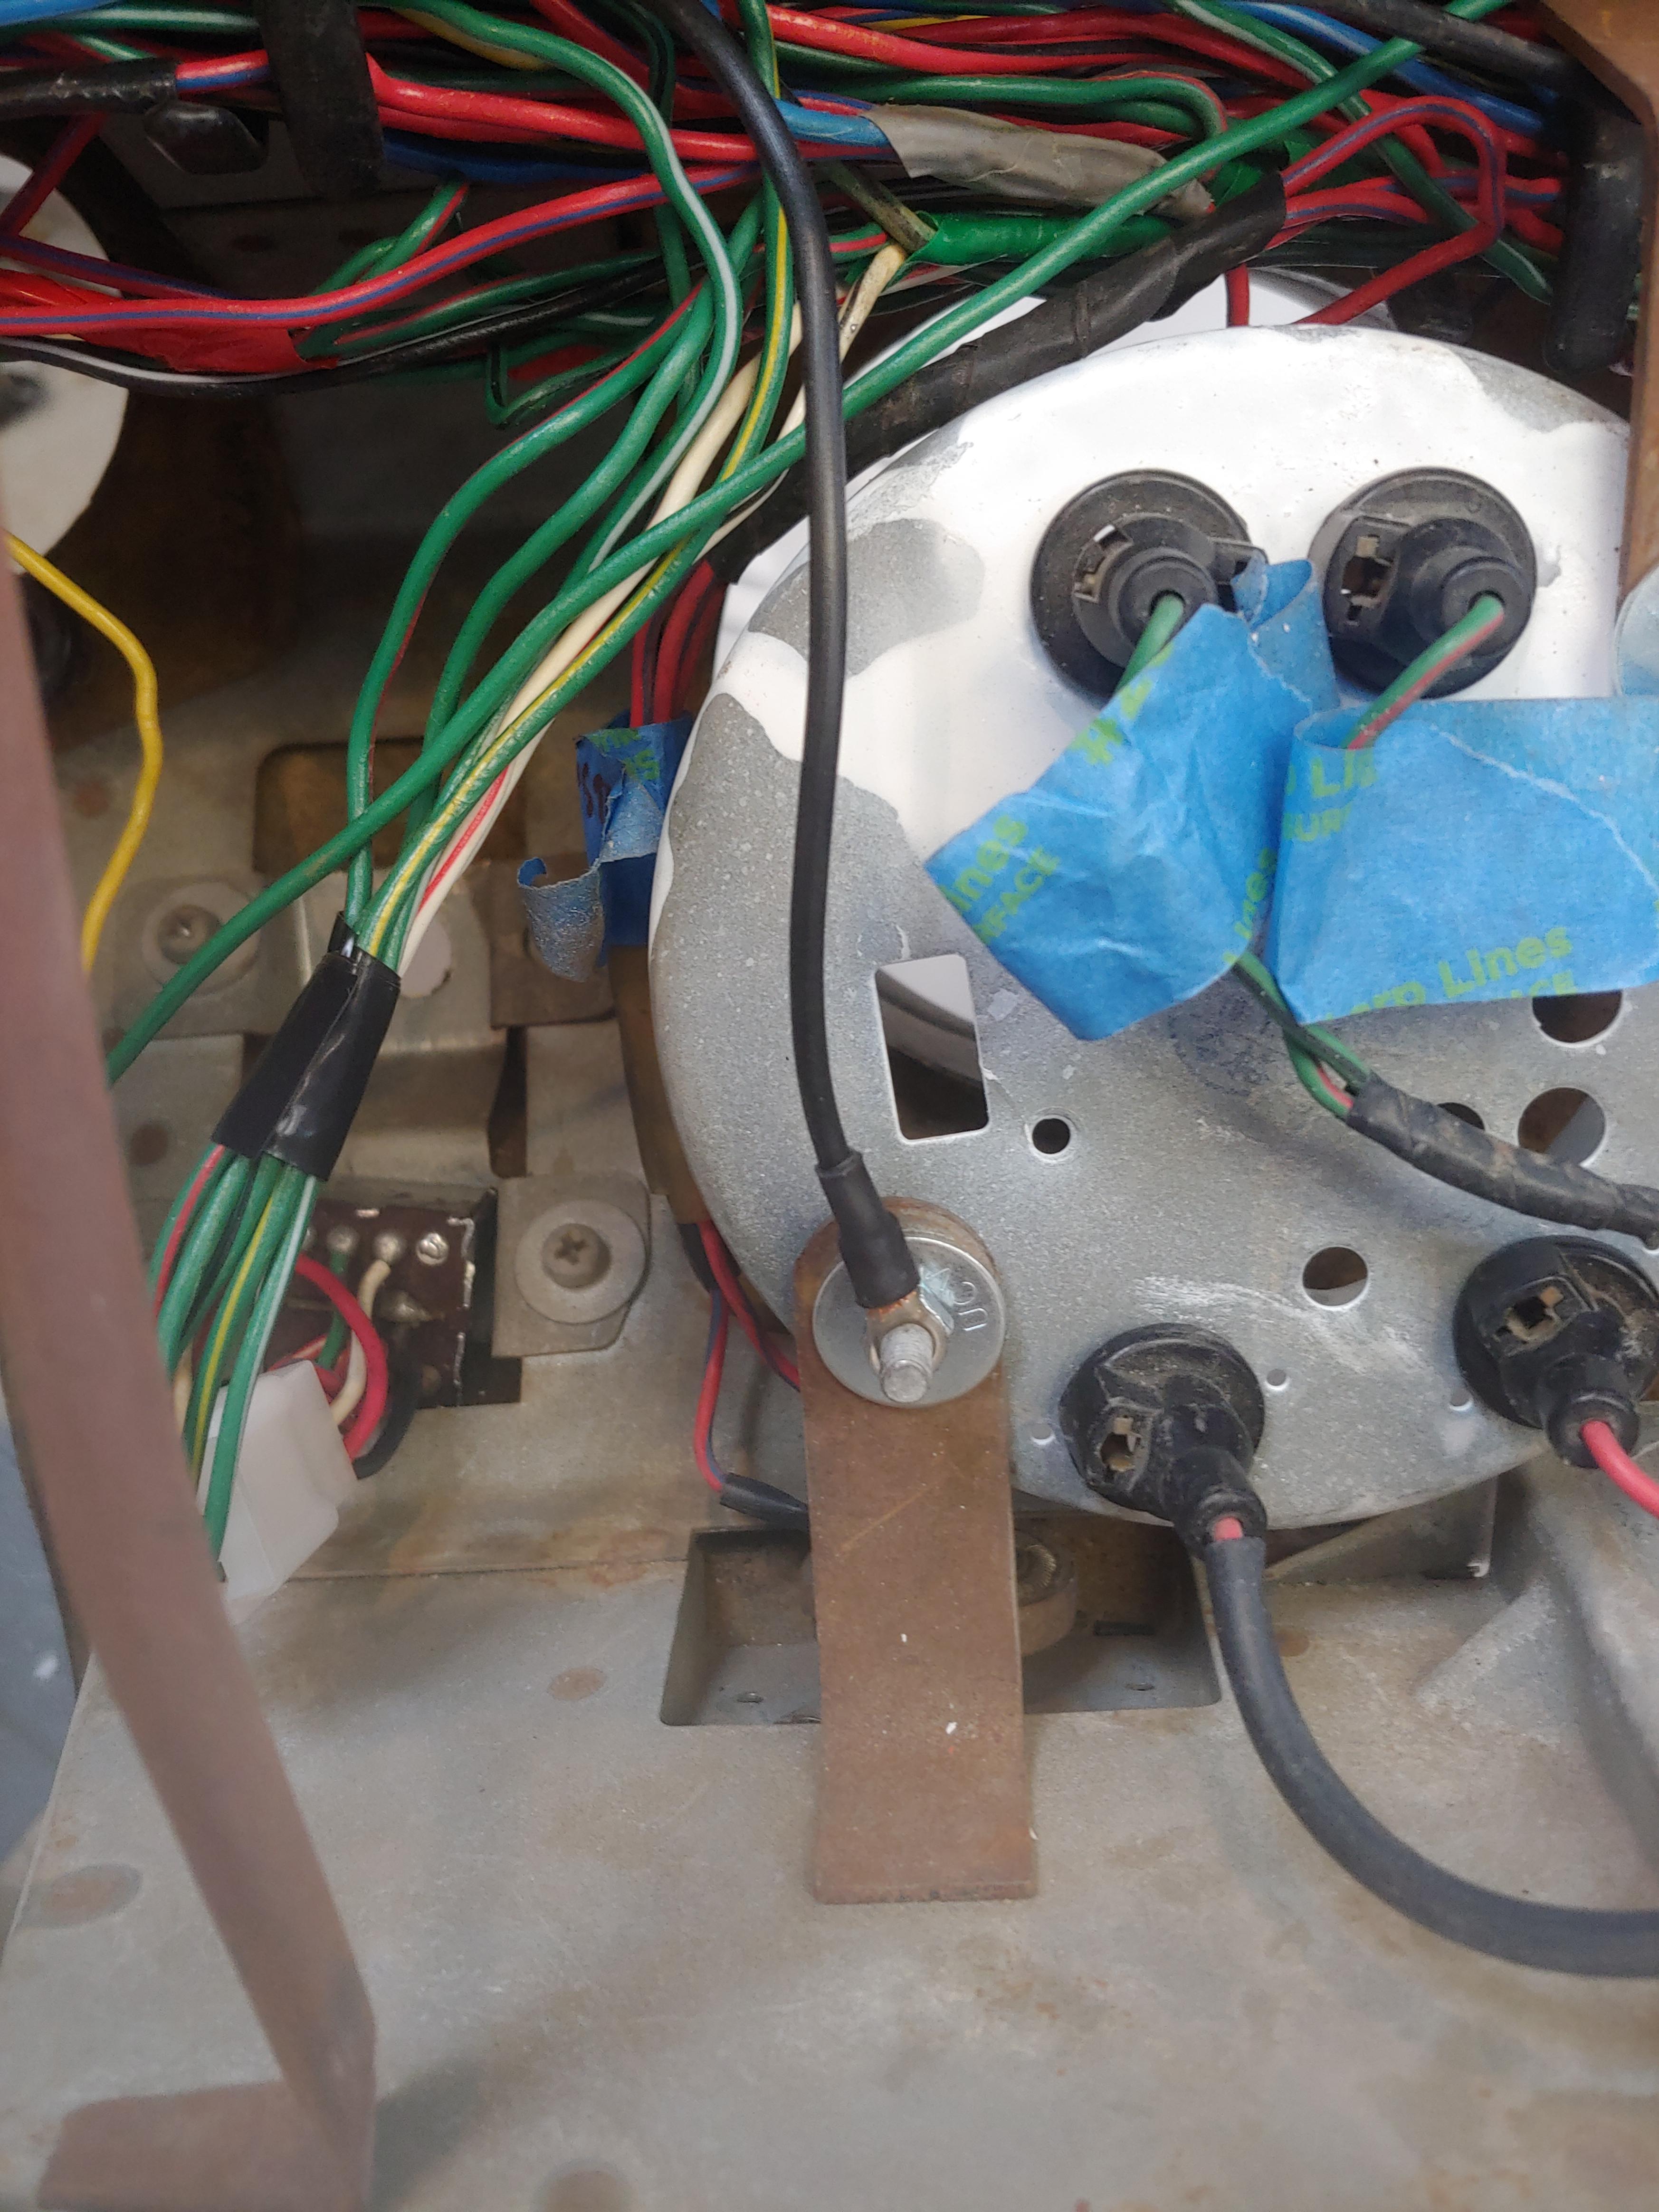
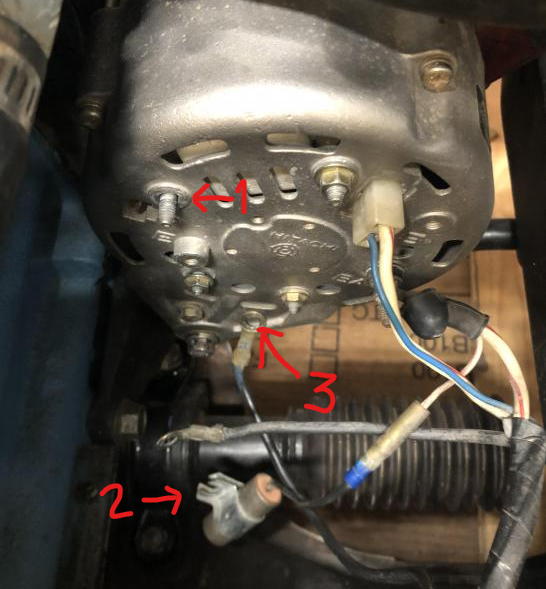
2 pointsAs @Zed Head said, the stud for ground is just above the E in your picture (1). The condenser (2) and the black wire (3) are attached to the stud. If you are missing the nut that goes on the stud, go to your local chain auto parts store and get one of those boxes of assorted metric fasteners (nuts/bolts/washers). It should probably be an M6 or M8 nut. You'll also want a flat washer and lock washer to help secure the condenser and ground wire.
 2 points
 -
2 pointsYes.. but there is stainless and there is stainless... In some conditions i have seen stainless that was rusty.. It all comes back to the word: Quality.. And i don't know but lately that is what is failing a lot of times..2 points
-
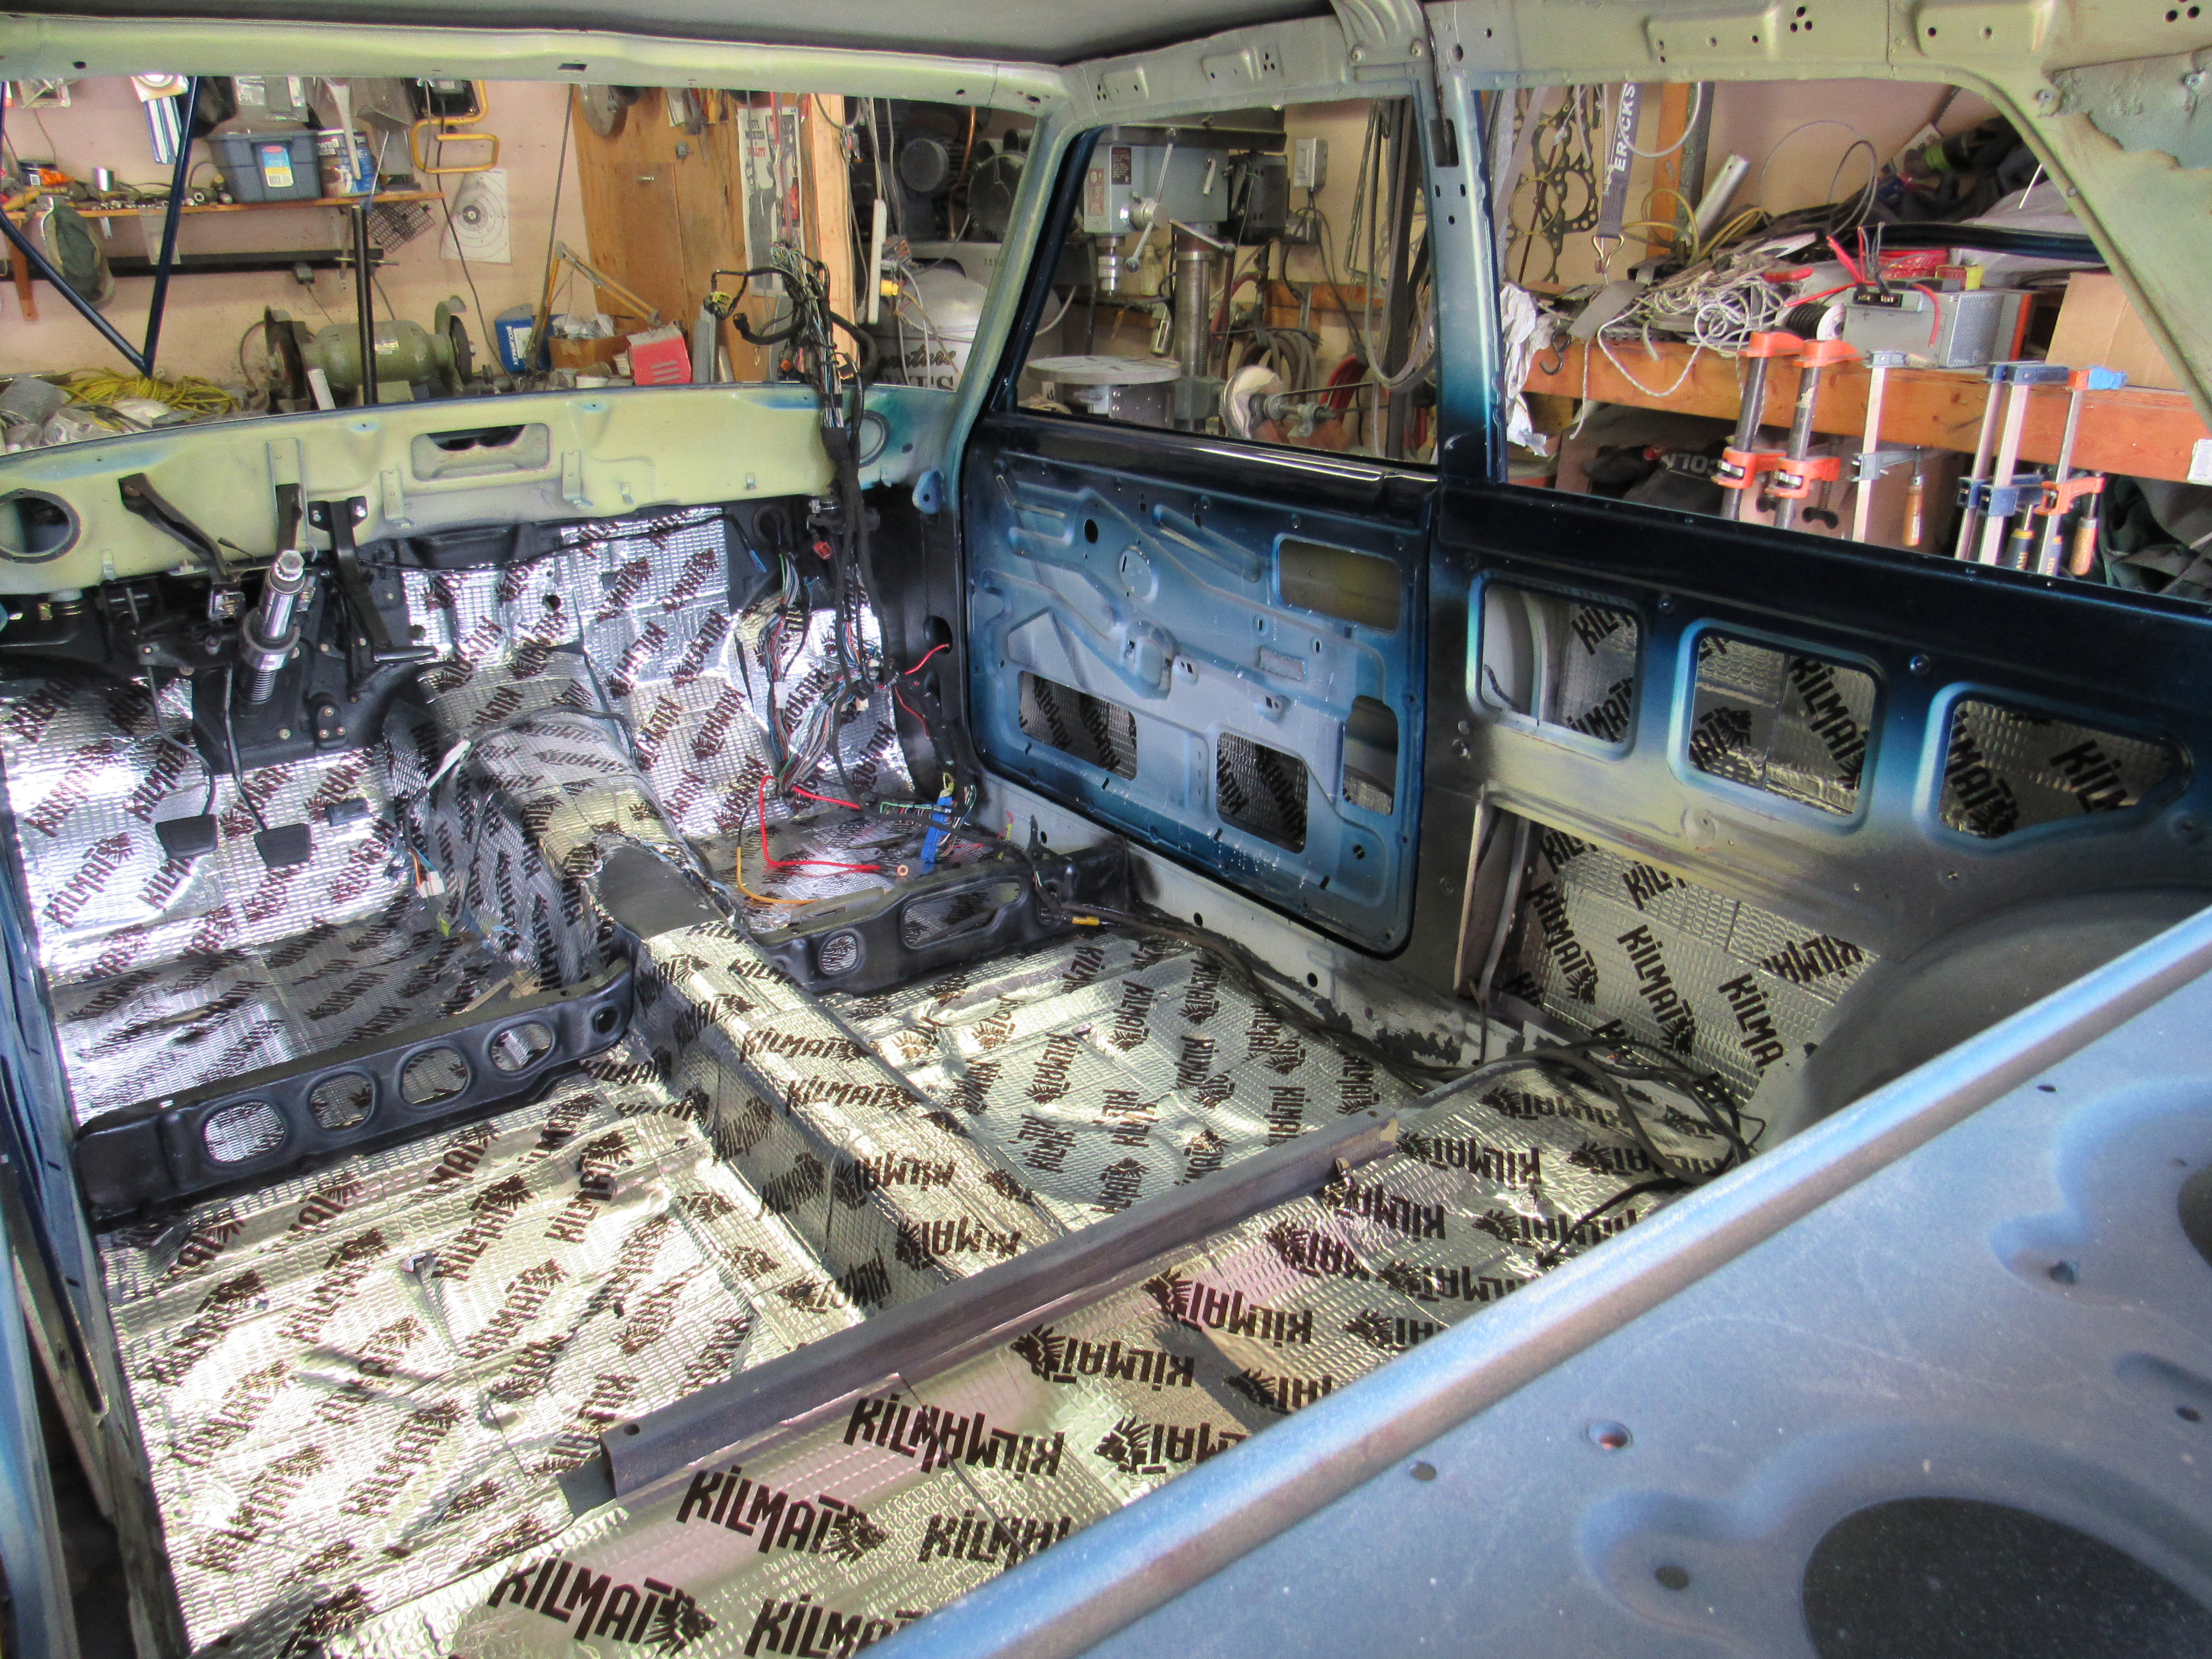
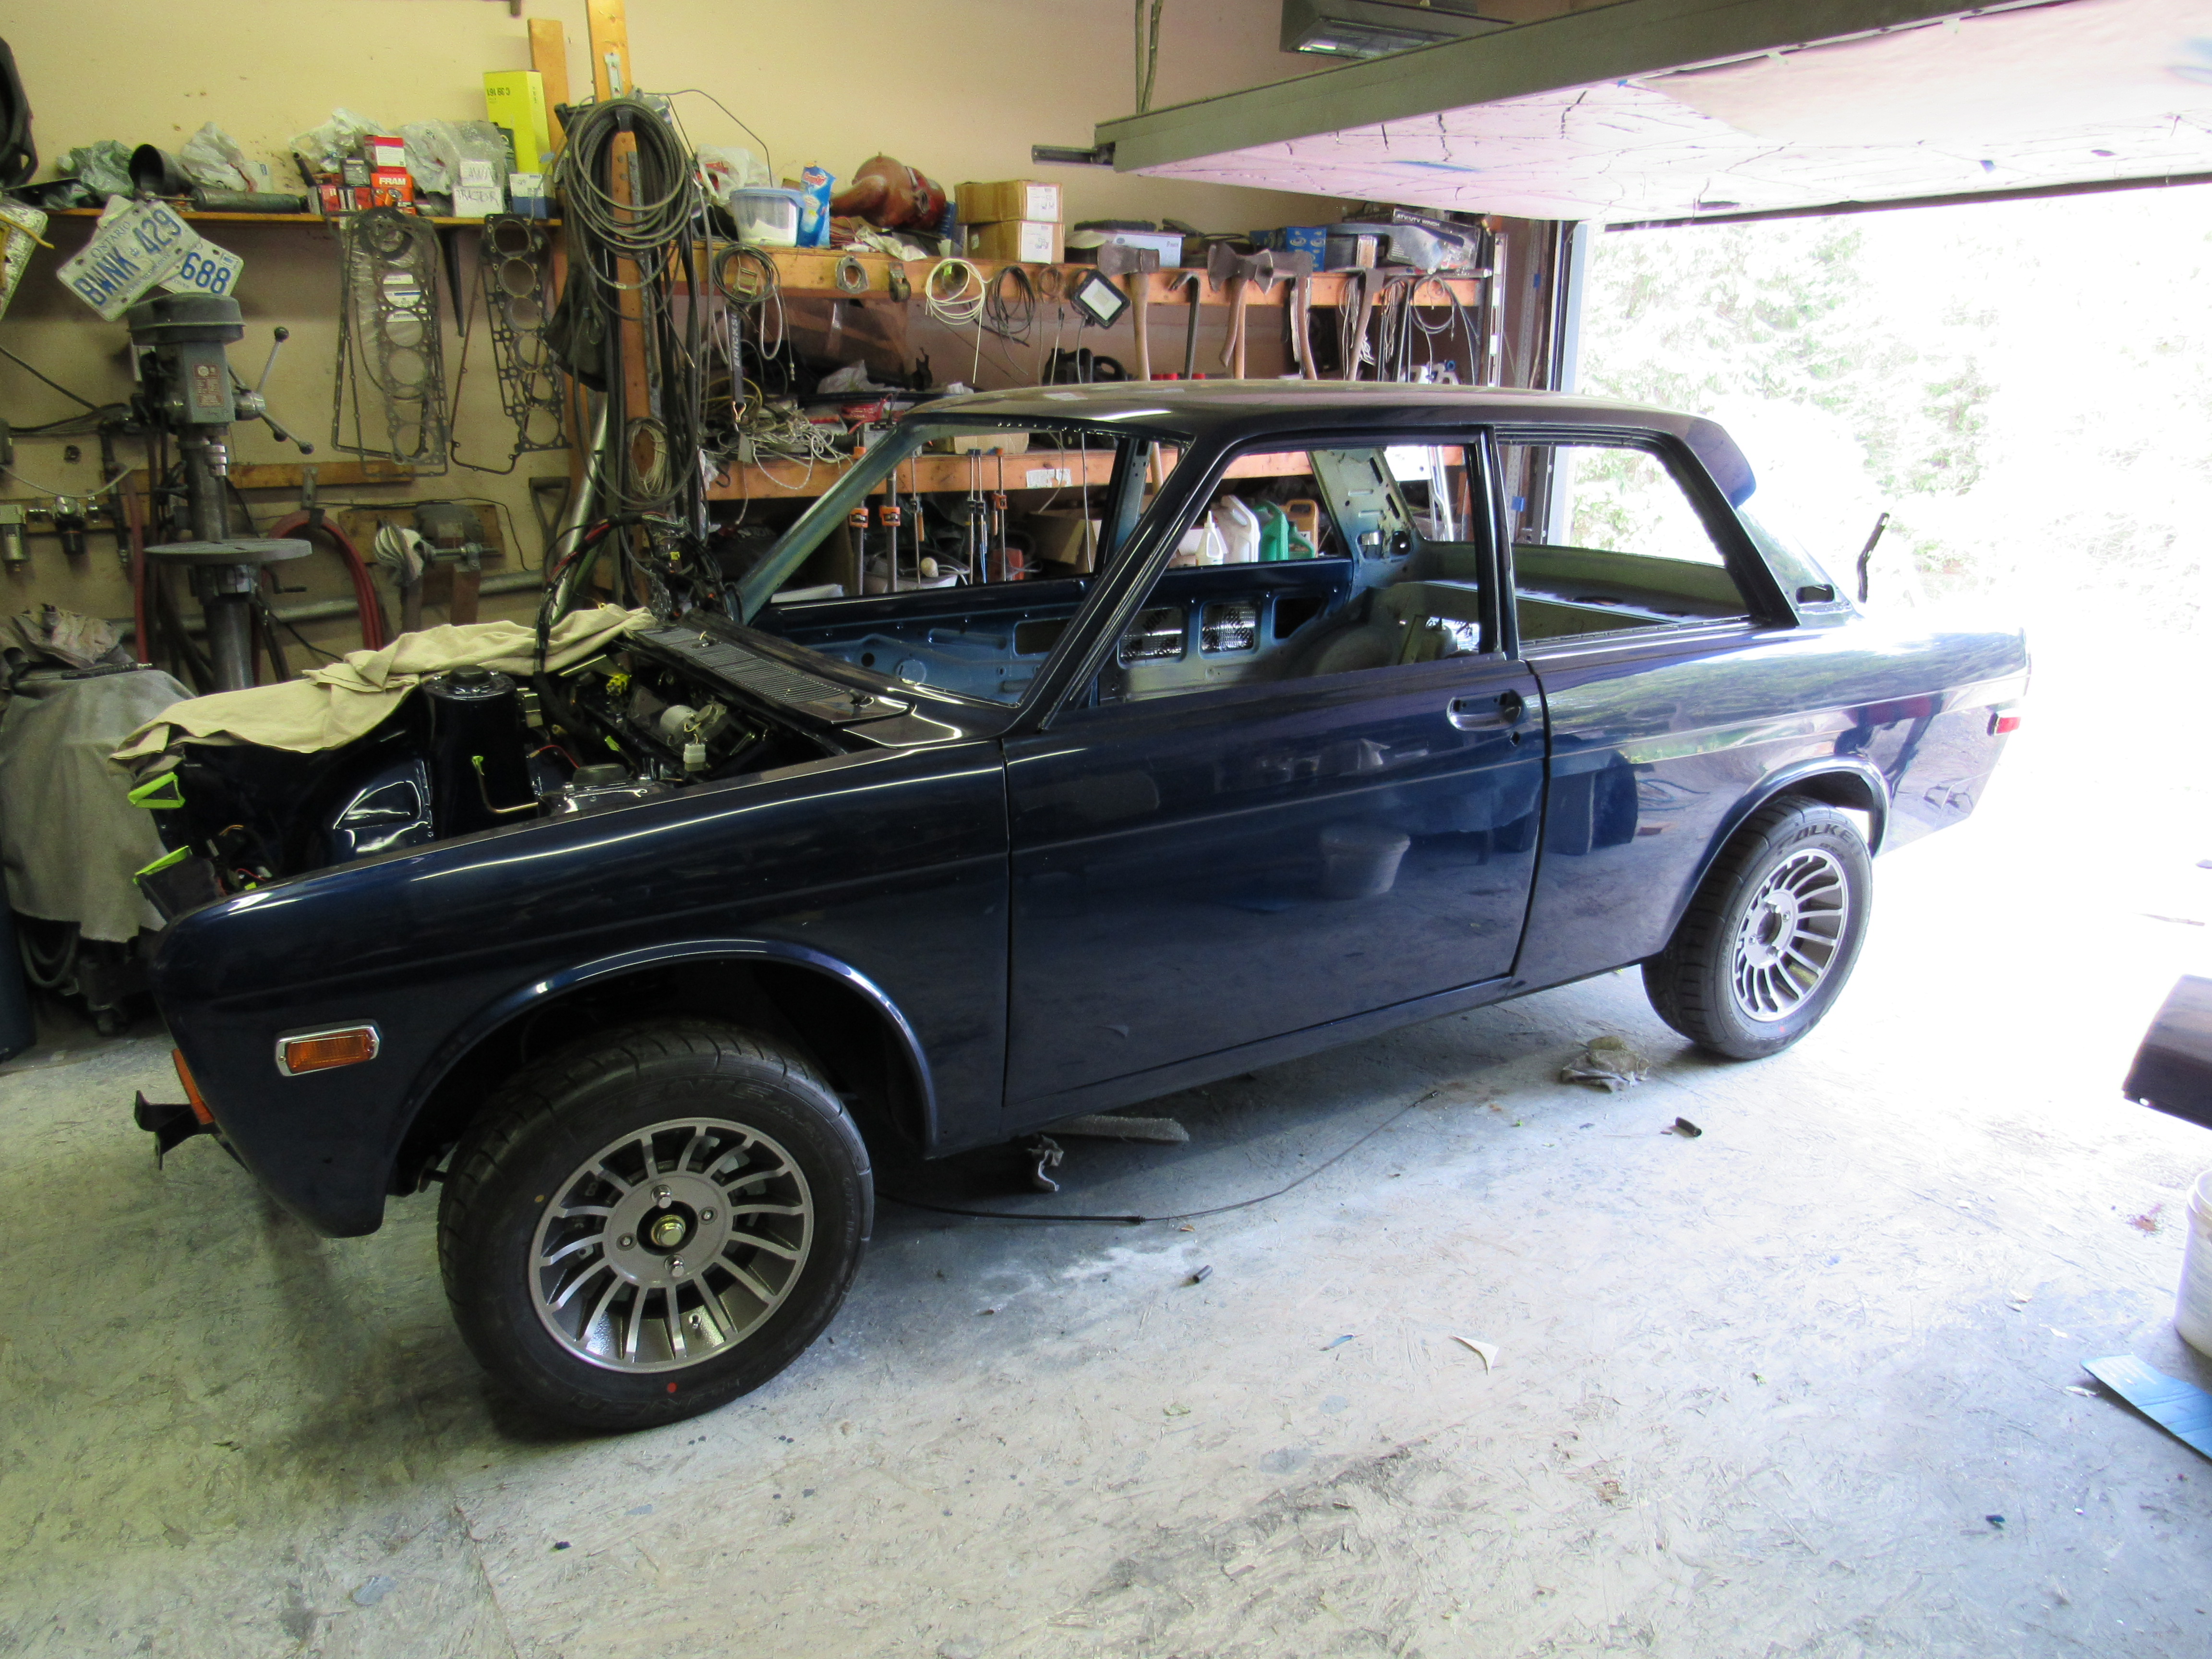
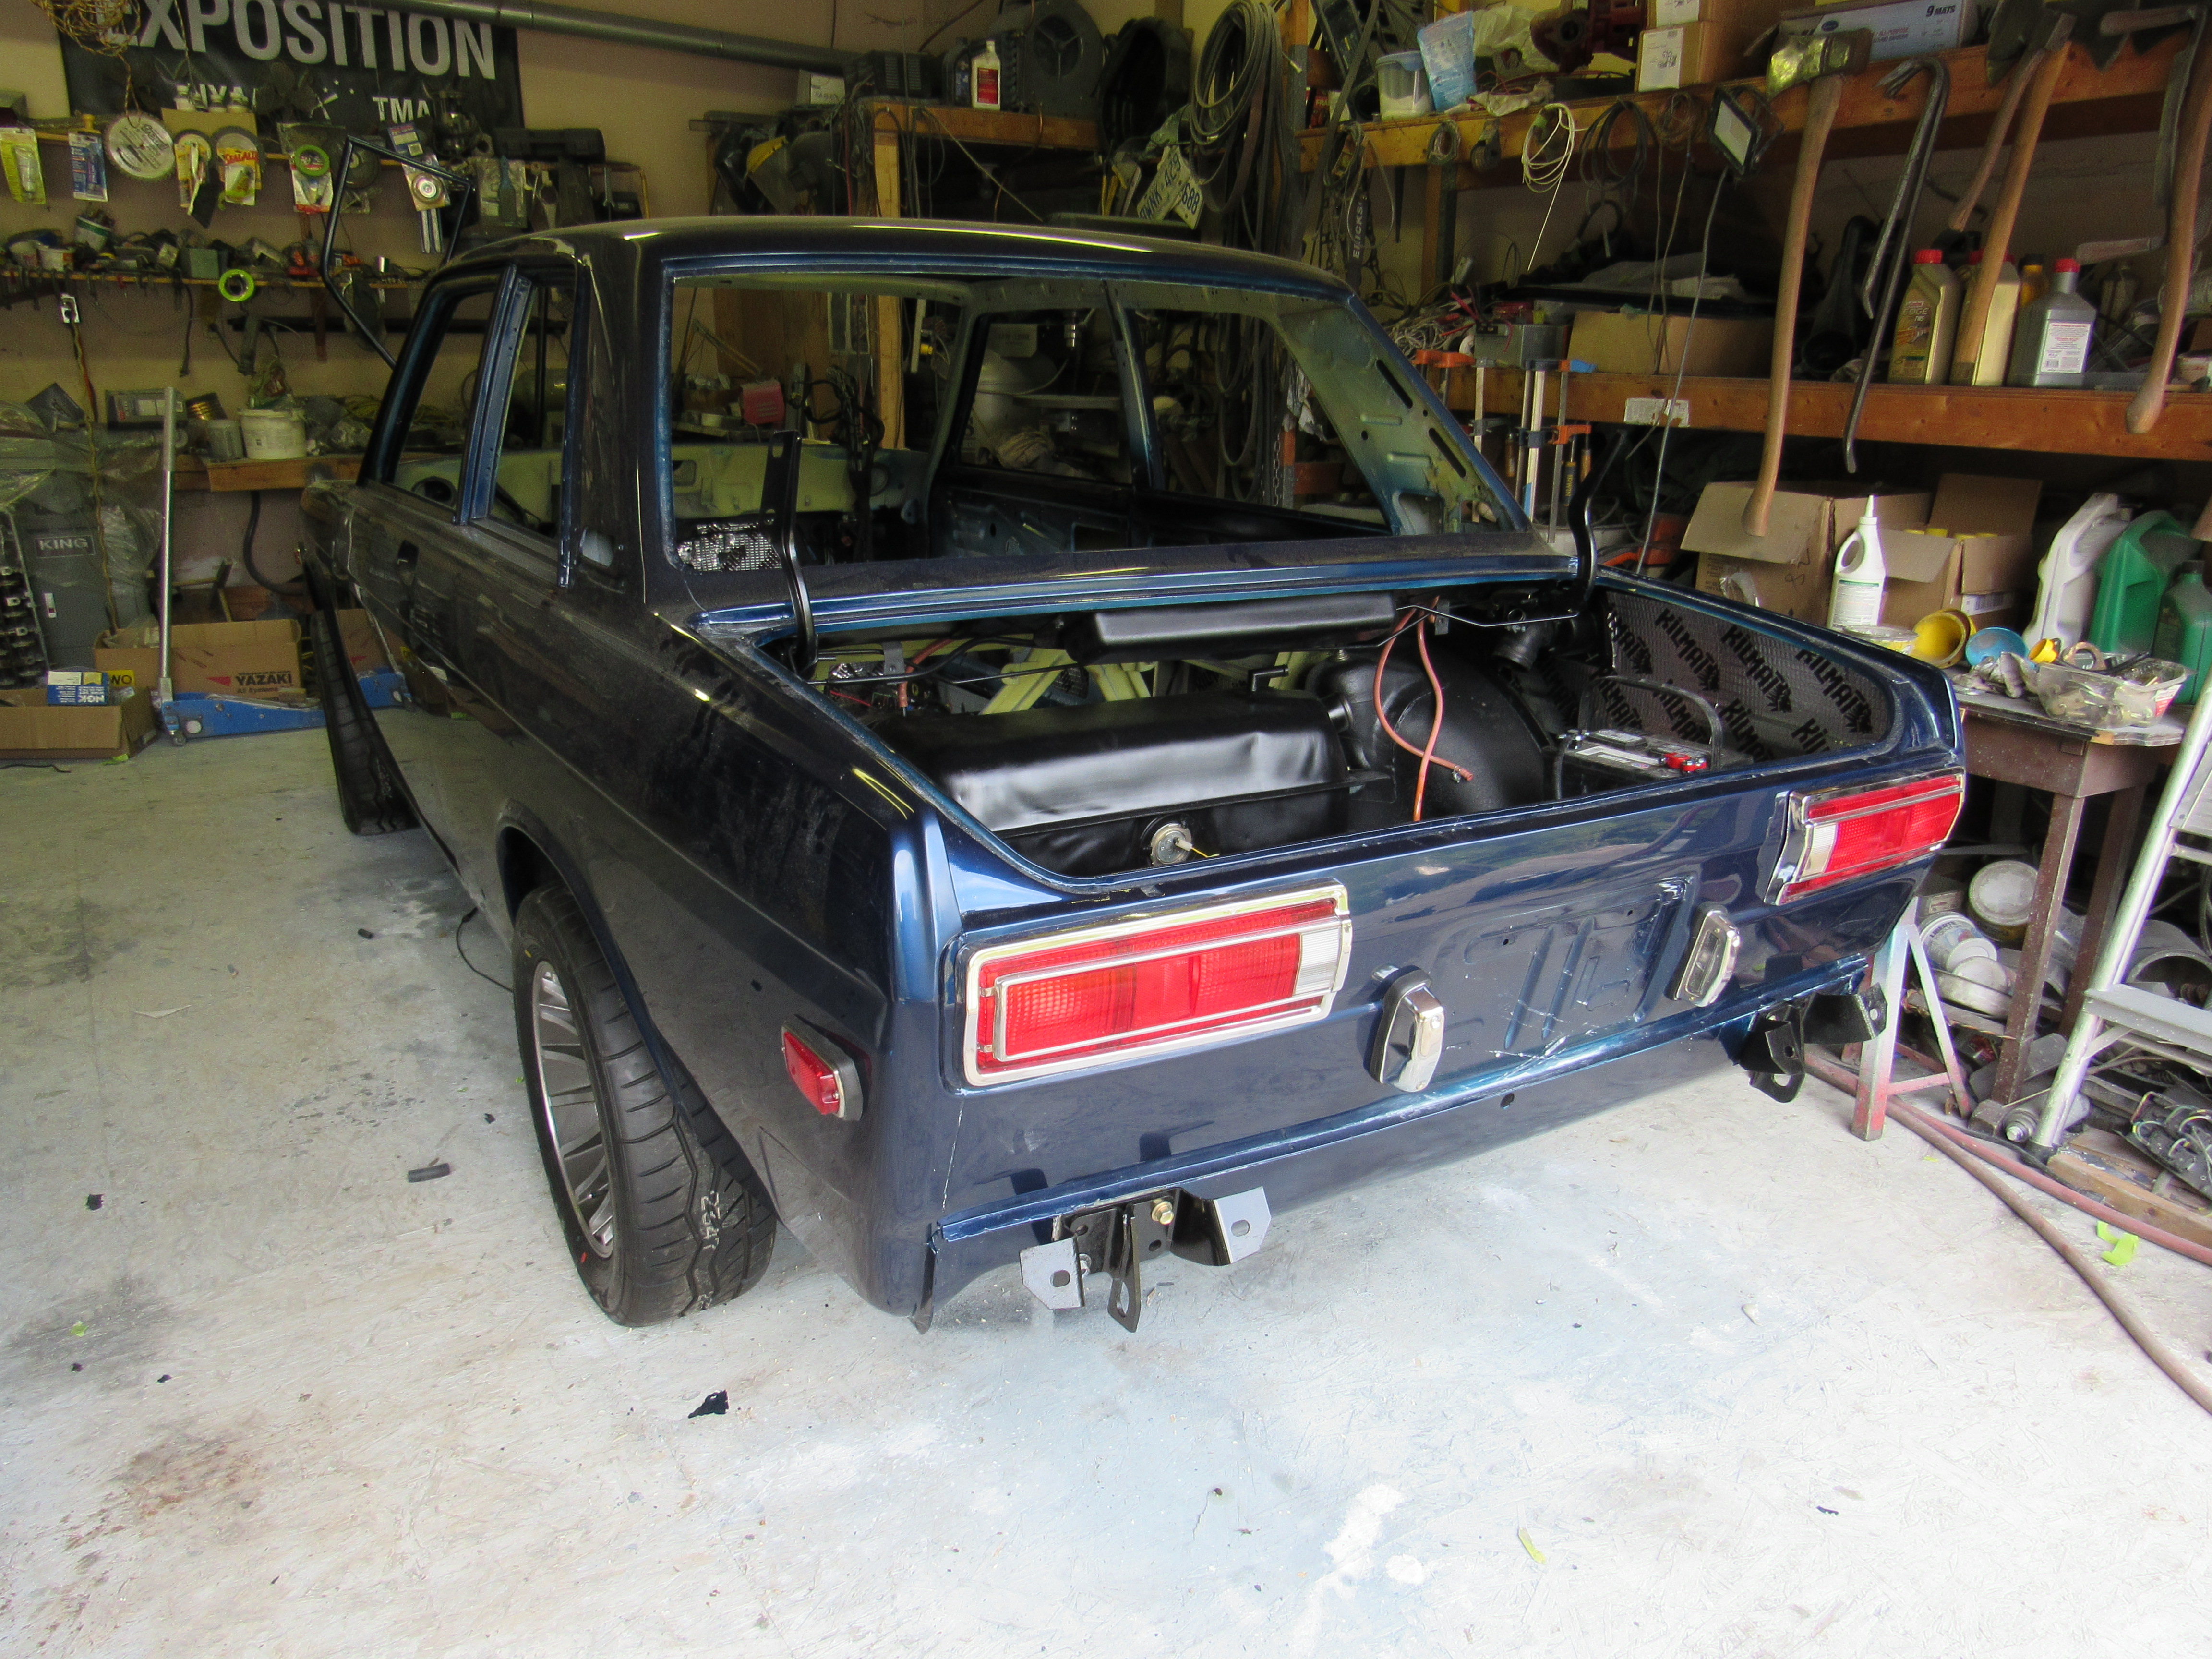
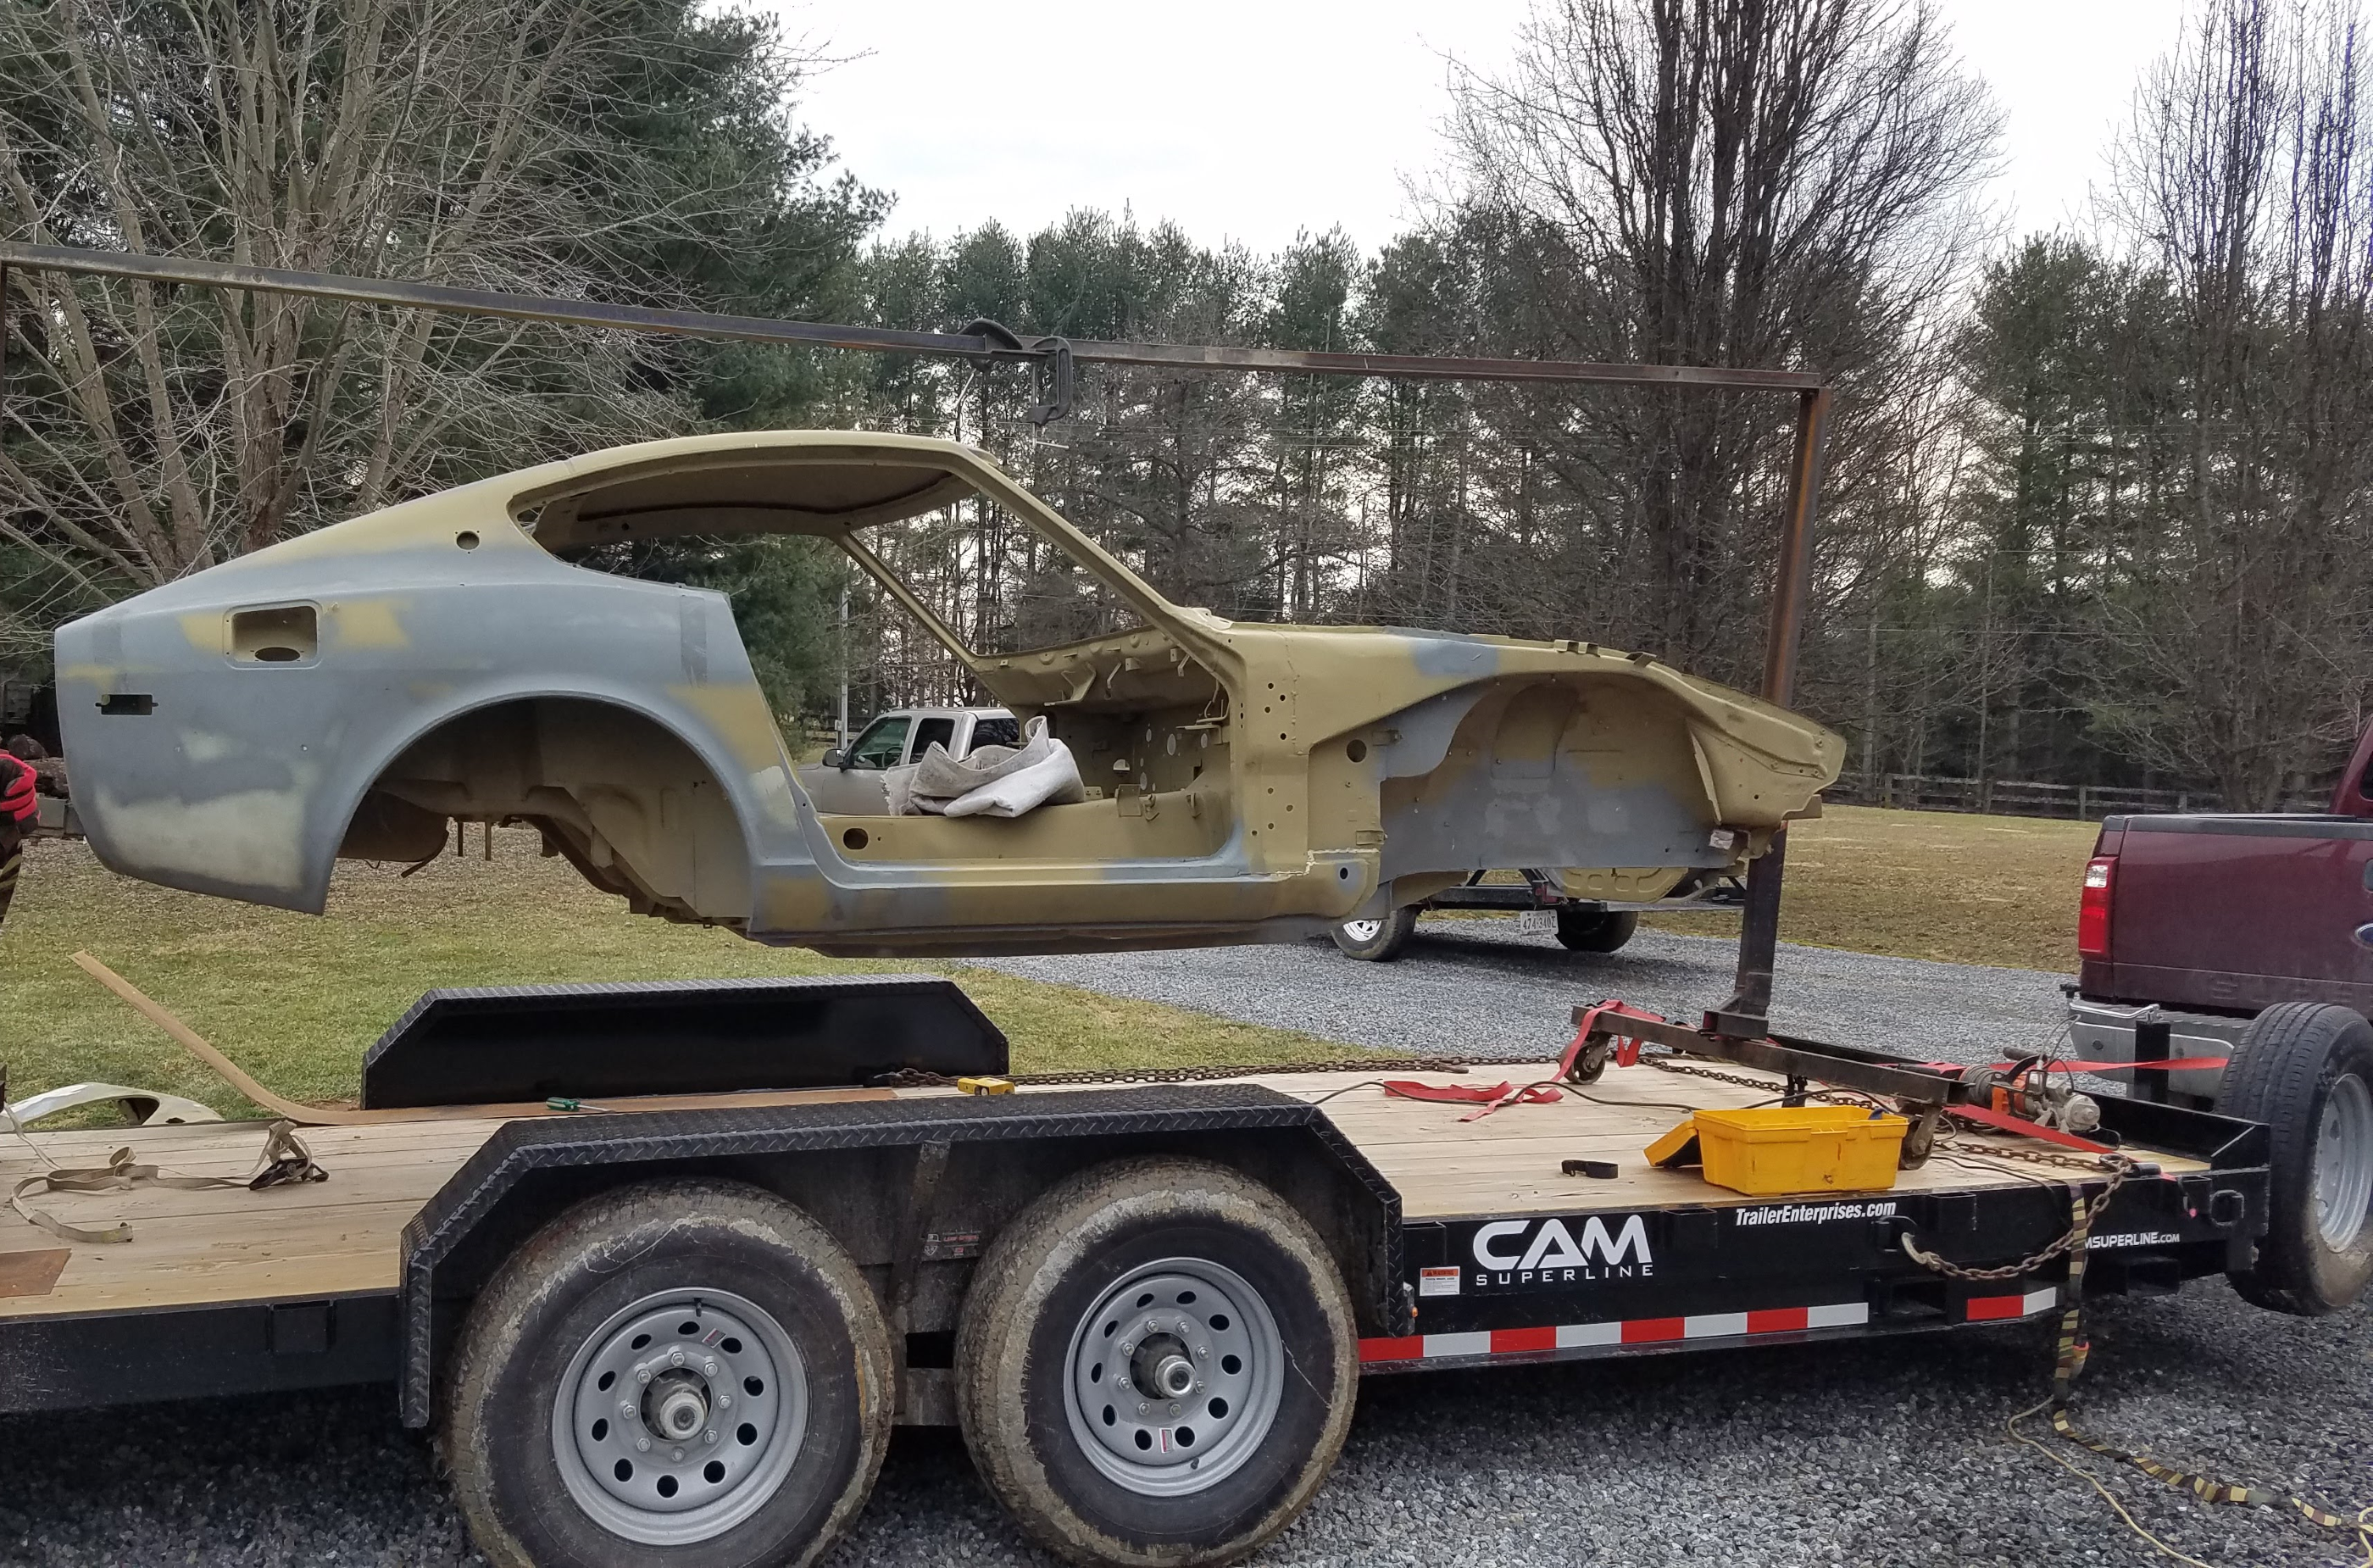
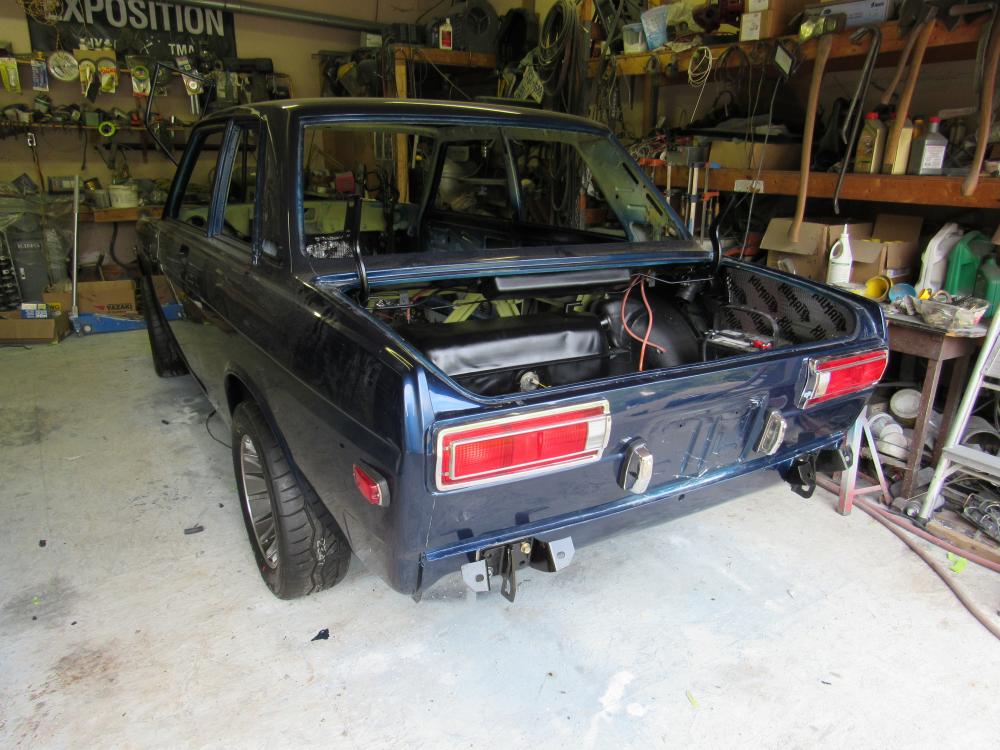
1 pointSound deadener and wiring harness is in, she's supporting her weight again and ready to install the engine/trans this weekend. The car will sit a lot lower when the weight is back to normal.


 1 point
 -
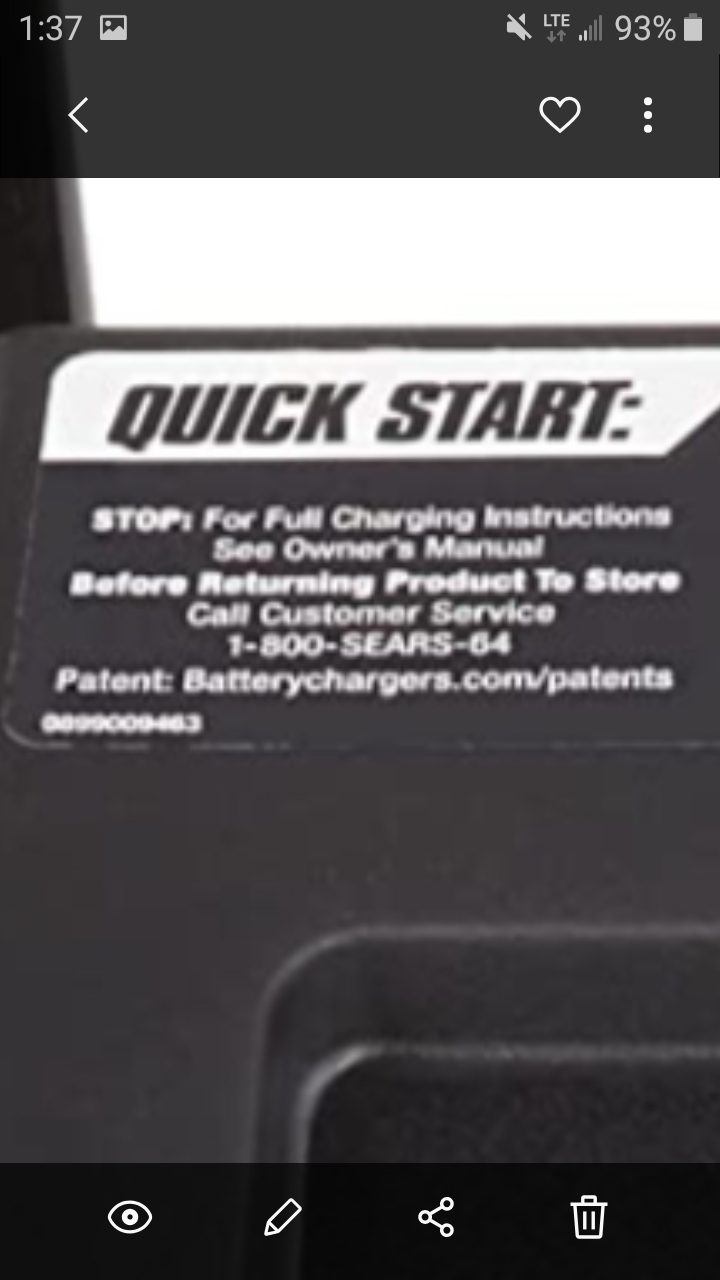
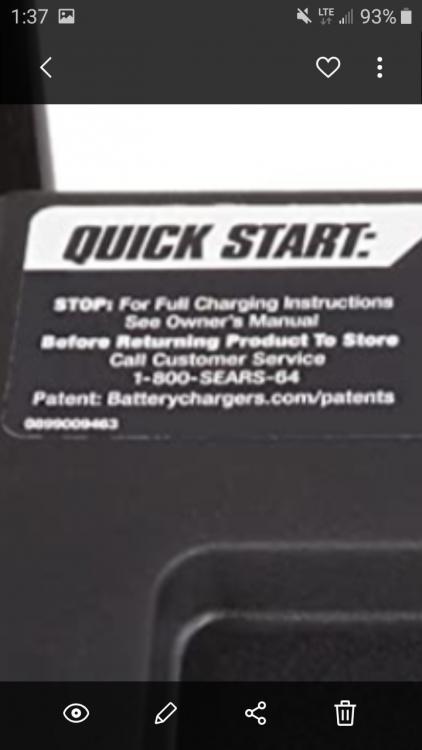
1 pointI got one last year - DSR. Best thing I ever did. Never had any love for Schumacher's cheap line products. I've been inside them several times. A friend did a LOT of research and bought the very best wheel-around battery charger he could find. It wasn't Schumacher. It cost him several hundred dollars. It immediately presented with a problem, so inside we go. What an absolute pizza chip. Seriously. Reminded me of some common and familiar low end chargers. Back it went. I know a jump box isn't a charger, but I have to say it's much better for getting a machine going. I think I have 9-10 battery-started machines. Between flat tires and dead batteries, it's hard to keep 'em ready to go.1 point
-
1 pointAnother update. Re fired it up, really struggled this time. Back to sounding like its cammed with chop chop chop. In addition, the volts on the dash read now about 2, but at the battery i get about 12.6. Dash used to be accurate before. I am hoping that is a problem I can ignore for now. I will start going through the distributor. I haven't gone through the internals yet so it should be good to go through. Yip, I believe it. Car has to put you through hell before it starts to give anything in return. I still think I am going to do that potentiometer trick though. Can't hurt.1 point
-
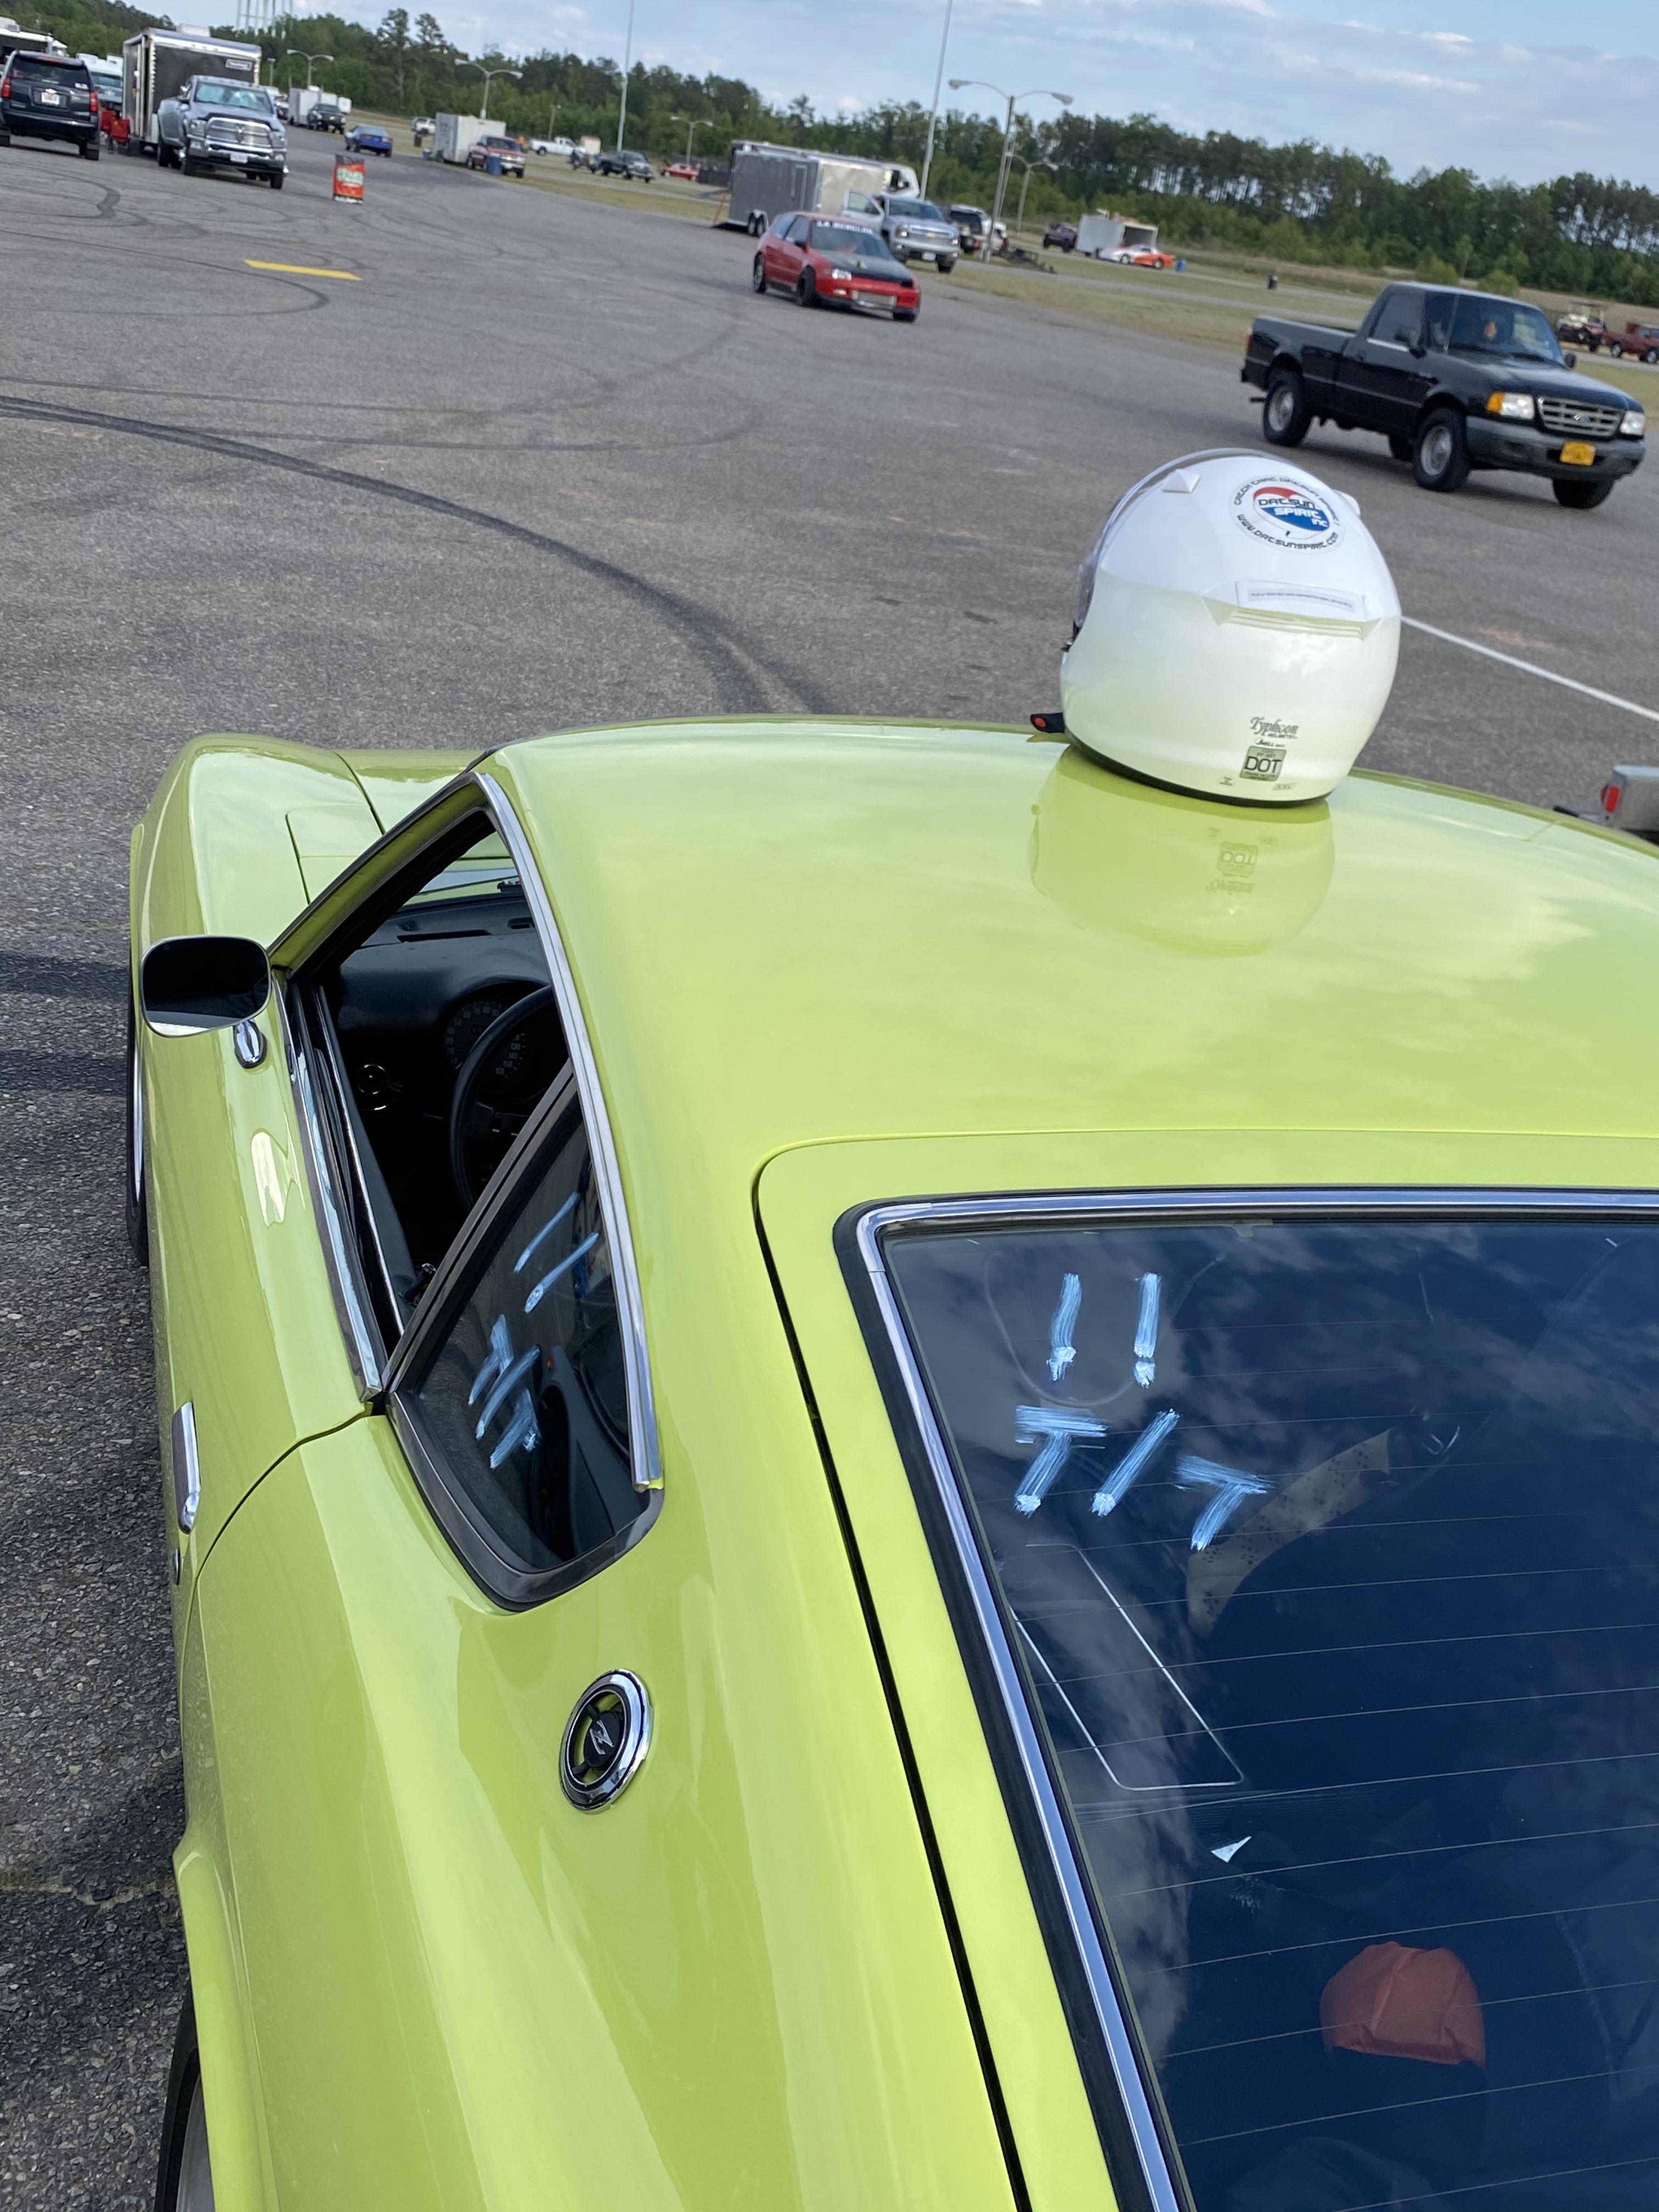
1 pointLooked like the ZX had you off the line which you more than made up by the end of the run.1 point
-
1 pointWell, well well. Lookie here right on top of the Die Hard is the website for Schumacher under "patents". www.batterychargers.com
 1 point
 -
1 pointOne of the reviews who had the diehard called Customer service. It went to Schumacher... It's on the internet, so it must be true! 😉1 point
-
1 pointThanks Roo. Unfortunately the coil wire has almost no markings left. I will have to get out the magnifying glass in some very good light, but I don't hold out much hope on that one.1 point
-
1 pointNew here but to support Zed here is someones swap I found that has a detailed array of picture that show exactly how you should redo it. Hope this helps 🙂 https://www.atlanticz.ca/zclub/techtips/alternatorswap/index.html1 point
-
1 point@Reptoid Overlords thanks for the confirmation photo! My chain is definitely stretched, but the #3 cam pulley position compensated. Mine may be running a tad more advanced then yours, but it looks to be in spec as well. I wish my cam sprocket looked as clean as yours! 😎1 point
-
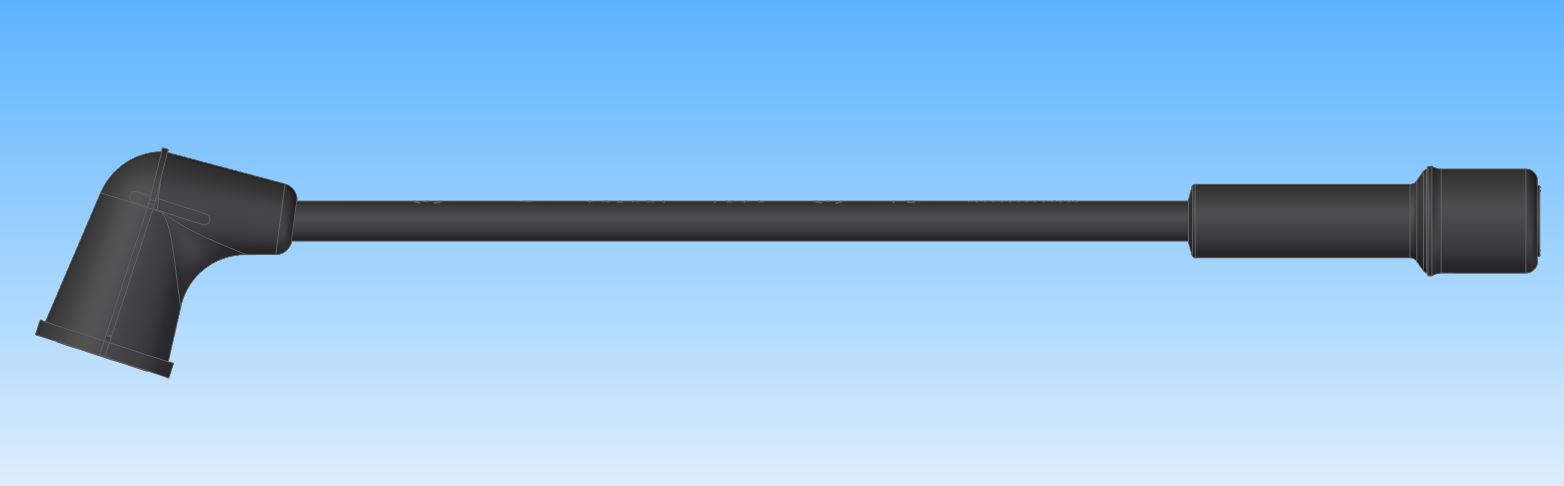
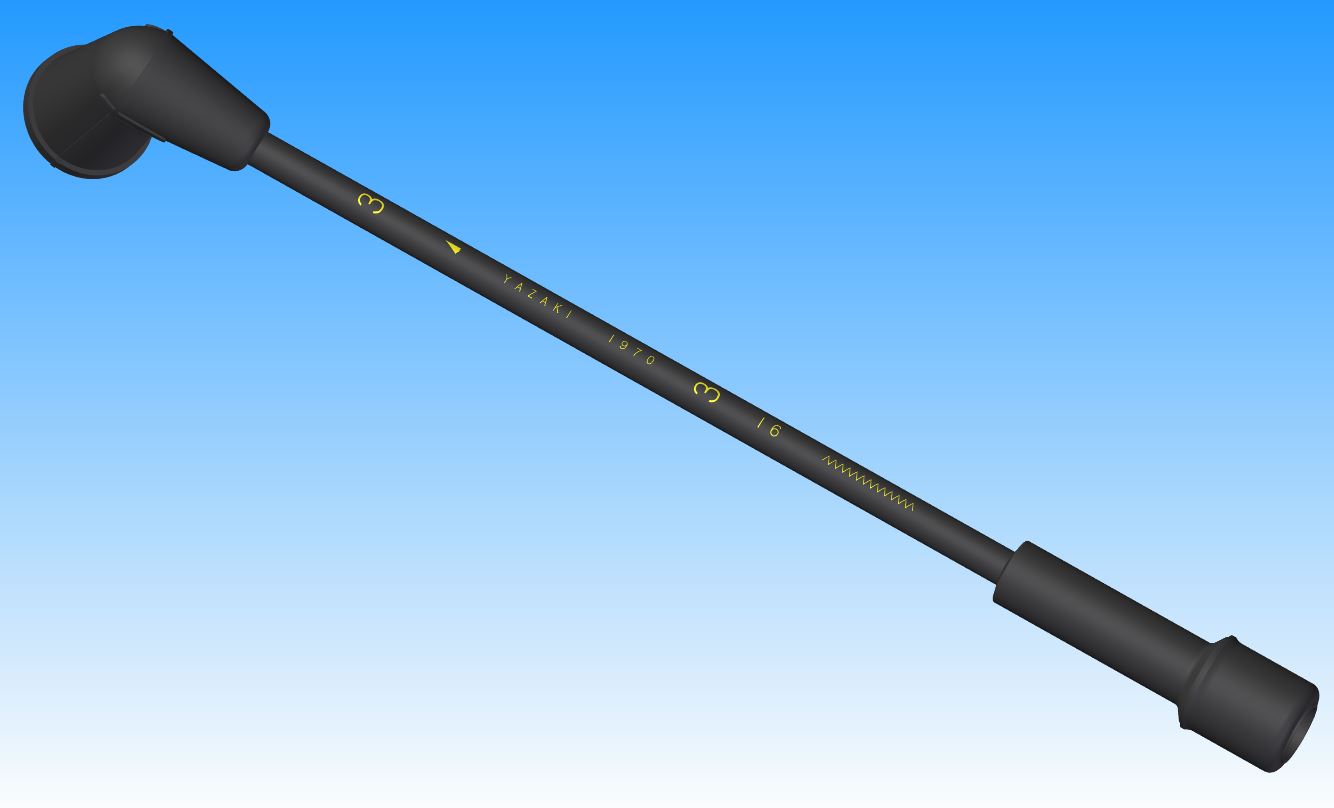
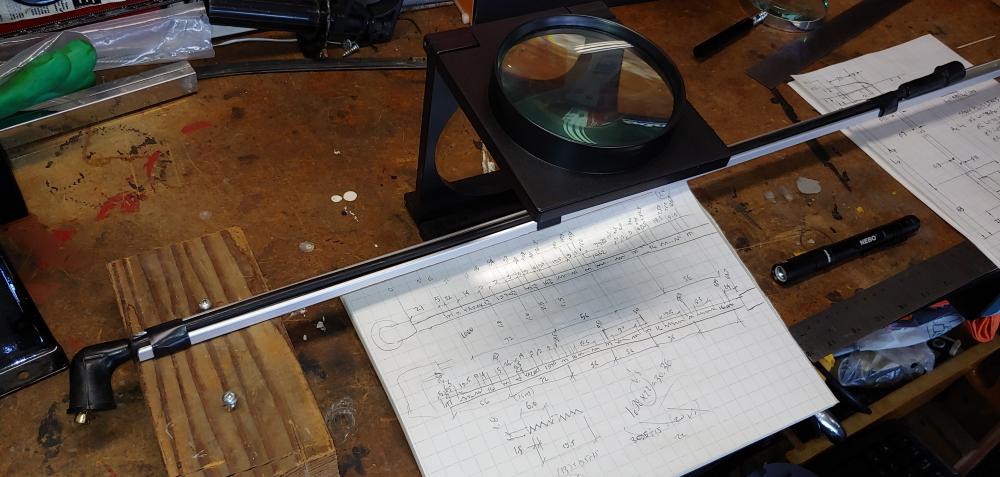
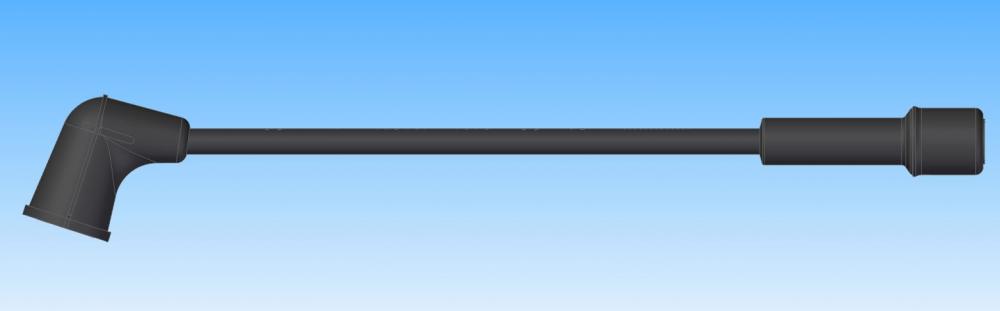
1 pointI just revised the sketch of the leads in my previous post (#80) with more accurate lengths, the method I used with a fabric tape was not the way to go. I got much better, and repeatable numbers, holding the leads in a channel to carefully keep them straight. Anyone recognize the re-purposed holding device. I used this method so that I could get accurate measurements of the markings. This will all be in a new topic after I have time to finish with the measuring and cad work. Here is a preview of the number 3 lead. I will also be creating a 2D drawing with dimensions of the markings.

 1 point
 -
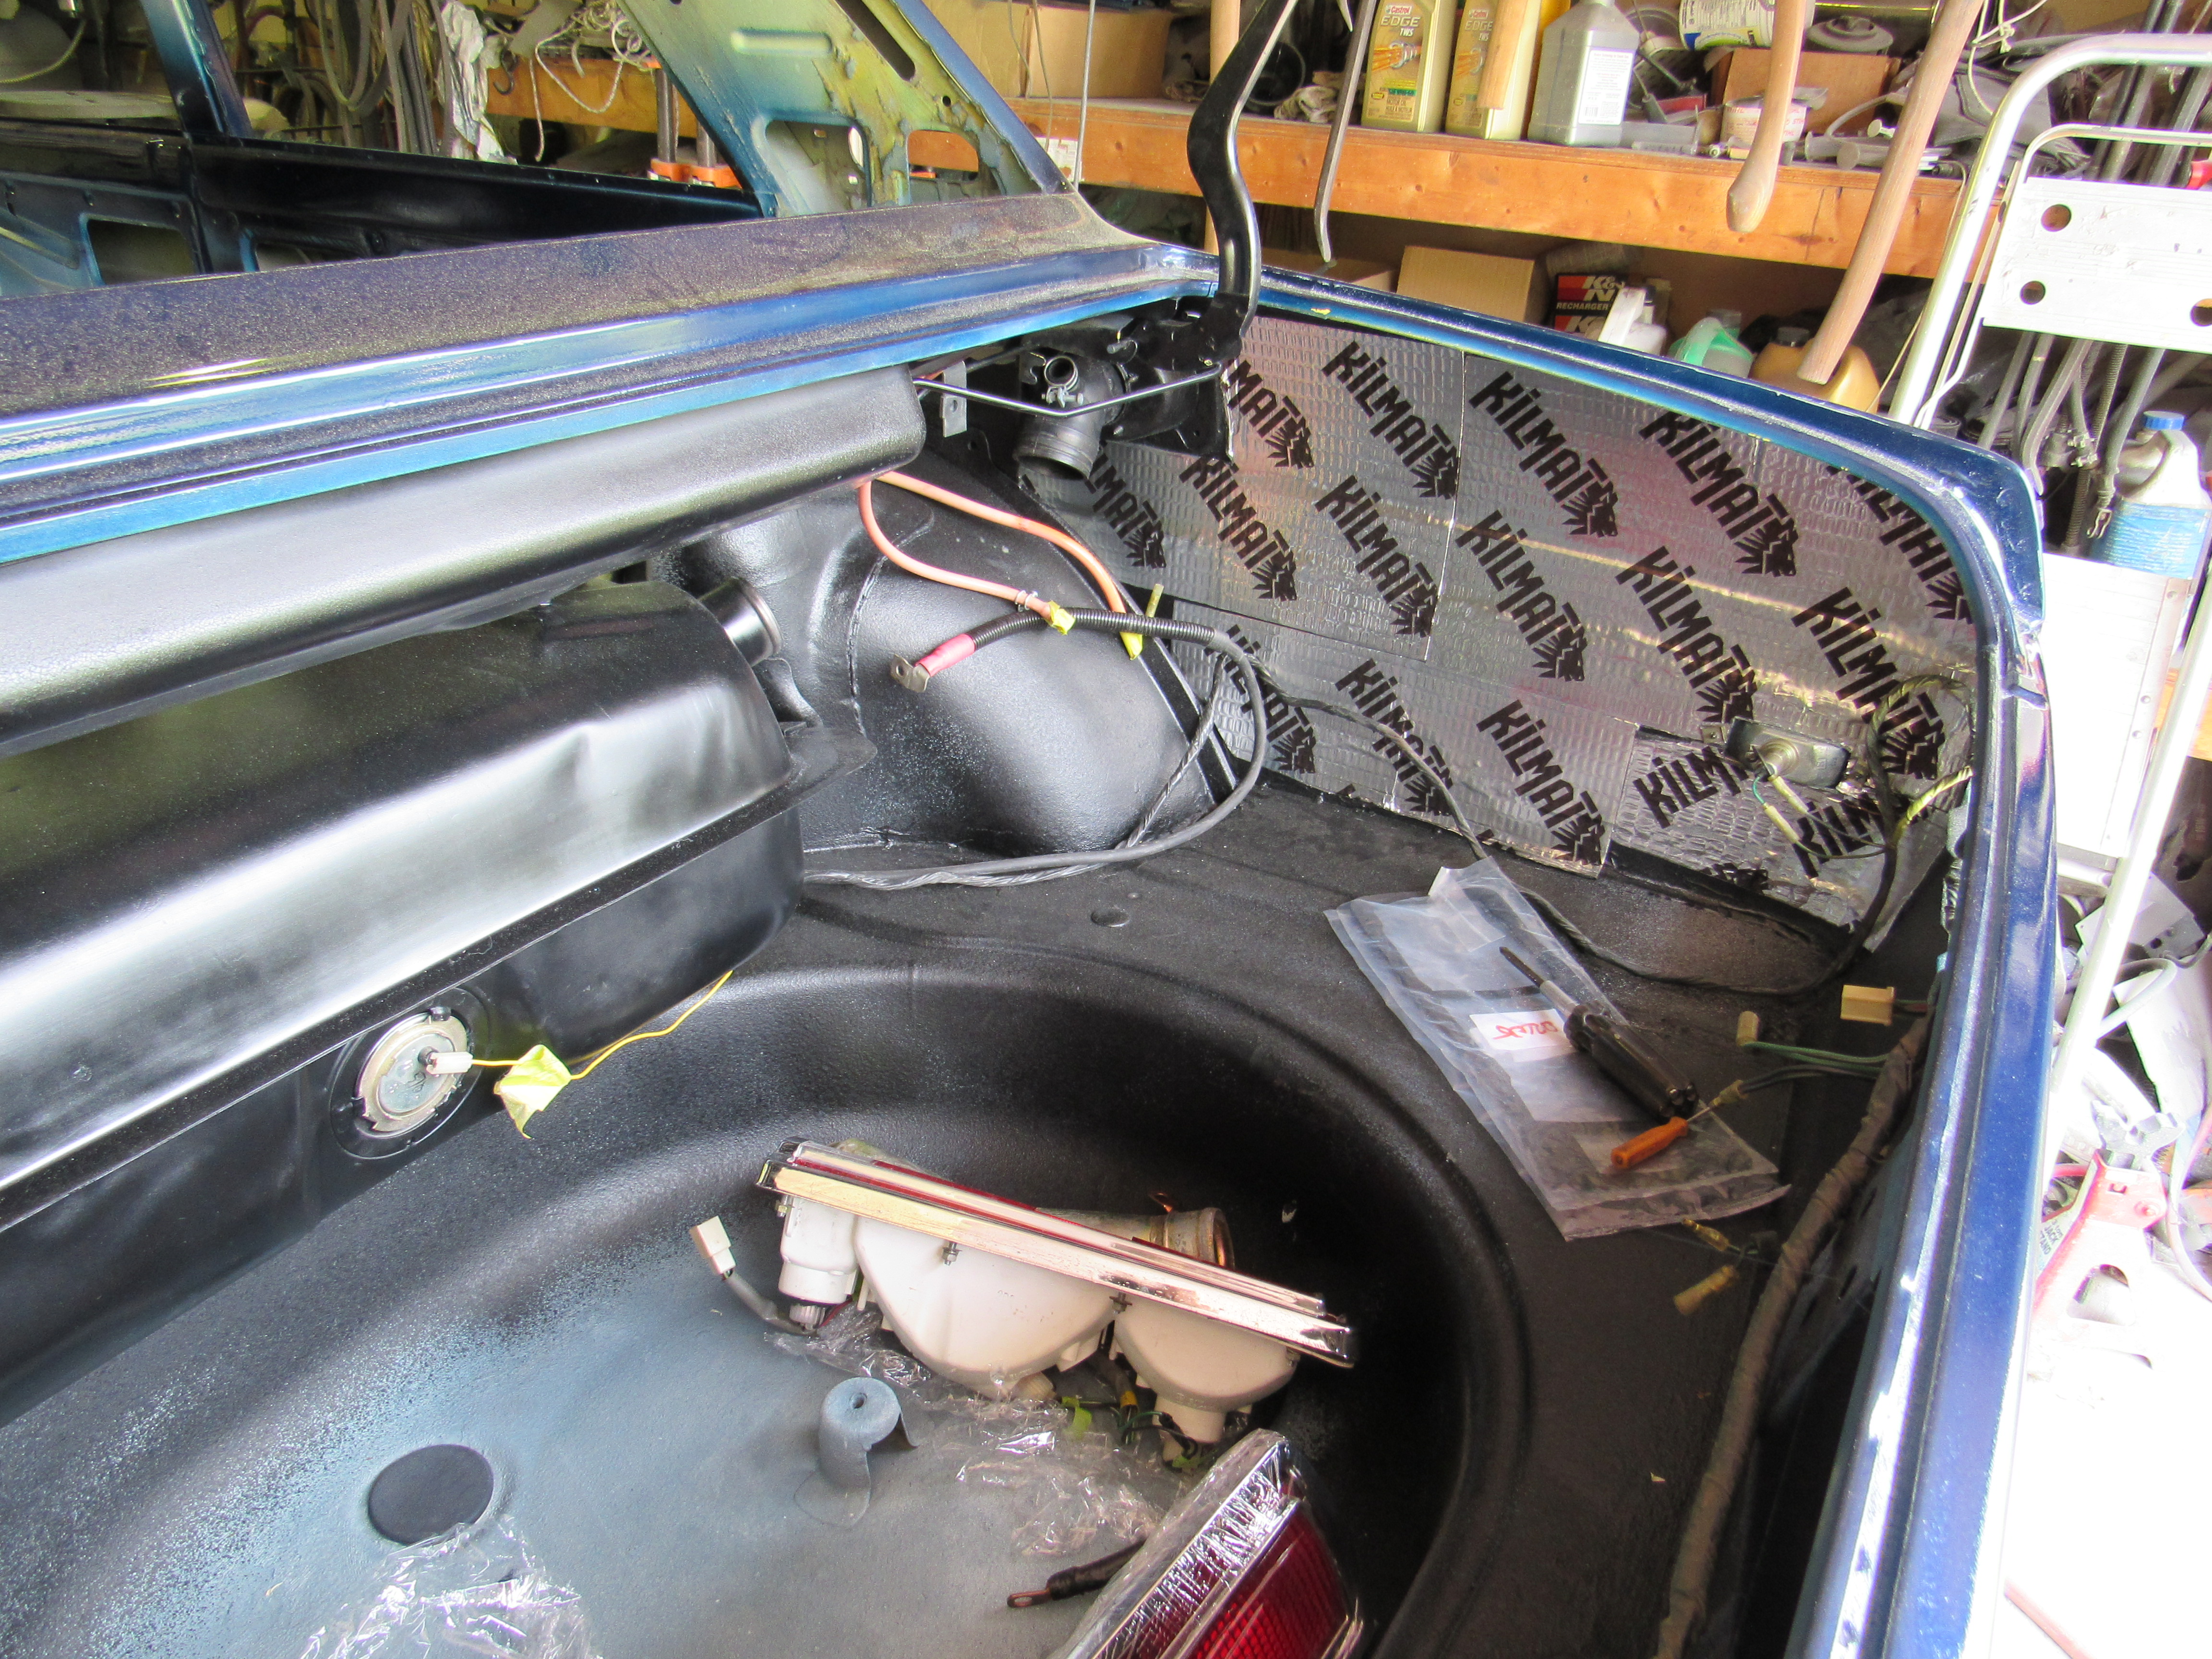
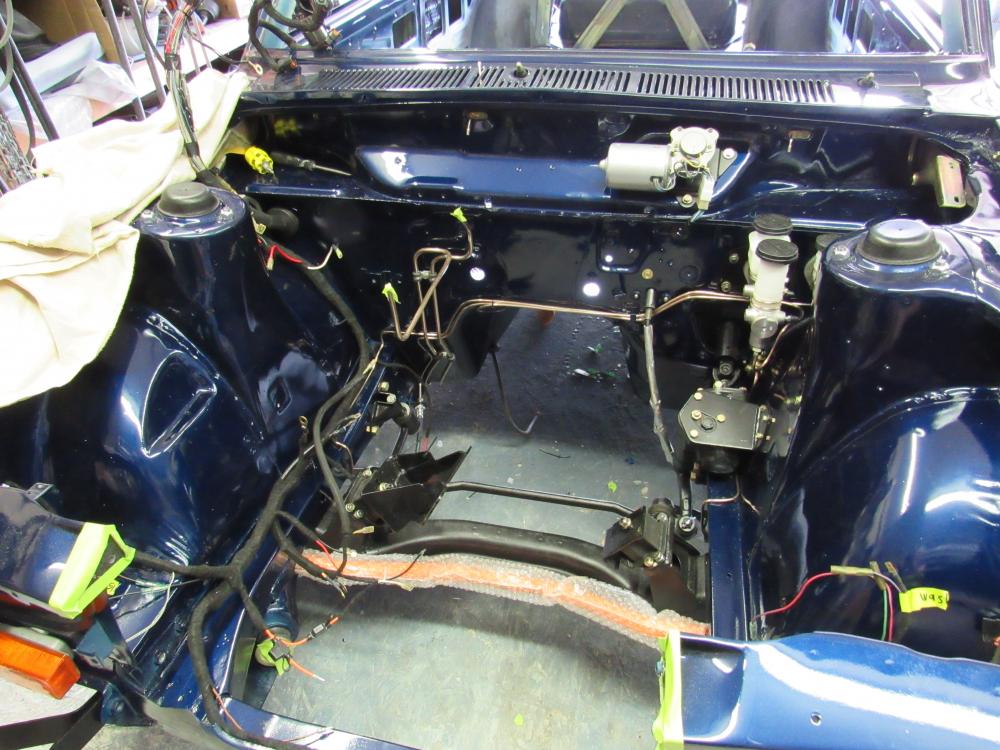
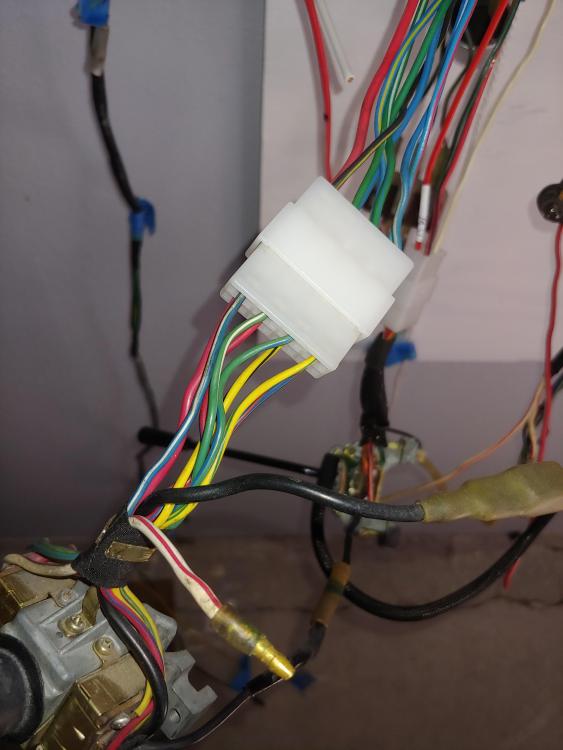
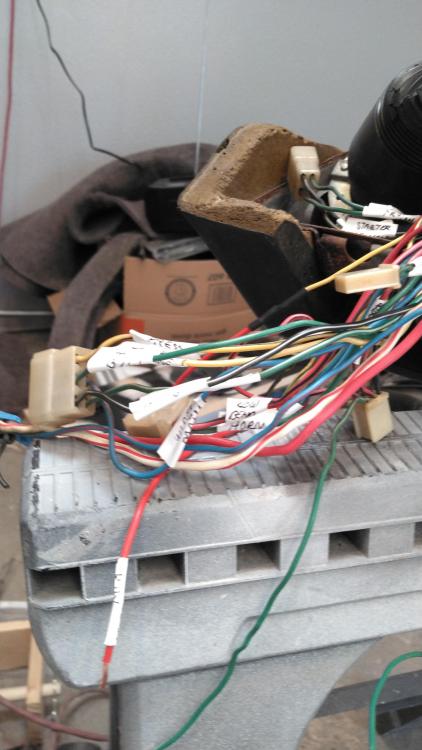
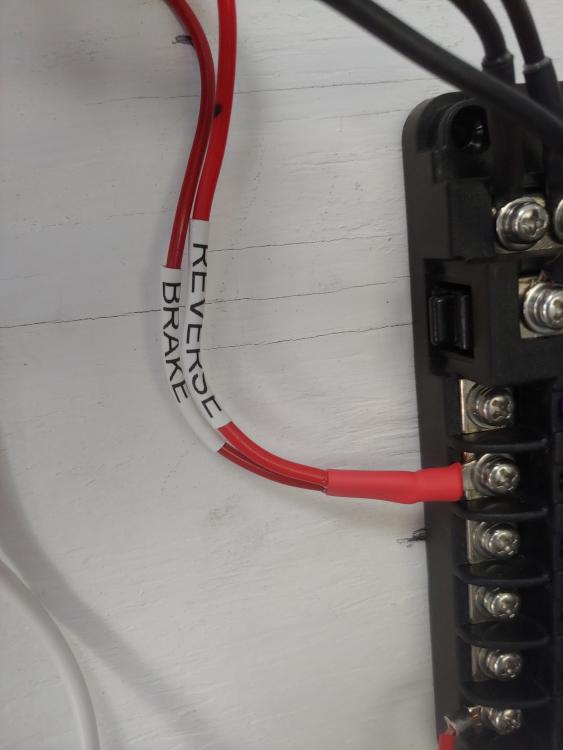
1 pointA little update. Tail harness is completed . I removed the Datsun relay for the rear window defogger and installed a borsch relay but moved to under passenger seat. Removed the 4 connectors Datsun used to connect harness to dash harness with 1 15 pin molek connector. I combined the 2 dash harnesses into on and removed all high amp wires and about 4 feet of wire. Like there was 18 inches of wire doubled over for the turn signal flasher. I the one 10 gauge ground that was fried and 3 14 gauge. One goes to each gauge unit. Because of all the rust in the dash I want good clean grounds. Cleaned and test all gauges and wired harness up for volt meter from a 1978 280. A nice tool I just purchased is a Dymo Rhino 4200 label printer. It will do heat shrink tube which is great to label wires


 1 point
 -
1 point
-
1 pointI heard the race but didn't see it. I'm guessing you won. I love my SUs too.1 point
-
1 pointAwesome! Oh... And don't drive. Your dog is so gonna love you when you wake up in the middle of the night with the hot pepper and tequila sweats.1 point