Leaderboard
-
psdenno
Free Member4Points2,632Posts -

Diseazd
Free Member2Points3,362Posts -
Jason240z
Free Member2Points489Posts -
Reptoid Overlords
Free Member2Points805Posts


Popular Content
Showing content with the highest reputation on 03/14/2018 in all areas
-
3 points
-
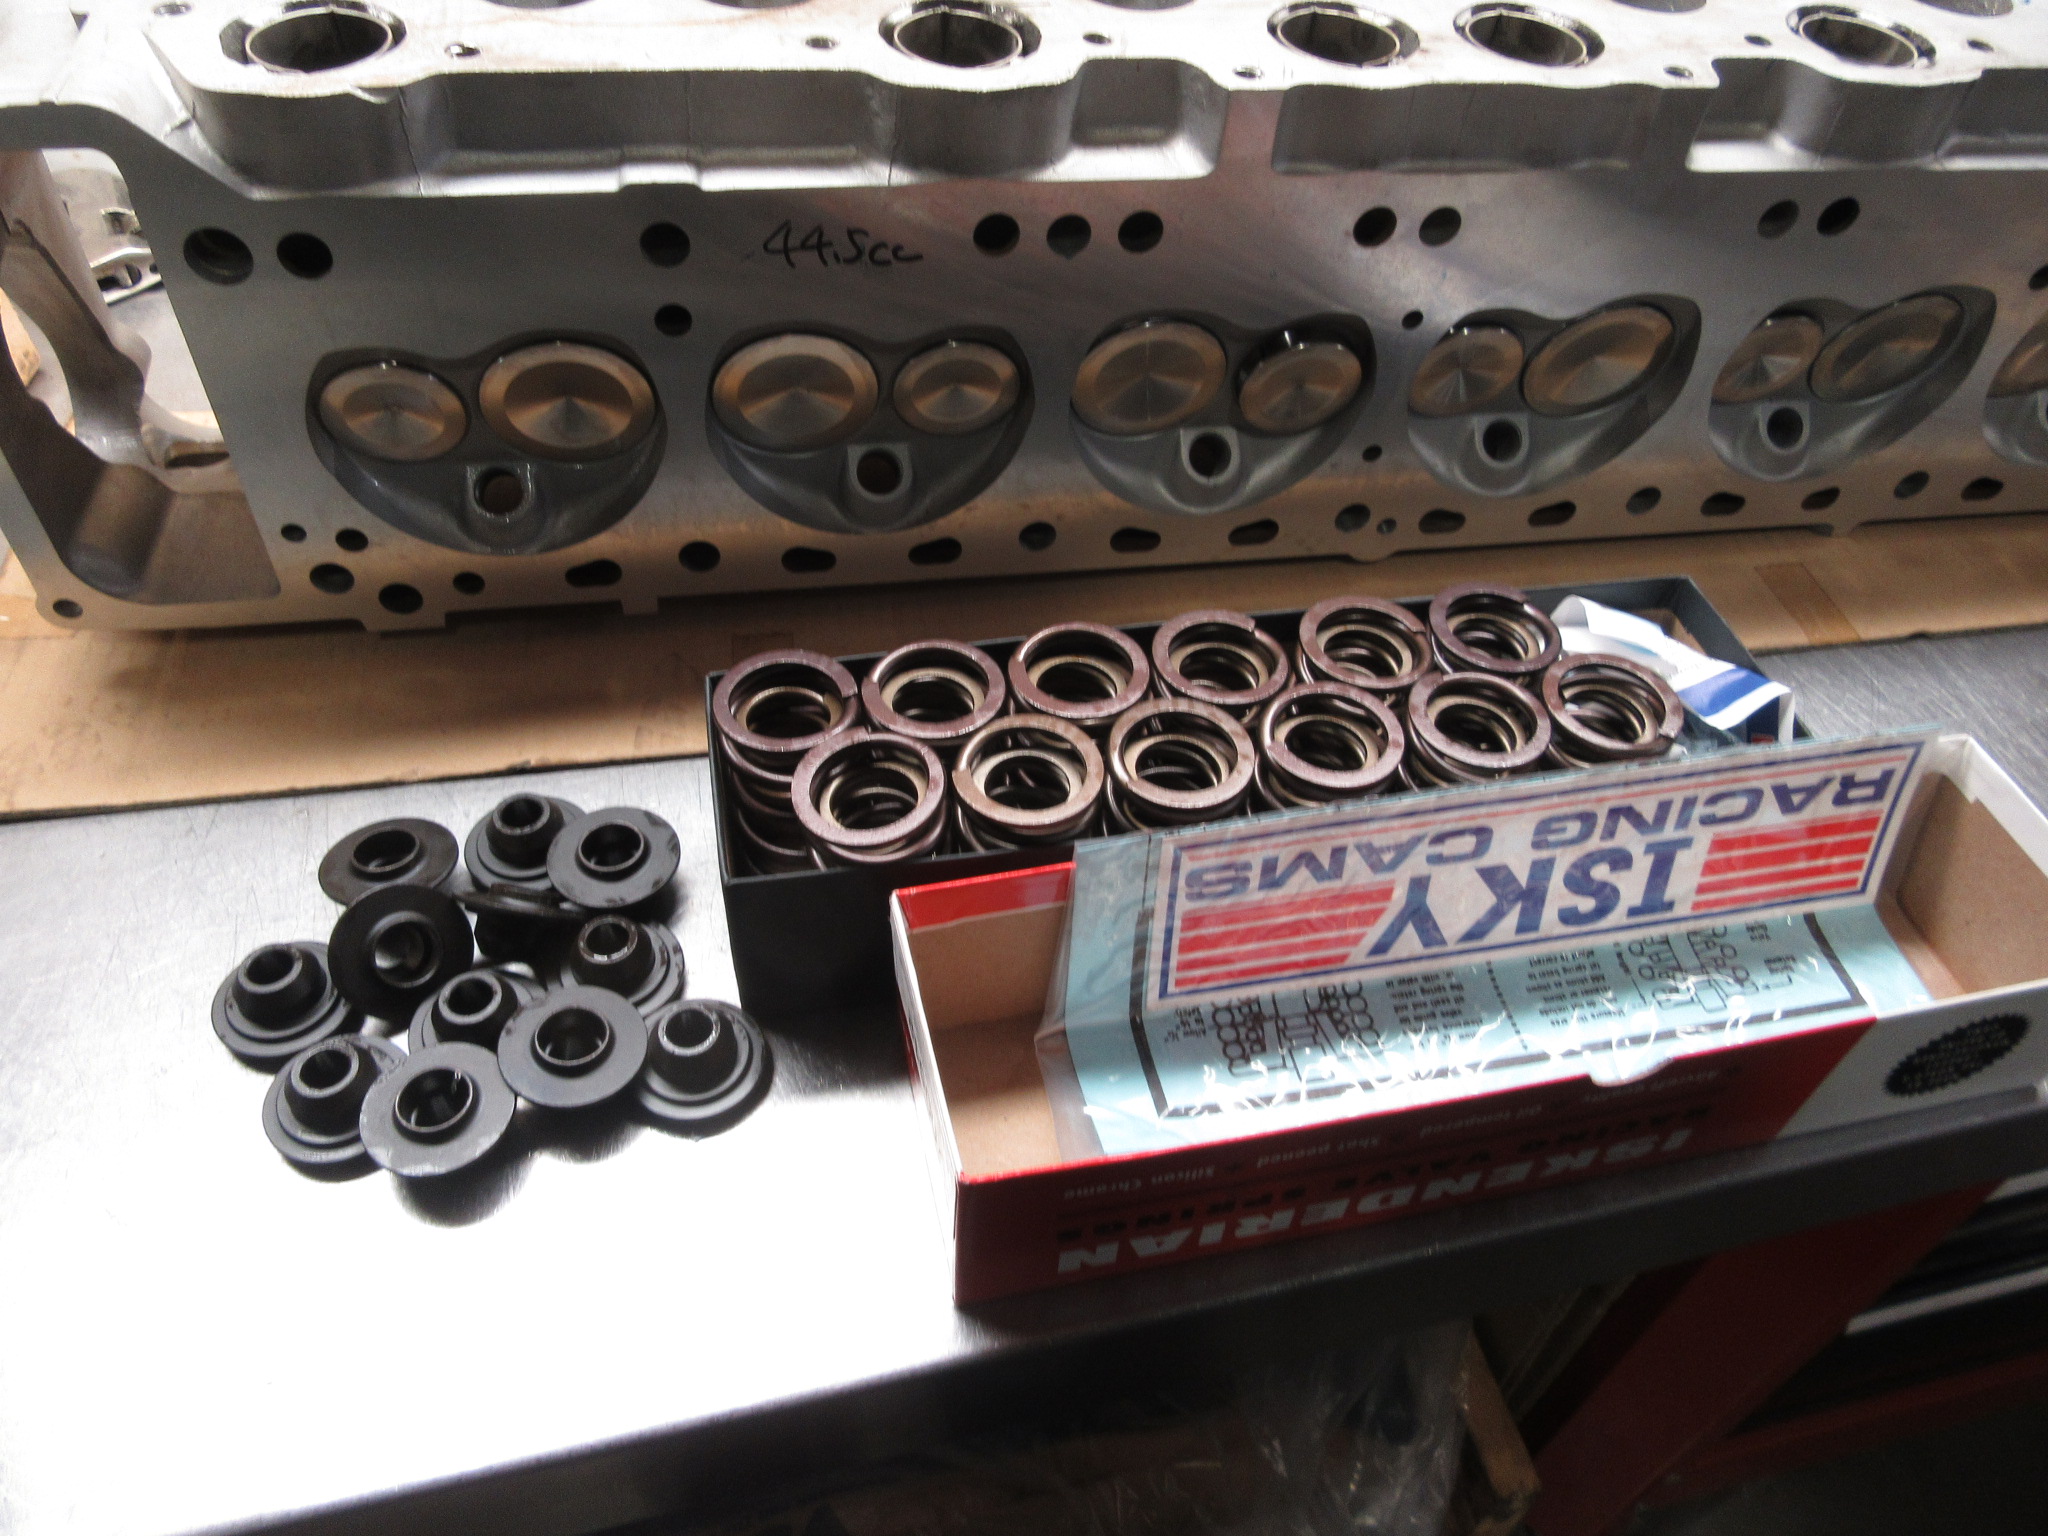
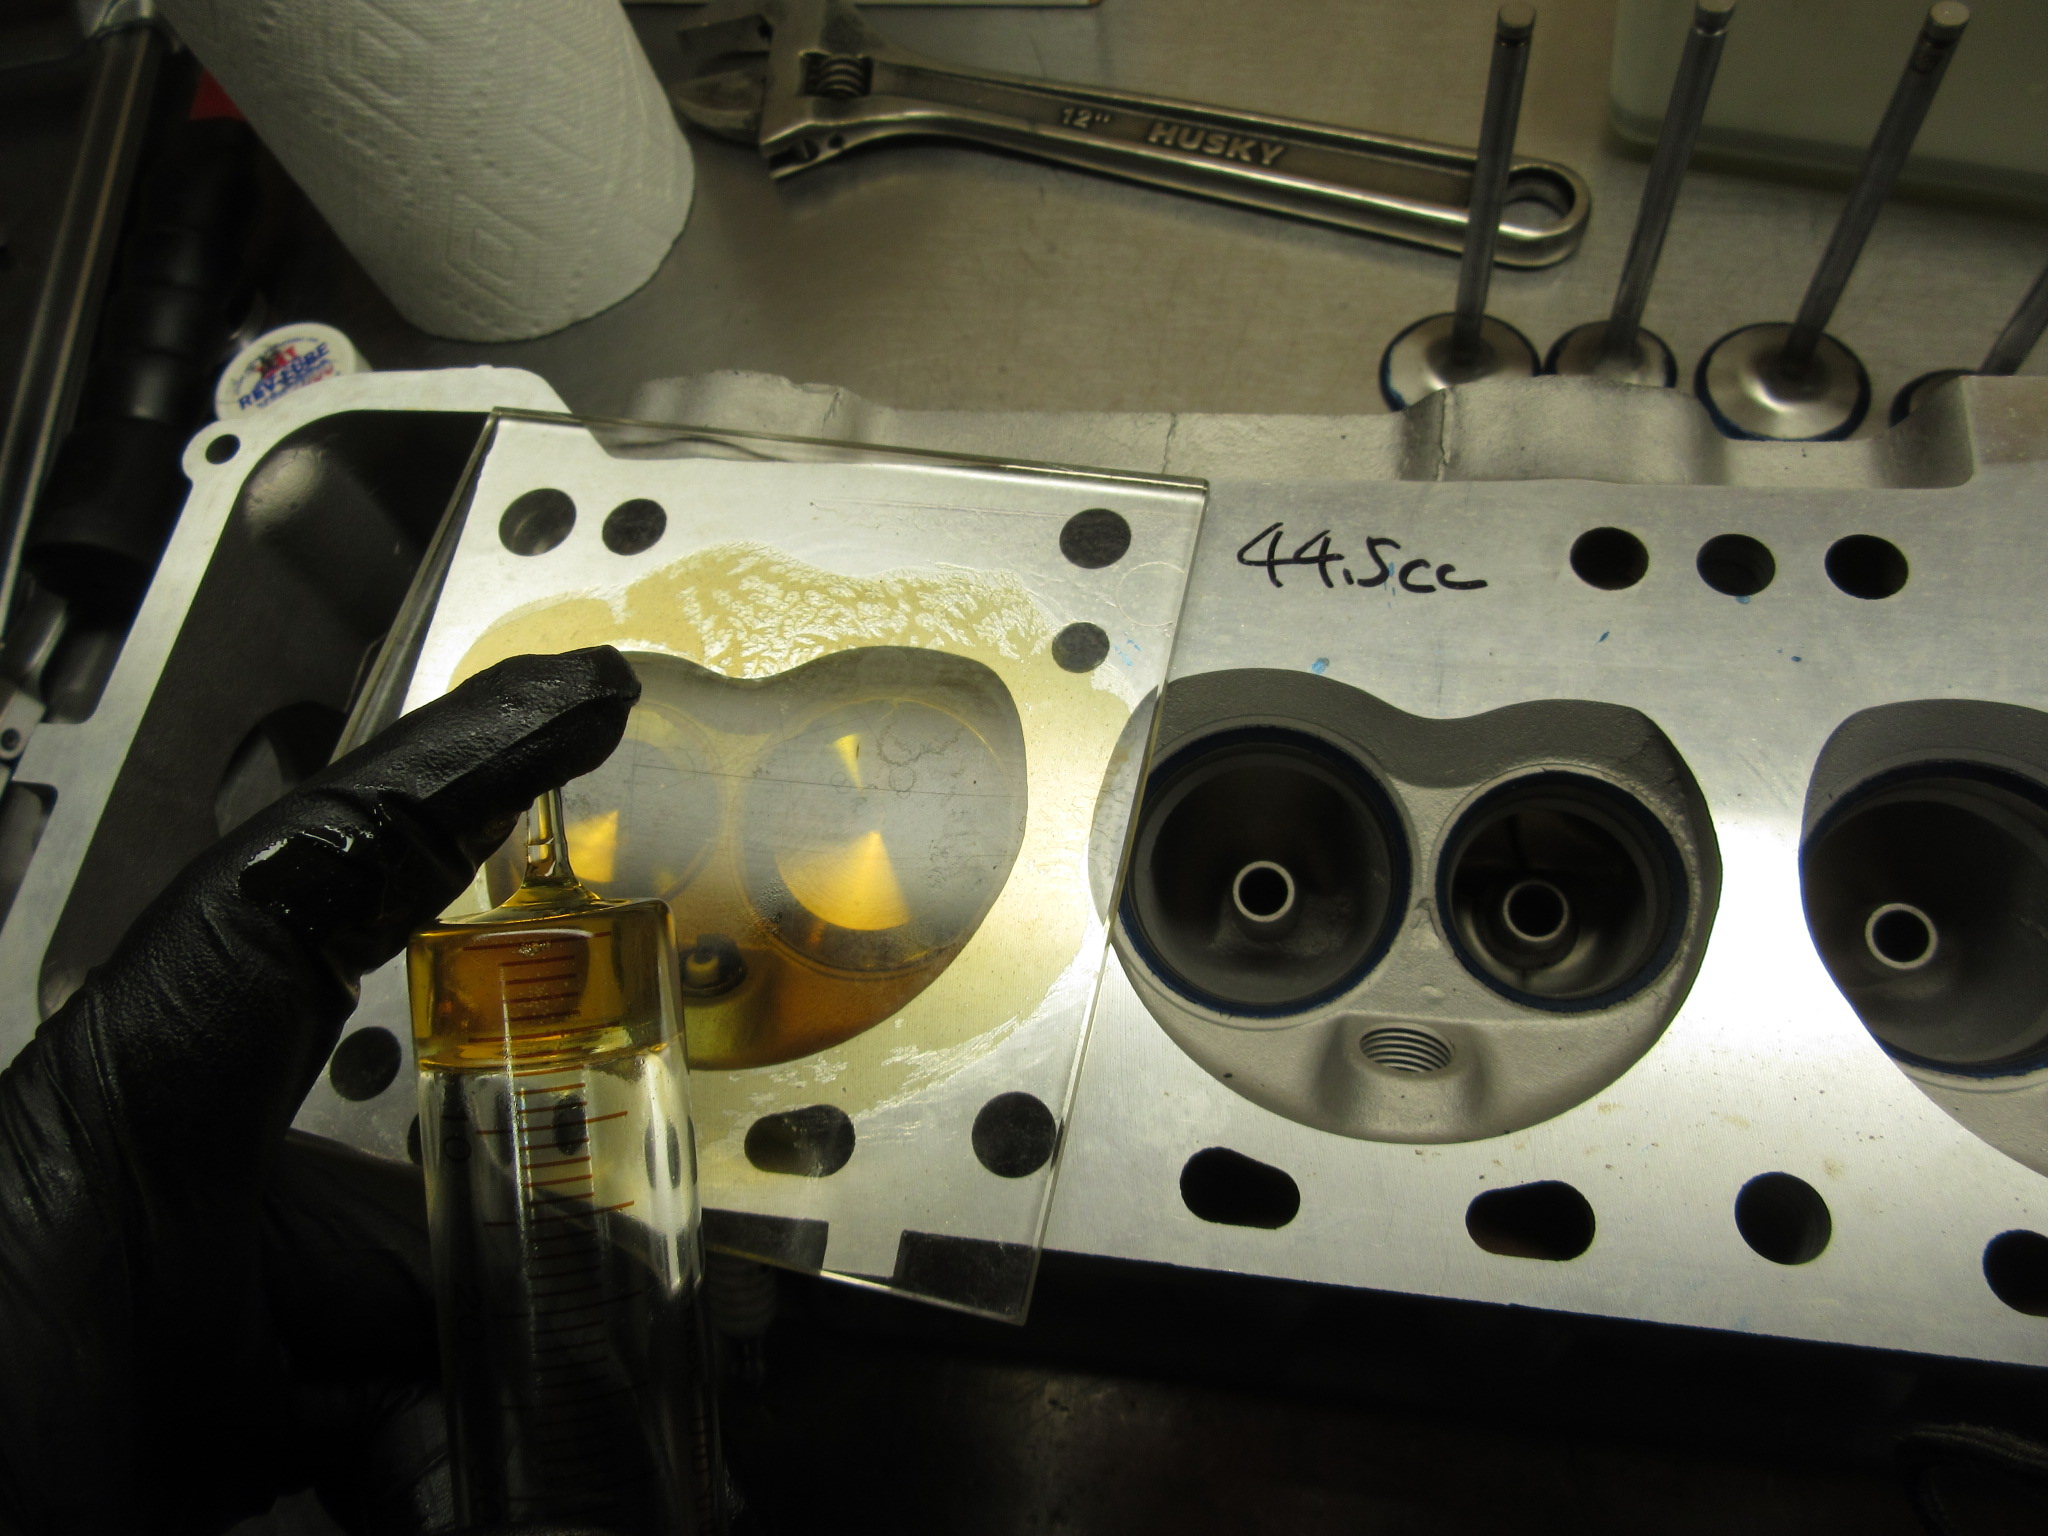
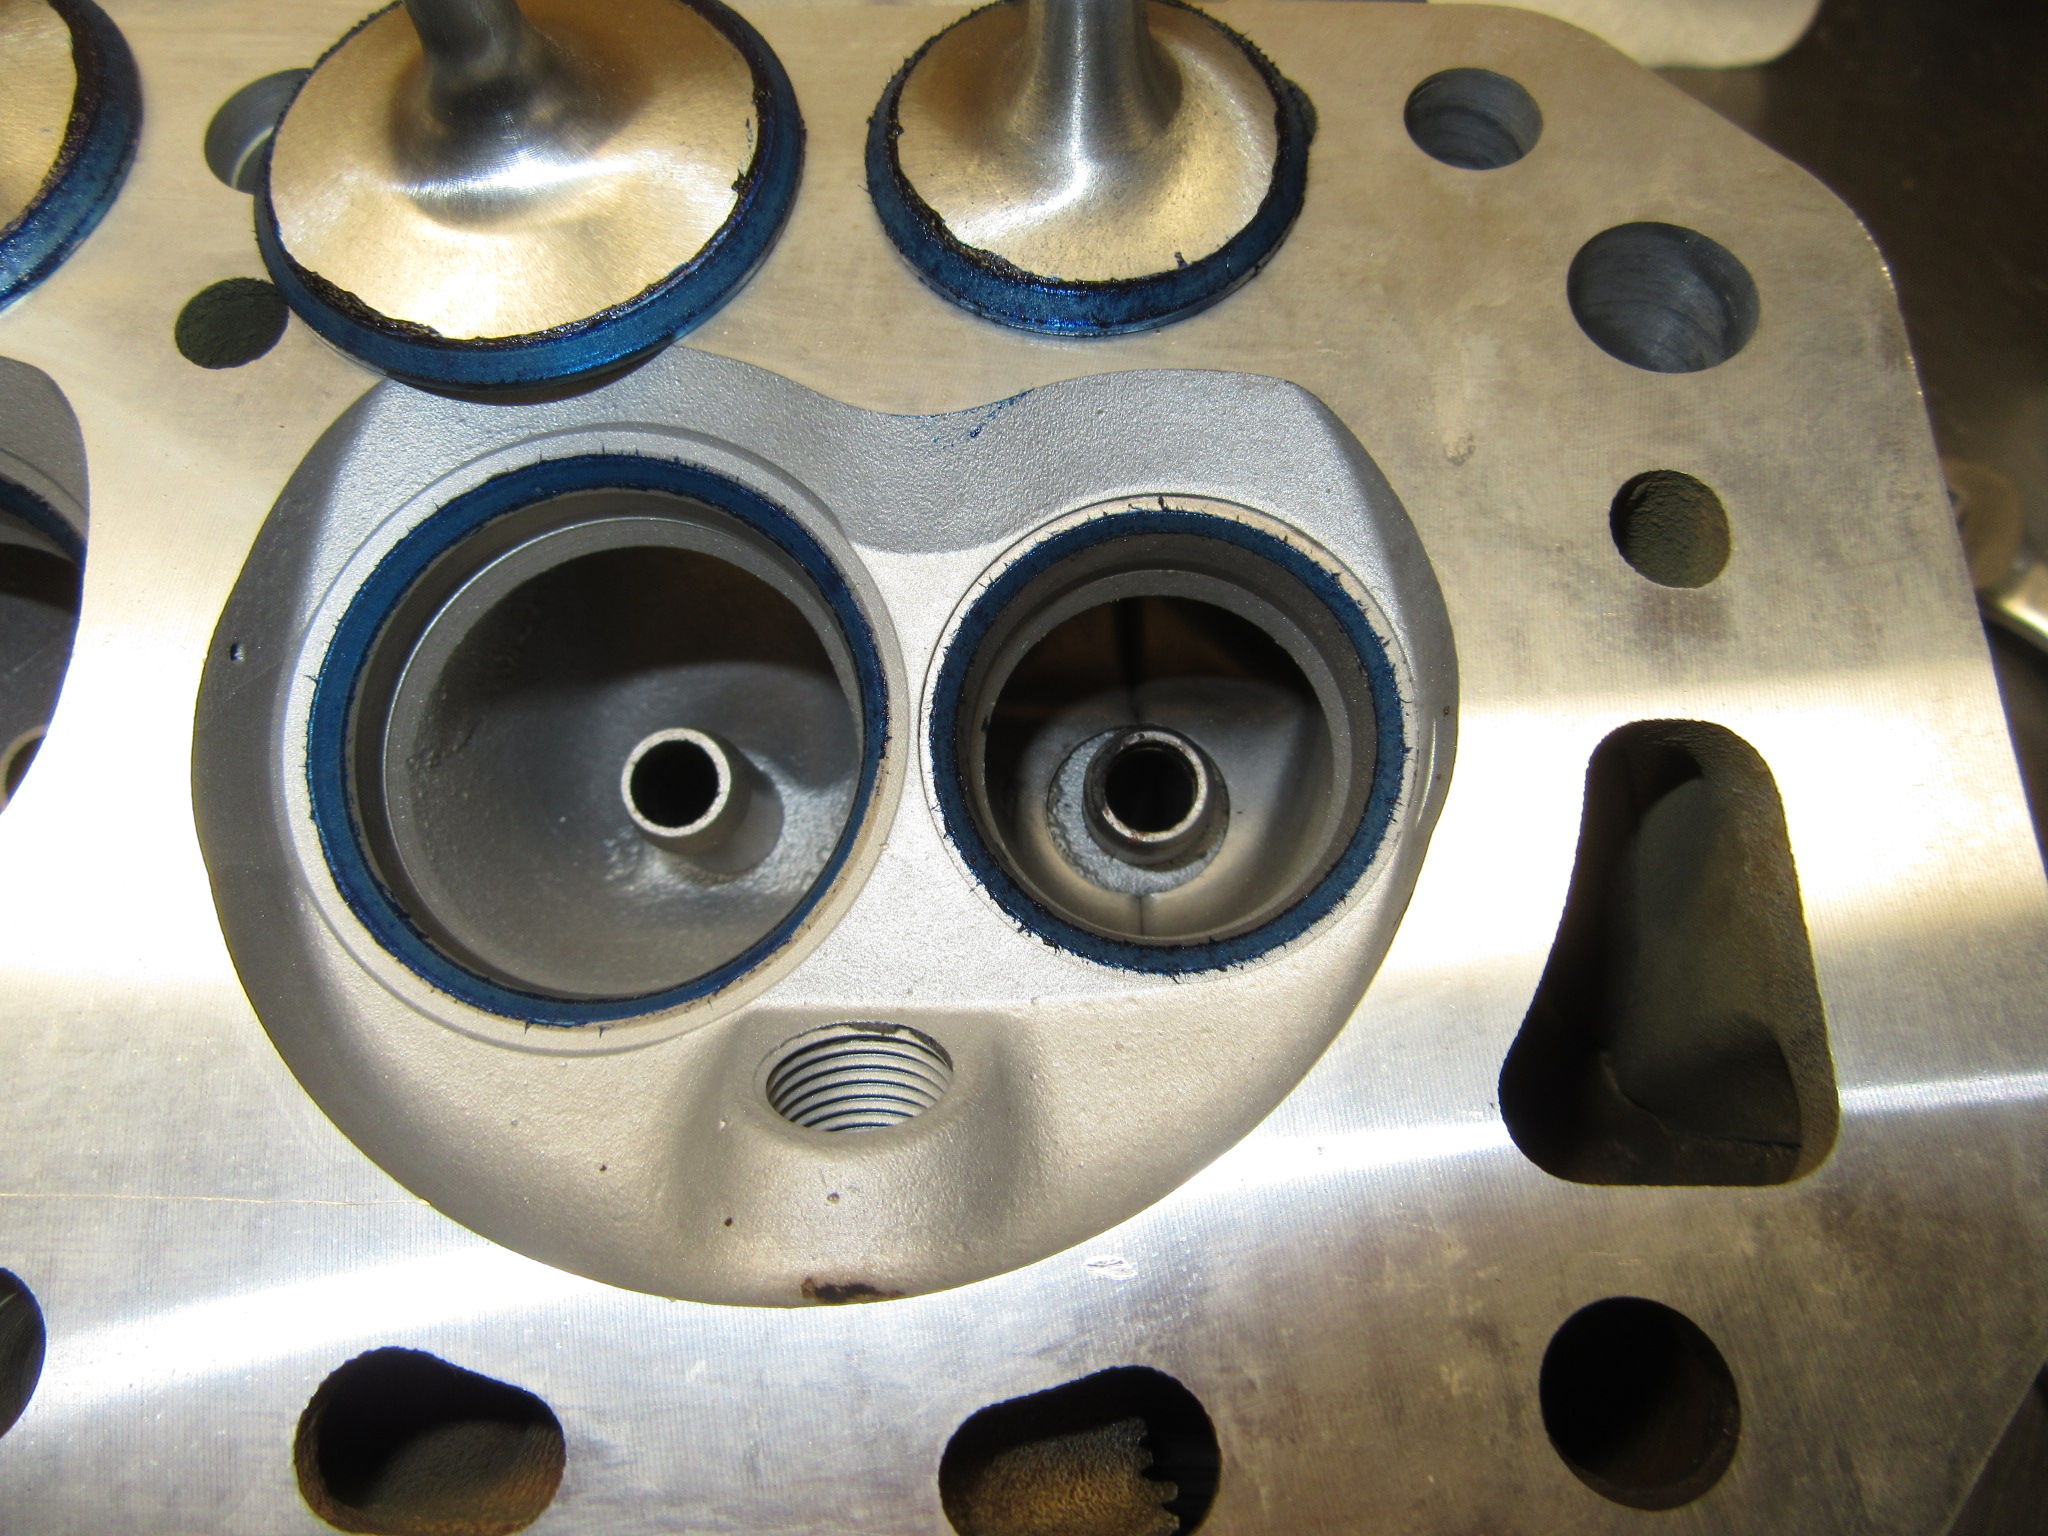
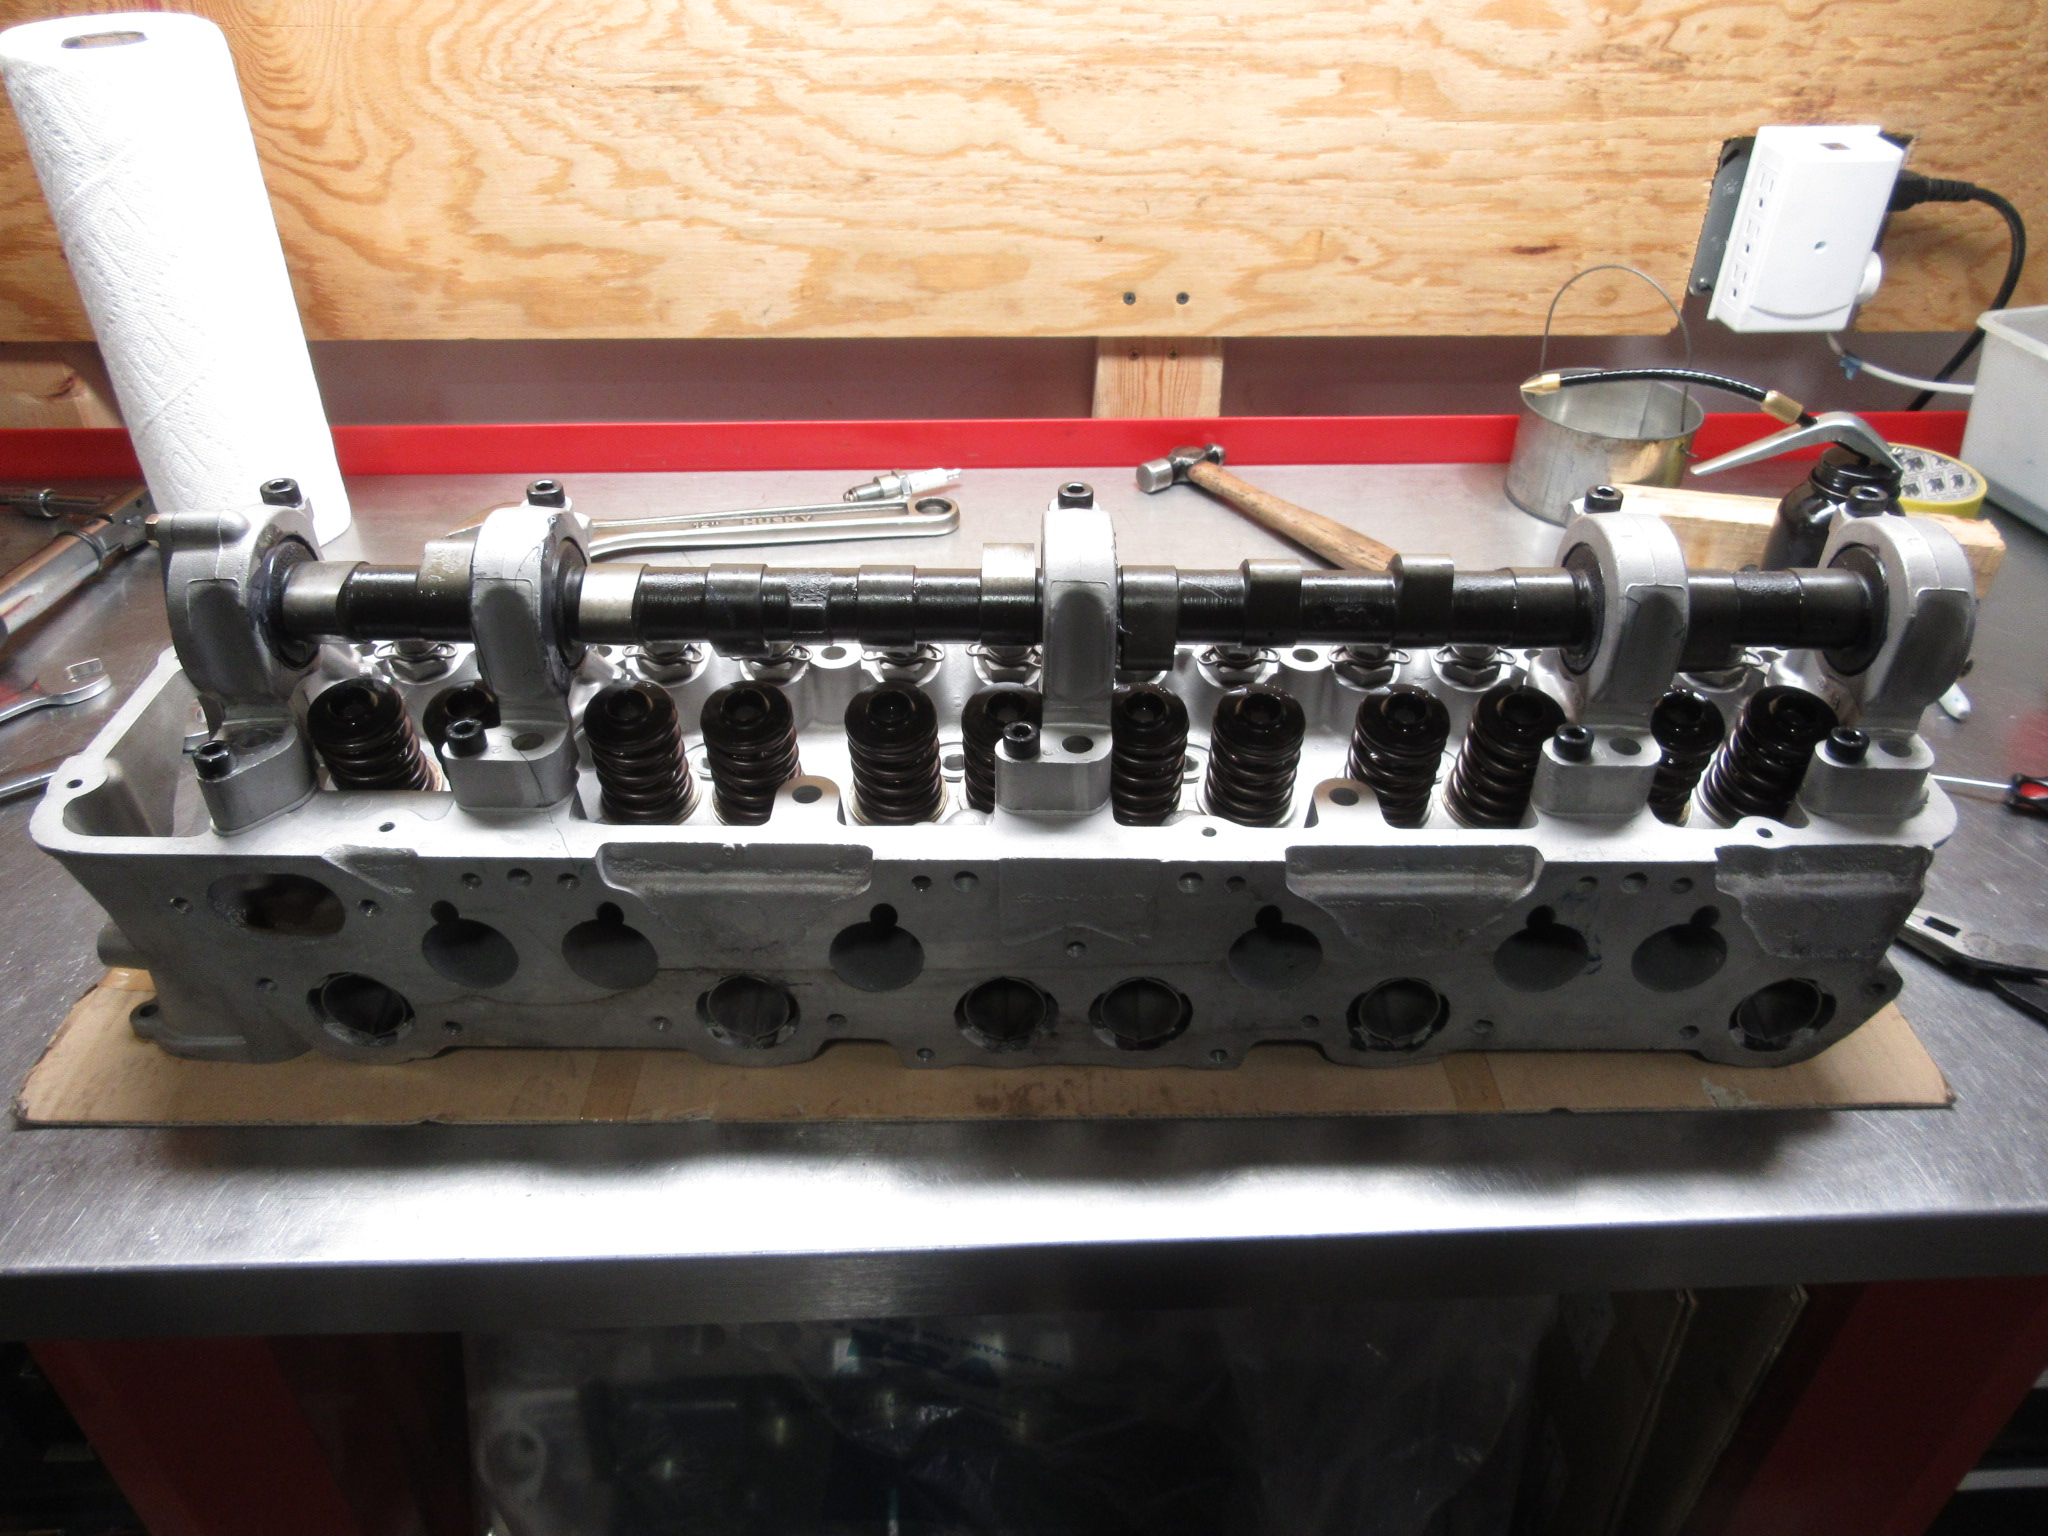
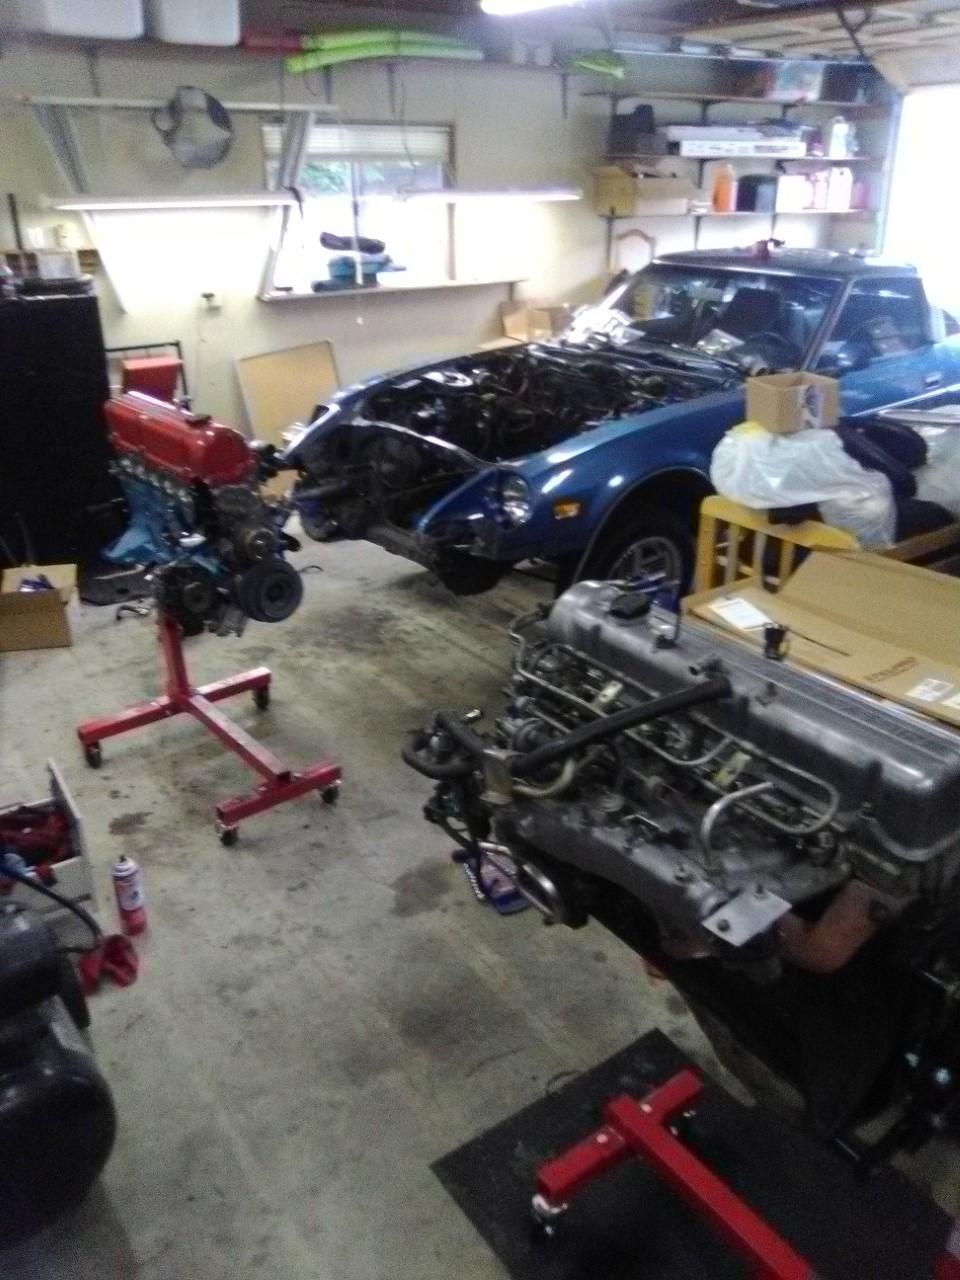
2 pointsRolling on.......Things are starting to take shape.........I’m ready to hear this motor come to life!


 2 points
 -
1 pointYes Lumens, you will. So the stock width of the belt is 1/2 in. I bought a 3/8 in x 34-3/4 in long belt. IIRC the length is shorter by 1.5 inches also. It fits perfect. Took it on a test drive and all is good.1 point
-
1 pointAllow me to drop another worm into the can. I copied from the "Technical Information Page" tuneup procedure. This procedure is also in ZTherapy video. I think it may apply to those using SM's or other British SU needles more than those using stock or modified Hitachi SU needles, due to the 0.099 station 1 dimension vs. 0.095 for Hitachi. After passing this on countless times via email, I figured I'd post some info on setting the needle position. Many of these cars have been around the block a few times, so often times, the carbs are way out of whack - too far to straighten out with the above procedure. F'rinstance, when I got my latest "70" 240Z, the rear carb was about five turns out, whereas the front carb was at around two. Yikes! So, when you encounter something like that, or when you just can't get them lean enough, try this: Warm up the car. Shut it off and remove the carb domes (take out the dipsticks first). Remove spring from dashpot (the piston-thing that lives inside the dome). CAREFULLY remove the dashpot - see the needle on the bottom? Loosen the set-screw that holds the needle so that the needle can move a bit. Turn the adjusting nuts all the way in (located underneath the carb throat, where the fuel line enters from the float bowl). Pull the needles out about 1/8" or so, you should see the shoulder of the needle sticking out past the dashpot body. CAREFULLY reinstall the dashpot, and push down ever-so-gently to seat the needle fully in the nozzle (that's the hole the needle sits in). Pull the dashpot back out, snug down the needle set screws, and put them back together. Set the balance and mixture as above.1 point
-
1 pointYou could source a new alternator pulley with a similar diameter to the original one to match the damper & then find a matching belt. I would not be comfortable with the current belt issue.1 point
-
1 point
-
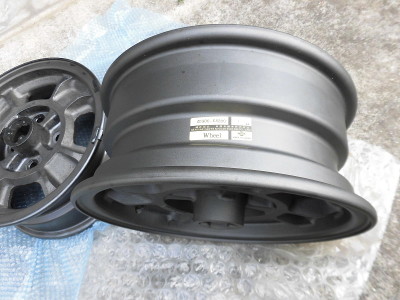
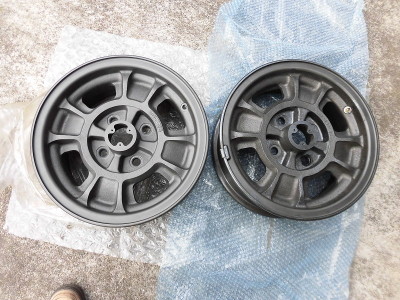
1 pointBeautiful wheels there. Its a hard colour to replicate. Sorry for the thread drift. The middle colour of the 3 wheel pics is what i'm leaning towards, an anthracite colour.1 point
-
1 pointHi Jason, this would be more suitable for your wheels, color of the magnesium wheel. The one which has a part number sticker is an NOS, has never been exposed under the sun . Courtesy our club member, Mr. Fukuda Kats
 1 point
 -
1 pointWorked beautifully, thanks. A bit of detail and it'll be all good. Sent from my [device_name] using http://Classic Zcar Club mobile1 point
-
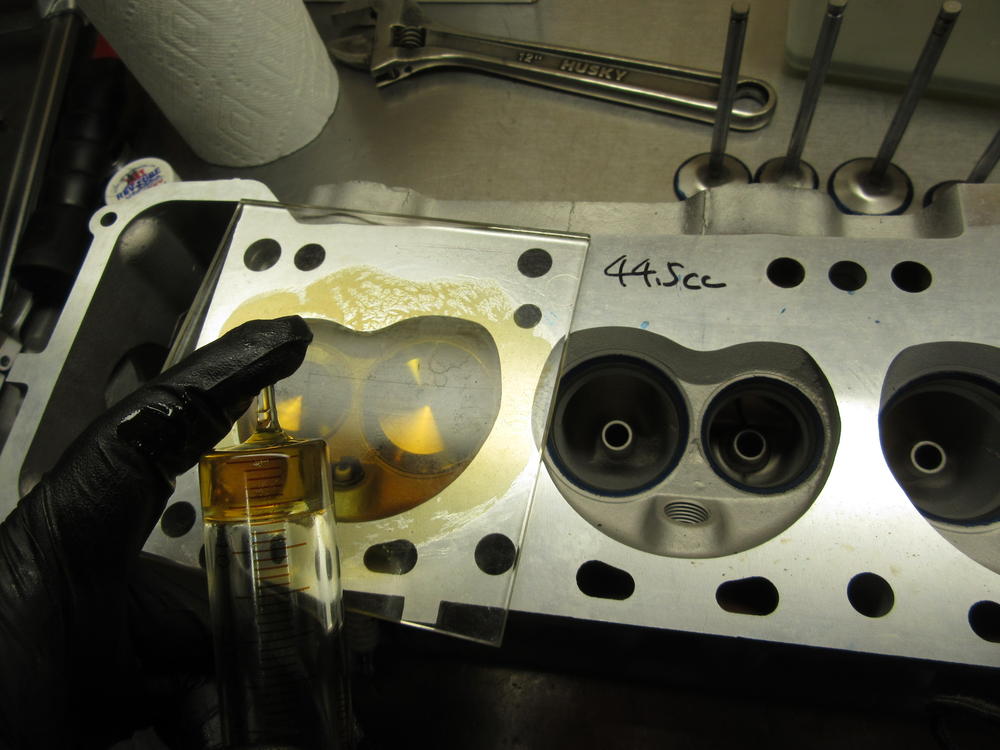
Just finished putting her all back together. All looks good. No more leaky radiator or front main seal. I'll probably check more times than I'll need to but I guess you can't be too careful. I still have 2 more leaks to tend to. Looks like rear main is leaking, maybe. Also looks like the pan gasket is leaking after all. You would think I was loosing a lot of oil with these leaks but I never have to top it off. Thanks to everyone that helped me with this last repair.1 point
-
1 point
-
1 pointyes your PLH kit is awesome. I will still want the front left hand parking lamp to light up with the same intensity as the other ones. Maybe there is some ground issue there.1 point