Leaderboard
-
zKars
 Subscriber
 3Points3,770Posts
 -
Grubb240Z
Free Member2Points85Posts -
v12horse
Free Member2Points2,067Posts -
JDMjunkies.ch
Free Member1Points637Posts

Popular Content
Showing content with the highest reputation on 01/06/2018 in all areas
-
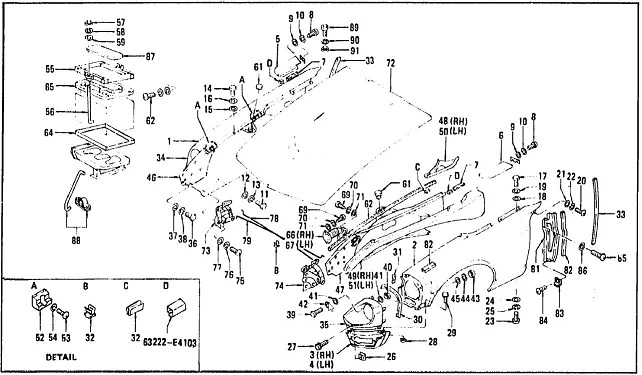
Hey gang So I'm working on a little project (don't enough irons in the fire....) and was wanting to bounce some ideas off a few of you So the blow up parts pictures in the clubs parts fiche CD pdfs are, as we all know, well, pretty poor quality. So poor that reading the numbers is often impossible. carpartsmanual's version of the fiche is better, but still not perfect. carpartsmanual on the left, same pic from the fiche CD's. Not the worst one I can assure you. I want to get a set of these pictures that is better quality. One idea would be to have the fiche re-digitized at higher resolution. Another would be to perhaps make a project where someone with the Nissan FAST program can extract better quality pictures. There are 256 such pictures (from carpartsmanual), so the project is not huge, just not trivial. Looking for other ideas and suggestions. Put it out there. If I can get what I'm thinking of doing, working, it will be worth the effort to get better pictures, trust me. Let's try not to make this about finding out what I'm working on, just on getting better pictures.

 3 points
 -
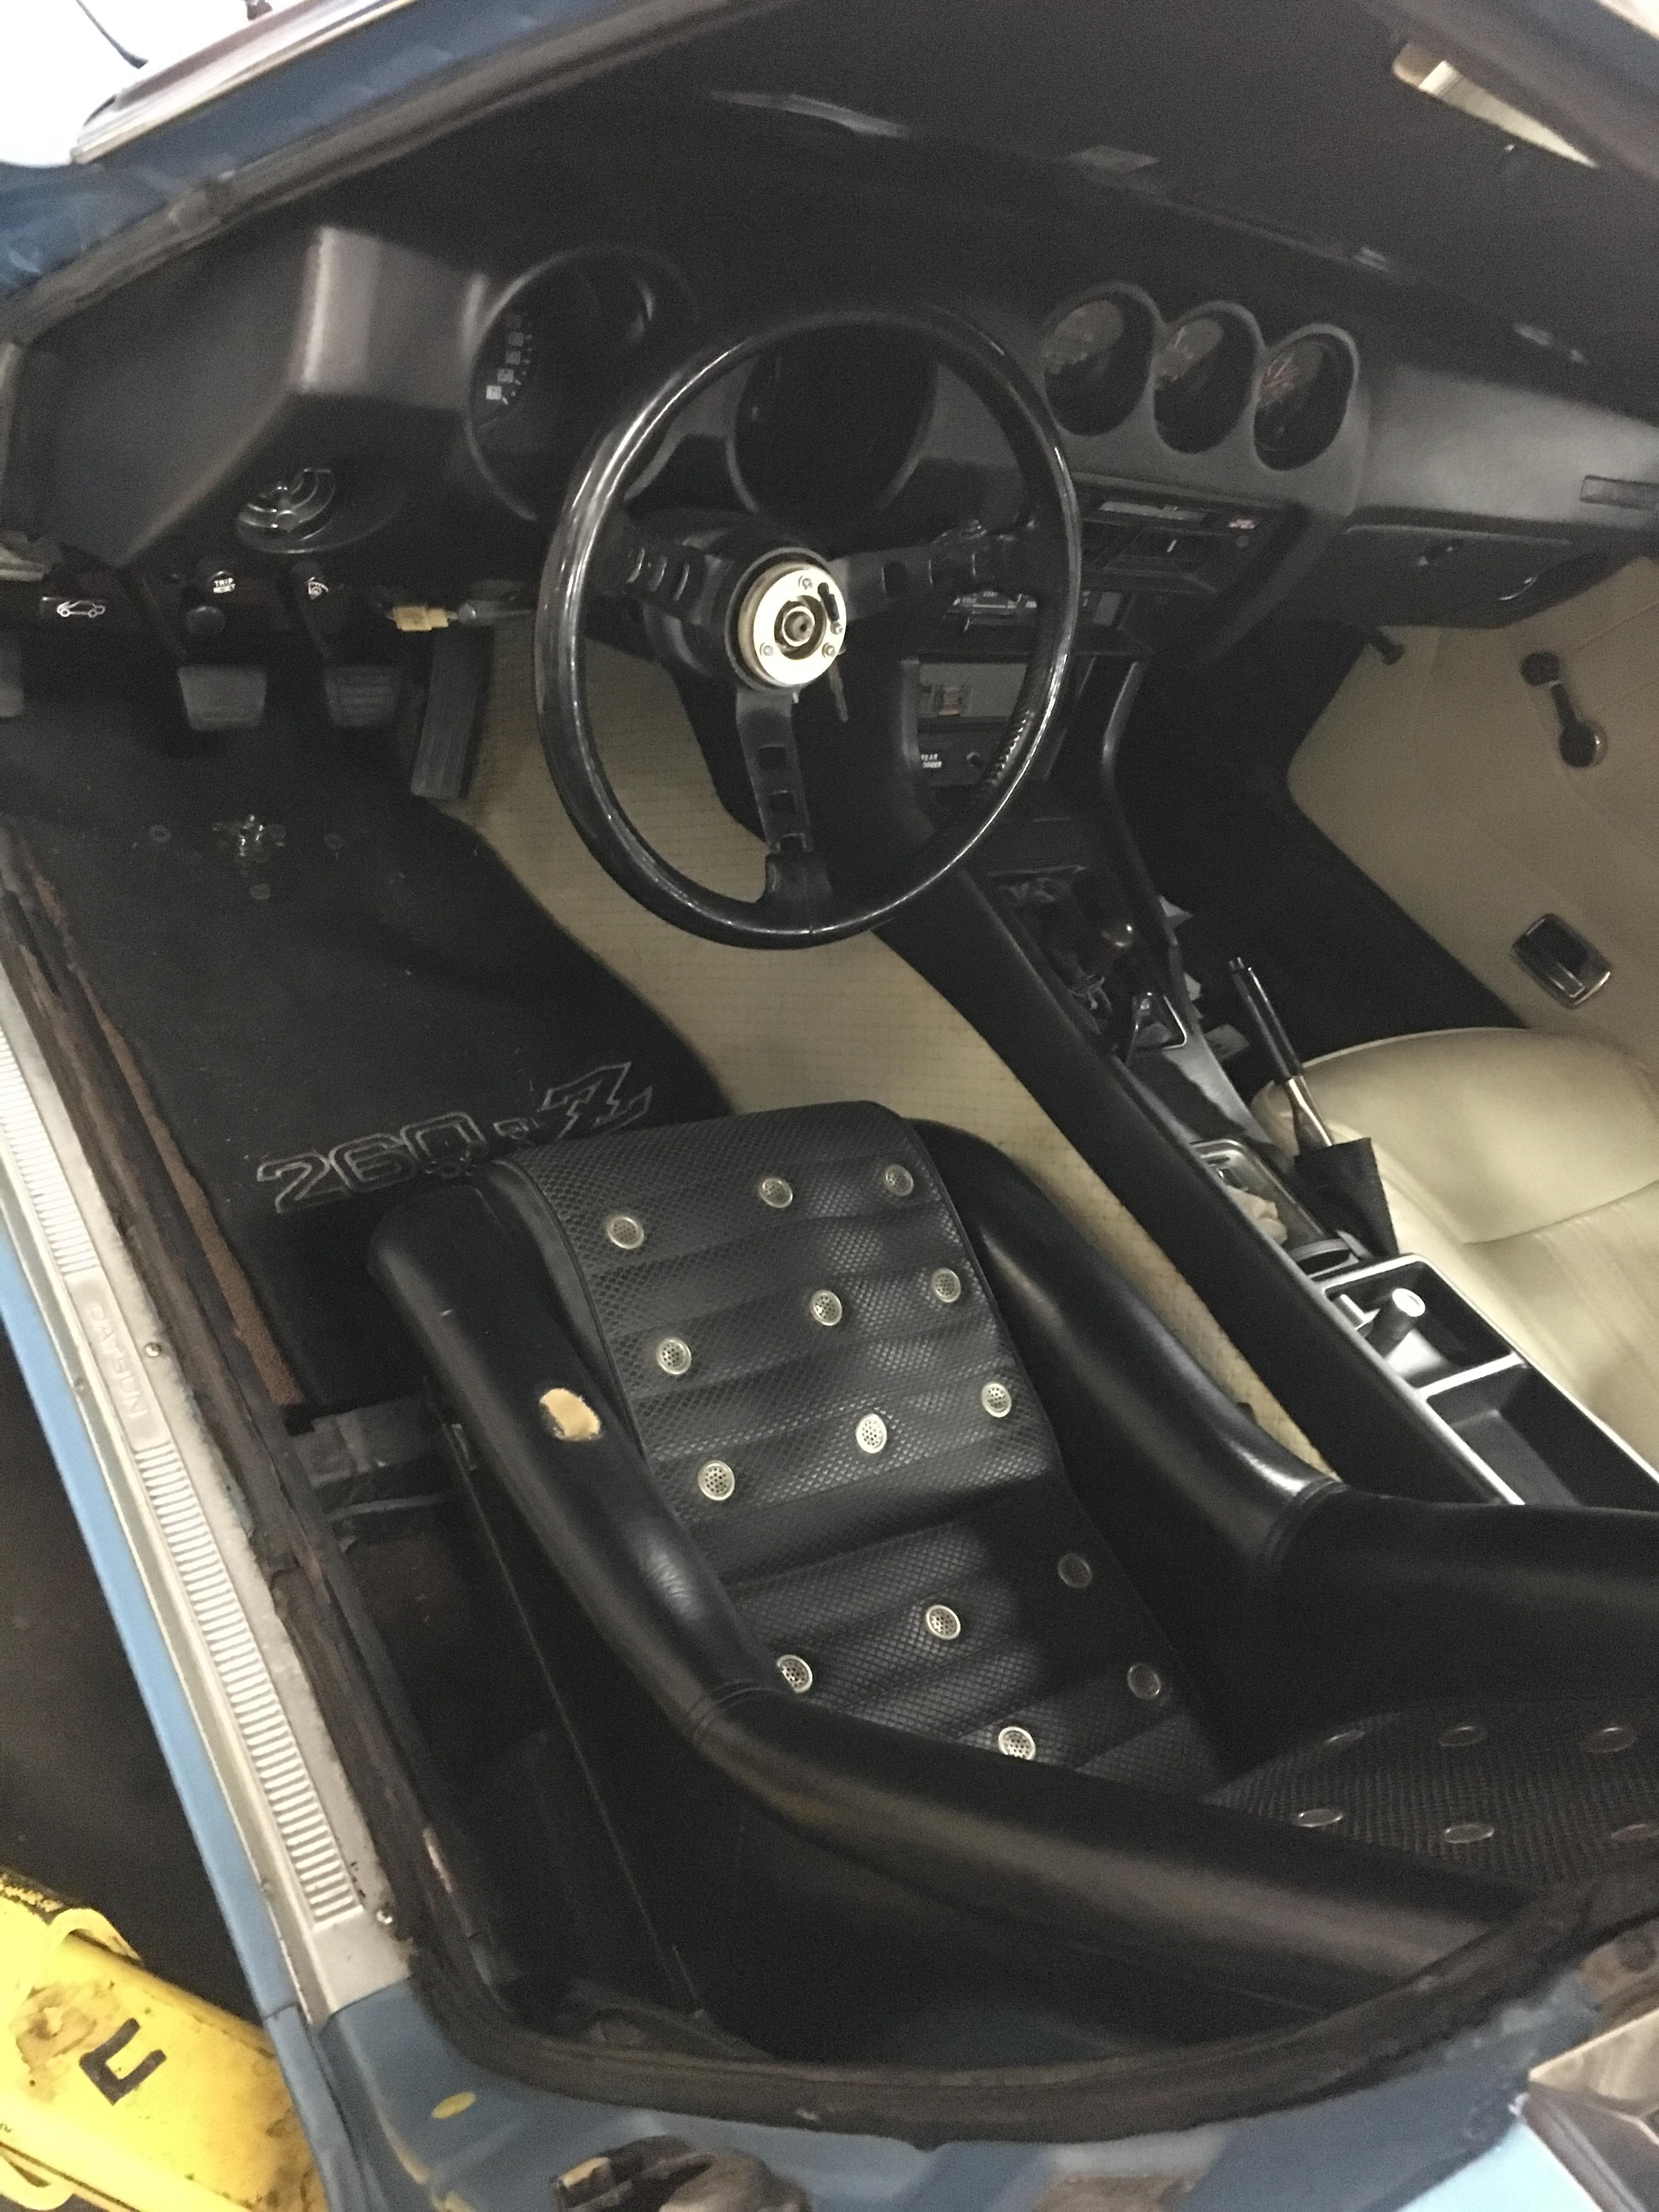
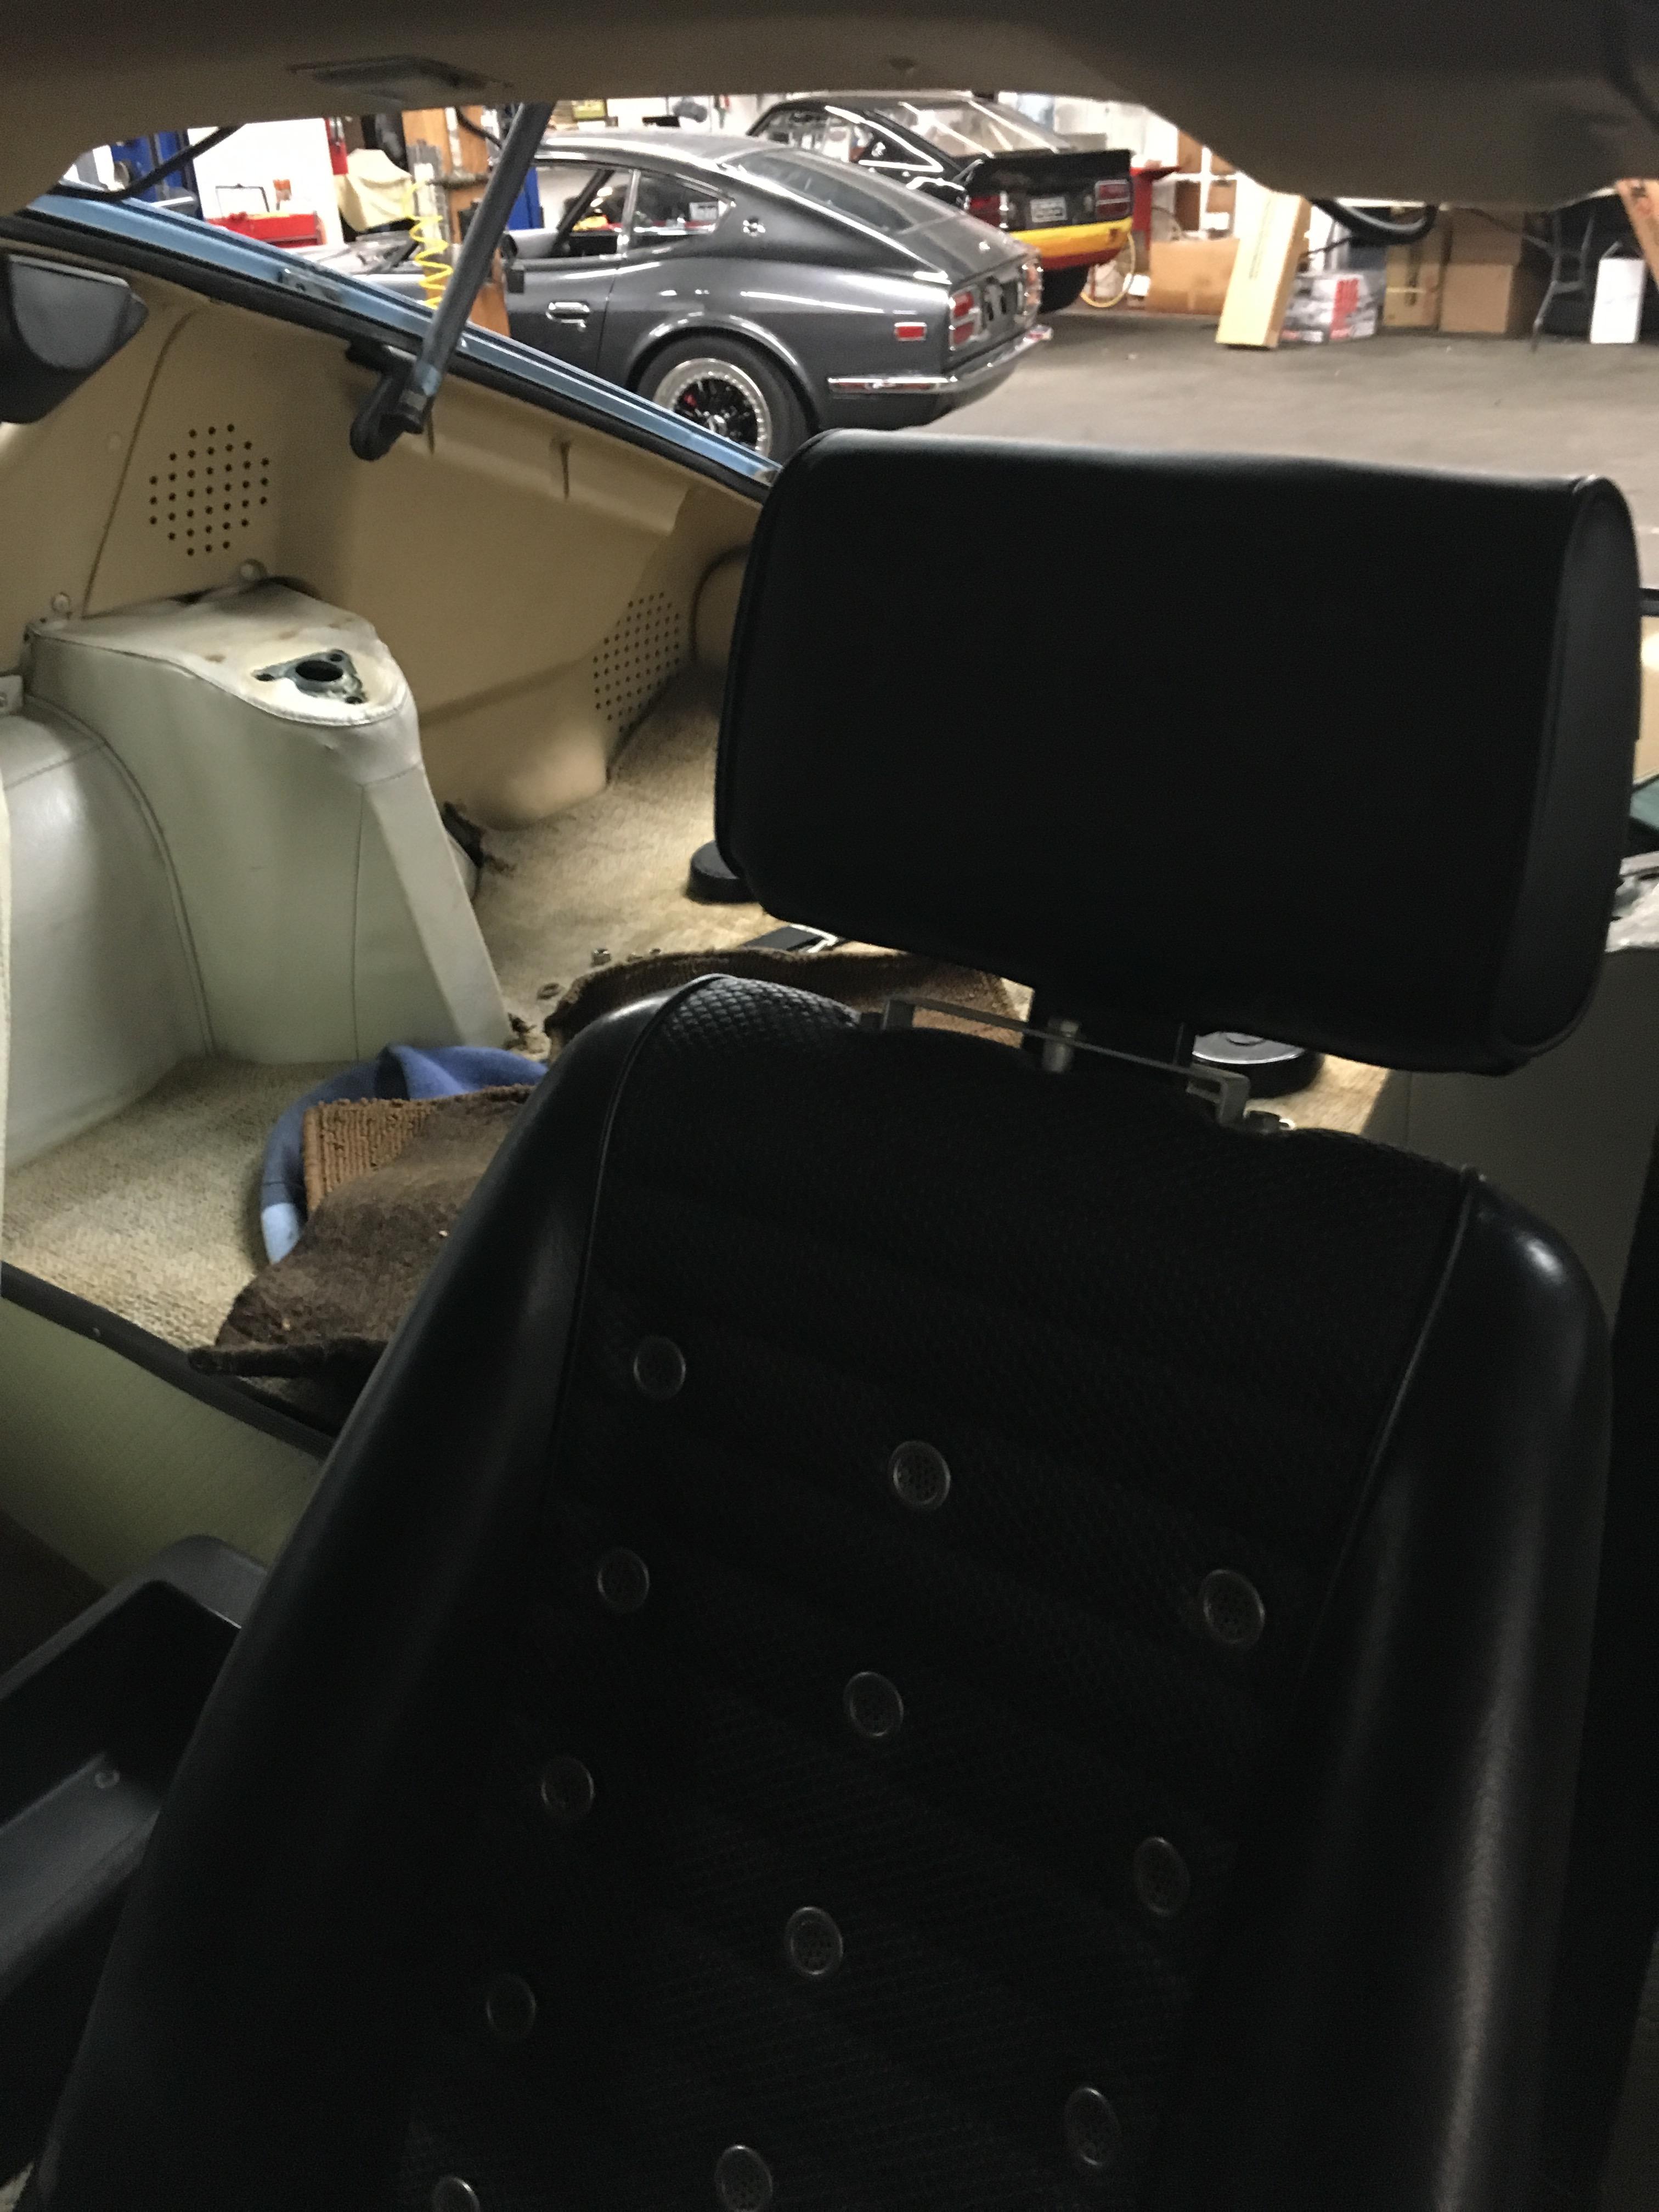
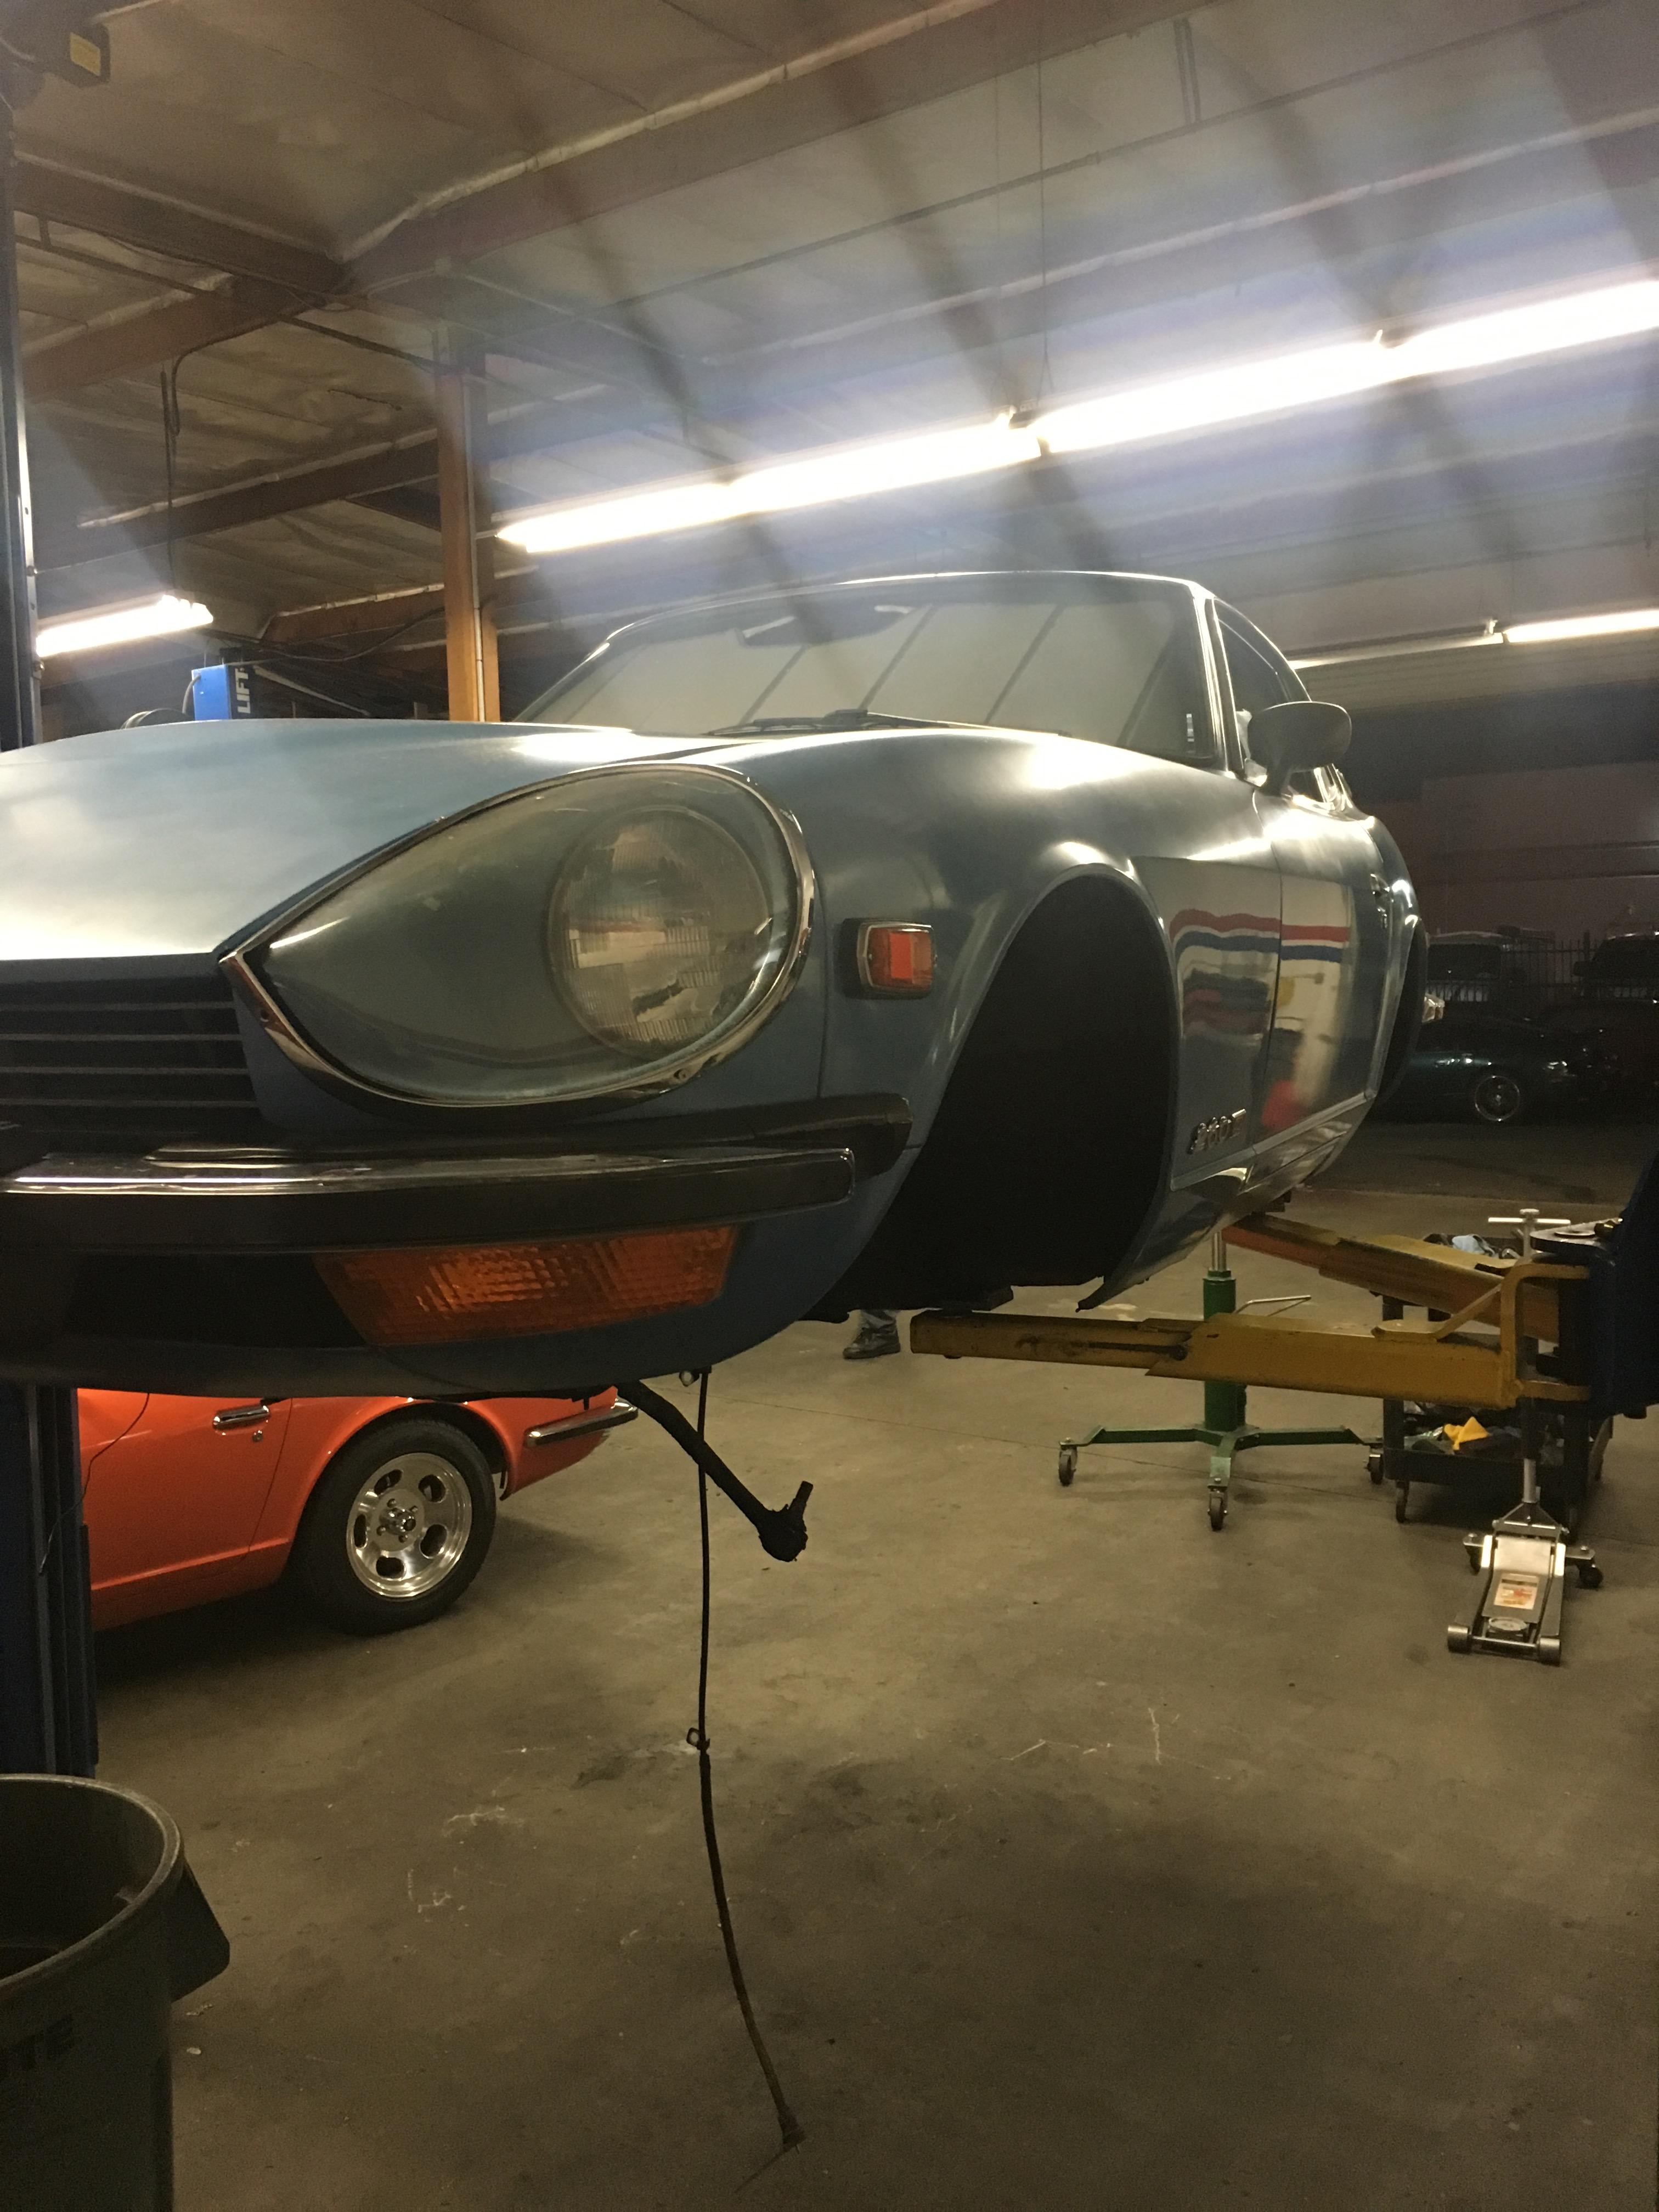
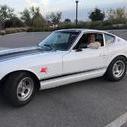
2 pointsHappy New Year! The car is making progress! I spoke with the lead mechanic recently and we went over the parts to be cad plated, silver plated, and powder-coated. I am really going for a factory finish, but with hidden modifications. Even looking at the engine bay I plan for it to be OEM in appearance. One of the latest developments is the installation of the Datsun Competition bucket seat. This seat has gone from closet to closet in the various dorm rooms, houses and apartments I have lived in over the past 15 years. I was always hesitant to install the seat due to my interior being cream and the seat being black, but I had to put my style eye aside and put where it belongs. The car is literally a shell with an interior at the moment as there is no suspension or drive train installed. We have figured out the big pieces to the car, but the brakes are a challenge with the 14" wheels. If I was willing to go with a 15" wheel a larger set of brakes would fit with no problem, but I am not willing to do that as I love the look of the small wheels and the tall sidewalls. It goes along with the overall look I am going for; original 260 meets Works Monte Carlo Rally car. The mechanic was thinking of a custom set of Stoptech 4 piston calipers, but the wheels do not have enough clearance. He is going to try a very thin spacer and see if that frees up enough room, but if it doesn't we're back to square one. I stress the need for better brakes because I have always had a problem with the braking power of the car. I was not sure why as everyone raves about the original units working so well. The calipers are red and I always thought they were the original units that a previous owner had repainted, but when I got out the thick manila envelope of records sometime in the late 1970's they were swapped for a set of Midas calipers! My dream was to put MK63 calipers on, but my mechanic has already recommended against this. I cannot imagine why as they were used on the factory race cars, but I am also not about to tell my mechanic to do something he doesn't want to do. Do any of you guys have any recommendations for an excellent set of brakes that will fit 14" wheels? I would prefer not to have to change the master cylinder if possible. I have been without the car for nearly 8 months and I really miss driving it. At the same time I am not sure where the time is going to come for me to drive it the way I imagine. I have a 2.5 year old son, a 7 month old daughter (who is sleeping on my lap as I write this) and a wife that all keep me very busy. I will find the time to at least stretch the car's legs once a week presumably early in the morning or late at night. I love the cool weather and the quiet roads during these hours. This entire journey with mechanically restoring a car is a fun one. I have the collector instinct and if money, time, and space permitted I would have multiple cars. However, all my excess resources are going to this car and part of me hopes that in some way it will always be a project. I love that project approach in that dreams are not yet realized. Thus, the magic of the mind is still there. This is presumably why people go on to different cars once one project is over. However, I am not yet the builder. I am the driver and plans for driving are infinite; autocross, a cross country trip, track days, coffee shop runs, and the list goes on. In my lifetime I would love to visit Kenya and touch the dirt that was kicked up by the famous Works Rally Z's of the early 70's, maybe even participate in the Safari classic or the Peking to Paris rally. This is what makes it all fun for me as there is never an end to the imagination. I am 35 years old and still don't feel that I understand the Z car. I ultimately want to learn Japanese, travel to the Land of the Rising Sun, and learn more. Unfortunately, a lot of the people that brought the Z to where it is today from design to motorsport are no longer with us. The car is turning 50 soon and the people that were with it from the beginning are in their 70's, 80's, and beyond if still around. This is a window in time in which a good number of those people are still alive. Who am I kidding as I have a family and a business to run. All these things are at my fingertips, but no matter how much I look at Japanese magazines or browse the internet it is not enough. Time is both on my side and not. I look forward to giving updates with the car and ultimately reporting on the driving experience. Sincerely, Ben


 2 points
 -
You asked for it - here it is! 6 min. long but worth every second https://youtu.be/j1Or4N_O-3A Always fun to see a kid get a wish fulfilled -- even if the kid is taller than you. The first video was shot at around 2:00am - trying to sneak the car into the driveway from a couple blocks away.2 points
-
Won't do much good. I daily drove a 90hp Jetta until recently. Just takes a little longer to get into trouble. I would still highly recommend sending him to a driving school.1 point
-
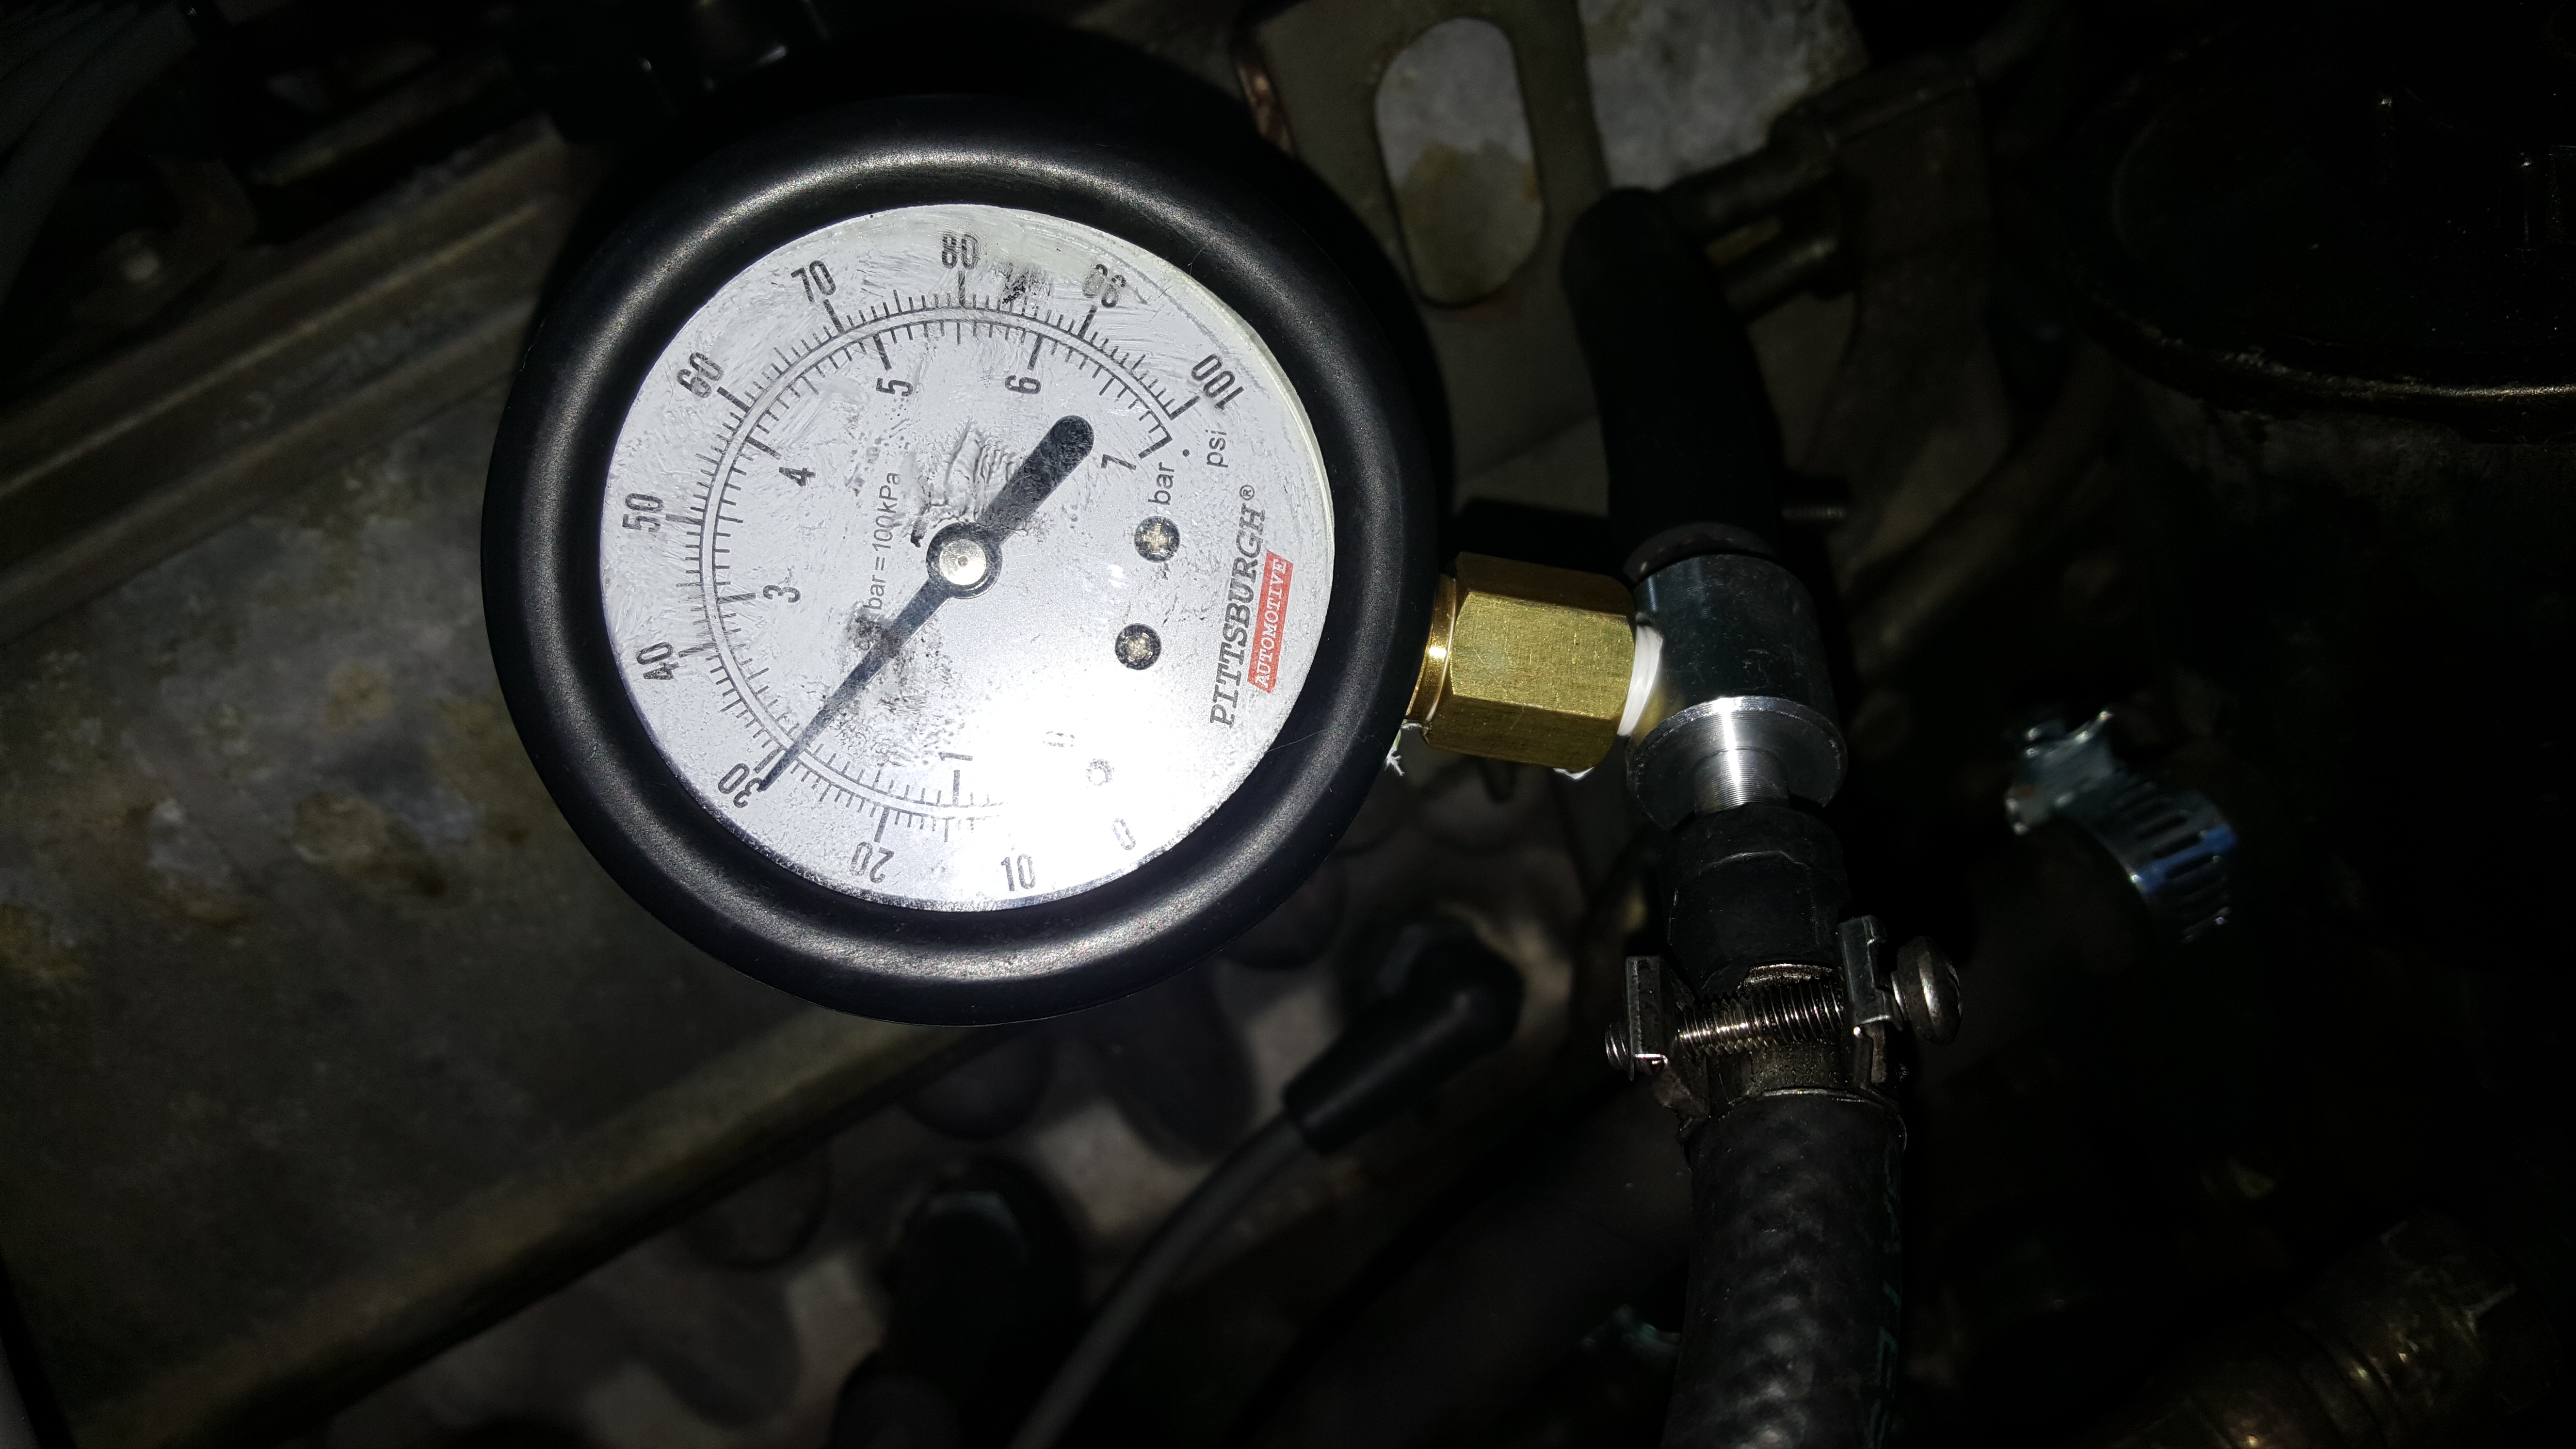
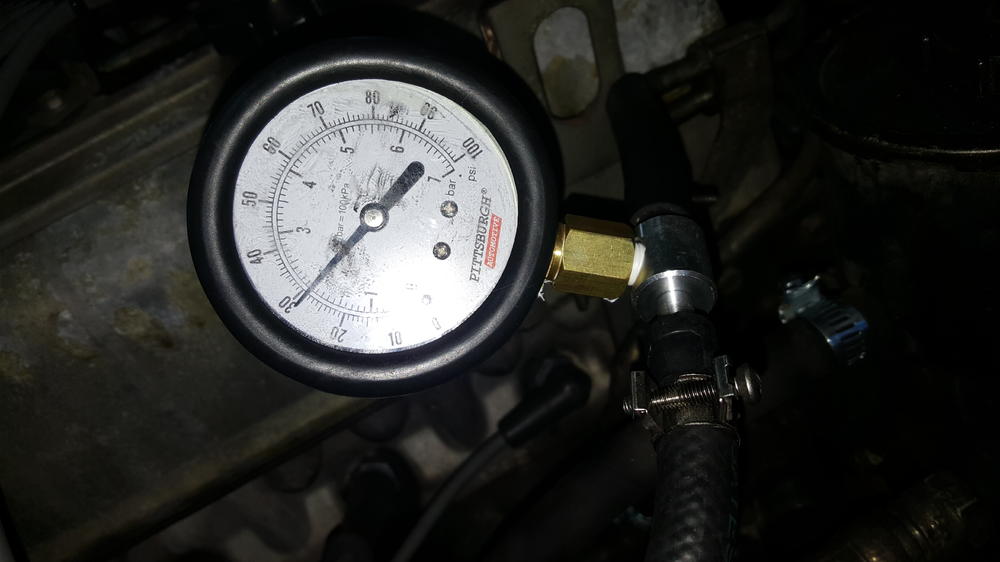
1 pointFuel pressure checks ok, Not quite 30 at idle, but a solid 37 at acceleration. I'm a PSI off, but may be the gauge.
 1 point
 -
I wonder what my therapist would say about this. a former Nissan Partsman ( 17+ years ) I often have Dreams ( Nightmares ) involving microfiche. Often involving being very busy and can't find the right Microfiche, having the Microfiche but can't find the section I'm looking for or not being able to read the Microfiche because it's all scratched and faded. Juts had another weird one last nite. What does it all mean Doc1 point
-
Woohow! Another one of these little long-term projects finally completed. I failed several attempts to paint the ignition-switch surrounding ring and the Turn signal switch stalk by myself. The paint would be so easy to scratch off (with fingernails) afterwards that it would immetiately look terrible once you touch it with anything hard. So after i realized i suck at painting, i decided to hand it over to René, the paint wizard at Autolackprofis which i know from the Honda-scene back in the days and is one of the most recognized paintshops in (and outside) switzerland. He's also in charge of painting the car once it's ready (if he isn't retired by then :P) The result is stunning. We decided to go for an industrial grade paint which is stronger and more scratch resistant compared to normal car paint. Perfect So first in installed the painted ignition switch surrounding ring back to the switch: Then started to re-assemble the turn signal switch (See previous steps here) First installed the wire back completely with the switch contacts and the plastic spacer: Added dielectric grease to all the contacts to make sure they will operate smoothly and contact well for a long time: At the bottom end in added the little contact back to the spring and added dielectric grease as well. Added the switch plastic housing and the inside mechanism back to the stalk and measured. Unpressed: Infinite Ohms (no connection) Switch pressed: Zero Ohms (Short). That's what the switch does. if you press it it will short the 12V applied to it to the chassis-ground. So it works perfectly (Always check before doing next steps, you will hate yourself for not doing so if you figure out once it's installed) Install the stalk back to the switch assembly. Since i wasn't able to find a similar bolt used in the the original assembly, i just took a zinc plated nail in the same dimensions, cut it off and made it fit After that it's time to get the wires back together. Don't forget to add the heat shrinking tube before you solder... Soldered wires back together and heat shrinking tube is shrunk to the original shape: And secured using the small little clamp: Think it ended up really well. checked all the functions and everything works, feels solid and looks great... and definitely much cleaner compared to the original dusty switch, which was completely covered in old dirty grease. I'm super happy to have completed another little project that took my quite some time1 point
-
That was awesome! Man I'm scared in a way with it being so nice. My sons first car was a project 280z. He wrecked it twice (semi minor). He upgraded to a newer 4x4 truck. Wrecked it bad twice. Insurance told him to take hike. It's been 3 years since his last incident and hoping I can get him back under our policy. He's paying $1800 a year now for his own policy. Man I could tell you stories on what's off the insurance records! Luckily my daughter has been driving 4 years now accident and ticket free. Not trying to be a downer. Took me awhile when my son would call me to not think the worst! Love the color combo!1 point
-
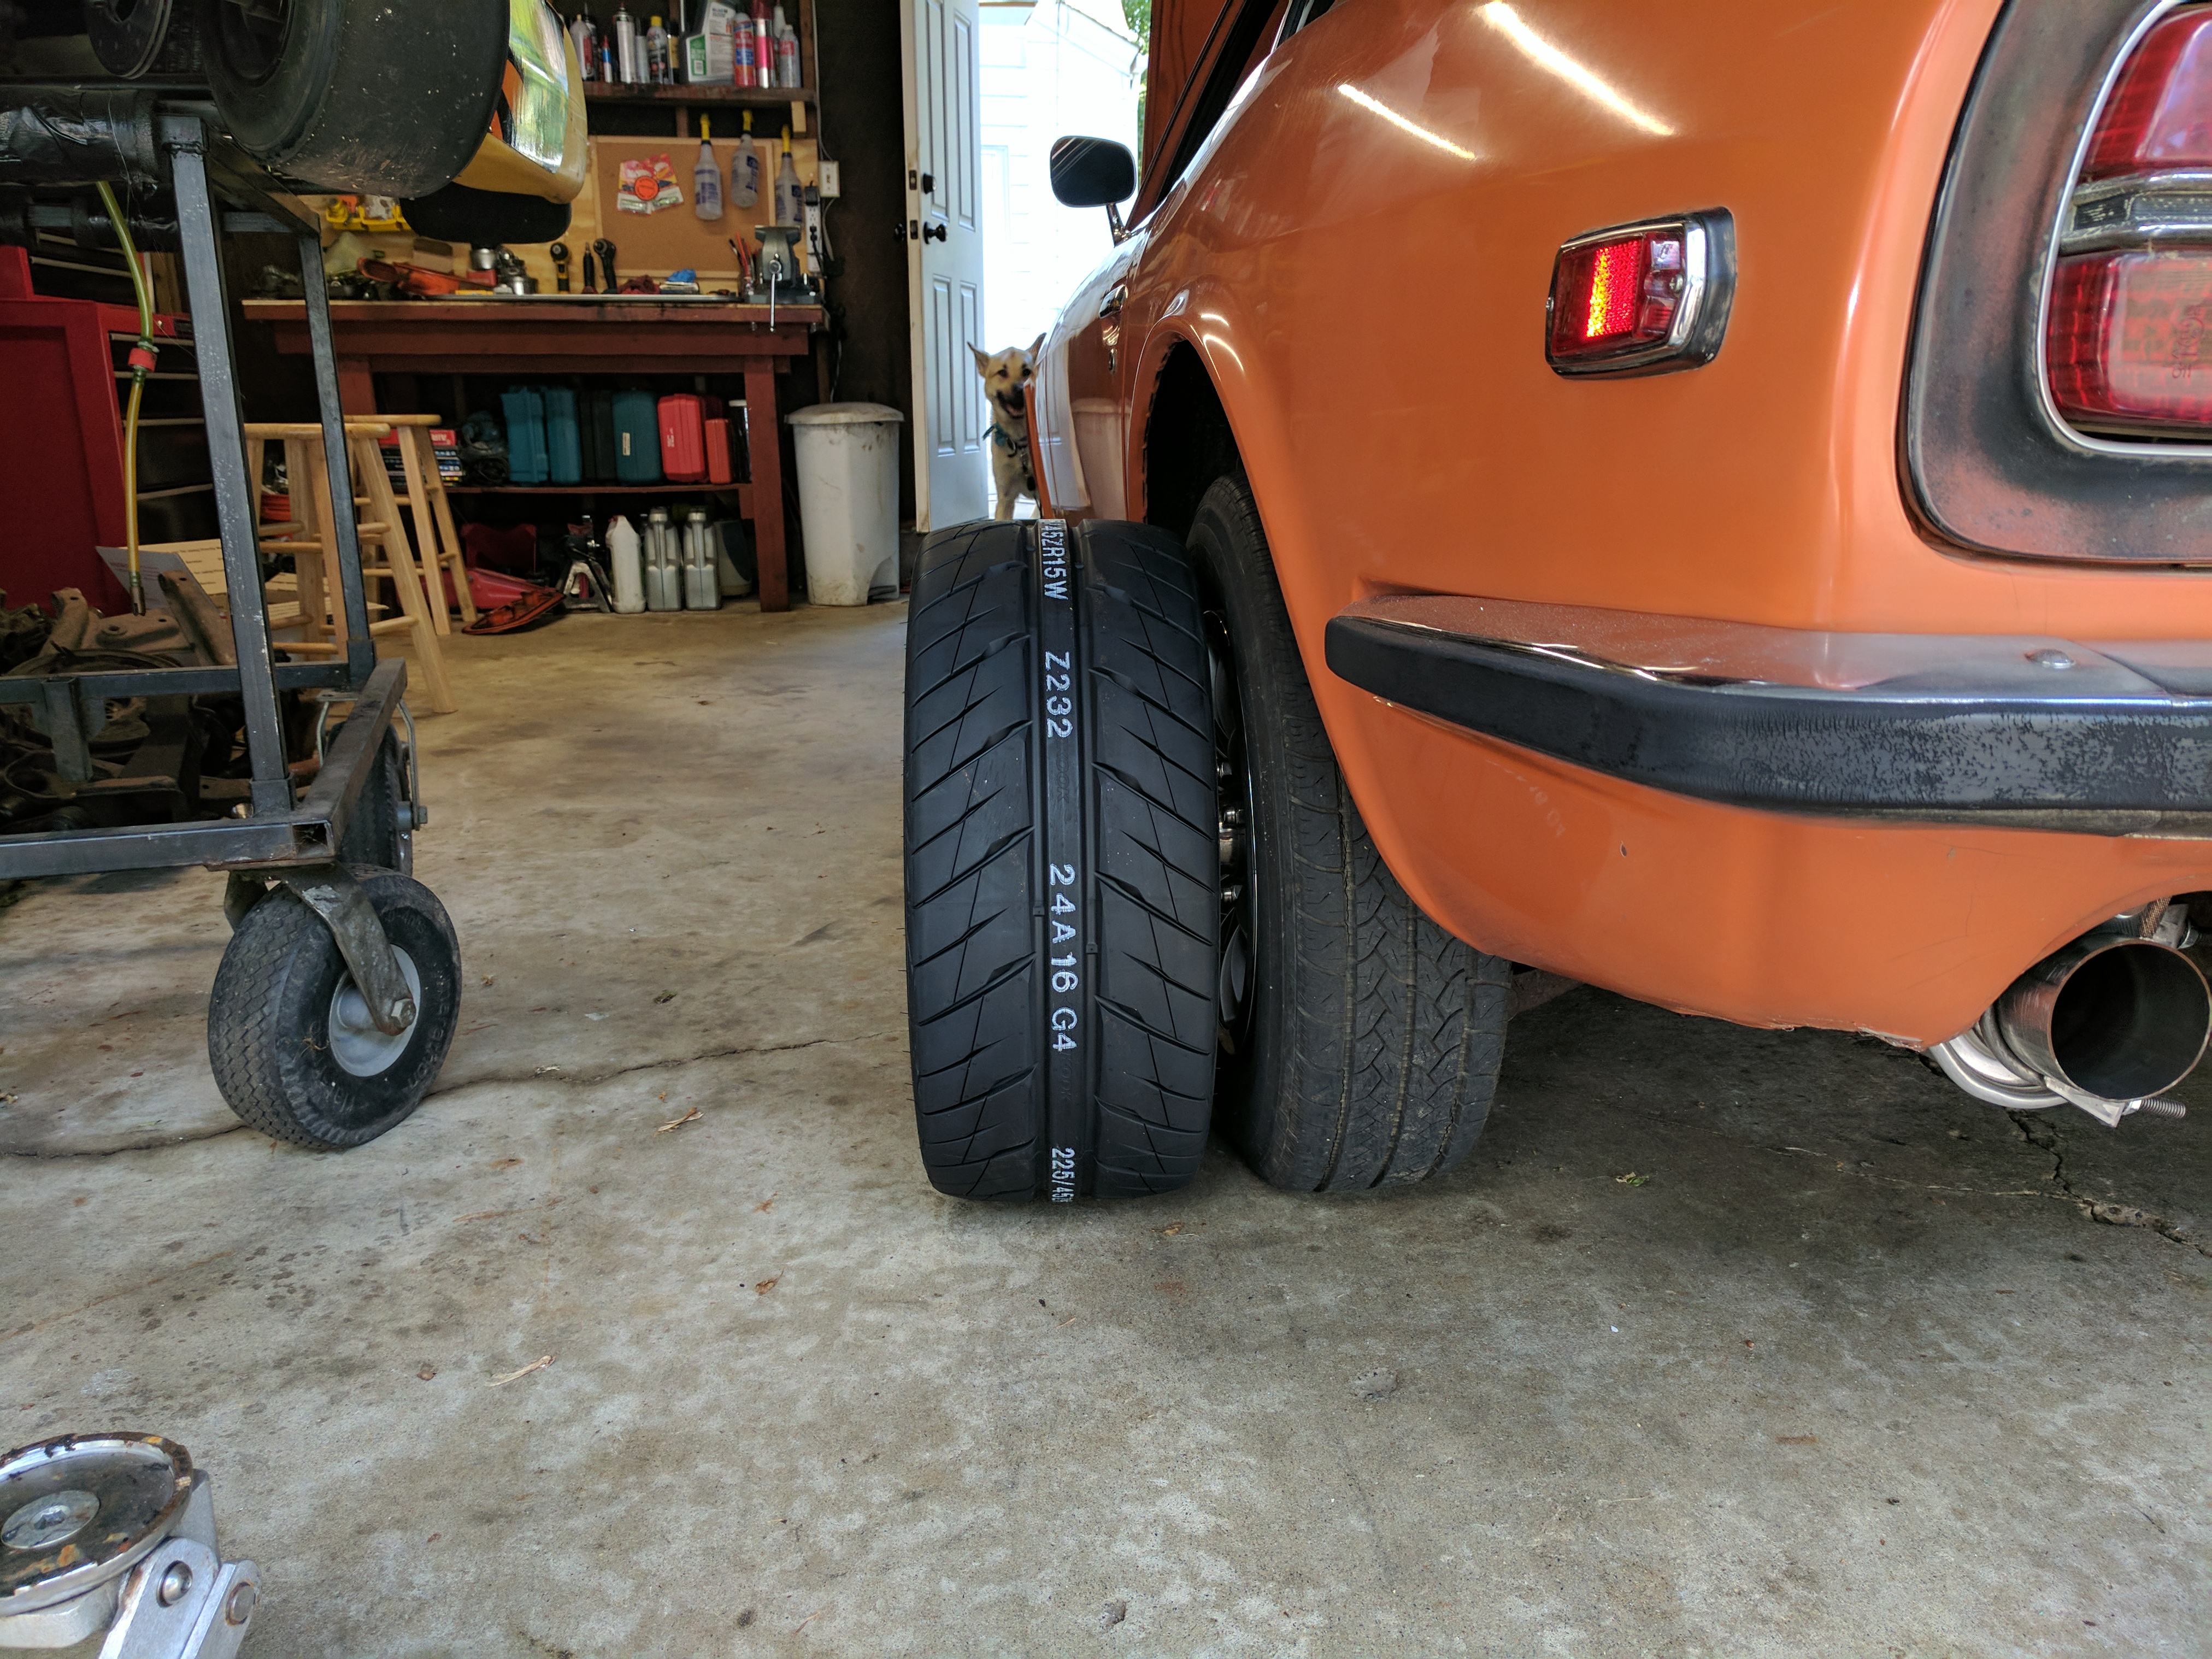
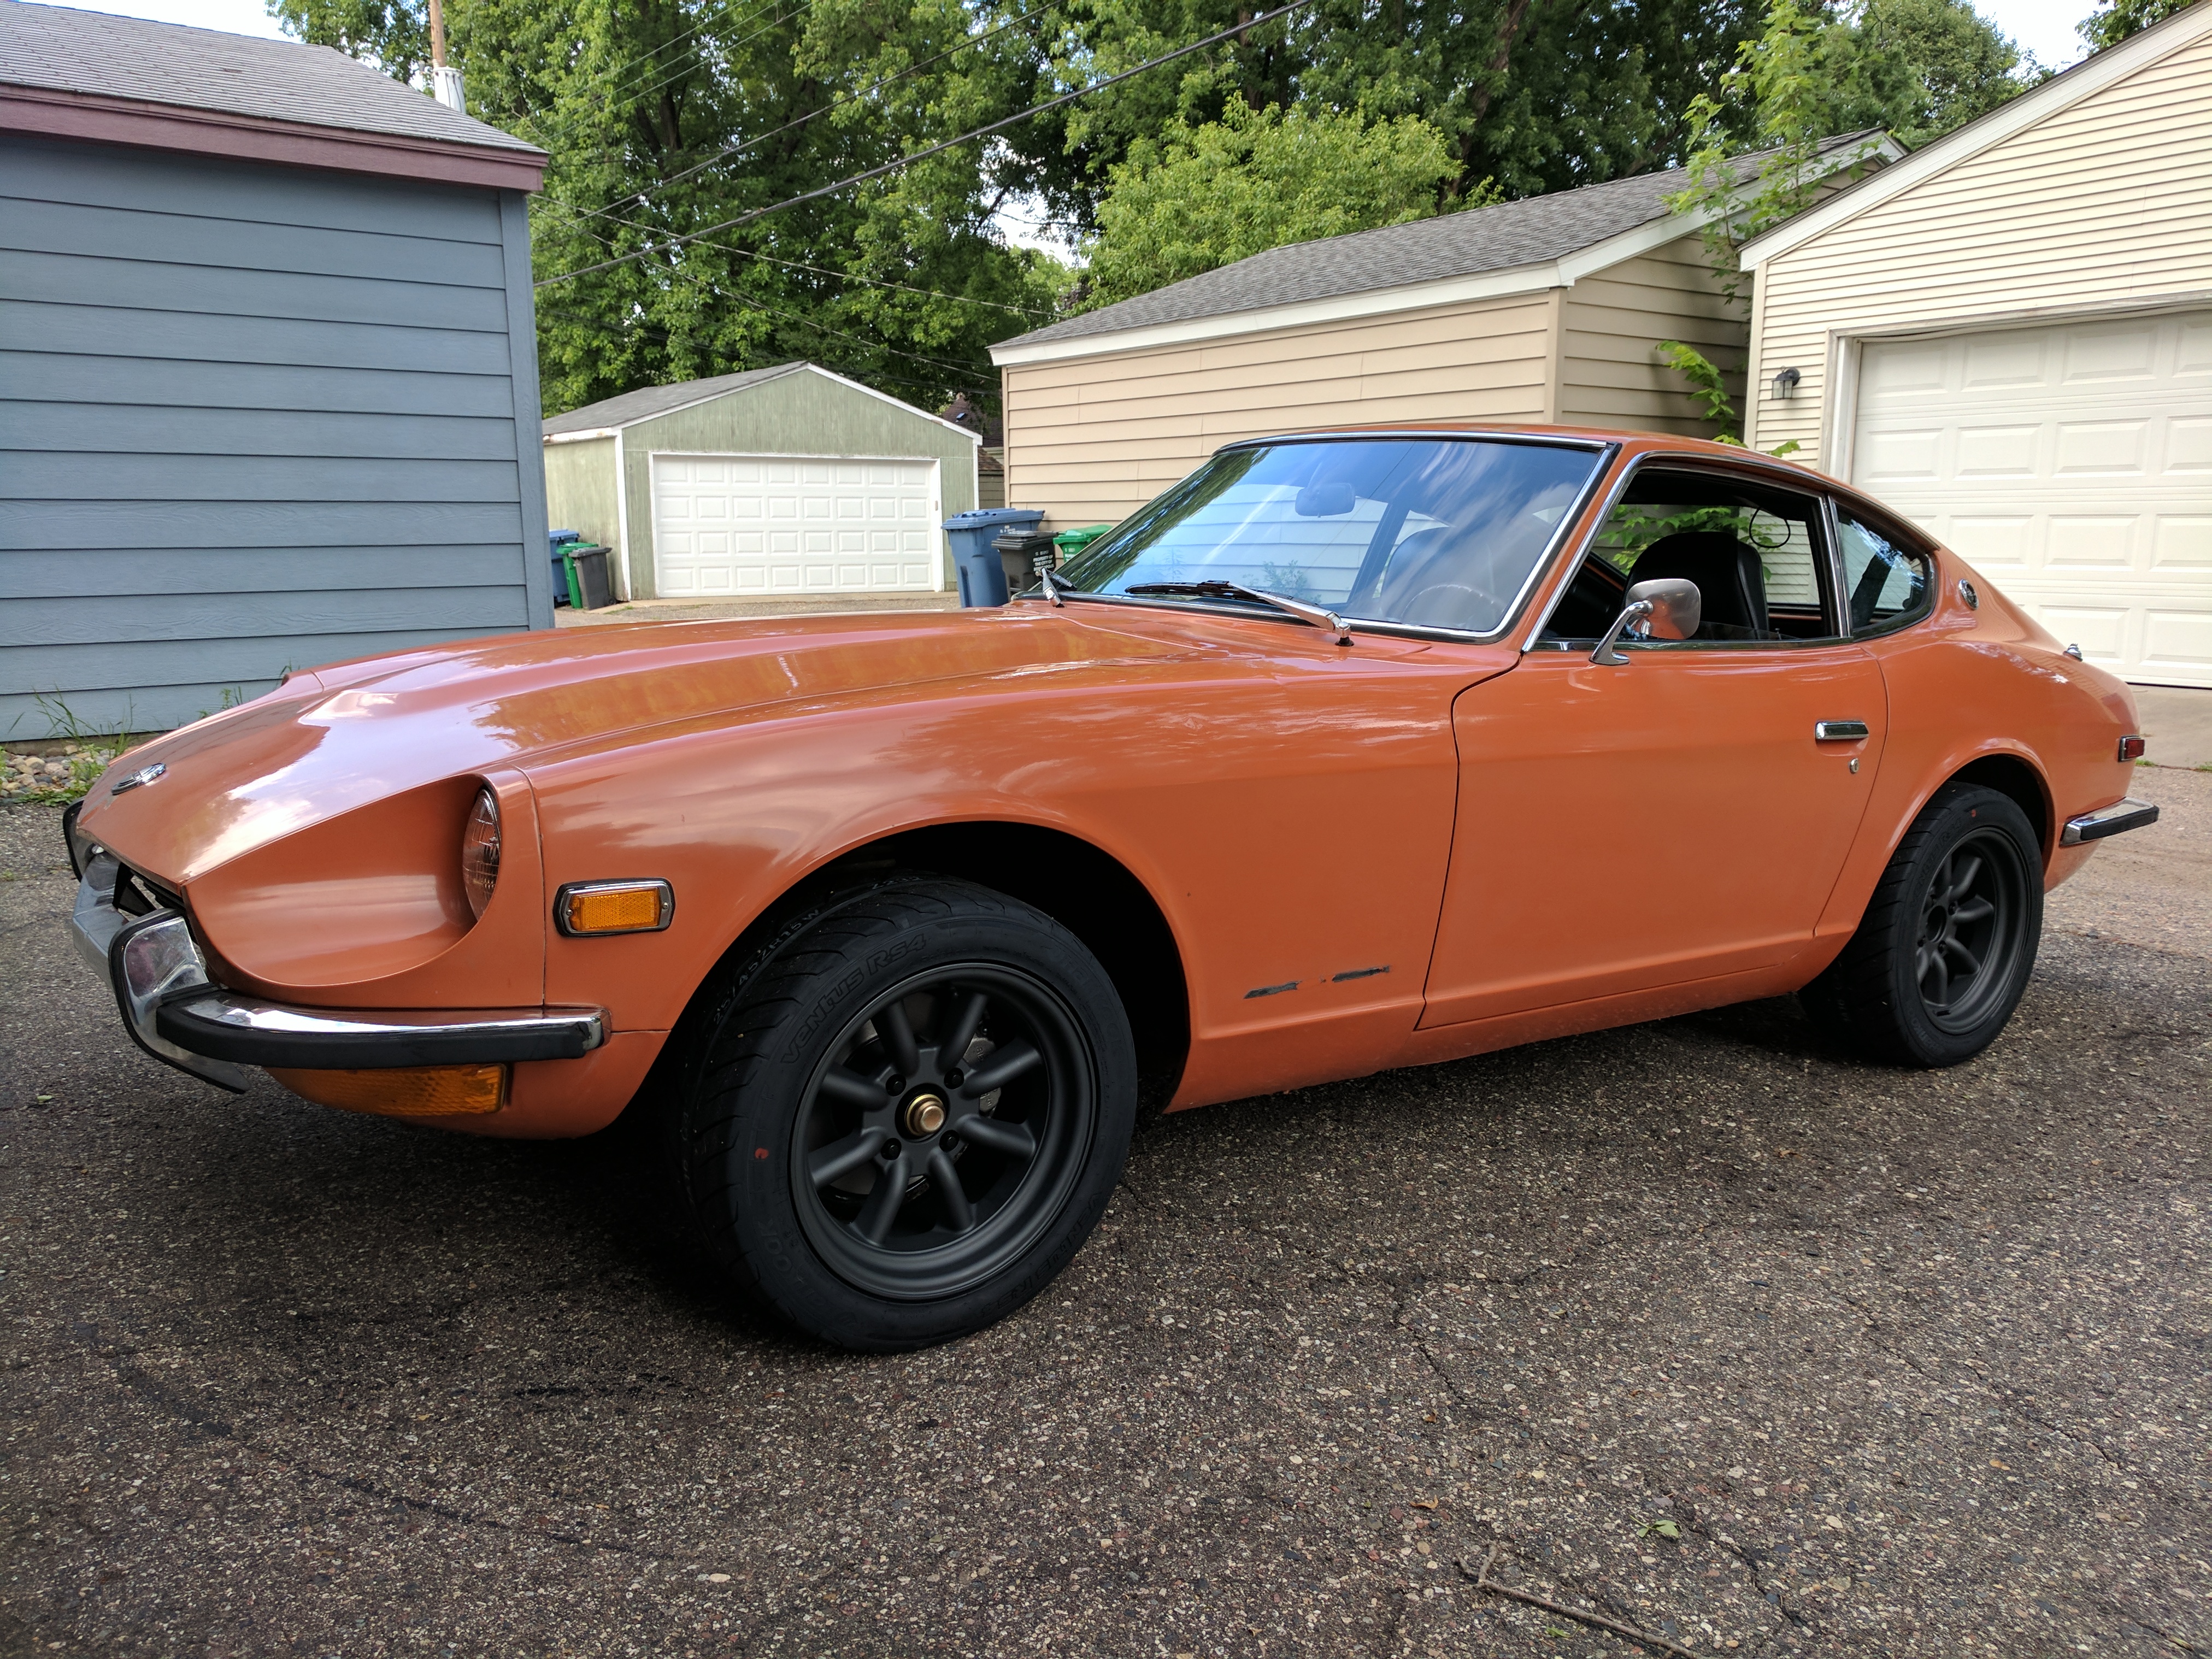
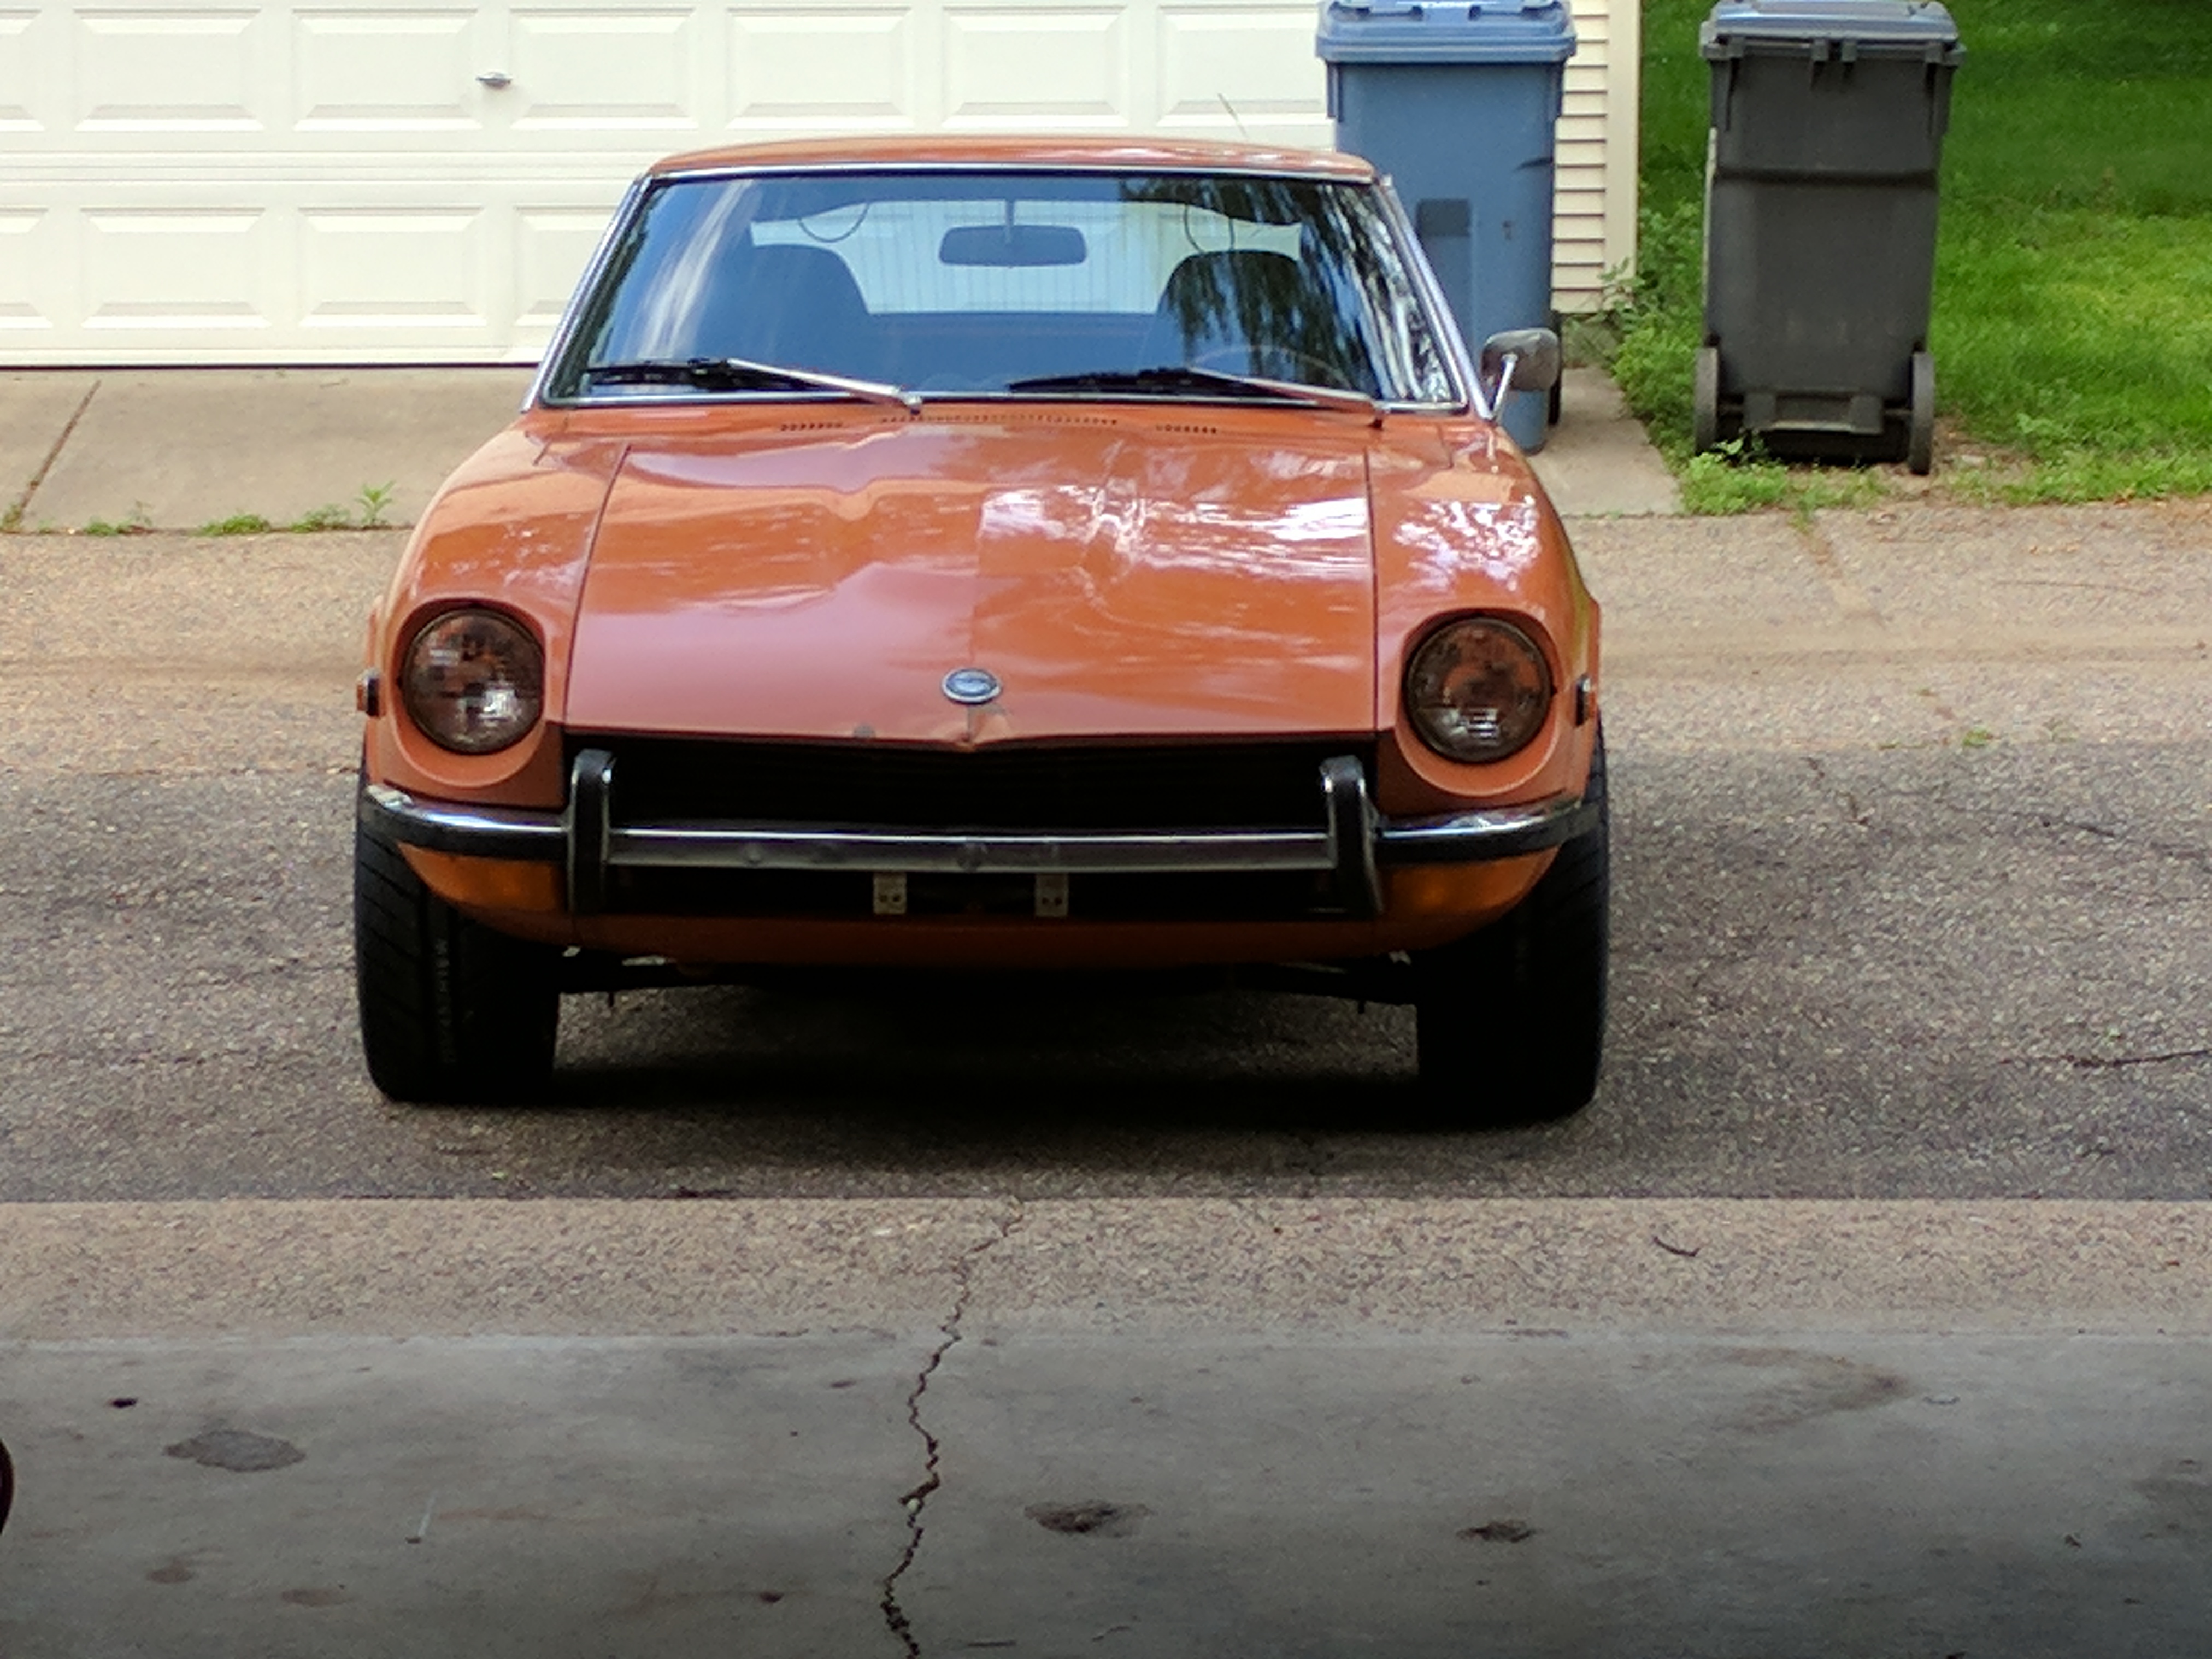
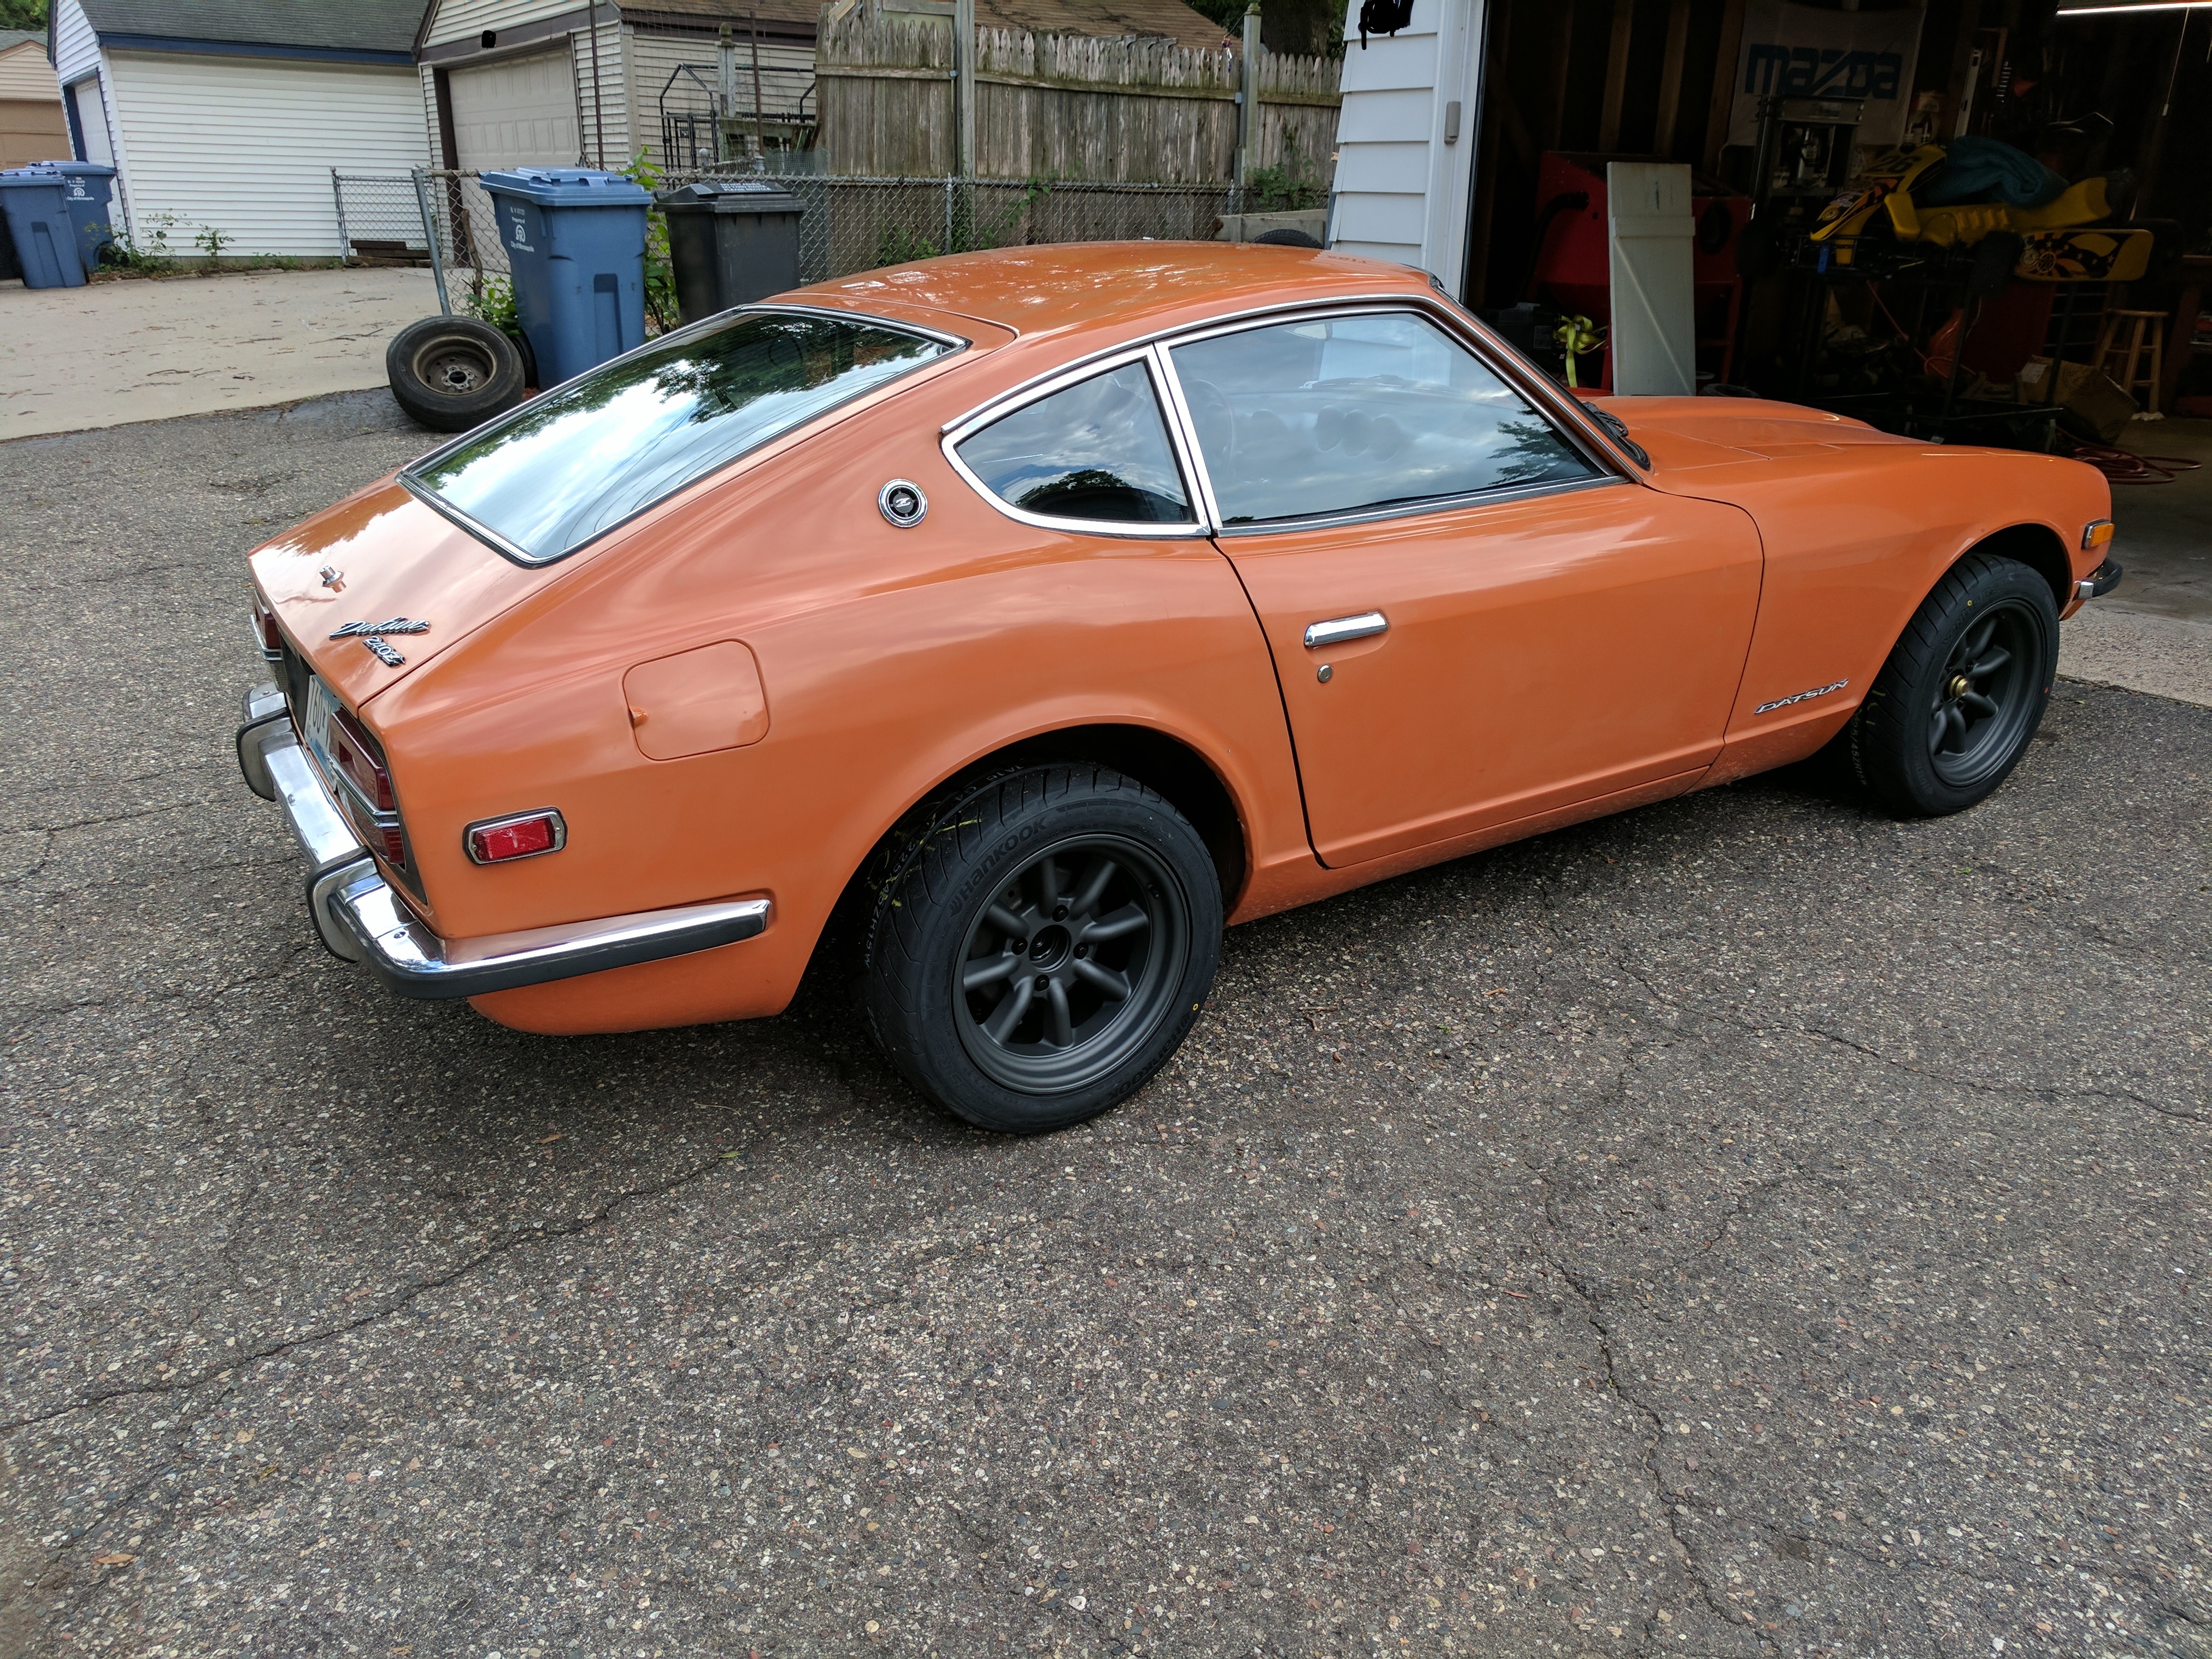
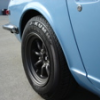
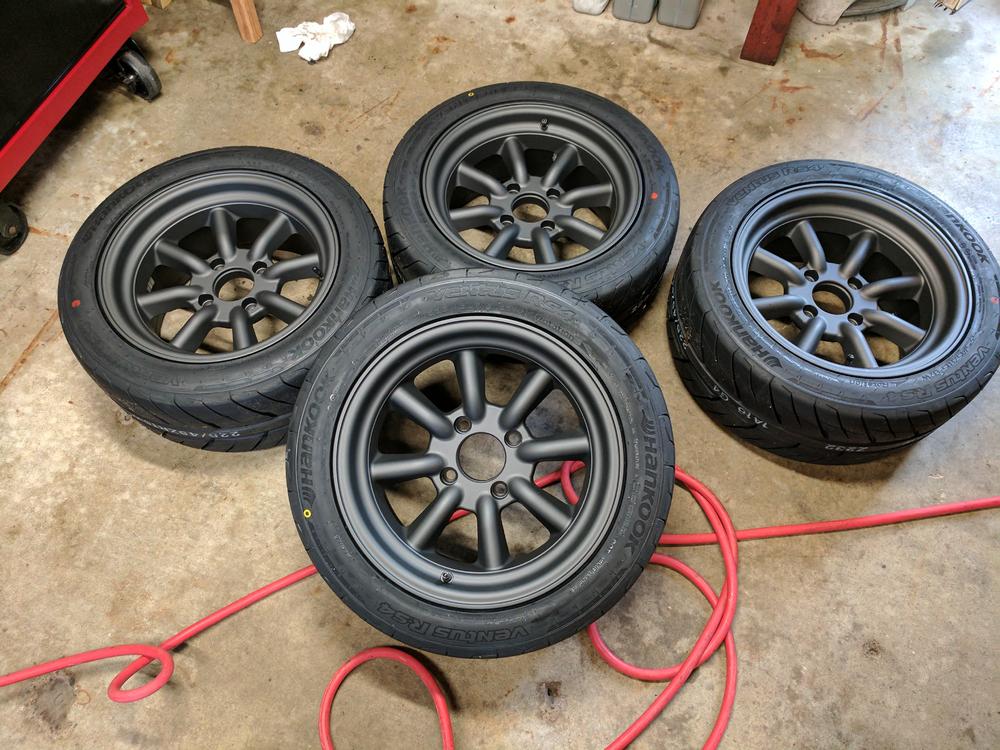
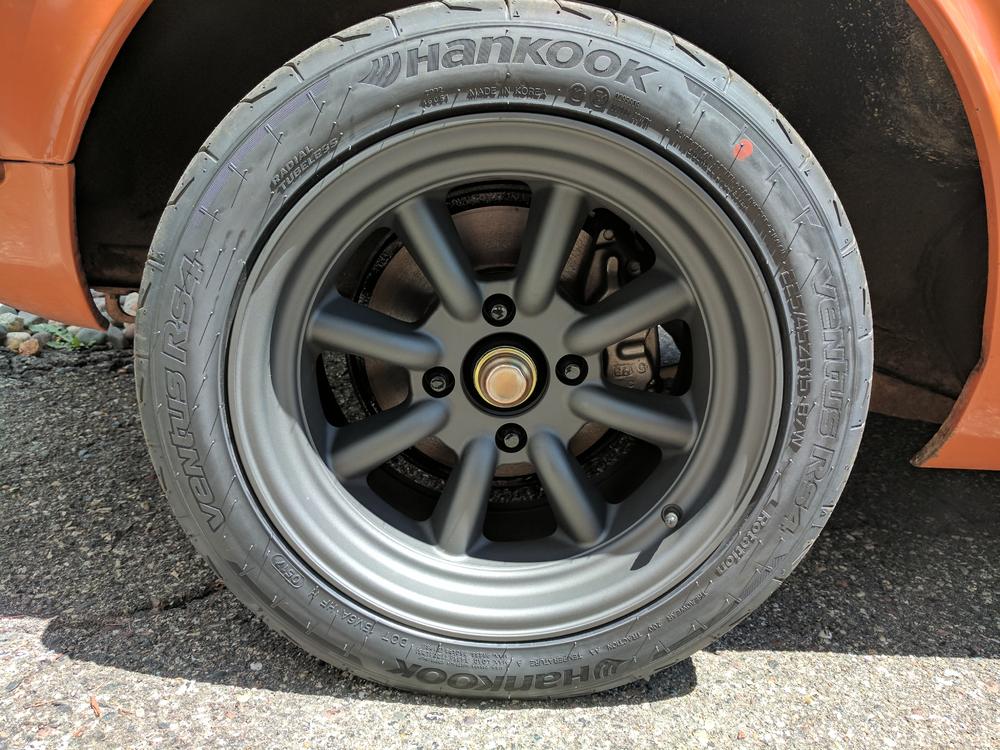
1 pointNew rubber was definetly in order, old tires were a bit sketchy. Little more rubber - 225/45-15 Mounted up on 15x8 Rota RKRs - literally living my dream Glamour Shots:


 1 point
 -
I thought there was some adjustment at the door but it may only be at the body. The door really needs to go in provided the gaps at the hood and cowl are good. Does the bottom of the door line up well? If I had to move the door in and there wasn't any adjustment I would take metal off the mating surface of the hinge. The face where it bolts to the body. There is plenty of meat on the hinge to allow for small adjustments like this. You could also do some dolly work on the mount surface of the frame to try to get some room. If you over drive it then you can use body shims to perfect it. When you work on the lunar surface you need to guide coat. Some cheap black lacquer spray paint or some good dry powder guide coat. Work on the panel, then guide coat. Sand with some 180. The high spots show up first. Work them down some. The low spots (where the guide coat remains) need to come up. Then repeat, repeat, repeat... If you have an area of stretched metal (if it took a pretty hard hit) you may need to shrink it. Shrinking discs work well but a propane torch also works and sometimes it is easier to use. Heat the spot some, cool with a wet rag or you can let it air cool. I always use a wet rag. It is amazing how it will tighten up a panel.1 point