


Leaderboard
-
Hardway
Free Member6Points1,332Posts -
conedodger
Free Member5Points12,513Posts -
Namerow
Free Member3Points1,551Posts -
munters
Free Member2Points160Posts


Popular Content
Showing content with the highest reputation on 11/29/2017 in Posts
-
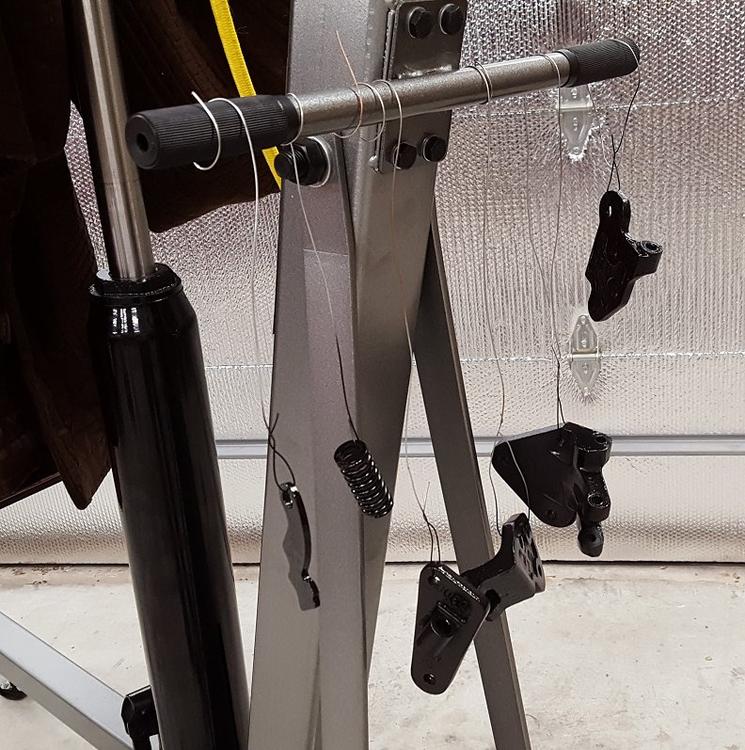
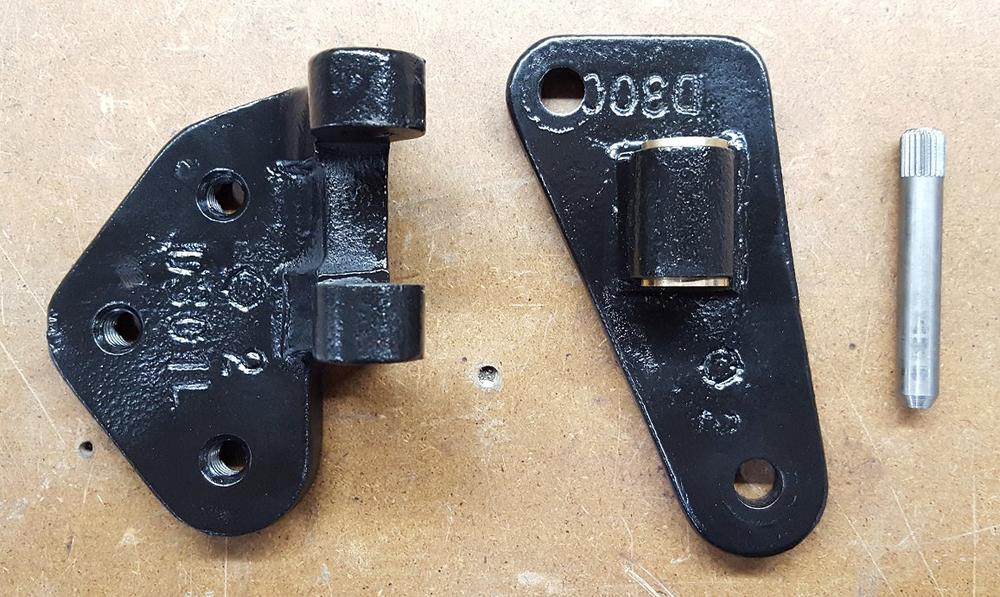
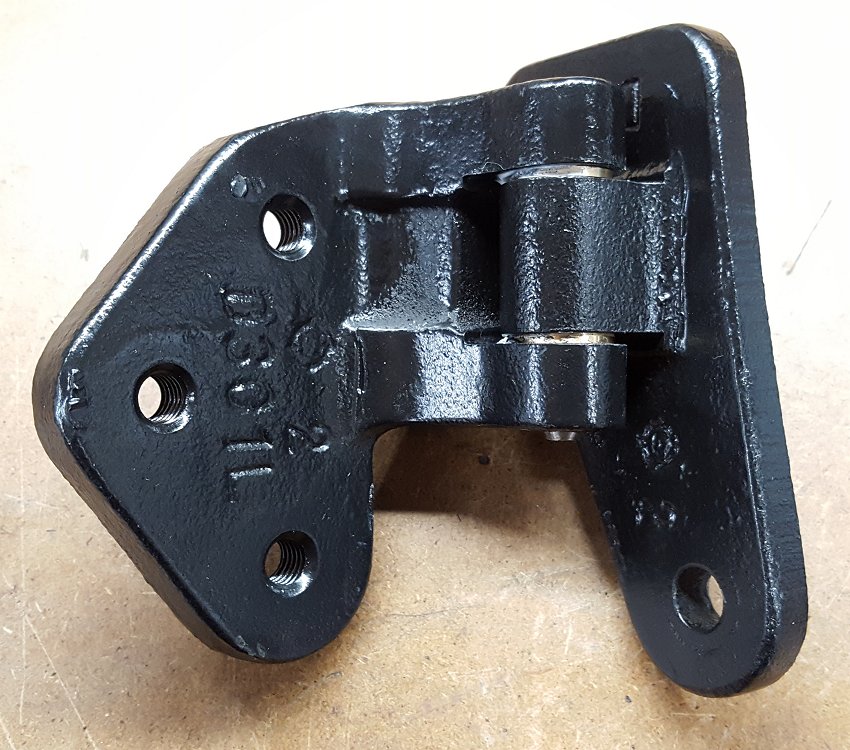
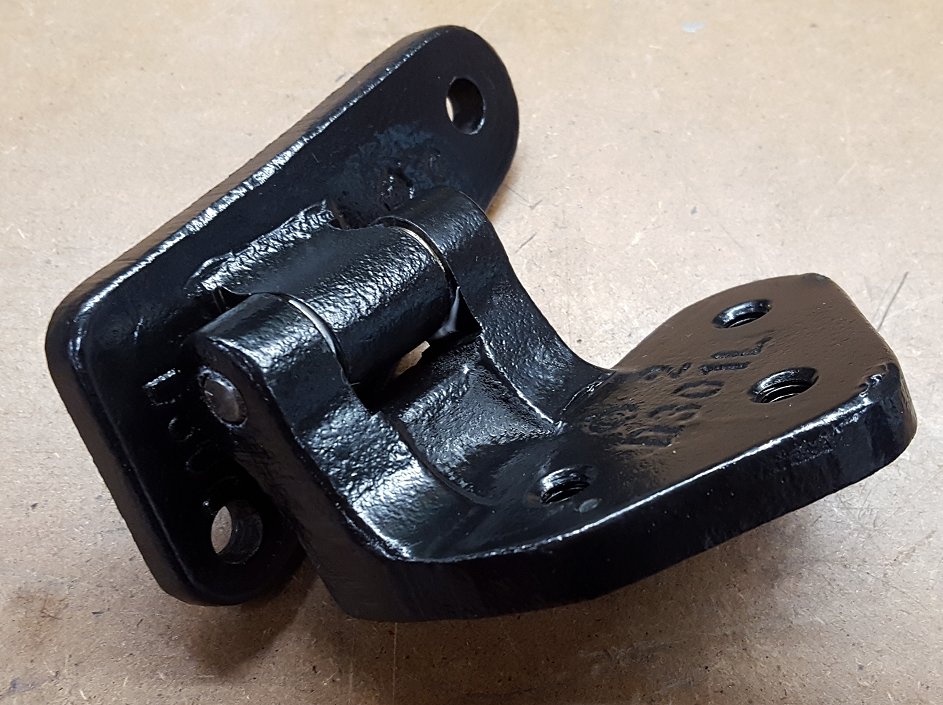
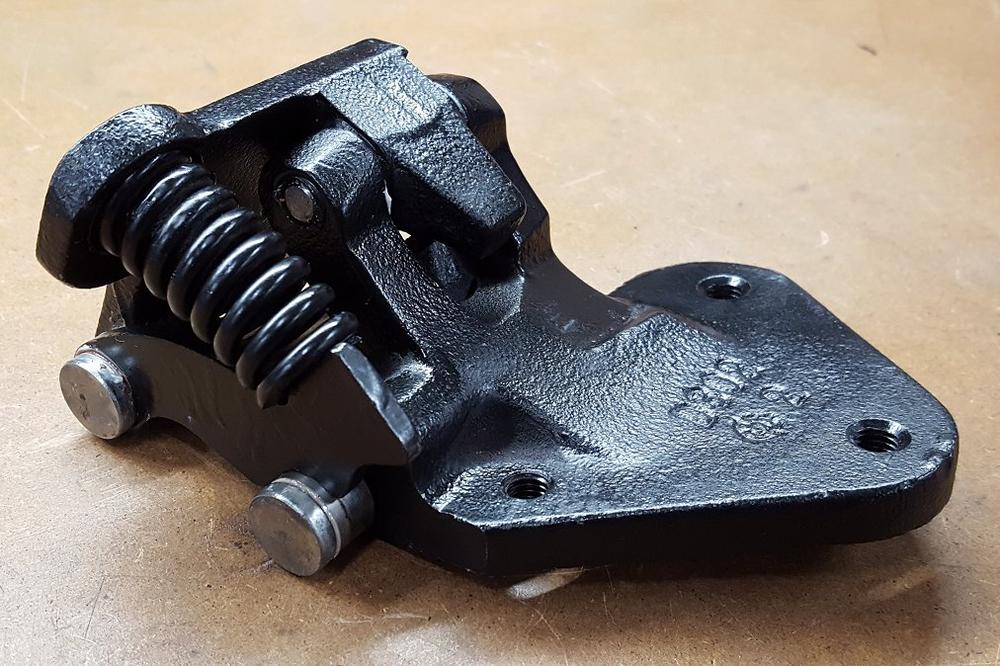
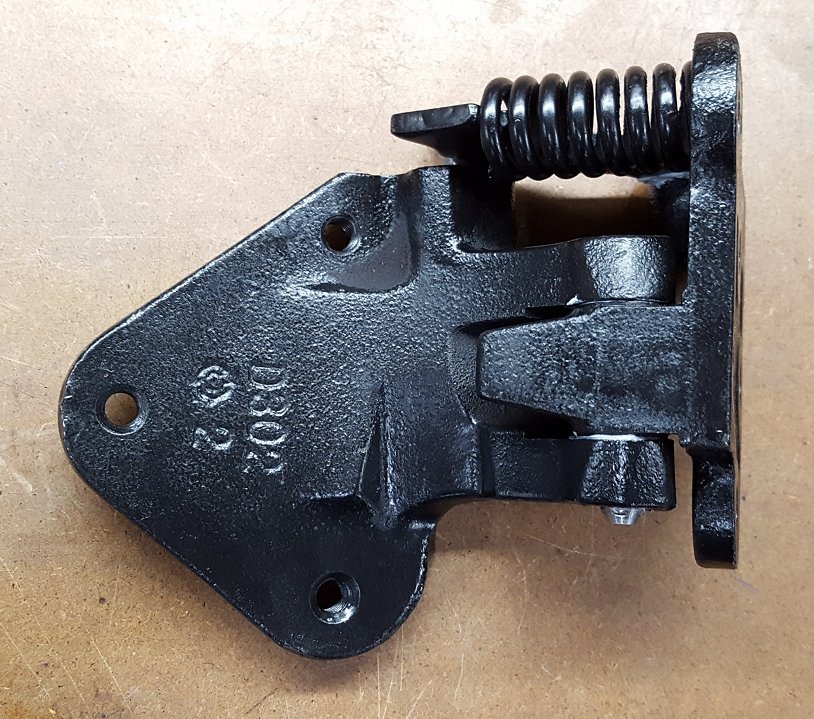
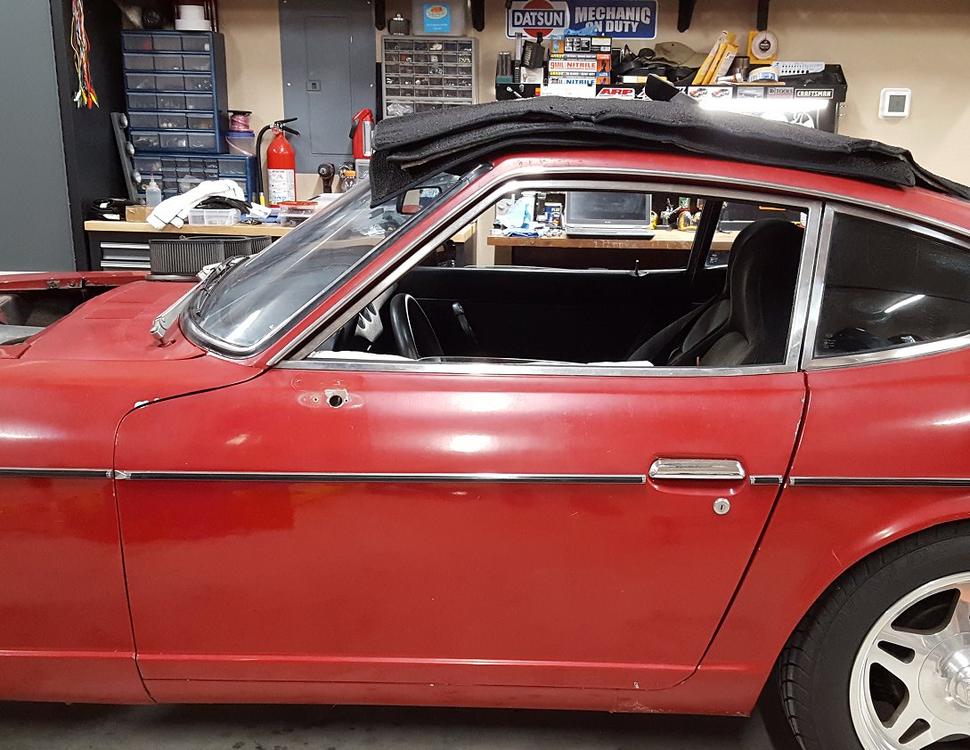
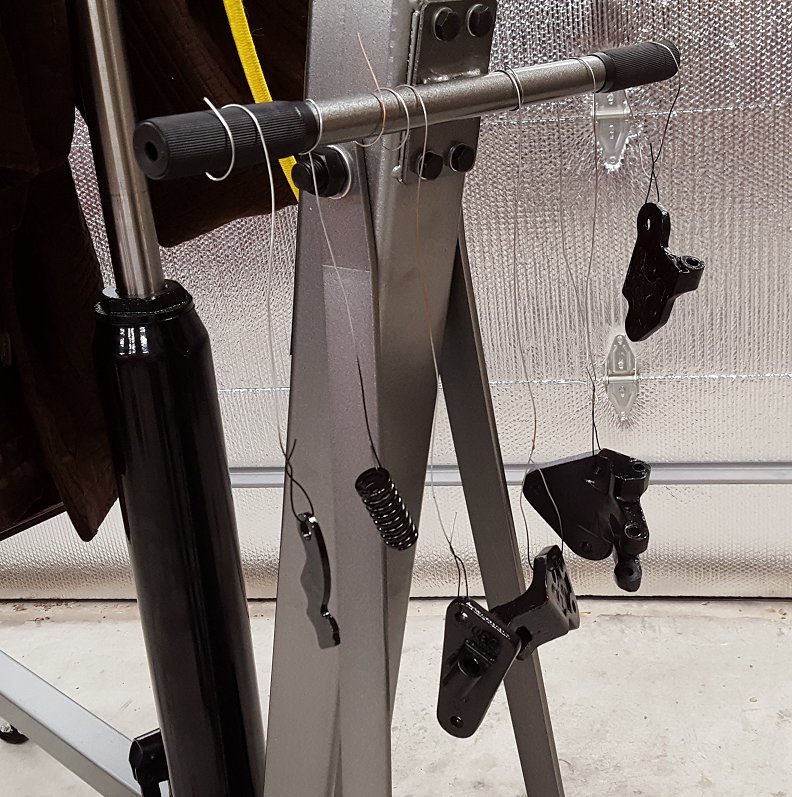
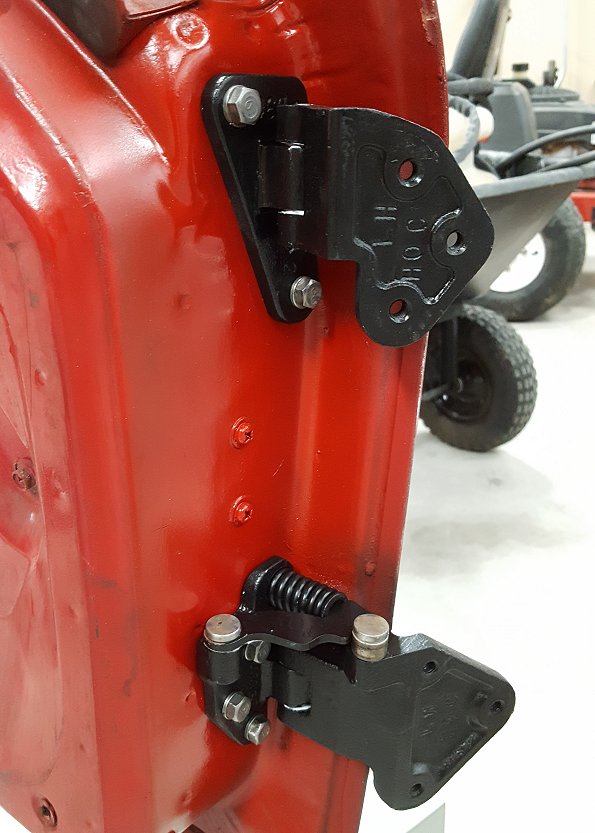
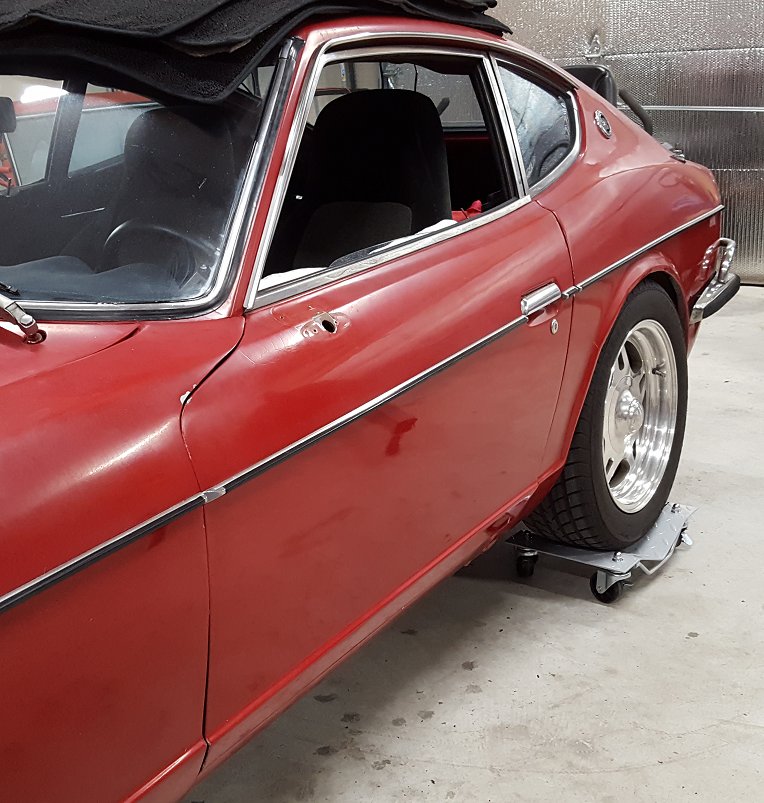
5 pointsWith all the parts wire wheeled I covered them in some Rustoleum satin black. The car is red but I didn't want to paint them red as the car may not be red all of its life so black it is. With everything cured after 7 days I started the reassembly process. The upper hinge was first. Using my bench vise I pressed in the brass bushings. They went in perfectly. Since the brass bushings were thicker than the originals I had to use the metal lips of bench vise to spread the side of the hinge a part just a little. I lubed all of the contact surfaces with lithium grease. Once I got the hinge halves together I used my 20 ton press to install the new hinge pin. The end result is nice and tight upper door hinge. The reassembly of the lower hinge was the reverse of the disassembly. The bushings in the lower hinge looked good and felt really good with the new pin so I opted to leave them. Just like the upper hinge, everything lubed up with some lithium grease. The inside of the door received some clean up and fresh red paint. The fasteners were treated to some wire wheel action to clean them up as well. With the help of my wife we got the door with minimal damage to the paint. I had taped a thick towel to the top of the door but still managed to pull some paint off. The end result is a door that functions like new again. Seeing that there are no new hinges to be had and there is a service on eBay charging $100 - $150 to rebuild each hinge, the is a lot of value to be gained by doing this yourself. It does take an investment in some specialty tools like the HF press but it will pay for itself over and over just as mine has over the course of many projects. I welcome any questions or feedback.

 5 points
 -
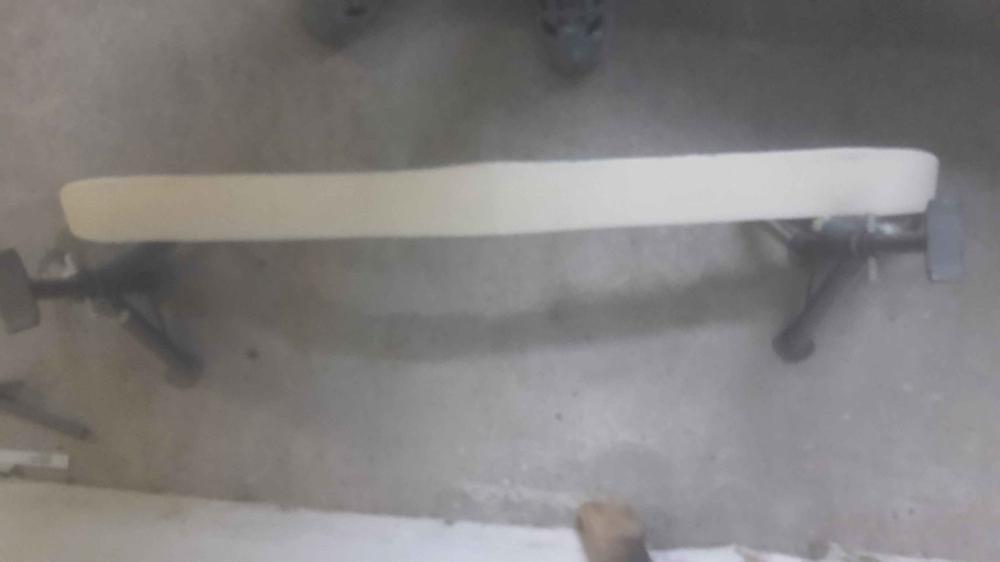
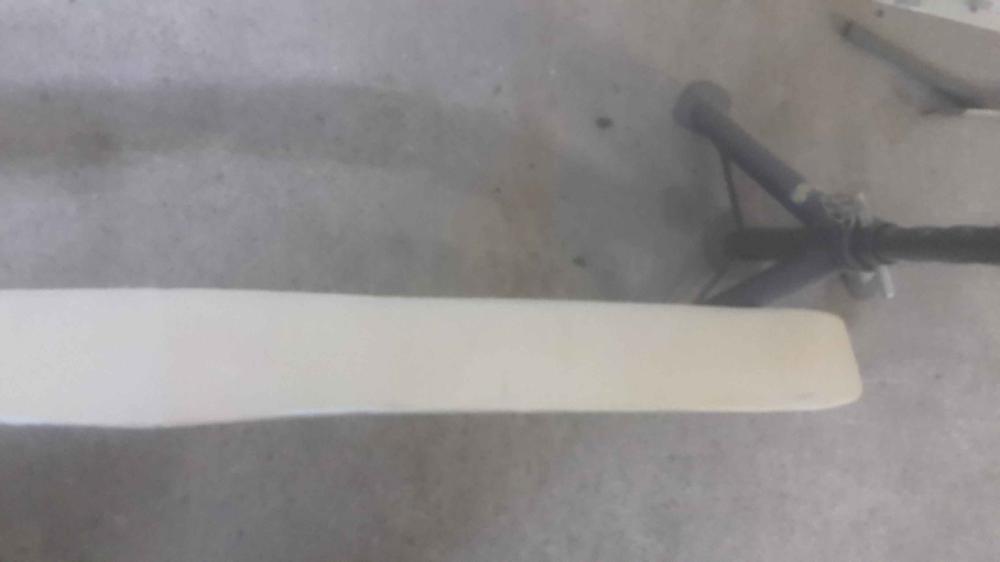
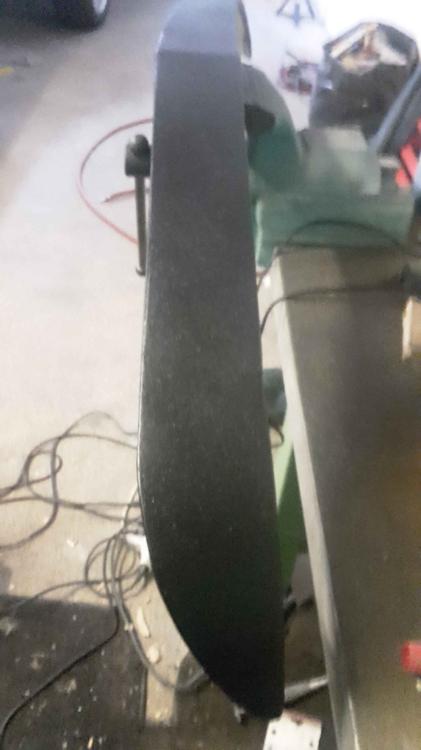
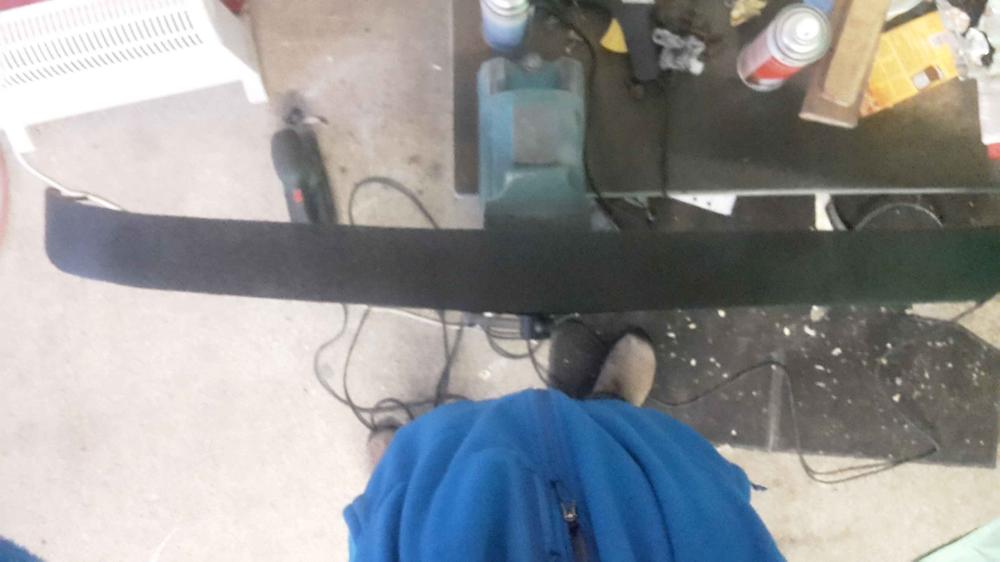
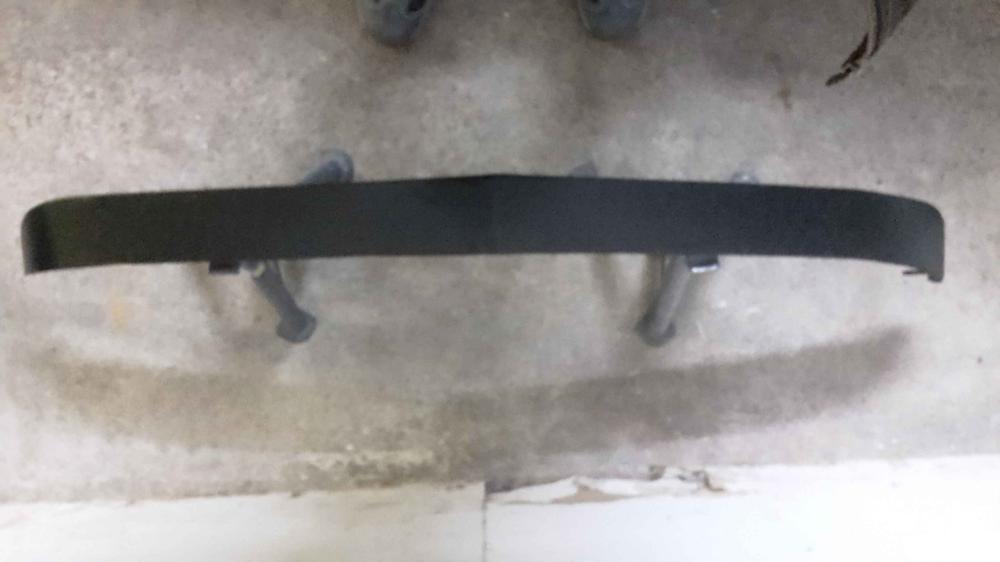
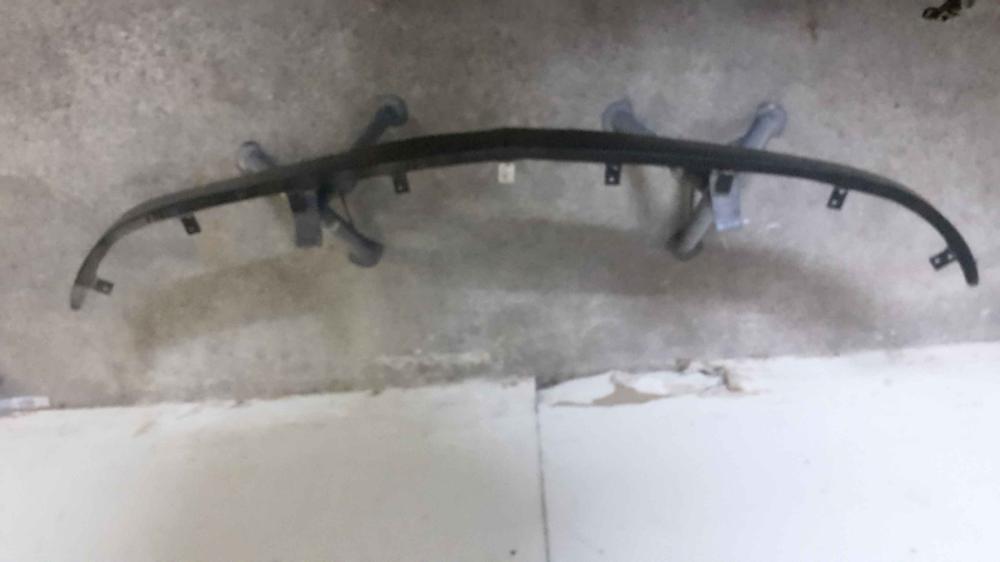
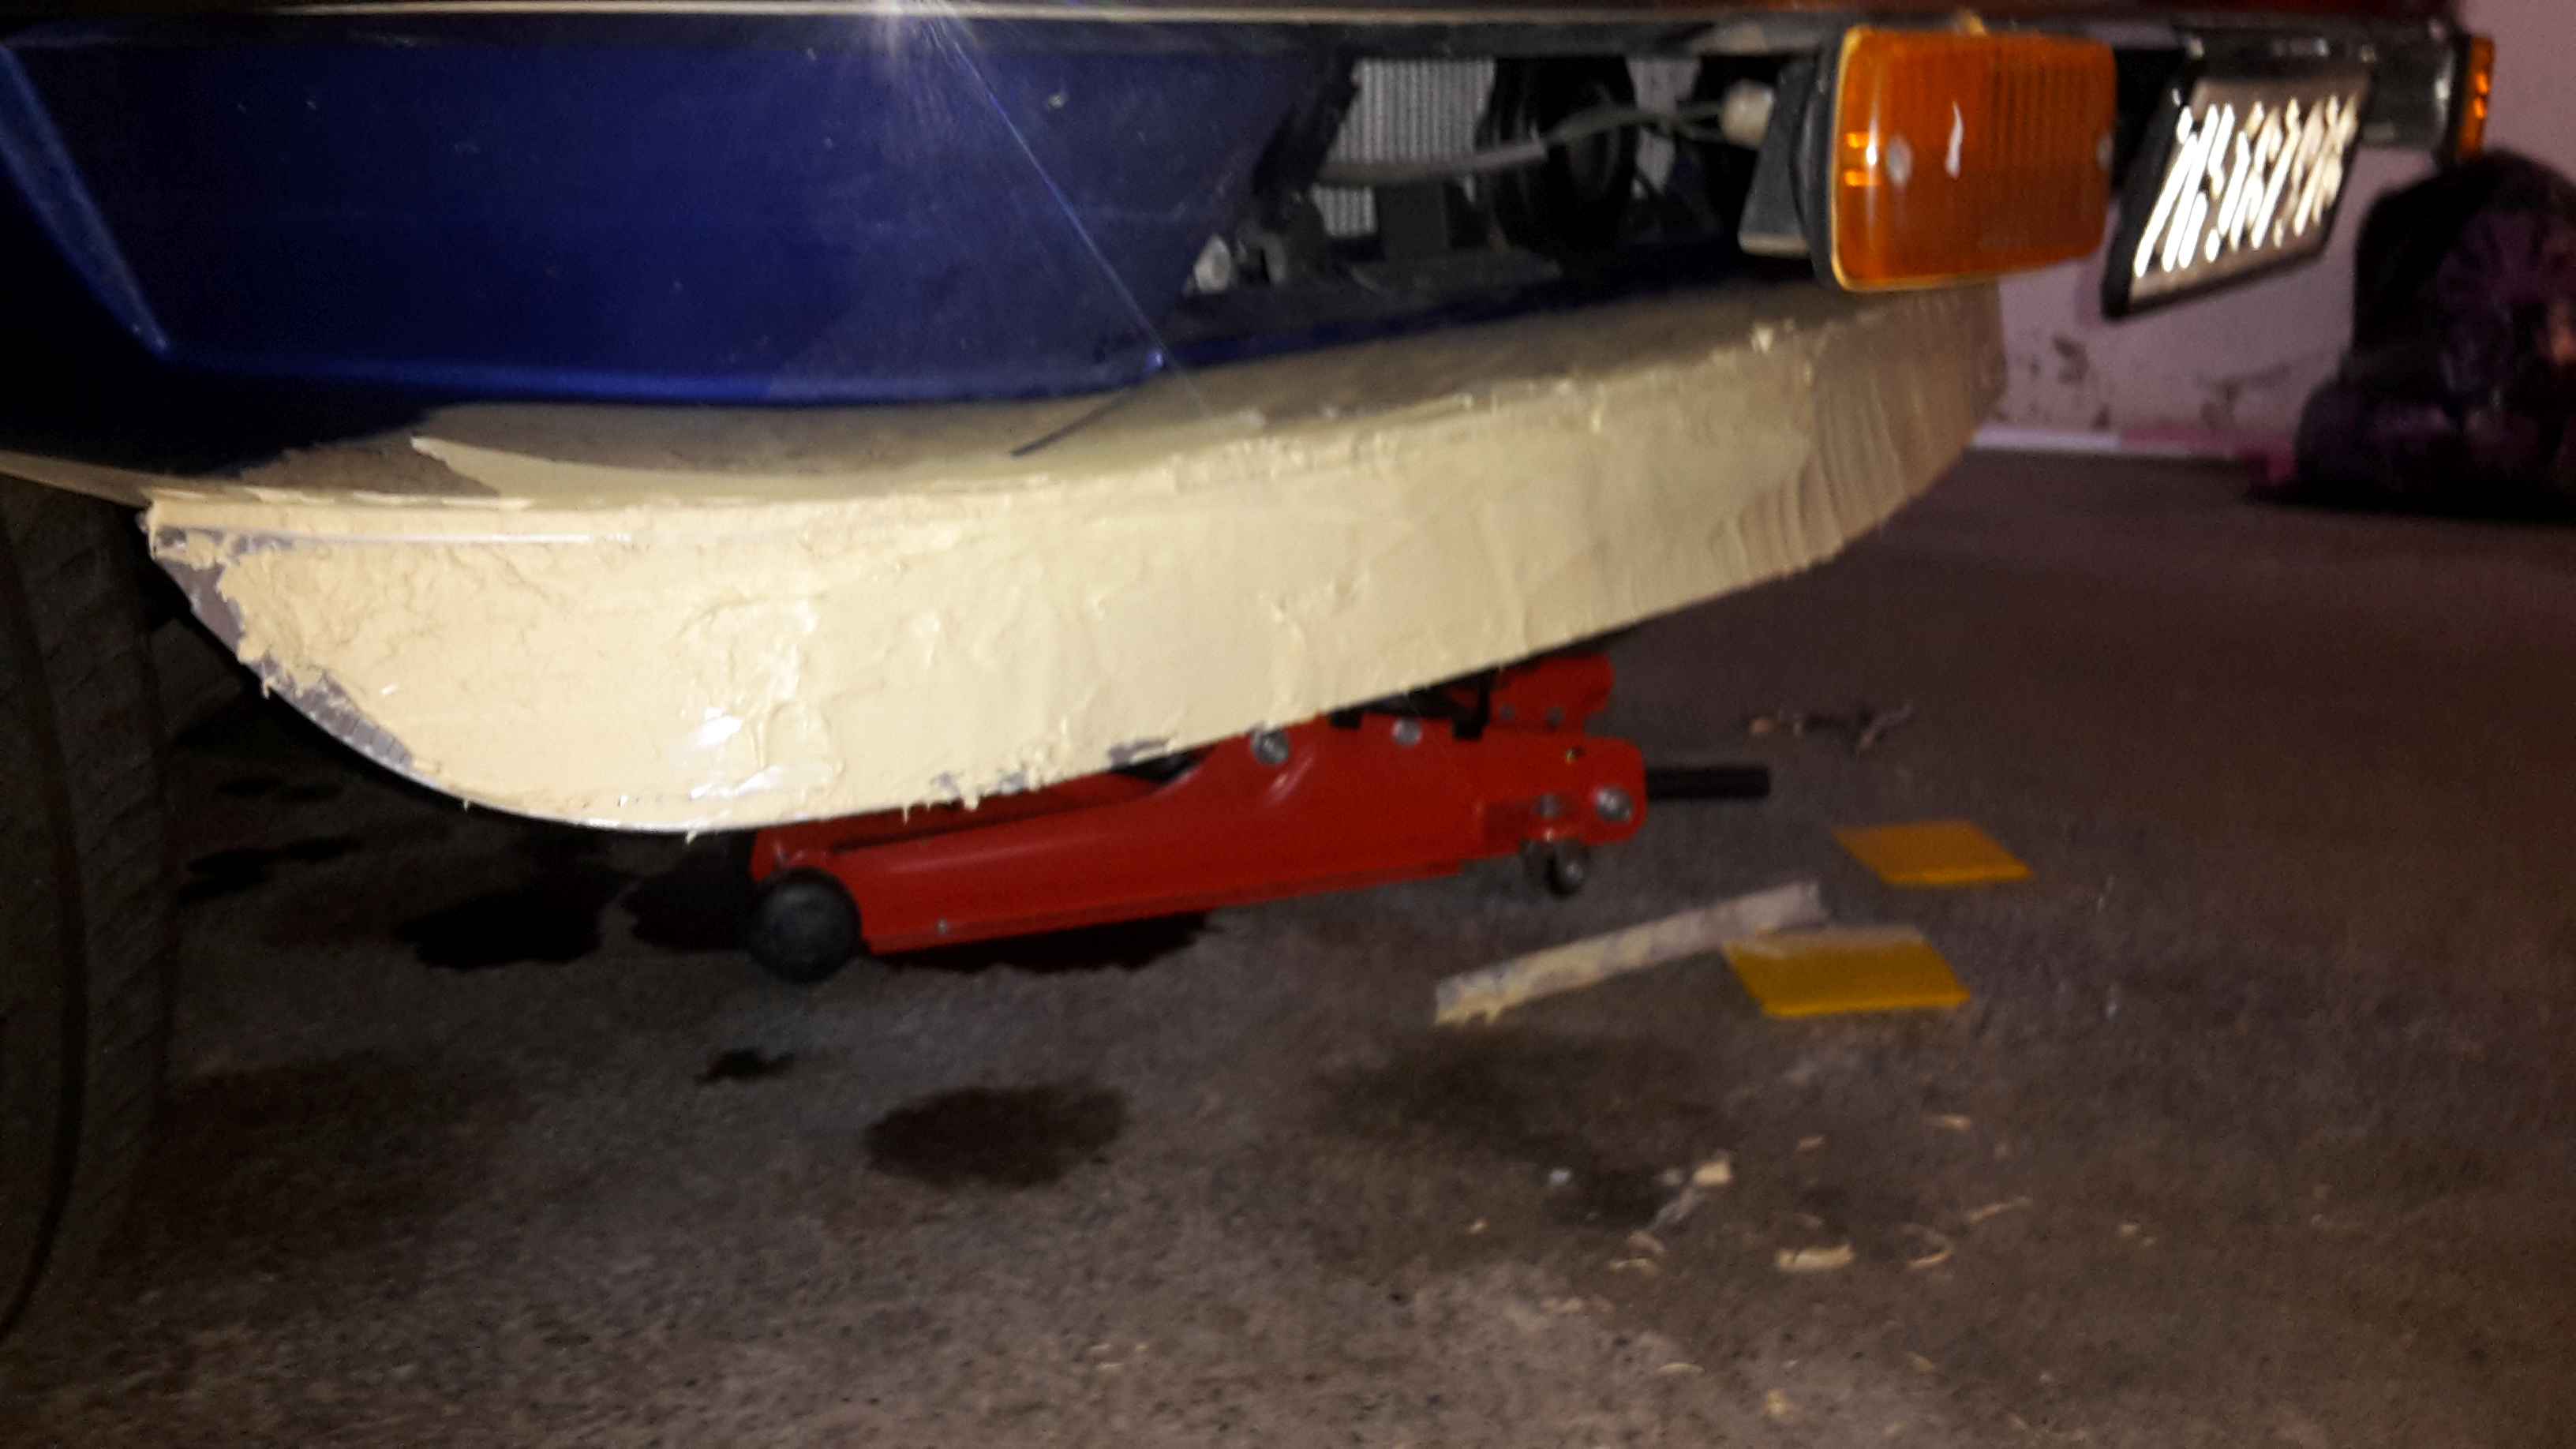
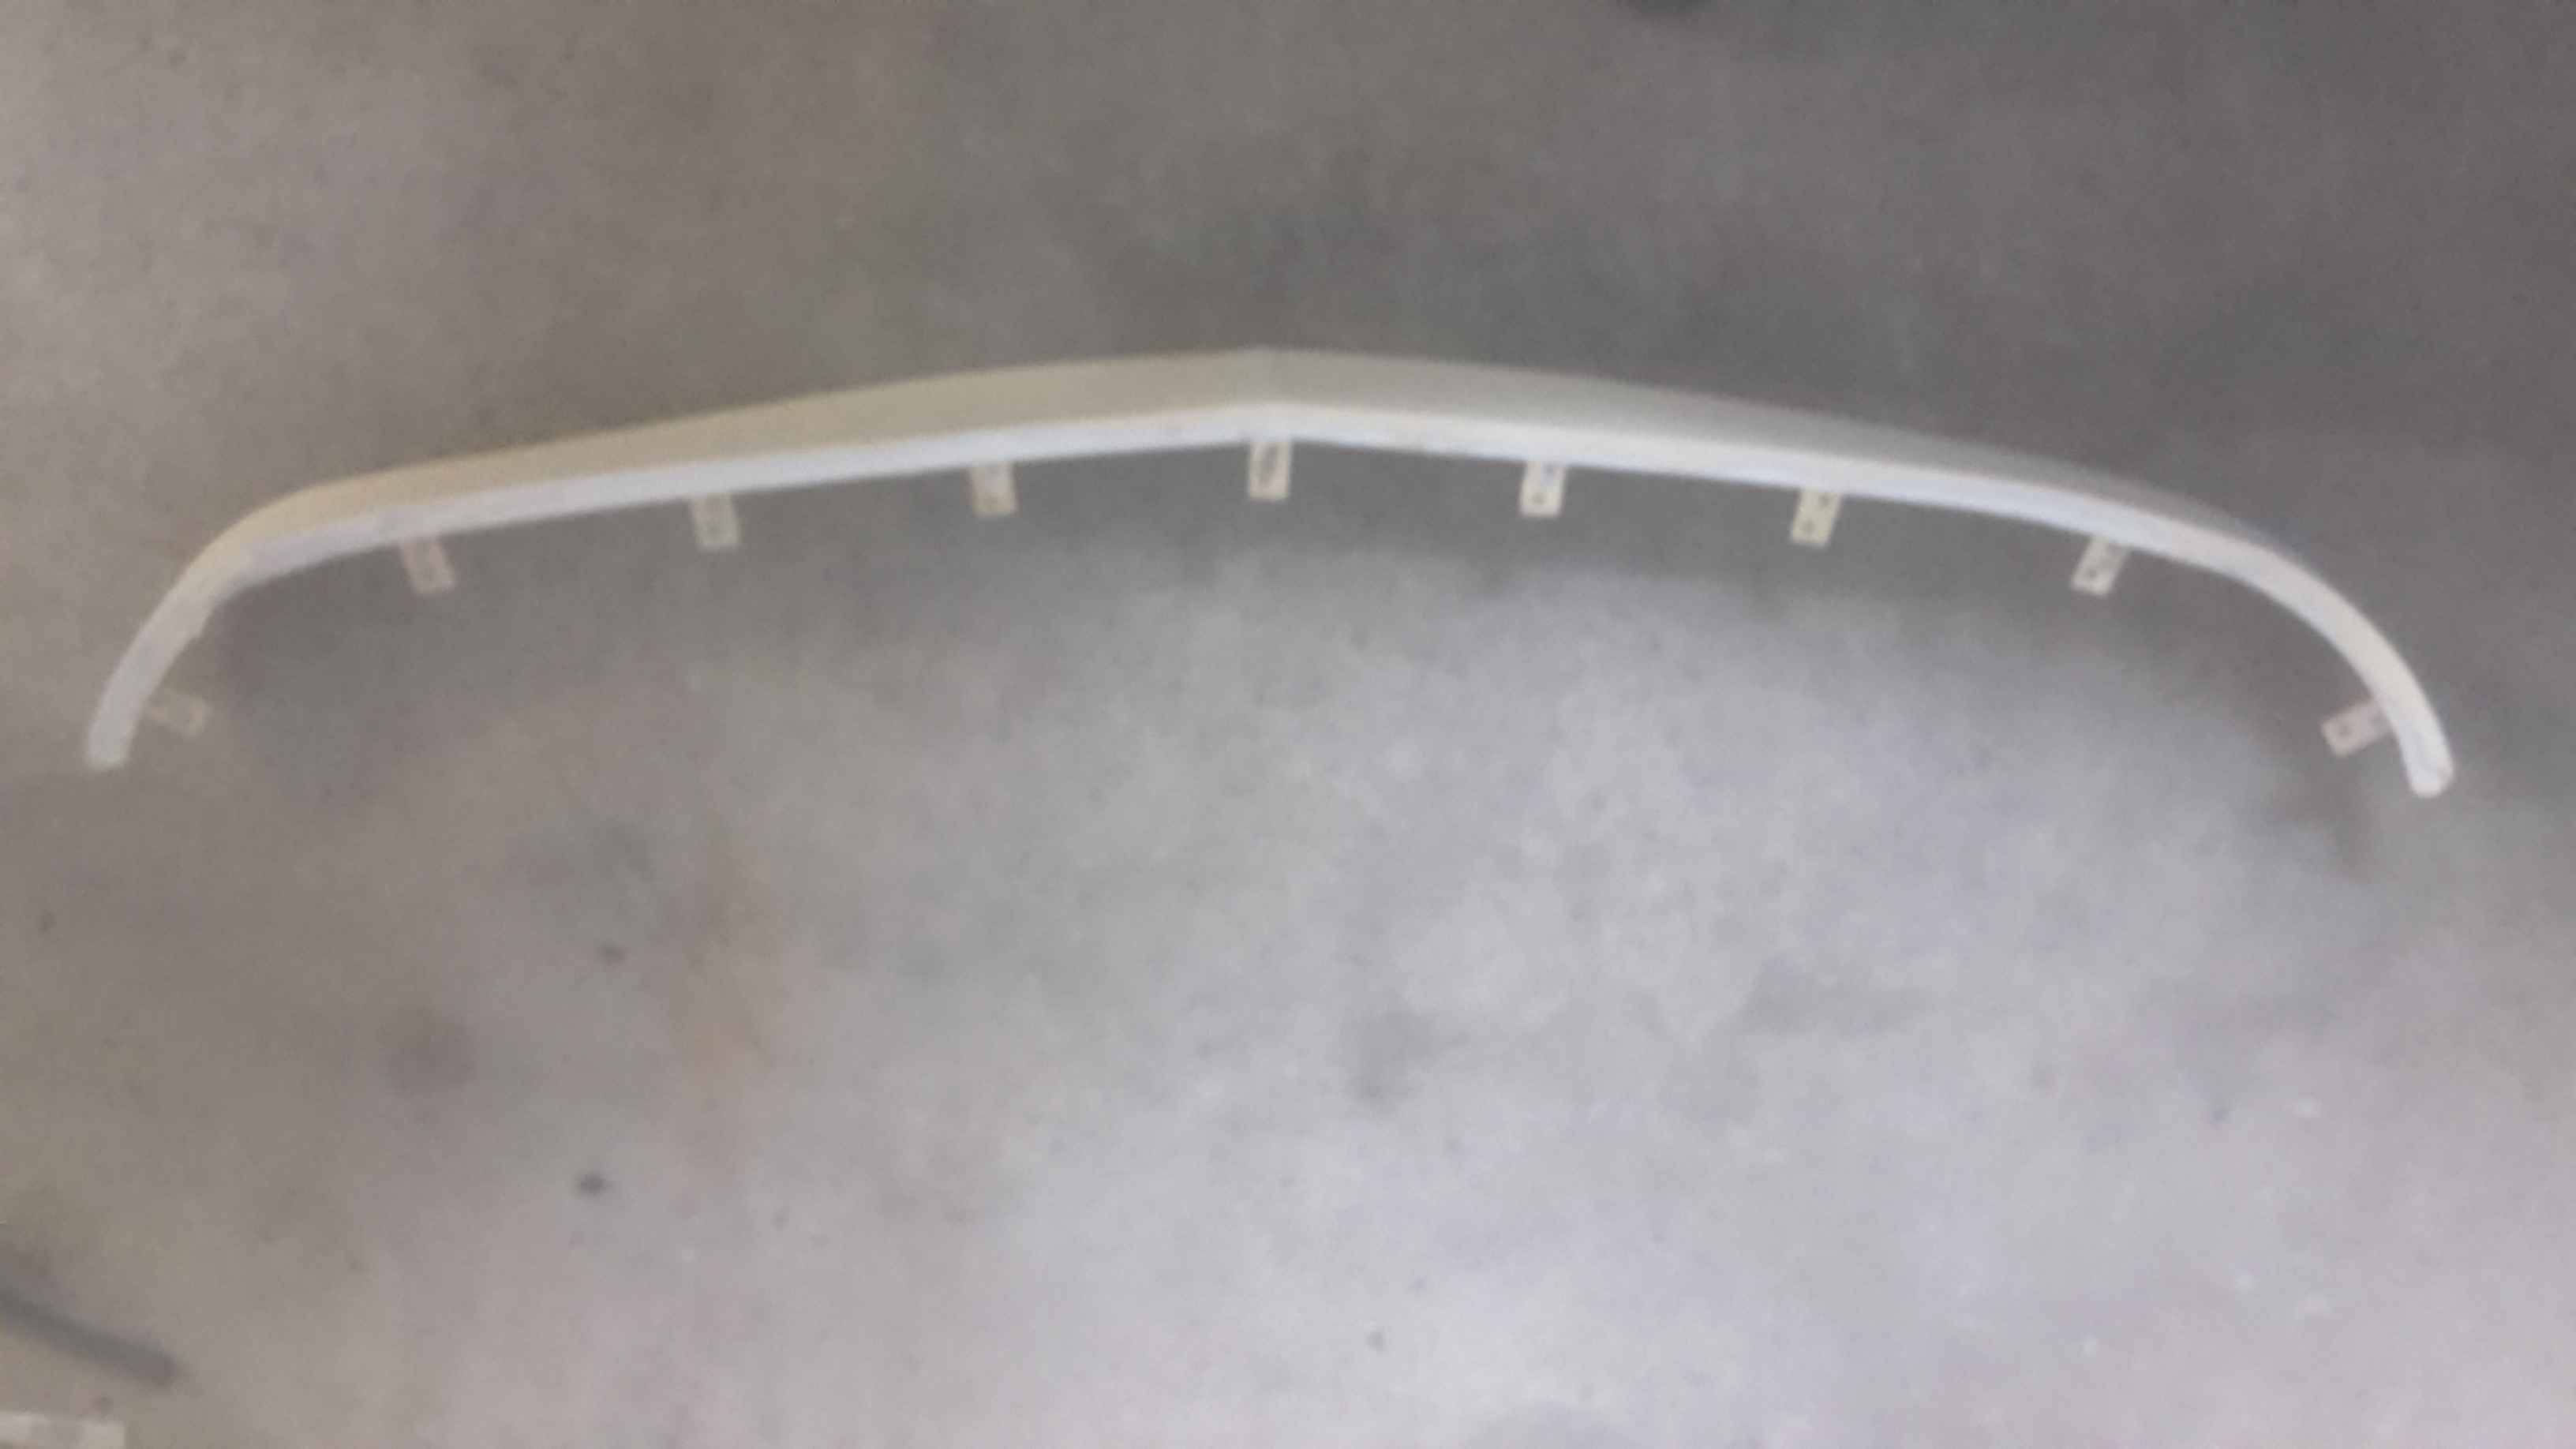
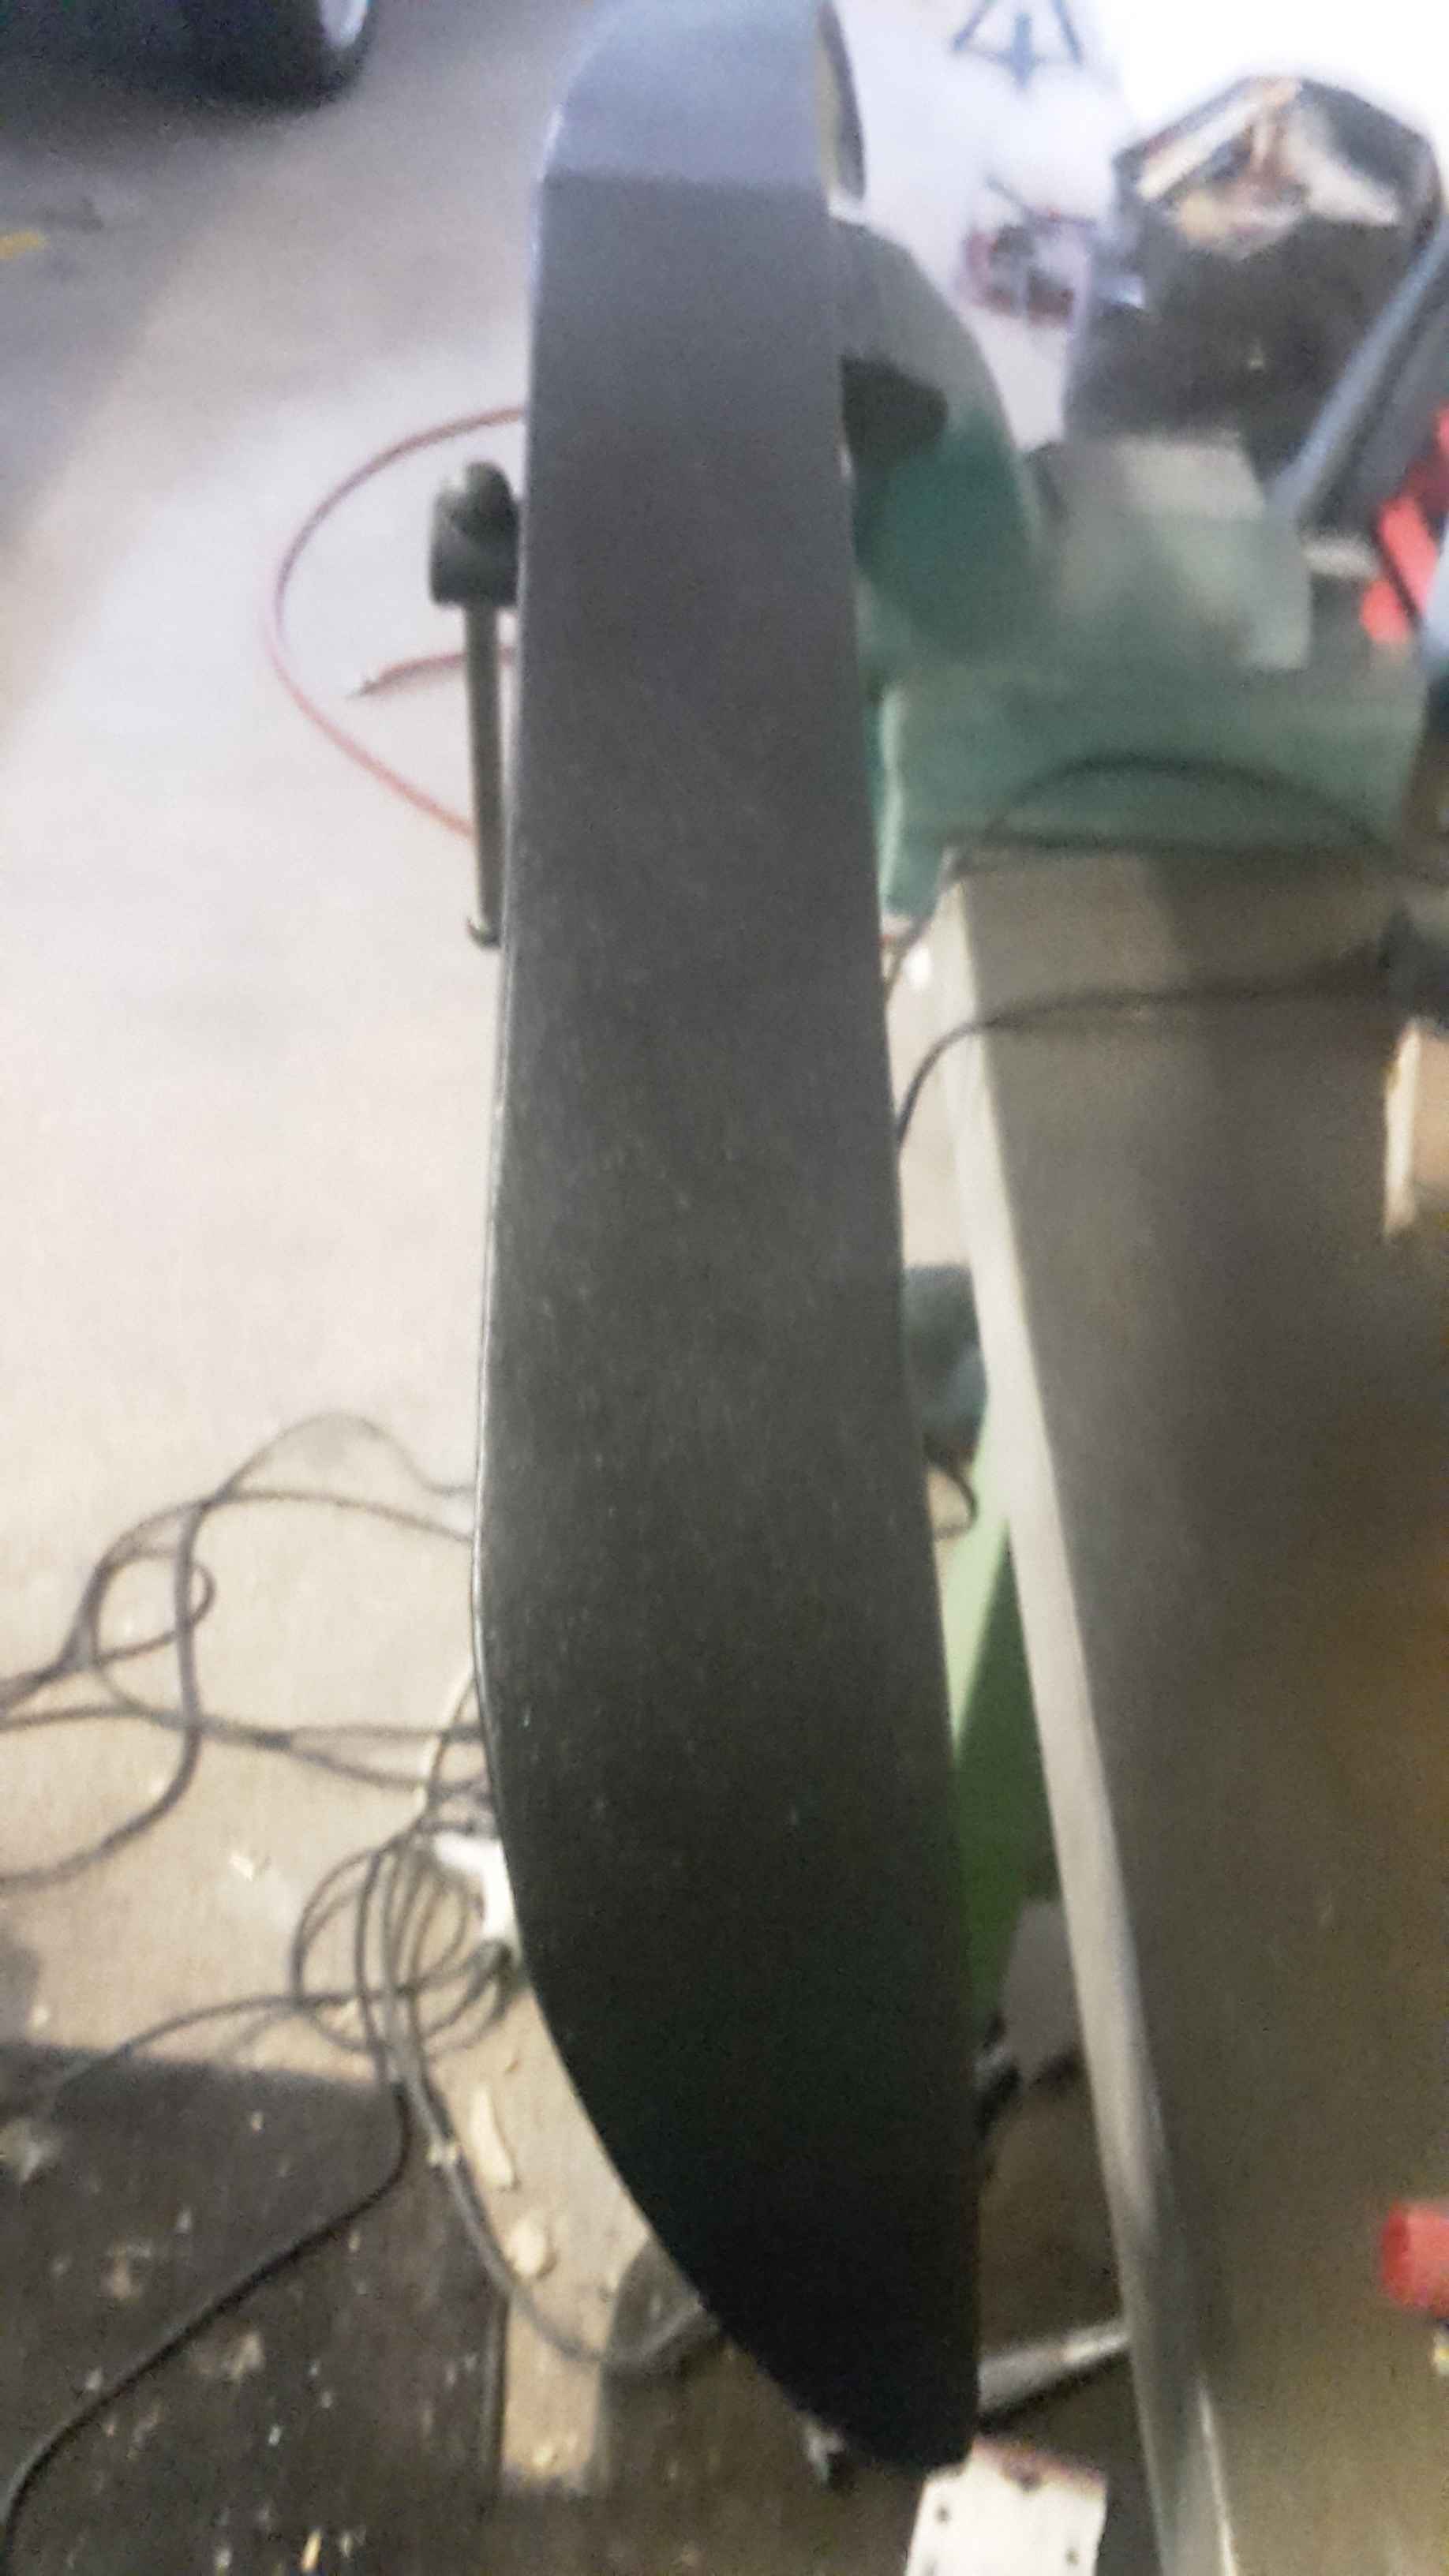
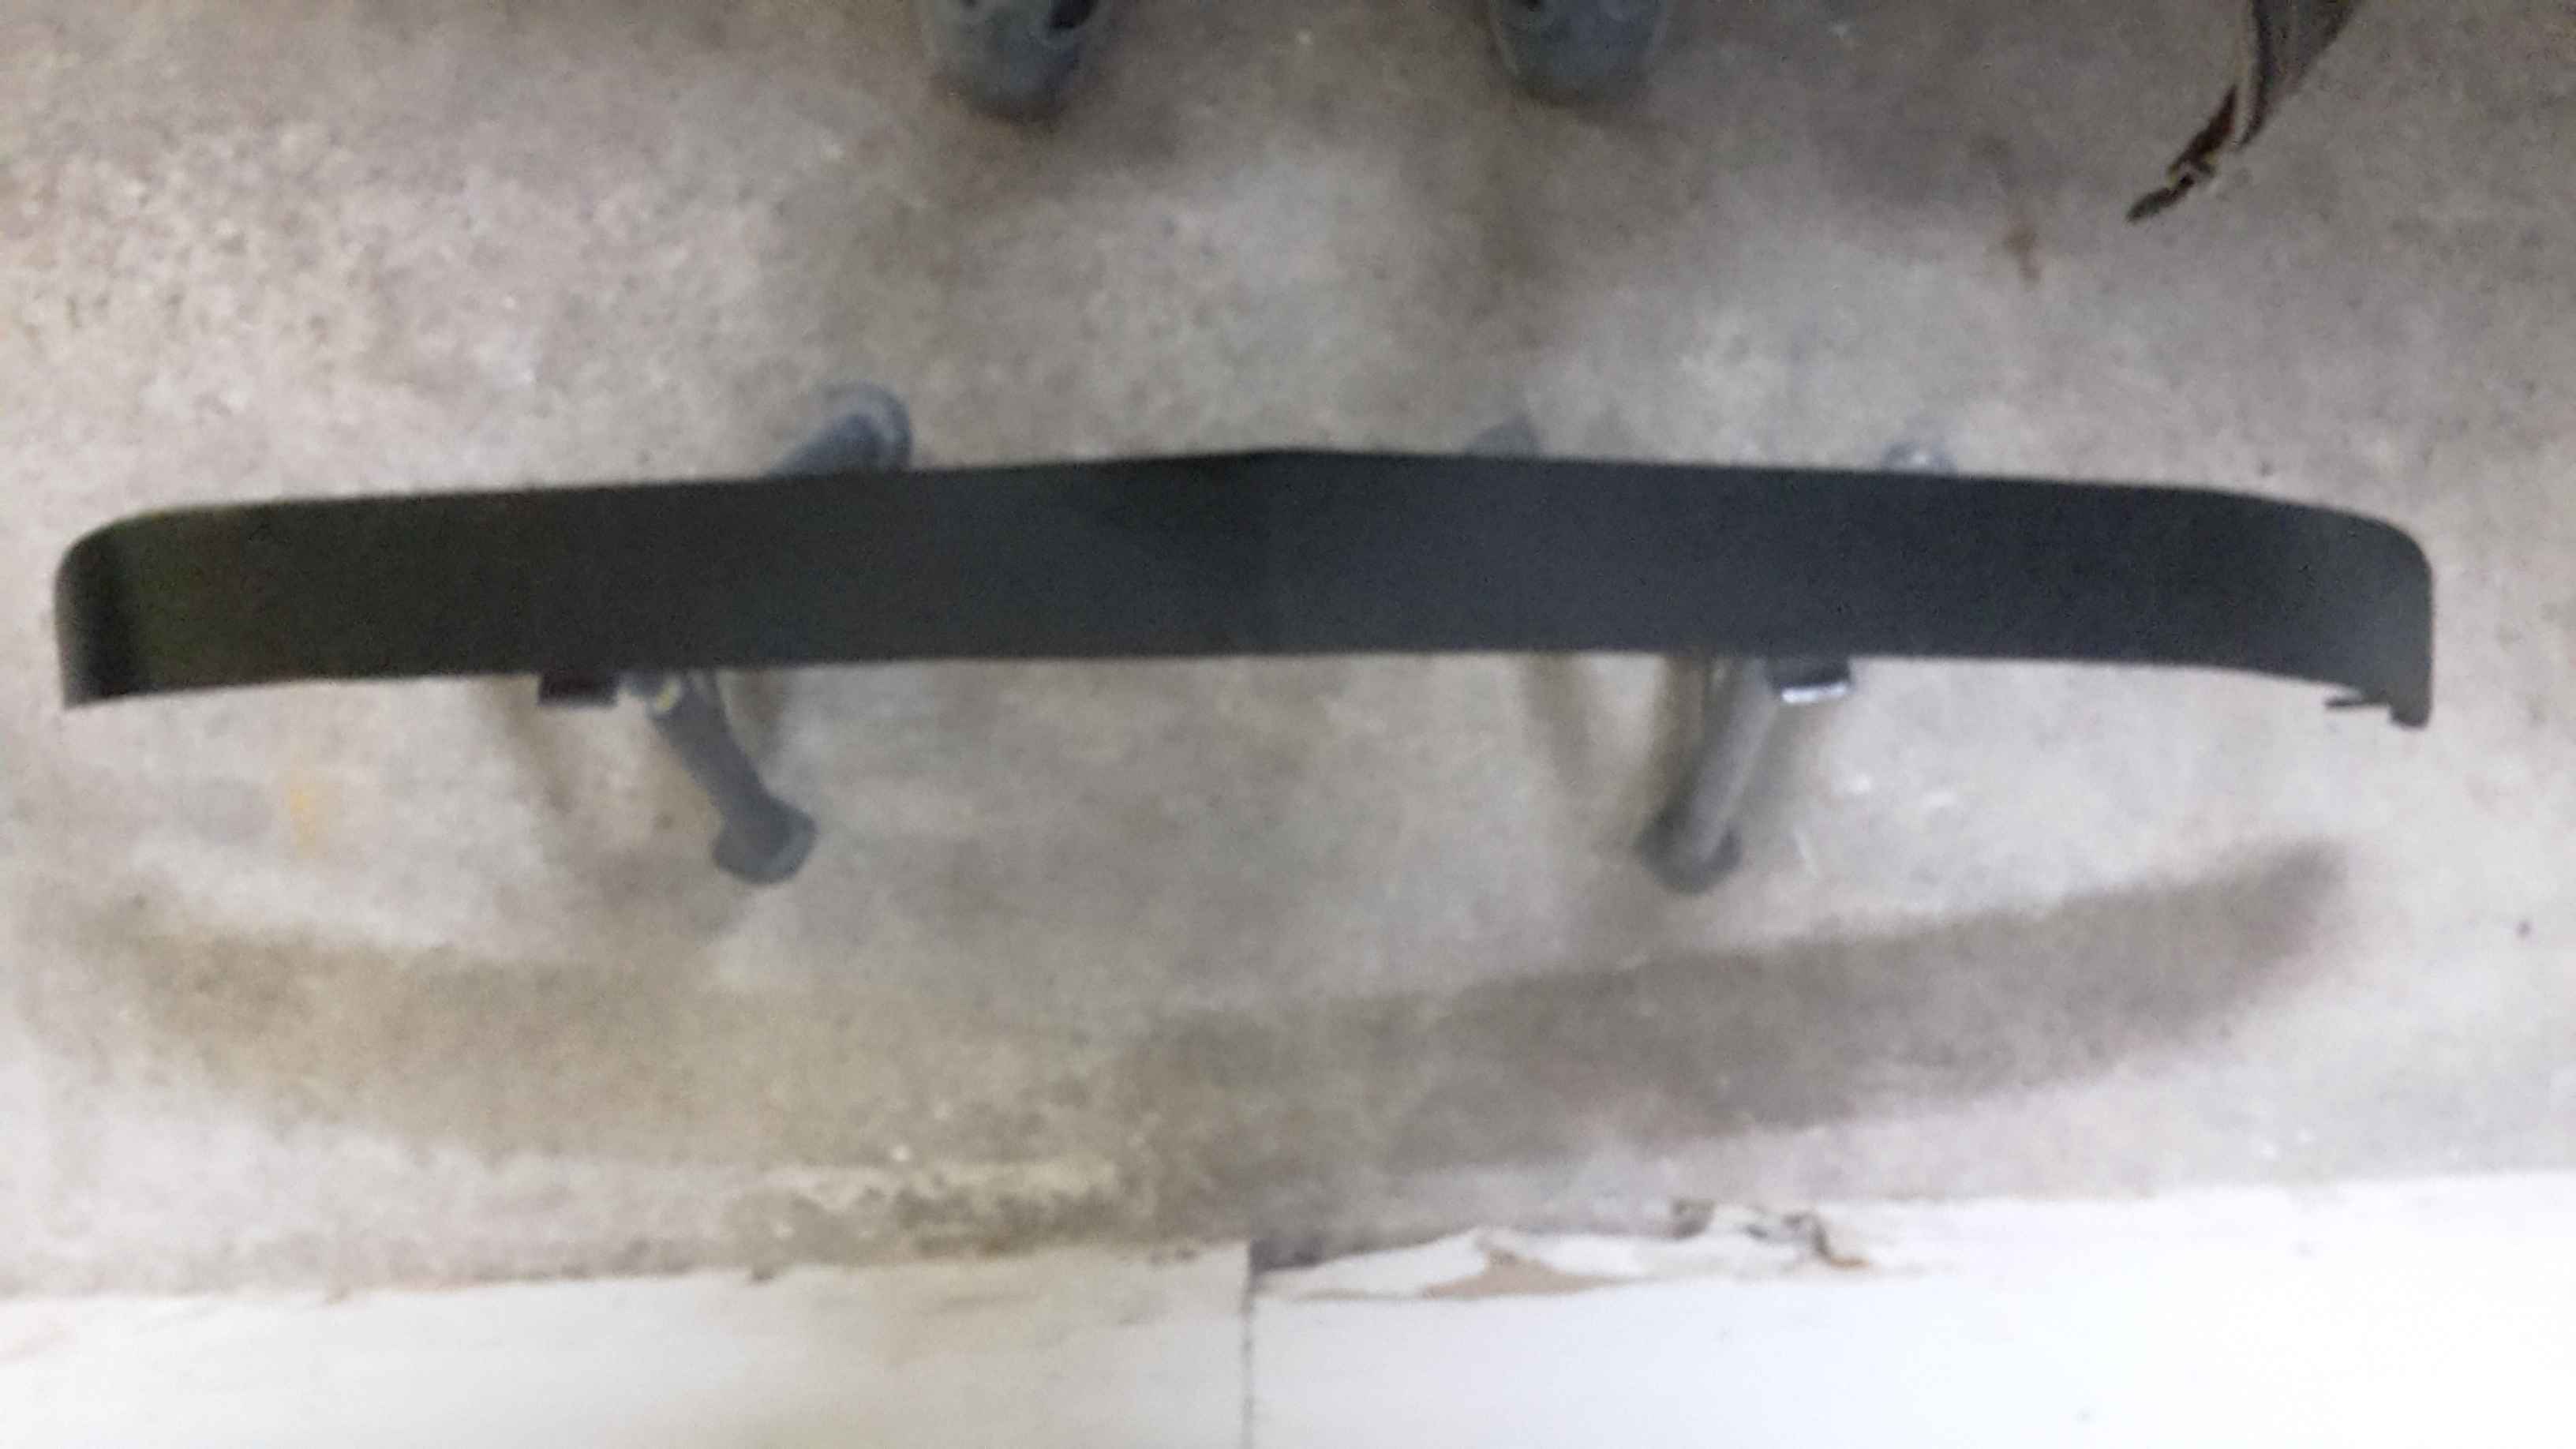
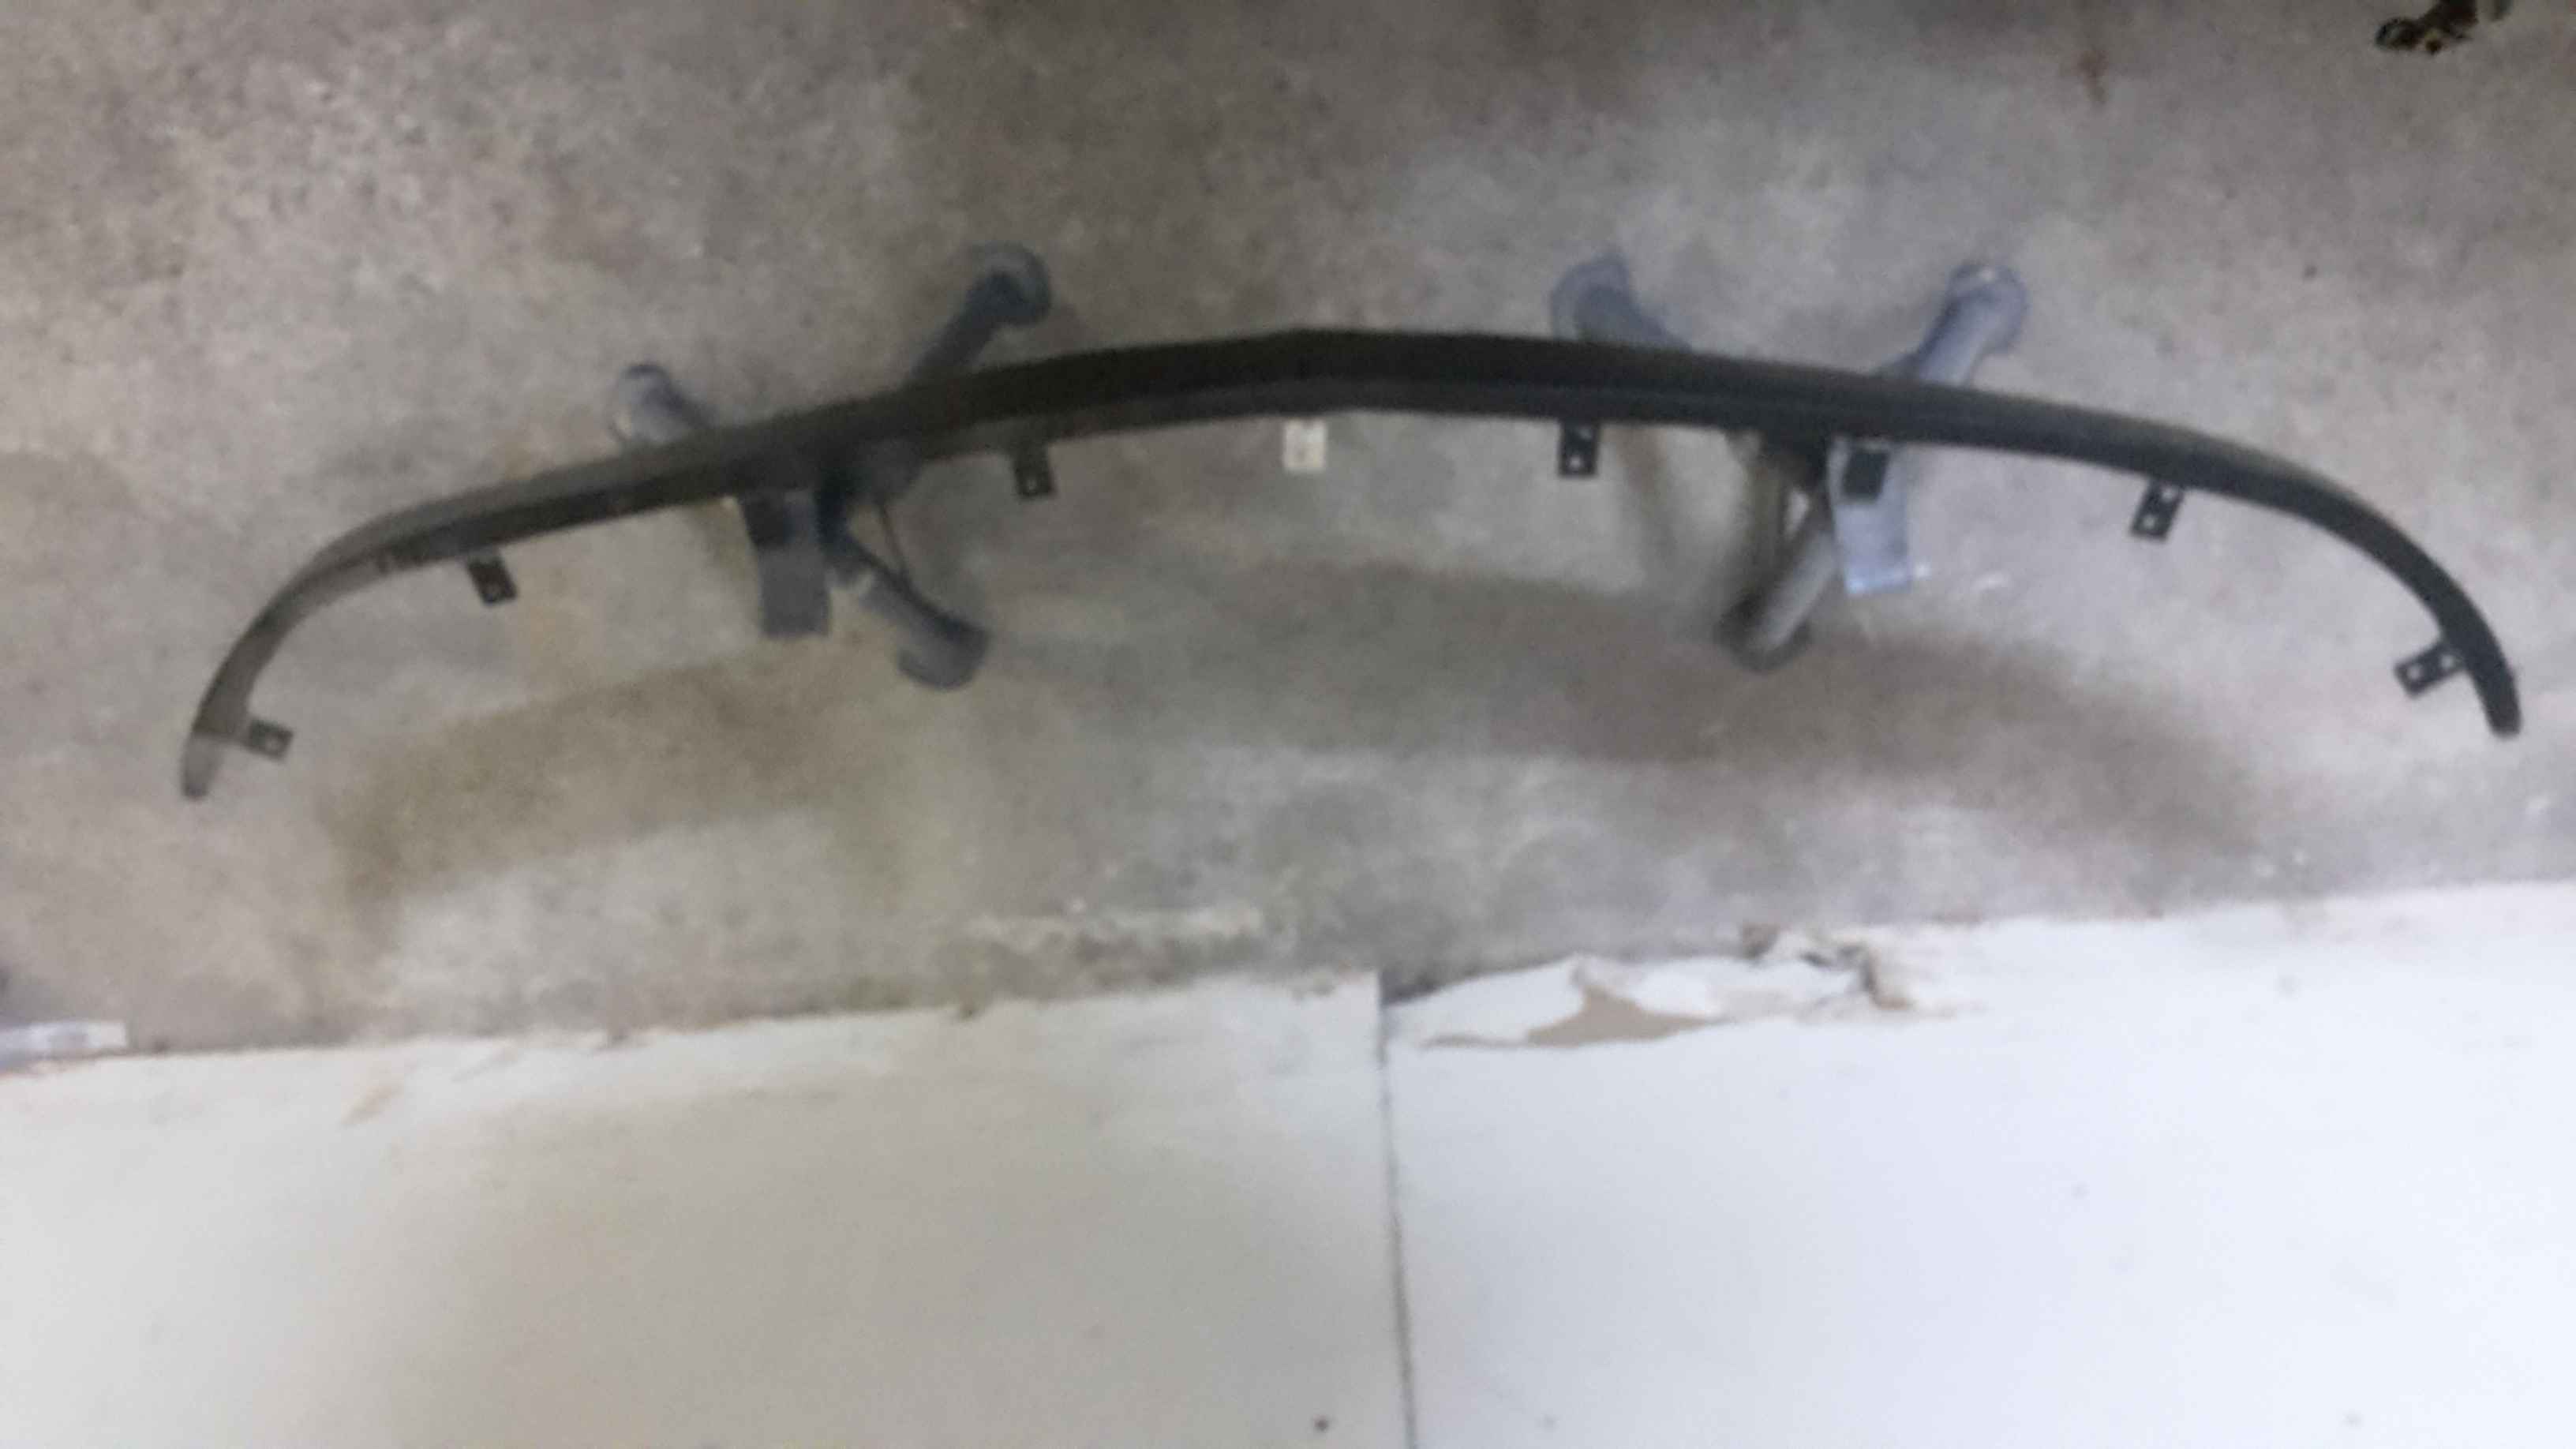
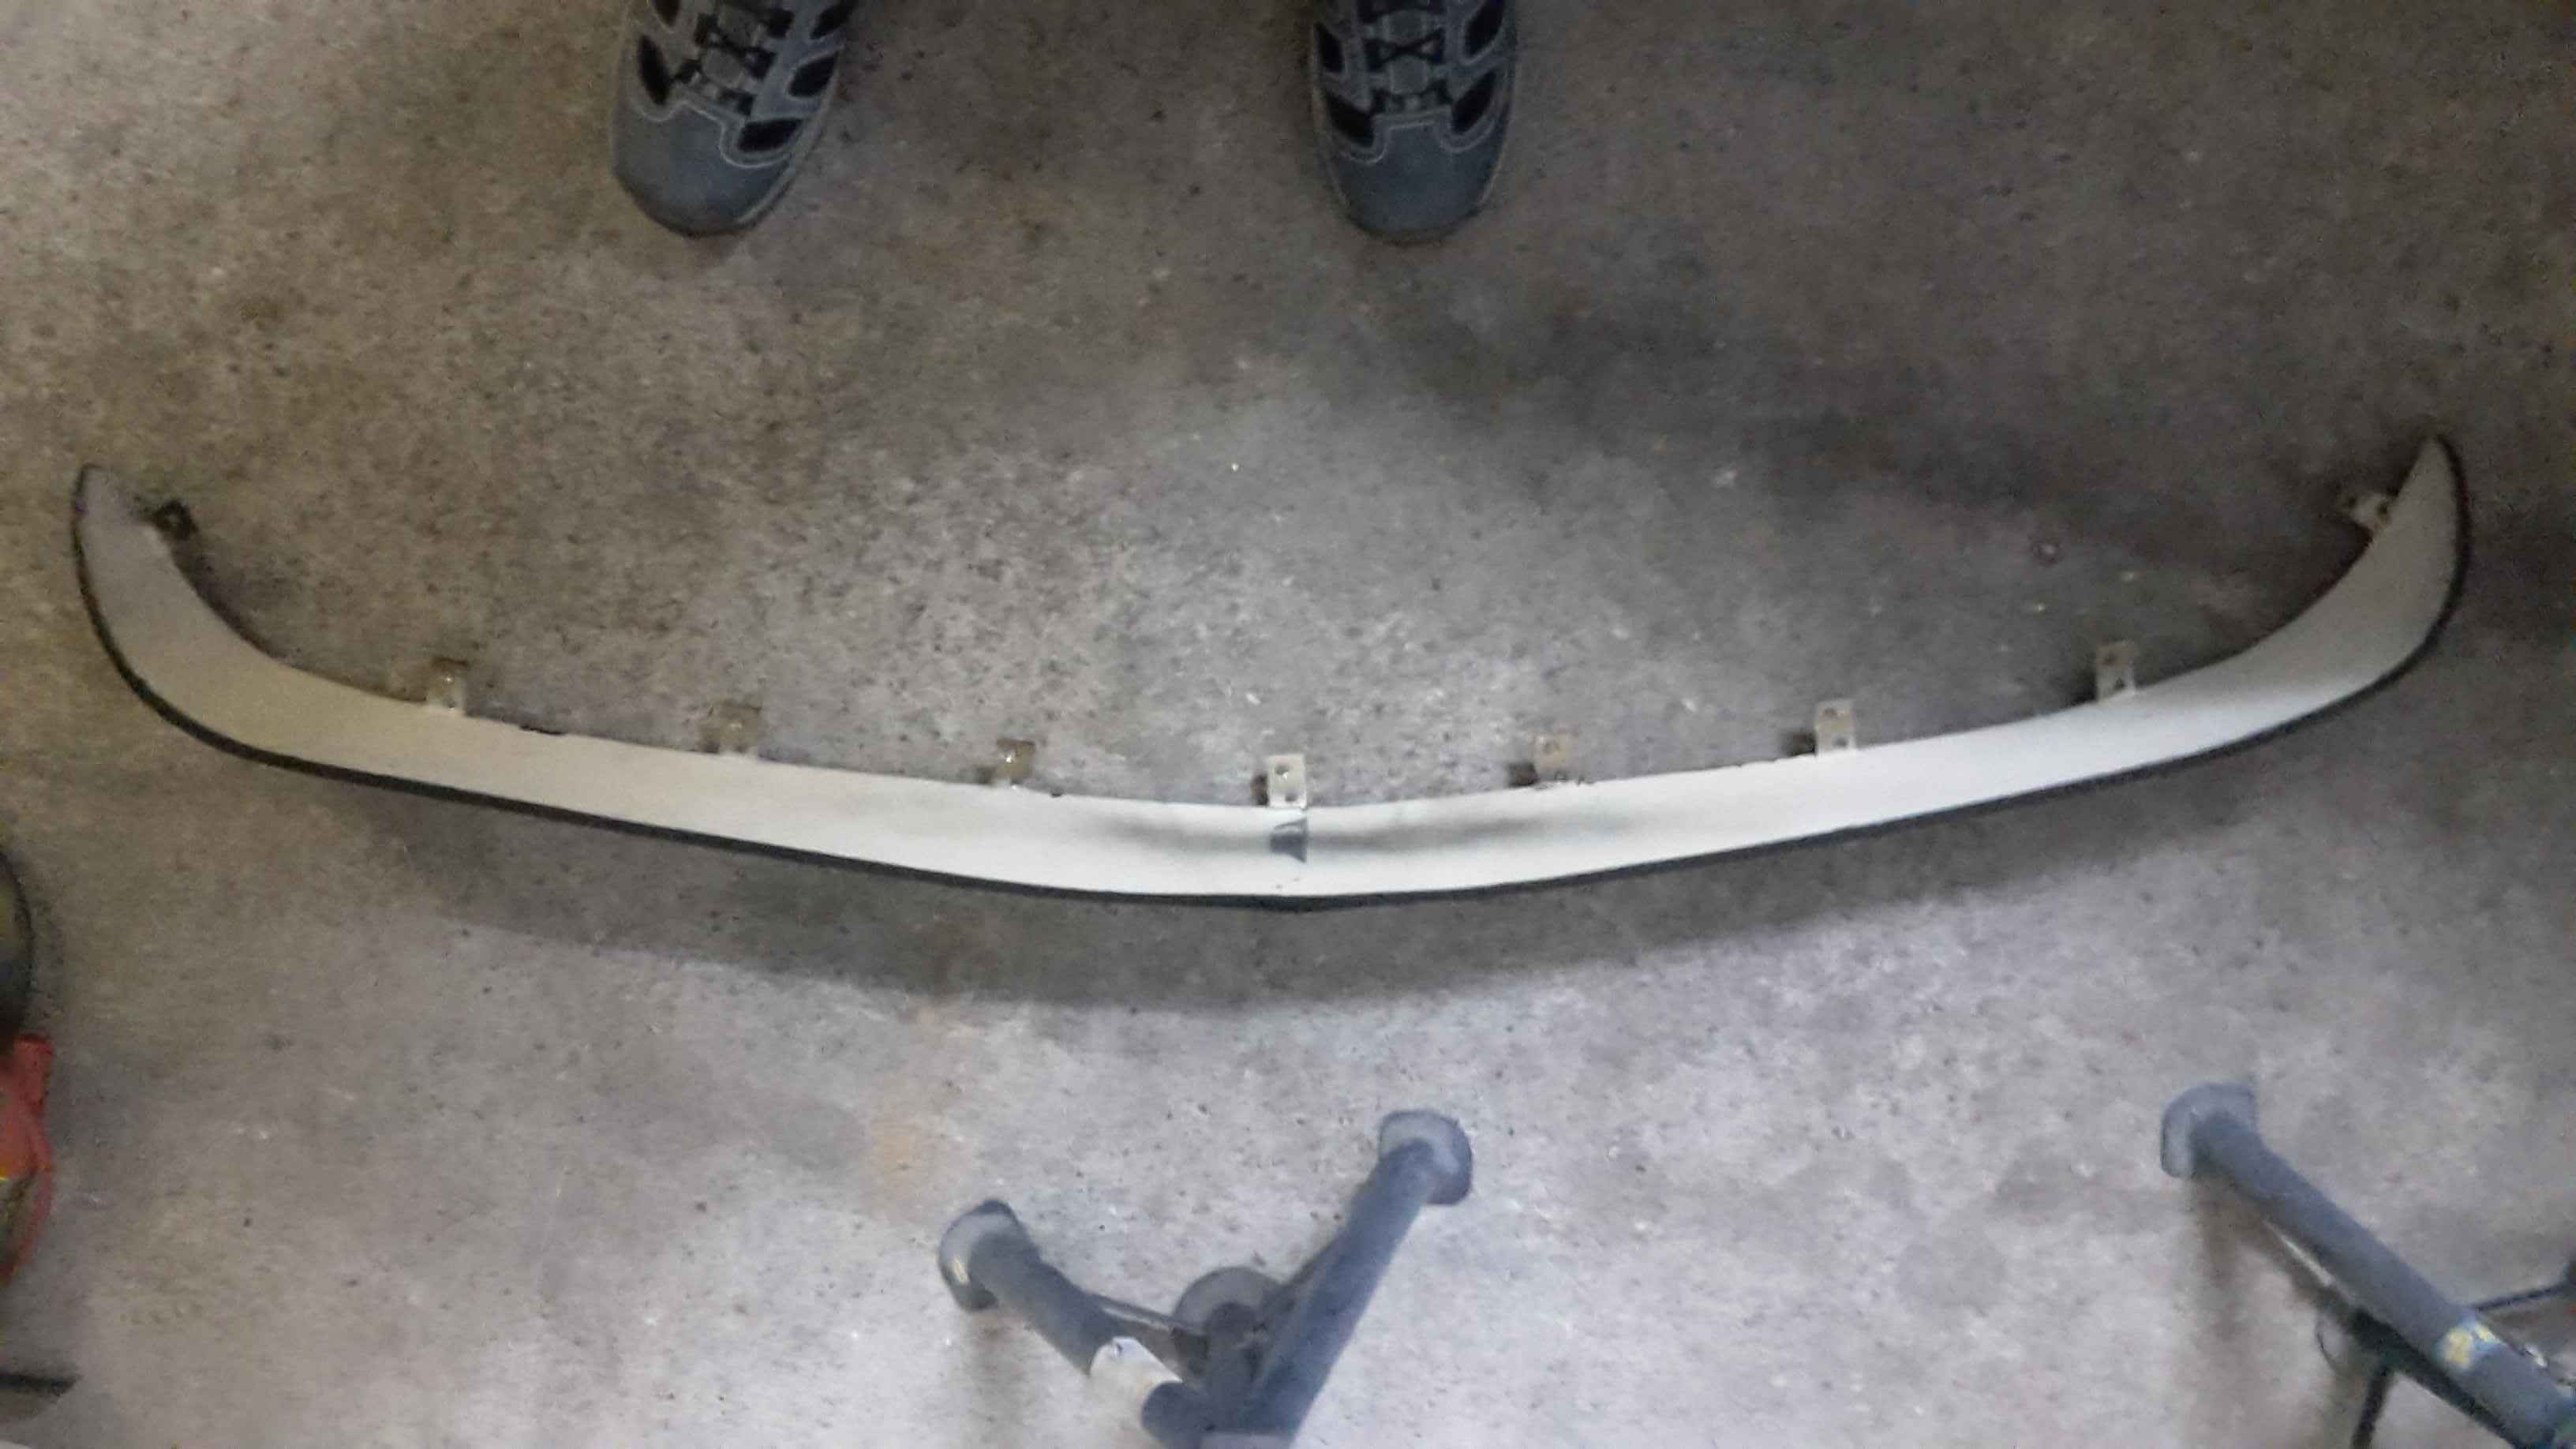
2 points2 points2 pointsThe Prototype is done the only thing I have to do ist sand down again a bit of the structure you can sort of see in the pics.(Sorry smartphone pics... I have to take a camera to make better pics) The last one is upside down. The measurements are close to the Original Urethan lip. 2cm on the top and 1cm on the bottom. In the final Urethan version I will change the Alu frame. It will have a top and middle bar to be able to change the angle (by bending) of the Lip if I want to. The bottom bar will not be there Next step is building the woodbox to create the mold. It takes time, but it goes somewhere.


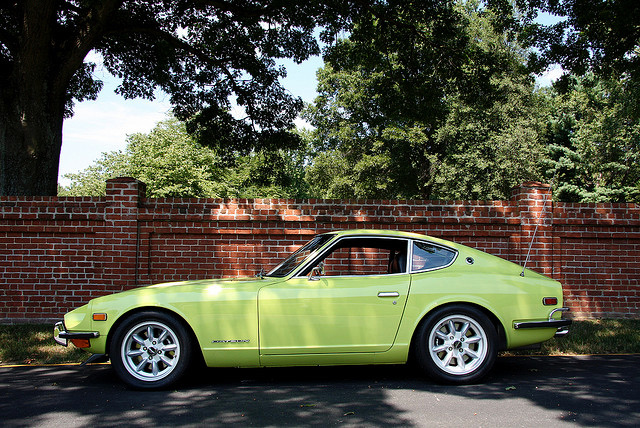
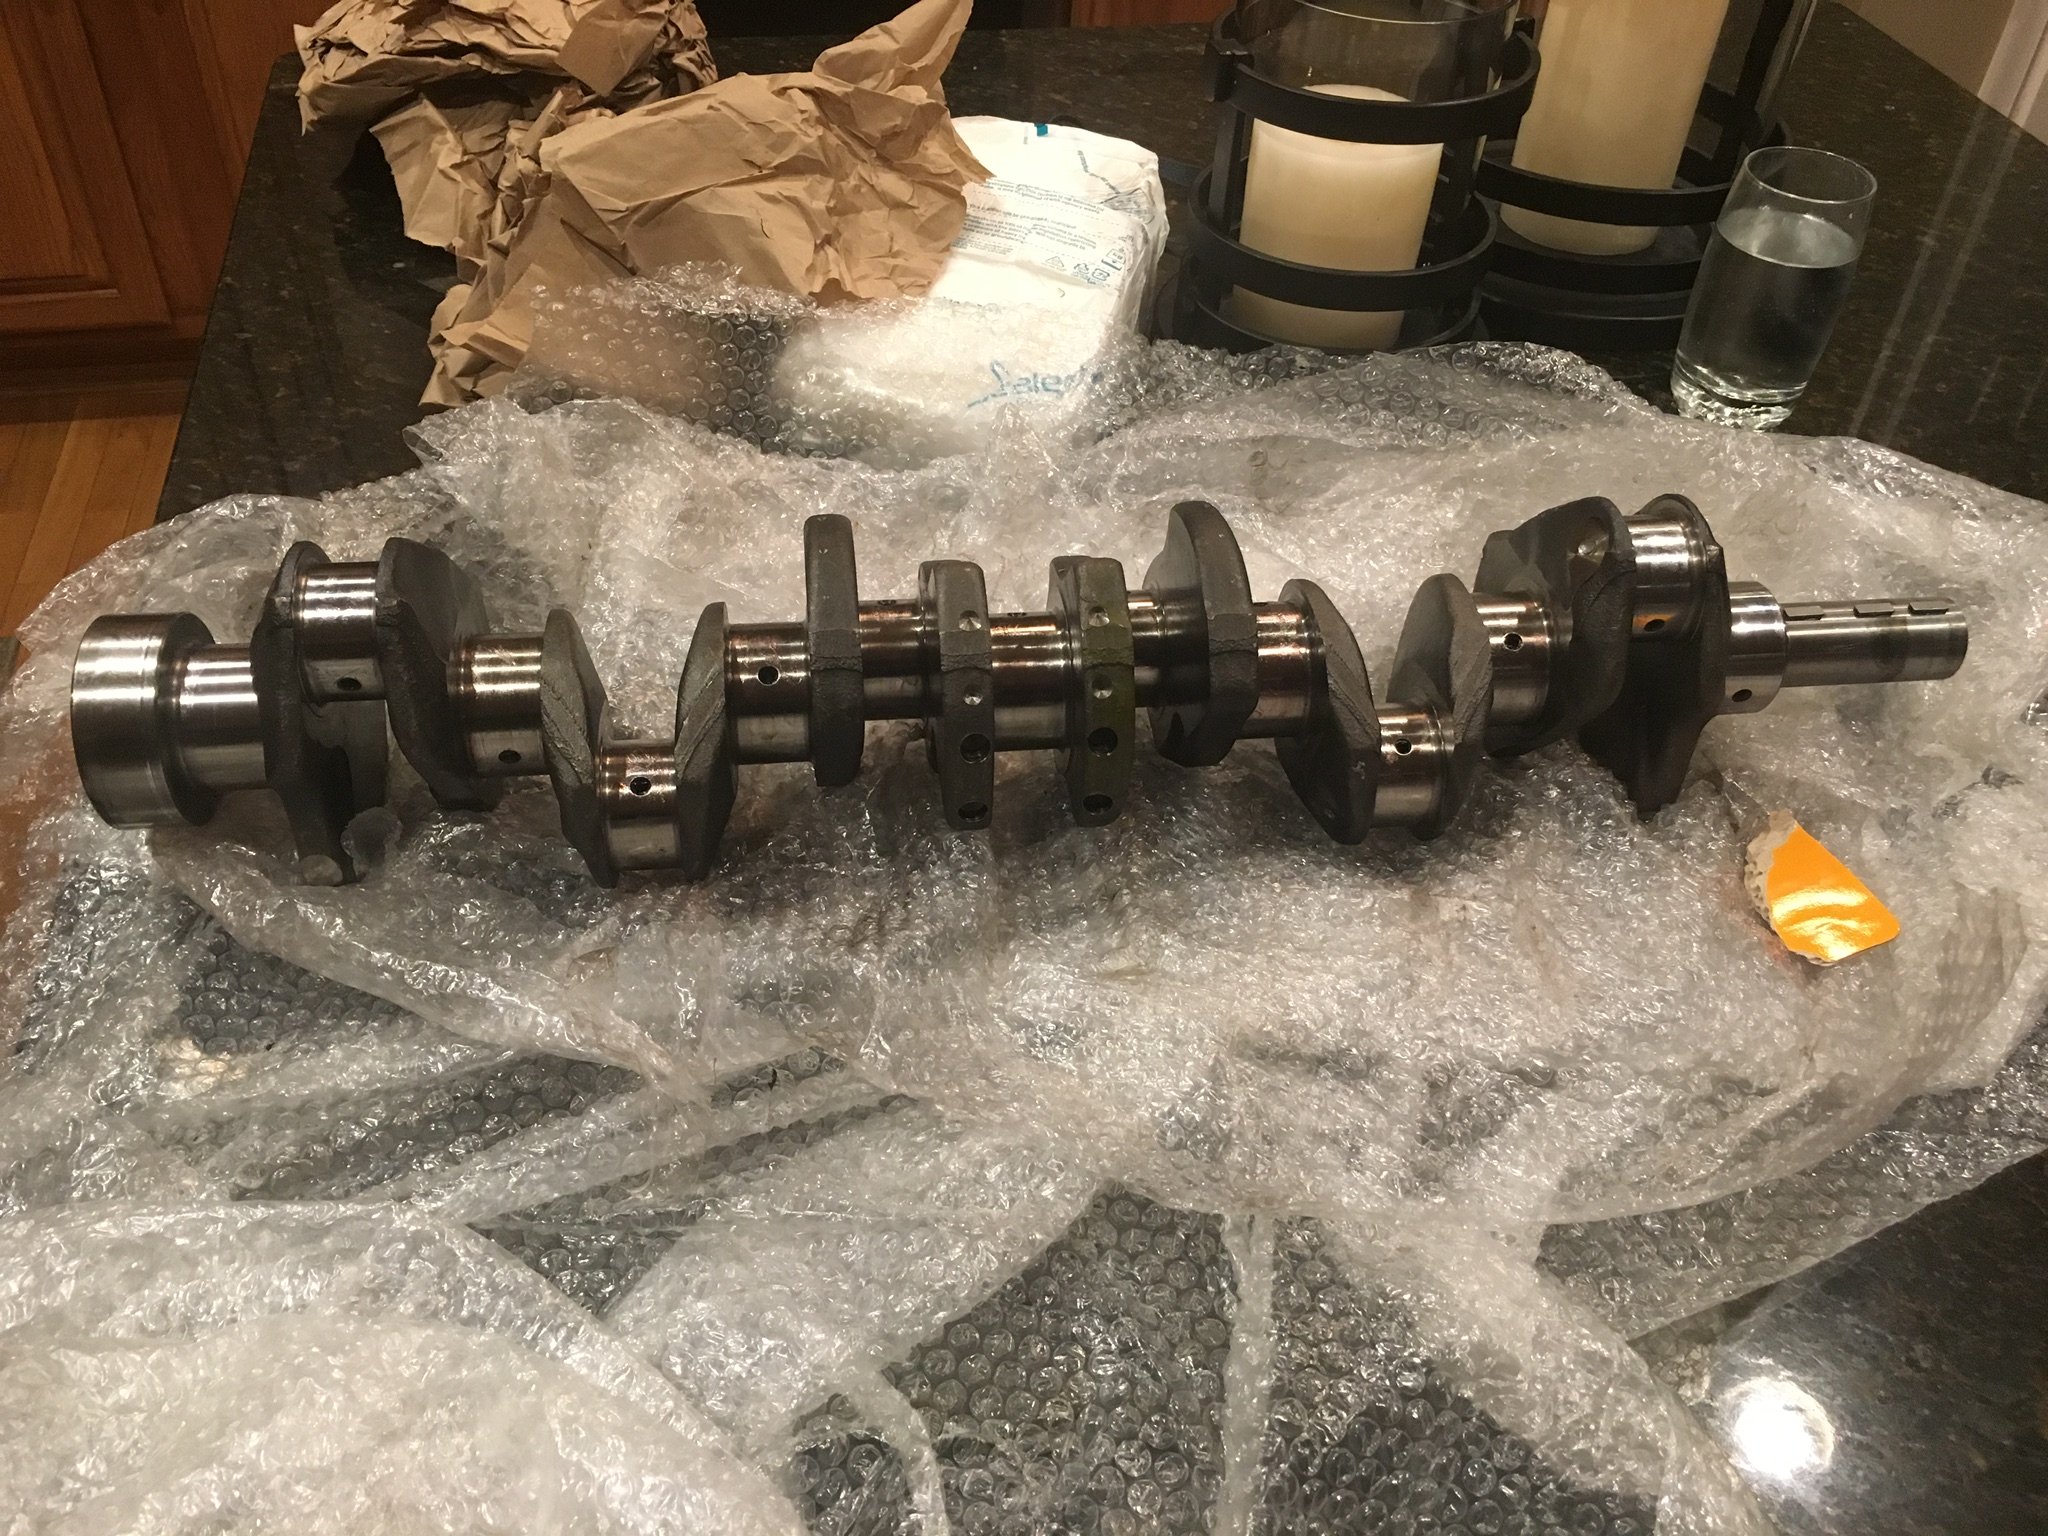
 2 points1 pointHad to do it again......gonna build another Stroker for the green 72. Will start after the first of the year.....it’ll be a 3.0.
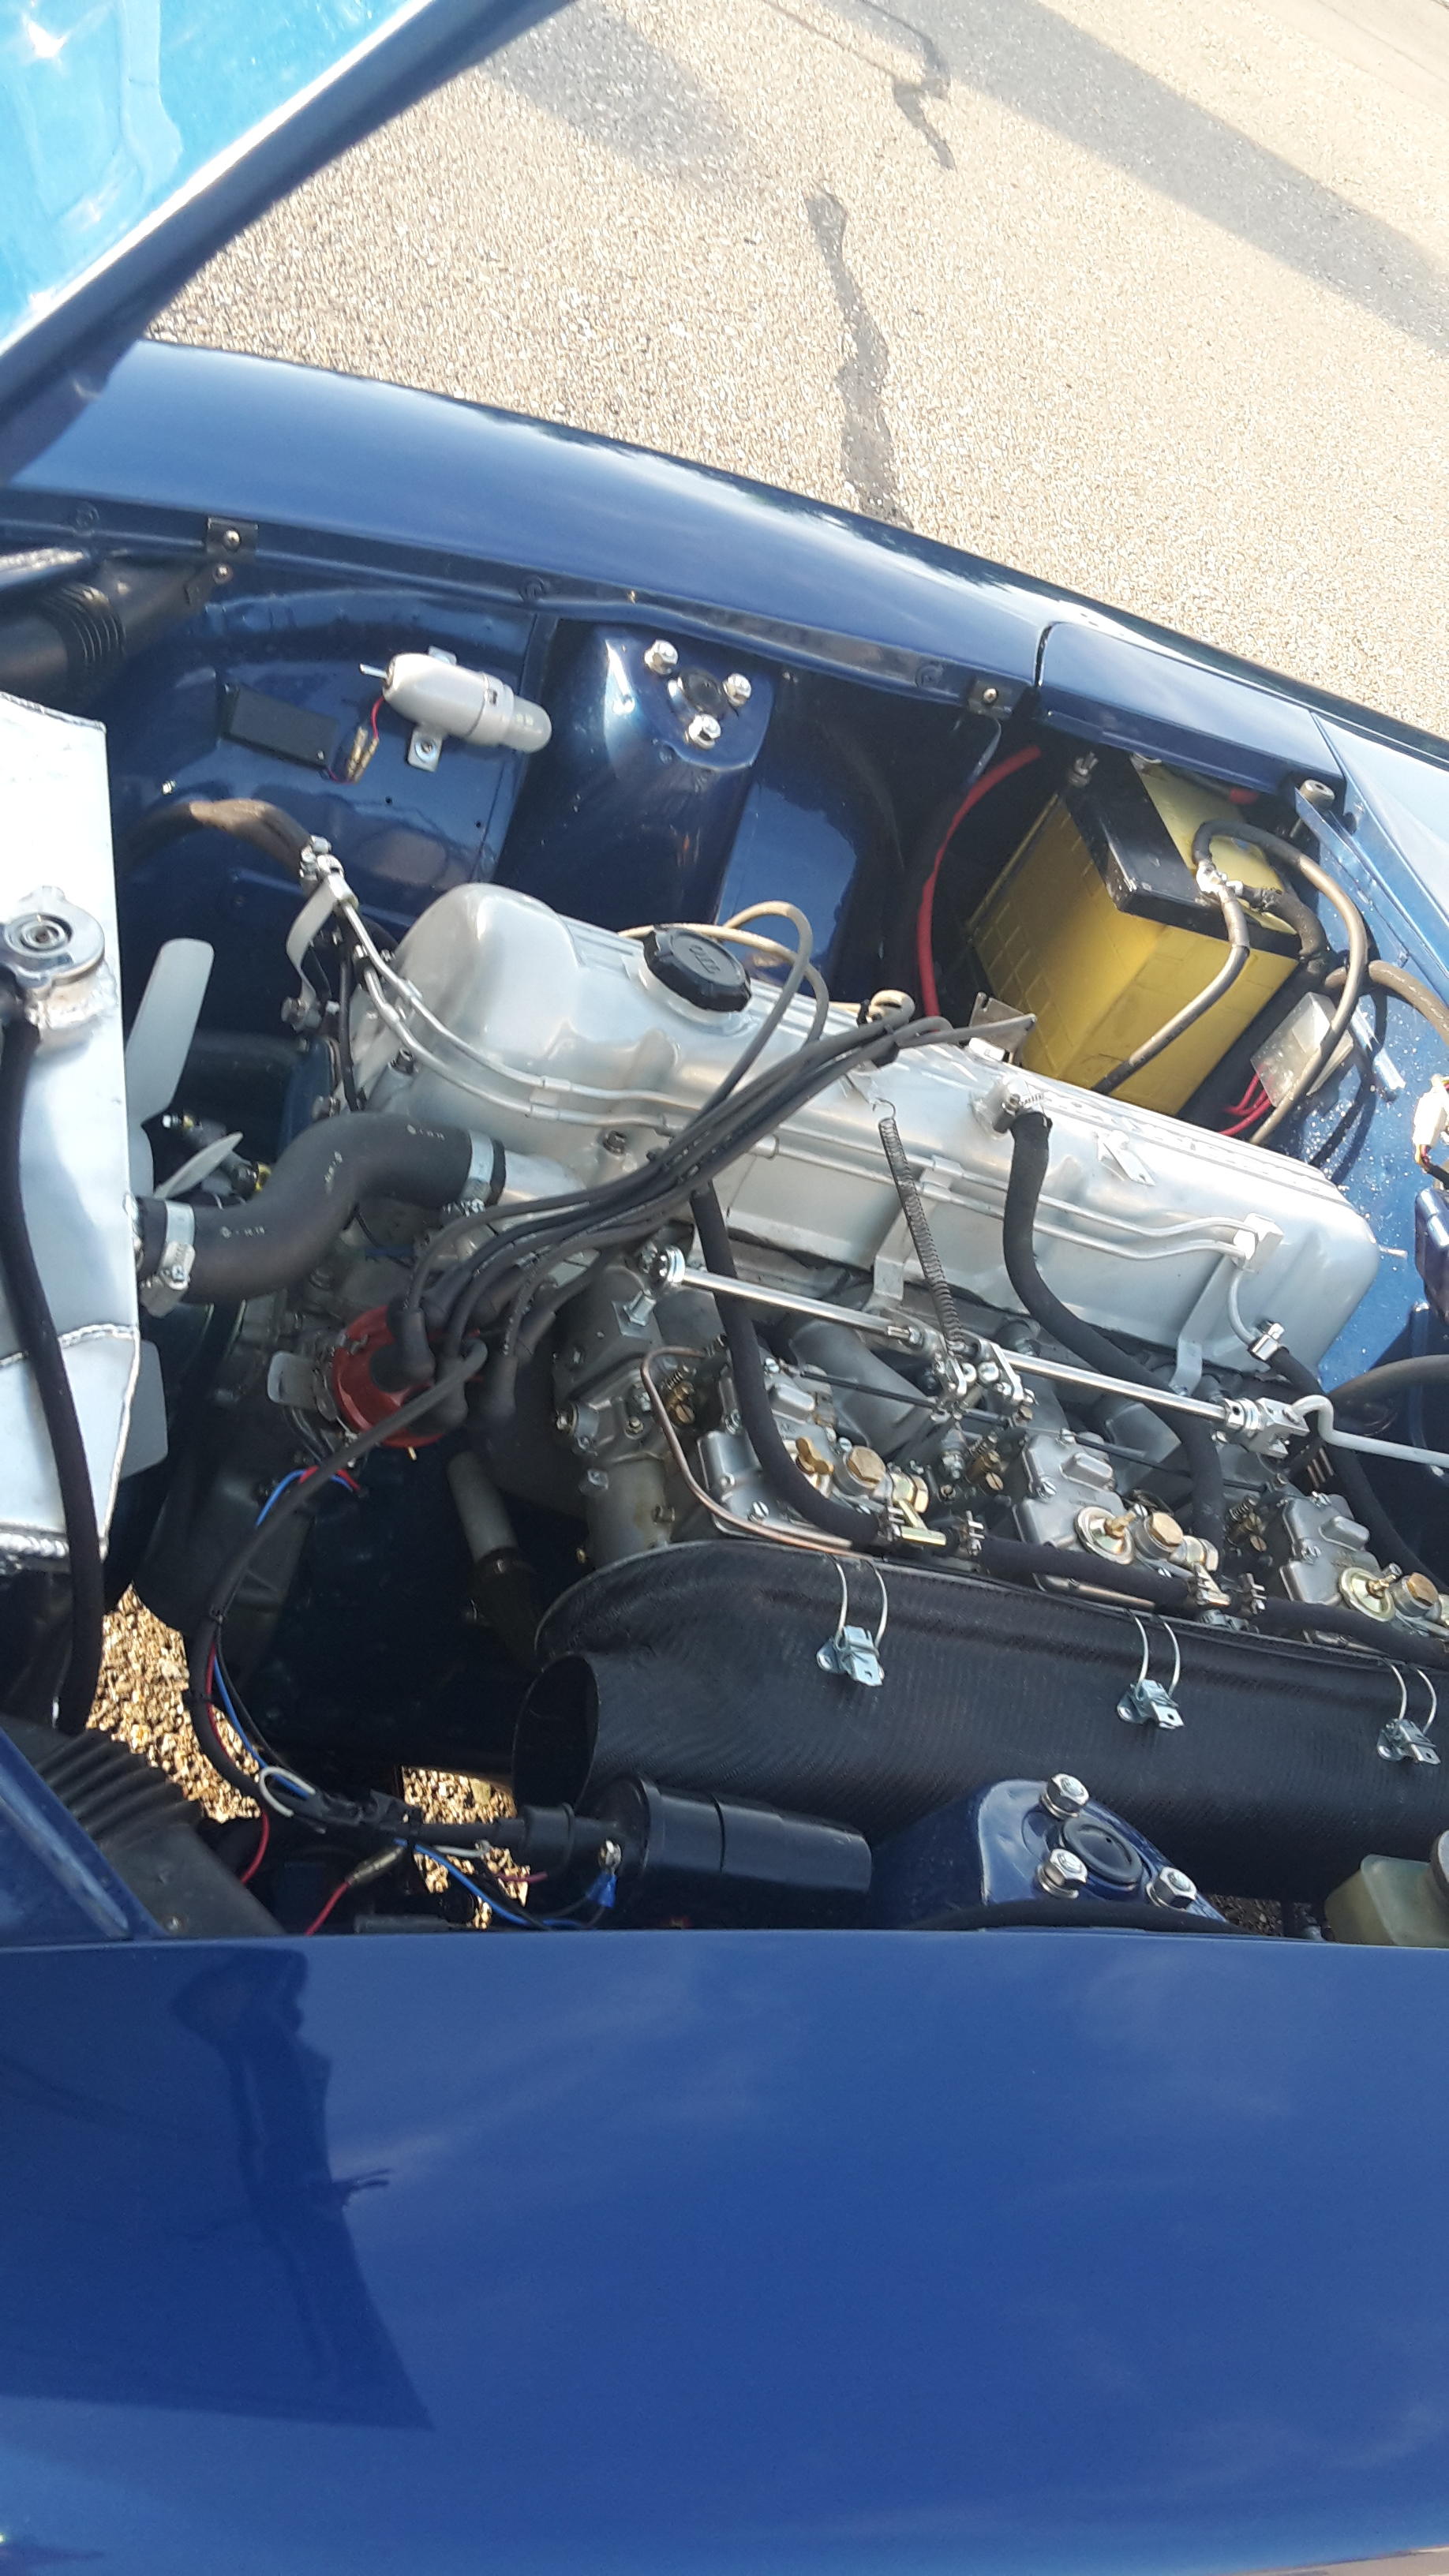
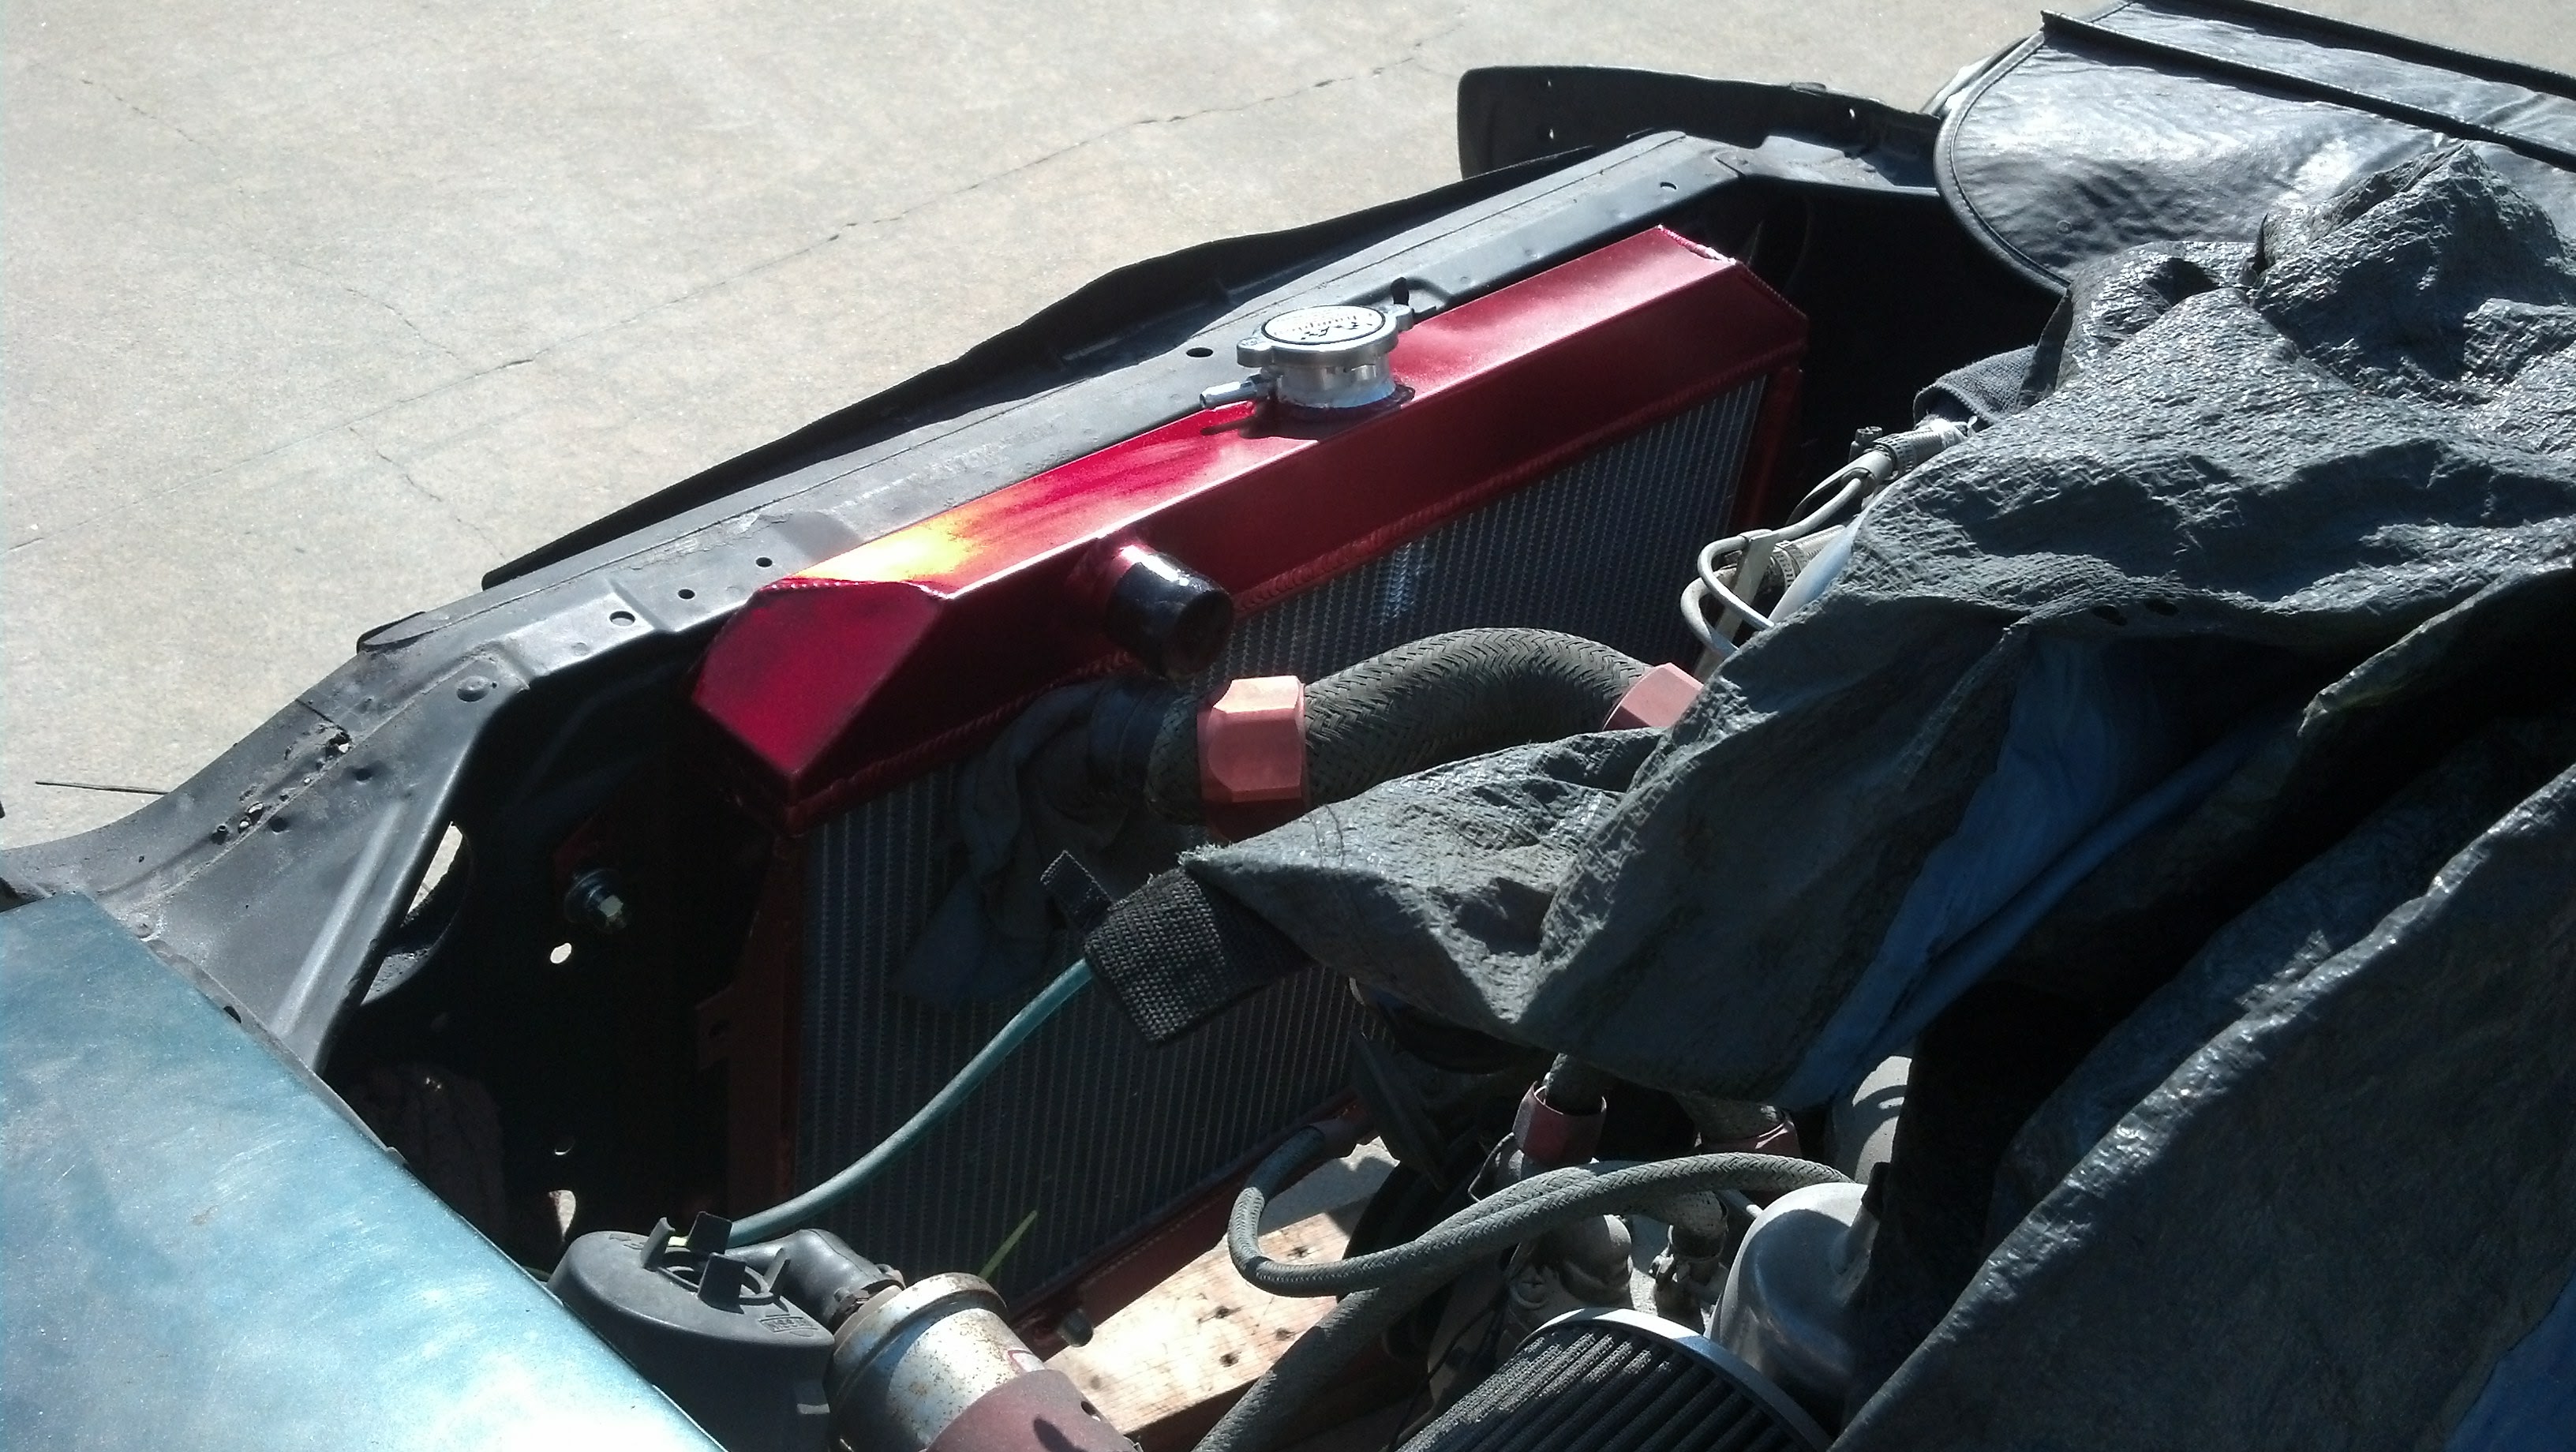
 1 pointI packed it up safe and sound 106x32x32 3.3Kg Canada Post to the Fort 50.87 $ Can Let me know. Sent from my iPhone using Classic Zcar Club mobile1 pointOkay, after reading the post that Philip provided you guys have convinced me to take the carb off and take a closer look at the throttle plate. I do not want to risk any damage the bores in the carb body. Tonight I will attempt to fill the hole and smooth out the outer edge. Seems do-able with some rosin flux and solder.1 point1 pointI bought a Champion with a desire to convert to electric fans for (A). To take the weight of the fan off the water pump (lost at least ome pump due to the weight of the original metal fan), (B). I have read that it reuslts in a few more horses, (yet to be confirmed). Champions fan attachment is not the best and in addition you have to buy the control circuit seperately. I live on the east coast of central Florida and there are some days when unquestioned cooling is essential. When I get it all installed I will give some first impressions. I painted the tanks on mine just because ...................I'm cool like that!
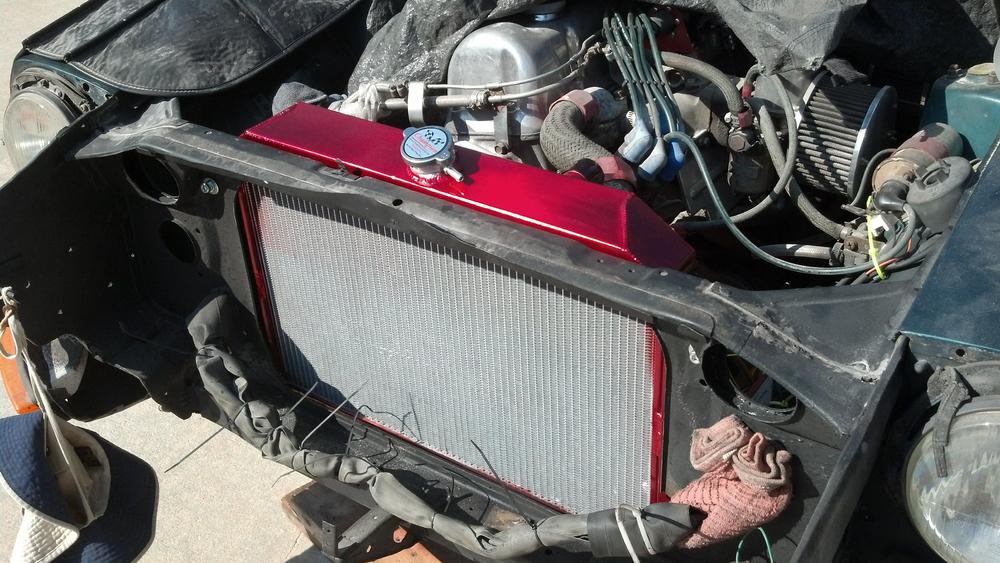
 1 point1 point1 point1 pointI wish more people from here would go to the show and swap meet at Carlisle. We have 2000+ show cars, race car display, hundreds of vendor spaces, cars for sale, auto-x, drifting, burnout contest, scenic cruise, bikini contest, etc. http://www.carlisleevents.com/carlisle-events/carlisle-import-and-performance-nationals/default.aspx Chuck1 point1 pointAt what point of opening the door did you notice the drop issue? Or was it, instead, something you noticed when you were trying to close the door? (e.g. door latch wouldn't line up with the striker plate and/or the stopper ramp) Also: How many miles are on the odometer of your car? (trying to get a sense of how much use the vehicle has to see before this kind of hinge-wear problem becomes an issue needing attention) And: It appears from your photos and comments that the pin wear problem was largely restricted to the lower hinge (the one with the spring). Since the upper and lower hinges should see approx. the same loadings as they take up the wright of the door, it appears that the excessive wear in the lower hinge's pin could be related to the transverse load that the spring being applies to the top of the pin. Either that, or Nissan decided to use extra-crappy steel for the lower pin. What are your thoughts on this, having taken the door off and disassembled both hinges so that they were lying there on the bench for you to stare at? Also: Has anyone with an early Z (no spring/detent in the door hinges) noticed this kind of pin wear in the lower hinge?1 point1 pointYes, great work! You're one of the crew I'd take to the Moon. I think you could fix anything on the Shuttle with some simple tools.1 pointI've removed many Z windshields and always use a box cutter. Never broken or cracked one. It takes just a few minutes. I'll be building a 280Z turbo soon. Is anyone interested in pictures and/or a video with a write-up on removal of the windshield and hatch glass? Chuck1 point1 pointI always look forward to your projects Hardway.....hope you come to Atlanta next year!1 point1 pointsome of the best ideas (and worst) start with good beer1 point1 pointAlways to nice see a DIY solution. Great work. You know, that spring really really looks like an inner valve spring.... hmmmm....1 point1 pointWell, it was a different time and place back then, wasn't it? The concept of safety systems and warning lights was brand new (how many warning lights were there on the dash panel of a 55 Chevy?). We'd all been reading about Mercury and Gemini capsules and Mission Control and supersonic aircraft and James Bond, and it seemed like there could be no such thing as too many warning lights. Or buzzers. Or digital warning messages ('Your door is ajar.') Of course, we're much smarter now.1 point1 pointI feel like I'm taking crazy pills here. I've skimmed over most of this, but in my mind it's dead simple. If a car has a VIN # stamped on the firewall, that's the car it was and always will be. The other riveted on tags in the engine bay, door jamb, or dashboard are all removable and in the case of the car the original poster is talking about have come from another car. As to the circumstances that have lead to that outcome, well that's the unknown, but of course it could range from rather nefarious actions taken by someone in the past or more innocent reasons (I'm guessing the former to be honest). The way I see it the car is the number as indicated on it's chassis engraving / firewall section etc.. All other ID tags should be removed and the ID of that vehicle should be assumed dead / deceased. If there is no outstanding problems with the VIN # on the Firewall and the car can be registered under that ID without issue, then I would get a title for that ID and set about looking at getting remanufactured ID plates for the other locations made (Door jamb, dashboard, engine bay etc..) that match the firewall VIN. To give an example: HS30 00267 https://photos.app.goo.gl/SbqsCQ0mOfEX87Xp2 This car should be an early 240z but it has the later storage bins, vented 1/4 panels and a dual throttle lever with it (which was continued into 71 on AU market cars), but we know it didn't start life as HS30 00267. We have to assume 267 is dead. Well in fact this car was scrapped because of it's questionable identity. In Australia anyway, lots of cars were given cut n' shut jobs and it was legal all the way up to the 1980s when it was outlawed as too many people got hurt when these cut n' shut jobs were performed incorrectly. It's possible #267 was 1 of those, but most would be buyers would probably steer clear of such vehicles. I know I would, especially when it's portraying itself as an early car, with very few of the early car features remaining.1 point1 point1 point1 pointI hope you're right, Jim. The only early front diff mount I've seen advertised was on a Japanese website back in July and the asking price was a cool 28,000 Yen ($300+). p.s. It's ok to call it a 'Series 1' car. You're with friends here.1 point1 pointHey Gav, Sorry to drag an older thread back up but I’m cleaning up the rear hatch glass today and thought I’d some more info. I shattered the passenger glass when I was cleaning the dumb dumb off the door (amateur mistake and pissed me off no end). That glass was clear as was the other panes. Remember that #352 was first registered in Australia also. No connectors in the roof for a demister.1 pointI'm in Florida, USA {pretty hot here all summer} - I've never had a vapor lock issue with any 70-72 240Z here. Maybe you didn't actually have a vapor lock? Perhaps some other restriction in the fuel lines? Are you running headers - with no heat shielding? Is your fuel return line clear? Carb's in good shape? Did you eliminate the mechanical pump when you installed the electric pump? Just curious. Fuel lines pressurized to 3.5 psi - 4.5 psi should clear any vapor problems fairly quickly... Did you ever get the problem solved?1 point


Important Information
By using this site, you agree to our Privacy Policy and Guidelines. We have placed cookies on your device to help make this website better. You can adjust your cookie settings, otherwise we'll assume you're okay to continue.
Account
Search
Configure browser push notifications
Chrome (Android)
- Tap the lock icon next to the address bar.
- Tap Permissions → Notifications.
- Adjust your preference.
Chrome (Desktop)
- Click the padlock icon in the address bar.
- Select Site settings.
- Find Notifications and adjust your preference.
Safari (iOS 16.4+)
- Ensure the site is installed via Add to Home Screen.
- Open Settings App → Notifications.
- Find your app name and adjust your preference.
Safari (macOS)
- Go to Safari → Preferences.
- Click the Websites tab.
- Select Notifications in the sidebar.
- Find this website and adjust your preference.
Edge (Android)
- Tap the lock icon next to the address bar.
- Tap Permissions.
- Find Notifications and adjust your preference.
Edge (Desktop)
- Click the padlock icon in the address bar.
- Click Permissions for this site.
- Find Notifications and adjust your preference.
Firefox (Android)
- Go to Settings → Site permissions.
- Tap Notifications.
- Find this site in the list and adjust your preference.
Firefox (Desktop)
- Open Firefox Settings.
- Search for Notifications.
- Find this site in the list and adjust your preference.