Leaderboard
-
jfa.series1
 Subscriber
 8Points2,733Posts
 -

240260280
Free Member4Points4,442Posts -
Stanley
Free Member3Points1,186Posts -

wheee!
Free Member3Points4,607Posts


Popular Content
Showing content with the highest reputation on 06/23/2017 in Posts
-
8 pointsDatsun Spirit owner Eiji Hosomi paid me a nice compliment yesterday at the ZCON judged car show. I was grabbing some much needed shade and rest after the first round of judging (my inaugural participation) and Eiji came up and asked if he could ask some questions about my restoration. He's had a lot of problems with the aftermarket door seals and wanted to know how I handled it. I told him about Kia Sportage seals - either new or from salvage, and you should have seen his eyes when he operated the doors and found them closing so smoothly. We also looked at my innovation on the hatch outer seal and he was surprised at how easily my hatch closes with the PRP repro inner seal because he's also had problems there. We covered several other areas of the car and had a great conversation. He's a big fan of 14" wheels with tall aspect ratio tires and factory springs to provide a comfortable ride. Really a neat guy and one I'd like to spend more time with. (Yes, I ended the sentence with a preposition.)8 points
-
3 pointsModded my SM's today. Measured a new set of N27's and compared to C.O.'s numbers on this thread. One of his numbers looked like an outlier so I used mine. Also one of mine looked like an outlier so I used his. There's a better way using statistics and curve matching software, but I wanted to get it done today. Only planned to modify the first two stations anyway, to equal the N-27's so they might work better with the Hitachi nozzles. Pulled an SM and put it in my drill, used the edge of a piece of used 320 grit with a credit card as a backer. Checked it at station 1 with caliper set at 0.0950, and station 2 at 0.0940, (not that I trust the numbers in ten thousandths place) took about 5 or 10 minutes each to get from 0.0990 to 0.0950. Used some 1000 grit for a few seconds to shine them up. Unintentionally took station 3 down a little too on both needles. Only 1/4 inch from 1 to 3. It runs, will test and tune tomorrow.3 points
-
1 pointThat was interesting. I pulled down my 78 parts box and the old switch was right on top (meant to be!). I hooked up some leads so that I could easily turn the key and listen to my meter-beeper (I know CO doesn't like them but mine has a readout to watch also) and found that R had continuity with B right away and to the end of rotation, but S was iffy and seemed to only have one narrow range where it had continuity. Then I remembered that I had pulled it apart in the past when I had a problem with my 76, and had ended up bending the internal actuating rod to make it work right. Testing with the switch pulled apart and turning the electrical portion with a screwdriver showed that both S and R could be over-rated to where they lost continuity. The only thing controlling the total degrees of rotation is the mechanical (key) part of the switch So I'd guess that your new switch is just adjusted to turn the electrical switch too far. Not good news but it can be fixed, if you unstake it and take it apart. You can twist the flat rod with a pair of pliers. But I don't think it's right, it's a flaw in operation. One big "Ah Haa" from back when I used to start the 78 parts car is that now I know why it would start to turn over then let go all of a sudden, leaving the starter spinning loudly. I thought it was a starter problem but now realize that it was just the ignition switch rotating past the contact and losing the S circuit. I spent a lot of time trying to reason that problem out and never really had a good theory. Edit - more interesting stuff. I noticed that the brass male S pin was wobbly on the back of the switch. So I restaked it with a drift pin, put the whole assembly back together, and both S and R worked as expected, full continuity over the full Start rotation. So, check the pins on the back, maybe R is loose and can be reset with a little tap of a hammer.1 point
-
1 pointOk, looked closely at namerow drawings and see that i didn't have the red wire attached to the blue fused wire as is stated. Also found one of the 2 wires that connect to the fan motor were disconnected but not pulled apart. Fan motor working great. Thanks namerow and capt. obvious. Phil Smith1 point
-
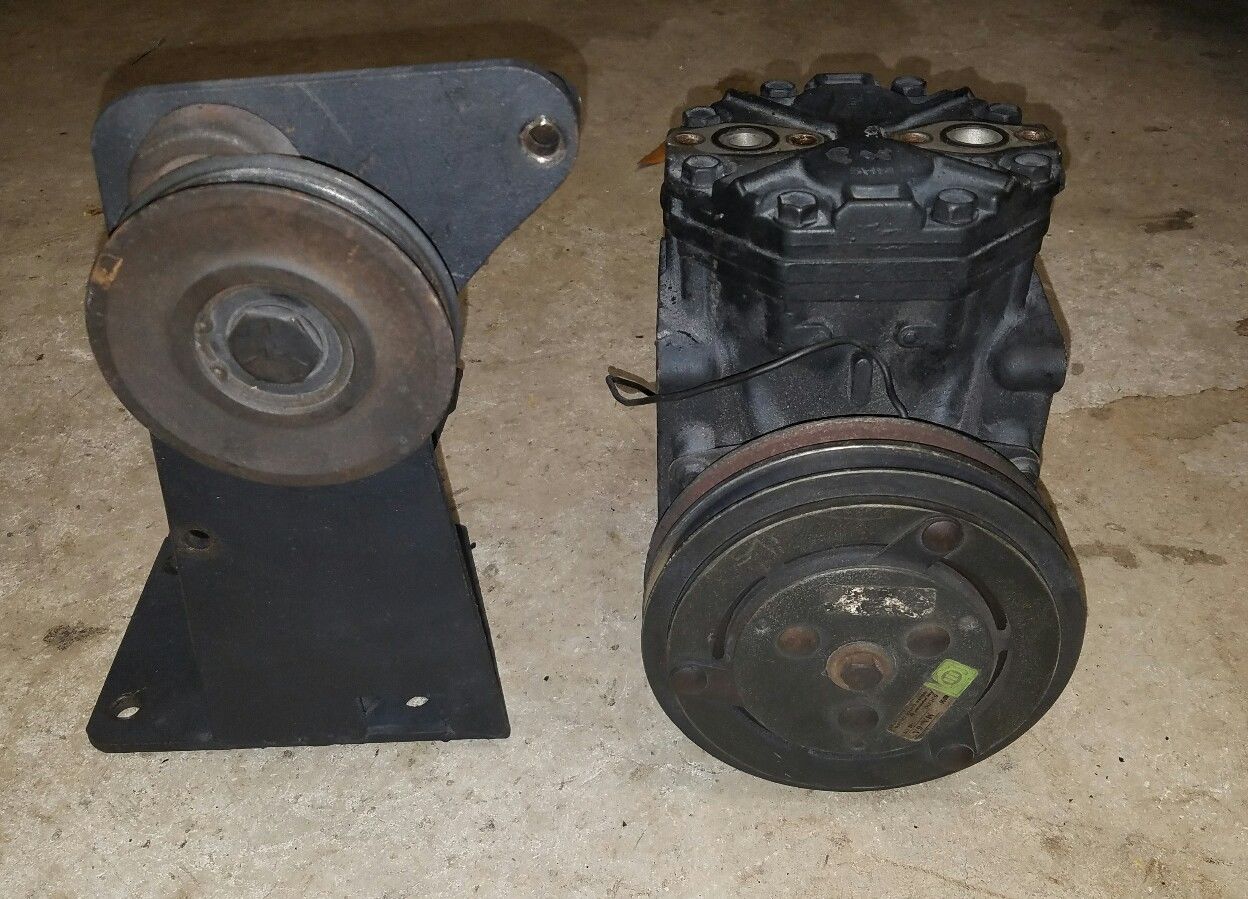
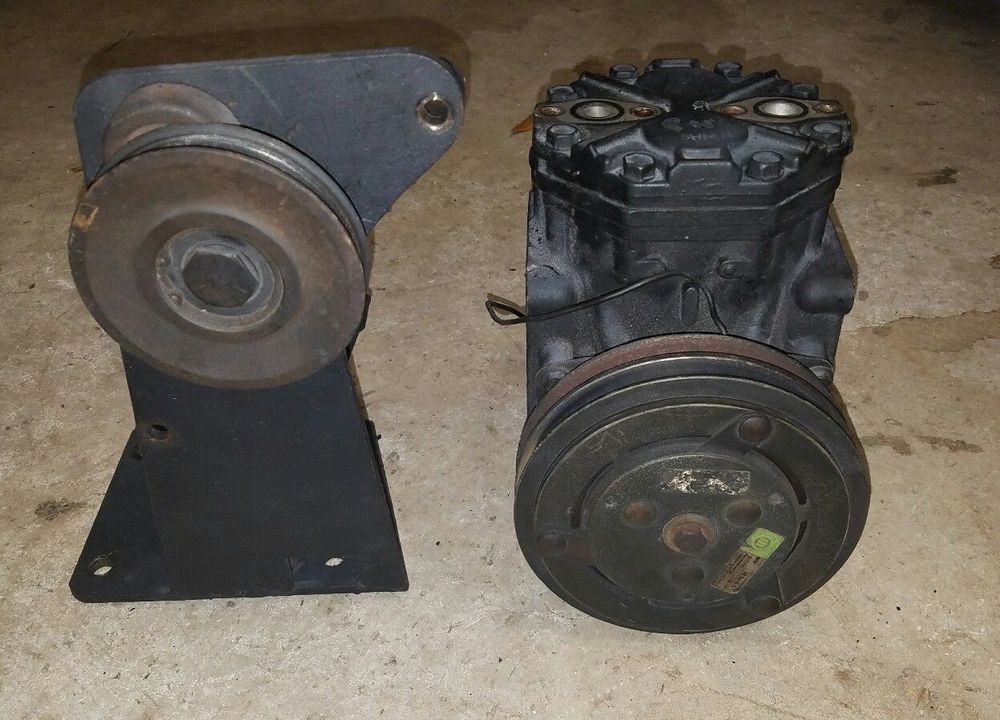
That looks like the under dash stuff mostly, but maybe it's not all pictured, but let me know, I've got a working compressor I pulled off last year.
 1 point
 -
1 point
-
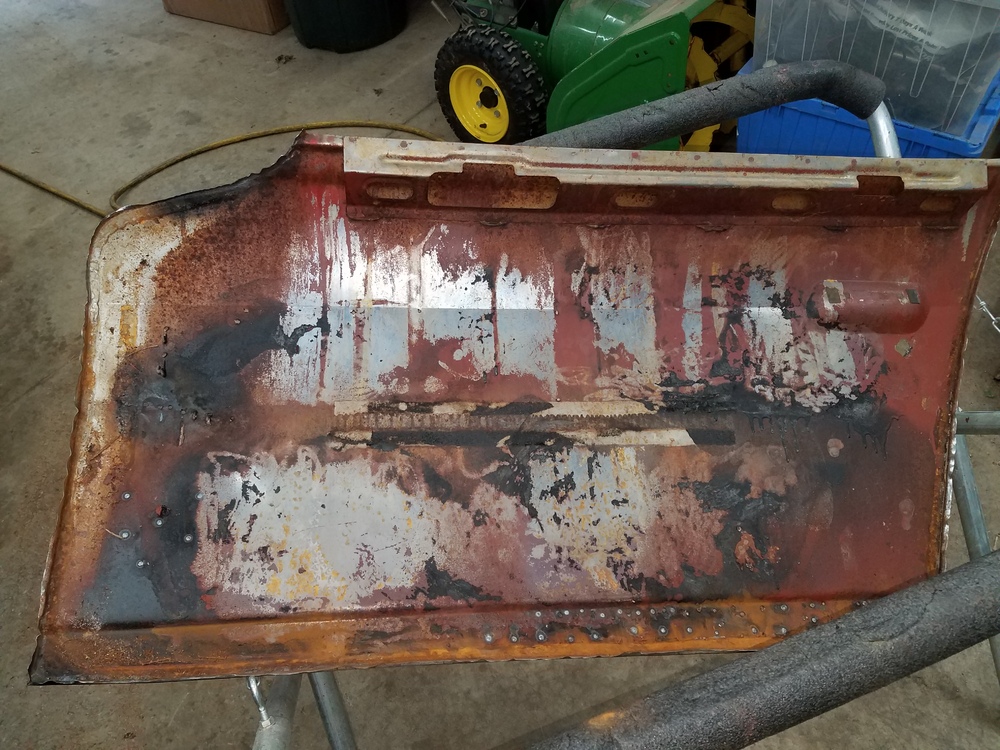
1 pointSplatter. Too much pressure and flow in the gun plus unfiltered paint (regular cup, not a 3M 125 micron cup). The finished dried panel look better but not great. I was going for colour and coverage rather than quality here. I also anticipated having to dial in the gun as I went so the following panels should get better! I didn't have enough paint to spray a lot of test patterns for the gun. Paint ain't cheap!1 point
-
1 pointYou need to hurry up and get the car back on the road! My turbo wasn't locked up, the car sat for a long time, but the guy did his best to protect the engine, hoses were capped off, carb inlet was covered. Totally sent me some pictures, I'd love to see another one of these setups and how they're run.1 point
-
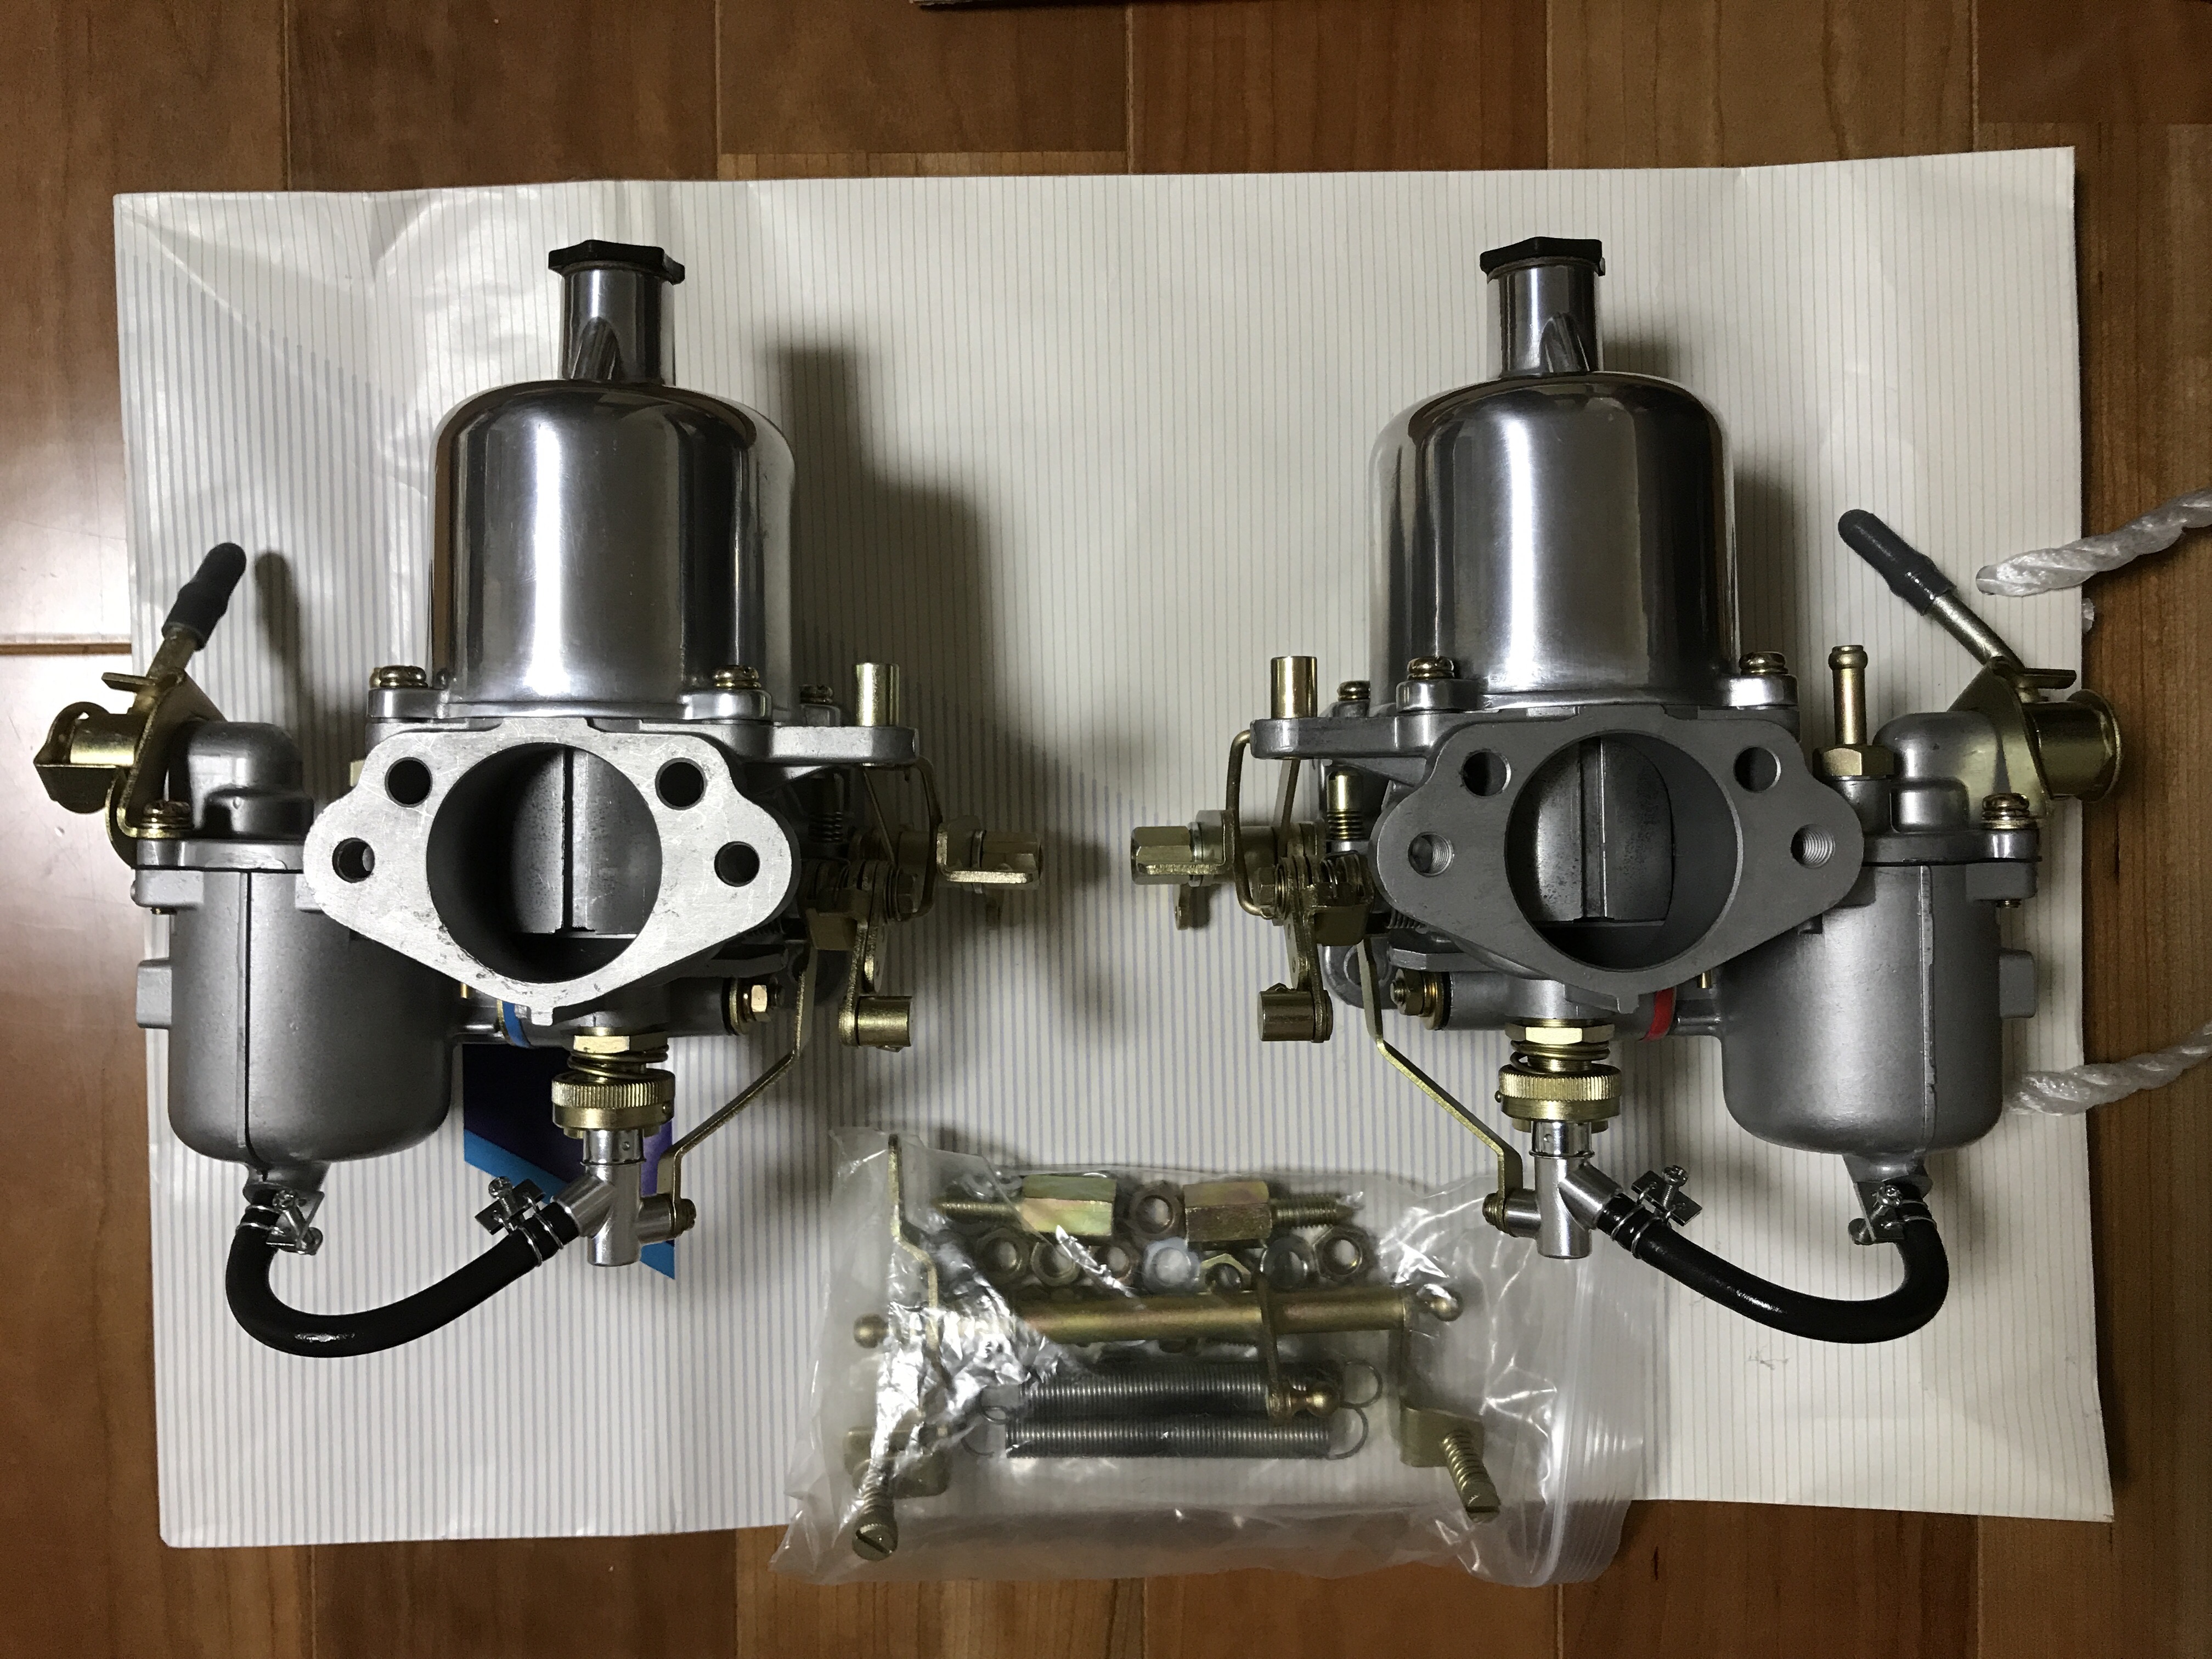
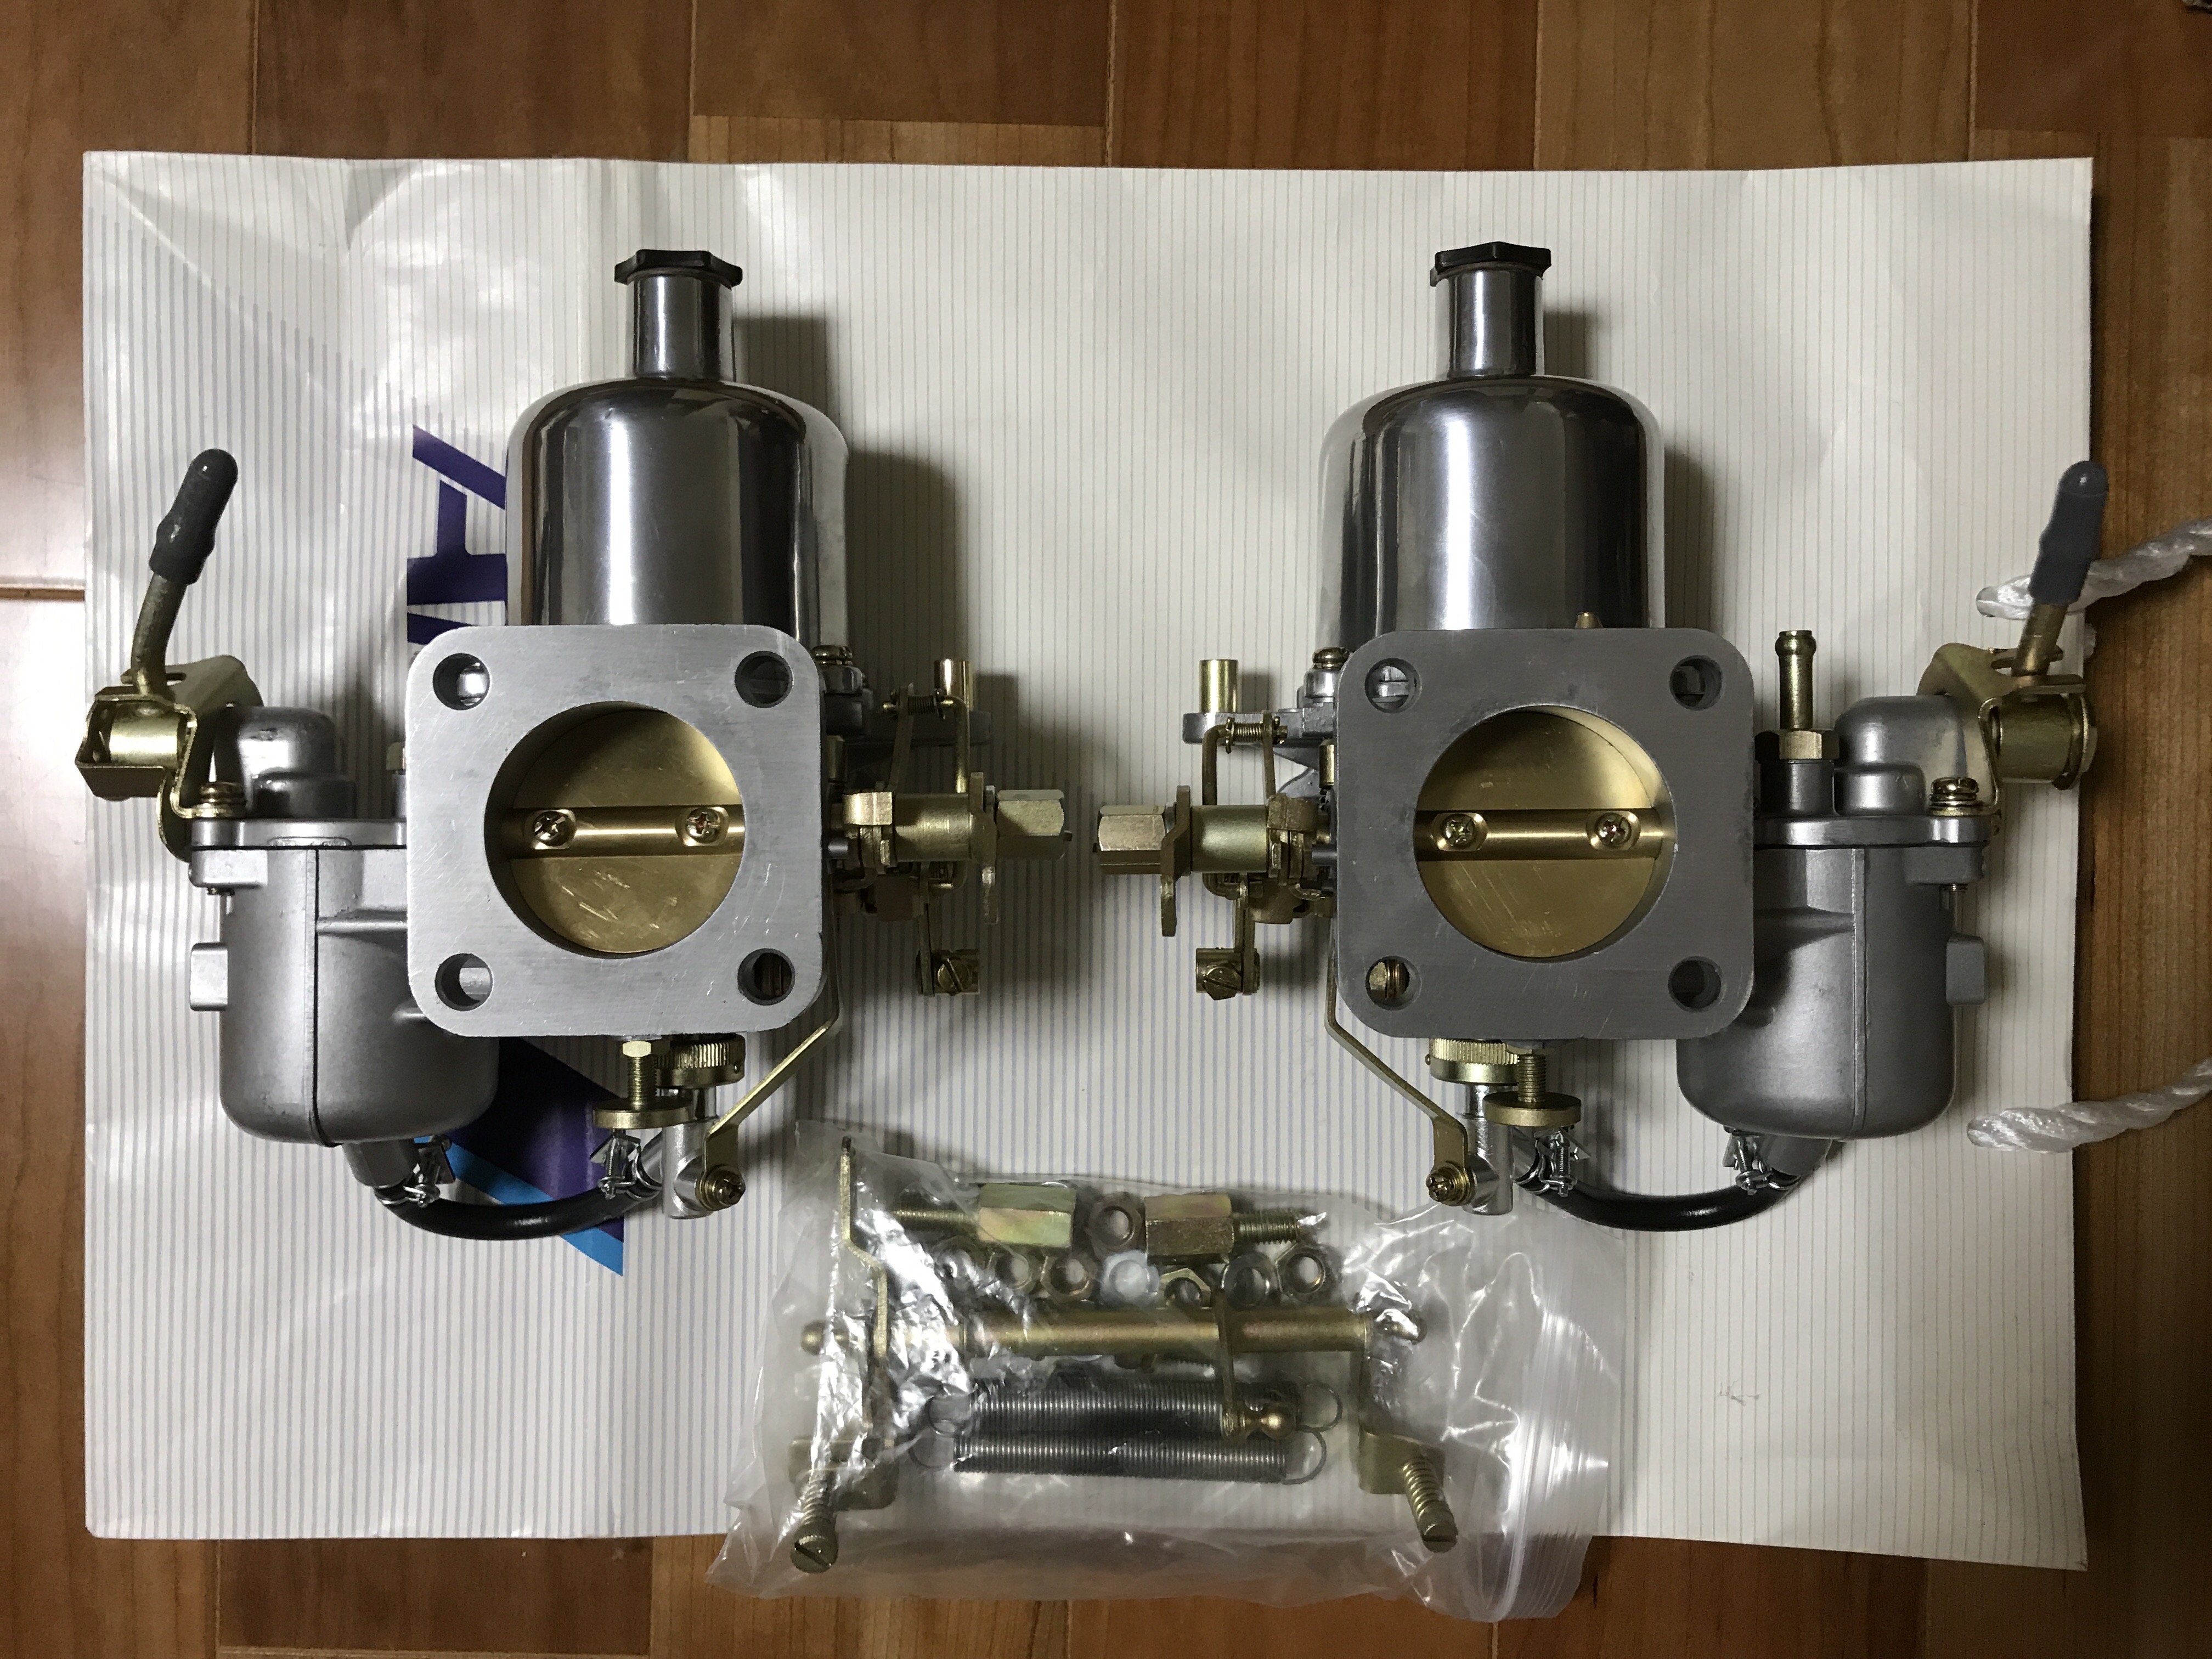
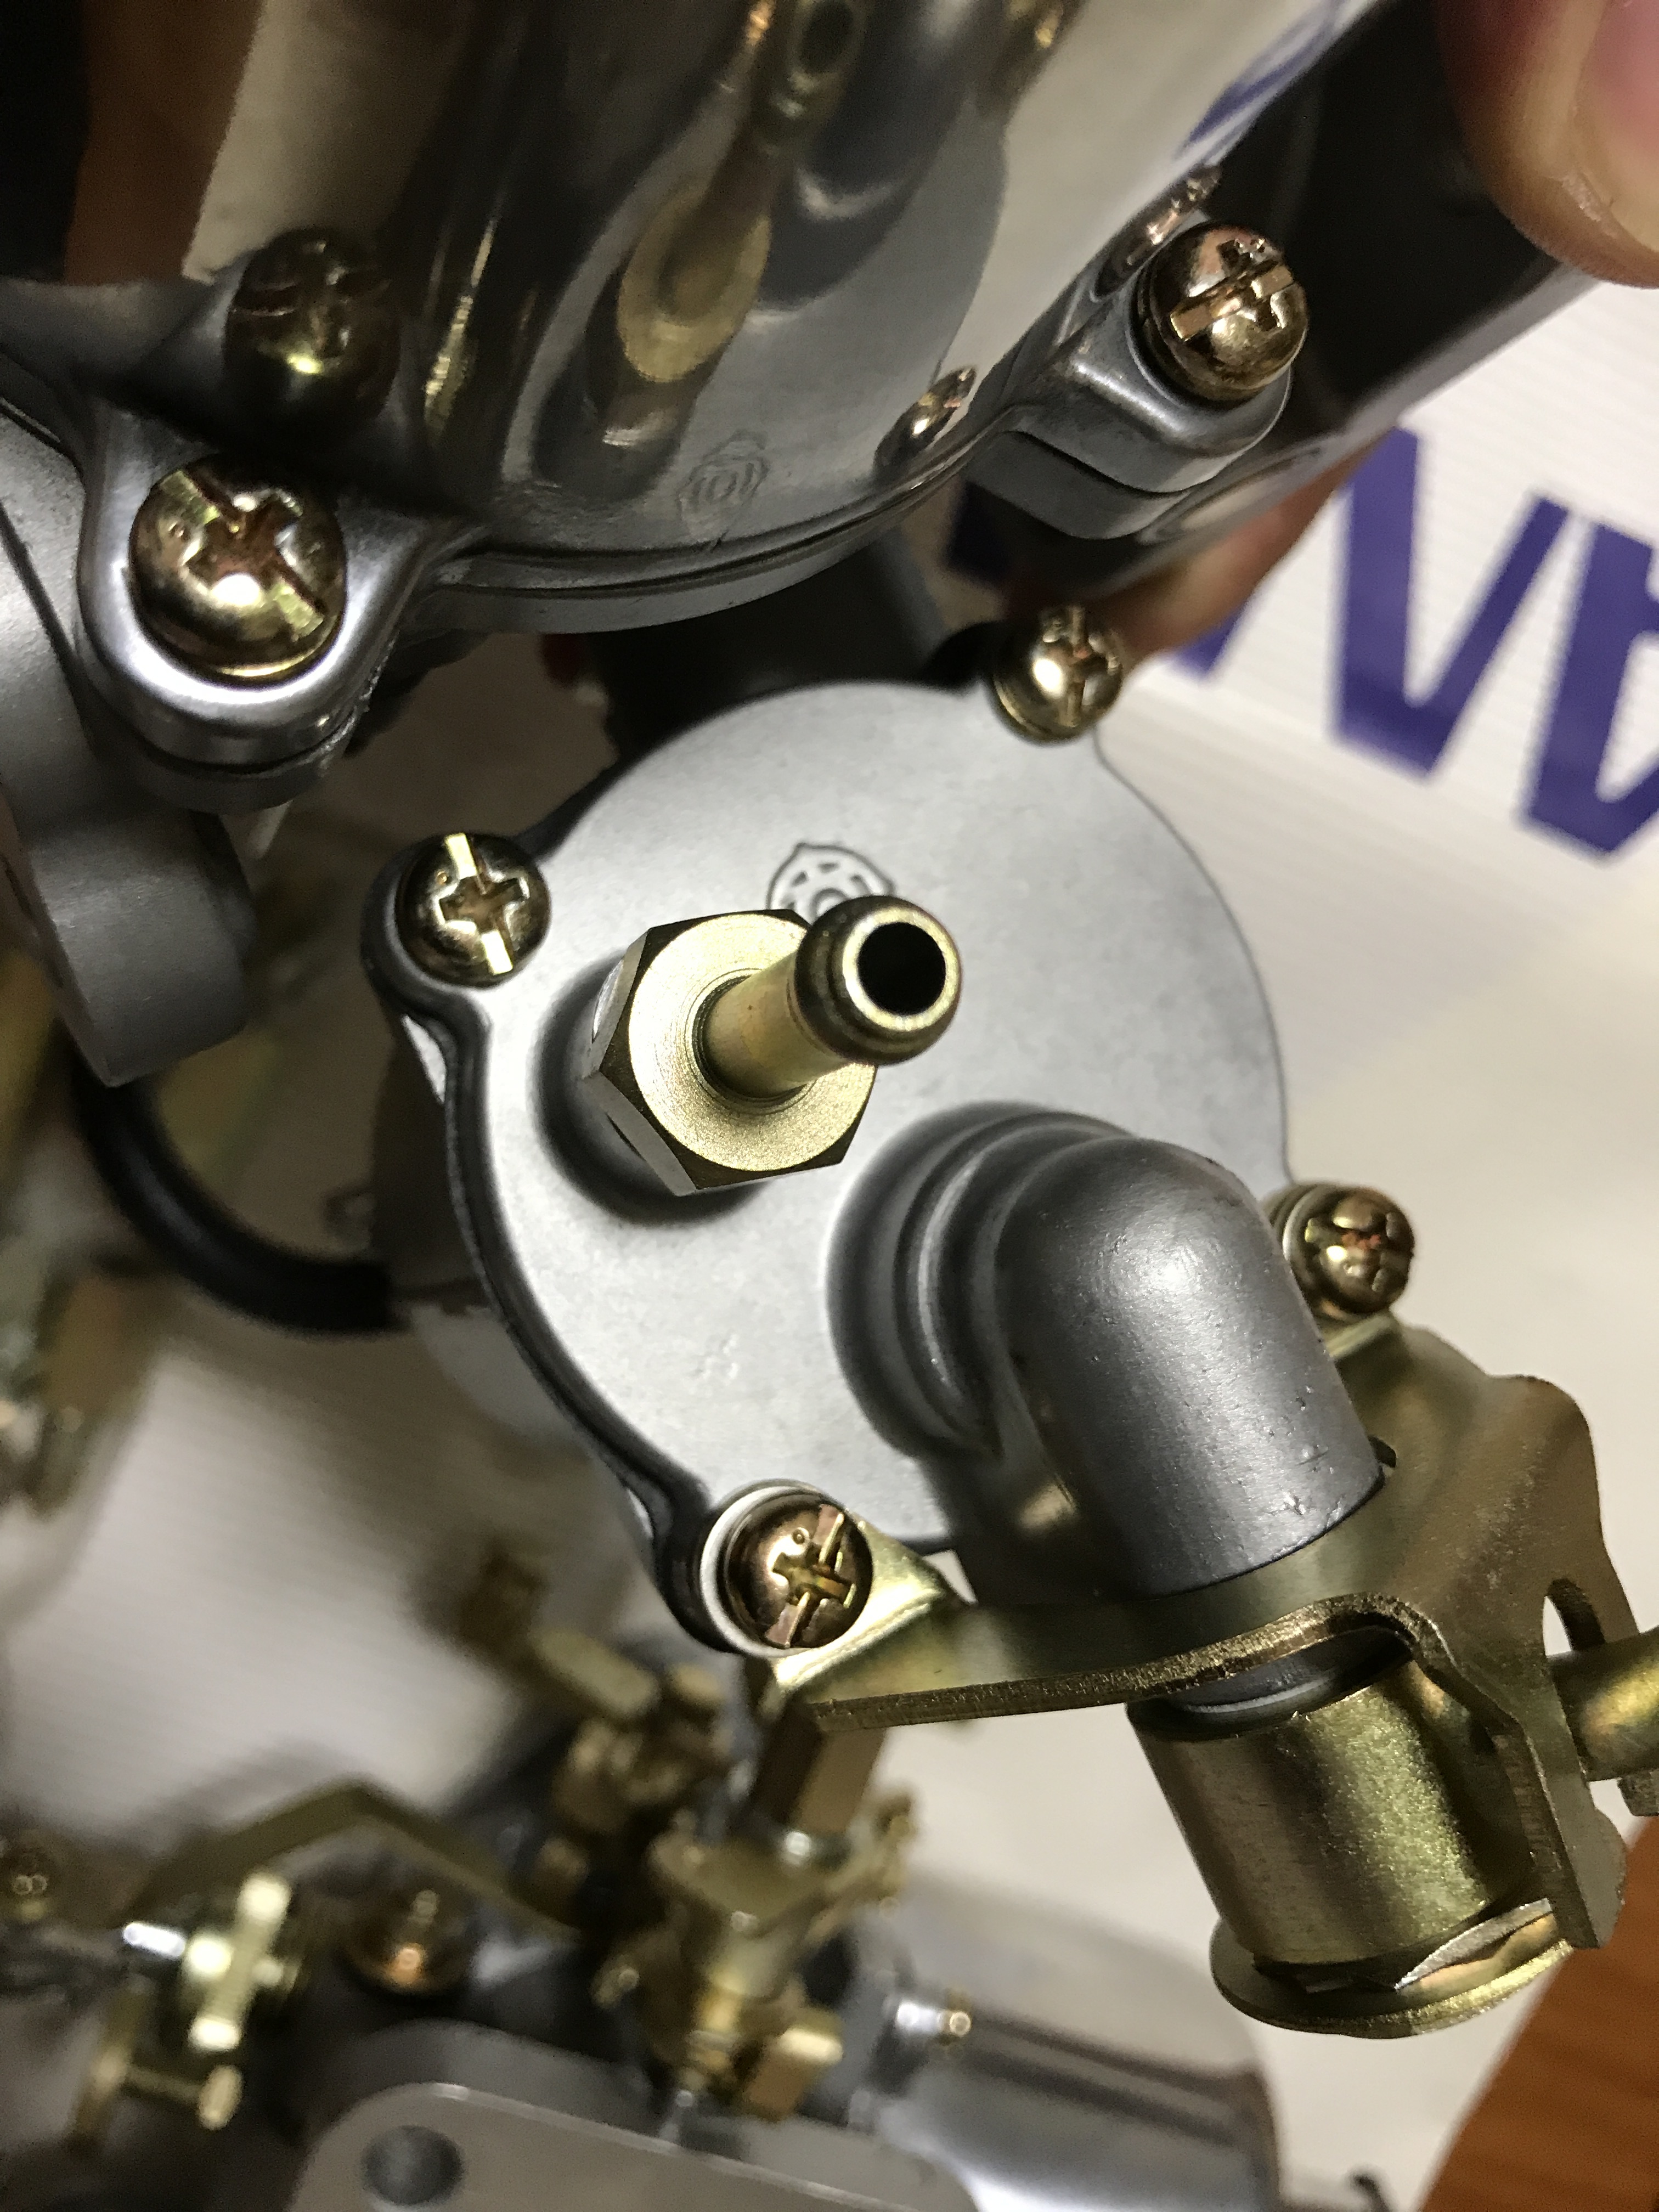
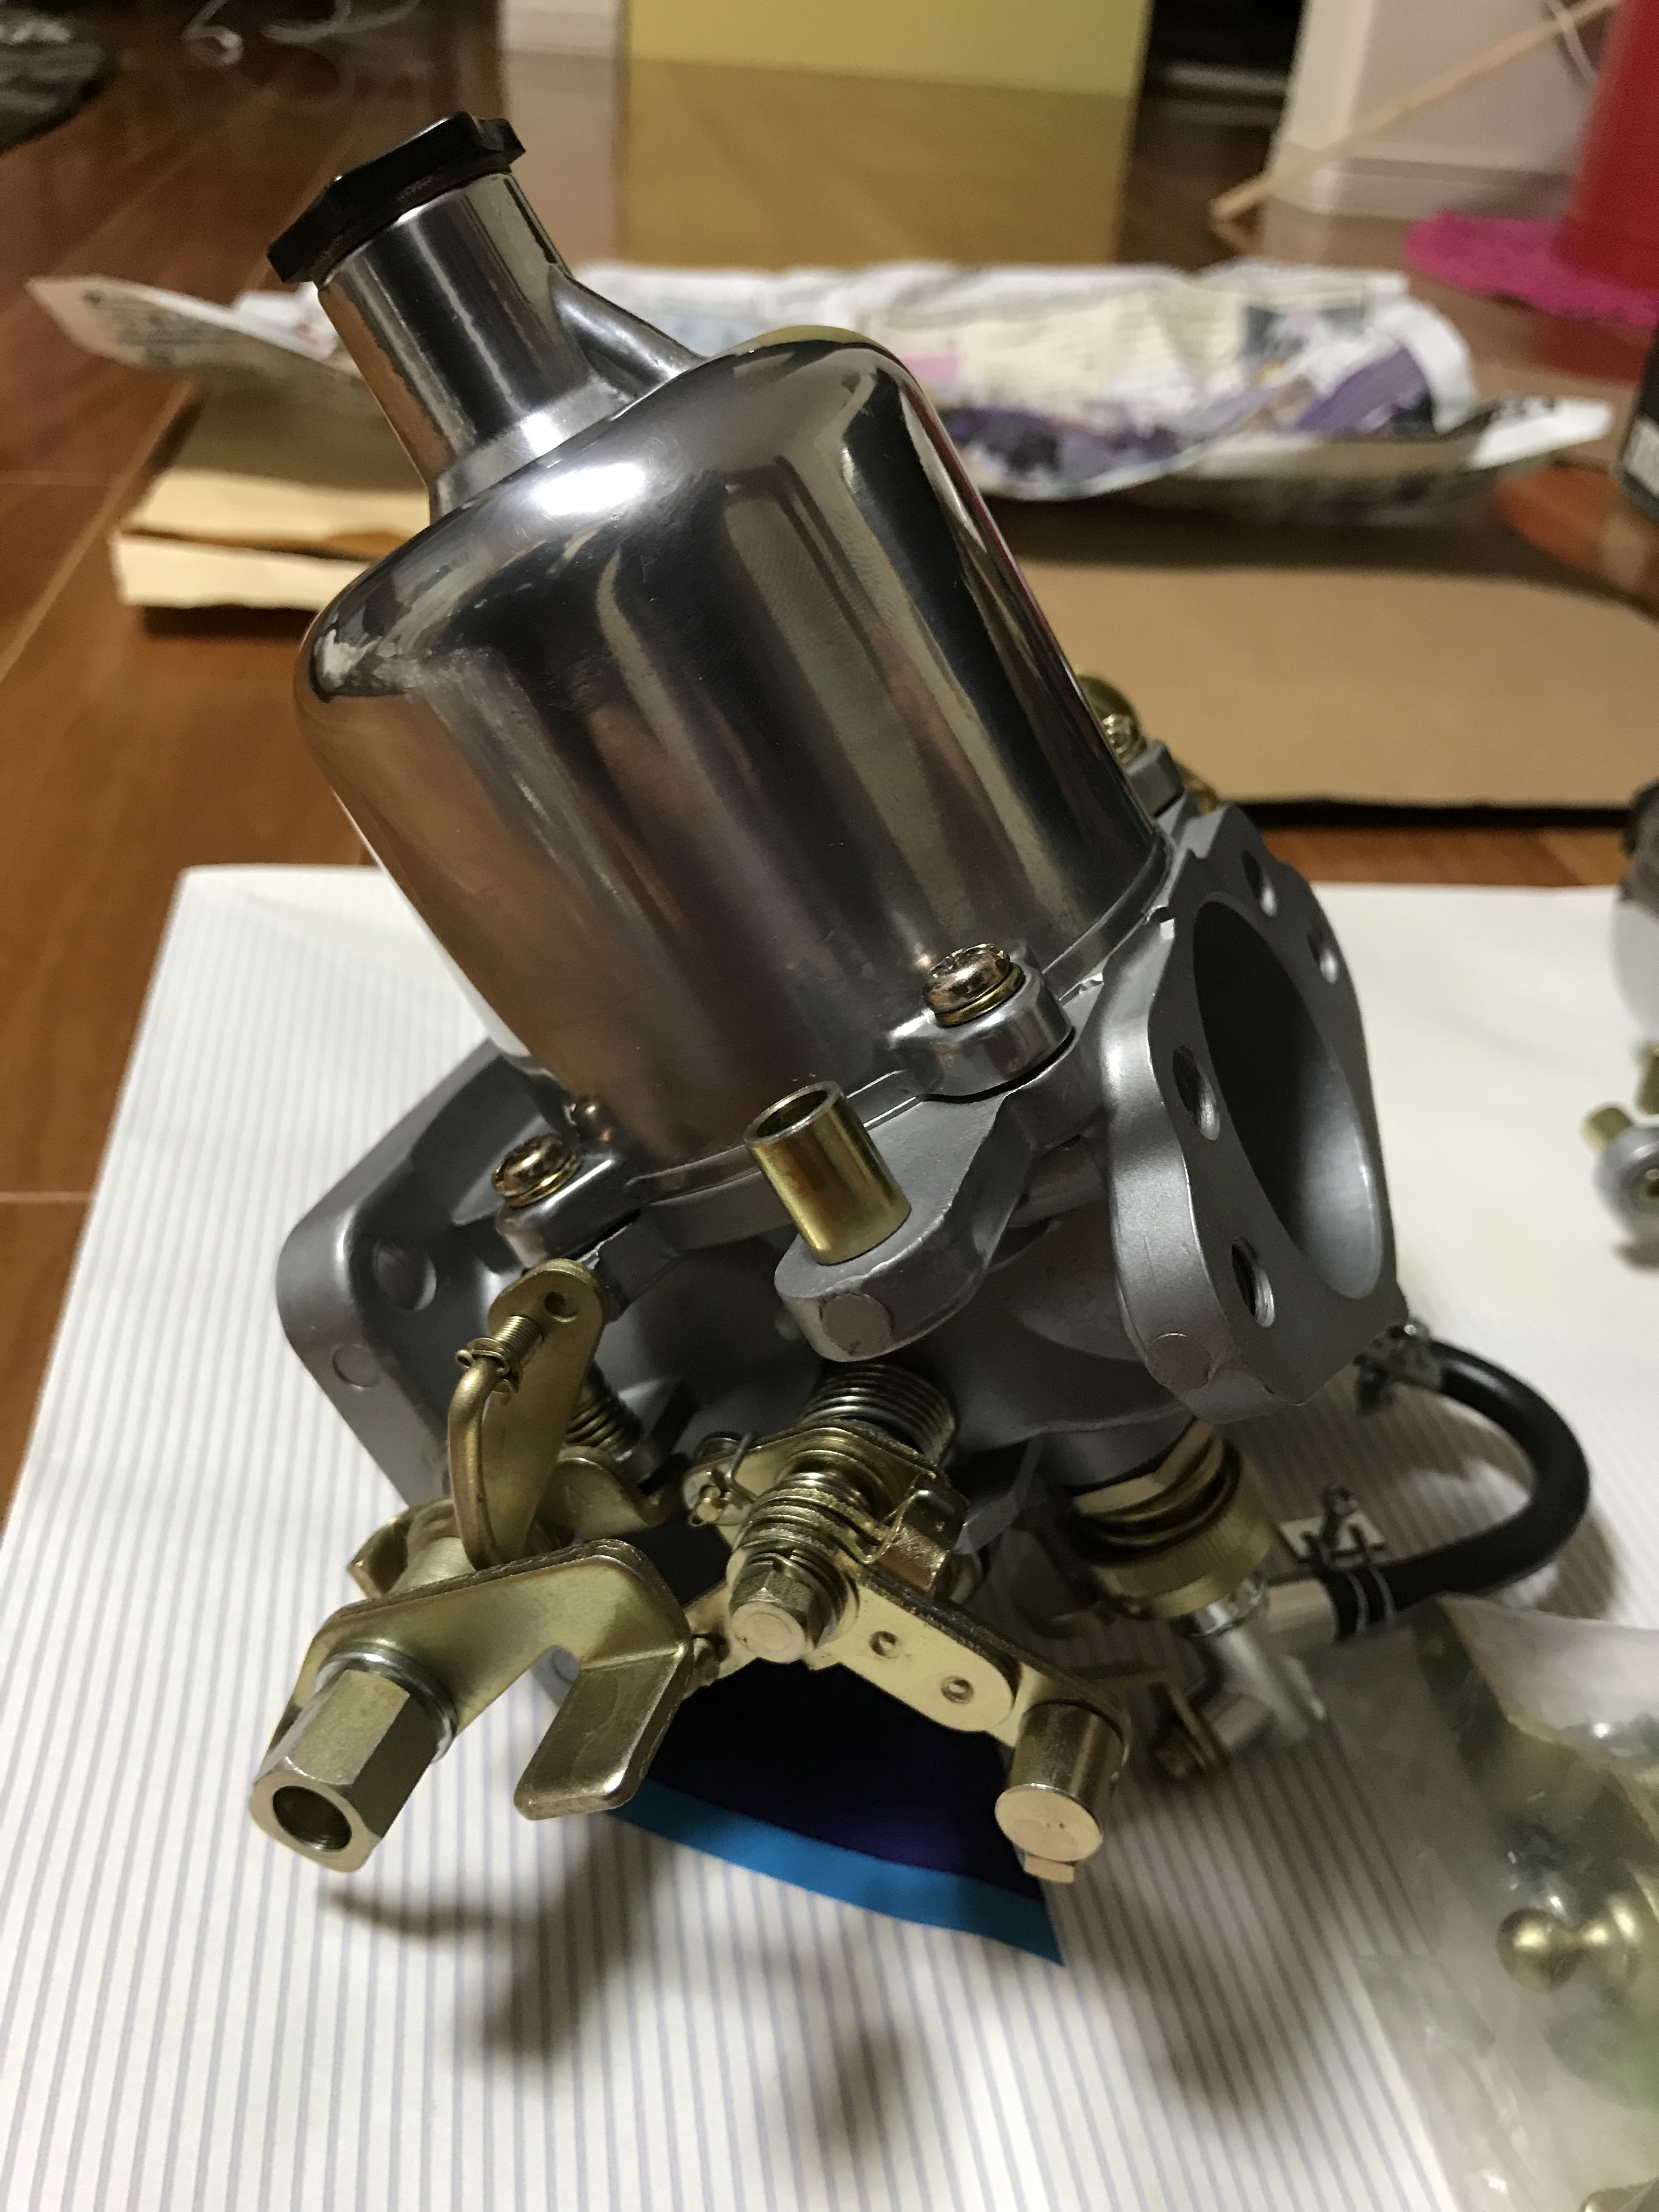
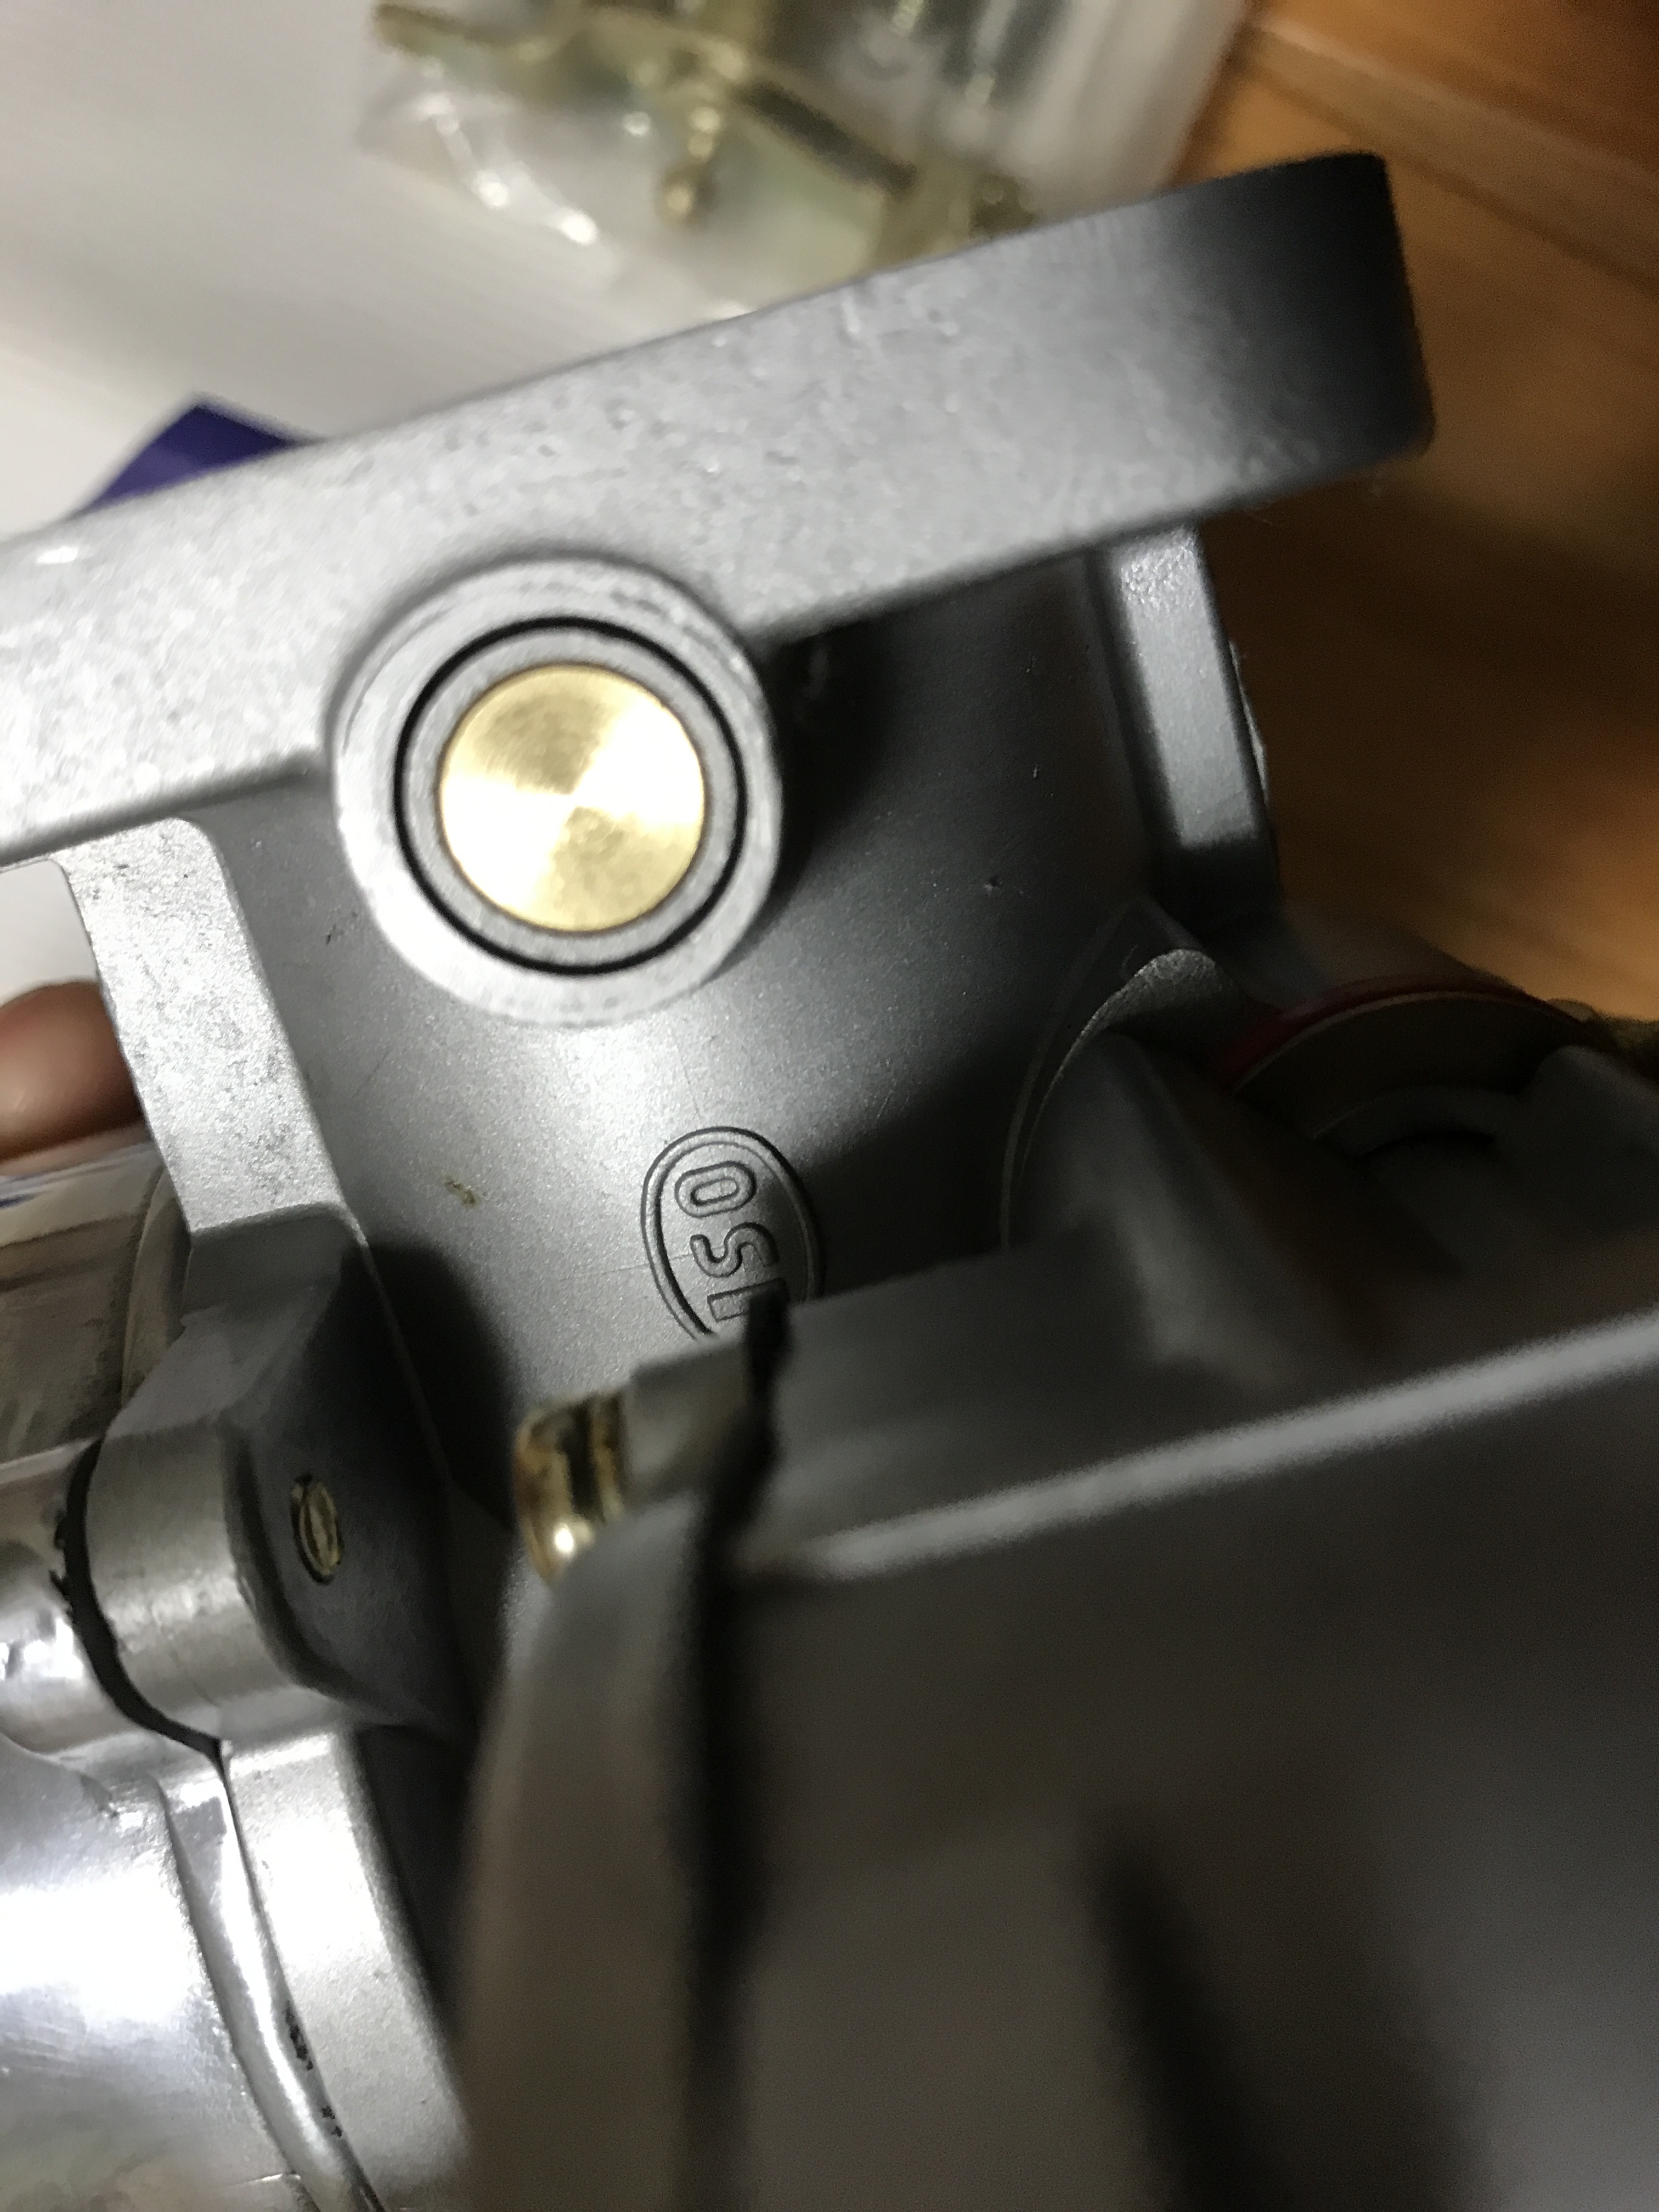
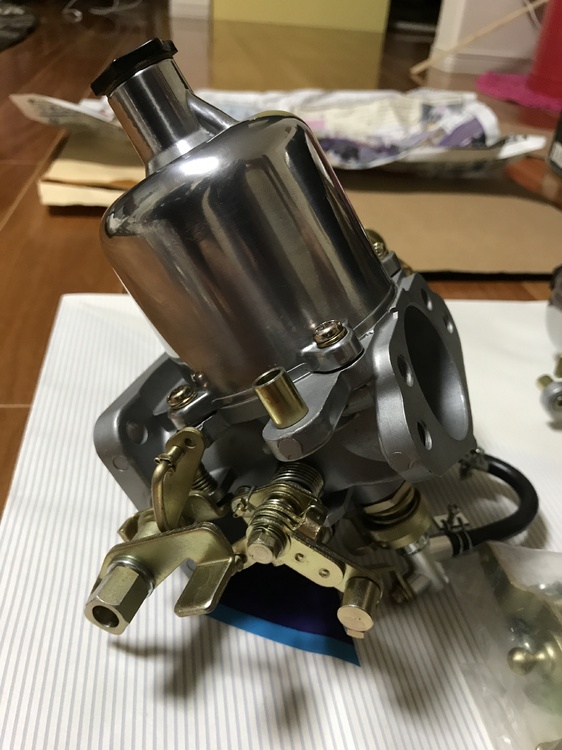
1 pointI have my carbs rebuilt, I was trying to do it by myself, but I decided to send them to a professional shop rather than messed it up. The result is so happy, this carbs are for my Blue 03/1970 Datsun 240Z. You can see the difference which is only seen in early carbs, such as non-drain plug at the float chamber, Micky mouse 4- screw chamber cover, and the choke wire hold down bracket. I can not wait to see how they work in my car much much better than used to. Too shiny pot, not original but I gradually love it. Kats


 1 point
 -
1 point
-
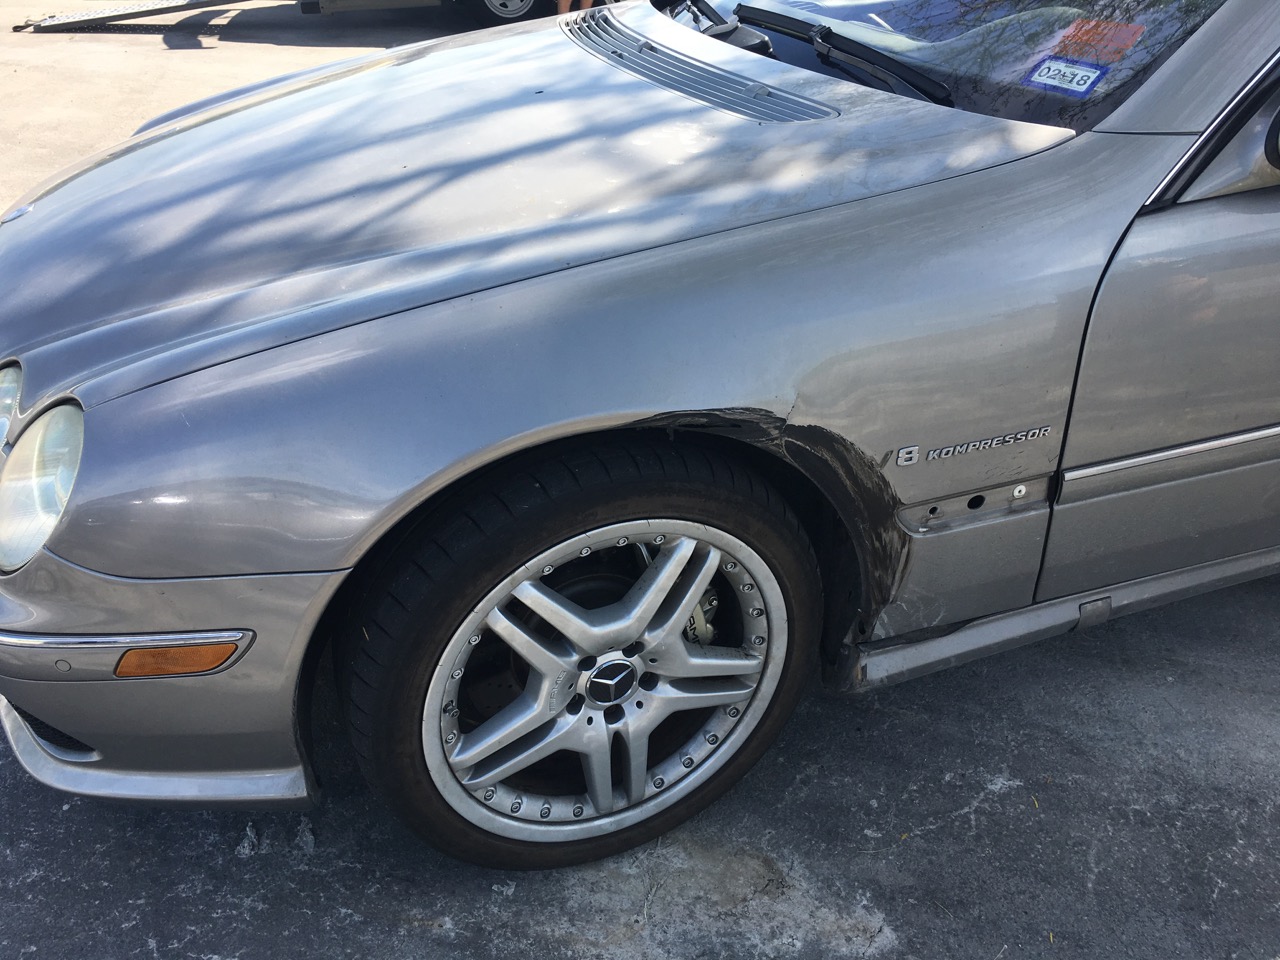
1 pointUnbelievably little carnage to the car considering what happened. Drove it home!
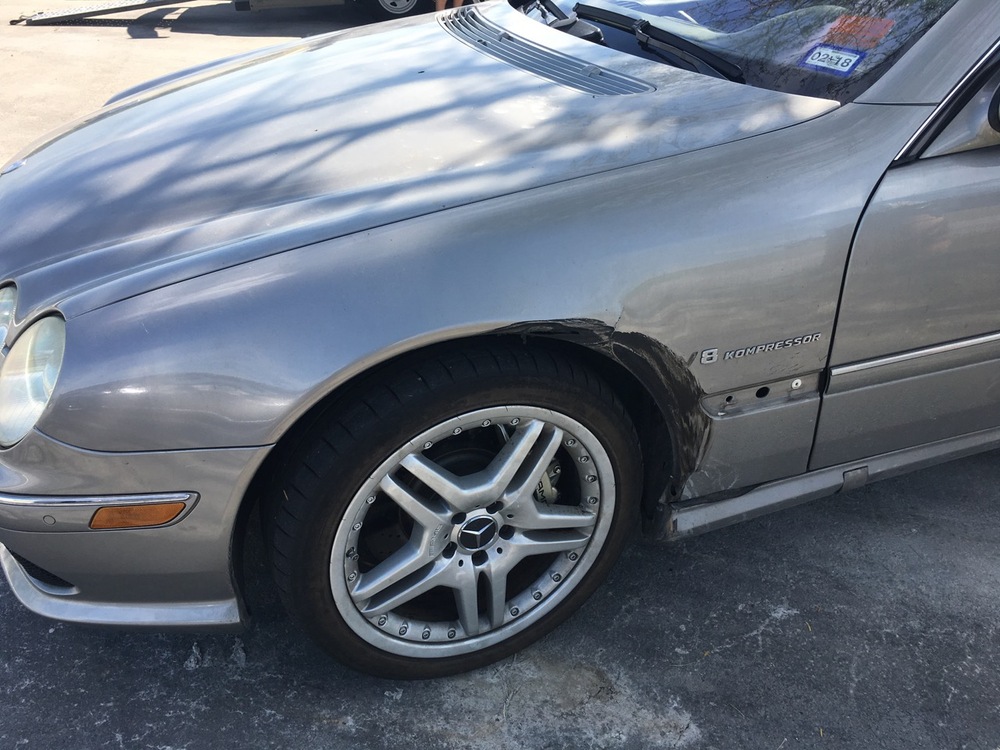 1 point
 -
1 pointThe Merc was a 2007 E63 AMG. That guy was real real fast. I was in my 2006 CL55 AMG. Too bad you didn't get video of when I shot the left front tire off!1 point
-
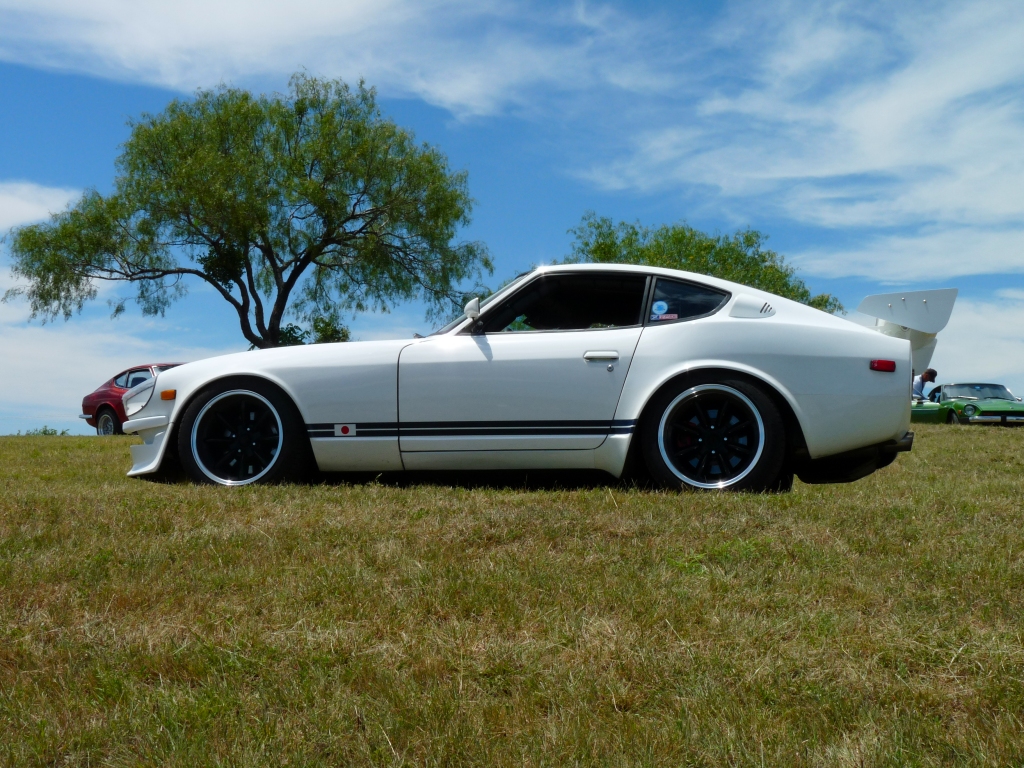
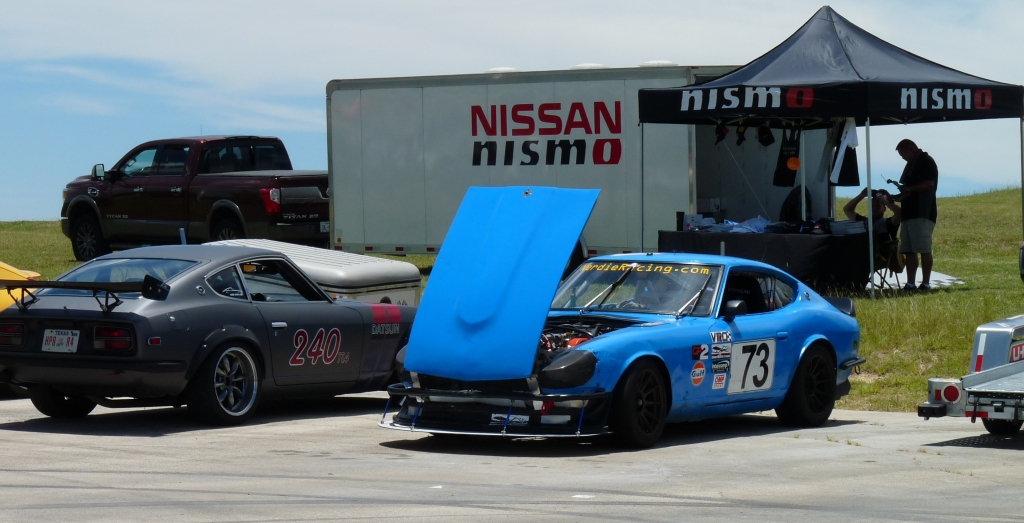
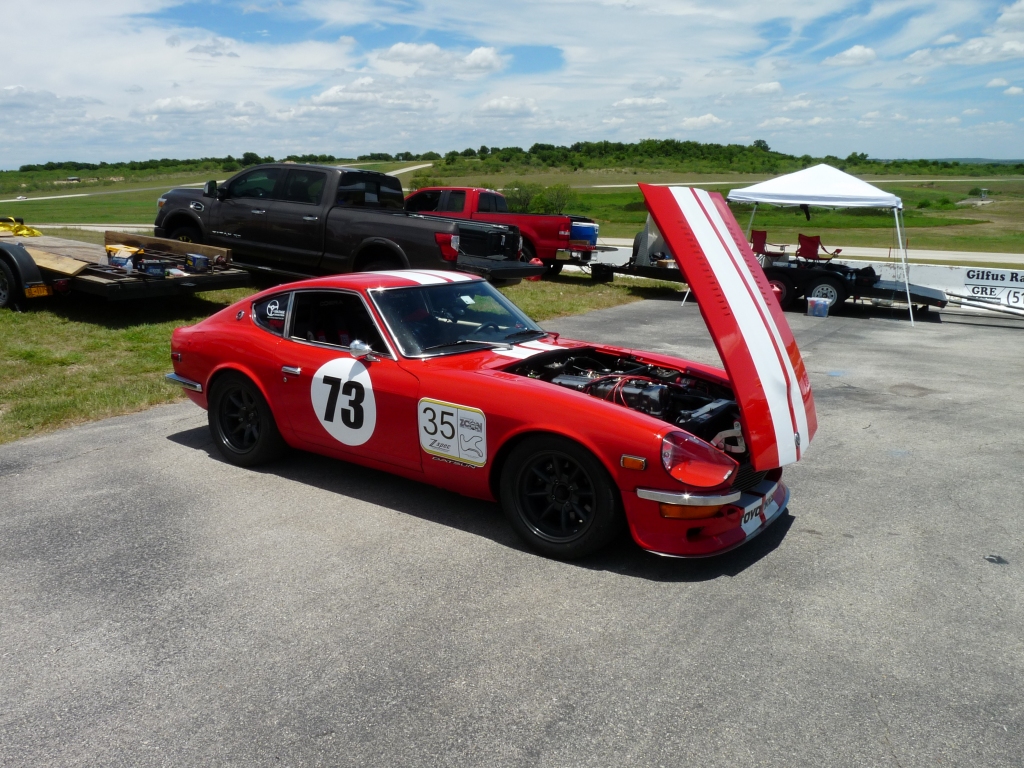
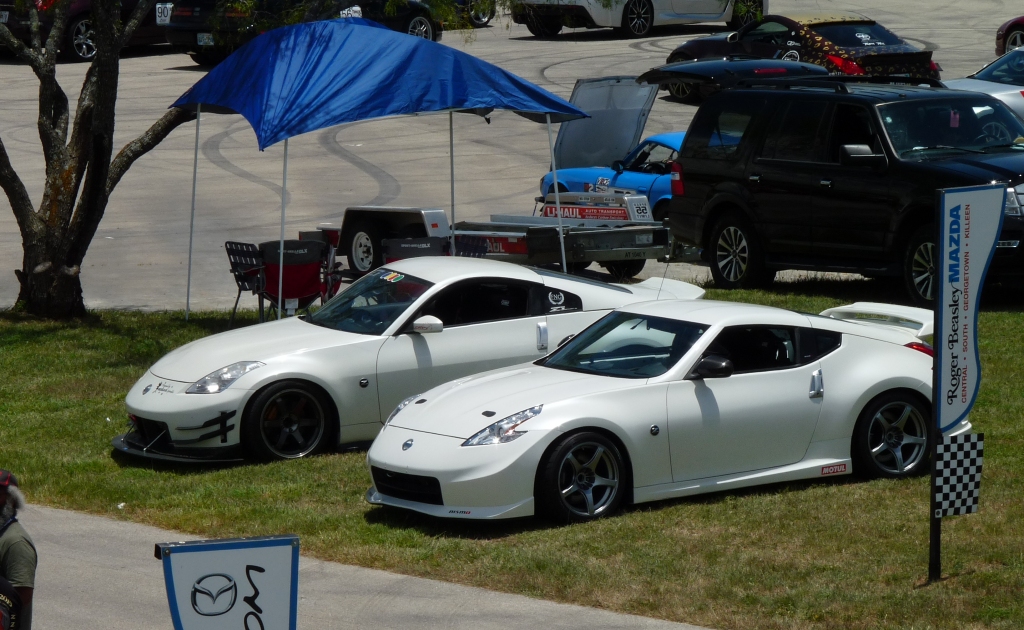
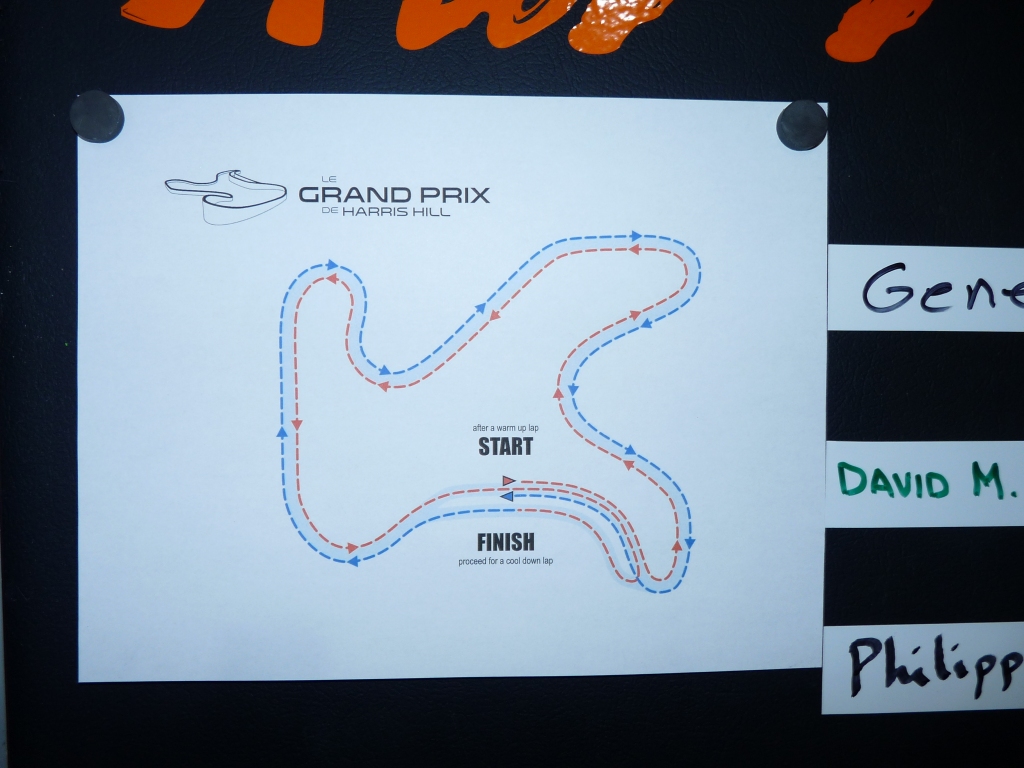
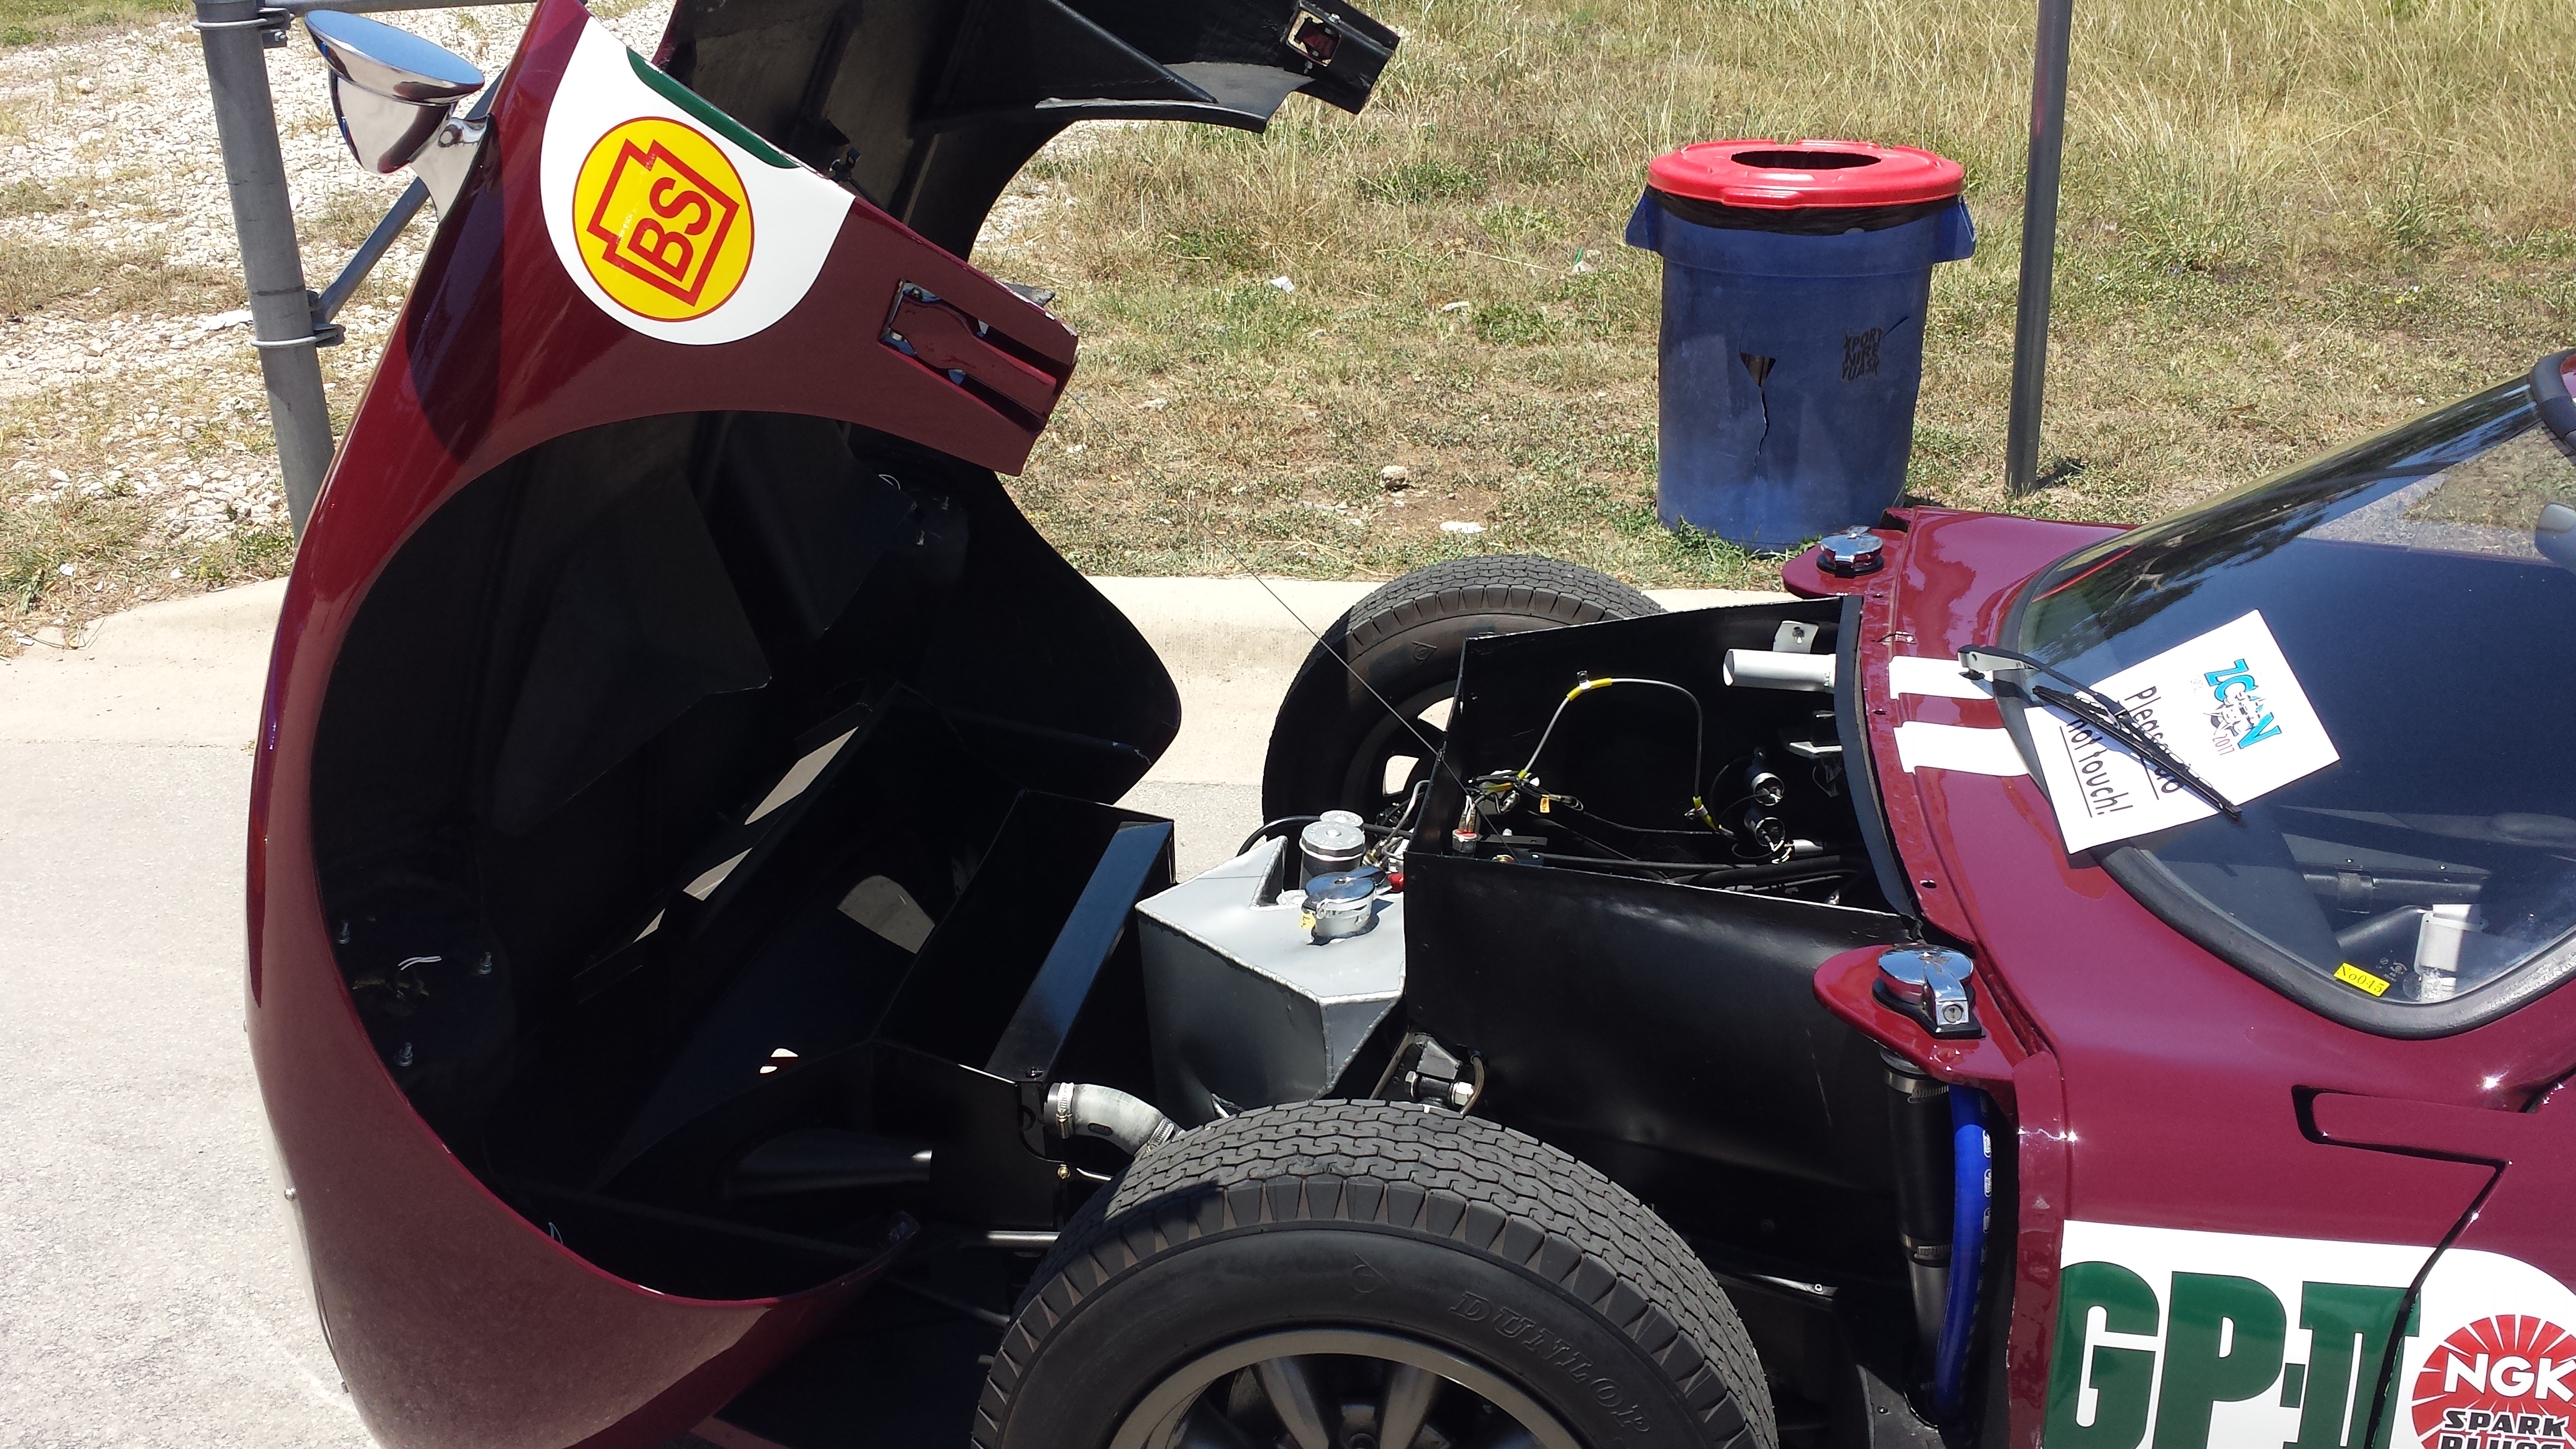
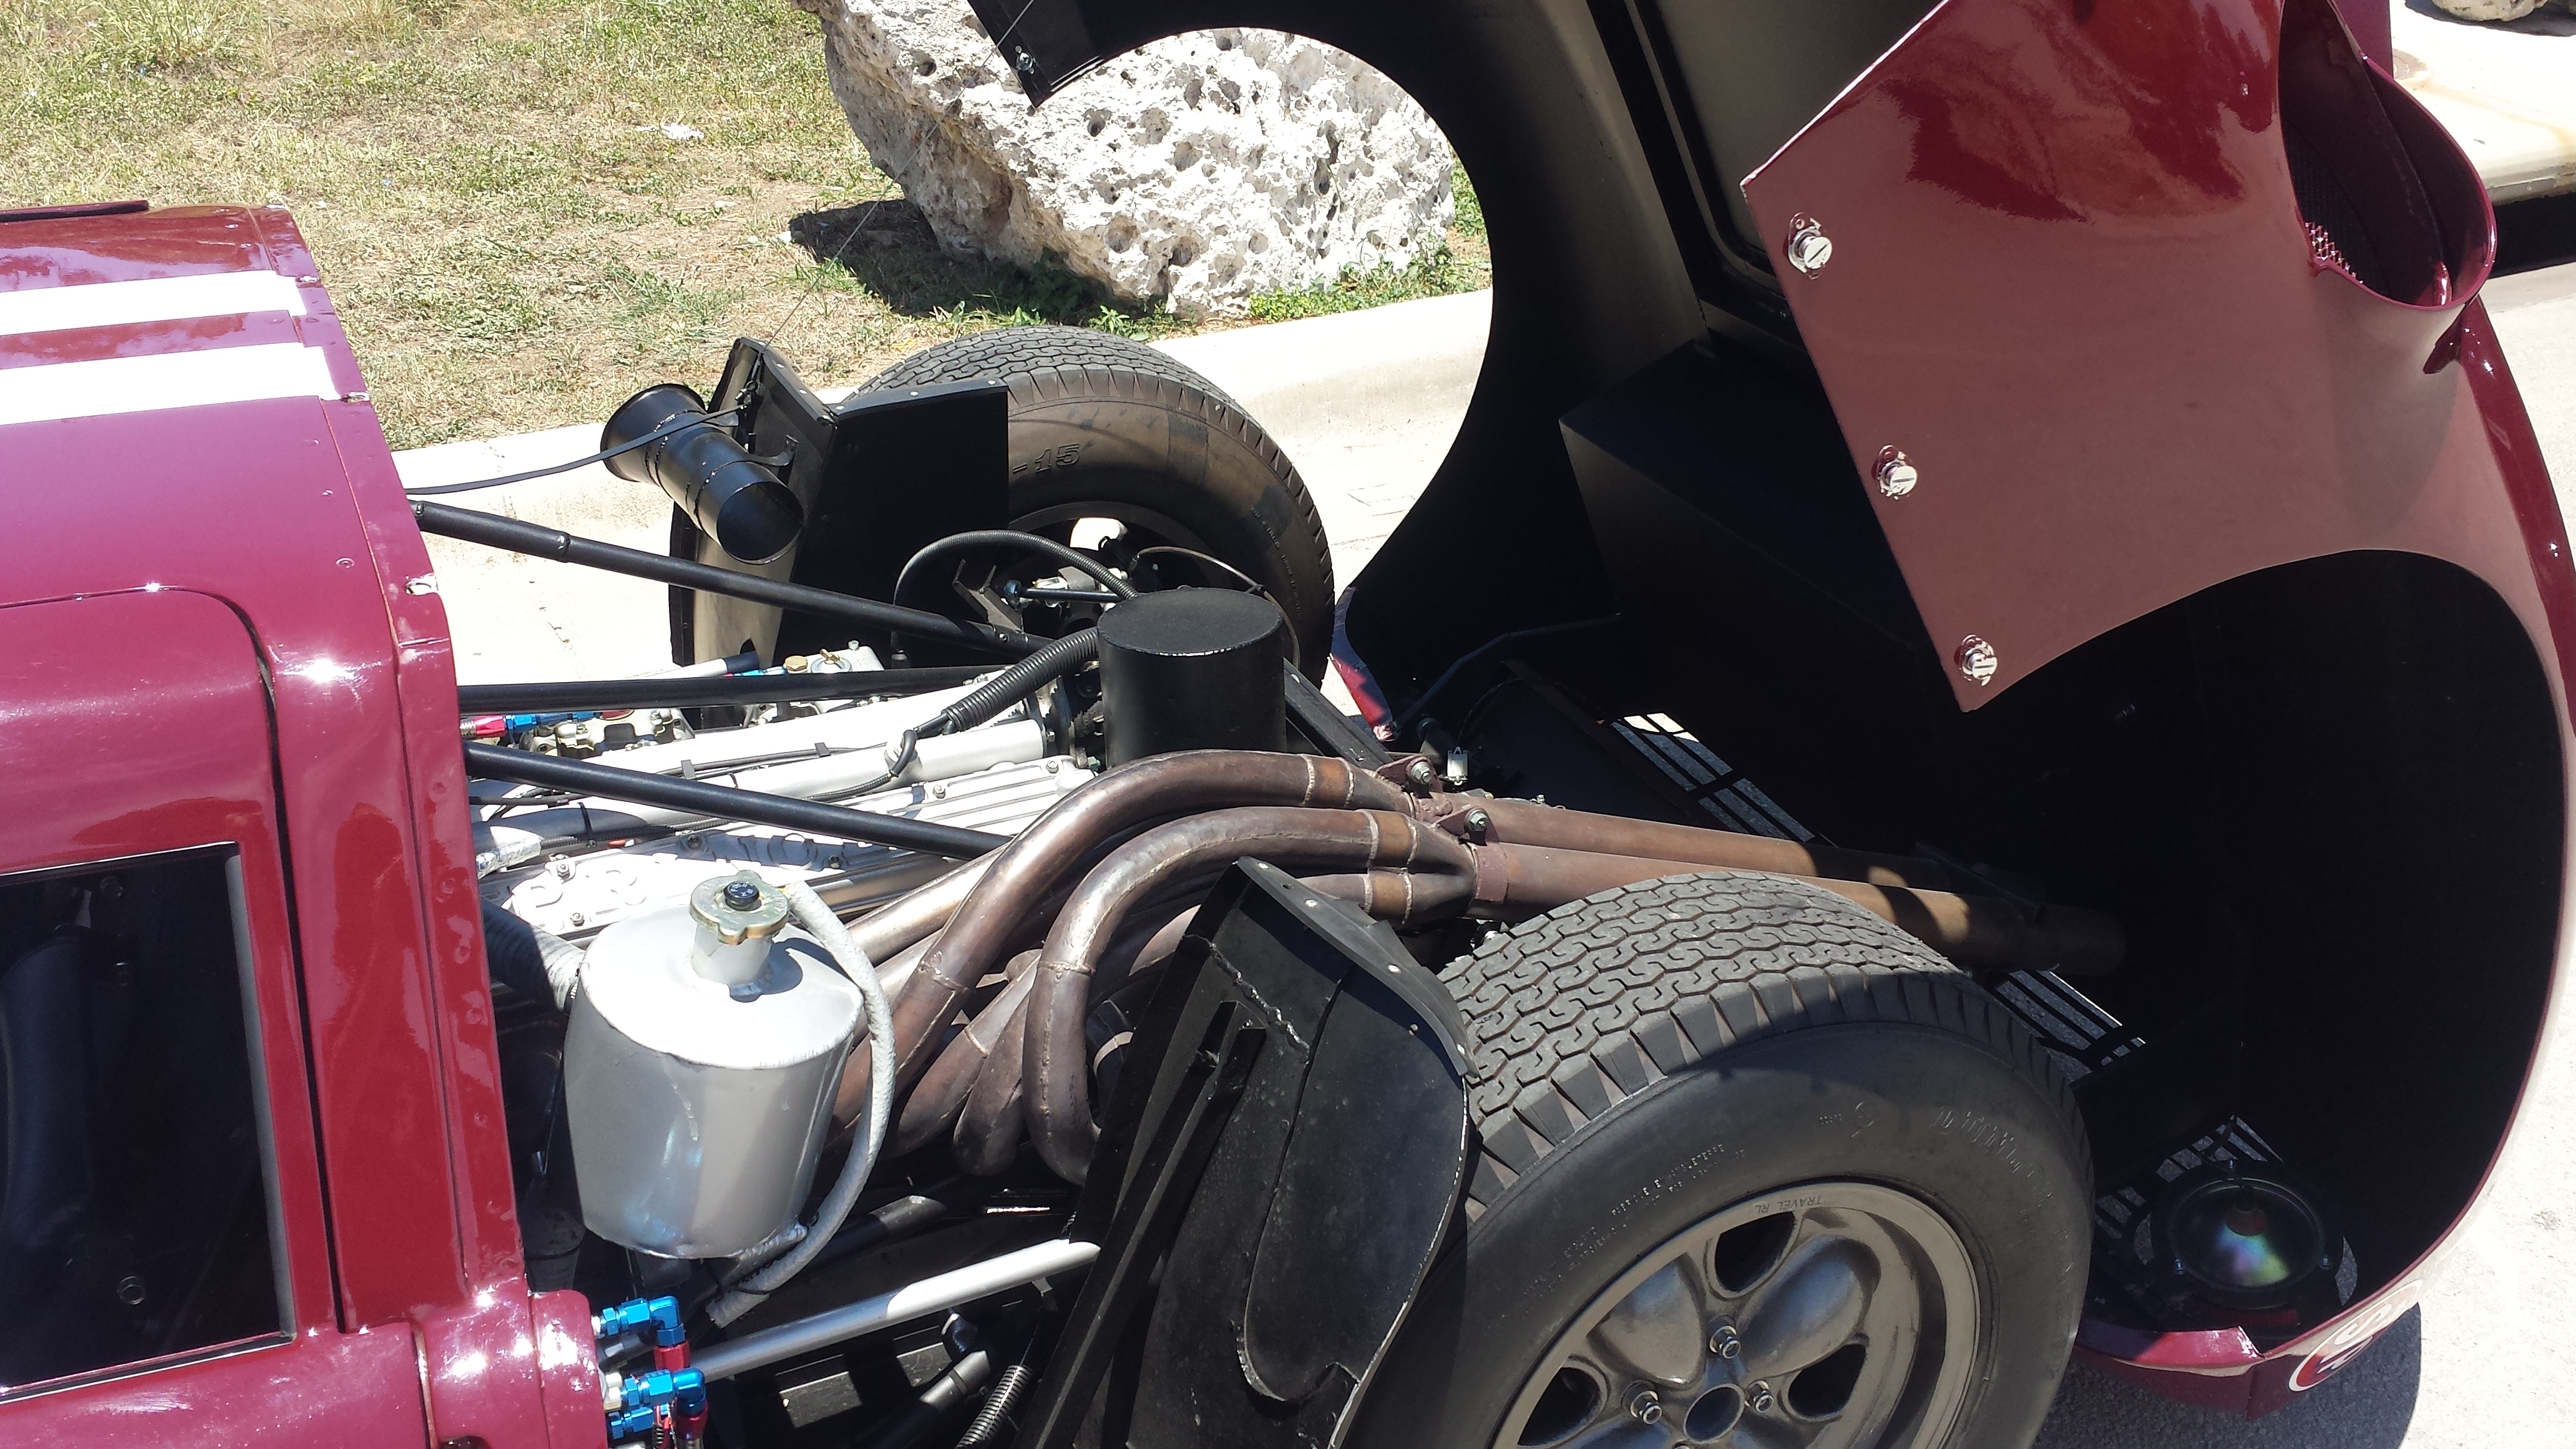
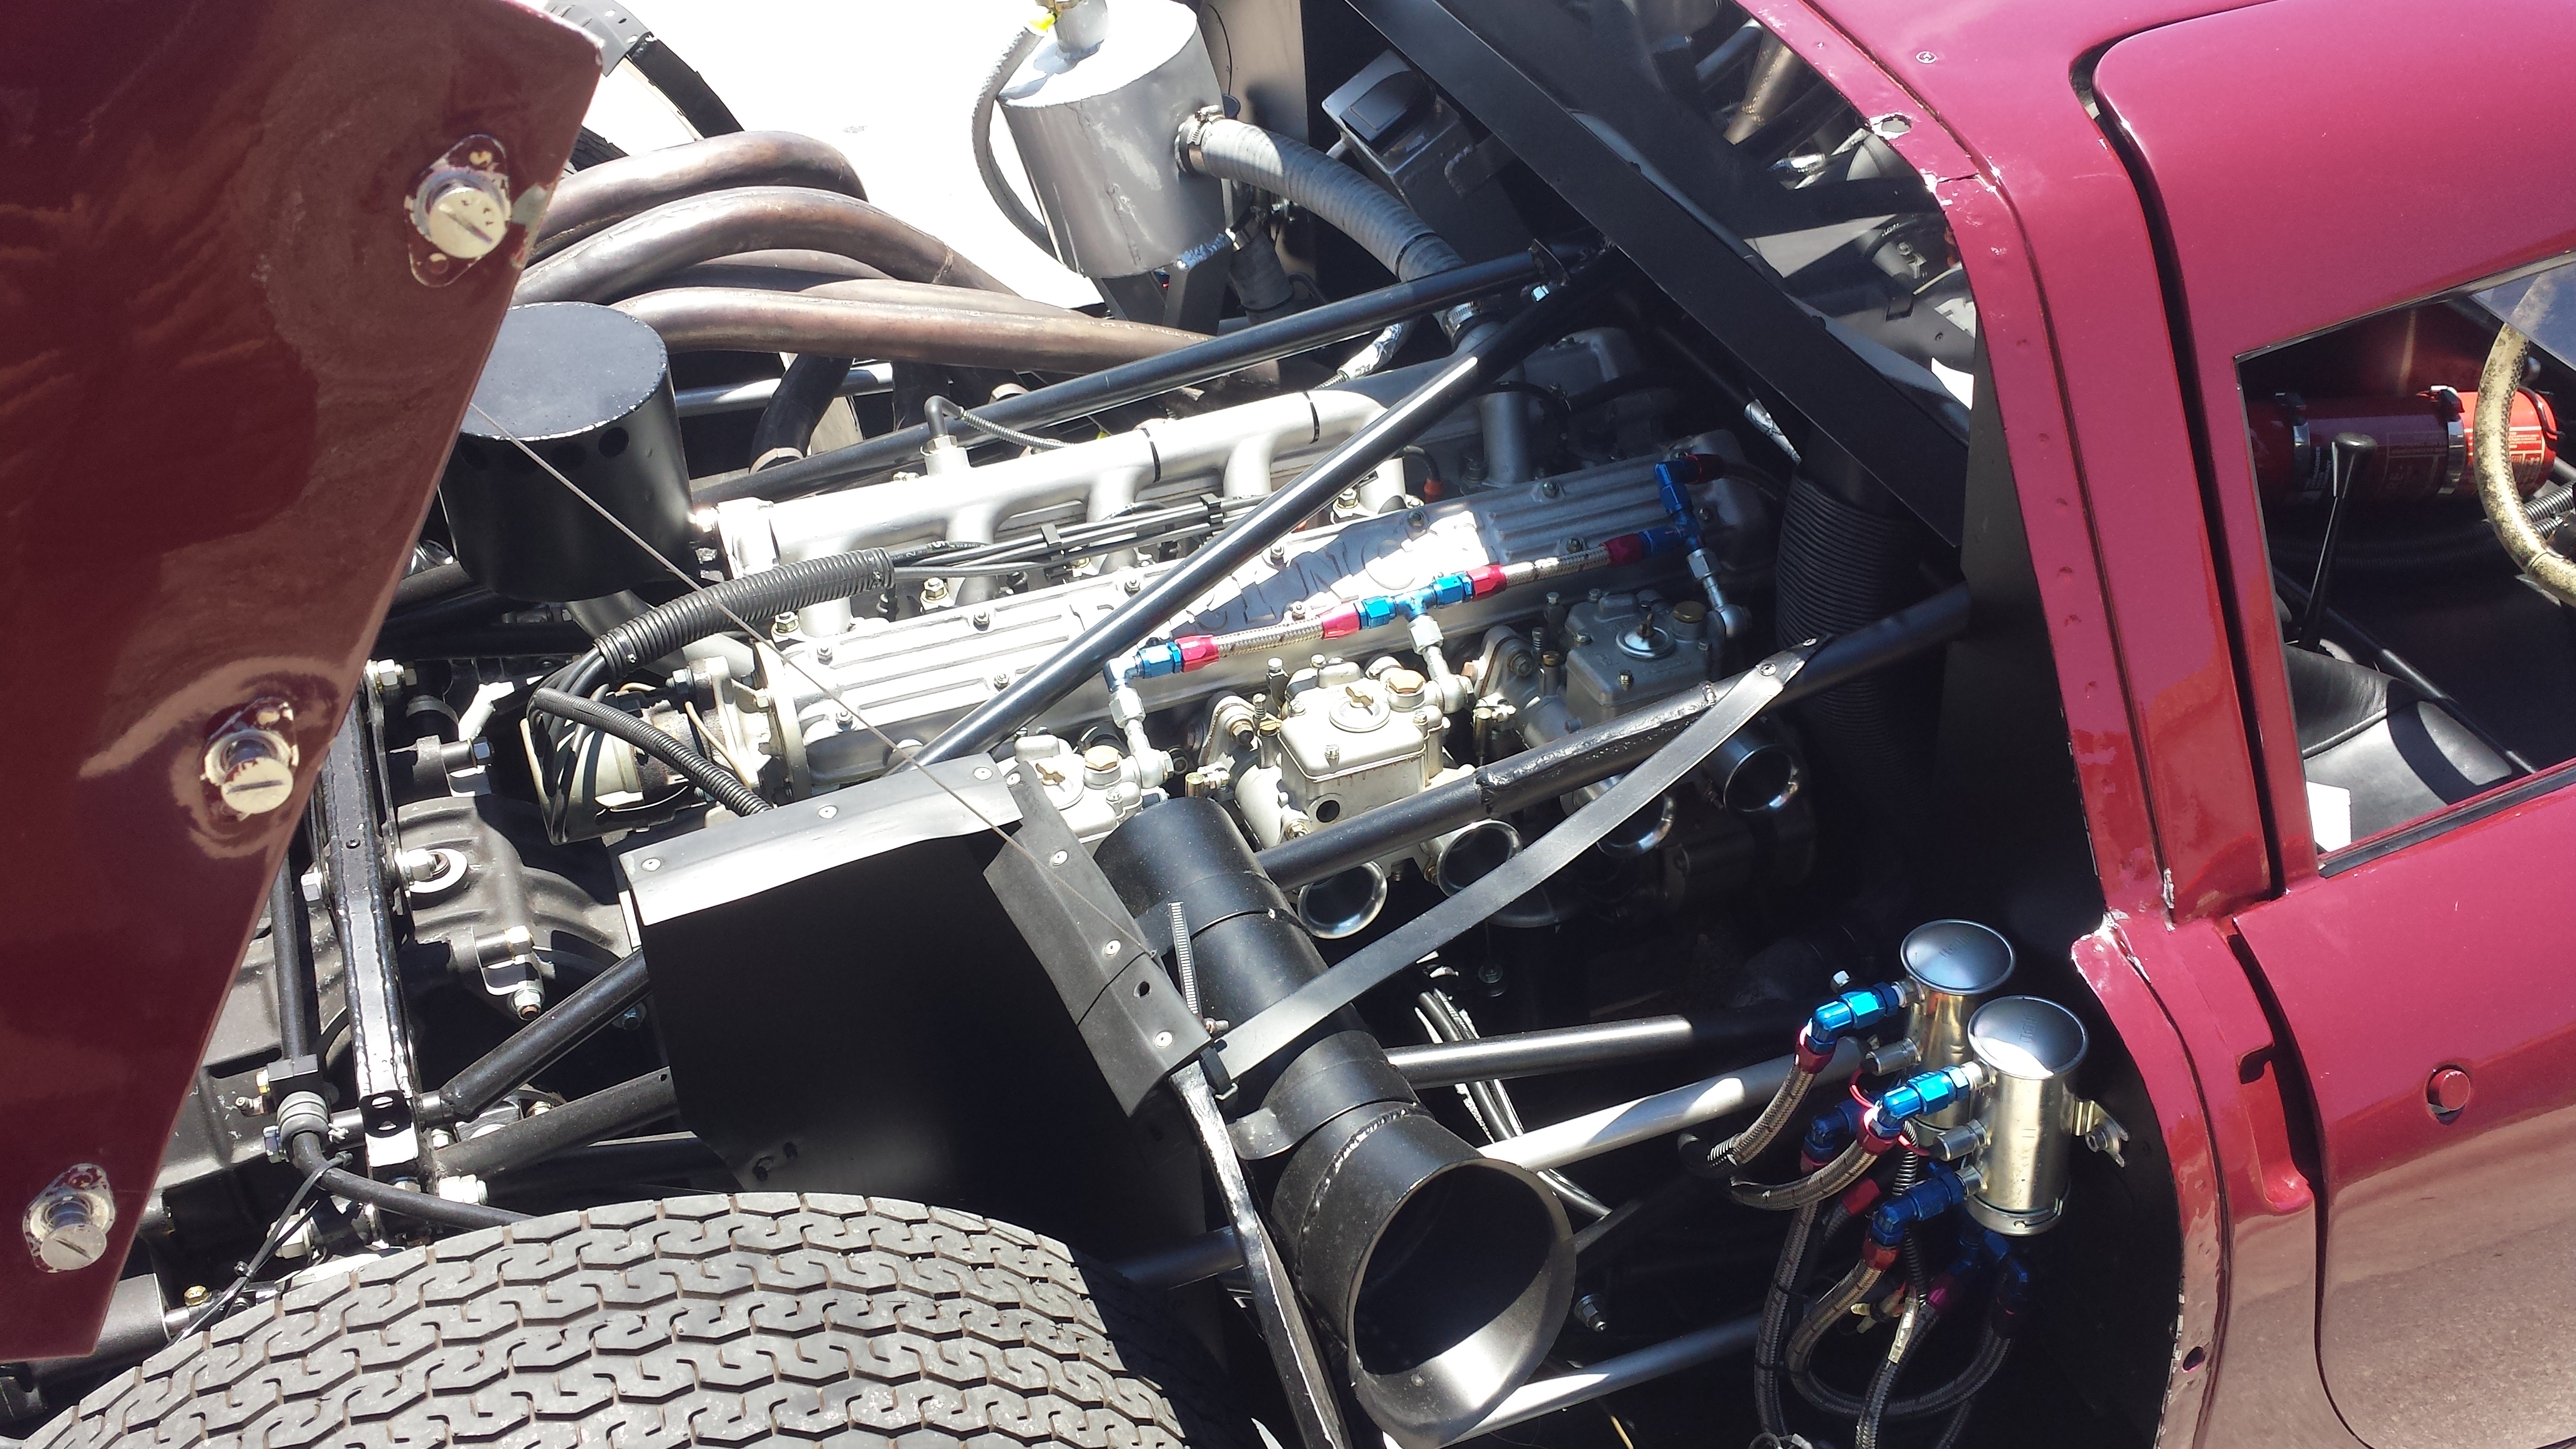
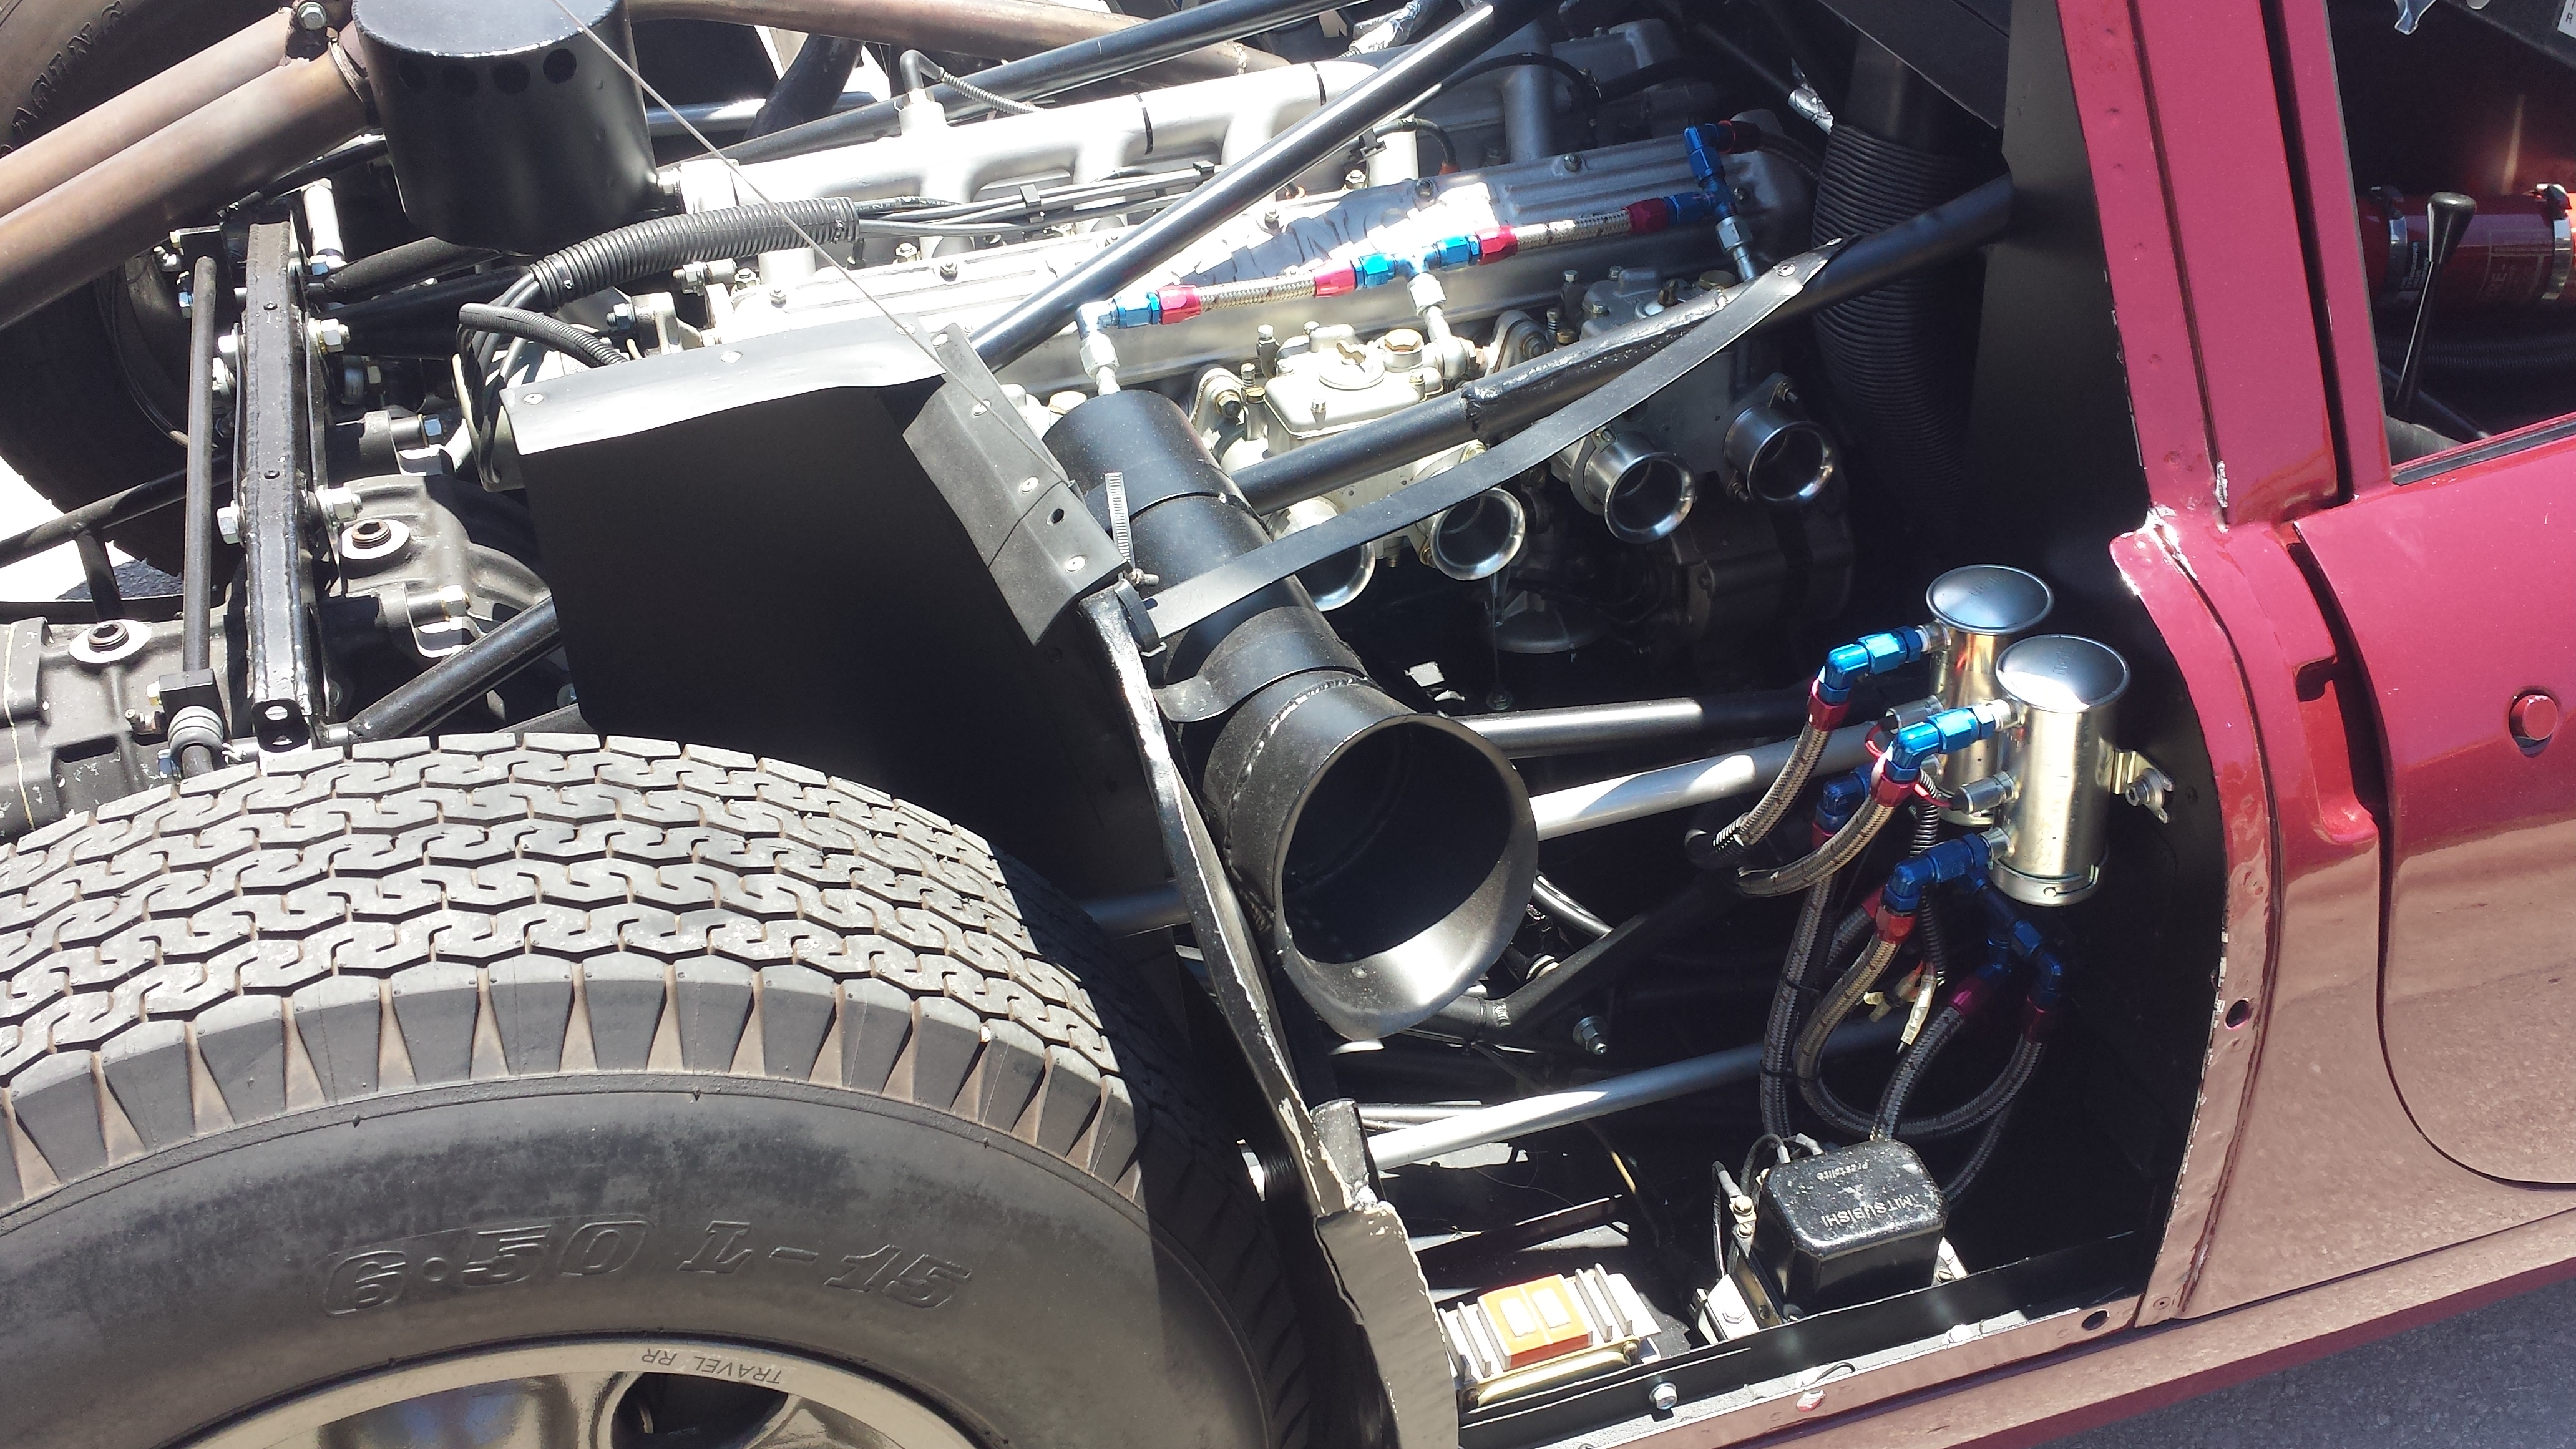
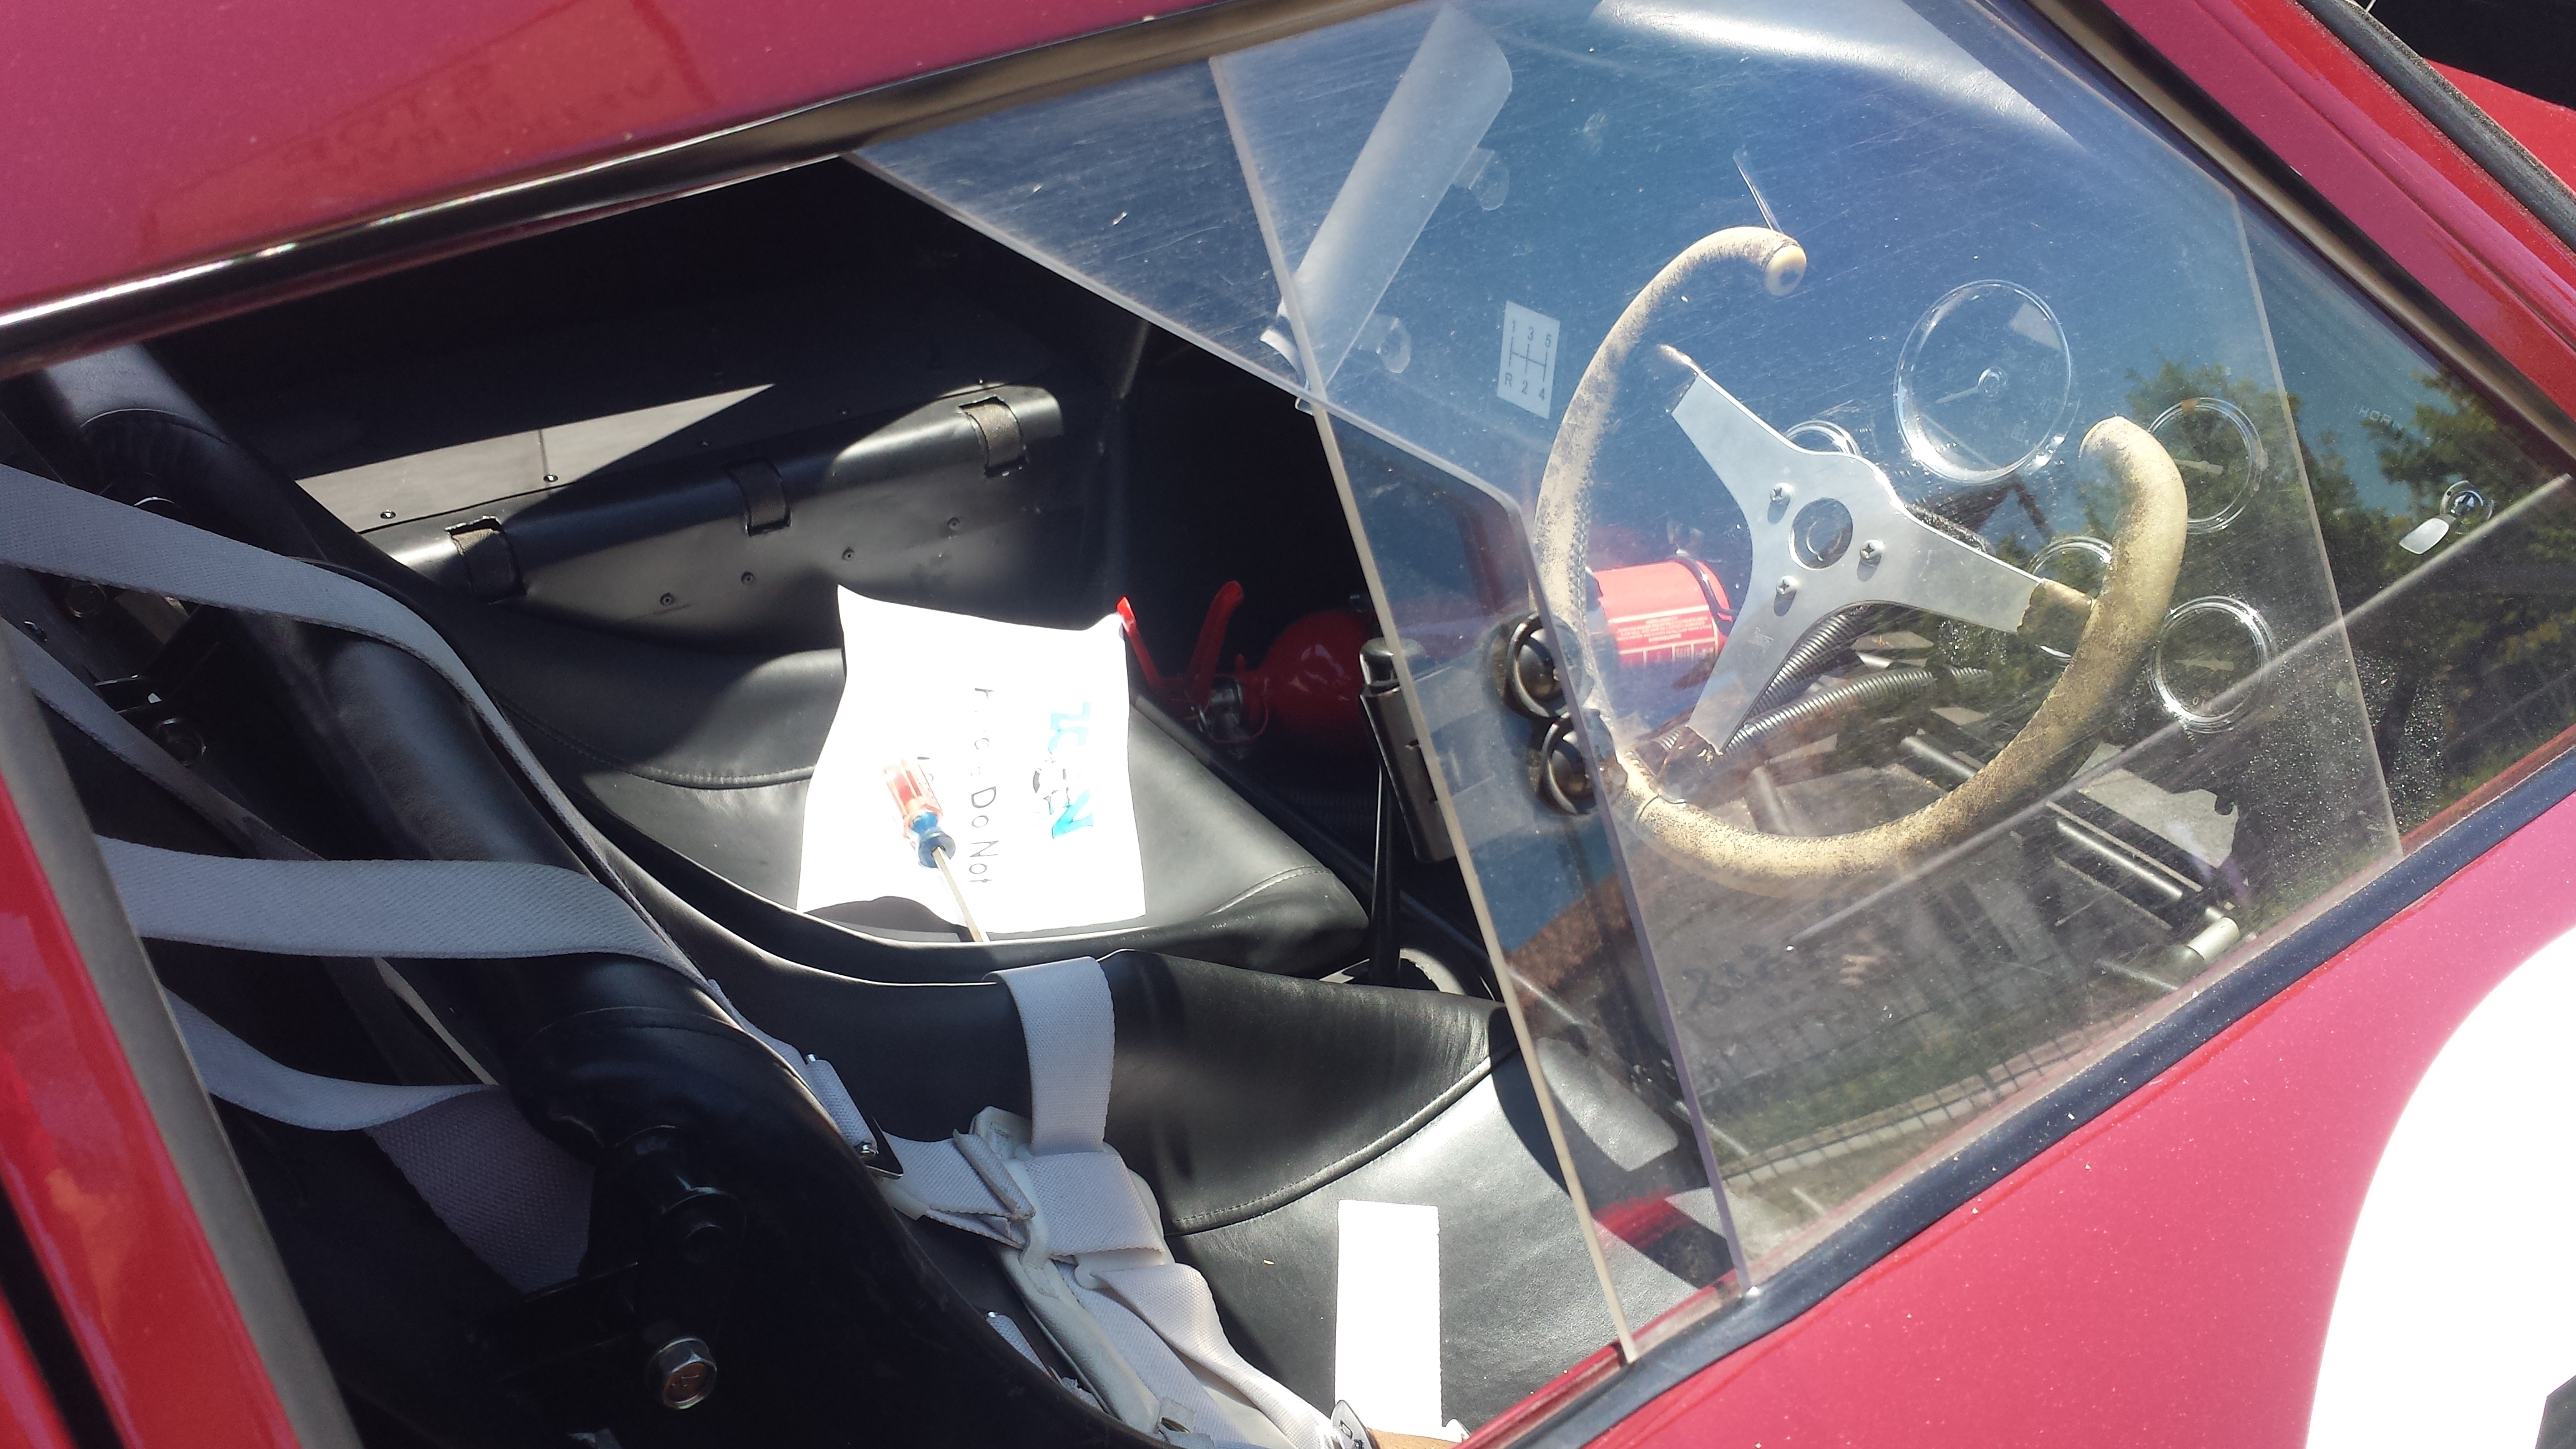
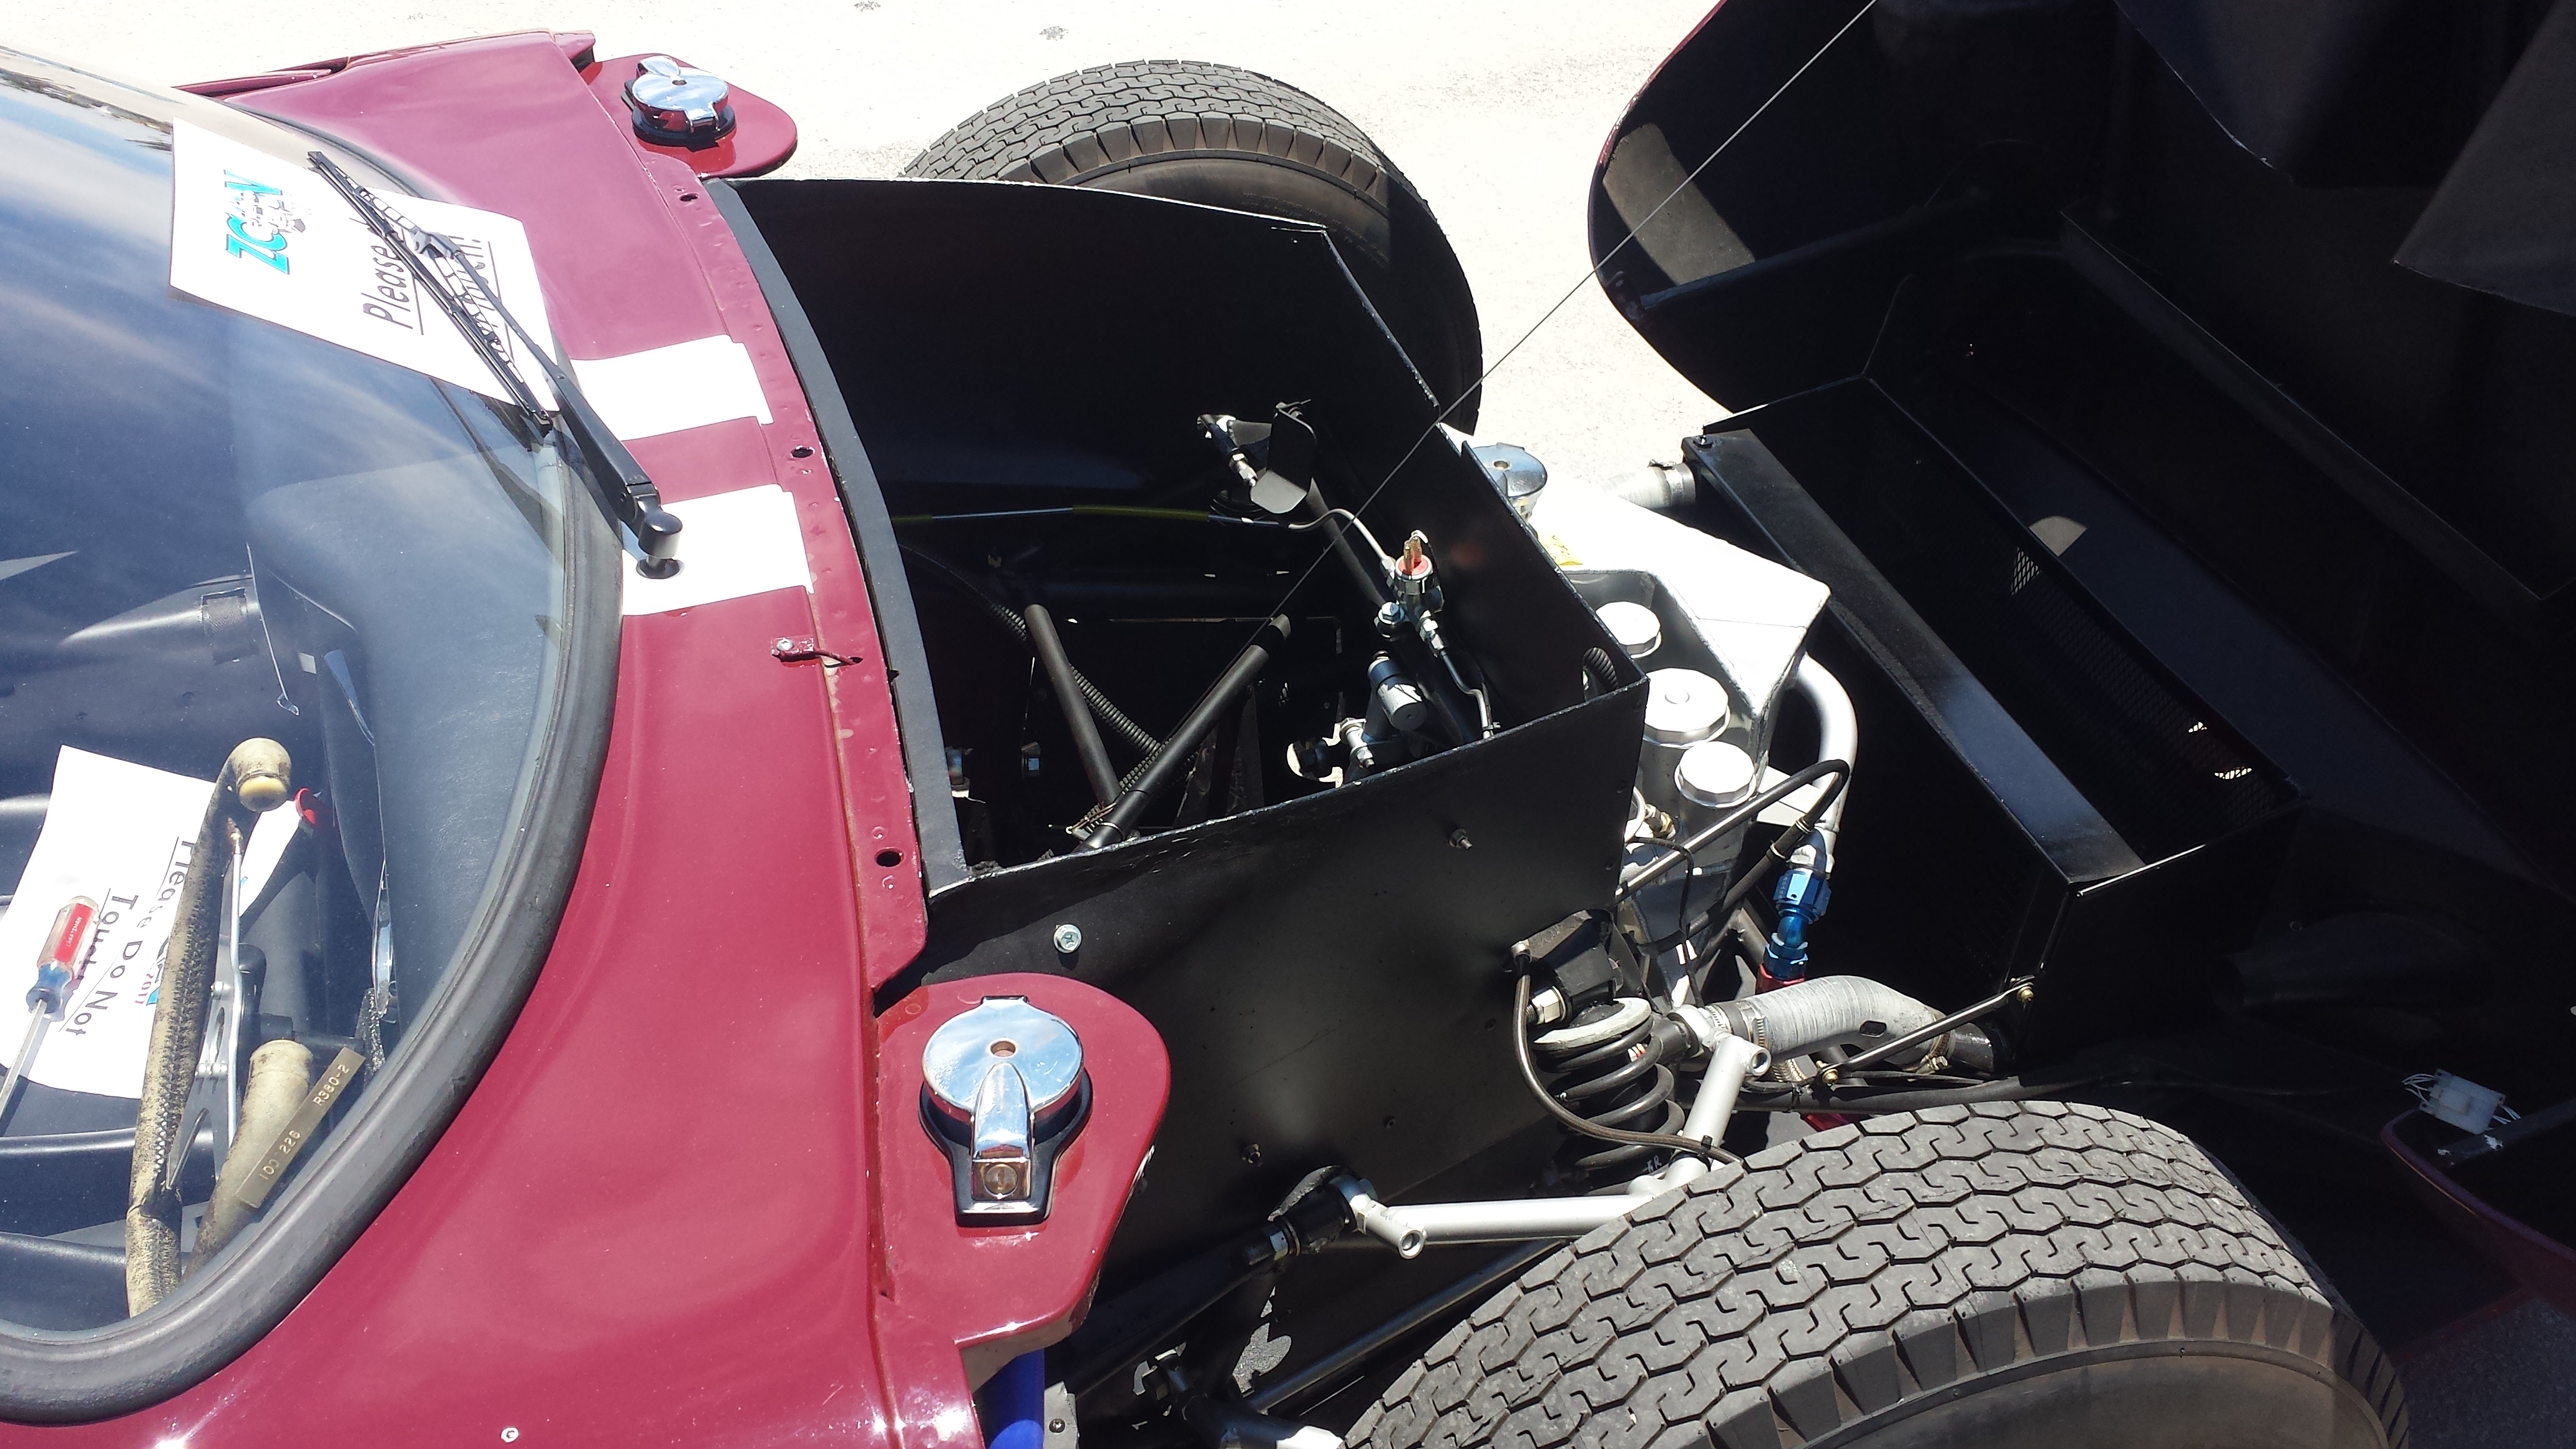
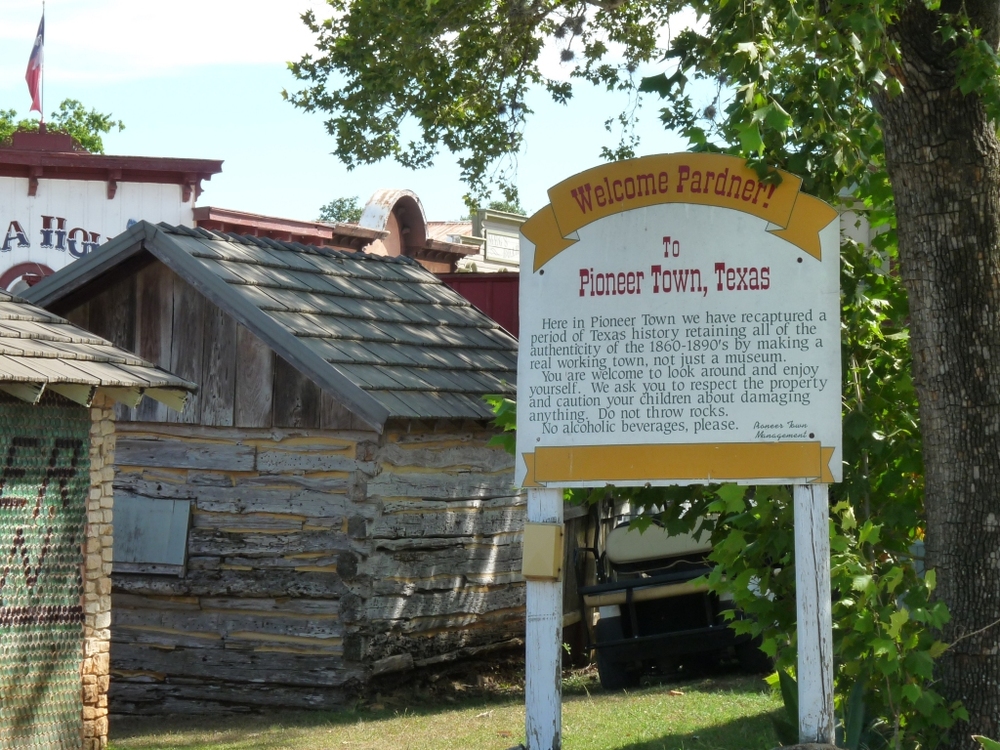
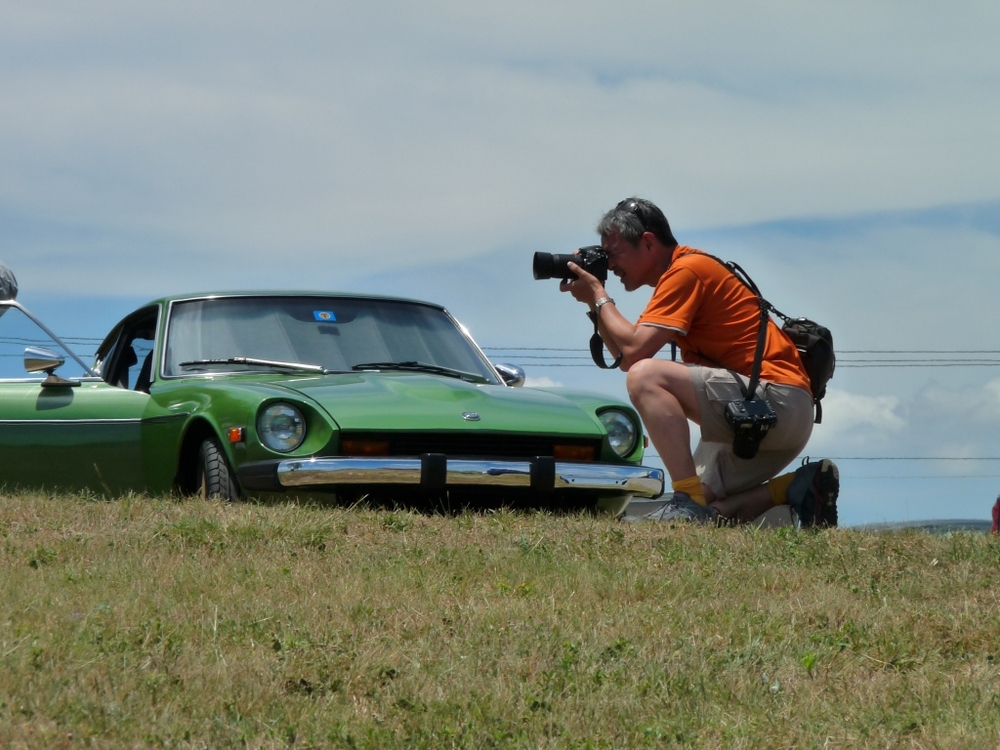
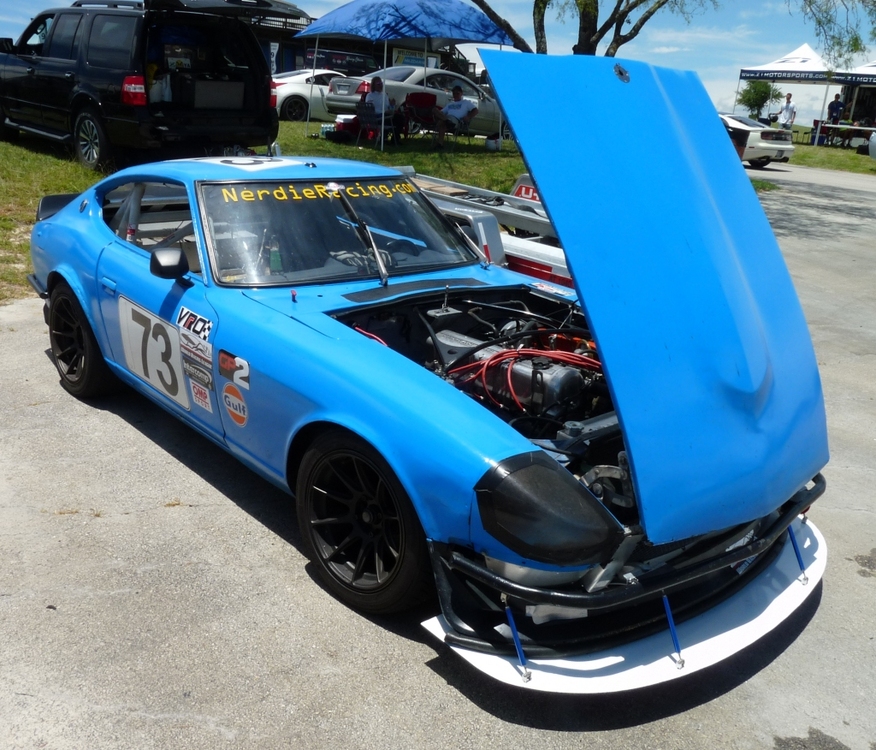
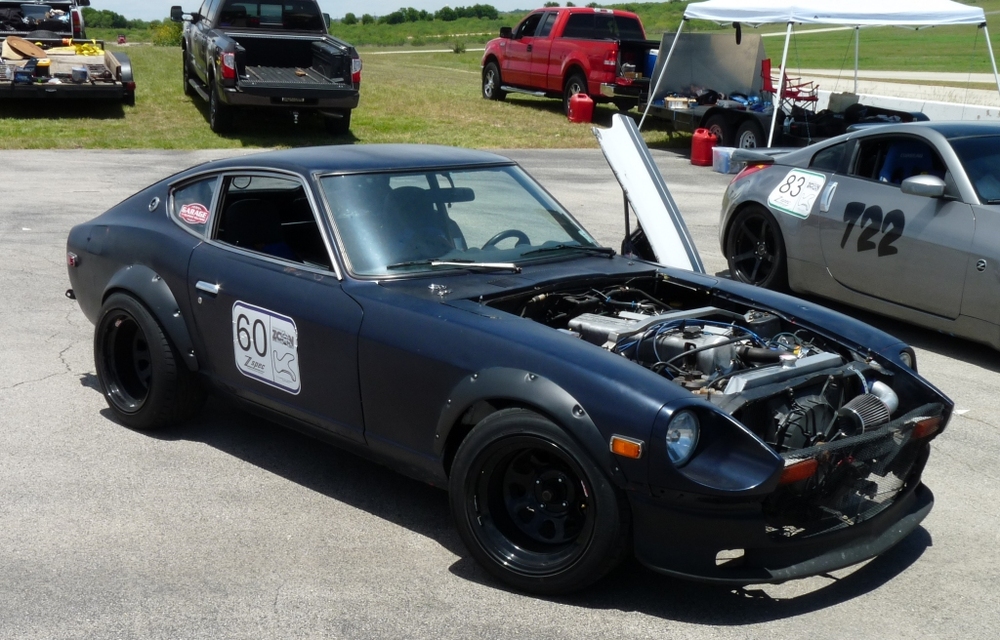
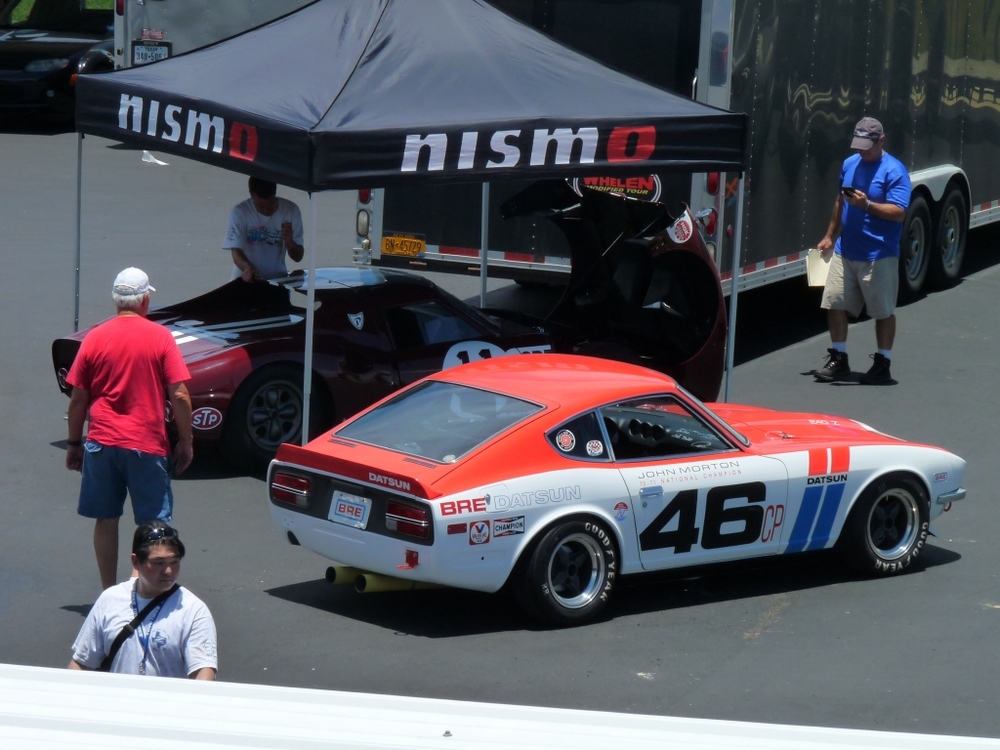
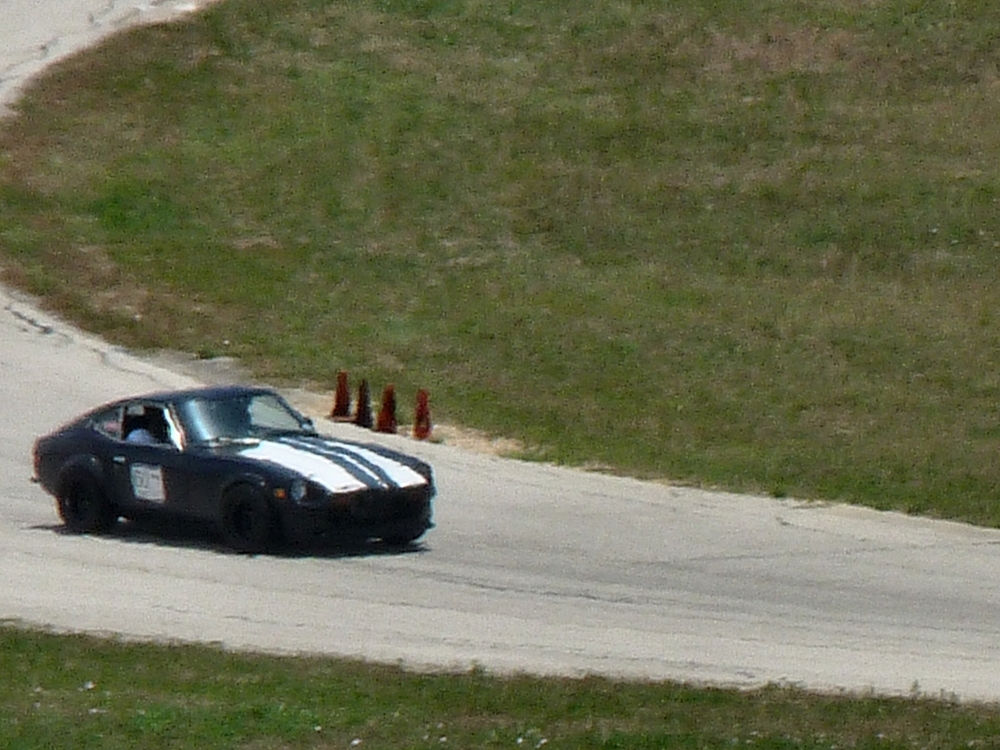
1 pointHOT LAPS!!!!!! The Circuit New School Eiji & Old School @DatsunSpirit Red 73 Blue 73 Black 60 Matte Z Blue Z Jeremy Stilwell of Nissan looking after the R380 Fazhion King of the Hill A great photographer at work Investor's meeting. Planning market cornering of '69 240z's. Old Texas Cool Clear Water (Blue Hole, Wimberley, Texas)


 1 point
 -
1 pointOdd, I tried uploading the pictures but crashed. So, trying again through the laptop. Like I mentioned this thing worked really slick.

 1 point
 -
1 pointDo this and take a pair of small vise grips and clamp the hose going to it. I've seen them fail without being turned on electrically.1 point
-
My car came back from restoration with terrible fitment problems in the sheet metal. I lived with it until I had the time to correct it properly. The doors did not close properly, the hood did not open properly the front fenders had to be bolted on with pan head machine screws due to the fact that there was not clearance for the heads of the proper bolts. We started out by removing the front sheet metal and taking some basic body measurements. We found that the right front shock tower had moved in 1/4" while on the rotisserie (we assume). First the tower had to be pulled then we began by aligning the doors to the back quarters. We had to install spacers in the top hinges to get the door sitting correctly with the rear fender. Once this was complete the doors closed properly. We then began installation of the front fenders. the tops of the doors being spaced out slightly and the correction of the right tower make the fitment correct. We had to move the mount, (the fender mount inside the front of the door opening) out. The fenders aligned relatively easily once the doors were in their proper place. The hood posed a bit of an issue initially. We raised the hood and took out the springs then set it down in place. We tightened the hinge to body screws then installed the springs. We set the front height by loosening the bolts and pushing the hood slightly below the point of level with the light buckets, the springs push the hood up slightly once you let pressure off. During this process I had both access doors off the front fenders, the battery and the windshield washer bottle removed. This allowed me to reach in and tighten the hood striker once the hood was closed in place. It is also helpful if the hood does not want to release during the adjustment process, you can reach in and loosen the bolts to release the hood. This is basically the process we used and it made an amazing difference in the fitment of of the sheet metal. I am extremely happy with the results. We did chip some paint here and there and will have to address this in the near future. I hope this helps with you project I will try and get some photos to post when I have some time. JLP1 point
-
1 point
-
1 pointPPG is a main supplier for sure. Most OEM paint jobs are all water based now. Europe has been doing it for years. I am by no means an expert and can't help but feel a little nervous over this as it is my first automotive paint job! However, I am confident that my lack of experience and knowledge will allow my ignorance to protect me... hopefully resulting in a nice paint job. Ignorance is bliss.... and yes, I will post pics as I go, as usual!1 point
-
1 pointI might go directly to the coolant temperature sensor circuit. The best way to test it is at the ECU connector, since what the ECU sees is what matters. Compare the resistance measured to the value in the chart. If it's too high you'll get too much fuel. This book has tests for all models up to 1980 -1 point
-
1 pointThank you! Enjoying my morning coffee and pretending I'm there sweating it out with all of you. jfa's orange is dazzling in the texas sun. It's 48F here this morning.... chilly....1 point
-
1 point
-
1 point
-
1 pointWell, a little progress tonight! Got the sealer coat down. Looks pretty nice and smooth. I'm liking it!1 point
-
1 point