Leaderboard
-
grannyknot
Free Member4Points5,158Posts -
Captain Obvious
Free Member4Points10,081Posts -
sweatybetty
Free Member3Points1,119Posts -
zKars
 Subscriber
 2Points3,769Posts


Popular Content
Showing content with the highest reputation on 08/28/2016 in all areas
-
I checked with Matt Cramer and he says VR sensors don't require a pull up resistor, but there is light at the end of this MS tunnel, fellow forum member, Careless has put me on to a mechanic friend of his down in the city that is also a MS guru. This guy is also willing to drive north to my place and see if he can get this lump of mine running He's coming over this thursday to have a look, I'm pumped.3 points
-
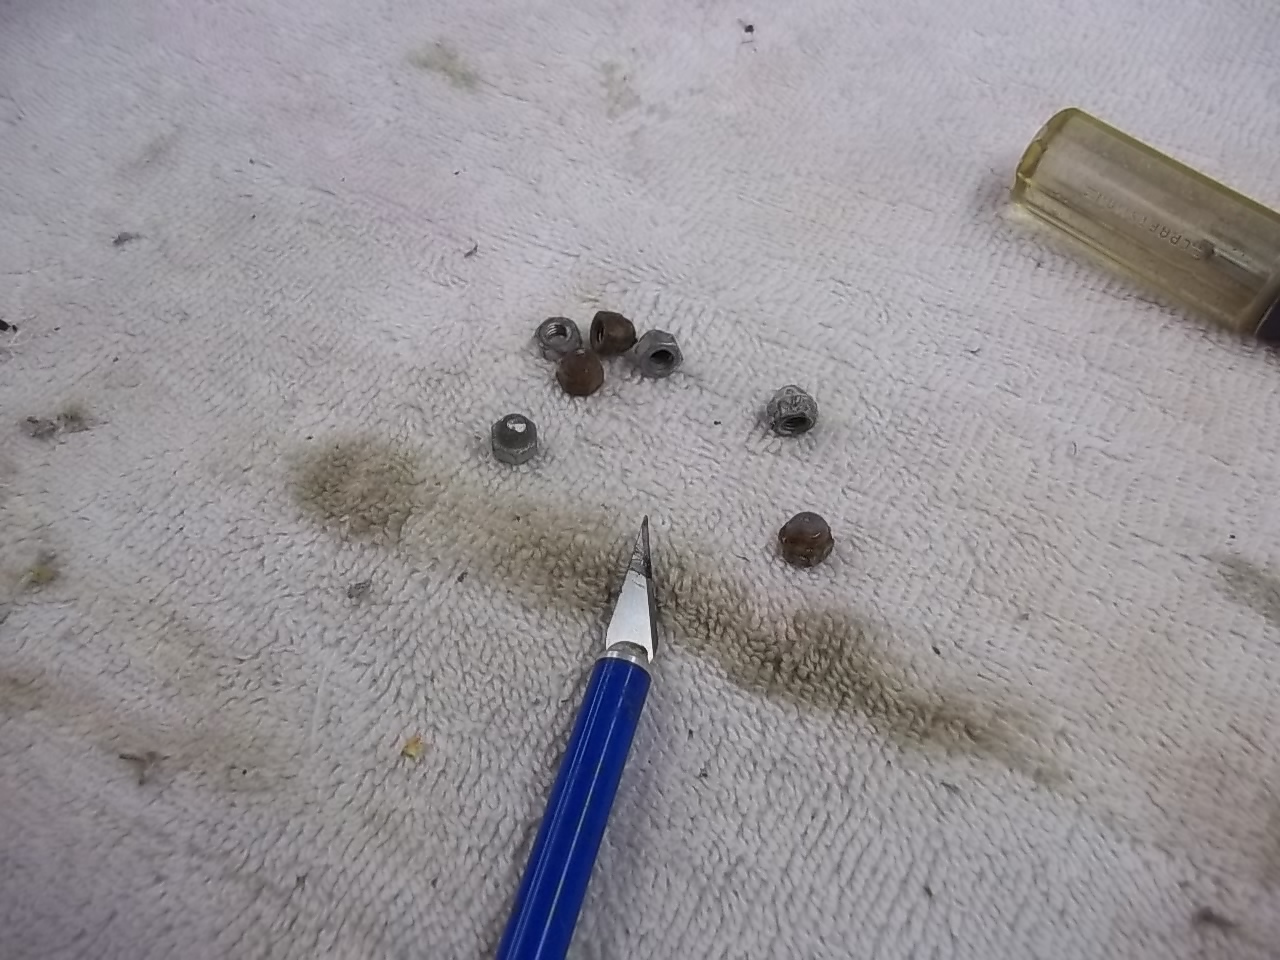
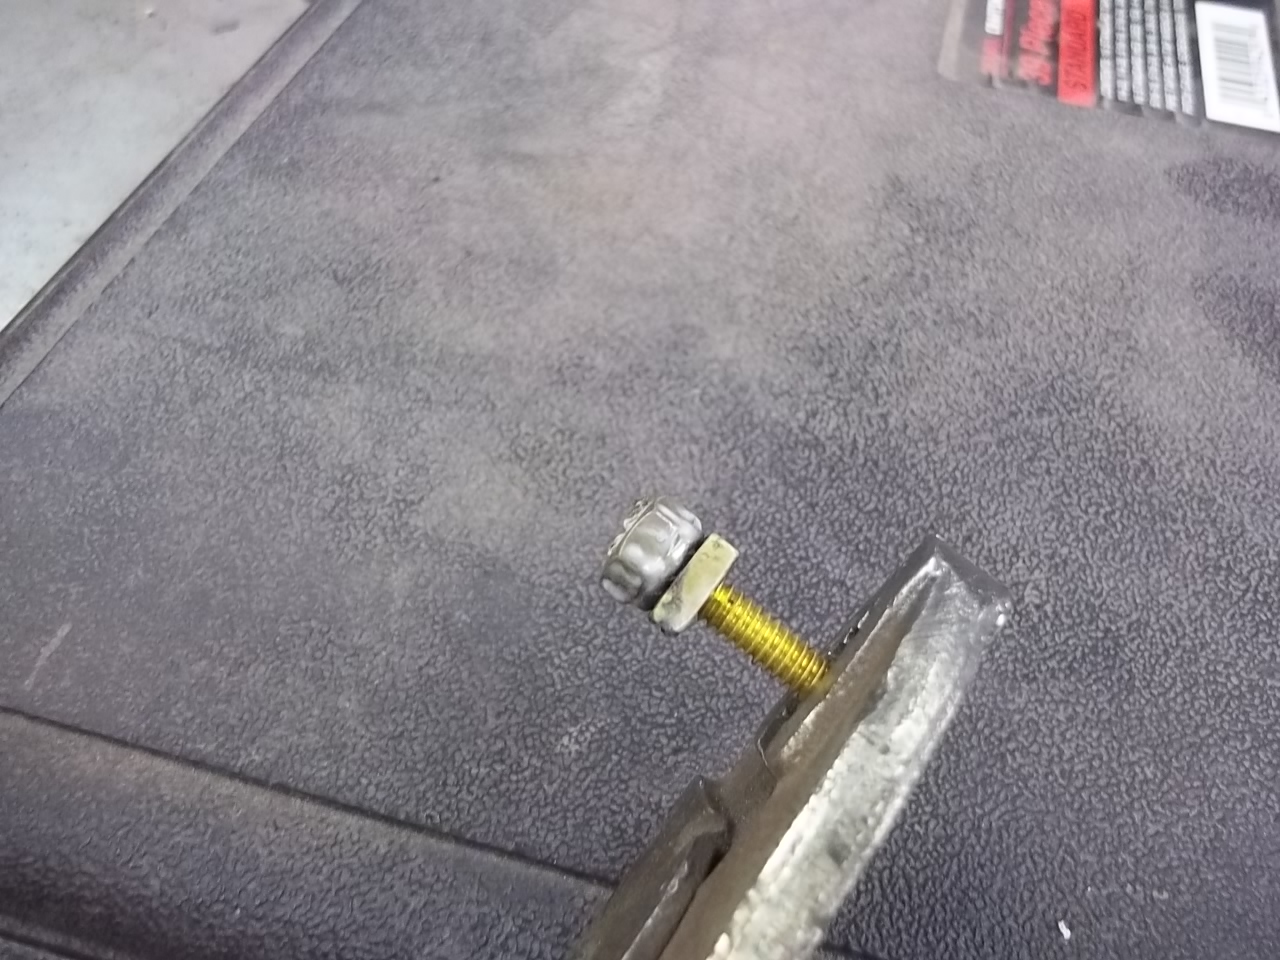
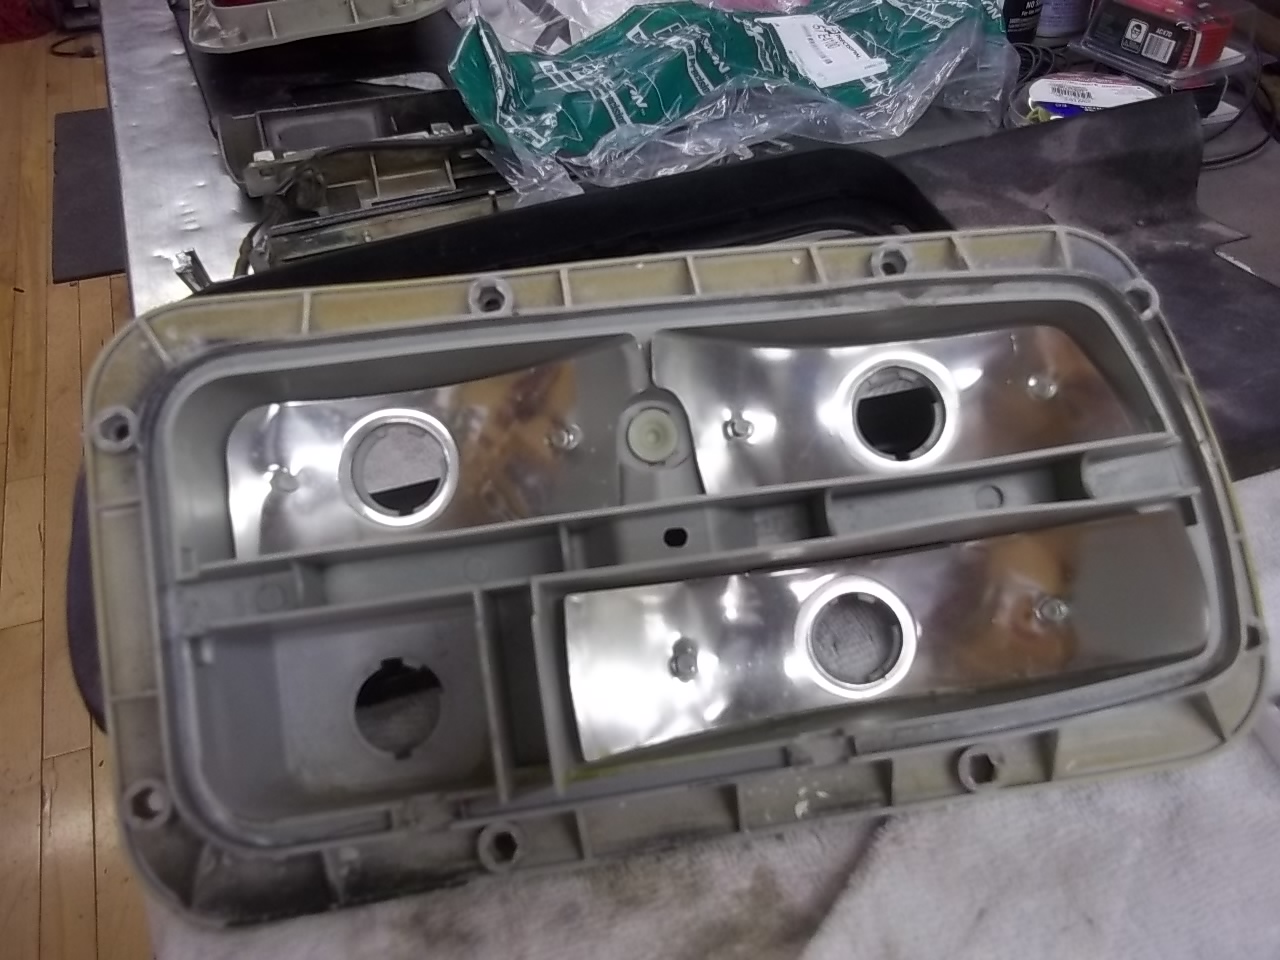
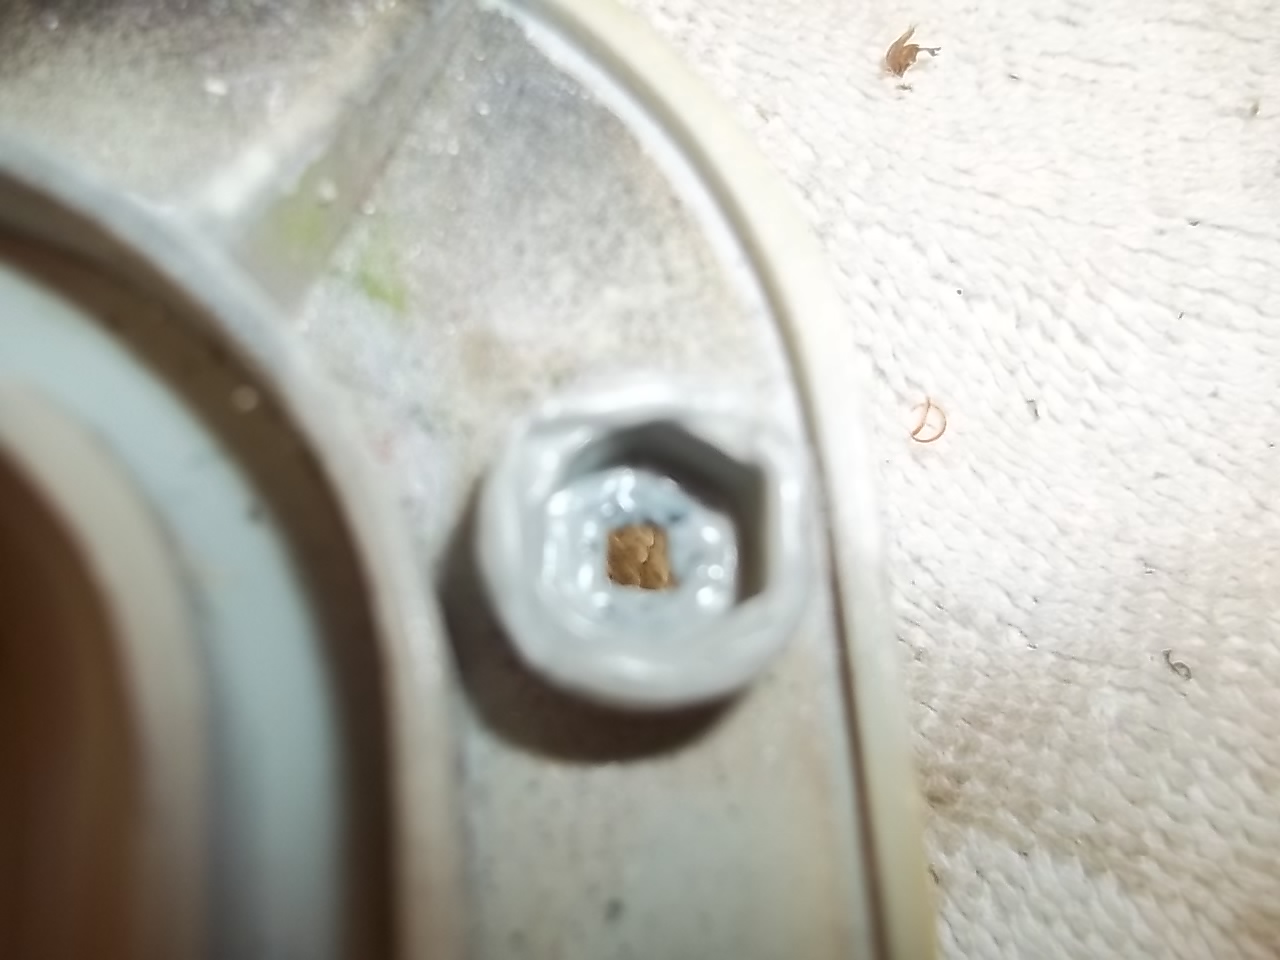
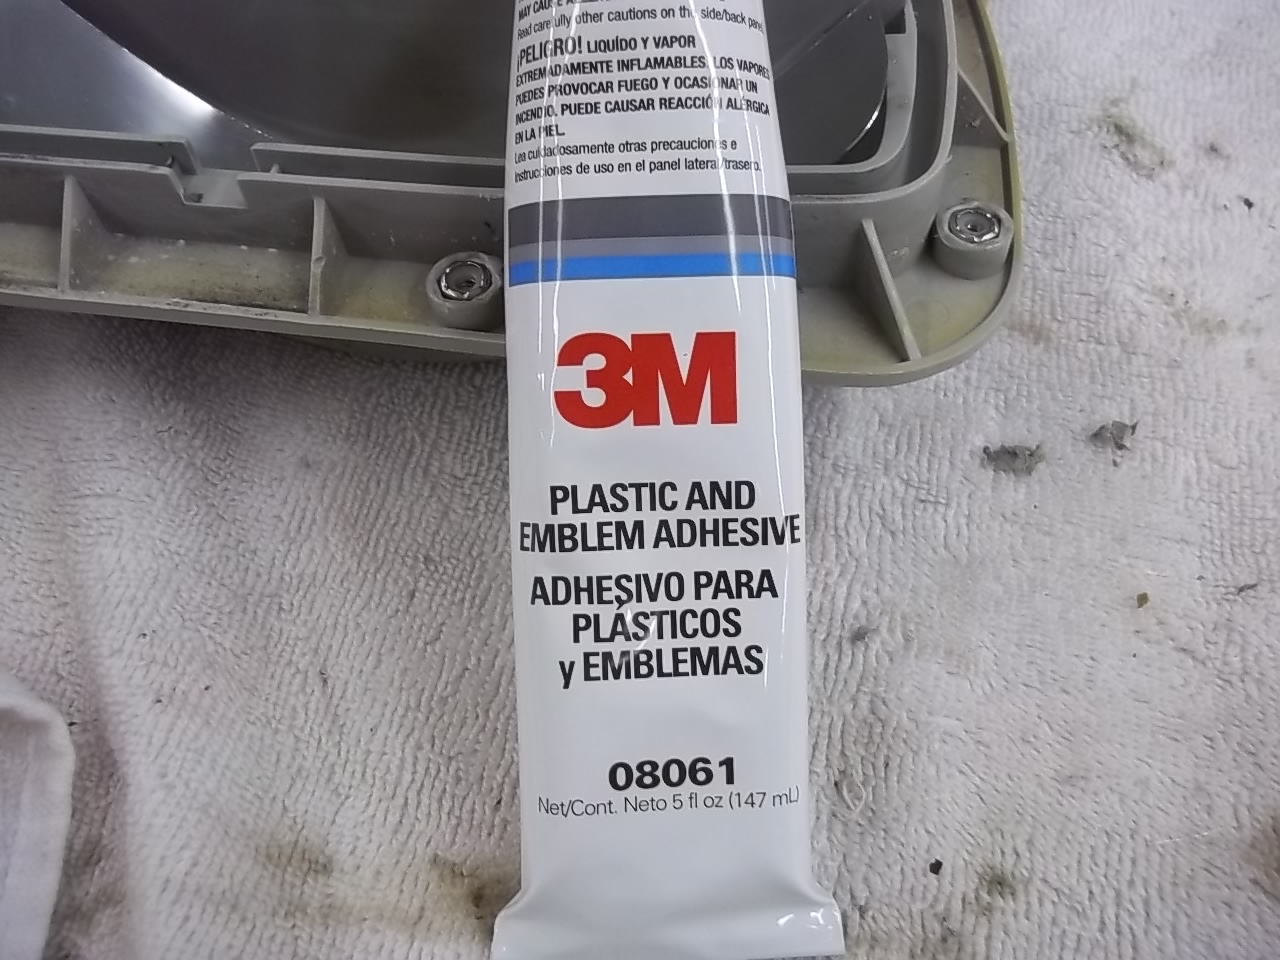
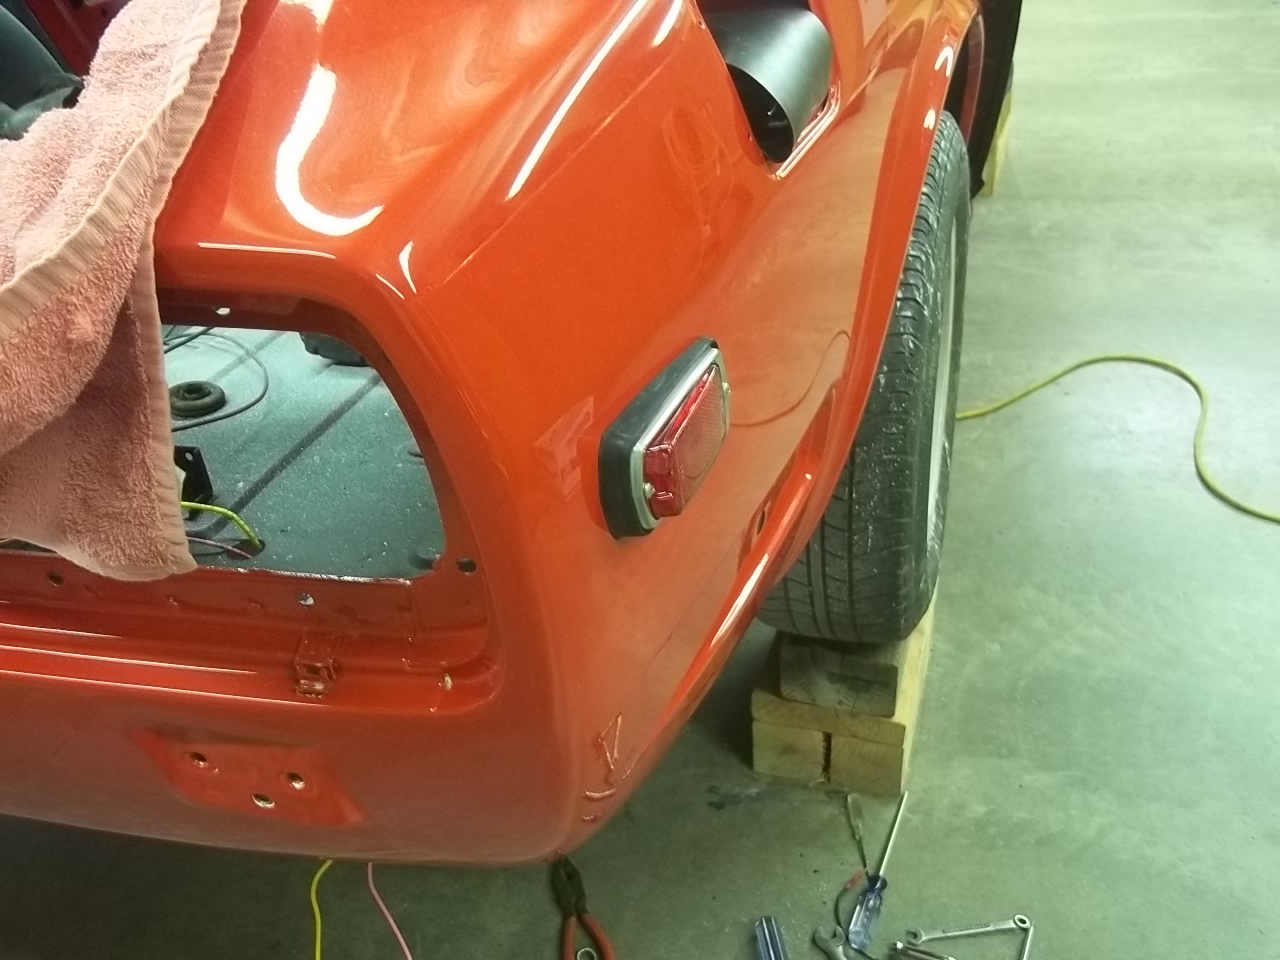
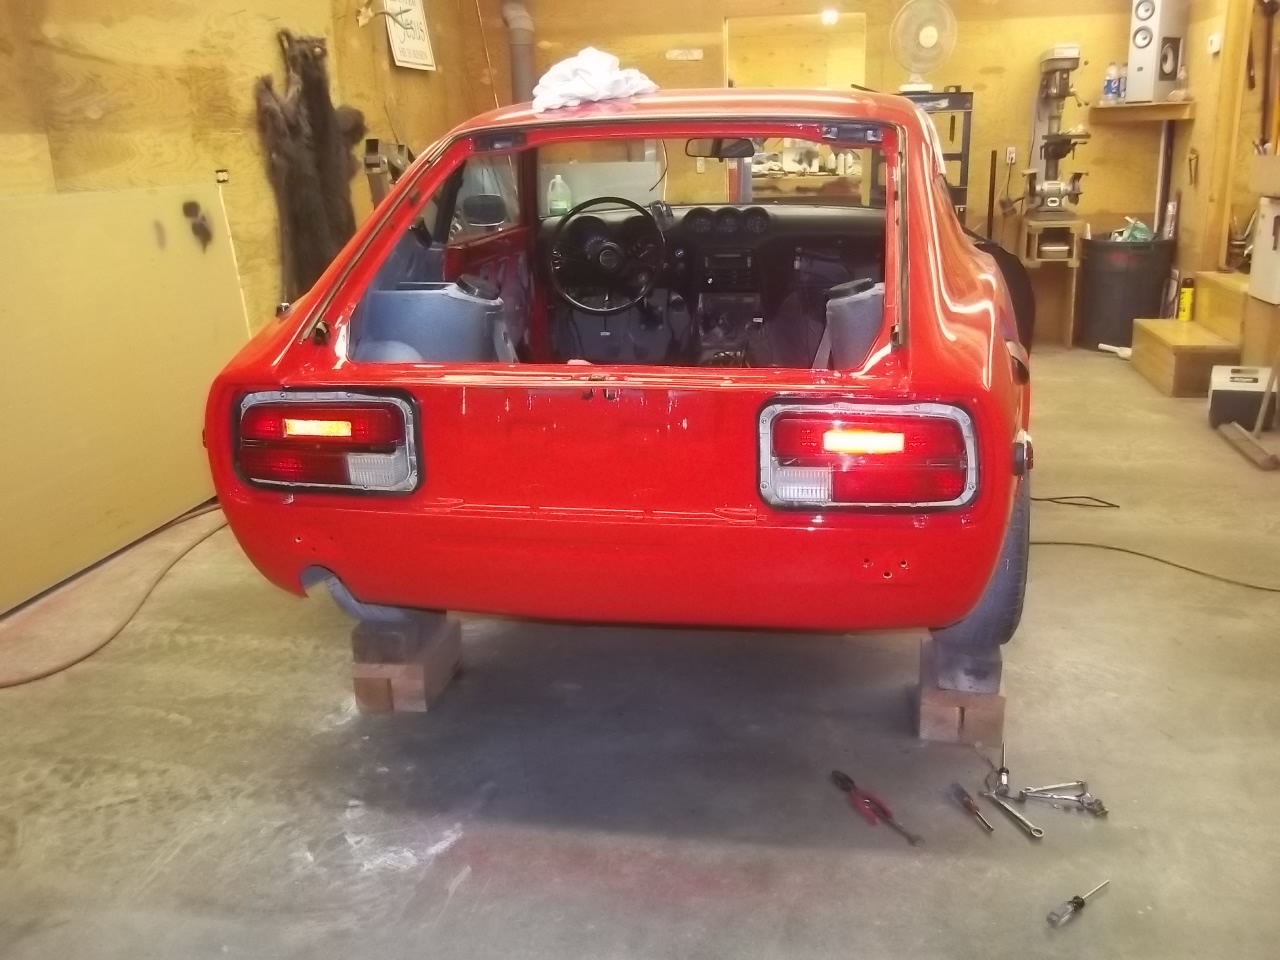
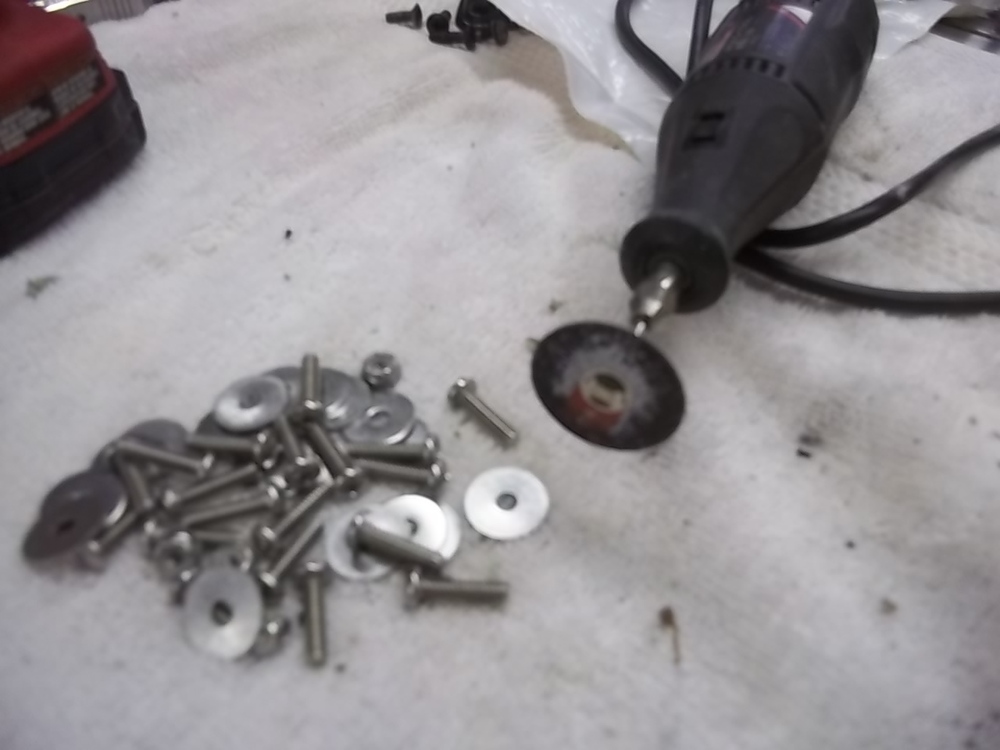
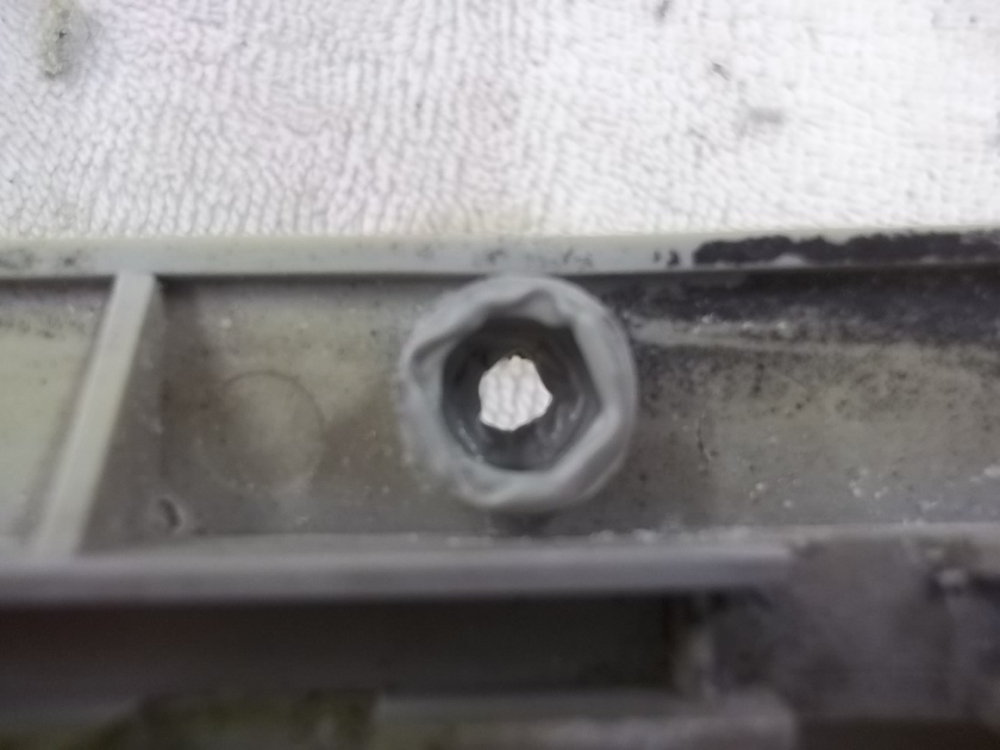
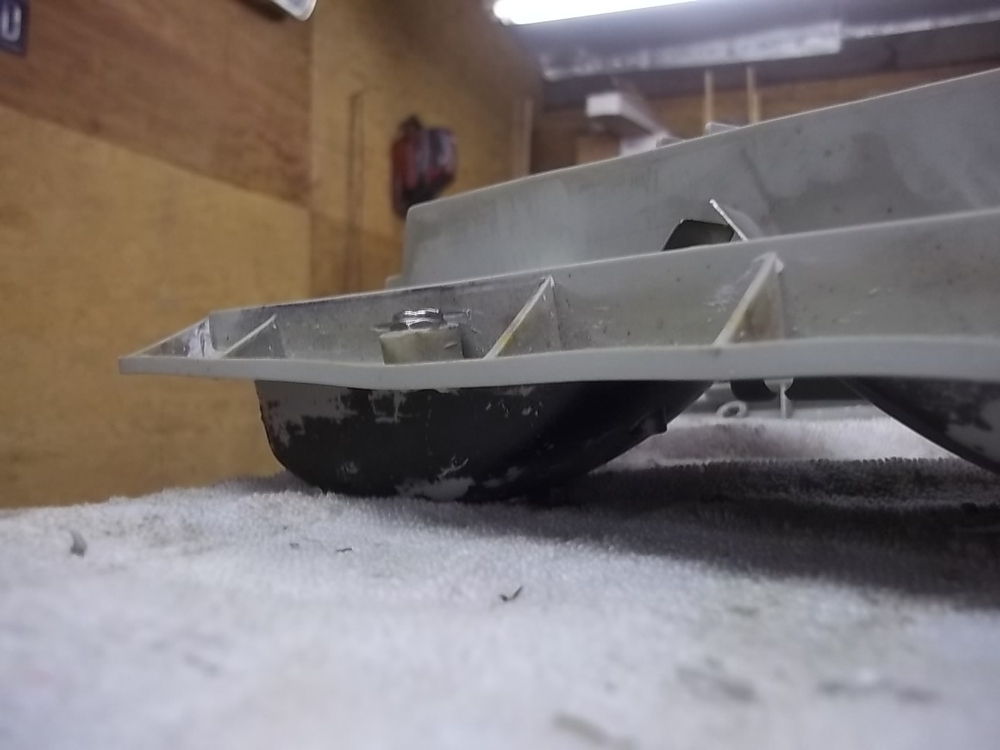
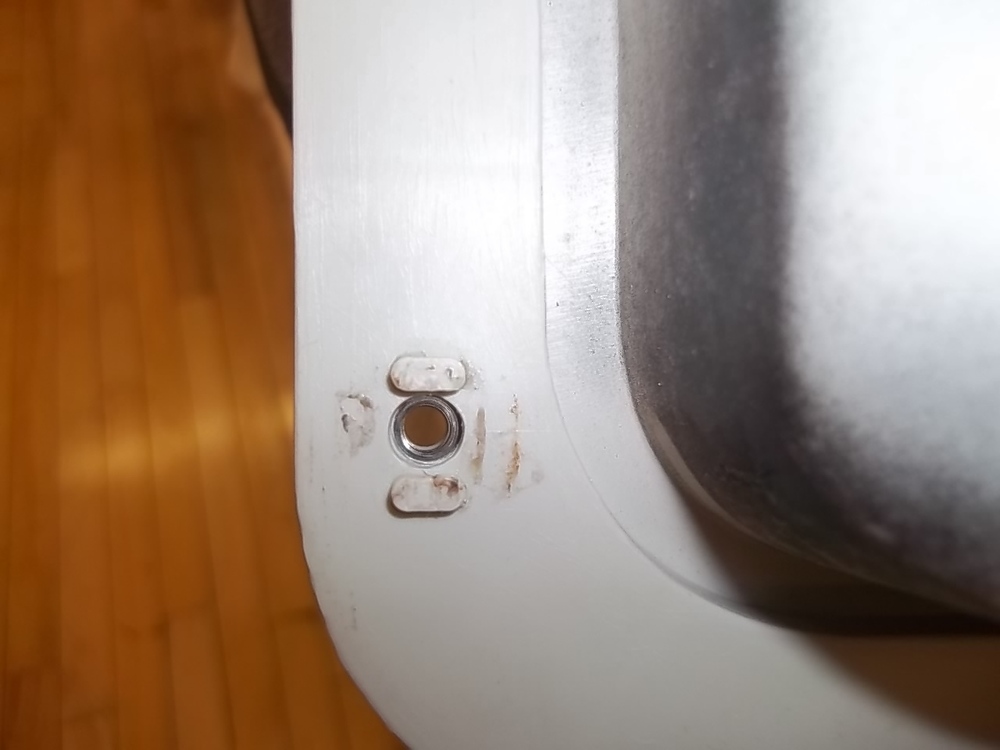
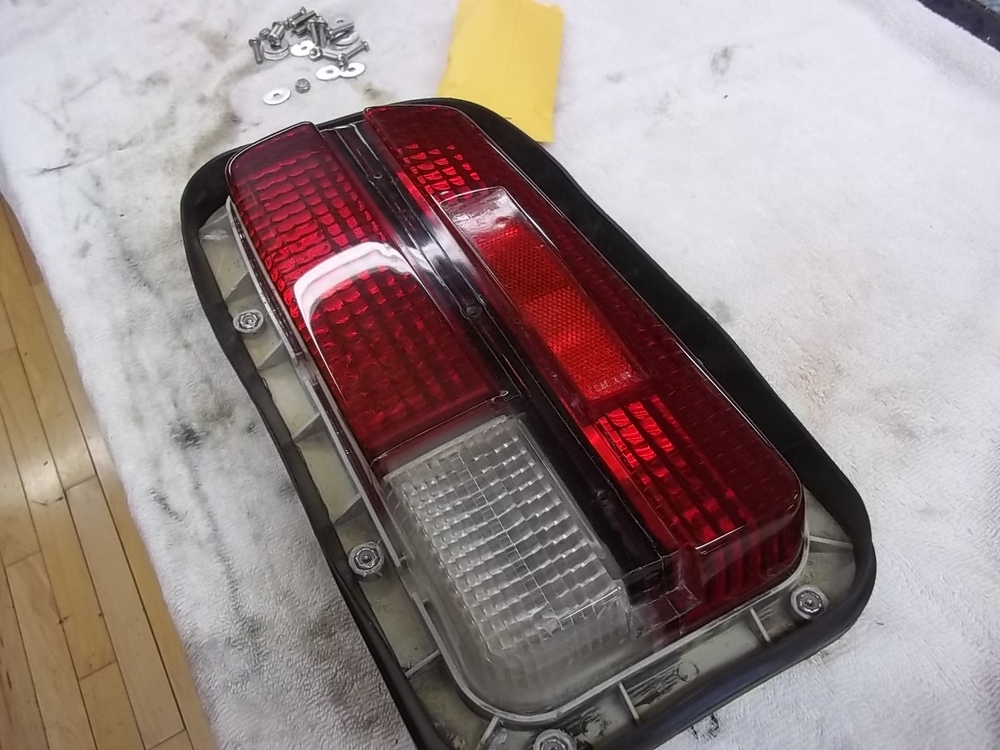
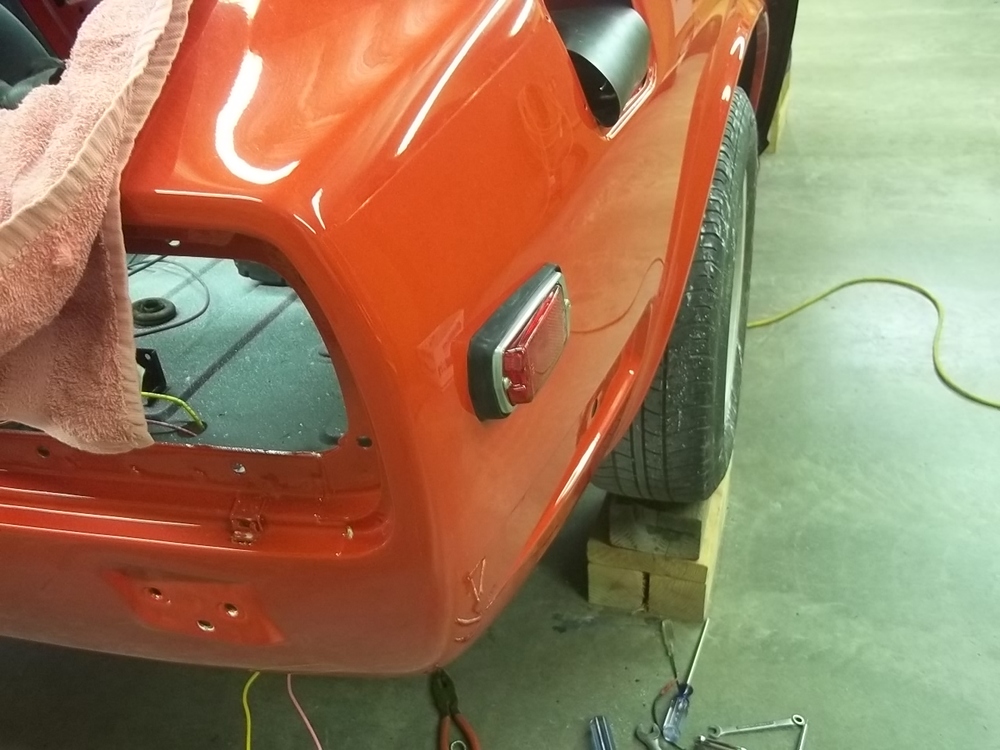
2 pointsso i finally got the new seals for the tail lights and found new bolts and washers. the problem was the acorn nuts in the housings were rusted, and a few were even missing. so here is my repair. new 3/16" stainless screws, fender-washers (3/4" OD) and ny-lock nuts. and a dremel with a cut off wheel and the other tool. i bought 1 extra nut to do the dirty work here is the housing after cutting the plastic to get the old acorn nuts out now for the dirty part. find a 3/16 screw and another nut to lock everything together, clamp it in a pair of vice-grips as shown above, and heat that nut up until it just starts to glow red. if it isnt hot enough, you will make a mess. now press that hot nut into the plastic. this is why you want it hot. it should take just a second for it to melt, and when you pull the nut out the top of the hole will kind of fold in. this is what will hold the new nuts in place. after molding the new hole after melting all the holes, i used a 17/64 drill bit to clean out the hole where the screw goes through the housing. now, the hardest part. hold your new nut in place, and squeeze it down into the hole. i used channel lock pliers. once the nut is bottomed out, it kind of snaps in place. all the new nuts in place. nice tight fit. i used this glue to hold the lenses to the housings and the tail lights in the car.


 2 points
 -
2 pointsI think I have a translation: "I do molding of parts and I use a vacuum pump to degas my resin mix before I pour it into the mold. I tried one of those Hella pumps to degas my resin, but the pump was incompatible with the fumes that are come off the mix as you pull a vacuum."2 points
-
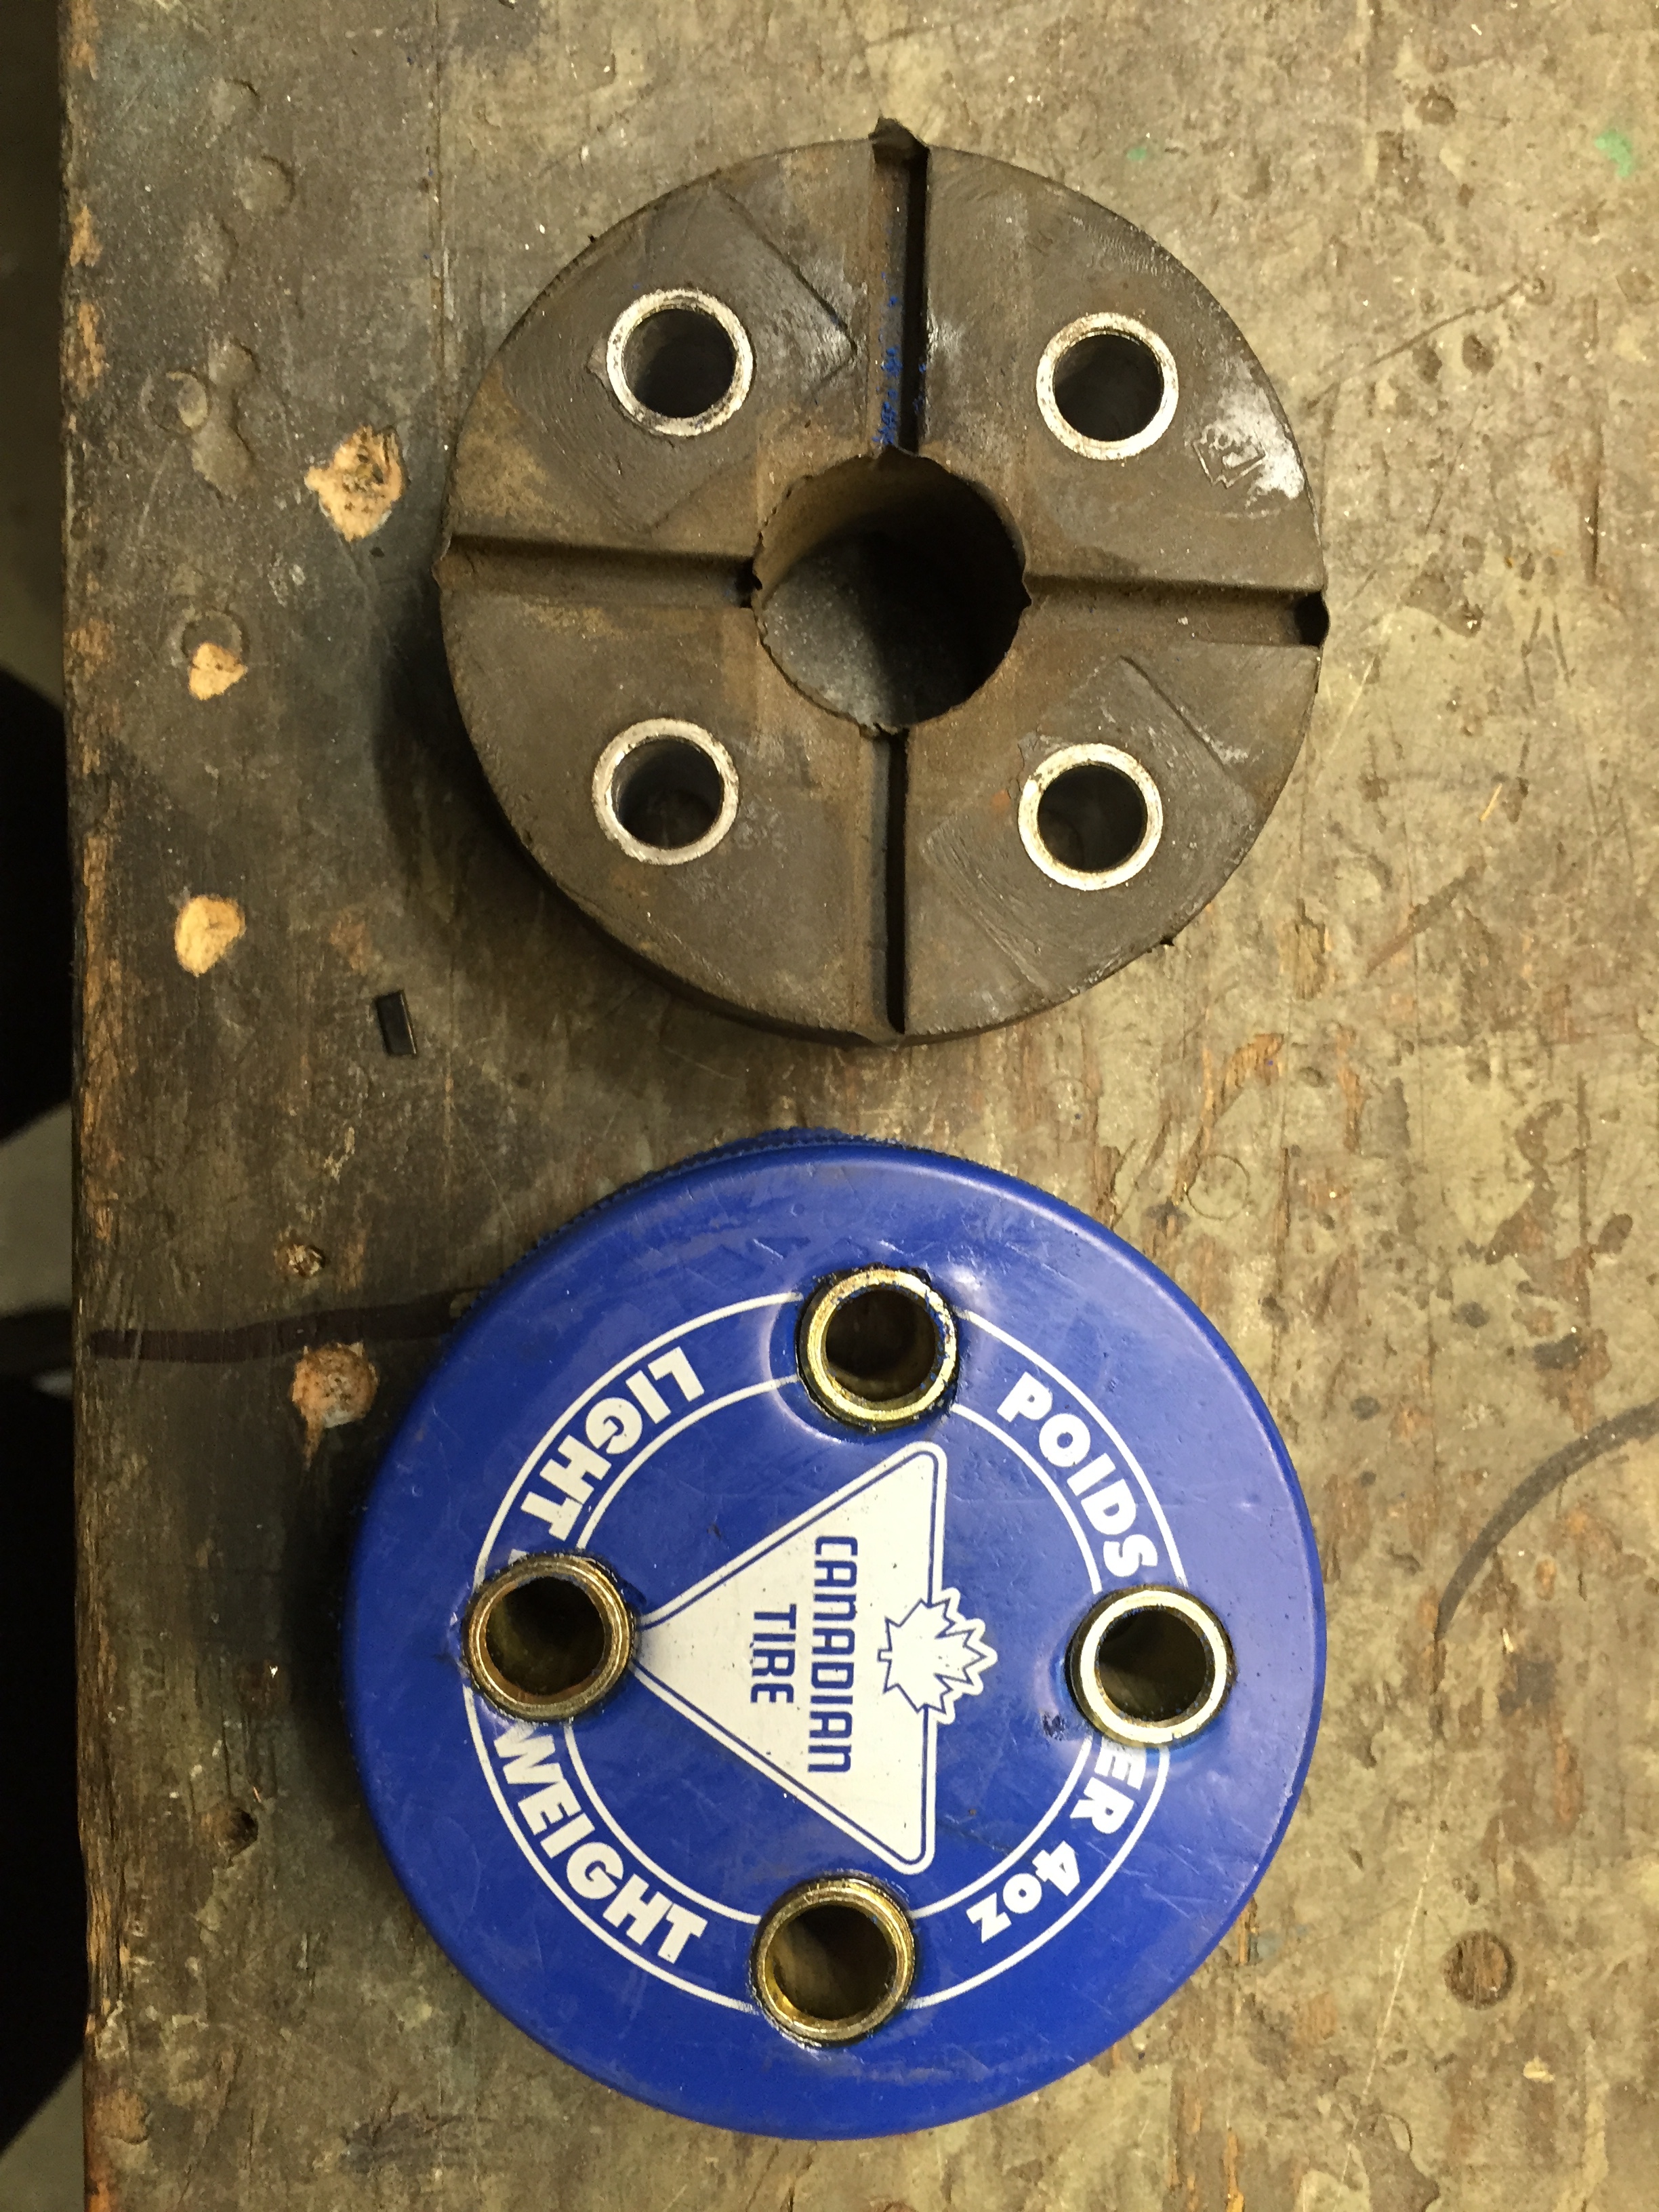
And for completeness, here is the authentic Canadian Tire light weight practice puck solution along side the stock rubber part. For correction pucks are the correct WIDTH but are larger diameter. Those metal tubes are from the poly bushing . The material stiffness is pretty much the same as poly, maybe a bit softer
 2 points
 -
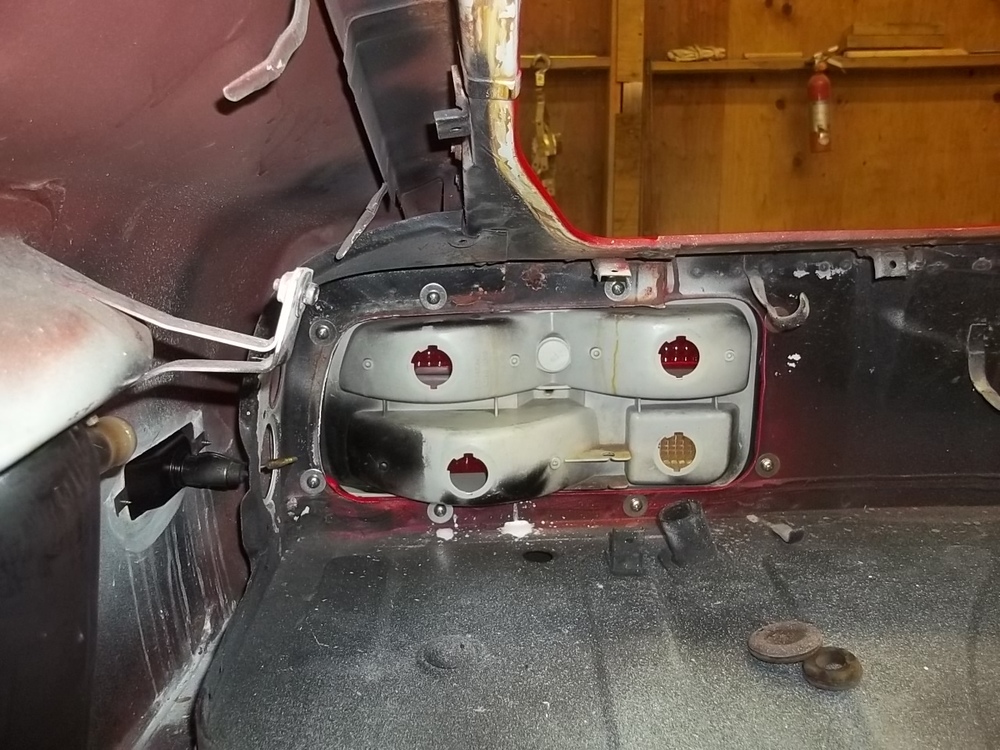
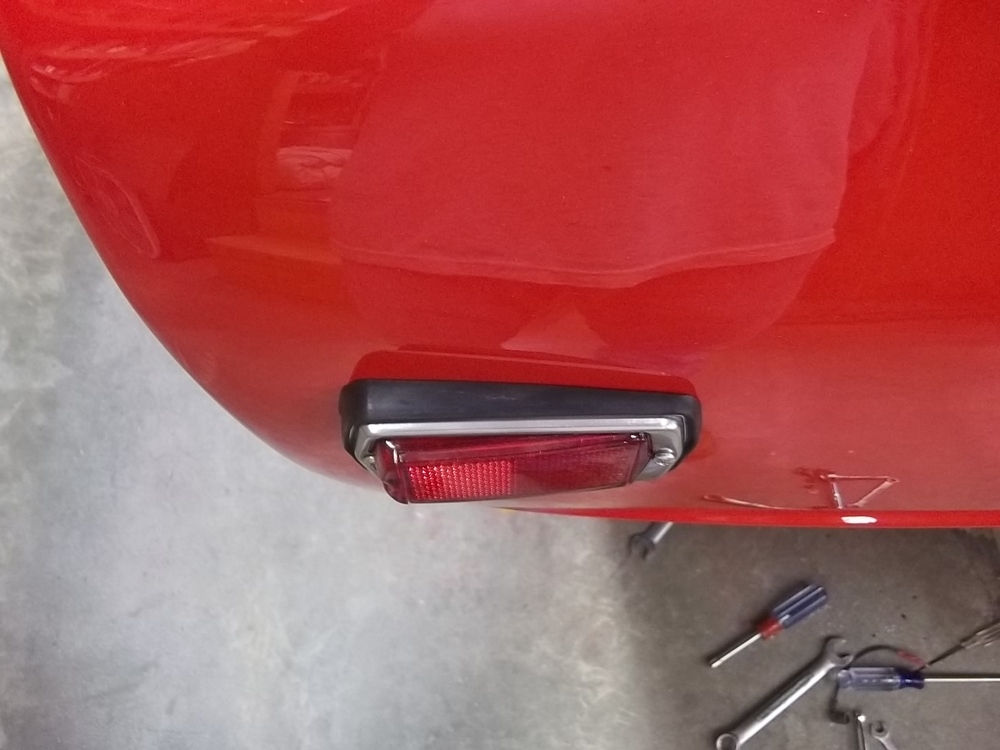
1 pointnew marker lenses and rubber came in yesterday. are these on correctly? tail lights repaired and installed with new seals

 1 point
 -
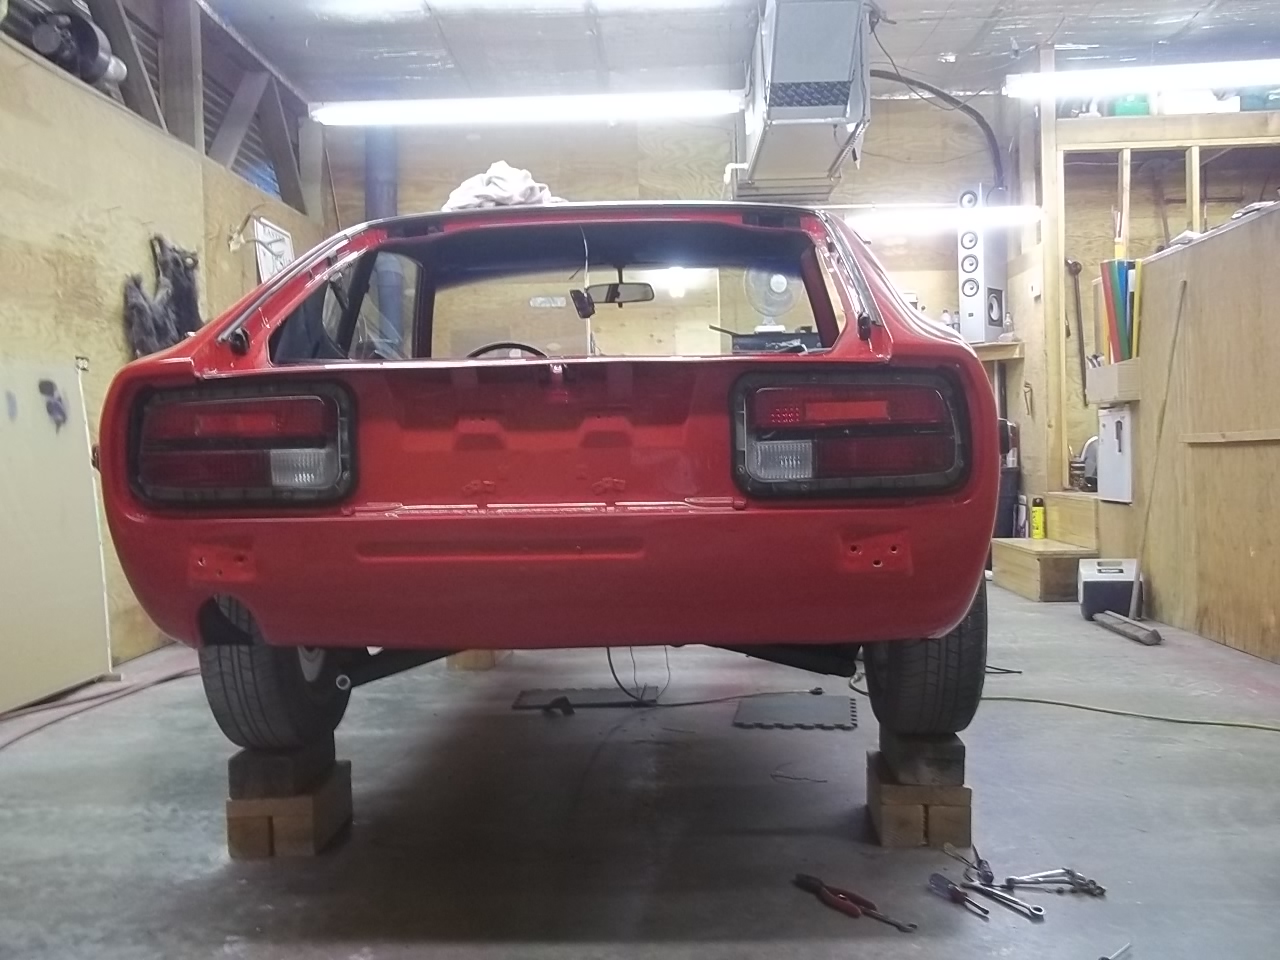
1 pointRear suspension is done and I drive her down the highway yesterday !! Despite no door seals , hatch seals and a leaking muffler - it was a bit of a victory drive. Fumed out a bit from the lack of seals and a rich mixture didn't wipe the smile of my face at 65 mph More tuning to do and some temporary seals will make the ride even better. The engine ran very strong though it's lack of maintenance should say other wise . The last original engine component - water pump- gave out shortly after the highway run. Too much rust to injest and it threw it all up in my garage over night, Hopefully the rust treatment for the block got most of the nasty stuff out . Time to drain and put antifreeze in. Transmission shifts hard from 1st to 2nd gear, but I guess that's better than slipping into gear. Other than that the auto box works pretty damn well. Might need to take it for a fluid change and band adjustment - even that can be done on the Jatco.1 point
-
1 pointYour engine over heated for a reason, before it all goes back together make sure you find the cause.1 point
-
1 pointLet me know if you figure this out. Sent from my iPhone using Tapatalk1 point
-
1 pointThe manual says the needle shoulder should be flush with the bottom face of the piston, not pushed up so that the shoulder is even with the bottom of the groove. I'm no carb expert, but here's some other stuff to consider: The round top nozzle adjusting nuts are M10 x 1.0. This results in .0394 inches drop for each turn. 2.5 turns down is .098 down the needle and at that location along the needle you're running between station 1 and station 2. This means that at 2.5 turns down, the SM needles will idle and no load leaner than stock. It's not until about six turns down that the SM's turn the corner and start running richer than stock. So if you're getting a transition lean pop from no pedal to much pedal, it might be because you're running lean at no load when you're high on the needle. Pushing the needle up so the shoulder is even with the bottom of the groove is about the same thing as turning the nozzle another turn down so that would help. I don't know where you would be on the needle at light cruise, but you might be leaner than stock there as well. Here's a chart I whipped up that illustrates the difference between the N-27 and the SM needles:1 point
-
Yeah, sometimes everyone uses different terminology than what's in the manual and that can make stuff hard to find. It looks like you have successfully cross referenced the colloquial names to the official manual names. And I found a pic of the plank/dolly combo that I use when loading the suspension. These allows the suspension to find it's "at rest" position before tightening the suspension bits into place. I think this is better than ramps because the dollies can squirm around as you jounce the suspension: Just make sure you block the other end of the car from moving in some way when you do this so it doesn't roll around. And by no means ever try to do this on all four corners at the same time unless you've got a very level floor. DAMHIKT.1 point
-
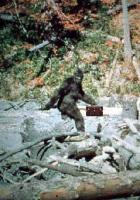
1 pointJust found this pic of bigfoot carrying the Yuasa N50 Battery. I know we are getting close now.
 1 point