Leaderboard
-
ksechler
Free Member3Points544Posts -

wheee!
Free Member3Points4,607Posts -
Captain Obvious
Free Member2Points10,081Posts -
JLPurcell
Free Member2Points1,670Posts


Popular Content
Showing content with the highest reputation on 12/08/2015 in all areas
-
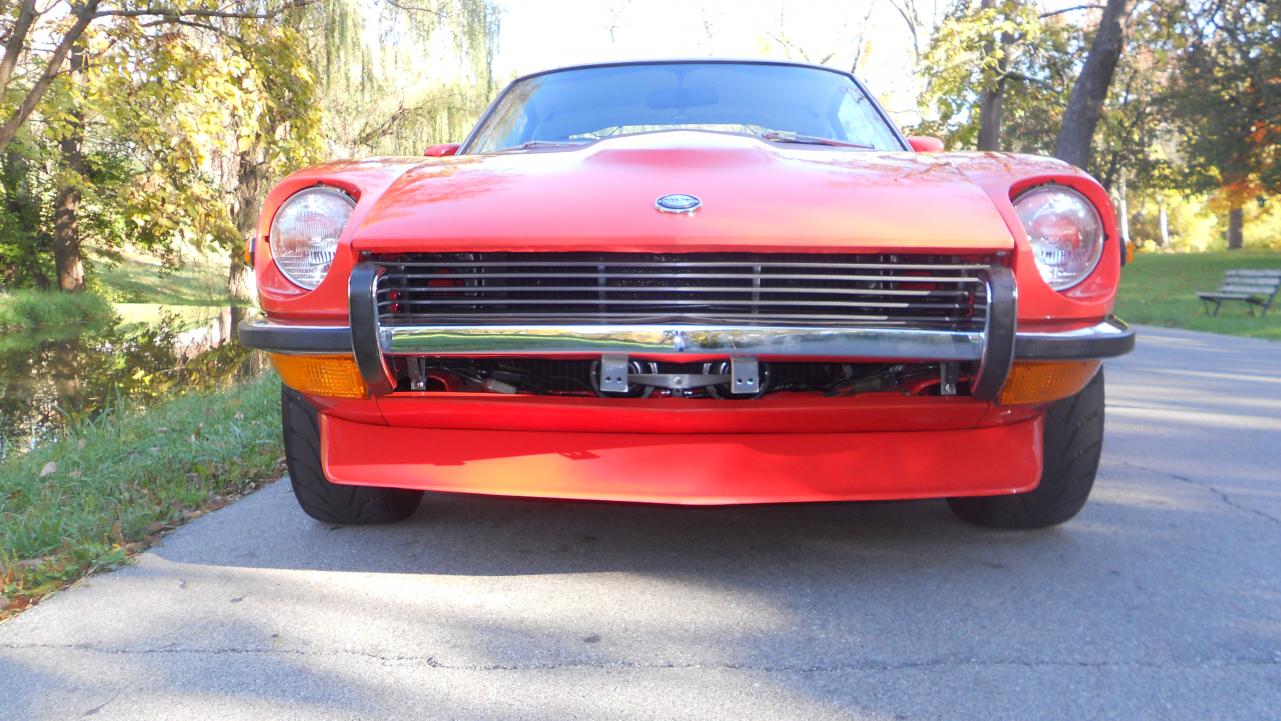
2 pointsNo problem, but don't give me too much credit. This is my first blocking job and I haven't painted it yet. I may very well botch the painting and decide to take it somewhere. Right now I'm just doing the rough body work. There is still a lot more filling and sanding to follow. I just want to see the car together before I paint it so I can correct panel alignment and any other issues I find.2 points
-
2 points
-
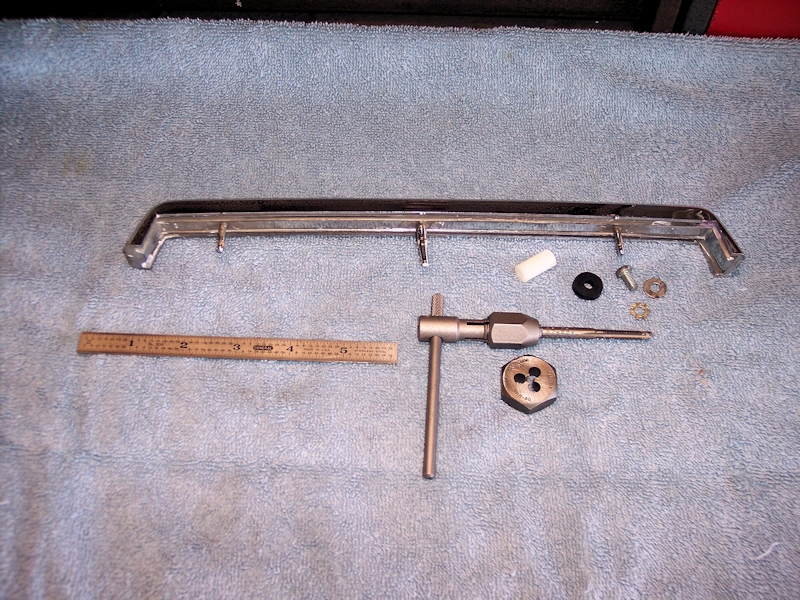
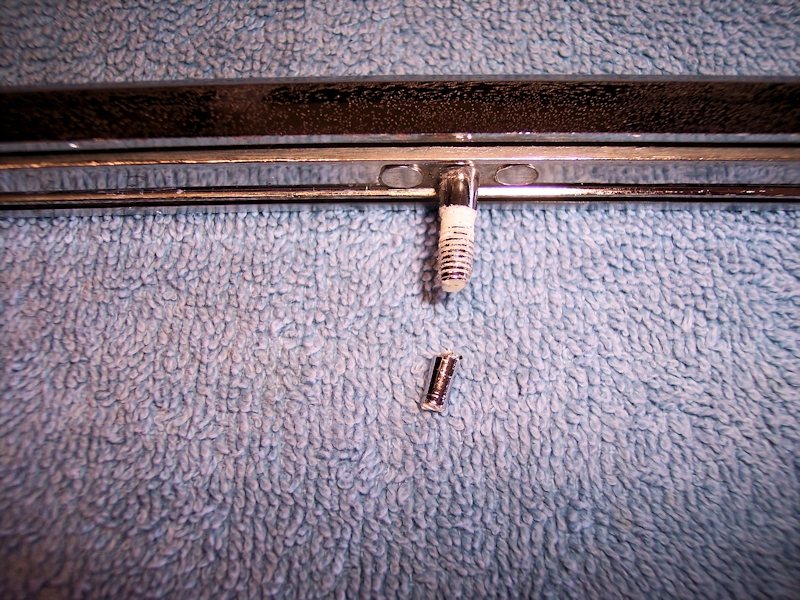
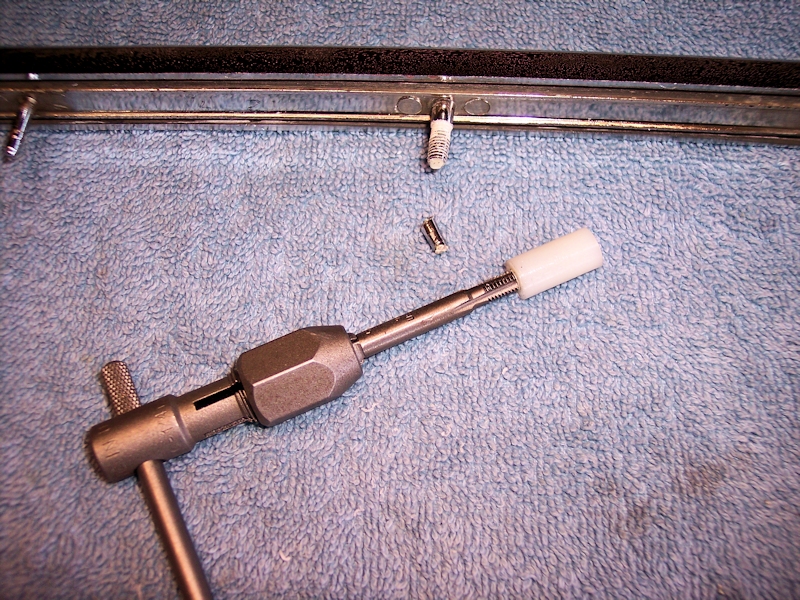
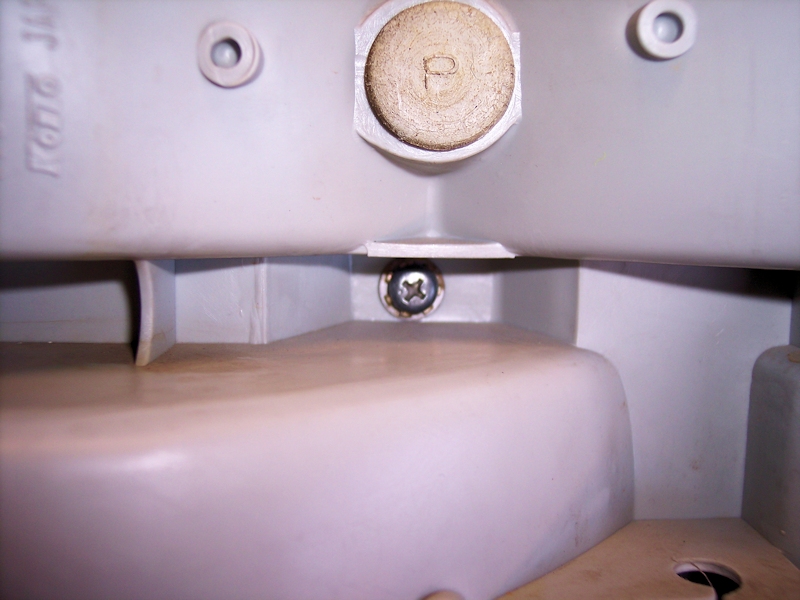
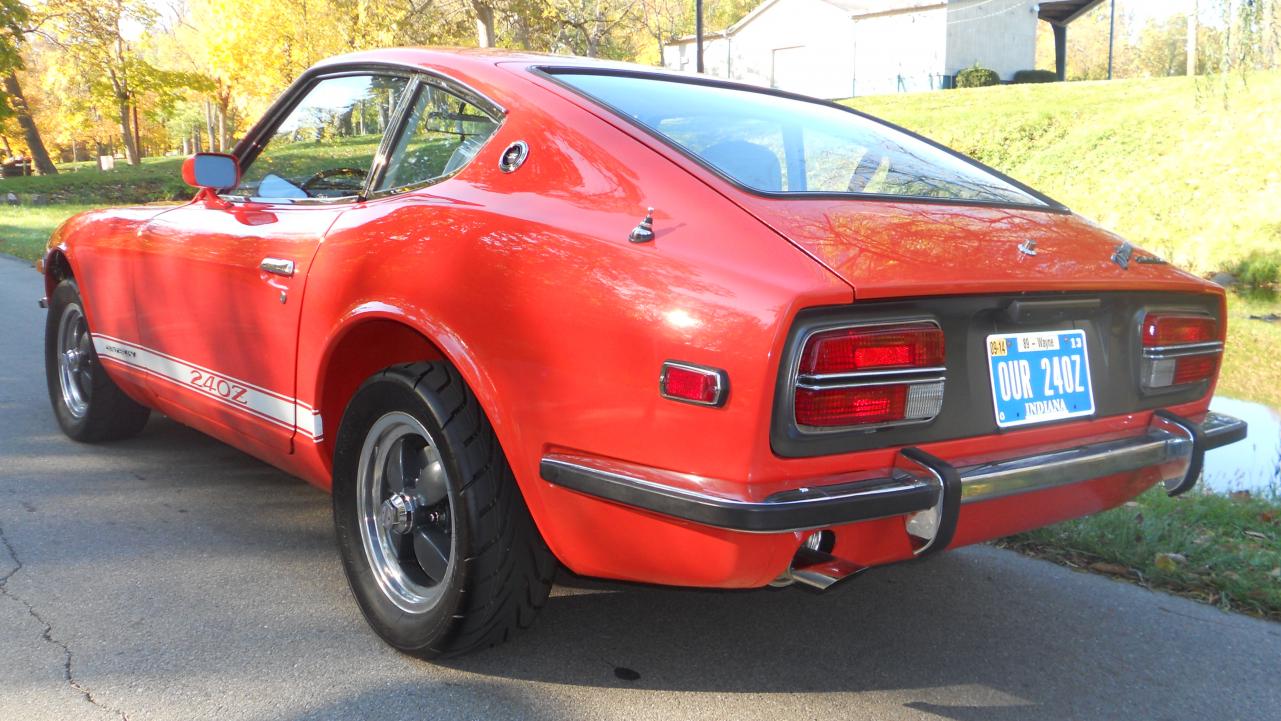
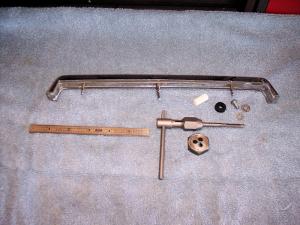
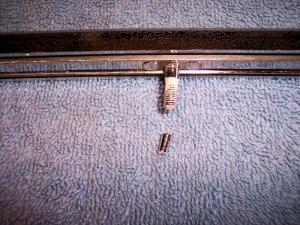
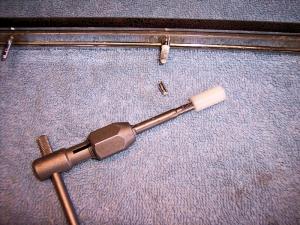
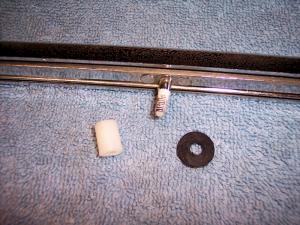
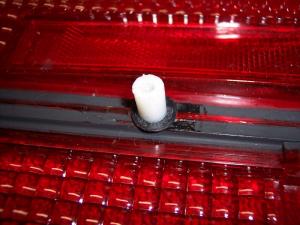
I decided to refurbish a set of 240Z tail lights that came off a parts car and quickly hit the problem of removing the push locks on the back of the lights. Suffice to say, the pin snapped off flush with the back on each unit as I worked on them. Once the lens was separated from the back, removing the push locks from the other pins was pretty straightforward and nothing else broke. After the cleanup was done, it was time to figure out how to re-attach the chrome strip to the lens - including the center post. I checked this site and reviewed some efforts by other members but decided to go with something of my own design. The idea of a coupling nut was my focus but I could not locate anything suitable already pre-made so it was off to Ace Hardware for some on-the-fly engineering. Here's what I came away with: two nylon spacers, 3/4" L X 3/8" OD with a #8 hole; two M5-80 X 10 screws; two flat washers. Here's the process I came up with: Thread the center post with a 5mm-80 die down to 1/4" from the base, clip the post to 3/4" long and dress the end flat: Thread the nylon spacer with a 5mm-80 tap, The #8 hole is a perfect pilot size: Cut the spacer / coupling nut down to 1/2" L and fab a thin washer. I cut a slice ( <1/16" thick) from a faucet washer. The thin washer is important because a thick one will reduce the space available for your new coupling nut: Position the chrome strip on the lens, slip on the washer. Important: plastic on plastic can bind and you could snap the post when screwing on the coupling nut. Lube the threads on the post before installing the coupling nut: The 10mm screw is just a bit long for the thread available in the coupling nut so you can either grind off a bit of the screw or add a star washer to the stack. Assemble the lens and back unit, install the M5-10 screw with the washers and you are done: This post has been promoted to an article
 1 point
 -
1 pointGrats. Now you are a Zed veteran. You only really appreciate what it is to retore a Zed after you have done battle with spindle pin and won.1 point
-
1 pointThe spindle pin finally decided to play nice... Sort of. 3 days of ATF plus 450 degrees Celsius hand shaking, followed by about 30 tonnes of pressure... And out she came!1 point
-
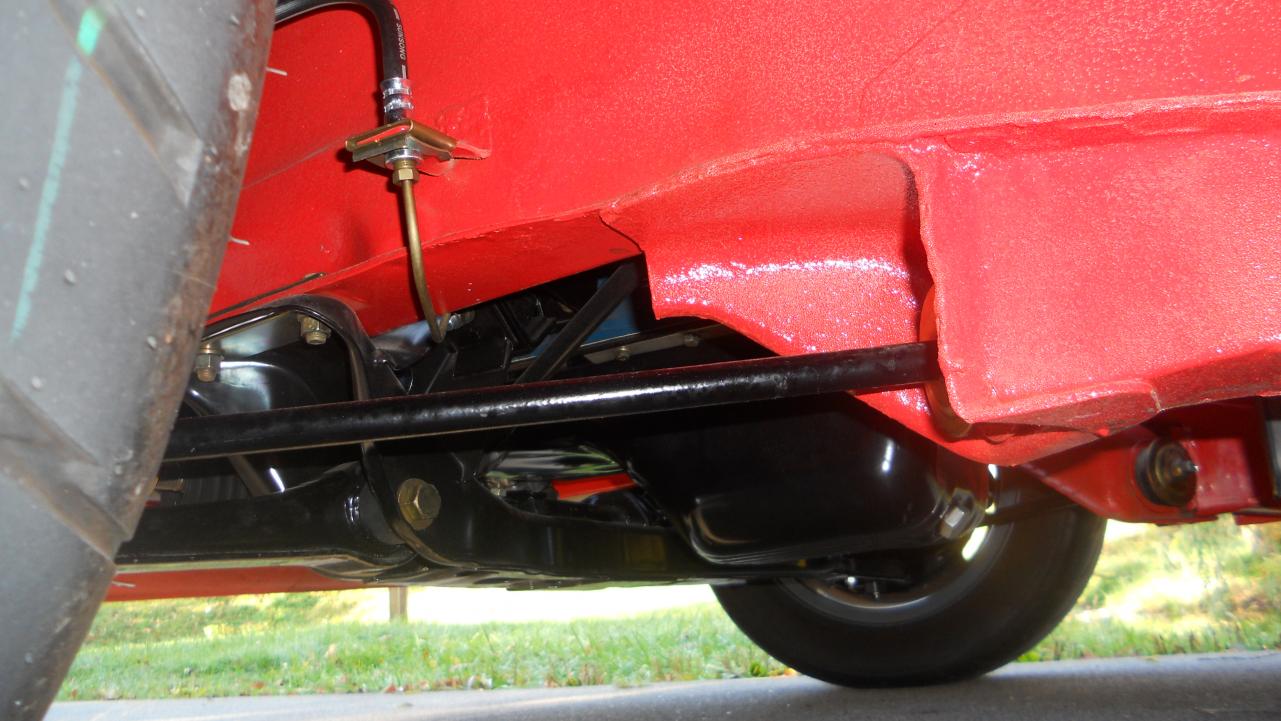
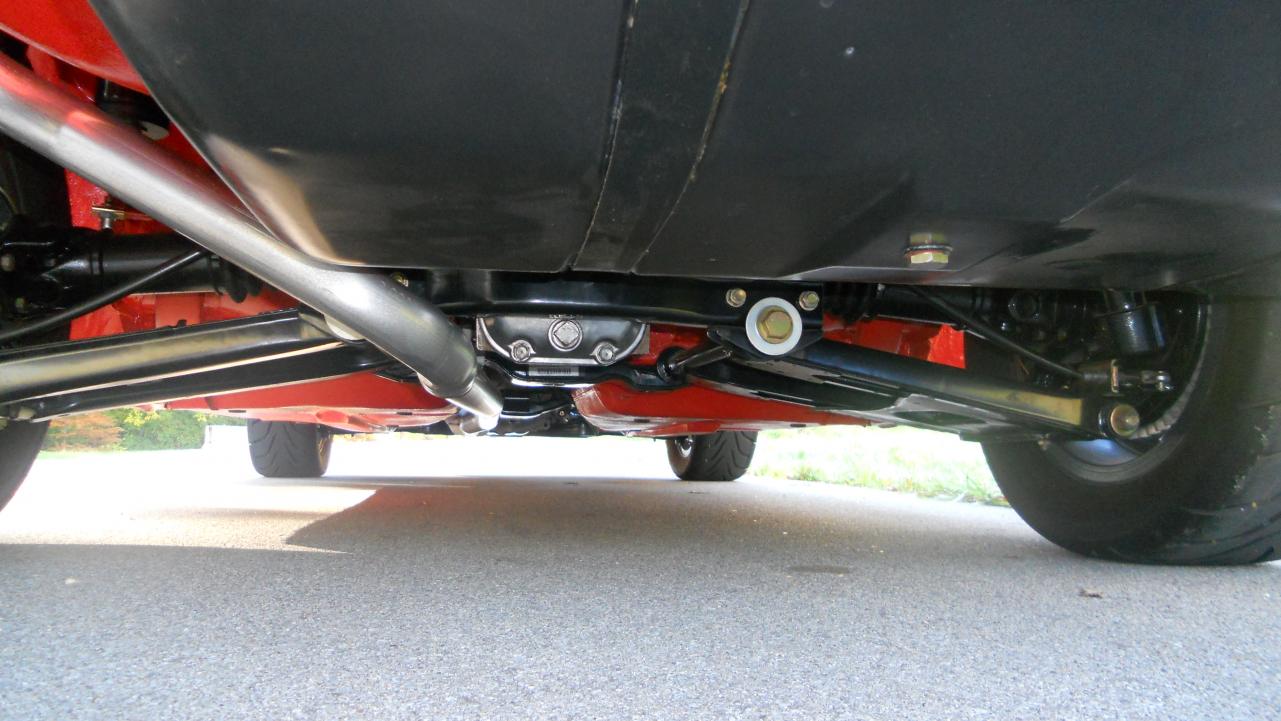
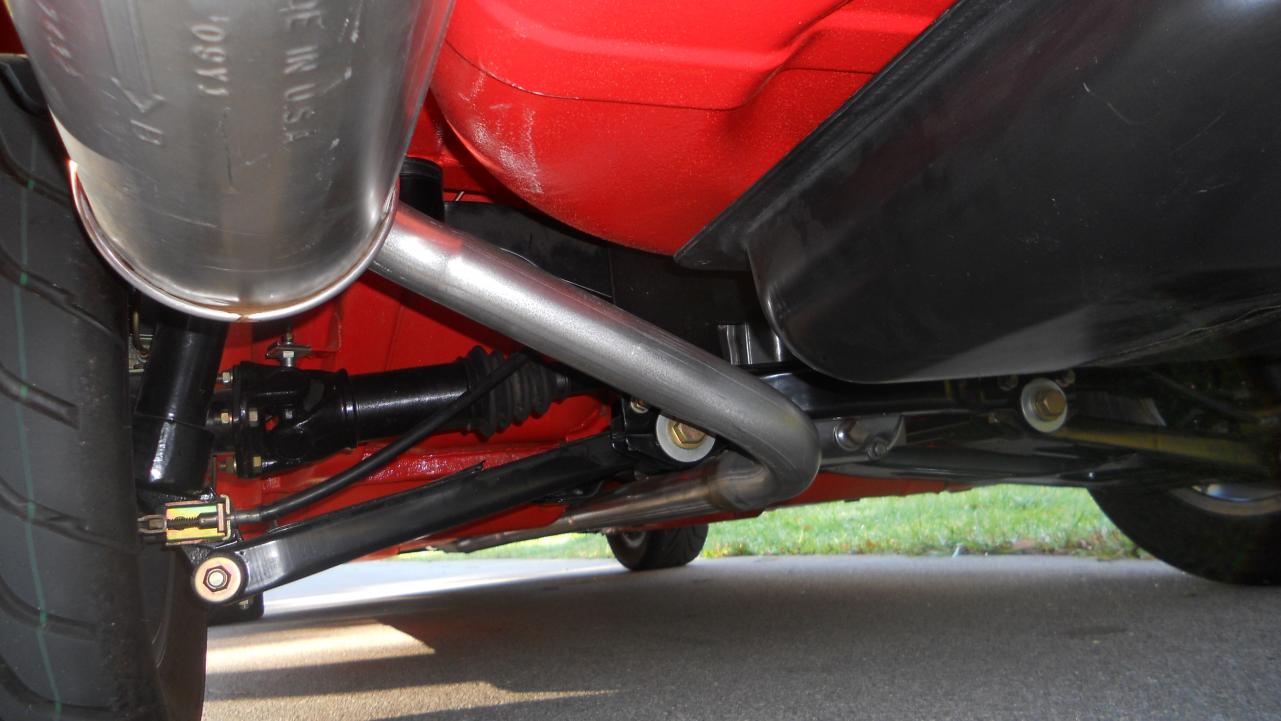
You have aftermarket ball and socket TC rod mounts on the car. Check them to make sure they are not worn or loose.1 point
-
1 point
-
1 point
-
1 pointNow it gets messy. I used to give myself headaches looking at the bottom of my car and trying to figure out how to get all that crap stripped off. Have you watched any of the Eastwood videos on you tube? There's a zed-sled (Z-28 camaro) series that's pretty informative. Of course you have to take it with a grain of salt because it's one big Eastwood advertisement. Still, very good learning experience for me.1 point
-
Pull the hoses off the carbs and put them into some kind of clear bottle, water bottles work good, take the valve cover off and work the pump's arm back and forth by hand to see if you are getting fuel to them. That's what I would do.1 point
-
1 pointI'll have the olive green Z to the lower left, the olive green 510 in the upper right and might as well throw in a pick up, any colour.1 point
-
1 point
-
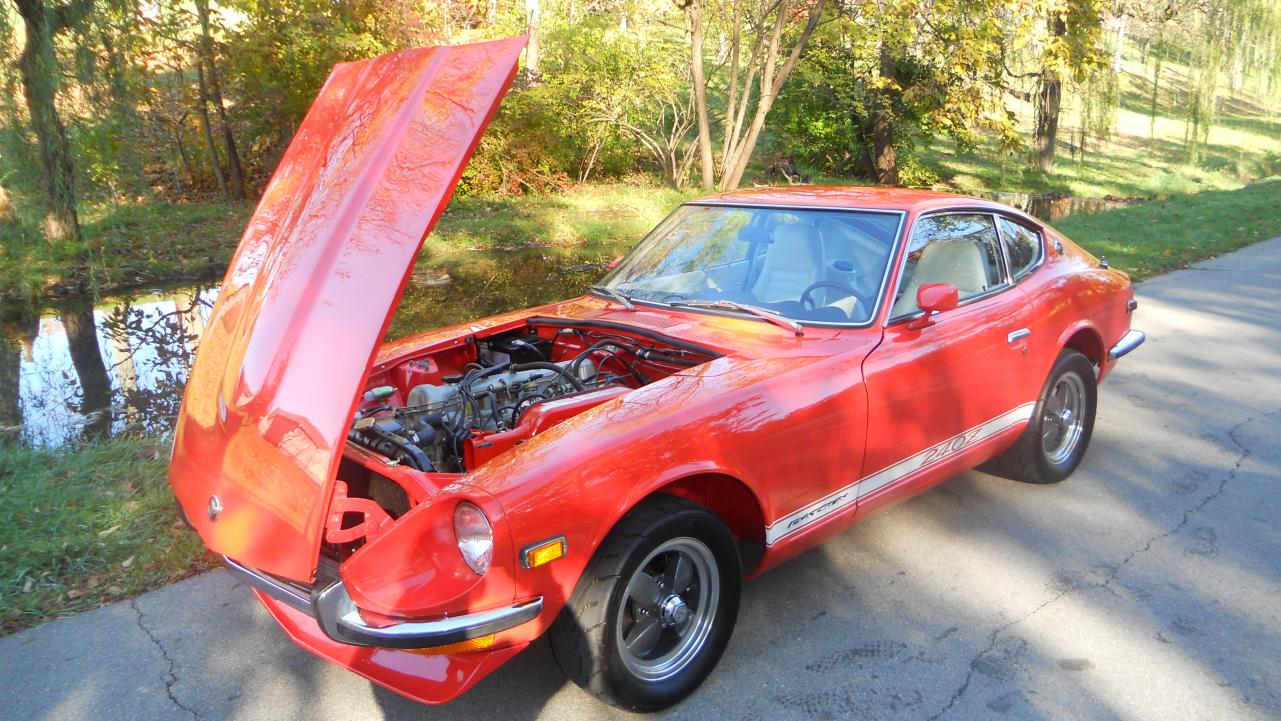
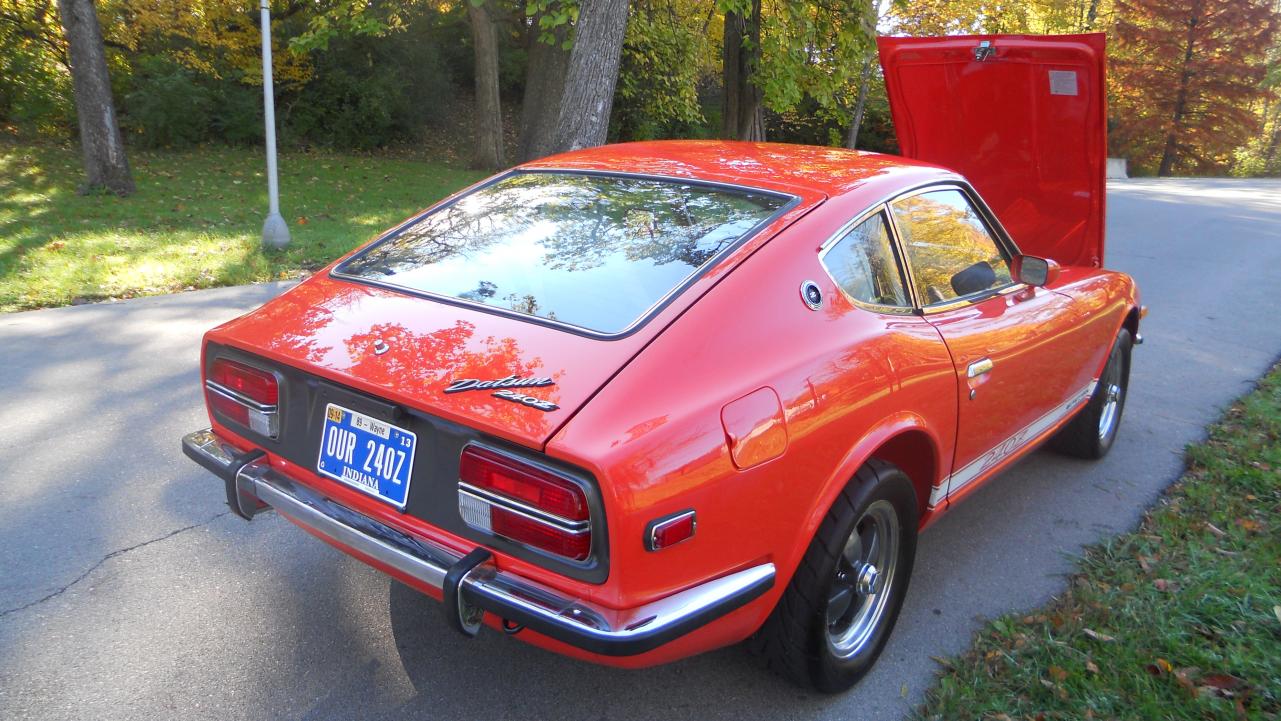
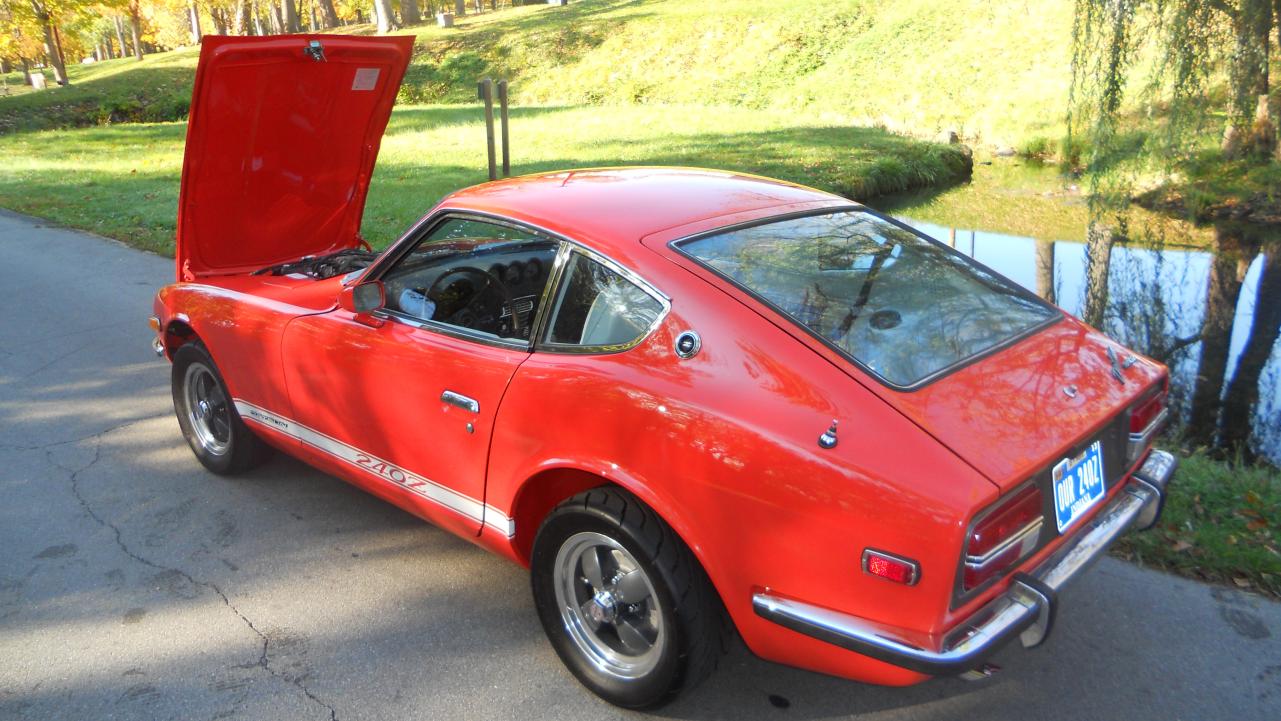
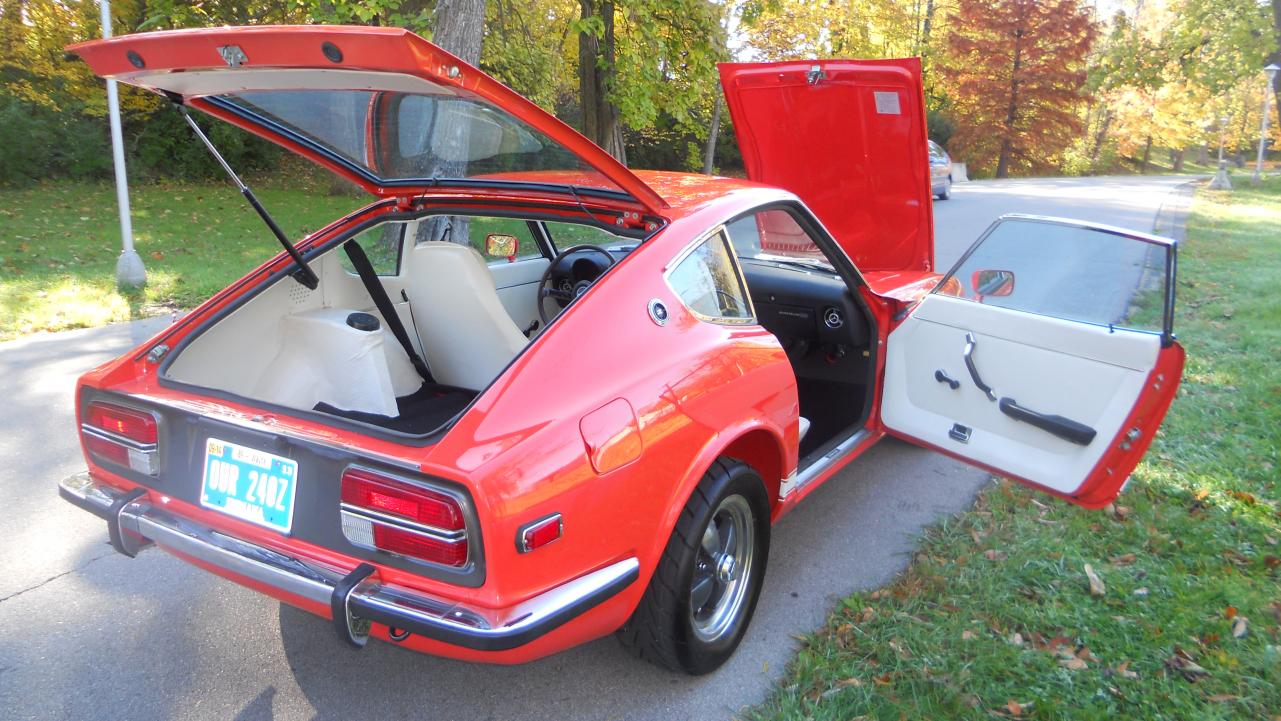
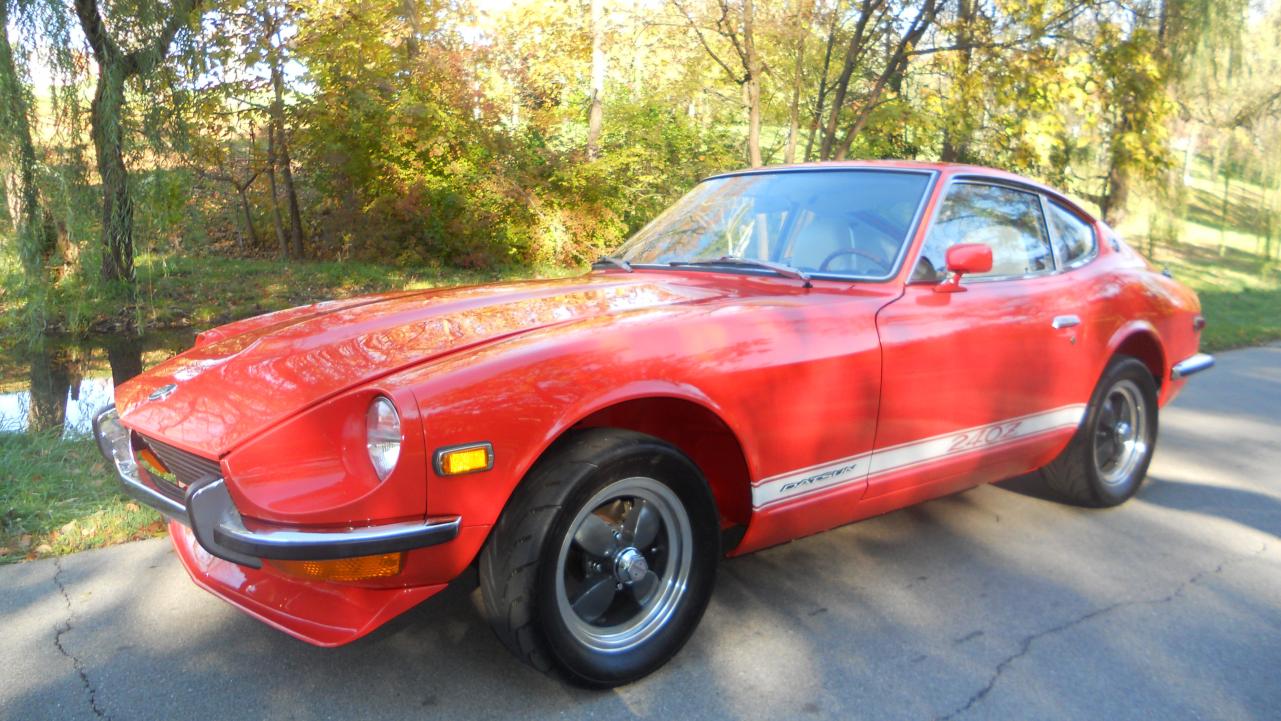
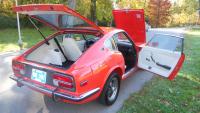
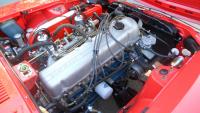
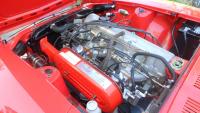
1 pointPlease excuse the fact that I have not had time to do anything to it since getting back from picking it up. It is just as I pulled it off the trailer. It needs a good cleaning and detailing.
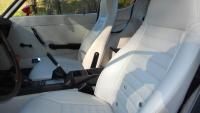
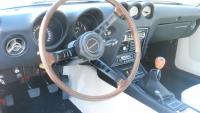


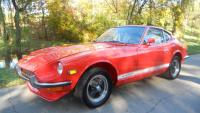 1 point